
Bayonetta 2 Guide Chapter V: Know Your Journey - Walkthrough
Chapter XIII: Vigrid, City of Dj Vu
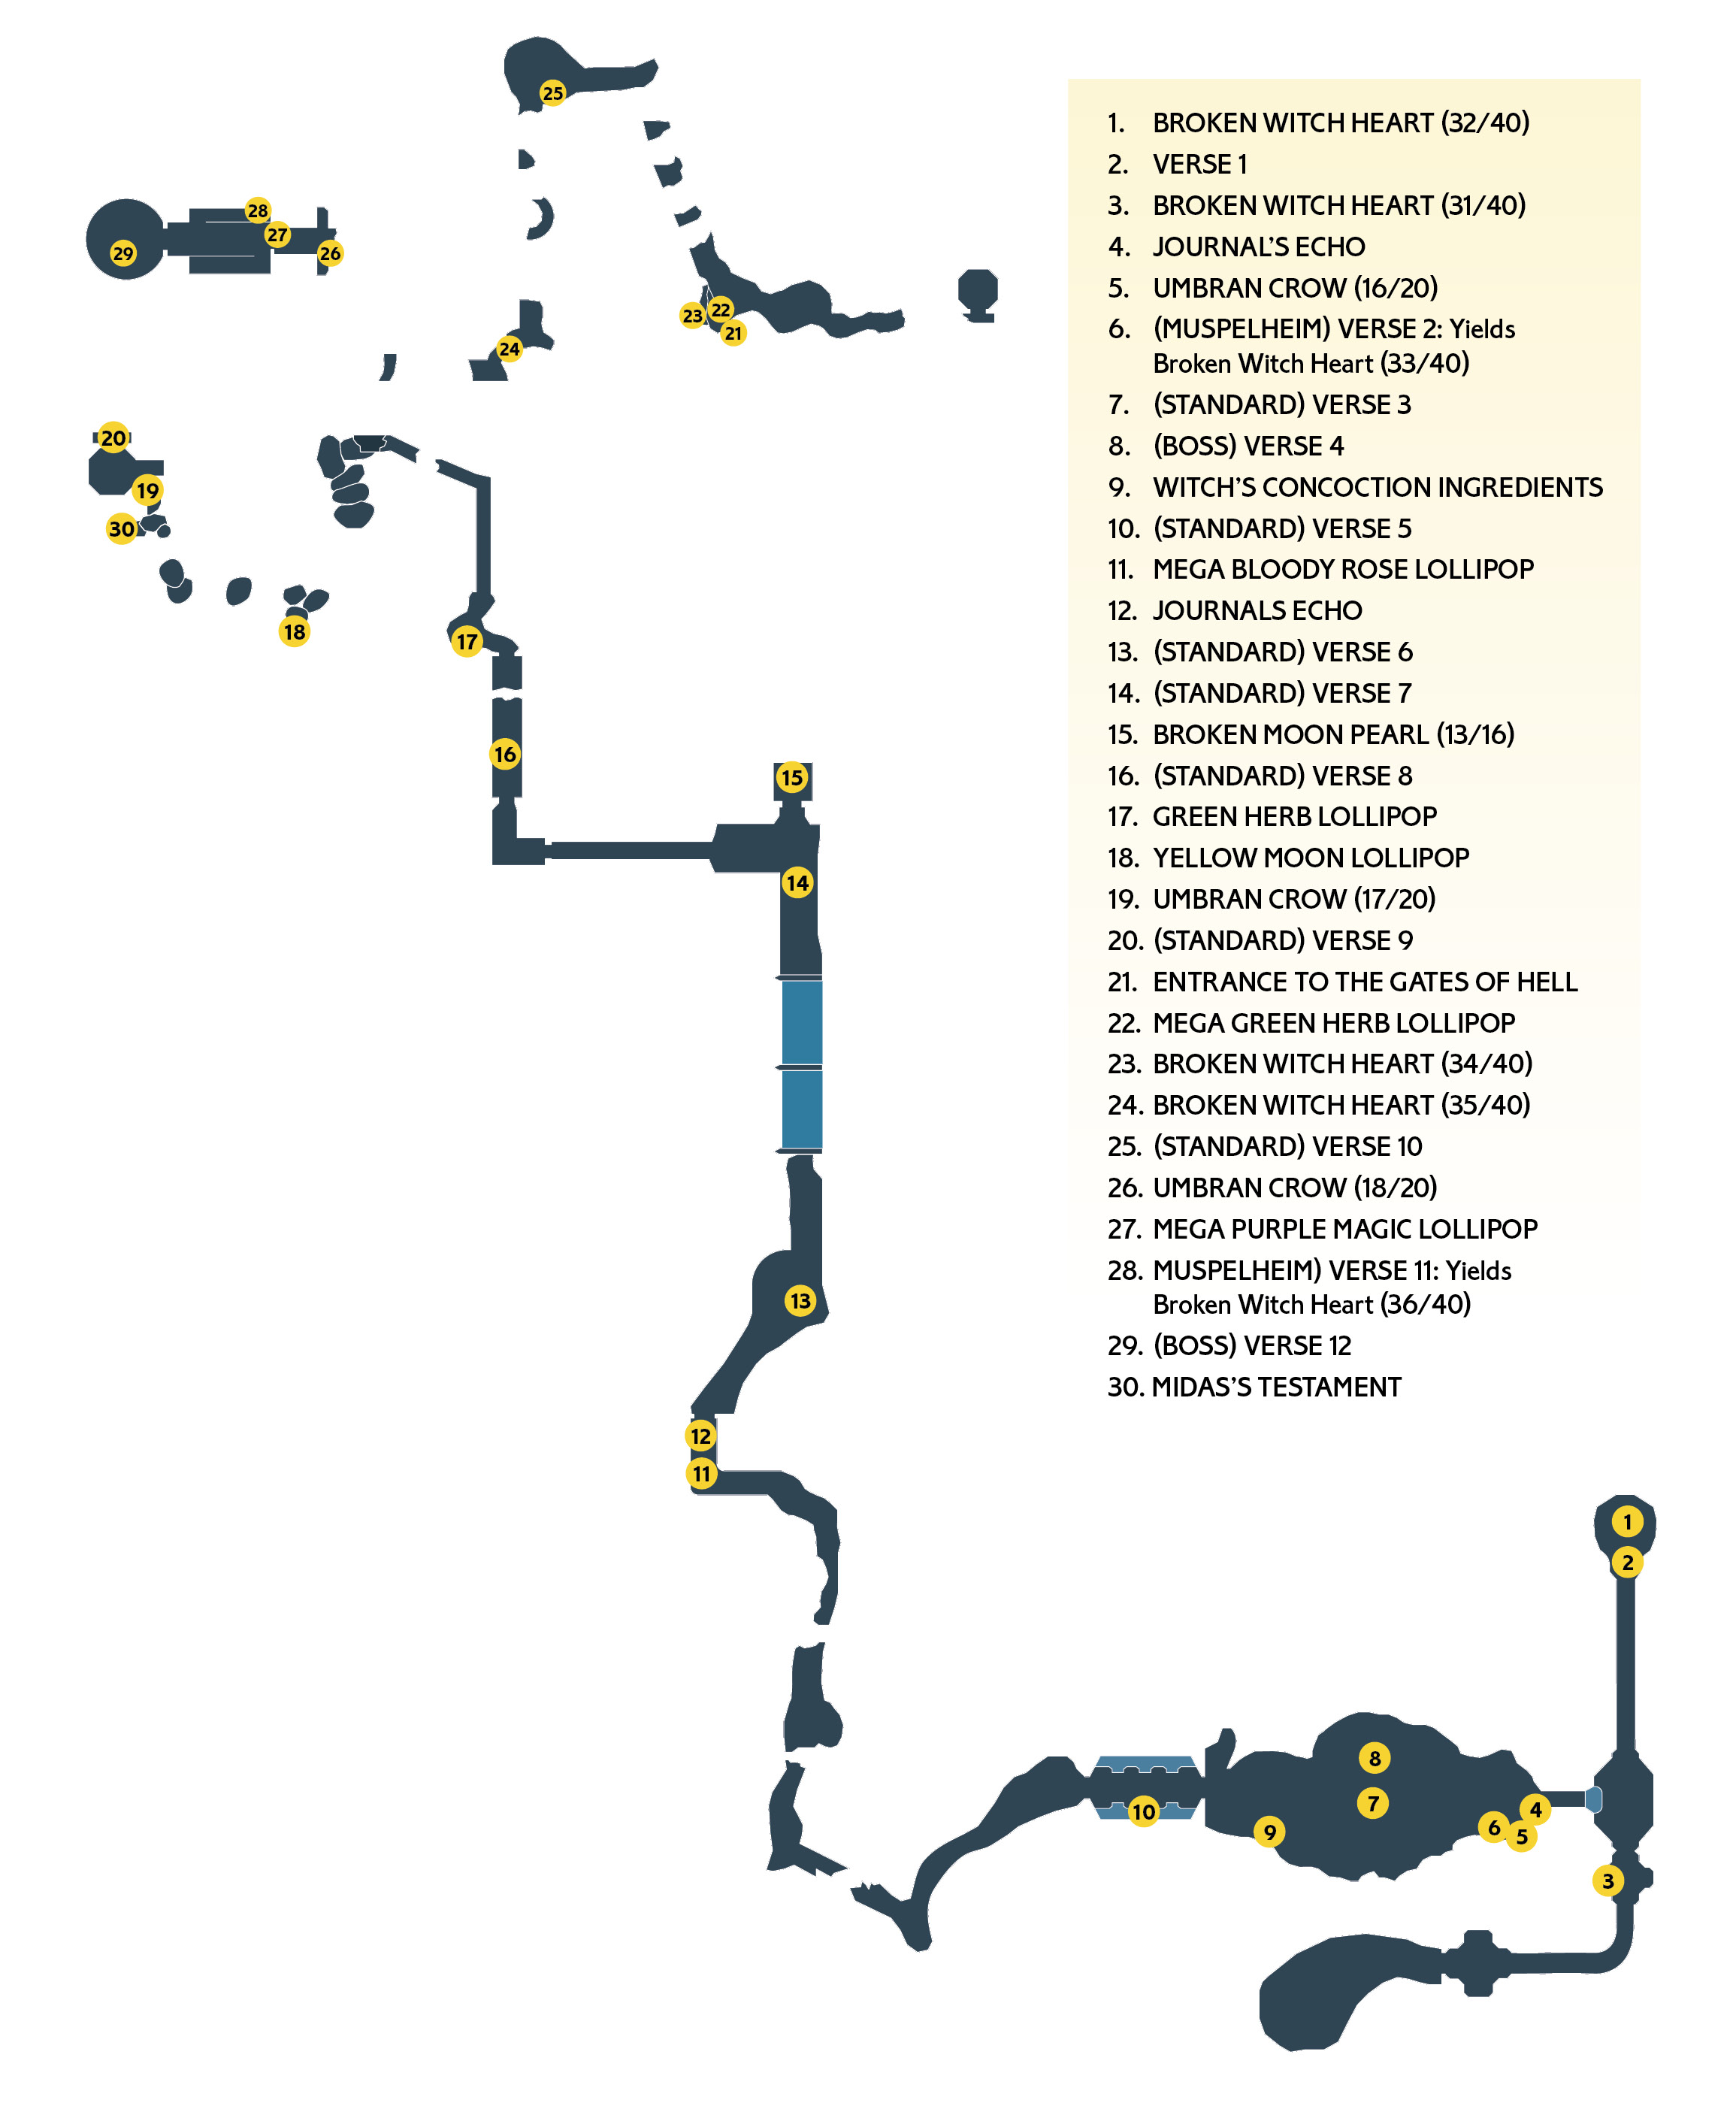
Déjà vu, indeed! This entire stage will be a staggering mental timewarp to veterans of the original Bayonetta. For those who fit this criteria, welcome back to Vigrid! It’s a lot more intense than the last time you were here.
Go straight ahead, through the doors, down the long hallway, then open the next set of doors to reveal a very familiar room for longtime series fans! Those fans will know to look up to the balcony to the left for a Broken Witch Heart (31/40). There’s also an entrance to The Gates of Hell here.
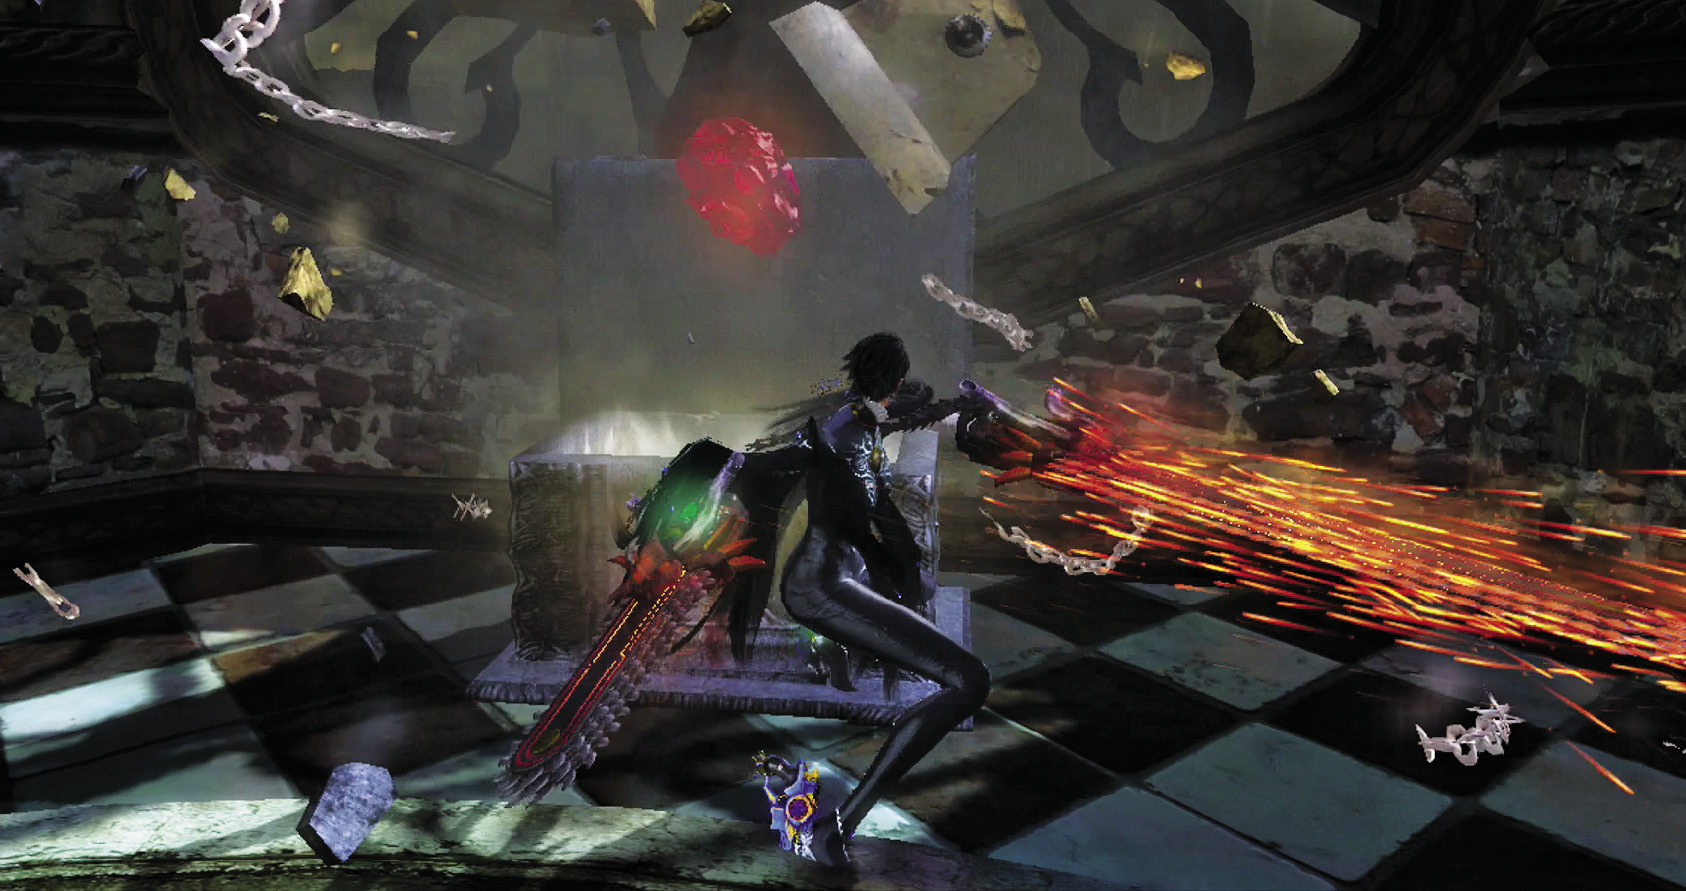
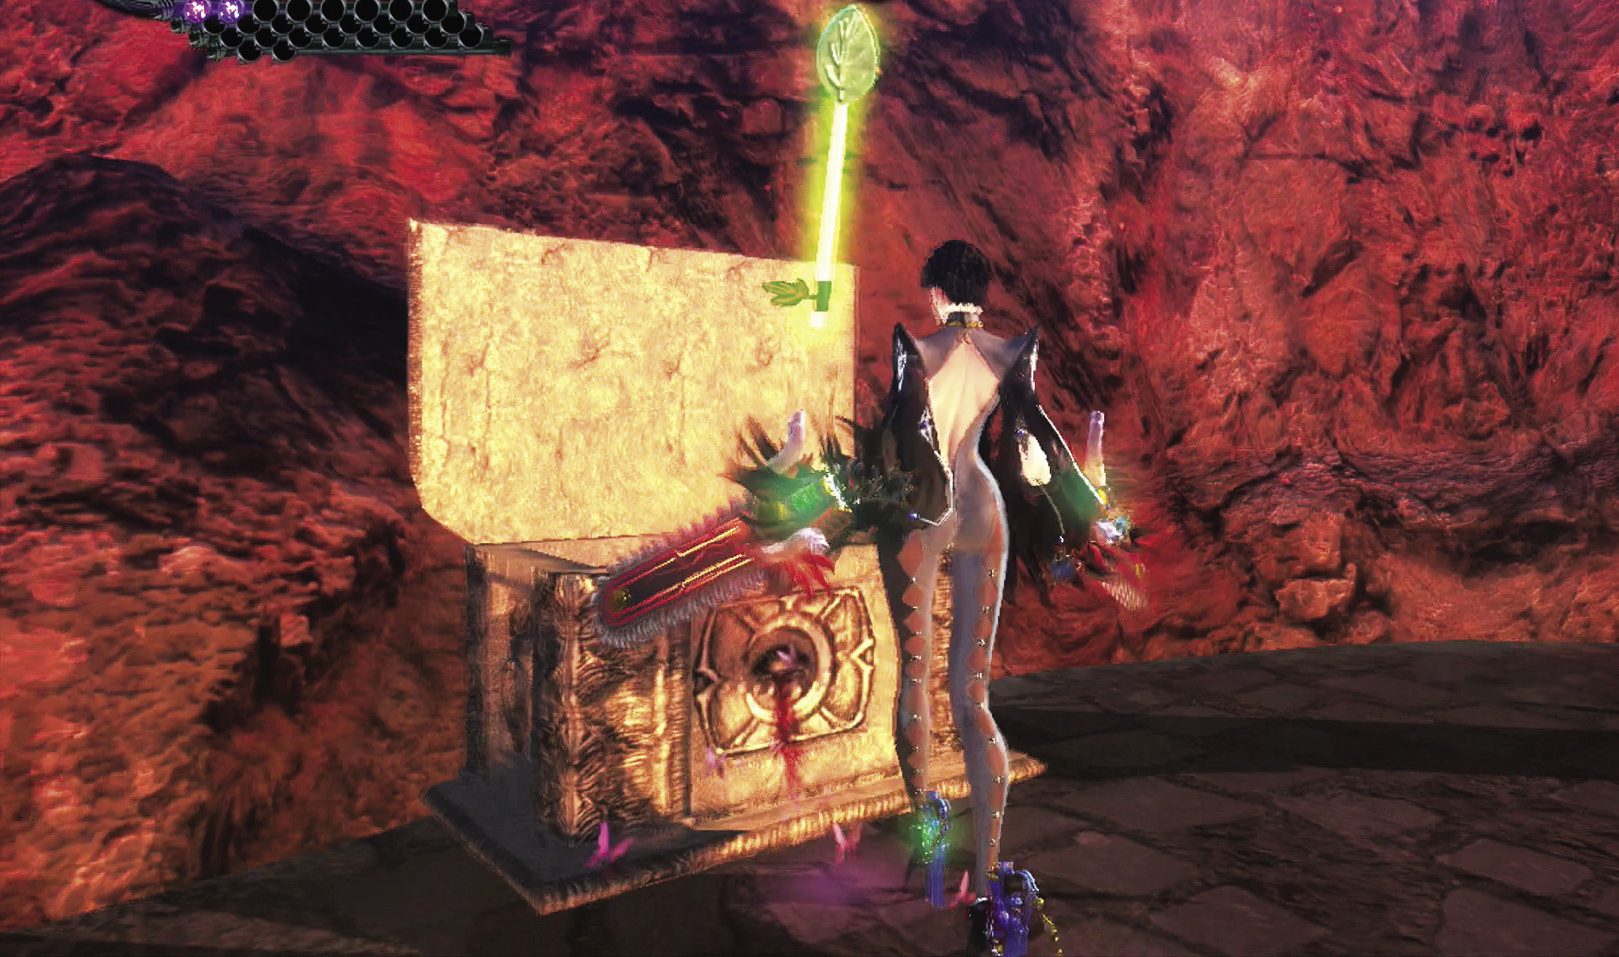
Ignore the opening to the outside for the moment and keep going straight, through the long hallway. At the end is a chest containing another Broken Witch Heart (32/40). Once you grab that, a Verse is triggered!
Verse 1
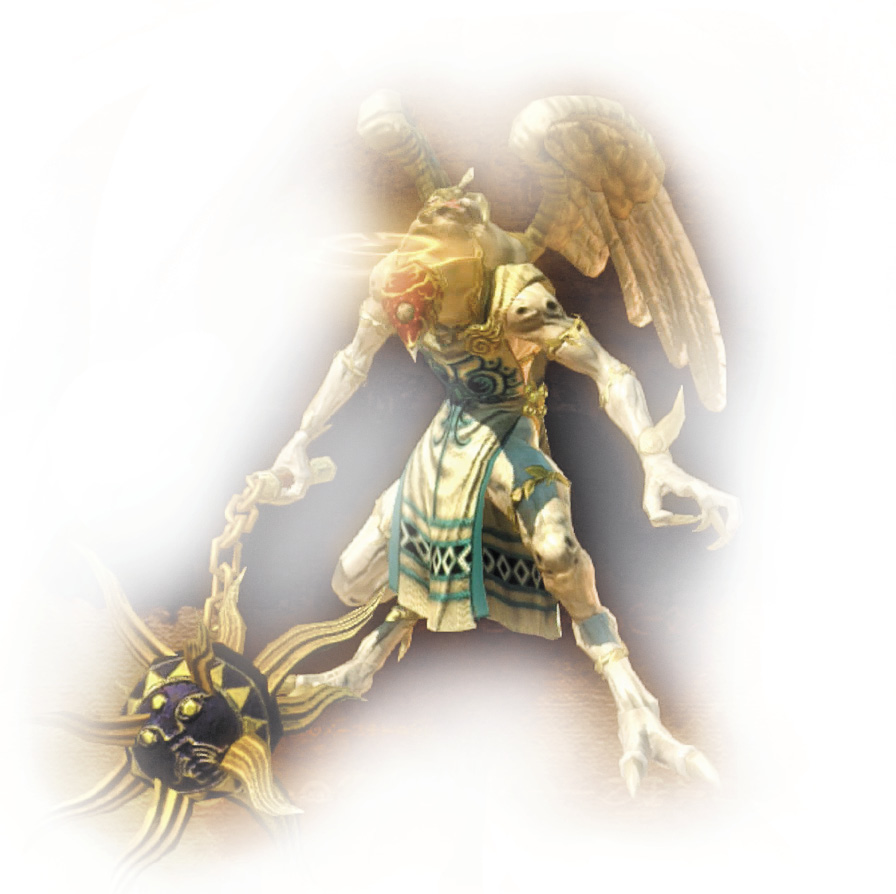
Enemy Spotlight: Affinity
Affinities were the lowest-level angels in the first Bayonetta, and they wield one of three weapons: horns, staves, or maces. The difference is pretty much just a matter of attack range. Being the lowest-level angels, they’re dispatched pretty easily.
Enemy Spotlight: Applaud
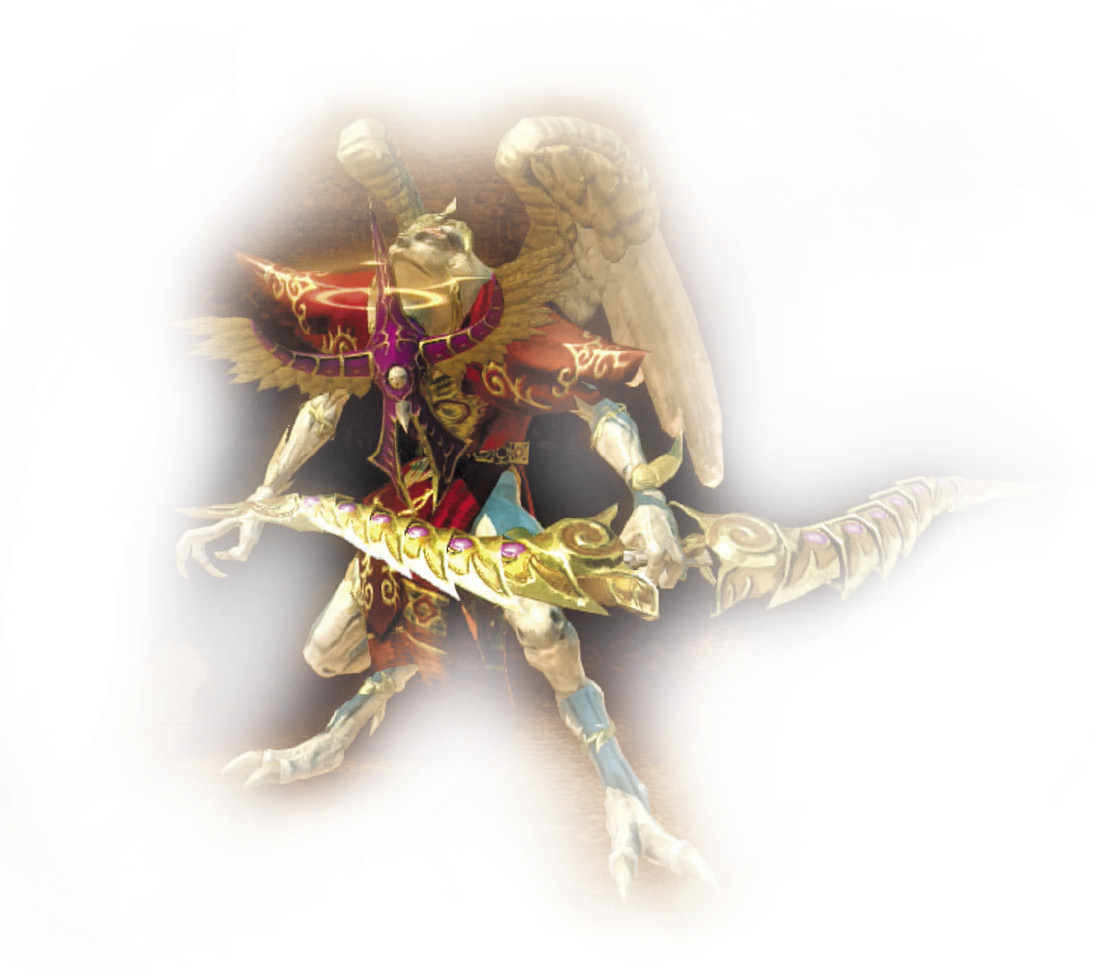
One step up from Affinities are Applauds, who wield either staves or bows. Again, one is short range, the other long range. They’re also pretty easy to kill—and they’re also bigger targets than Affinities. Whoops.
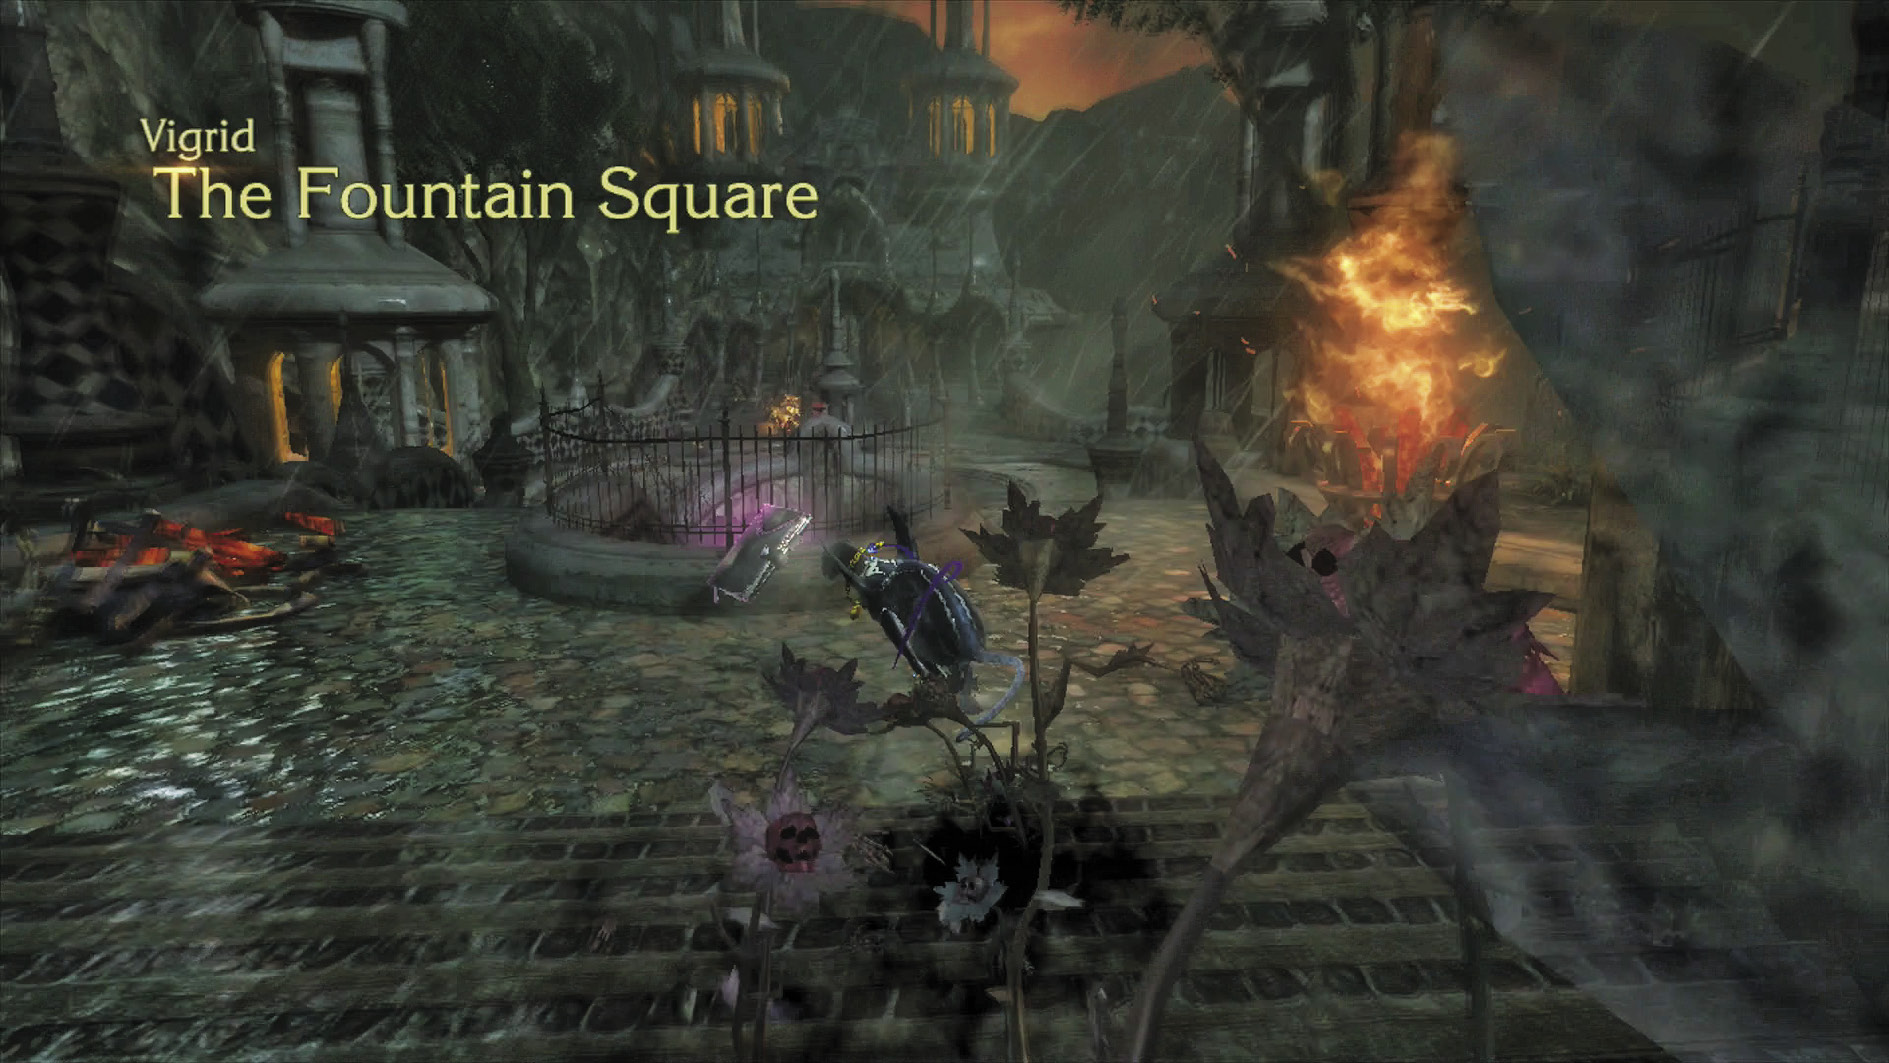
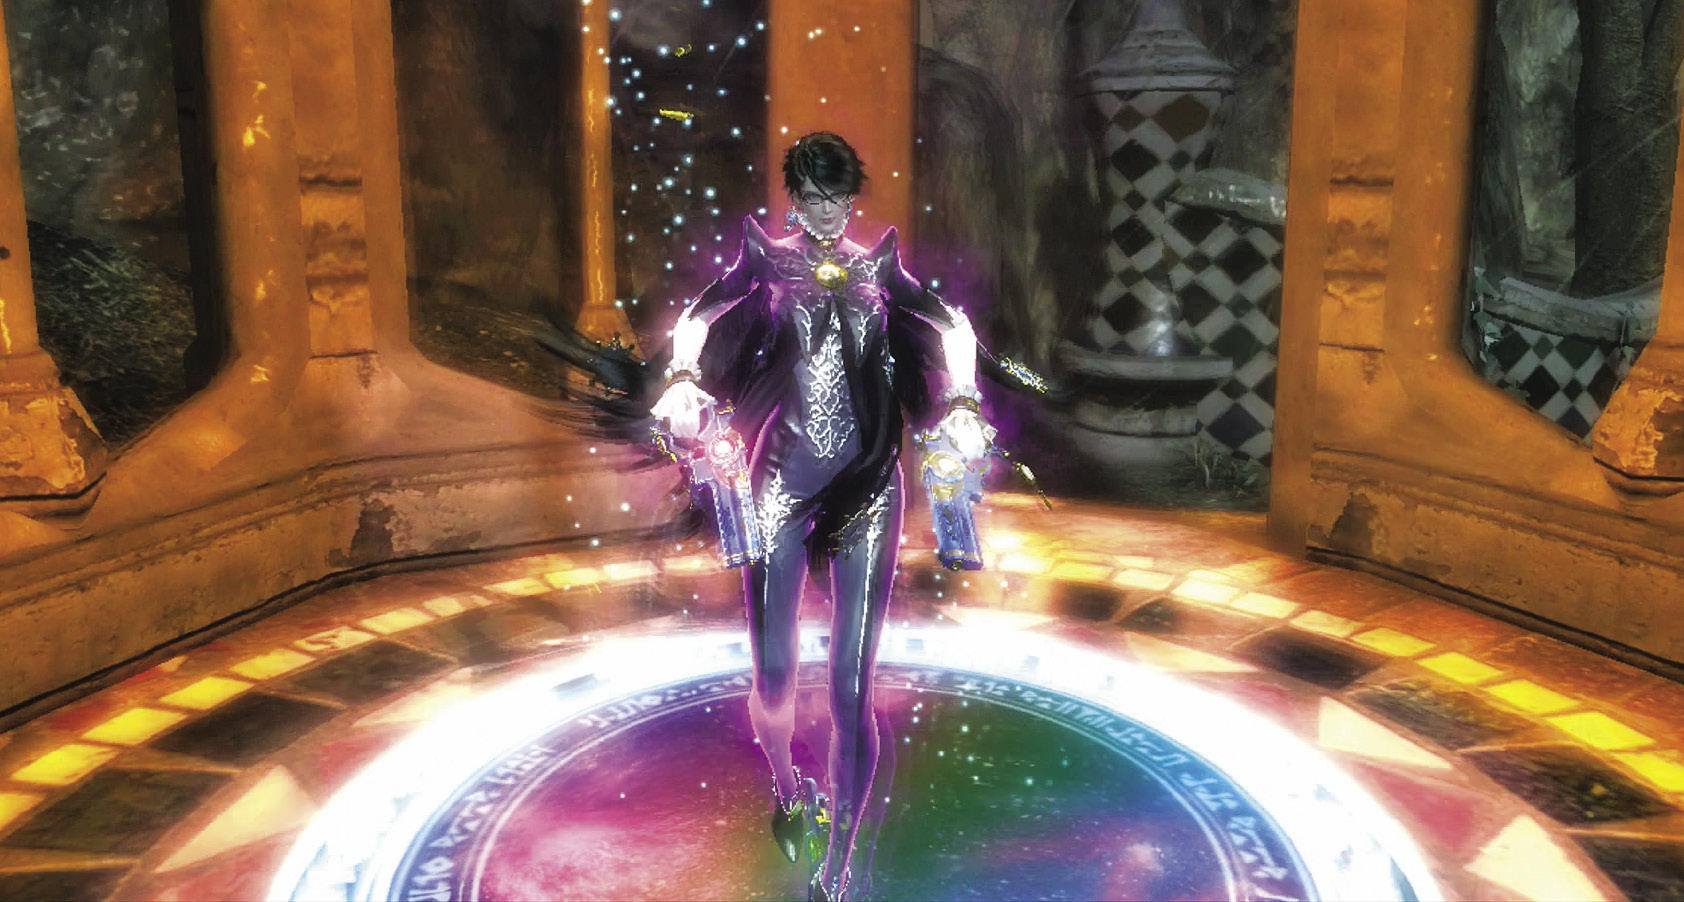
1st Climax/2nd Climax/3rd Climax
Enemies: Affinity (Staff) x2, Affinity (Mace) x1, Applaud (Staff) x2
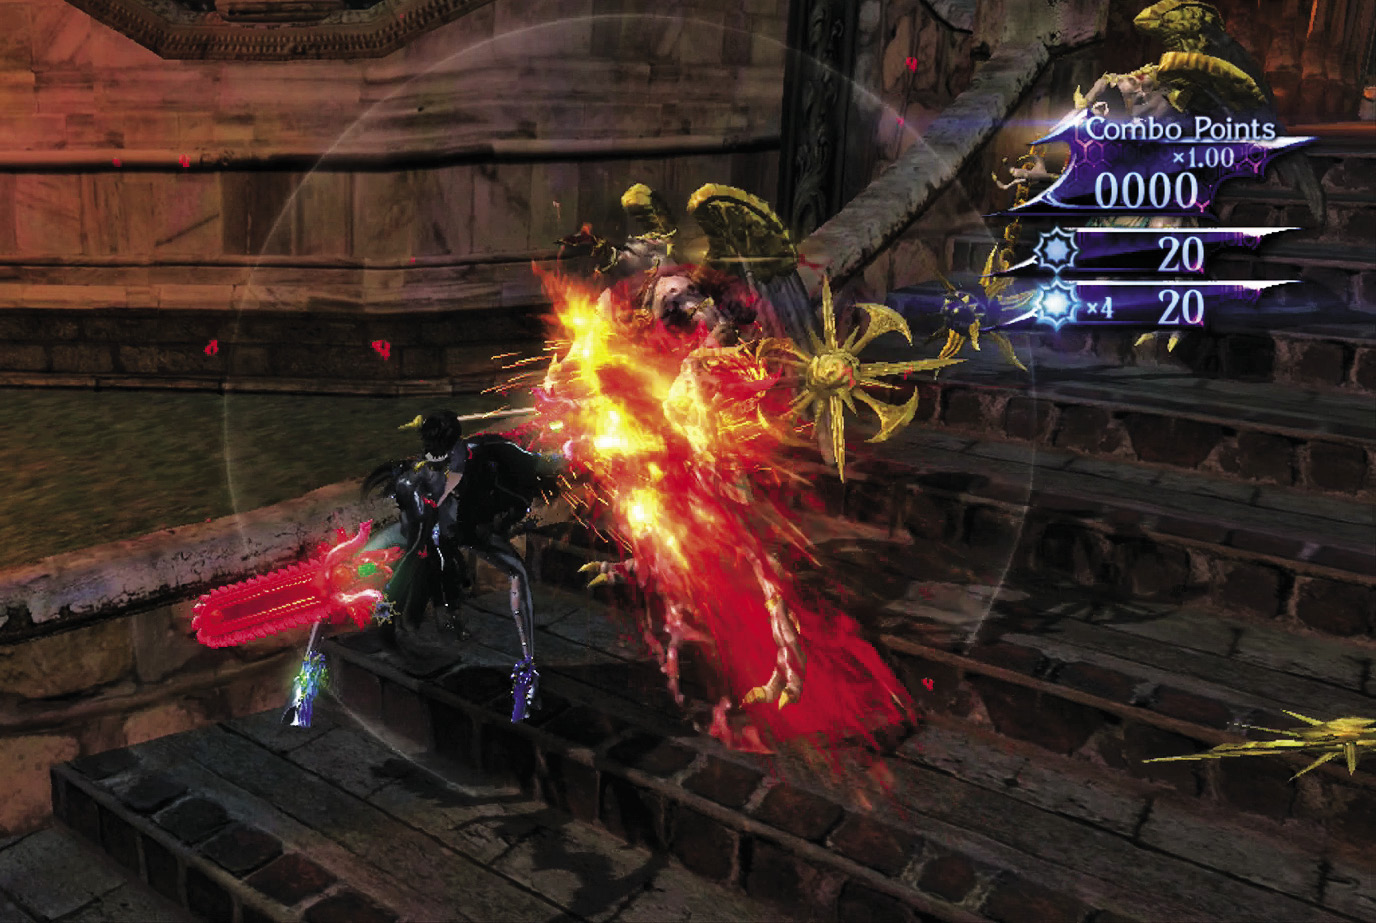
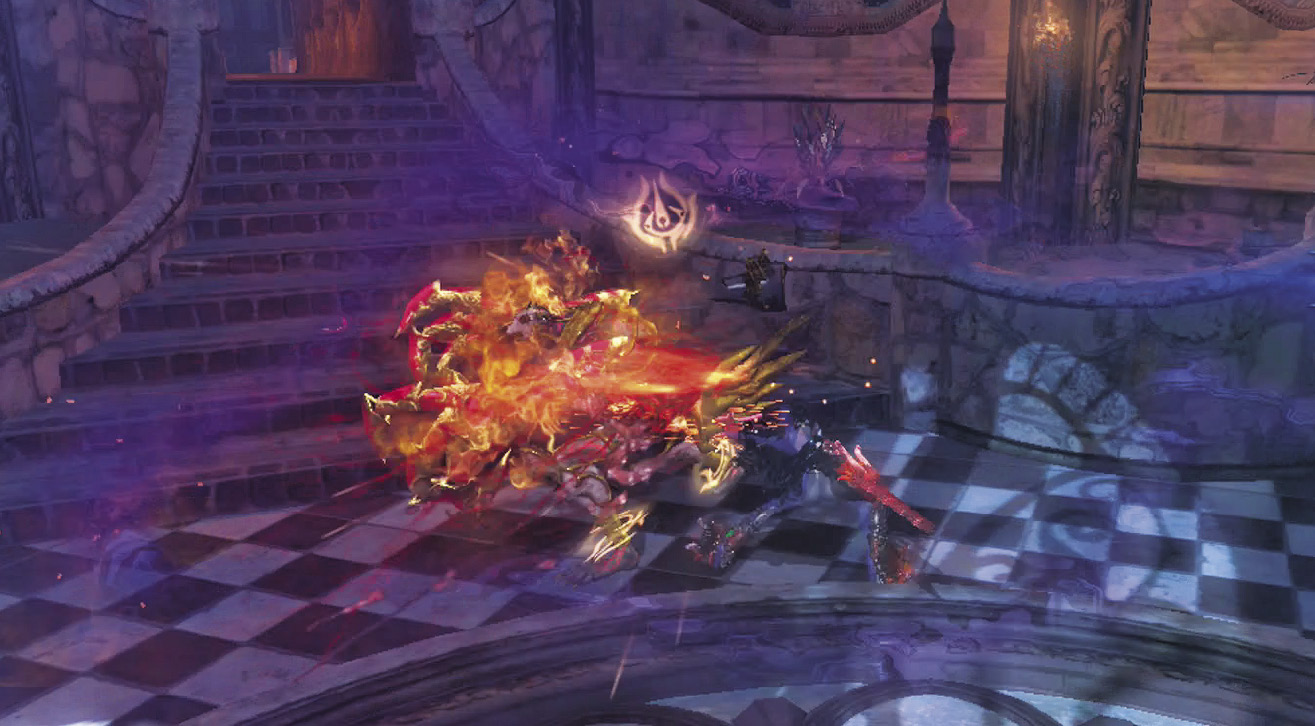
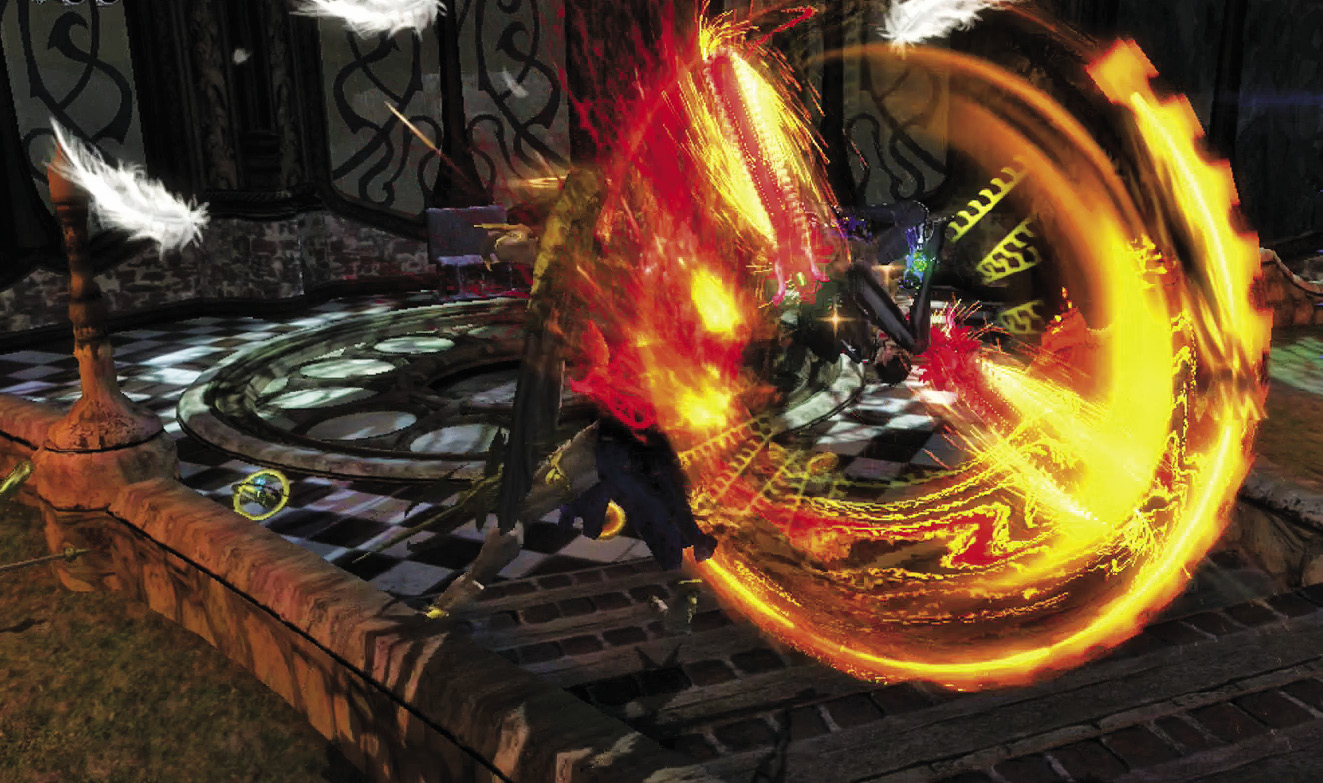
Low-level angels with close-range weapons storm the room, but they’re easily put in their place. Dodge the swings of staffs and maces, and watch out for the Applaud’s forward-flying attacks. Other than that, it’s pretty basic stuff.
∞ Climax
Enemies: Grace x1, Glory x1
This Verse starts out with a bang as Grace & Glory enter the stage! These beasties are covered in more detail when we get to Verse 10, but for now, watch their erratic movements, dodging absolutely every time you think they’re going to make a move. A whiffed dodge is better than no dodge at all and eating a combo from these guys.
Go for Pure Platinum!

Suggested Weapons: Salamandra (Arms, Legs)
Salamandra works well against all of these angels, and few things are more satisfying than watching a chainsaw slice Grace & Glory in two.
Go back the way you came and go outside now to score the Shadows on Vigrid Journal’s Echo. Farther ahead sitting on a stone structure is an Umbran Crow (16/20), and to your left is a Muspelheim, ready and waiting.
| CH13 V1 | 1st Climax | 2nd Climax | 3rd Climax | ∞ Climax | ||||||||
|---|---|---|---|---|---|---|---|---|---|---|---|---|
| Time | Damage | Combo | Time | Damage | Combo | Time | Damage | Combo | Time | Damage | Combo | |
| PLATINUM | 00:55 | 0 | 10500 | 00:55 | 0 | 10500 | 00:55 | 0 | 10500 | 00:55 | 0 | 3750 |
| GOLD | 01:05 | 200 | 5100 | 01:05 | 400 | 5100 | 01:05 | 800 | 5100 | 01:05 | 4000 | 2100 |
| SILVER | 01:15 | 400 | 3750 | 01:15 | 800 | 3750 | 01:15 | 1600 | 3750 | 01:15 | 5000 | 1690 |
| BRONZE | 01:25 | 800 | 2400 | 01:25 | 1600 | 2400 | 01:25 | 3200 | 2400 | 01:25 | 6000 | 1280 |
| BOSS BONUS | ||||||||||||
Verse 2
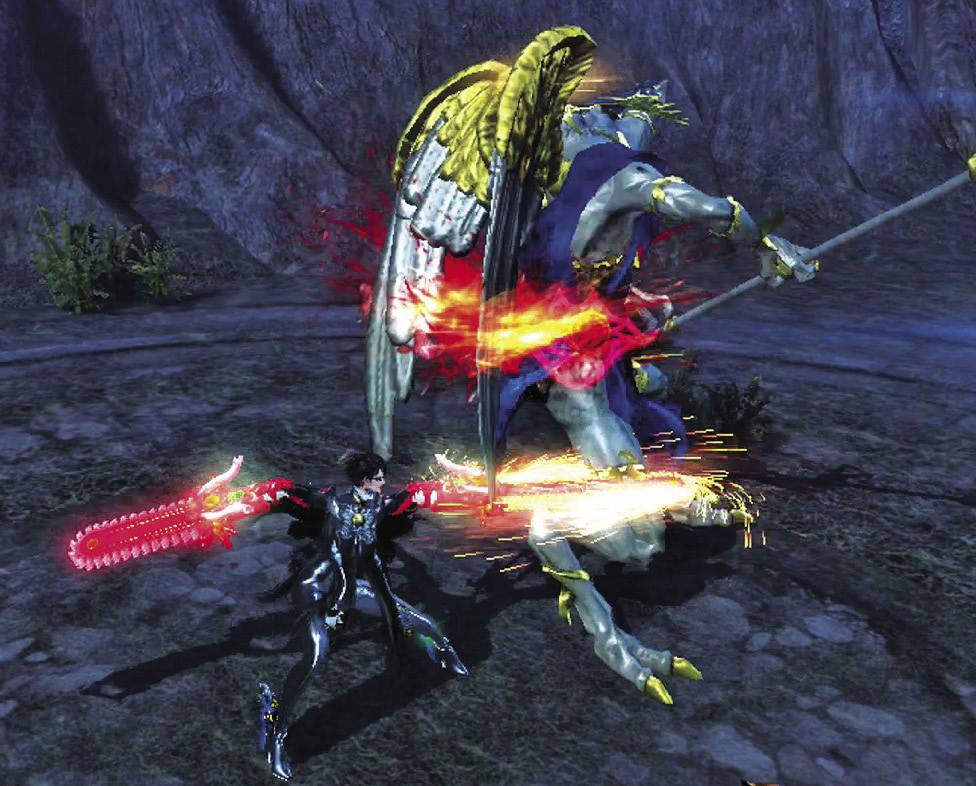
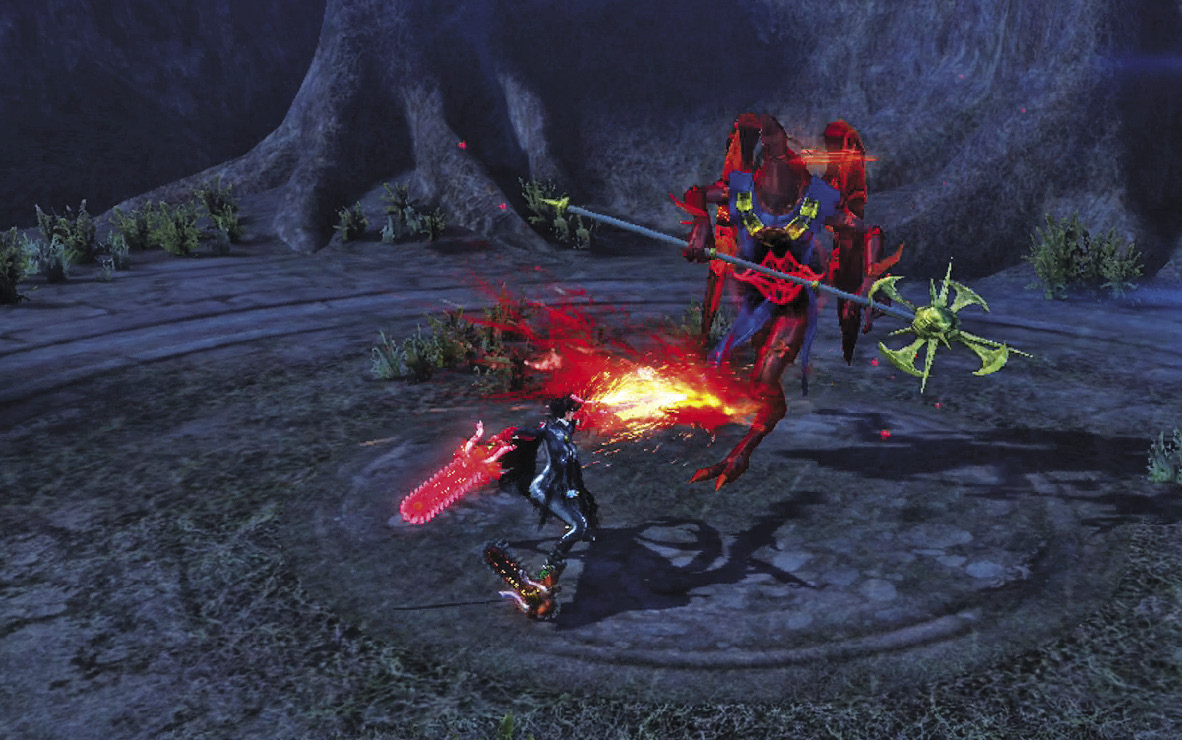
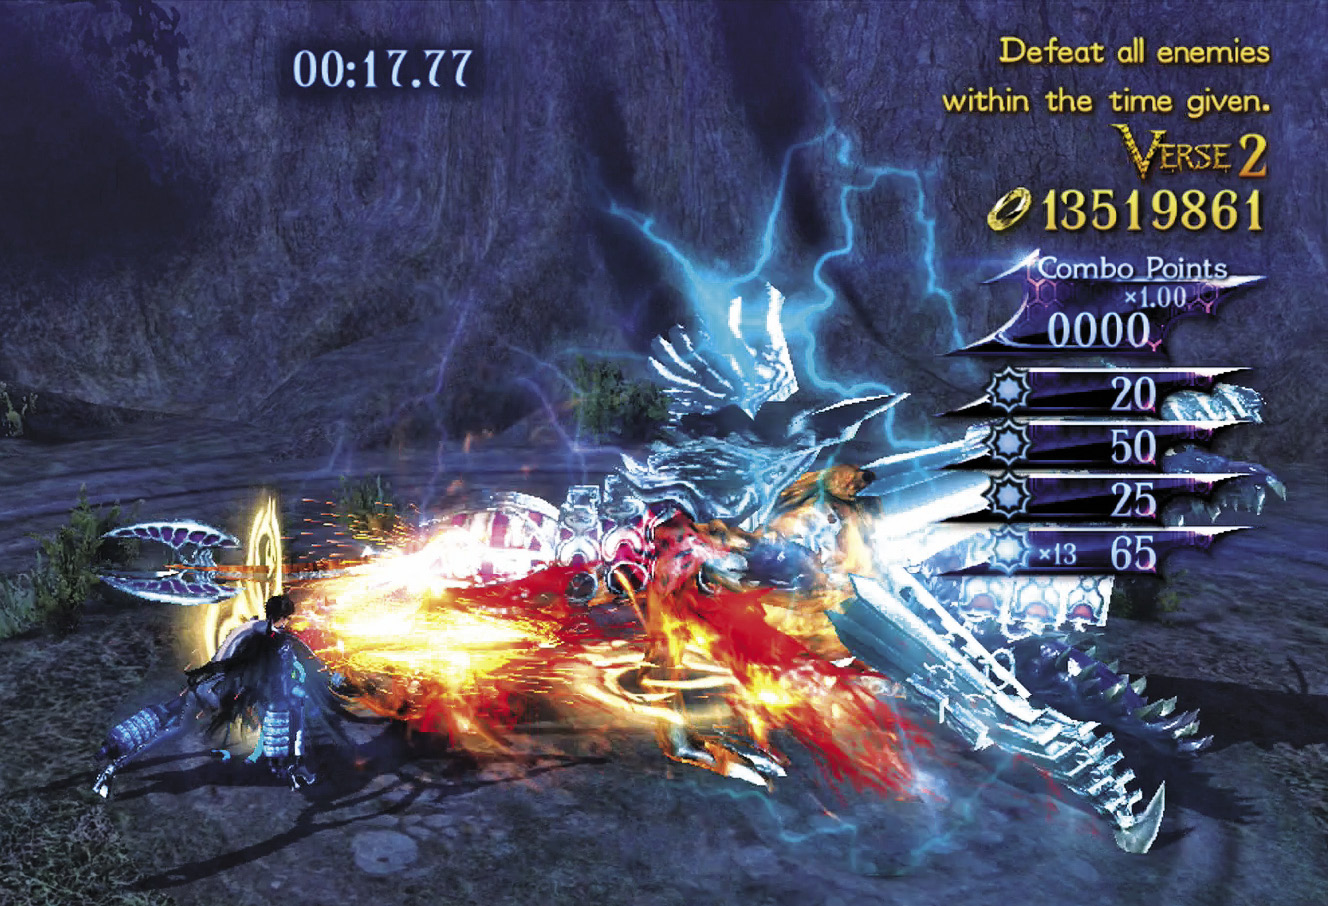
1st Climax/2nd Climax/3rd Climax
Muspelheim Objective: Defeat all enemies within the time given.
Enemies: Applaud (Staff) x1
A lone Applaud makes a solitary stand against Bayonetta, making this the easiest and most adorable Verse in the game. And now that you’ve beheld this Applaud’s adorableness, kill it like the rest.
There is, however, a trick to getting Pure Platinum on this Verse. Simply destroying the Affinity outright won’t give you enough points. Taunt it or wear the Gaze of Despair to anger it, giving you the points you need as long as you kill it in a single combo.
∞ Climax
Muspelheim Objective: Defeat all enemies within the time given.
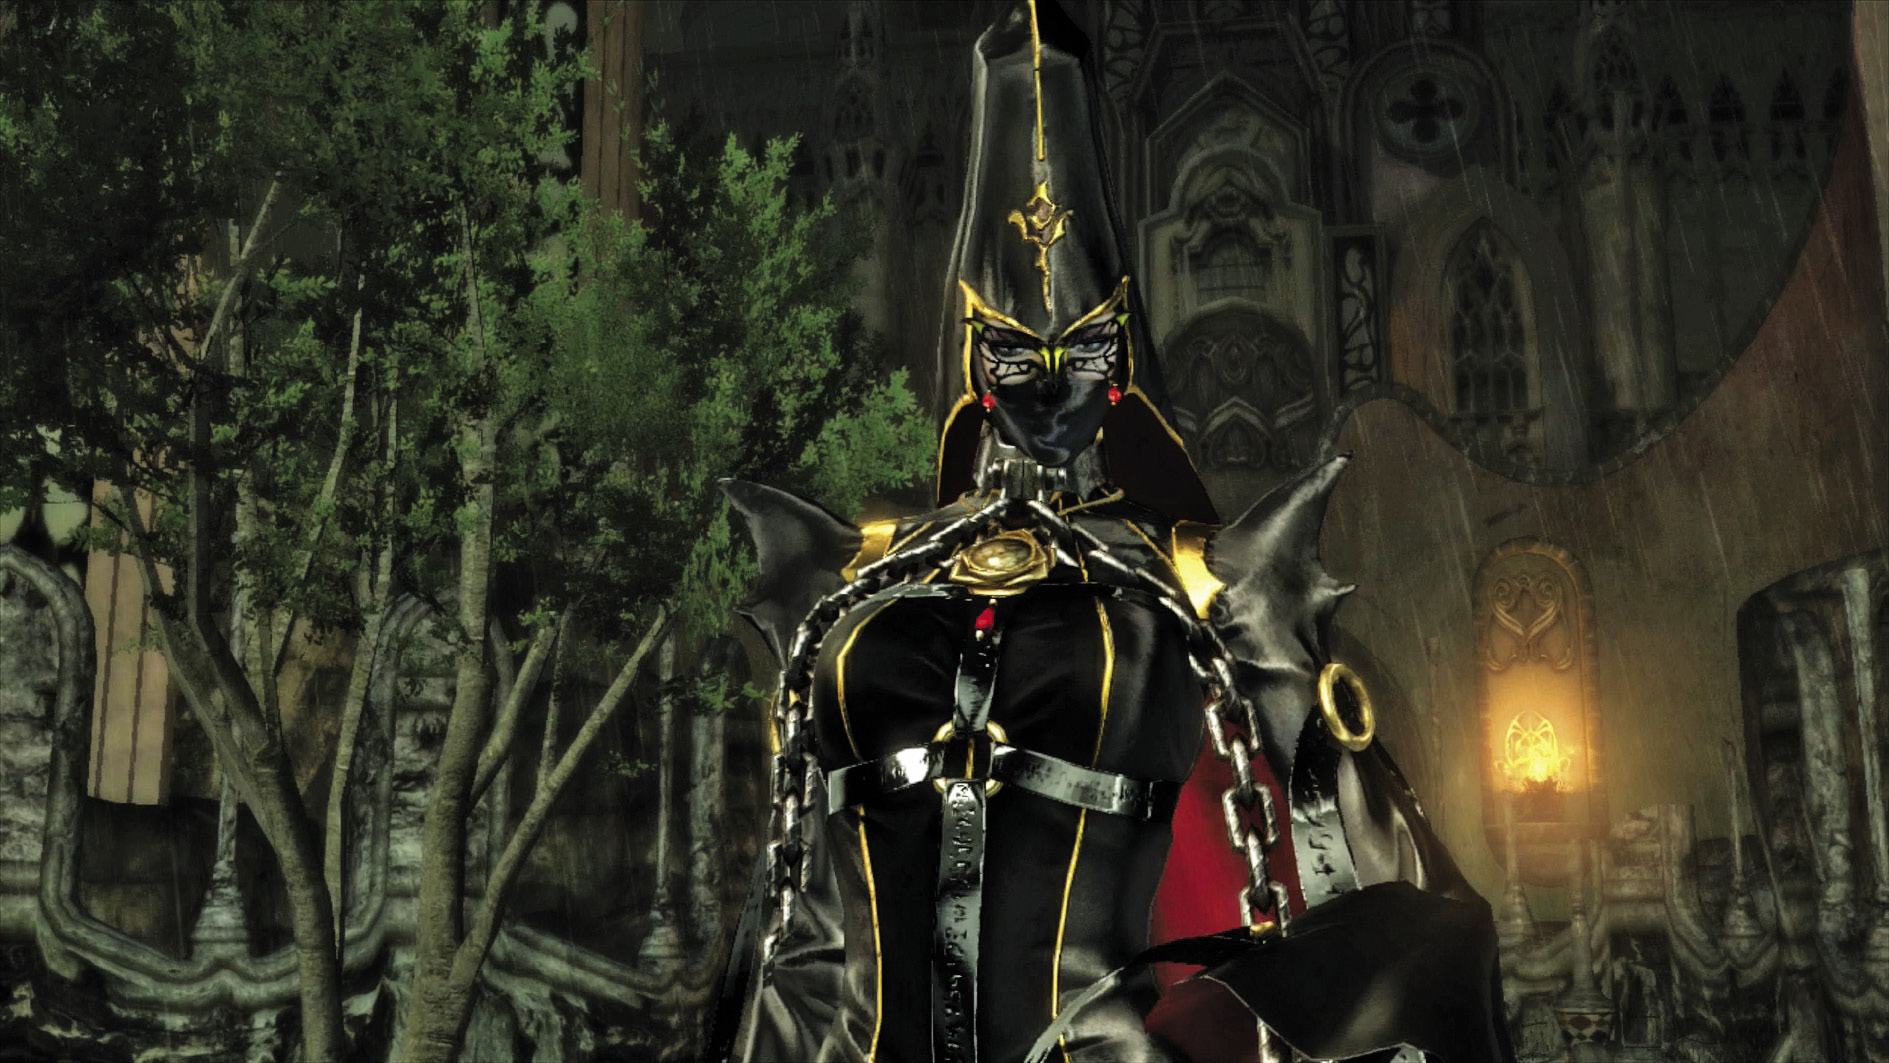
Enemies: Fairness x1
Fairness is adorable, too, but for all the wrong reasons. It’s almost as erratically mobile as Grace & Glory. Look out for its electric fields, bite attacks, and fast swipes! Dodge and counter to come out ahead.
Go for Pure Platinum!
Suggested Weapons: Salamandra (Arms)
The Salamandra will make short work of these enemies with the provided strategies.
Just past the Muspelheim is the grand courtyard. The action doesn’t stop from here on in, so get ready. After a cutscene, you’ll have some help for the rest of the stage.
Beating this Verse nabs you a Broken Witch Heart (33/40)
| CH13 V2 | 1st Climax | 2nd Climax | 3rd Climax | ∞ Climax | ||||||||
|---|---|---|---|---|---|---|---|---|---|---|---|---|
| Time | Damage | Combo | Time | Damage | Combo | Time | Damage | Combo | Time | Damage | Combo | |
| PLATINUM | 00:17 | 0 | 680 | 00:17 | 0 | 680 | 00:17 | 0 | 680 | 00:17 | 0 | 1230 |
| GOLD | 00:18 | 200 | 540 | 00:18 | 200 | 540 | 00:18 | 200 | 540 | 00:18 | 200 | 850 |
| SILVER | 00:19 | 400 | 510 | 00:19 | 400 | 510 | 00:19 | 400 | 510 | 00:19 | 400 | 760 |
| BRONZE | 00:20 | 600 | 470 | 00:20 | 600 | 470 | 00:20 | 600 | 470 | 00:20 | 600 | 660 |
| BOSS BONUS | ||||||||||||
Verse 3

Enemy Spotlight: Decorations
The precursor to Compassions, Decorations fly around, easily flanking Bayonetta if you’re not careful. Catch up to them, however, and it only takes a second to swat them out of the sky.
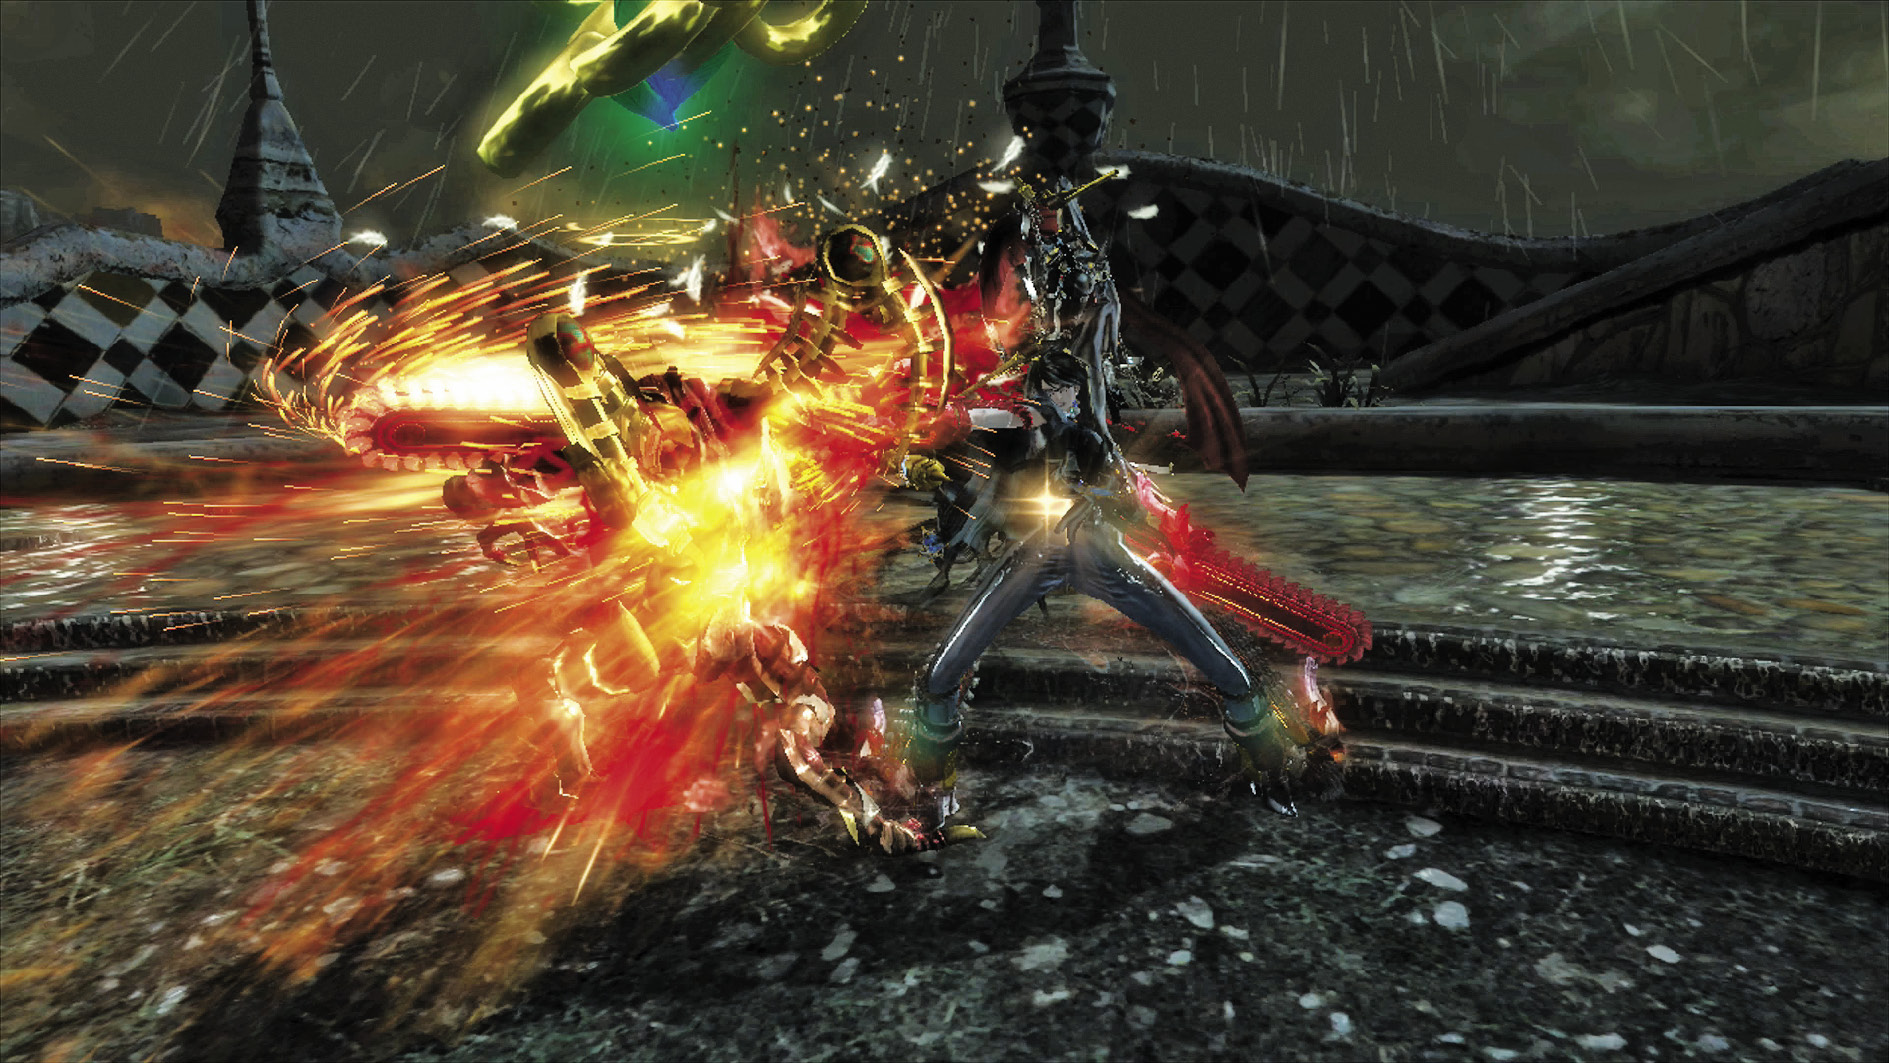
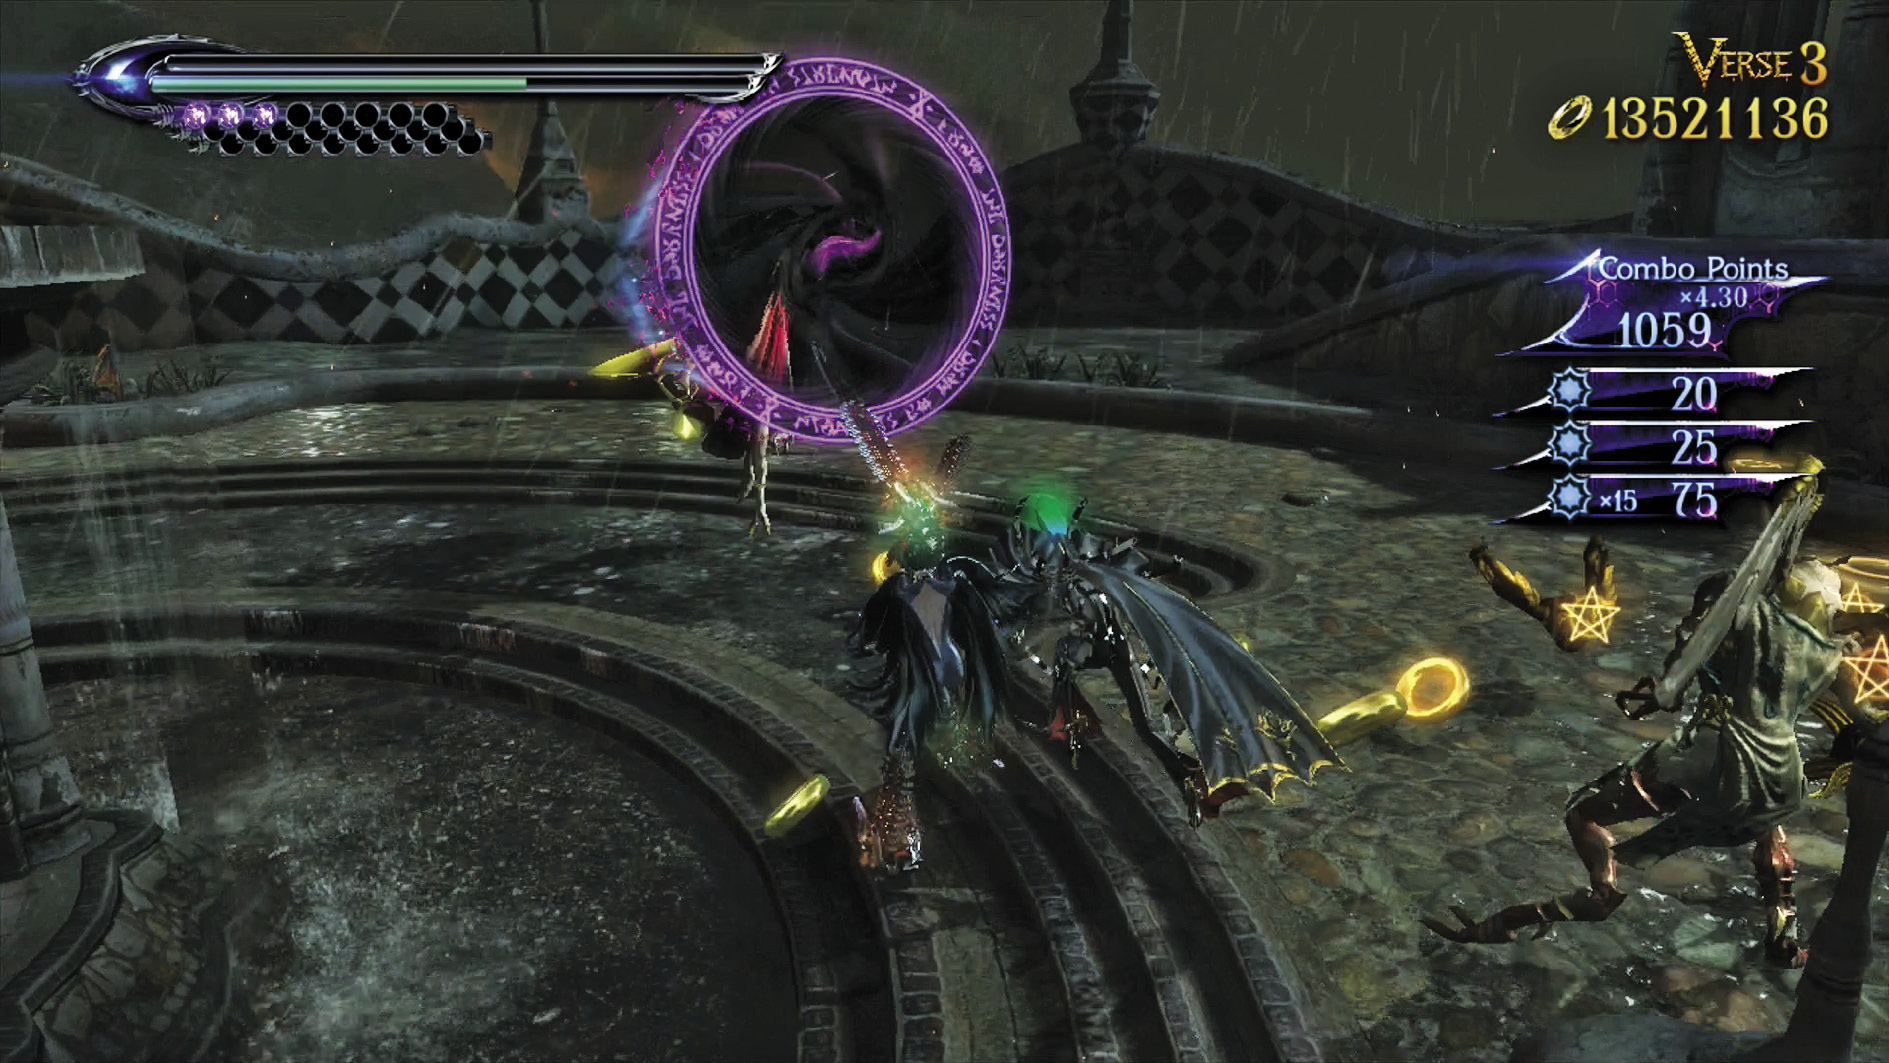
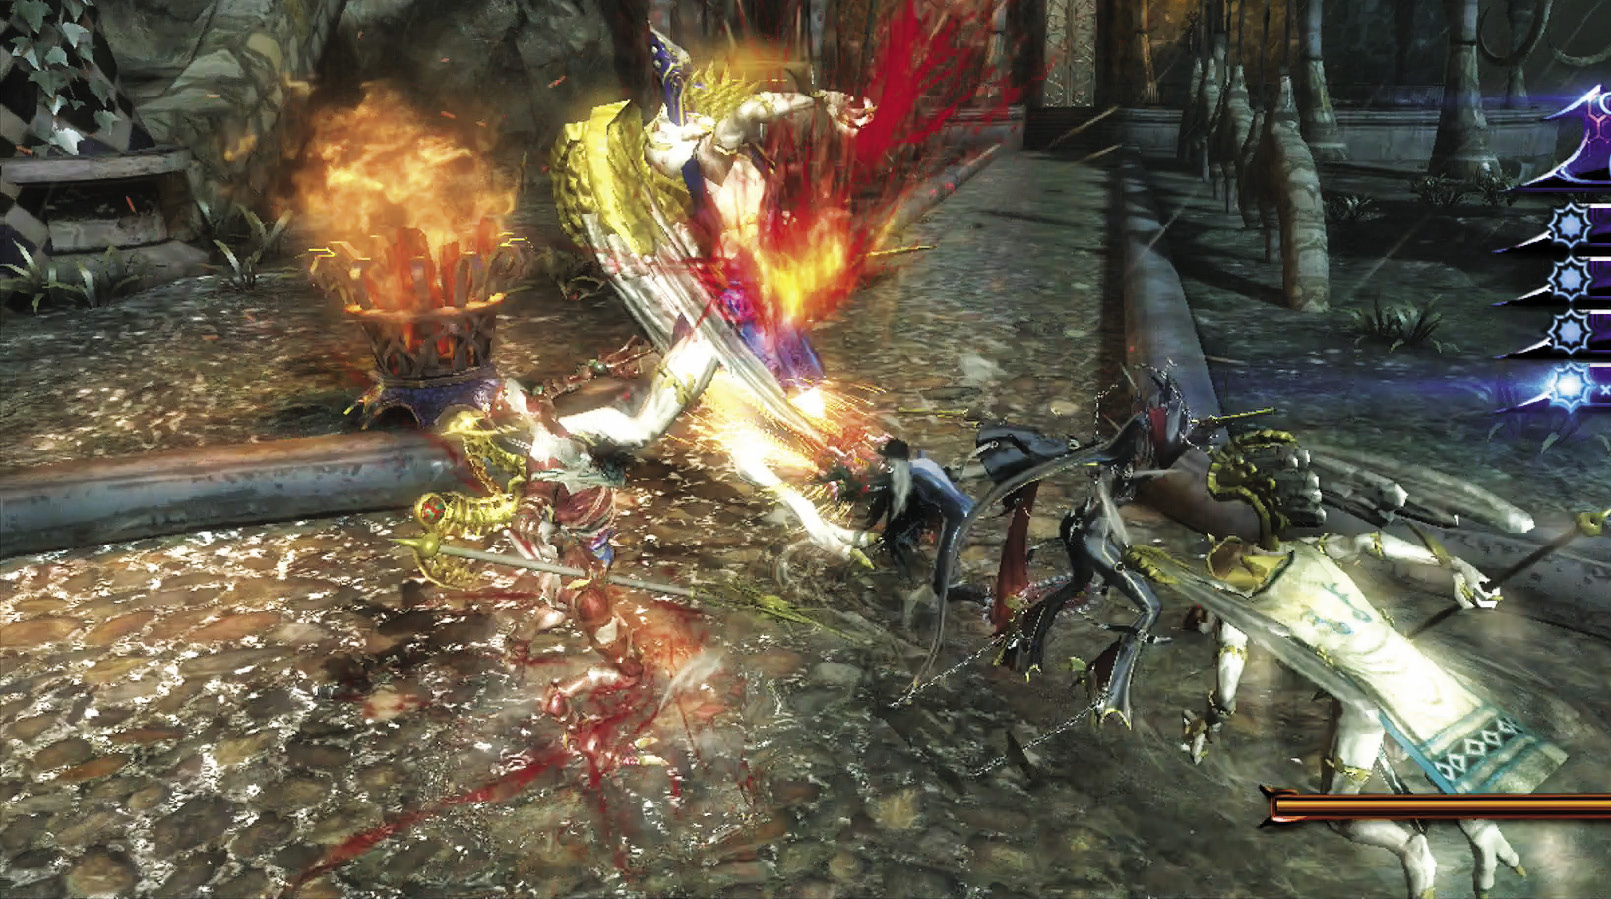
1st Climax/2nd Climax/3rd Climax/ ∞ Climax (Go for Pure Platinum!)
Suggested Pure Platinum Weapons: Salamandra (Arms, Legs)
Enemies: Affinity (Staff) x3, Applaud (Staff) x1, Affinity (Horn) x1, Affinity (Mace) x1, Decorations x9
You’ll have the help of Rosa—Bayonetta’s mother—for the rest of the Chapter. How awesome is that? Much like when you co-oped with Rodin, however, your newfound help hits like a truck, so don’t let her have all the fun! If she dispatches all the enemies, you won’t get the points you need for Platinum medals.
Verse 4
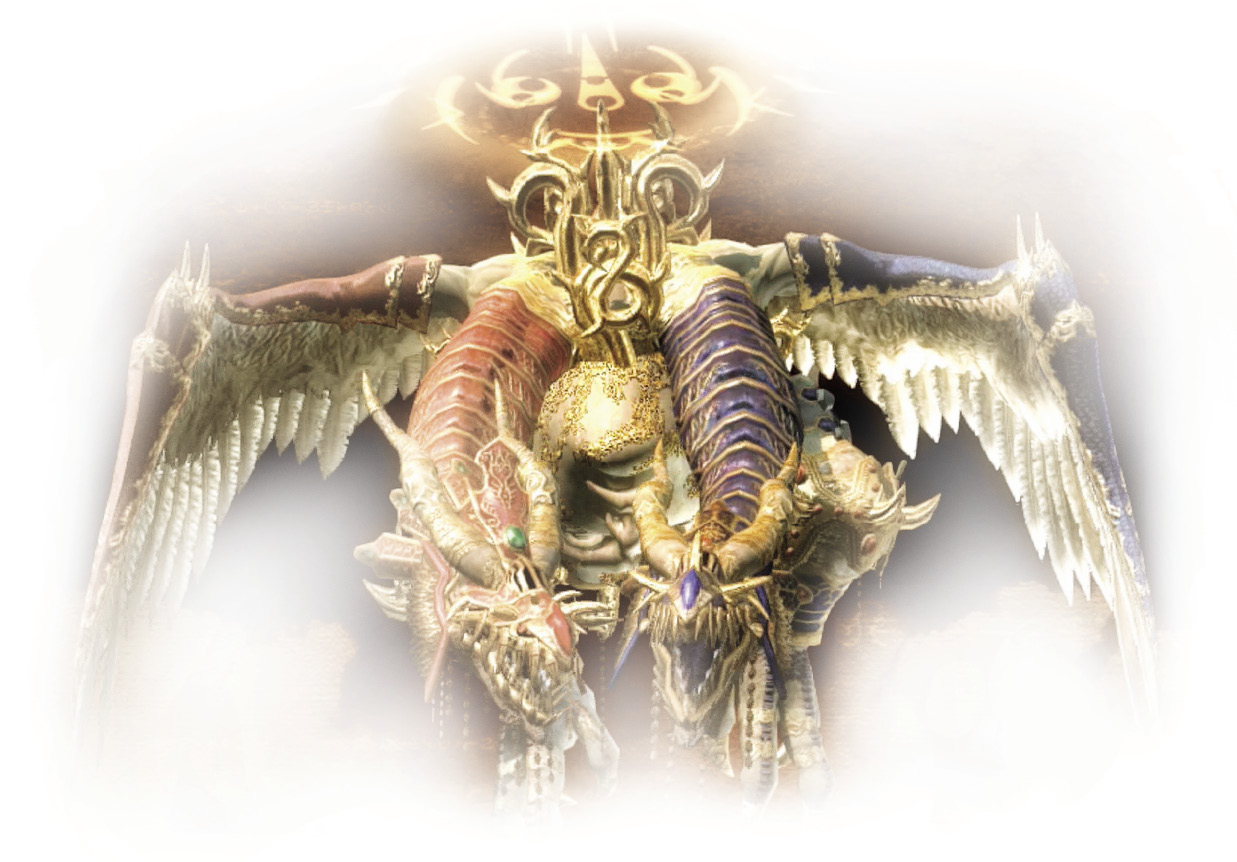
Boss: Fortitudo
1st Climax/2nd Climax/3rd Climax/∞ Climax (Go for Pure Platinum!)
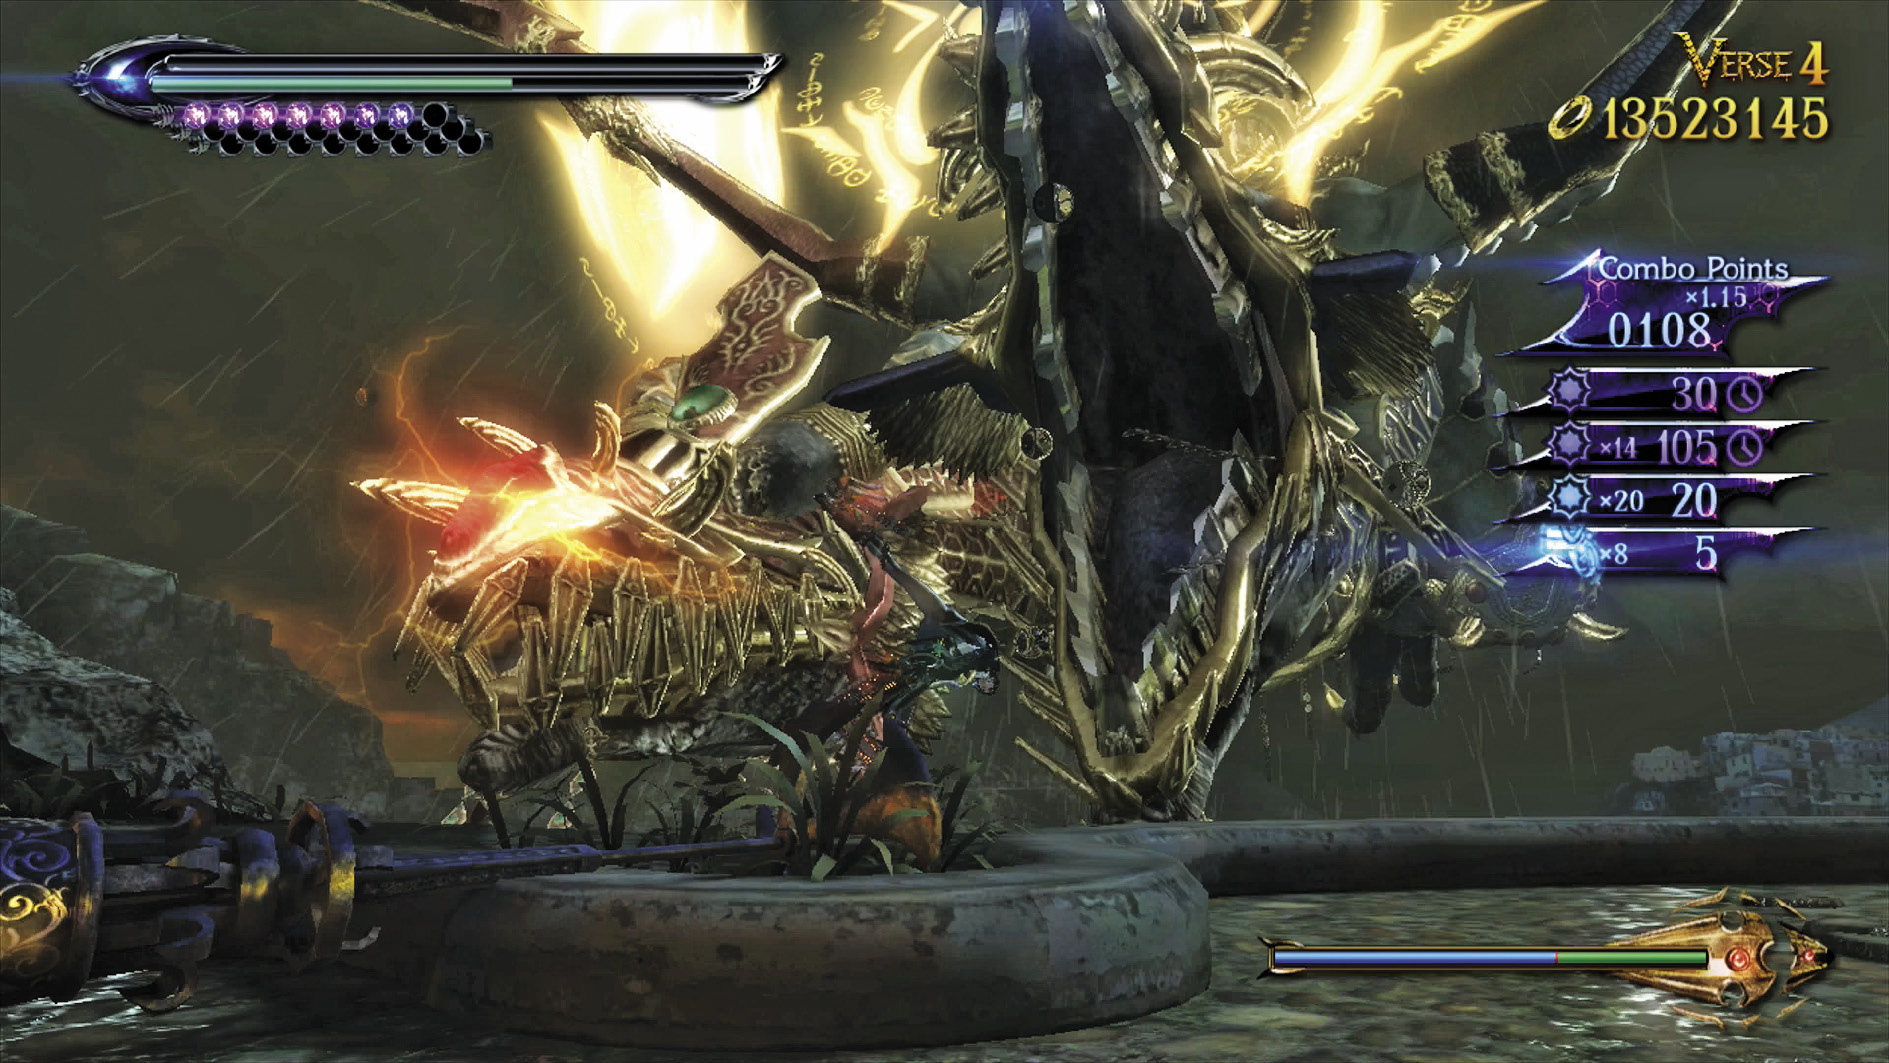
Suggested Pure Platinum Weapons: Kafka (Arms), Salamandra (Arms and/or Legs)
Enemies: Fortitudo
Welcome to your usual character action game boss rush, but with a twist! Using Bayonetta 2 powers, you’ll be taking on original Bayonetta bosses in sequence. First up is the Cardinal Virtue of Fortitude himself.
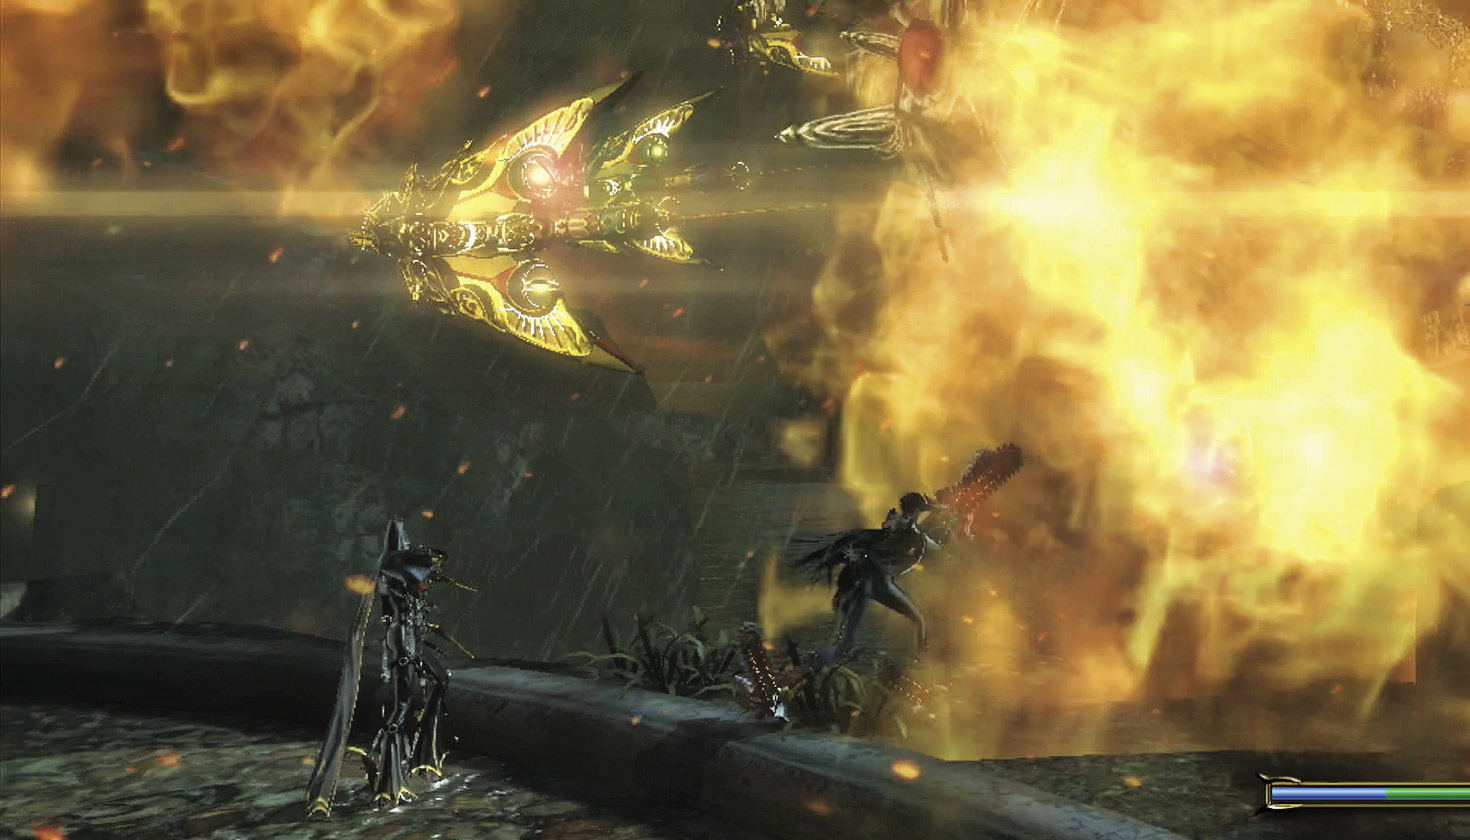
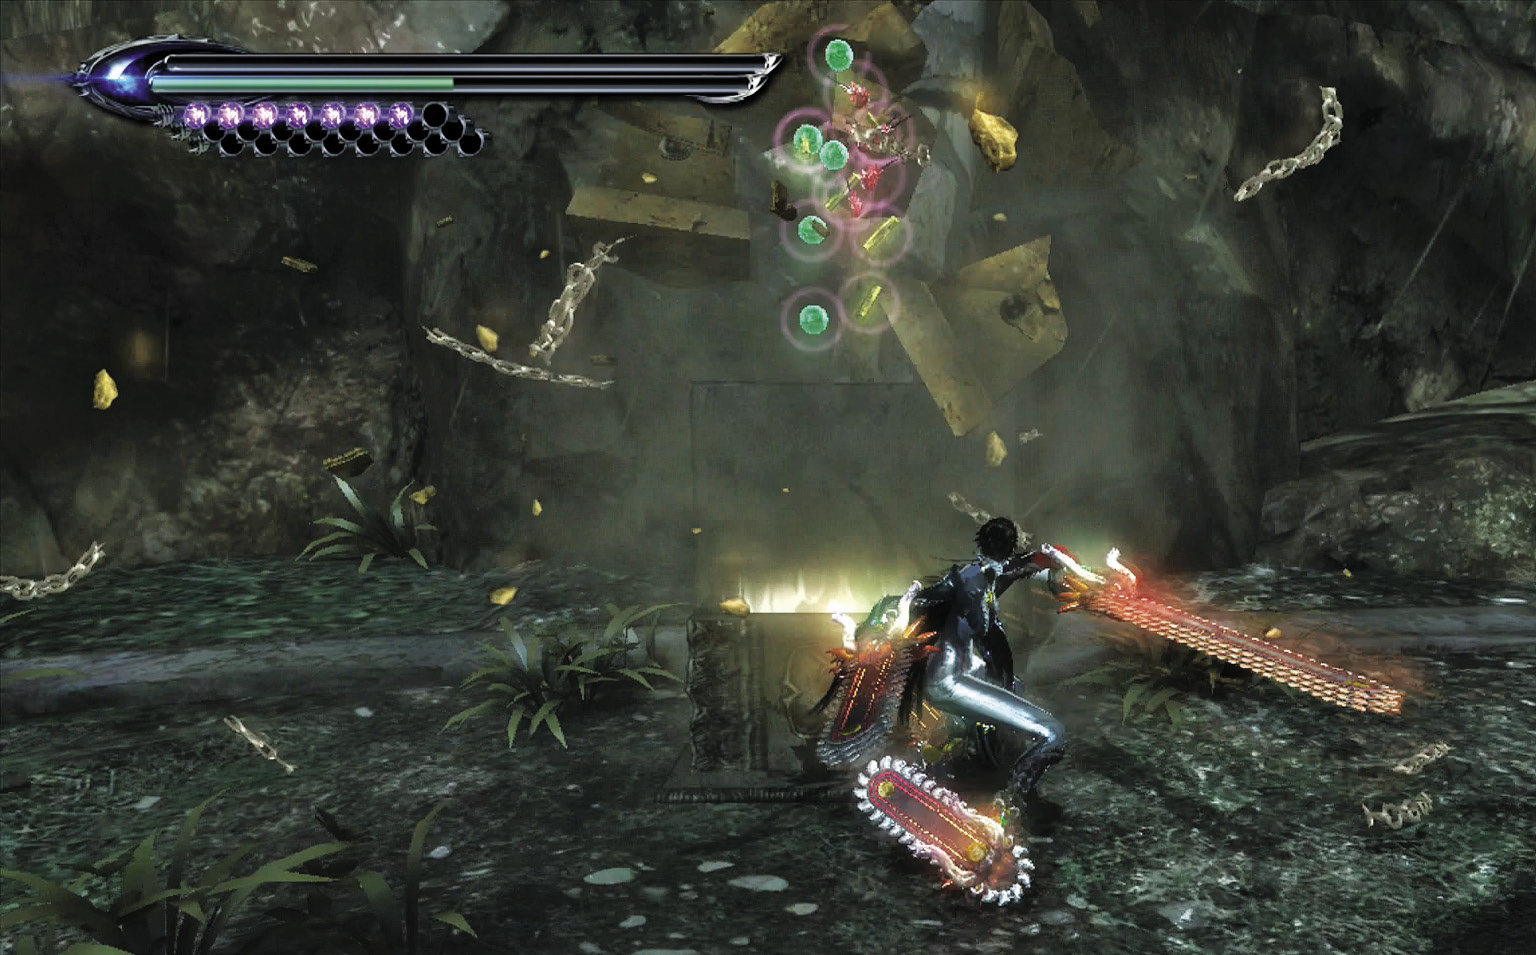
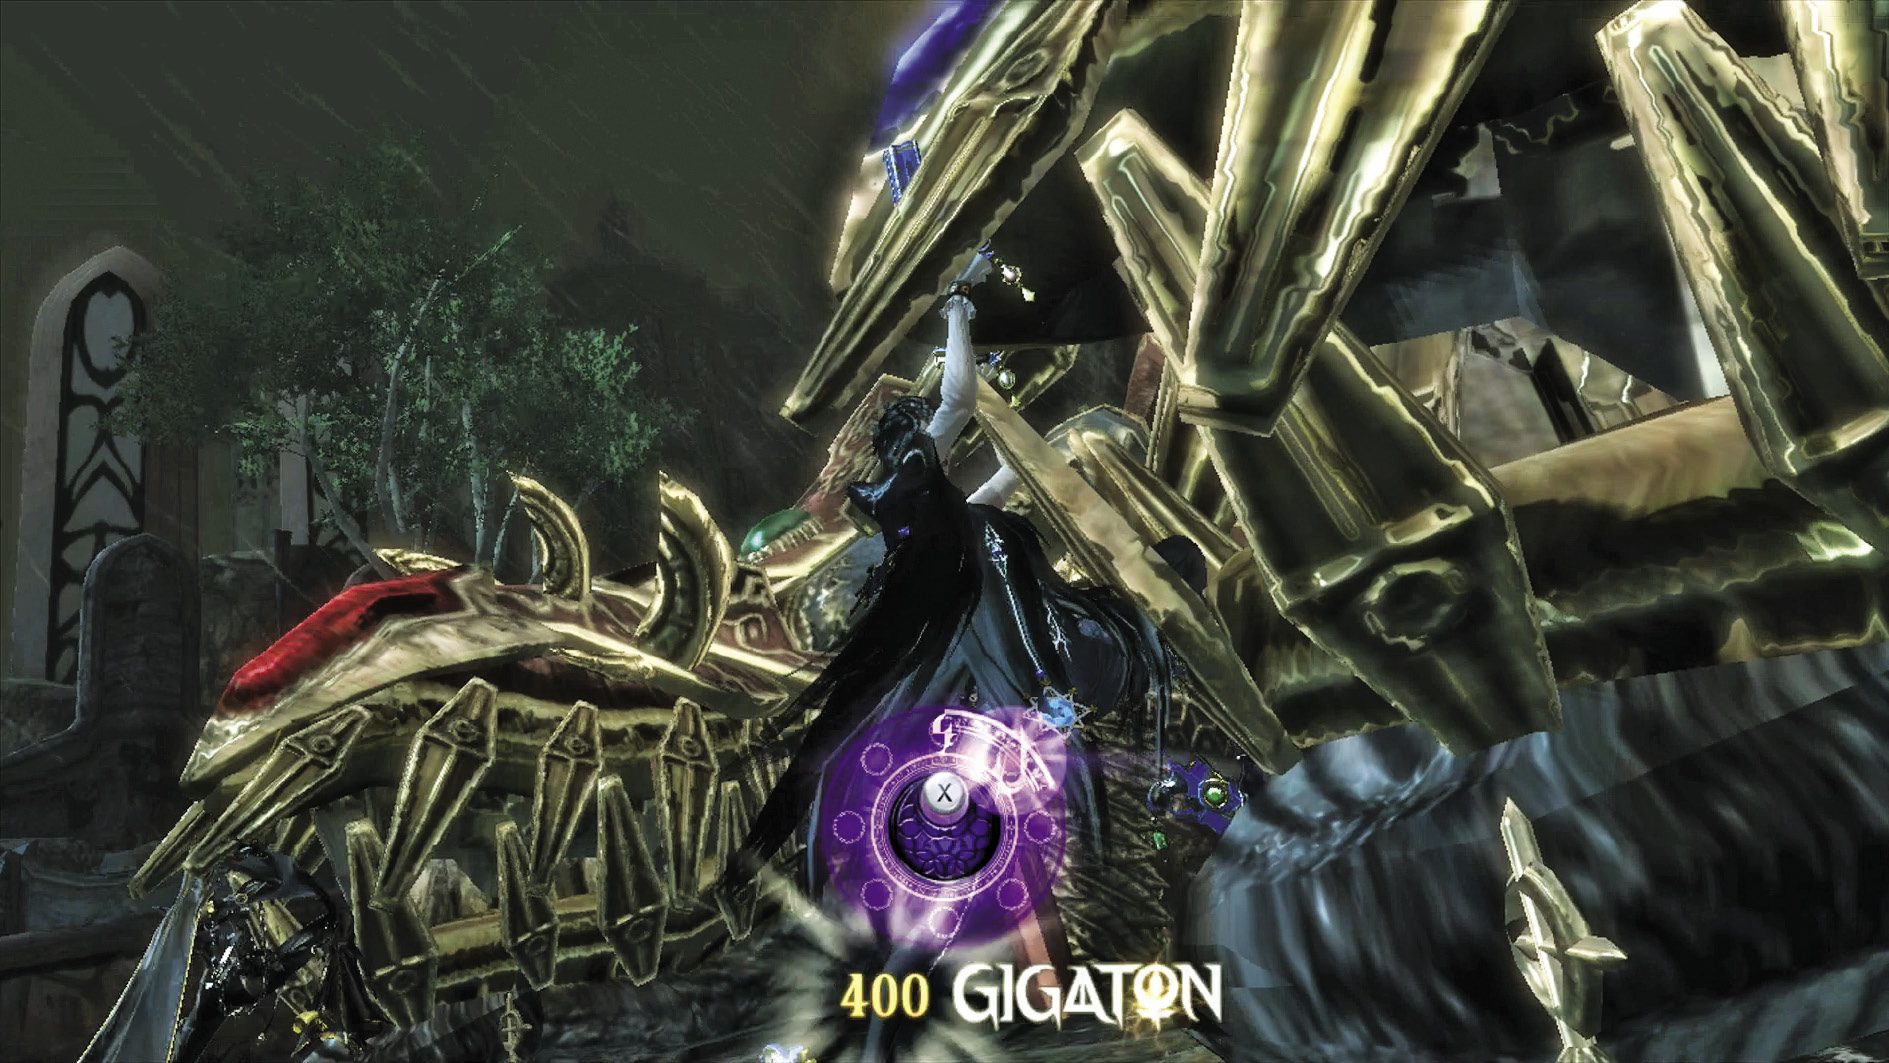
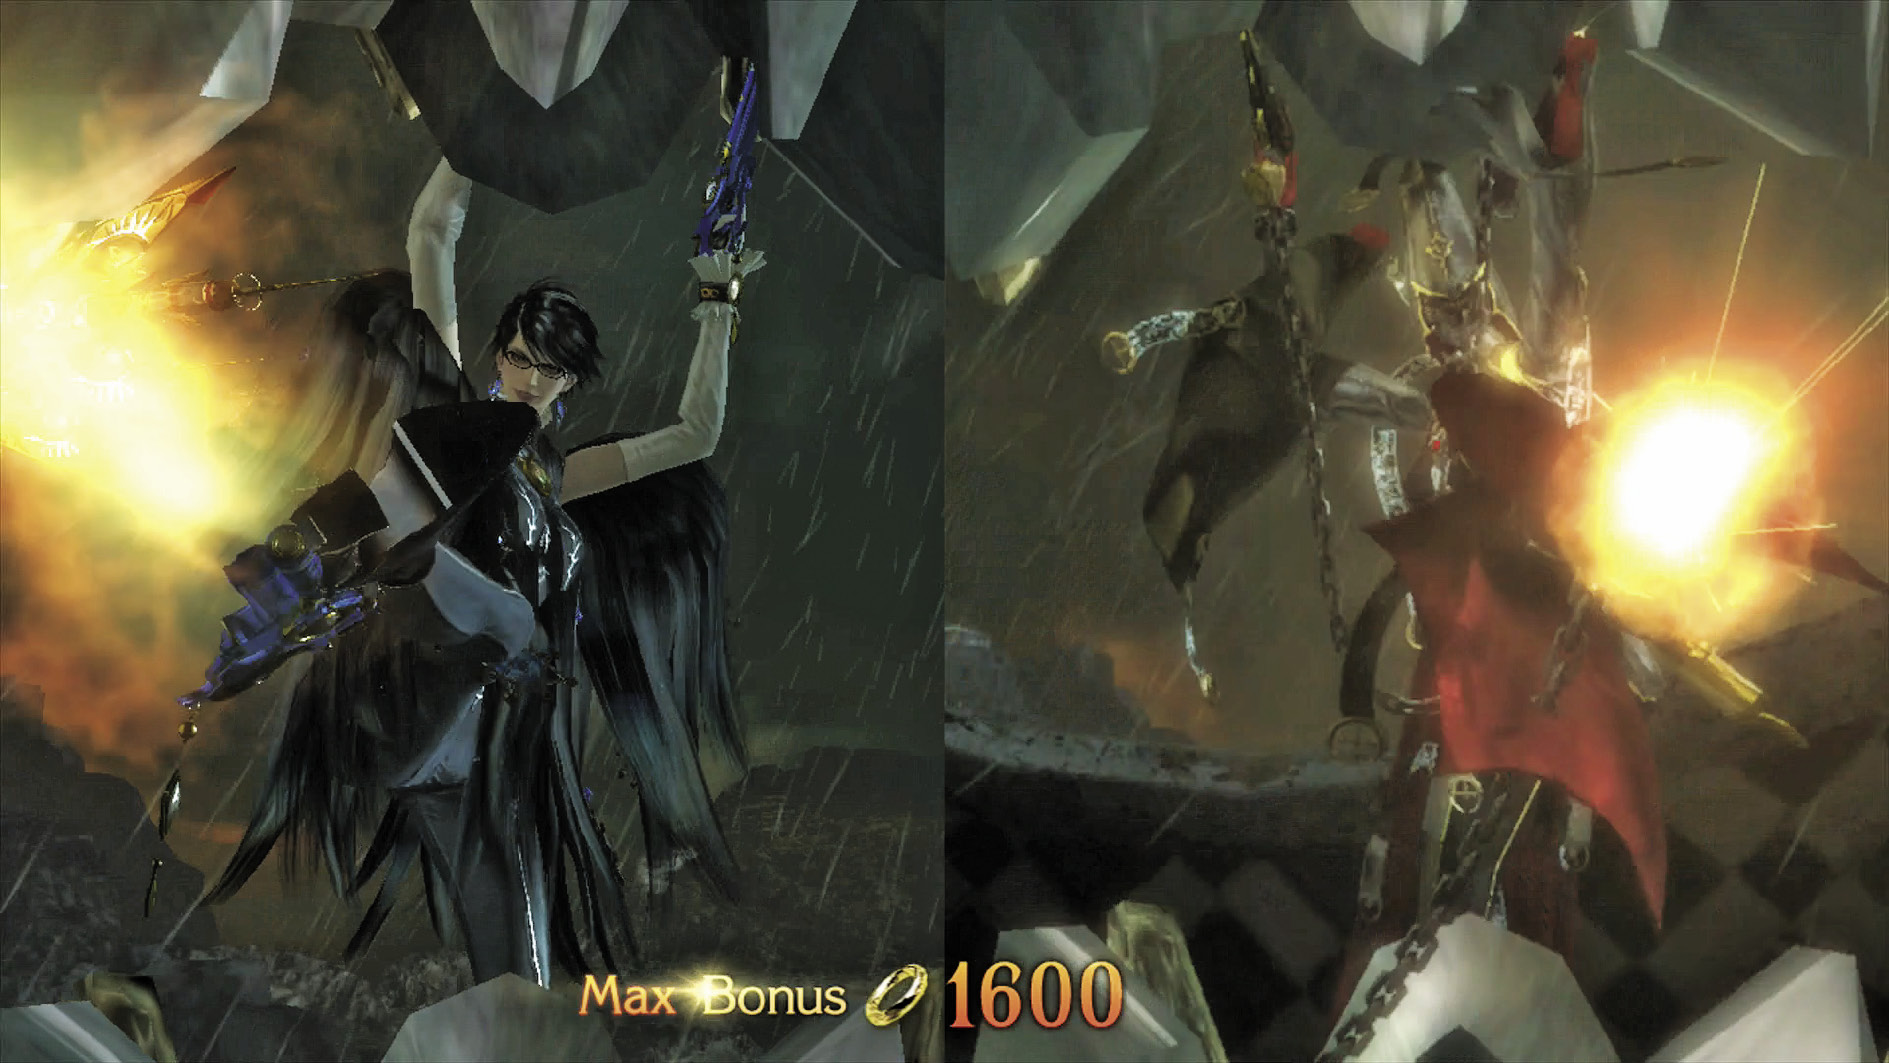
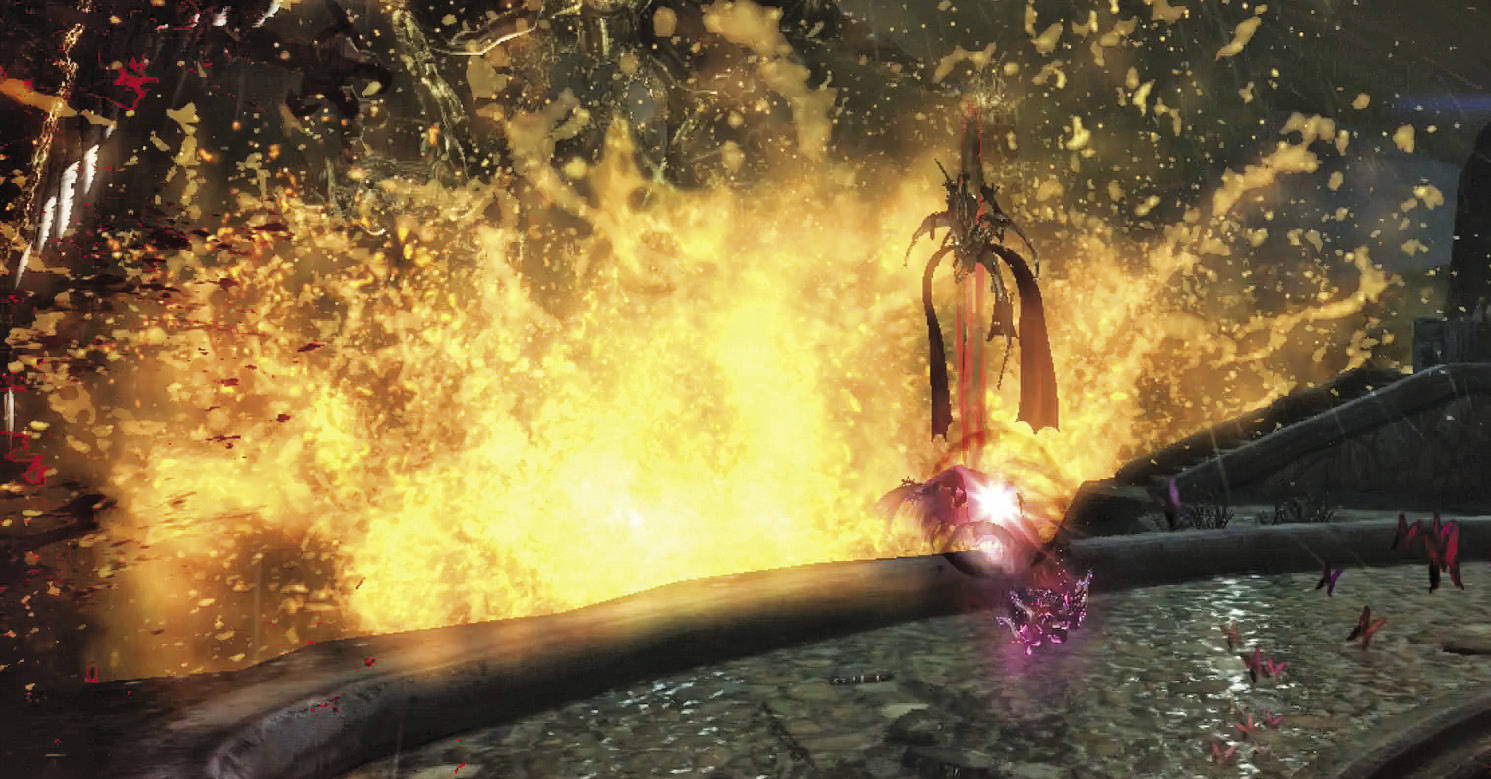
You can actually treat Fortitudo like Glamor. He’ll rush in at you to bite you with his twin dragon heads, or hurl fireballs and lava at you from a distance. When he’s not in close, fire at him with your guns or the Kafka. When he’s in close, dodge, then melee him like crazy.
Beat him, and you get a impressive button-pushing Quick Time Event.
Once you’re done cleaning up, head down the path and look to your left for a chest containing Witch Concoction Ingredients.
Go forward and inside the small room ahead for a quickie Verse in a tight space.
| CH13 V3 | 1st Climax | 2nd Climax | 3rd Climax | ∞ Climax | ||||||||
|---|---|---|---|---|---|---|---|---|---|---|---|---|
| Time | Damage | Combo | Time | Damage | Combo | Time | Damage | Combo | Time | Damage | Combo | |
| PLATINUM | 01:05 | 0 | 12710 | 01:05 | 0 | 12710 | 01:05 | 0 | 12710 | 01:05 | 0 | 12710 |
| GOLD | 01:15 | 150 | 6060 | 01:15 | 300 | 6060 | 01:15 | 600 | 6060 | 01:15 | 2500 | 6060 |
| SILVER | 01:25 | 300 | 4400 | 01:25 | 600 | 4400 | 01:25 | 1200 | 4400 | 01:25 | 3500 | 4400 |
| BRONZE | 01:35 | 600 | 2740 | 01:35 | 1200 | 2740 | 01:35 | 2400 | 2740 | 01:35 | 4500 | 2740 |
| BOSS BONUS | ||||||||||||
| CH13 V4 | 1st Climax | 2nd Climax | 3rd Climax | ∞ Climax | ||||||||
|---|---|---|---|---|---|---|---|---|---|---|---|---|
| Time | Damage | Combo | Time | Damage | Combo | Time | Damage | Combo | Time | Damage | Combo | |
| PLATINUM | 01:50 | 0 | 17190 | 01:50 | 0 | 17190 | 02:00 | 0 | 17190 | 02:10 | 0 | 17190 |
| GOLD | 02:00 | 400 | 7960 | 02:00 | 800 | 7960 | 02:10 | 1600 | 7960 | 02:20 | 3000 | 7960 |
| SILVER | 02:10 | 800 | 5650 | 02:10 | 1600 | 5650 | 02:20 | 3200 | 5650 | 02:30 | 4500 | 5650 |
| BRONZE | 02:20 | 1200 | 3340 | 02:20 | 2400 | 3340 | 02:30 | 4800 | 3340 | 02:40 | 6000 | 3340 |
| BOSS BONUS | 5000 | 5000 | 5000 | 5000 | ||||||||
Verse 5
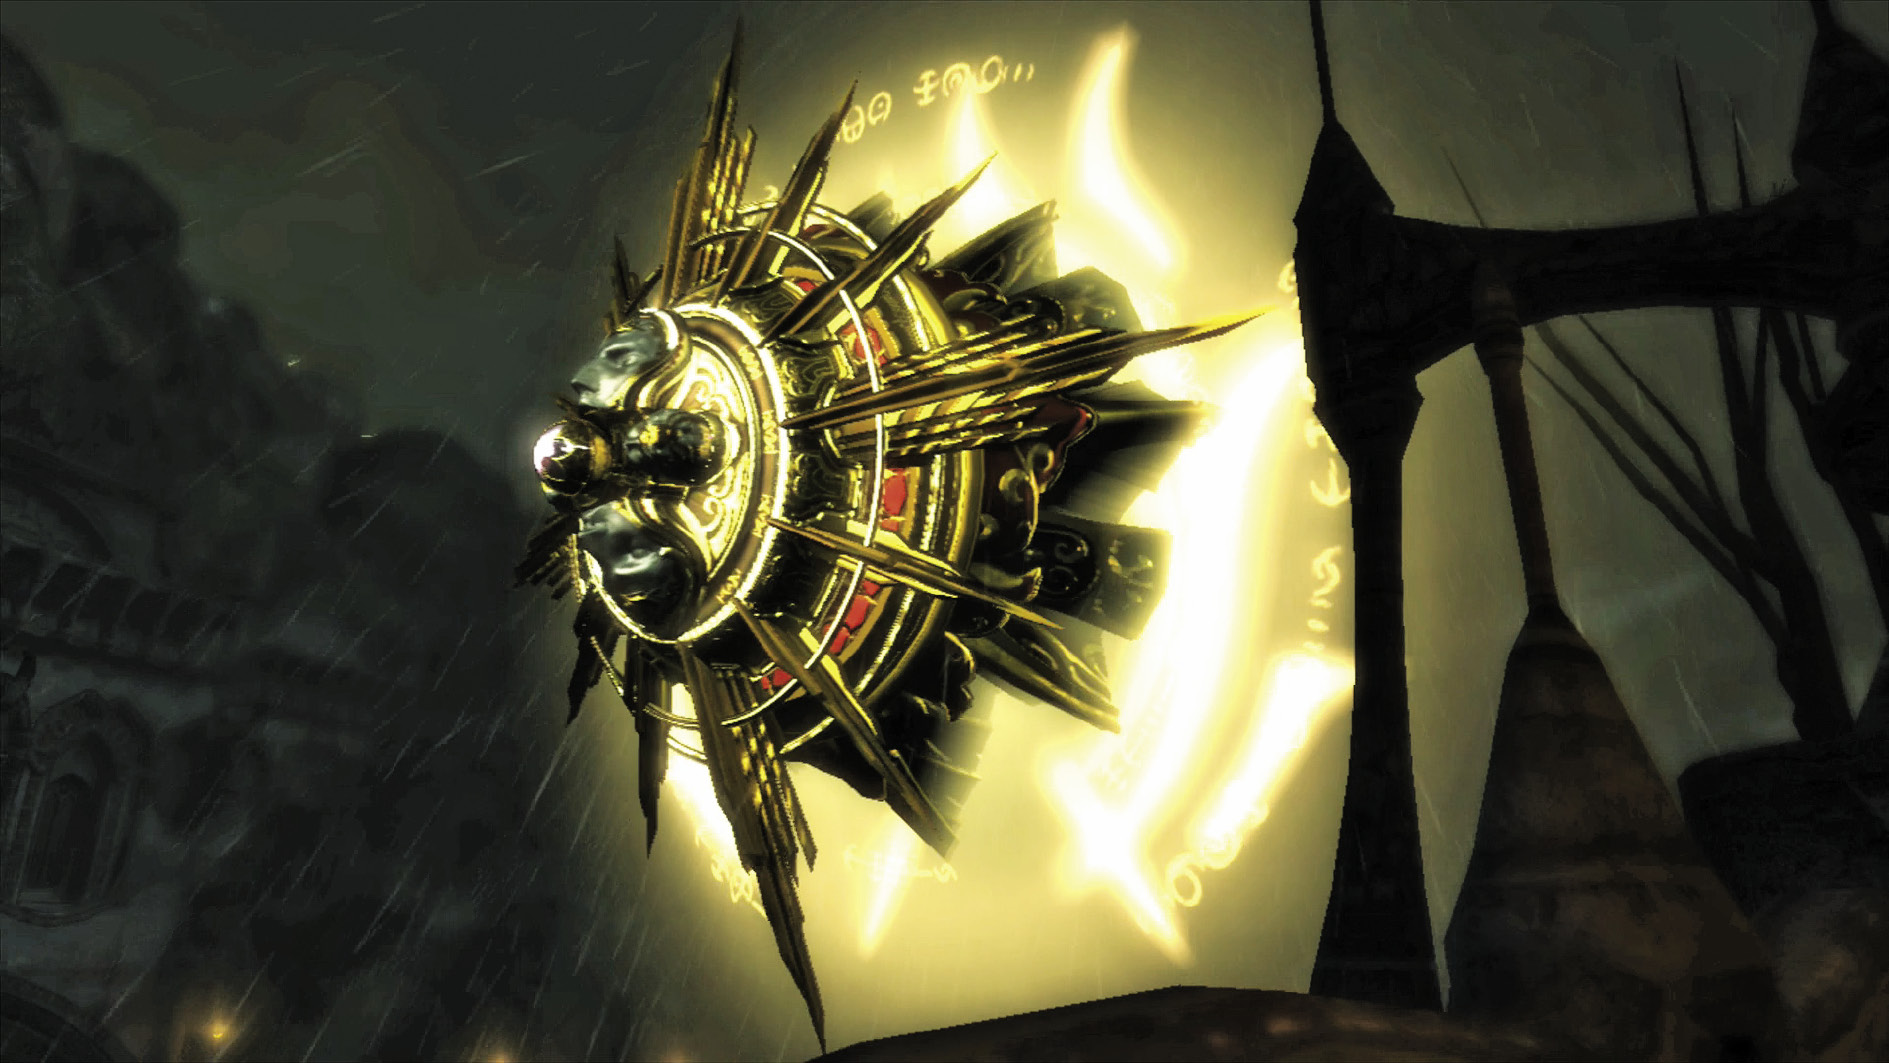
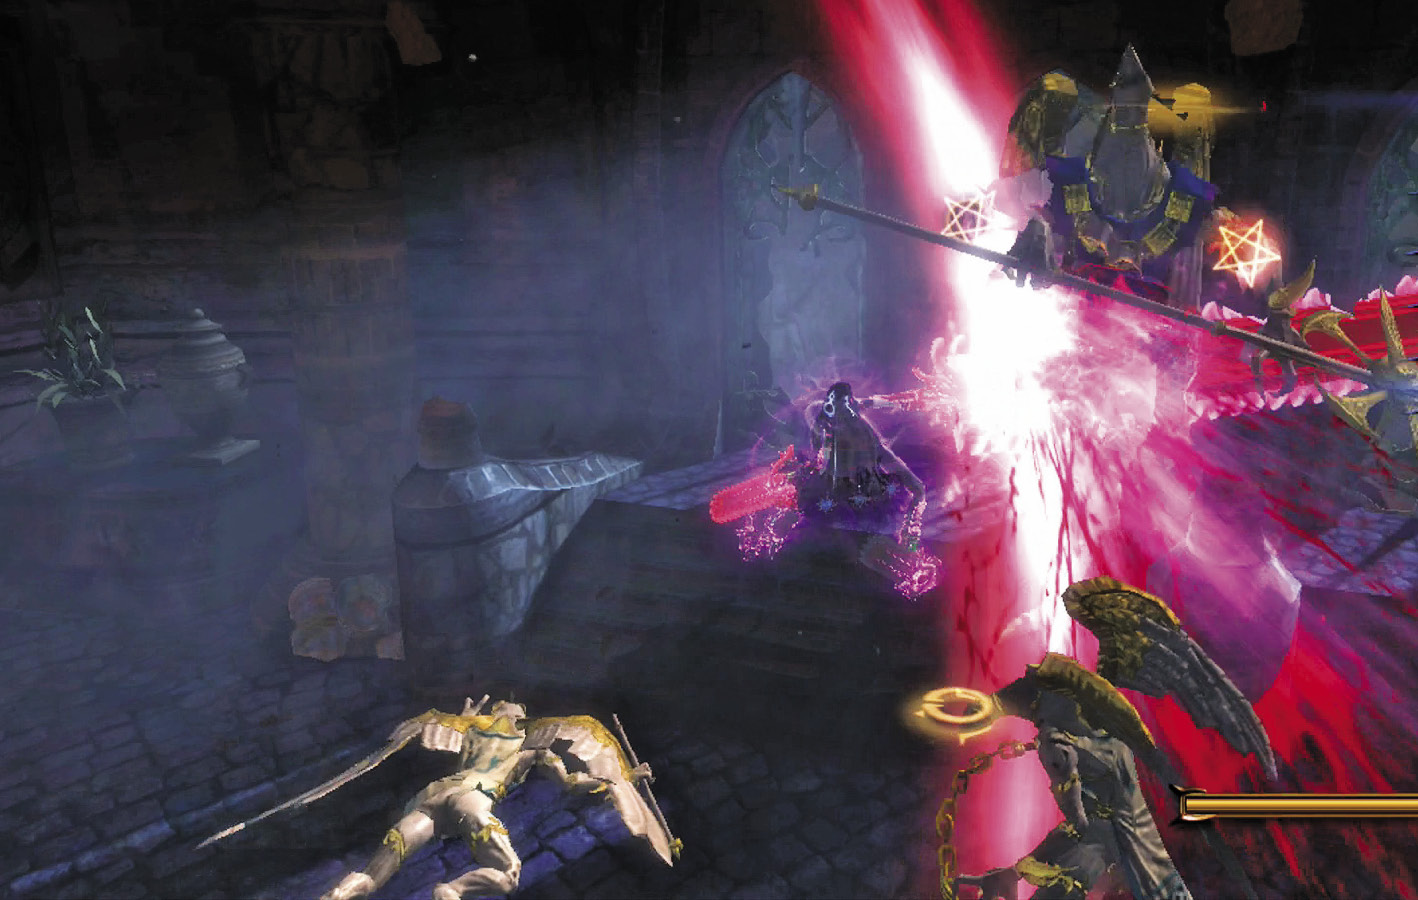
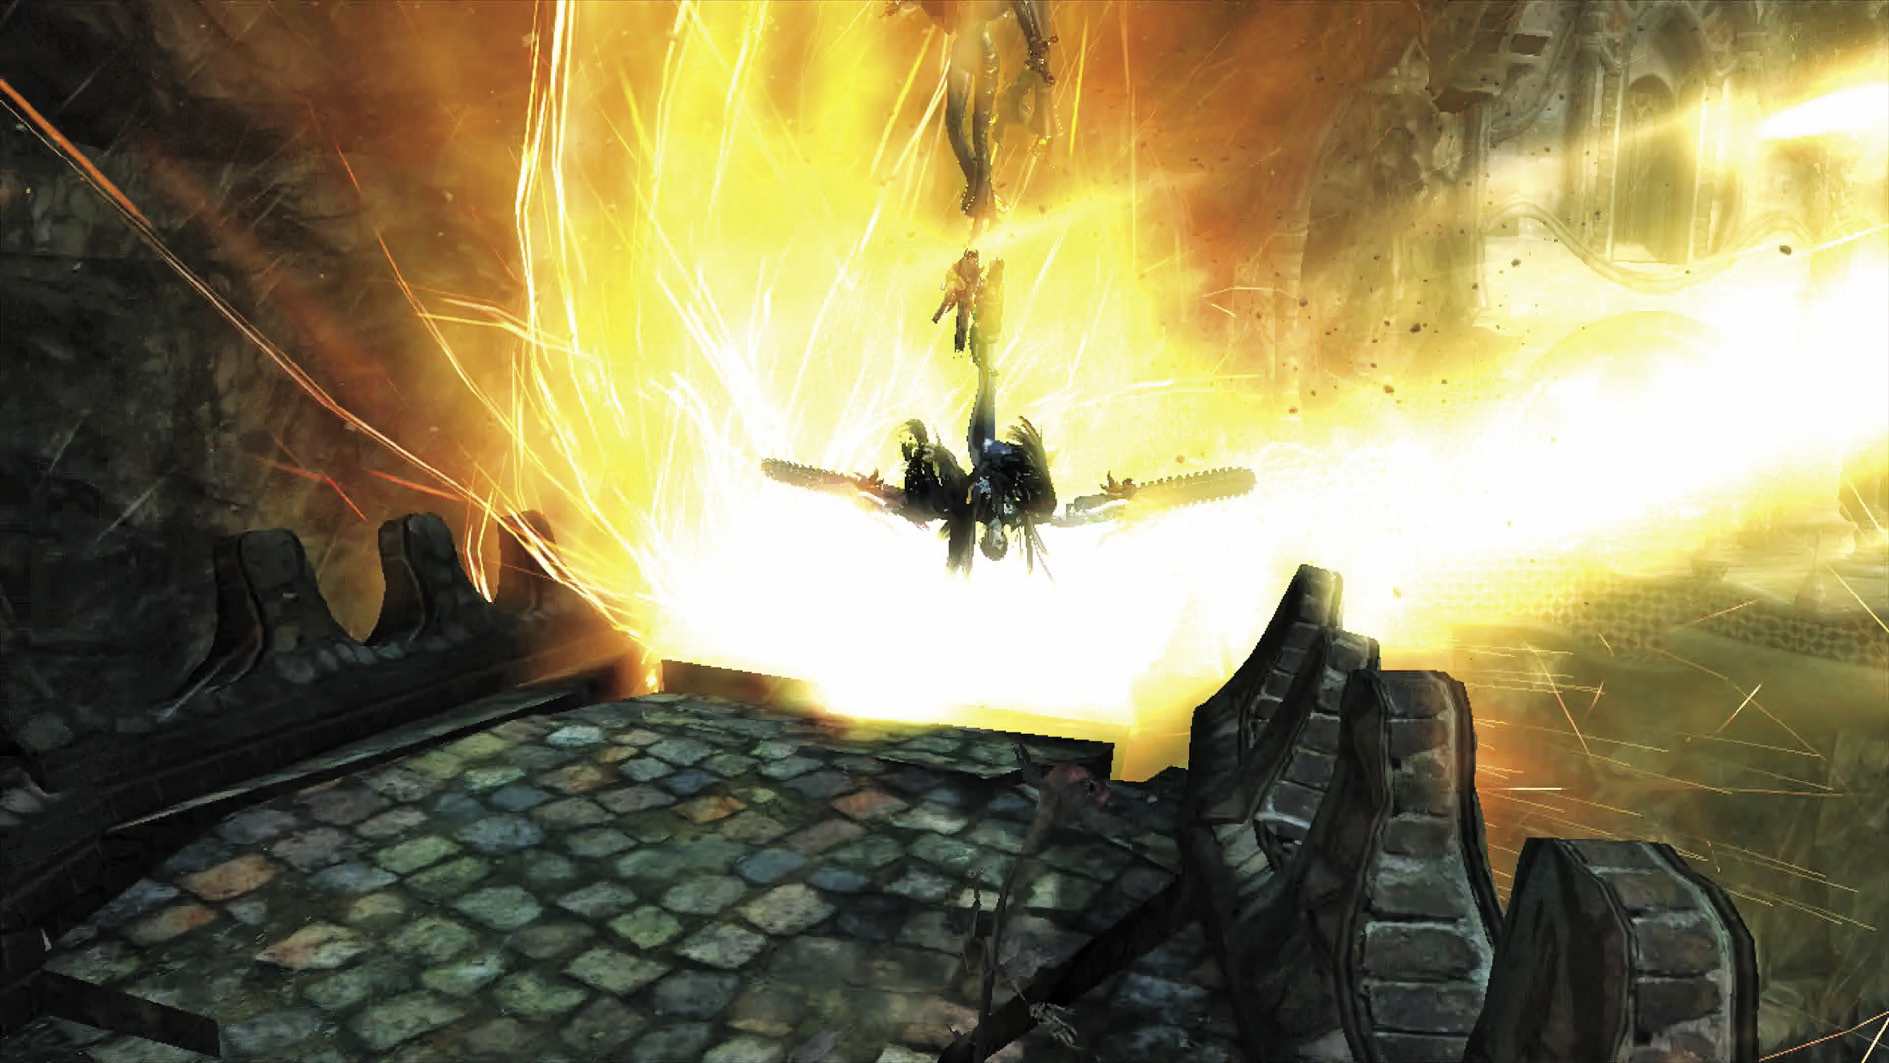
1st Climax/2nd Climax/3rd Climax/ ∞ Climax (Go for Pure Platinum!)
Suggested Pure Platinum Weapons: Salamandra (Arms)
Enemies: Affinity (Staff) x1, Affinity (Mace) x1, Applaud (Staff) x1
Just as in the first game, this Verse is a freebie that should be over in seconds. Slice everyone inside, and mind the cramped quarters when looking for places to dodge!
Break the Golem Wall for a long sequence where a Worship fires at you from high above! Don’t be afraid to take this slowly—you don’t want to get hit by a fireball or angelic laser beam. Once you get to the next Golem Wall, you’re in the clear.
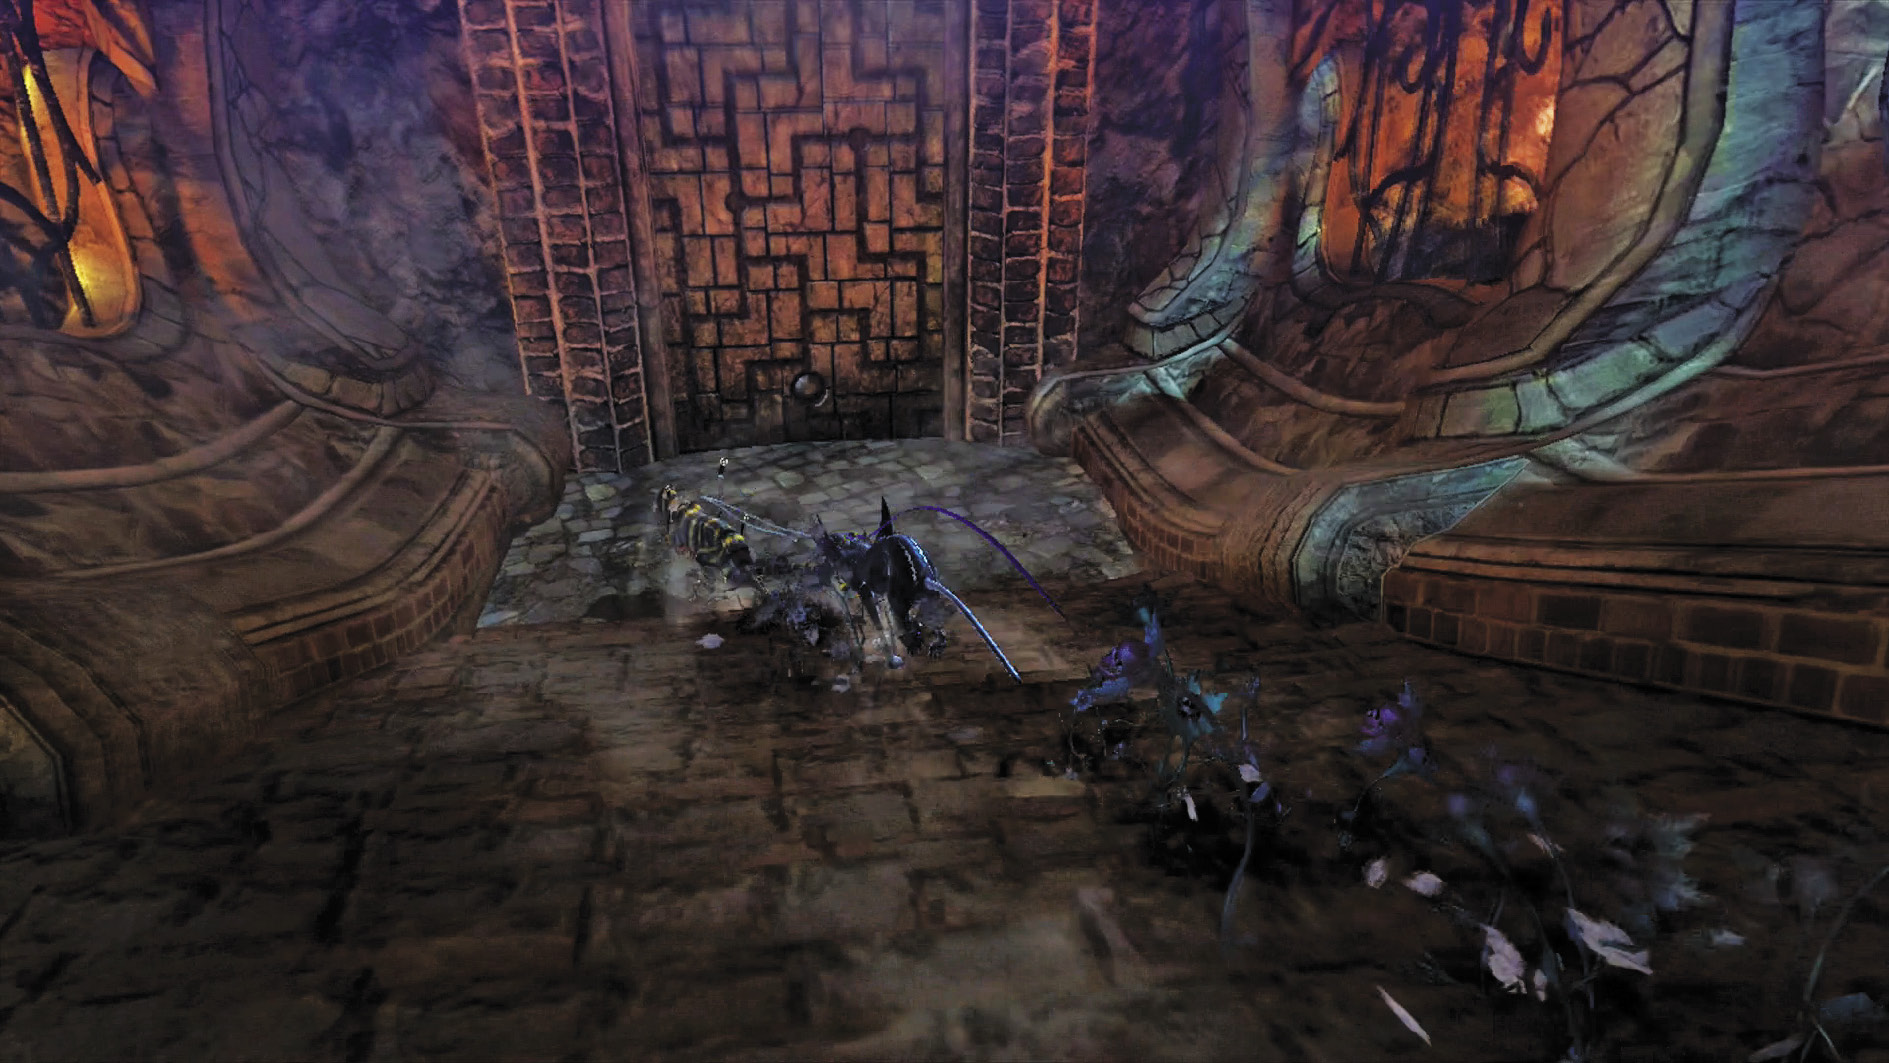
Break this Golem Wall down to reach the Underground Caves. A chest just past this entrance contains a Mega Bloody Rose Lollipop, and you encounter a battle you can actually do something about.
| CH13 V5 | 1st Climax | 2nd Climax | 3rd Climax | ∞ Climax | ||||||||
|---|---|---|---|---|---|---|---|---|---|---|---|---|
| Time | Damage | Combo | Time | Damage | Combo | Time | Damage | Combo | Time | Damage | Combo | |
| PLATINUM | 00:18 | 0 | 1230 | 00:18 | 0 | 1230 | 00:18 | 0 | 1230 | 00:18 | 0 | 1230 |
| GOLD | 00:28 | 200 | 850 | 00:28 | 400 | 850 | 00:28 | 800 | 850 | 00:28 | 1600 | 850 |
| SILVER | 00:38 | 400 | 760 | 00:38 | 800 | 760 | 00:38 | 1600 | 760 | 00:38 | 3200 | 760 |
| BRONZE | 00:48 | 600 | 660 | 00:48 | 1200 | 660 | 00:48 | 2400 | 660 | 00:48 | 4800 | 660 |
| BOSS BONUS | ||||||||||||
Verse 6
Enemy Spotlight: Fearless & Fairness
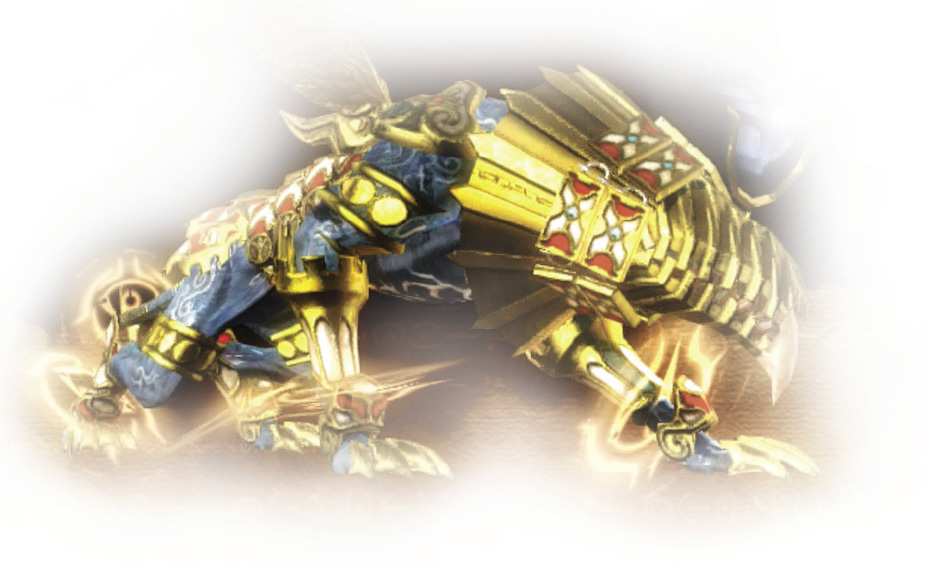
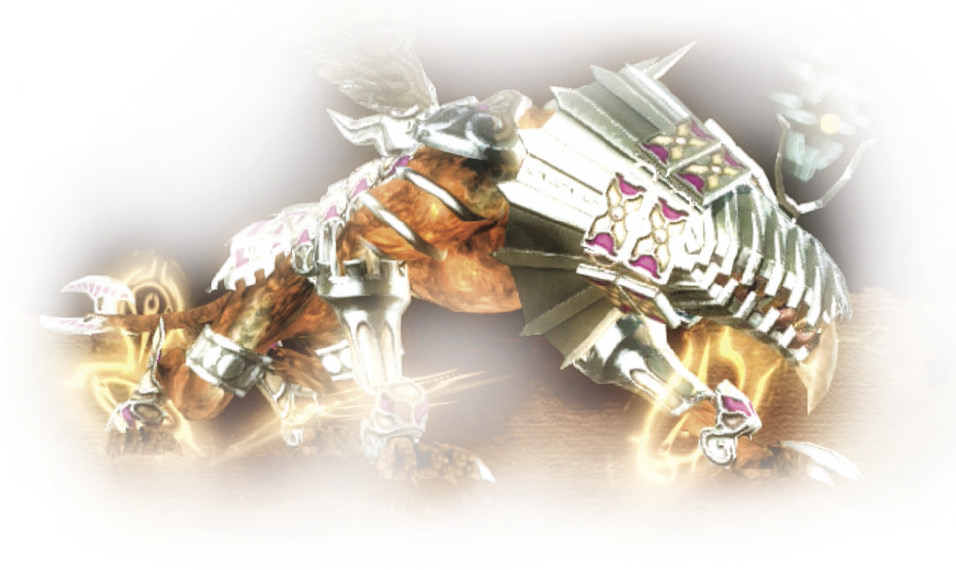
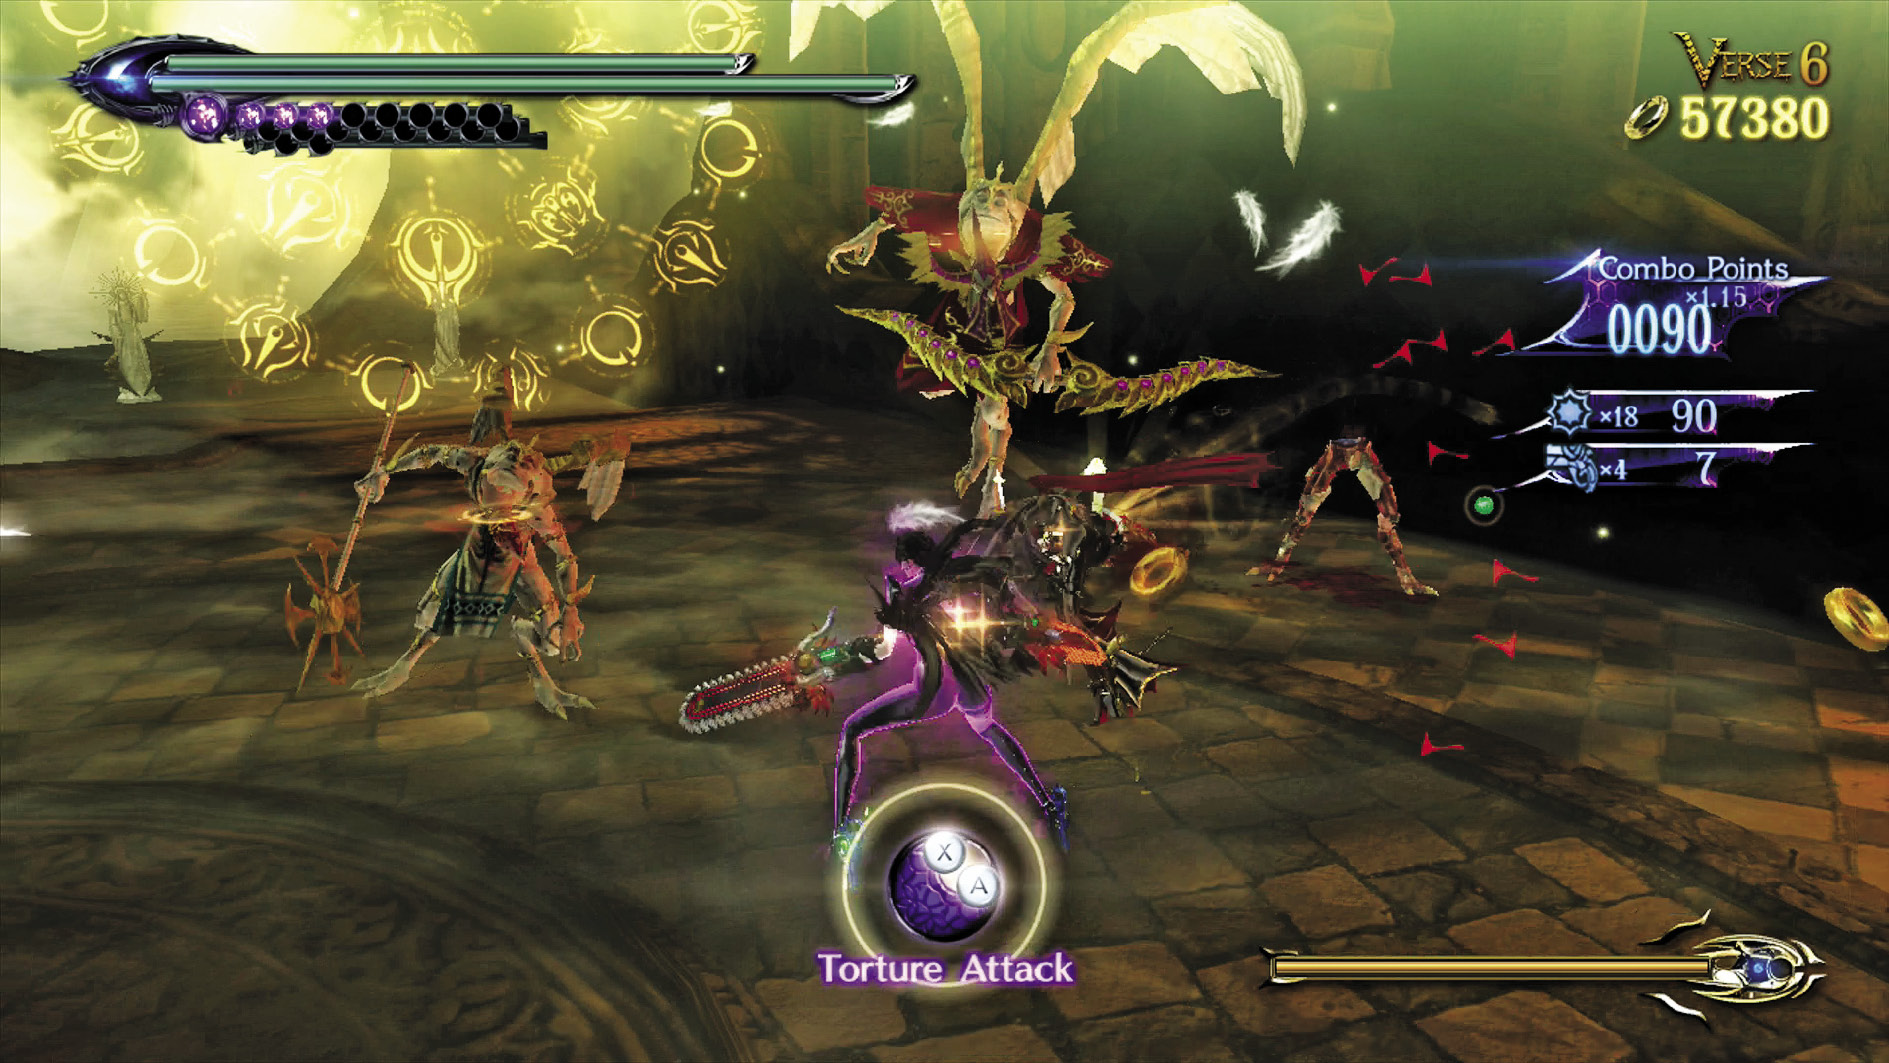
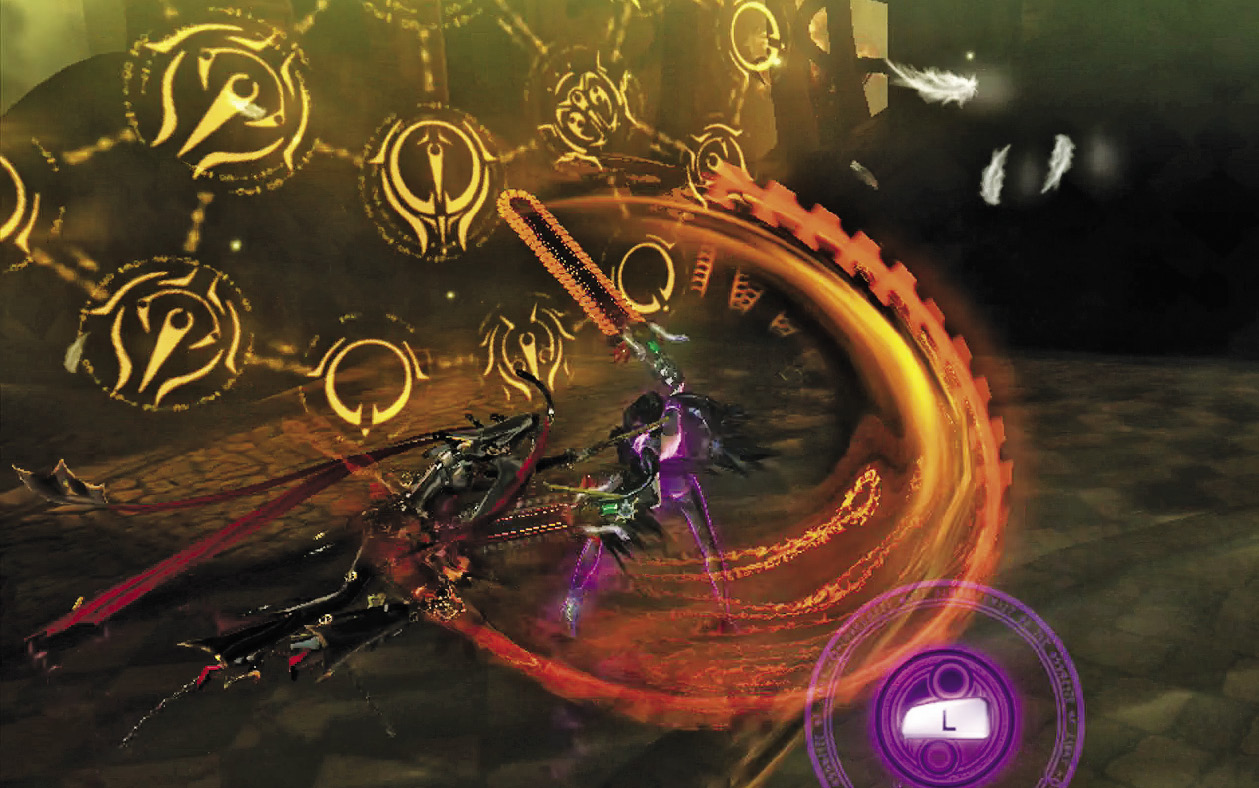
A Fearless and Fairness together means you have to keep dodging while watching out for tail attacks, projectiles, bites, and claws. Give these two as wide a berth as possible, and engage in hit-and-run tactics while looking for Witch Time opportunities.
1st Climax/2nd Climax/3rd Climax
Enemies: Affinity (Staff) x2, Applaud (Bow) x1, Fearless x1
Beat the low-level angels and you have to deal with a Fearless. They’re almost as erratic as Grace & Glory, but not quite. They do, however, hit a lot harder. Follow the general strategy shown in the Enemy Spotlight!
∞ Climax
Enemies: Applaud (Staff) x2, Applaud (Bow) x1, Beloved x1
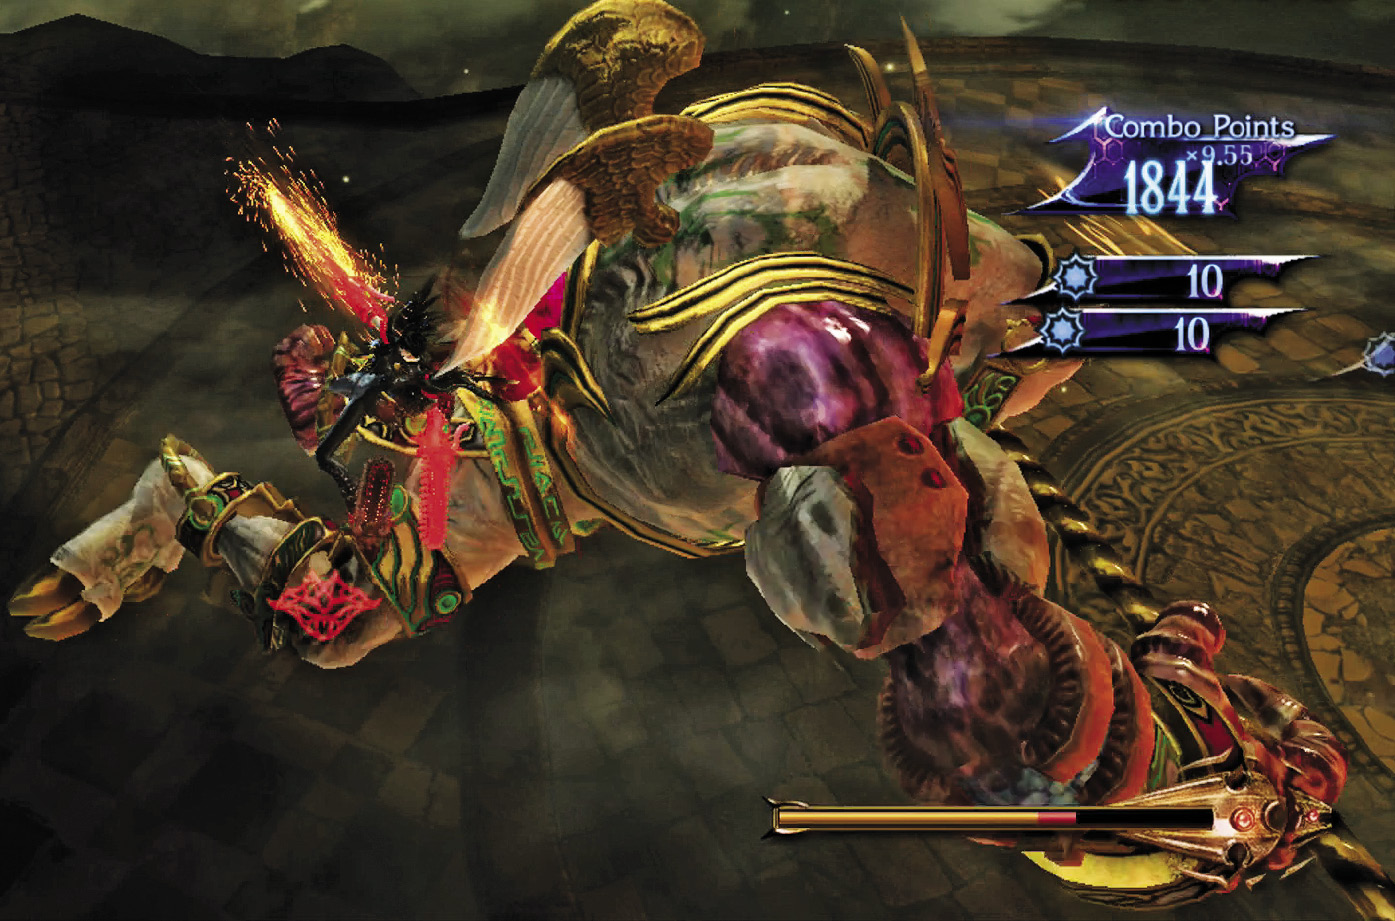
Once you deal with the small fry, a Beloved smashes into the fray! Jump as high as you can to get to the red weak spot on his back, and deal the most damage from there! Watch out for his axe swings and his hands if you’re fighting at close range.
Go for Pure Platinum!
Suggested Weapons: Salamandra (Arms)
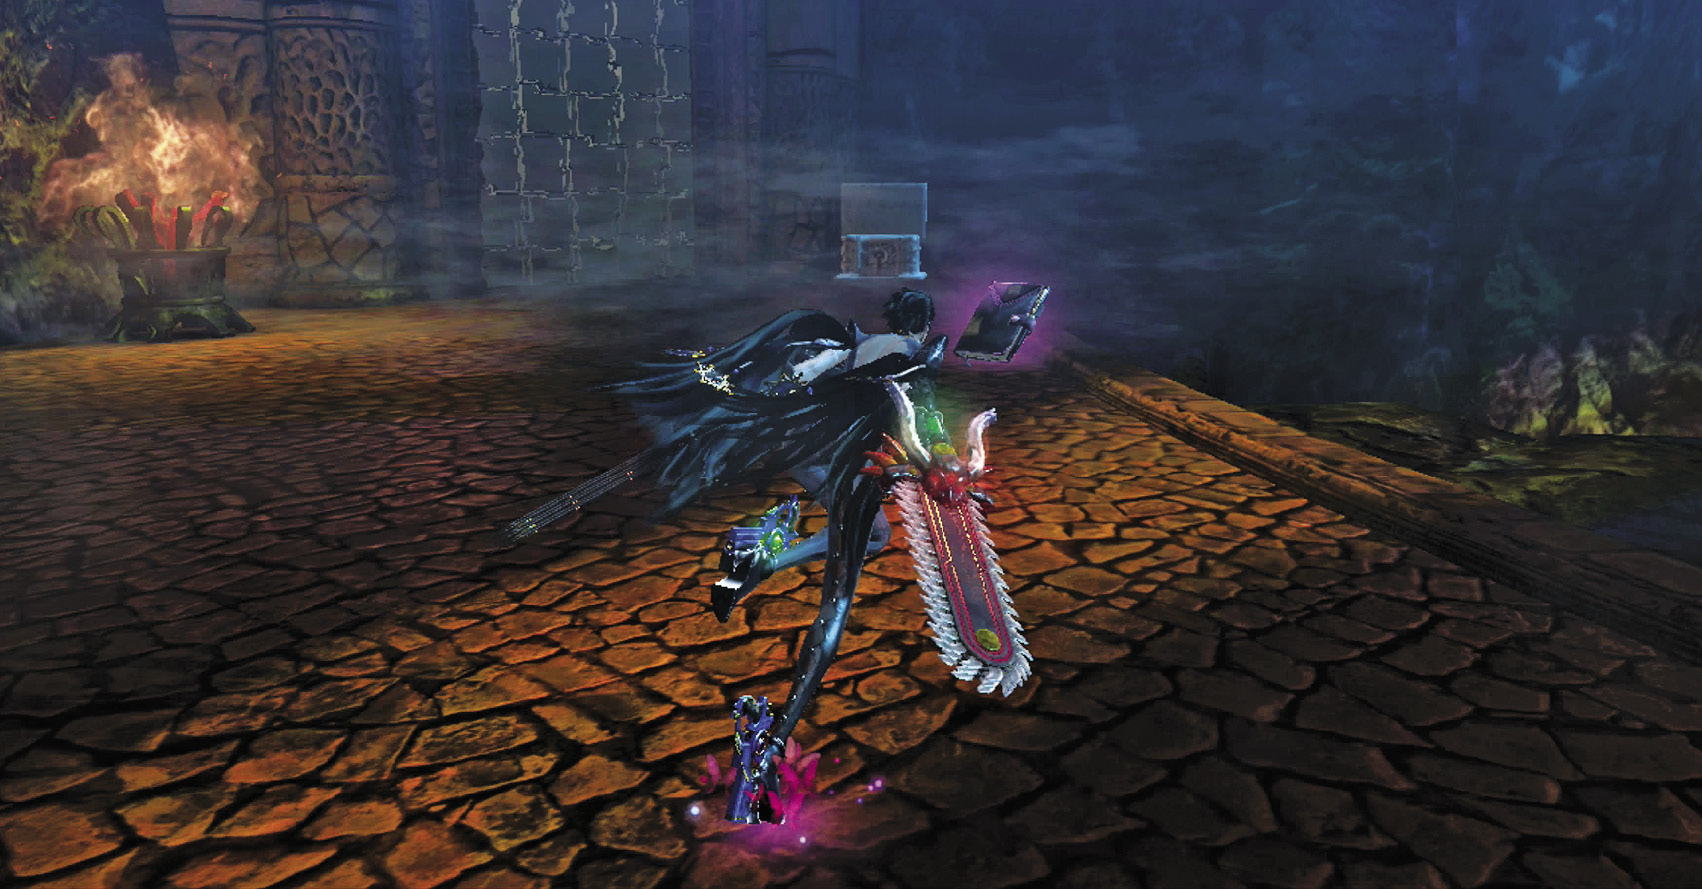
Using the above strategies with Salamandra will work just fine. Take advantage of the maneuvering room you have, and flank the enemy!
Go back to the entrance you just came through and grab the Journal’s Echo Where Darkness Falls before moving on.
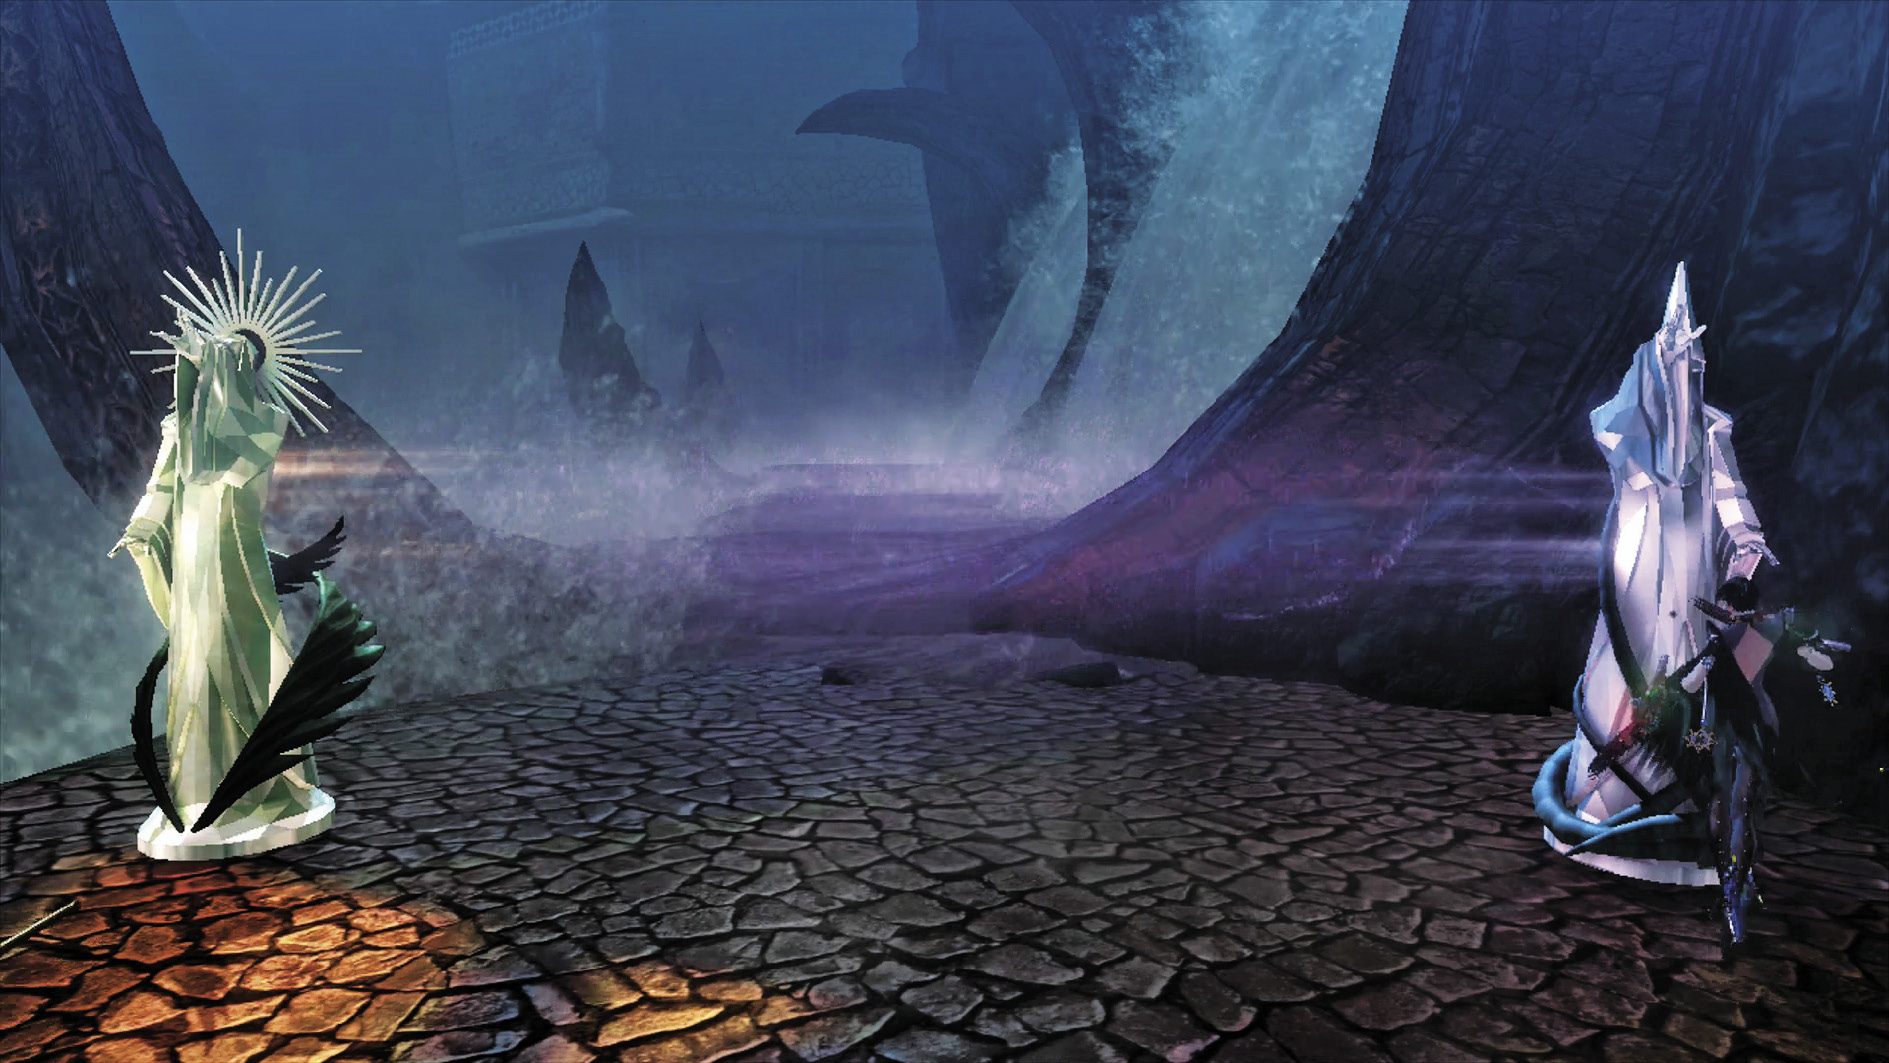
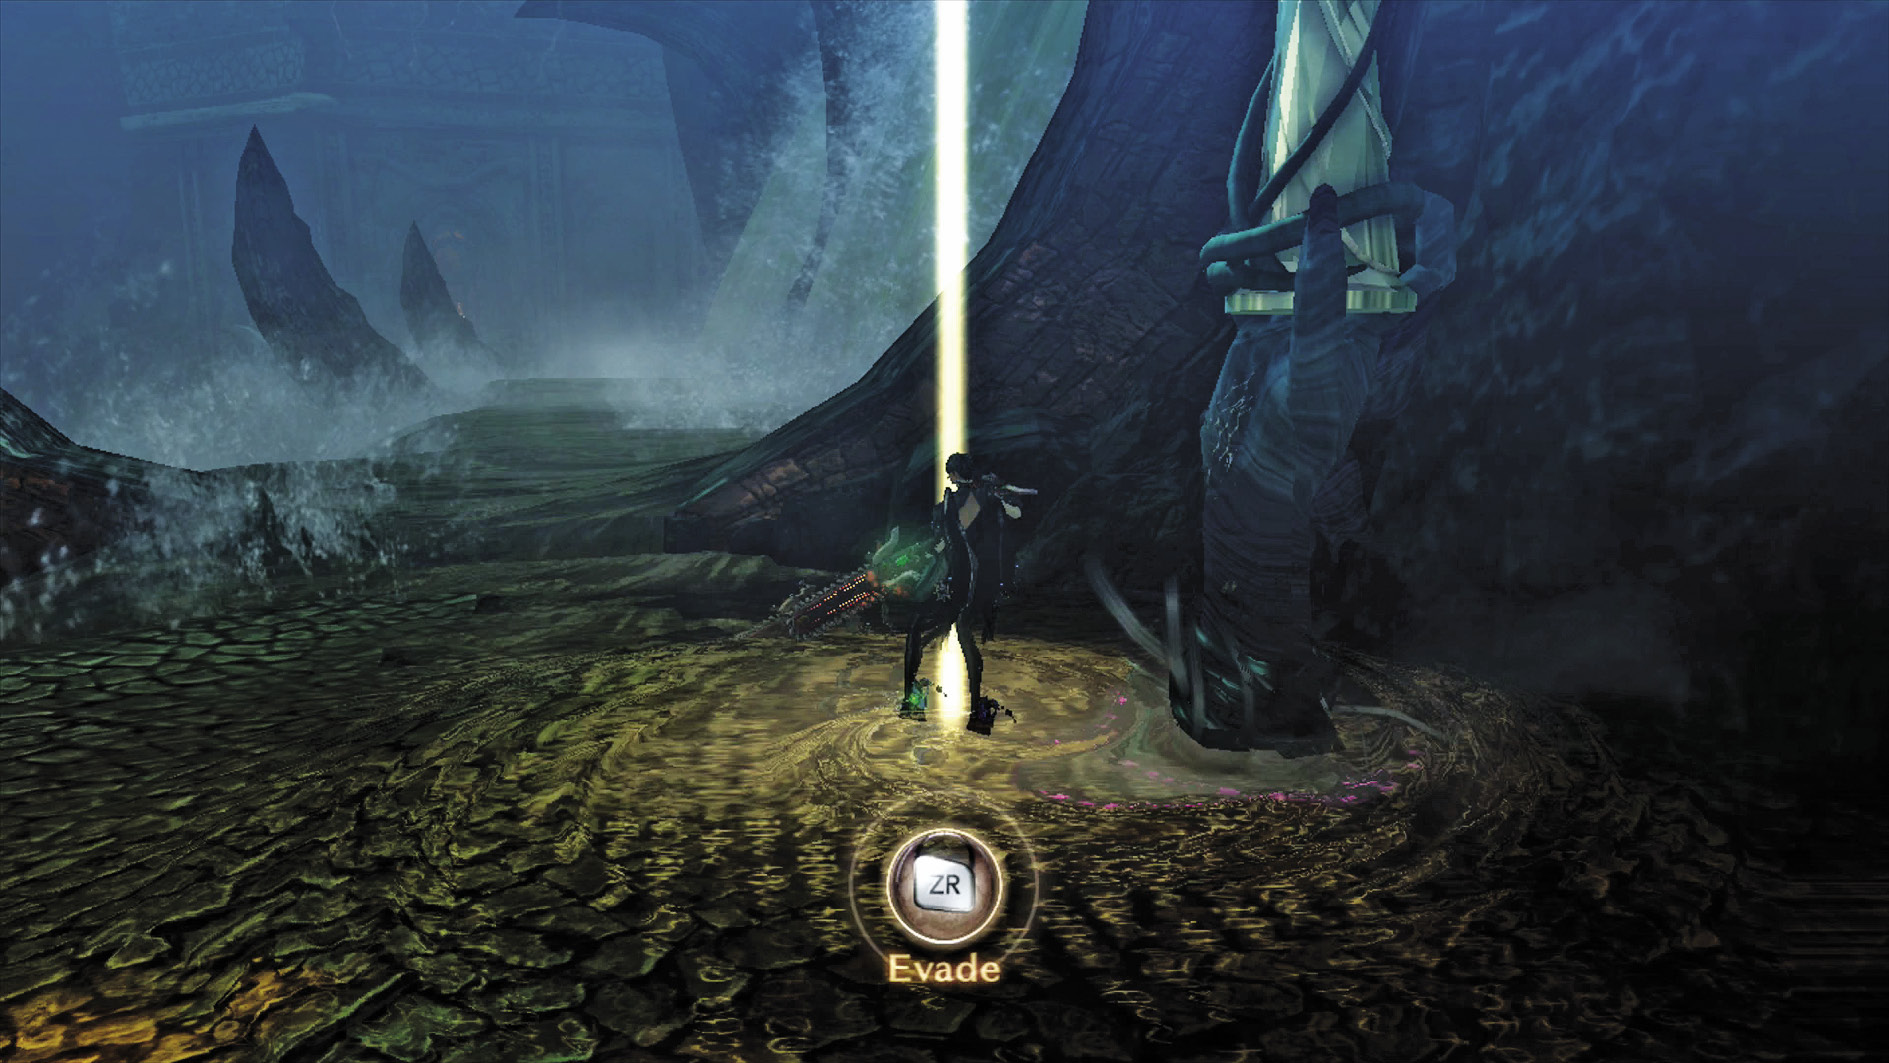
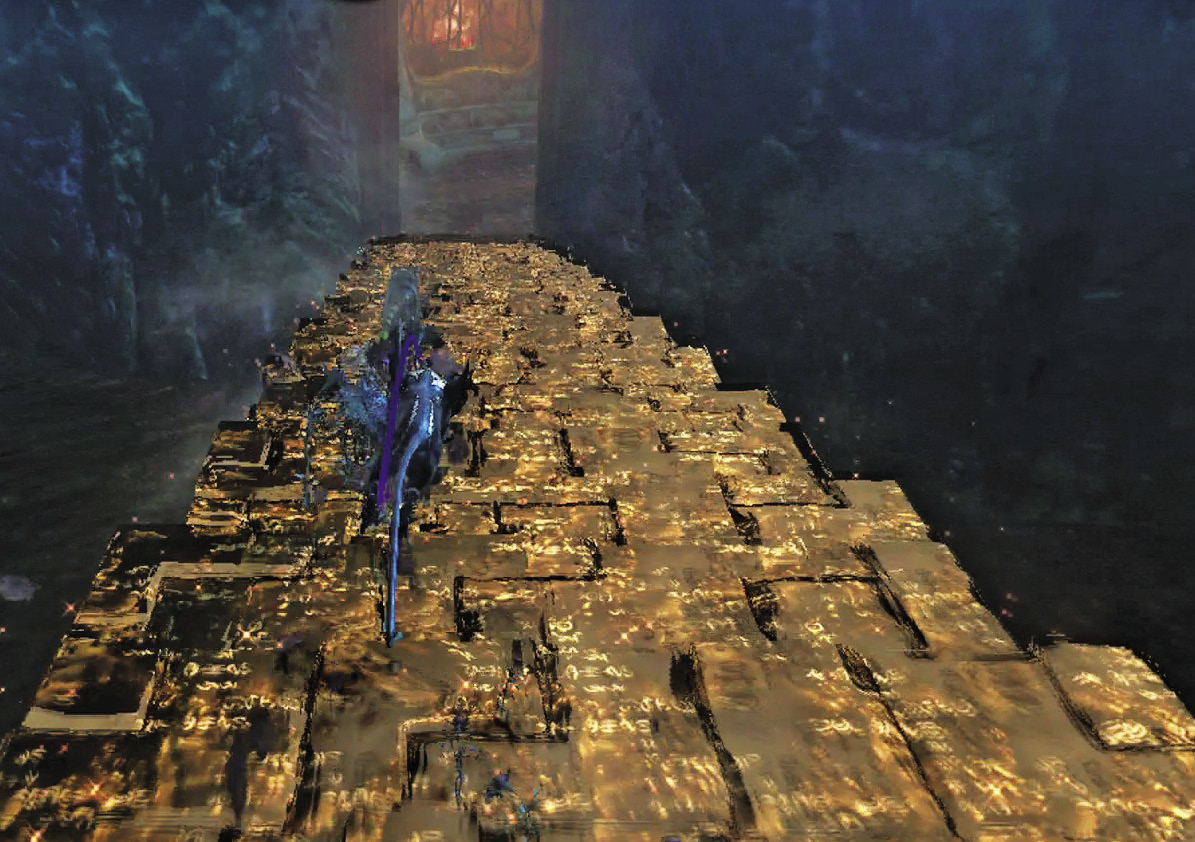
You encounter Witch Statues here. Press the Action button once while standing next to them to activate them. Press the Action button again to send down a dodgeable beam of light, then cross the water during Witch Time! The next Verse is just ahead.
| CH13 V6 | 1st Climax | 2nd Climax | 3rd Climax | ∞ Climax | ||||||||
|---|---|---|---|---|---|---|---|---|---|---|---|---|
| Time | Damage | Combo | Time | Damage | Combo | Time | Damage | Combo | Time | Damage | Combo | |
| PLATINUM | 00:58 | 0 | 3750 | 00:58 | 0 | 3750 | 01:20 | 0 | 3750 | 01:30 | 0 | 43990 |
| GOLD | 01:08 | 150 | 2100 | 01:08 | 300 | 2100 | 01:40 | 600 | 2100 | 01:50 | 1500 | 19130 |
| SILVER | 01:18 | 300 | 1690 | 01:18 | 600 | 1690 | 02:00 | 1200 | 1690 | 02:10 | 3000 | 12910 |
| BRONZE | 01:28 | 600 | 1280 | 01:28 | 1200 | 1280 | 02:20 | 2400 | 1280 | 02:30 | 4500 | 6690 |
| BOSS BONUS | ||||||||||||
Verse 7
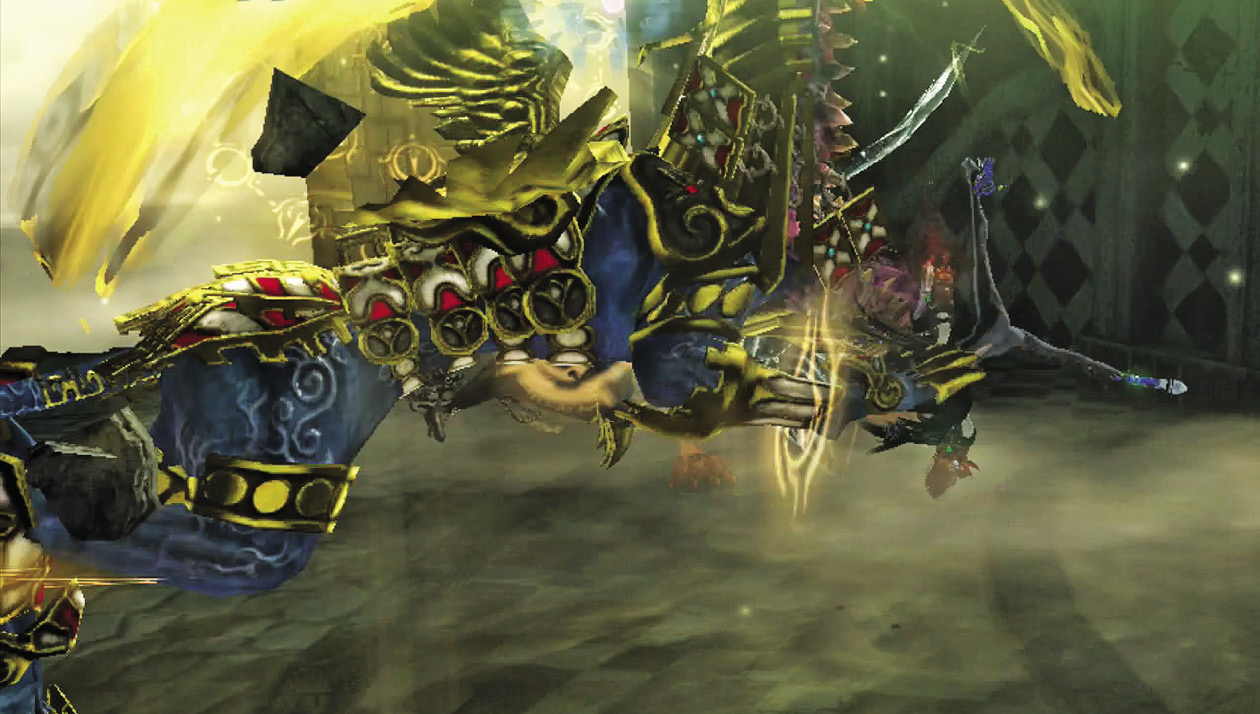
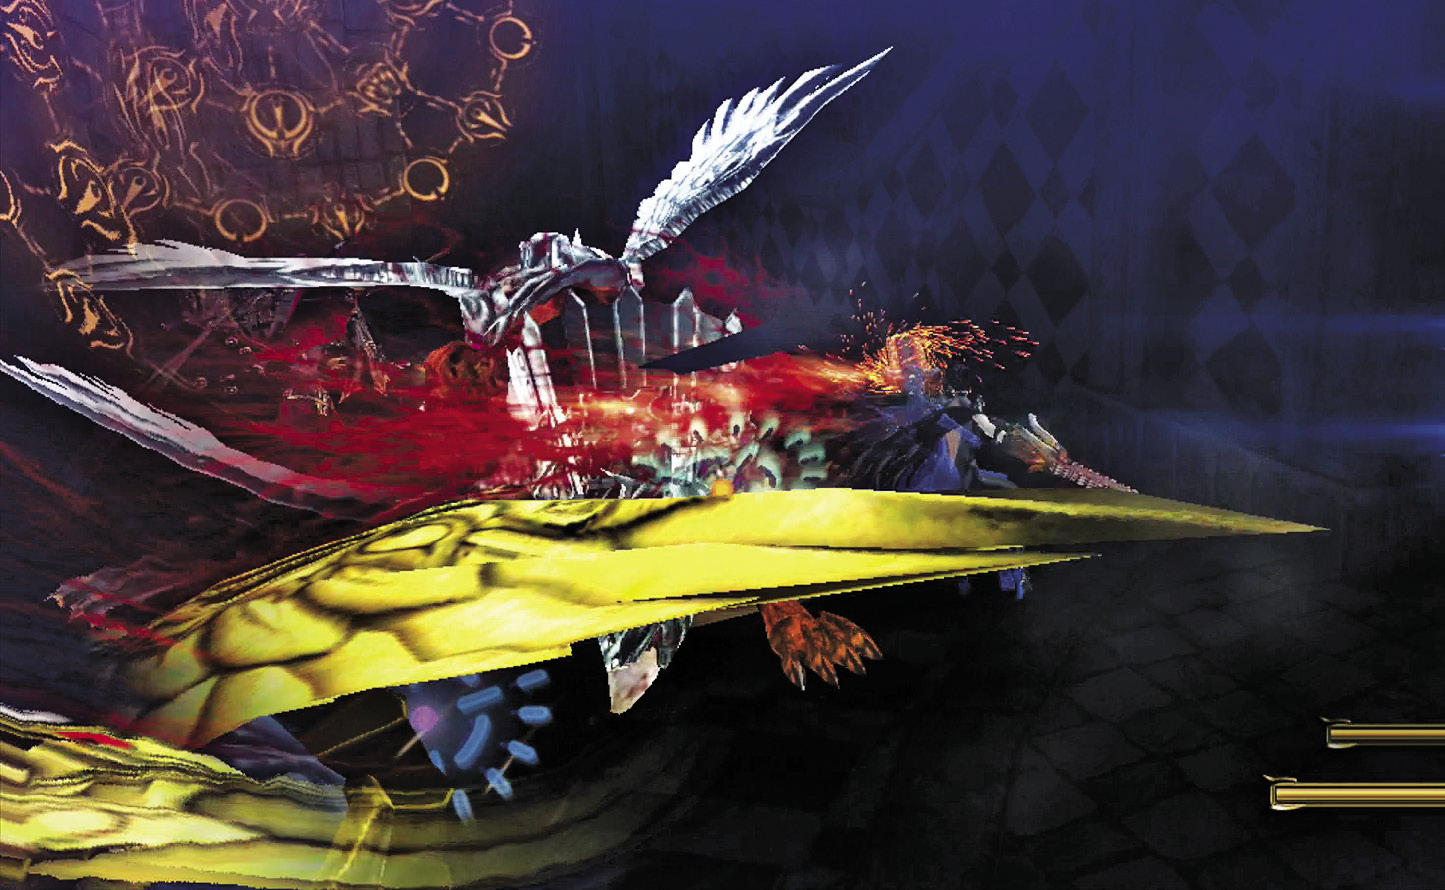
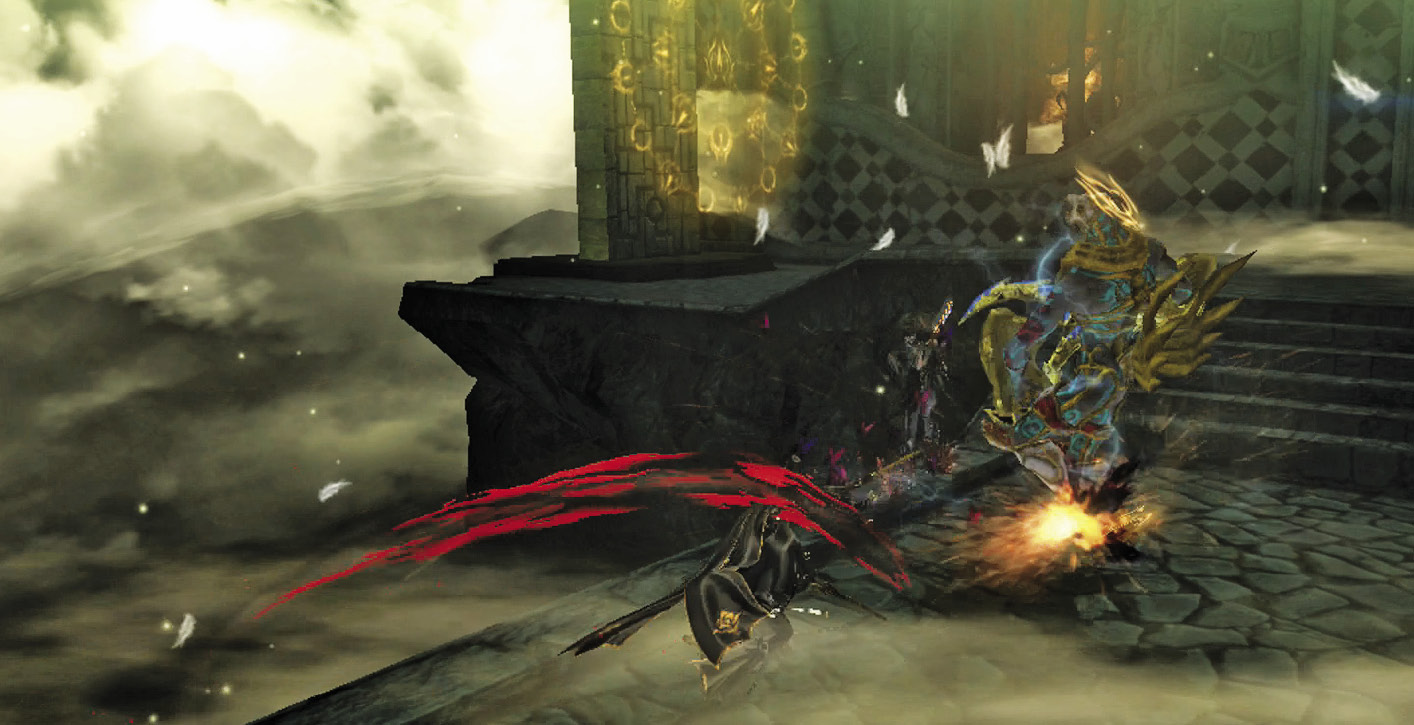
1st Climax/2nd Climax/3rd Climax
Enemies: Fearless x1, Fairness x1
This time you’re up against both Fearless and Fairness. Refer to their enemy spotlight in the previous Verse—the strategy remains unchanged.
∞ Climax
Enemies: Grace x3, Glory x2
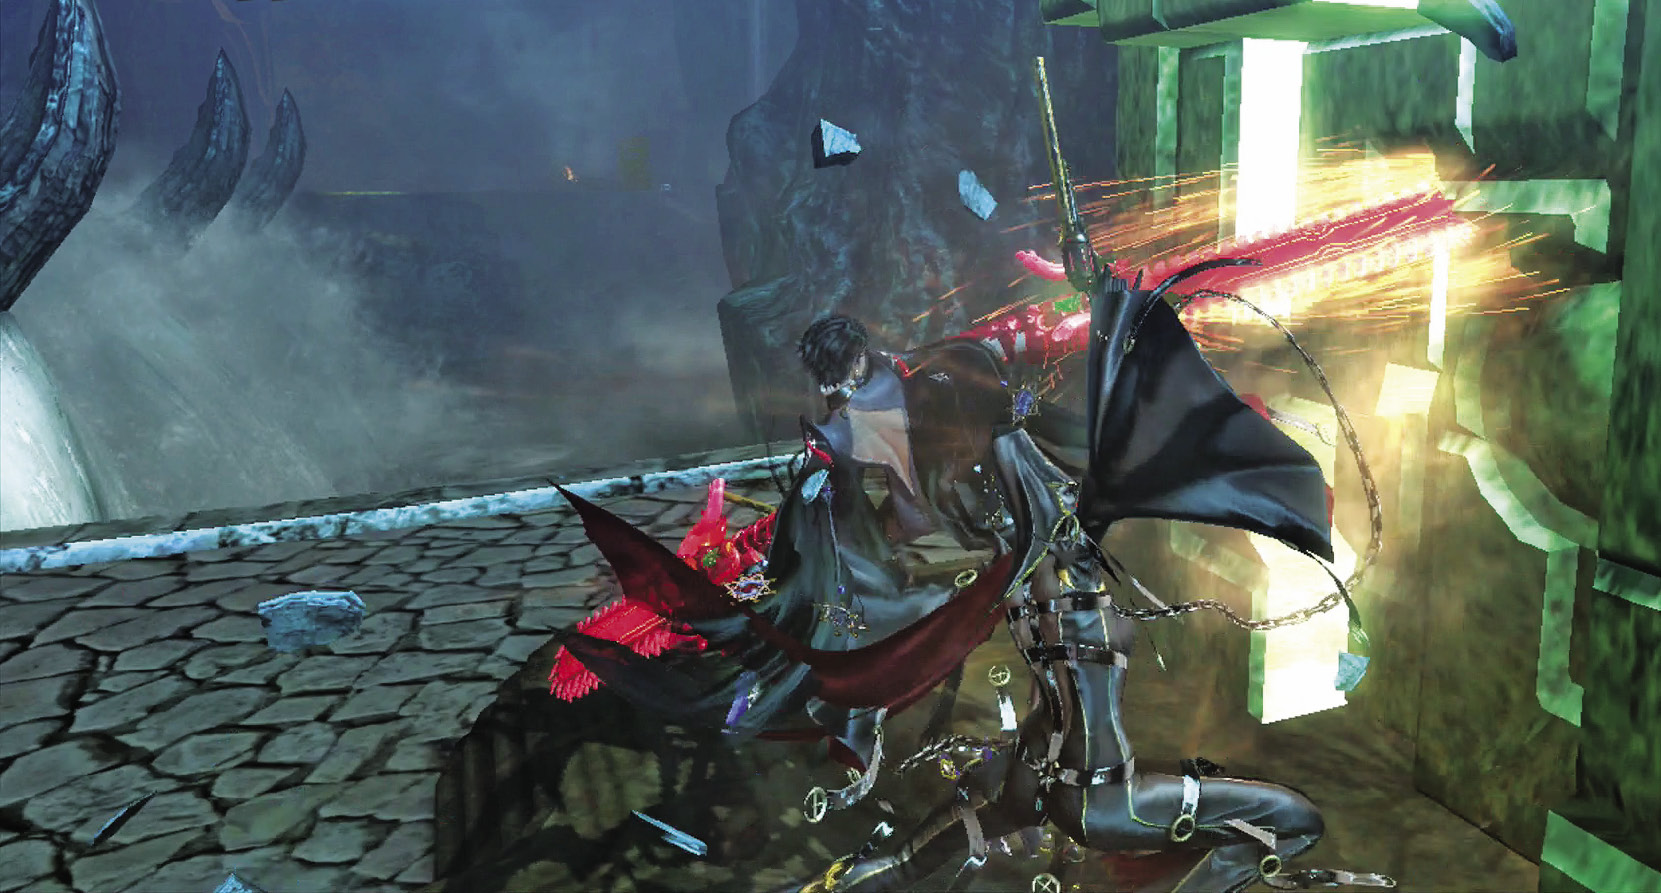
∞ Climax treats you to a Grace & Glory gauntlet! Keep your finger on that Dodge button, and do your best not to get crowded by their movements. Umbran Climax can give you some extra range if you can spare the magic, and Torture Attacks can take off loads of vitality!
Go for Pure Platinum!
Suggested Weapons: Salamandra (Arms)
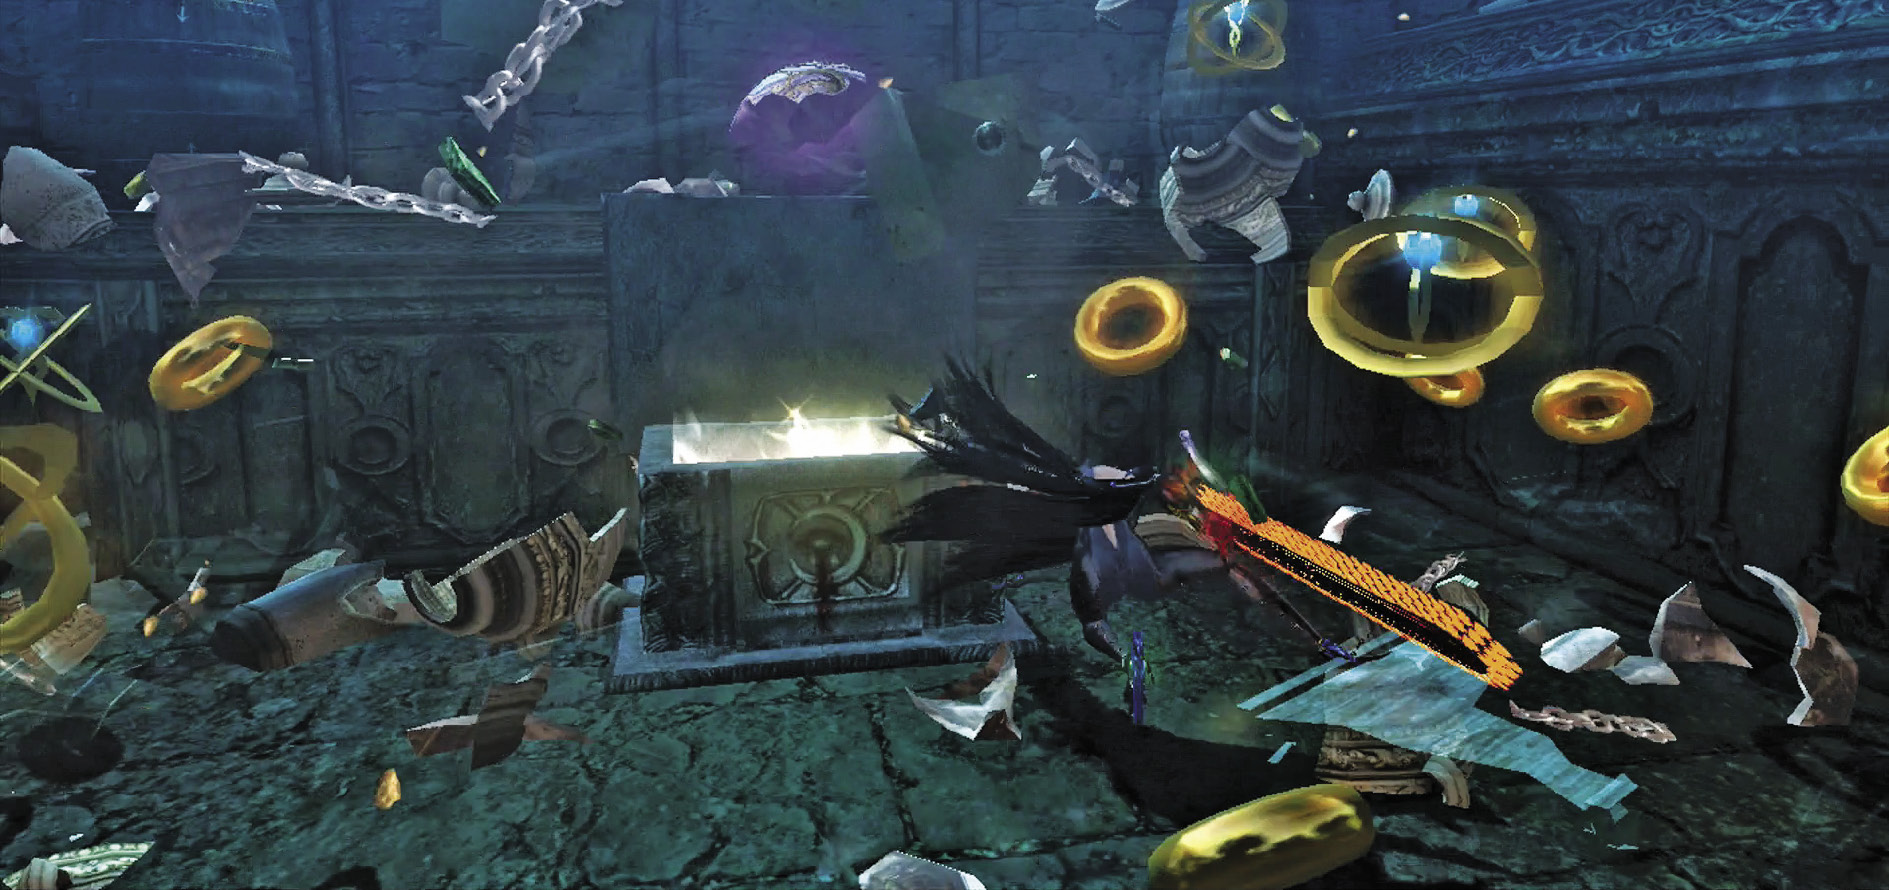
The above strategies with Salamandra will be enough to secure Pure Platinum here, as long as you dodge like a mad woman. If you’re unsure, go ahead and bring in Pulley’s Butterfly and/or the Moon of Mahaa-Kalaa.
Once you’re done, open up that door to reveal a storeroom full of goodies, including a chest containing a Broken Moon Pearl (13/16)! Progress along the path, breaking the next Golem Wall to proceed. You end up in a cave that a certain someone does not want you to escape from.
| CH13 V7 | 1st Climax | 2nd Climax | 3rd Climax | ∞ Climax | ||||||||
|---|---|---|---|---|---|---|---|---|---|---|---|---|
| Time | Damage | Combo | Time | Damage | Combo | Time | Damage | Combo | Time | Damage | Combo | |
| PLATINUM | 00:50 | 0 | 2930 | 00:50 | 0 | 2930 | 01:10 | 0 | 2930 | 02:10 | 0 | 17190 |
| GOLD | 01:00 | 150 | 1710 | 01:00 | 300 | 1710 | 01:30 | 600 | 1710 | 02:20 | 3000 | 7960 |
| SILVER | 01:10 | 300 | 1410 | 01:10 | 600 | 1410 | 01:50 | 1200 | 1410 | 02:30 | 5000 | 5650 |
| BRONZE | 01:20 | 600 | 1100 | 01:20 | 1200 | 1100 | 02:10 | 2400 | 1100 | 02:40 | 7000 | 3340 |
| BOSS BONUS | ||||||||||||
Verse 8
Enemy Spotlight: Beloved
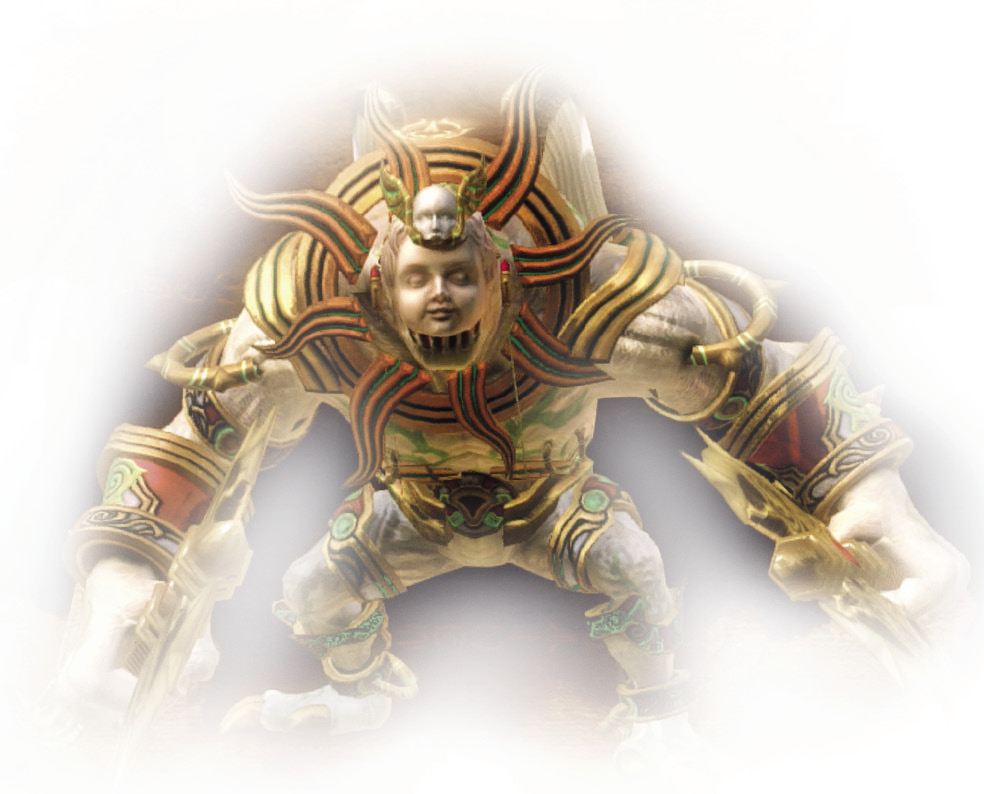
Beloveds were the heavy hitters of the first Bayonetta. They have a big red weak spot at the top of their backs...if you can jump high enough to get to them! Other than that, their moves are slow, but hurtful. Don’t make contact with his axe or his grabbing hands!
1st Climax/2nd Climax/3rd Climax/∞ Climax (Go for Pure Platinum!)
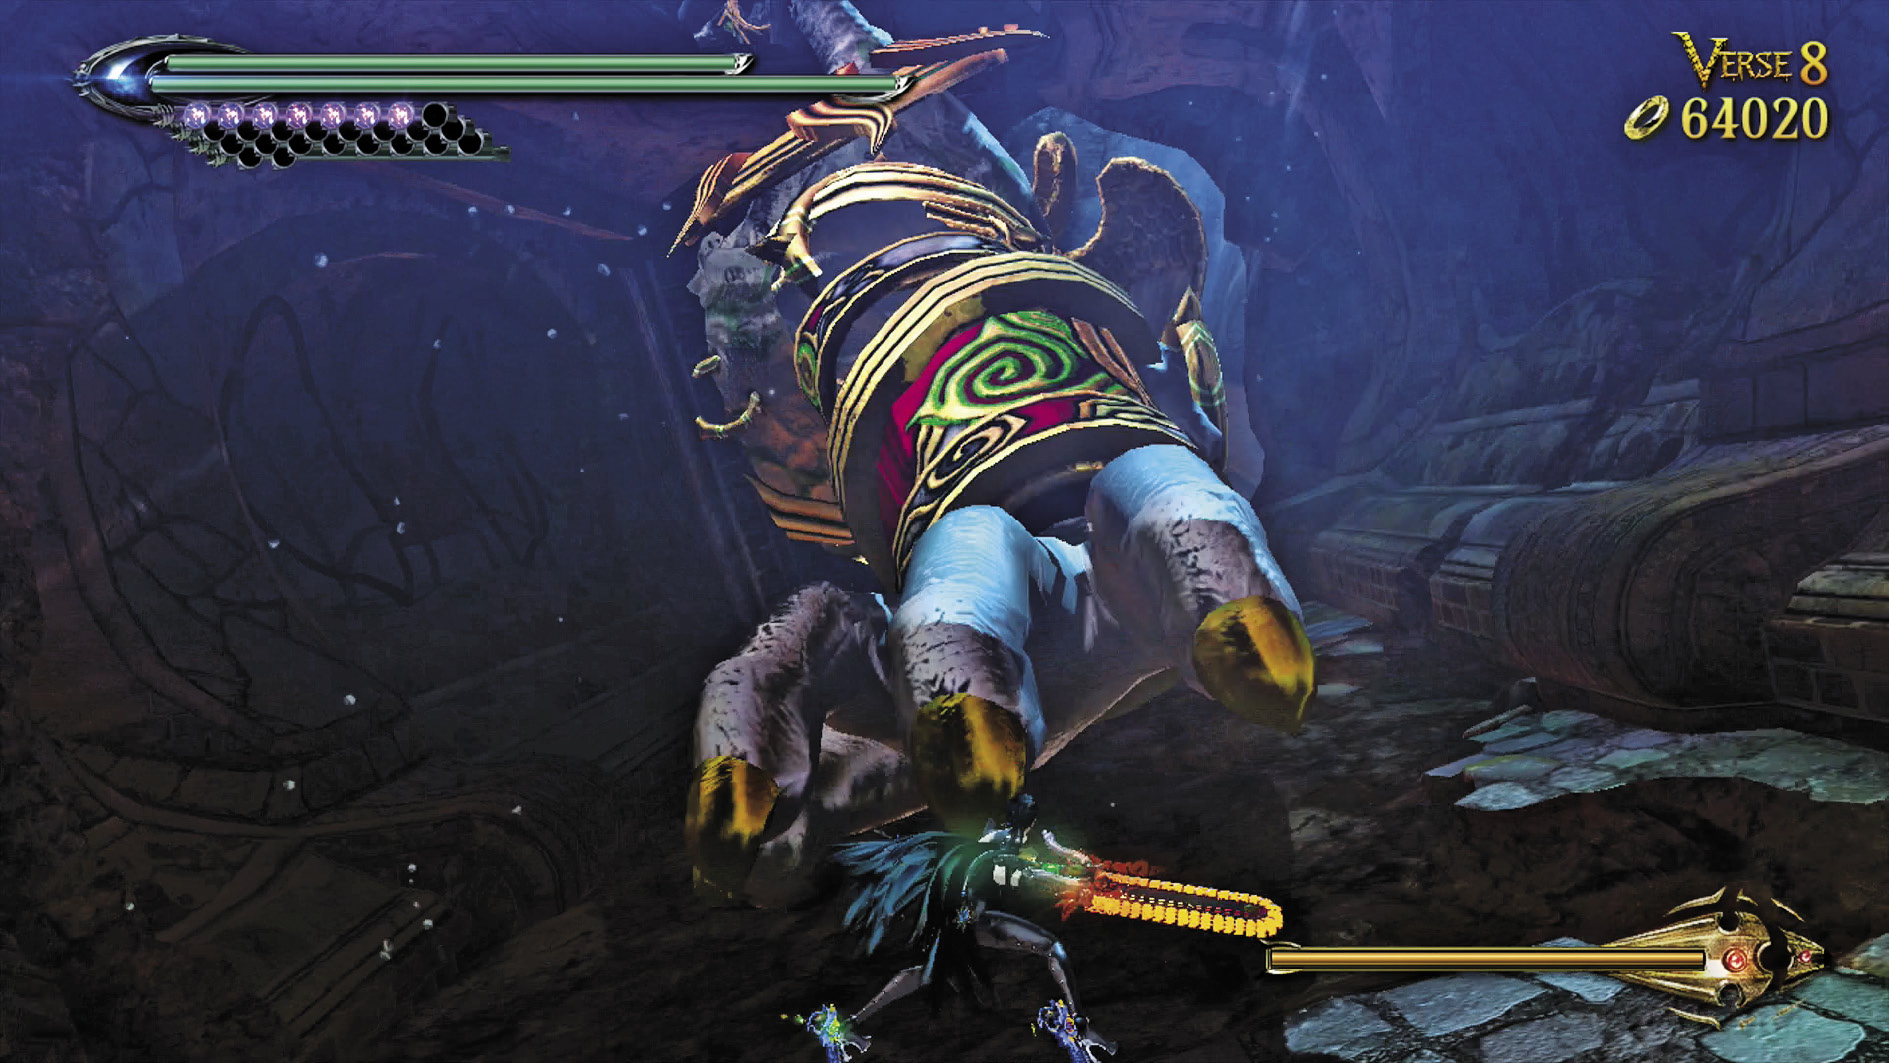
Suggested Pure Platinum Weapons: Salamandra (Arms)
Enemies: Beloved
In this Verse you won’t be fighting Beloved so much as Beloved’s hand. Go ahead and slice that baby up until he gets other ideas.
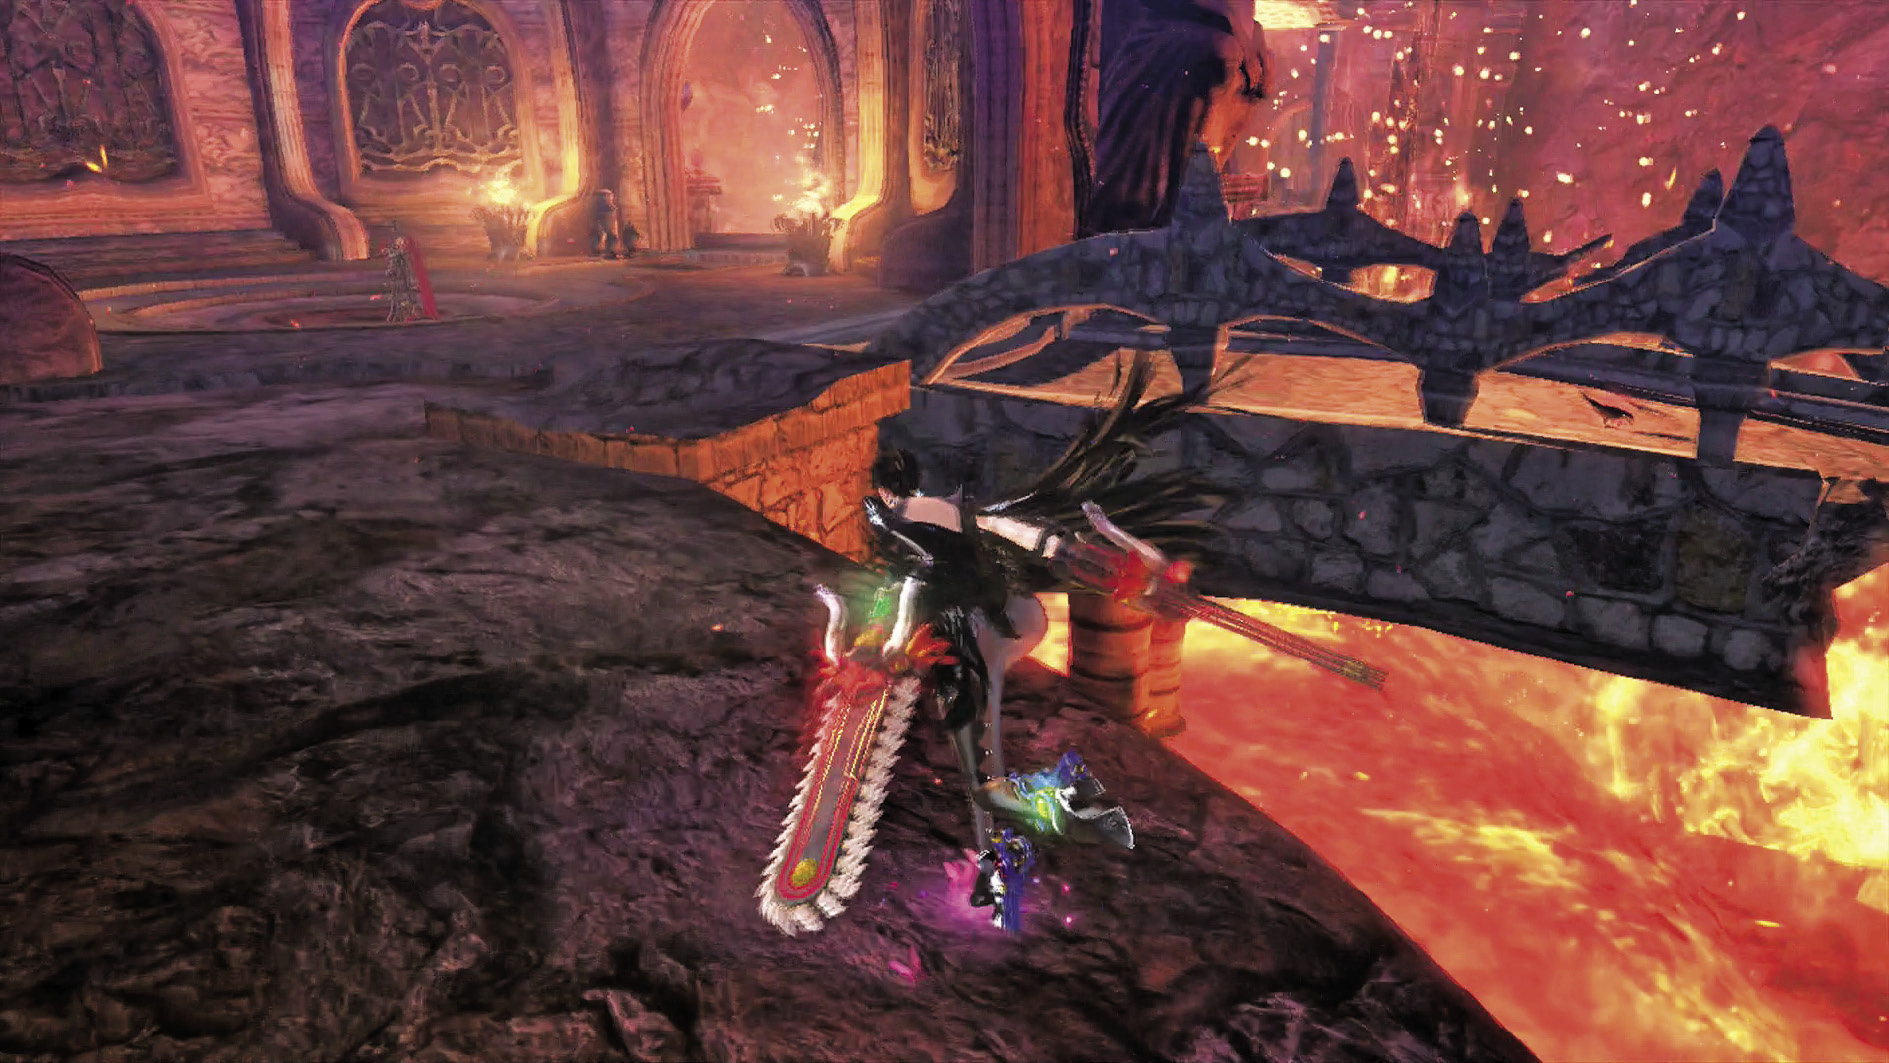
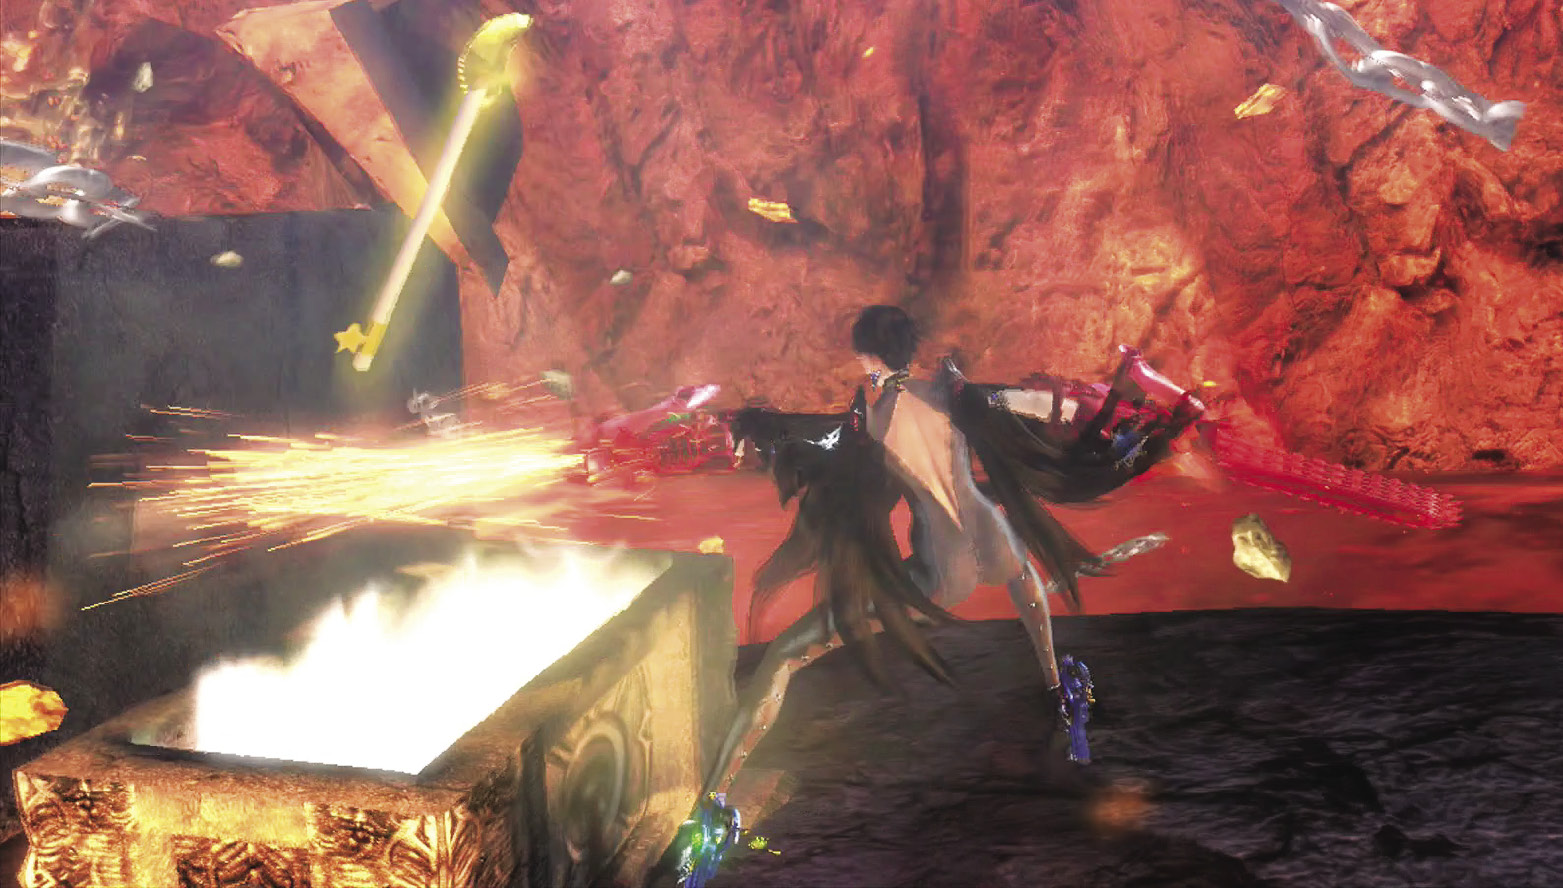
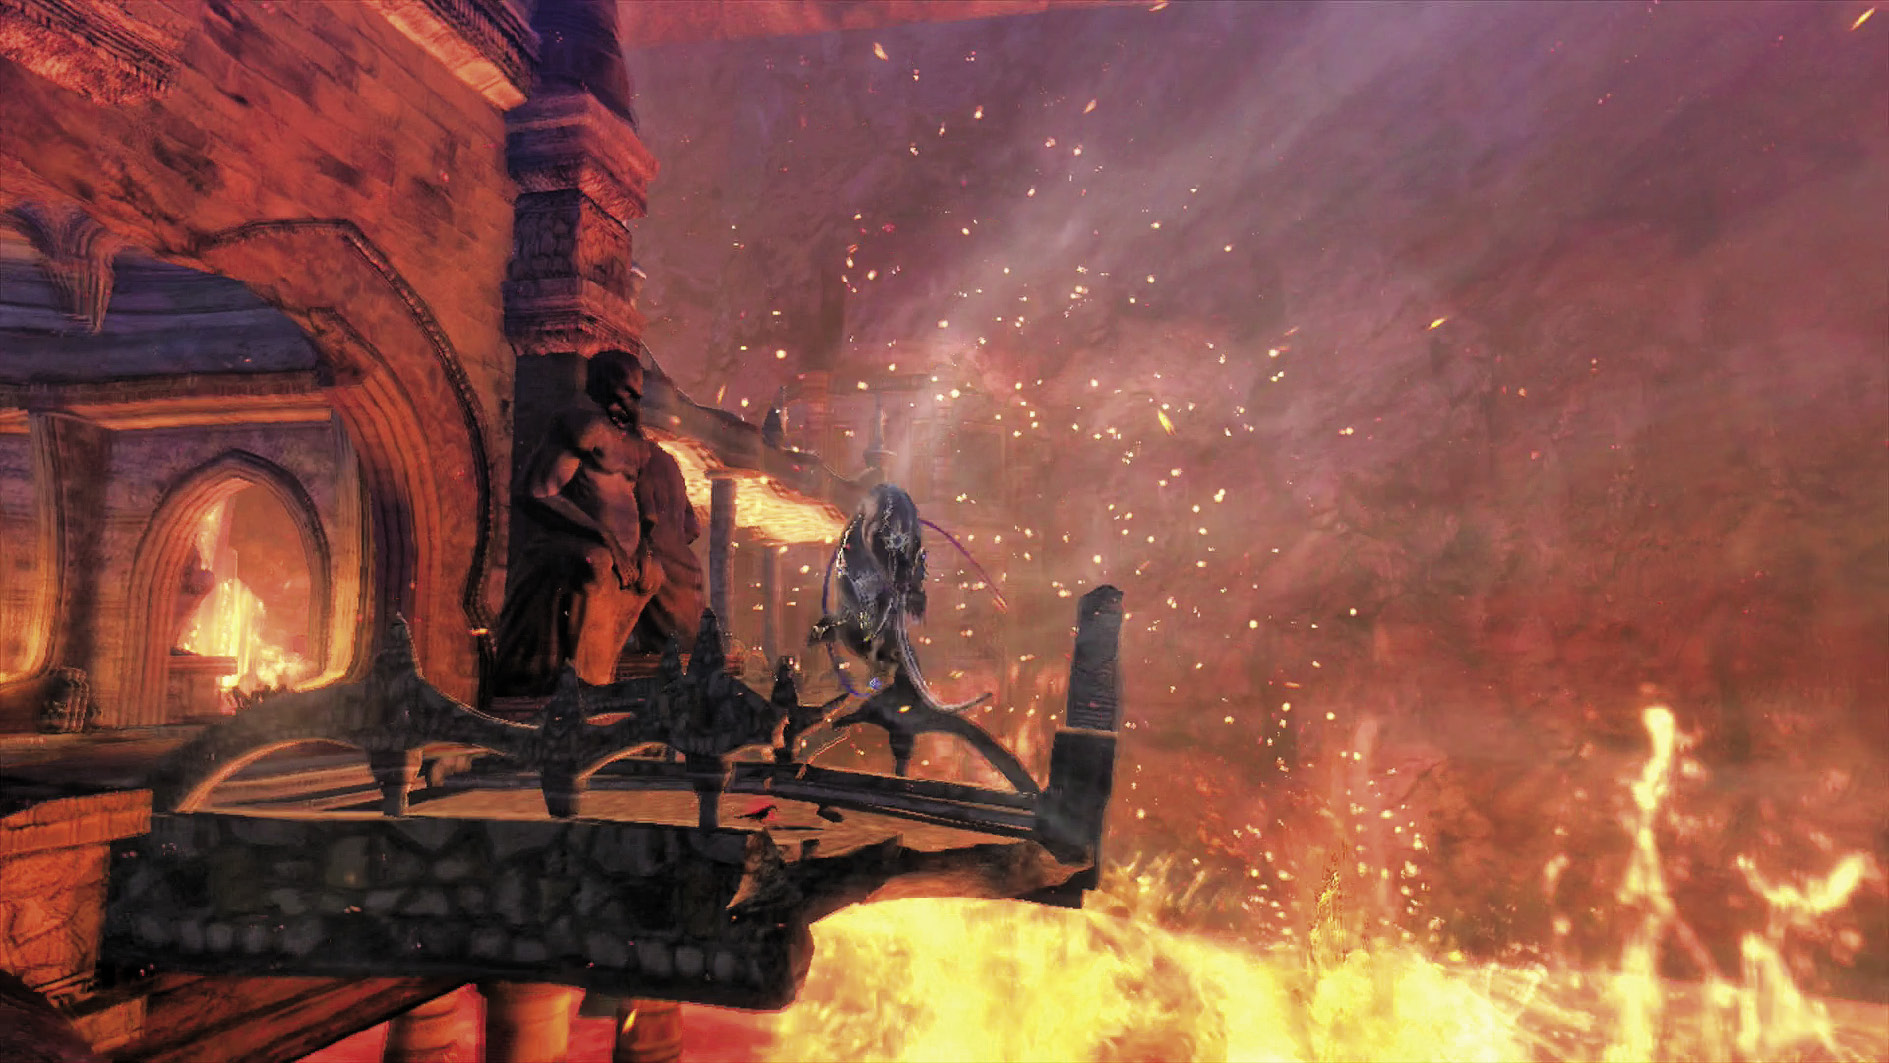
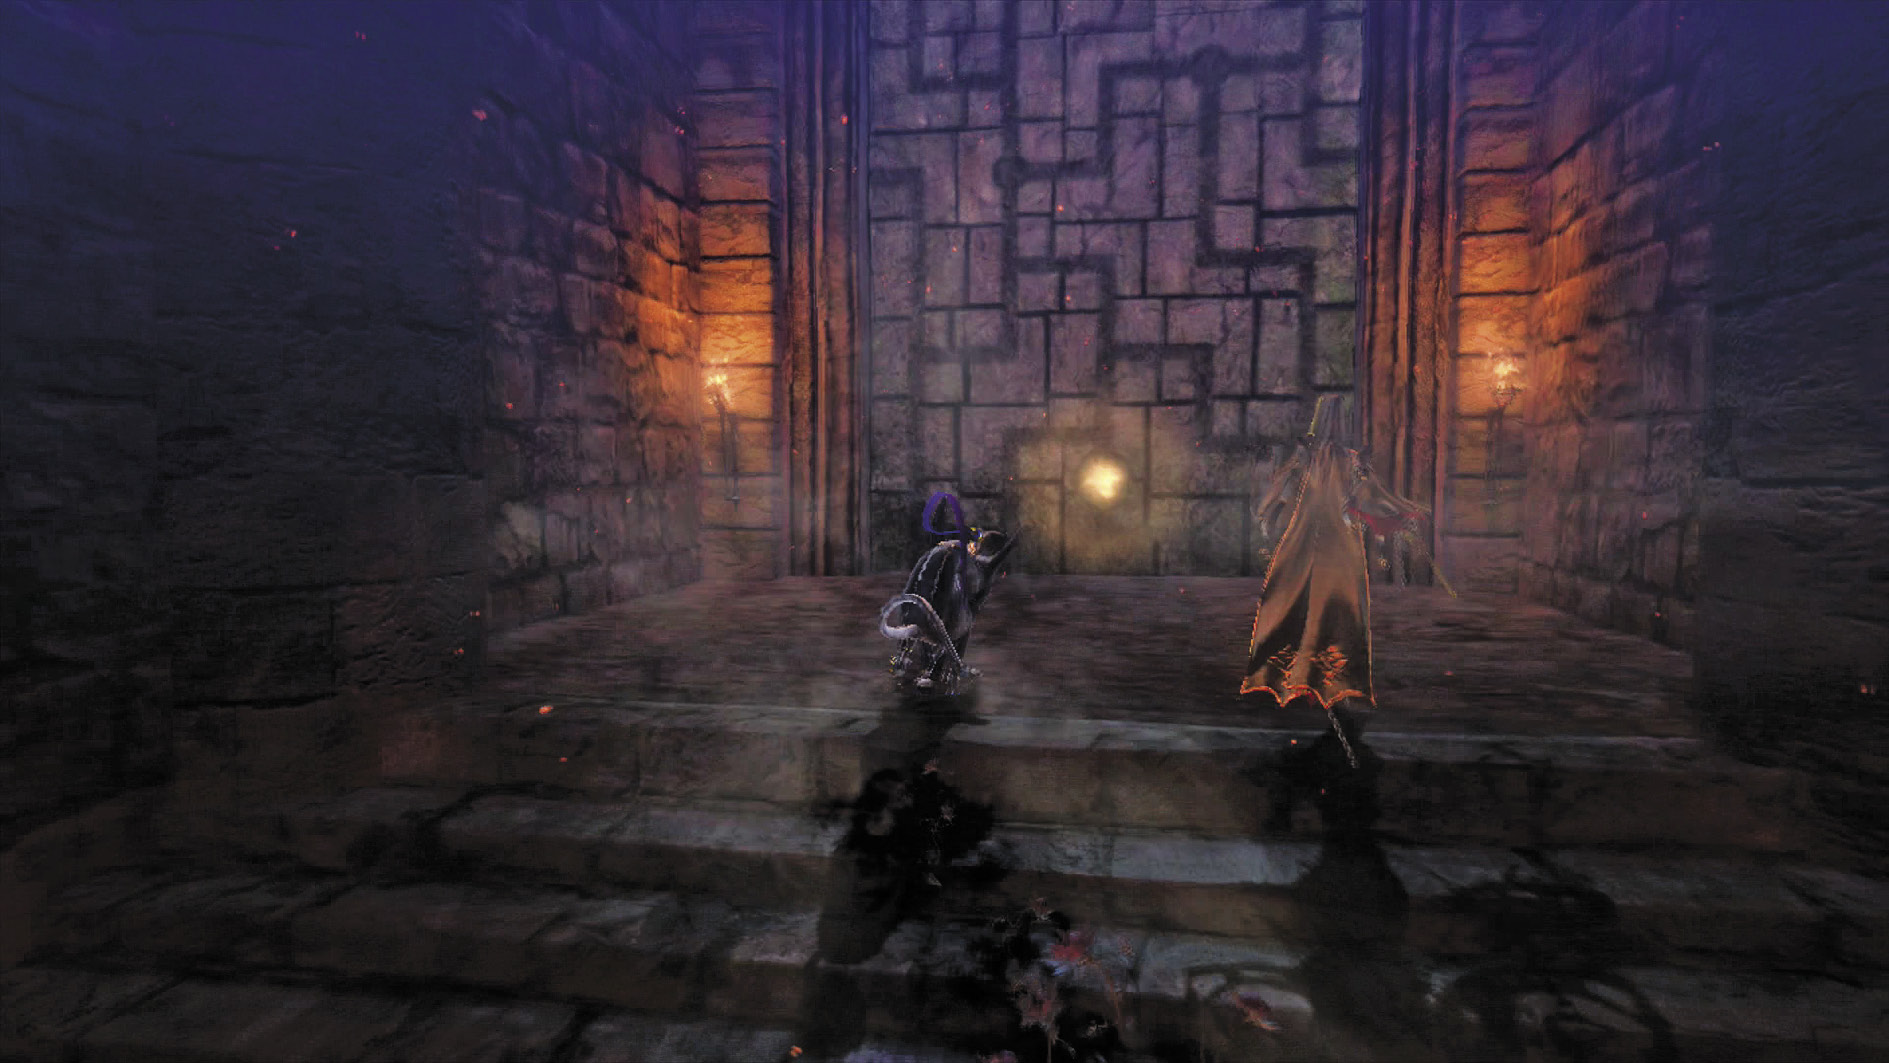
After going through the arch, you see a chest to your left containing a helpful Green Herb Lollipop. You’ve also got another set of Witch Statues, which you can use to keep the lava at bay as you cross the crumbling bridge.
However, if you allow the bridge to break along the way and take the low road, you can reach a chest containing a Yellow Moon Lollipop, followed by another chest containing a Midas’s Testament farther along.
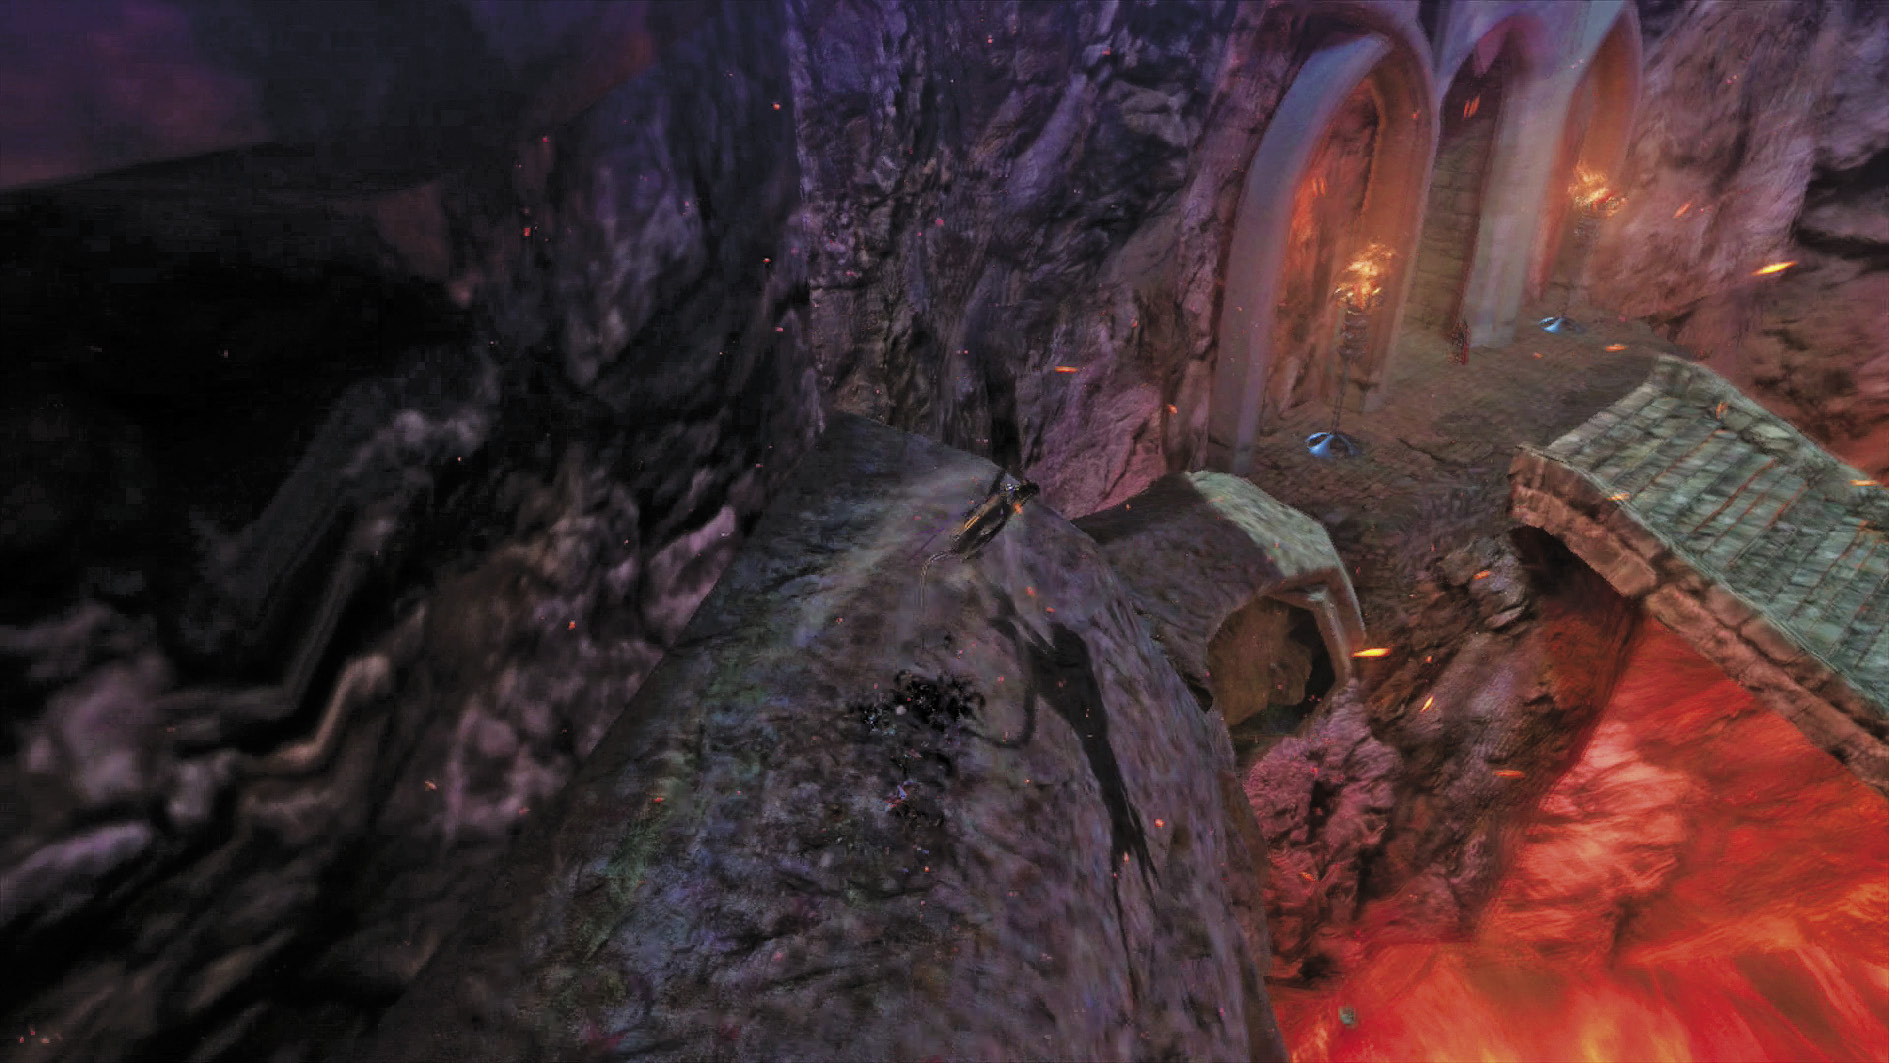
Finally, once you climb back up to the castle, you see an Umbran Crow (17/20) on a broken bridge. Getting to this one is tricky. You can’t walk to it without it flying away (and possibly triggering a checkpoint close by that renders it gone until you restart the stage). Instead, do a running jump with Panther Within from the rock face just prior to it.
Head forward and...gosh, that Beloved’s persistent, isn’t he?
| CH13 V8 | 1st Climax | 2nd Climax | 3rd Climax | ∞ Climax | ||||||||
|---|---|---|---|---|---|---|---|---|---|---|---|---|
| Time | Damage | Combo | Time | Damage | Combo | Time | Damage | Combo | Time | Damage | Combo | |
| PLATINUM | 00:40 | 0 | 390 | 00:40 | 0 | 390 | 00:40 | 0 | 390 | 00:40 | 0 | 390 |
| GOLD | 00:50 | 300 | 340 | 00:50 | 600 | 340 | 00:50 | 1200 | 340 | 00:50 | 2400 | 340 |
| SILVER | 01:00 | 600 | 320 | 01:00 | 1200 | 320 | 01:00 | 2400 | 320 | 01:00 | 3600 | 320 |
| BRONZE | 01:10 | 900 | 310 | 01:10 | 1800 | 310 | 01:10 | 3600 | 310 | 01:10 | 4800 | 310 |
| BOSS BONUS | ||||||||||||
Verse 9
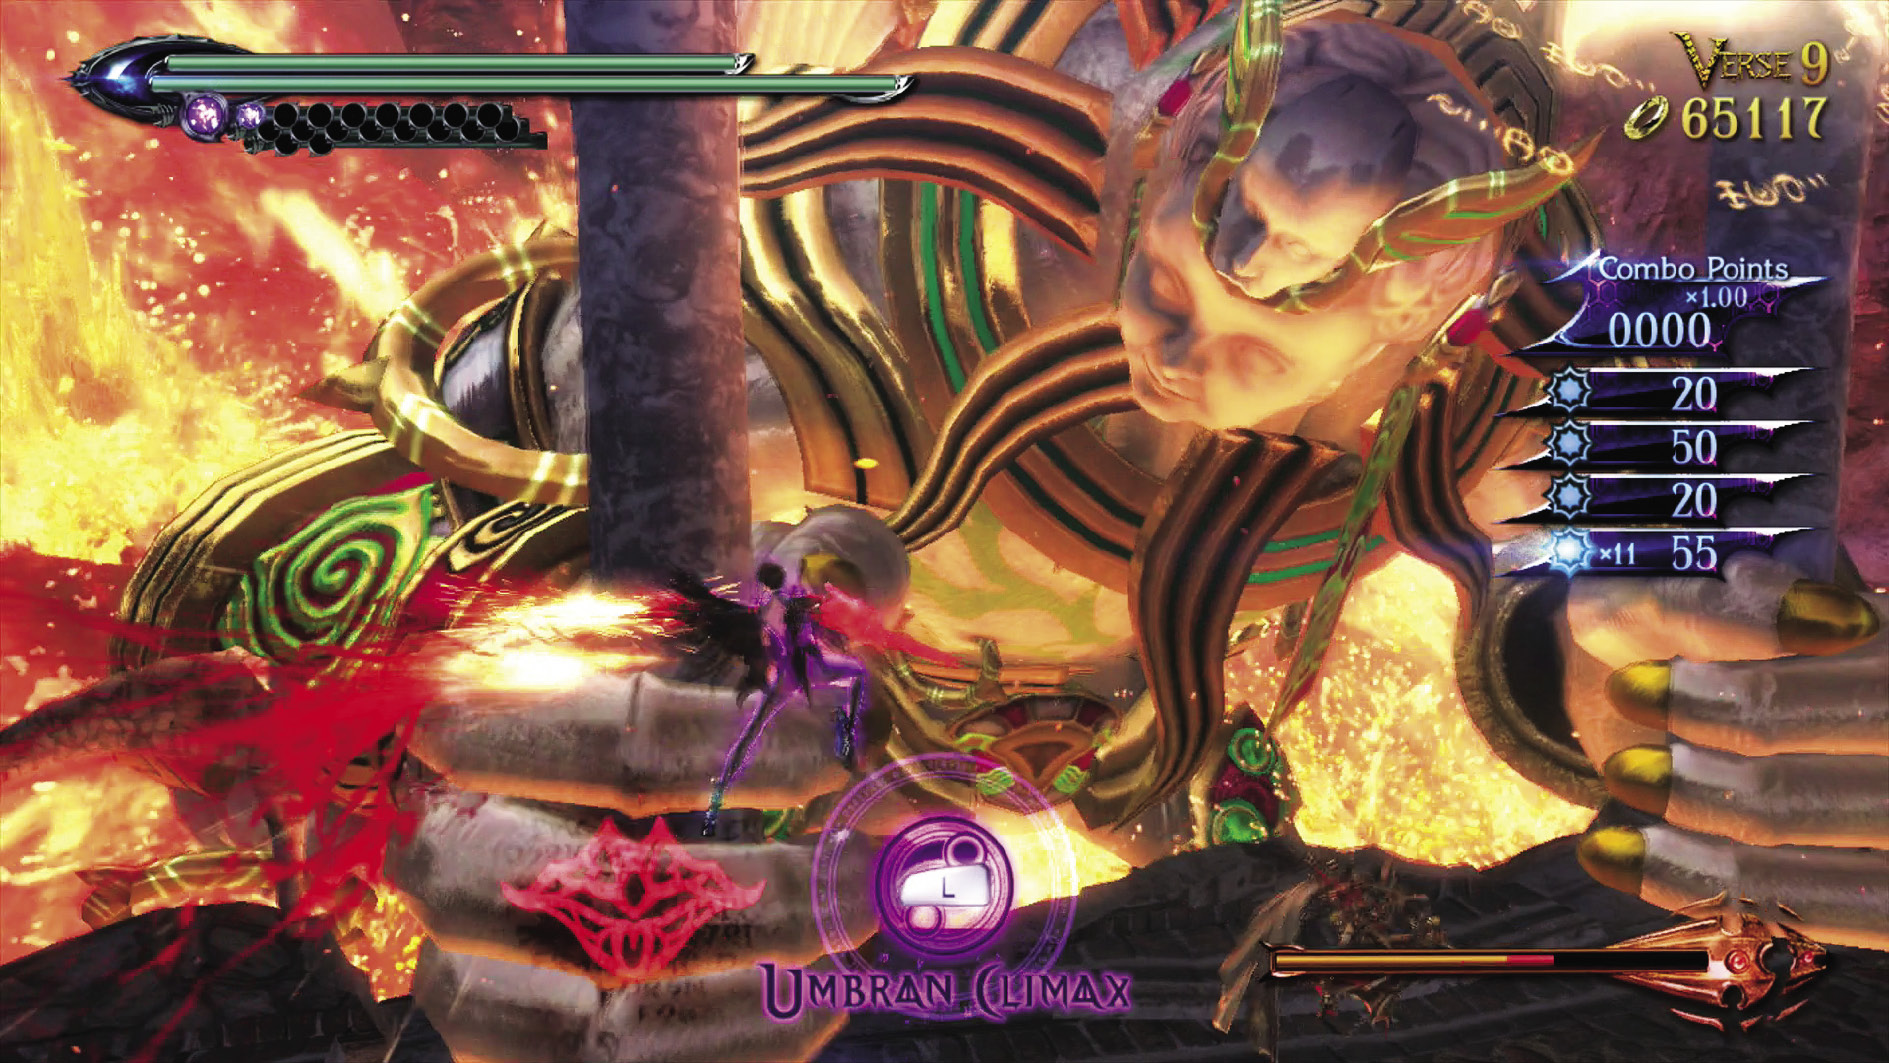
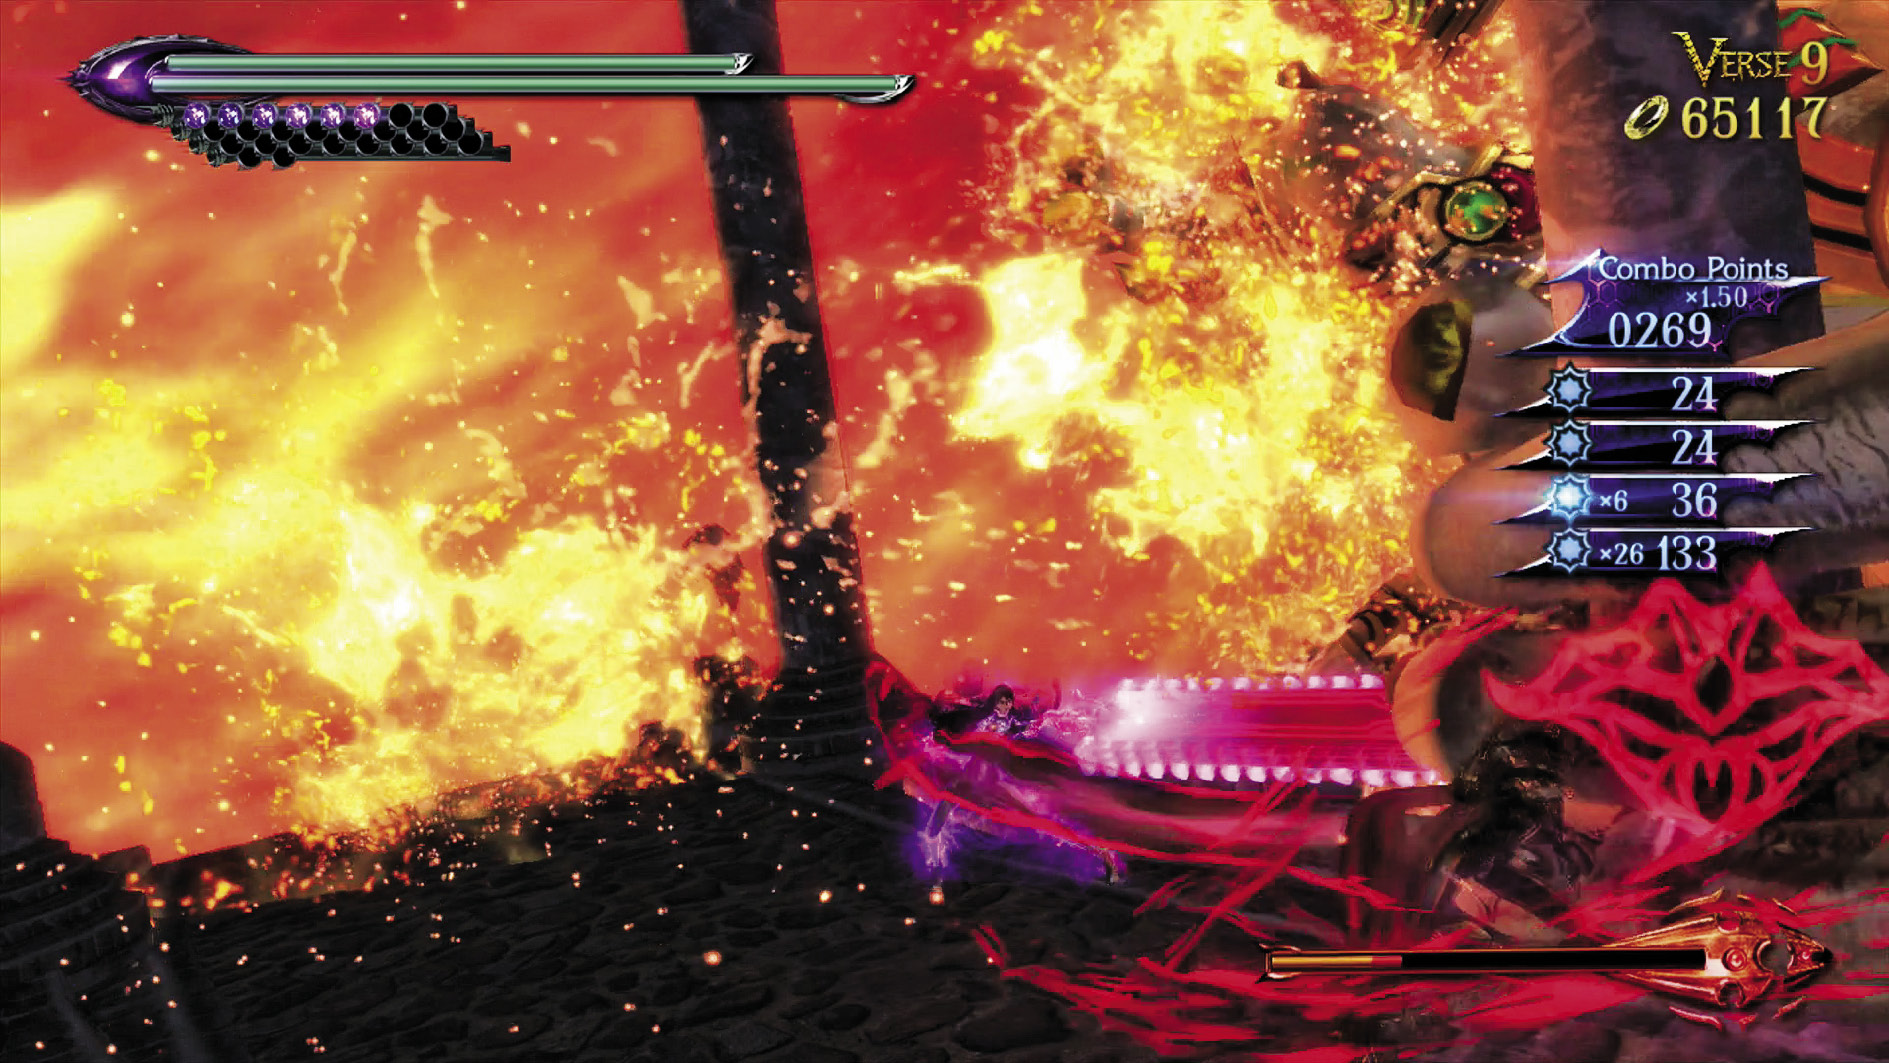
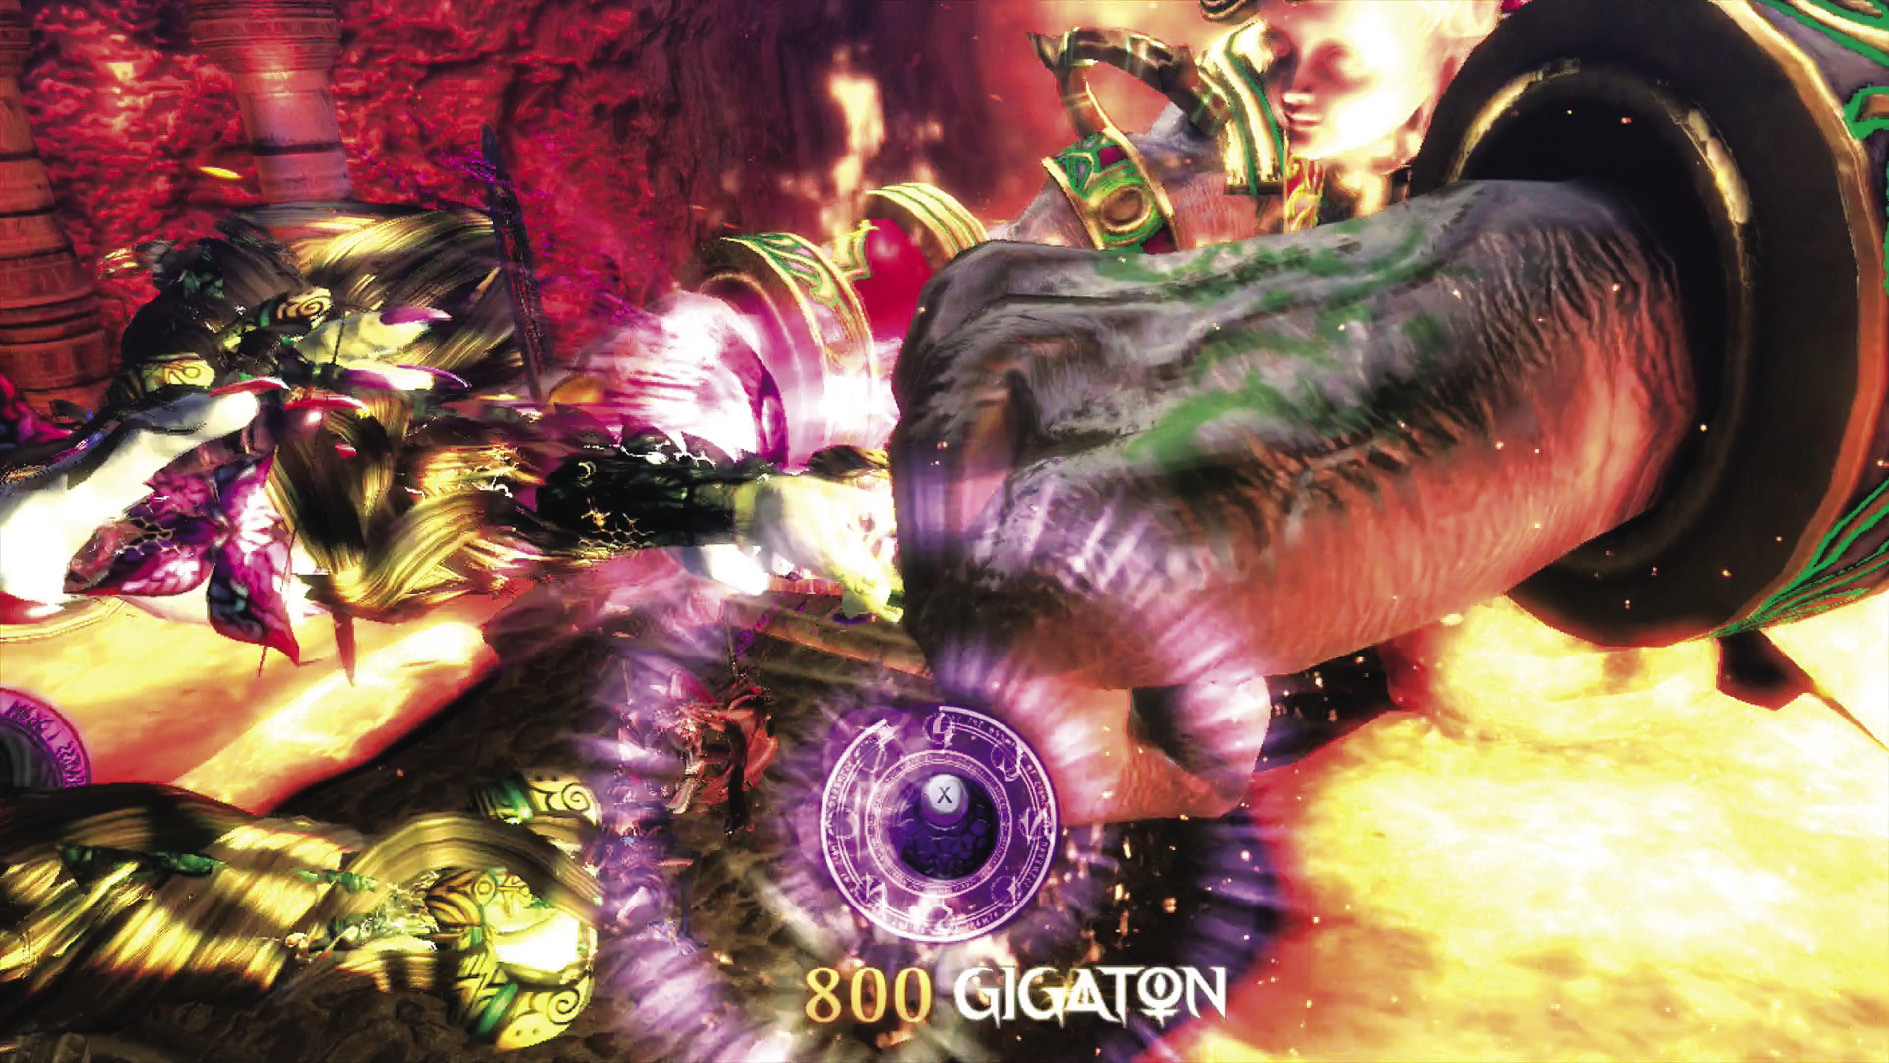
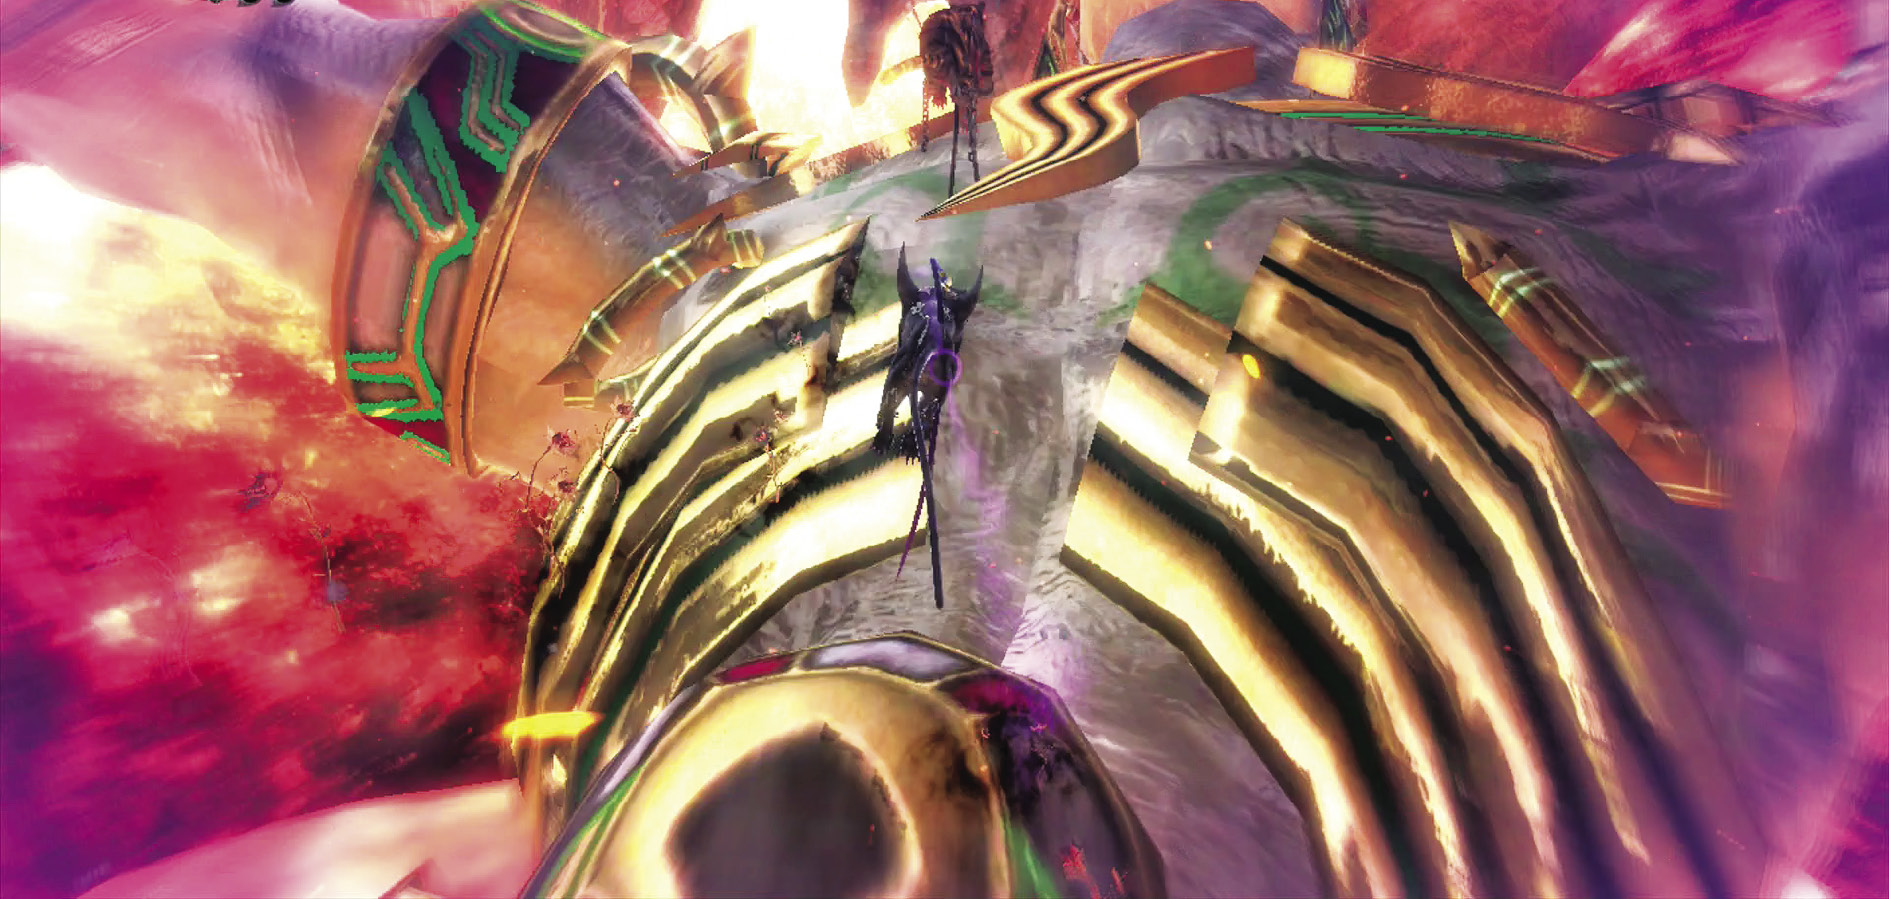
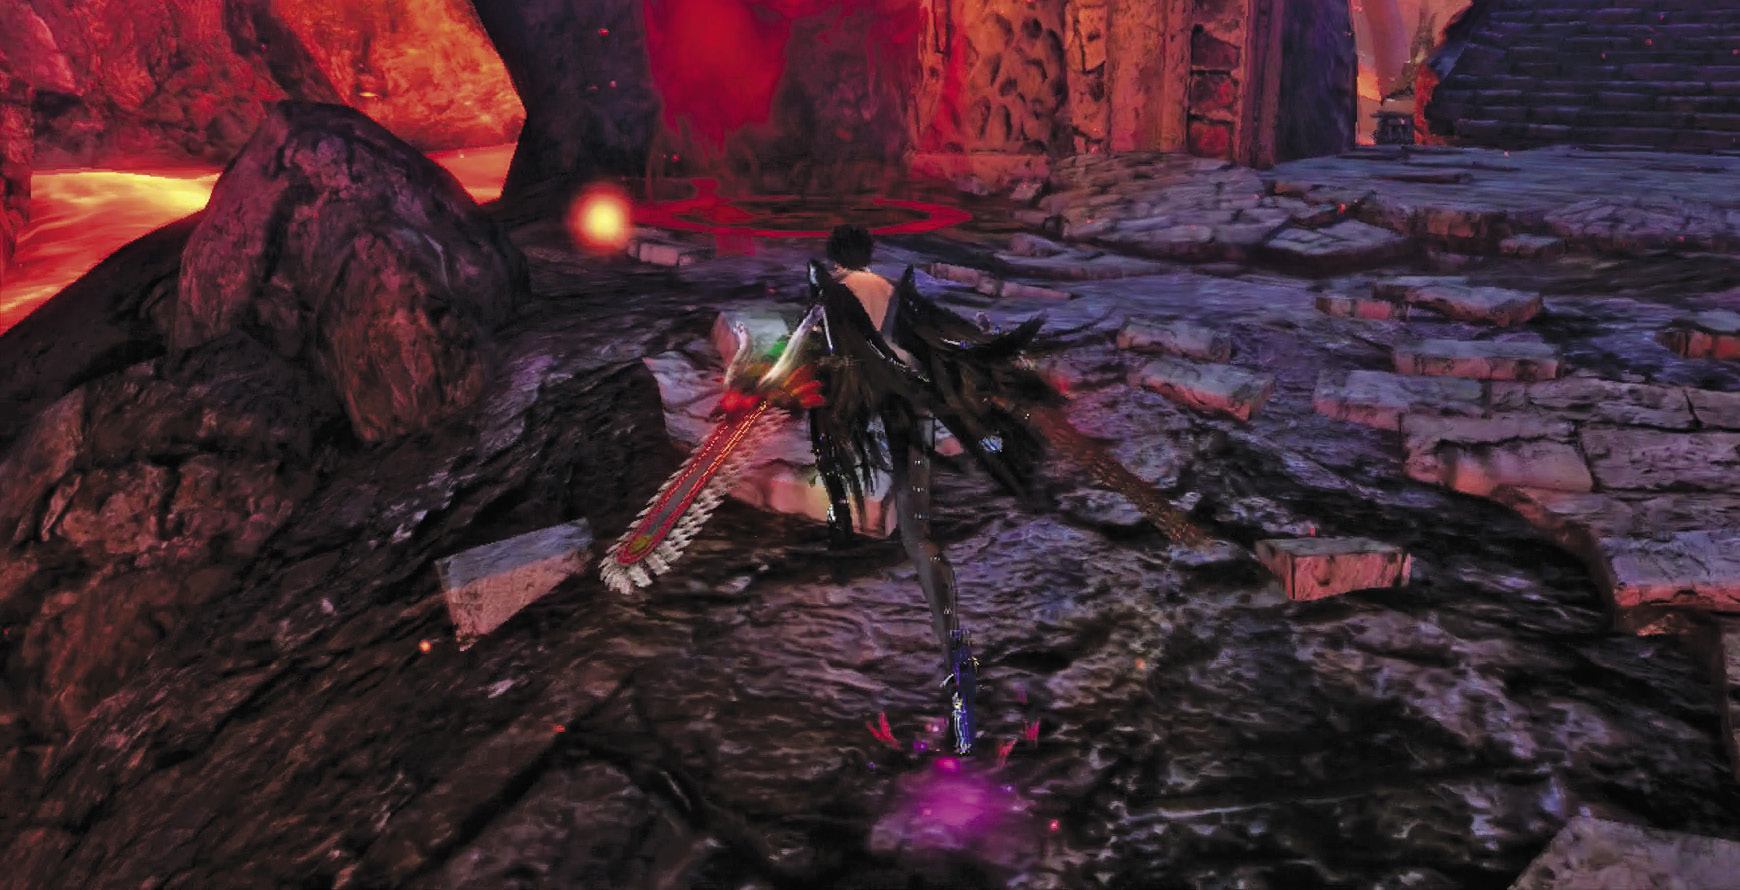
1st Climax/2nd Climax/3rd Climax/∞ Climax (Go for Pure Platinum!)
Suggested Pure Platinum Weapons: Salamandra (Arms)
Enemies: Beloved
Slice the Beloved’s hands as he rattles the bridge around, and stay away from the lava when it comes toward you. That’s pretty much all there is to this battle.
When you deplete his vitality, a climactic Quick Time Event plays, and he’ll start to fall into the lava.
However, Witch Time is activated, so you and Rosa can cross the lava as well!
With the Beloved in the drink, you can move on to an entrance to The Gates of Hell.
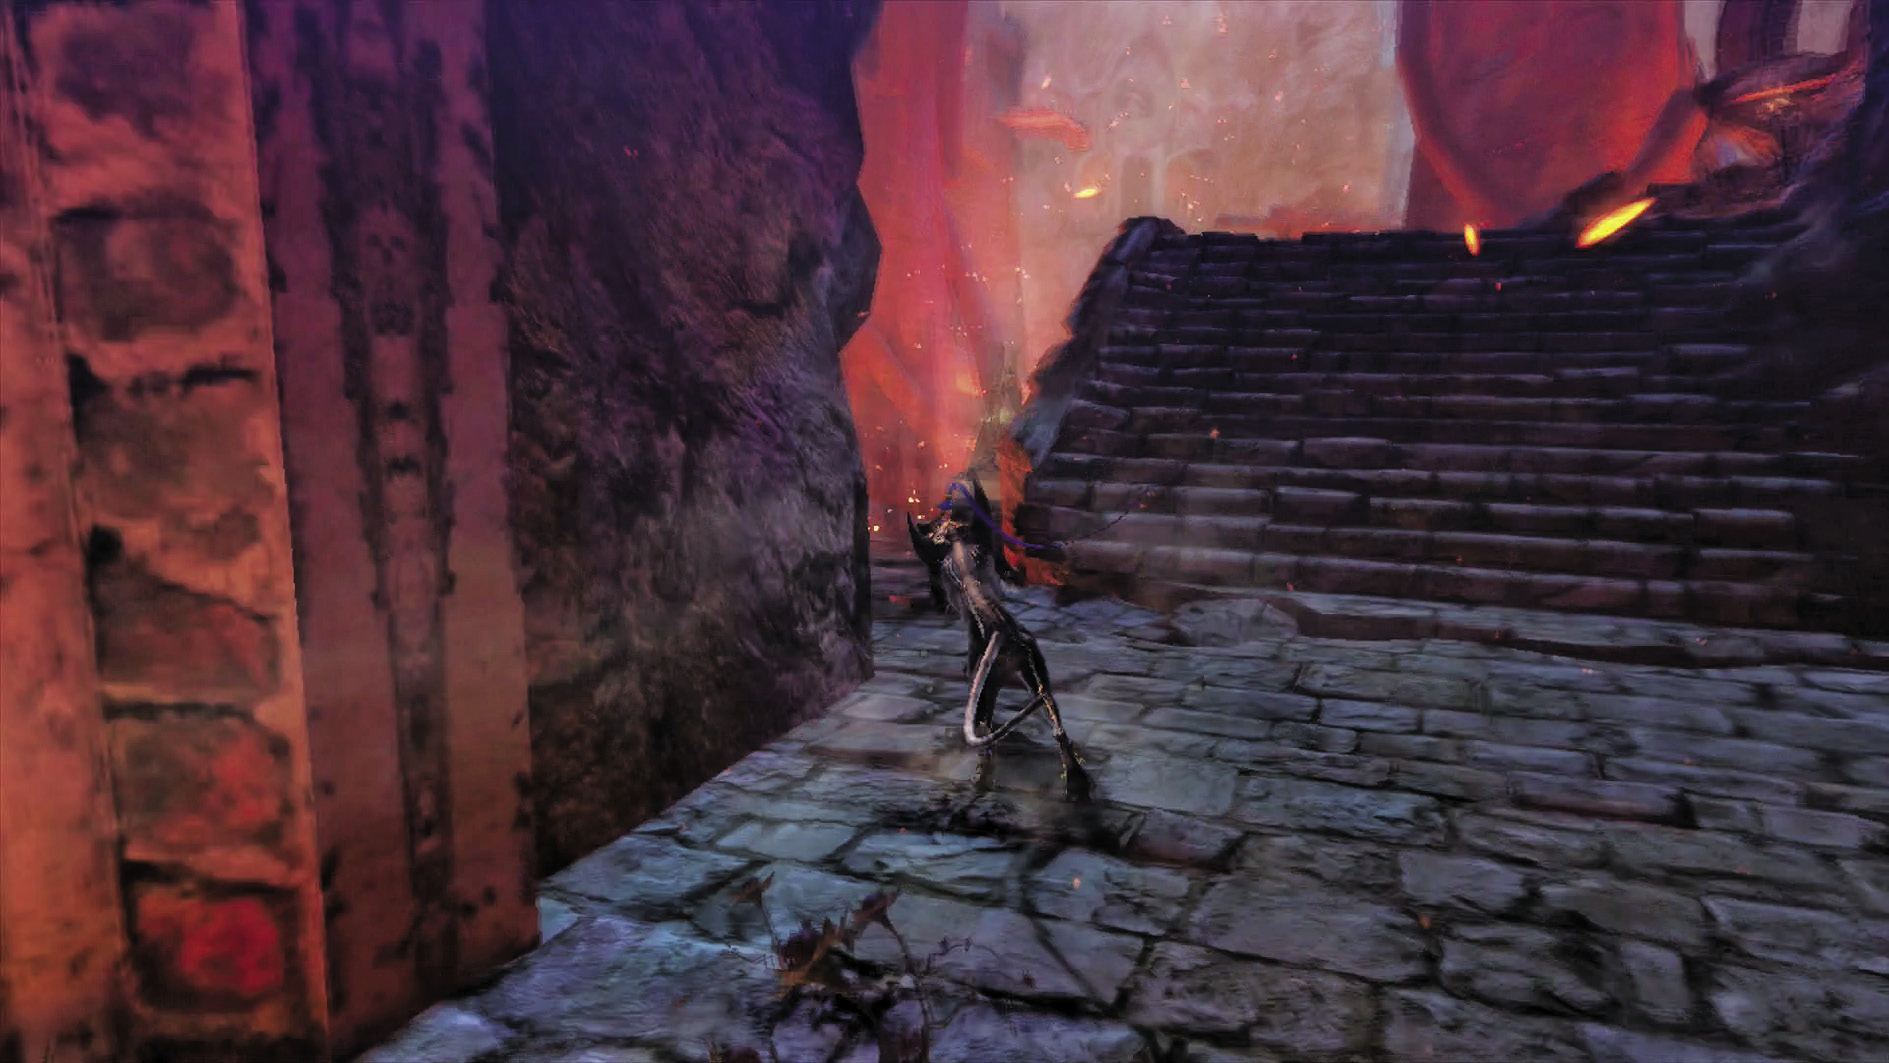
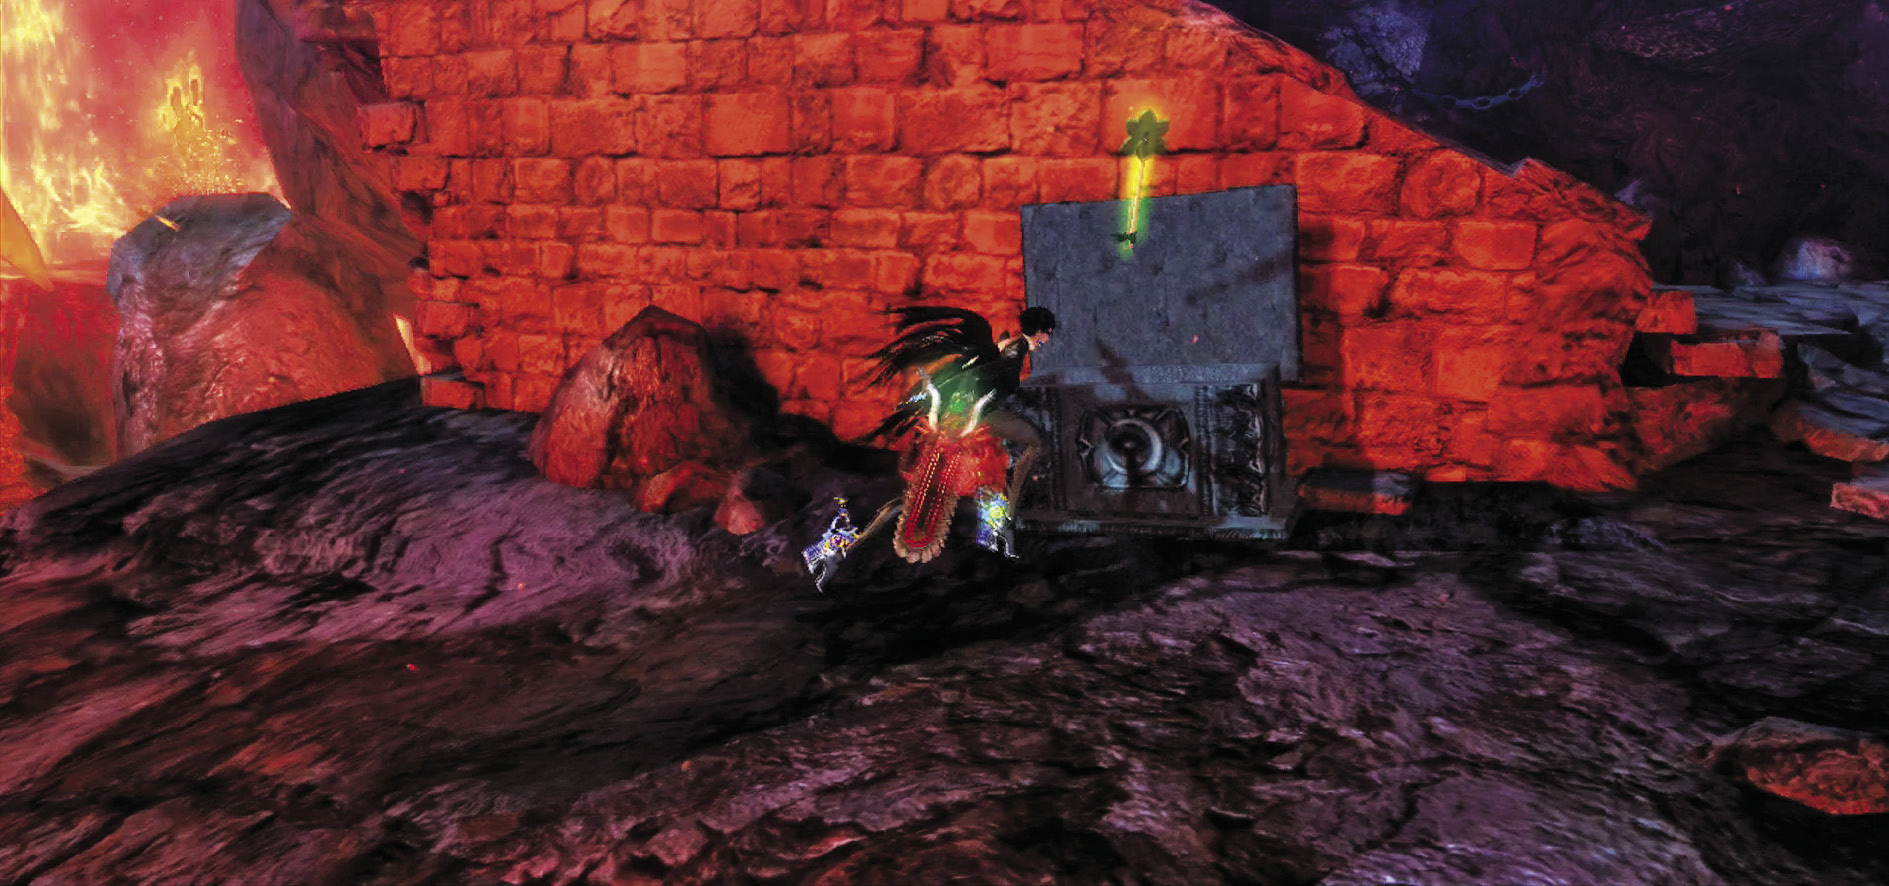
Move on past The Gates of Hell, but go to the left of the staircase you see to find a chest containing a Mega Green Herb Lollipop. Follow the outcropping two levels down to grab a Broken Witch Heart (34/40) from another chest.
Head back onto the beaten path—and we do mean beaten. Some precarious platforms await you, and they break when touched. Jump onto these, then immediately off, until you reach Verse 10.
| CH13 V9 | 1st Climax | 2nd Climax | 3rd Climax | ∞ Climax | ||||||||
|---|---|---|---|---|---|---|---|---|---|---|---|---|
| Time | Damage | Combo | Time | Damage | Combo | Time | Damage | Combo | Time | Damage | Combo | |
| PLATINUM | 00:38 | 0 | 1230 | 00:38 | 0 | 1230 | 00:38 | 0 | 1230 | 00:38 | 0 | 1230 |
| GOLD | 00:48 | 150 | 850 | 00:48 | 300 | 850 | 00:48 | 600 | 850 | 00:48 | 1500 | 850 |
| SILVER | 00:58 | 300 | 760 | 00:58 | 600 | 760 | 00:58 | 1200 | 760 | 00:58 | 3000 | 760 |
| BRONZE | 01:08 | 600 | 660 | 01:08 | 1200 | 660 | 01:08 | 2400 | 660 | 01:08 | 4500 | 660 |
| BOSS BONUS | ||||||||||||
Verse 10
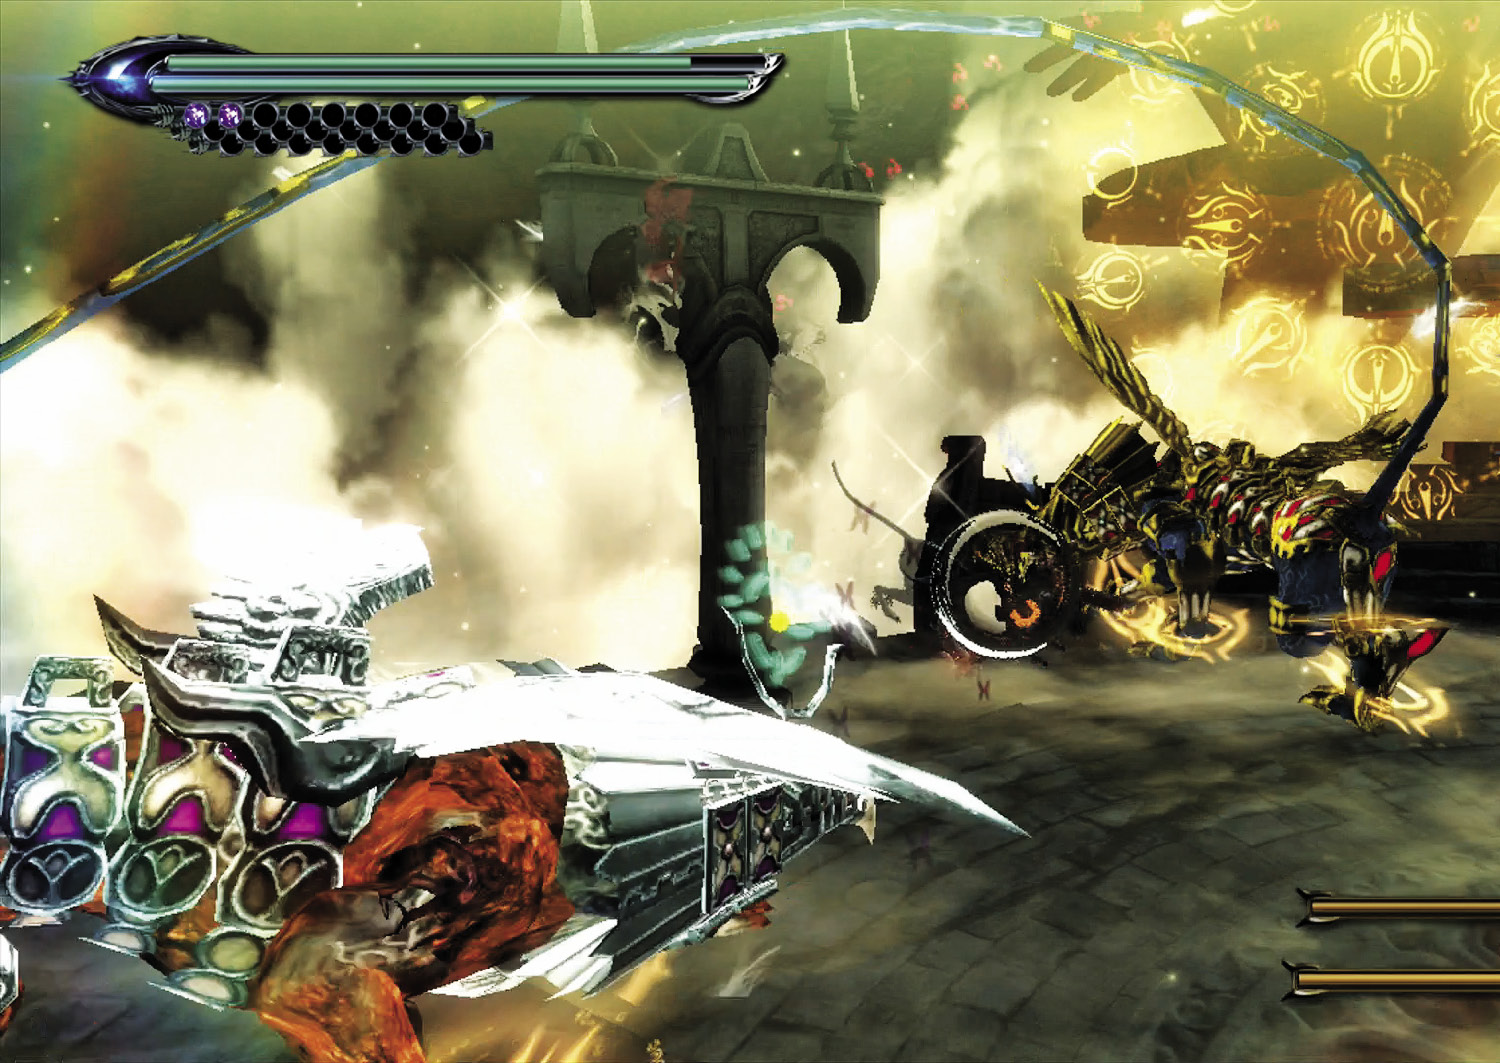
Enemy Spotlight: Grace & Glory
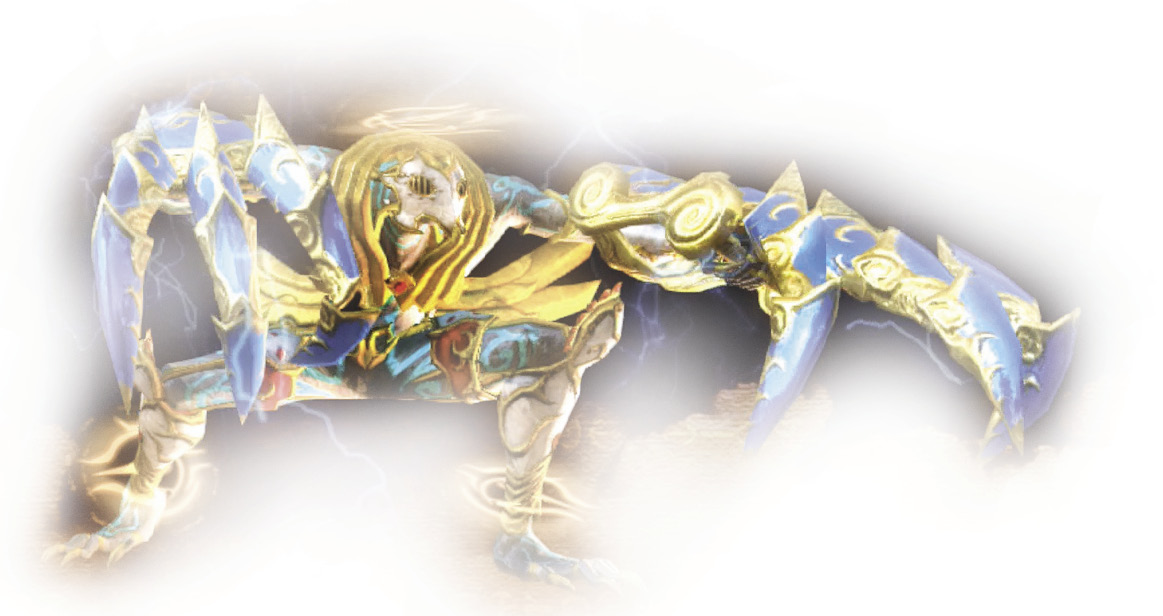
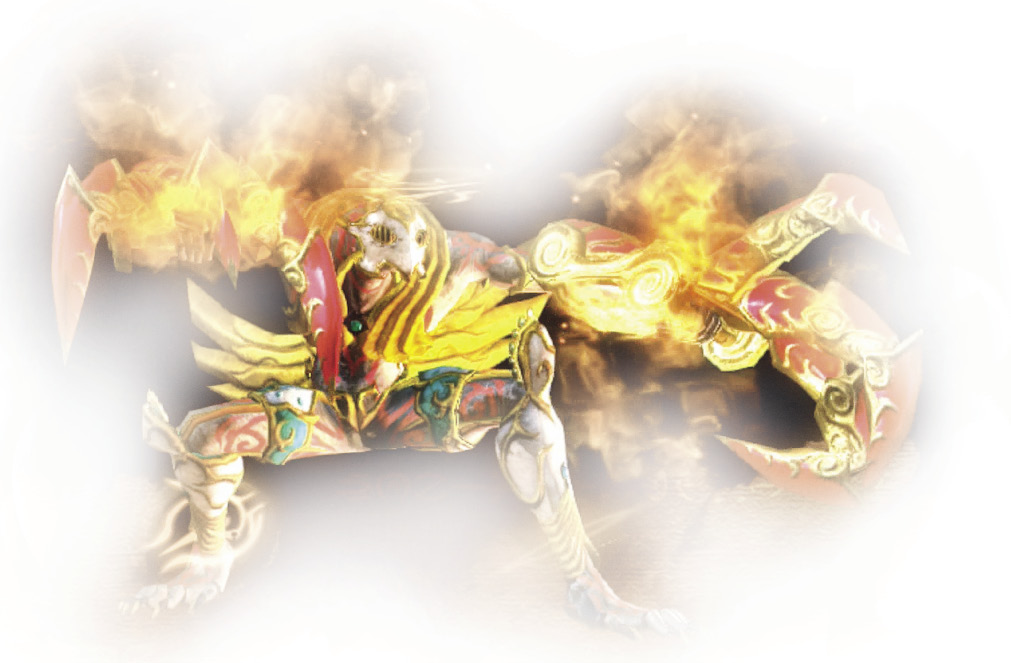
Grace & Glory were known in the first Bayonetta for their ultra-erratic movements and brutal combo attacks. Needless to say, they were loved by players the world over.
To beat these two monsters, you need to be as mobile as them. It’s almost like a shell game—watch them move back and forth until you know their claws are about to move in your direction, then dodge!
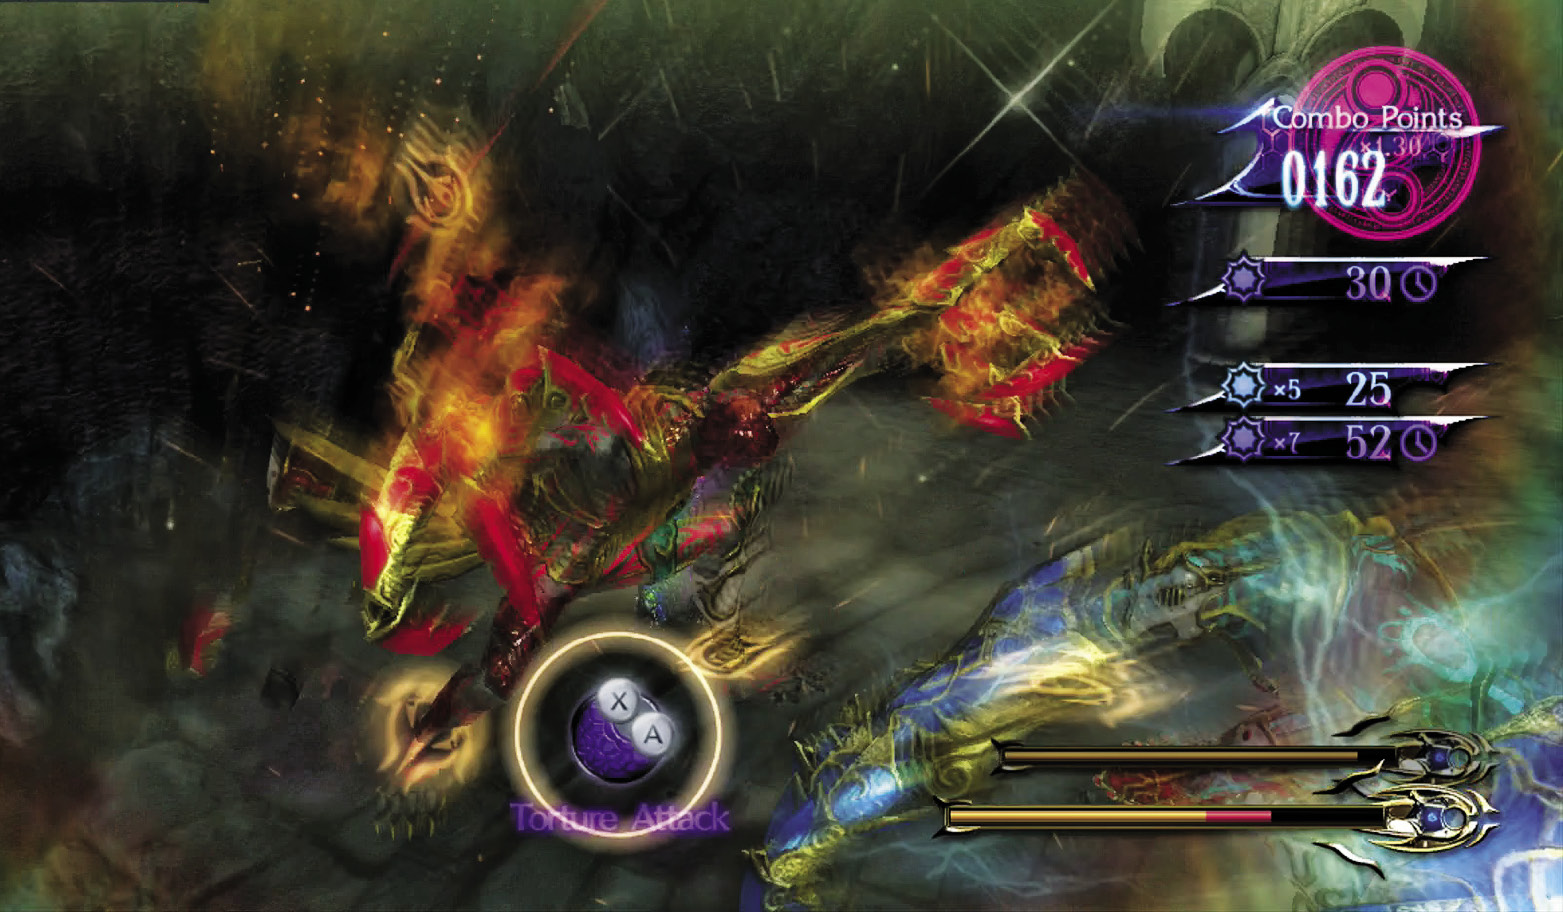
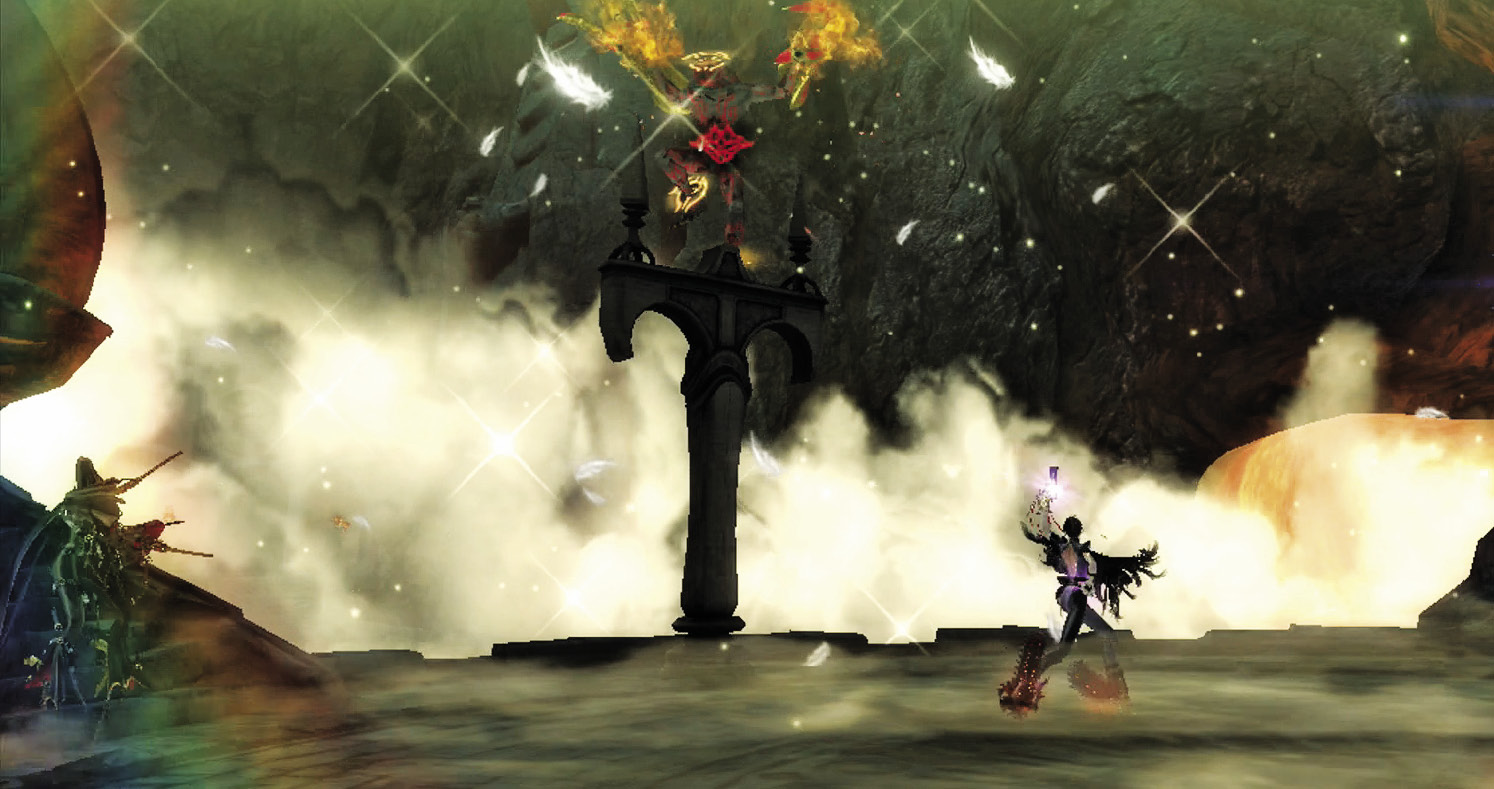
1st Climax/2nd Climax/3rd Climax
Enemies: Grace x1, Glory x1
This is your first time fighting Grace & Glory if you’re playing on the lower difficulties. Feel free to follow the strategy in the Enemy Spotlight. You have a medium-sized battlefield and Rosa on your side to make things easier, but be warned—Grace & Glory here like to use the towers to mount attacks from above!
∞ Climax
Enemies: Fearless x1, Fairness x1
You’re fighting Fearless & Fairness here. They won’t try to mount offensives from the towers, but that makes them no less dangerous. Use standard wide-berth and hit-and-run tactics to put them in their place.
Go for Pure Platinum!
Suggested Weapons: Salamandra (Arms)
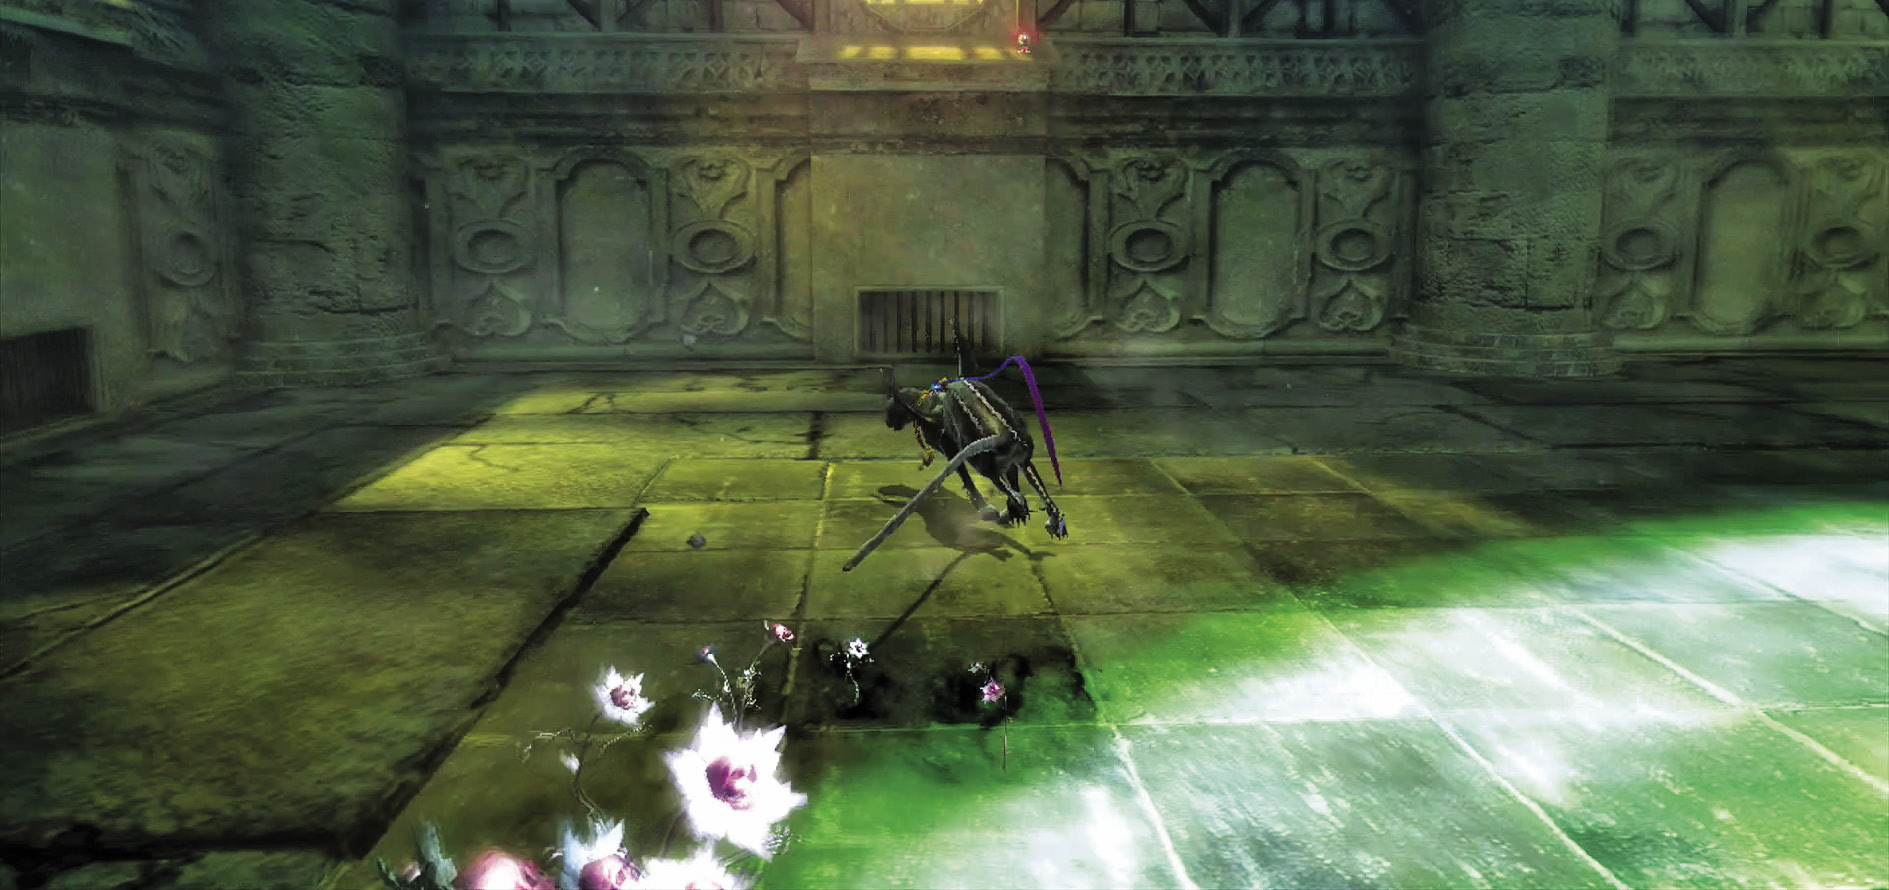
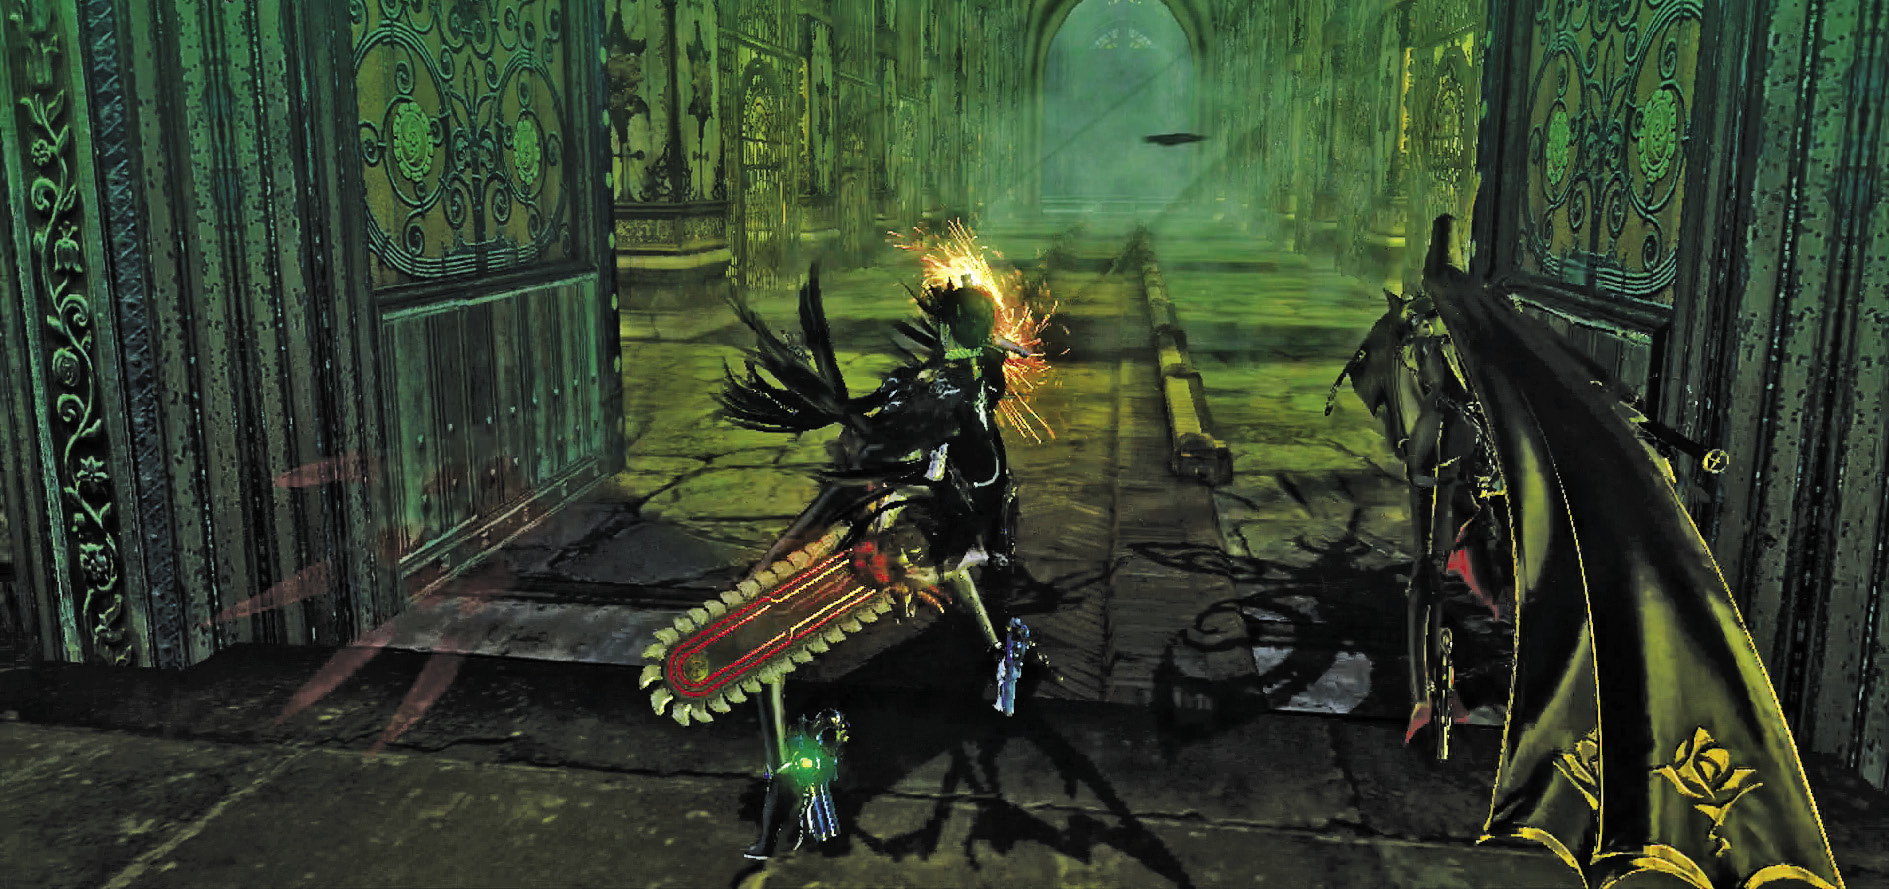
The provided strategies with Salamandra will be enough to secure Pure Platinum here. Use your guns when necessary if Grace & Glory try their high-rise antics.
Quickly climb up these collapsing statues, keeping your bearing straight ahead! Do a running Panther Within jump to reach a chest containing a Broken Witch Heart (35/40).
Use the other statues as footholds until you reach safety on the other side. Move forward for one more Golem Wall.
Just after breaking through the Golem Wall, look left to see an Umbran Crow (18/20) perched on a window. To the right of the staircase is a chest containing a Mega Purple Magic Lollipop.
Go through the doors ahead. Check the left gated alley for some breakables, and the right alley for a Muspelheim.
| CH13 V10 | 1st Climax | 2nd Climax | 3rd Climax | ∞ Climax | ||||||||
|---|---|---|---|---|---|---|---|---|---|---|---|---|
| Time | Damage | Combo | Time | Damage | Combo | Time | Damage | Combo | Time | Damage | Combo | |
| PLATINUM | 00:45 | 0 | 1800 | 00:45 | 0 | 1800 | 00:45 | 0 | 1800 | 0 | 5880 | |
| GOLD | 00:55 | 200 | 1170 | 00:55 | 400 | 1170 | 00:55 | 800 | 1170 | 2000 | 3070 | |
| SILVER | 01:05 | 400 | 1010 | 01:05 | 800 | 1010 | 01:05 | 1600 | 1010 | 3500 | 2370 | |
| BRONZE | 01:15 | 600 | 860 | 01:15 | 1200 | 860 | 01:15 | 2400 | 860 | 5000 | 1670 | |
| BOSS BONUS | ||||||||||||
Verse 11
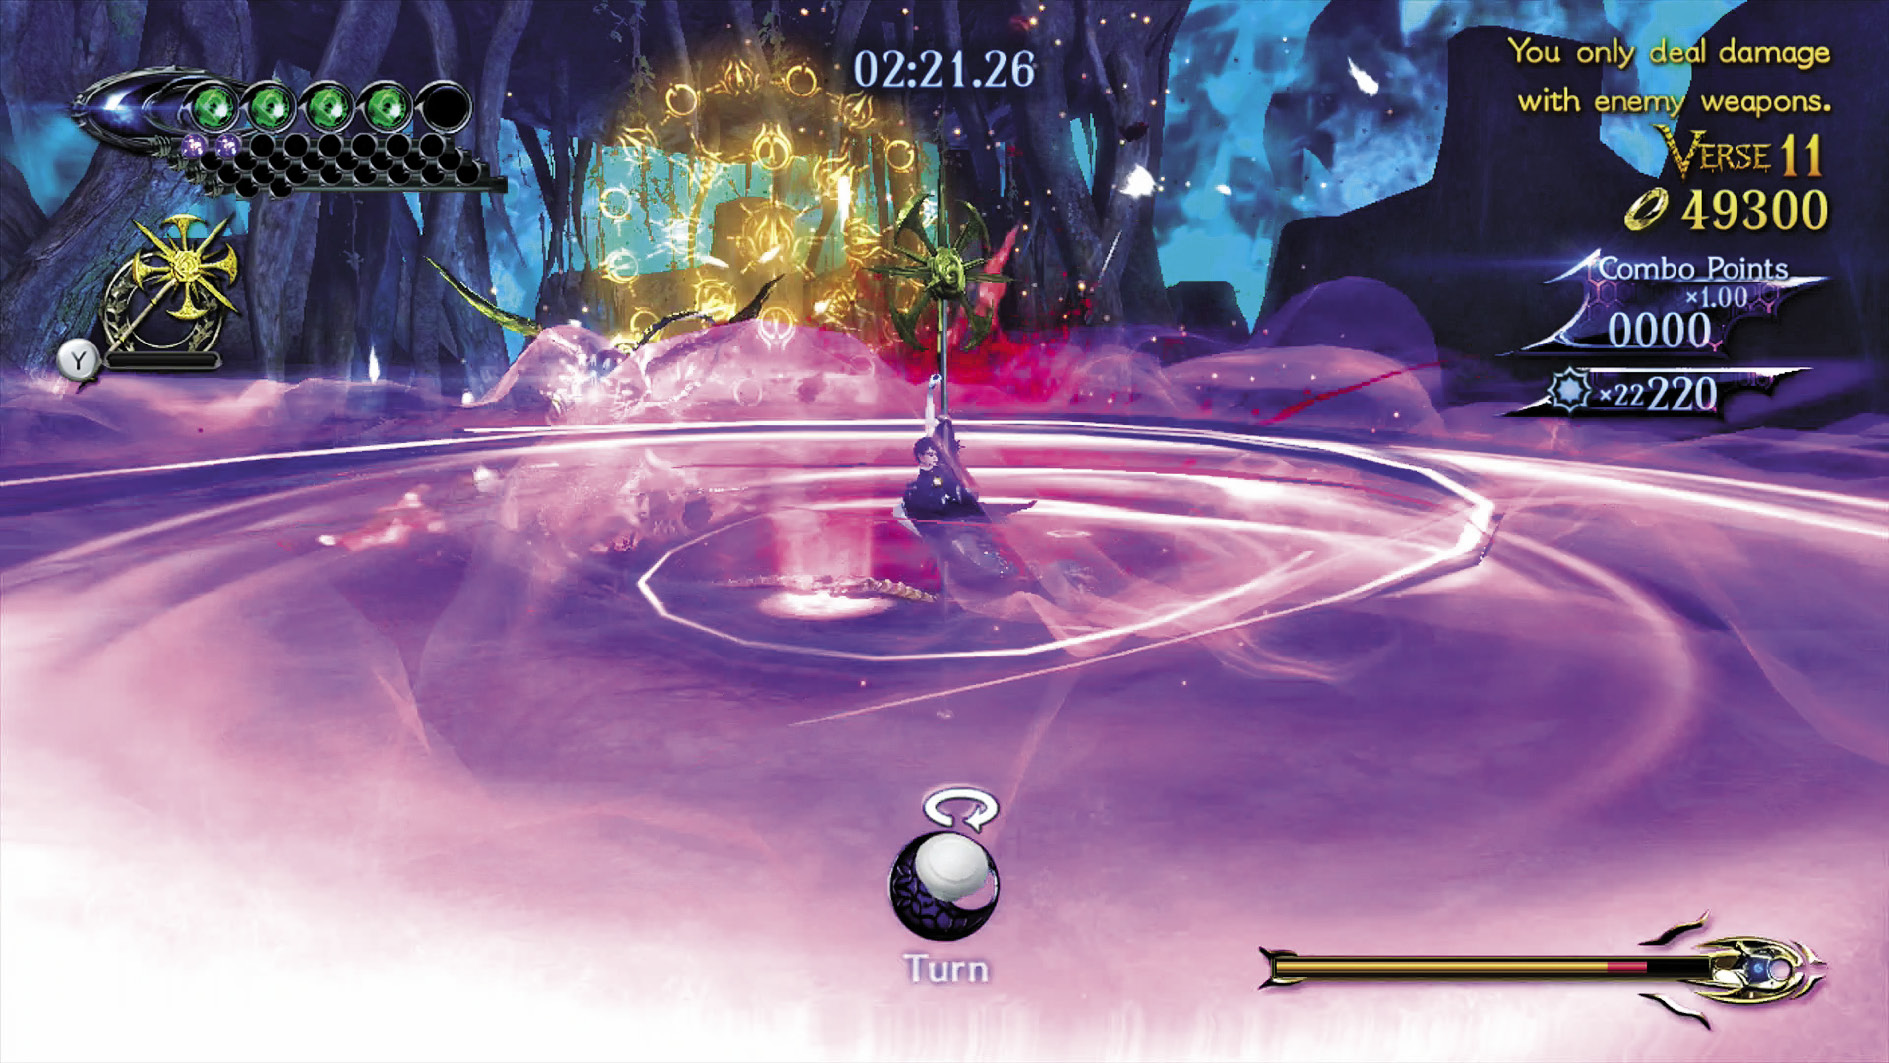
1st Climax/2nd Climax/3rd Climax/∞ Climax (Go for Pure Platinum!)
Suggested Pure Platinum Weapons: N/A
Muspelheim Objective: You only deal damage with enemy weapons.
Enemies: Applaud (Bow) x1, Fearless x1, Decorations x5; ∞ Climax: Fearless x2, Gravitas x1
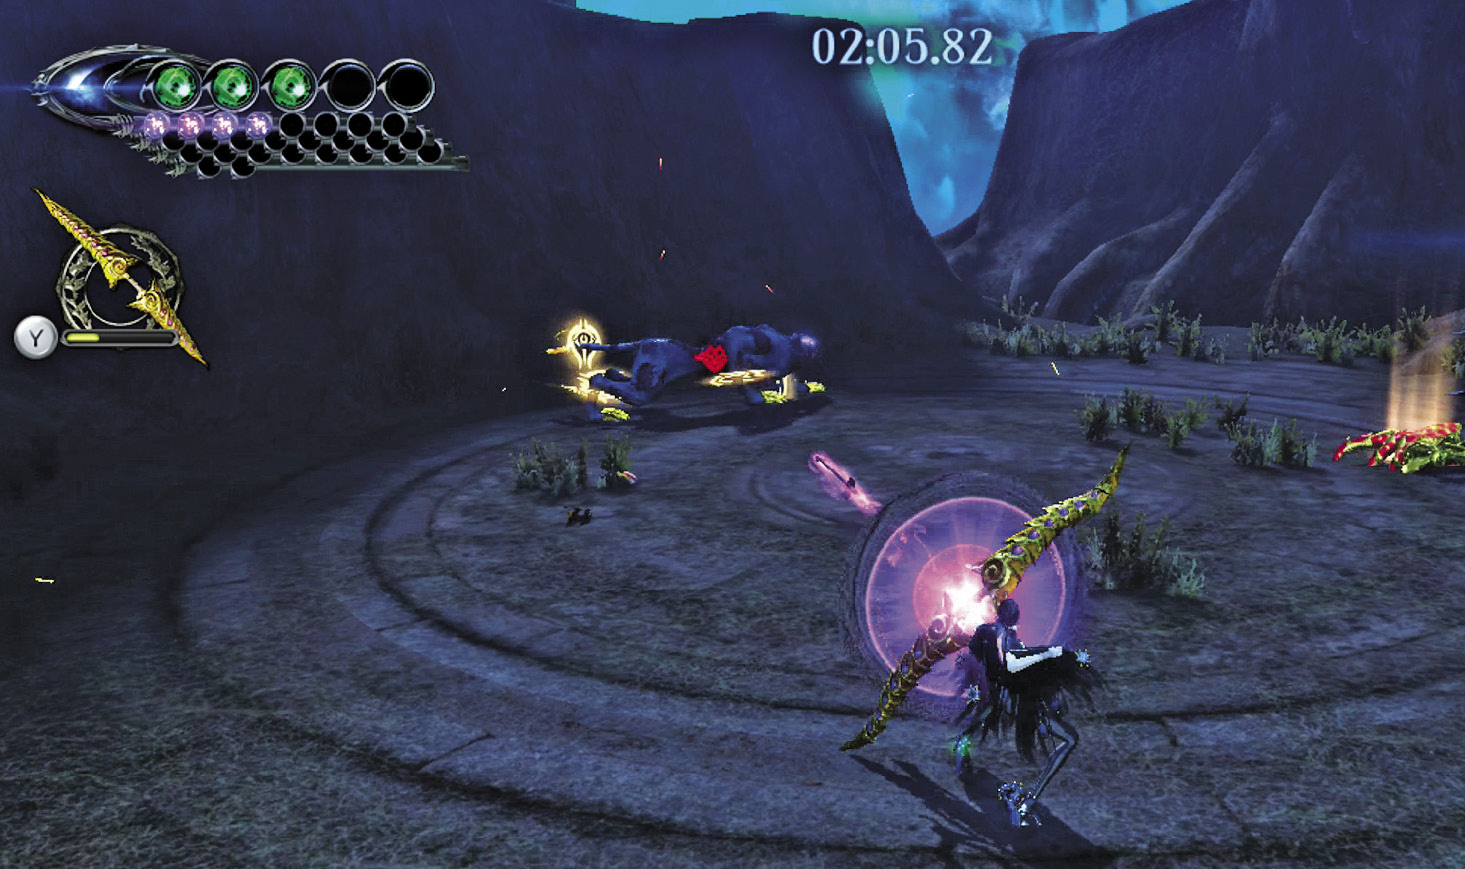
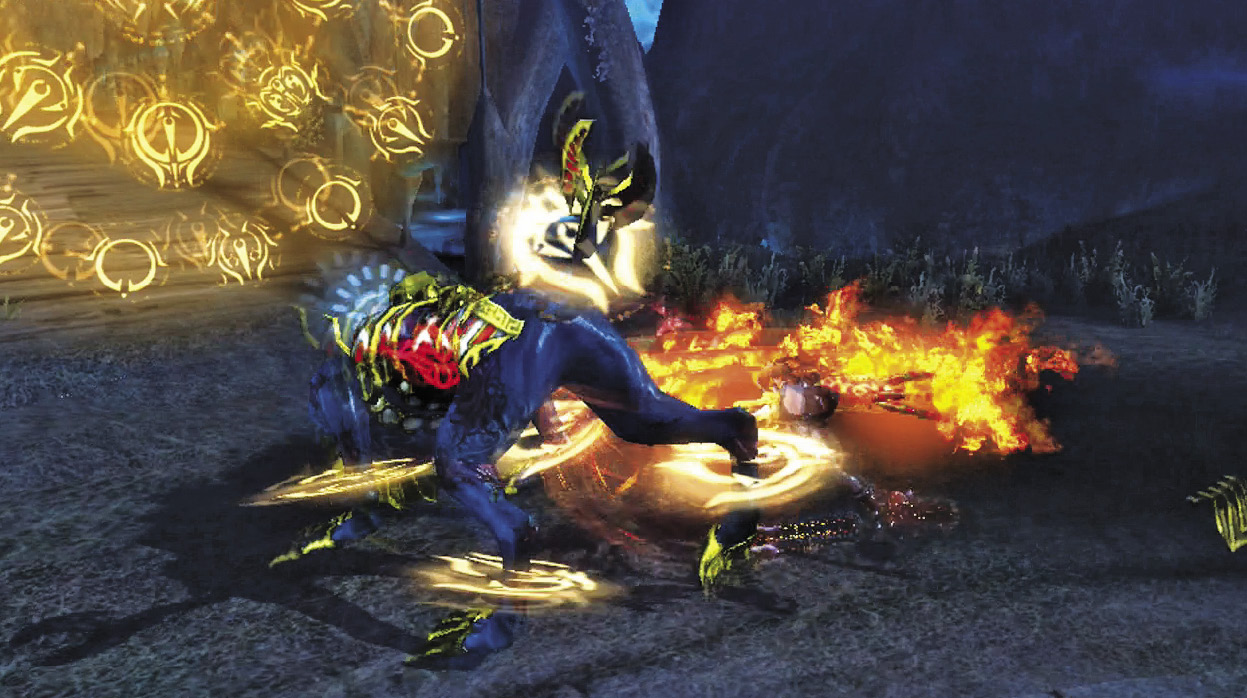
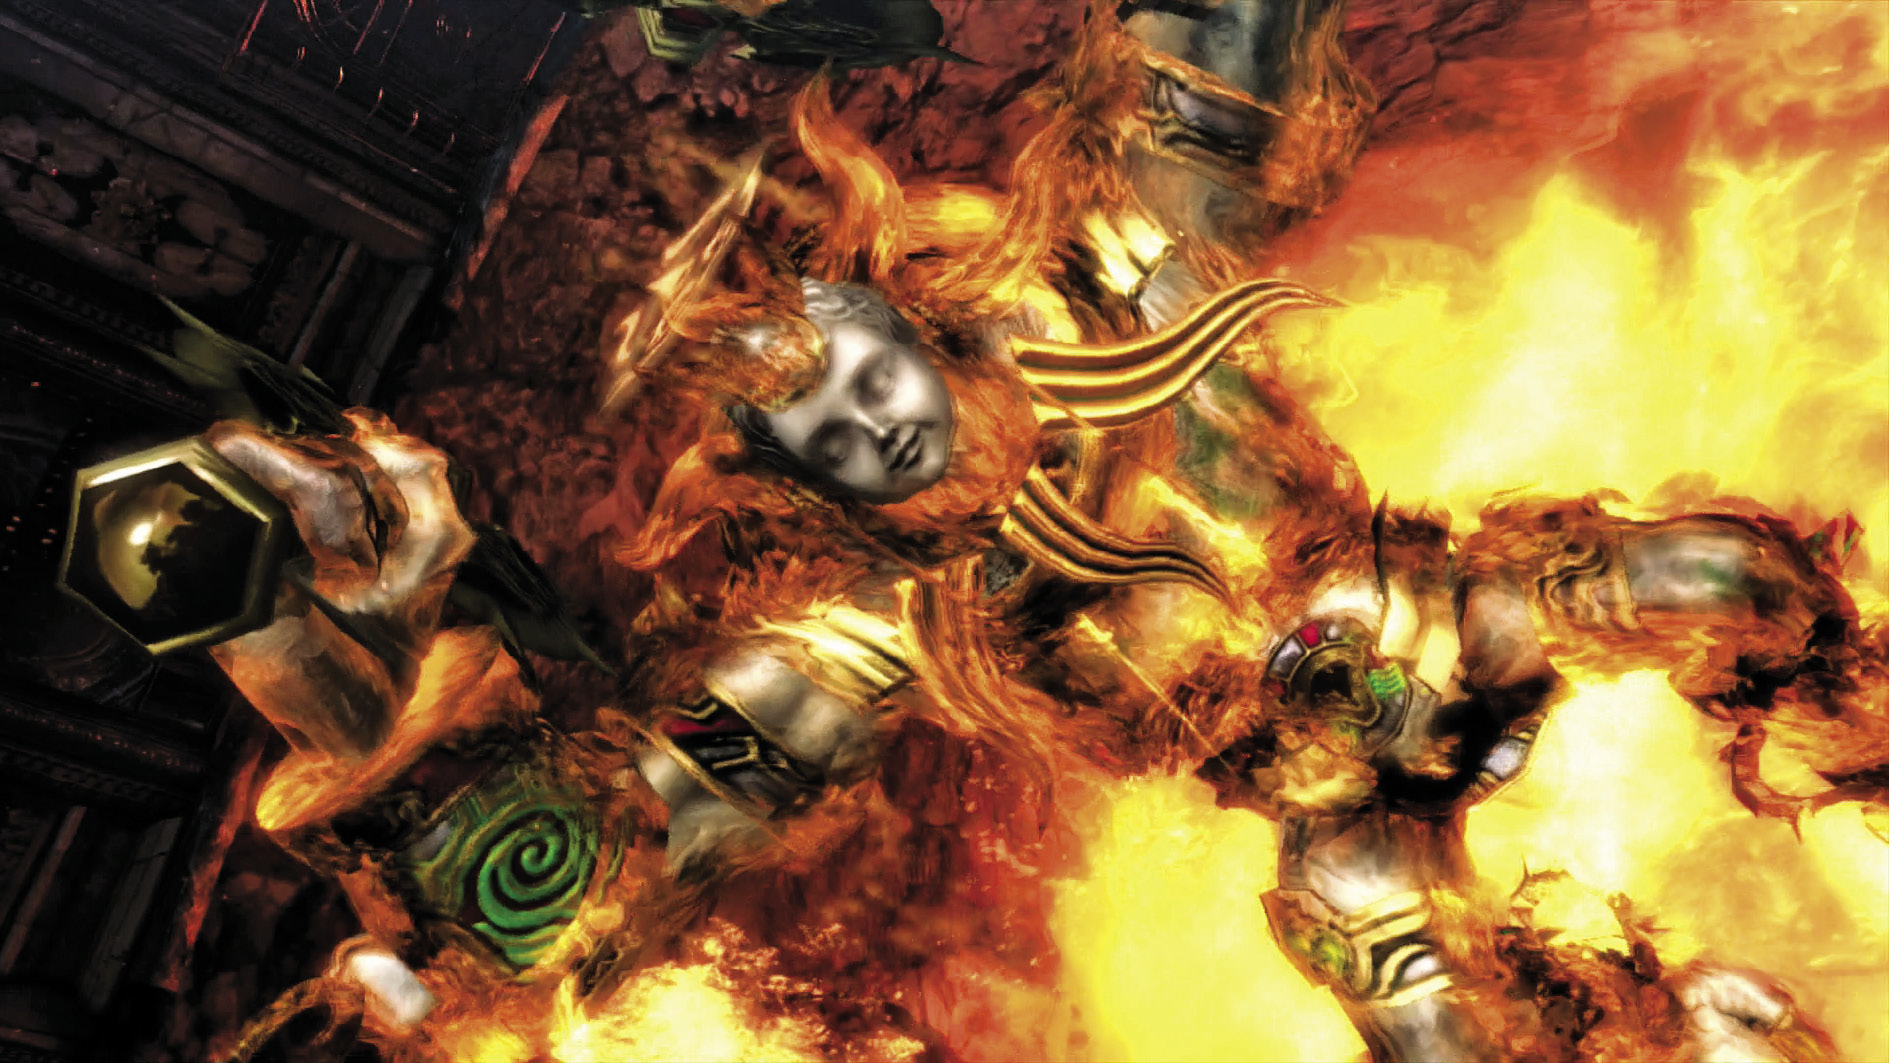
As usual with these sorts of Verses, you’re either fast enough or you’re not. The pole allows you to hit multiple enemies at once, the claw lets you get multiple hits on a single enemy (or two if you’re lucky), and the bow does excellent damage to a single target (fire it from the air for best and safest results). Using this knowledge, destroy all before you as quickly as possible!
Finally, go straight ahead for the final Verse, wherein a certain Beloved just won’t quit.
Beating this Verse nabs you a Broken Witch Heart (36/40)
| CH13 V11 | 1st Climax | 2nd Climax | 3rd Climax | ∞ Climax | ||||||||
|---|---|---|---|---|---|---|---|---|---|---|---|---|
| Time | Damage | Combo | Time | Damage | Combo | Time | Damage | Combo | Time | Damage | Combo | |
| PLATINUM | 01:30 | 0 | 5930 | 01:30 | 0 | 5930 | 01:30 | 0 | 5930 | 01:30 | 0 | 1680 |
| GOLD | 01:35 | 200 | 3100 | 01:35 | 200 | 3100 | 01:35 | 200 | 3100 | 01:35 | 200 | 1090 |
| SILVER | 01:40 | 400 | 2390 | 01:40 | 400 | 2390 | 01:40 | 400 | 2390 | 01:40 | 400 | 950 |
| BRONZE | 01:45 | 600 | 1680 | 01:45 | 600 | 1680 | 01:45 | 600 | 1680 | 01:45 | 600 | 800 |
| BOSS BONUS | ||||||||||||
Verse 12
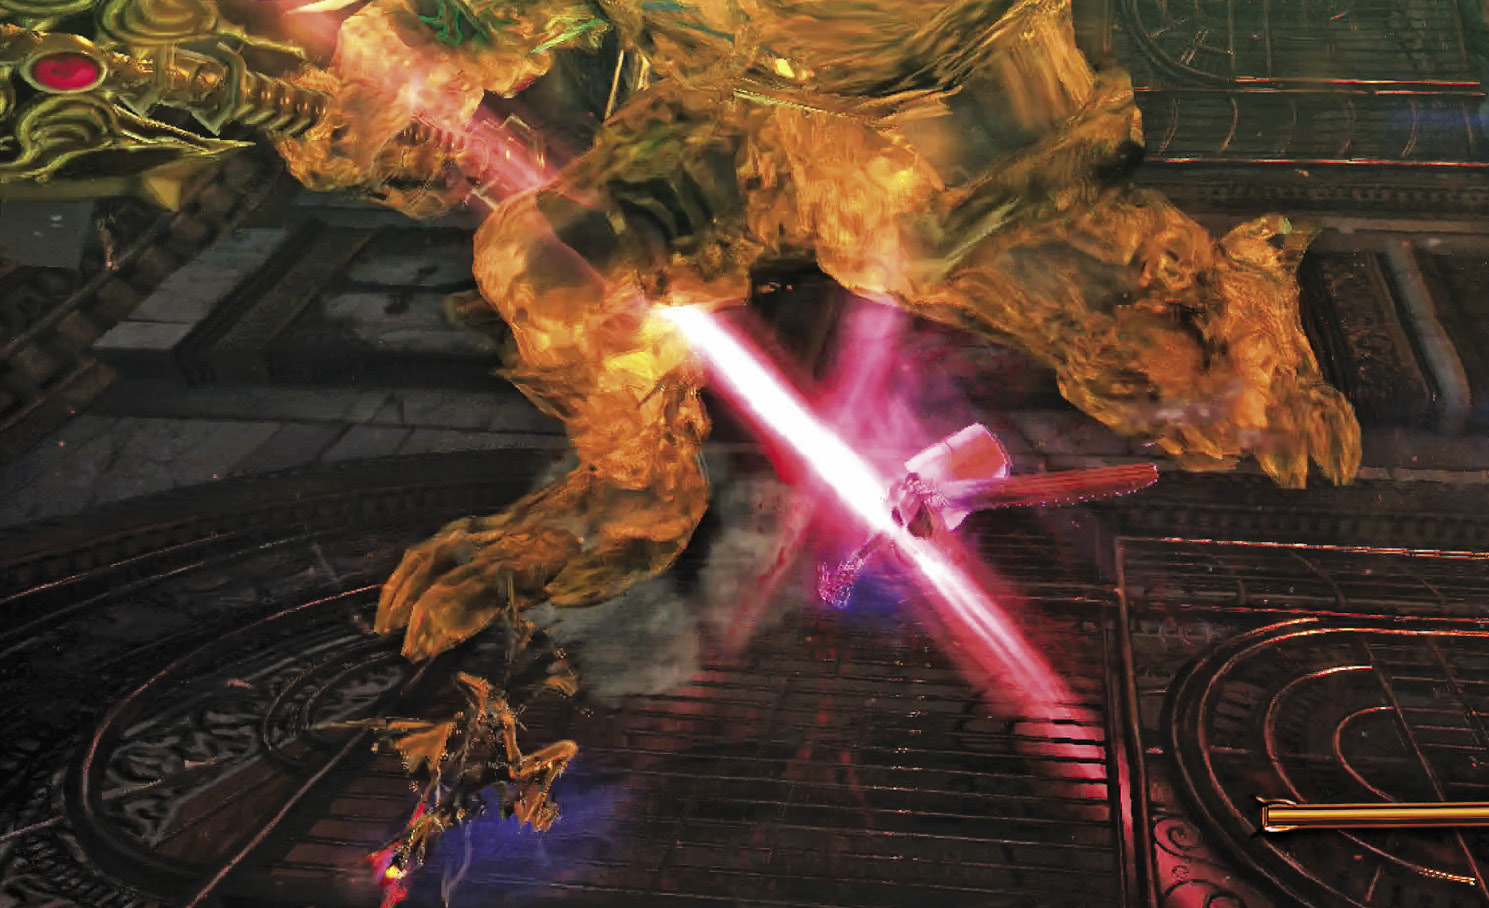
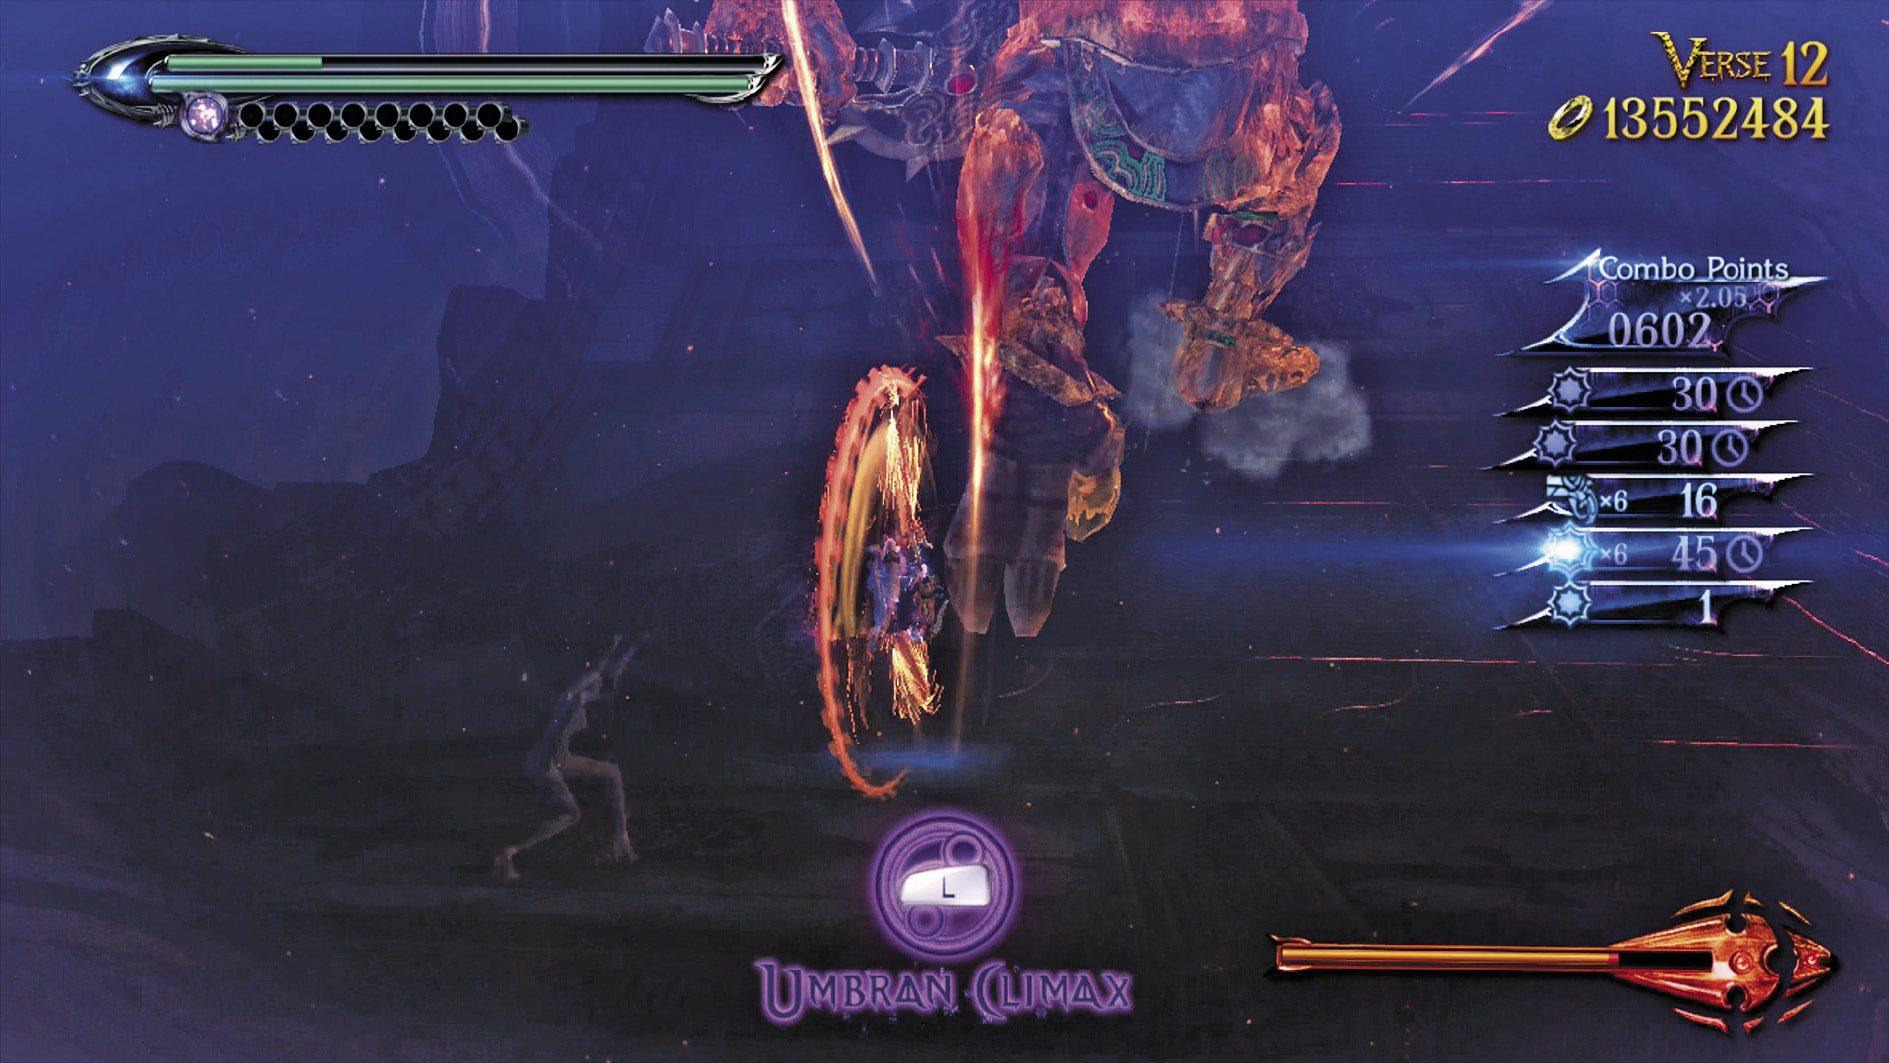
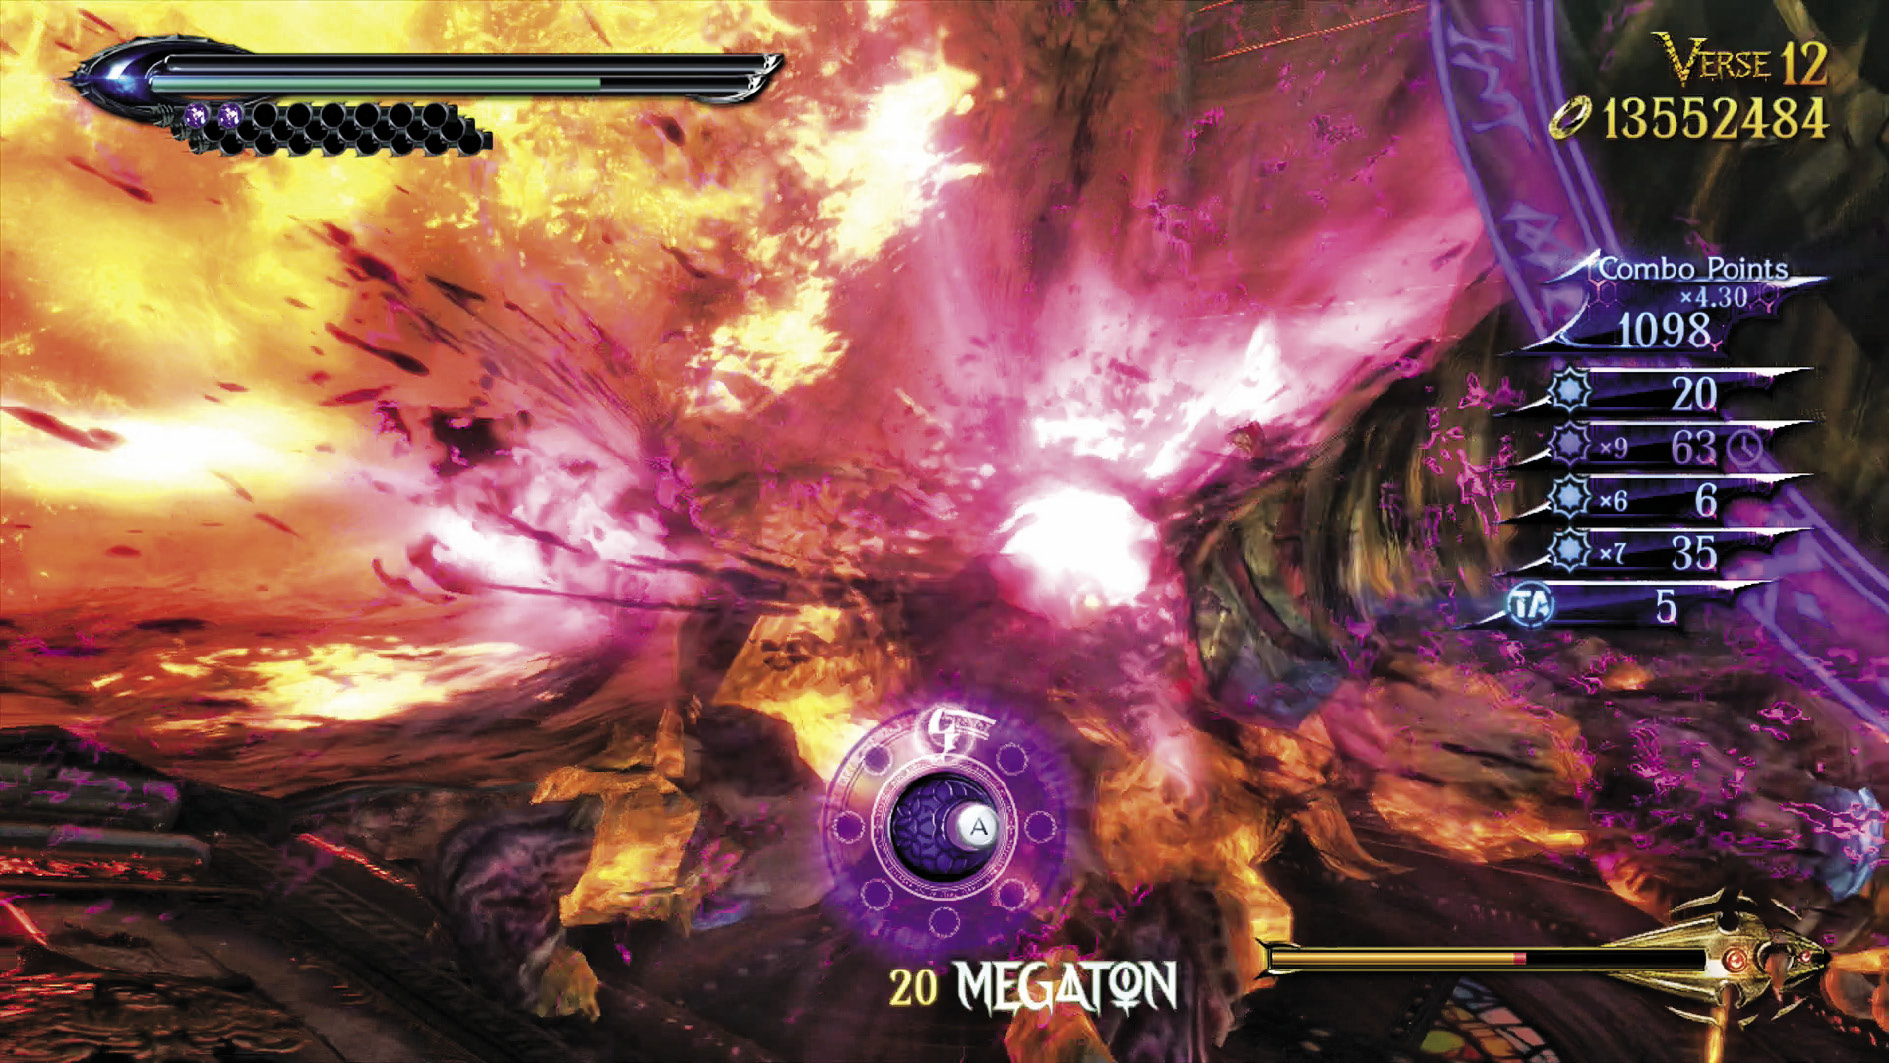
1st Climax/2nd Climax/3rd Climax/∞ Climax (Go for Pure Platinum!)
Suggested Pure Platinum Weapons: Salamandra (Arms), Alruna (Legs)
Enemies: Beloved (Lava)
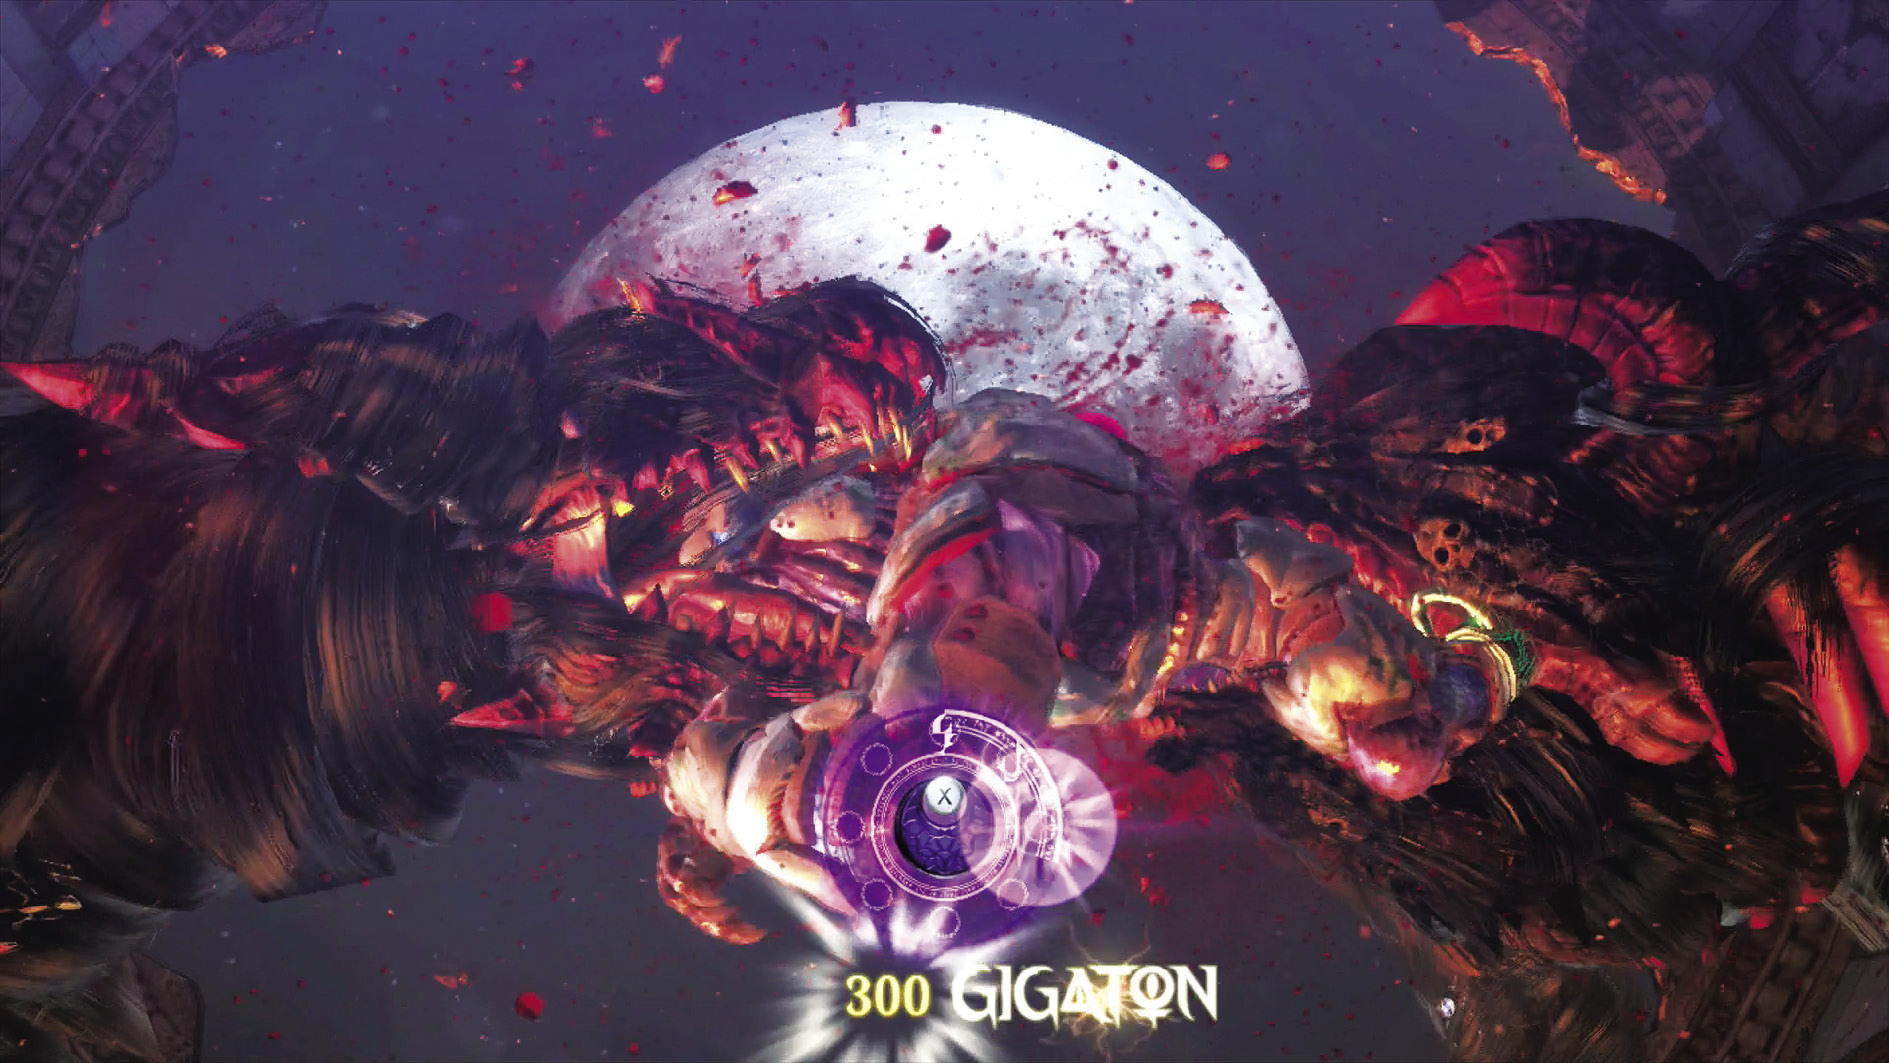
It looks like our friend survived his lava bath! That’s a new trick. This Beloved is giant-sized, but the strategy remains the same. Whale on him in any way you can until you’ve depleted his vitality, while looking out for his axe and hands. His weak spot is still at the top of his back, but you’ll have to jump off of his back multiple times to reach it! Umbran Climax is very good at bringing him down to size, and you can topple him with Alruna by holding K while in Umbran Climax or Witch Time. Every once in a while you can get in a Punish Quick Time Event as well for extra damage.
Once you deplete his vitality, go ahead and perform one last ultra-satisfying climactic Quick Time Event, and that’s all she wrote—er, they wrote.
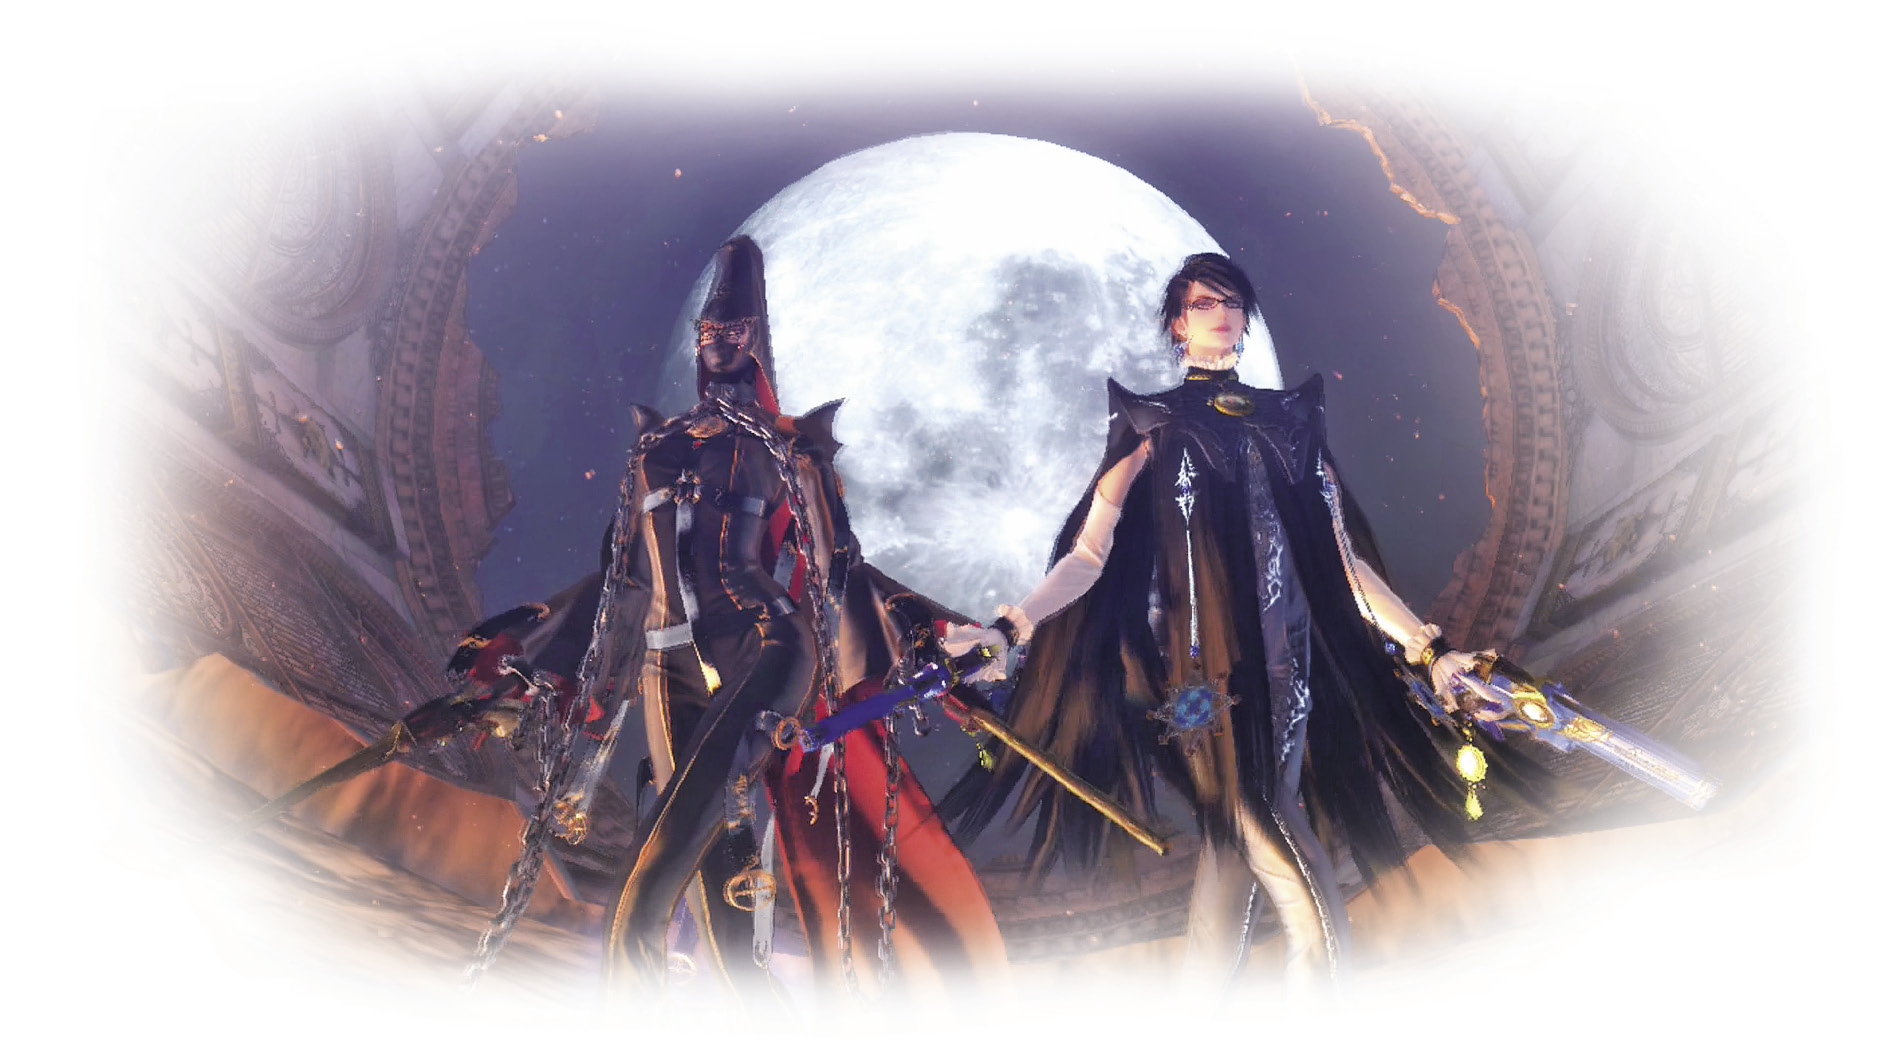
post-chapter spoils 6 Verse Cards (Affinity, Applaud, Decorations, Fearless & Fairness, Grace & Glory, Beloved)
| CH13 V12 | 1st Climax | 2nd Climax | 3rd Climax | ∞ Climax | ||||||||
|---|---|---|---|---|---|---|---|---|---|---|---|---|
| Time | Damage | Combo | Time | Damage | Combo | Time | Damage | Combo | Time | Damage | Combo | |
| PLATINUM | 01:40 | 0 | 72750 | 01:40 | 0 | 72750 | 01:50 | 0 | 72750 | 02:00 | 0 | 72750 |
| GOLD | 01:50 | 750 | 30900 | 01:50 | 1500 | 30900 | 02:00 | 3000 | 30900 | 02:10 | 3000 | 30900 |
| SILVER | 02:00 | 1250 | 20440 | 02:00 | 2500 | 20440 | 02:10 | 4000 | 20440 | 02:20 | 5000 | 20440 |
| BRONZE | 02:10 | 1750 | 9980 | 02:10 | 3500 | 9980 | 02:20 | 5000 | 9980 | 02:30 | 7000 | 9980 |
| BOSS BONUS | ||||||||||||