
Bayonetta 2 Guide Chapter V: Know Your Journey - Walkthrough
Chapter X: The Depths
Welcome to Inferno! This chapter lives up to its name, as every step Bayonetta takes leads her deeper and deeper into the unknown.
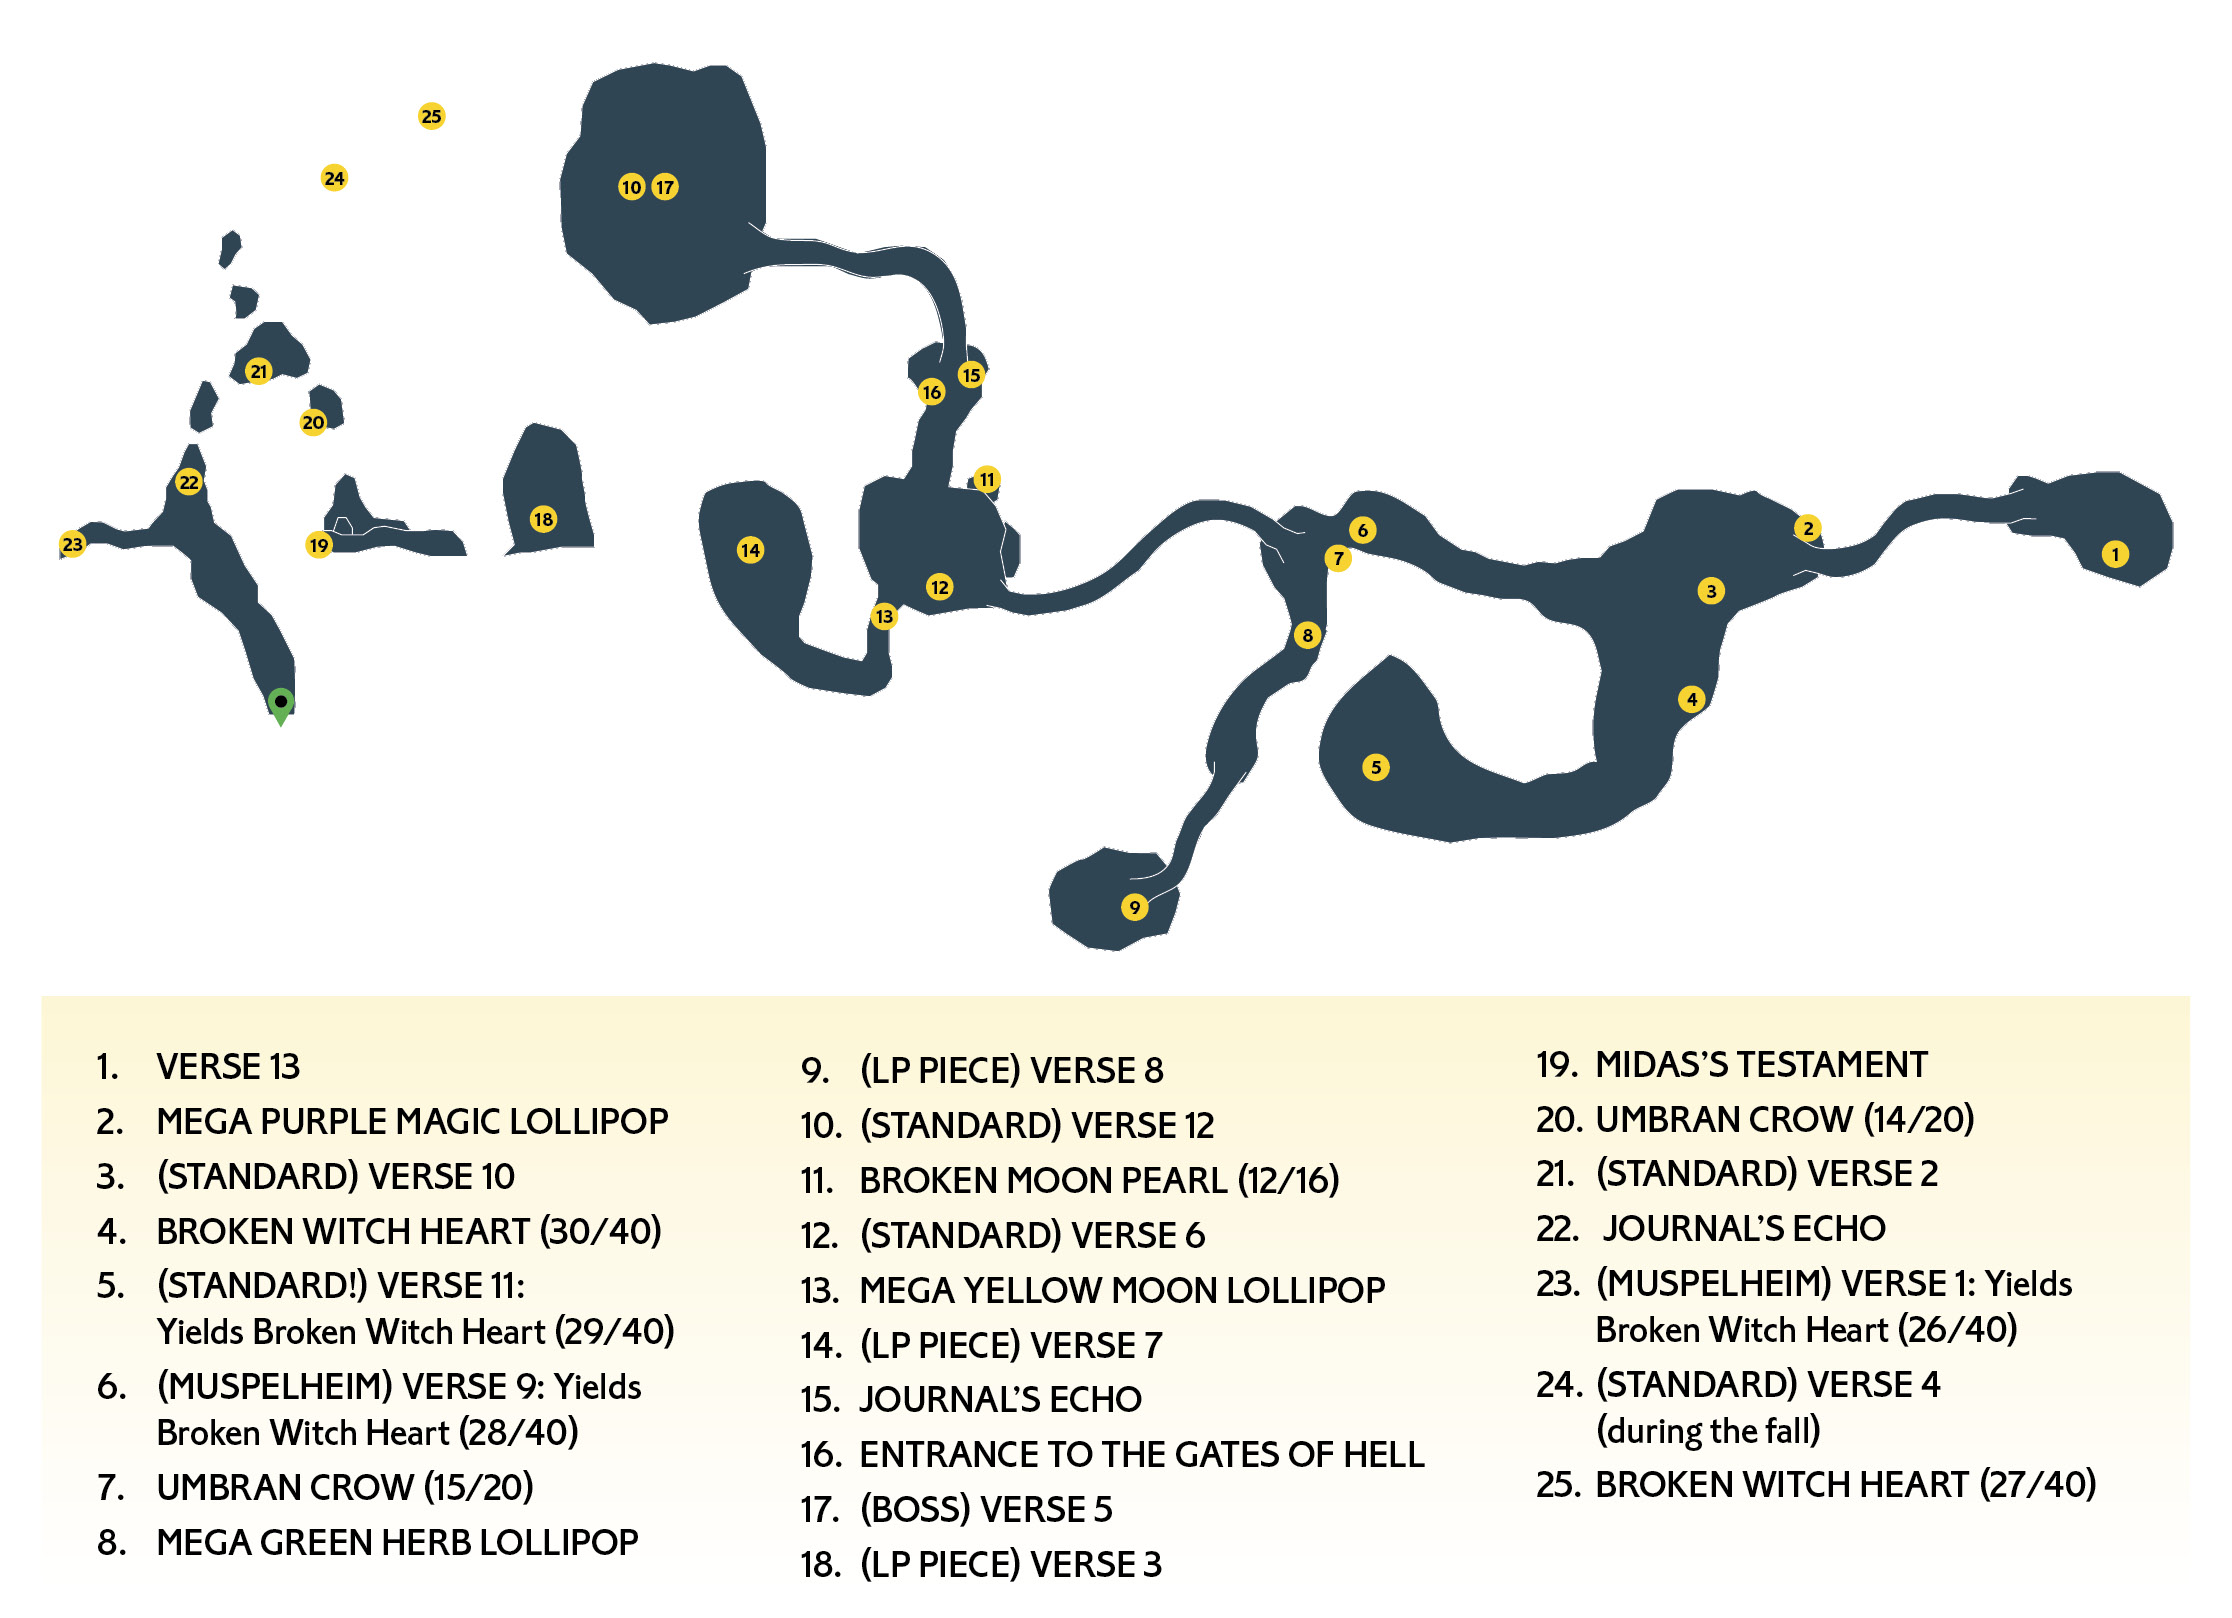
Go straight ahead and collect the Overseer of Inferno Journal’s Echo. Then back up a bit and go to the right to access a Muspelheim. Brace yourself for a decent amount of backtracking through this maze-like stage.
Verse 1
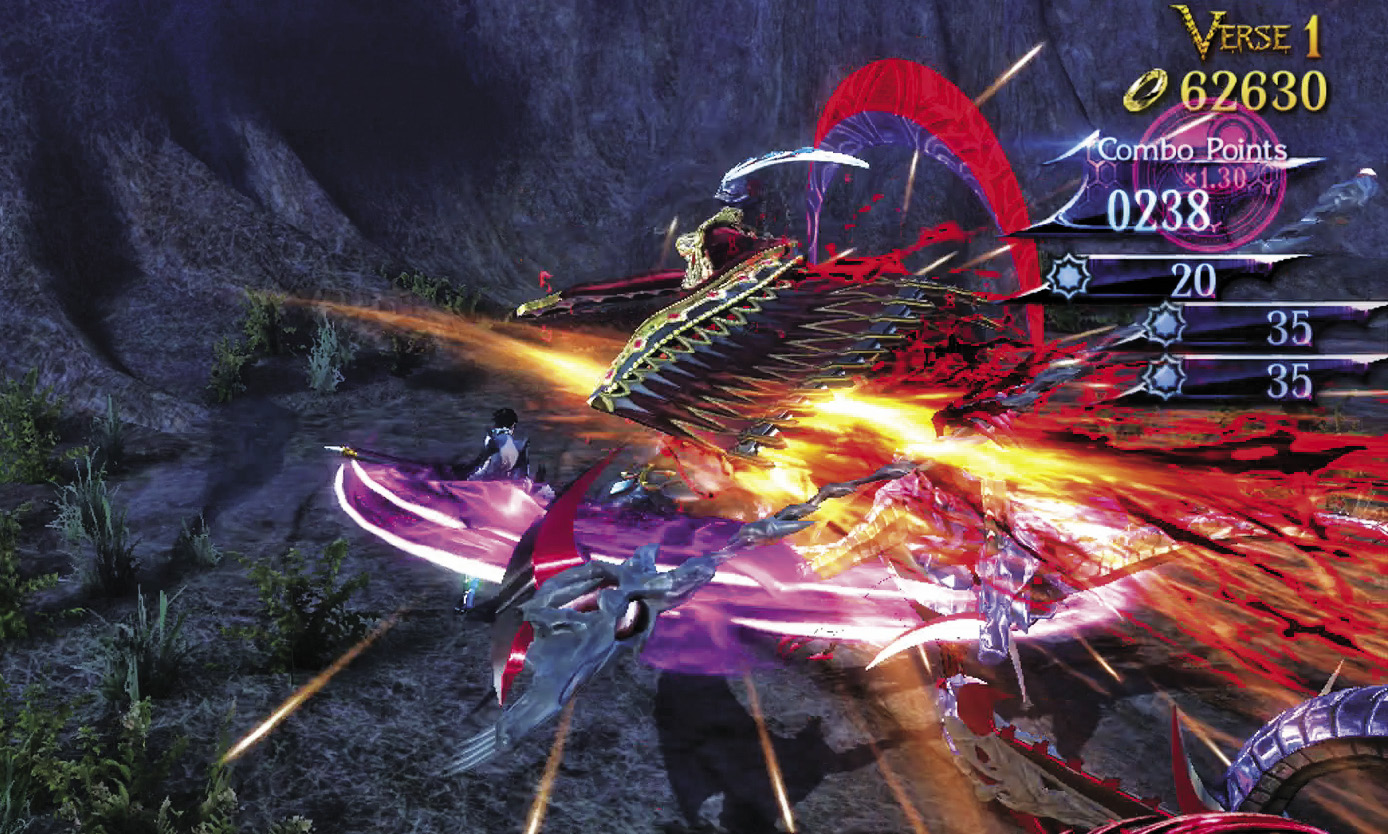
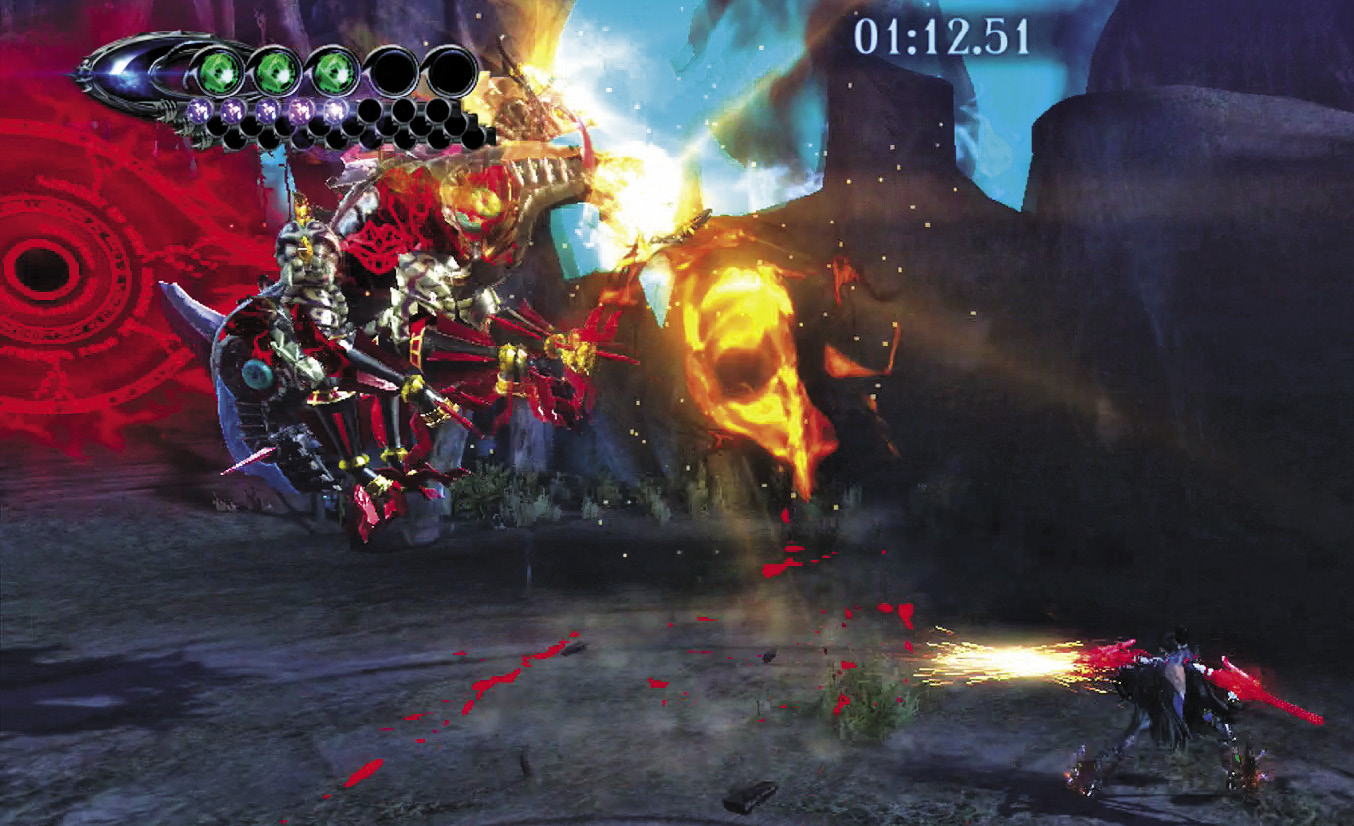
1st Climax/2nd Climax/3rd Climax
Muspelheim Objective: Defeat all enemies. Witch Time cannot be activated.
Enemies: Hideous (Twin Blades) x1, Hideous (Scythe) x1, Malicious x1
Down the Malicious first, as you don’t want the Hideouses to be moving faster than they already do without Witch Time. Then go for the Hideouses in any order you wish.
∞ Climax
Muspelheim Objective: Defeat all enemies. Witch Time cannot be activated.
Enemies: Greed x1
Greed can be a tough battle, but it has a tremendous number of dodgeable attacks, almost all of which involve Greed rearing back first. Note which attacks are coming toward you and react accordingly.
Go for Pure Platinum!

Suggested Weapons: Salamandra (Arms)
The above strategies with Salamandra are sufficient for Pure Platinum.
Once out of the Muspelheim, go back along the straight path to trigger Verse 2.
Beating this Verse nabs you a Broken Witch Heart (26/40)
| CH10 V1 | 1st Climax | 2nd Climax | 3rd Climax | ∞ Climax | ||||||||
|---|---|---|---|---|---|---|---|---|---|---|---|---|
| Time | Damage | Combo | Time | Damage | Combo | Time | Damage | Combo | Time | Damage | Combo | |
| PLATINUM | 00:45 | 0 | 2930 | 00:45 | 0 | 2930 | 00:45 | 0 | 2930 | 00:50 | 0 | 1230 |
| GOLD | 00:55 | 200 | 1710 | 00:55 | 200 | 1710 | 00:55 | 200 | 1710 | 01:00 | 200 | 850 |
| SILVER | 01:05 | 400 | 1410 | 01:05 | 400 | 1410 | 01:05 | 400 | 1410 | 01:10 | 400 | 760 |
| BRONZE | 01:15 | 600 | 1100 | 01:15 | 600 | 1100 | 01:15 | 600 | 1100 | 01:20 | 600 | 660 |
| BOSS BONUS | ||||||||||||
Verse 2
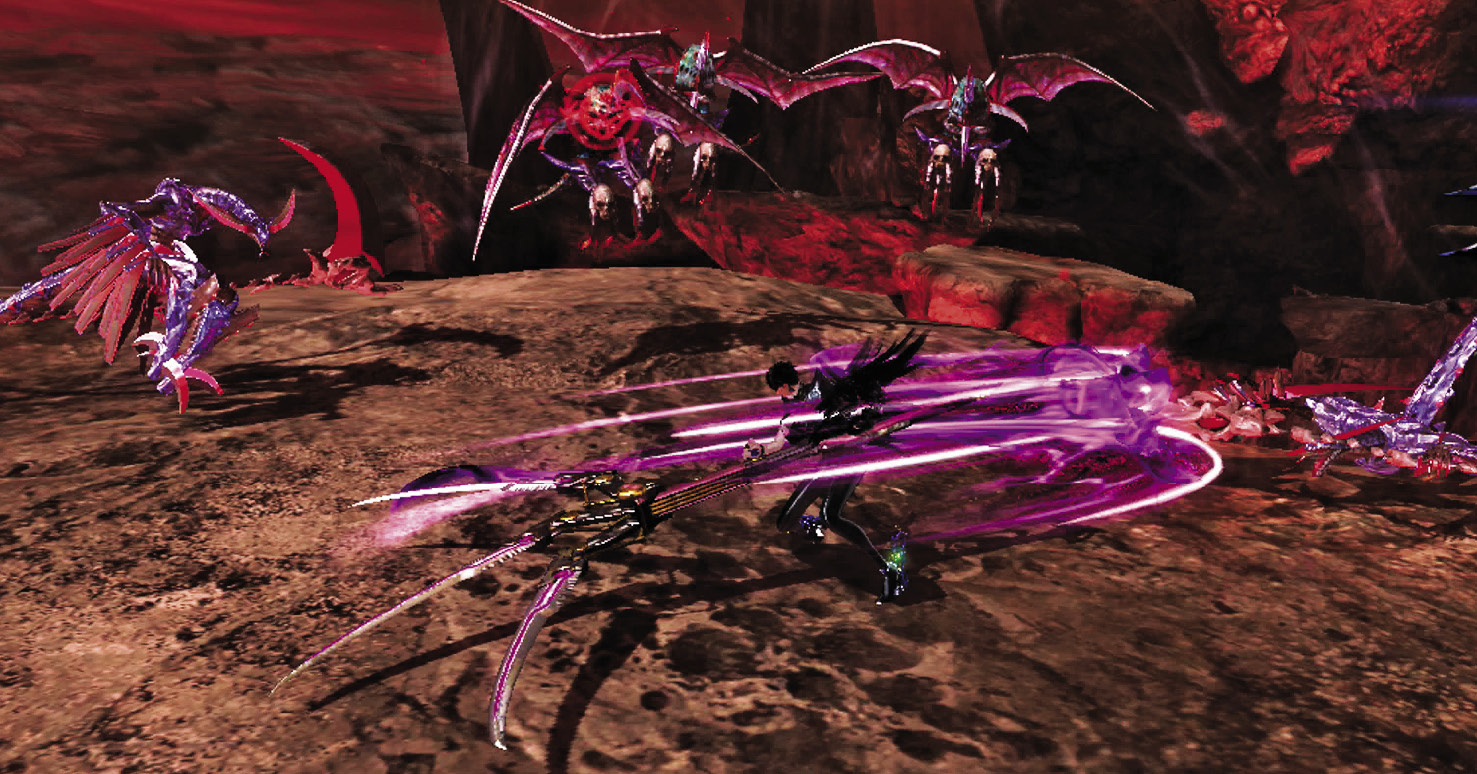
1st Climax/2nd Climax/3rd Climax
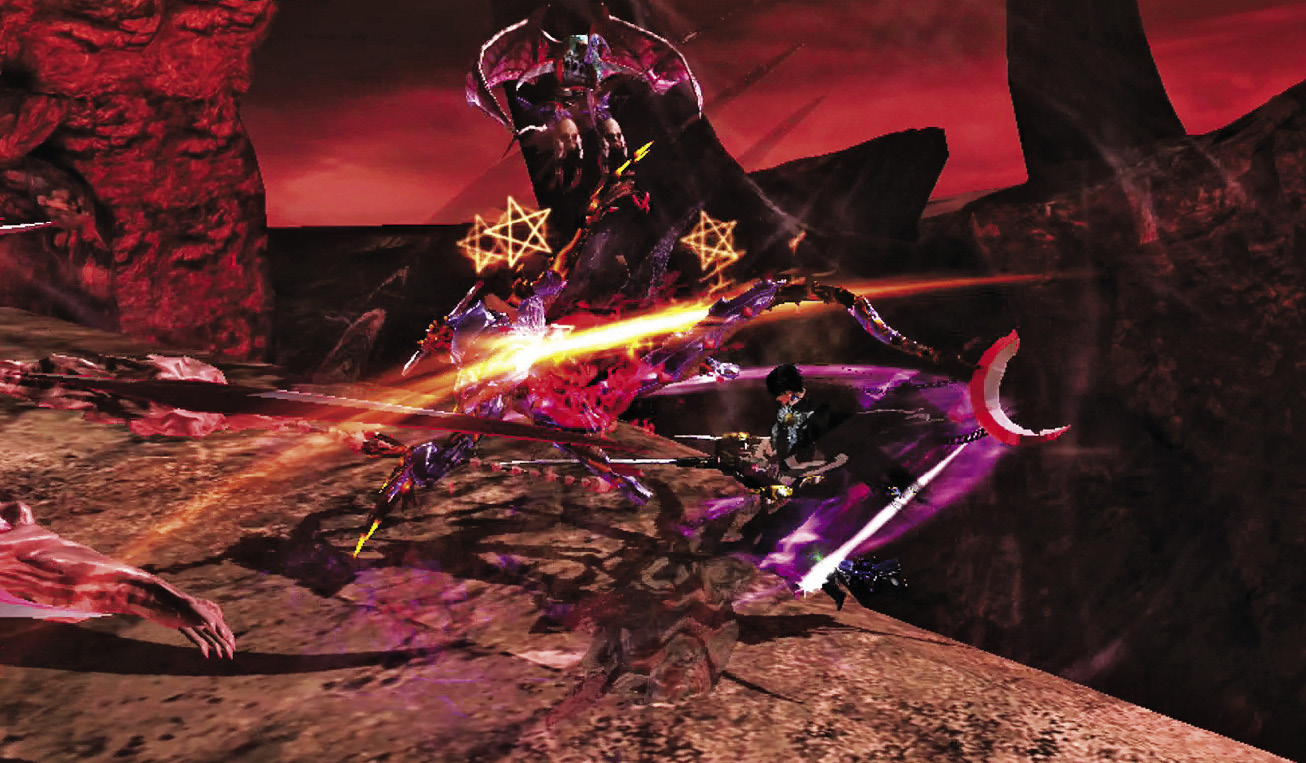
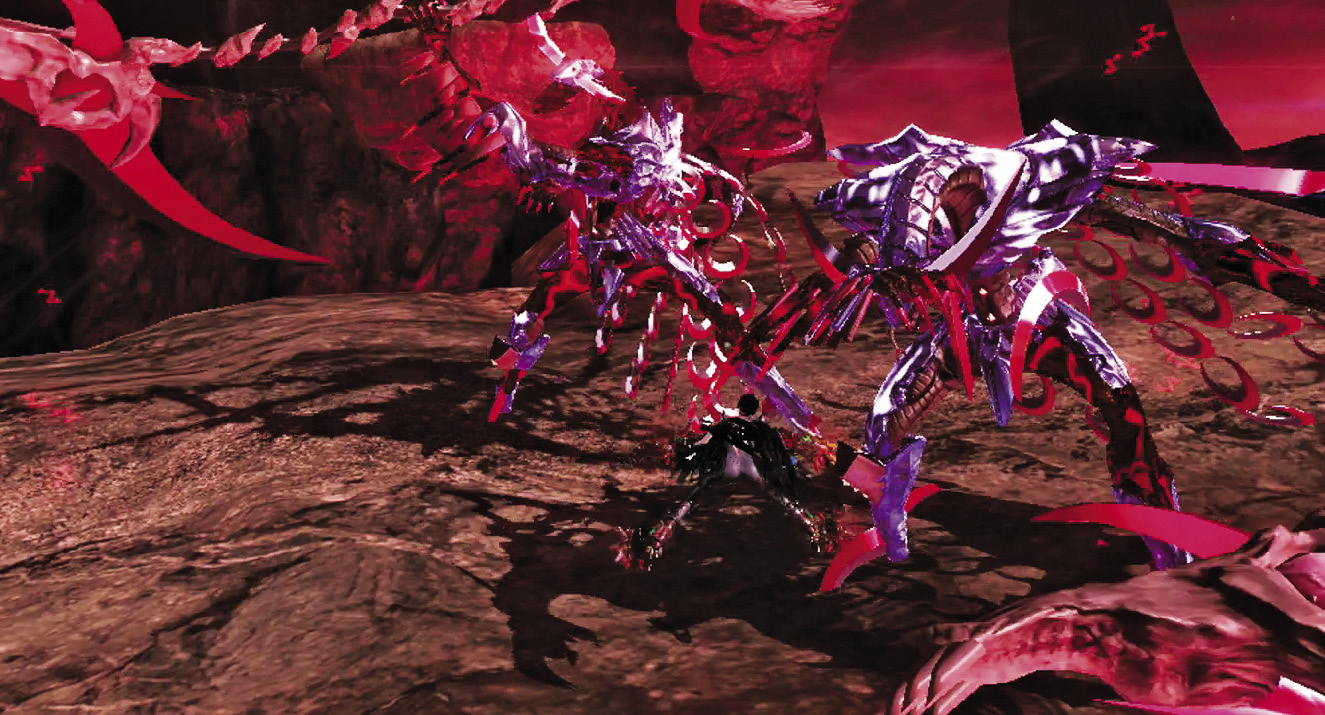
Enemies: Hideous (Scythe) x1, Fury x6
Dodge back and forth amid all of these enemies, and watch your surroundings at all times to make sure you’re never flanked. Patience is the key here—you face much opposition on a small battleground. Attack relentlessly, but not recklessly, until all your foes are slain.
∞ Climax
Enemies: Hatred x2
Hatreds may hit harder, but there are now far fewer enemies onscreen to keep track of. Use this to your advantage and stay just outside of their attack range. Dodge their scythe swings, retaliate, then repeat. Watch out, as two Hatreds mean lots of fast swings!
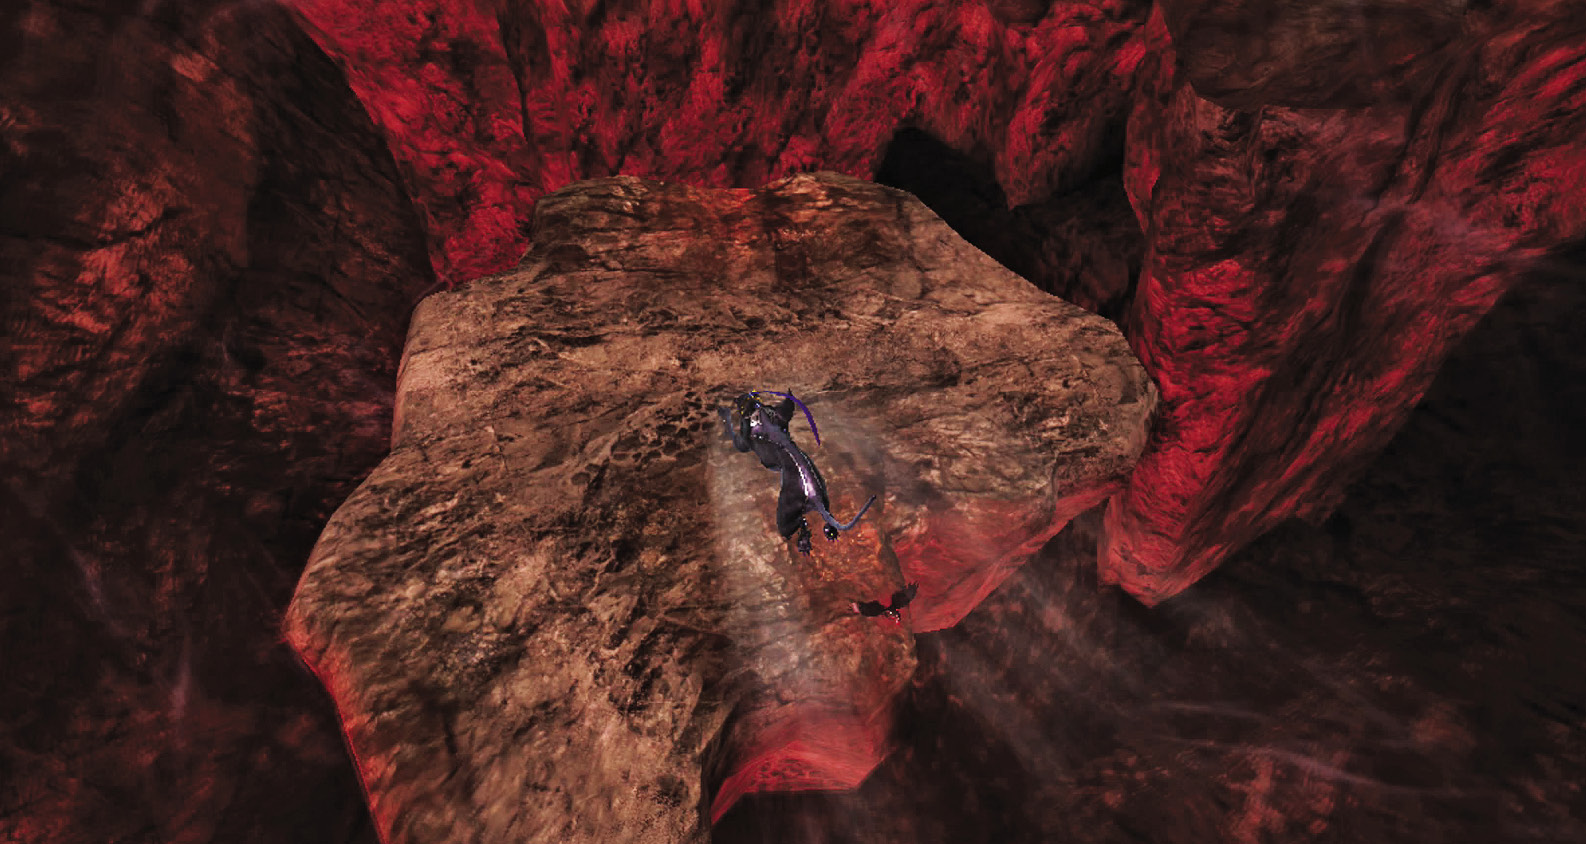
Go for Pure Platinum!
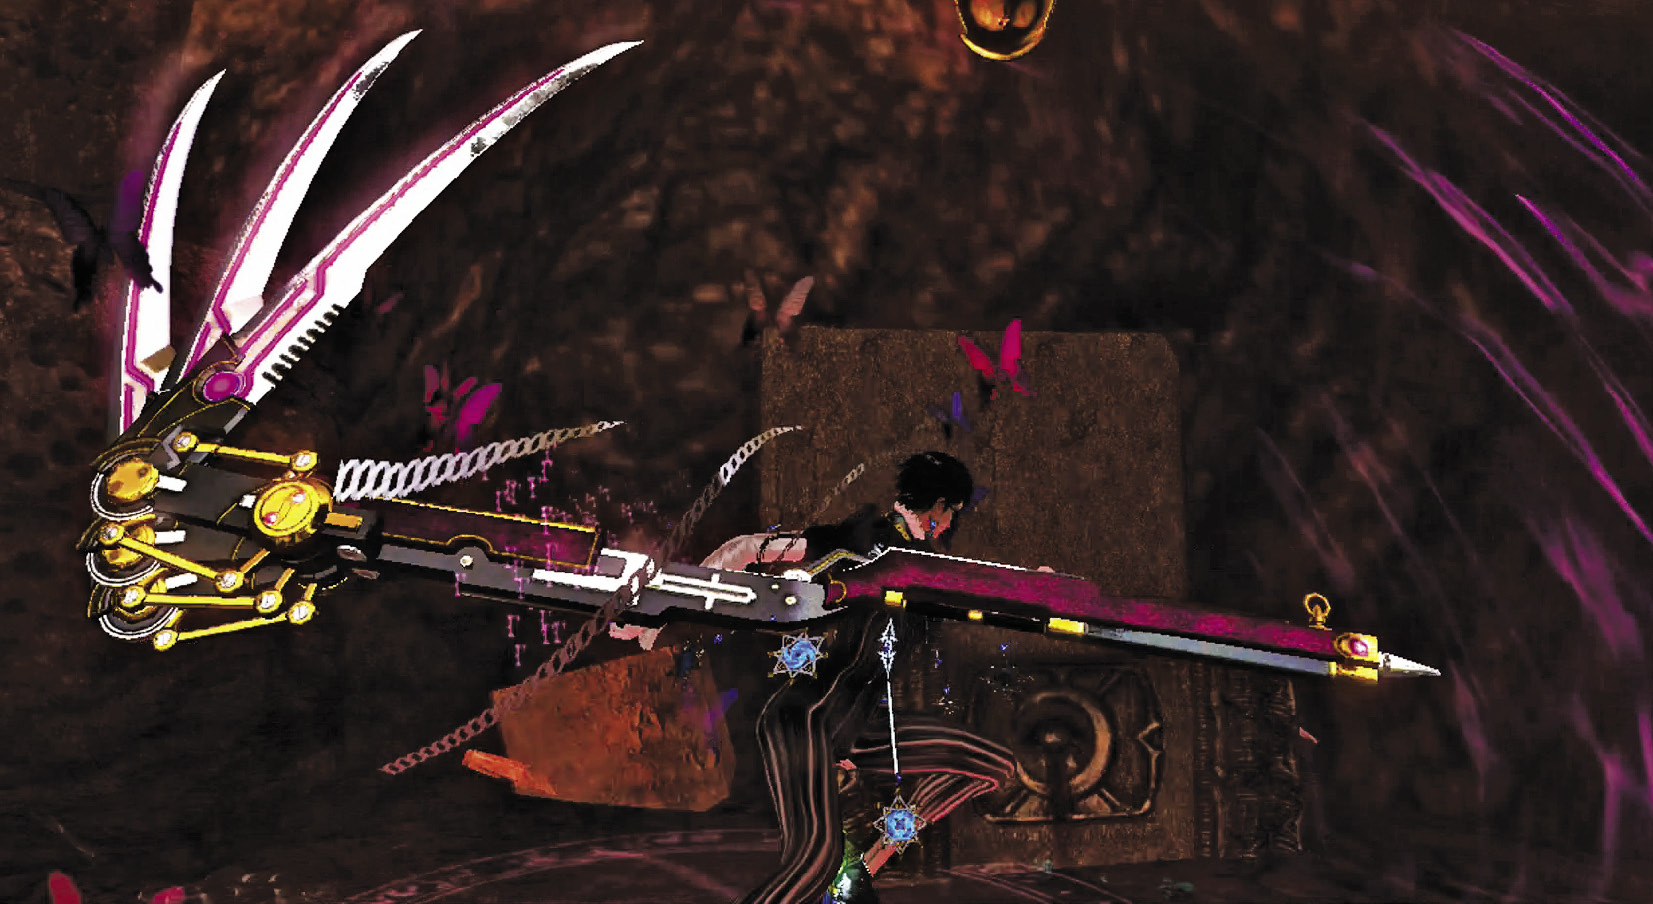
Suggested Weapons: Salamandra (Arms)
The above strategies with Salamandra are sufficient for Pure Platinum.
Now look to your right to see some platforms leading left and right. The right path leads to a chest containing a Midas’s Testament. On the platform between your current location and the rock formation at the end, there’s an Umbran Crow (14/20) that’s easy to miss. Don’t.
Follow the path along the rock formation to trigger Verse 3.
| CH10 V2 | 1st Climax | 2nd Climax | 3rd Climax | ∞ Climax | ||||||||
|---|---|---|---|---|---|---|---|---|---|---|---|---|
| Time | Damage | Combo | Time | Damage | Combo | Time | Damage | Combo | Time | Damage | Combo | |
| PLATINUM | 00:40 | 0 | 5880 | 00:40 | 0 | 5880 | 00:45 | 0 | 5880 | 00:50 | 0 | 5880 |
| GOLD | 00:50 | 200 | 3070 | 00:50 | 400 | 3070 | 00:55 | 800 | 3070 | 01:00 | 2000 | 3070 |
| SILVER | 01:00 | 400 | 2370 | 01:00 | 800 | 2370 | 01:05 | 1600 | 2370 | 01:10 | 4000 | 2370 |
| BRONZE | 01:10 | 800 | 1670 | 01:10 | 1600 | 1670 | 01:15 | 3200 | 1670 | 01:20 | 6000 | 1670 |
| BOSS BONUS | ||||||||||||
Verse 3
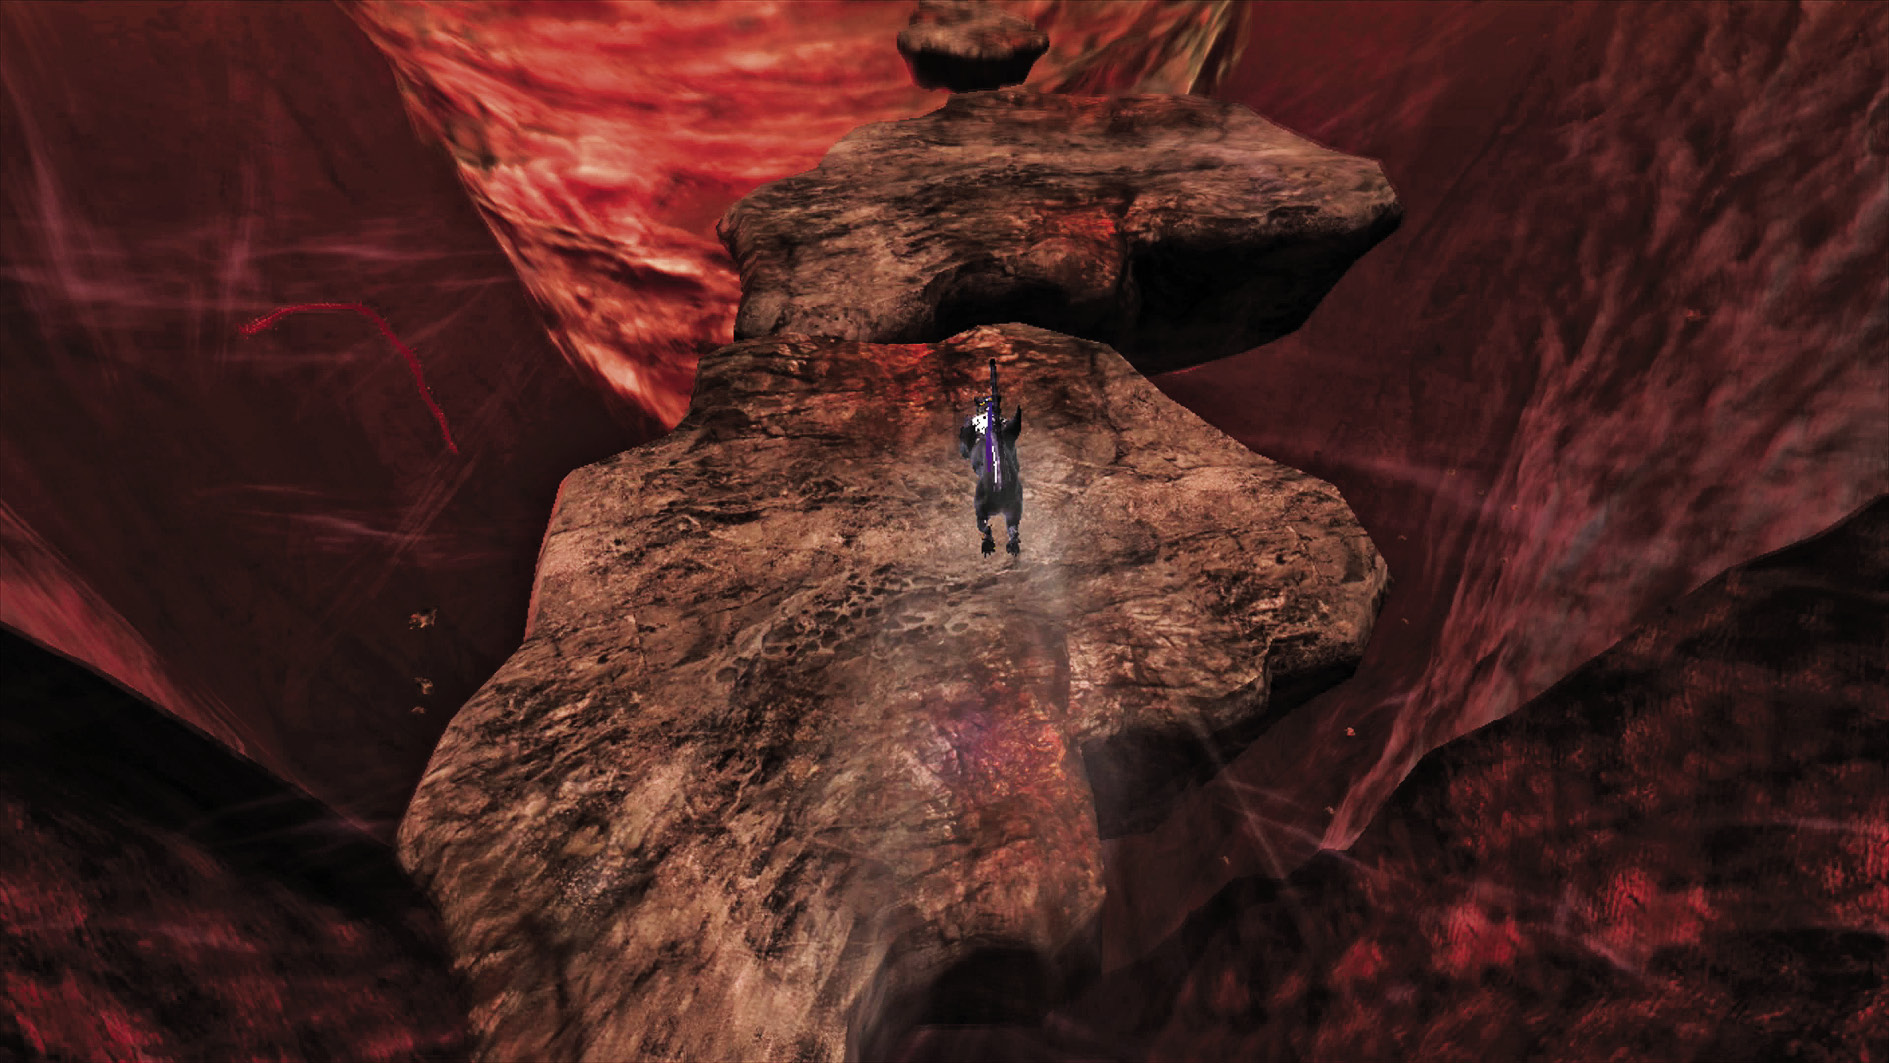
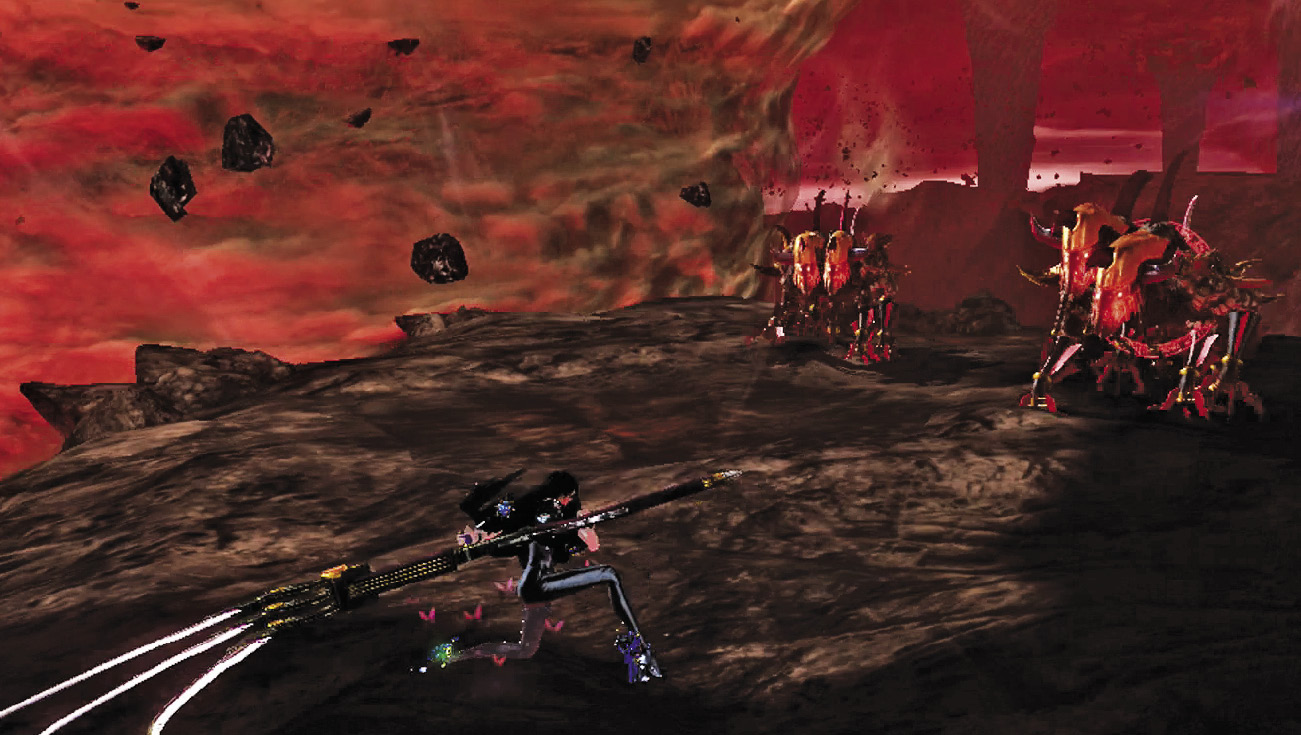
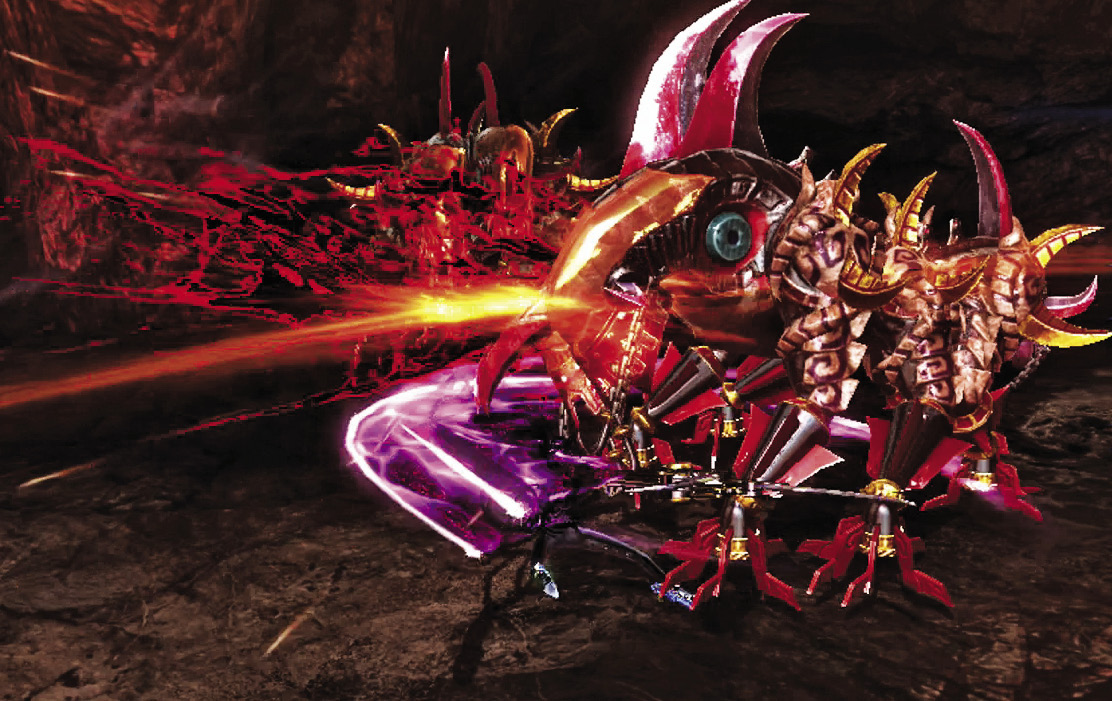
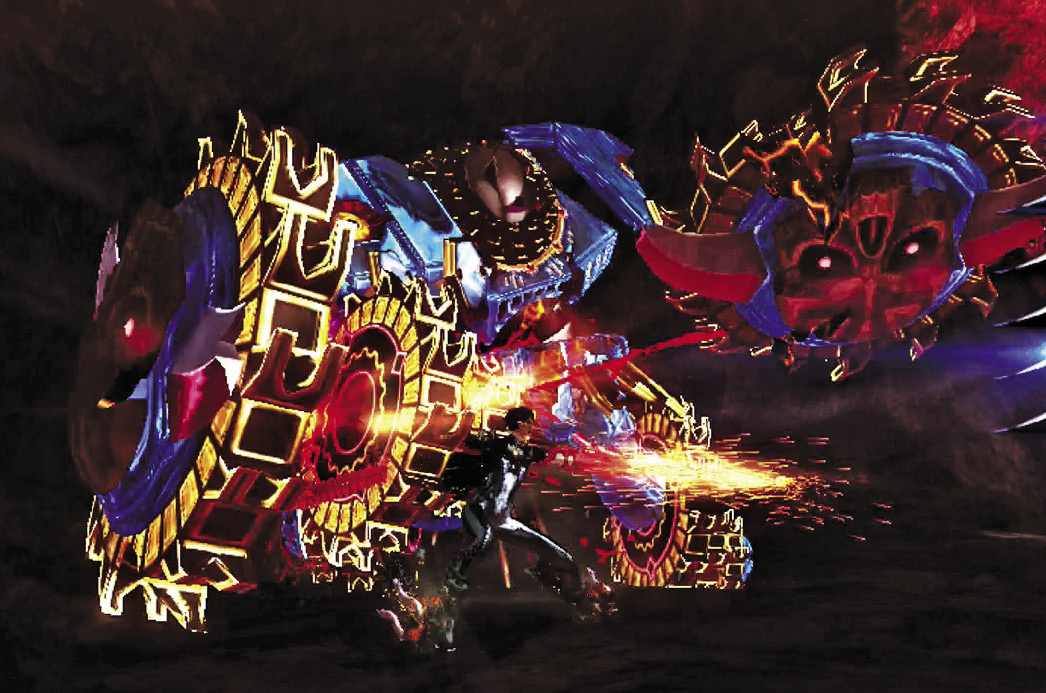
1st Climax/2nd Climax/3rd Climax
Enemies: Greed x2
Two Greeds may seem like a daunting task, but it’s actually rife with Witch Time opportunities! As with all such fights, don’t get crowded. The rock you’re on for this Verse is bigger than the last, so don’t be afraid to momentarily retreat to a clear spot and regroup.
∞ Climax
Enemies: Pain x1, Hideous (Twin Blades) x2
Use the Pain’s telegraphed maneuvers to provide opportunities to achieve Witch Time, then go for the more easily destroyed Hideouses first. Once they’re taken care of, engage Pain one-on-one!
Go for Pure Platinum!
Suggested Weapons: Salamandra (Arms)
The above strategies with Salamandra are sufficient for Pure Platinum.
Beating this Verse causes the appearance of the Angelic Hymns Gold LP Matthäus-Passion O Haupt voll Blut und Wunden 1/3.
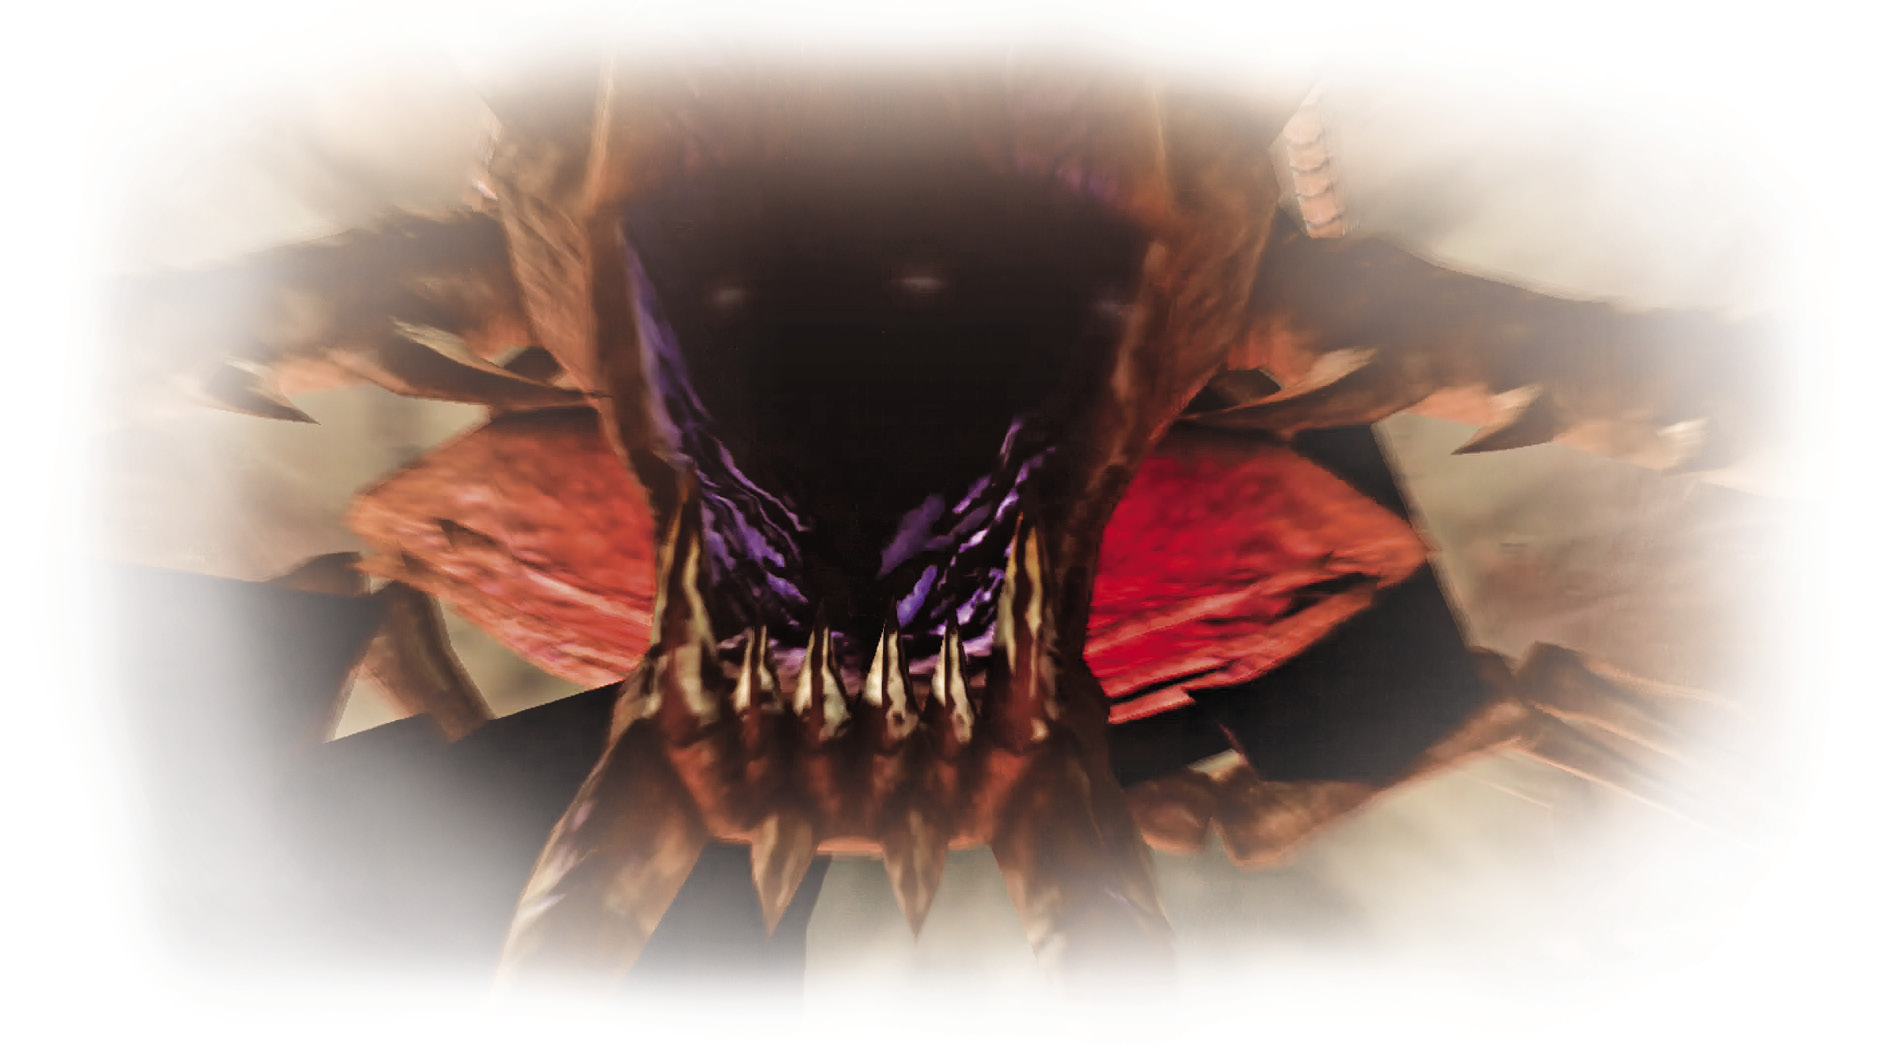
Head back to the main path and progress forward, jumping across platforms until...
| CH10 V3 | 1st Climax | 2nd Climax | 3rd Climax | ∞ Climax | ||||||||
|---|---|---|---|---|---|---|---|---|---|---|---|---|
| Time | Damage | Combo | Time | Damage | Combo | Time | Damage | Combo | Time | Damage | Combo | |
| PLATINUM | 00:40 | 0 | 5880 | 00:40 | 0 | 5880 | 00:50 | 0 | 5880 | 00:55 | 0 | 5880 |
| GOLD | 00:50 | 200 | 3070 | 00:50 | 400 | 3070 | 01:00 | 800 | 3070 | 01:05 | 2000 | 3070 |
| SILVER | 01:00 | 400 | 2370 | 01:00 | 800 | 2370 | 01:10 | 1600 | 2370 | 01:15 | 4000 | 2370 |
| BRONZE | 01:10 | 800 | 1670 | 01:10 | 1600 | 1670 | 01:20 | 3200 | 1670 | 01:25 | 6000 | 1670 |
| BOSS BONUS | ||||||||||||
Verse 4
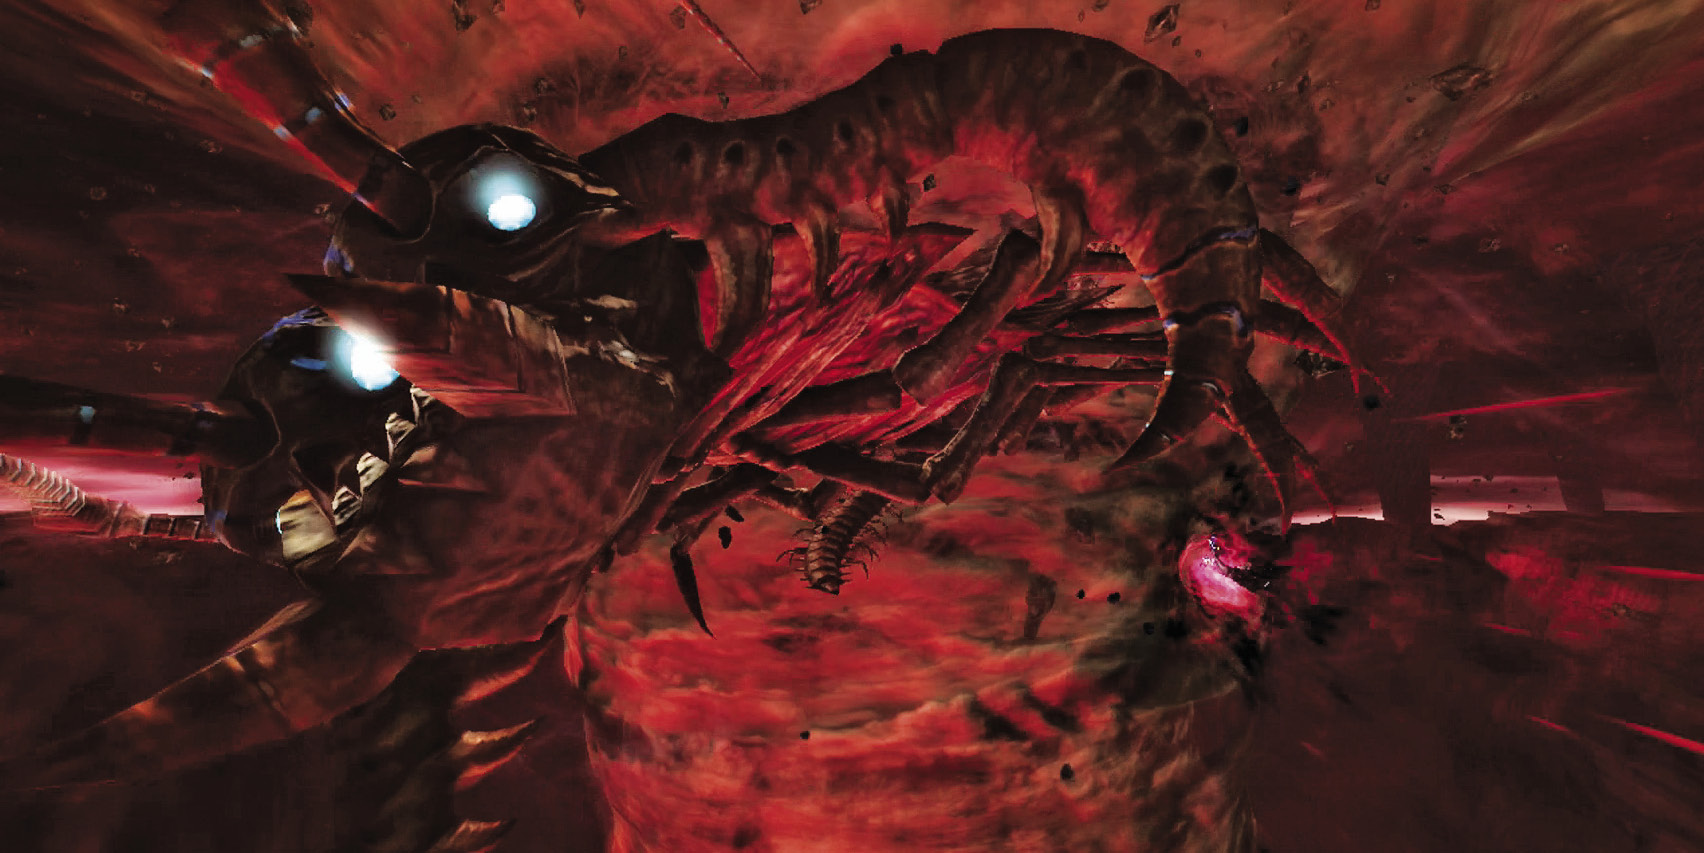
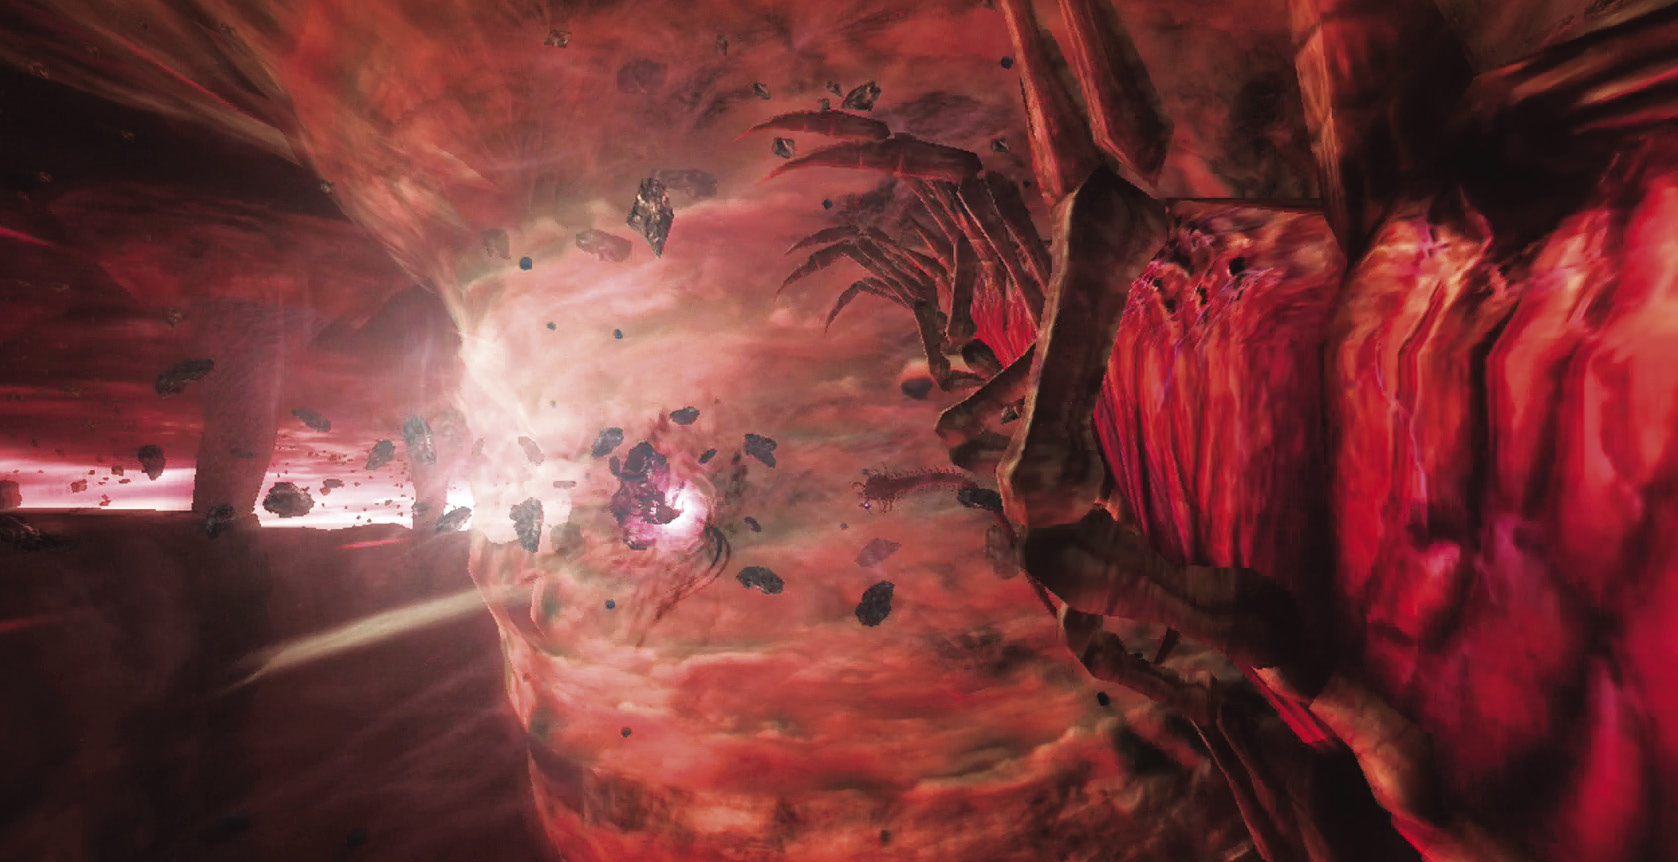
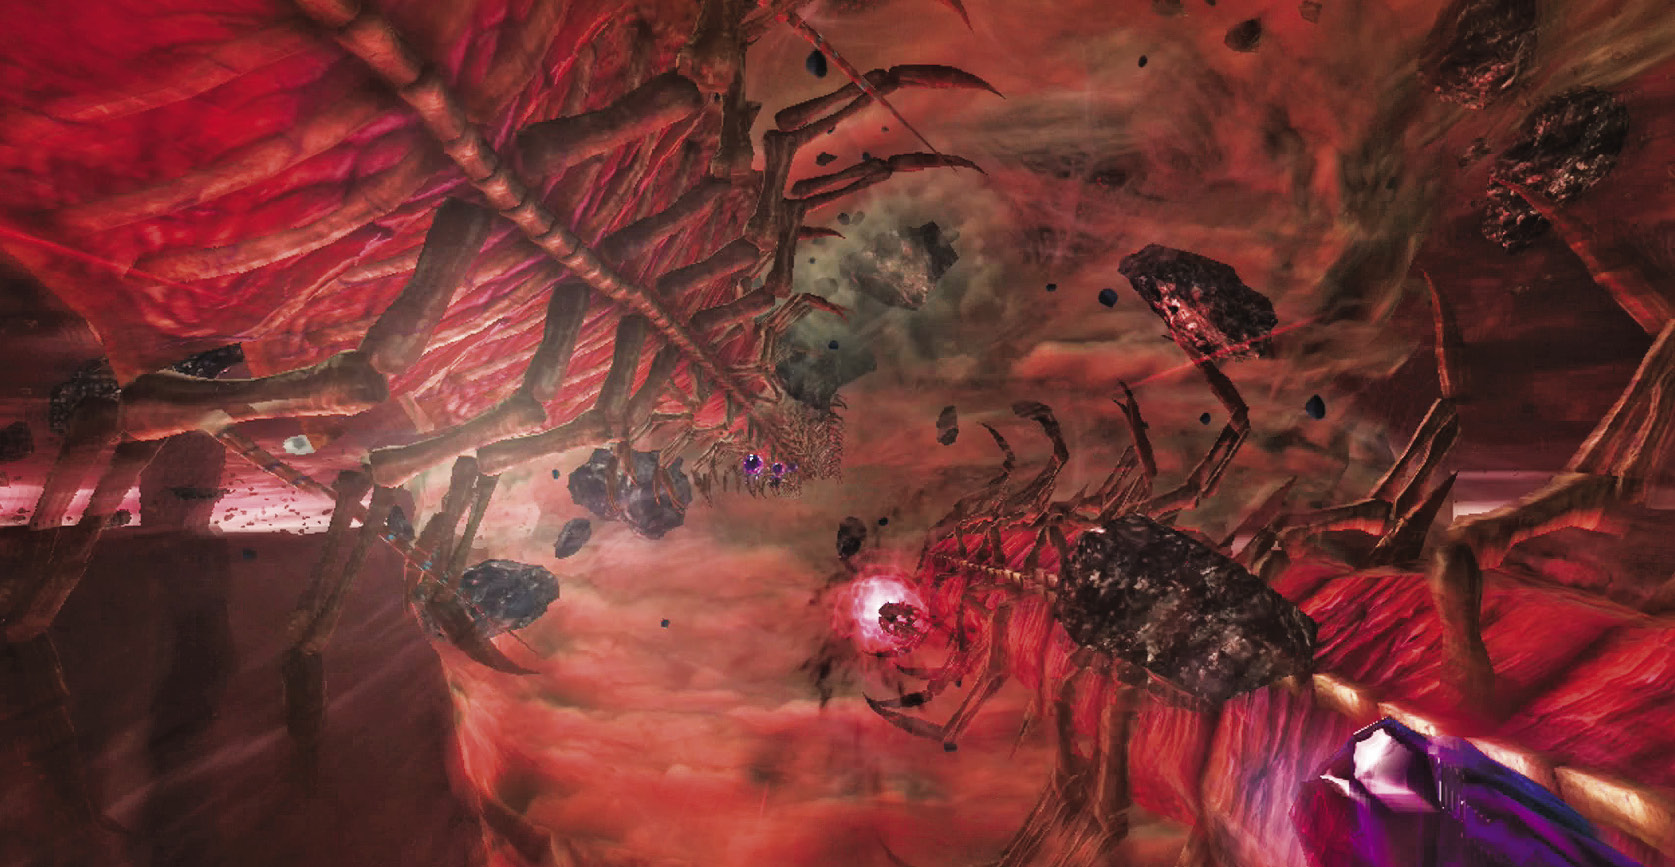
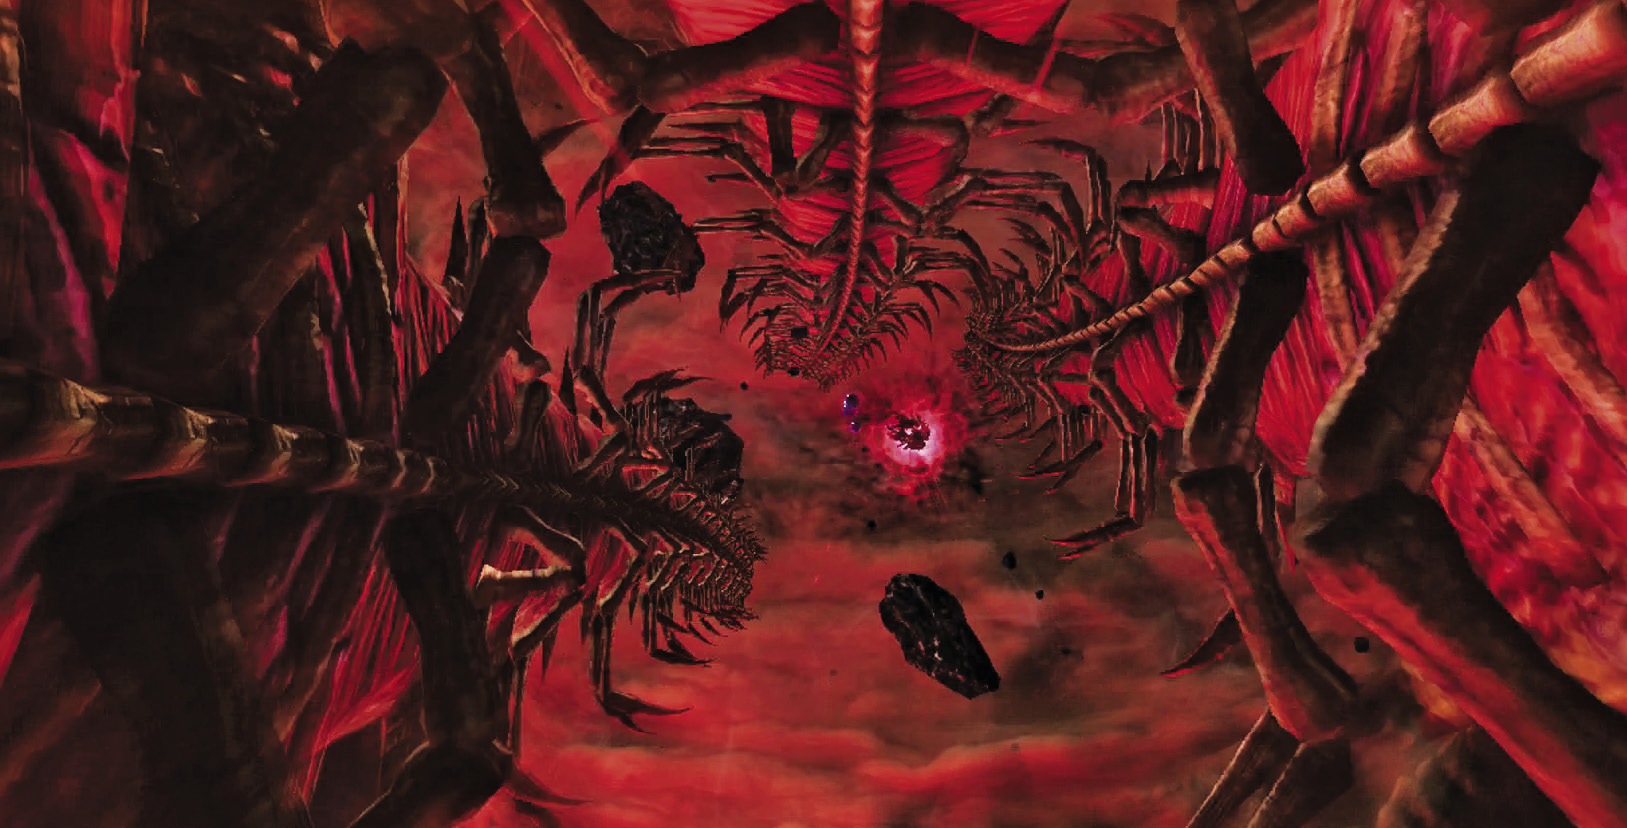
1st Climax/2nd Climax/3rd Climax/∞ Climax (Go for Pure Platinum!)
Suggested Pure Platinum Weapons: N/A
Enemies: Scolopendras (Multiple)
This Verse has Bayonetta falling a long distance, with Scolopendras constantly trying to tag her. First move Bayonetta to the lower right, then to the left so that the Scolopendra misses her.
Stay near the center for the next few Scolopendras, adjusting down and to the right as they come close.
Move up for the next one.
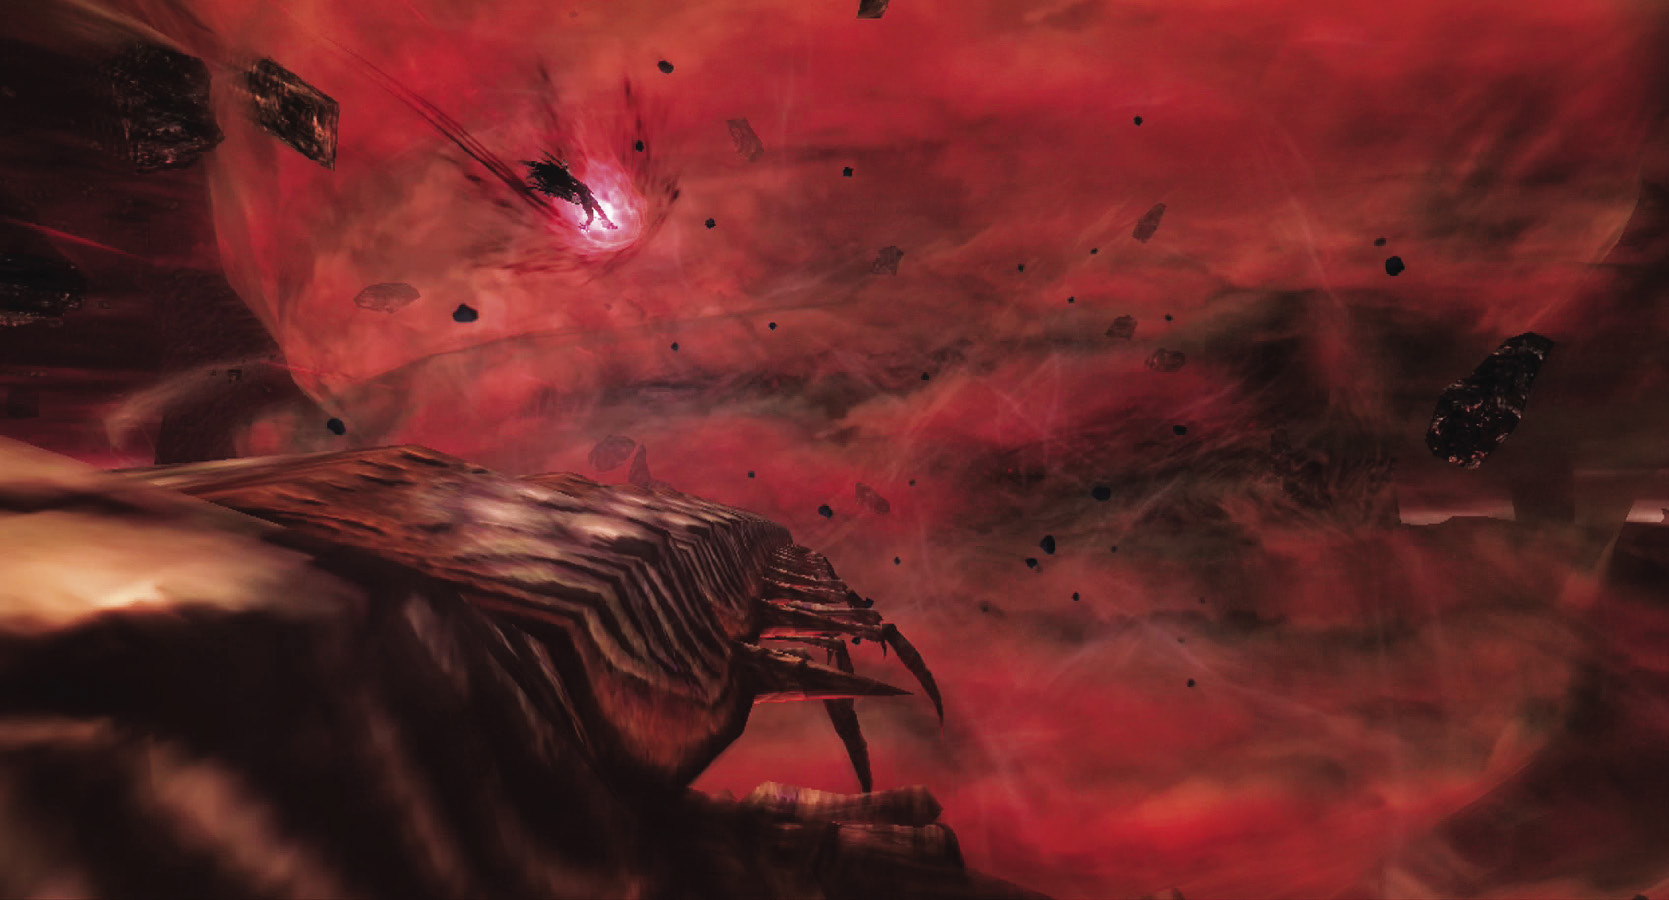
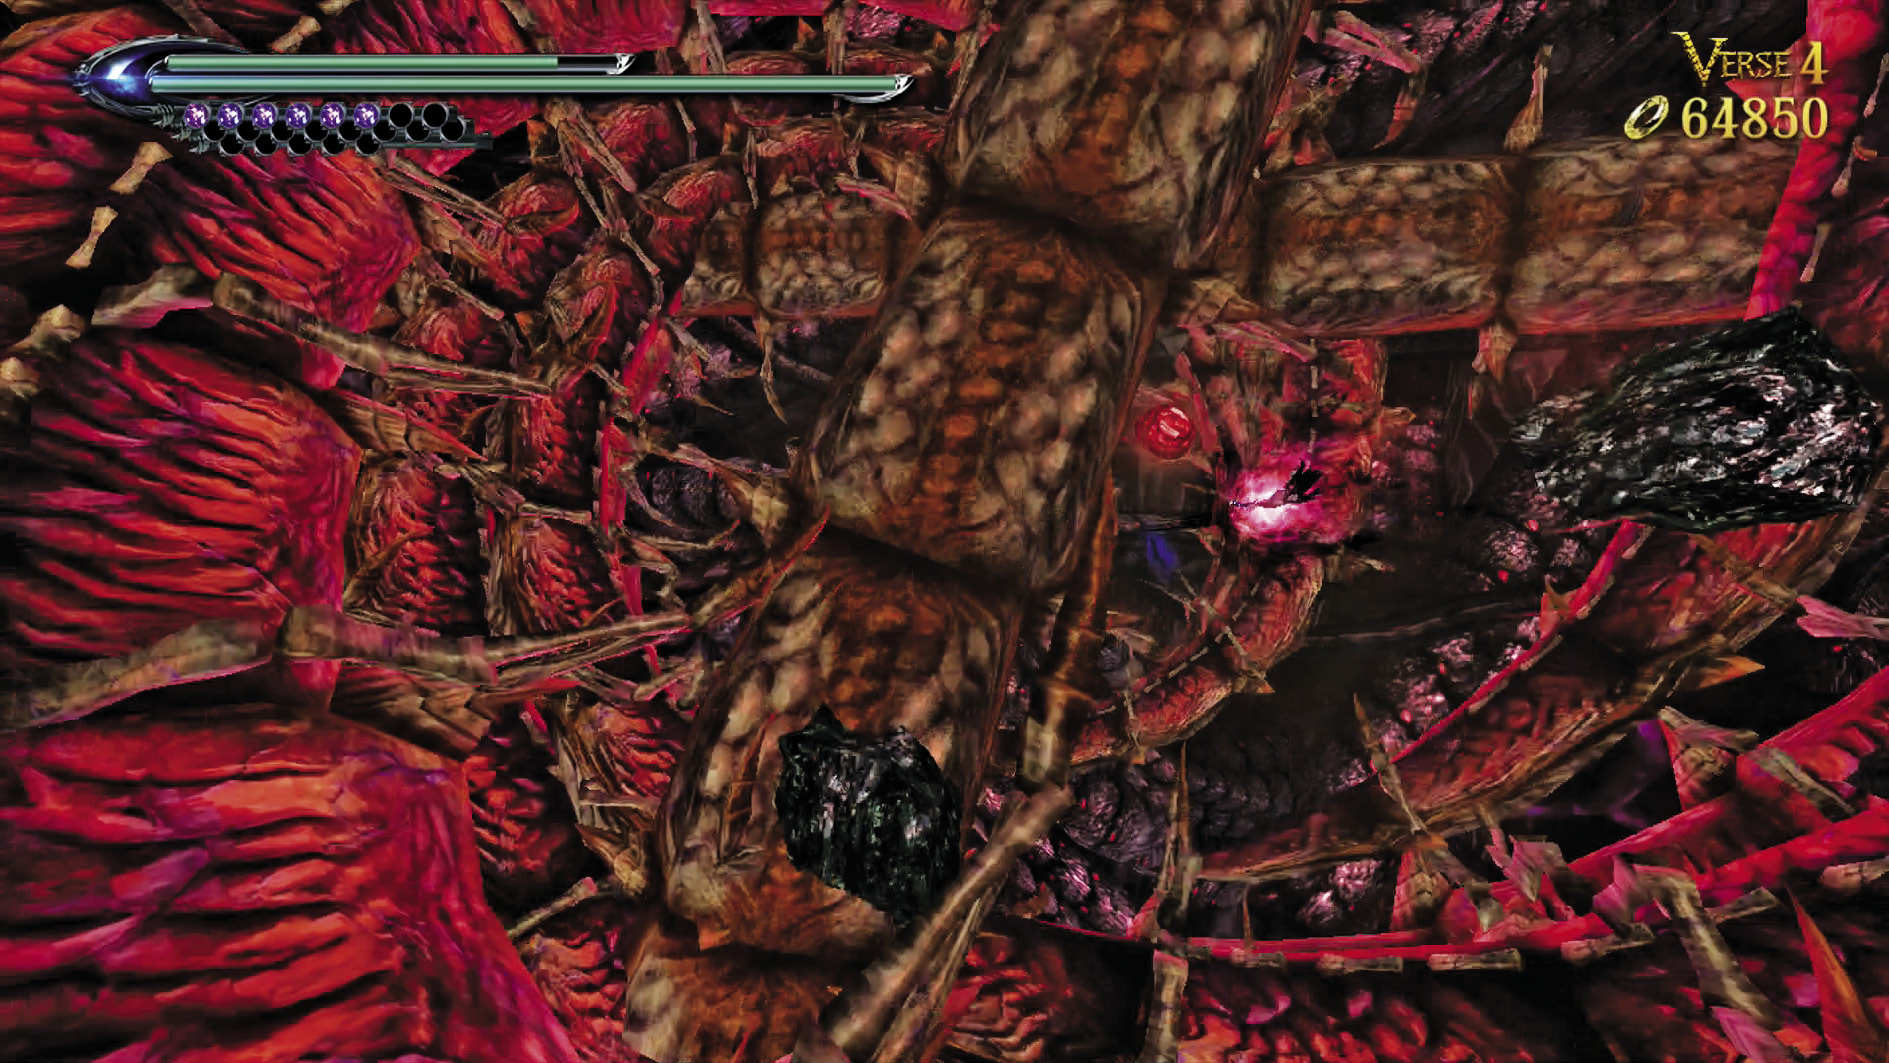
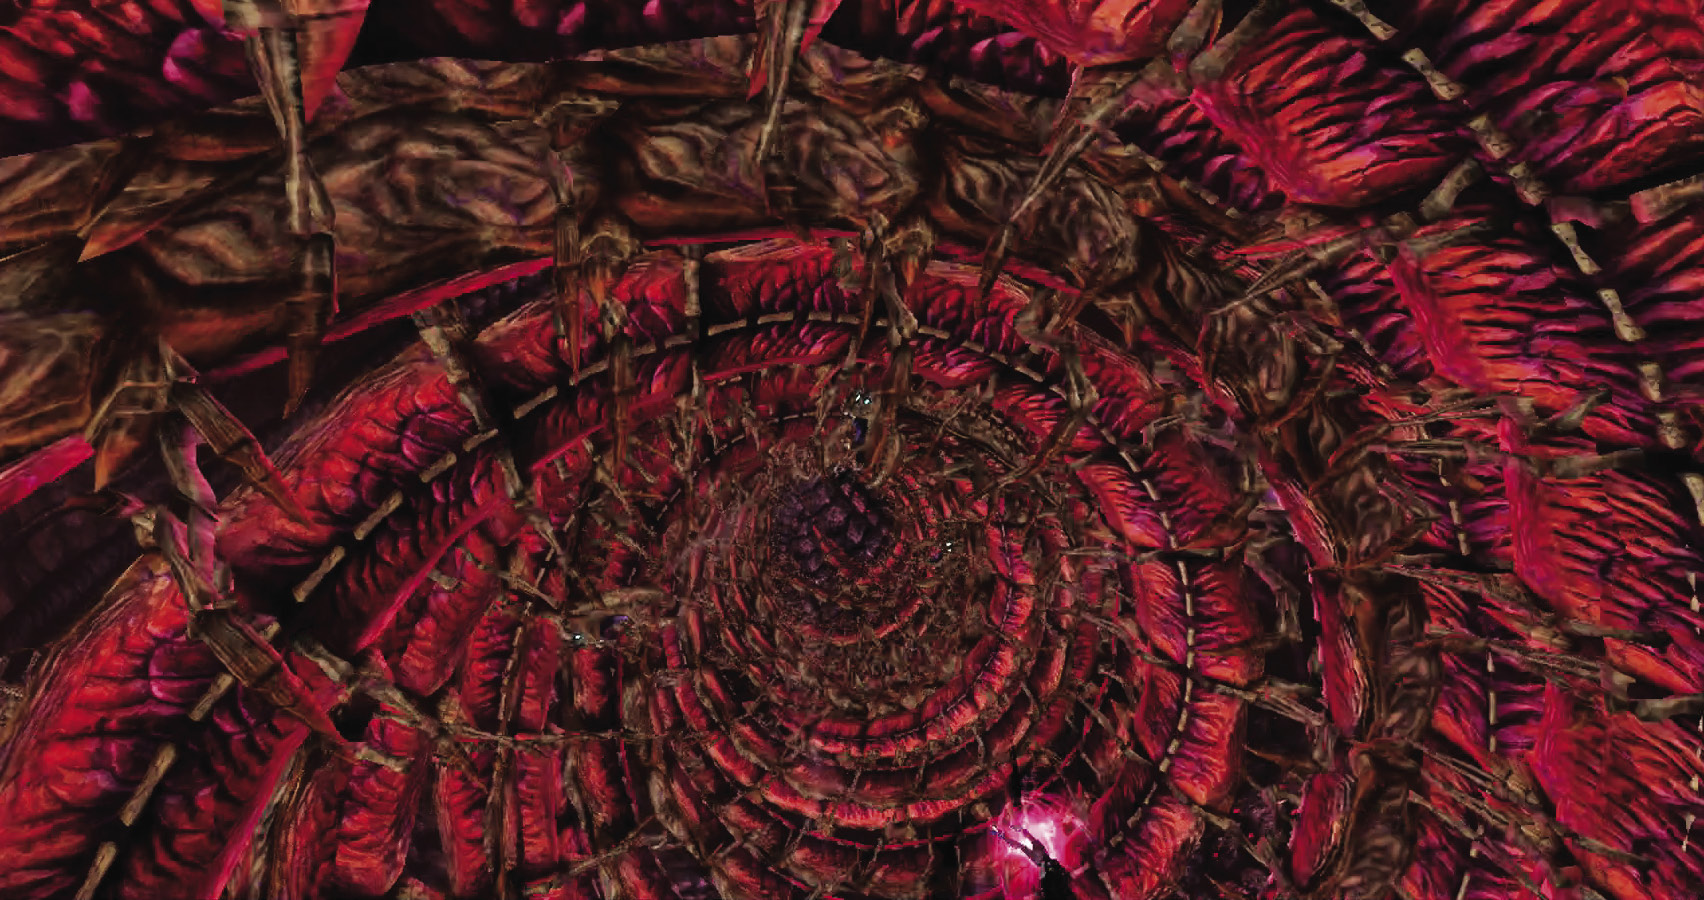
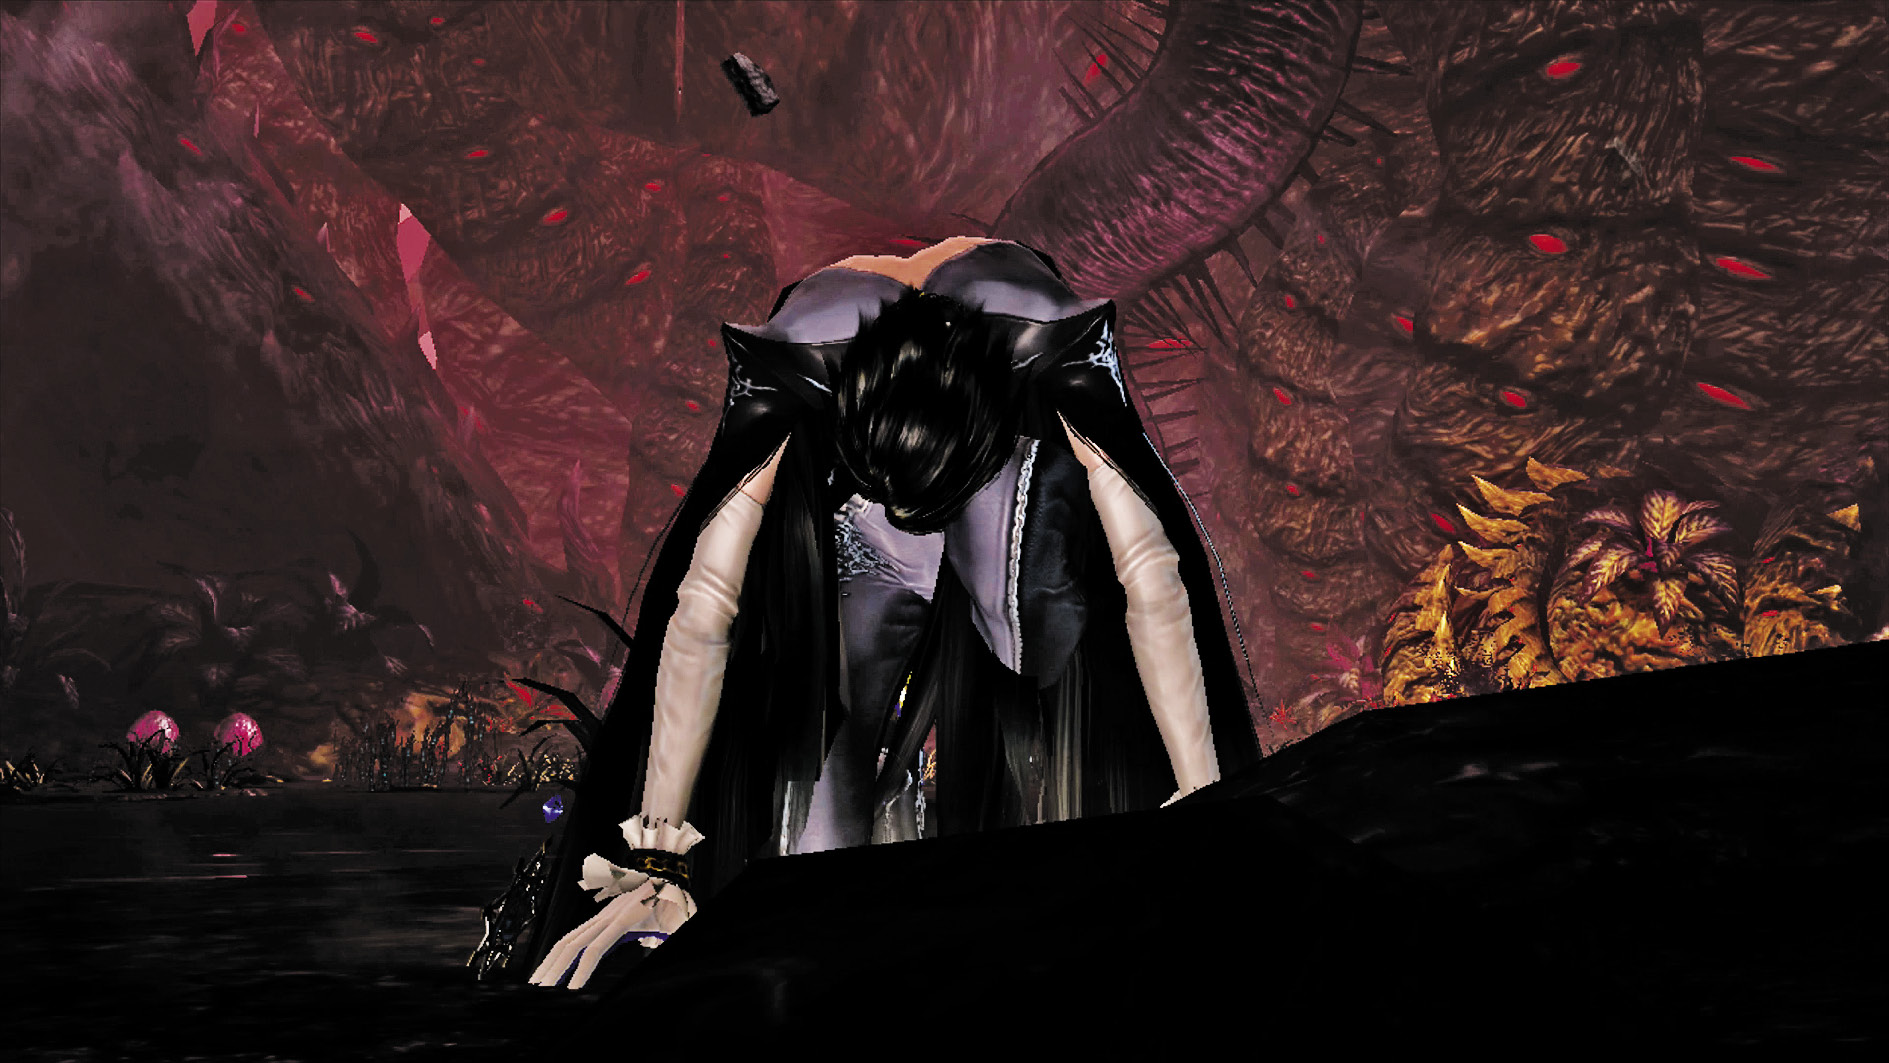
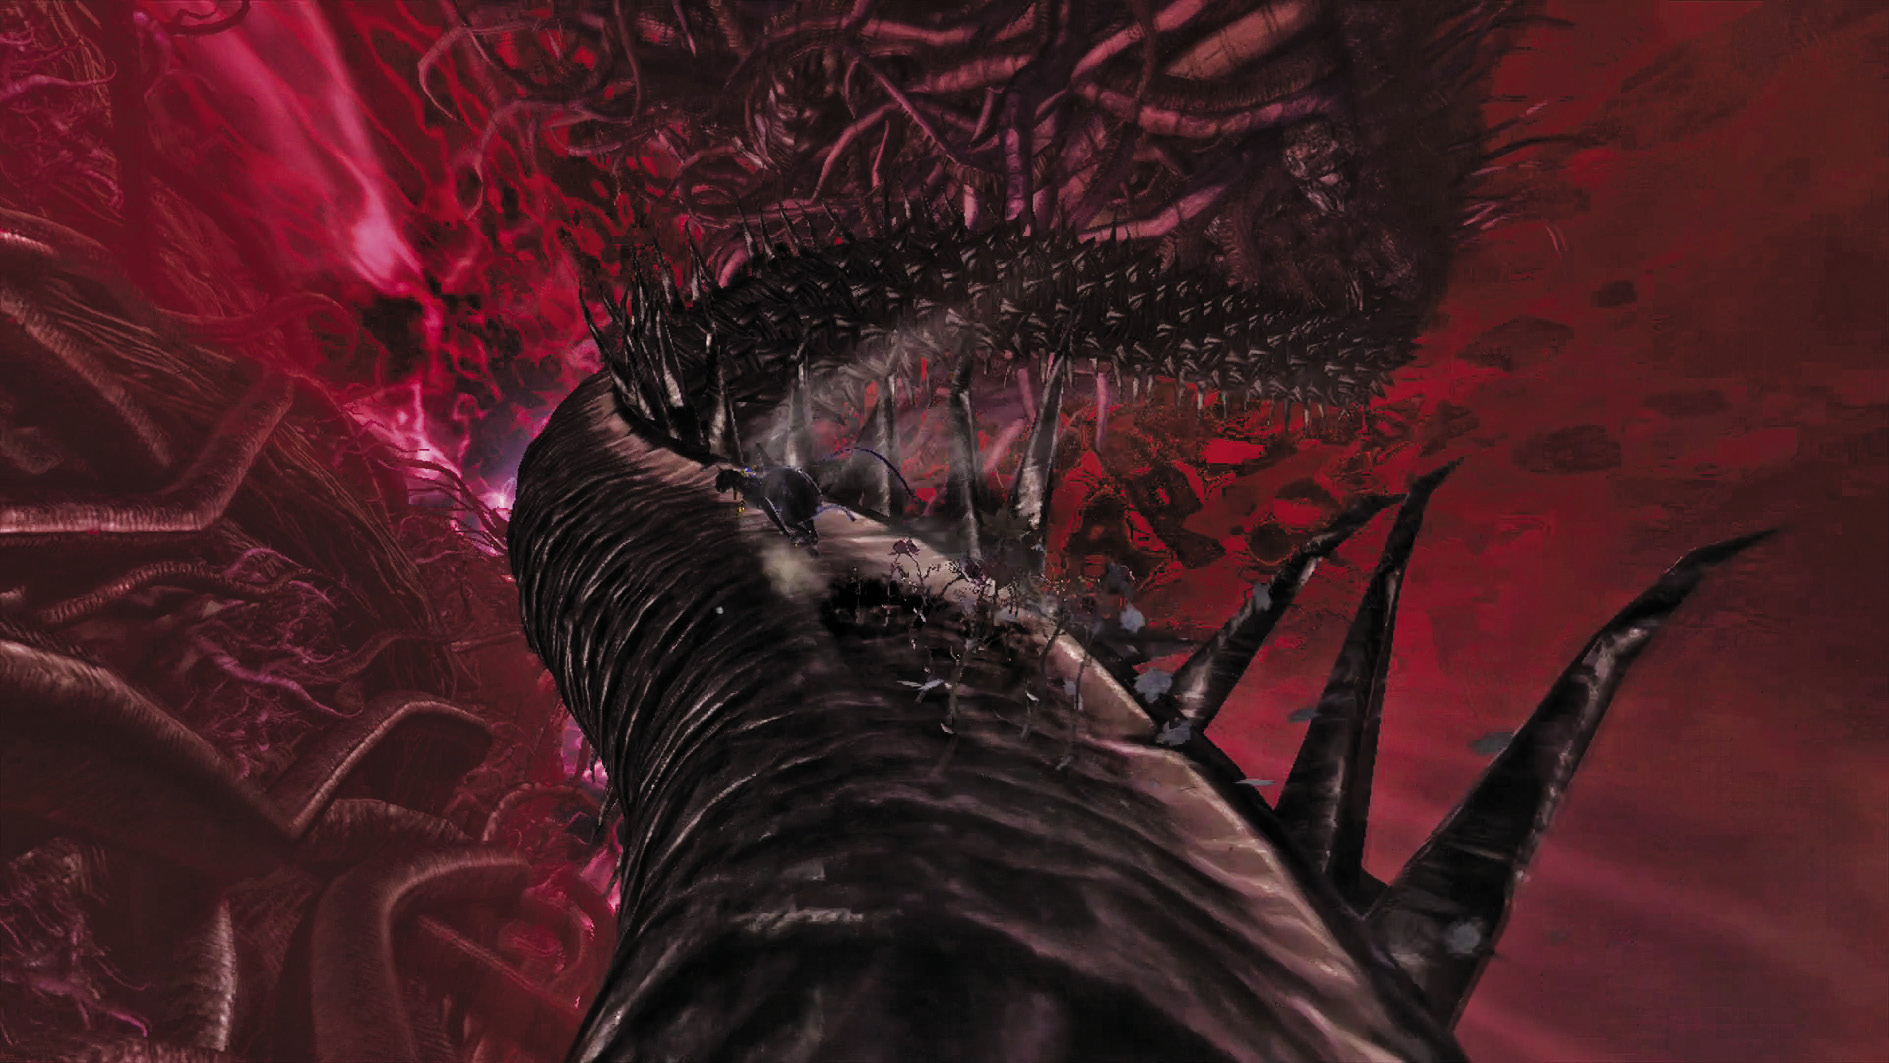
Finally you’ll move into a monstrous column. There’s a Broken Witch Heart (27/40) in the center as you fall—be sure not to miss it!
As long as you didn’t get hit, you should get Pure Platinum for this Verse.
Out of the frying pan and into the fire! Quite literally, in fact.
| CH10 V4 | 1st Climax | 2nd Climax | 3rd Climax | ∞ Climax | ||||||||
|---|---|---|---|---|---|---|---|---|---|---|---|---|
| Time | Damage | Combo | Time | Damage | Combo | Time | Damage | Combo | Time | Damage | Combo | |
| PLATINUM | 00:38 | 0 | 0 | 00:38 | 0 | 0 | 00:38 | 0 | 0 | 00:38 | 0 | 0 |
| GOLD | 00:45 | 400 | 0 | 00:45 | 800 | 0 | 00:45 | 1600 | 0 | 00:45 | 2000 | 0 |
| SILVER | 800 | 0 | 1600 | 0 | 3200 | 0 | 4000 | 0 | ||||
| BRONZE | 1200 | 0 | 2400 | 0 | 4800 | 0 | 6000 | 0 | ||||
| BOSS BONUS | ||||||||||||
Verse 5
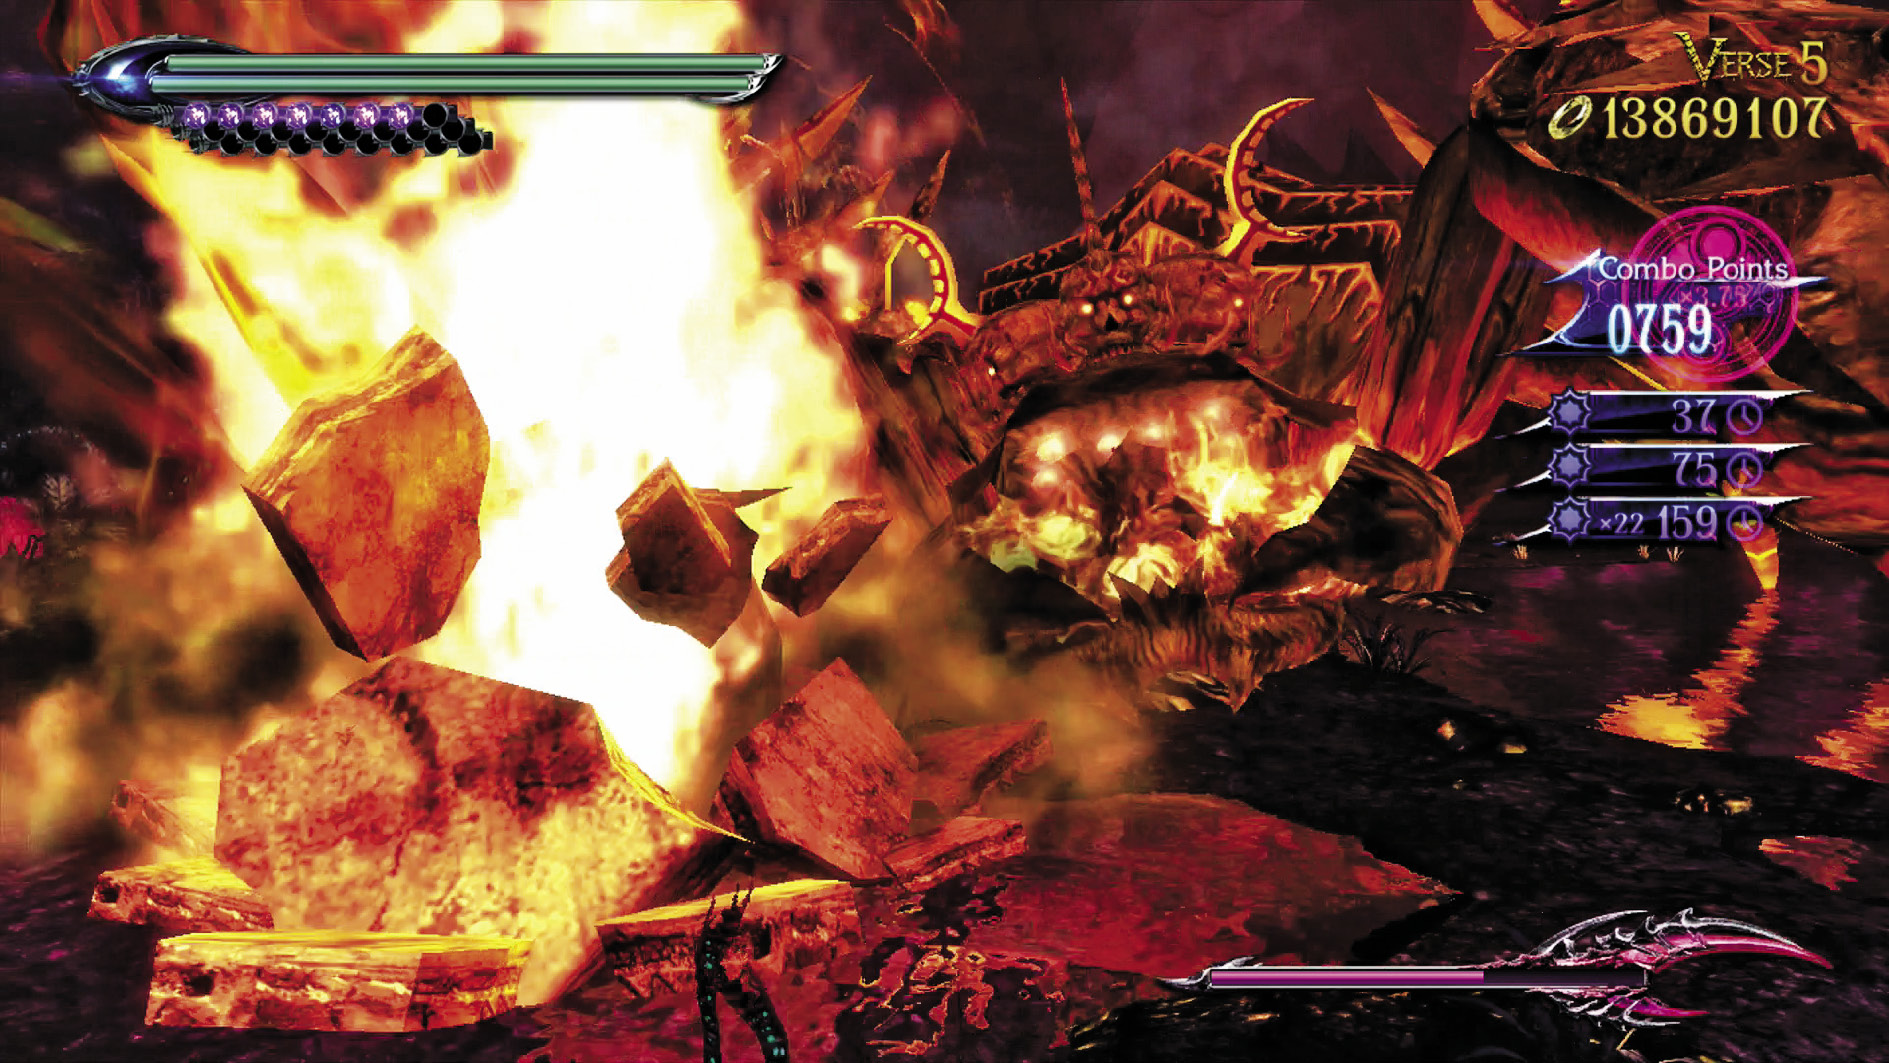
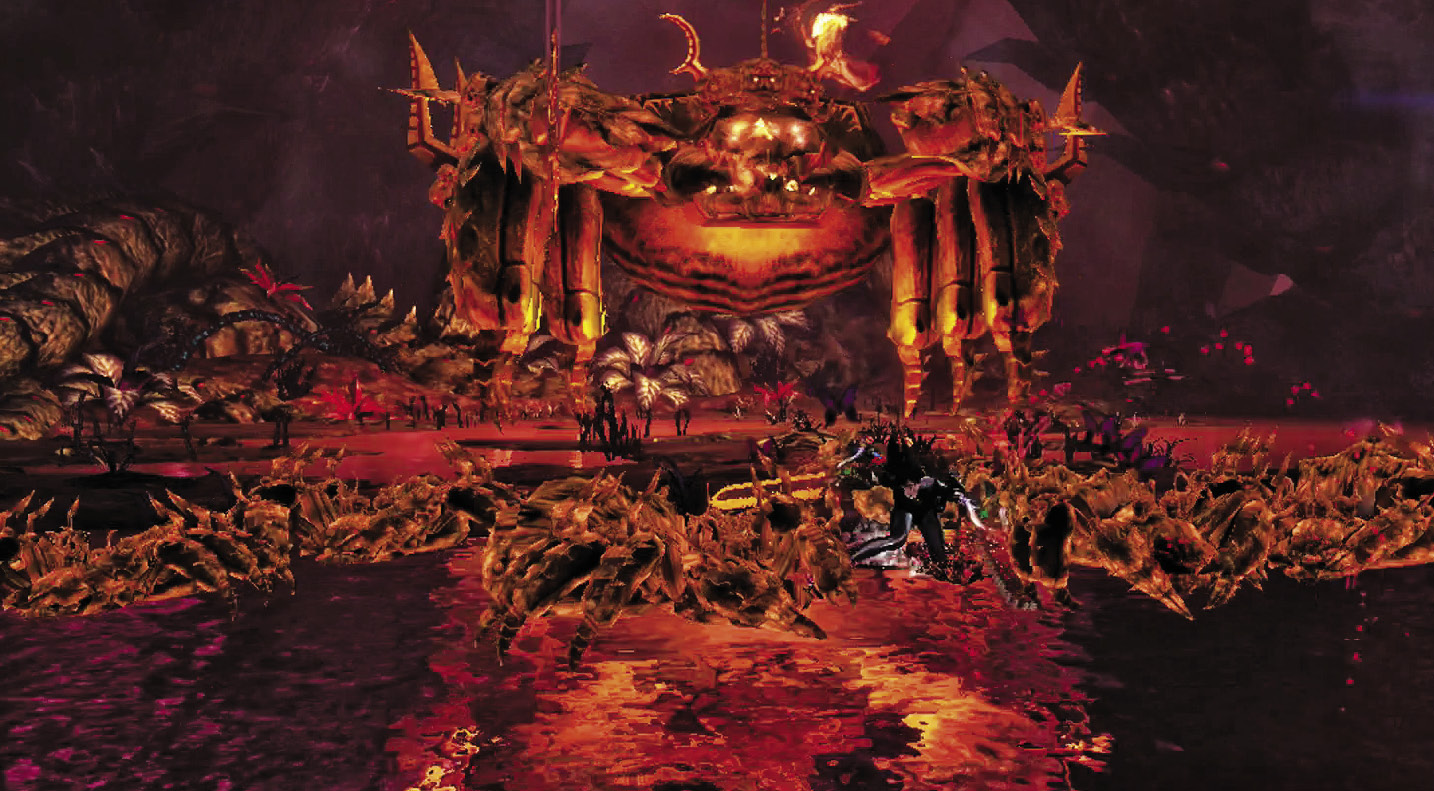
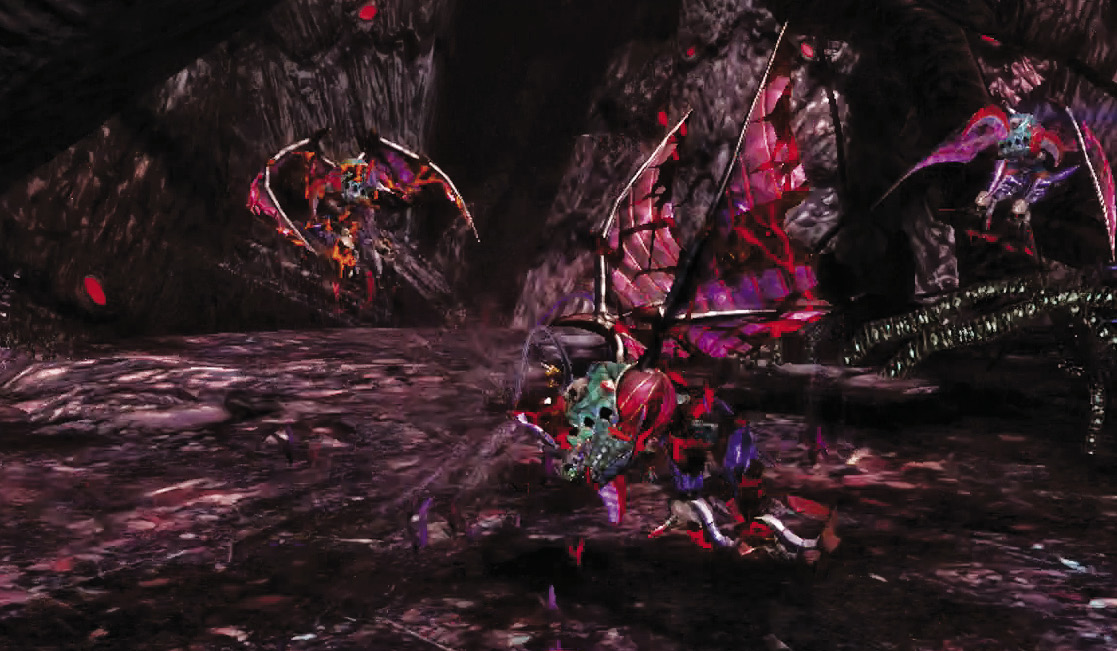
Boss: Phantasmaraneae

1st Climax/2nd Climax/3rd Climax/∞ Climax (Go for Pure Platinum!)
Suggested Pure Platinum Weapons: Salamandra (Arms), Alruna (Legs)
Enemies: Phantasmaraneae
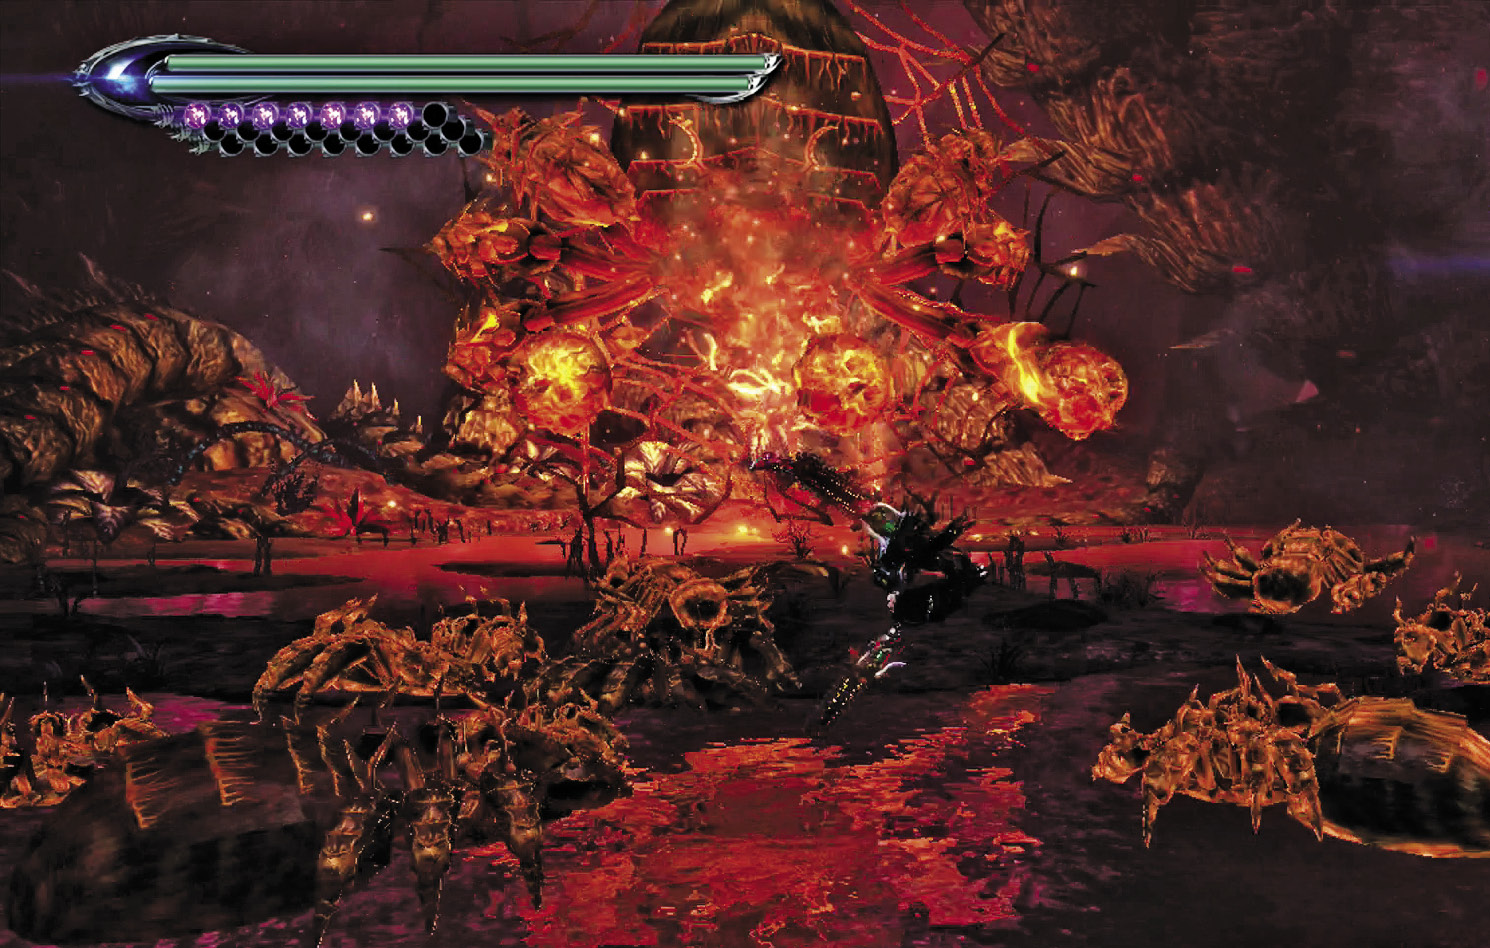
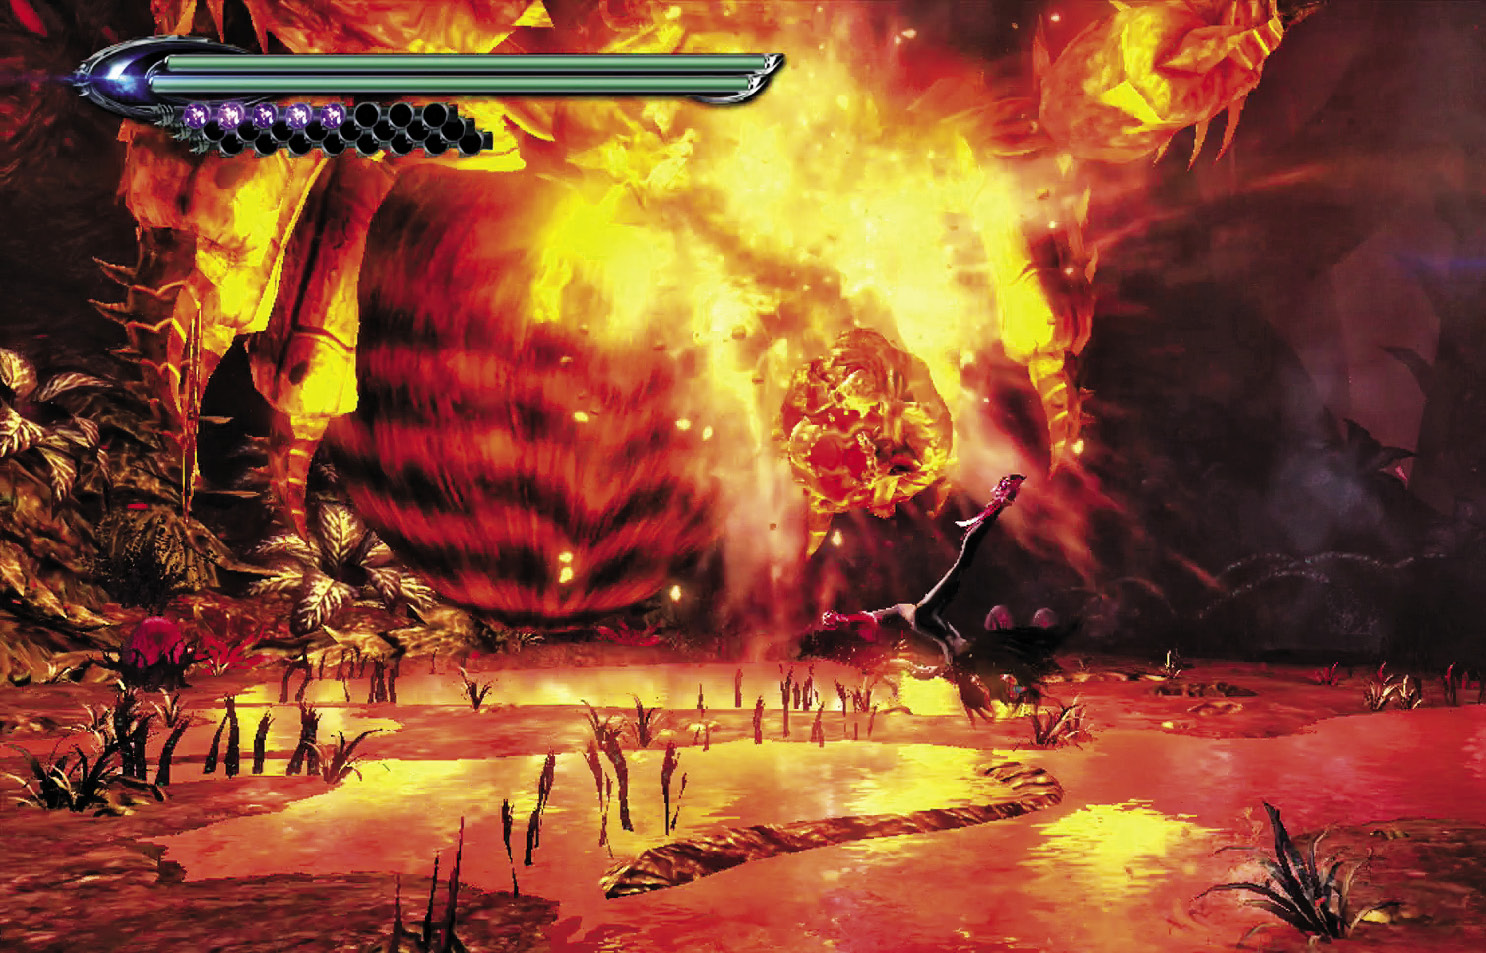
Arachnophobes beware! The only thing more fearsome a giant spider is quite possibly a giant spider on fire.
Phantasmaraneae is another one of those large enemies that manages to move quite fast! It’ll jump around and try to stomp you, swipe at you with its legs, burrow underground to resurface directly under you, and spit fireballs, either in sequence or in a spread formation. It can spin a web on the walls and use it as a perch to pick you off from. Finally, it can produce offspring that make your task harder by sheer force of crowding.
Every single one of these attacks has a tell. Anticipate the burrowing attack by looking at the ground. The fireballs are large and move slowly enough to be dodged, even on ∞ Climax. Phantasmaraneae rears back before the swipes, and the stomps are self-explanatory. Just look for these tells, and dodge accordingly. Like most enemies, Phantasmaraneae’s pretty helpless while in Witch Time, so keep it there as long as possible.
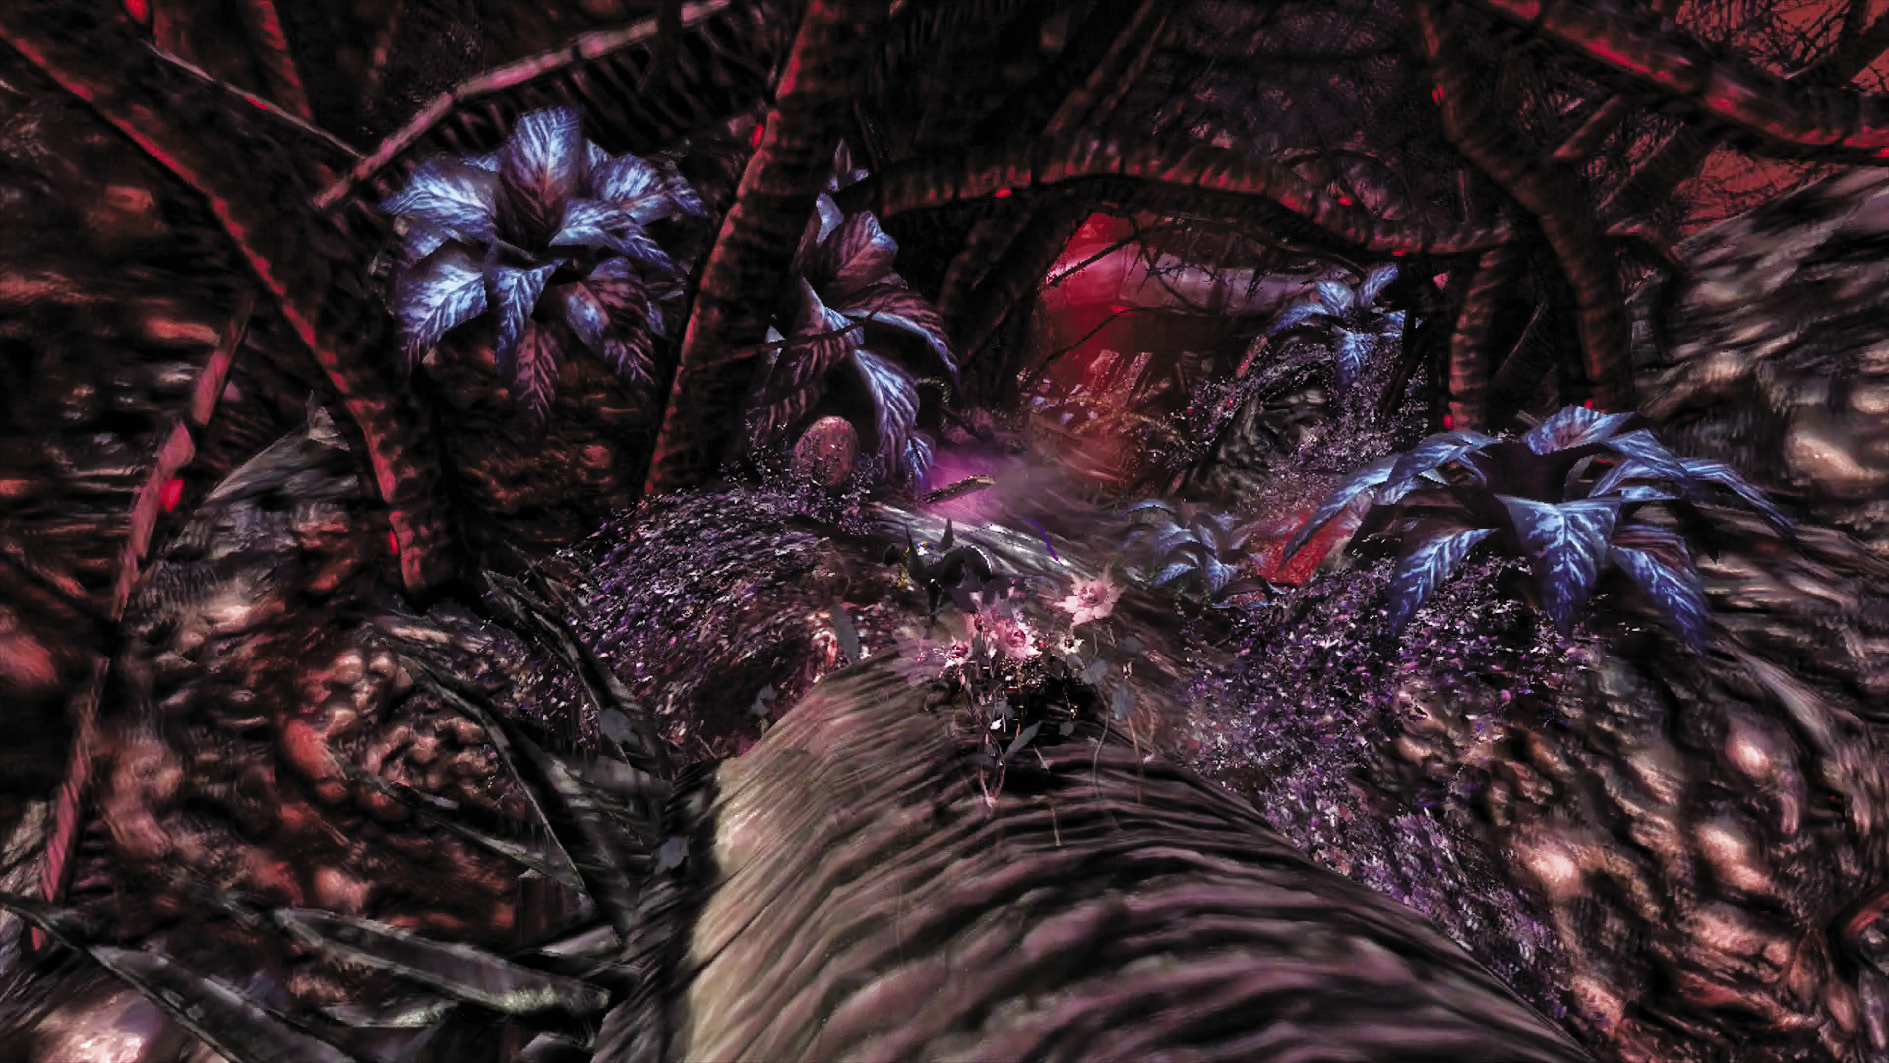
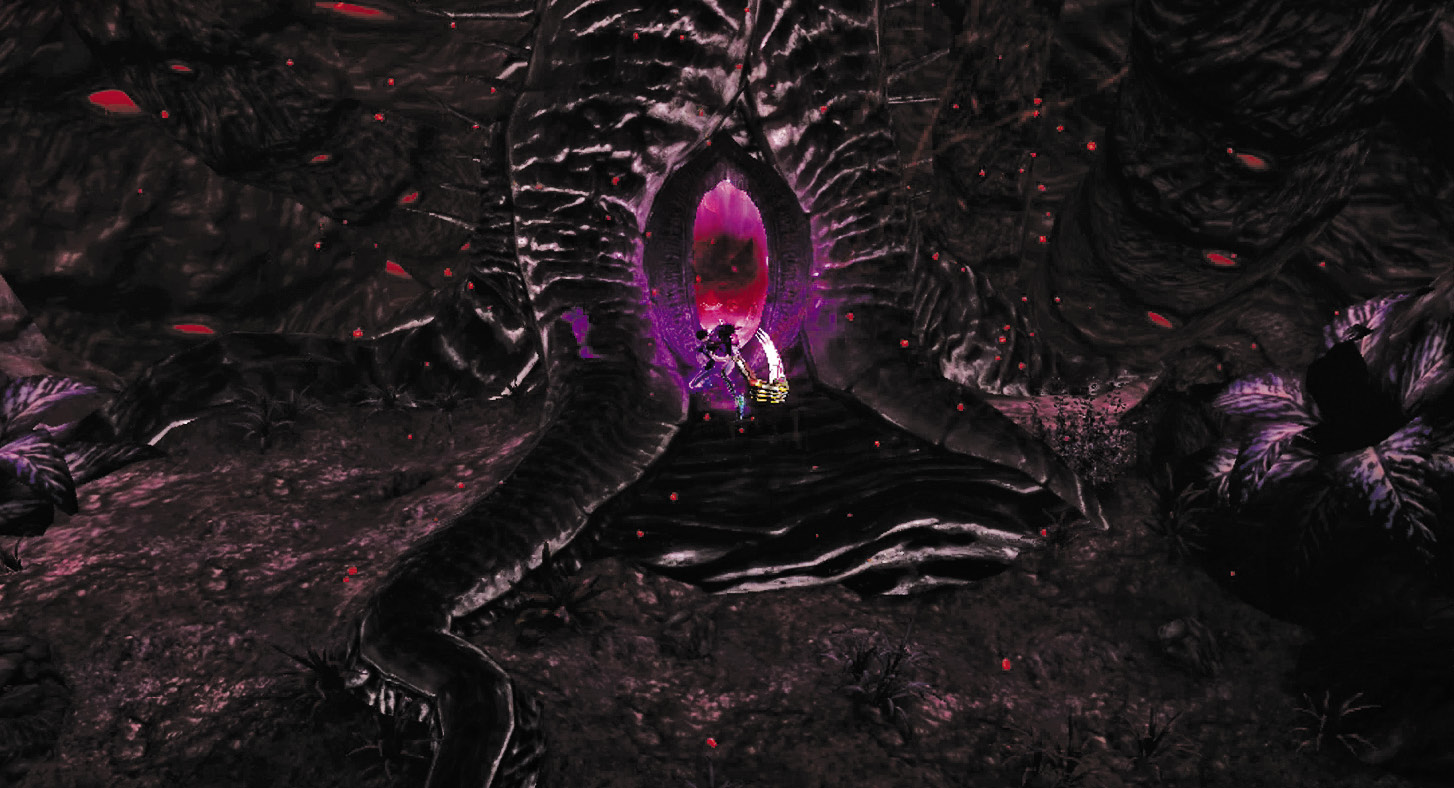
Once you’ve doused Phantasmaraneae, look for the big vine with a large eye embedded in its base. This eye responds to shows of great power. You’re Bayonetta. Do what you must.
Destroying the eye causes the vine to stretch, creating a trail to run across. On the other side of it, you run smack into the Balance Journal’s Echo, as well as an entrance to The Gates of Hell. Continue straight ahead for the next battle.
| CH10 V5 | 1st Climax | 2nd Climax | 3rd Climax | ∞ Climax | ||||||||
|---|---|---|---|---|---|---|---|---|---|---|---|---|
| Time | Damage | Combo | Time | Damage | Combo | Time | Damage | Combo | Time | Damage | Combo | |
| PLATINUM | 01:40 | 0 | 23000 | 01:40 | 0 | 23000 | 01:50 | 0 | 23000 | 02:00 | 0 | 23000 |
| GOLD | 02:00 | 1000 | 10400 | 02:00 | 2000 | 10400 | 02:10 | 3000 | 10400 | 02:20 | 4000 | 10400 |
| SILVER | 02:20 | 1500 | 7250 | 02:20 | 3000 | 7250 | 02:30 | 4000 | 7250 | 02:40 | 5500 | 7250 |
| BRONZE | 02:40 | 2000 | 4100 | 02:40 | 4000 | 4100 | 02:50 | 5000 | 4100 | 03:00 | 7000 | 4100 |
| BOSS BONUS | ||||||||||||
Verse 6
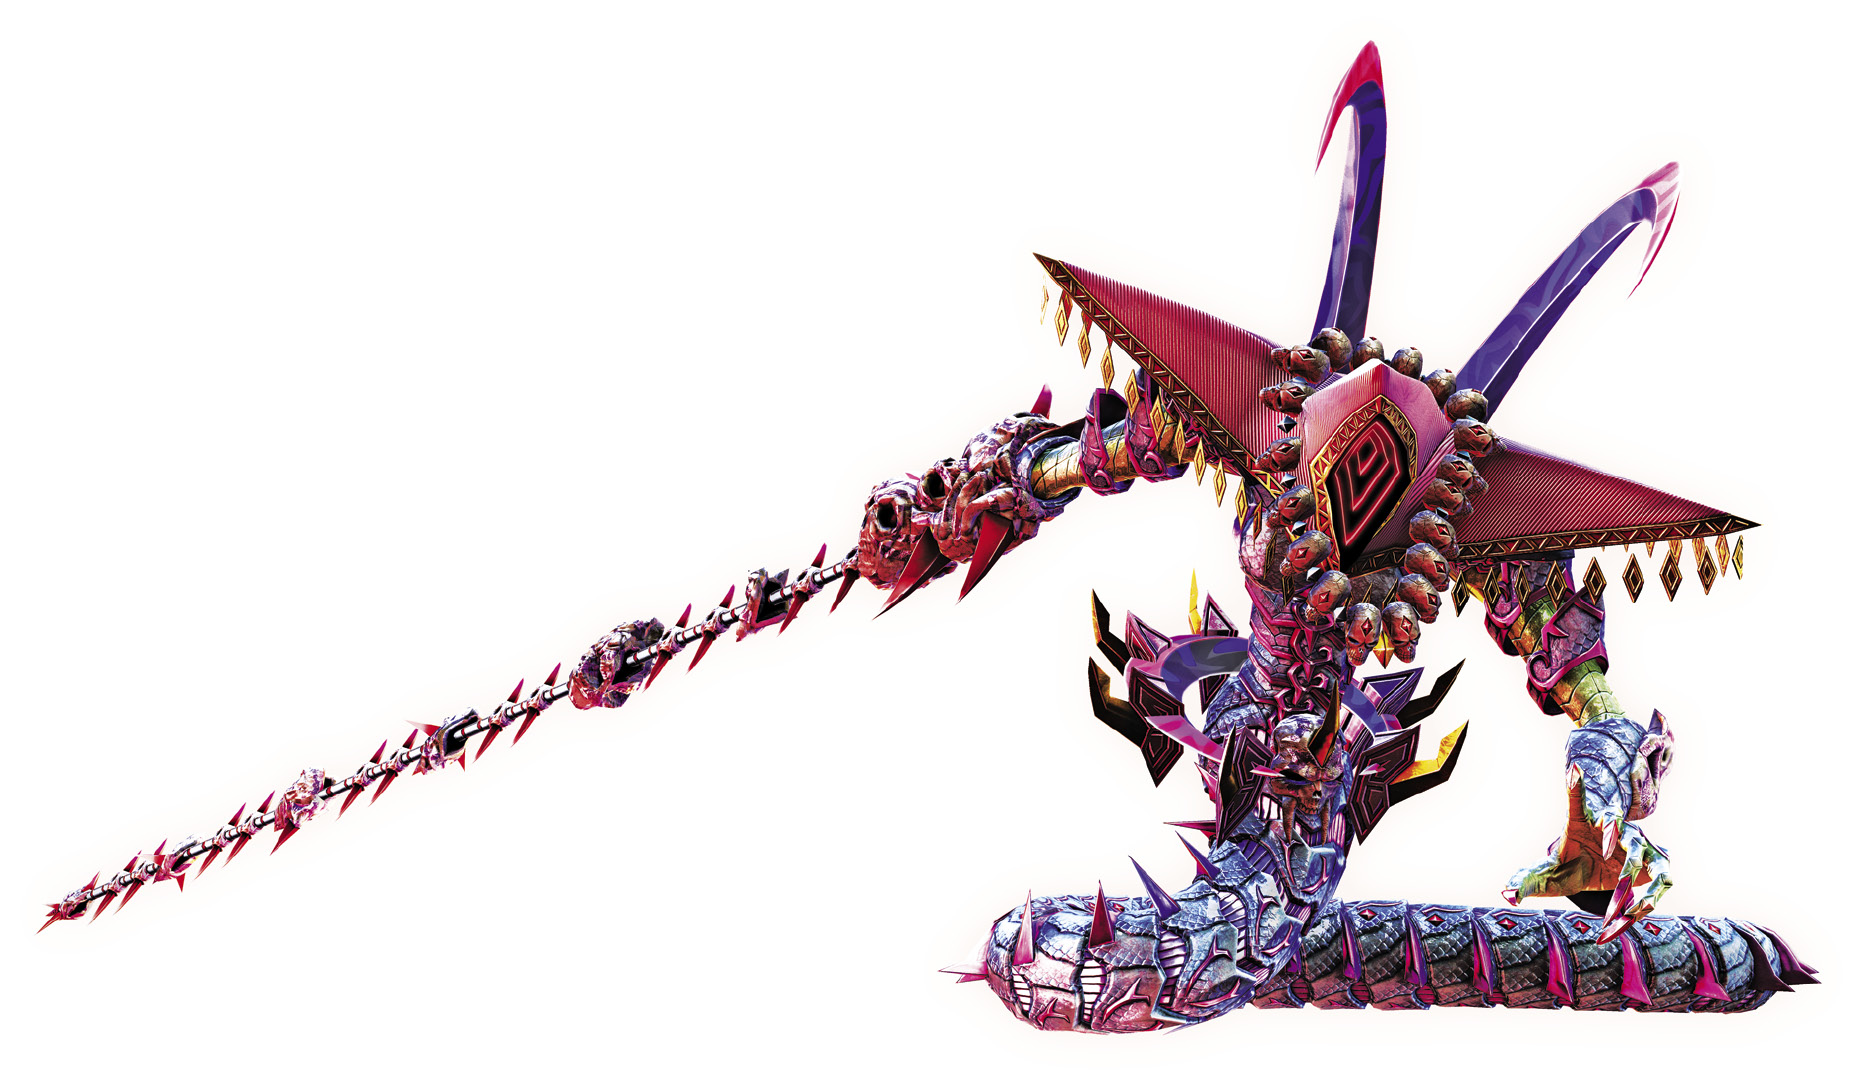
Enemy Spotlight: Resentment
Over the course of Bayonetta 2, you’ll come to resent Resentment quite a bit. She’ll do everything she can to hit you with flanking swipes and wrap you up in her snakelike body. However, by far the most damaging attack she has is her de-aging beam. If you’re hit with it, you’re turned into a helpless child, vulnerable to b eing grabbed and consumed by Resentment for an instant trip to the Continue screen!! Should you get hit by the beam, activate Umbran Climax to instantly revert to normal.
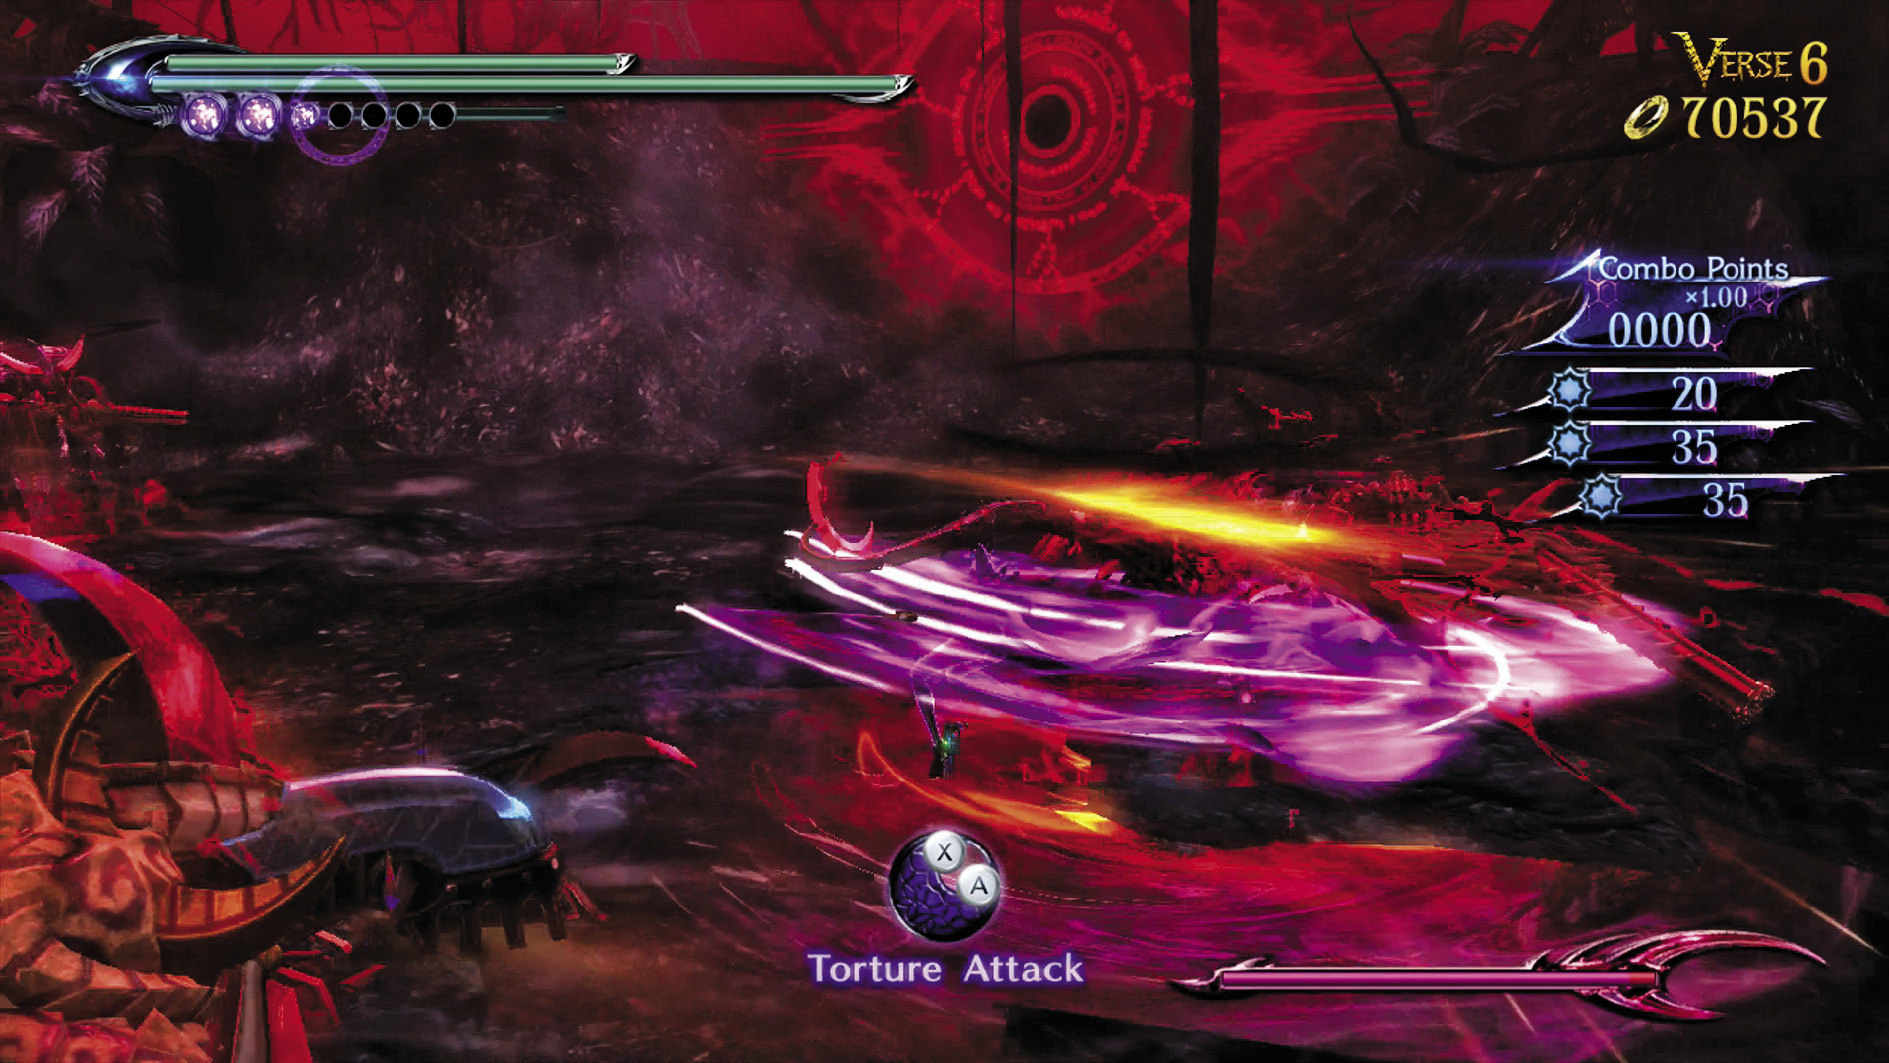
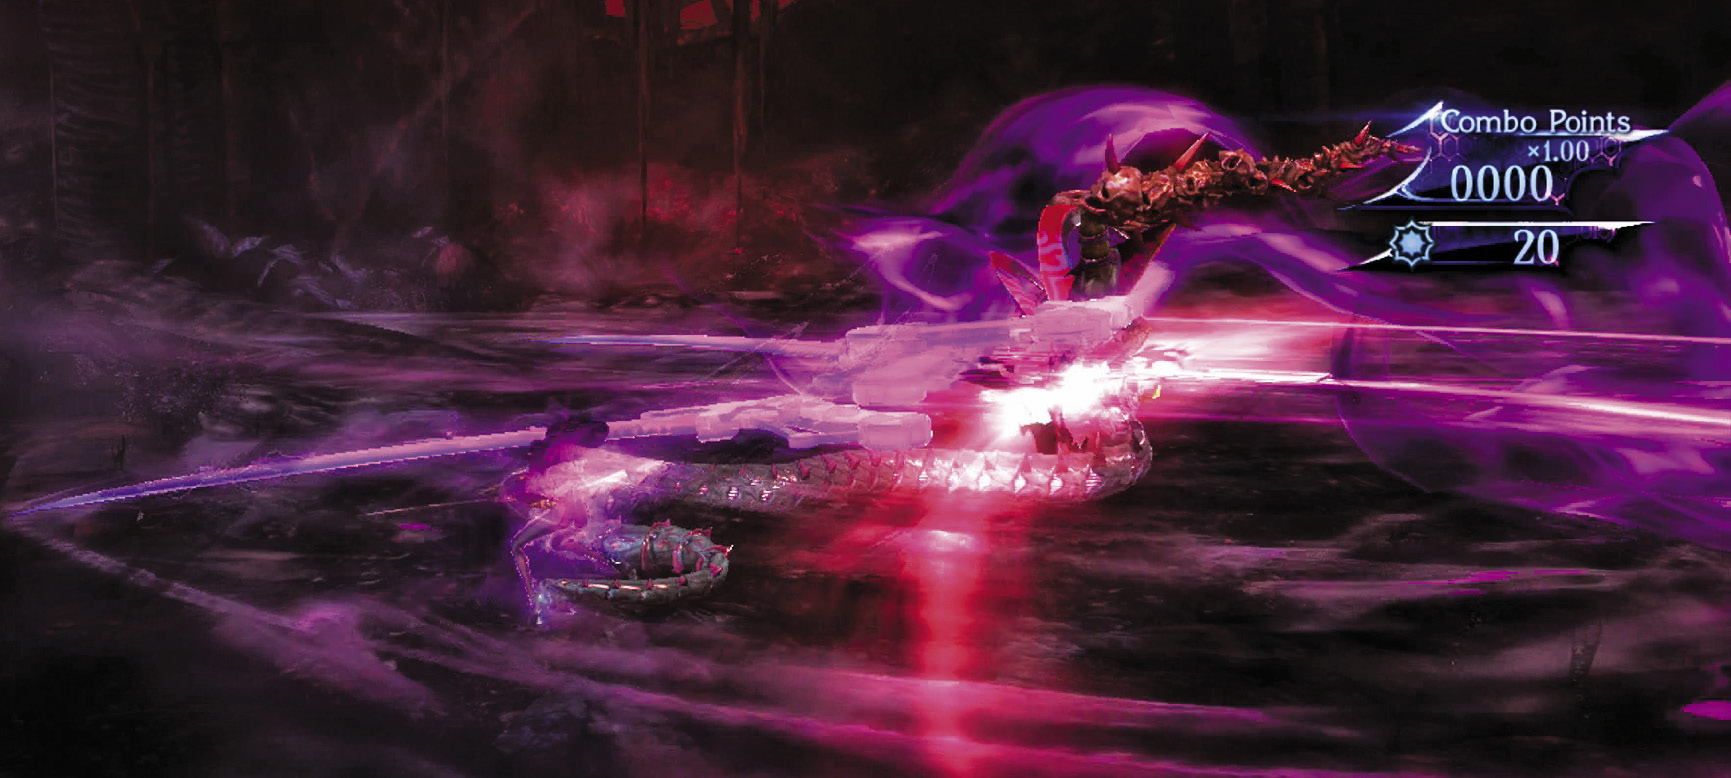
1st Climax/2nd Climax/3rd Climax
Enemies: Greed x1, Hideous (Gun) x3, Resentment x1
Save your magic power as much as you can while fighting the first wave of enemies. You want at least one large orb of magic power going into the second wave. Once Resentment shows up, unleash Umbran Climax at your discretion.
∞ Climax
Enemies: Pride x1, Hideous (Gun) x2, Resentment x2
The strategy here is the same as at the lower difficulties, except you have two Resentments to deal with. Try to attack both at the same time during Umbran Climax!
Go for Pure Platinum!
Suggested Weapons: Salamandra (Arms), Alruna (Legs)
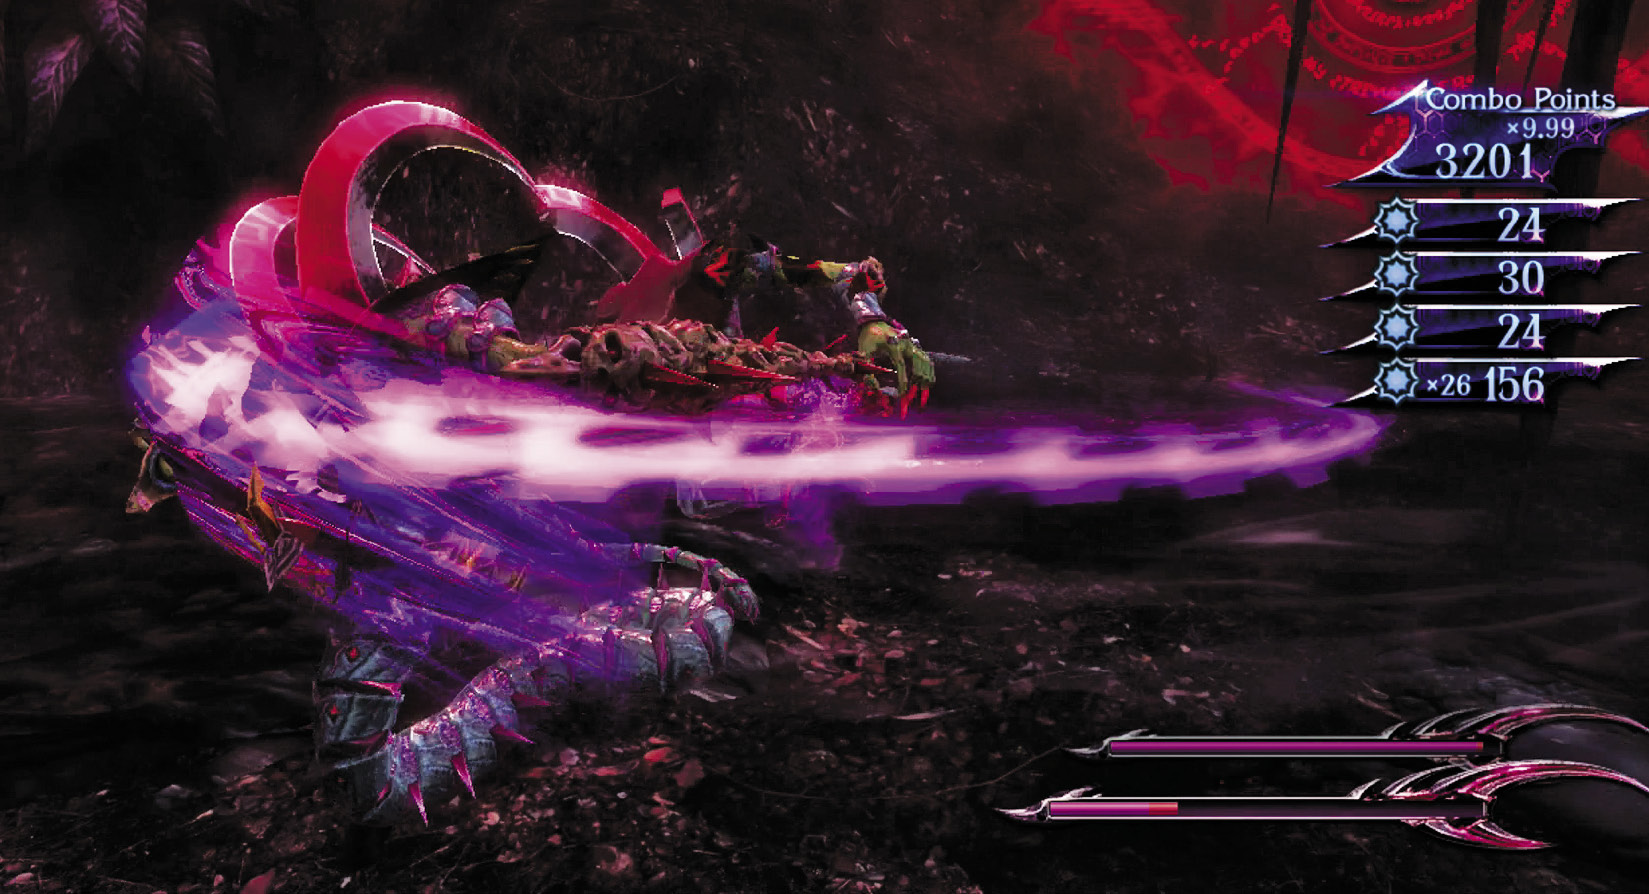
Using long slices with the Salamandra is enough to get the Pure Platinum medal, as long as you remember to taunt between the two enemy waves. If you’re feeling daring, hold K during Witch Time or Umbran Climax and toss the Resentments to the ground!
Instead of activating the next vine, look up and to the right side of the area to see a chest containing a Mega Yellow Moon Lollipop. Grab it and continue along this new path to reach the Angelic Hymns Gold LP Matthäus-Passion O Haupt voll Blut und Wunden 2/3. Grabbing this, however, triggers a Verse, so be ready to fight!
| CH10 V6 | 1st Climax | 2nd Climax | 3rd Climax | ∞ Climax | ||||||||
|---|---|---|---|---|---|---|---|---|---|---|---|---|
| Time | Damage | Combo | Time | Damage | Combo | Time | Damage | Combo | Time | Damage | Combo | |
| PLATINUM | 02:10 | 0 | 26360 | 02:10 | 0 | 26360 | 02:10 | 0 | 26360 | 02:20 | 0 | 95870 |
| GOLD | 02:20 | 450 | 11800 | 02:20 | 900 | 11800 | 02:20 | 1800 | 11800 | 02:30 | 3000 | 40330 |
| SILVER | 02:30 | 750 | 8160 | 02:30 | 1500 | 8160 | 02:30 | 3000 | 8160 | 02:40 | 4500 | 26440 |
| BRONZE | 02:40 | 1050 | 4530 | 02:40 | 2100 | 4530 | 02:40 | 4200 | 4530 | 02:50 | 6000 | 12560 |
| BOSS BONUS | ||||||||||||
Verse 7
1st Climax/2nd Climax/3rd Climax
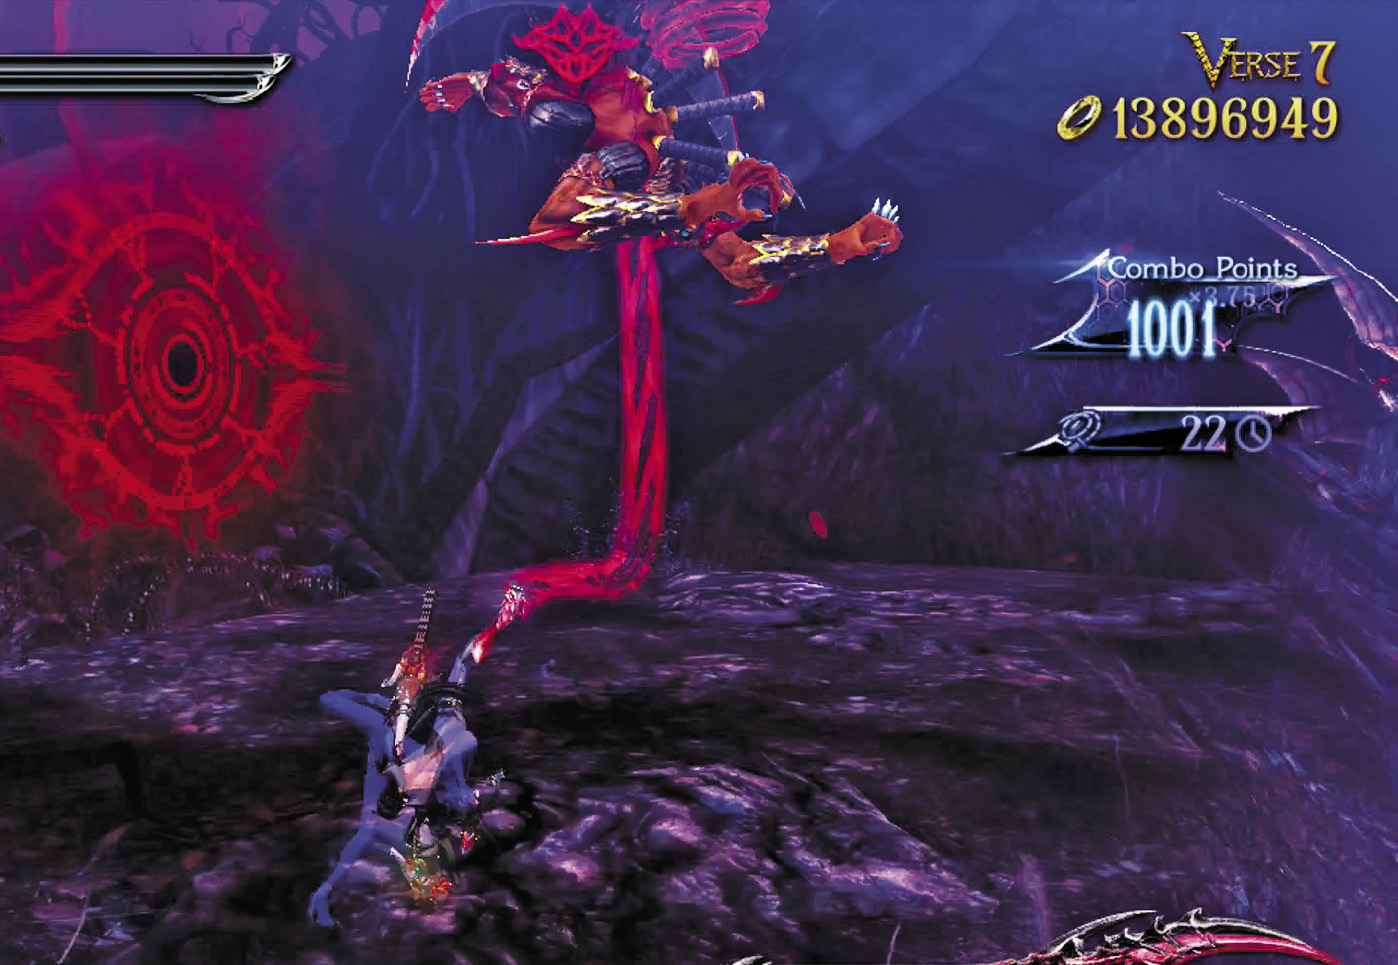
Enemies: Resentment x2, Fury x4
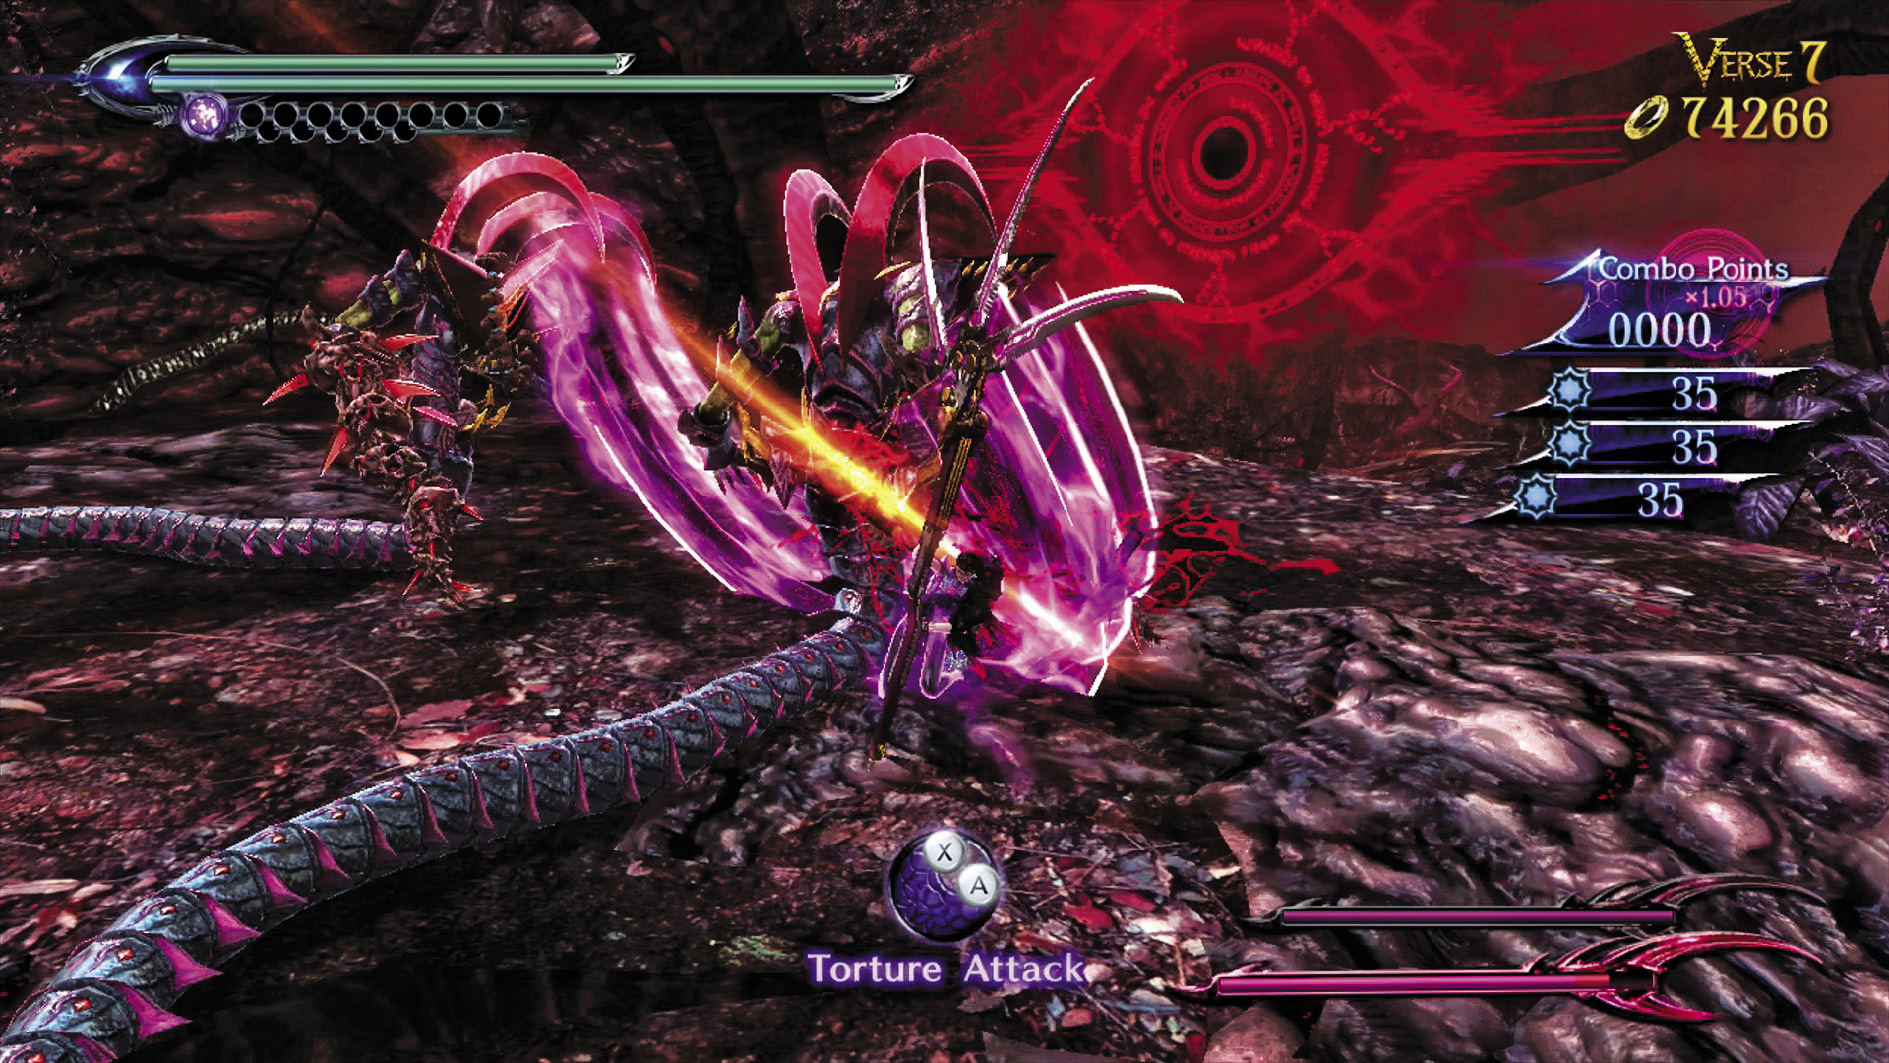
Two Resentments in the same place are bad news! Dodge absolutely everything you can and counterattack until you have enough energy for Umbran Climax, then spend it and unleash as much pain as possible. Furies show up after you dispatch one Resentment.
∞ Climax
Enemies: Sloth x1, Fury x4
Even a single Sloth is as much bad news as multiple Resentments. Constantly chase him around and try to hit him. Take care of the Furies at the same time as you engage Sloth.
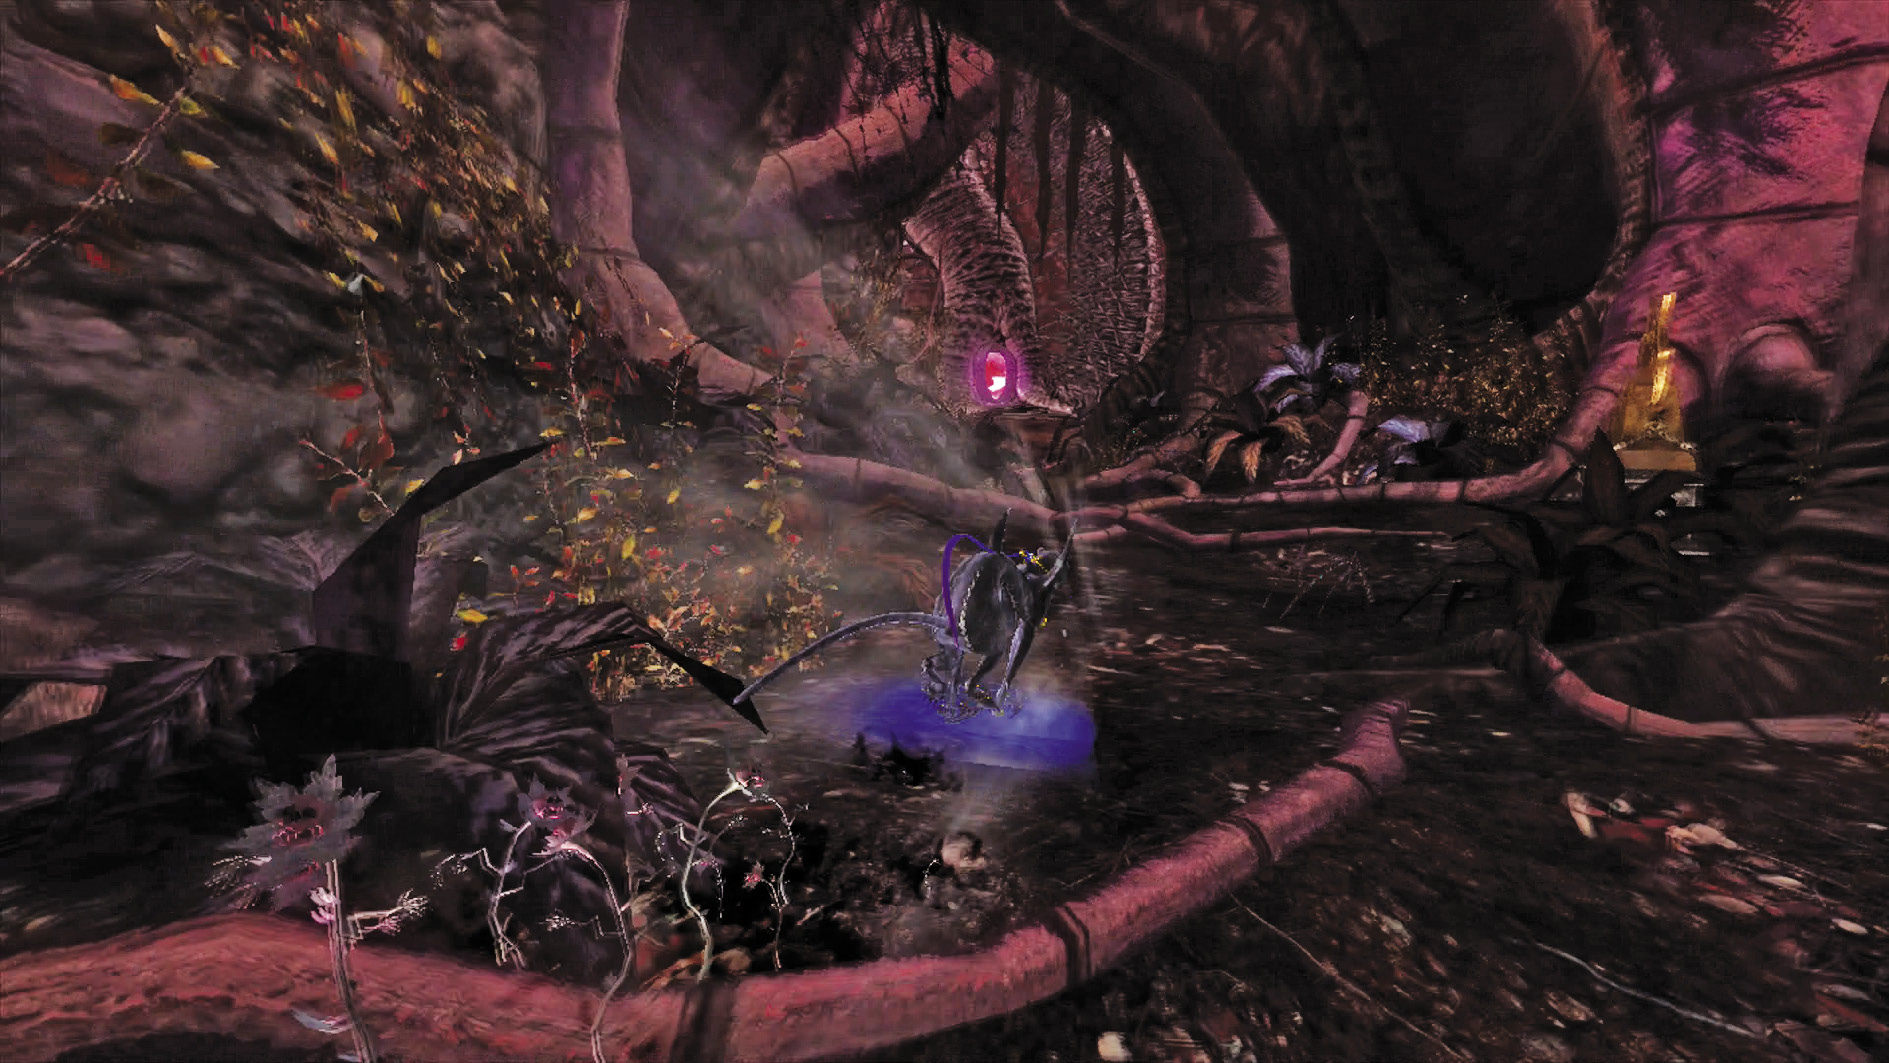
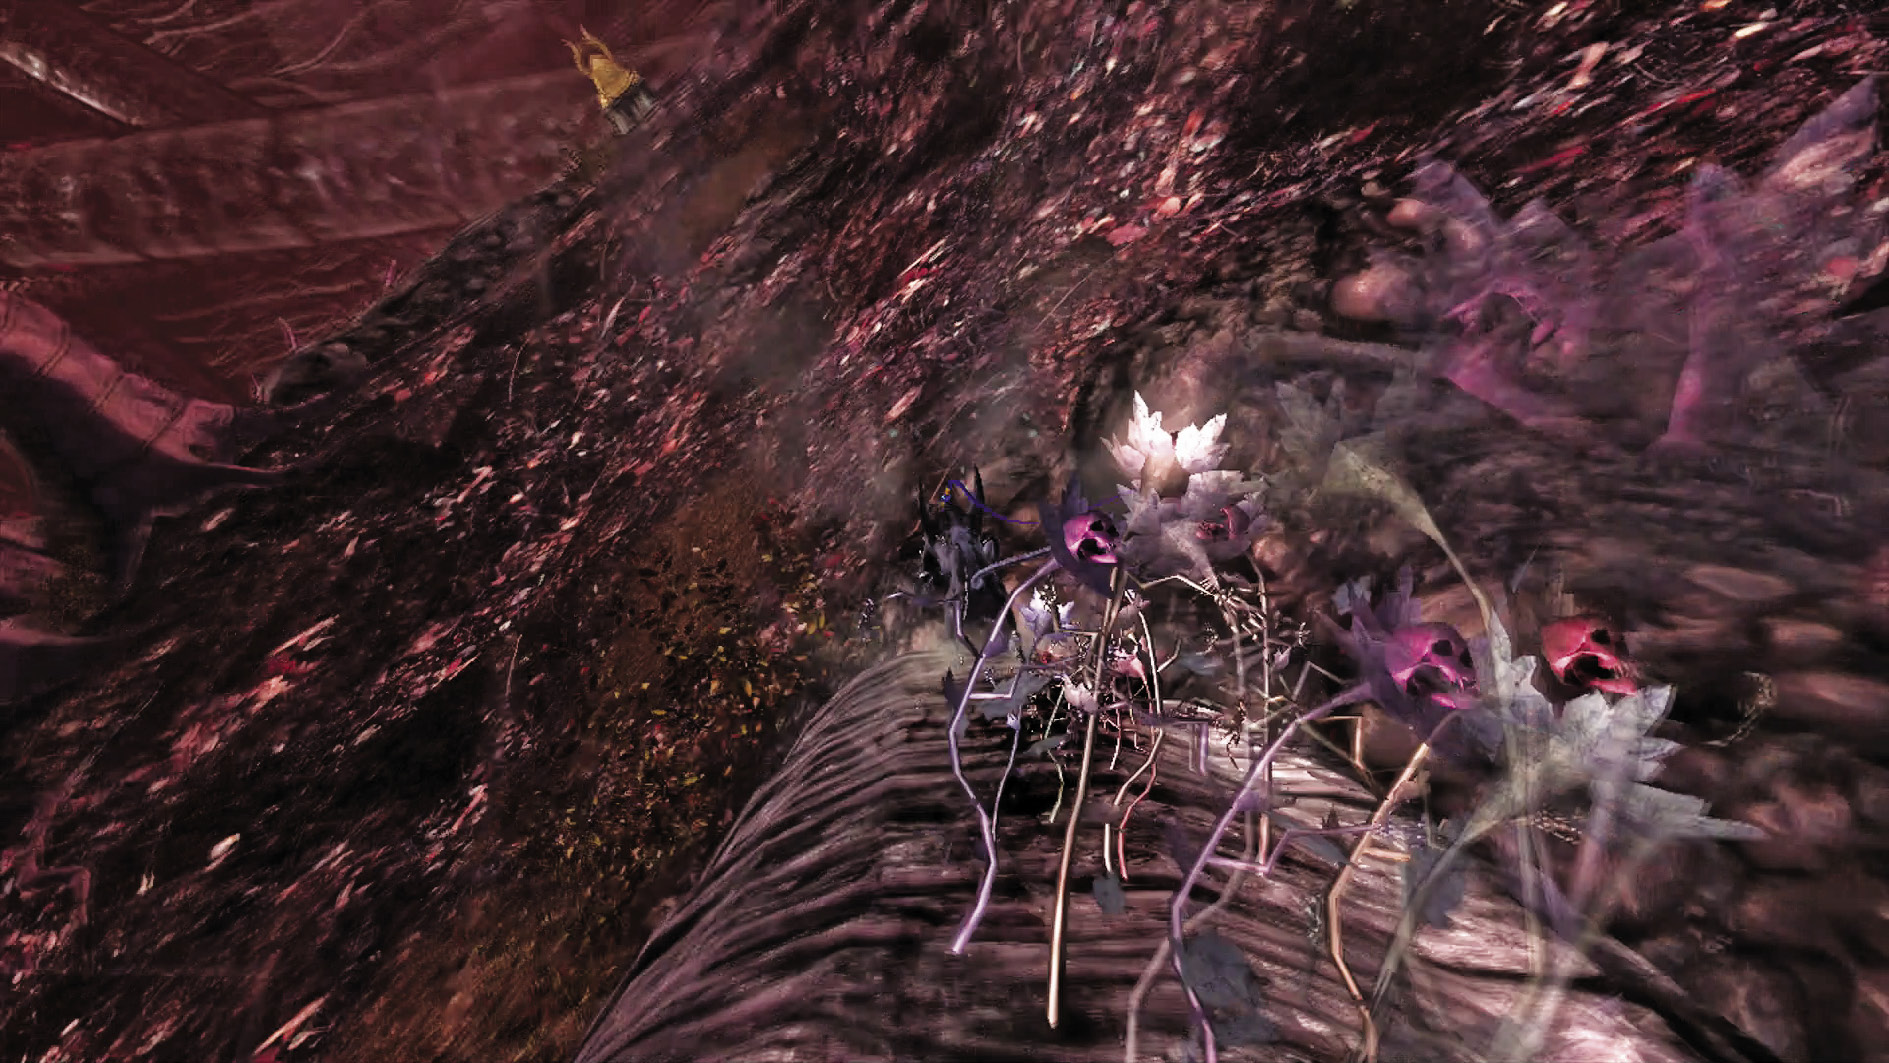
Go for Pure Platinum!
Suggested Weapons: [1st Climax/2nd Climax/3rd Climax] Salamandra (Arms), [∞ Climax] Rakshasa (Arms)
Against Resentments and Sloths, Salamandra and Rakshasa are your best bets. You have to dodge their attacks and retaliate during Witch Time, which isn’t easy, but it is doable. Umbran Climax can give you an edge against the Resentments.
Go back and activate the vine you passed up, then travel across it! Once you’re off, take a quick turn to the right and grab the Mega Green Herb Lollipop in the chest, then activate the next vine ahead. This one takes you to a chest containing the Angelic Hymns Gold LP Matthäus-Passion O Haupt voll Blut und Wunden 3/3, but before you can claim it, you’ll have to prove yourself worthy.
| CH10 V7 | 1st Climax | 2nd Climax | 3rd Climax | ∞ Climax | ||||||||
|---|---|---|---|---|---|---|---|---|---|---|---|---|
| Time | Damage | Combo | Time | Damage | Combo | Time | Damage | Combo | Time | Damage | Combo | |
| PLATINUM | 01:10 | 0 | 14710 | 01:10 | 0 | 14710 | 01:30 | 0 | 14710 | 01:45 | 0 | 7220 |
| GOLD | 01:20 | 400 | 6900 | 01:20 | 800 | 6900 | 01:40 | 1600 | 6900 | 02:00 | 5000 | 3670 |
| SILVER | 01:30 | 800 | 4950 | 01:30 | 1600 | 4950 | 01:50 | 3200 | 4950 | 02:15 | 6500 | 2780 |
| BRONZE | 01:40 | 1200 | 3000 | 01:40 | 2400 | 3000 | 02:00 | 4800 | 3000 | 02:30 | 8000 | 1890 |
| BOSS BONUS | ||||||||||||
Verse 8
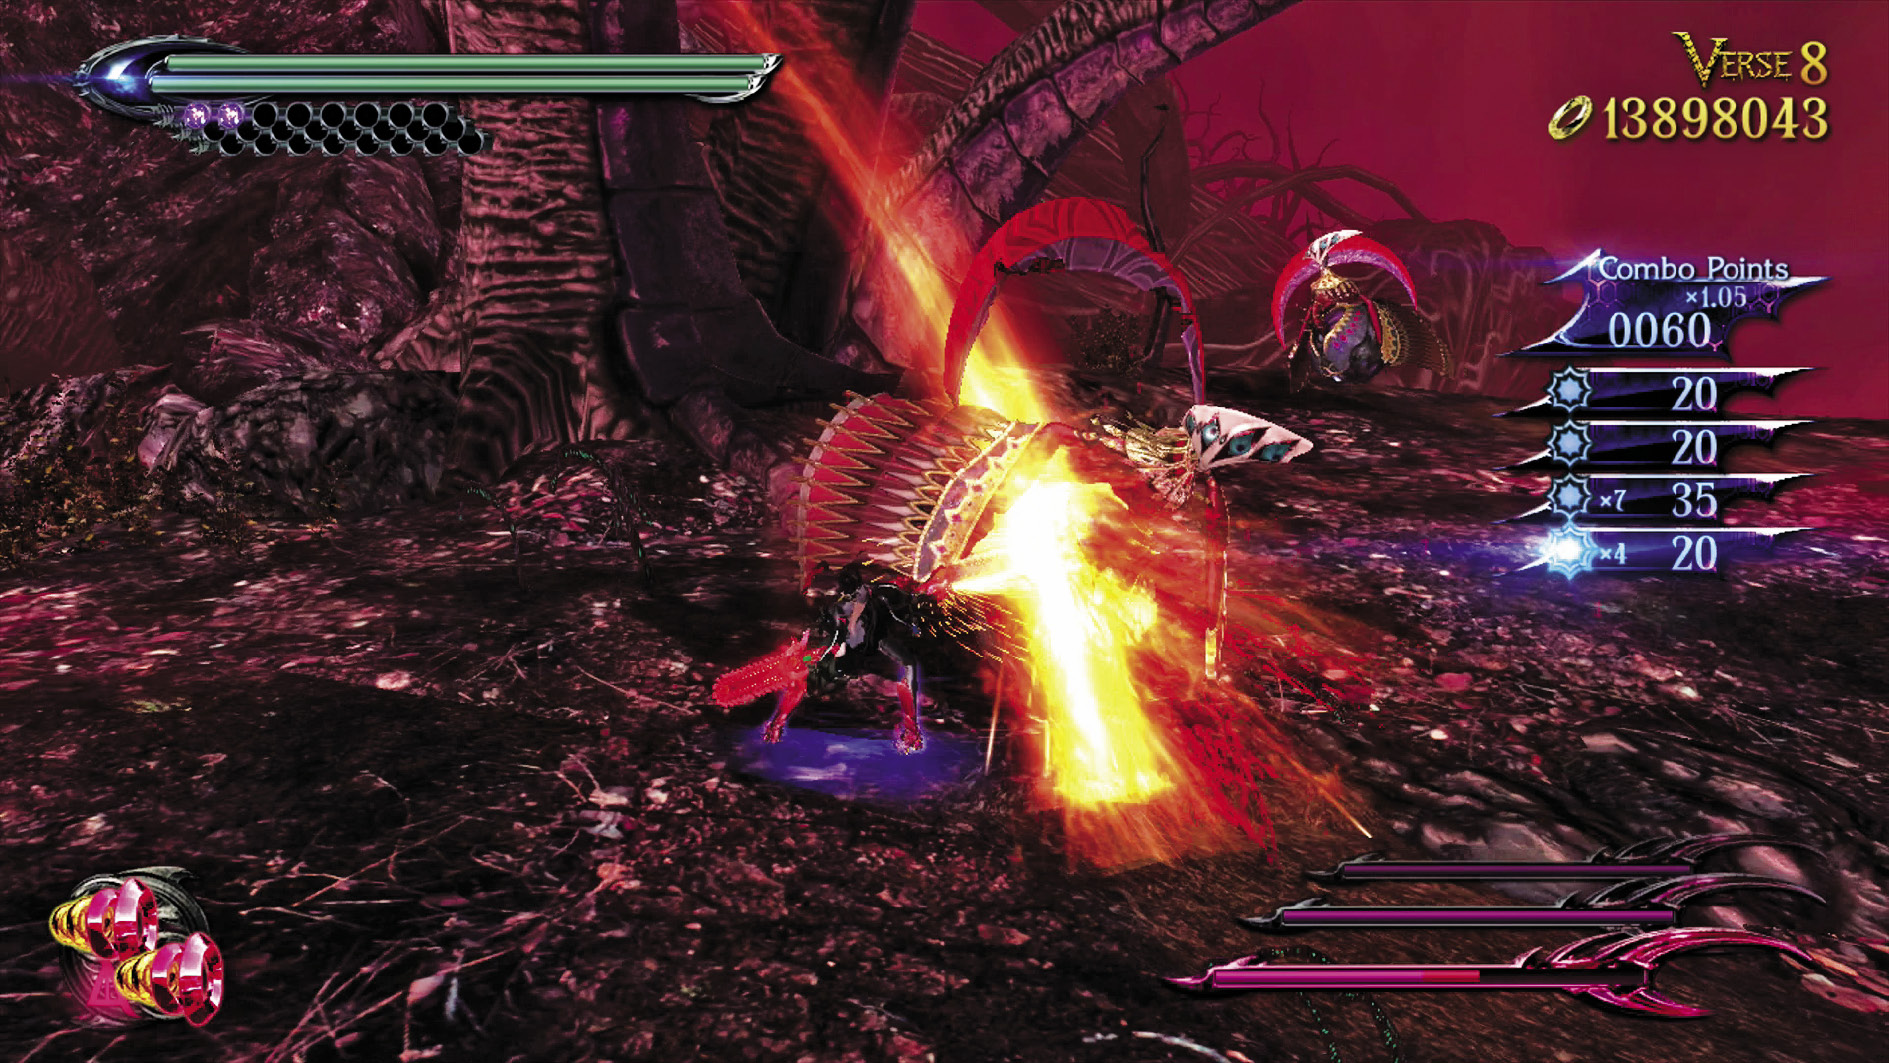
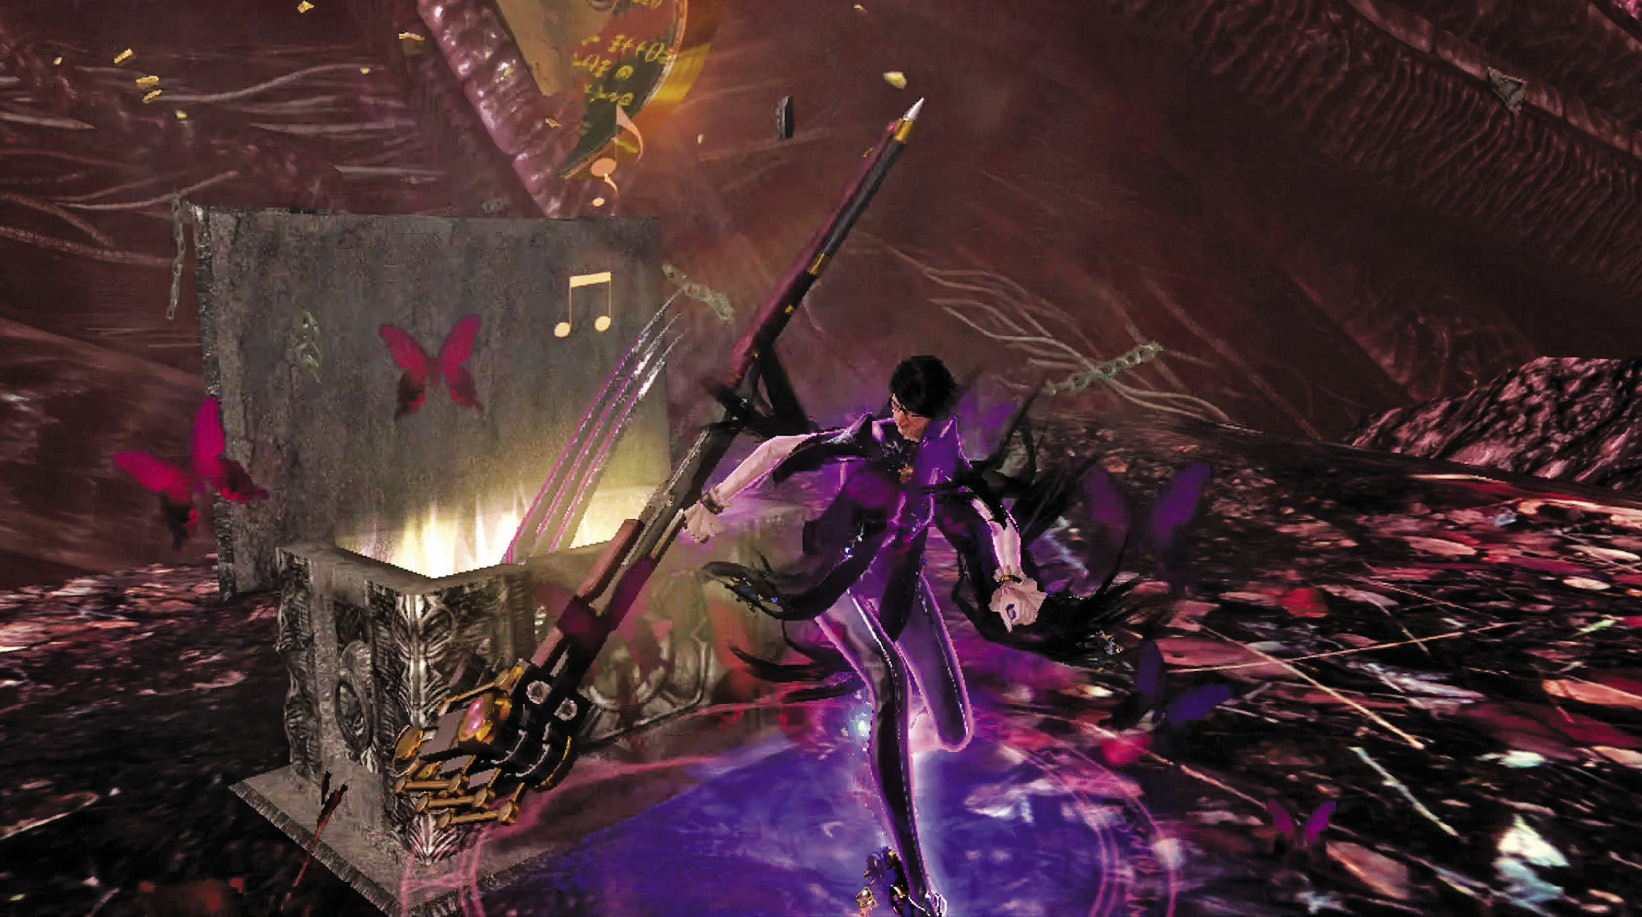
1st Climax/2nd Climax/3rd Climax
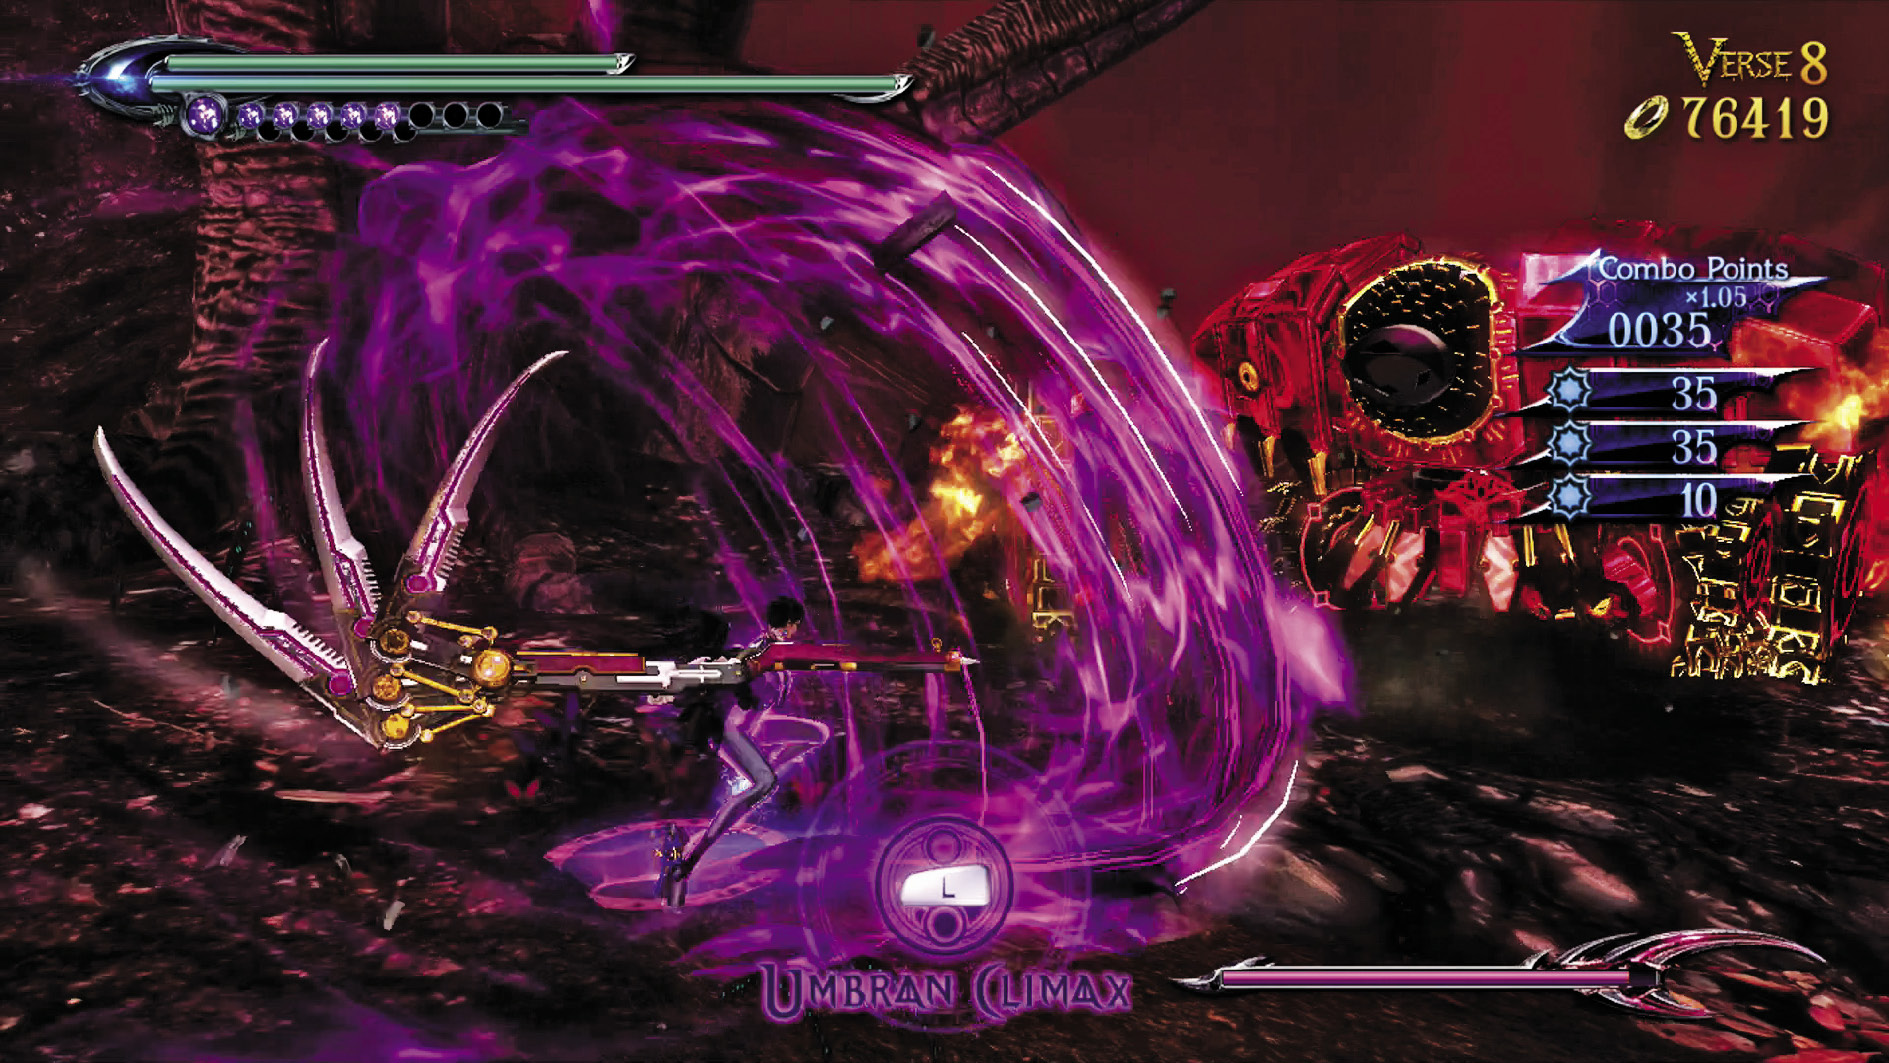
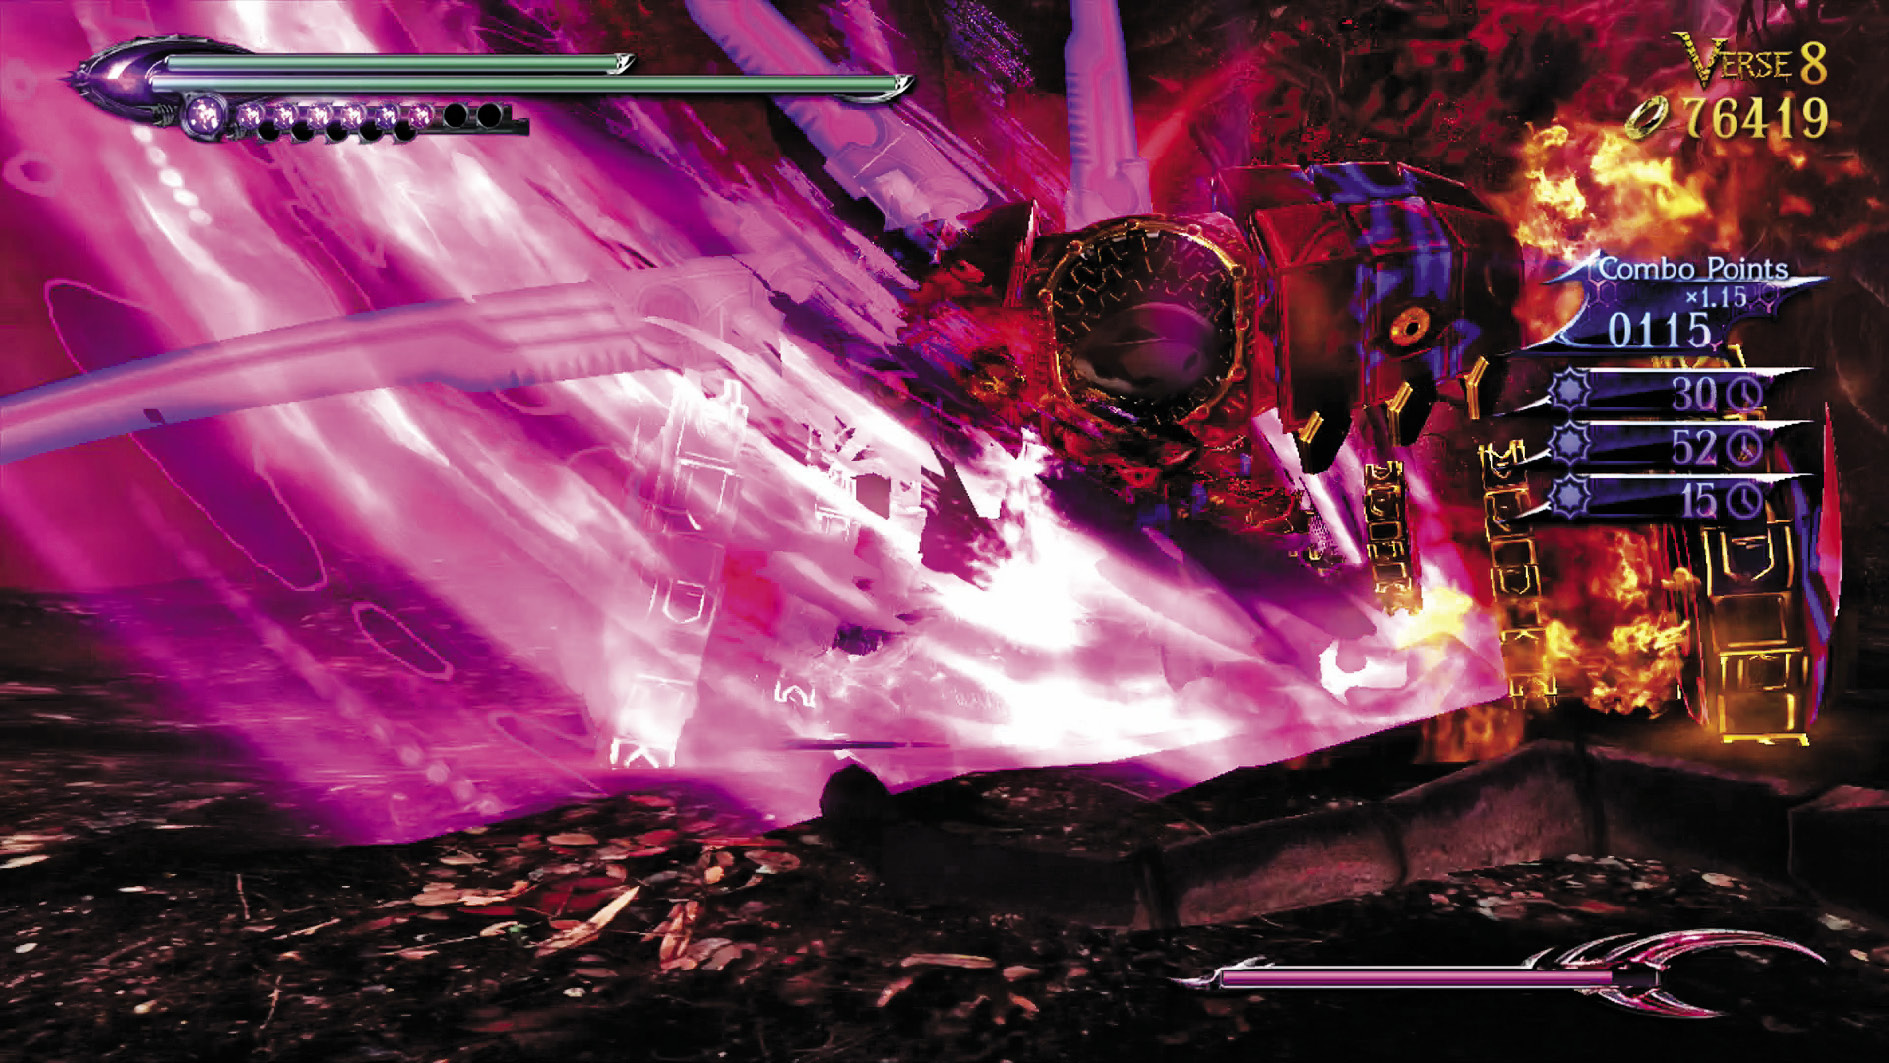
Enemies: Pride x1
Use the same strategies you’ve been using against Pains and Prides. Watch its body to see when it’s rearing back for an attack, then counter during Witch Time.
∞ Climax
Enemies: Malicious x3
Three Malicious can be trouble if you’re not careful. Engage them one by one with all of your attack power, dodge their melee strikes, and keep an eye on the ground to make sure they don’t pull any funny tricks with subterranean attacks.
Go for Pure Platinum!
Suggested Weapons: Salamandra (Arms)
Salamandra with the above strategies works perfectly for this Verse—ironic given the contents of the chest in the area.
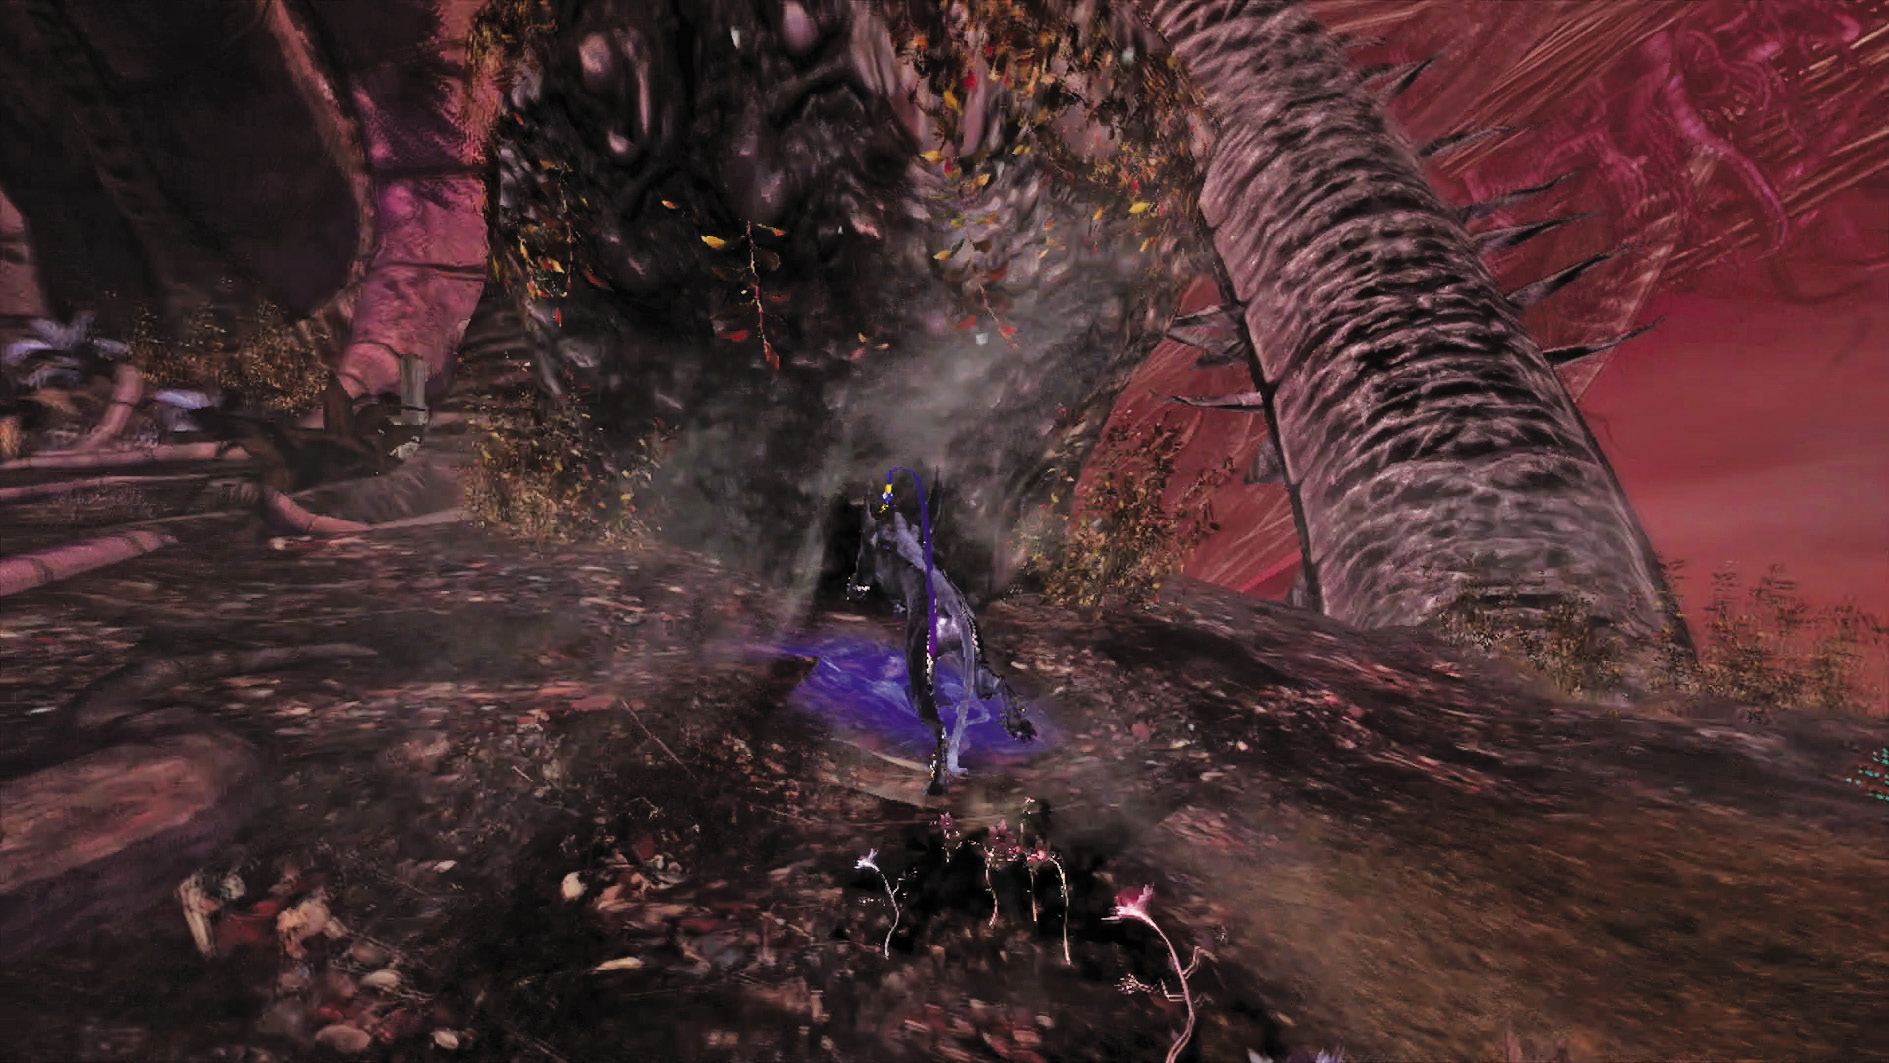
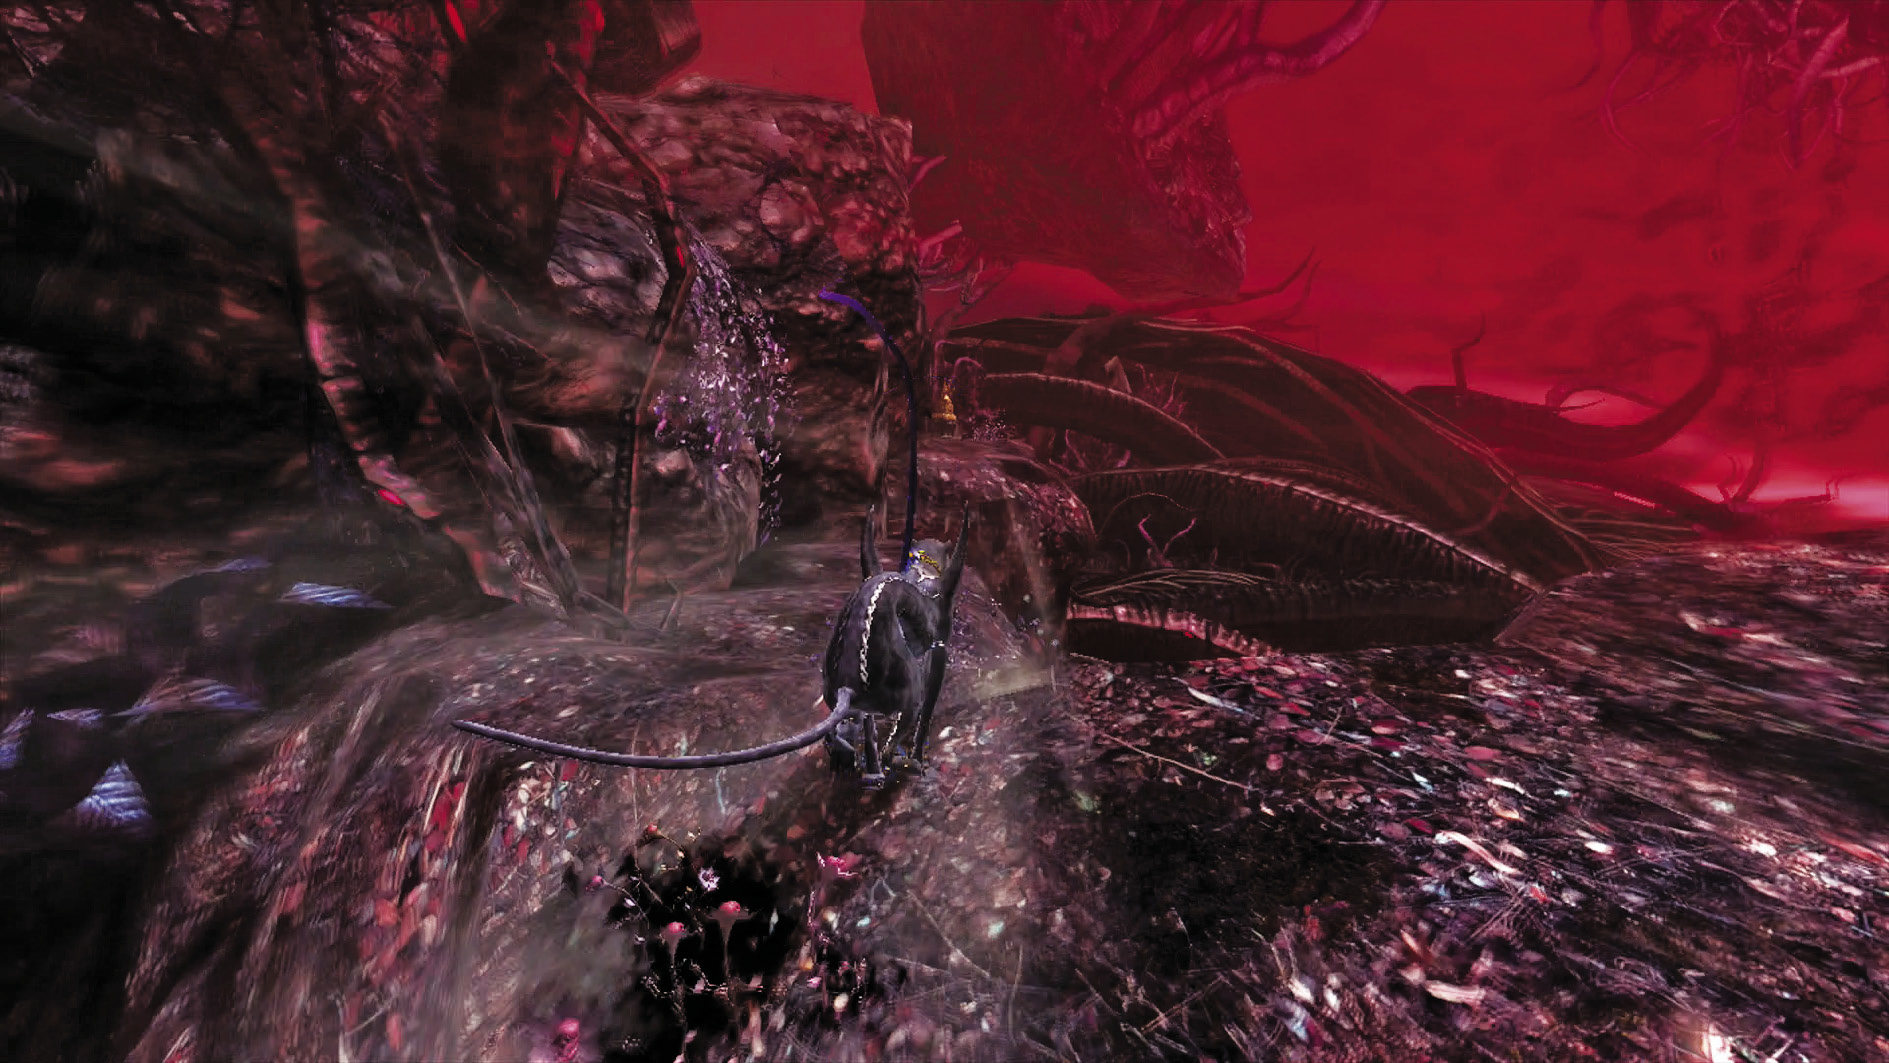
Now that you’ve clearly proven yourself worthy, grab the LP. Putting all 3 LP pieces together gives you access to the Salamandra, the single best tool on your side for gaining Pure Platinum ranks in the game, the next time you hit up The Gates of Hell.
Backtrack along the vine, but before turning right and back onto the main path, turn left just past the chest where you got the Mega Green Herb Lollipop. This takes you across the vine we originally came in on. Bear right as you exit the vine and you come across a chest containing a Broken Moon Pearl (12/16).
Now turn back, re-cross the vine, then go left, back onto to the original main path. Follow it and you’ll see an Umbran Crow (15/20) and a Muspelheim close together. Grab the bird and enter that portal!
| CH10 V8 | 1st Climax | 2nd Climax | 3rd Climax | ∞ Climax | ||||||||
|---|---|---|---|---|---|---|---|---|---|---|---|---|
| Time | Damage | Combo | Time | Damage | Combo | Time | Damage | Combo | Time | Damage | Combo | |
| PLATINUM |
01:00 |
0 |
17190 |
01:00 |
0 |
17190 |
01:10 |
0 |
17190 |
01:20 |
0 |
2930 |
| GOLD |
01:10 |
400 |
7960 |
01:10 |
800 |
7960 |
01:20 |
1600 |
7960 |
01:30 |
2000 |
1710 |
| SILVER |
01:20 |
800 |
5650 |
01:20 |
1600 |
5650 |
01:30 |
3200 |
5650 |
01:40 |
4000 |
1410 |
| BRONZE |
01:30 |
1200 |
3340 |
01:30 |
2400 |
3340 |
01:40 |
4800 |
3340 |
01:50 |
6000 |
1100 |
| BOSS BONUS | ||||||||||||
Verse 9
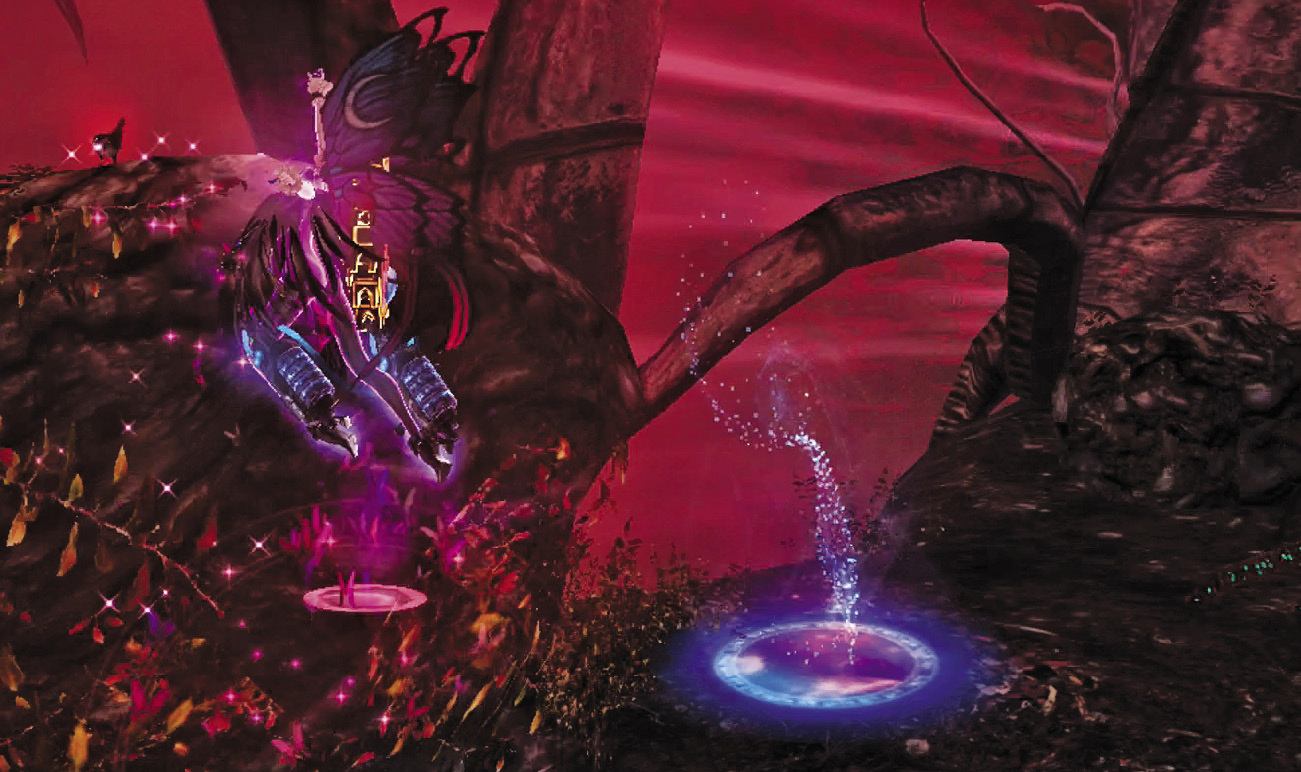
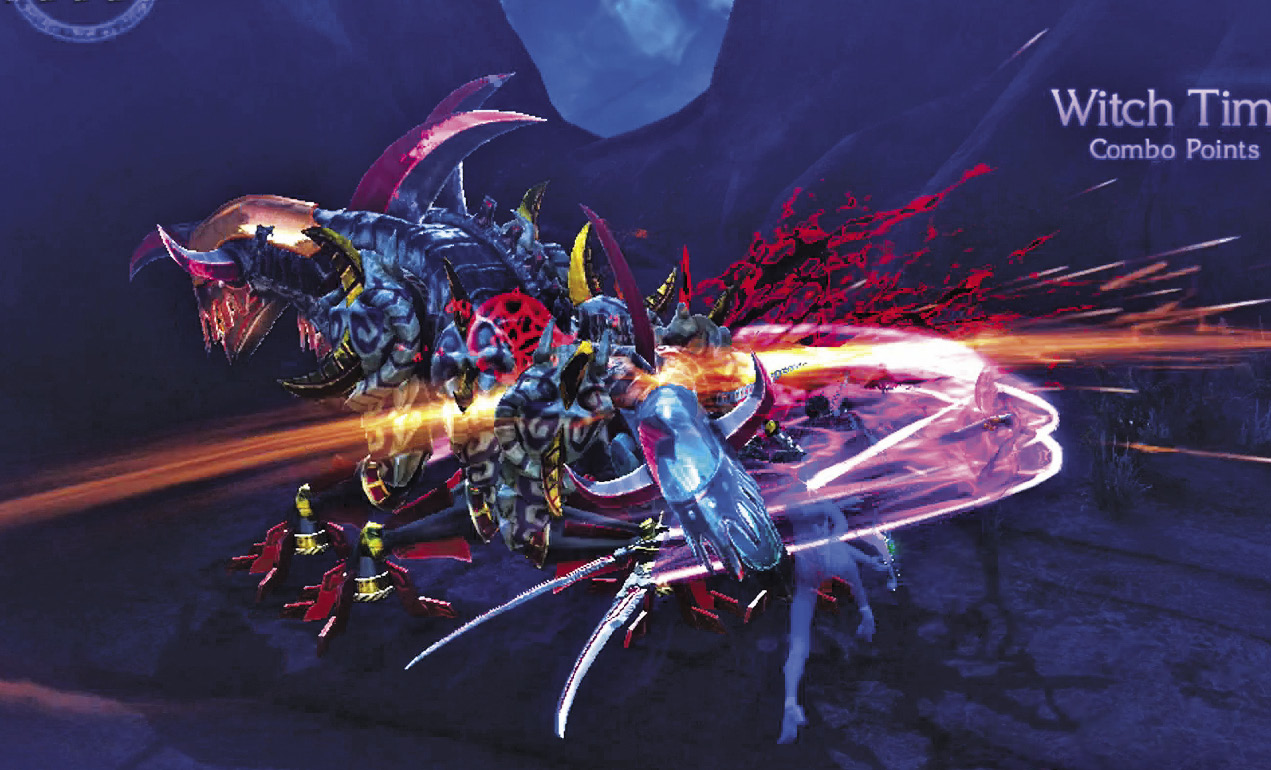
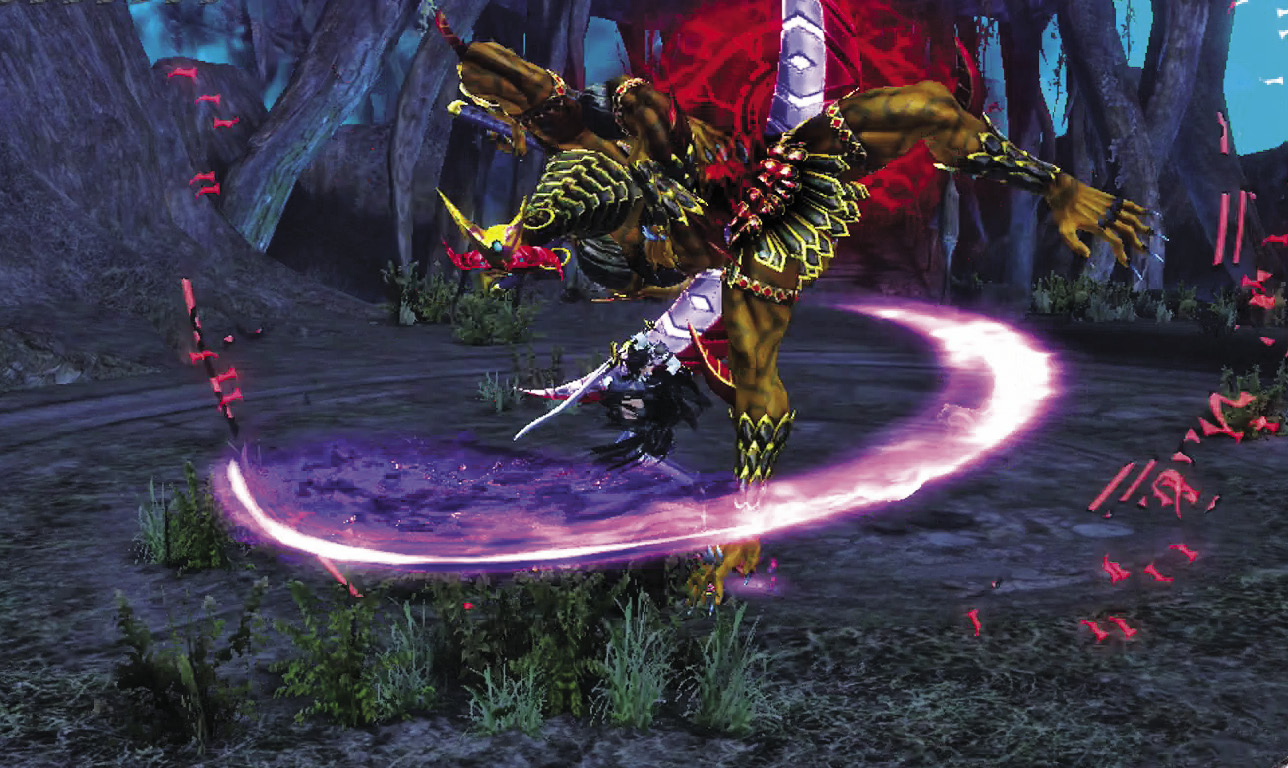
1st Climax/2nd Climax/3rd Climax
Muspelheim Objective: Defeat all enemies without taking a single hit.
Enemies: Greed x1
Fighting a Greed gives plenty of Witch Time opportunities, but in this case there’s absolutely no room for error. If you want, bring the Moon of Mahaa-Kalaa and Pulley’s Butterfly accessories to act as potential barriers. Otherwise, dodge all attacks and counter until the Greed is destroyed.
∞ Climax
Muspelheim Objective: Defeat all enemies without taking a single hit.
Enemies: Sloth x1
Bar none, this is one of the toughest Verses in the game. A Sloth on ∞ Climax is utterly relentless. Bring your Rakshasa swords and prepare to constantly retry this Verse until you know every single one of Sloth’s maneuvers inside and out. Again, the Moon of Mahaa-Kalaa and Pulley’s Butterfly can help turn the tide in your favor.
Go for Pure Platinum!
Suggested Weapons: [1st Climax/2nd Climax/3rd Climax] Salamandra (Arms), [∞ Climax] Rakshasa (Arms)
Aiming for a perfect Damage score is moot, because you’re not allowed to get hit in this Verse anyway. With that in mind, follow the above strategies with the suggested weapons.
Proceed along the main path past the Muspelheim. When the ground starts to shift, you know you’re on the way to the next battle.
Beating this Verse nabs you a Broken Witch Heart (28/40).
| CH10 V9 | 1st Climax | 2nd Climax | 3rd Climax | ∞ Climax | ||||||||
|---|---|---|---|---|---|---|---|---|---|---|---|---|
| Time | Damage | Combo | Time | Damage | Combo | Time | Damage | Combo | Time | Damage | Combo | |
| PLATINUM | 00:35 | 0 | 1230 | 00:35 | 0 | 1230 | 00:35 | 0 | 1230 | 01:00 | 0 | 2240 |
| GOLD | 00:45 | 200 | 850 | 00:45 | 200 | 850 | 00:45 | 200 | 850 | 01:05 | 200 | 1380 |
| SILVER | 00:55 | 400 | 760 | 00:55 | 400 | 760 | 00:55 | 400 | 760 | 01:10 | 400 | 1160 |
| BRONZE | 01:05 | 600 | 660 | 01:05 | 600 | 660 | 01:05 | 600 | 660 | 01:15 | 600 | 940 |
| BOSS BONUS | ||||||||||||
Verse 10
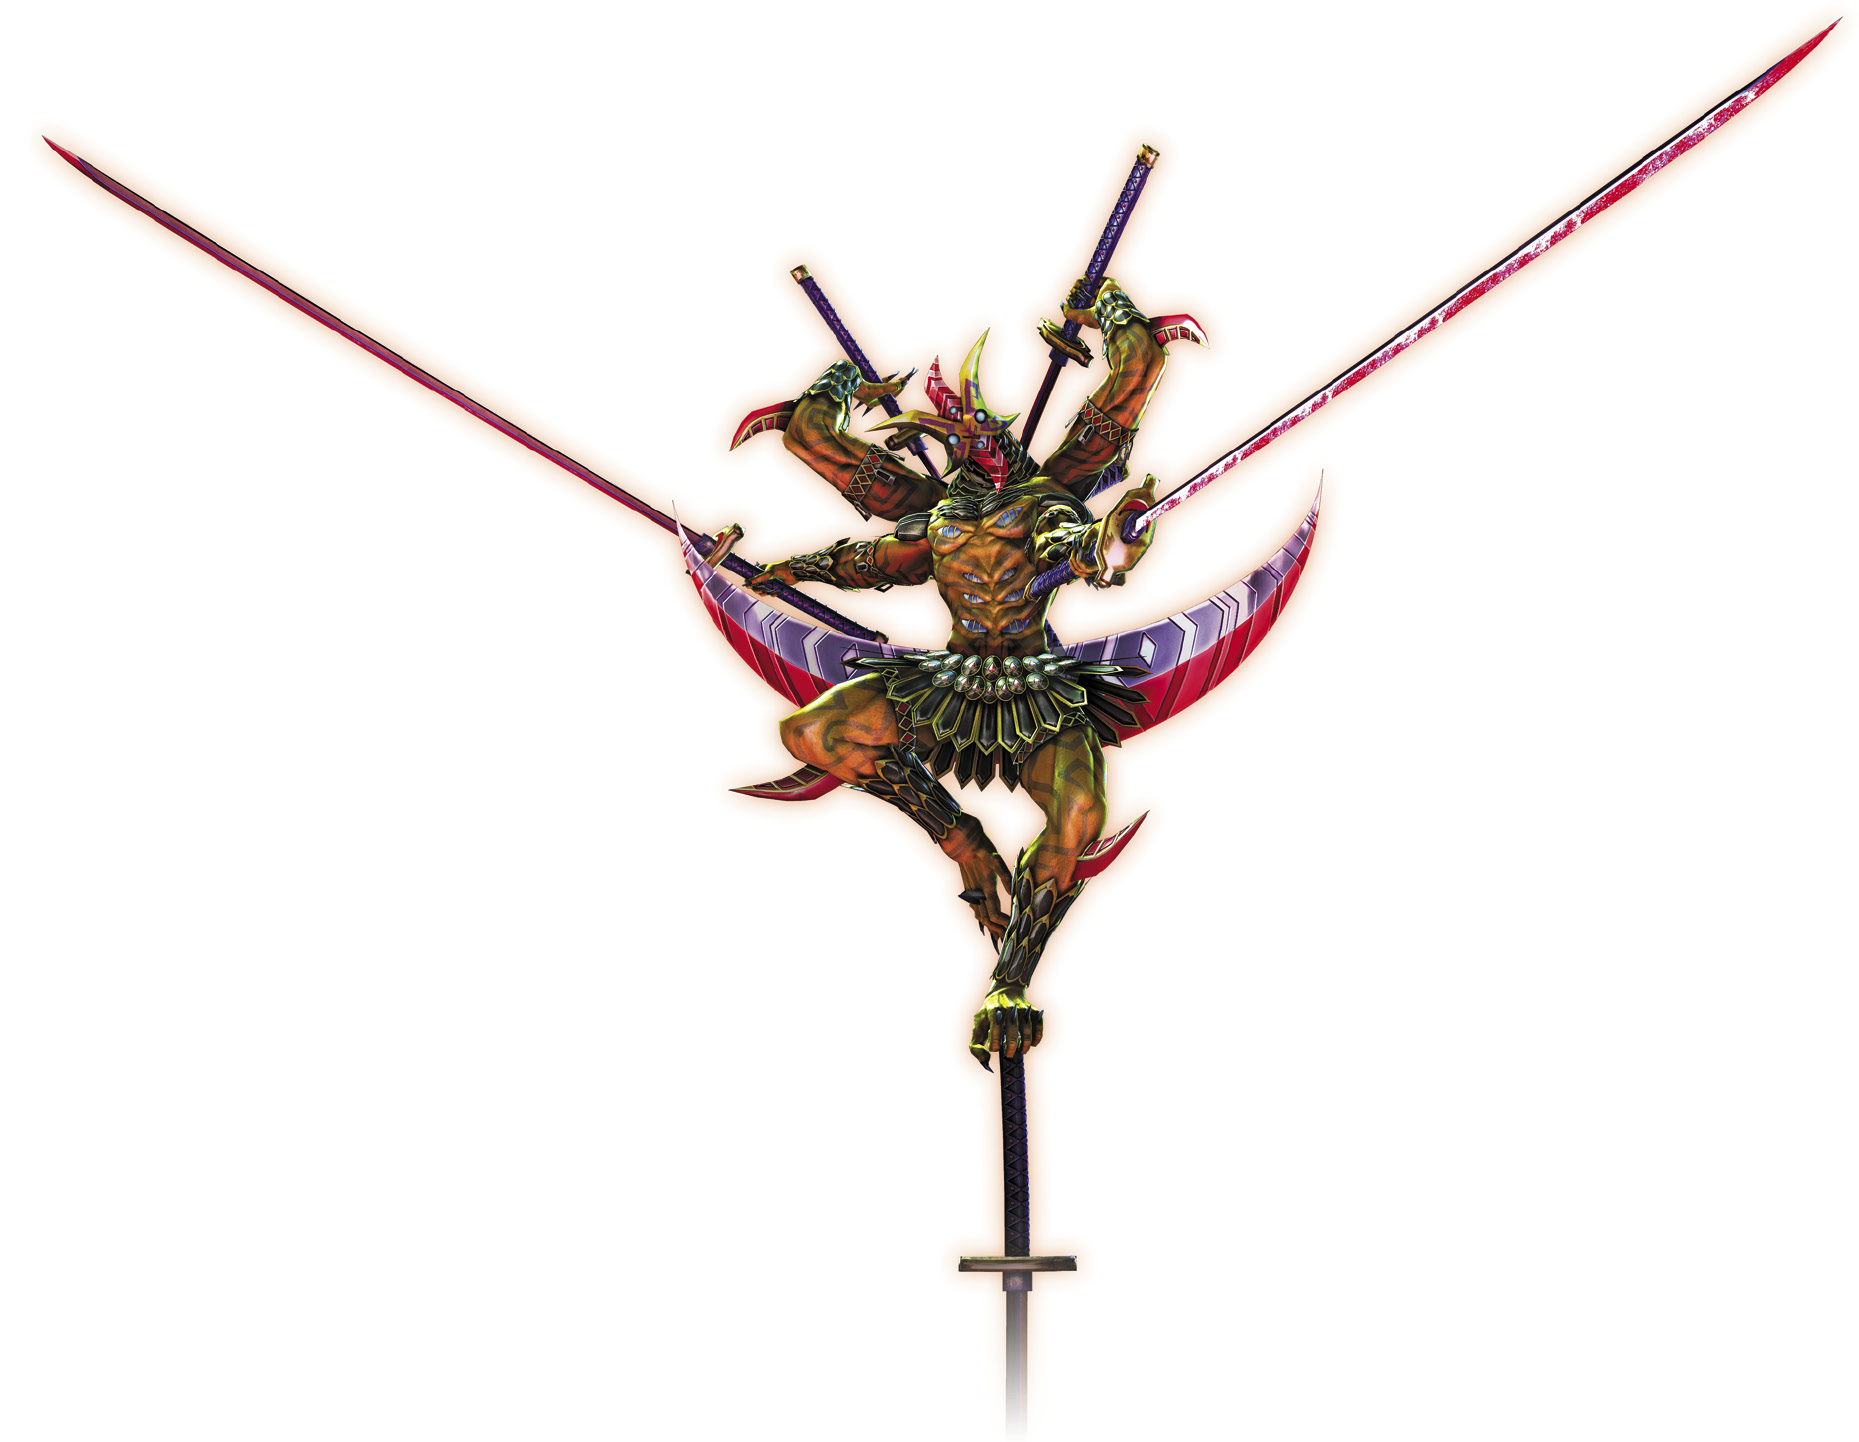
Enemy Spotlight: Sloth
Arguably the toughest non-boss enemy in the game, Sloths have six swords and a sixth sense. It’s insanely hard to keep a combo going on them, but they have no problem performing one on you. Your best bet is to stay as mobile as they are, and match them combo for combo, whether that means guns or as many quick slashes as possible.
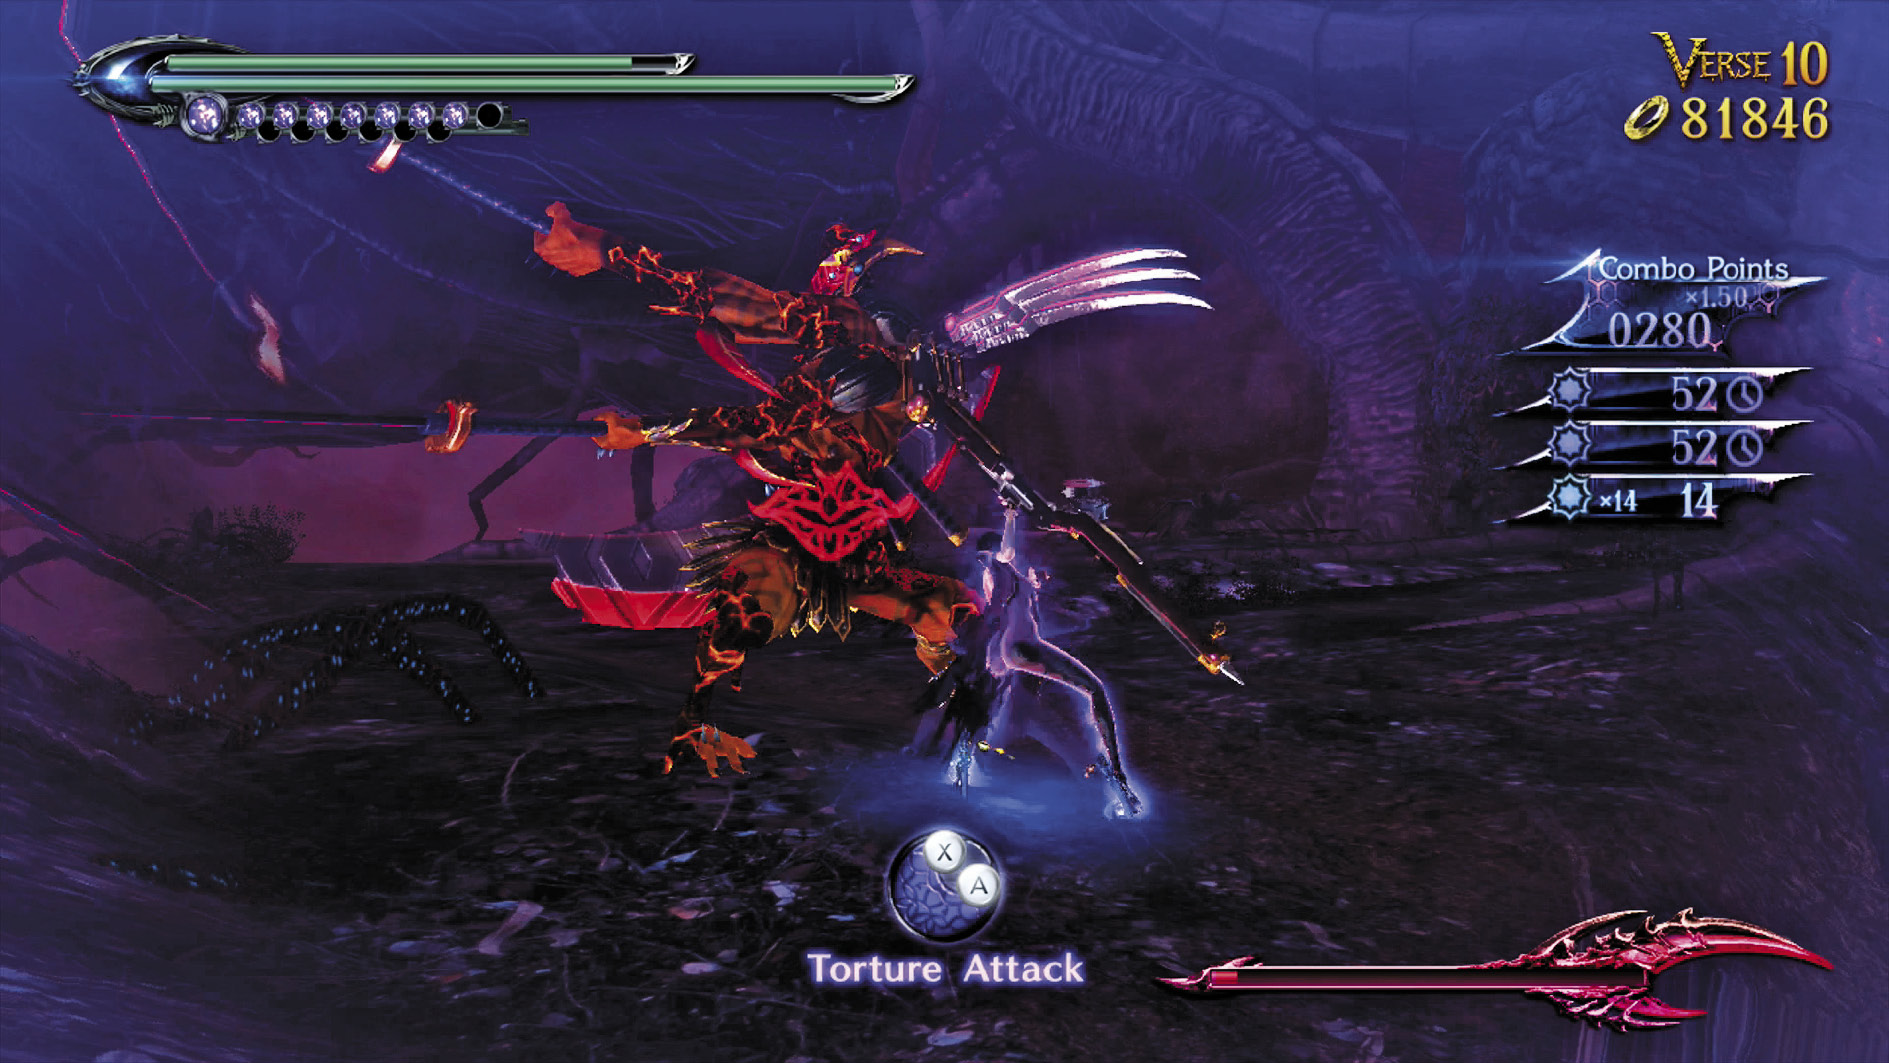
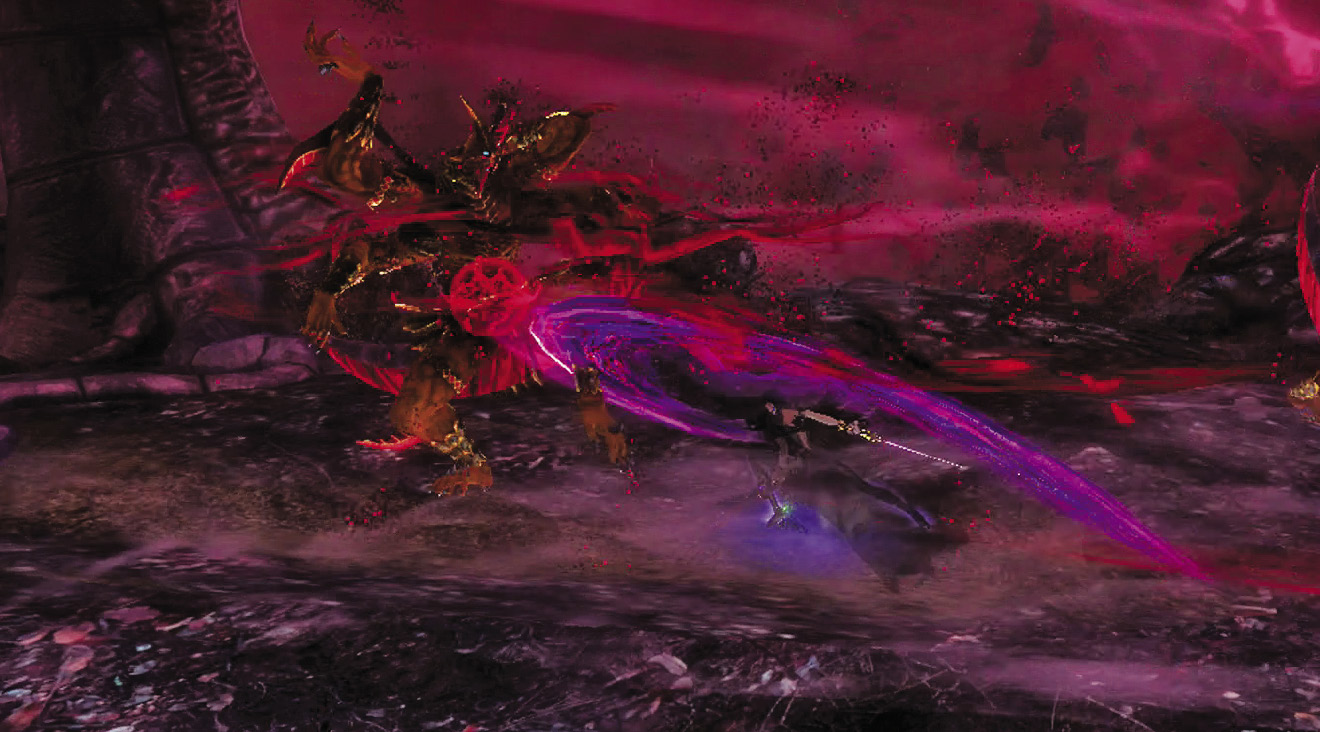
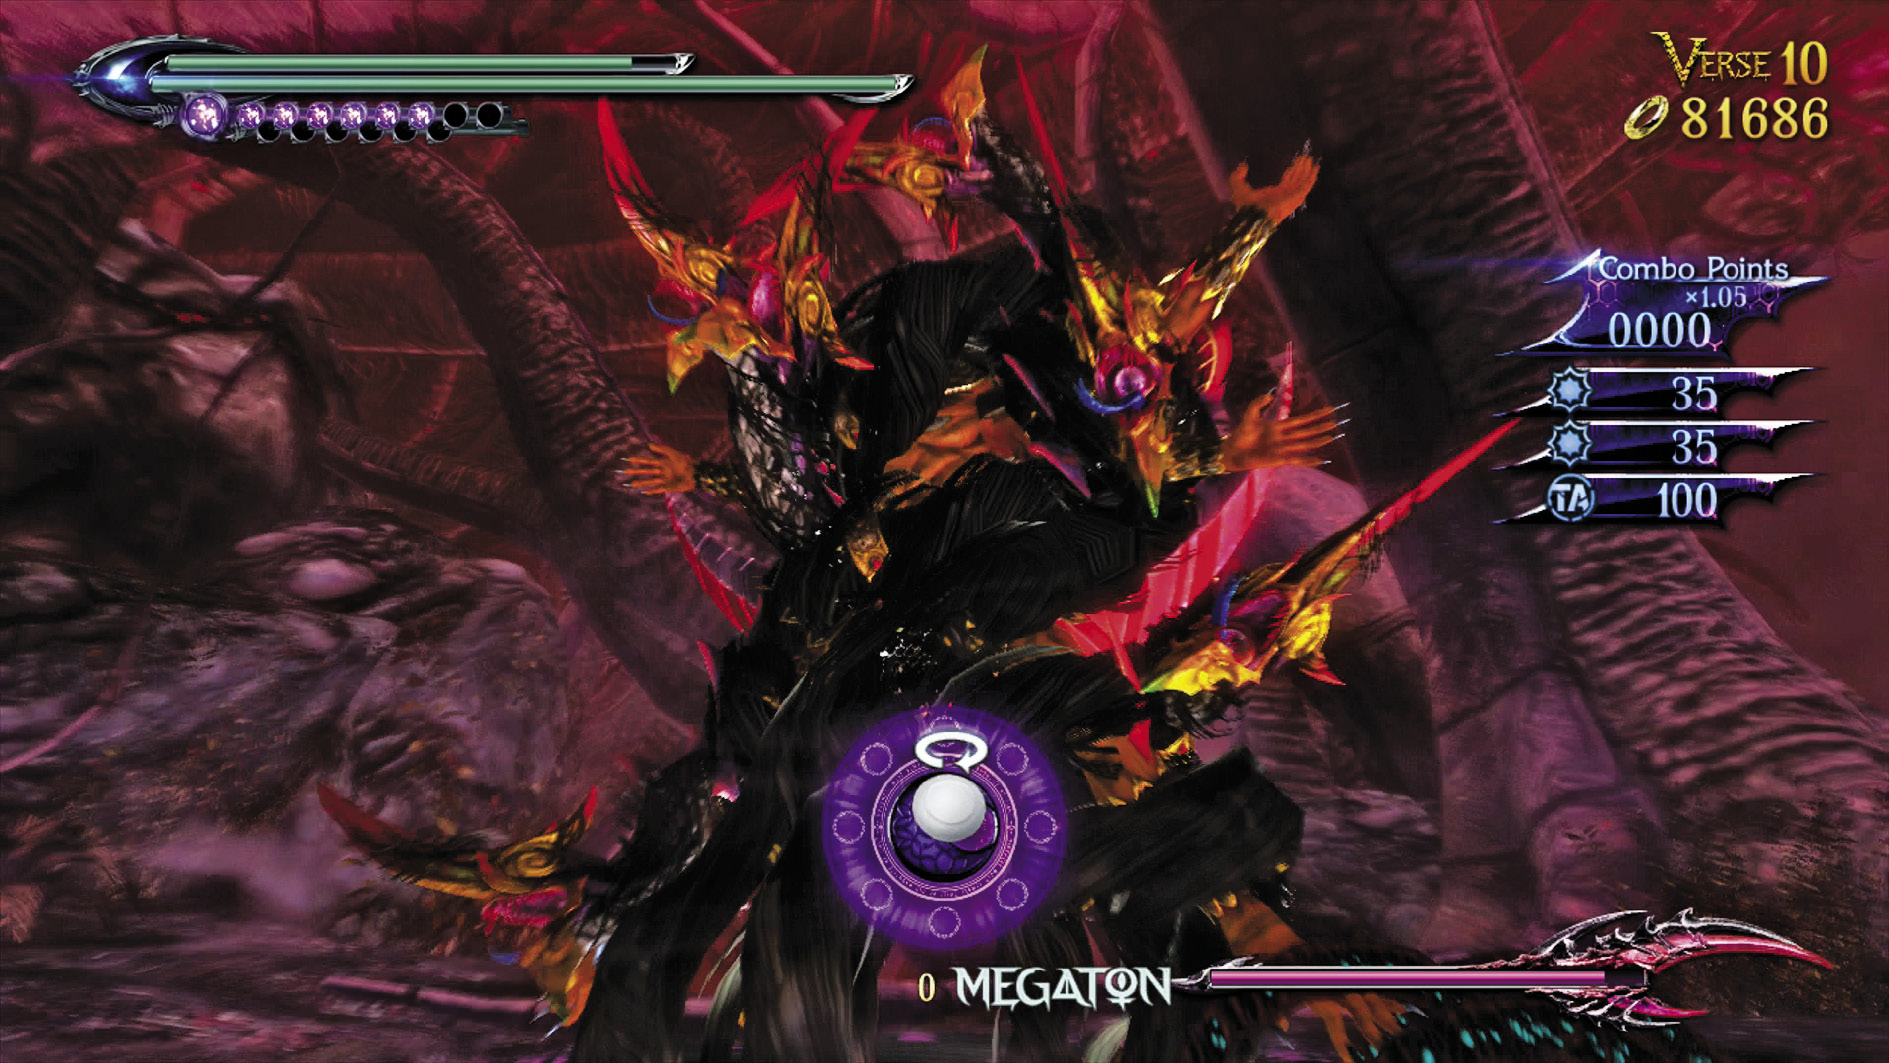
1st Climax/2nd Climax /3rd Climax/∞ Climax (Go for Pure Platinum!)
Suggested Pure Platinum Weapons: Rakshasa (Arms, Legs)
Enemies: Sloth x1; ∞ Climax: Sloth x2
As stated above, there’s no easy way to handle a Sloth (much less two on ∞ Climax). It’s telling that there aren’t many instances of these enemies in the game. Fighting a Sloth is a battle of wits, where you must constantly take past experiences into account. Sloths can strike from above, then strike again after you’ve already dodged their downward lunge. They can also perform an array of sword slashes that hit in all directions, or project energy straight toward you. And they do all this while moving in a very unpredictable manner. Stay as mobile as they are and commit their attacks to memory while dealing your best counters. Never let off the pressure, otherwise your combo will break easily.
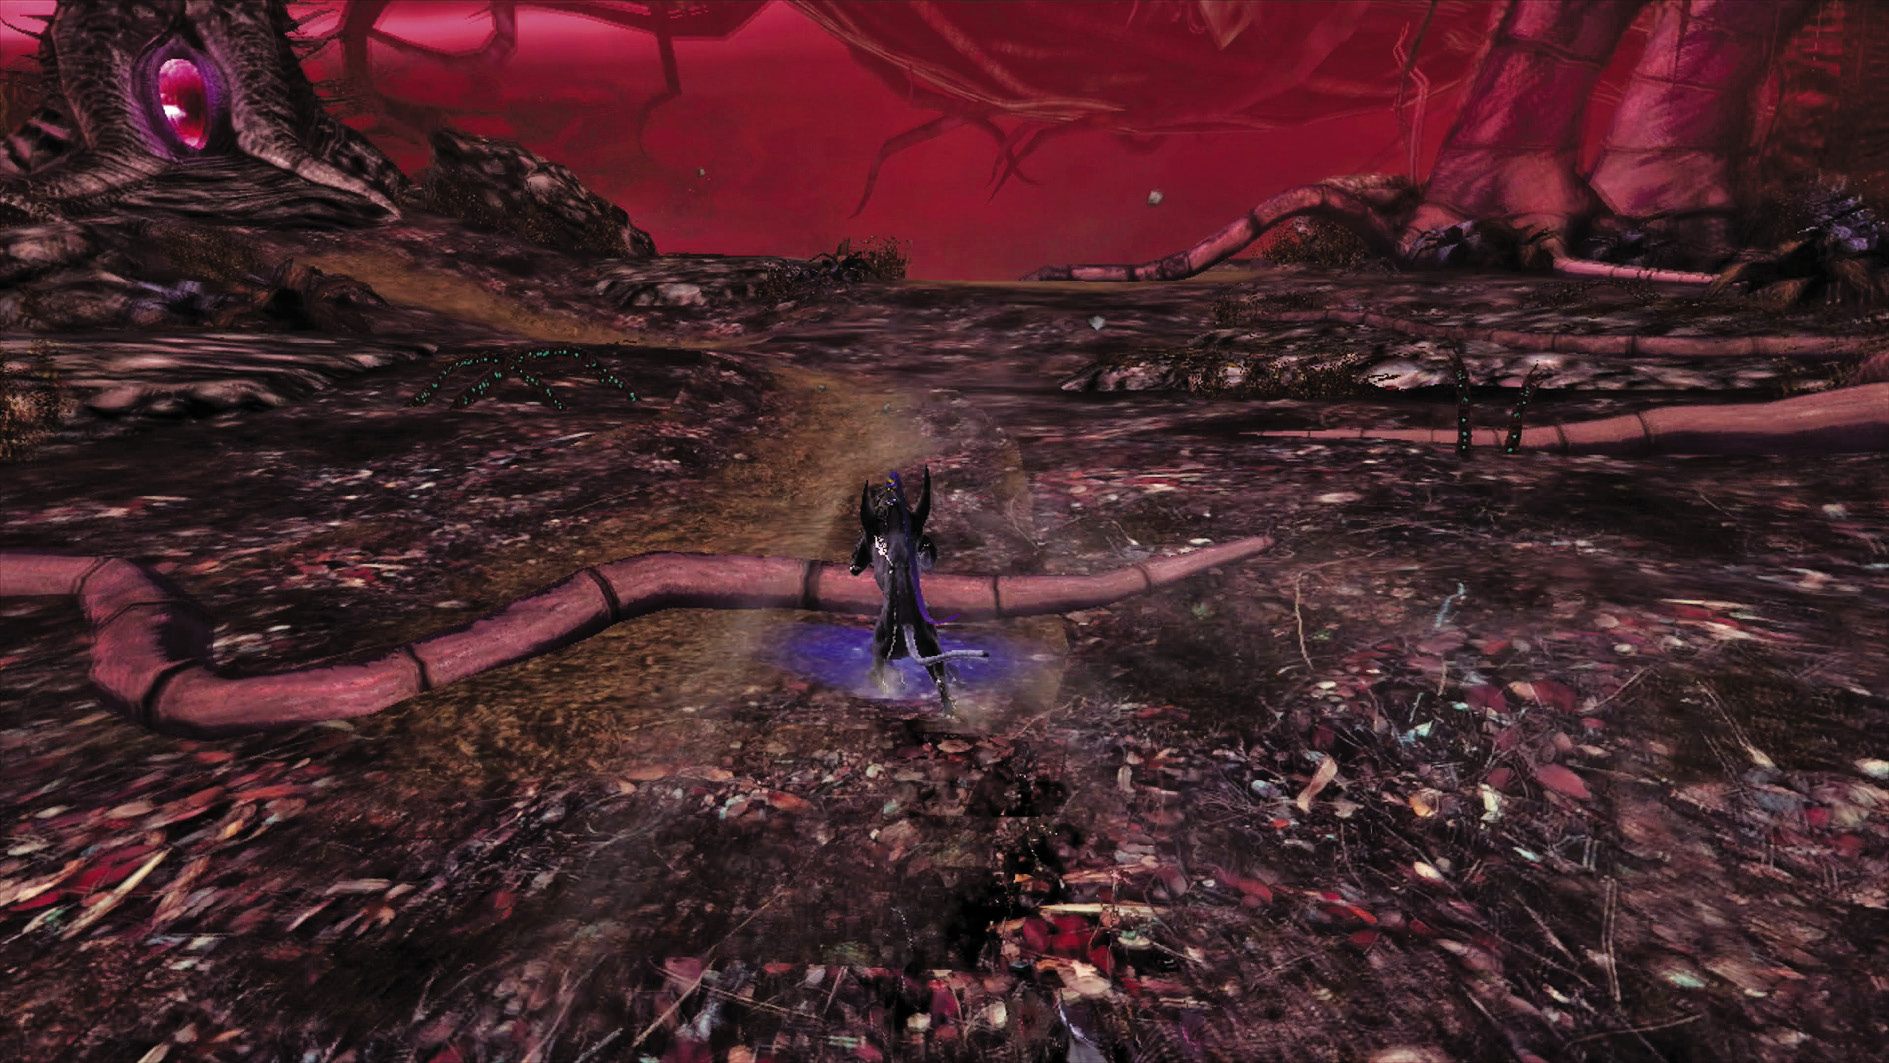
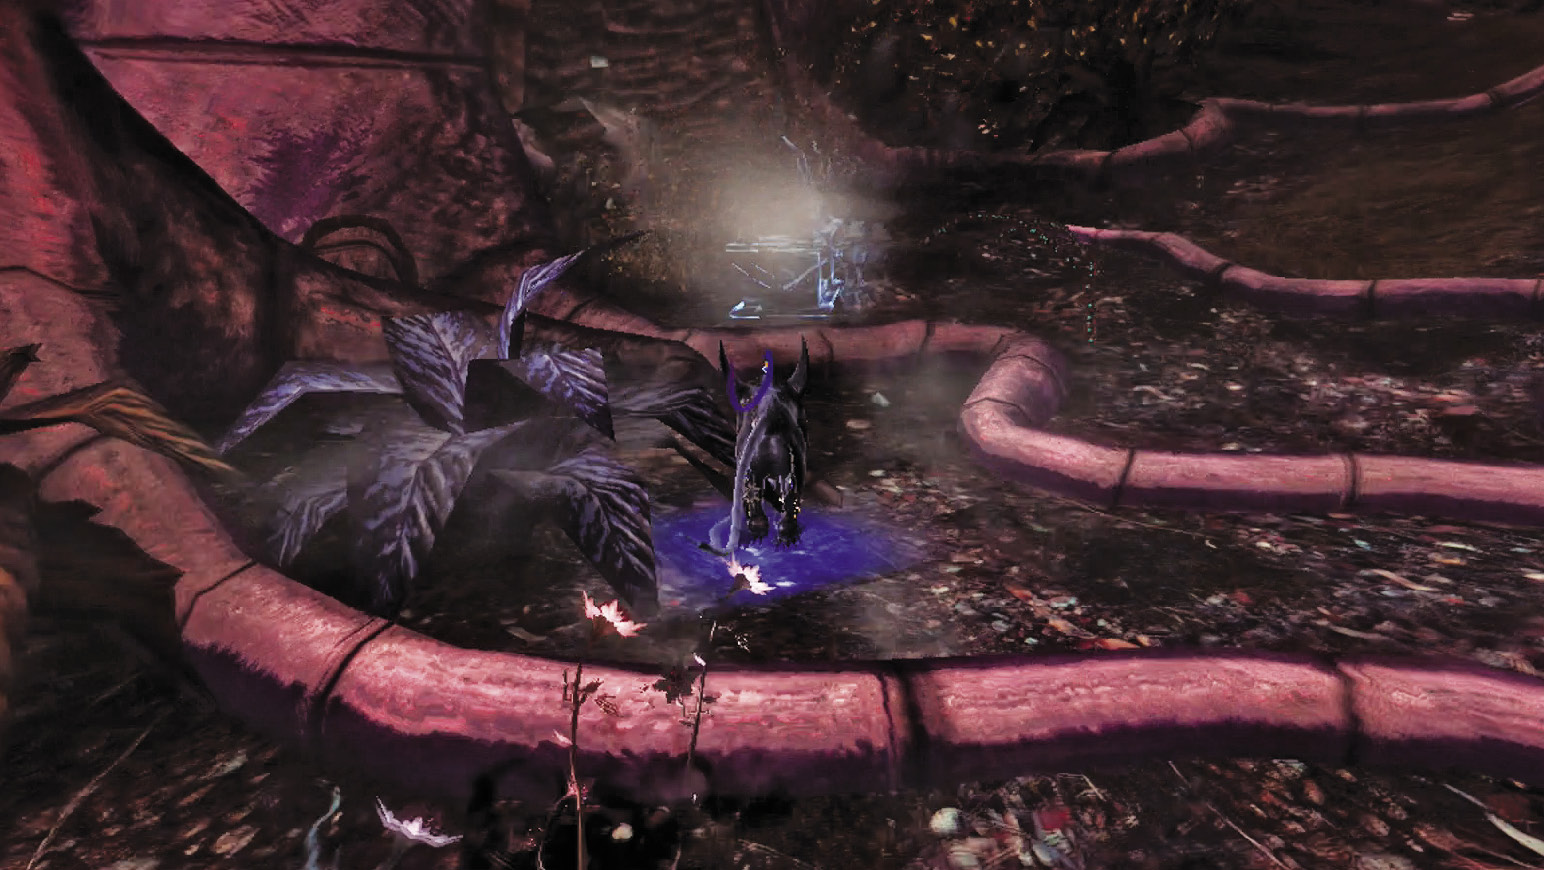
If all else fails, you can take it down with a Torture Attack, but do that only as a last resort because that pretty much forfeits the ability to score a Pure Platinum.
You see a vine and a passageway as progression options. Ignore the vine for now and go through the passageway, past a certain shimmering apparition that we will also ignore for now. Follow the passageway to Verse 11.
| CH10 V10 | 1st Climax | 2nd Climax | 3rd Climax | ∞ Climax | ||||||||
|---|---|---|---|---|---|---|---|---|---|---|---|---|
| Time | Damage | Combo | Time | Damage | Combo | Time | Damage | Combo | Time | Damage | Combo | |
| PLATINUM | 00:45 | 0 | 2240 | 00:45 | 0 | 2240 | 01:00 | 0 | 2240 | 01:25 | 0 | 12480 |
| GOLD | 00:55 | 350 | 1380 | 00:55 | 700 | 1380 | 01:10 | 1400 | 1380 | 01:35 | 2000 | 5950 |
| SILVER | 01:05 | 700 | 1160 | 01:05 | 1400 | 1160 | 01:20 | 2800 | 1160 | 01:45 | 4000 | 4320 |
| BRONZE | 01:15 | 1400 | 940 | 01:15 | 2800 | 940 | 01:30 | 5600 | 940 | 01:55 | 6000 | 2690 |
| BOSS BONUS | ||||||||||||
Verse 11
1st Climax/2nd Climax/3rd Climax
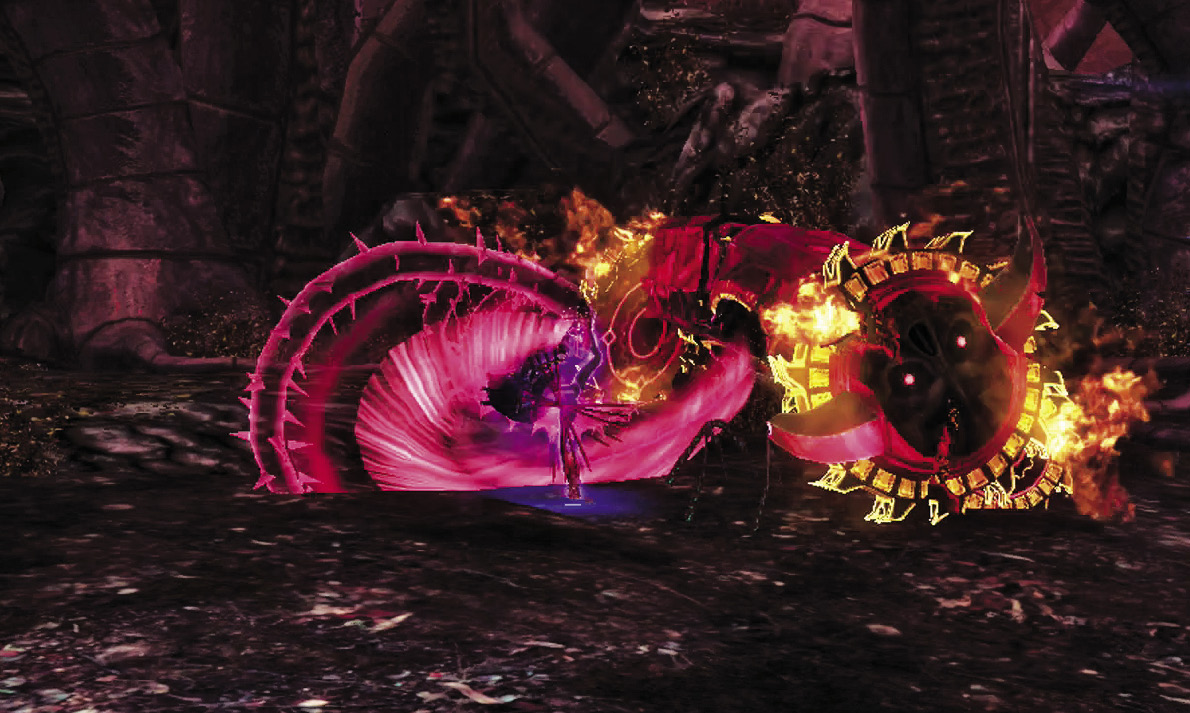
Enemies: Sloth x1, Malicious x2
Unless you’re a glutton for punishment, you don’t ever want a Malicious angering a Sloth. Destroy the Malicious posthaste, then refer to the previous couple of Verses for Sloth suggestions.
∞ Climax
Enemies: Pain x1, Pride x1
Wouldn’t you know it? This difficulty has the much easier enemy placement! Watch Pain and Pride’s movements and remain mobile and faster than them. Run rings around them and dodge their attacks whenever possible.
Go for Pure Platinum!
Suggested Weapons: Salamandra (Arms)
Because there’s no Sloth on ∞ Climax, the Salamandra actually has a chance of landing its hits if you follow the above strategies.
Beating this Verse nabs you a Broken Witch Heart (29/40).
Once you’re done here, go back and solve the Umbran Witch Resting Place you passed by to gain a Broken Witch Heart (30/40).
| CH10 V11 | 1st Climax | 2nd Climax | 3rd Climax | ∞ Climax | ||||||||
|---|---|---|---|---|---|---|---|---|---|---|---|---|
| Time | Damage | Combo | Time | Damage | Combo | Time | Damage | Combo | Time | Damage | Combo | |
| PLATINUM | 02:00 | 0 | 8750 | 02:00 | 0 | 8750 | 02:10 | 0 | 8750 | 02:20 | 0 | 59640 |
| GOLD | 02:20 | 900 | 4340 | 02:20 | 1800 | 4340 | 02:30 | 3600 | 4340 | 02:40 | 4000 | 25540 |
| SILVER | 02:40 | 1300 | 3240 | 02:40 | 2600 | 3240 | 02:50 | 5200 | 3240 | 03:00 | 5500 | 17010 |
| BRONZE | 03:00 | 1700 | 2140 | 03:00 | 3400 | 2140 | 03:10 | 6800 | 2140 | 03:20 | 7000 | 8480 |
| BOSS BONUS | ||||||||||||
Verse 12

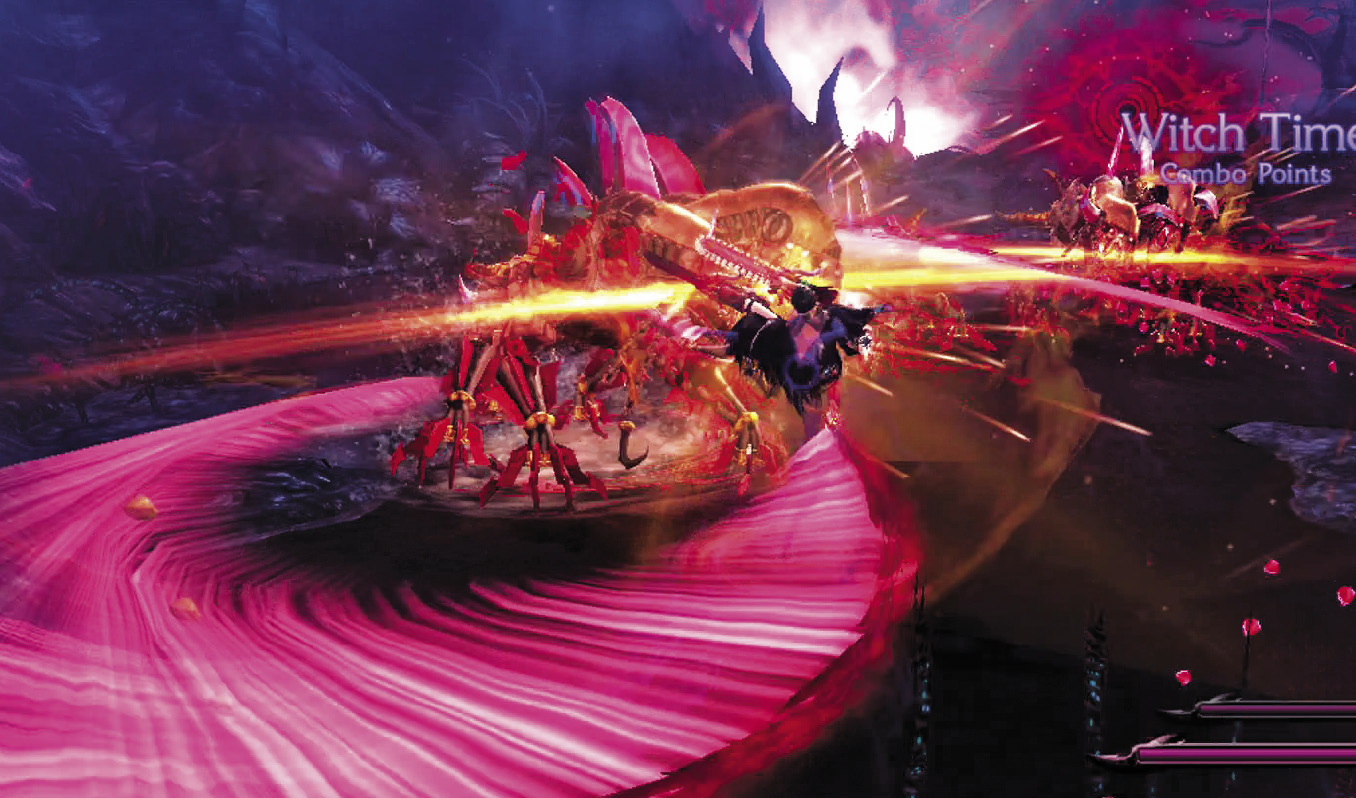
1st Climax/2nd Climax/3rd Climax
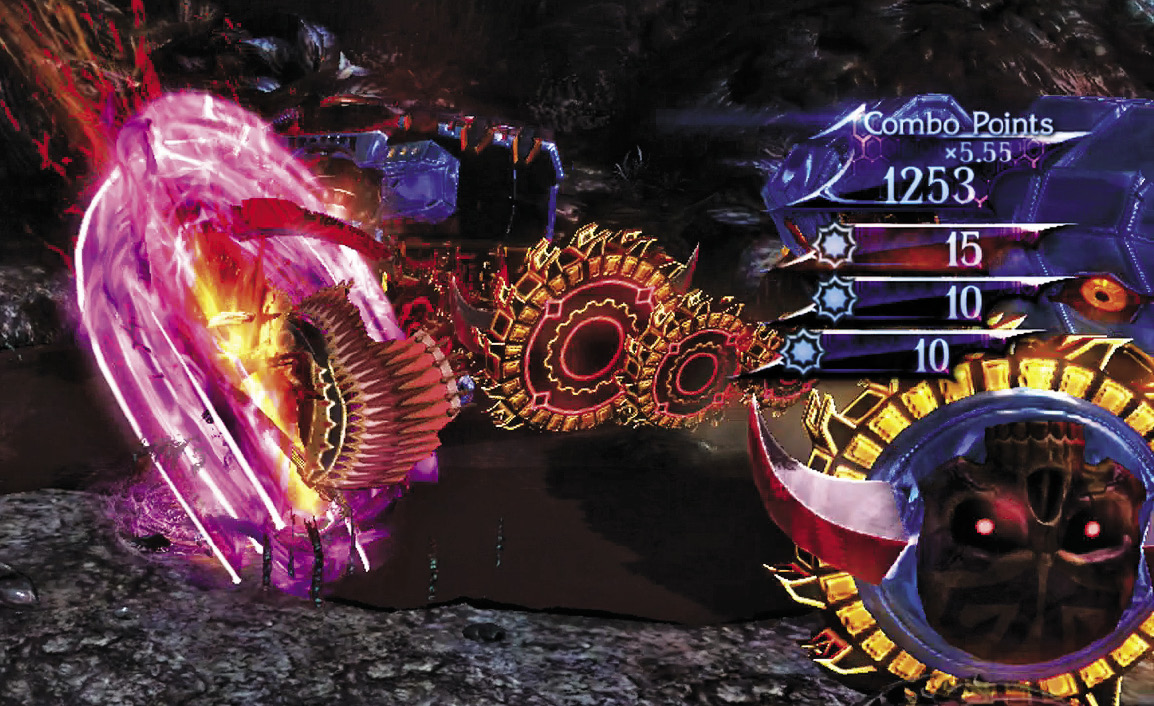
Enemies: Pain x2, Malicious x1
Generally you should go for the Malicious first, then the Pain, but no one’s stopping you if you want to take advantage of an angered Pain for extra points. If you do, note that the Pain will now be quite mobile and harder to predict. Otherwise, destroy the Malicious before they get a chance to cause any trouble, then dodge the Pains’ move patterns.
∞ Climax
Enemies: Greed x4
You’re up against a whopping four Greeds! On the plus side, this means tons of attacks to dodge. Consider staying on the fringes of the crowd so you have fewer attacks to deal with, picking your shots until you have enough magic power for Umbran Climax. Then unleash your full fury until you have to recharge!
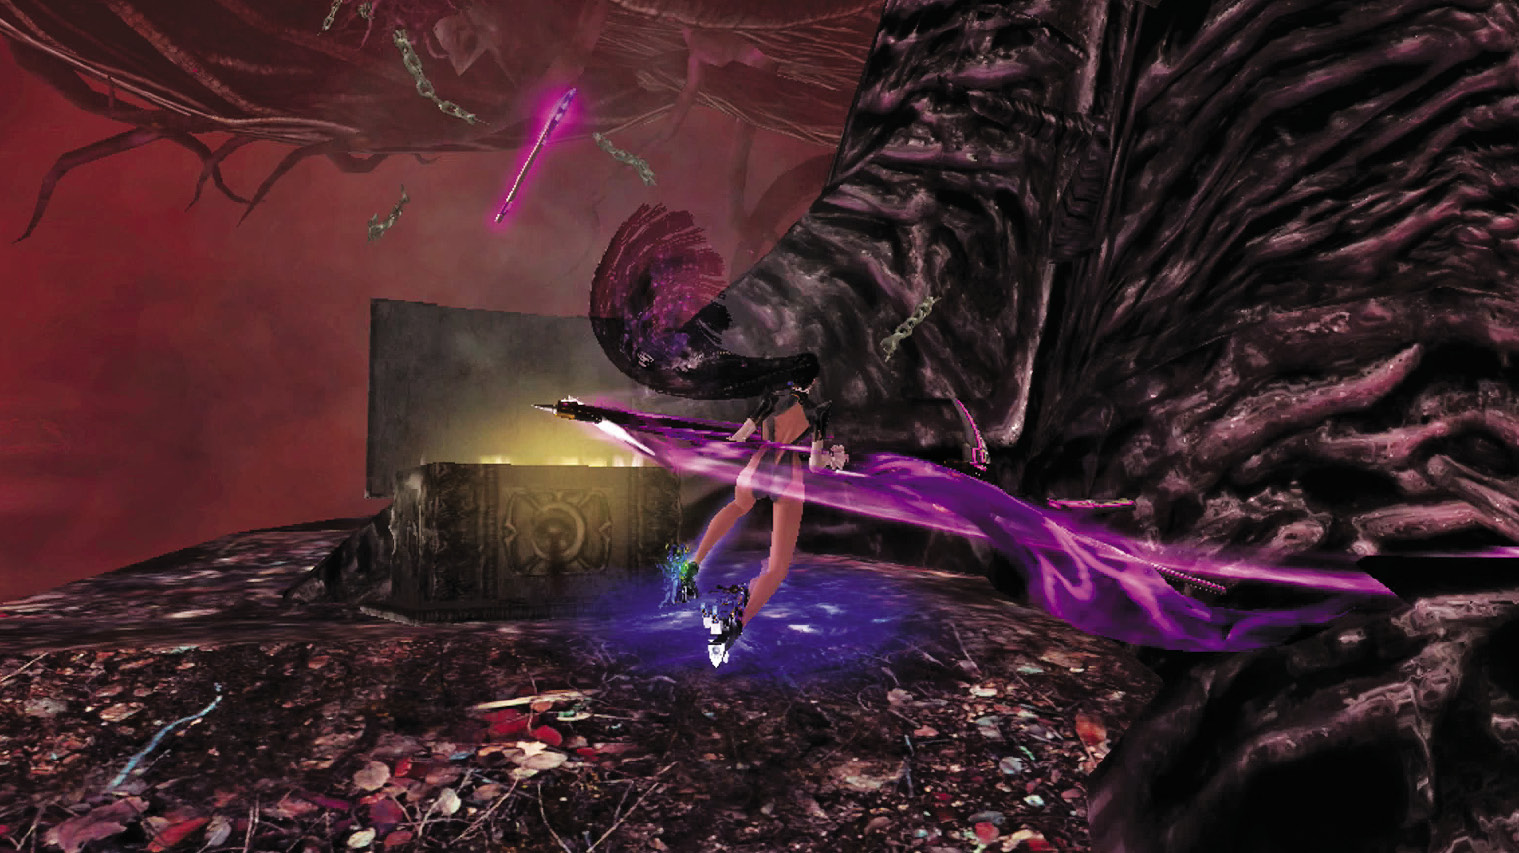
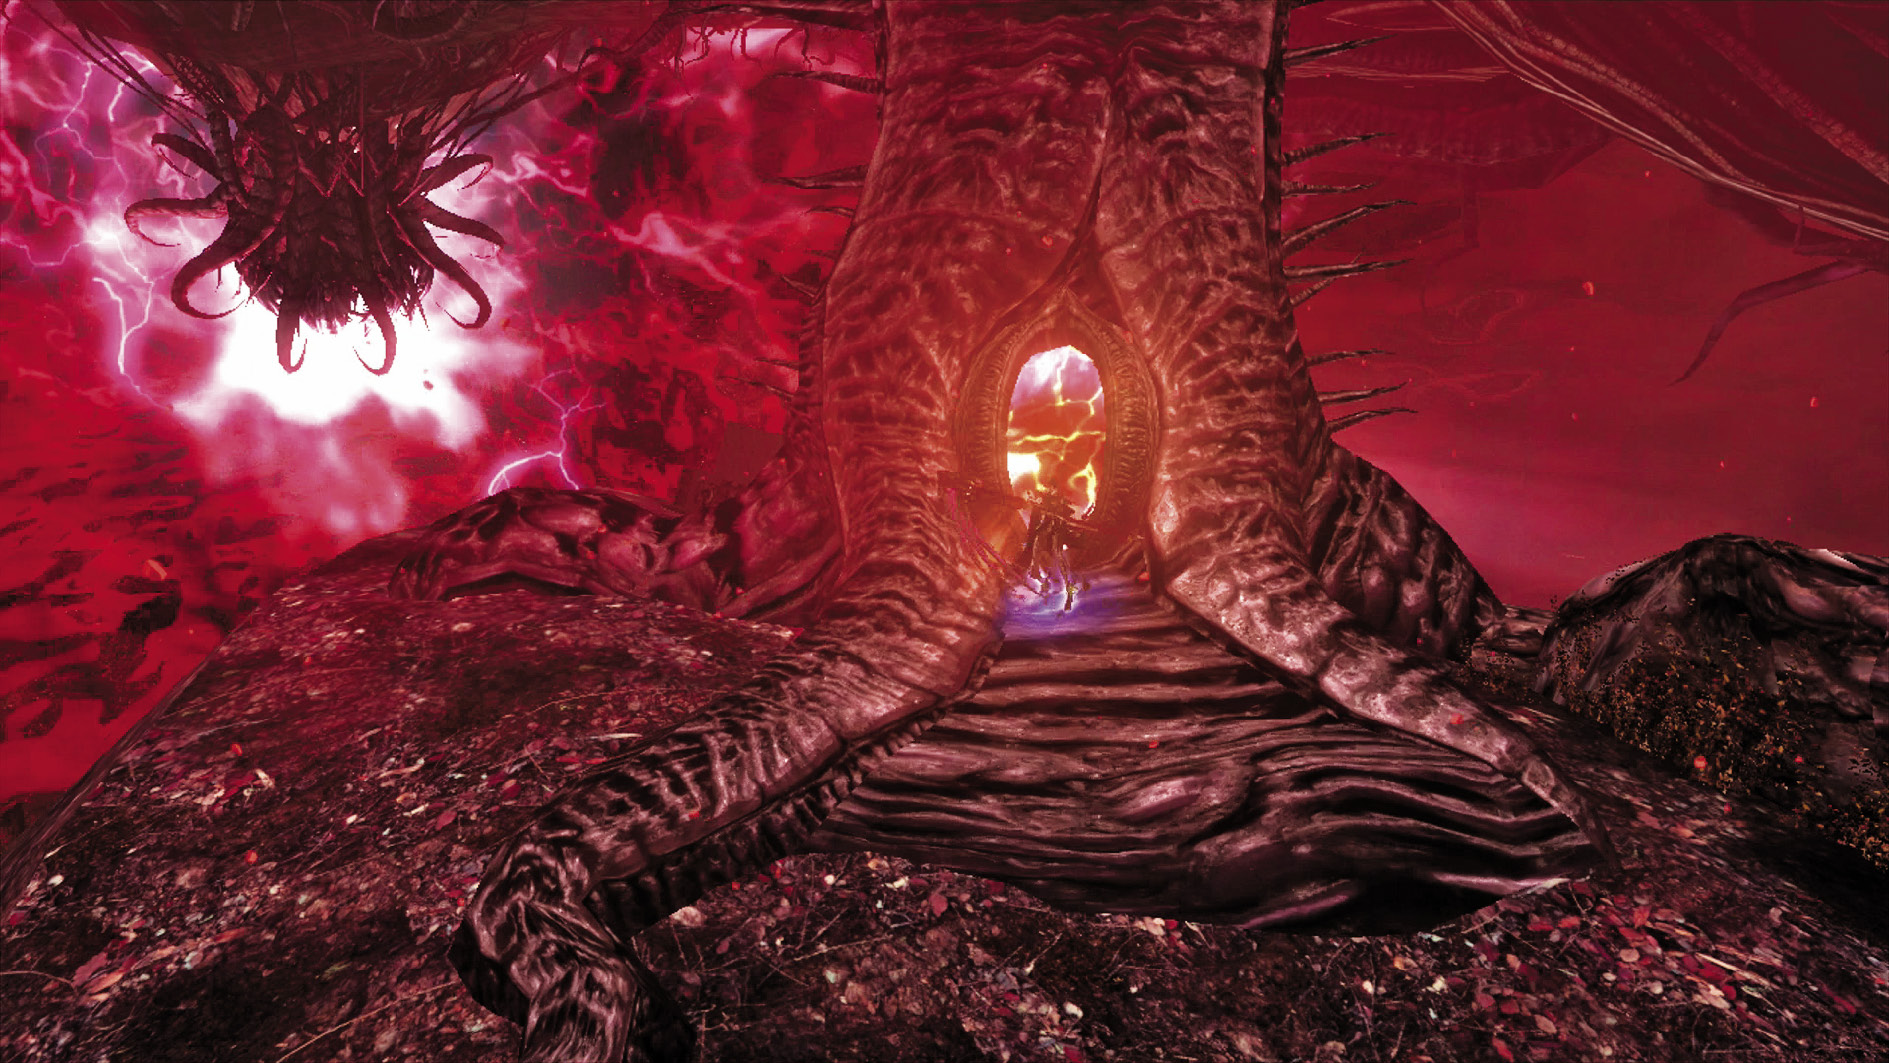
Go for Pure Platinum!
Suggested Weapons: Salamandra (Arms), Alruna (Legs)
The Salamandra works well for slicing these enemies up efficiently. If you can find some spare space, hold K during Witch Time or Umbran Climax to down a Pain or a Greed for precious moments.
There’s only one Verse left now, so run back to and activate the final vine. Don’t forget the Mega Purple Magic Lollipop in the chest beside it first!
| CH10 V12 | 1st Climax | 2nd Climax | 3rd Climax | ∞ Climax | ||||||||
|---|---|---|---|---|---|---|---|---|---|---|---|---|
| Time | Damage | Combo | Time | Damage | Combo | Time | Damage | Combo | Time | Damage | Combo | |
| PLATINUM | 02:10 | 0 | 113750 | 02:10 | 0 | 113750 | 02:20 | 0 | 113750 | 02:30 | 0 | 113750 |
| GOLD | 02:30 | 1200 | 47600 | 02:30 | 2400 | 47600 | 02:40 | 3600 | 47600 | 02:50 | 5000 | 47600 |
| SILVER | 02:50 | 1800 | 31060 | 02:50 | 3600 | 31060 | 02:50 | 5200 | 31060 | 03:10 | 6500 | 31060 |
| BRONZE | 03:10 | 2400 | 14520 | 03:10 | 4800 | 14520 | 03:00 | 6800 | 14520 | 03:30 | 8000 | 14520 |
| BOSS BONUS | ||||||||||||
Verse 13

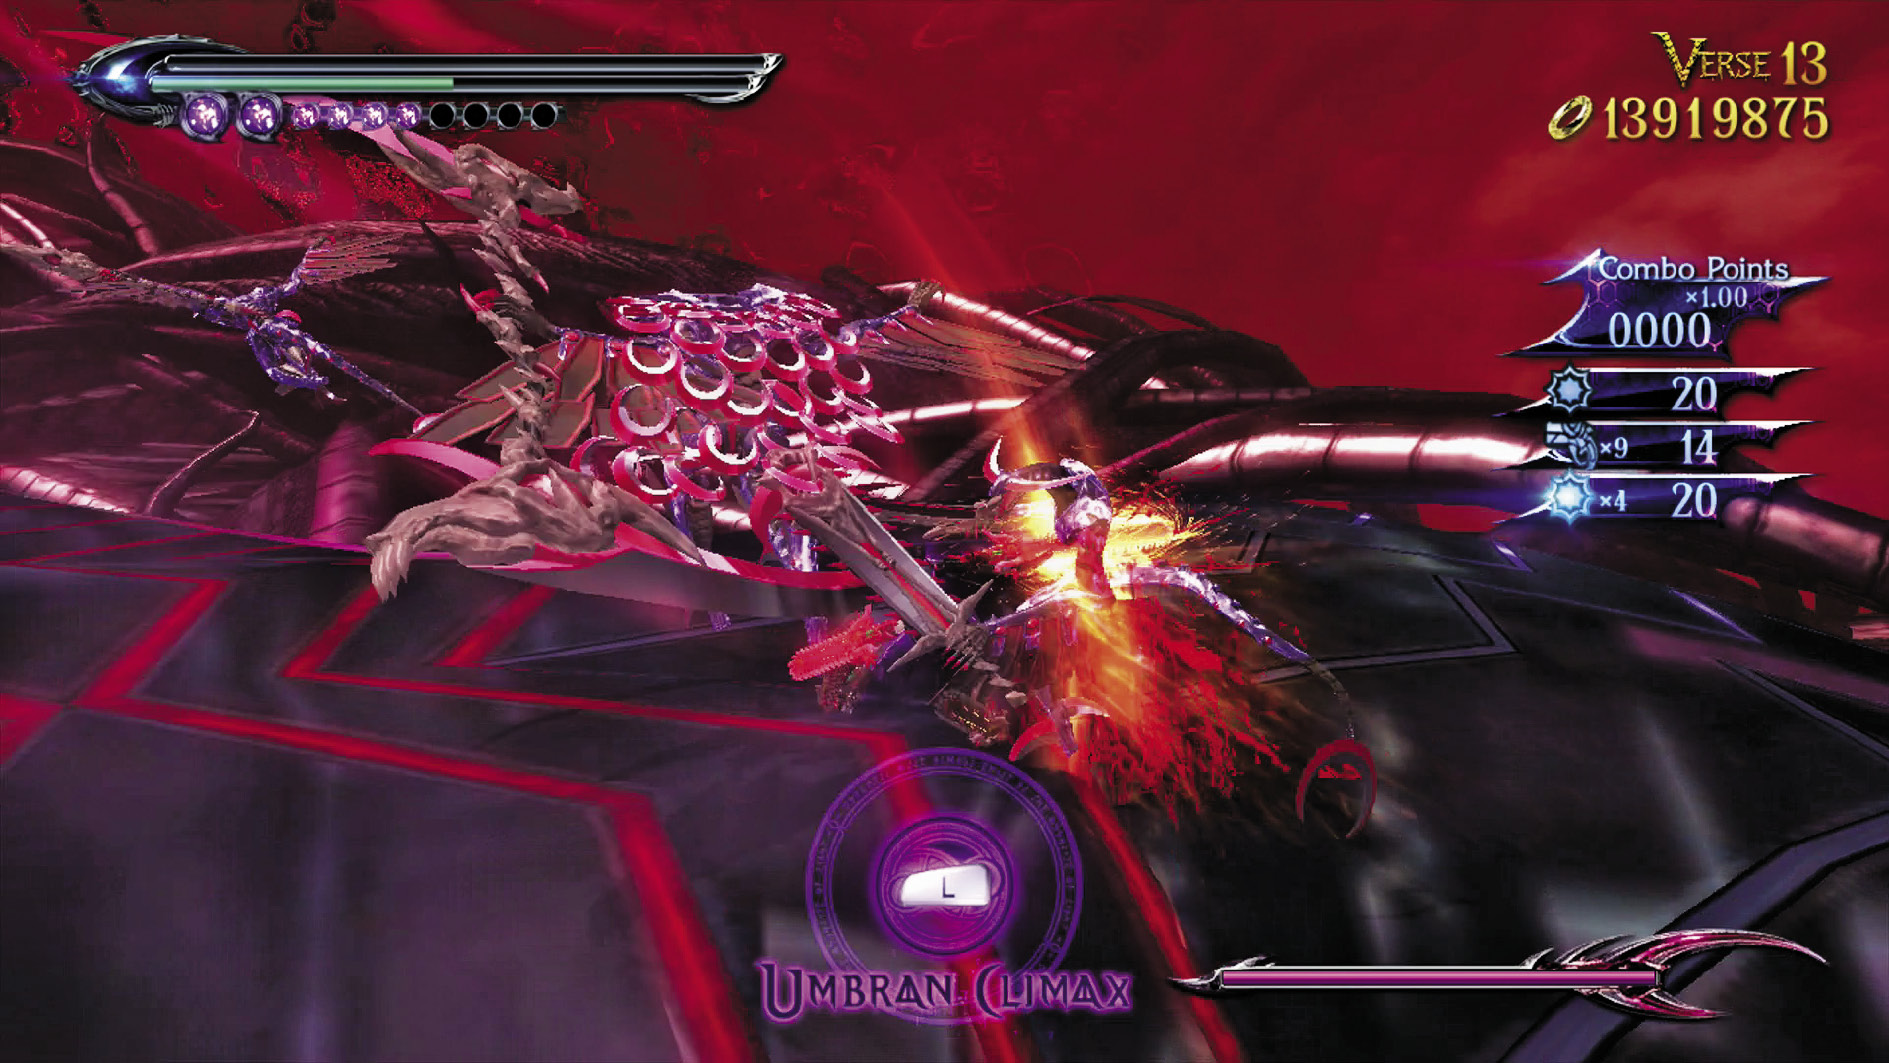
1st Climax/2nd Climax/3rd Climax/∞ Climax (Go for Pure Platinum!)
Suggested Pure Platinum Weapons: Any!
Enemies: Hatred x3, Hideous (Twin Blades) x7, Hideous (Scythe) x3, Hideous (Gun) x1, Greed x3, Pain x2; ∞ Climax: Hatred x3, Hideous (Twin Blades) x7, Hideous (Scythe) x3, Hideous (Gun) x1, Greed x3, Pride x2
This Verse is almost a freebie. While it’s utterly awesome to have Rodin alongside you kicking demon butt, it has the ironically unfortunate side effect of demons dying in mere seconds before his might, thus hurting your chances for a sufficient Combo score.
Attack absolutely everything that moves, tag incoming enemies with your gun, and keep your combo going. It doesn’t take a whole lot of points to get the Platinum medal here, but you can’t just lie back and let Rodin do all the work, either. Be aggressive!

post-chapter spoils 3 Verse Cards (Resentment, Phantasmaraneae, Sloth)
| CH10 V13 | 1st Climax | 2nd Climax | 3rd Climax | ∞ Climax | ||||||||
|---|---|---|---|---|---|---|---|---|---|---|---|---|
| Time | Damage | Combo | Time | Damage | Combo | Time | Damage | Combo | Time | Damage | Combo | |
| PLATINUM | 01:50 | 0 | 3750 | 01:50 | 0 | 3750 | 02:00 | 0 | 3750 | 02:10 | 0 | 3750 |
| GOLD | 02:10 | 400 | 2100 | 02:10 | 800 | 2100 | 02:20 | 1600 | 2100 | 02:30 | 3200 | 2100 |
| SILVER | 02:30 | 600 | 1690 | 02:30 | 1200 | 1690 | 02:40 | 2400 | 1690 | 02:50 | 4800 | 1690 |
| BRONZE | 02:50 | 800 | 1280 | 02:50 | 1600 | 1280 | 03:00 | 3200 | 1280 | 03:10 | 6400 | 1280 |
| BOSS BONUS | ||||||||||||