
Bayonetta 2 Guide Chapter V: Know Your Journey - Walkthrough
Chapter I: Noatun, the City of Genesis
Now that you’ve had your fill of cold openings, it’s time to learn the ins and outs of exploring. Noatun is a large city full of nooks, crannies, upgrades, and collectibles. While you’re scavenging, don’t forget that there are angels to vanquish.
When you first start, you’re facing a grand staircase. Turn right around—you’ve got some collecting to do.
Head left and follow the path to the end of the docks for the A New Beginning Journal’s Echo. Turn back around, and head to the other side of the docks to find an Umbran Crow (1/20) and a chest containing a Yellow Moon Lollipop. You can also go underwater for a chest filled with Halos.
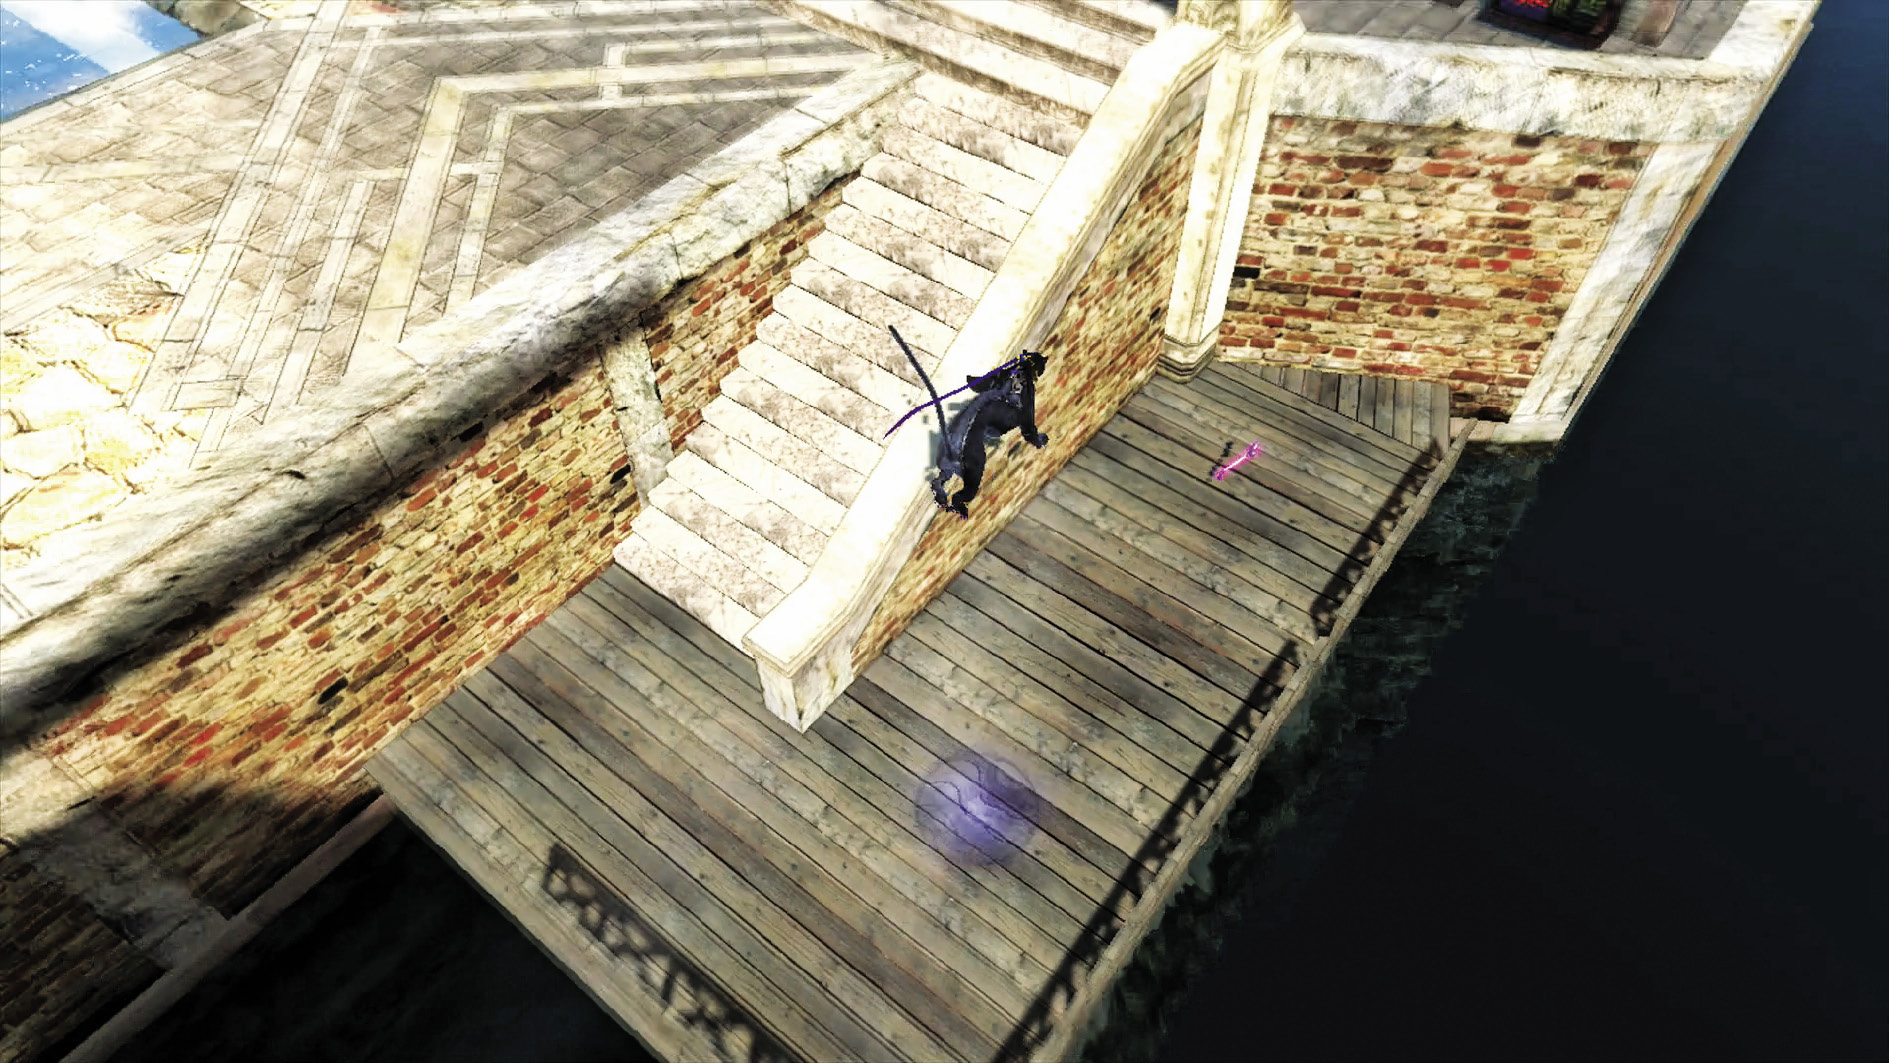
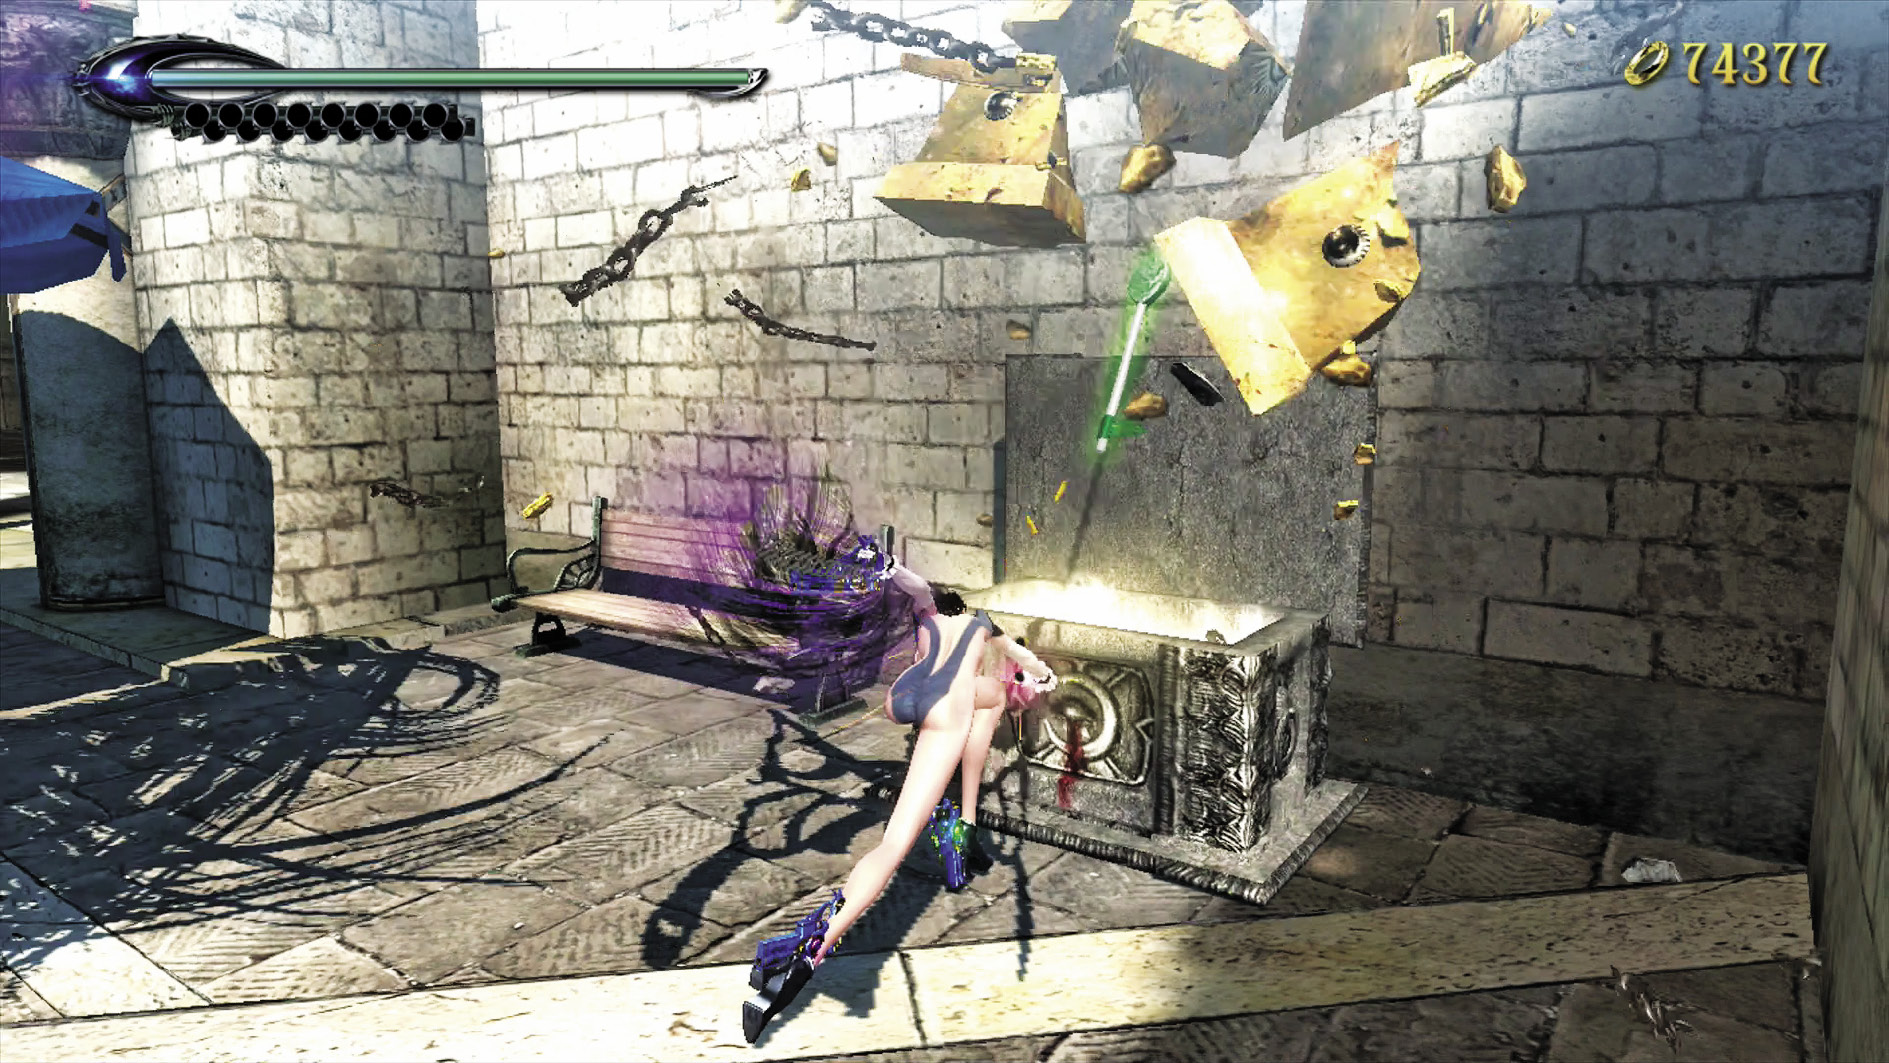
Go back to the stairs then up them, bearing right. You can see a small lower-level dock where you can score a Purple Magic Lollipop. Keep going onto the right side of the main square. Beyond the staircase leading to the upper level is a chest containing a Green Herb Lollipop.
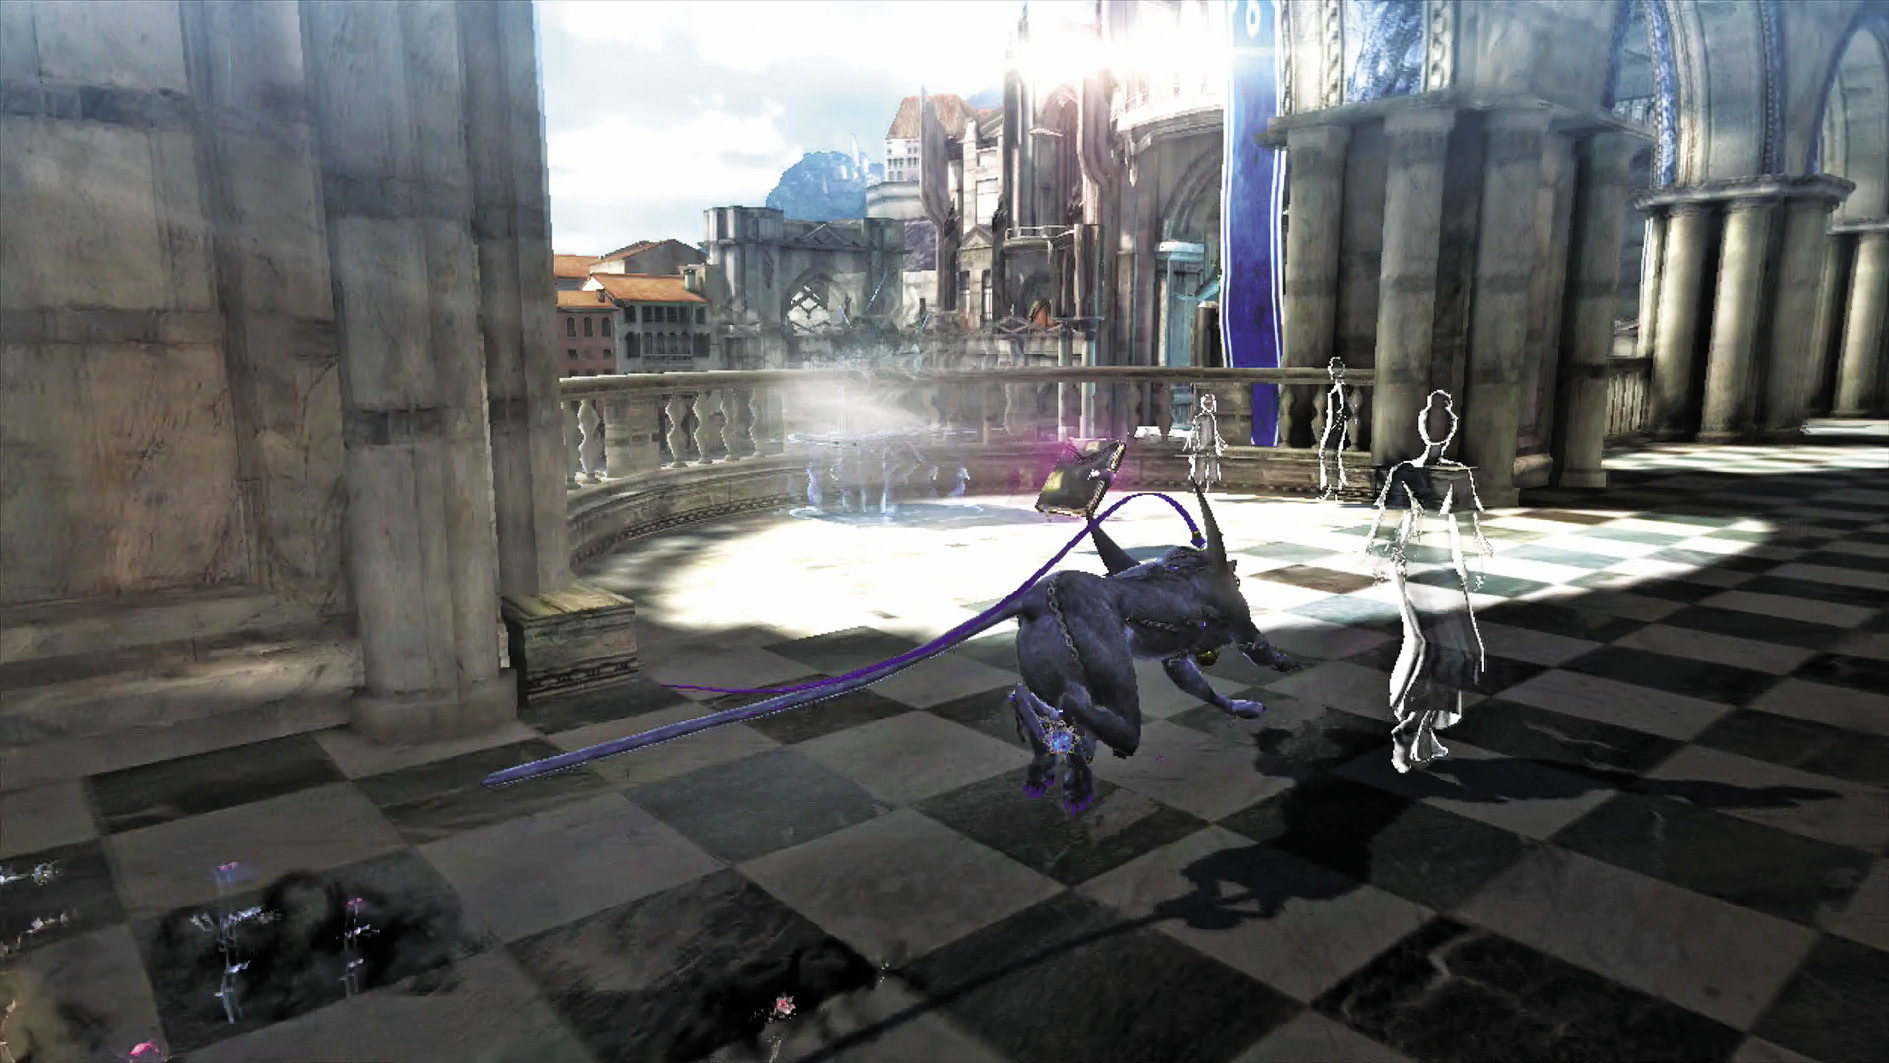

Now head to the upper level and look to your left. You can snag the Divine Retribution Journal’s Echo, and encounter your first Umbran Resting Place, containing a Broken Moon Pearl (1/16).
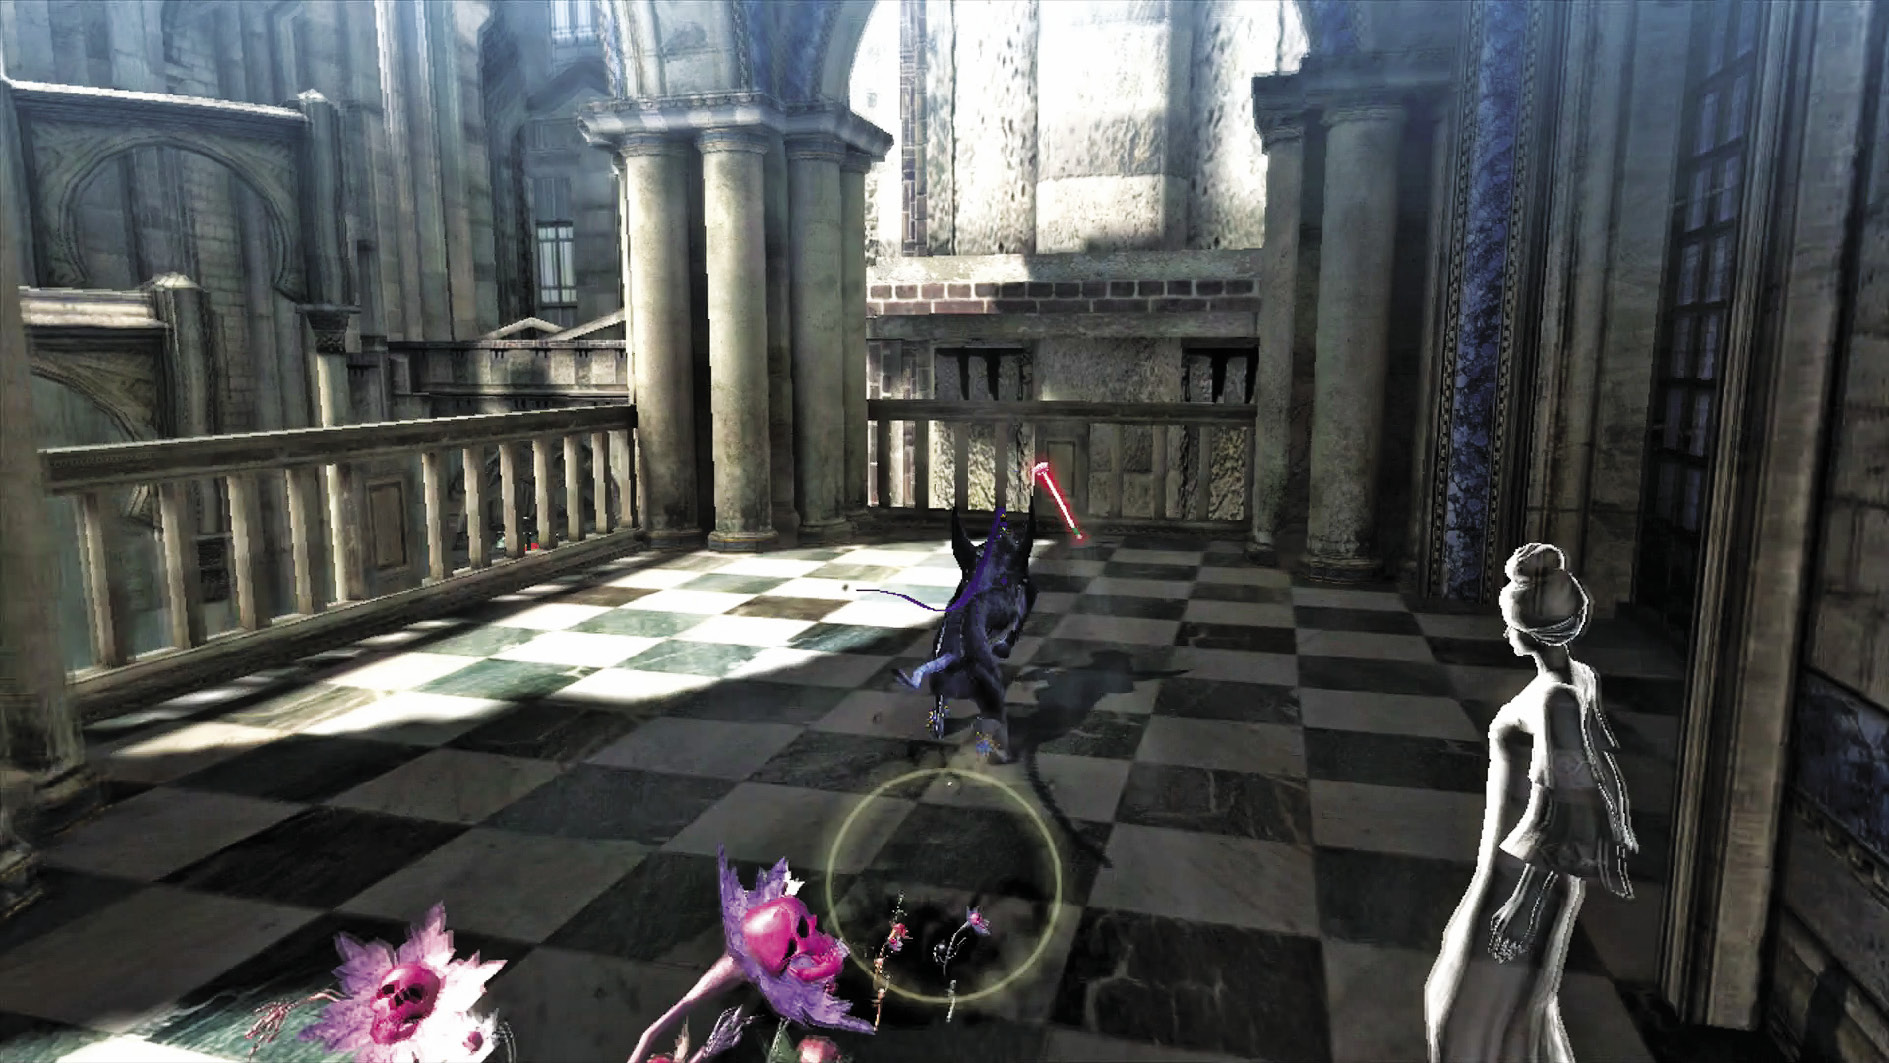
Finally, all the way at the end of the upper corridor is a Bloody Rose Lollipop. Now that we’ve snagged everything on the right, it’s time to tackle the left.
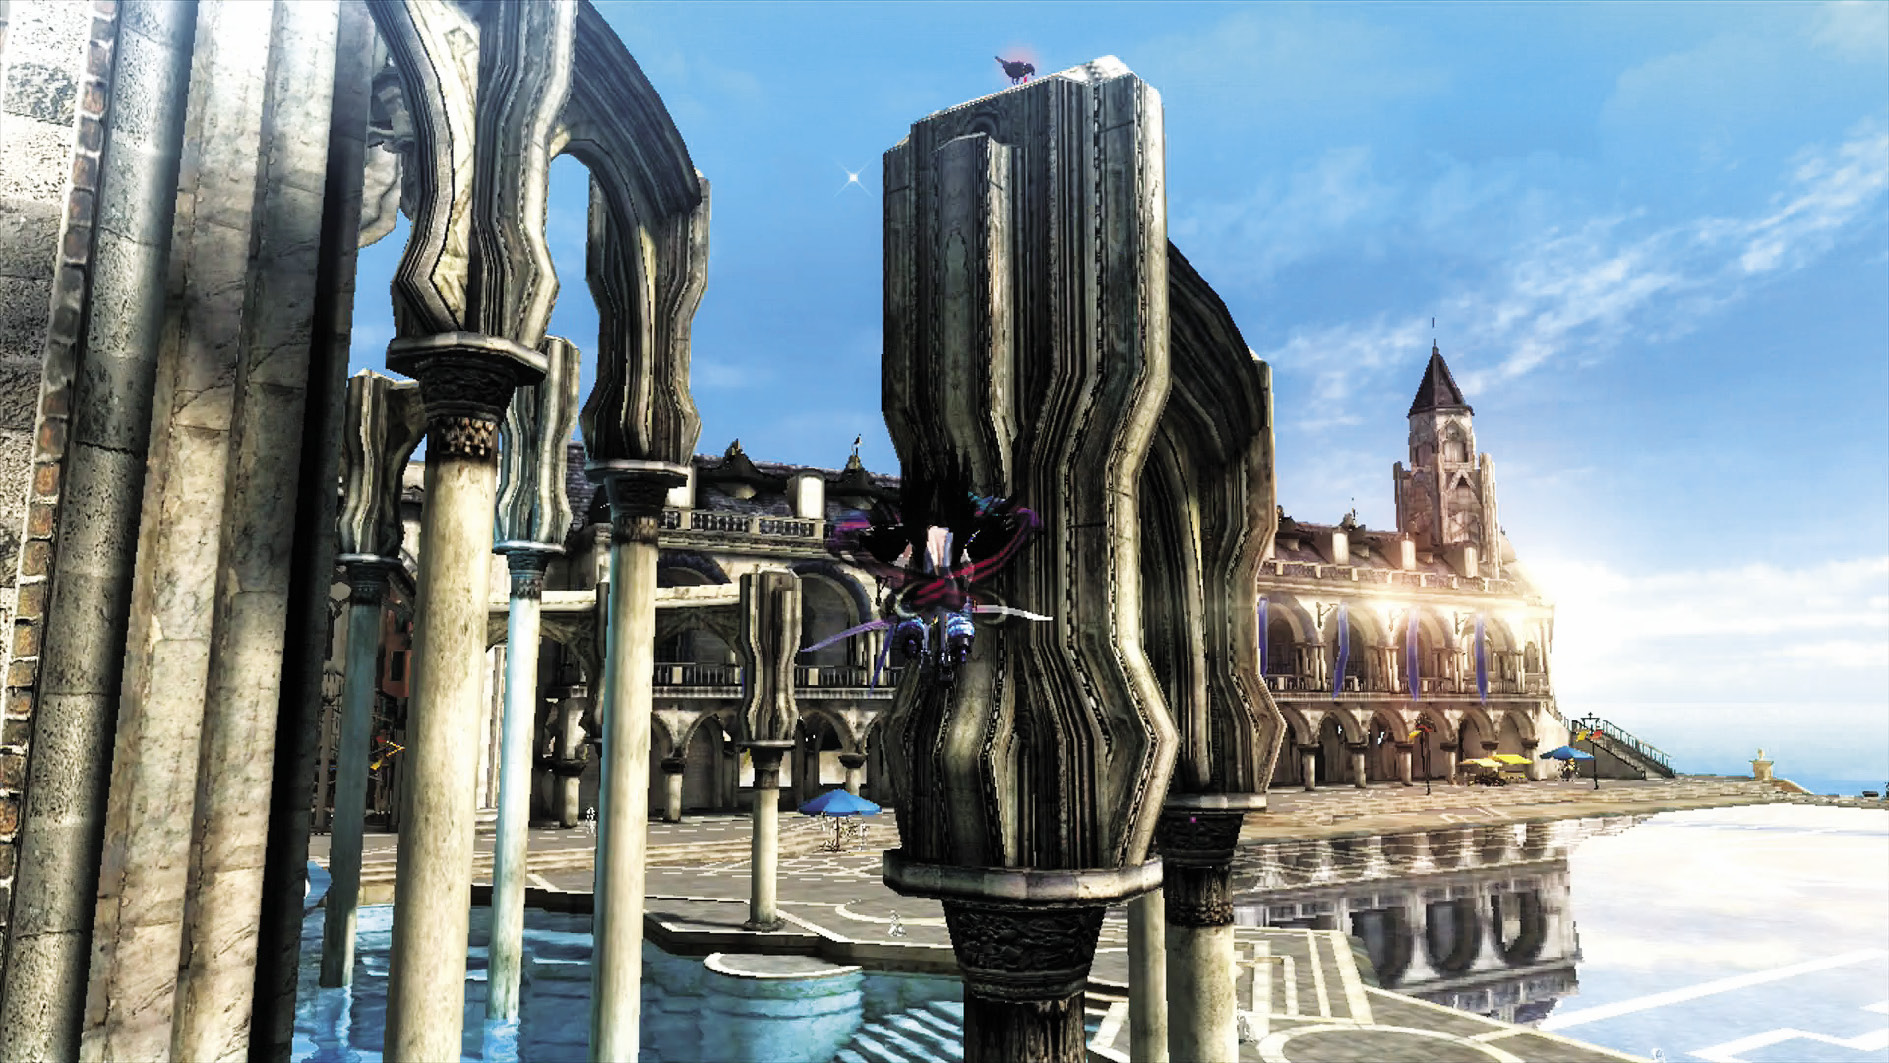
Go to the other side of the square, all the way to the end. There’s a Muspelheim here, as well as the Unknown Entrance Journal’s Echo. However, if you look up, you’ll also see an Umbran Crow (2/20) on quite the high perch! Use a long double jump, then Crow Within, from the closest awning to reach it. Once you’ve got it, go ahead and enter the Muspelheim.
Verse 1
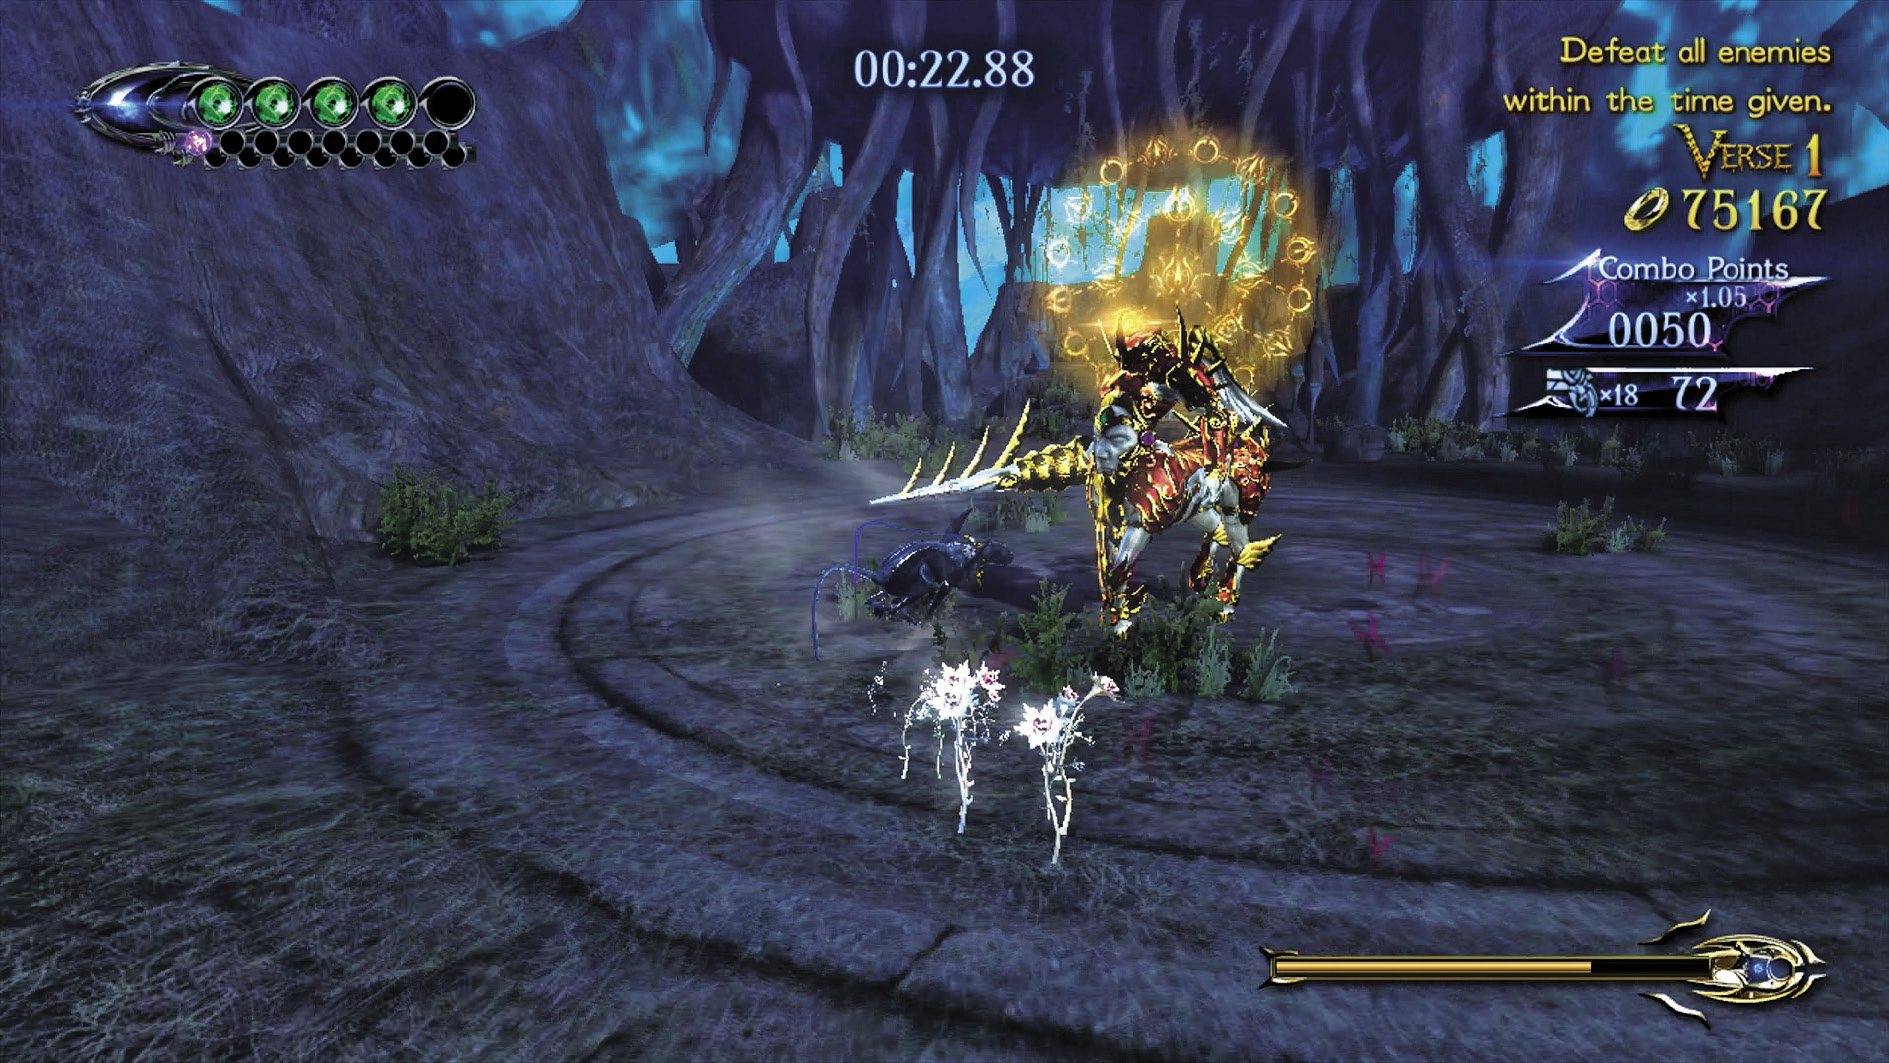
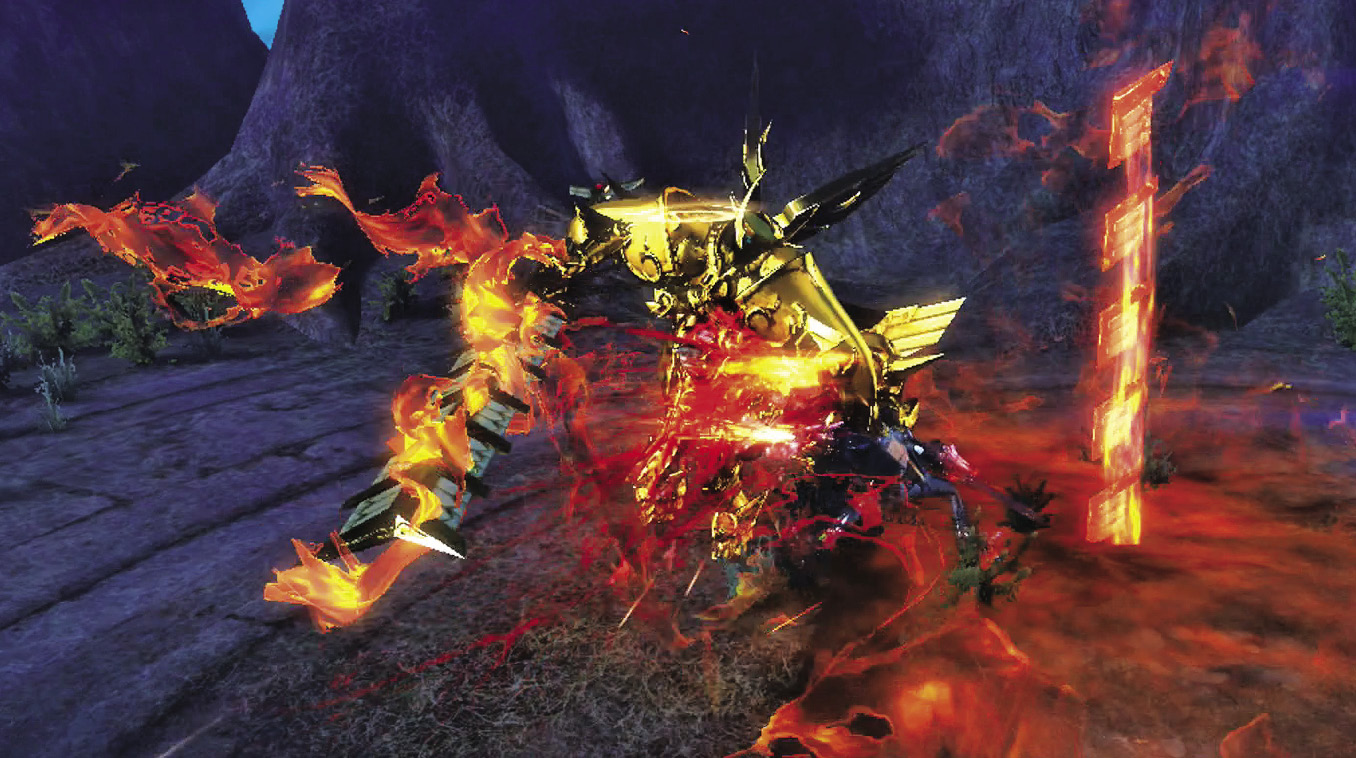
1st Climax/2nd Climax/3rd Climax
Muspelheim Objective: Defeat all enemies within the time given.
Enemies: Accolade (Spear) x1
A single Accolade blocks your path. Dodge his wide swings and counter him during Witch Time for an easy victory.
∞ Climax
Muspelheim Objective: Defeat all enemies within the time given.
Enemies: Allegiance x1
Fighting an Allegiance isn’t too far removed from fighting an Accolade. The front or the sides are the best places to mount an offensive. Watch out for his fast and long-reaching weapon swings!
Go for Pure Platinum!

Suggested Weapons: Salamandra or Kafka (Arms), Chain Chomp (Legs)
Salamandra is enough for the Accolade, but with the Allegiance, you have to work fast to constantly stay on him. However, an explosive PPPPK combo with Kafka and Chain Chomp will cut him down to size in time. Use Dodge Offset when needed.
Beating this Verse nabs you a Broken Witch Heart (1/40)
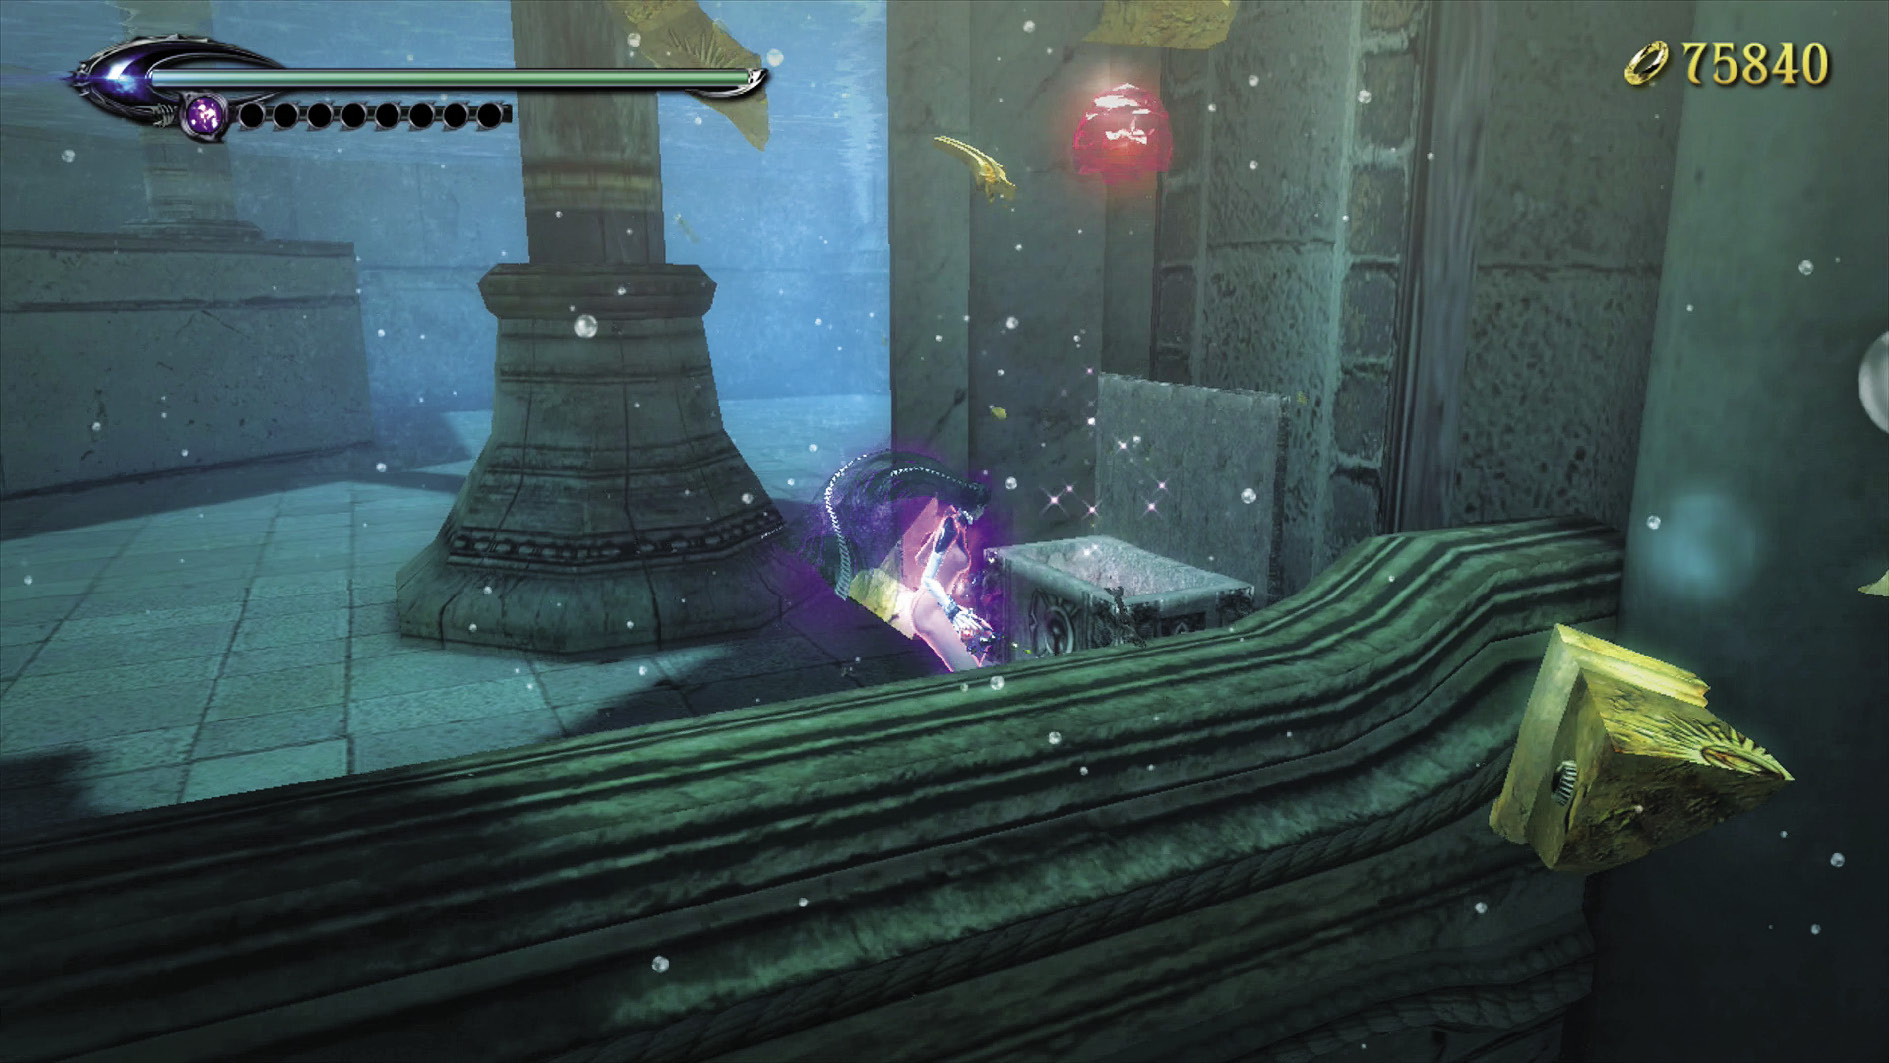
With your very first Verse in the bag, go inside the water just ahead, and open the left-side chest for a Broken Witch Heart (2/40). Go down and enter the center hallway.
In the center of this long hallway is the Fragments of Memory Journal’s Echo.
The exit you took caves in. Turn to your left and follow the path for the Sealed Time Journal’s Echo. Turn around, and step on the large round platform ahead to start the next Verse.
| CH1 V1 | 1st Climax | 2nd Climax | 3rd Climax | ∞ Climax | ||||||||
|---|---|---|---|---|---|---|---|---|---|---|---|---|
| Time | Damage | Combo | Time | Damage | Combo | Time | Damage | Combo | Time | Damage | Combo | |
| PLATINUM | 00:18 | 0 | 680 | 00:18 | 0 | 680 | 00:18 | 0 | 680 | 00:18 | 0 | 1230 |
| GOLD | 00:21 | 200 | 540 | 00:21 | 200 | 540 | 00:21 | 200 | 540 | 00:21 | 200 | 850 |
| SILVER | 00:24 | 400 | 510 | 00:24 | 400 | 510 | 00:24 | 400 | 510 | 00:24 | 400 | 760 |
| BRONZE | 00:27 | 600 | 470 | 00:27 | 600 | 470 | 00:27 | 600 | 470 | 00:27 | 600 | 660 |
| BOSS BONUS | ||||||||||||
Verse 2
1st Climax/2nd Climax/3rd Climax
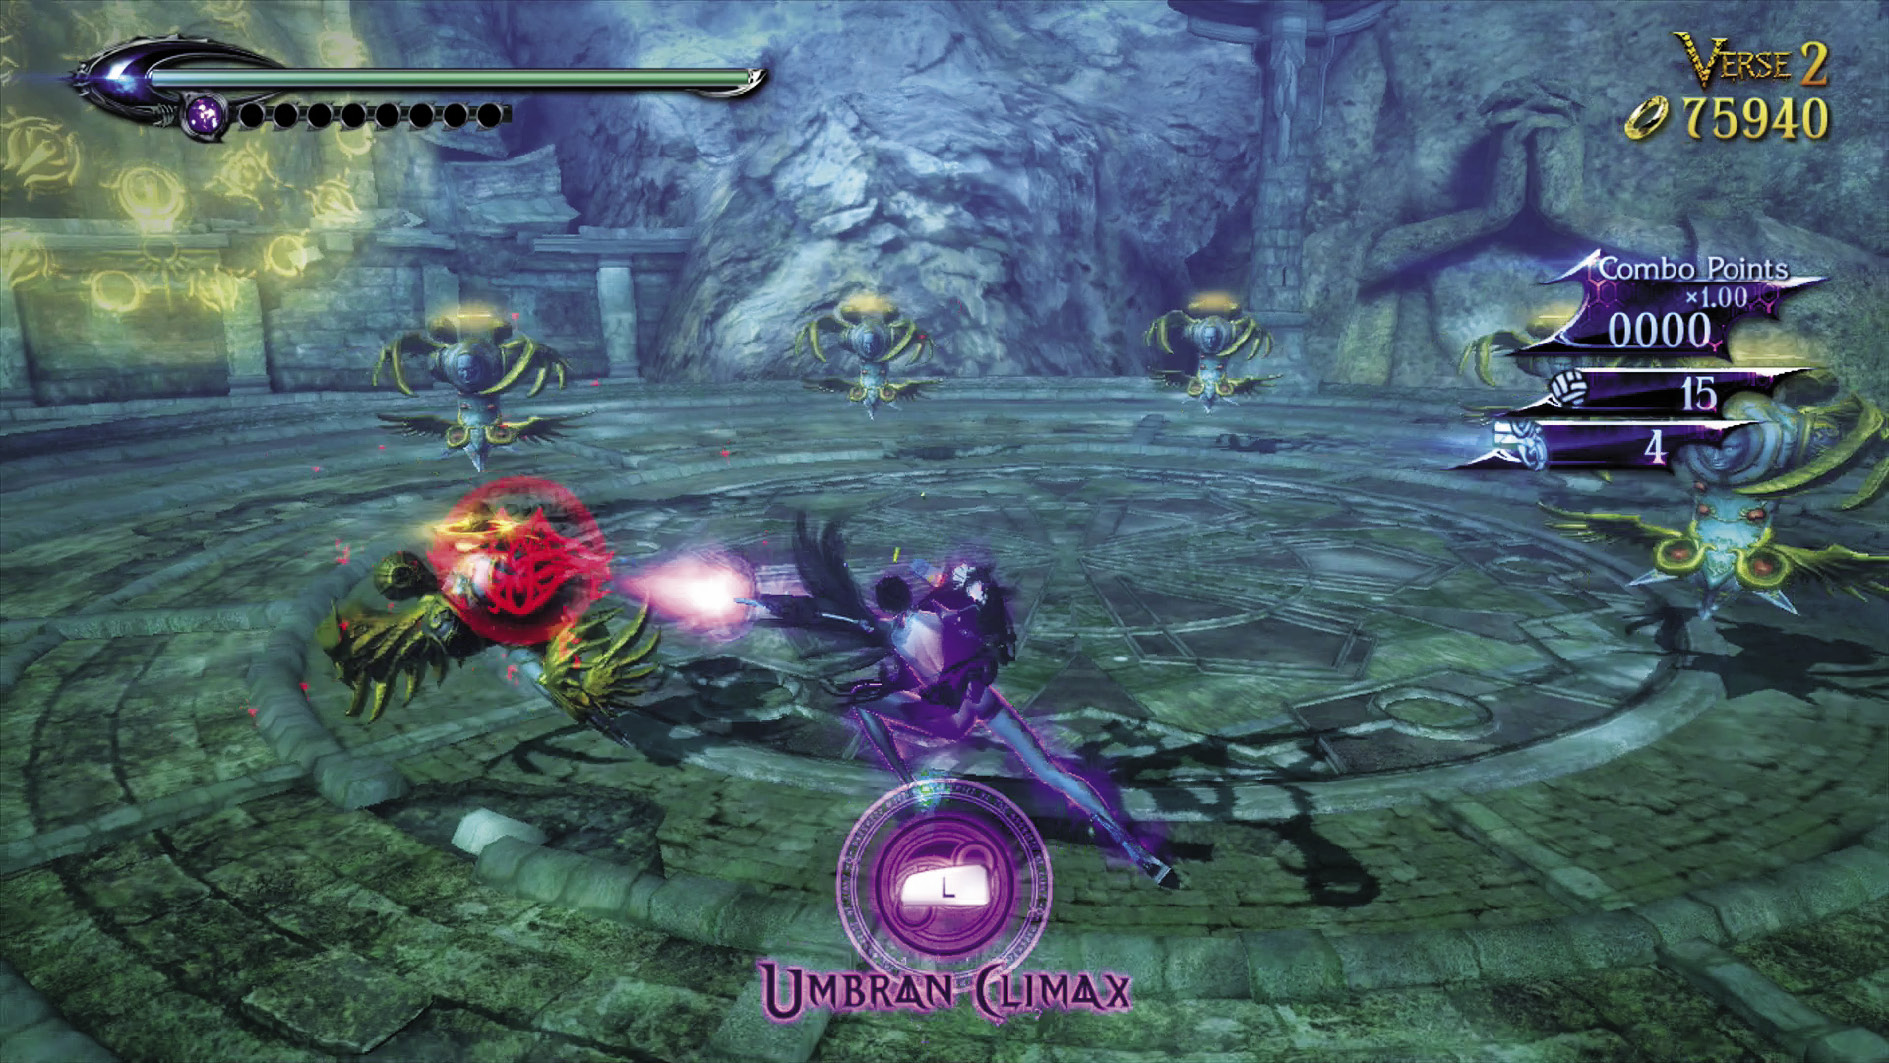
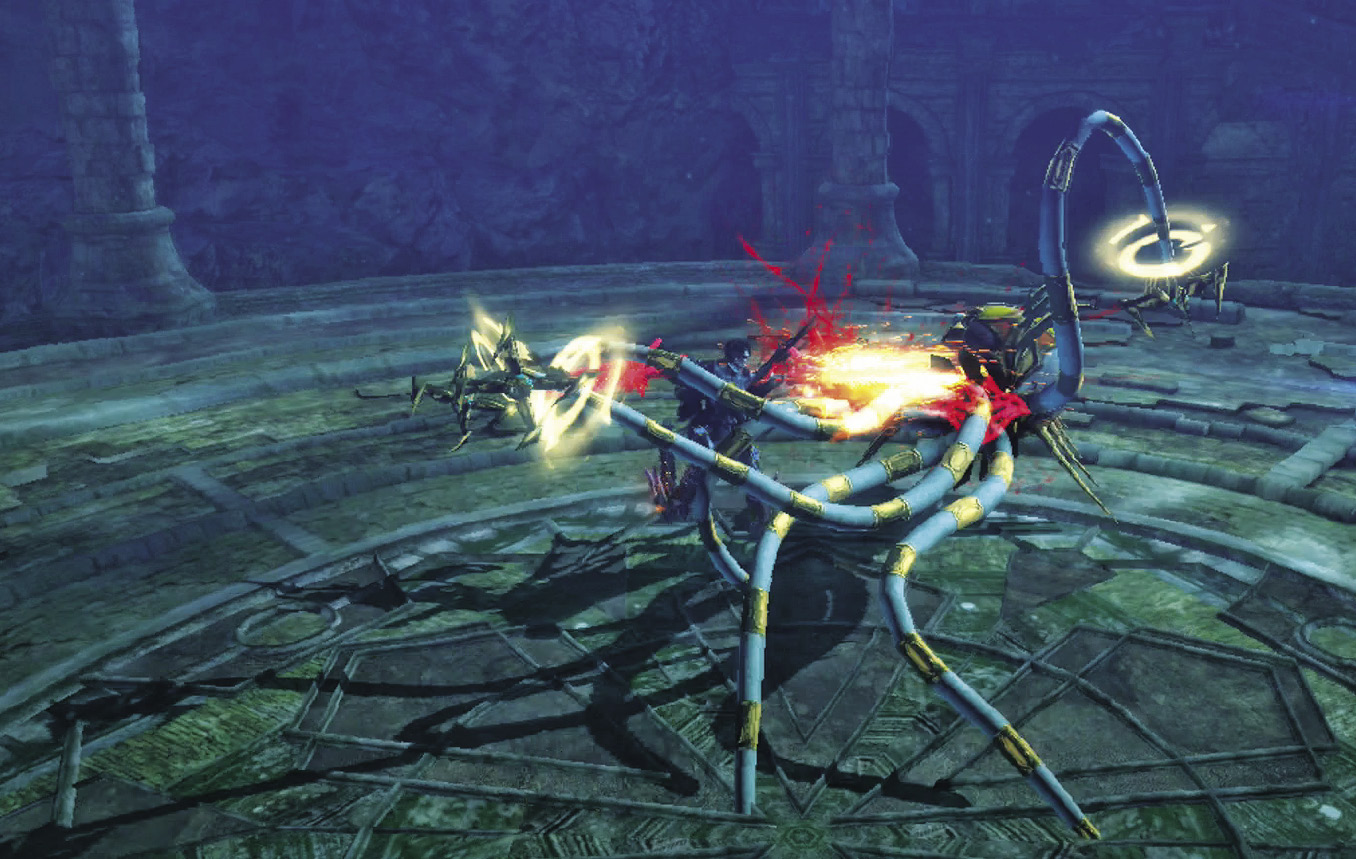
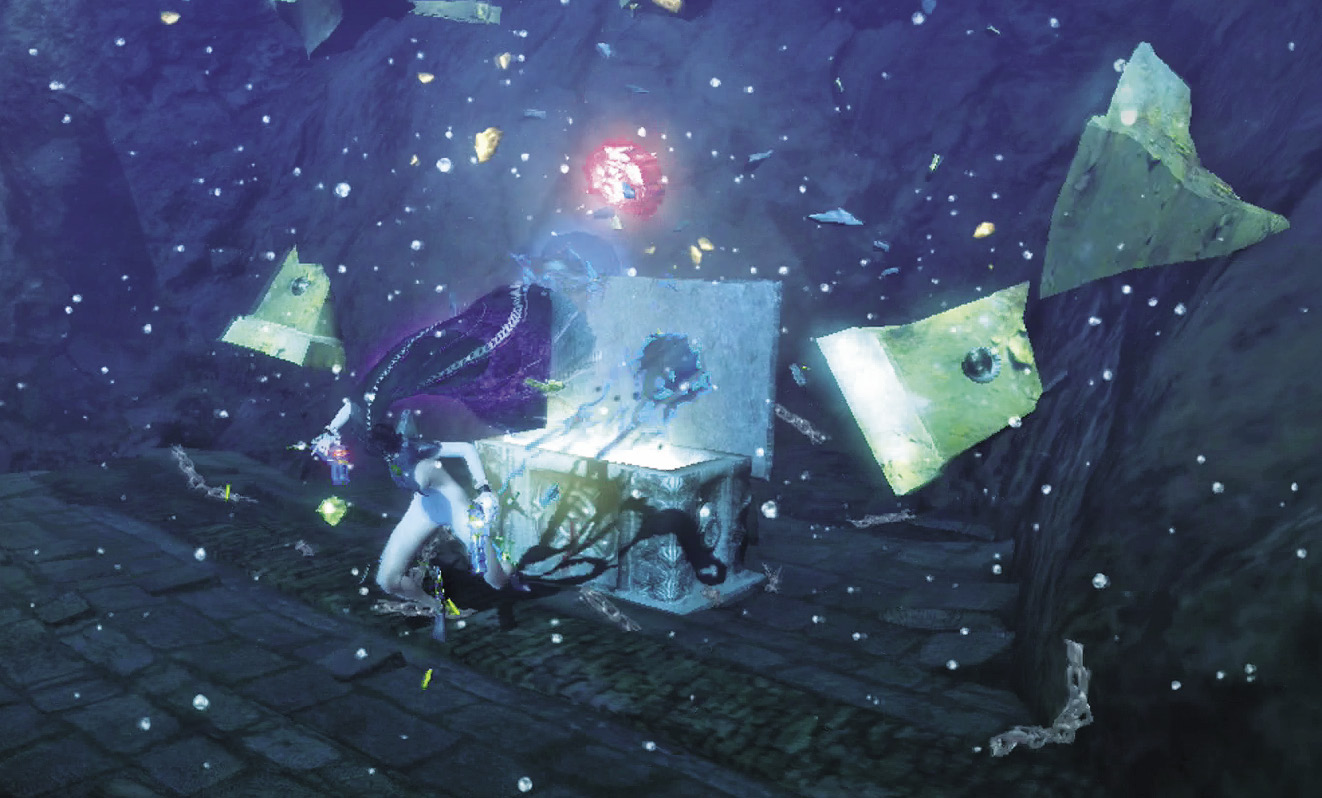
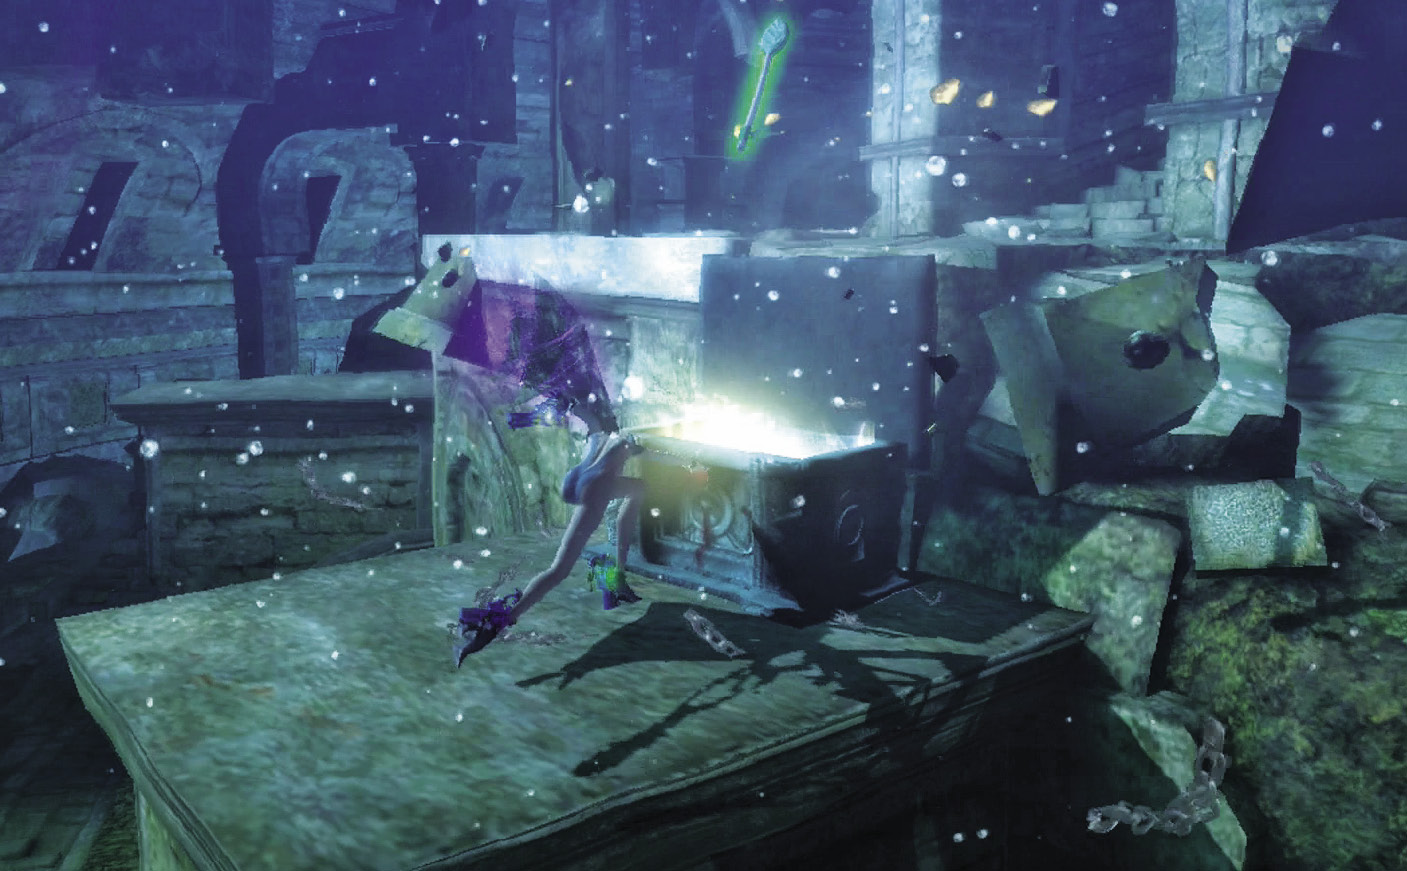
Enemies: Compassion x10
Fighting Compassions underwater can be a daunting task, and if this is your first playthrough it’s easy to feel at a disadvantage due to Bayonetta’s impaired movement underwater. Stay calm and take heart. At times like this, remember that guns are your best friend. Use the Action button, or hold the Attack buttons with Love Is Blue equipped.
∞ Climax
Enemies: Fidelity x2
Fidelities are still fast-moving enemies, but their pincer attacks are even faster! Watch their movements and their appendages, and dodge when either get close!
Go for Pure Platinum!

Suggested Weapons: Salamandra (Arms)
It’s easy to slice Compassions or Fidelities into pieces for big points, as long as you manage to match their movements and not get hit in the process. Use Stiletto, Snake Within, and your Action button gun to close the mobility gap.
Once that’s over, go right instead of straight to reach a chest containing a Broken Witch Heart (3/40), then continue along the main path. Along the way you’ll encounter a chest containing a Green Herb Lollipop.
But wait! Instead of taking the stairs out, go left and jump behind the rim of the staircase you find for a Muspelheim.
| CH1 V2 | 1st Climax | 2nd Climax | 3rd Climax | ∞ Climax | ||||||||
|---|---|---|---|---|---|---|---|---|---|---|---|---|
| Time | Damage | Combo | Time | Damage | Combo | Time | Damage | Combo | Time | Damage | Combo | |
| PLATINUM | 00:28 | 0 | 2240 | 00:28 | 0 | 2240 | 00:35 | 0 | 2240 | 00:40 | 0 | 1230 |
| GOLD | 00:38 | 160 | 1380 | 00:38 | 320 | 1380 | 00:45 | 640 | 1380 | 00:50 | 800 | 850 |
| SILVER | 00:48 | 320 | 1160 | 00:48 | 640 | 1160 | 00:55 | 1280 | 1160 | 01:00 | 1600 | 760 |
| BRONZE | 00:58 | 480 | 940 | 00:58 | 960 | 940 | 01:05 | 1920 | 940 | 01:10 | 3200 | 660 |
| BOSS BONUS | ||||||||||||
Verse 3
1st Climax/2nd Climax/3rd Climax
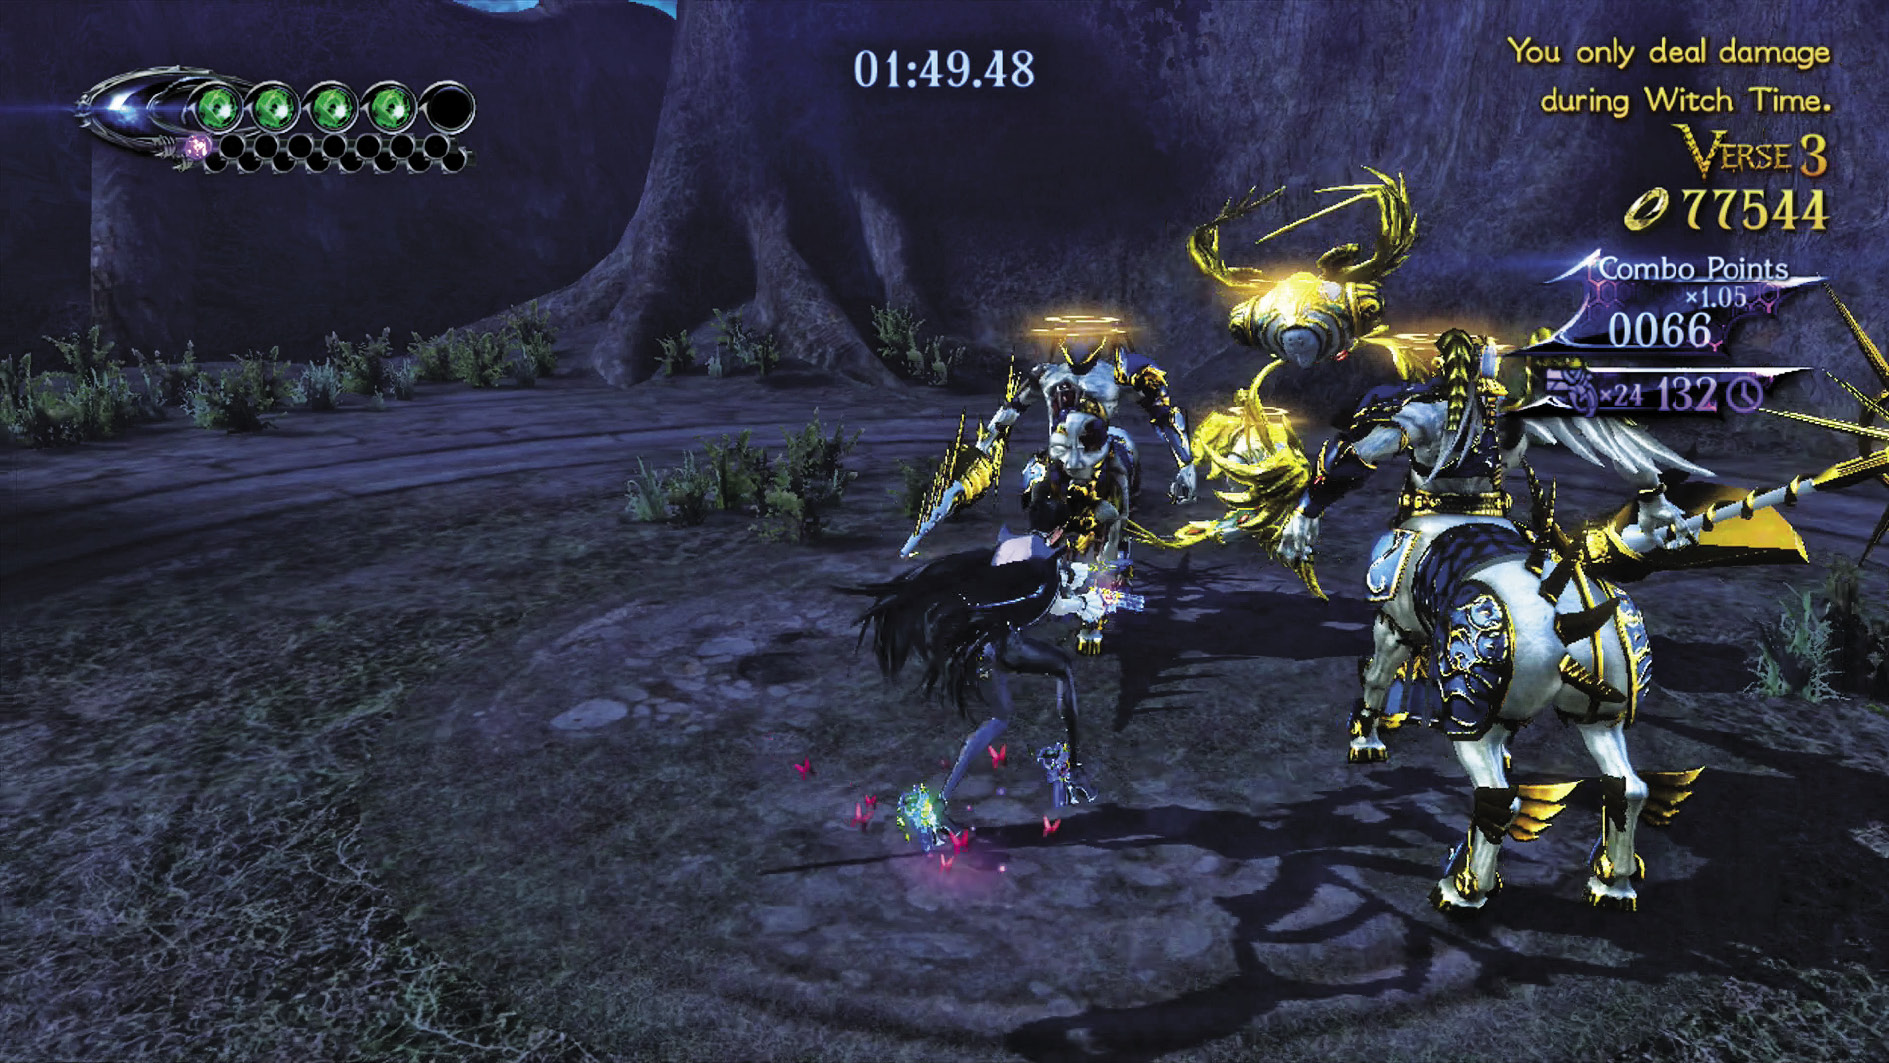
Muspelheim Objective: You only deal damage during Witch Time.
Enemies: Acceptance (Spear) x2, Compassion x2
Even together, Acceptances and Compassions aren’t hard to defeat. Dodge the swings of the former, then chase down the latter during Witch Time.
∞ Climax
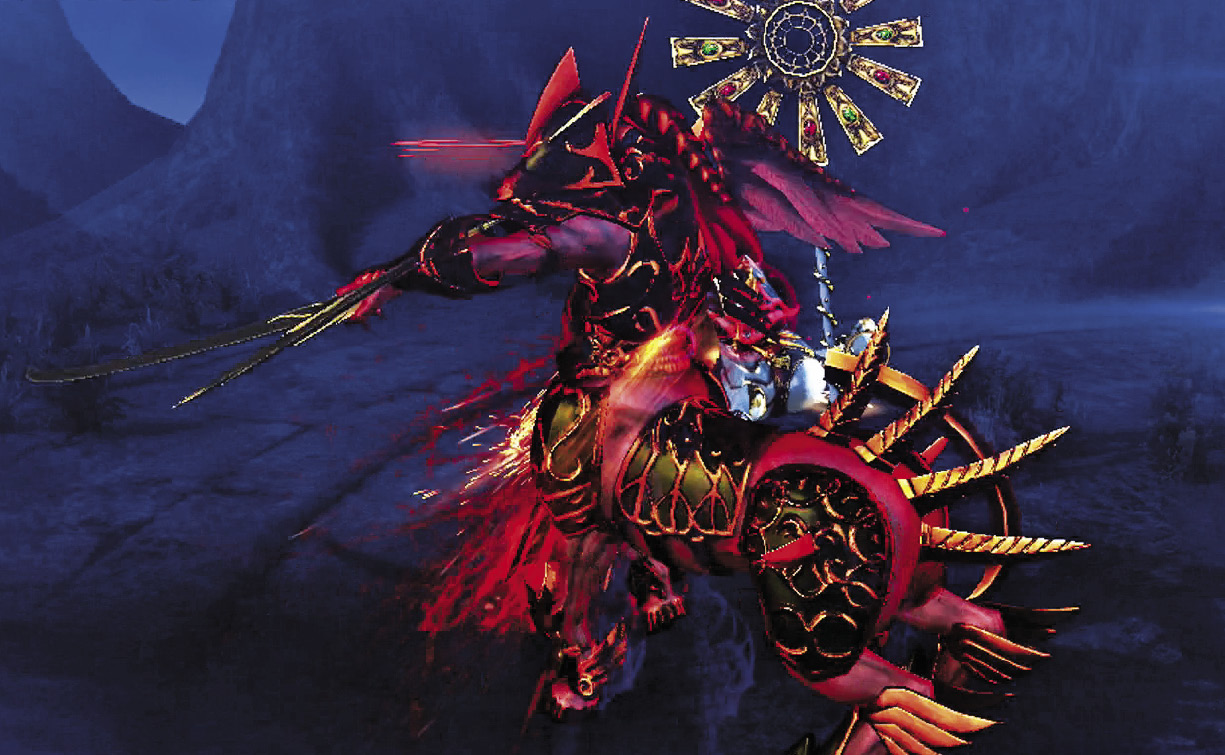
Enemies: Accolade (Twin Blades) x1, Enrapture x1
This one’s a doozy. Use the blade swings of the Accolade to enter Witch Time, and destroy the Enrapture first so the Accolade isn’t angry anymore. Then dodge some more swings and defeat him as well.
Go for Pure Platinum!

Suggested Weapon: Salamandra (Arms)
The above strategies using Salamandra will bring swift and efficient Platinum victory.
Beating this Verse nabs you a Broken Moon Pearl (2/16)
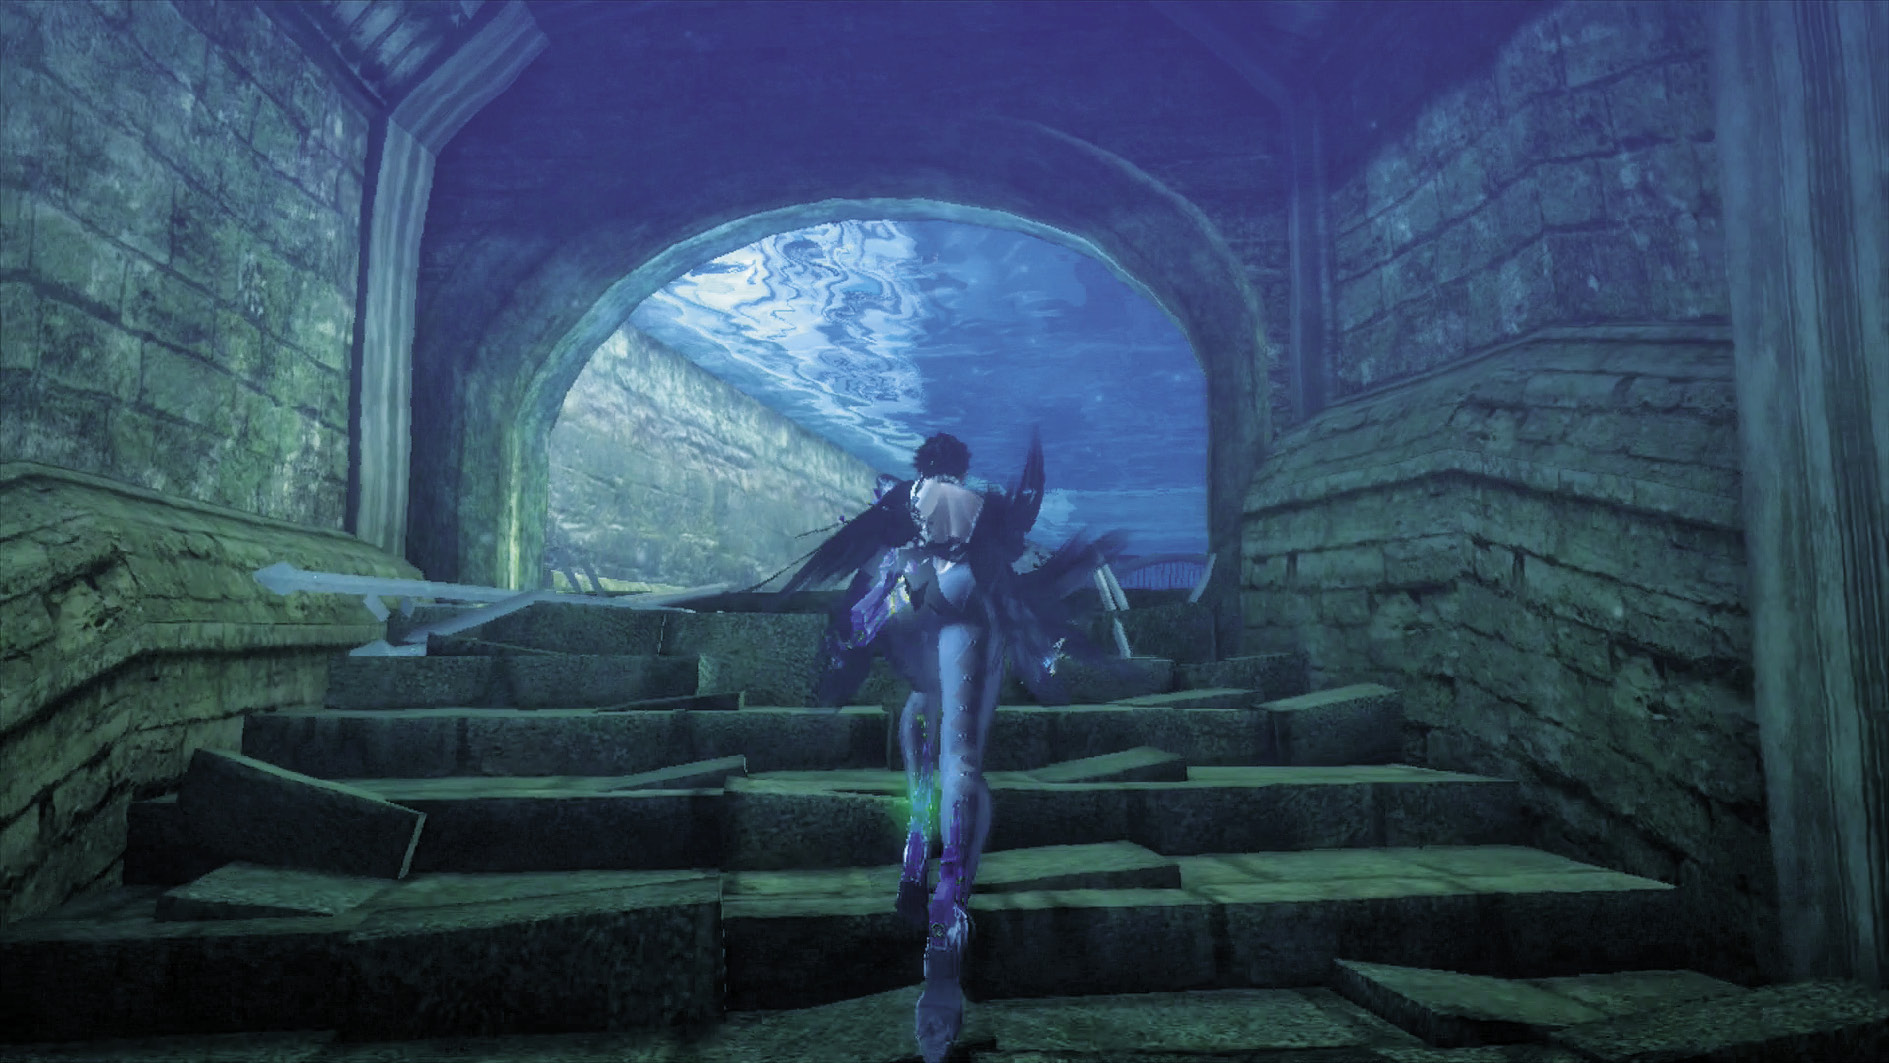
Now you can head out the stairs and back onto dry land. Whew!
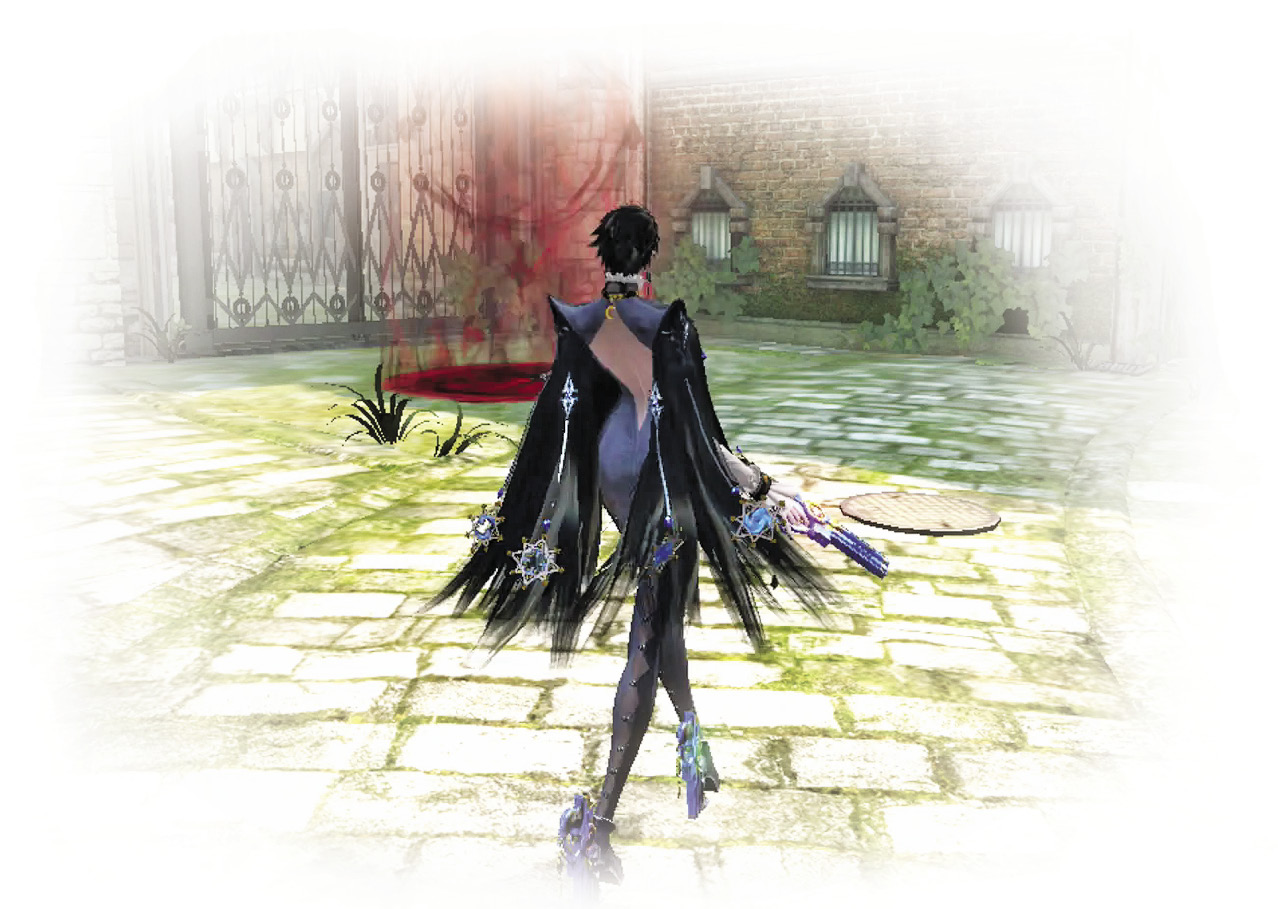
When you come out of the waterway, you see your first portal to The Gates of Hell, where you can buy upgrades at Rodin’s shop. You also see a path just past it. Instead of taking that path, turn around and head for the dead end in the opposite direction. This is where Verse 4 lies.
| CH1 V3 | 1st Climax | 2nd Climax | 3rd Climax | ∞ Climax | ||||||||
|---|---|---|---|---|---|---|---|---|---|---|---|---|
| Time | Damage | Combo | Time | Damage | Combo | Time | Damage | Combo | Time | Damage | Combo | |
| PLATINUM | 00:35 | 0 | 980 | 00:35 | 0 | 980 | 00:35 | 0 | 980 | 00:50 | 0 | 960 |
| GOLD | 00:55 | 200 | 730 | 00:55 | 200 | 730 | 00:55 | 200 | 730 | 01:10 | 200 | 720 |
| SILVER | 01:15 | 400 | 670 | 01:15 | 400 | 670 | 01:15 | 400 | 670 | 01:30 | 400 | 650 |
| BRONZE | 01:35 | 600 | 600 | 01:35 | 600 | 600 | 01:35 | 600 | 600 | 01:40 | 600 | 590 |
| BOSS BONUS | ||||||||||||
Verse 4
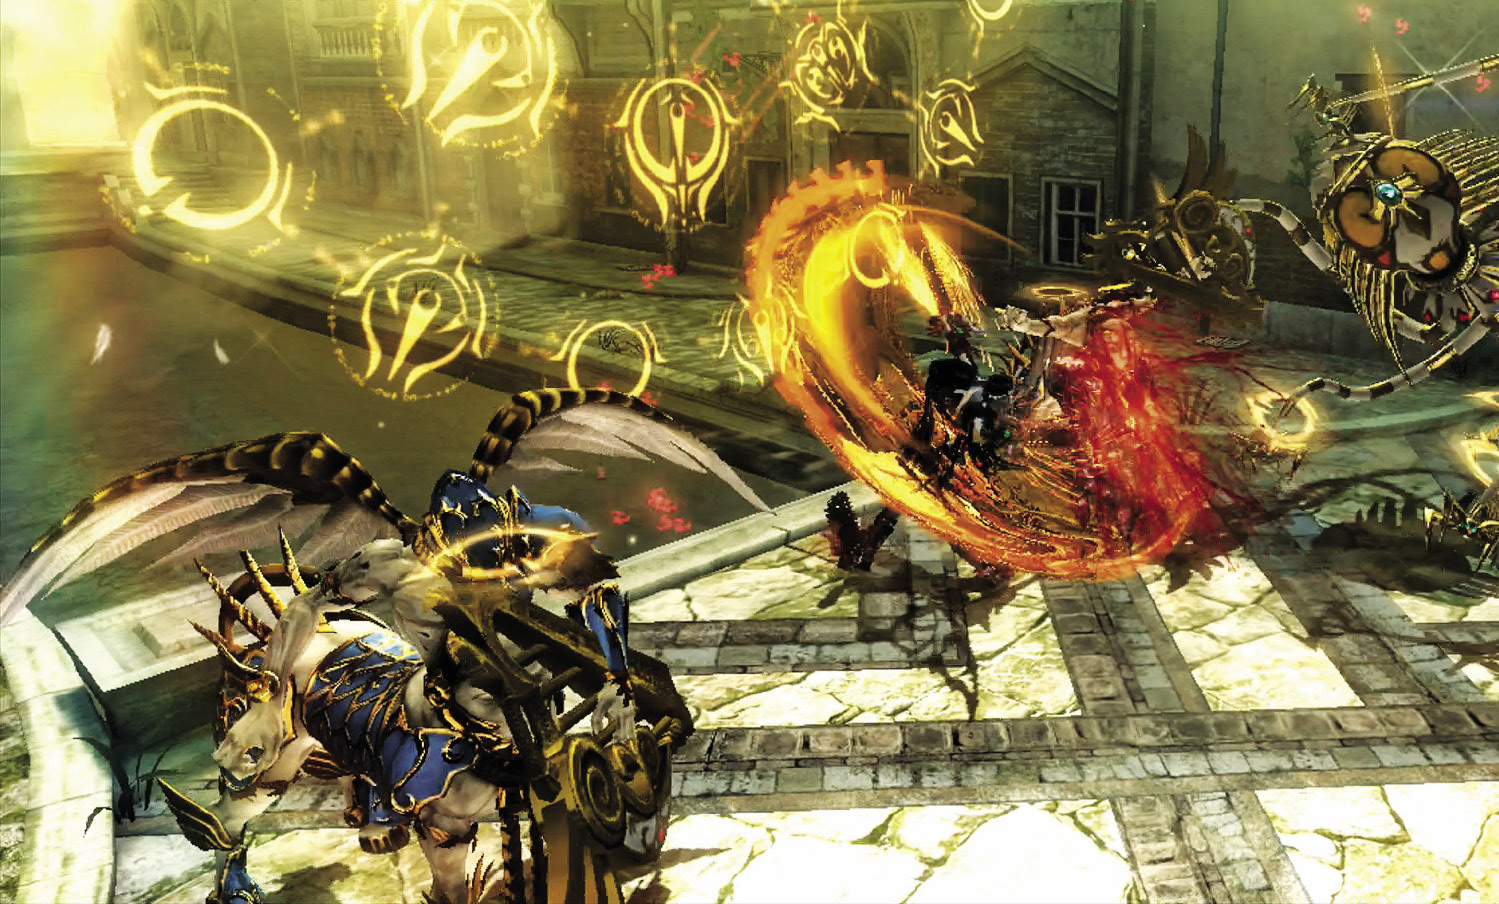
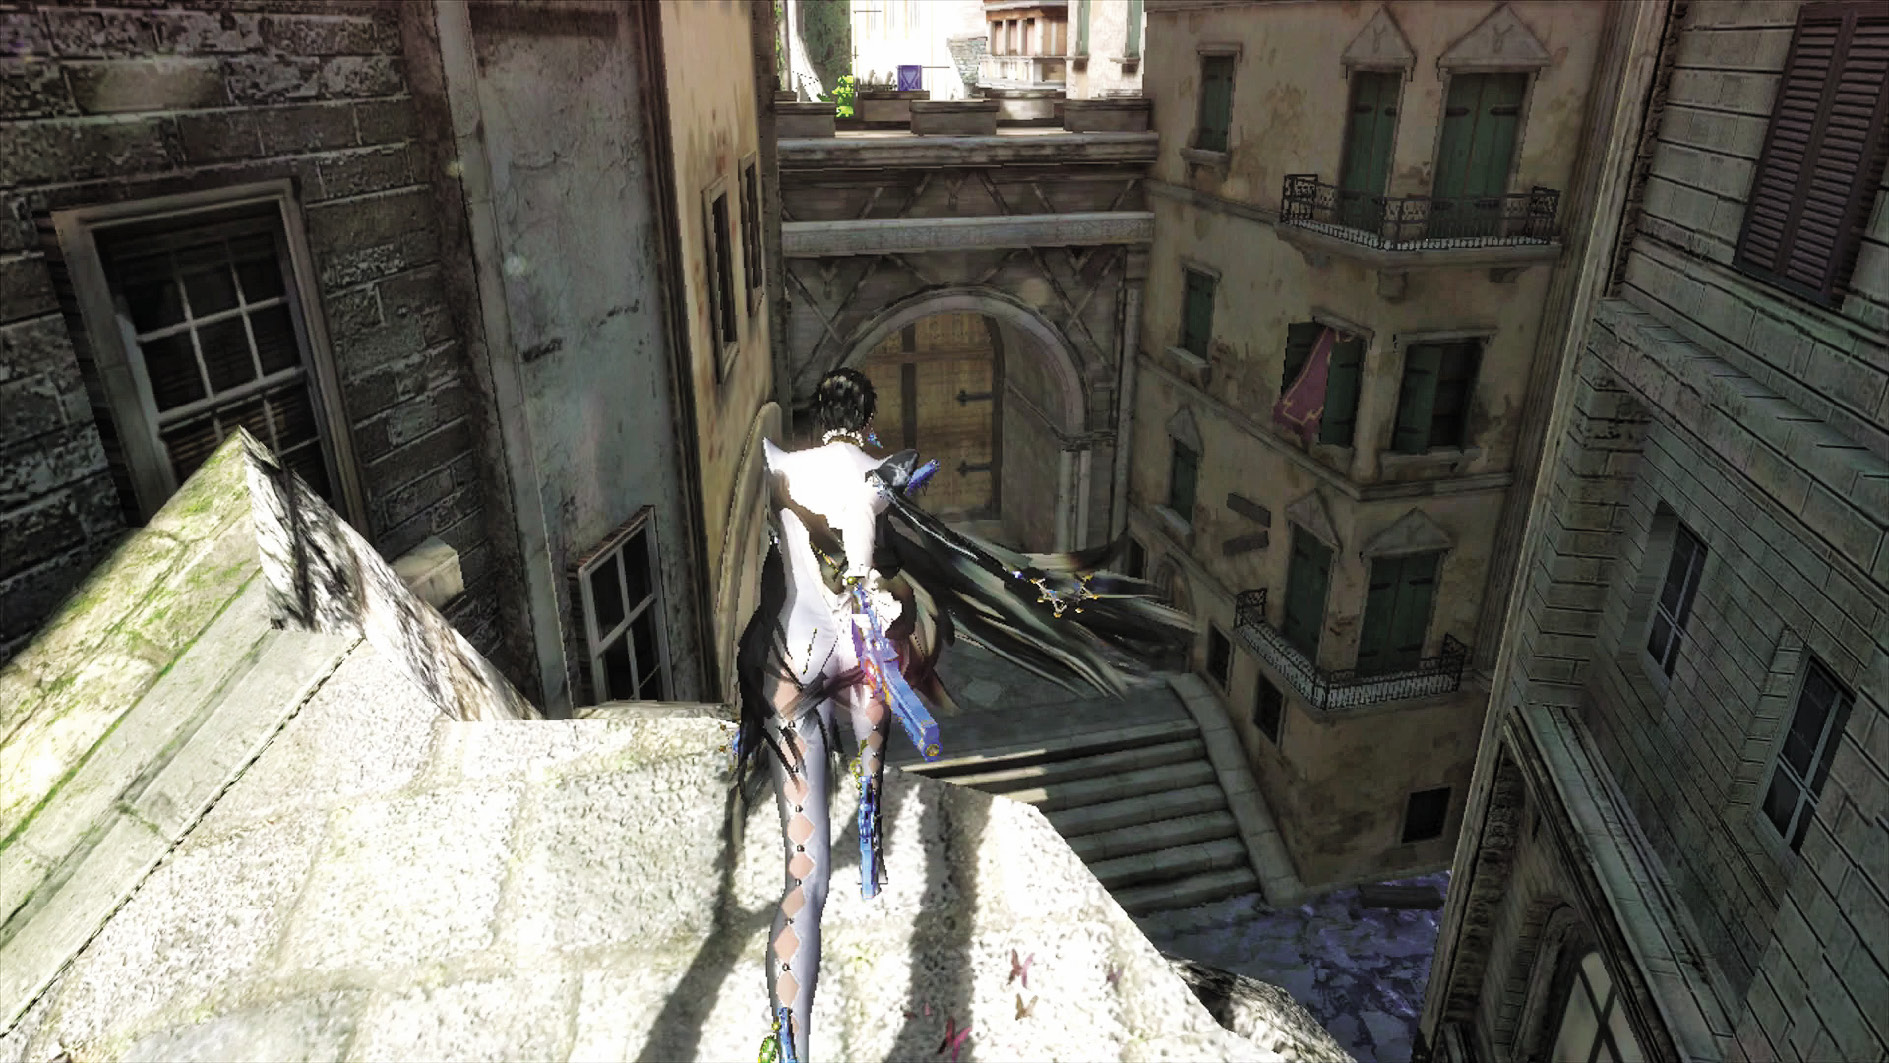
1st Climax/2nd Climax/3rd Climax
Enemies: Acceptance (Spear) x2, Acceptance (Harp) x1
Spears and arrows are no match for Witch Time. Dodge any attacks that come your way, and counter.
∞ Climax
Enemies: Fidelity x1, Acceptance (Harp) x2
The difficulty of avoiding the Fidelity’s attacks is offset by the ease with which the Acceptances’ arrows can be dodged. Go into Witch Time and destroy all comers.
Go for Pure Platinum!

Suggested Weapons: Salamandra (Arms)
Follow the above strategies, simply using the Salamandra as your primary weapon.
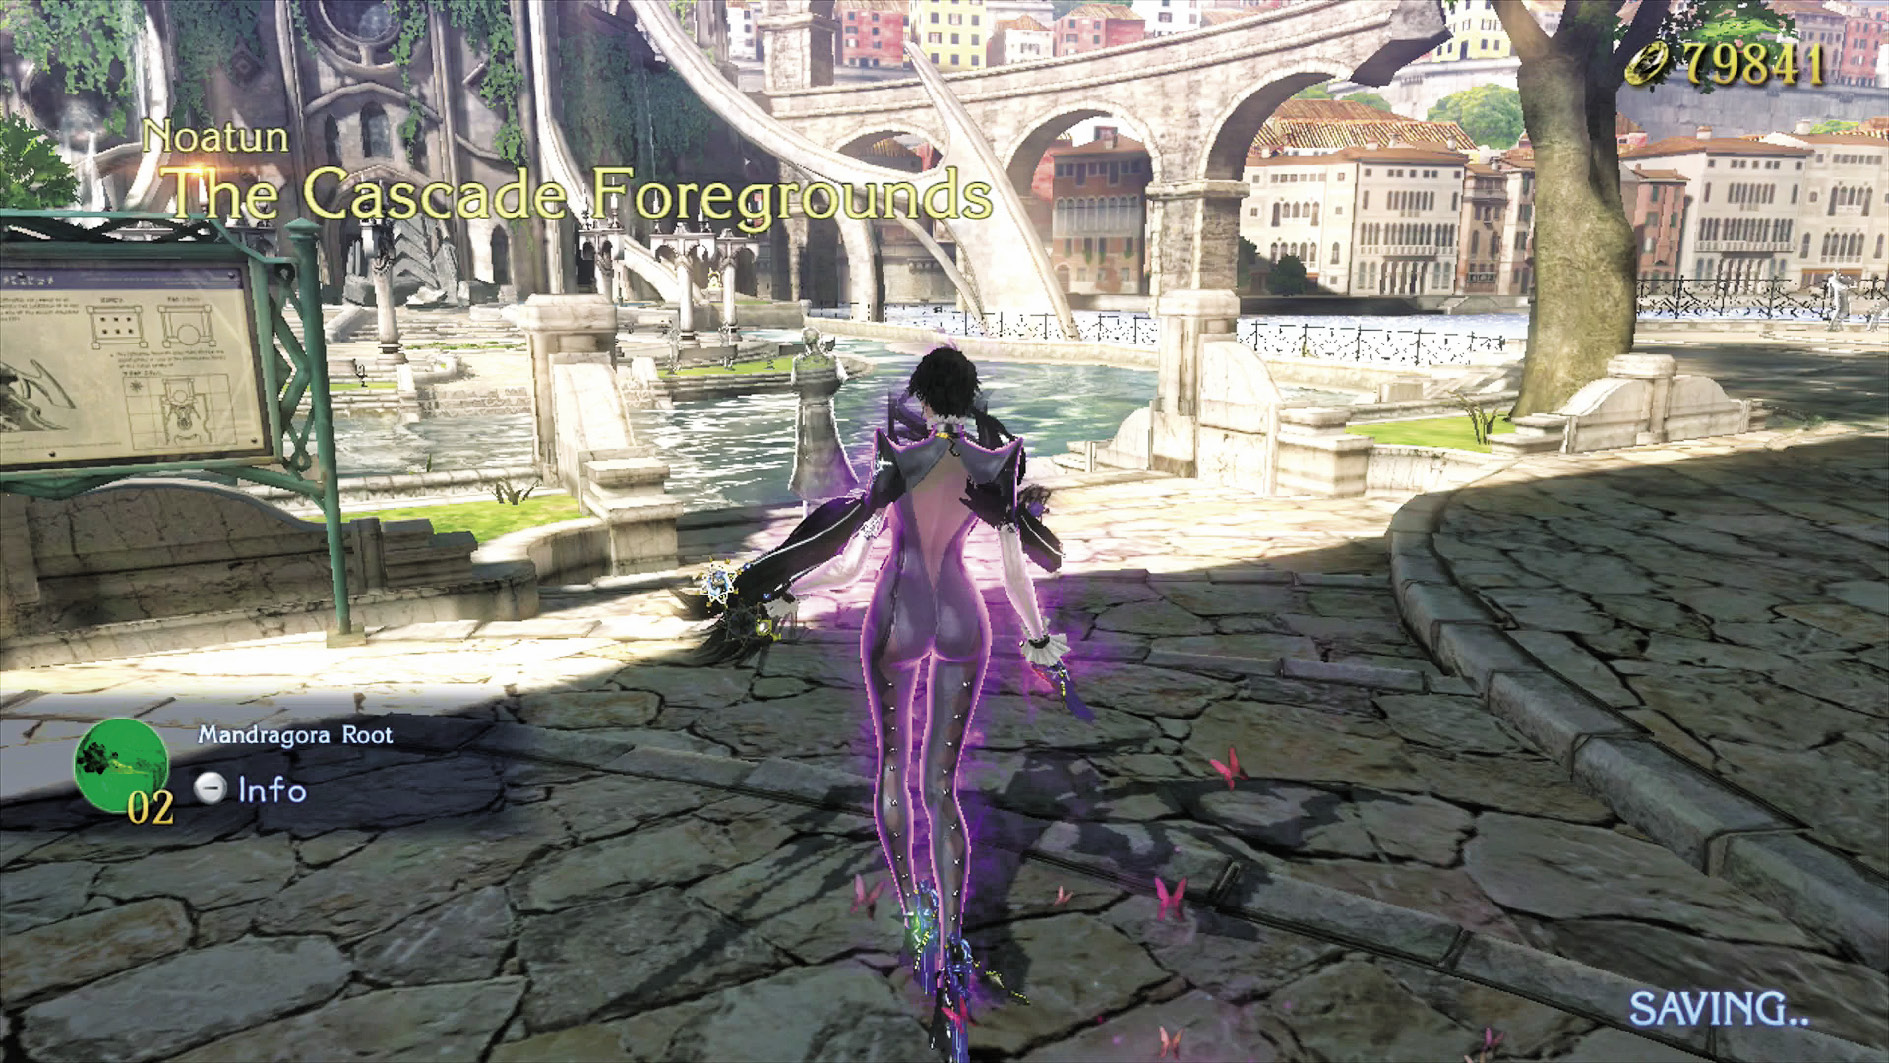
Head back down your original path, watching out for the shifting ground. You’ll see a large set of double doors. Go through them to find yourself in The Cascade Foregrounds.
Go to the right for a chest containing a Midas’s Testament (and another entrance to The Gates of Hell), and left for an Umbran Resting Place containing a Broken Witch Heart (4/40).
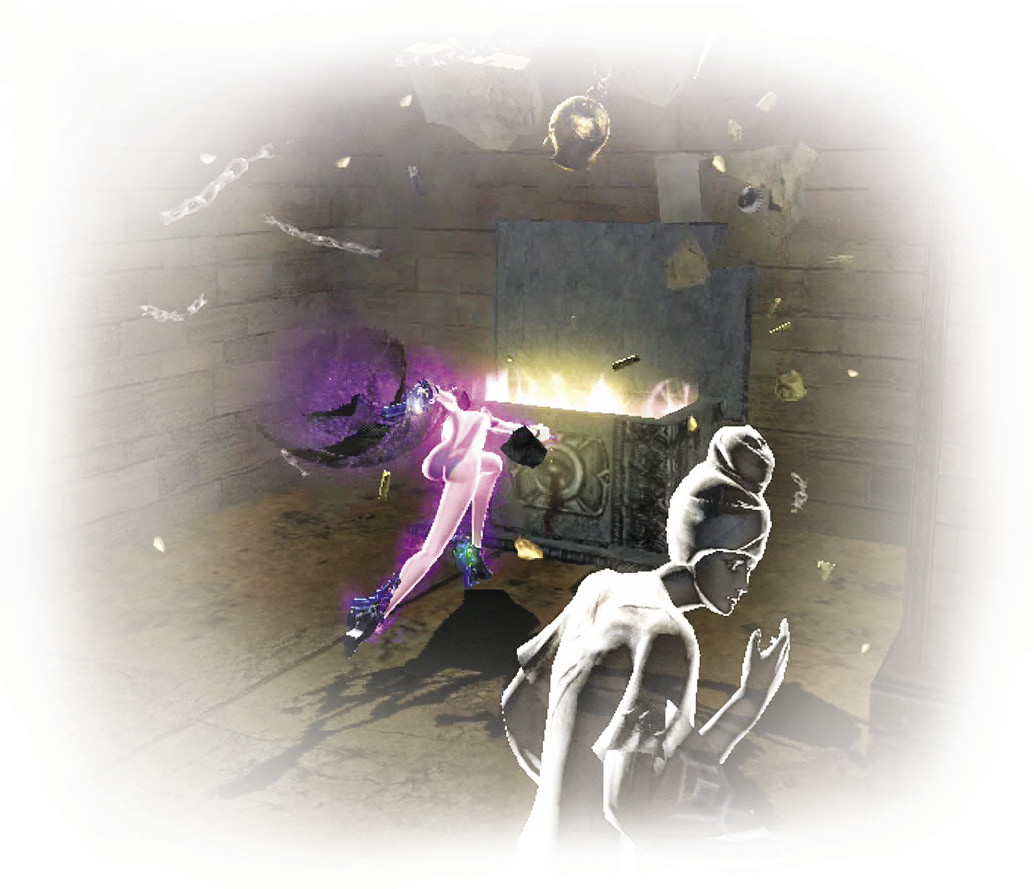
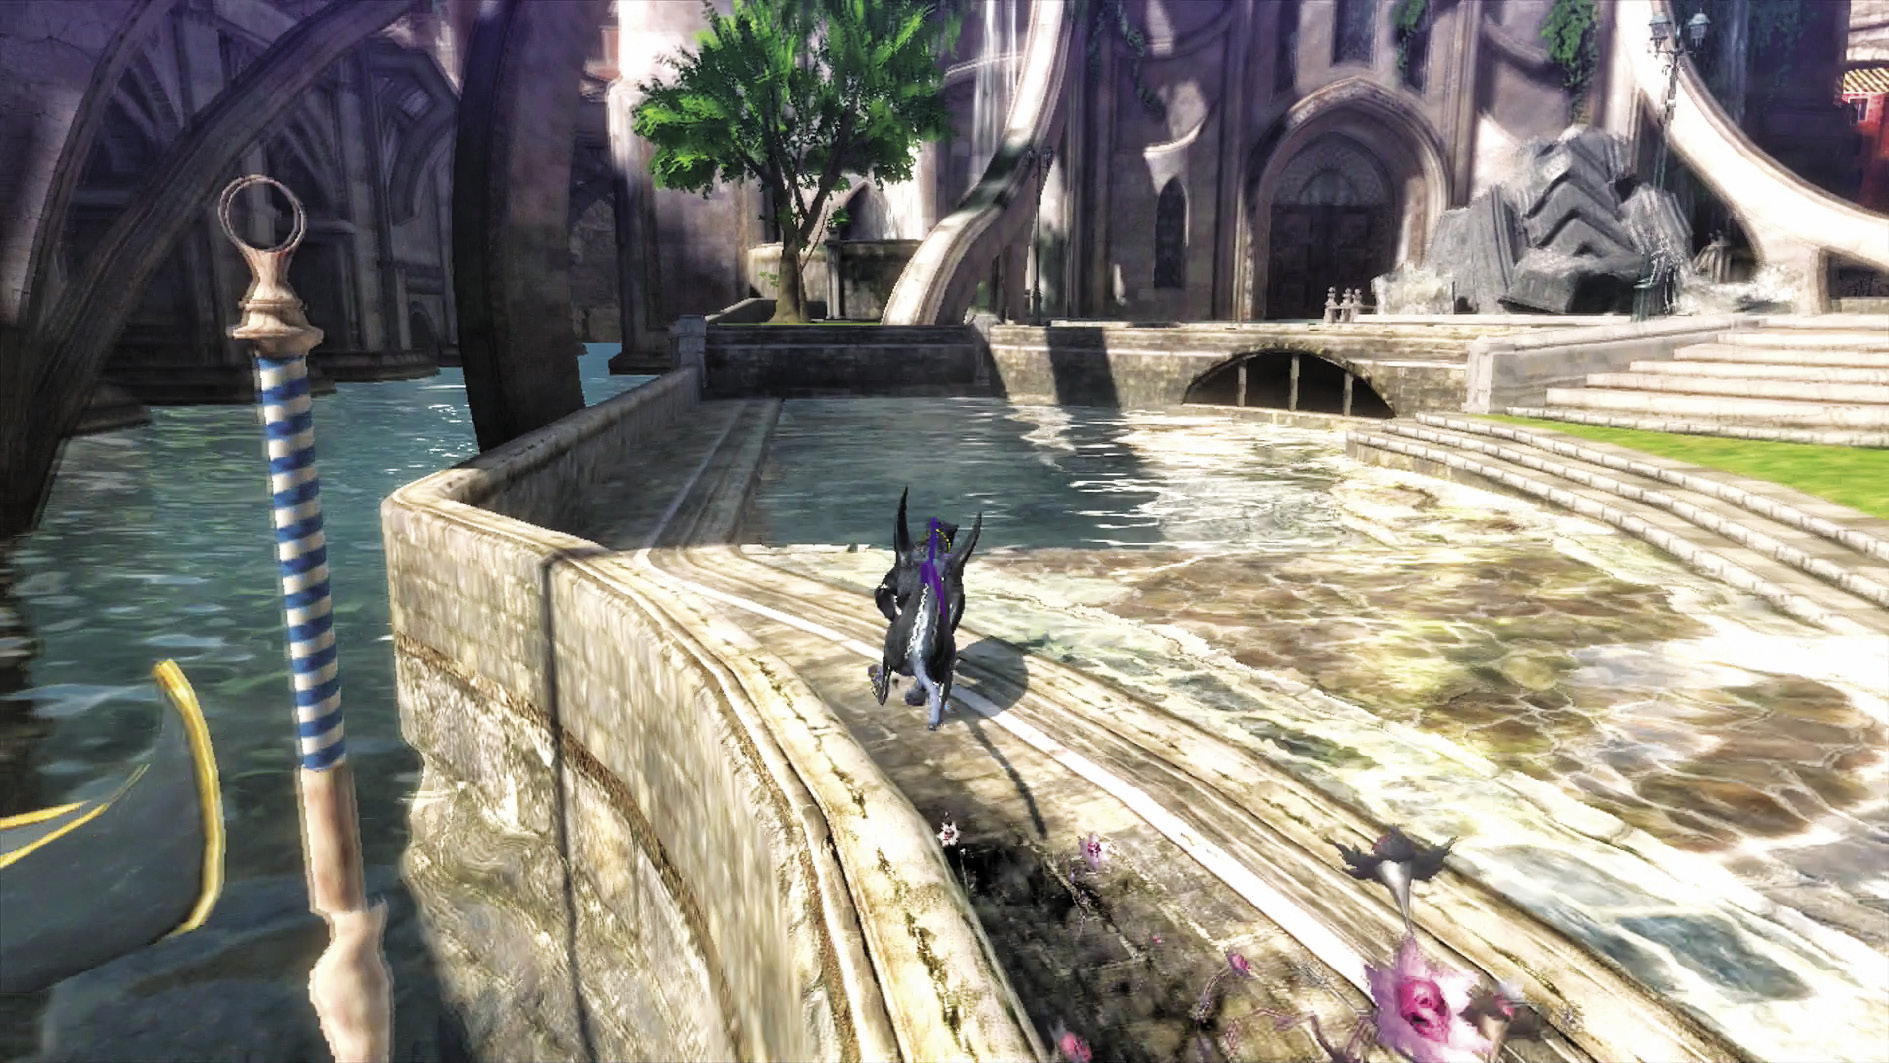
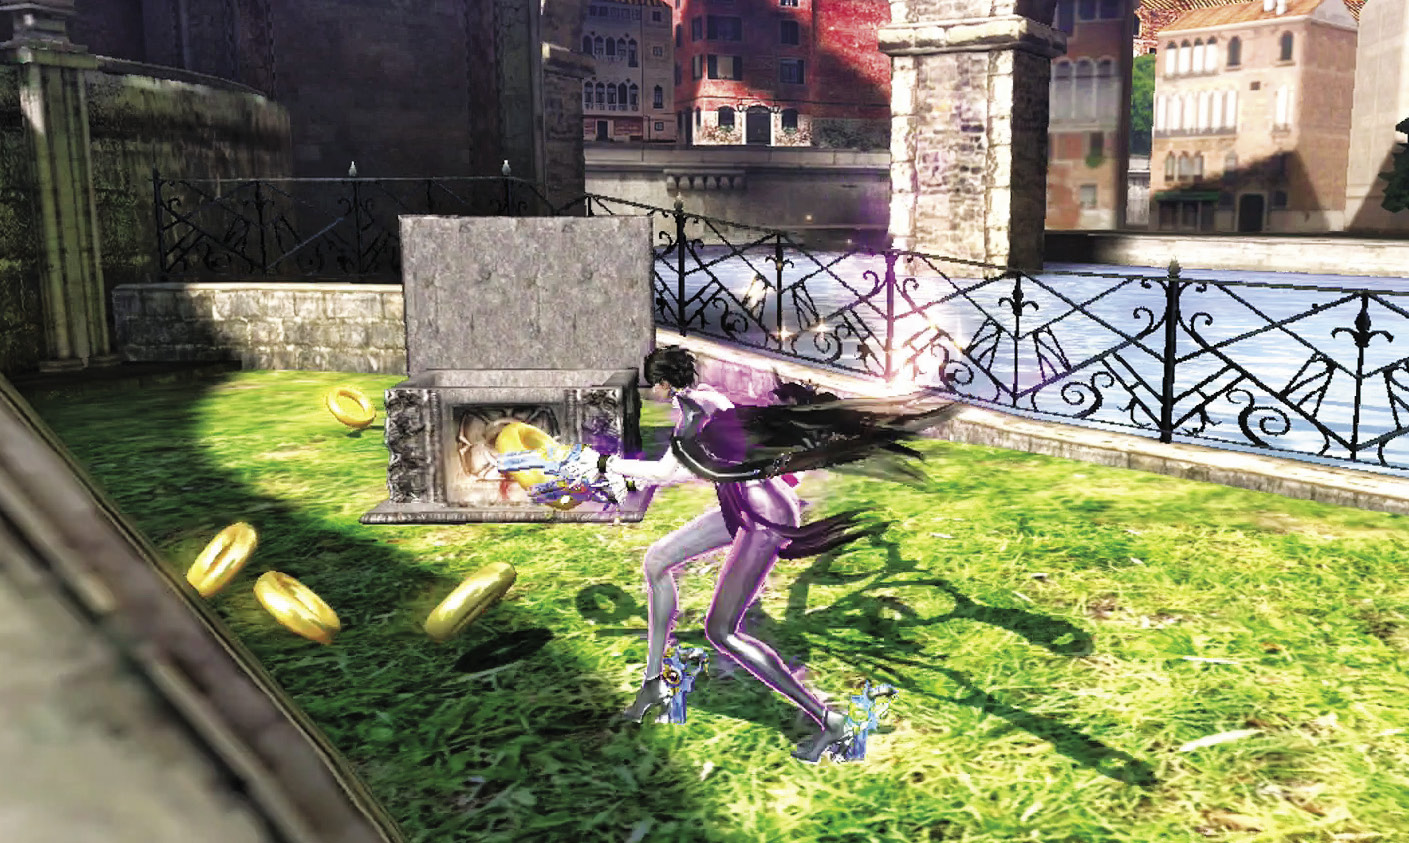
While you’re grabbing those Umbran Resting Place pieces, look to the far right corner from where the last piece is to open a chest filled with Halos.
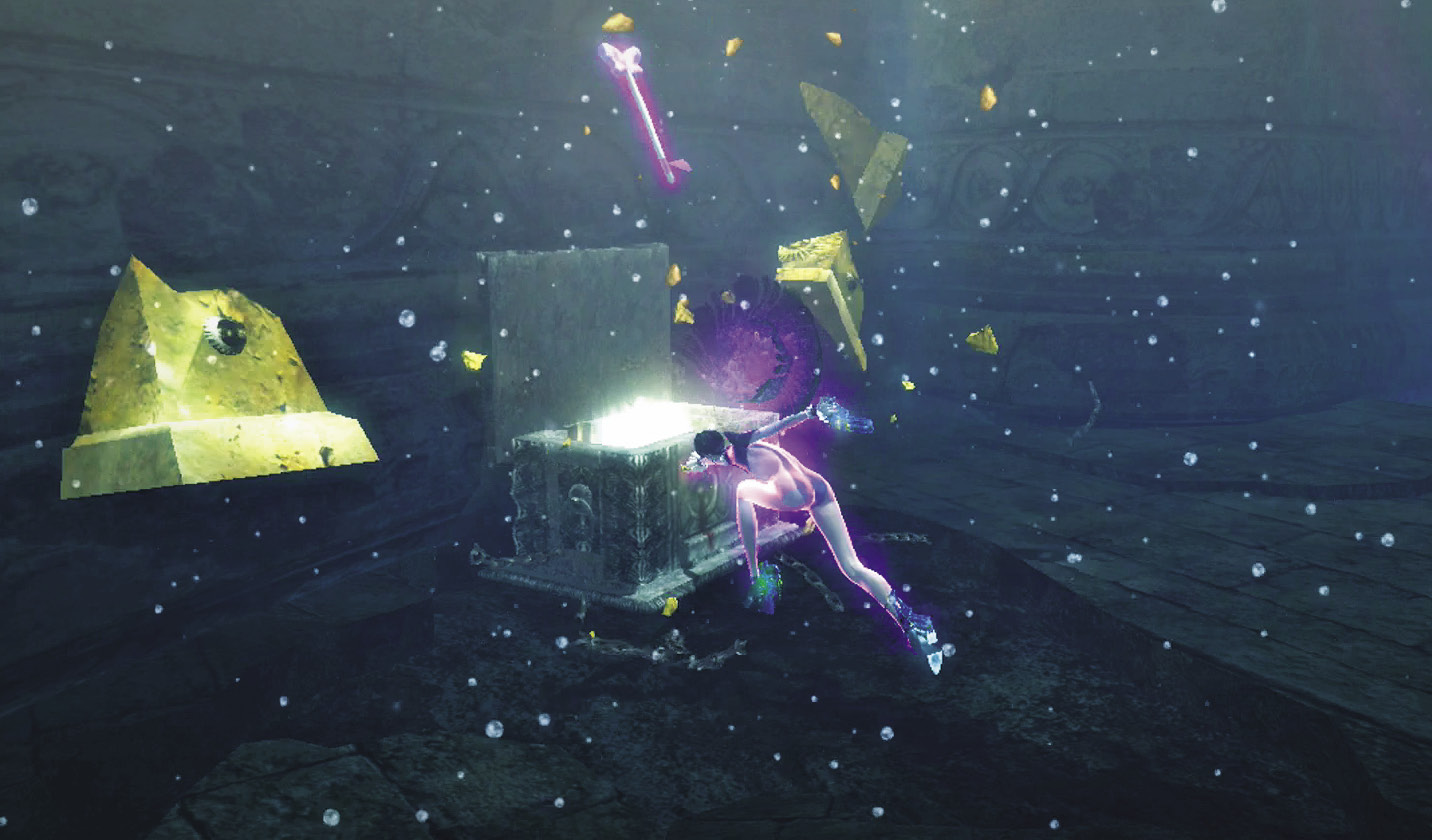
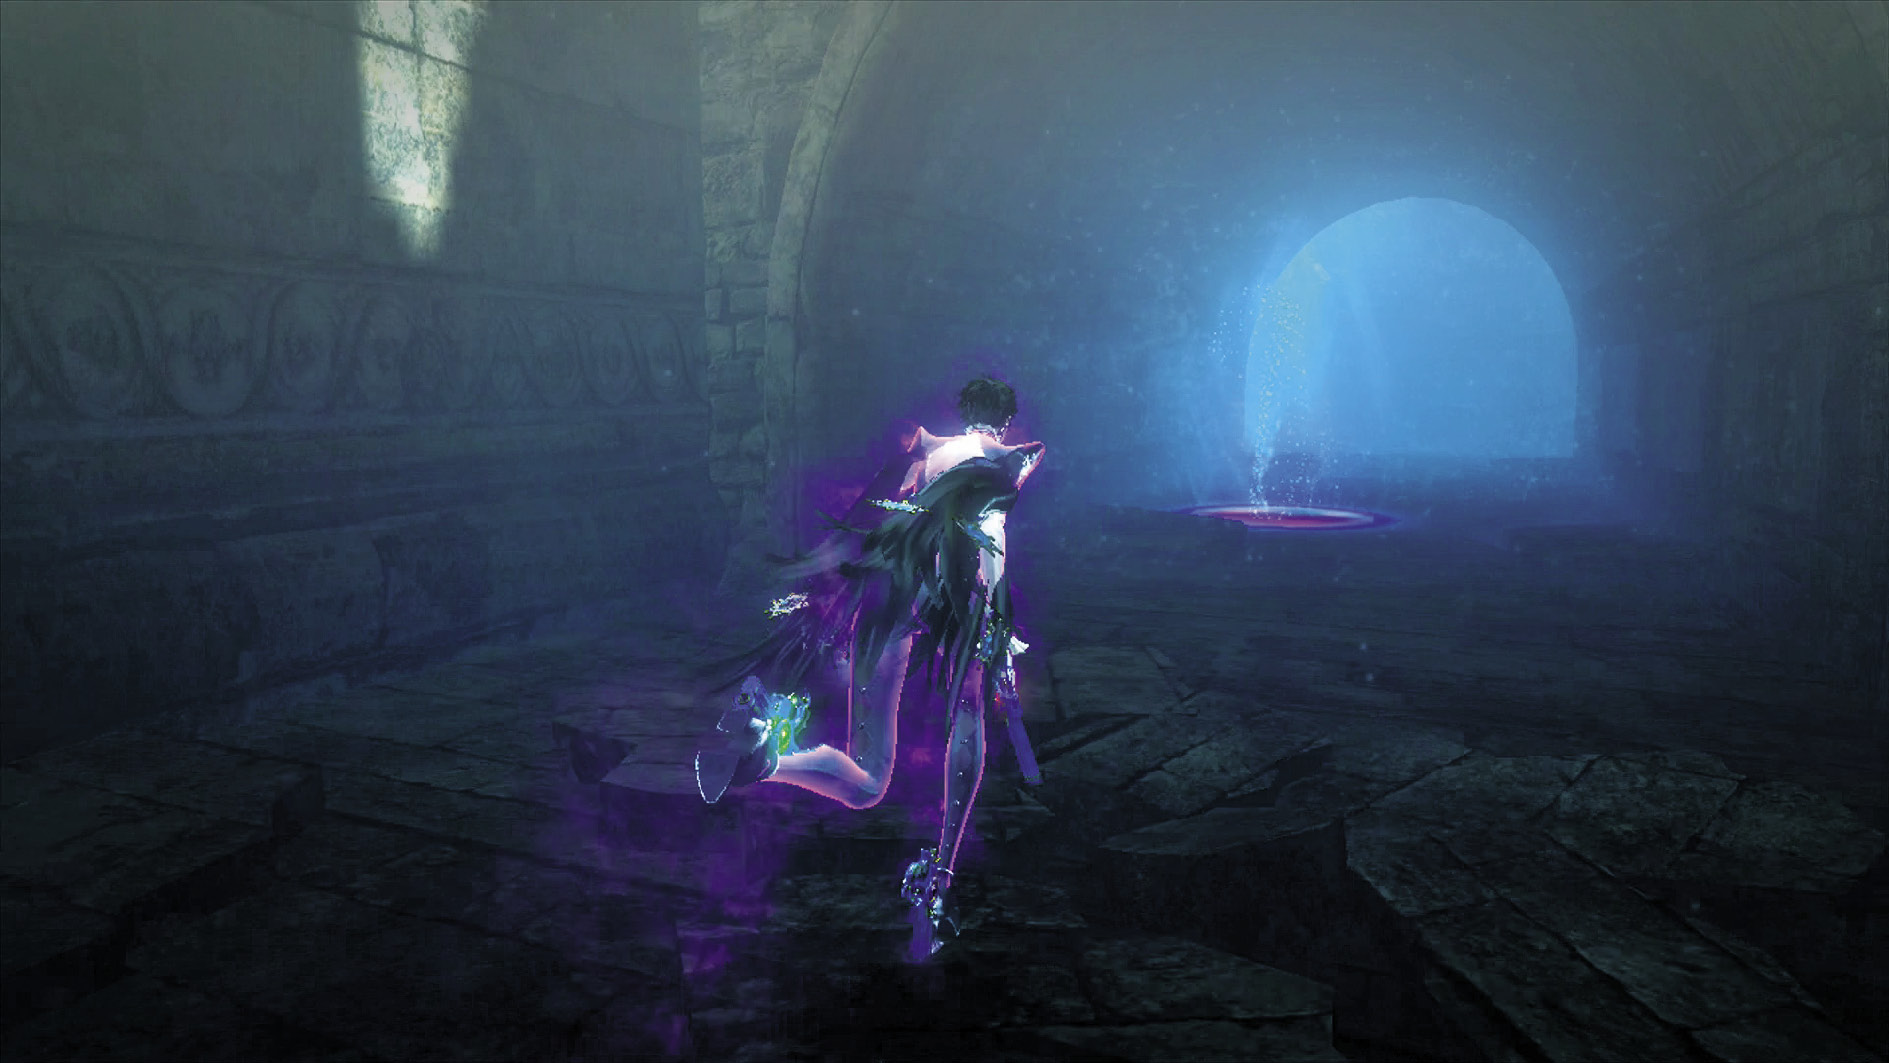
Once you’ve got your Heart, go all the way to the edge of the waterway on its left side, then jump in. You’ll find a chest containing a Purple Magic Lollipop. Then turn around and follow the waterway’s path until you reach another Muspelheim.
| CH1 V4 | 1st Climax | 2nd Climax | 3rd Climax | ∞ Climax | ||||||||
|---|---|---|---|---|---|---|---|---|---|---|---|---|
| Time | Damage | Combo | Time | Damage | Combo | Time | Damage | Combo | Time | Damage | Combo | |
| PLATINUM | 00:25 | 0 | 1230 | 00:25 | 0 | 1230 | 00:25 | 0 | 1230 | 00:28 | 0 | 1680 |
| GOLD | 00:30 | 100 | 850 | 00:30 | 200 | 850 | 00:30 | 400 | 850 | 00:33 | 2000 | 1090 |
| SILVER | 00:40 | 200 | 760 | 00:40 | 400 | 760 | 00:40 | 800 | 760 | 00:38 | 4000 | 950 |
| BRONZE | 00:50 | 400 | 660 | 00:50 | 800 | 660 | 00:50 | 1600 | 660 | 00:43 | 6000 | 800 |
| BOSS BONUS | ||||||||||||
Verse 5
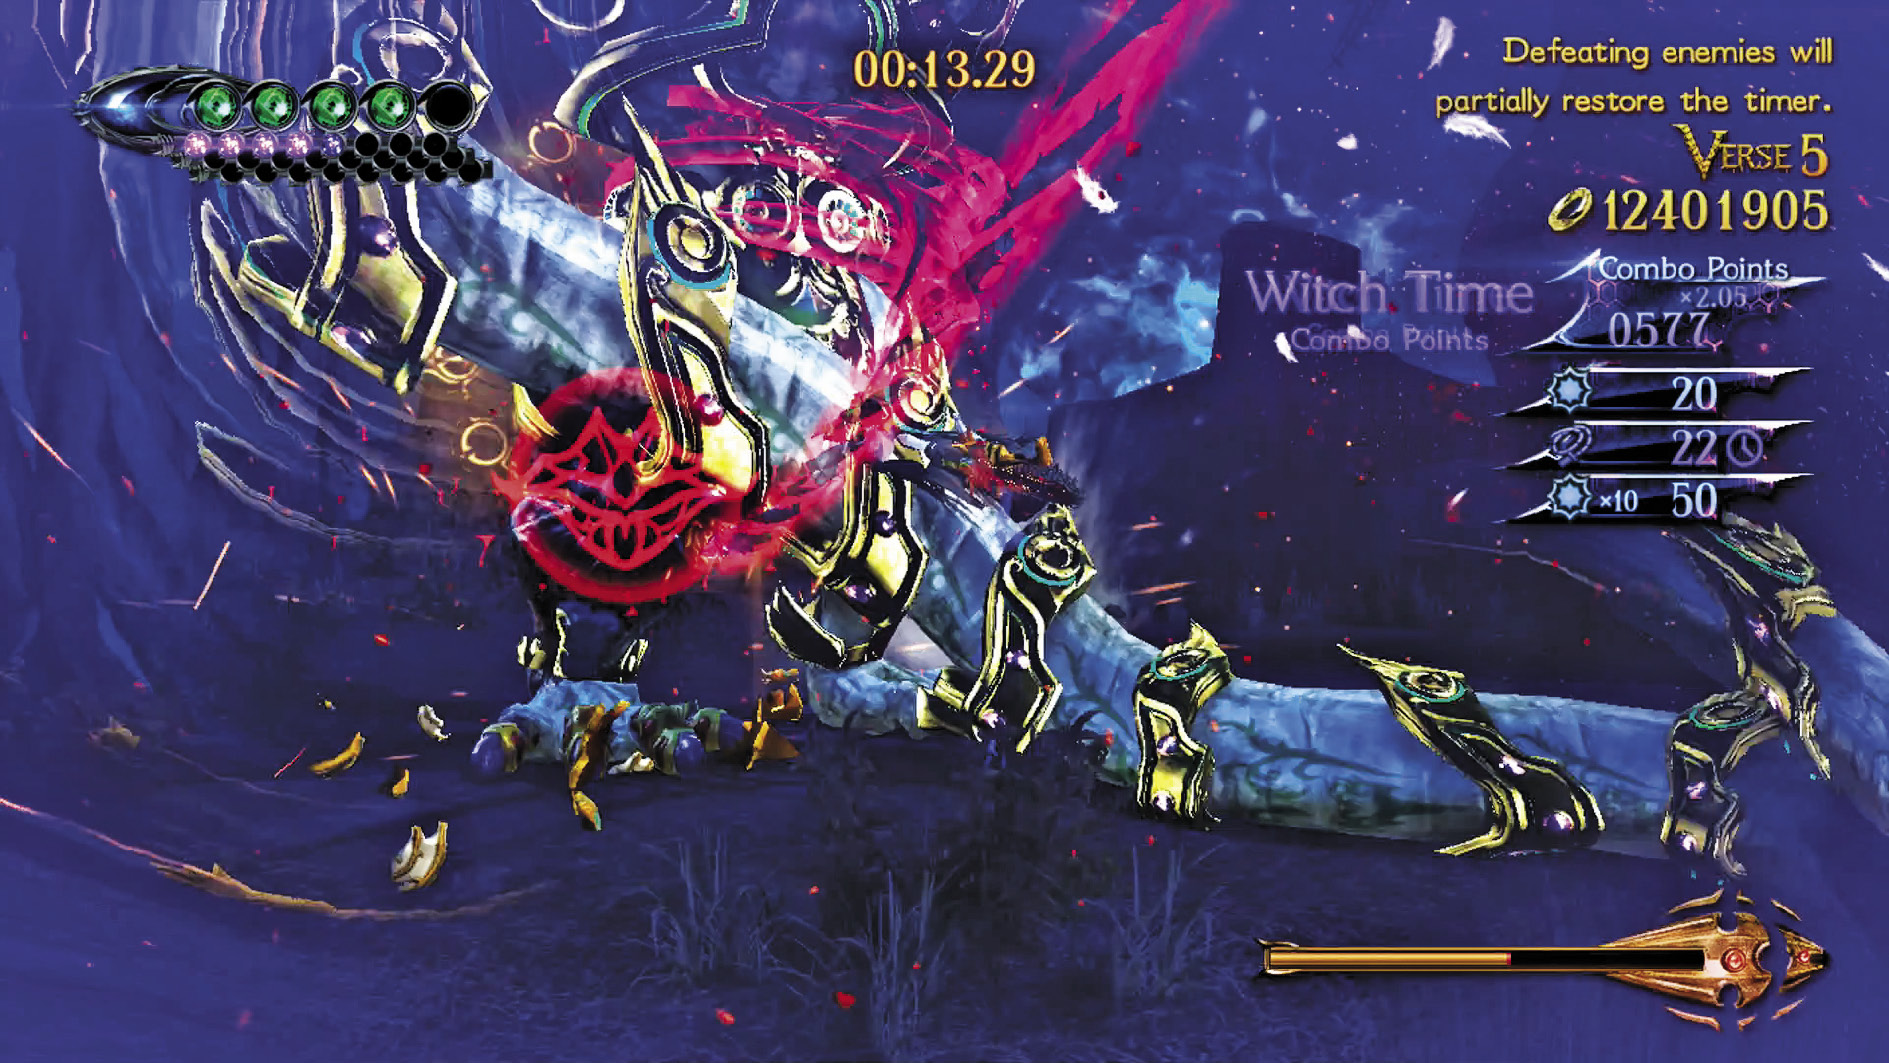
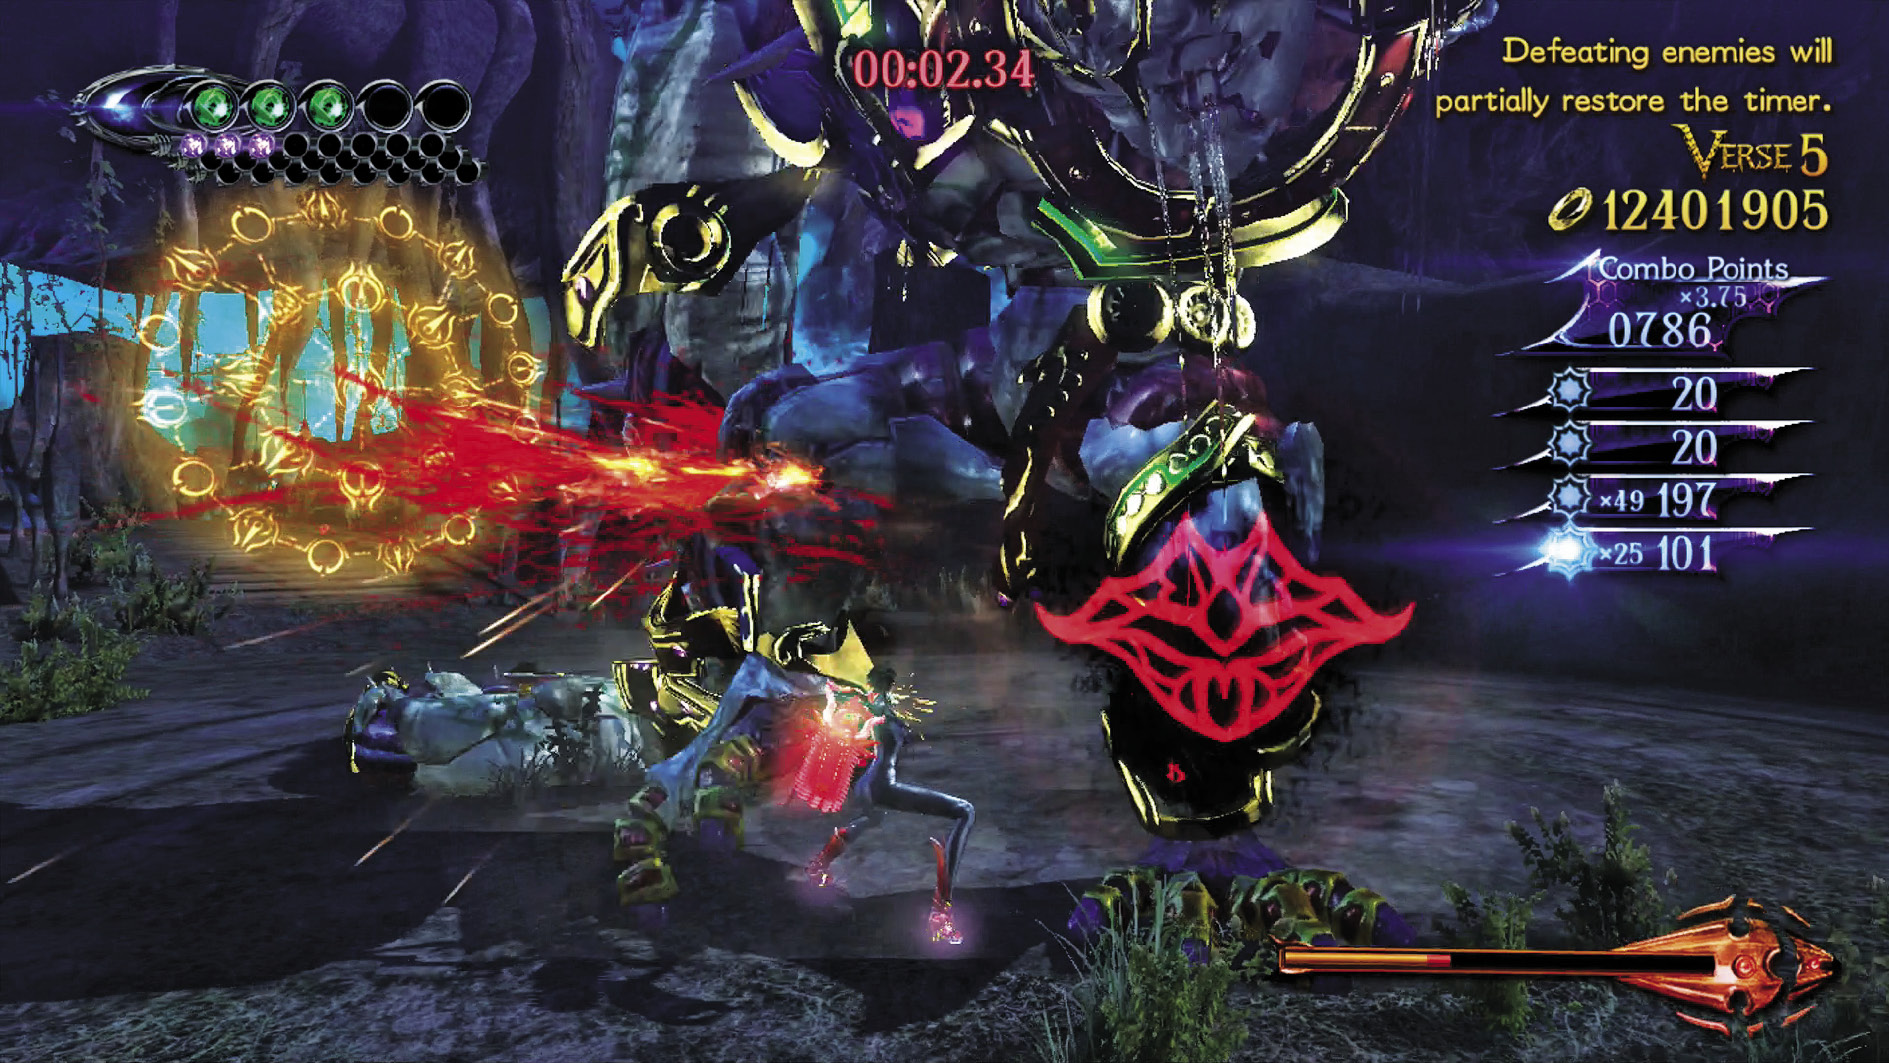
1st Climax/2nd Climax/3rd Climax
Muspelheim Objective: Defeating enemies will partially restore the timer.
Enemies: Acceptance (Spear) x2, Acceptance (Harp) x1, [LOOPING] Compassion x2
Use the repeatedly spawning Compassions to fuel your timer while you engage the Acceptances as quickly as possible. Then destroy the Compassions once the Acceptances have been dealt with.
∞ Climax
Muspelheim Objective: Defeating enemies will partially restore the timer.
Enemies: Belief x1, Accolade (Shield) x1, [LOOPING] Compassion x4
The same general strategy works in this difficulty as in the previous ones, just with bigger enemies to worry about. However, you can make life much easier on yourself. See just below.
Go for Pure Platinum!

Suggested Weapons:Salamandra (Arms), Alruna (Legs)
Salamandra by itself is enough for the first three difficulties, but on ∞ Climax you’re going to want to dodge into Witch Time, and hold K with the Alruna equipped to your legs. You can slam down the heavy hitters this way, leaving them open! This works far better on the Belief than the Accolade, however.
Beating this Verse nabs you a Broken Witch Heart (5/40)
Surface, then head to the center plaza to trigger the next Verse. Fight well, for this upcoming battle yields great rewards!
| CH1 V5 | 1st Climax | 2nd Climax | 3rd Climax | ∞ Climax | ||||||||
|---|---|---|---|---|---|---|---|---|---|---|---|---|
| Time | Damage | Combo | Time | Damage | Combo | Time | Damage | Combo | Time | Damage | Combo | |
| PLATINUM | 00:35 | 0 | 4050 | 00:35 | 0 | 4050 | 00:35 | 0 | 4050 | 01:40 | 0 | 43130 |
| GOLD | 00:40 | 200 | 2270 | 00:40 | 200 | 2270 | 00:40 | 200 | 2270 | 01:45 | 200 | 18750 |
| SILVER | 00:45 | 400 | 1820 | 00:45 | 400 | 1820 | 00:45 | 400 | 1820 | 01:50 | 400 | 12660 |
| BRONZE | 00:50 | 600 | 1380 | 00:50 | 600 | 1380 | 00:50 | 600 | 1380 | 01:55 | 600 | 6560 |
| BOSS BONUS | ||||||||||||
Verse 6
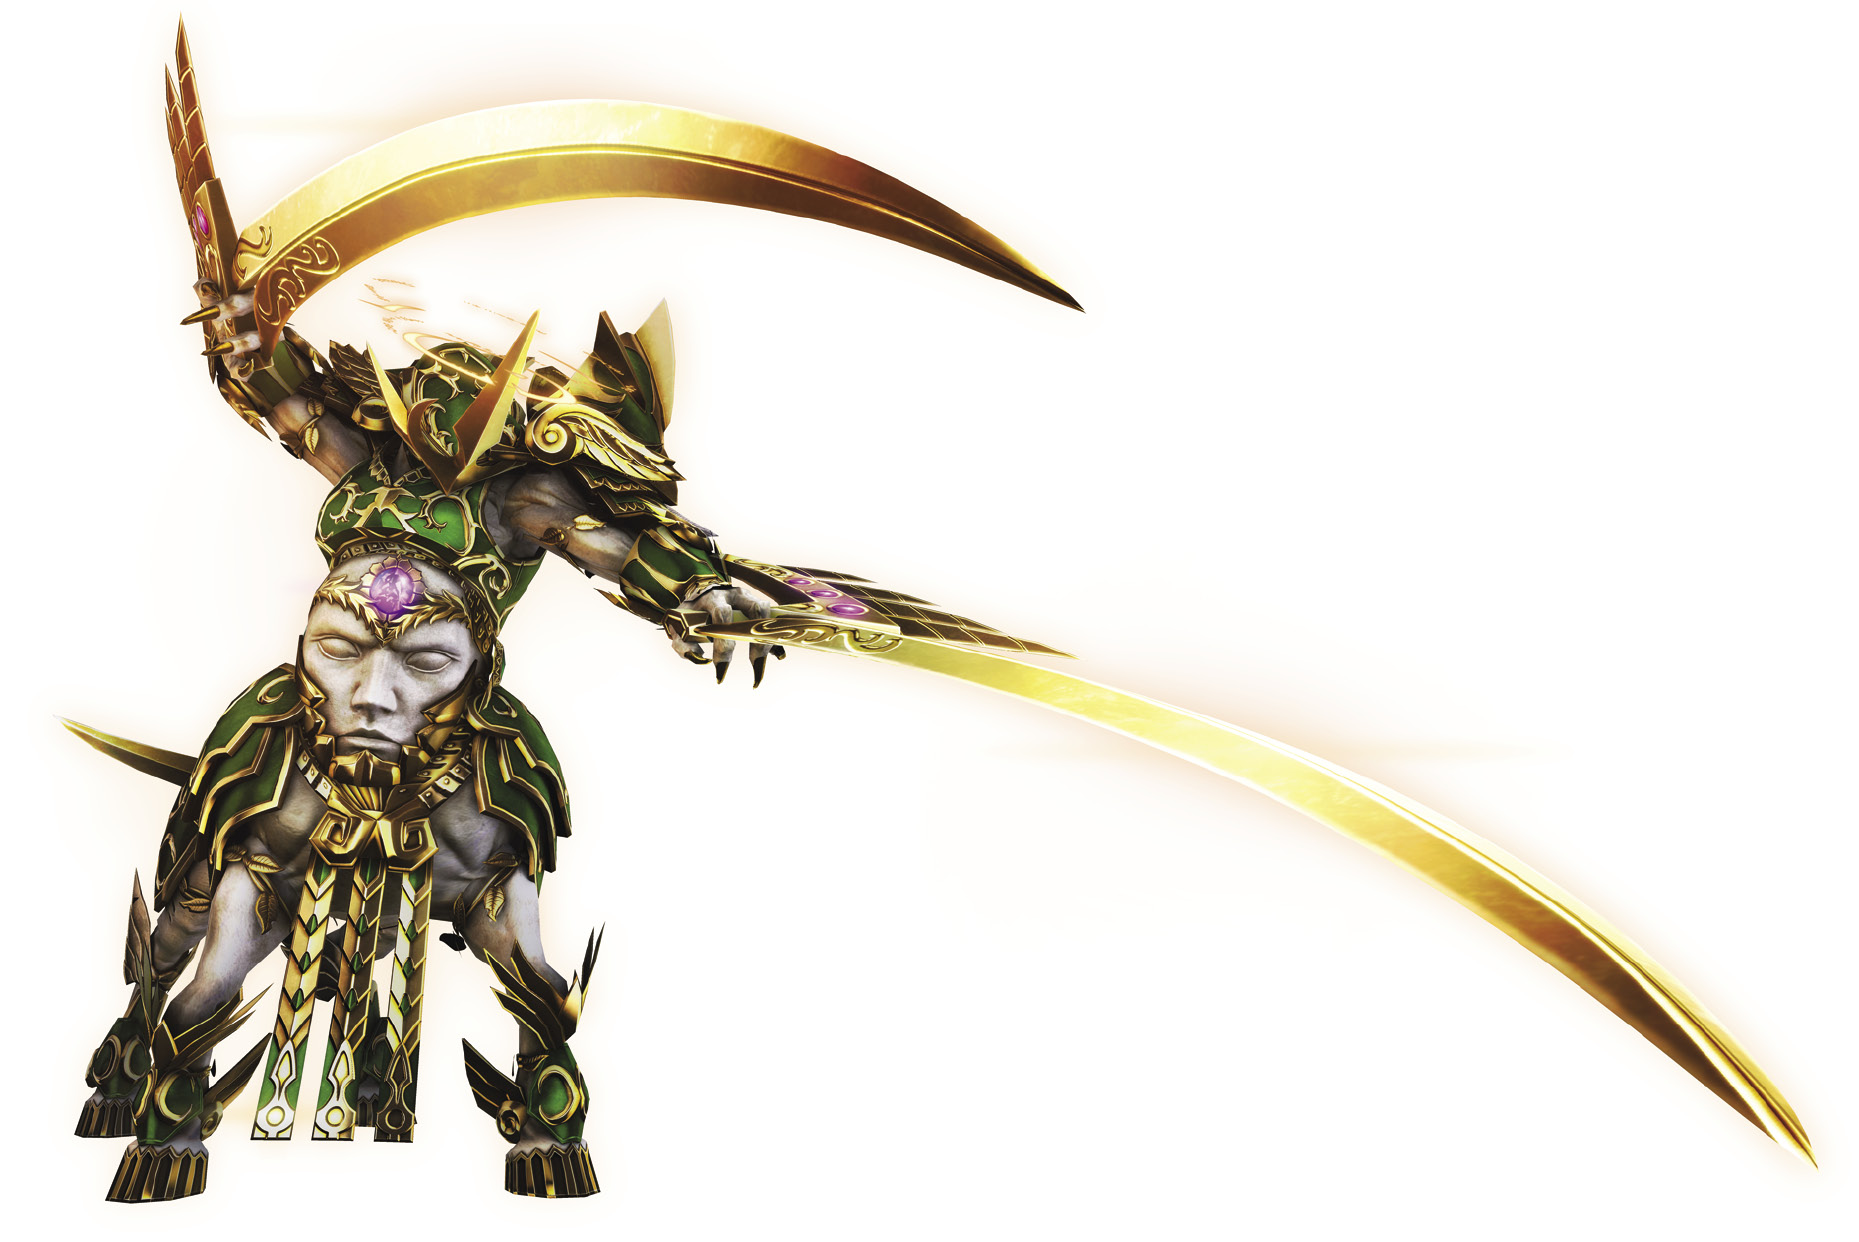
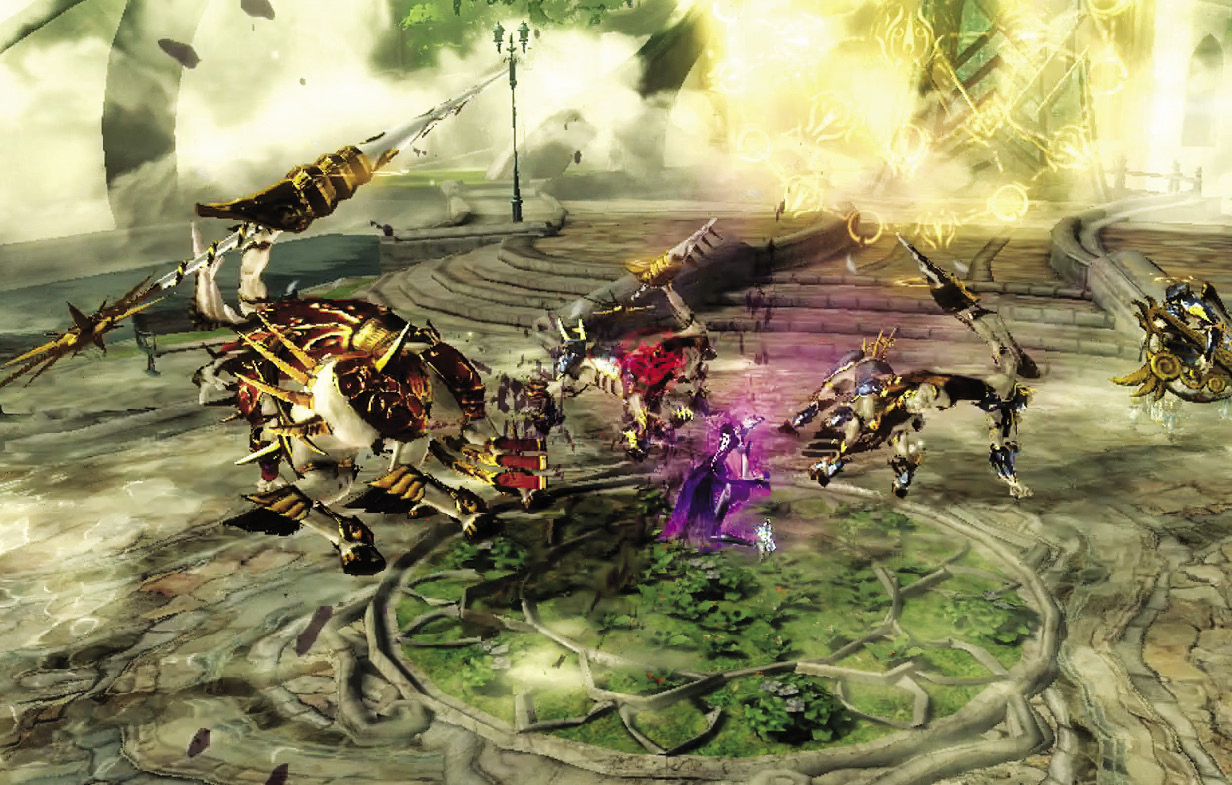
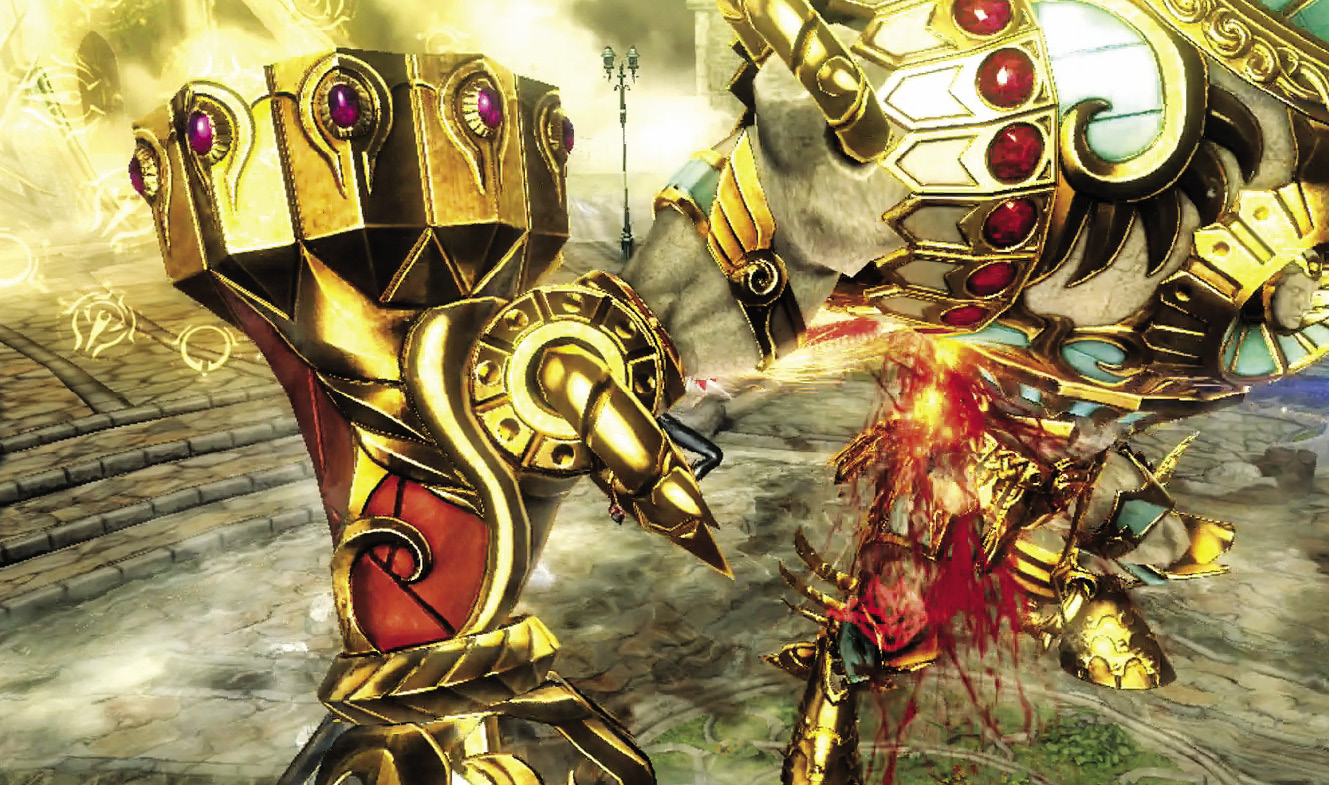
Enemy Spotlight: Accolade
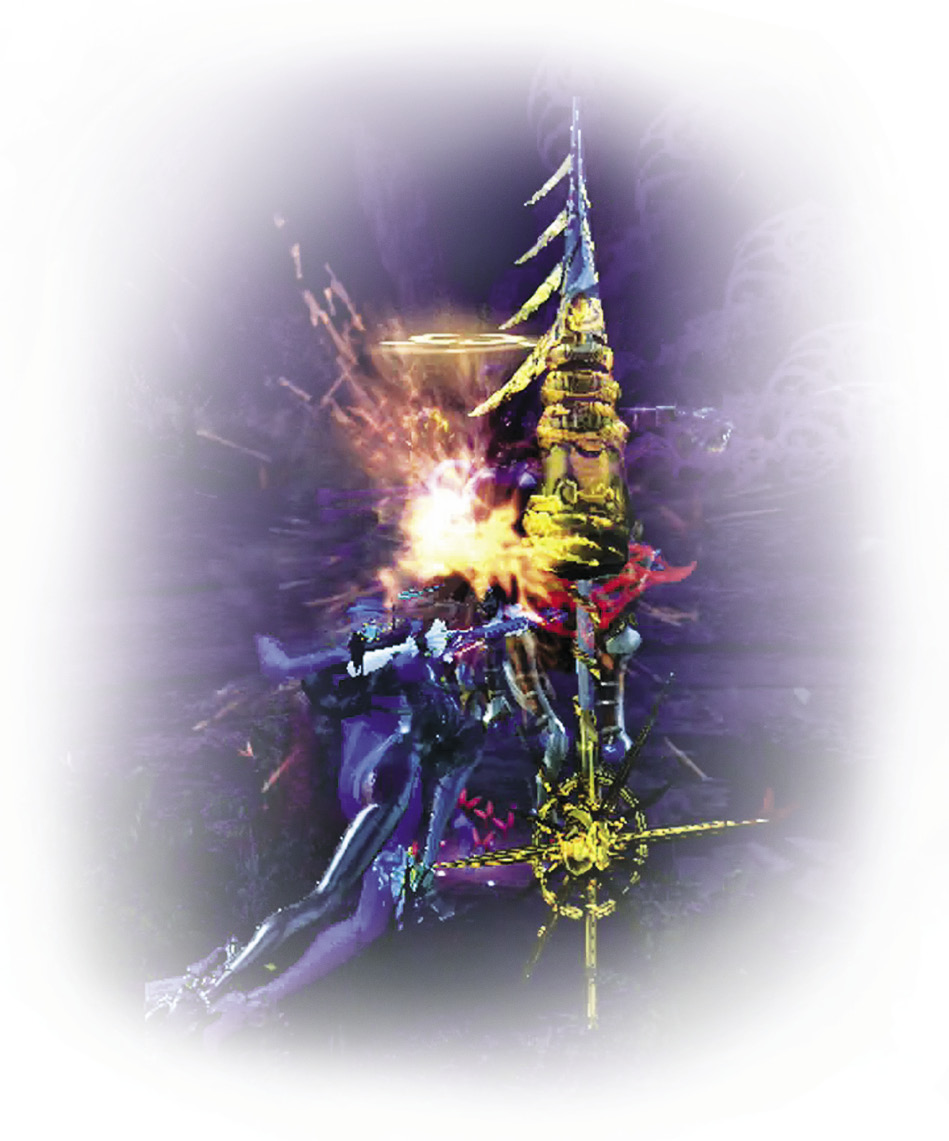
You’ll see almost as much of Accolade as you will of Acceptance, because he takes four forms: twin blade wielders, shield bearers, spear-wielders, and hammer wielders. Each one has their own strengths and weaknesses.
The twin blade users slice at you mercilessly, making dodging difficult. Either dodge nimbly or engage at range. The hammer users can put you down for the count with a single blow from their sledges. Fortunately, their attacks are slow and easy to dodge. Spear wielders can be handled similarly to Acceptances. Wait for them to wind up, then dodge. Shield bearers are the most difficult of the lot. They’re immune to your attacks while their shields are up. You’ll have to stay close to them and bait them into raising their shield to attack. Failing that you can overpower them with your own attacks during Witch Time or Umbran Climax.
1st Climax/2nd Climax/3rd Climax
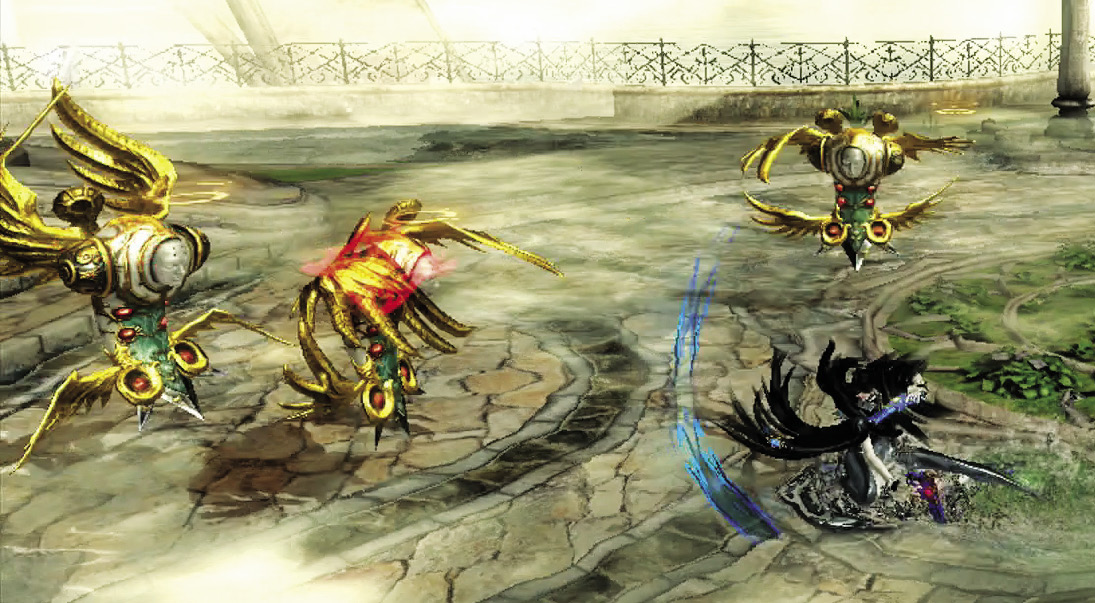
Enemies: Acceptance (Spear) x2 , Acceptance (Harp) x1, Accolade (Spear) x2 , Compassion x11
It’s an angel jamboree! As long as you keep track of Bayonetta onscreen and don’t get crowded, however, you’ll do fine. Concentrate on the horsies first unless Compassions try to get in your way—then, let them have it, too!
∞ Climax
Enemies: Acceptance (Spear) x2, Acceptance (Harp) x1, Accolade (Spear) x1, Gravitas x1
The second you dispatch the Acceptances and Accolade, Gravitas stomps in, bent on spoiling your fun. You know how to fight these by now: Avoid their slow attacks and stomps, while hitting your hardest during Witch Time and Umbran Climax. Don’t get frozen!
Go for Pure Platinum!

Suggested Weapons: Salamandra (Arms), Alruna (Legs)
Against the Gravitas on ∞ Climax, hold K during Witch Time/Umbran Climax to temporarily disable him, but otherwise, the above strategies plus Salamandra will win the day.
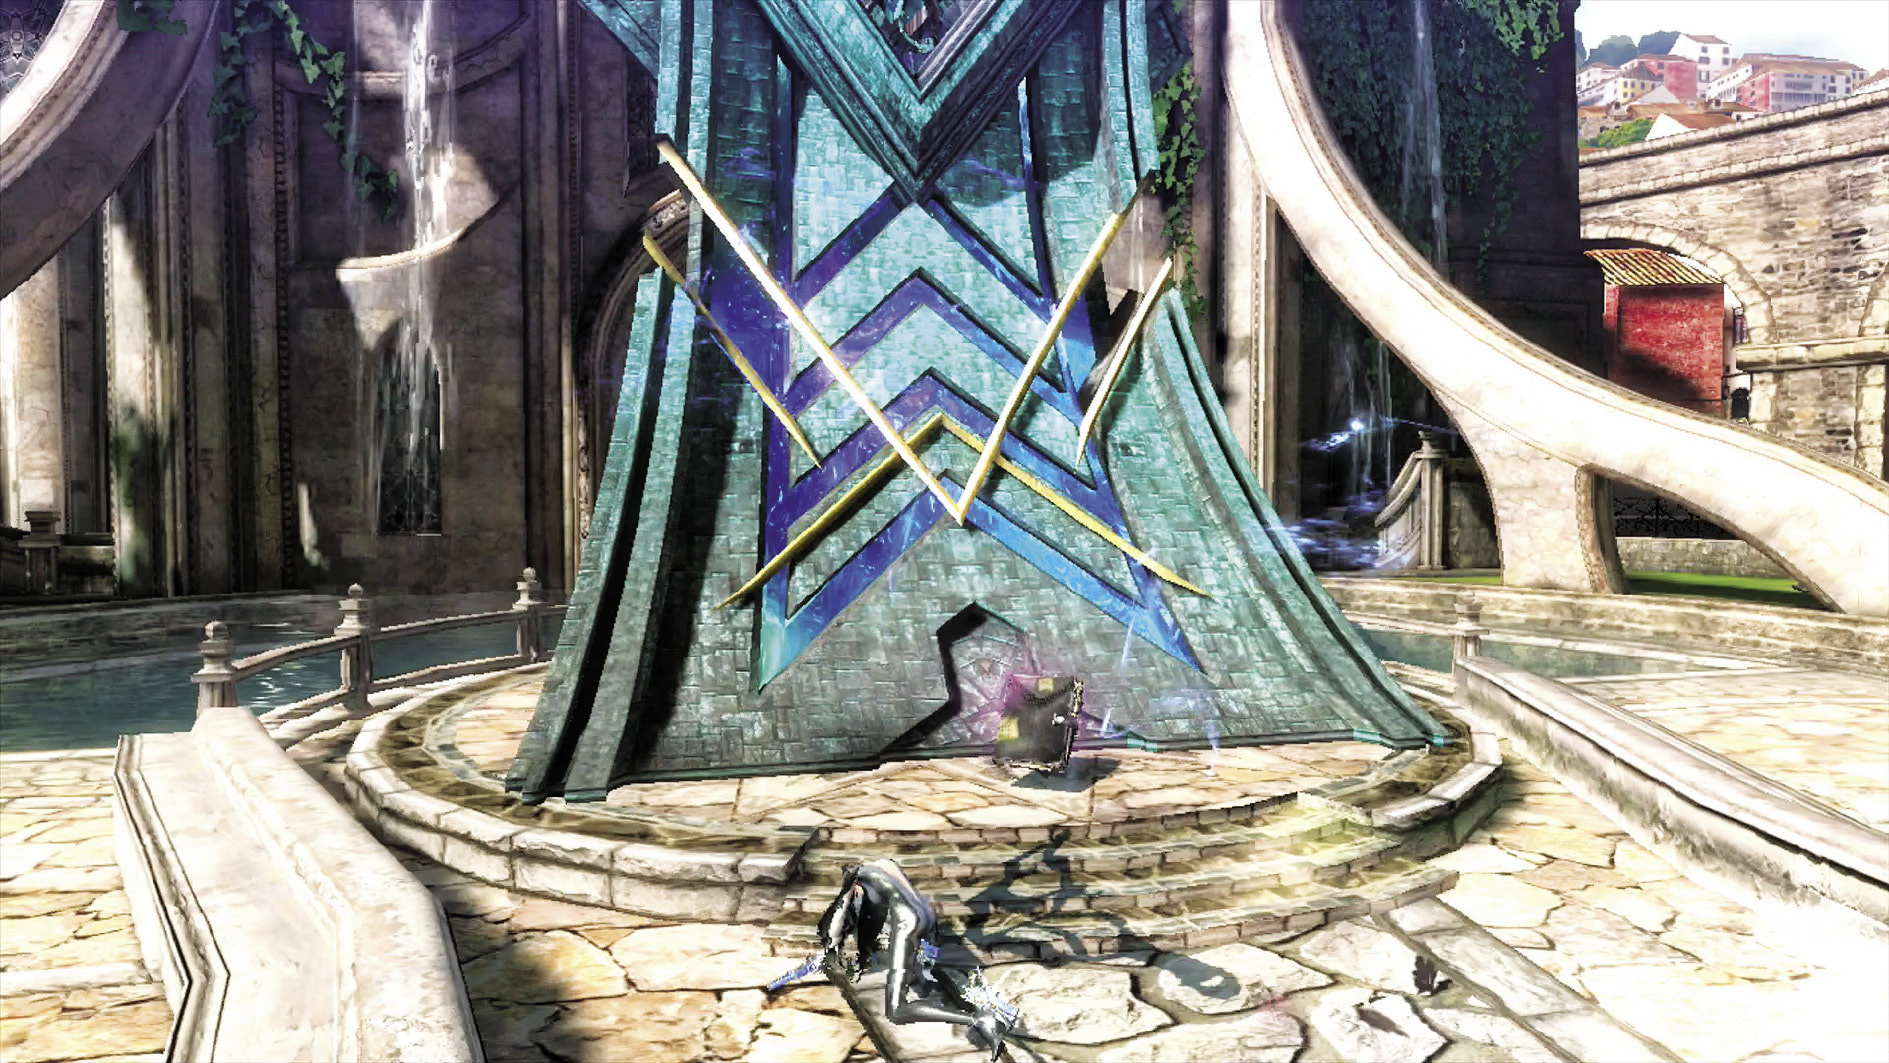
Grab your LP. Up ahead is a Witch Walk Portal, with the Relics Journal’s Echo right in front of it. Walk up the entrance to the portal and jump through. Walk a little ahead to take part in a battle of titanic proportions.
Beating this Verse nabs you the Angelic Hymns Gold LP Entrance of the Gladiators, which gives you access to the twin katana blades Rakshasa the next time you visit The Gates of Hell. Where’s a blue bandana when you need to complete an ensemble?
| CH1 V6 | 1st Climax | 2nd Climax | 3rd Climax | ∞ Climax | ||||||||
|---|---|---|---|---|---|---|---|---|---|---|---|---|
| Time | Damage | Combo | Time | Damage | Combo | Time | Damage | Combo | Time | Damage | Combo | |
| PLATINUM | 01:15 | 0 | 34040 | 01:15 | 0 | 34040 | 01:20 | 0 | 34040 | 01:30 | 0 | 60710 |
| GOLD | 01:35 | 400 | 15000 | 01:35 | 800 | 15000 | 01:40 | 1600 | 15000 | 01:50 | 2000 | 25990 |
| SILVER | 01:55 | 650 | 10240 | 01:55 | 1300 | 10240 | 02:00 | 2600 | 10240 | 02:10 | 4000 | 17310 |
| BRONZE | 02:15 | 900 | 5470 | 02:15 | 1800 | 5470 | 02:20 | 3600 | 5470 | 02:30 | 6000 | 8640 |
| BOSS BONUS | ||||||||||||
Verse 7
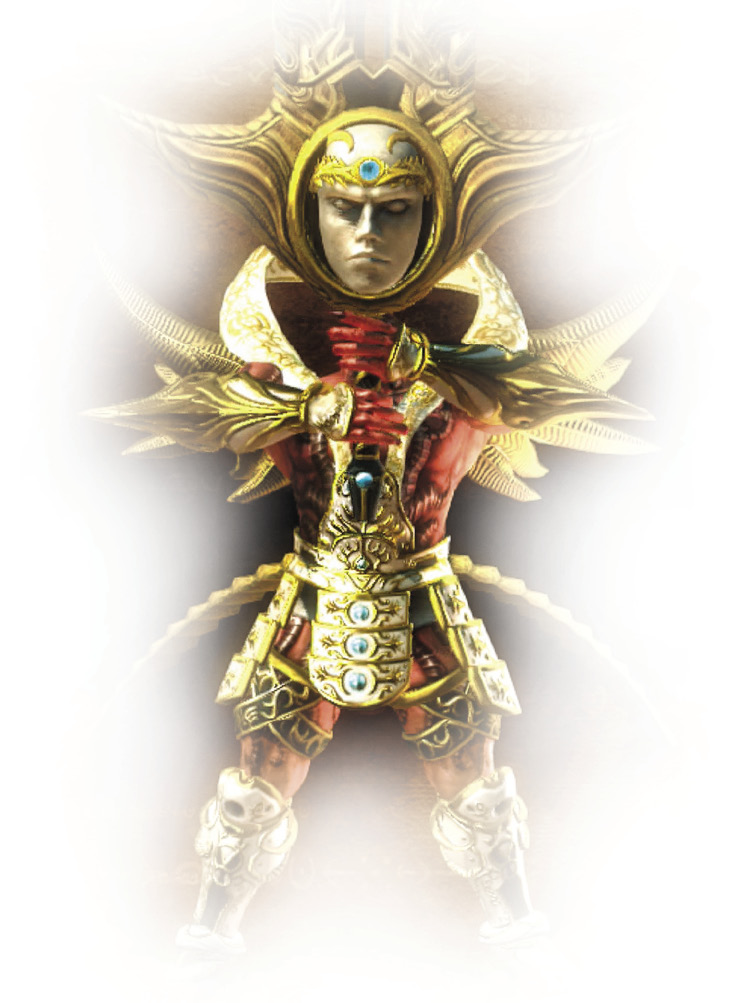
Enemy Spotlight: Valiance
Valiance is one of the largest enemies in the game, towering over Bayonetta with an equally towering weapon. Make sure to dodge his slow swings, because the last thing you want to feel is the sting of his Valiantium Blade. (Not that you’ll feel it for long. Because you’ll be dead. From the blade.)
Engage mainly from mid-range if you can, because he can also grab you up close, forcing you into a Quick Time Event that will take off a chunk of vitality no matter what.
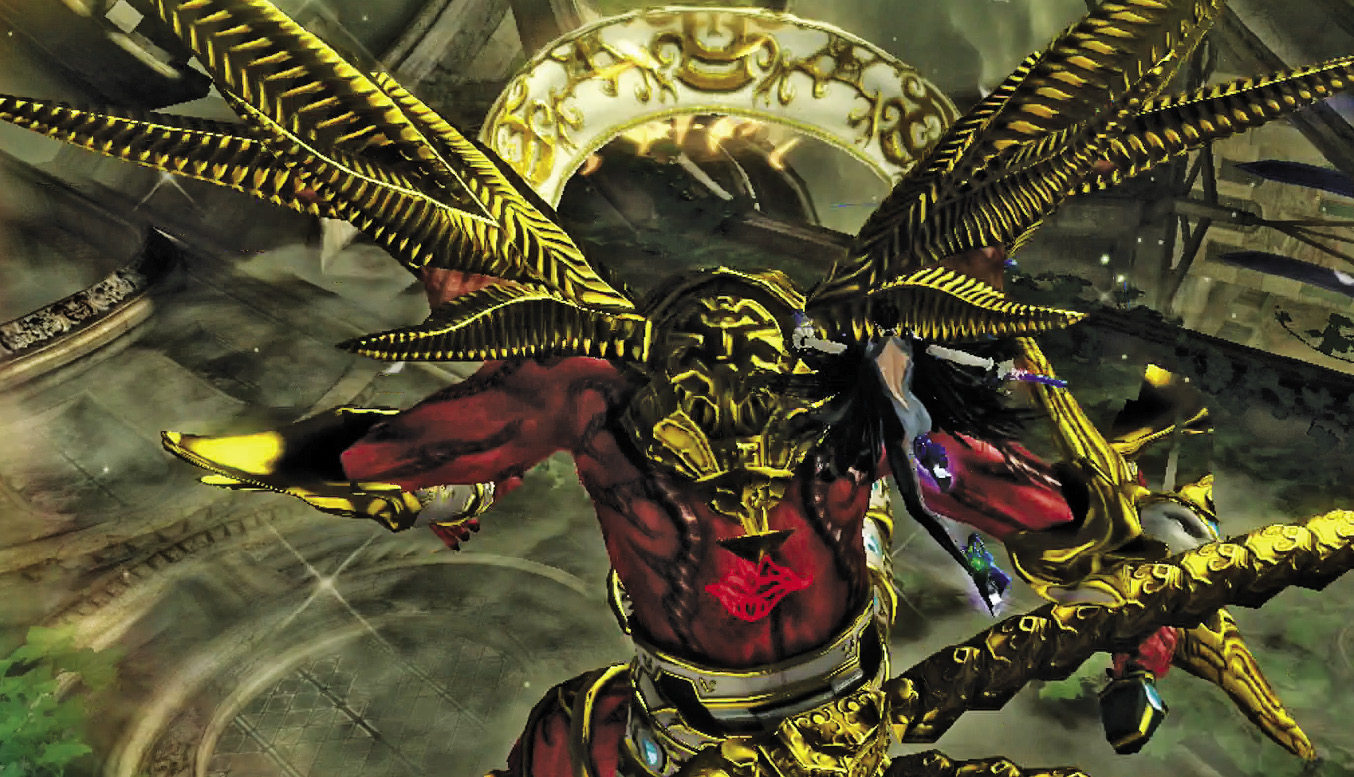
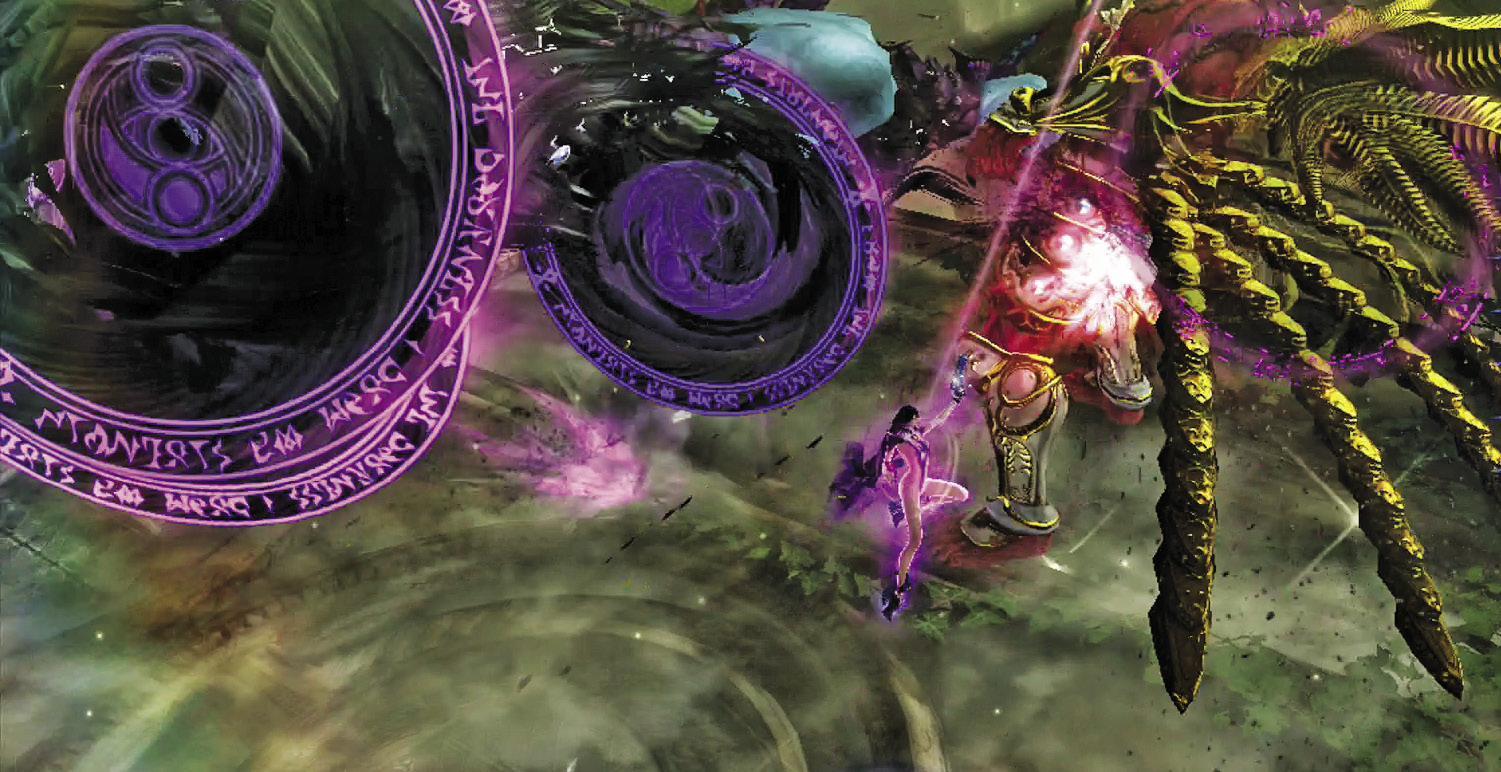
1st Climax/2nd Climax/3rd Climax/∞ Climax (Go for Pure Platinum!)

Suggested Pure Platinum Weapons:Salamandra (Arms), Alruna (Legs)
Enemy: Valiance
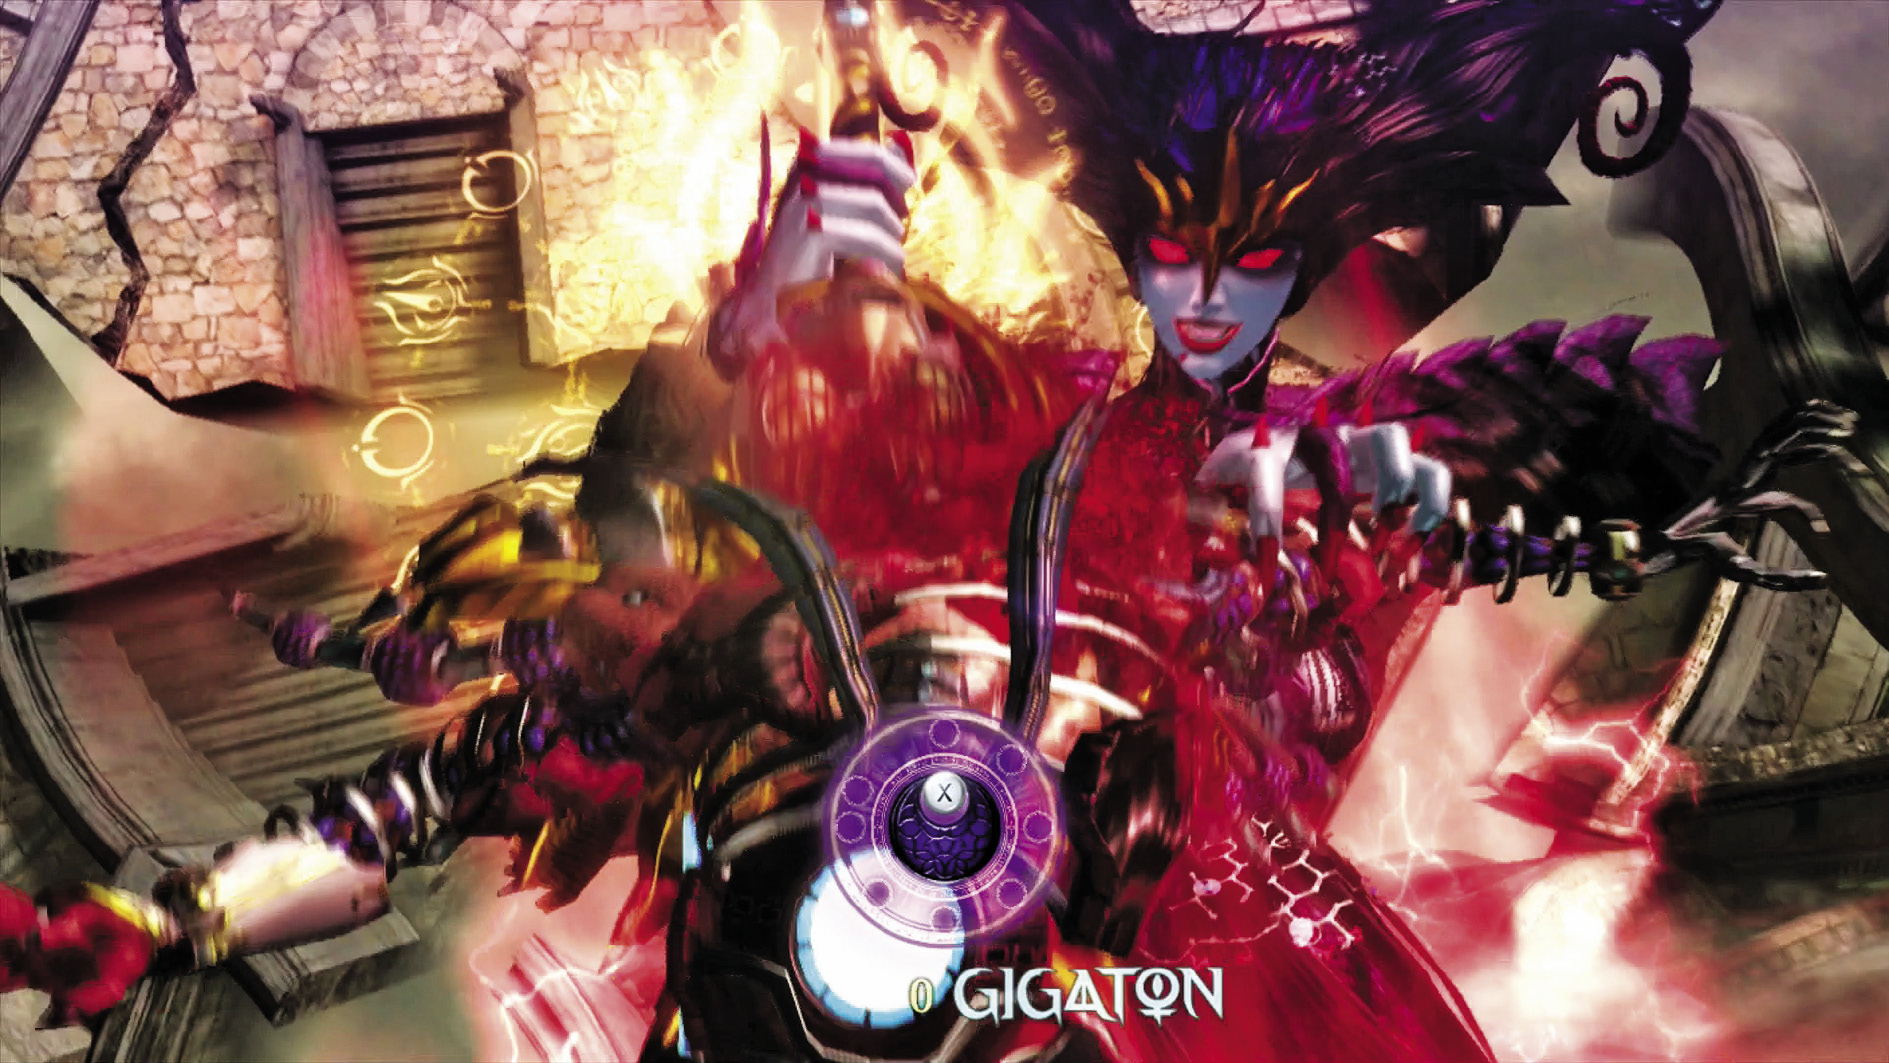
Valiance swings a mean, mean sword, but he can actually be bested with little trouble, even if all you have to fight him with is Love Is Blue. The key is to remain airborne so you can keep an eye on his attacks. If you can do that, they’re slow and quite telegraphed, allowing you to dodge and counter.
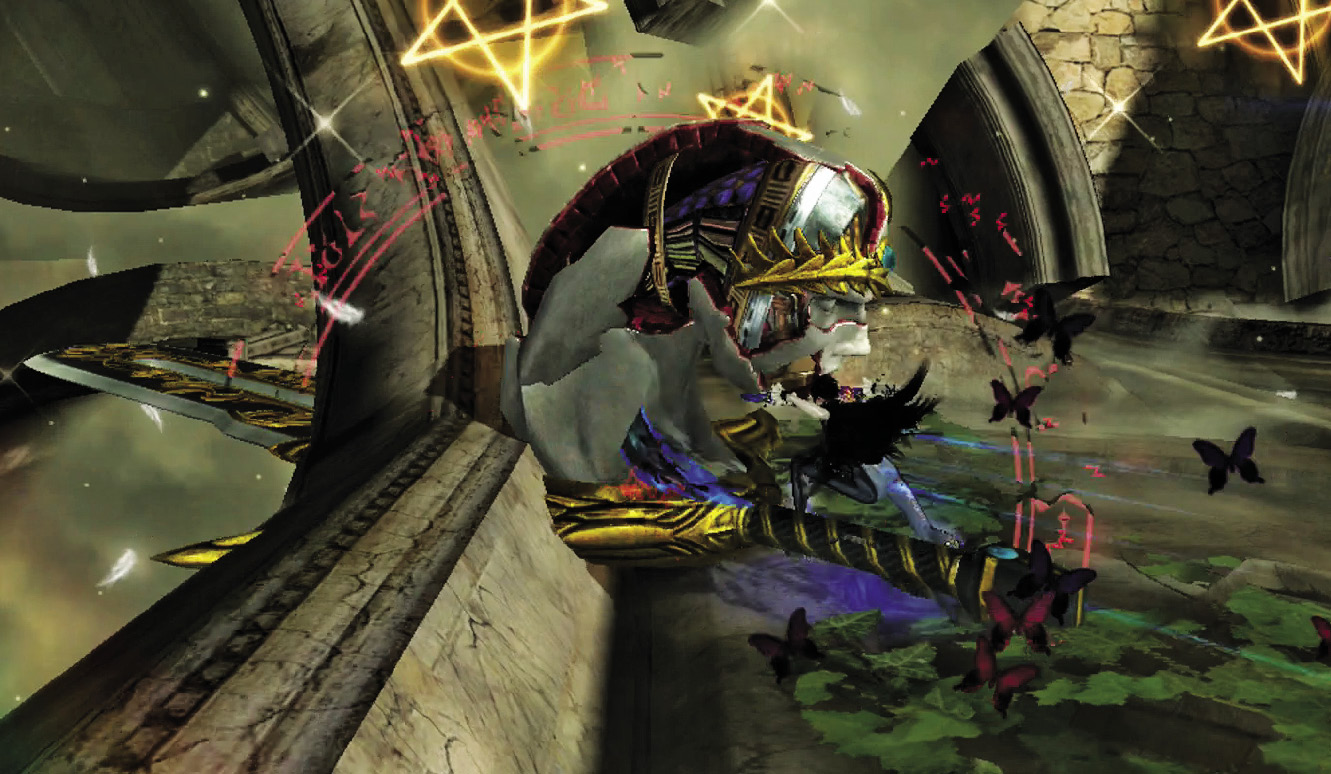
Do enough damage to Valiance and his sword will fly off. His face—his weak point—is actually on that sword, so get over there and smash it in!
Once you’ve defeated Valiance, press the prompted buttons during the climactic Quick Time Event to make sure he doesn’t come back.
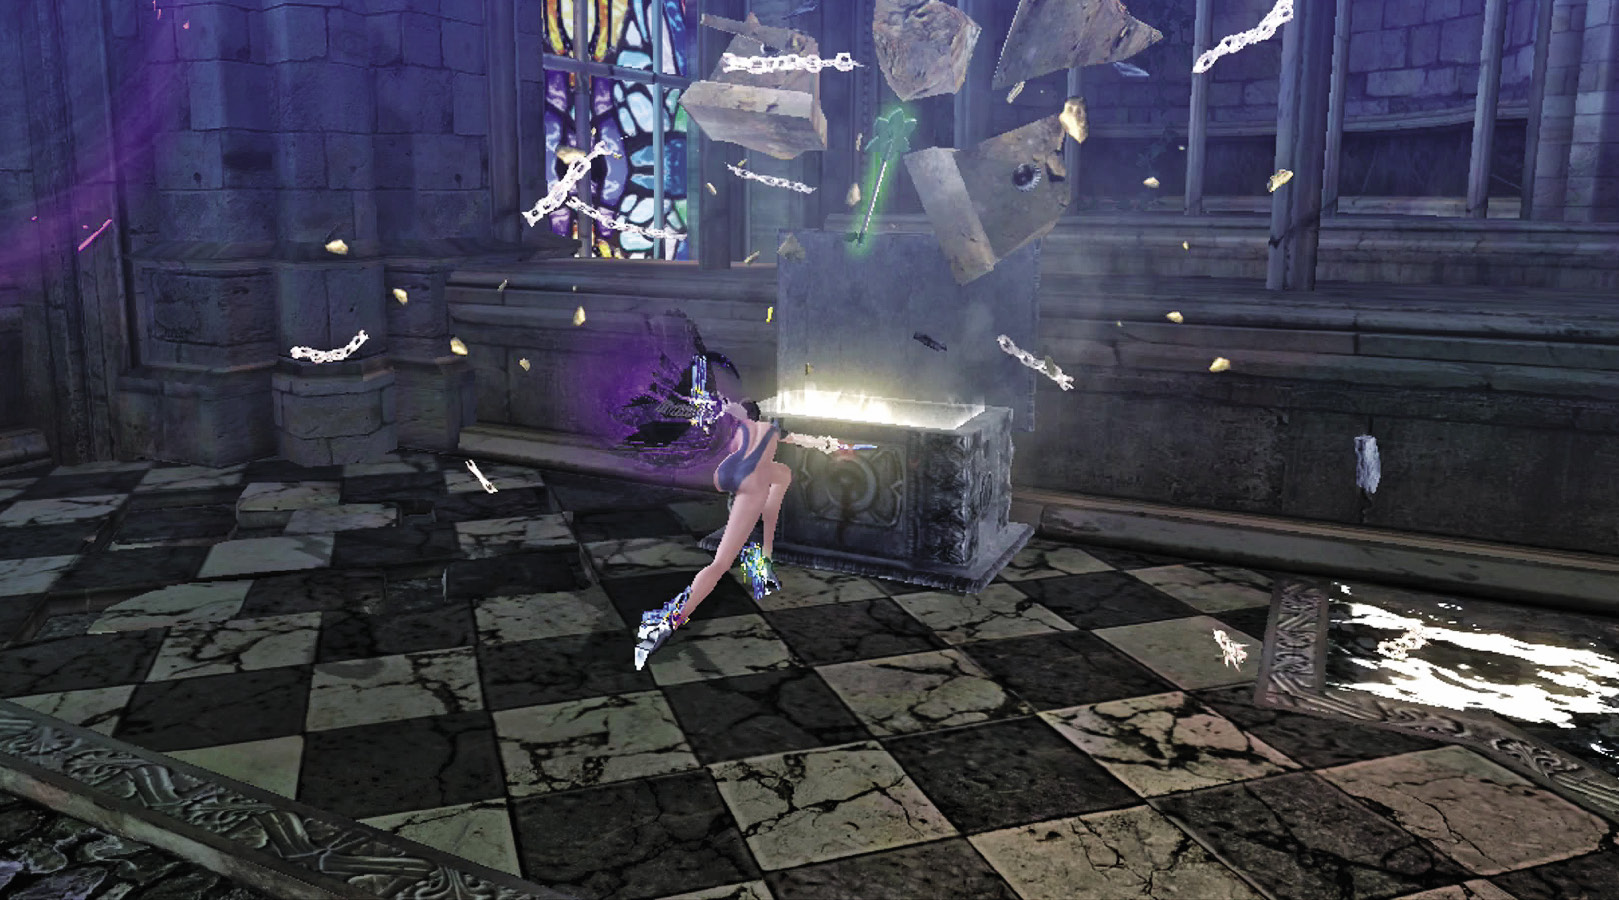
As soon as Bayonetta lands from the fight, you’ve got collectibles galore! Directly in front of you is an Umbran Crow (3/20). Follow the left path for a chest containing a Mega Green Herb Lollipop; to the right is a Muspelheim.
| CH1 V7 | 1st Climax | 2nd Climax | 3rd Climax | ∞ Climax | ||||||||
|---|---|---|---|---|---|---|---|---|---|---|---|---|
| Time | Damage | Combo | Time | Damage | Combo | Time | Damage | Combo | Time | Damage | Combo | |
| PLATINUM | 01:00 | 0 | 10500 | 01:00 | 0 | 10500 | 01:00 | 0 | 10500 | 01:30 | 0 | 38400 |
| GOLD | 01:20 | 400 | 5100 | 01:20 | 800 | 5100 | 01:20 | 1600 | 5100 | 01:50 | 2000 | 16800 |
| SILVER | 01:40 | 600 | 3750 | 01:40 | 1200 | 3750 | 01:40 | 2400 | 3750 | 02:10 | 4000 | 11400 |
| BRONZE | 02:00 | 800 | 2400 | 02:00 | 1600 | 2400 | 02:00 | 3200 | 2400 | 02:30 | 6000 | 6000 |
| BOSS BONUS | ||||||||||||
Verse 8
1st Climax/2nd Climax/3rd Climax
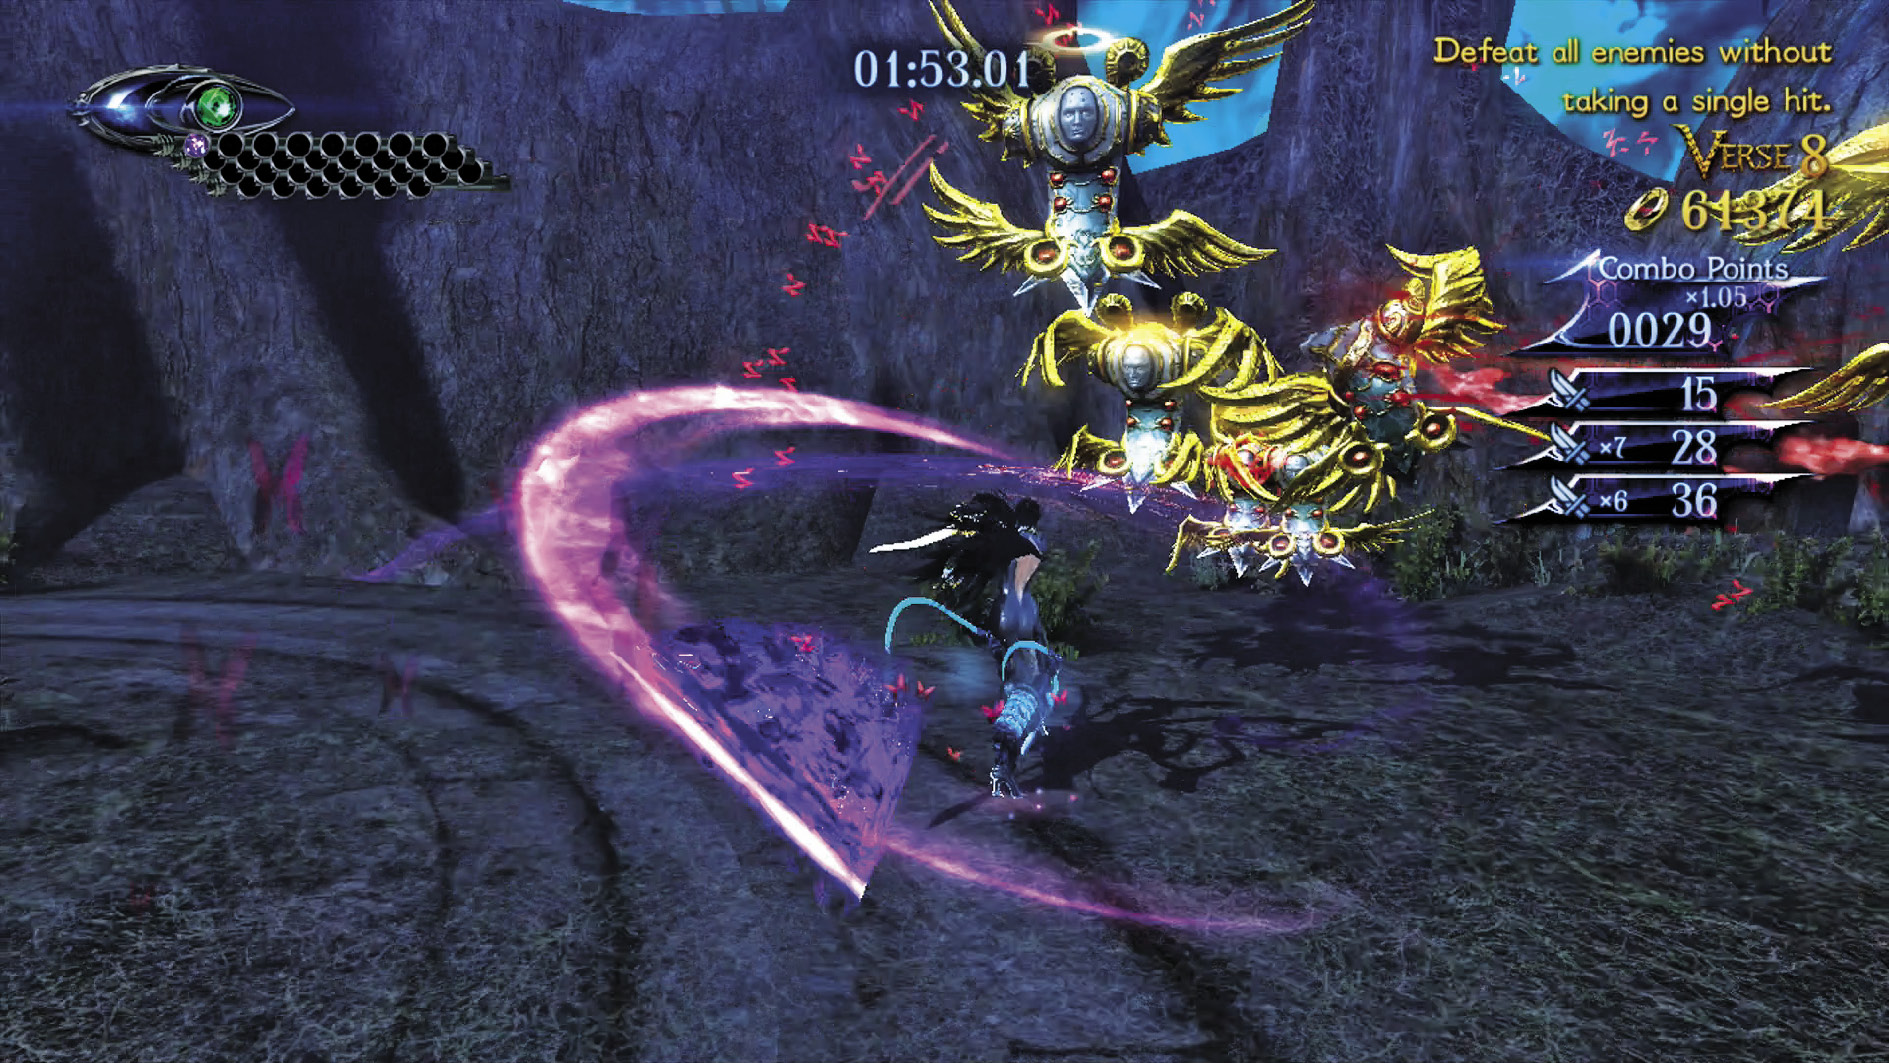
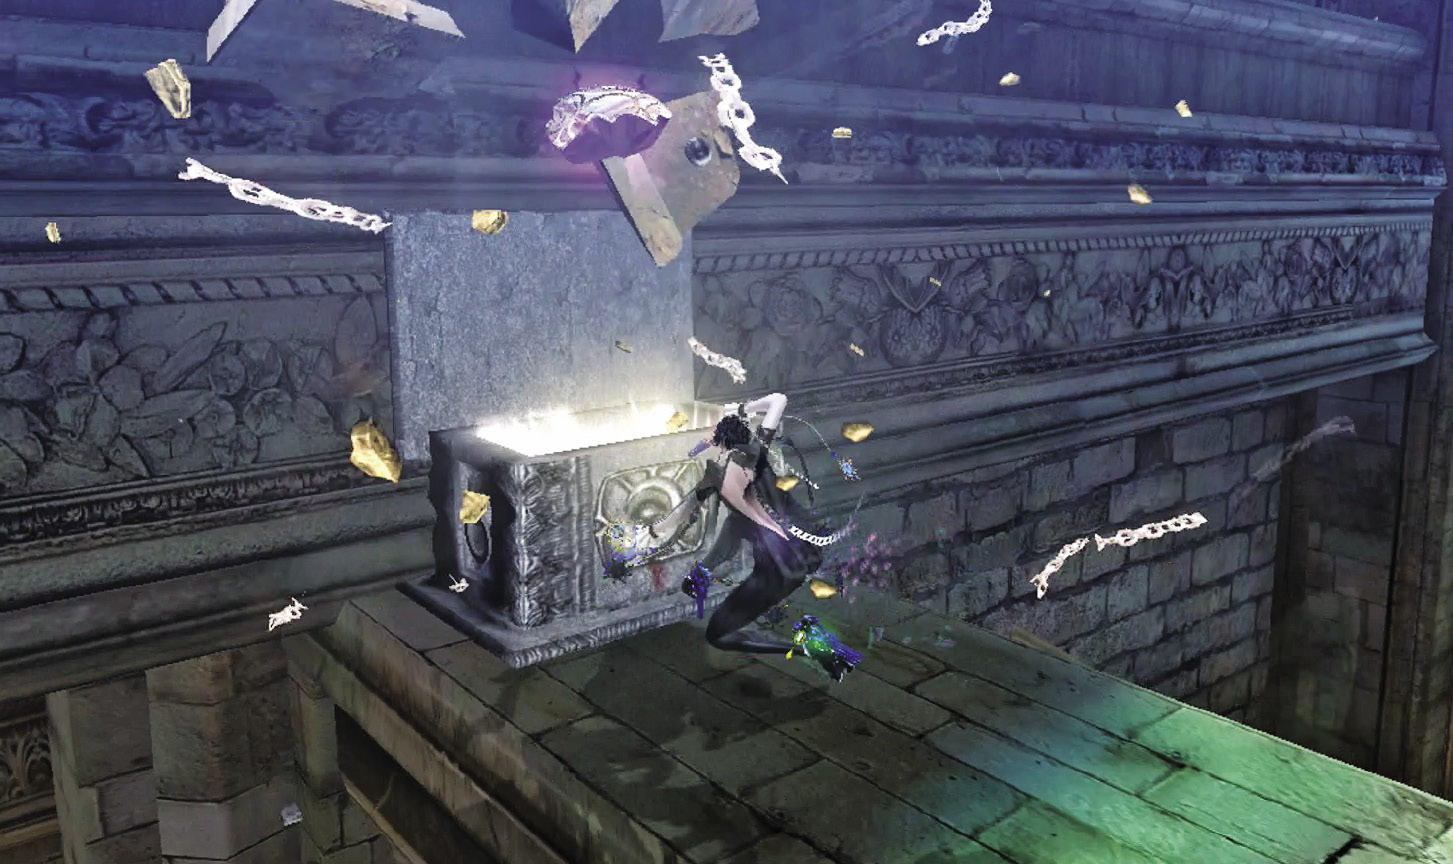
Muspelheim Objectives: Defeat all enemies without taking a single hit.
Enemies: Compassion x7
Chase down the Compassions with your chosen melee weapon, or shoot them with guns. Either way, a straightforward Verse. Constantly check Bayonetta’s surroundings so she doesn’t take any glancing hits. Do your best to attack multiple enemies at once as well.
∞ Climax
Muspelheim Objectives: Defeat all enemies without taking a single hit.
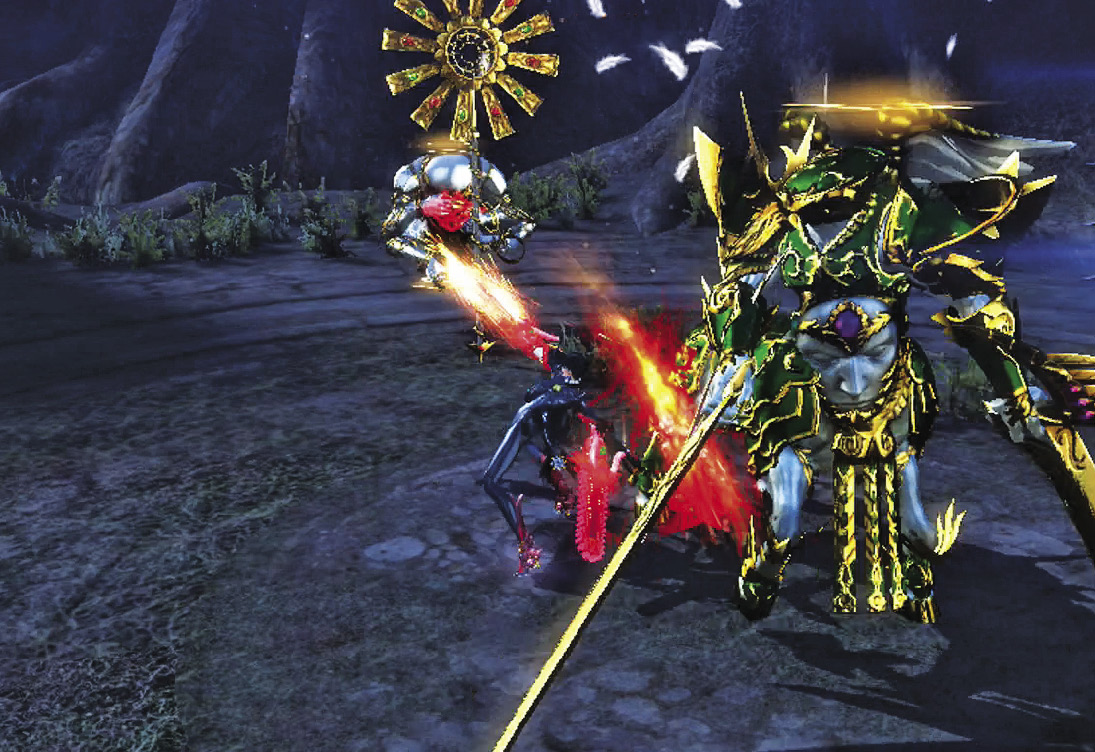
Enemies: Enrapture x2, Accolade (Twin Blades) x1
For the love of all that is stylish, get rid of the Enraptureds first! An enraged twin blades Accolade is insanely tough to dodge. Once you’ve gotten the Accolade down to regular speeds, plan your moves and dodges very carefully, looking for that perfect Witch Time moment.
Go for Pure Platinum!

Suggested Weapons: Salamandra (Arms)
The above strategies will work just fine to get Pure Platinum; even better, actually, because the Salamandra is very good at cutting up Enraptureds.
Beating this Verse nabs you a Broken Witch Heart (6/40)
Past the Muspelheim, on a narrow ledge, is a chest containing a Broken Moon Pearl (3/16).
Go ahead and jump down. Talk to Loki to advance the story, and to trigger a Verse when Bayonetta’s conversation with him is complete.
| CH1 V8 | 1st Climax | 2nd Climax | 3rd Climax | ∞ Climax | ||||||||
|---|---|---|---|---|---|---|---|---|---|---|---|---|
| Time | Damage | Combo | Time | Damage | Combo | Time | Damage | Combo | Time | Damage | Combo | |
| PLATINUM | 00:35 | 0 | 1730 | 00:35 | 0 | 1730 | 00:35 | 0 | 1730 | 00:45 | 0 | 1330 |
| GOLD | 00:45 | 200 | 1120 | 00:45 | 200 | 1120 | 00:45 | 200 | 1120 | 00:55 | 200 | 920 |
| SILVER | 00:55 | 400 | 970 | 00:55 | 400 | 970 | 00:55 | 400 | 970 | 01:05 | 400 | 820 |
| BRONZE | 01:05 | 600 | 820 | 01:05 | 600 | 820 | 01:05 | 600 | 820 | 01:15 | 600 | 720 |
| BOSS BONUS | ||||||||||||
Verse 9
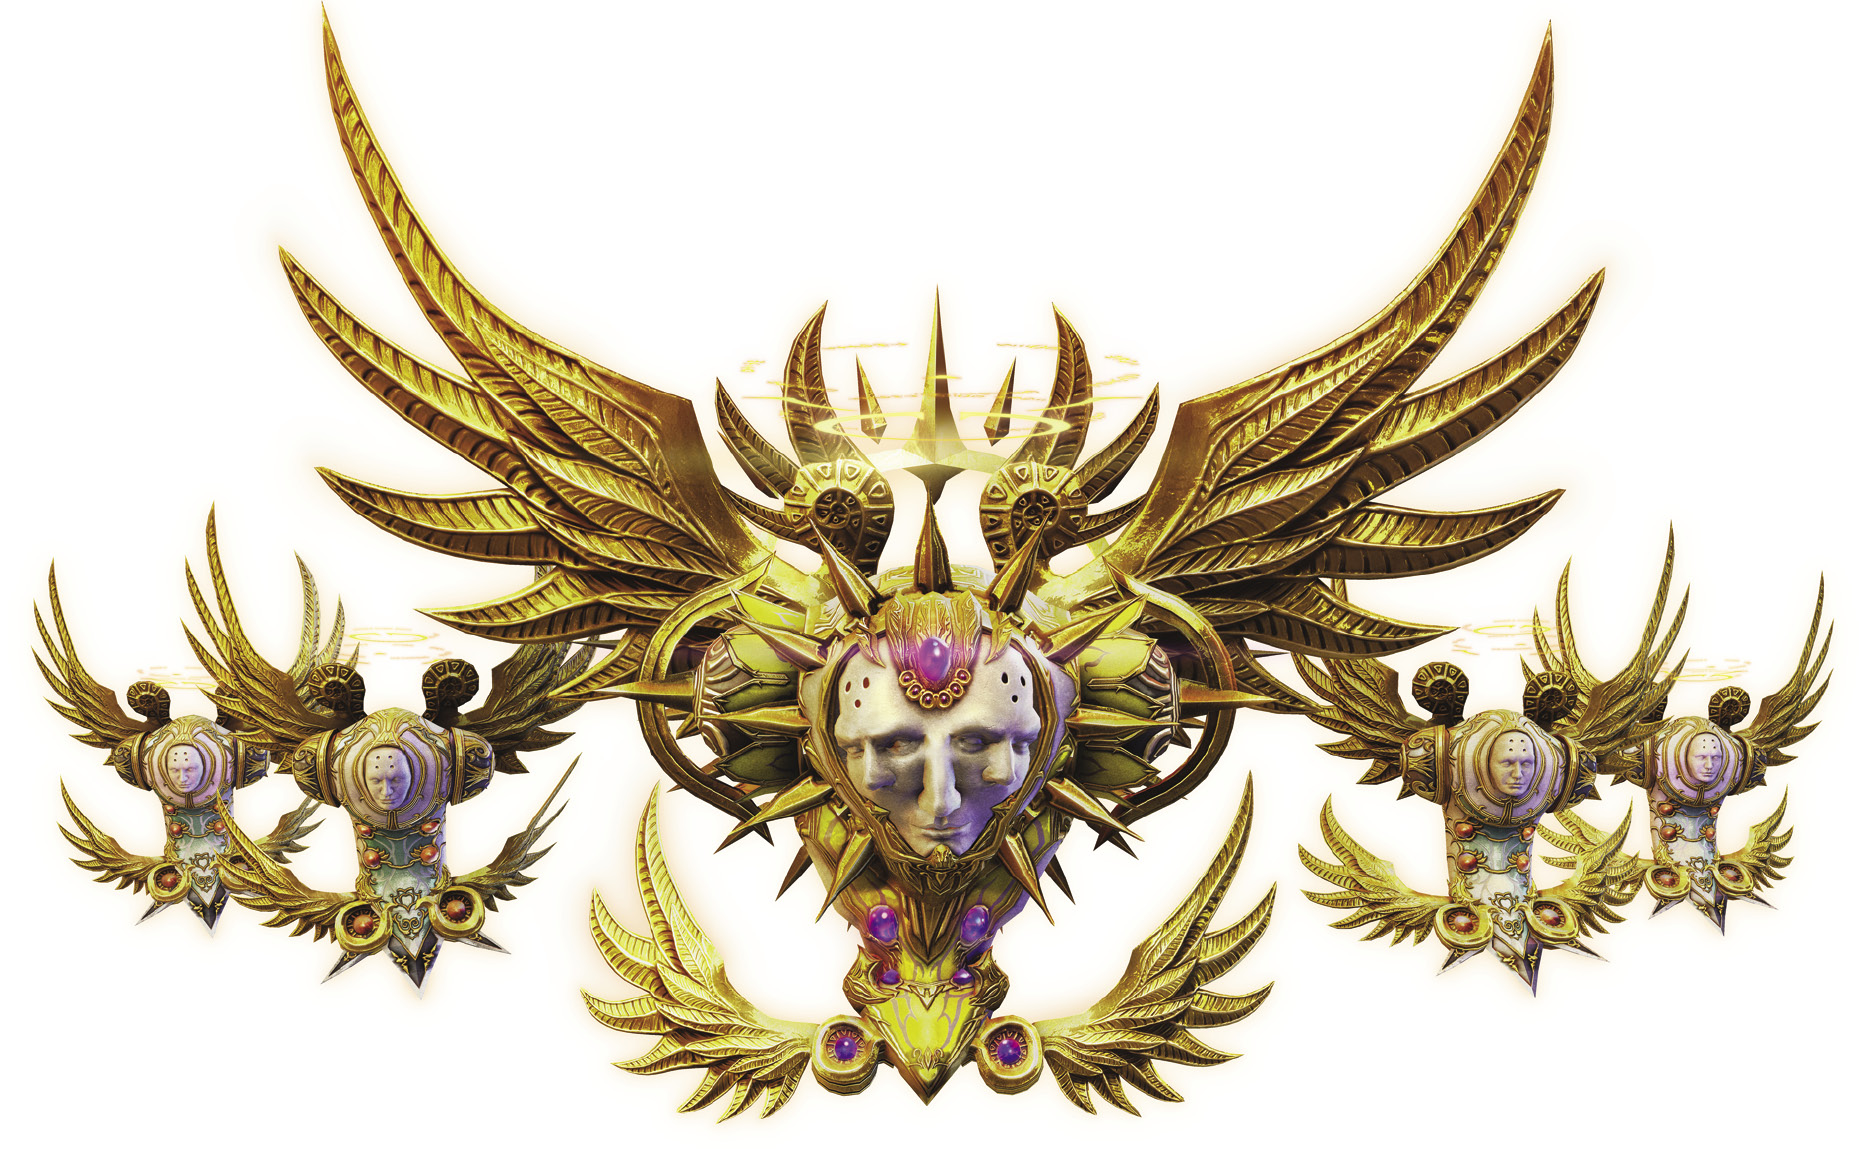
Enemy Spotlight: Cachet & Compassion
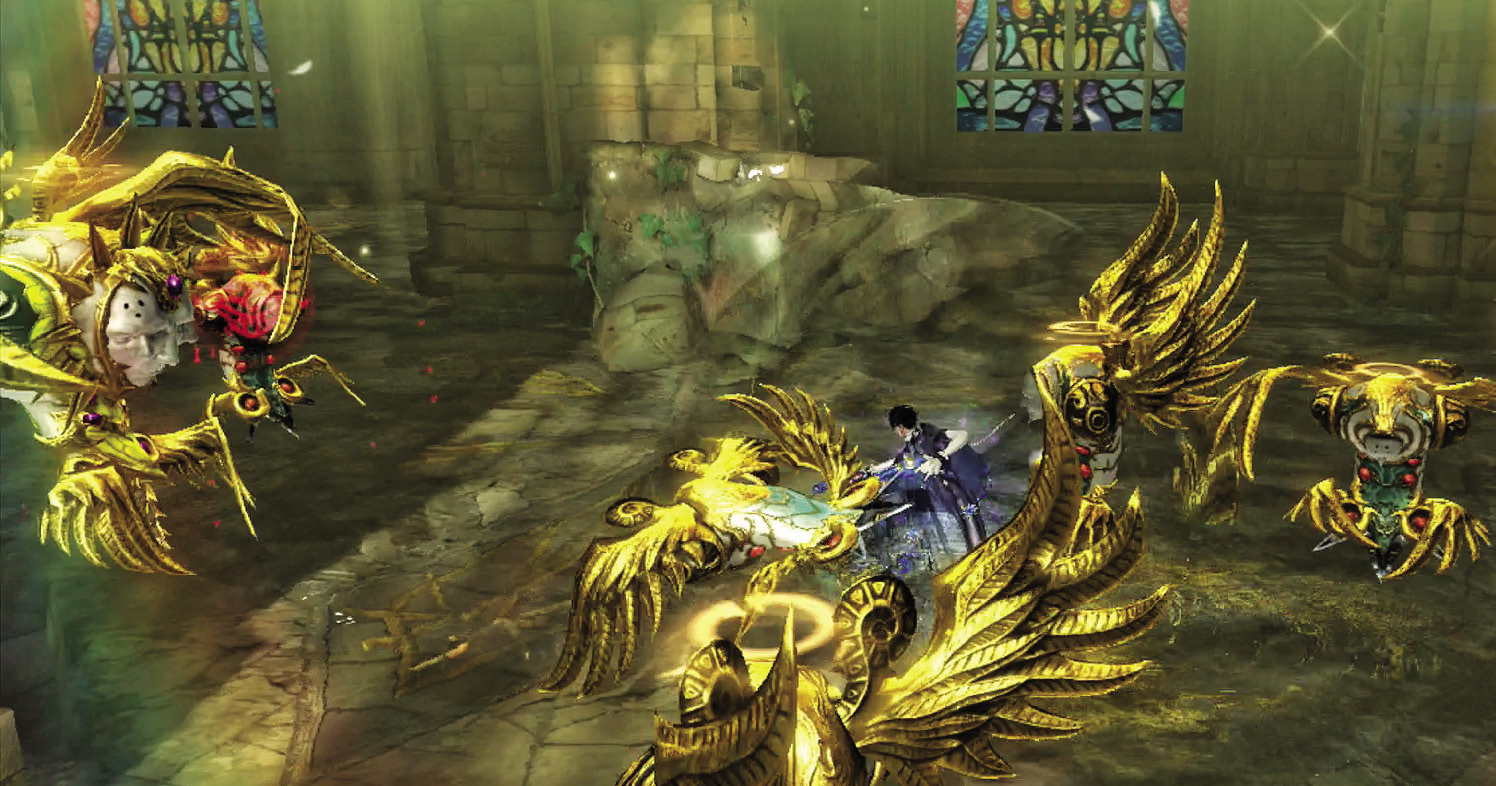
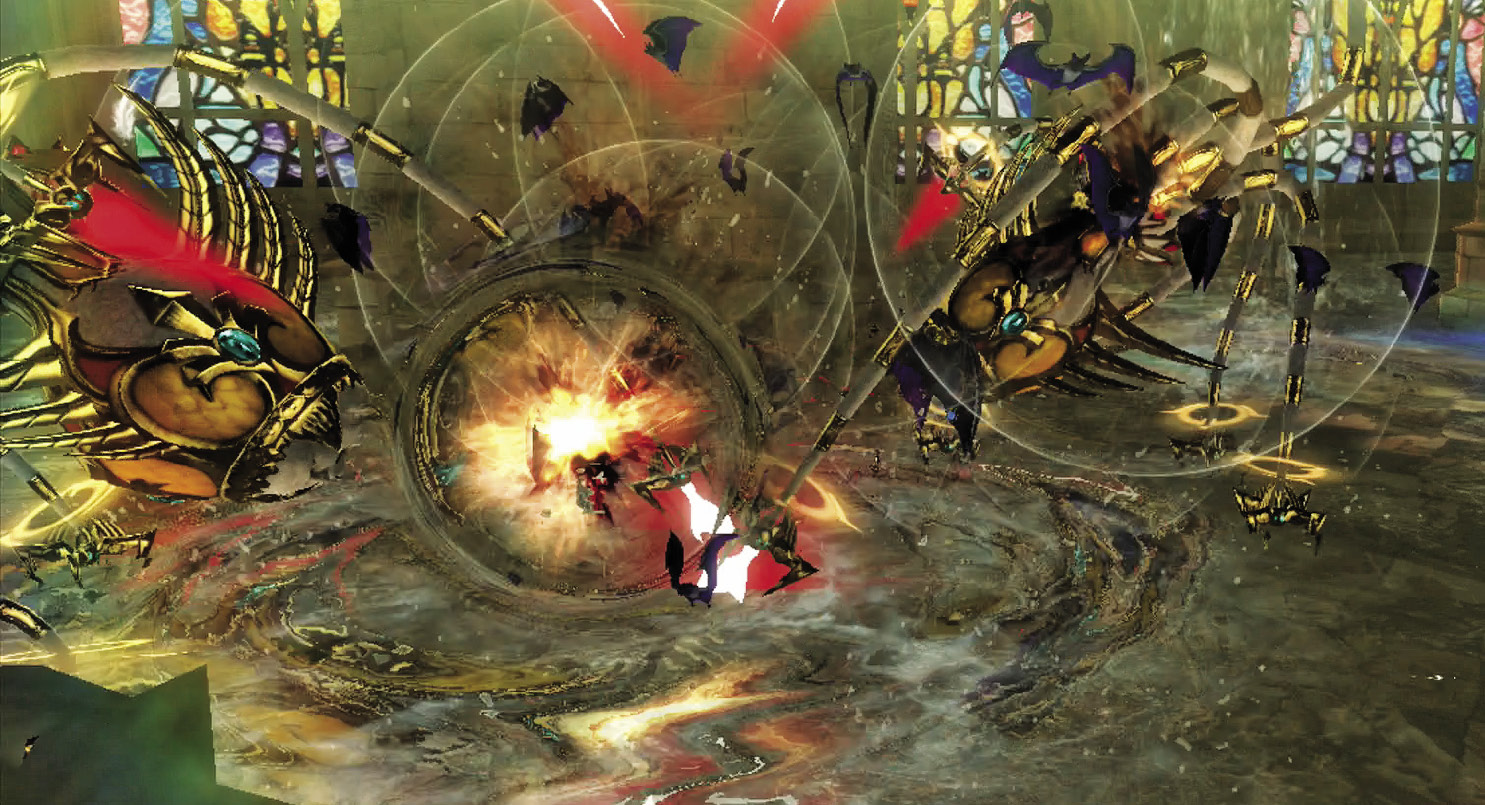
When large numbers of Cachet & Compassion are together, the result can be confusing. Cachets are medium-sized enemies that can launch into devastating drill attacks from afar. However three of the smaller Compassions can combine, and launch a similar attack. The best course of action? Destroy them all as quickly as possible, of course!
1st Climax/2nd Climax/3rd Climax
Enemies: Cachet x1, Compassion x6
Dodge out of the way the second the fight starts; a Cachet will lunge straight toward you! Stay as mobile as you can during this fight, as Cachet & Compassion certainly will. You’ll find Witch Time opportunities in the midst of any of their lunging attacks, allowing you to return fire with impunity.
∞ Climax
Enemies: Cachet x2, Compassion x6, Fidelity x2
An extra Cachet and two Fidelities join the already confusing battle. Take to the air temporarily to take stock of the situation, and make judicious use of your Action button gun and the camera so you don’t lose any of the enemies.
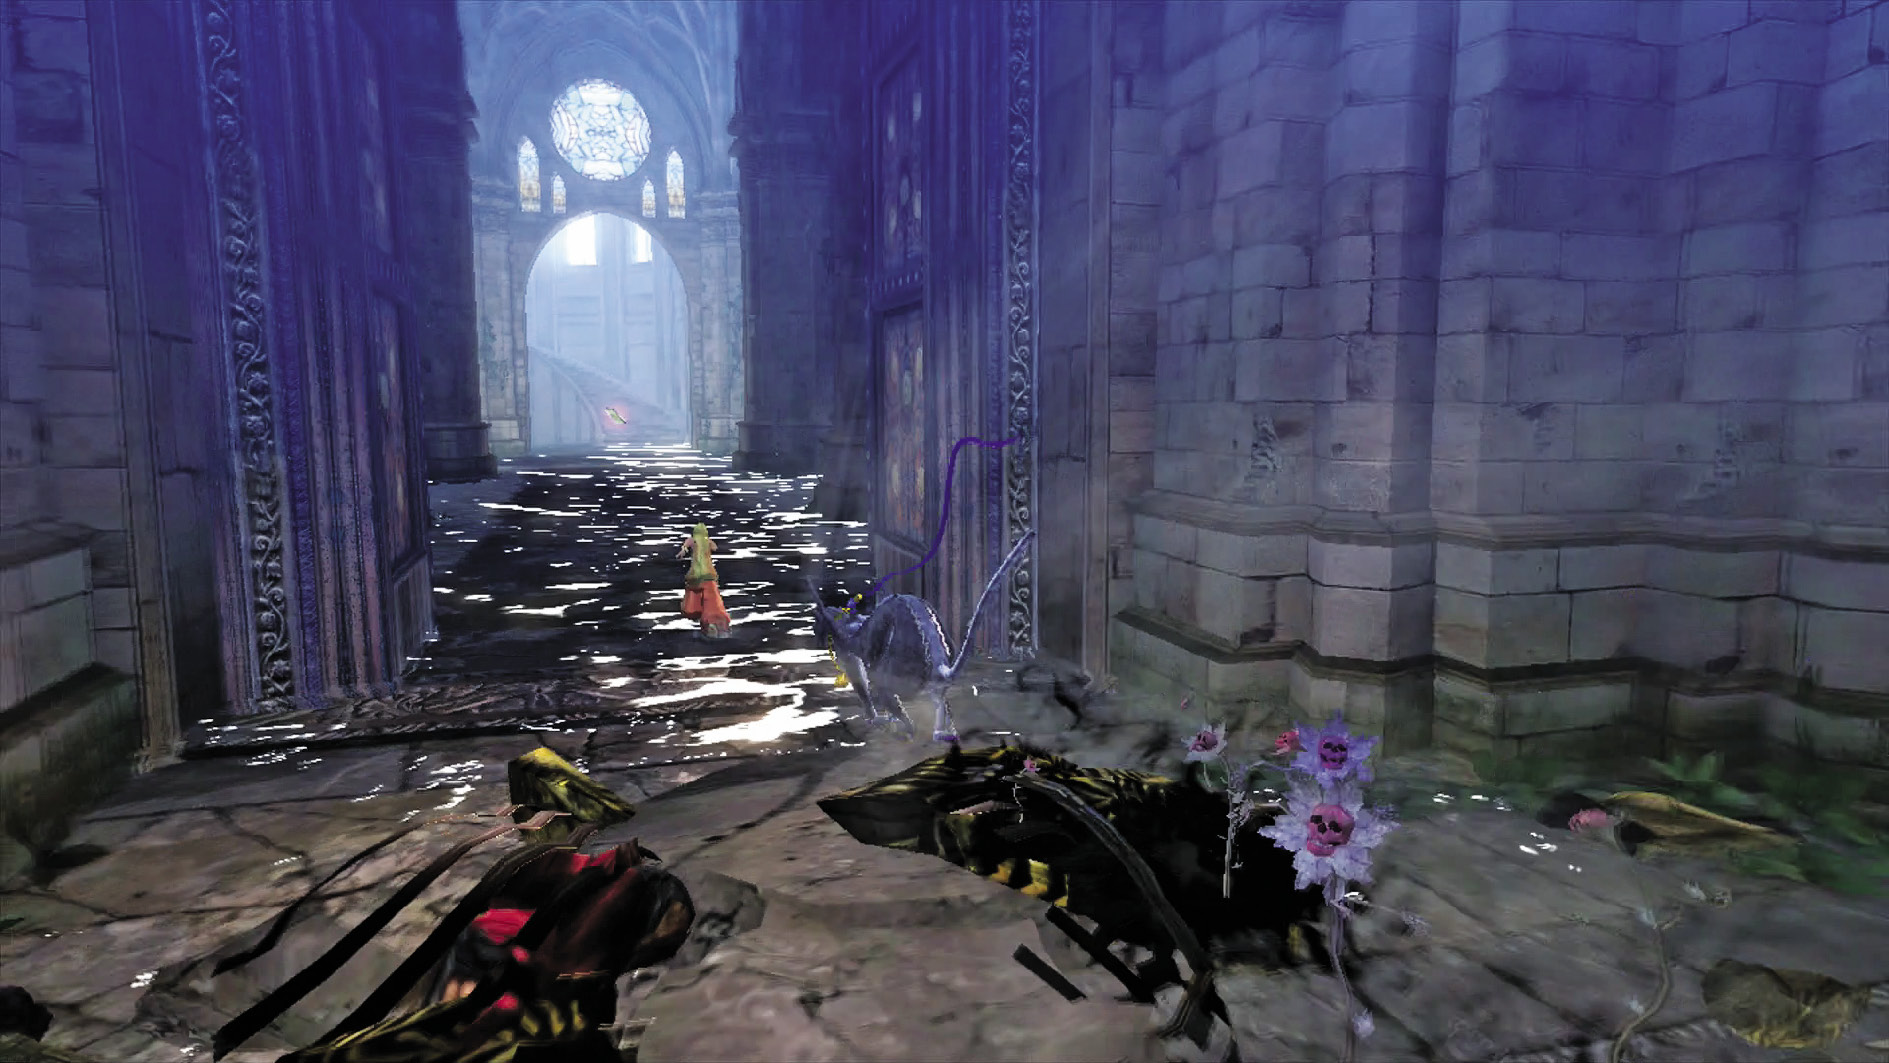
Go for Pure Platinum!

Suggested Weapons: Salamandra (Arms)
The Salamandra and the above strategies are enough to overcome both types of fights and run away with the Pure Platinum. Use Stiletto to keep up!
Open the door to go further into The Church. The first alcove to the right has the Purification Grounds Journal’s Echo.
The second alcove on the left has an Umbran Resting Place, which contains a Broken Witch Heart (7/40).
| CH1 V9 | 1st Climax | 2nd Climax | 3rd Climax | ∞ Climax | ||||||||
|---|---|---|---|---|---|---|---|---|---|---|---|---|
| Time | Damage | Combo | Time | Damage | Combo | Time | Damage | Combo | Time | Damage | Combo | |
| PLATINUM | 00:25 | 0 | 1290 | 00:25 | 0 | 1290 | 00:40 | 0 | 1290 | 00:52 | 0 | 7660 |
| GOLD | 00:35 | 300 | 890 | 00:35 | 600 | 890 | 00:50 | 1200 | 890 | 01:02 | 3000 | 3890 |
| SILVER | 00:45 | 450 | 800 | 00:45 | 900 | 800 | 01:00 | 1800 | 800 | 01:12 | 4500 | 2950 |
| BRONZE | 00:55 | 600 | 700 | 00:55 | 1800 | 700 | 01:10 | 2400 | 700 | 01:22 | 6000 | 2010 |
| BOSS BONUS | ||||||||||||
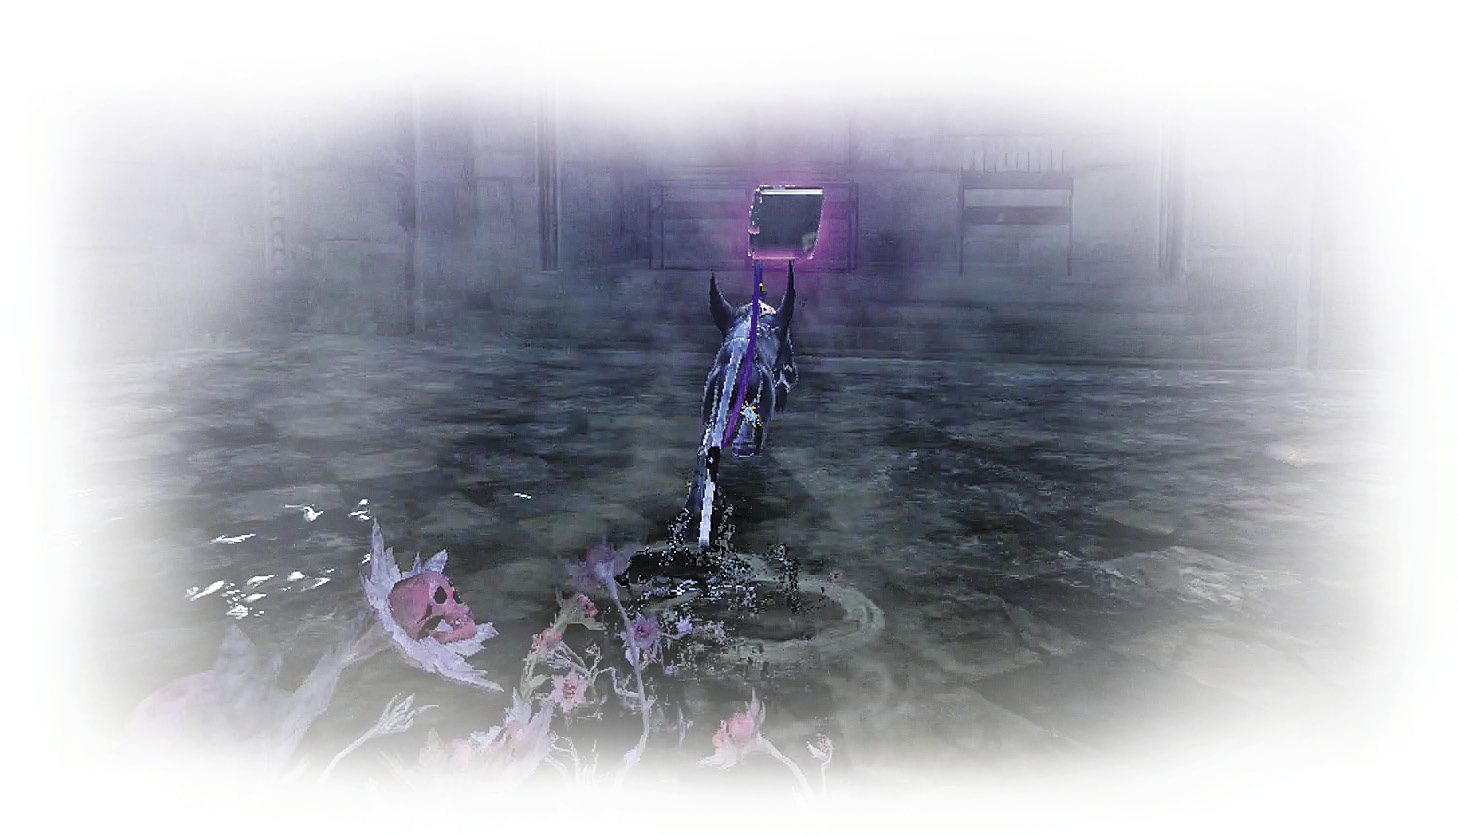
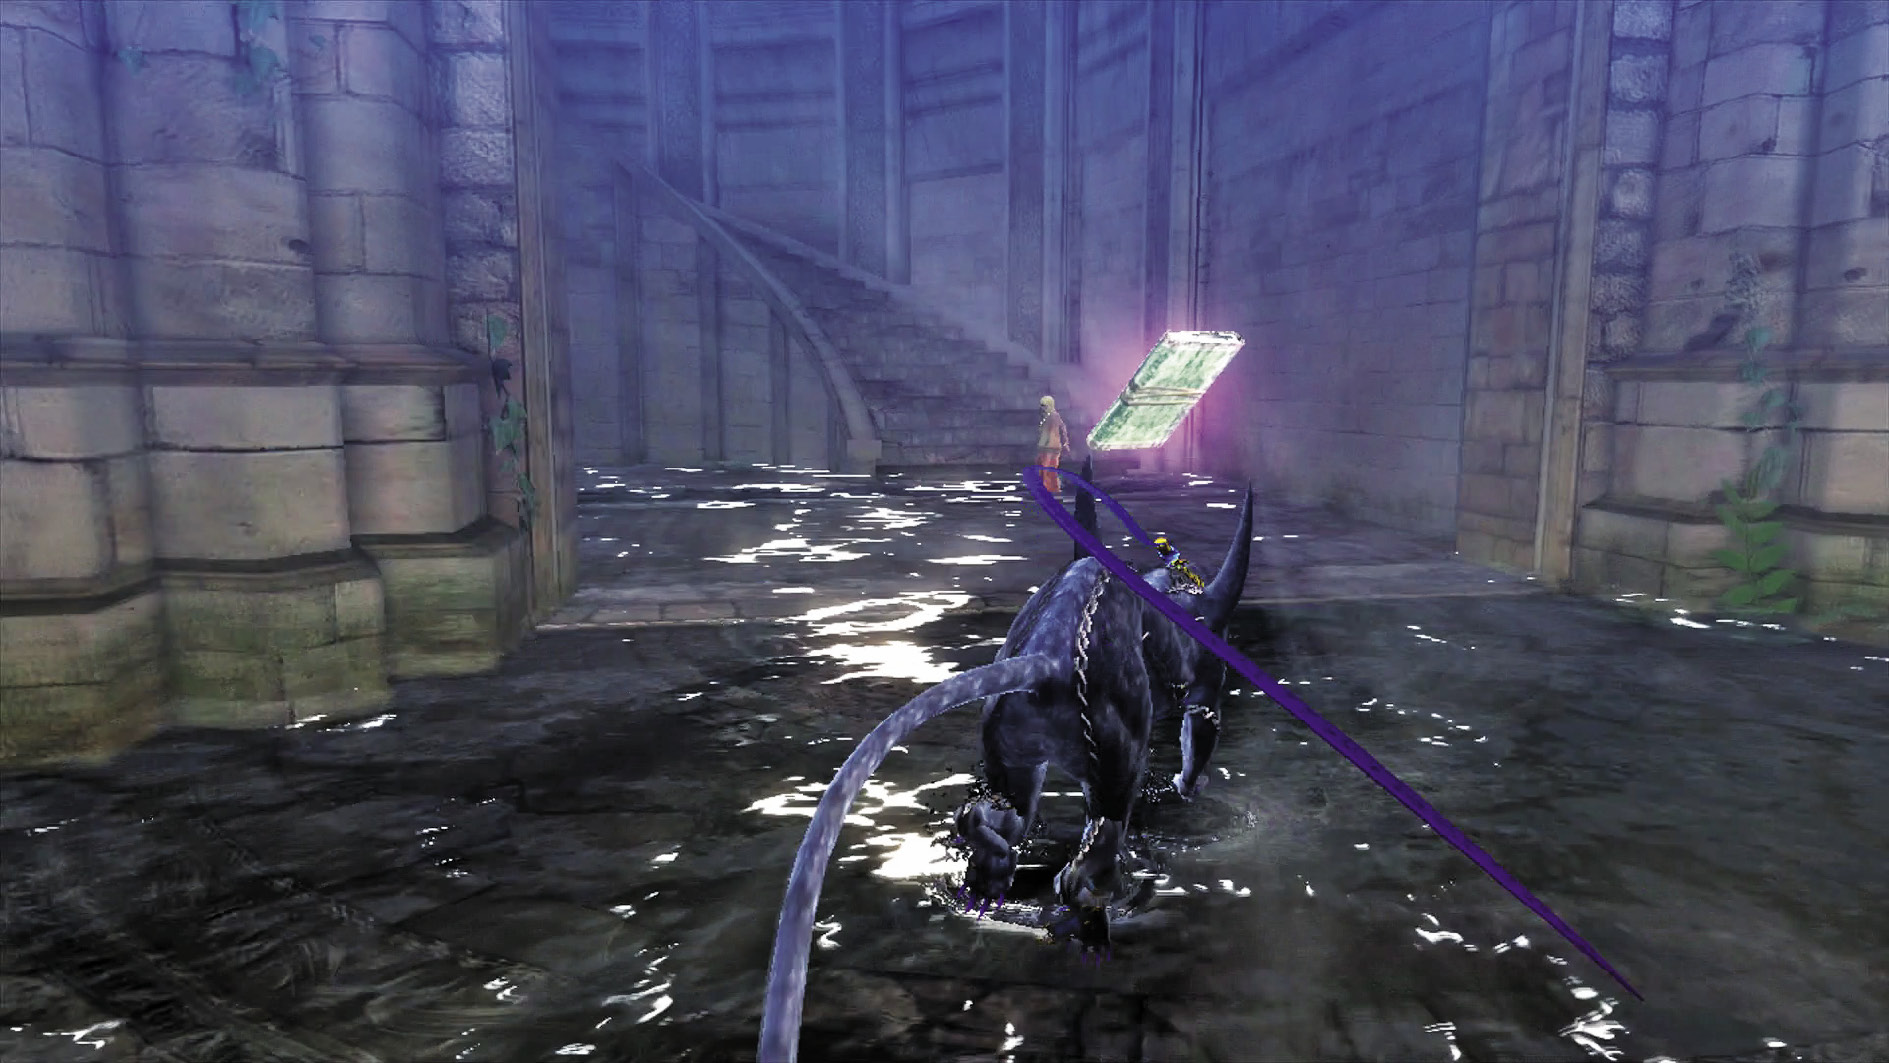
Grab your Heart, turn around, and turn left out of the alcove. Now go straight ahead to find Witch’s Recipes, which allows you to concoct your own items! The Entry No. 001Journal’s Echo comes free with this deal.
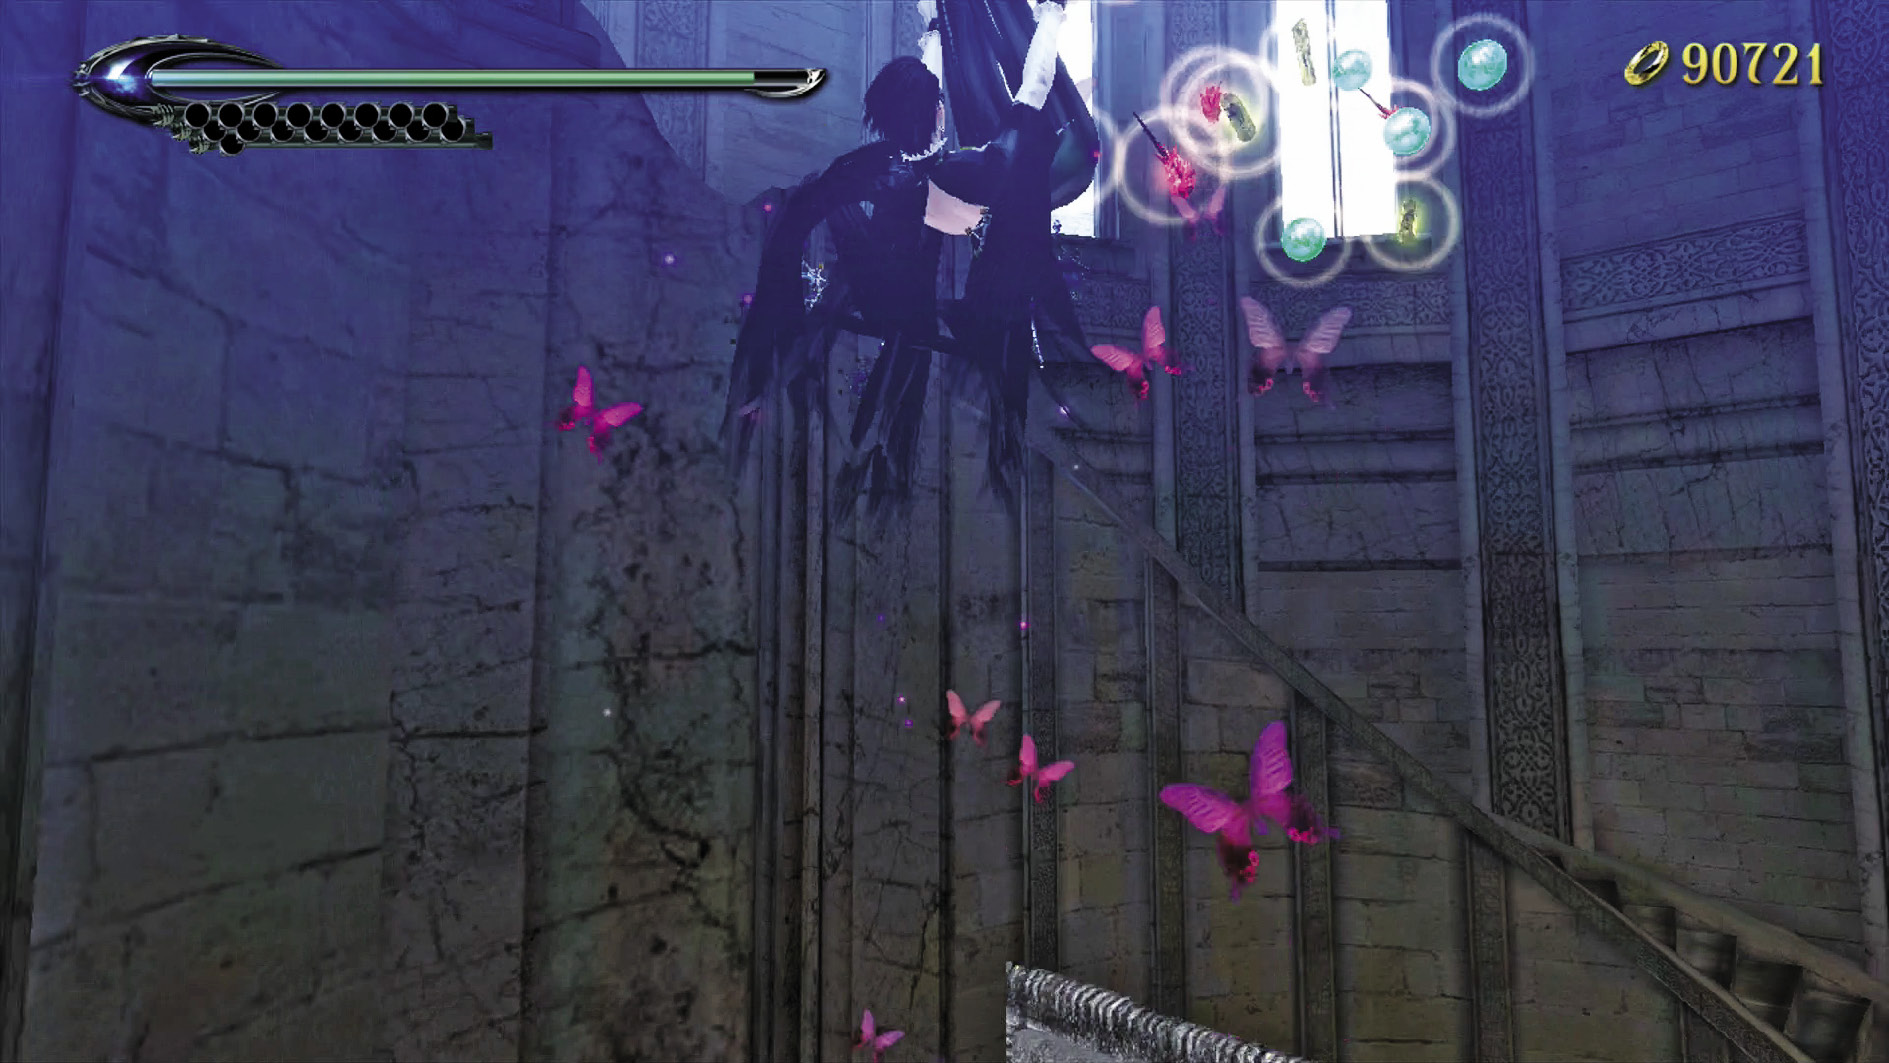
A small fountain to the left just a short way ahead is full of Witch Concoction Ingredients to try your recipes with.
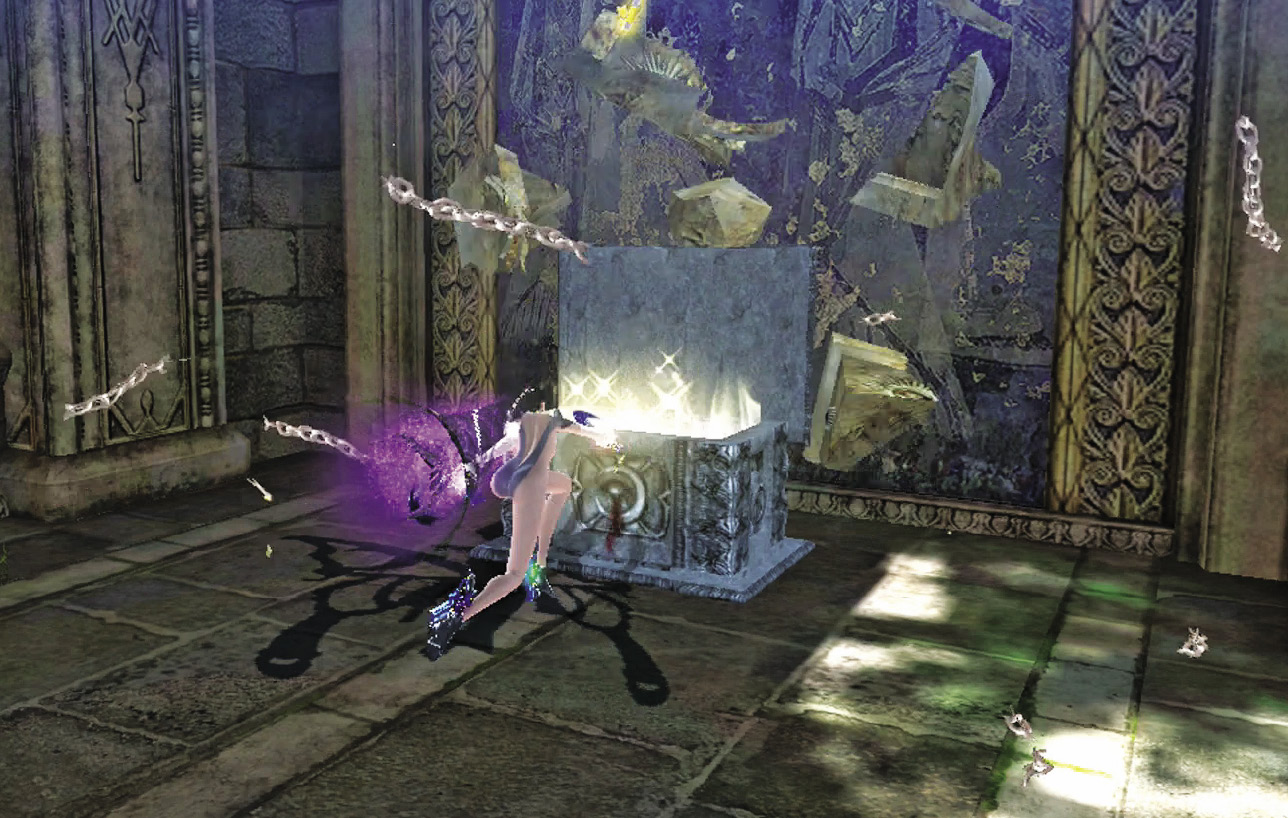
Outside, head straight ahead into the side alley for a chest containing a Yellow Moon Lollipop. Then go to the center for another Verse.
Verse 10
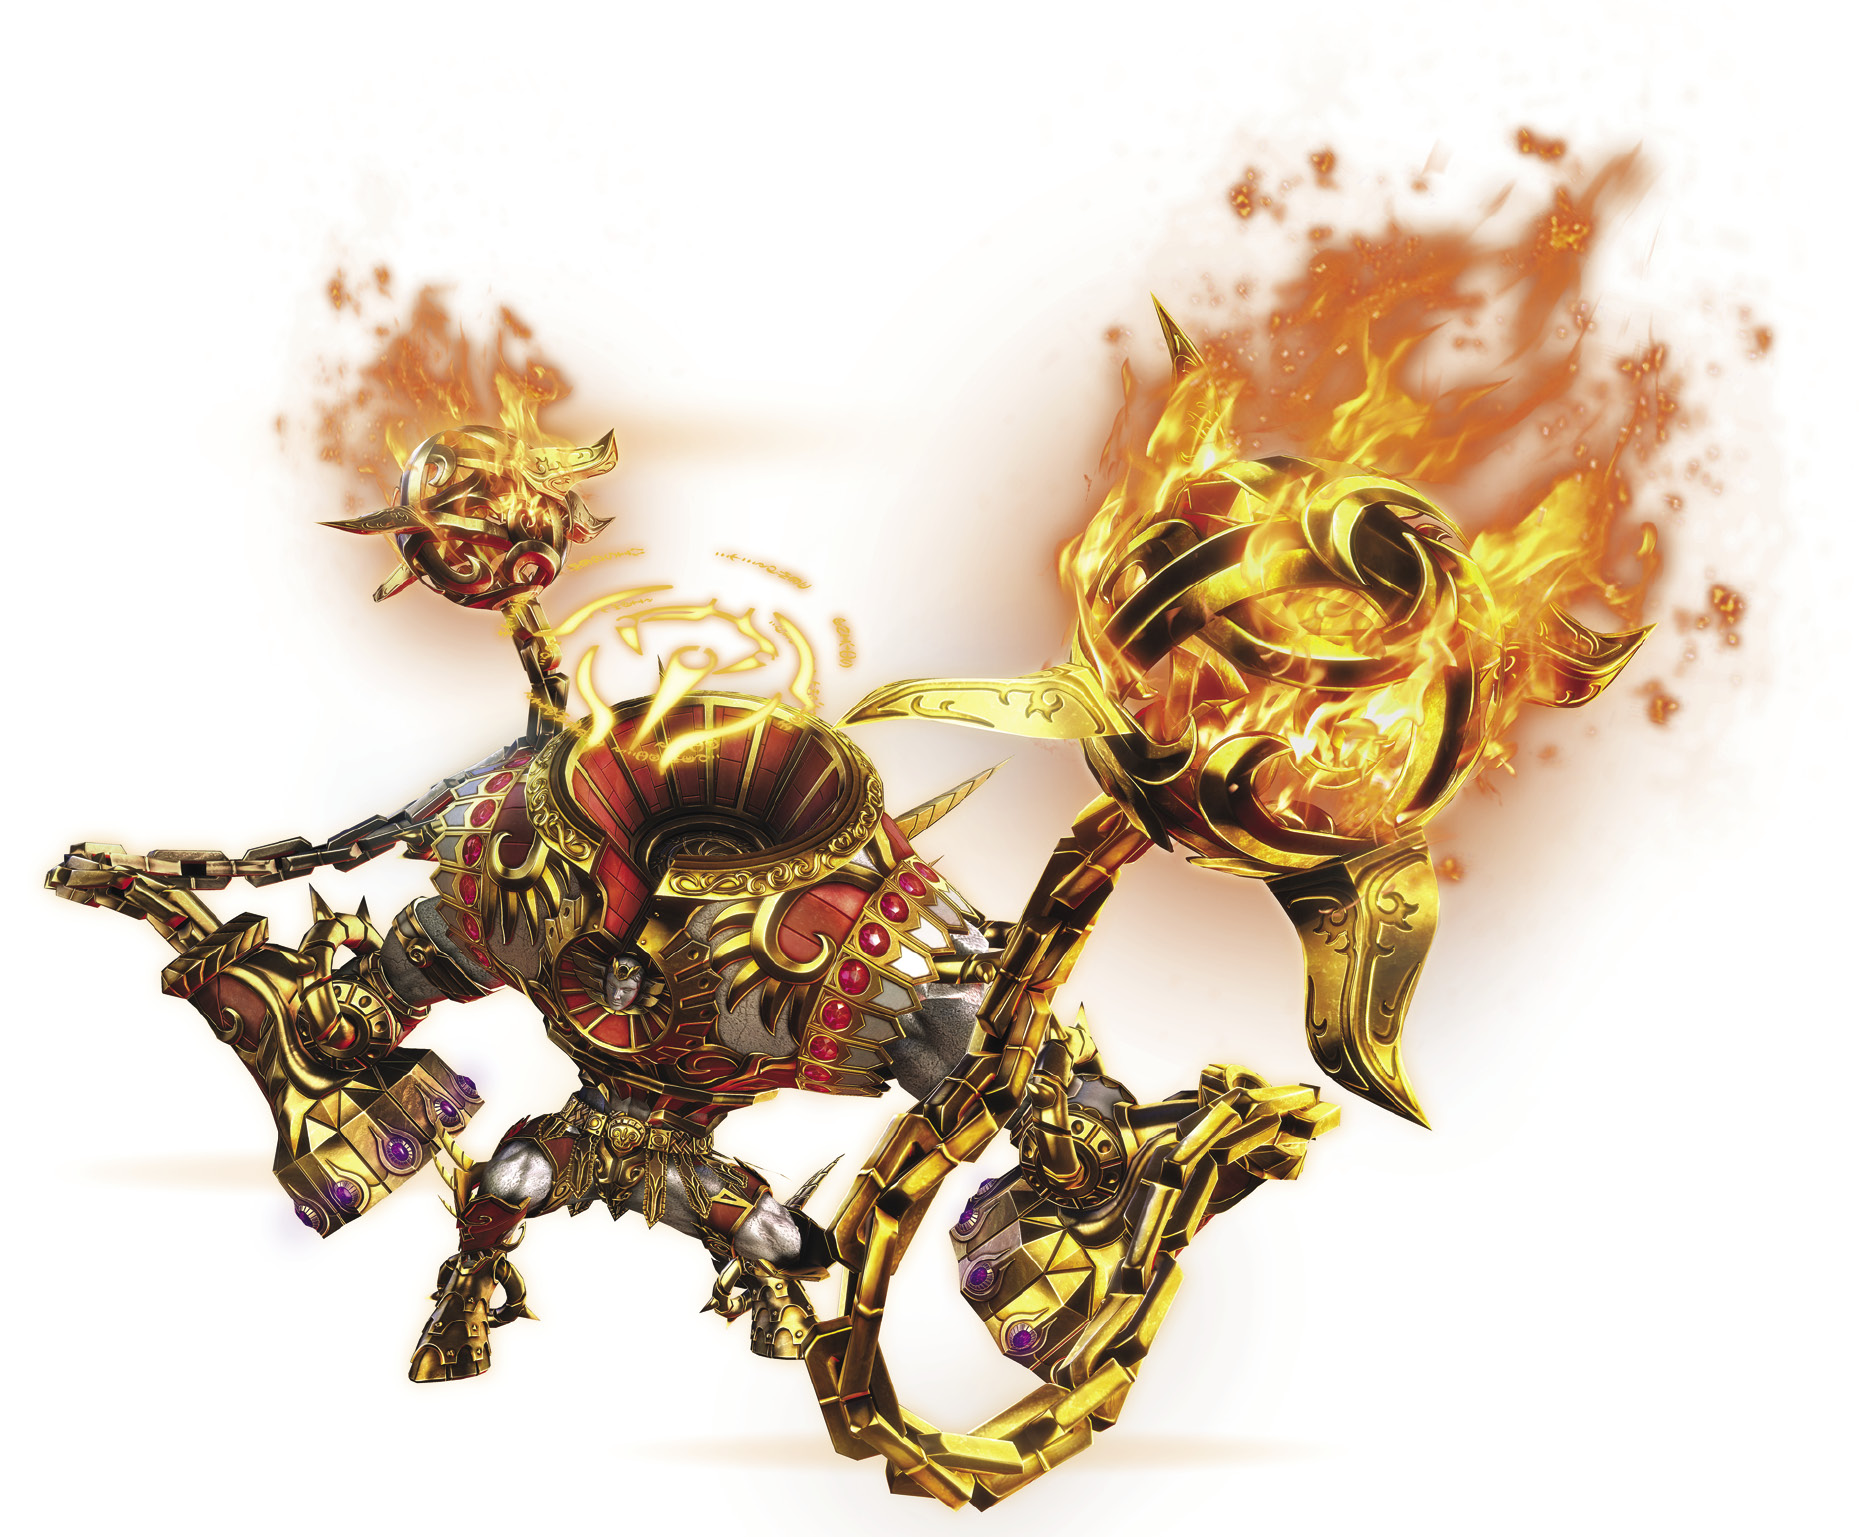
Enemy Spotlight: Urbane
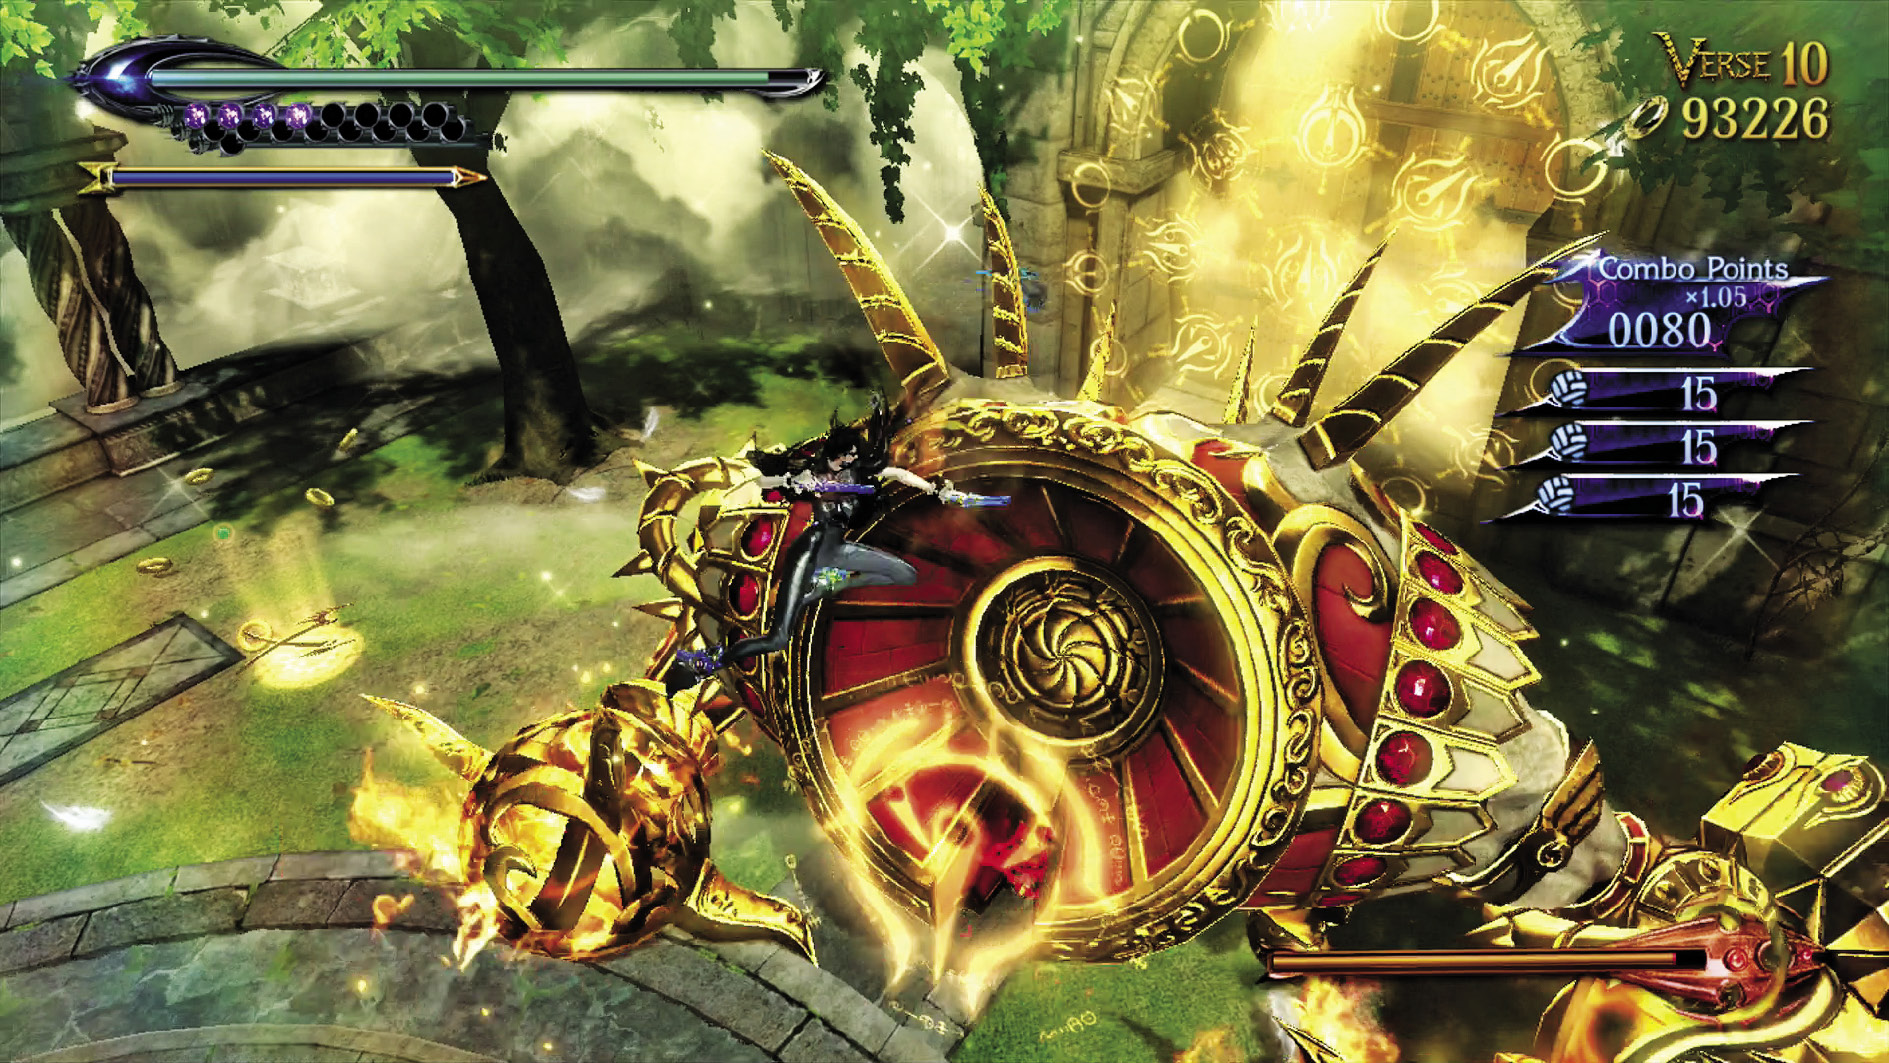
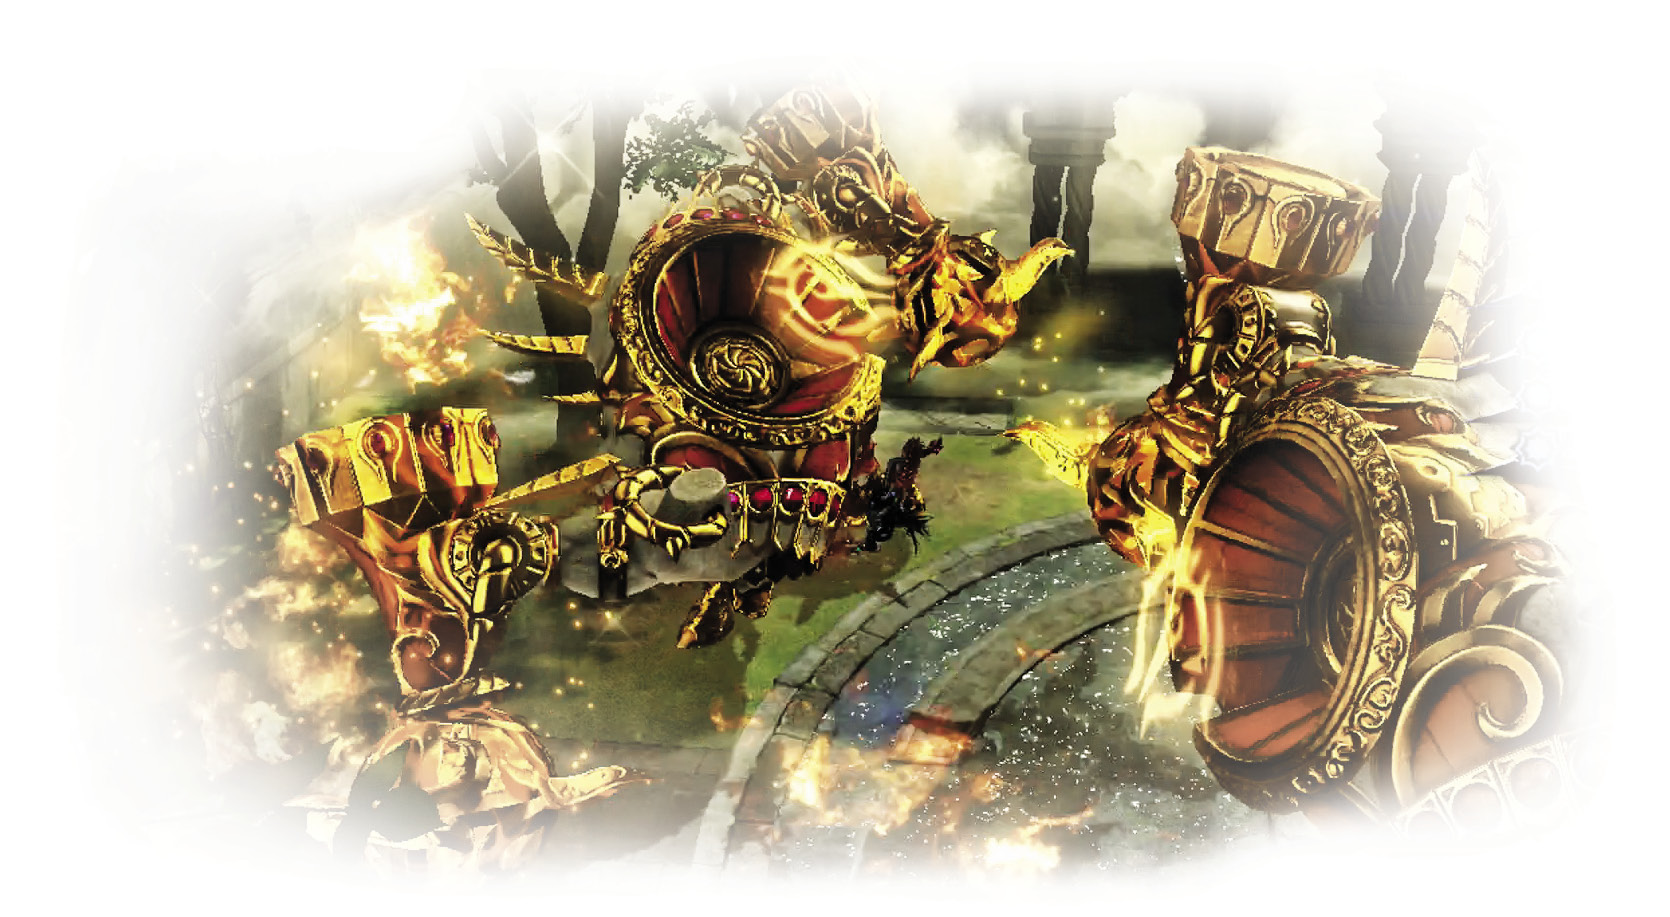
Urbane isn’t as large as Valiance, but he’s no less in charge. His fiery golden body has ball-hammers for arms, which can slam into you and even extend as he jumps all over the battlefield like a rabbit. Your main goals should be to disable him, then match power with power. How to accomplish these objectives depends on the various situations in which he shows up.
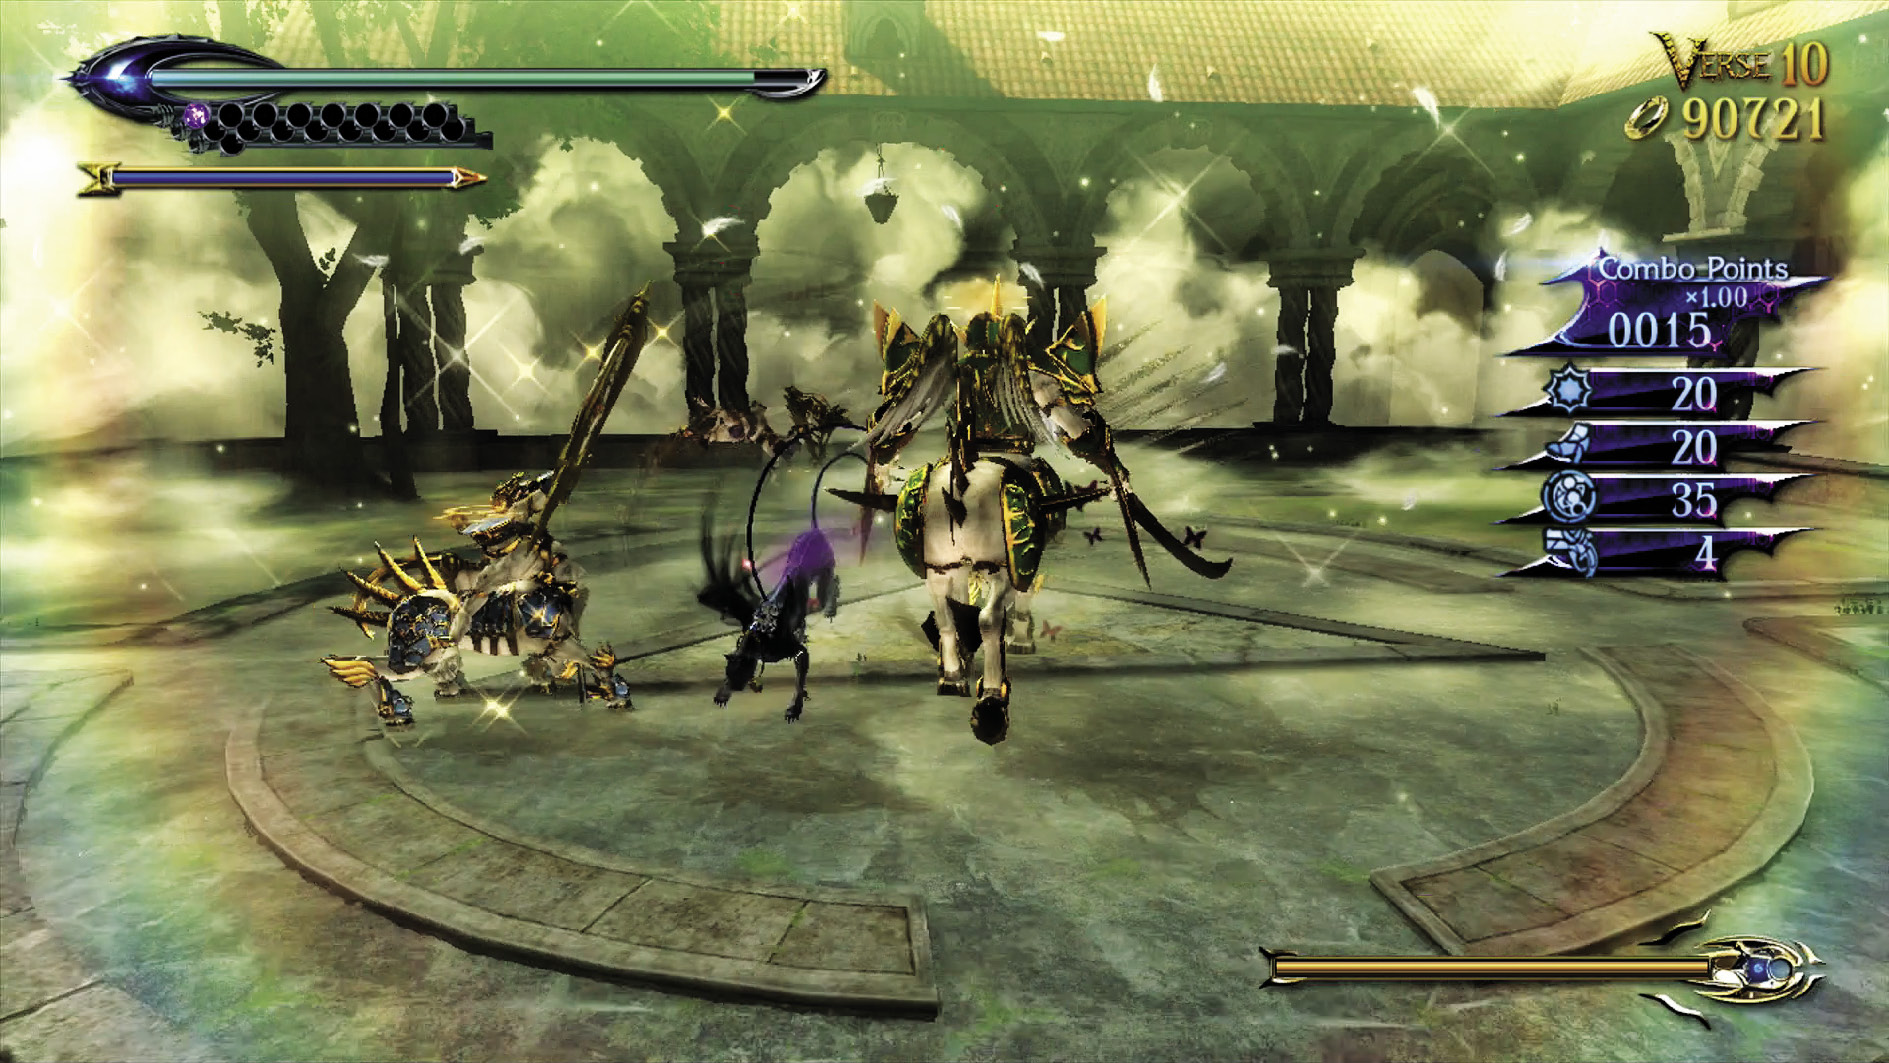
1st Climax/2nd Climax/3rd Climax
Enemies: Acceptance (Harp) x2, Accolade (Twin Blades) x1, Cachet x2, Compassion x9, Urbane x1
Try to save the magic power you build up as you fight the first wave of enemies. Once you take out the small fry, Urbane comes into play. Play coy with him and dodge everything he’s got until you can get into an advantageous position with Witch Time or Umbran Climax.
∞ Climax
Enemies: Accolade (Hammer), Accolade (Shield), Urbane x2
∞ Climax contains nothing but heavy hitters. If you’re hurting for time, go ahead and use Umbran Climax on the shielded Accolades. Otherwise, bait them into attacking, then Witch Time like crazy.
You’re rewarded with two Urbanes to fight in the second wave. The strategies are the same, except you have to be on the lookout for four hammer-arms instead of two.
Go for Pure Platinum!

Suggested Weapons: Salamandra (Arms), Alruna (Legs)
This one’s a bit tricky, especially on ∞ Climax. You want to slice through the Acceptances and Accolades as quickly as possible (which means baiting the shield Accolades on ∞ Climax as quickly as possible) so you can get to the Urbanes. Make sure to slam down the Urbane(s) by holding K during Witch Time or Umbran Climax as soon as possible—the Time requirements are pretty strict in this Verse and you don’t want to waste time looking for openings to slice. Taunt in between the enemy waves to keep your combo and be as efficient as possible in battle, and Pure Platinum will be yours.
Past the doors, straight ahead and to the left, you see an entrance to The Gates of Hell. But before you go any further, turn around and head all the way back to the entrance of The Church for a hidden fight!
| CH1 V10 | 1st Climax | 2nd Climax | 3rd Climax | ∞ Climax | ||||||||
|---|---|---|---|---|---|---|---|---|---|---|---|---|
| Time | Damage | Combo | Time | Damage | Combo | Time | Damage | Combo | Time | Damage | Combo | |
| PLATINUM | 02:20 | 0 | 30030 | 02:20 | 0 | 30030 | 02:30 | 0 | 30030 | 02:30 | 0 | 168000 |
| GOLD | 02:40 | 500 | 13330 | 02:40 | 1000 | 13330 | 02:50 | 2000 | 13330 | 02:50 | 3000 | 69600 |
| SILVER | 03:00 | 1000 | 9160 | 03:00 | 2000 | 9160 | 03:10 | 4000 | 9160 | 03:10 | 5000 | 45000 |
| BRONZE | 03:20 | 1500 | 4980 | 03:20 | 3000 | 4980 | 03:30 | 6000 | 4980 | 03:30 | 7000 | 20400 |
| BOSS BONUS | ||||||||||||
Verse 11
1st Climax/2nd Climax/3rd Climax/∞ Climax (Go for Pure Platinum!)

Suggested Pure Platinum Weapons: Salamandra (Arms)
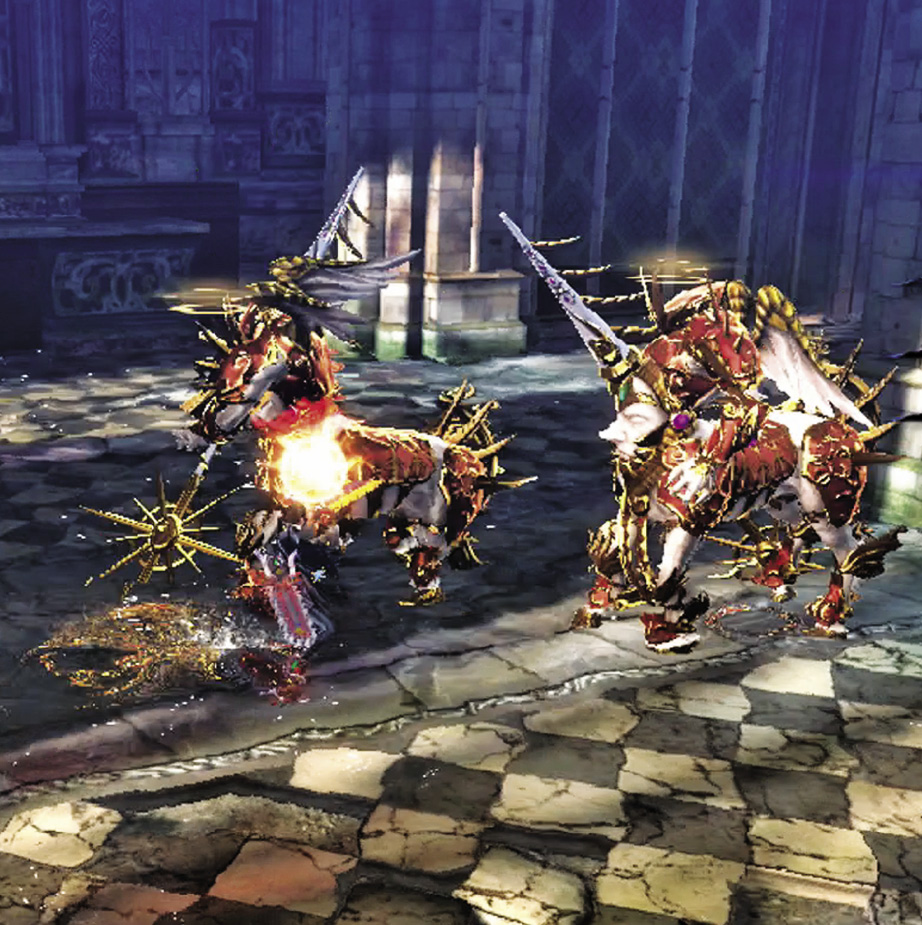
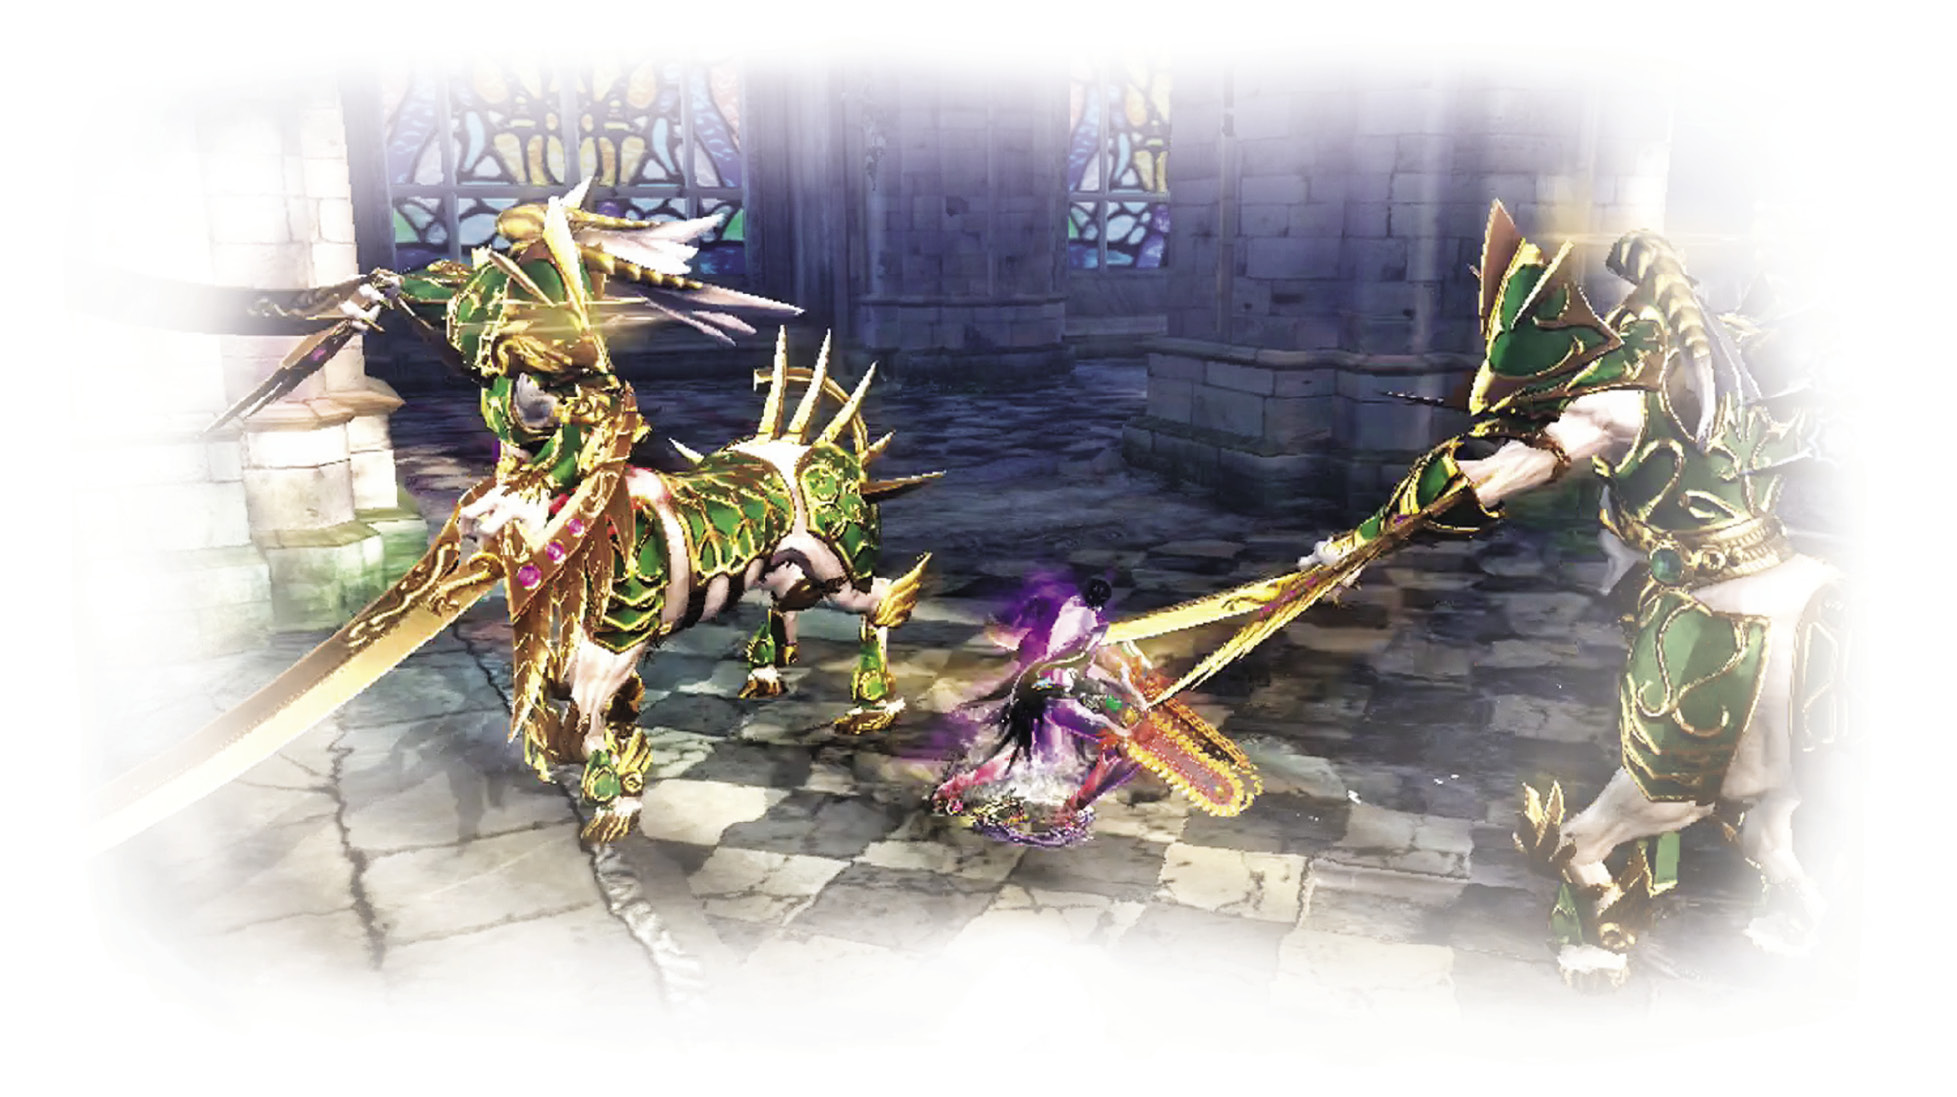
Enemies: Accolade (Spear) x2; ∞ Climax: Accolade (Twin Blades) x2
After the craziness that was Verse 10, it’s nice to have a reprieve! Whichever group of Accolades you face, the strategy is simple: Dodge their weapon swings, then hit back. In ∞ Climax you have to dodge faster, but that’s it.
Proceed with the rest of the stage! When you come across the next waterway, jump into its left side for the penultimate Verse.
| CH1 V11 | 1st Climax | 2nd Climax | 3rd Climax | ∞ Climax | ||||||||
|---|---|---|---|---|---|---|---|---|---|---|---|---|
| Time | Damage | Combo | Time | Damage | Combo | Time | Damage | Combo | Time | Damage | Combo | |
| PLATINUM | 00:40 | 0 | 2930 | 00:40 | 0 | 2930 | 00:40 | 0 | 2930 | 00:45 | 0 | 2930 |
| GOLD | 00:50 | 200 | 1710 | 00:50 | 400 | 1710 | 00:50 | 800 | 1710 | 00:55 | 3000 | 1710 |
| SILVER | 01:00 | 400 | 1410 | 01:00 | 800 | 1410 | 01:00 | 1600 | 1410 | 01:05 | 4500 | 1410 |
| BRONZE | 01:10 | 600 | 1100 | 01:10 | 1200 | 1100 | 01:10 | 2400 | 1100 | 01:15 | 6000 | 1100 |
| BOSS BONUS | ||||||||||||
Verse 12
1st Climax/2nd Climax/3rd Climax
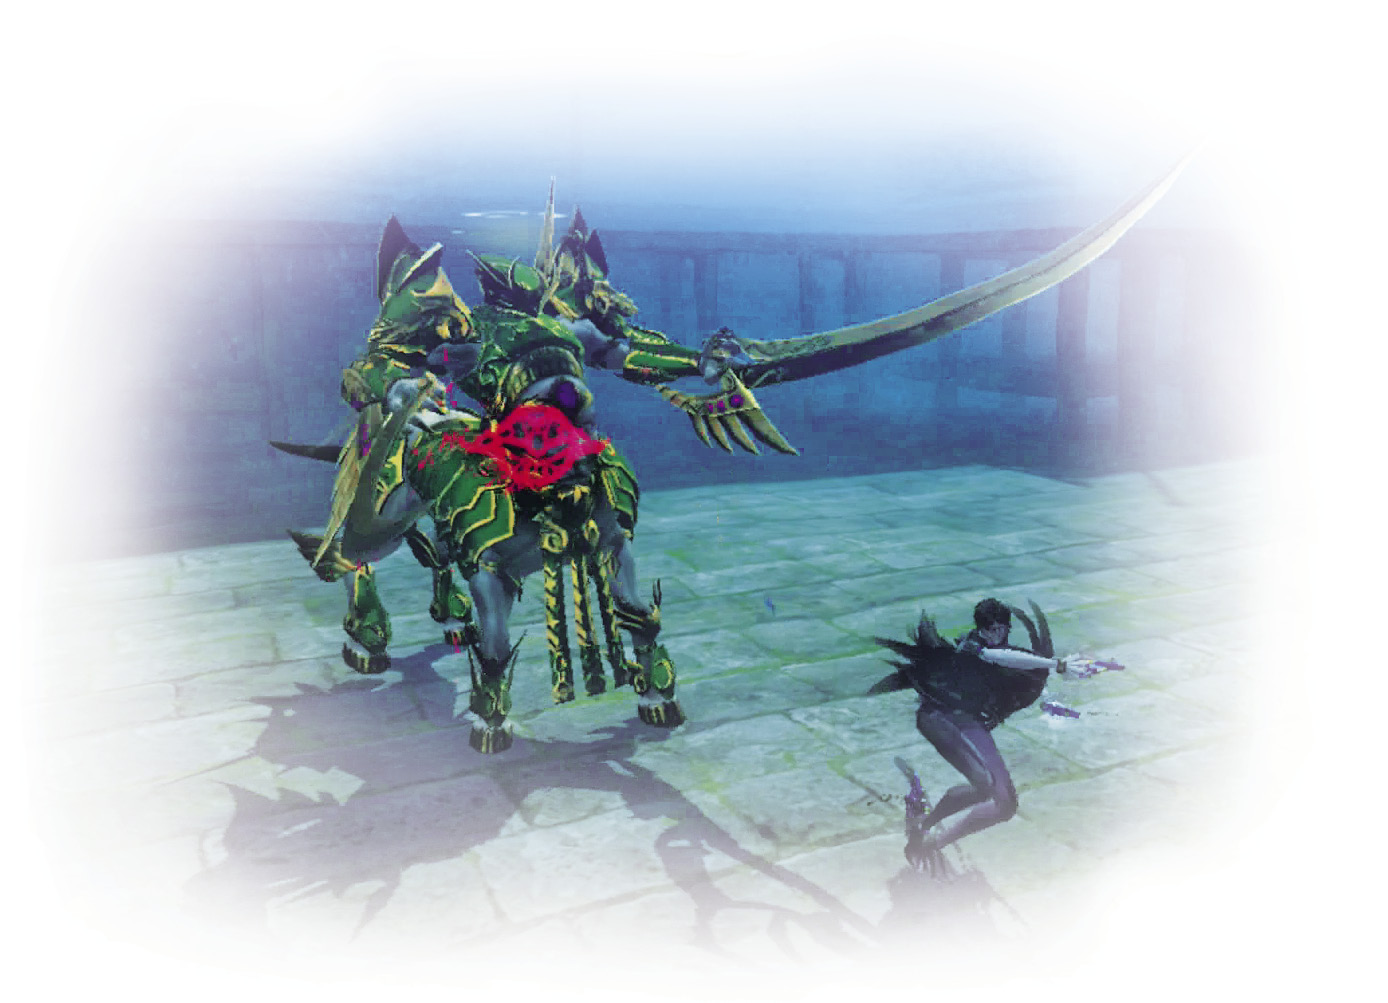
Enemies: Accolade (Twin Blades)
A one-on-one fight against a single twin-bladed Accolade isn’t too tough. All it takes is one well-placed dodge to end the fight.
∞ Climax
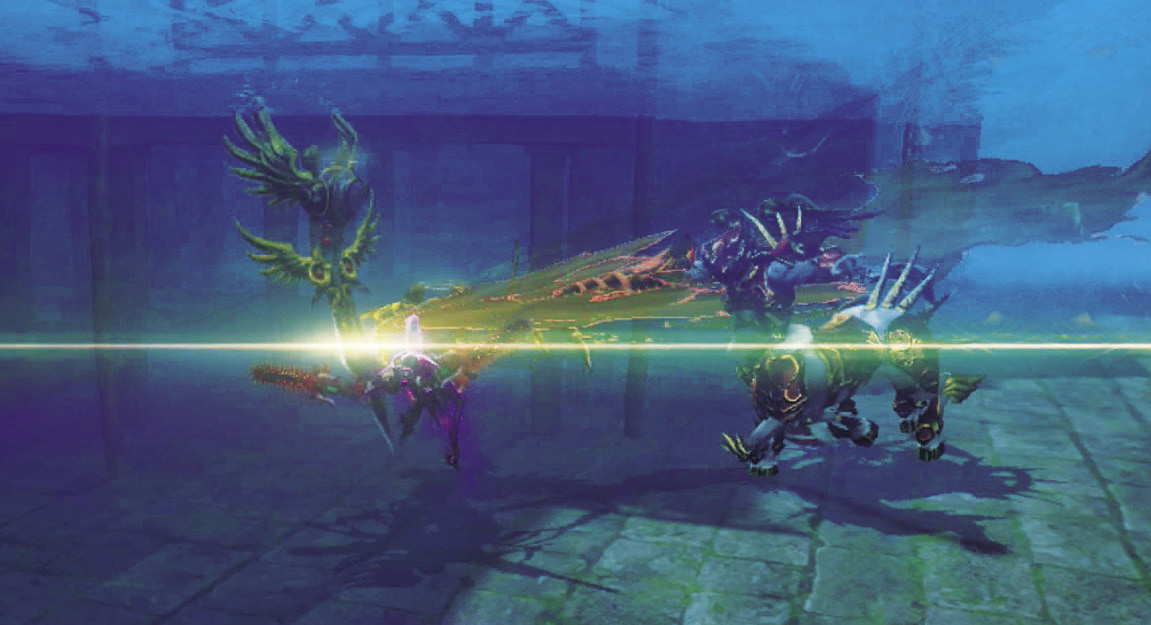
Enemies: Accolade (Spear), Compassion x4
A Spear Accolade with Compassion backup, underwater? That’s a little tougher. Use your Lock-On button and the Stiletto to counteract Bayonetta’s impaired underwater mobility and to keep track of your enemies. Snake Within is of limited use in such shallow waters, but you can give that a try as well.
Go for Pure Platinum!

Suggested Weapons: Salamandra (Arms)
The above strategies work fine with Salamandra—just be sure not to take too long moving underwater or tracking down enemies!
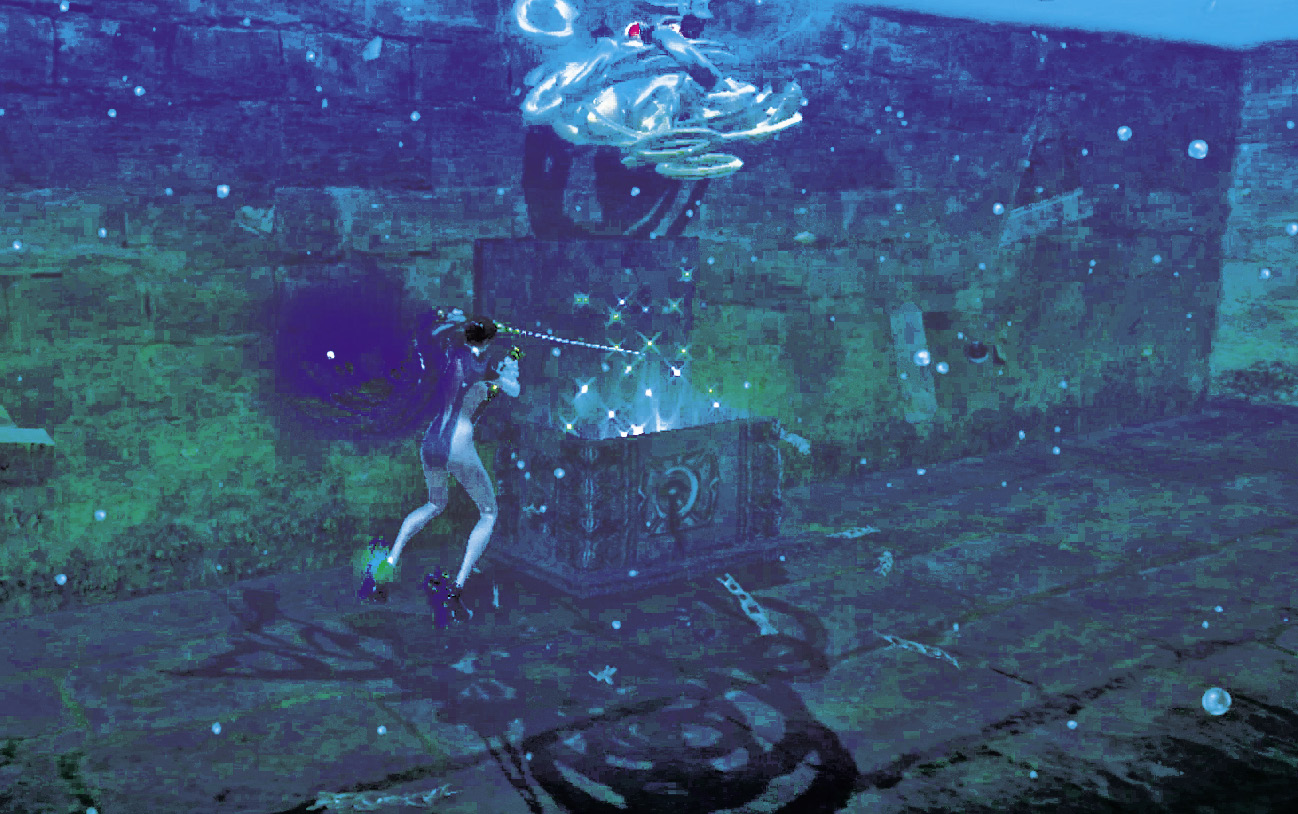
Go to the other side of the waterway for a chest containing some Halos. Surface, then continue along the path. It’s boss time!
Beating this Verse nabs you a Broken Witch Heart (8/40)
| CH1 V12 | 1st Climax | 2nd Climax | 3rd Climax | ∞ Climax | ||||||||
|---|---|---|---|---|---|---|---|---|---|---|---|---|
| Time | Damage | Combo | Time | Damage | Combo | Time | Damage | Combo | Time | Damage | Combo | |
| PLATINUM | 00:20 | 0 | 680 | 00:20 | 0 | 680 | 00:20 | 0 | 680 | 00:35 | 0 | 1850 |
| GOLD | 00:30 | 300 | 540 | 00:30 | 600 | 540 | 00:30 | 1200 | 540 | 00:45 | 3000 | 1200 |
| SILVER | 00:40 | 450 | 510 | 00:40 | 900 | 510 | 00:40 | 1800 | 510 | 00:55 | 5000 | 1040 |
| BRONZE | 00:50 | 600 | 470 | 00:50 | 1800 | 470 | 00:50 | 2400 | 470 | 01:05 | 7000 | 880 |
| BOSS BONUS | ||||||||||||
Verse 13
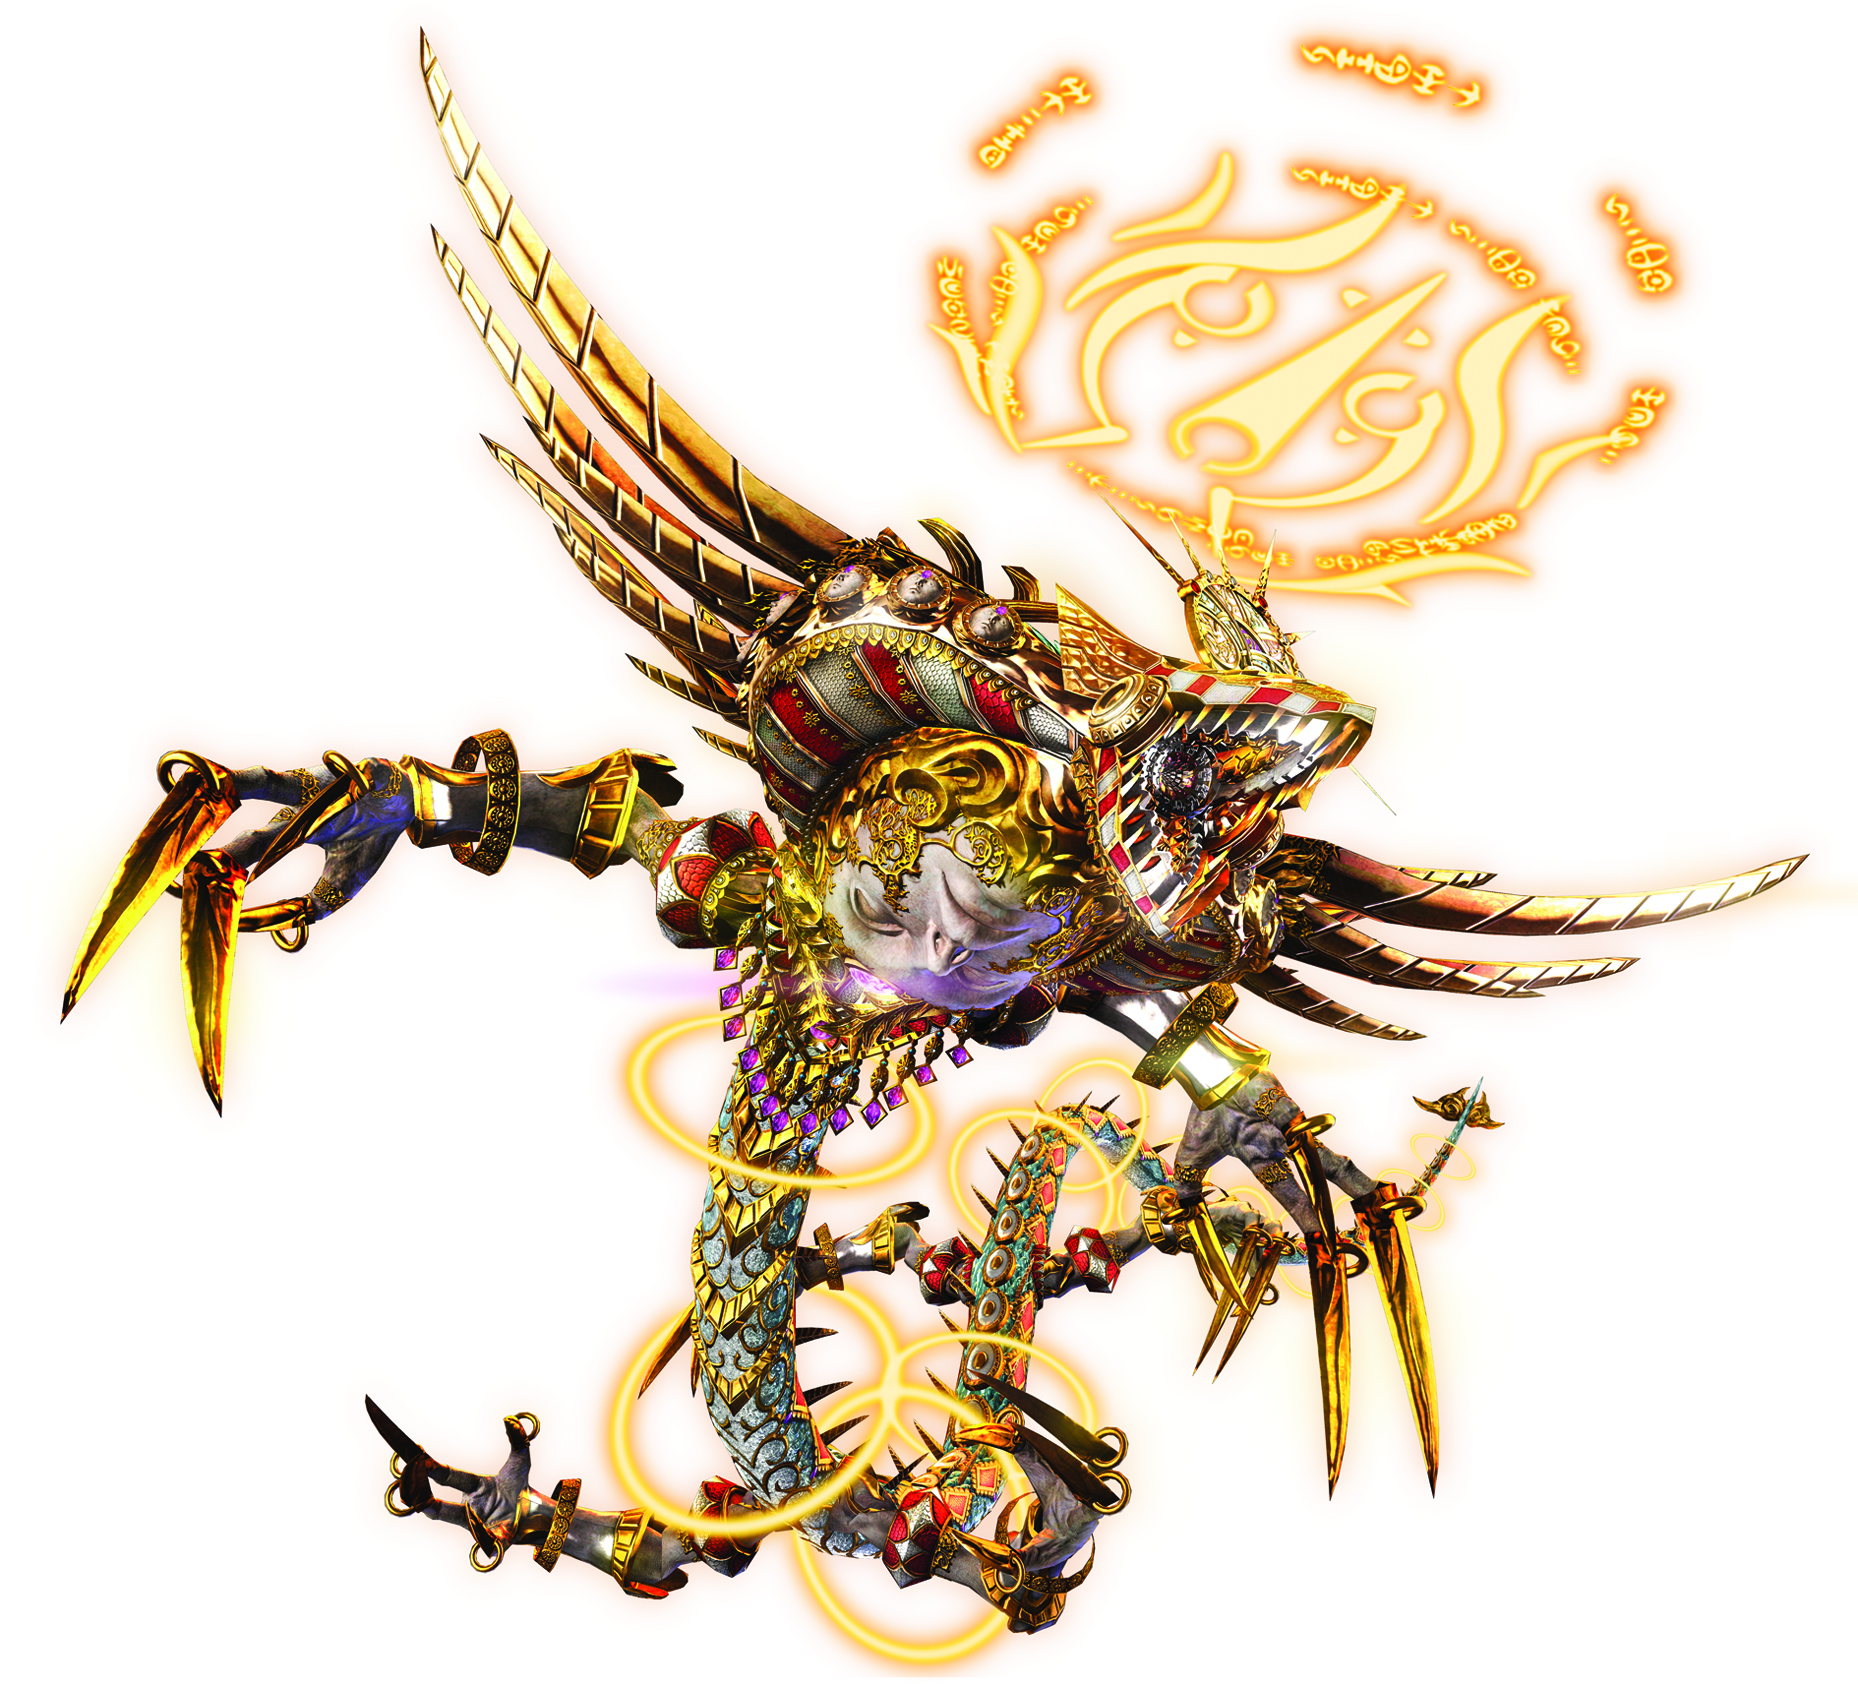
Boss: Glamor
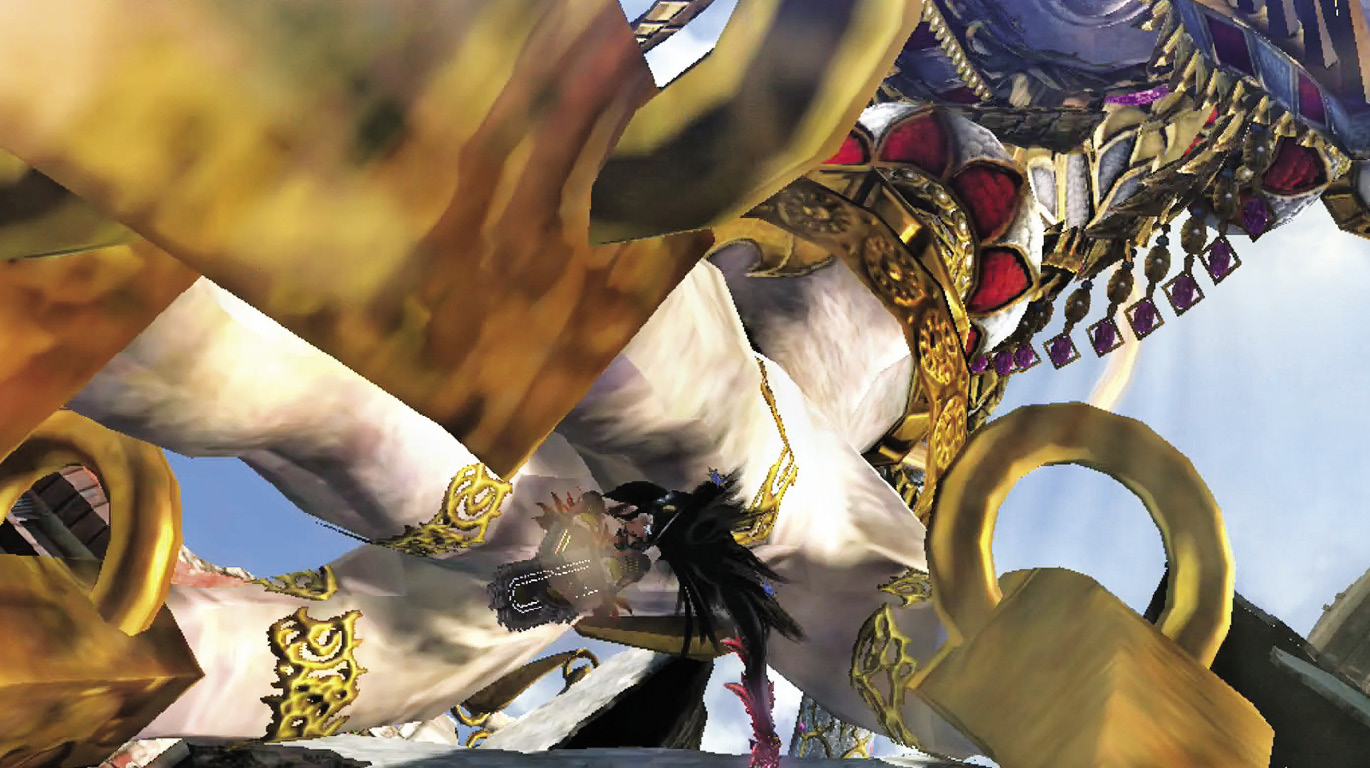
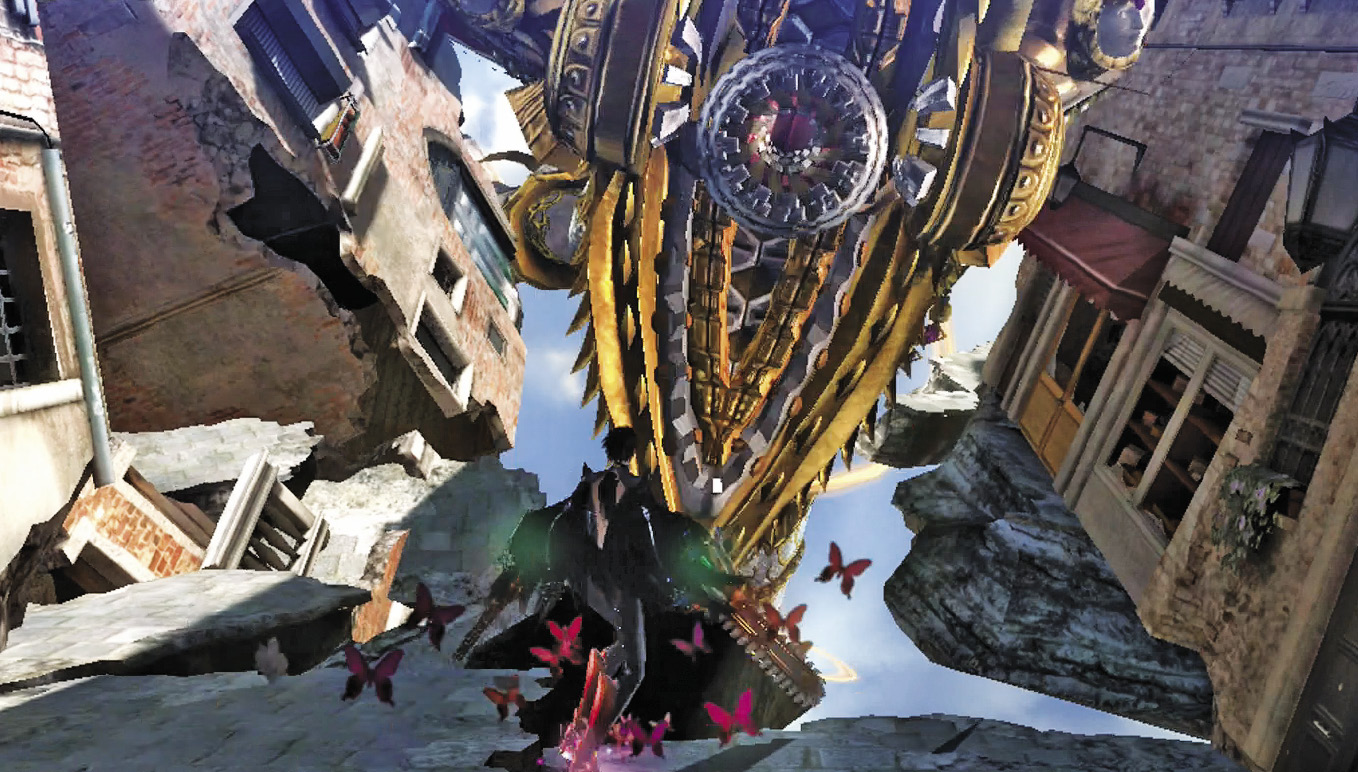
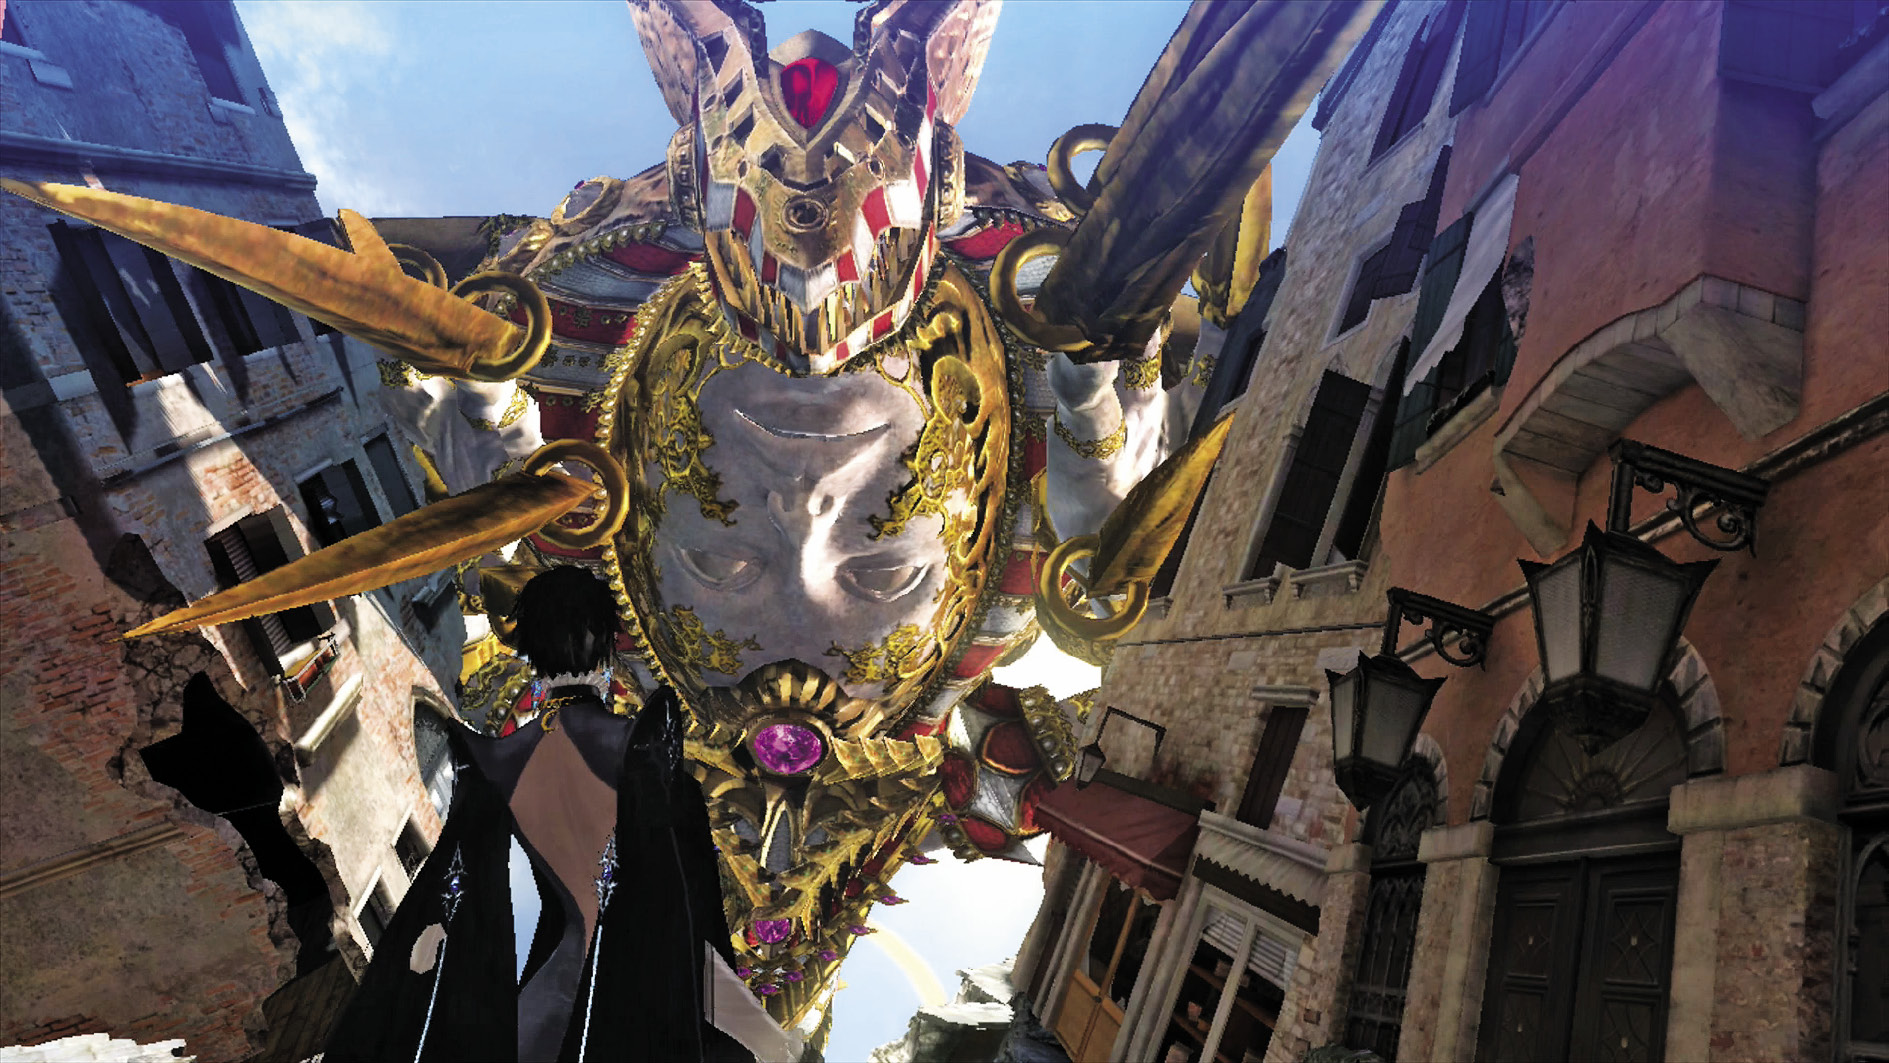
This isn’t the first time you’ve faced Glamor, and it won’t be the last. However, this is his first genuine offensive, and it’s not to be trifled with!
1st Climax/2nd Climax/3rd Climax/∞ Climax (Go for Pure Platinum!)

Suggested Pure Platinum Weapons: Salamandra (Arms)
Enemy: Glamor (2 Phases)
Phase 1
Phase 1 actually goes fairly quickly. Glamor snaps at you with his huge jaws. Dodge these jaws and retaliate with melee attacks during Witch Time. When Glamor pulls back, fire your guns until he tries to get in close again. Every once in a while he takes a swipe with his claws. Treat these the same as his bites.
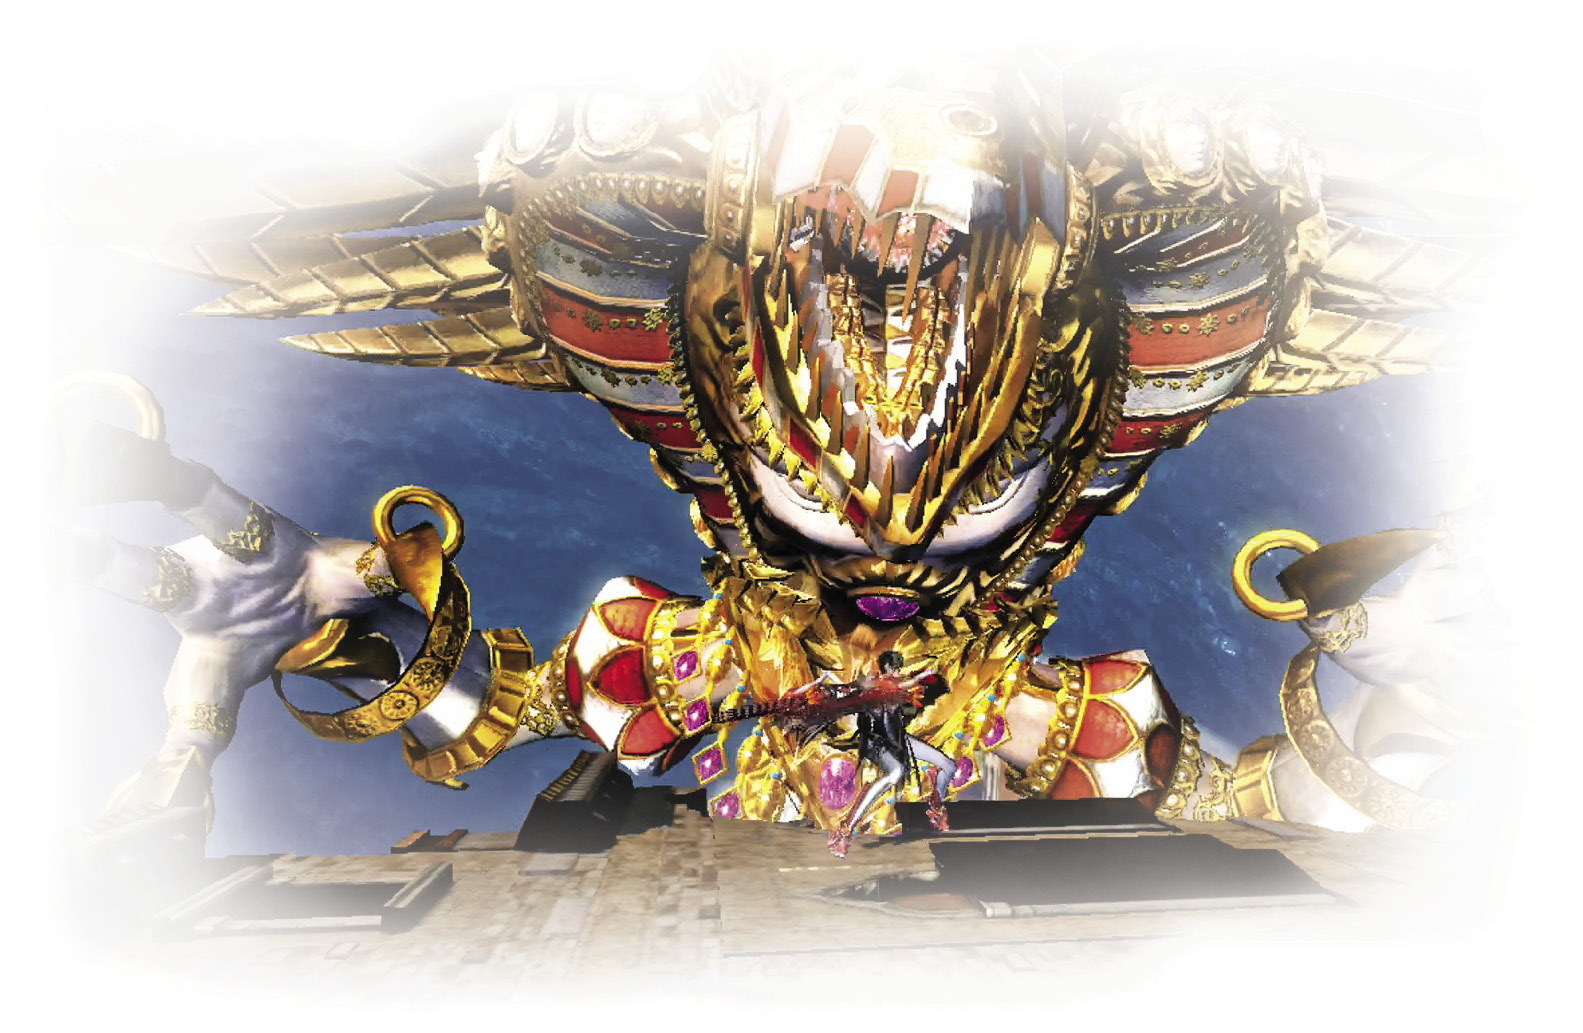
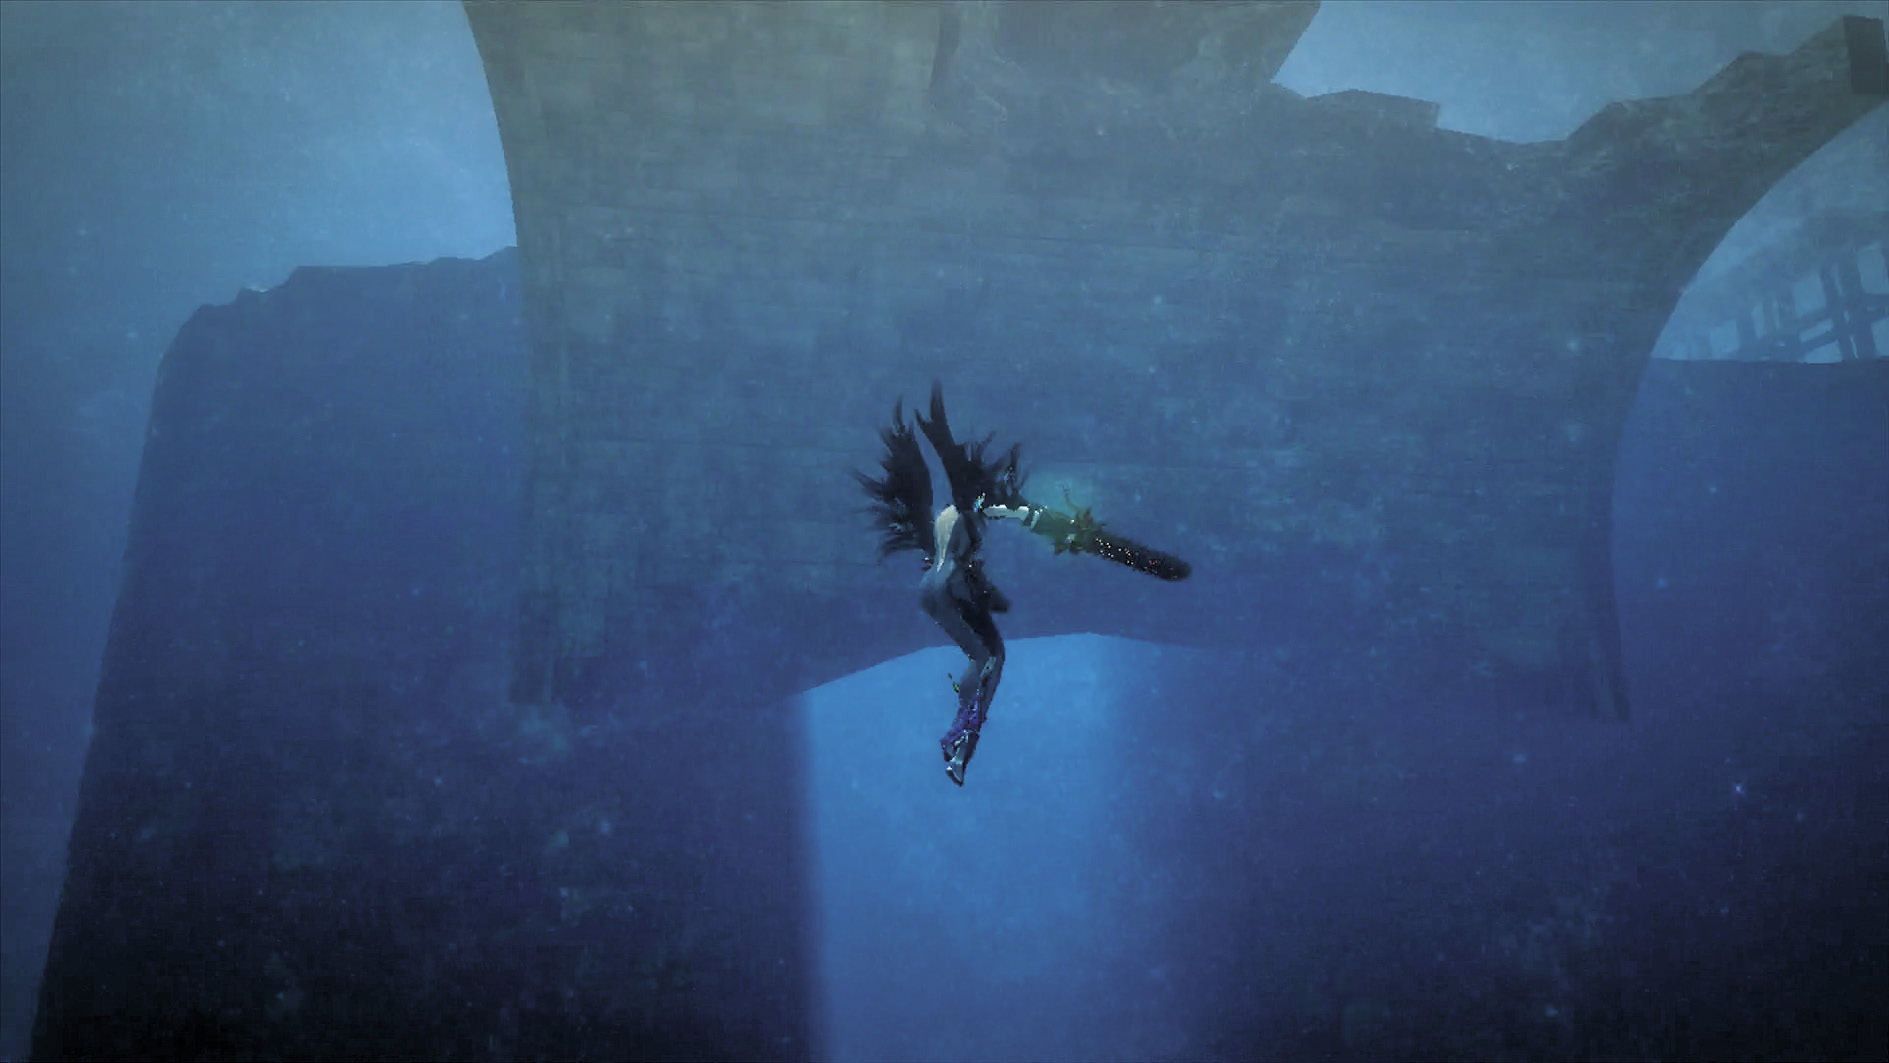
Do this a few times and he’ll break the building, then grab the piece of it that you’re standing on! Phase 2 starts now!

Phase 2
Glamor continues to bite at you, but he also swipes at you with his claws at an increased rate. It’s actually easier to dodge these now that you have more room to maneuver. Otherwise, the strategy remains the same as in Phase 1.
Once you beat Glamor, it’s time to really beat him! Press the buttons during the climactic Quick Time Event, and send Glamor to the ground floor the fast way!
Come Back, Snake
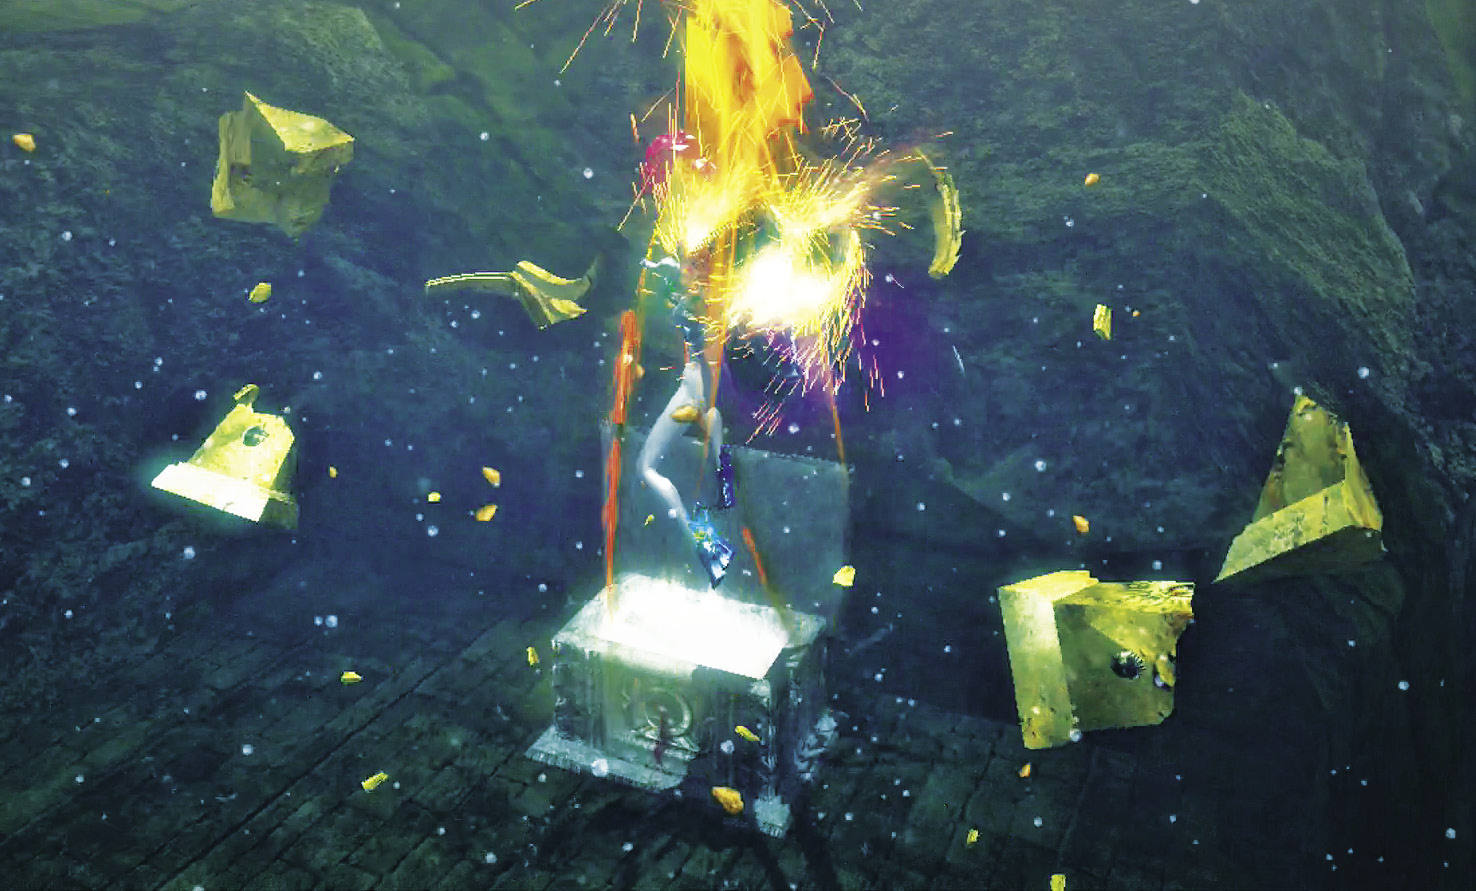
Once you get the power of Snake Within in Chapter V, you can reach two more Broken Witch Hearts in this Chapter!
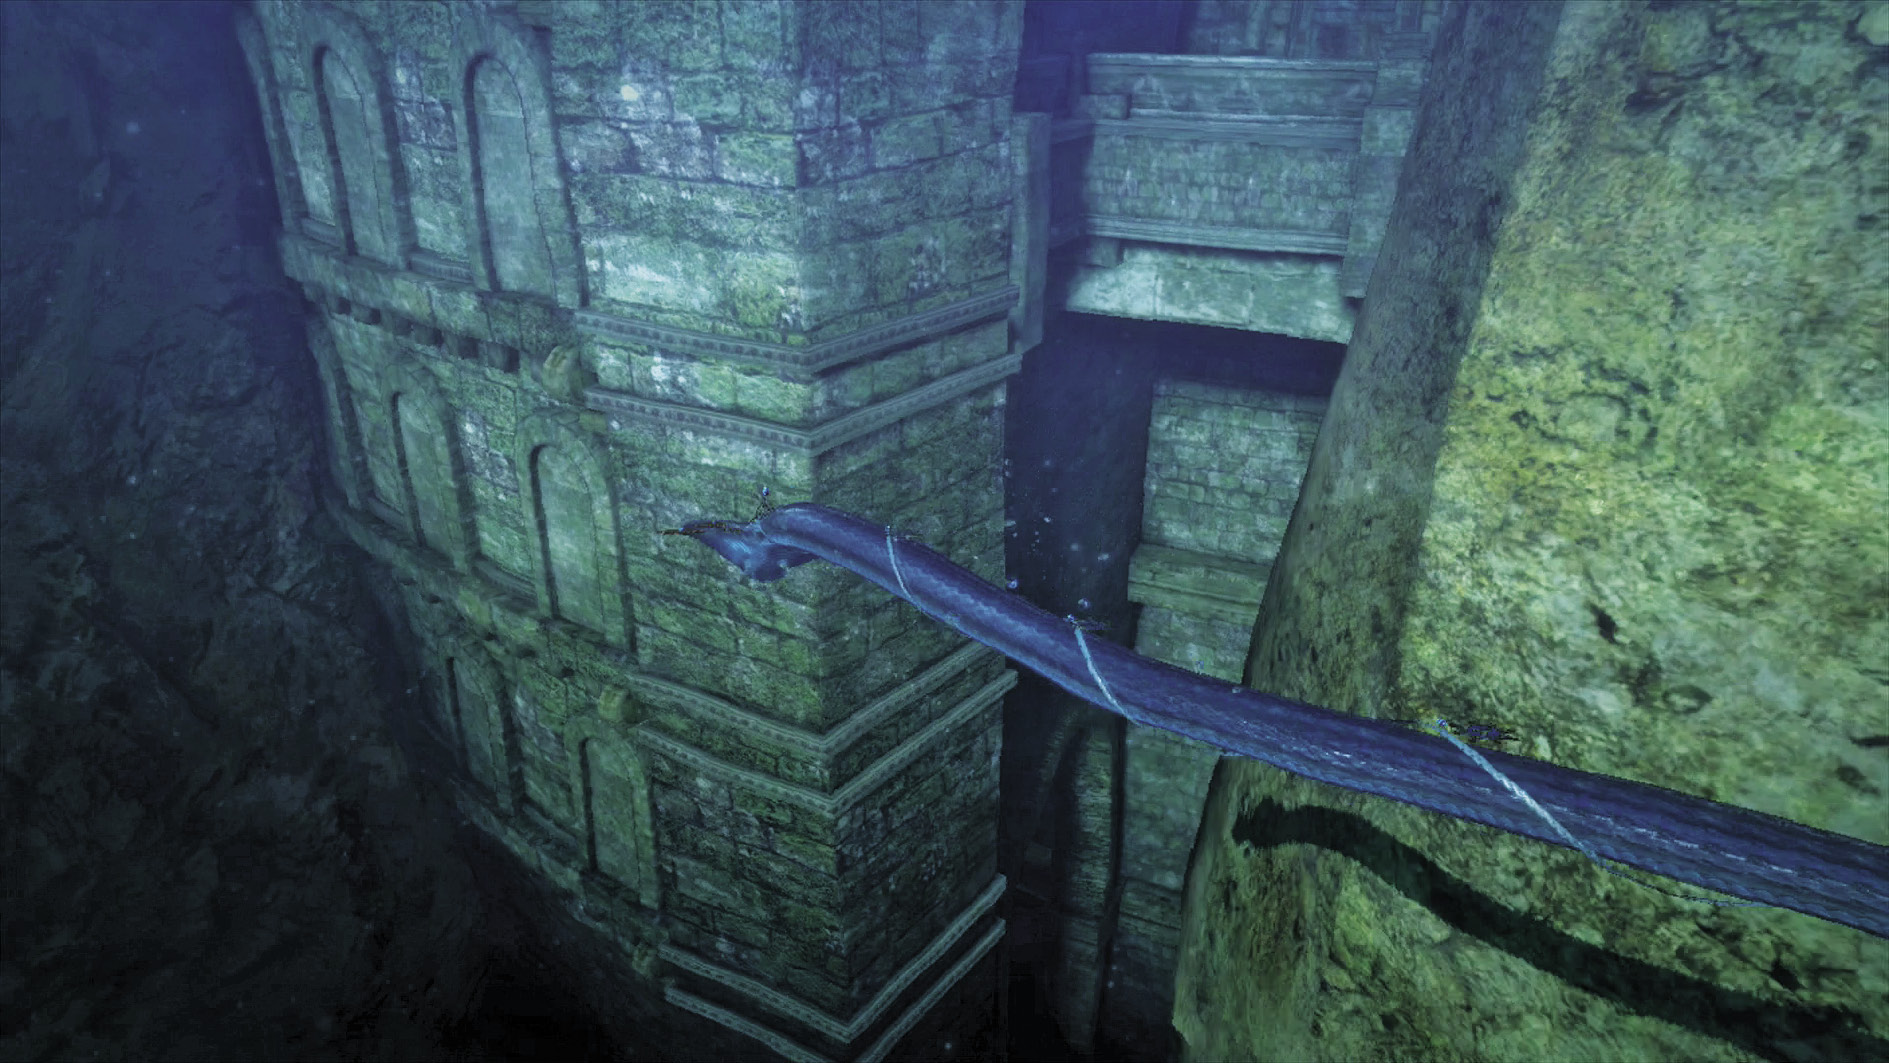
At the edge of the opening port where you picked up the A New Beginning Journal’s Echo, drop down, turn around and slip through the small vertical opening. Follow the pathway, then swim up to find the Broken Witch Heart (9/40).
After traversing the sunken hallway, head to the left of the platform where Verse 2 takes place. Head down and to the left using Snake Within, slipping into the small alcove further left. Swim up to find the chest with the Broken Witch Heart (10/40).
post-chapter spoils Leaders of the Umbra Journal’s Echo
| CH1 V13 | 1st Climax | 2nd Climax | 3rd Climax | ∞ Climax | ||||||||
|---|---|---|---|---|---|---|---|---|---|---|---|---|
| Time | Damage | Combo | Time | Damage | Combo | Time | Damage | Combo | Time | Damage | Combo | |
| PLATINUM | 01:50 | 0 | 23000 | 01:50 | 0 | 23000 | 02:00 | 0 | 23000 | 02:10 | 0 | 23000 |
| GOLD | 02:10 | 300 | 10400 | 02:10 | 600 | 10400 | 02:20 | 1200 | 10400 | 02:30 | 3000 | 10400 |
| SILVER | 02:30 | 600 | 7250 | 02:30 | 1200 | 7250 | 02:40 | 2400 | 7250 | 02:50 | 5000 | 7250 |
| BRONZE | 02:50 | 900 | 4100 | 02:50 | 1800 | 4100 | 03:00 | 3600 | 4100 | 03:10 | 7000 | 4100 |
| BOSS BONUS | ||||||||||||