
Assassin's Creed: Revelations Guide Walkthrough Walkthrough
Sequence 1
A Sort of Homecoming
Memories 01 & 02
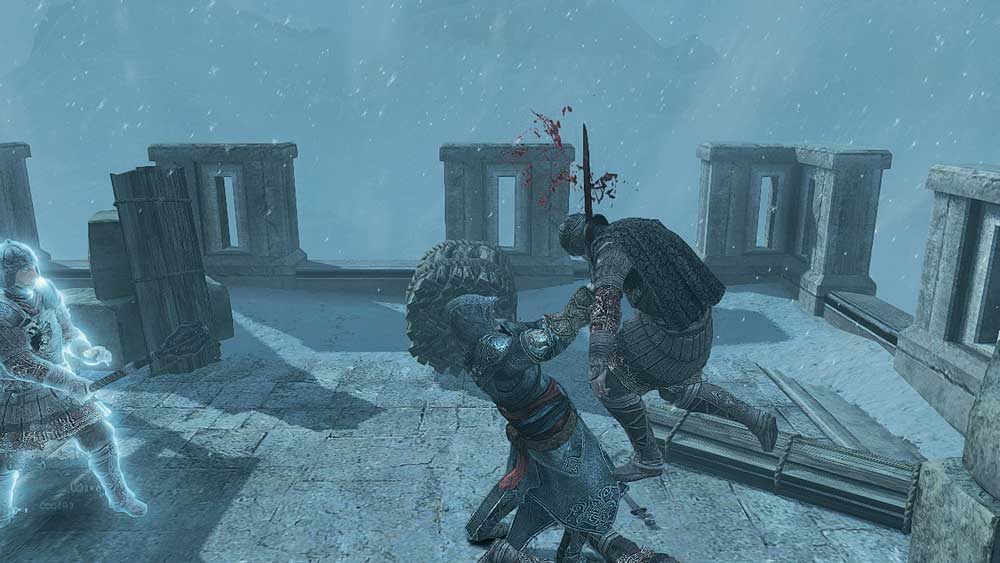
Figure 1
THE HANGMAN & A NARROW ESCAPE: Run along the shore when play begins, then follow Subject 16 for a short stroll on the mysterious Animus Island; when he disappears, walk into the portal to begin Sequence 01. Once Ezio lands in the spectacular introductory cutscene (completing the gameplay-free The Hangman Memory), A Narrow Escape begins automatically.
The first part is a relatively uncomplicated introduction to free running and climbing. Follow the ghostly apparition of Altaïr to reach the roof of Masyaf’s central keep, paying attention to pop-up prompts and tips as they appear.
There are two points during the climb where you must fight Byzantine Templars directly: the first a brief fistfight, and the second a weapons-based confrontation after Ezio has retrieved his equipment. In the second of these, employ a Counter Kill (Primary Attack button + High Profile button just before an opponent attacks) to kill one guard and fulfil the Full Synch requirement (Fig. 1).
You will need to perform two ledge assassinations on oblivious guards before you reach the top. Approach the statue at the waypoint marker and press the Empty Hand button to interact with it.
Memory 03
A JOURNAL OF SOME KIND: After Ezio lands in the pool of water, kill the guard, then follow the corridor to reach a chamber where the next Memory Start position awaits. Kill the four marked targets (the first with an air assassination, as directed), then approach the highlighted individual and press the Empty Hand button.
You must now follow the waypoint markers to reach a guard captain carrying an item of interest to Ezio. Fight or attempt to avoid the guard patrol after returning outdoors as you travel to the waypoint marker, then climb the ladder. On the wall above, dispatch the next group of Templars before you continue your climb (Fig. 2). At the final waypoint, follow the onscreen prompts to parachute from the wall, steering to land a safe distance behind the marked Templar and his bodyguards.
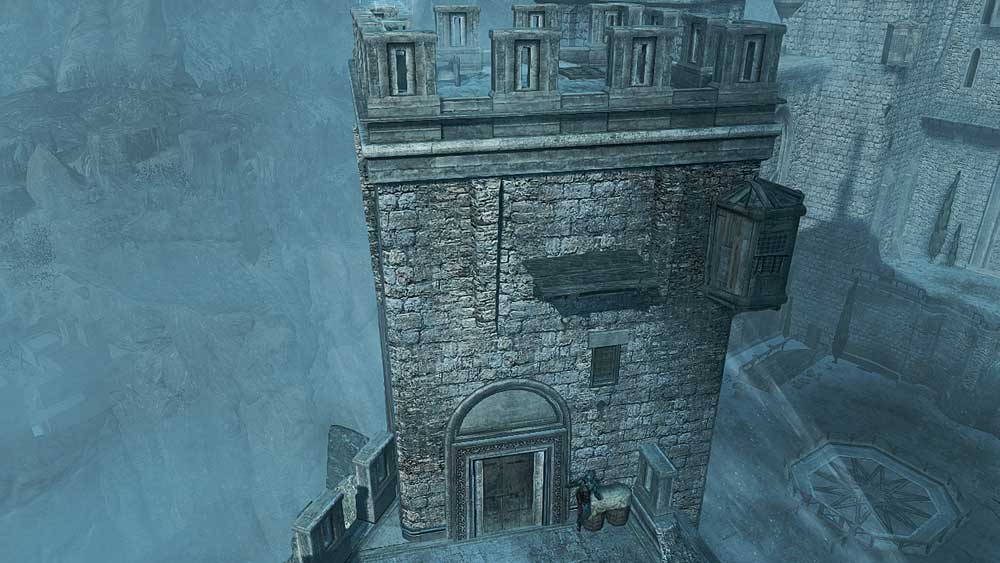
Figure 2
Stay out of sight and follow from a safe distance as you follow your target down the slope. You can satisfy the Full Synch requirement by successfully tailing this first individual without attracting attention. If you are discovered, you will need to activate Eagle Sense (press L/L3) to locate a new Templar to follow.
General Tips
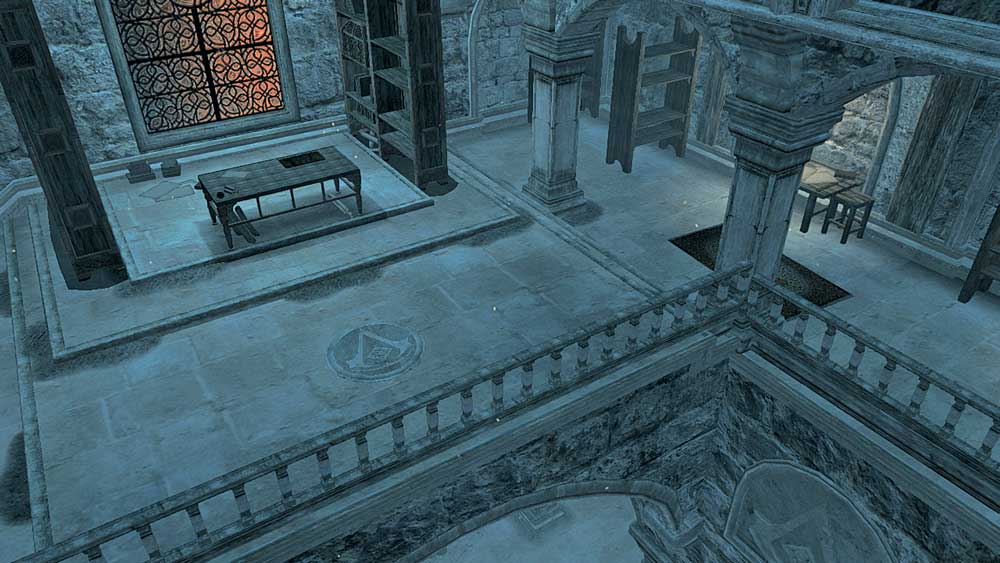
Figure 3
On Animus Island at the very start of the game, don’t walk straight into the portal. If you wait for a moment, you will hear a dialogue between Shaun Hastings and another individual filtering into Desmond’s consciousness from outside the Animus.
In addition to its default function, the Map button ( ◄ /SELECT) can also be used to view Database entries and play tutorials that cover both fundamental and advanced playing techniques. Whenever an onscreen prompt appears, tap the button to be taken to the information or lesson described in the accompanying text.
After killing each Templar in this opening Sequence, take the time to loot their corpses to gain small amounts of currency and other objects. Everything you accumulate during these early Memories is carried forward into Sequence 02, which will give you a head start when you leave Masyaf. The exotic-sounding items that Ezio collects are special ingredients used to craft bombs later in the story.
Players who enjoyed the original Assassin’s Creed may wish to head up the staircase before leaving the building at the start of the A Journal of Some Kind Memory. Though it may take a moment to recognize it, this is Al Mualim’s study (Fig. 3).
Take a moment to interact with objects shimmering with classic Animus effect to see hidden sights, and reminisce as you peer into the garden where the climatic confrontation between Altaïr and his former mentor took place.
Parachutes were a special reward in Assassin’s Creed Brotherhood, given to players who completed each of Leonardo’s War Machine missions, but they are rather easier to come by in Revelations. You can purchase additional Parachutes from Tailor stores from the start of Sequence 02.
Poison Blade & Poison Darts
Available from the beginning of the story, these weapons enable Ezio to create distractions and perform unique delayed assassinations.
Whether delivered up close by blade, or from range with a dart, Poison has a unique effect: it does not kill the target immediately. Instead, they will begin to stagger drunkenly as its deadly toxin courses through their veins, lashing out at imaginary assailants as they begin to experience hallucinations. This will cause all guards and citizens in the vicinity to turn and regard the ghastly commotion. After a variable delay (but usually no more than twenty seconds), the victim will collapse and die.
The Poison Blade () is used in the same way as the Hidden Blade. To avoid detection, move out of sight quickly after injecting your victim.
To fire Poison Darts (), target an individual and hold the Secondary Attack button until Ezio’s aim steadies; release the button to fire. The benefits of being able to deliver the toxin from a discrete distance make this a powerful tool in later Sequences.
Ezio can carry five doses of poison, with one unit consumed per dart or blade attack. You can replenish his stocks by looting bodies, or by purchasing supplies from a doctor.
Memory 04
A HARD RIDE: Commencing immediately on completion of Memory 03, this dramatic episode begins with Ezio dragged along the ground at the back of a fast-moving carriage. Use d to steer him left and right to avoid obstacles (including bushes and rough terrain). When the rope frays, you can begin to hold d up to move Ezio closer to the carriage. However, doing so prevents you from adjusting his position to avoid hazards. The required technique, then, is to move him forward in bursts, steering him away from dangers as they appear.
Figure 4
In the second part of this Memory, Ezio must ram opposing carriages from the track. Use d to move away slightly, then hold it towards your target to slam them with sufficient force. At the same time, do your utmost to avoid patches of rough terrain (Fig. 4).
These damage the carriages at a phenomenal rate (far more so than ramming), so the best strategy is to push your opponent into these hazards whenever you see them on the road ahead.
The second carriage is driven by Ezio’s quarry, the Templar captain Leandros. In this final section, ram your adversary to the right to skirt around otherwise unavoidable rough terrain; certain patches can be safely bypassed by moving to the far left side of the track. The damage that you inflict is an irrelevance: the priority here is to survive for a set period of time.
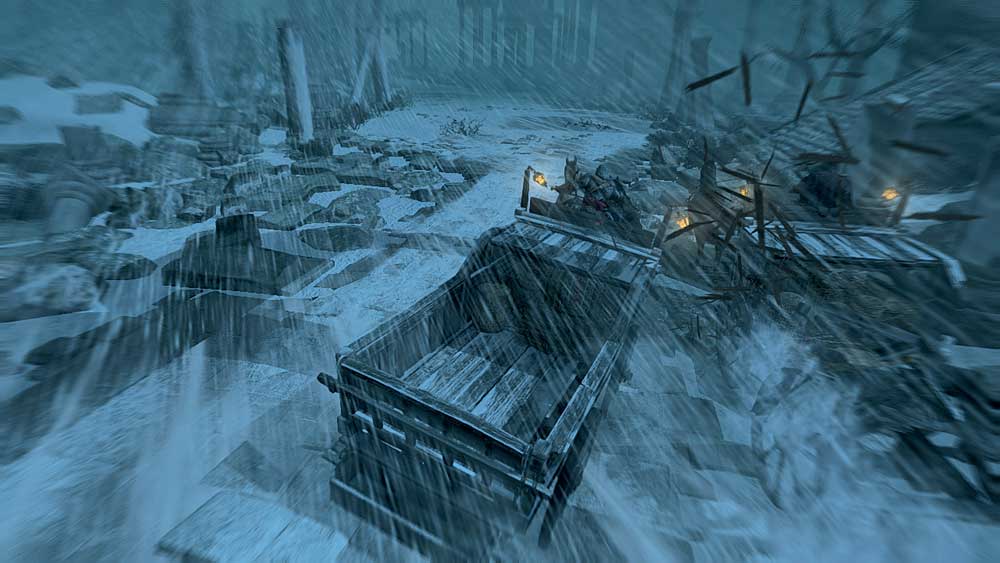
Figure 5
Memory 05
THE WOUNDED EAGLE: The final Memory of Sequence 01 begins with a short fight, but is perhaps best approached as an exercise in discretion. Use your sword to employ safe Counter Kills to kill the initial trio, then run towards the waypoint. When you reach the wooden bridge, wait for the guard to walk to the left, then slip past to the right to reach and climb the steps to reach the waypoint; Ezio will automatically step onto the water wheel to reach the upper level.
Equip the Hidden Blade and assassinate the guard standing directly ahead, then observe the area below; activate Eagle Sense (l/o) to observe the route taken by the Templar captain. The injured Ezio cannot climb, so successfully infiltrating the castle without incident is a question of staying out of sight, using Blend opportunities and picking an optimal route. If you are keen to avoid conflict and complete the Full Synch requirement, refer to the annotated route map and advice on the page to your right.
Once inside the castle, kill the guards with safe, sword-based Counter Kills, then loot the fallen bodies to obtain Medicine; use this as prompted to heal Ezio and regain access to his full repertoire of athletic abilities. With Ezio’s back to the portcullis, turn to the right and follow the path behind the first building, where you can safely assassinate a guard from a hay pile.
From here, you can slip by the guards on the rooftops and to your left by following the path alongside the rock wall on your right – use the Fast Walk ability to move with the necessary purpose and avoid detection. Walk into the waypoint and begin your ascent of the tower (Fig. 5).
Byzantine Gunmen will shoot at Ezio during his climb, so don’t linger in one position for too long.
At the top, execute Leandros with a Hidden Blade assassination. Back at Animus Island with Desmond, walk into the waypoint to begin Sequence 02.
The Wounded Eagle: Full SYNCH
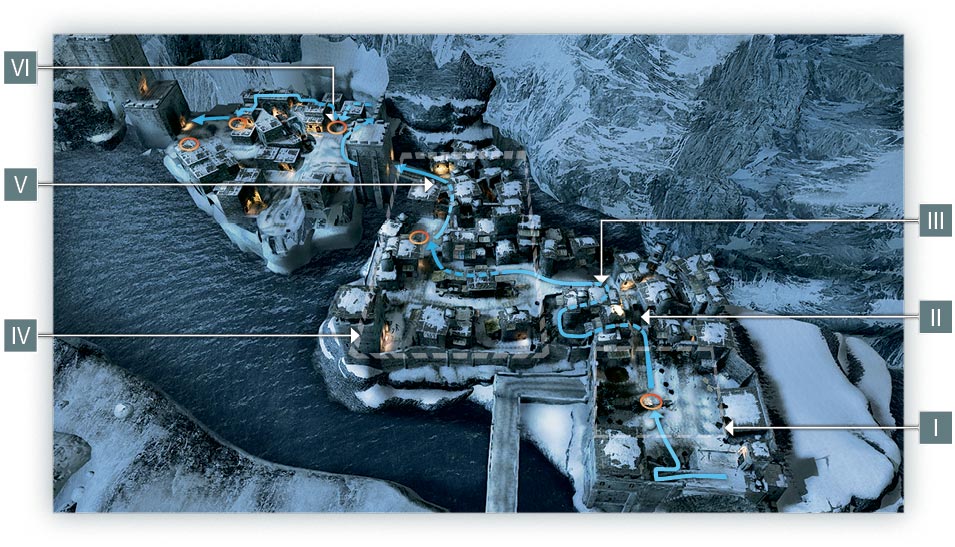
The Full Synch requirement for Memory 05 challenges you to assassinate five guards while concealed inside haystacks. To perform assassinations from these hiding spots, first move into one, then release d to lie in wait. When your victim approaches, tap the Primary Attack button to perform a swift kill and conceal the body in one fluid movement.
There are actually only three locations in this Memory where Templars will automatically stand close to or move past a haystack, so you will need to employ both stealth and a little creativity to fulfill this secondary objective. As Ezio cannot hide in a haystack while in view of hostiles in open conflict, you must lure guards to their doom by standing in their field of vision until their Detection Meter turns red. At this point, discretely move into the hiding spot and wait for them to walk over to investigate.
In this annotated map, we mark the locations of all haystacks and offer advice on how to avoid detection and obtain the necessary kills as you travel to confront Leandros. Blue arrows represent the path you need to follow, and red arrows the patrol routes of guards.
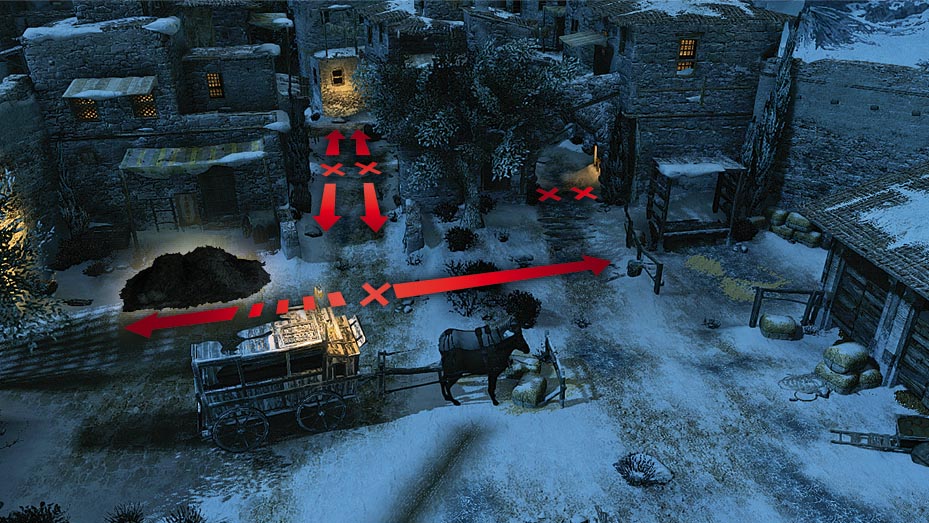
I: Wait until the guard moves to the right, then take up position in this haystack while his back is turned. After checking that there are no potential witnesses, assassinate him when he moves within range. You can now attempt to lure nearby guards to the hiding spot to obtain additional kills.
II: Take a left here to run along a back alley, out of sight.
III: At the end of the deserted path, wait at the opening and watch the path to your left for a guard to arrive. When he walks into the market area, follow him at slow pace.
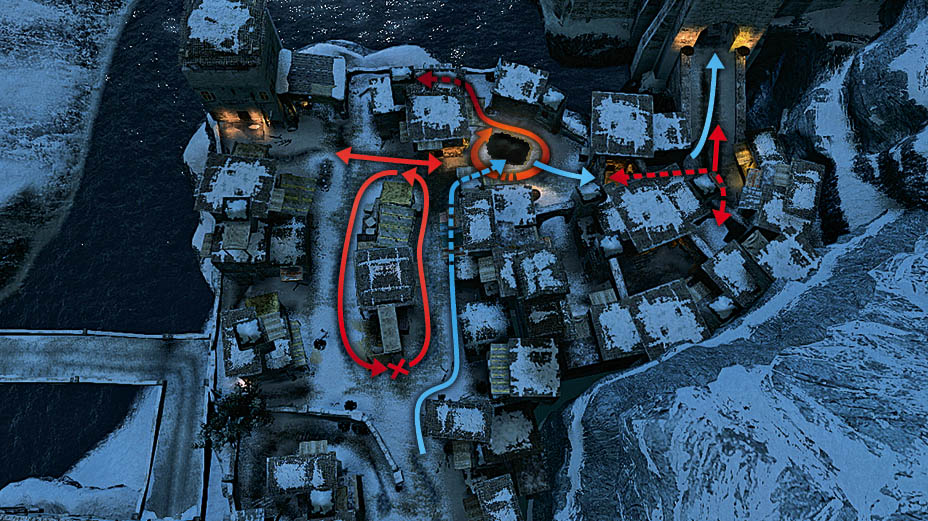
IV: The guard walks in a rectangular patrol route around the market area, with a second alternating between two positions at the back of the area. Blend with a group of civilians until the second guard moves to the left, then run forward and take the path to the right. Jump into the haystack immediately, and wait for another guard to approach for a simple assassination. If you have fewer than four of the five required stealth kills, you should again attempt to draw guards to this position.
V: There is another guard here who can be enticed to the nearby haystack. If you already have four kills, you can just bypass him and head straight for the gate.
VI: After the battle inside the portcullis, sneak around the back of this building and enter the haystack to kill the stationary guard. If you still have not accrued the necessary five kills, you will need to draw guards to this haystack (or one of the two closer to the waypoint marker) to complete the objective.