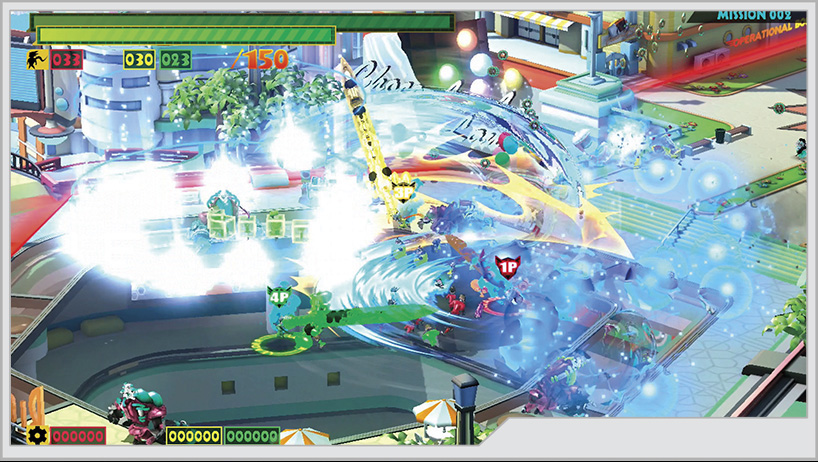
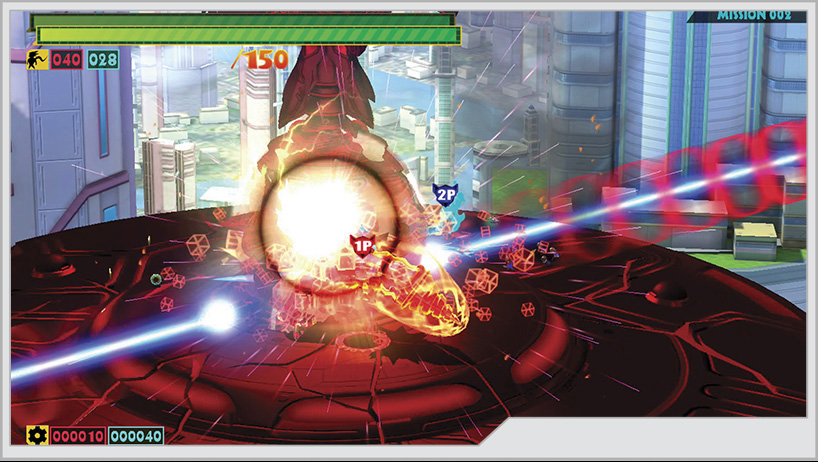
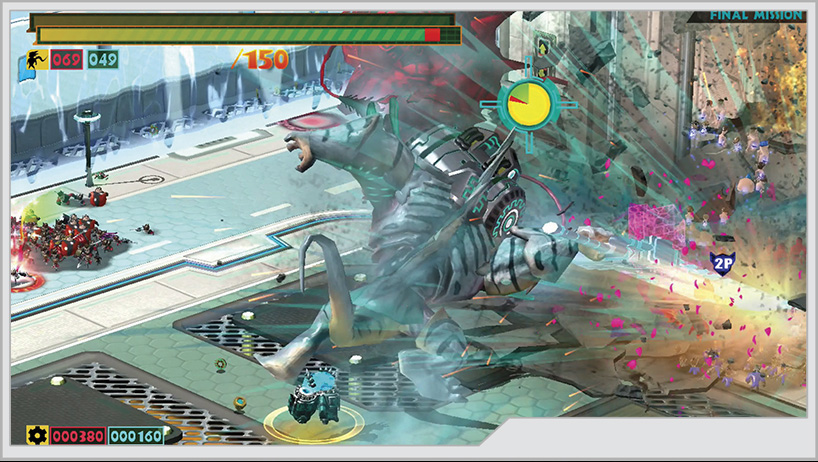
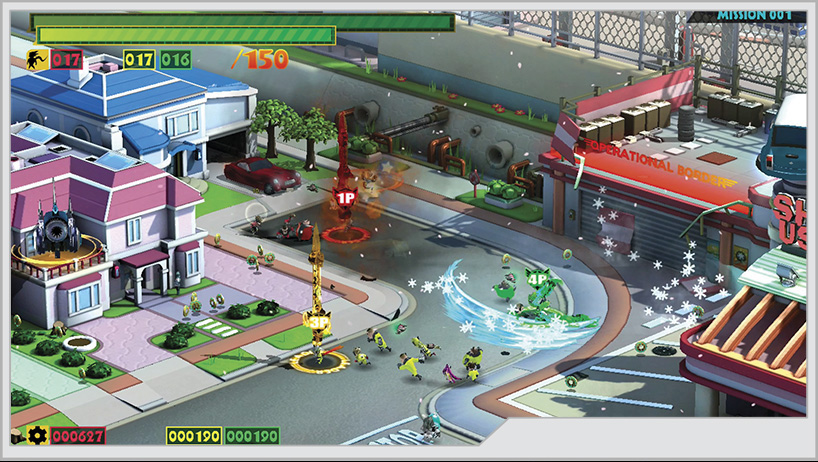
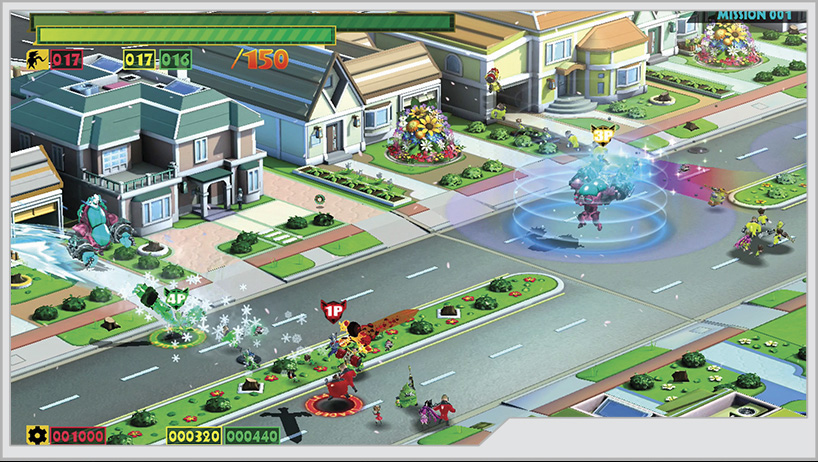
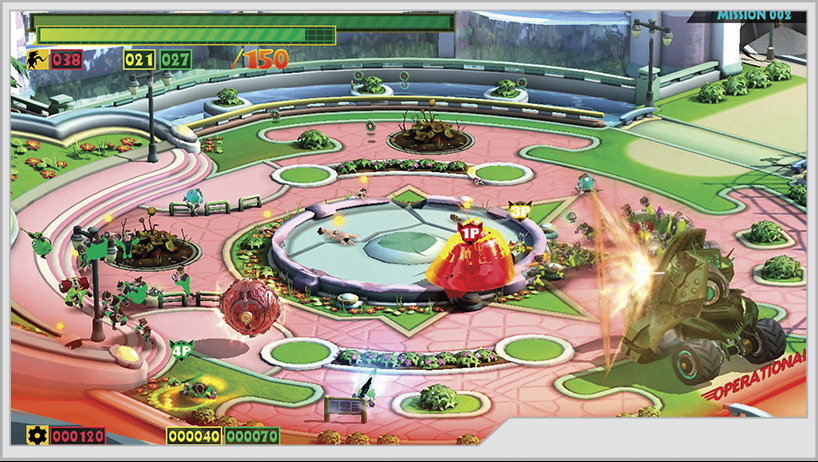
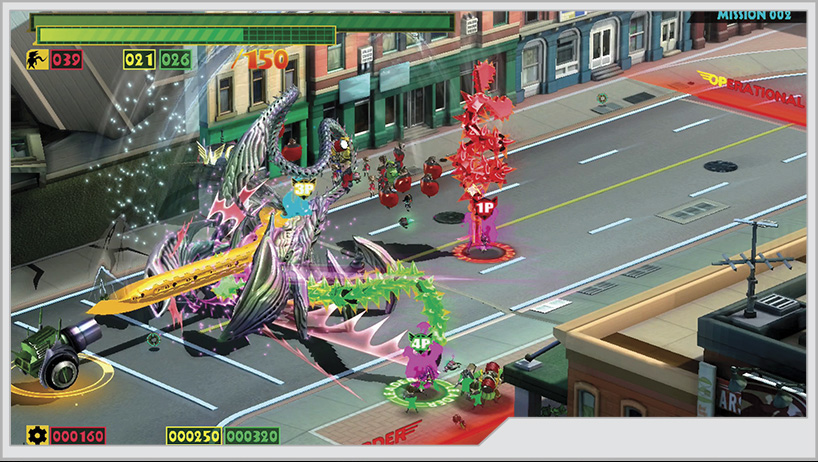
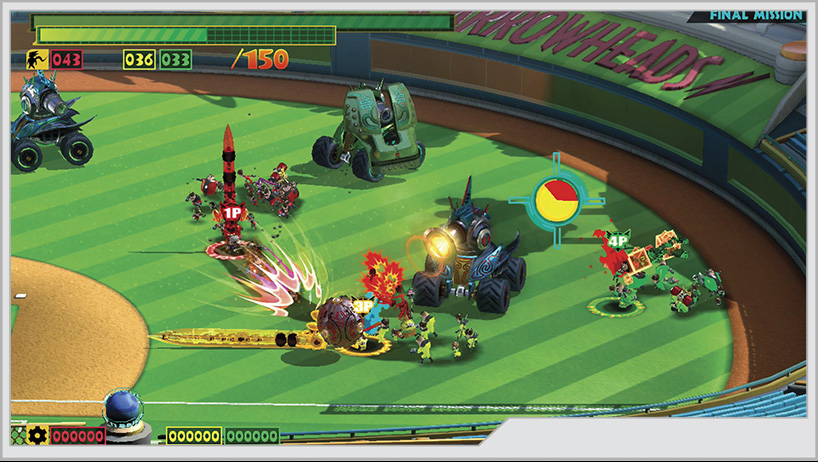
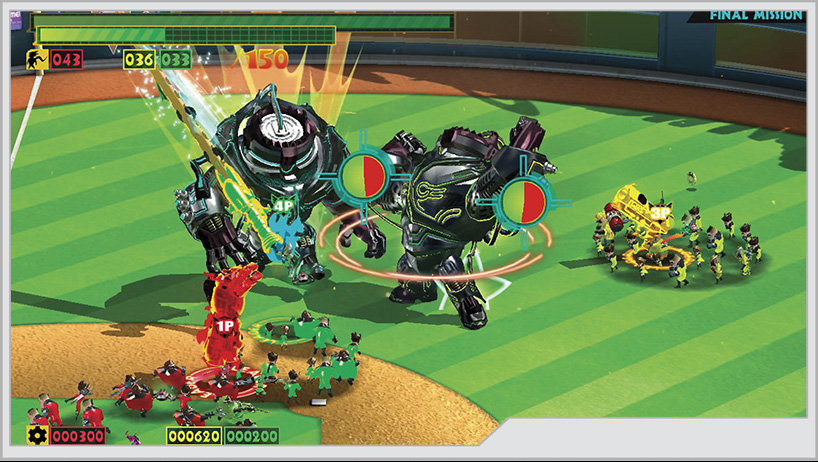
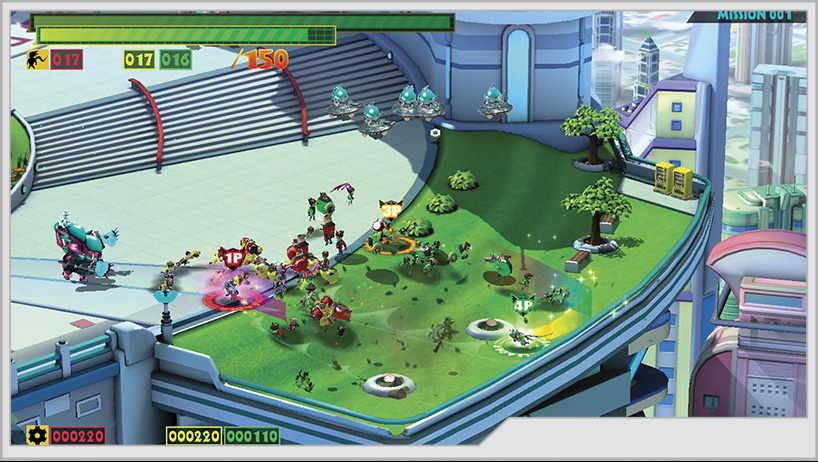
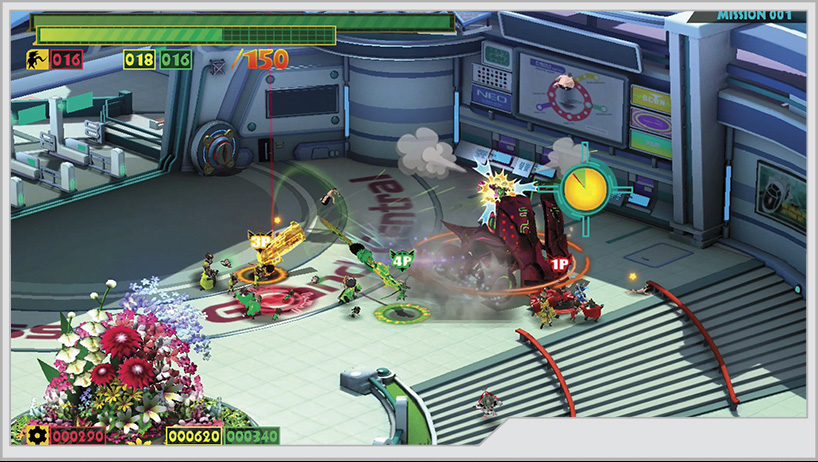
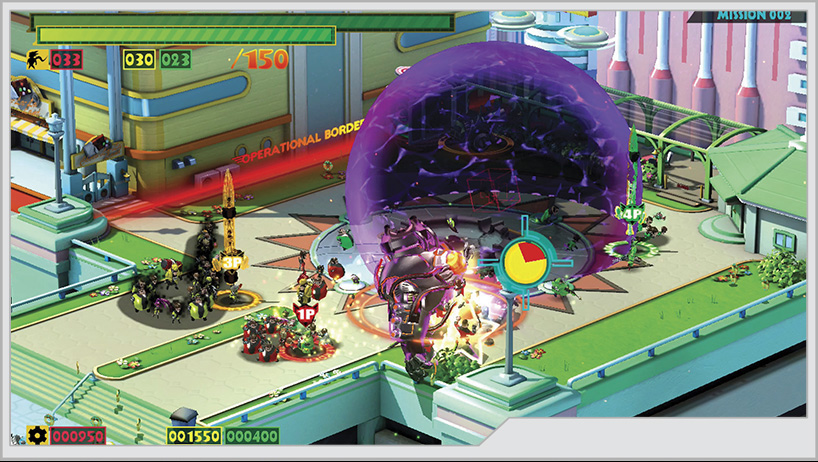
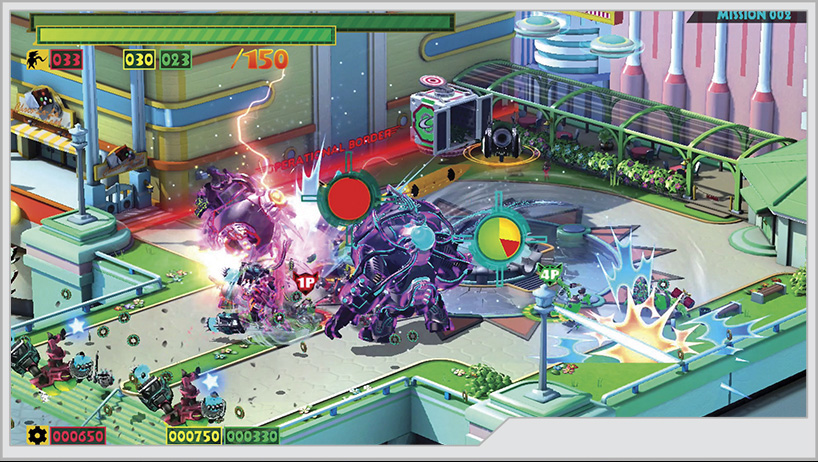
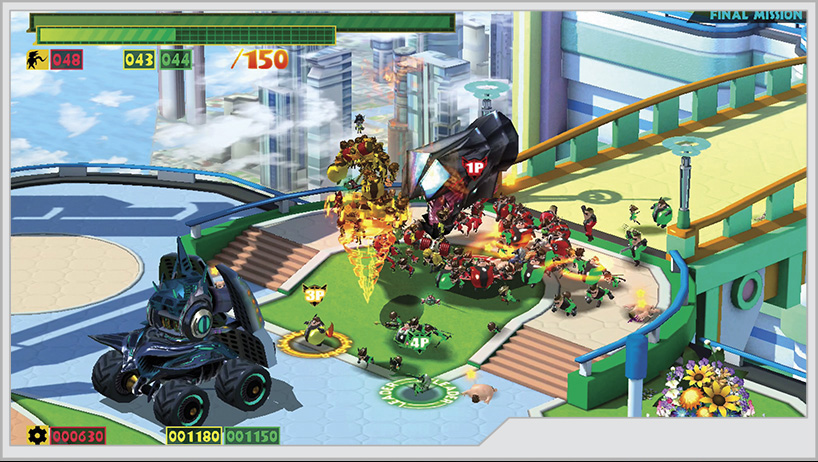
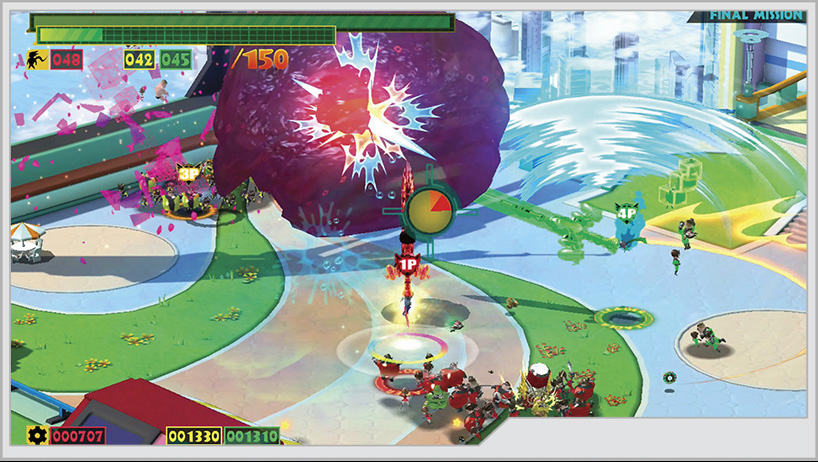
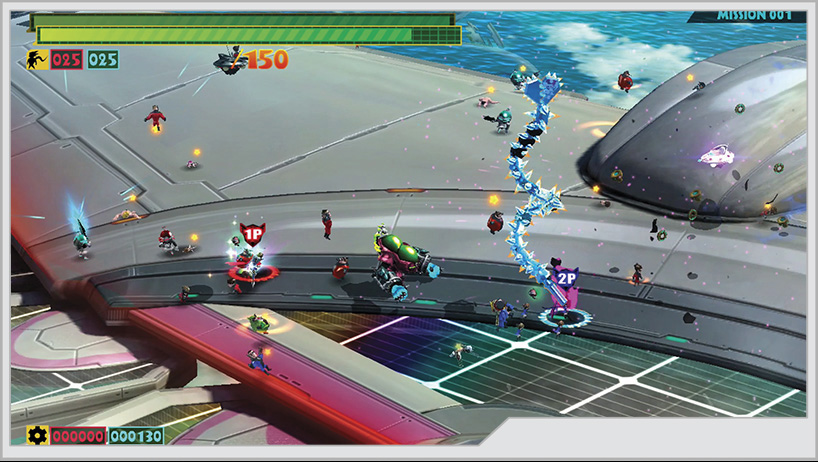
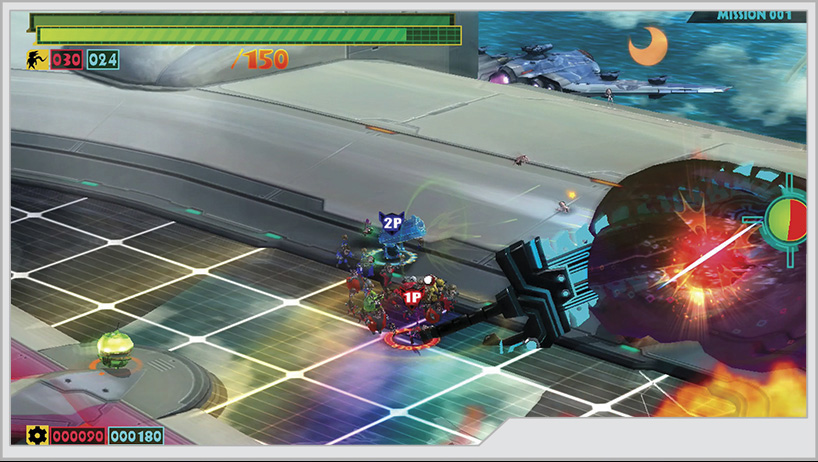
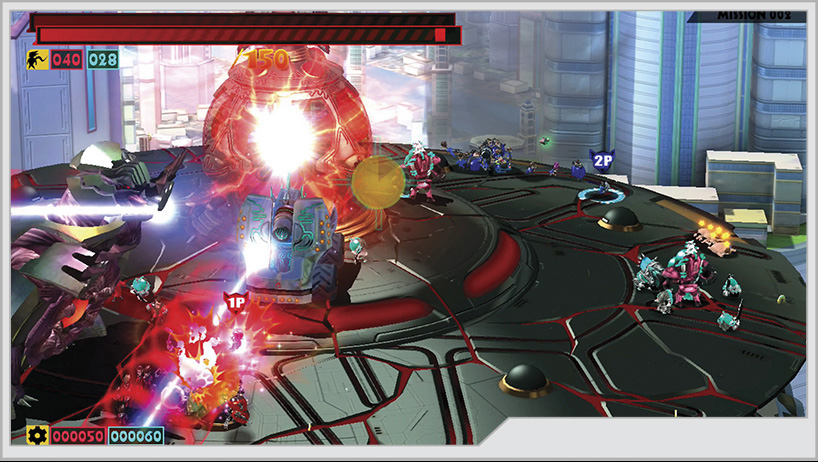
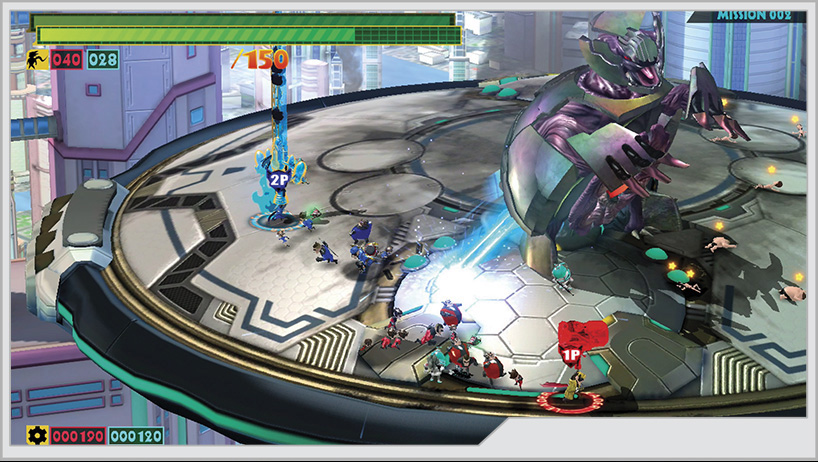
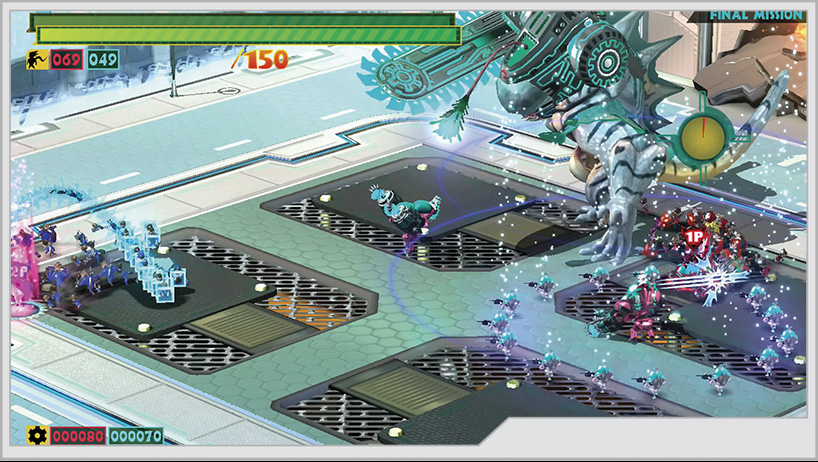
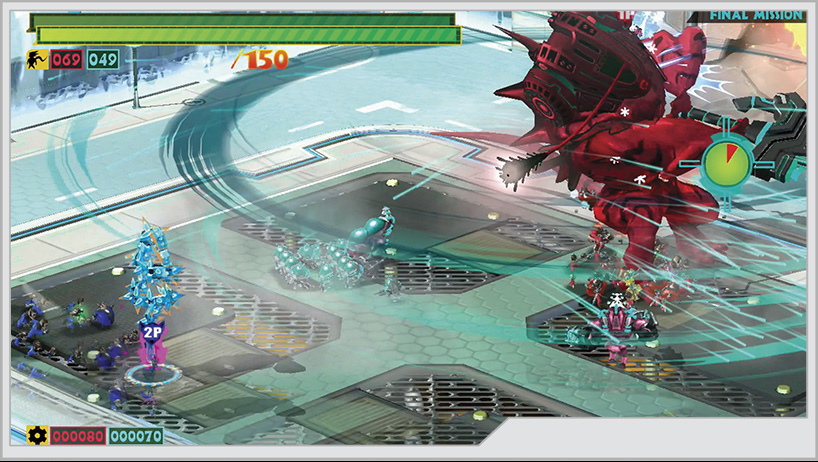
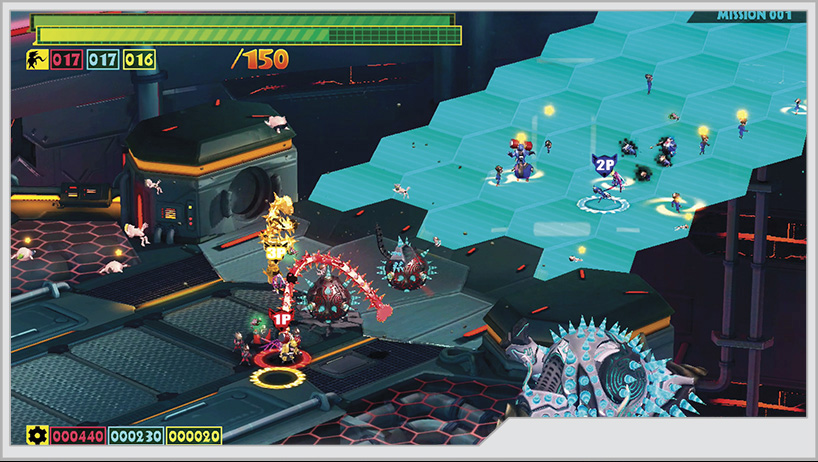
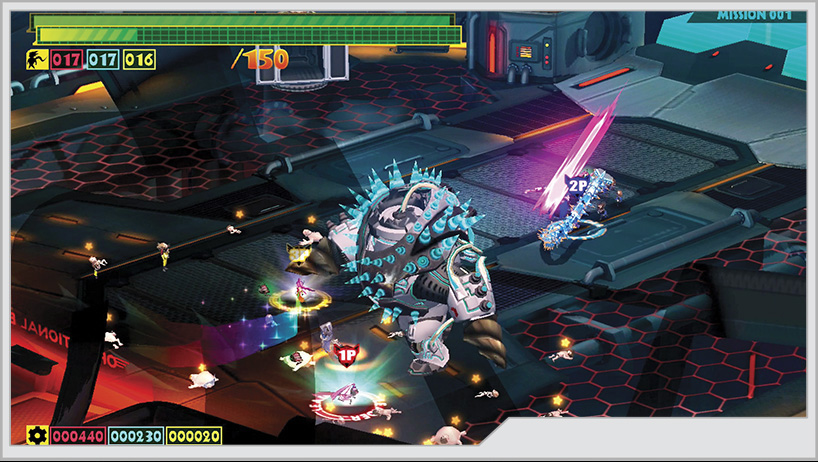
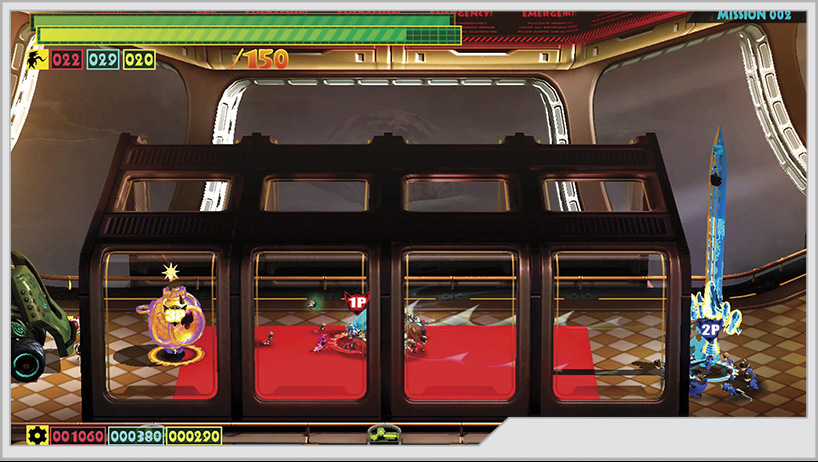
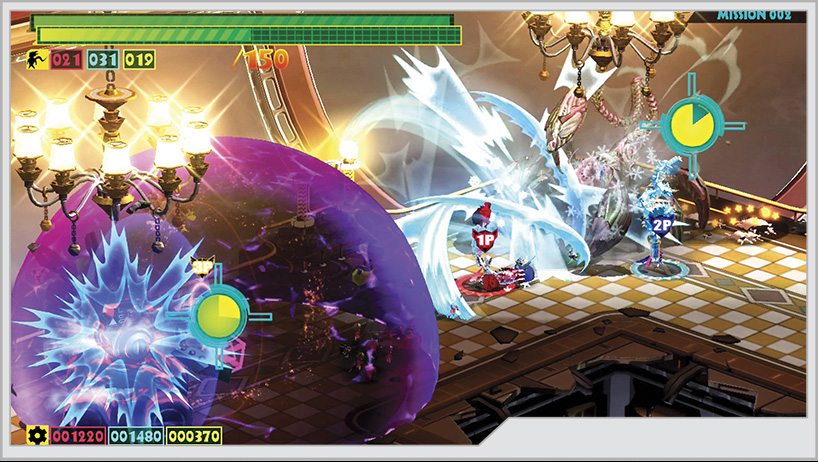
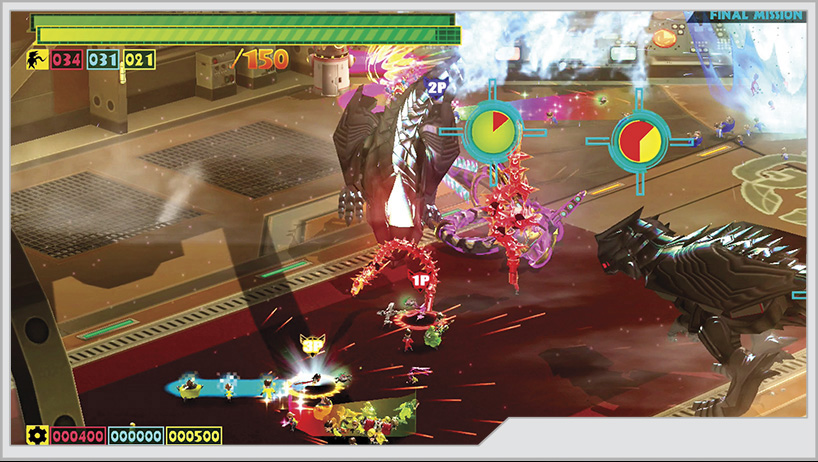
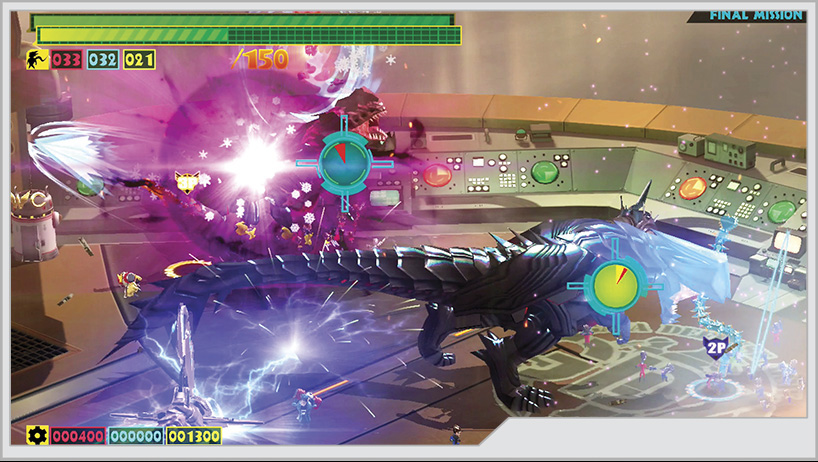
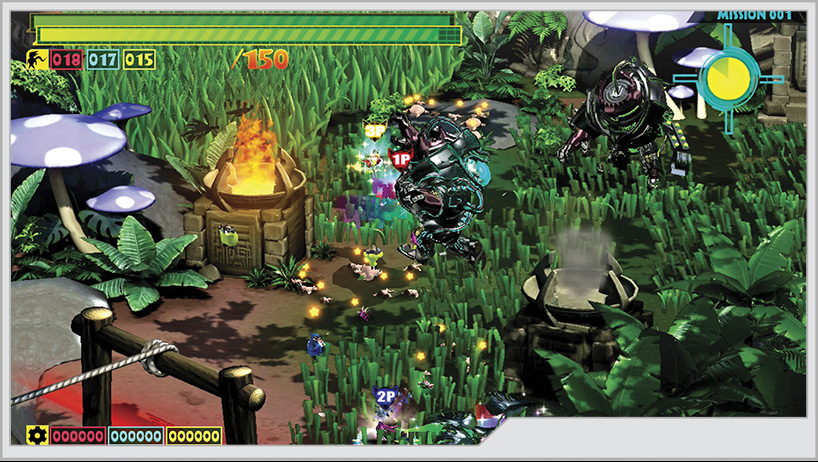
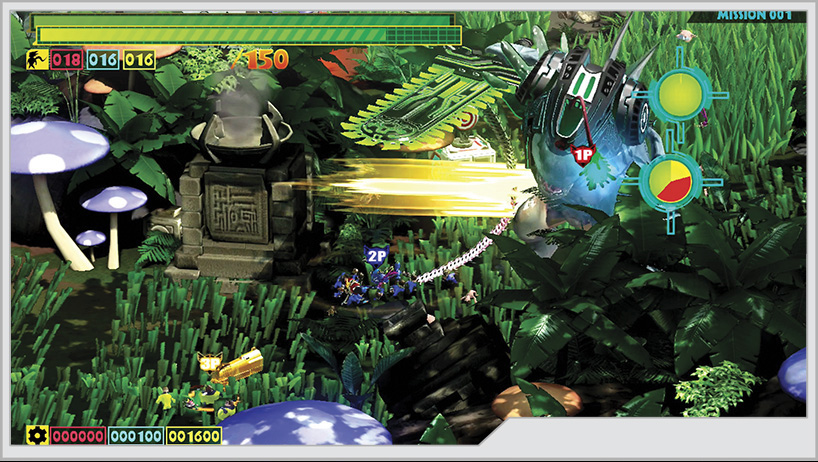
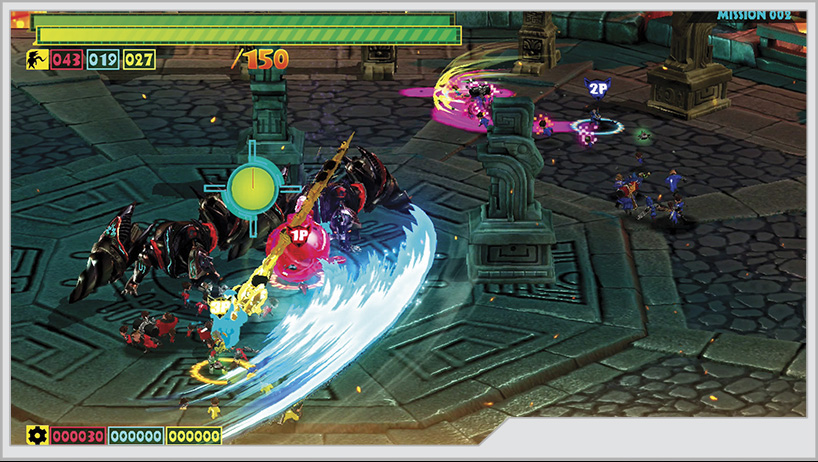
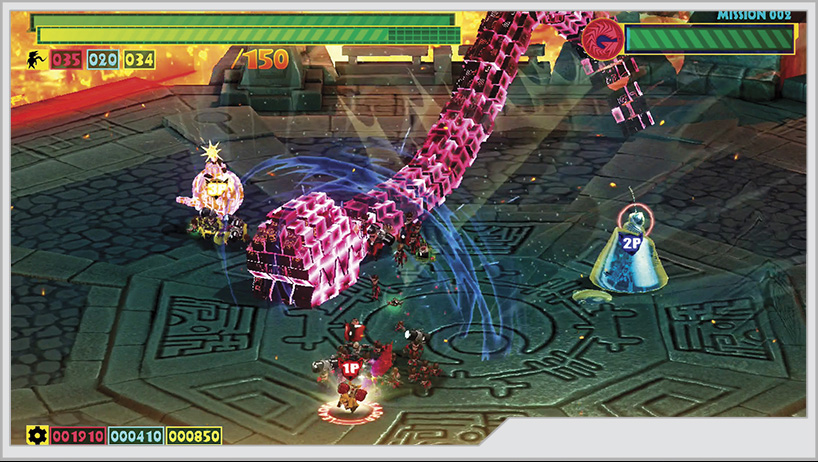
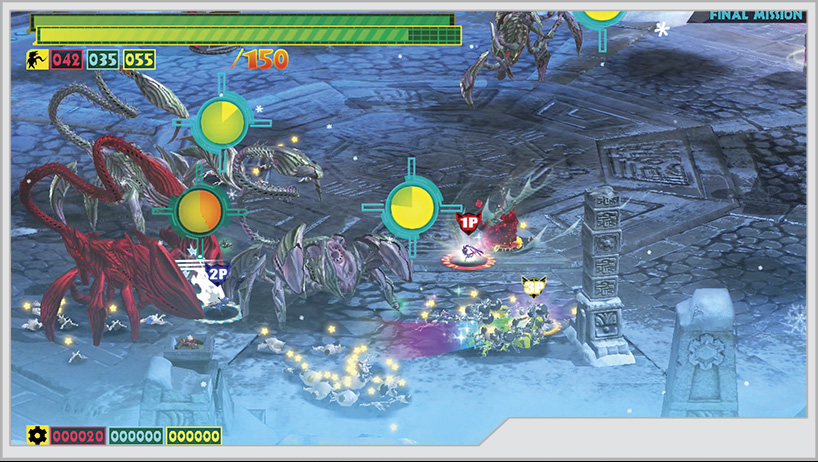
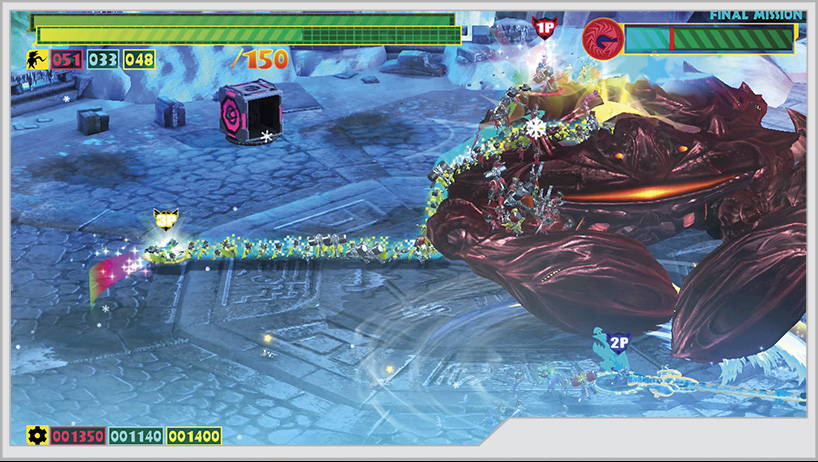
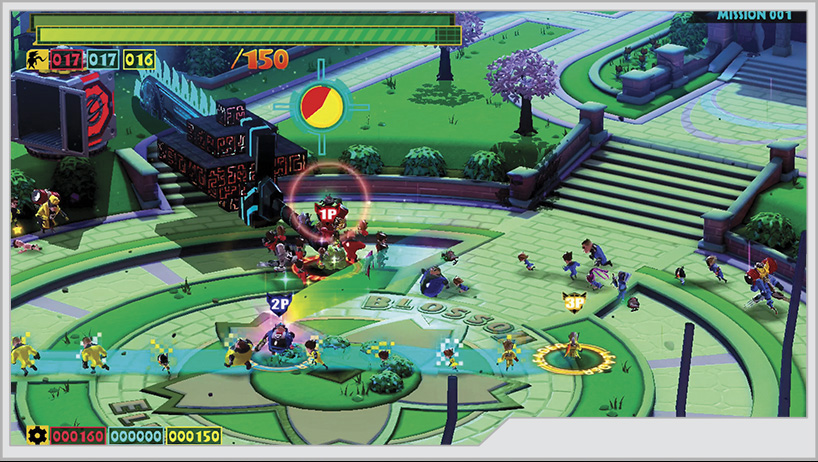
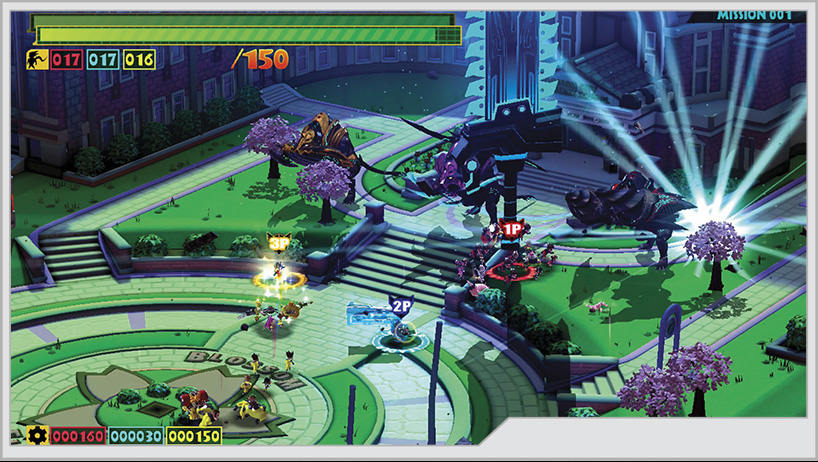
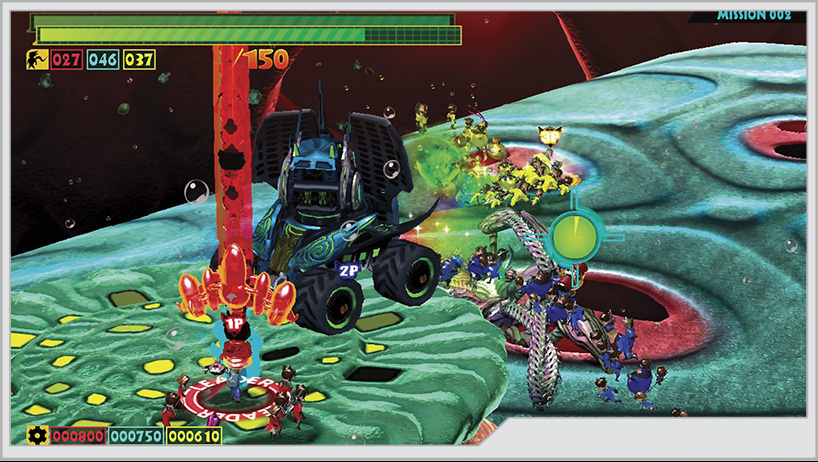
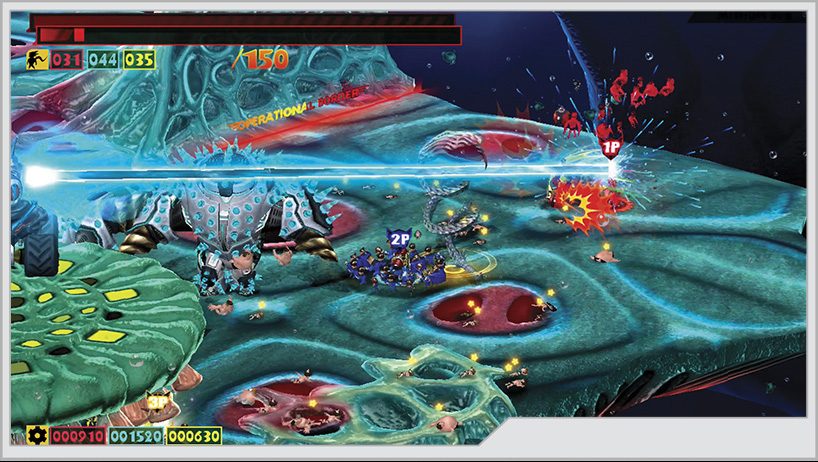
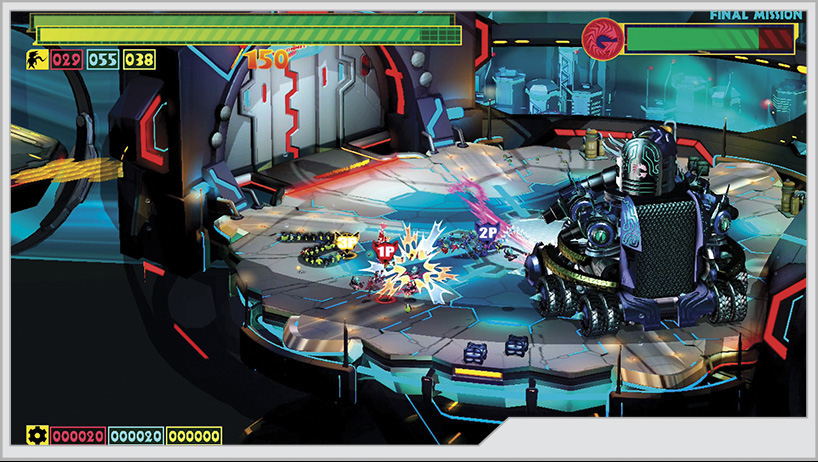
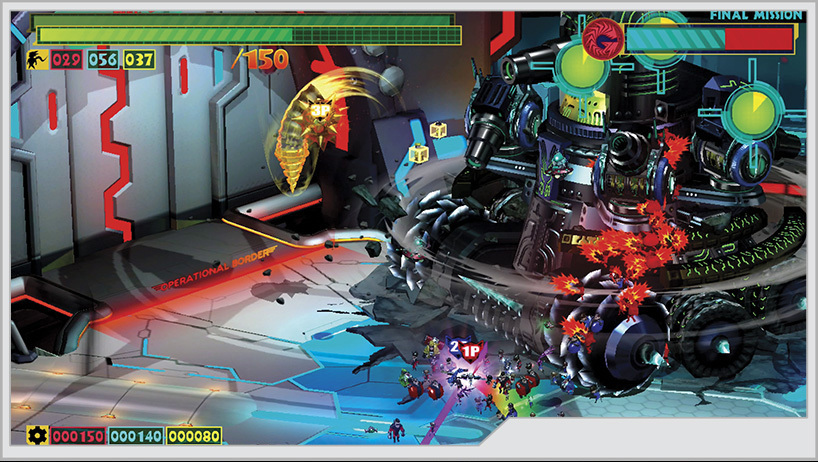
The Wonderful 101 has a set of special missions that you can tackle alone or with friends. Taking place in a variety of locations visited during Story mode, the Wonderful Missions will throw you up against everything the GEATHJERK can muster.
Functionally, the Wonderful Missions work similarly to the Story mode’s operations, except that you don’t set your chosen difficulty before starting a mission. Rather, you pick to enter a portal that corresponds to your chosen difficulty. There are three modes—Easy, Normal, and Hard—and each has two paths to follow, an A path and a B path. All three difficulty settings start with the A path ready to challenge, but the B paths can only be seen by beating the A paths.
There are some key gameplay differences in the Wonderful Missions. For one, drawing a Wonder-Liner in both single and multiplayer does not cause a time-dilation effect, which can make fighting faster enemies more challenging. A new scoring element is figured into your final rank at the end of a mission: O-Parts. You will find O-Parts spread throughout the levels you fight through, in plain sight, or inside destroyable objects.
In between missions in a given difficulty, your performance is judged similar to how it is during Story mode operations. However, your ranking also influences how much bonus time you get in between missions. Bonus Time causes groups of civilians and large clusters of O-Parts to appear on the battlefield, which will let you boost your O-Parts total for use at the Wonderful Mart or increase your team’s numbers.
There is a competitive element to Multiplayer. In addition to all players (there can be up to five) being judged at the end of a mission, there is also the matter of recruiting reinforcements. There’s only so many civilians to be found during and between missions. However, if a player is hit and their team is scattered, a teammate may “borrow” the stunned heroes by wrapping a Wonder-Liner around them. As you might expect, this isn’t the most helpful way to interact with your teammates, particularly during a pitched battle.
At the same time, while there is competition to be found while playing with others, there is also a shared health meter. Don’t be the guy who takes the last hit that sends everyone to the continue screen!
During multiplayer, your team has no Unite Gauges to manage while in combat. Use that to your advantage and unleash the maximum power of your Unite Morphs.
Easy Mode
Easy A
These missions take place in locations found in Operation 001, namely the suburbs near Blossom City Elementary and the baseball field. The Easy A mission throws fairly light numbers of enemies at players, making it a good and relatively safe warm-up for what’s to come.
Mission 1
Medal Requirements
Element
Platinum
Gold
Silver
Bronze
Time
1:45
2:30
3:00
3:30
Combo
1000
500
100
50
Damage
0
2000
3000
4000
O-Parts
2800
2000
1500
1000
Mission 2
Medal Requirements
Element
Platinum
Gold
Silver
Bronze
Time
1:30
2:00
2:30
3:00
Combo
8000
5000
2000
500
Damage
0
2000
3000
4000
O-Parts
2000
1500
1000
500
Mission 3
Medal Requirements
Element
Platinum
Gold
Silver
Bronze
Time
2:00
2:30
3:00
3:30
Combo
8000
5000
2000
500
Damage
0
2000
3000
4000
O-Parts
2300
1500
1000
500
Easy B
Taking to the skyscraper rooftops of Blossom City’s central district, found during Operation 002, you can expect the heavier and tougher variants of enemies to show up earlier. Watch out for ledges that you can fall off, plummeting to the city below. Some battles may require you to bridge small chasms to reach isolated groups of GEATHJERK scum, which is a potential recipe for disaster if the enemy has ranged capability and starts trying to shoot you as you cross.
Mission 1
Medal Requirements
Element
Platinum
Gold
Silver
Bronze
Time
3:00
3:30
4:00
4:30
Combo
1000
500
100
50
Damage
0
2000
3000
4000
O-Parts
2400
1500
1000
500
Mission 2
Medal Requirements
Element
Platinum
Gold
Silver
Bronze
Time
2:00
2:30
3:00
4:30
Combo
8000
5000
2000
500
Damage
0
2000
3000
4000
O-Parts
4400
4000
3500
3000
Mission 3
Medal Requirements
Element
Platinum
Gold
Silver
Bronze
Time
1:45
2:00
2:30
3:00
Combo
8000
5000
2000
500
Damage
0
2000
3000
4000
O-Parts
3100
2500
2000
1500
Normal Mode
Normal A
You start fighting on the wings of Strato Port’s shuttles from Operation 003. There’s a significant falling hazard all around the area, so watch your footing. Mission 2 in this route deserves some particular mention. It places you atop a Notoriyeah, fighting off the enemy spawns and killing the central reactor. Mission 3 takes the action away from the Strato Port fleet and into the ocean city of Neo Mu, where you engage in a short battle against two very large and angry Ankho and their allies.
Mission 1
Medal Requirements
Element
Platinum
Gold
Silver
Bronze
Time
2:15
2:45
3:15
3:45
Combo
1000
500
100
50
Damage
0
2000
3000
4000
O-Parts
600
400
200
100
Mission 2
Medal Requirements
Element
Platinum
Gold
Silver
Bronze
Time
1:45
2:00
2:30
3:00
Combo
8000
5000
2000
500
Damage
0
2000
3000
4000
O-Parts
1800
1500
1000
500
Mission 3
Medal Requirements
Element
Platinum
Gold
Silver
Bronze
Time
1:45
2:00
2:30
3:00
Combo
8000
5000
2000
500
Damage
0
2000
3000
4000
O-Parts
2900
2000
1000
500
Normal B
You start off in the depths of Neo Mu, fending off swarms of You-Hough and eventually encountering a murderer’s row of Gehdown and Gedie Dough-Goo. The fight shifts back the Strato Port shuttle fleet, specifically its casino rooms, where you’ll take on Dahkarts working alongside Megang and Hoedown. The fight returns to the climax of Earth Defense War 2, where on the command bridge of Earth’s last hope, you’ll struggle against Hoh-Ganay and Orgon, all while an artillery barrage falls upon your heads.
Mission 1
Medal Requirements
Element
Platinum
Gold
Silver
Bronze
Time
3:00
3:30
4:00
4:30
Combo
1000
500
100
50
Damage
0
2000
3000
4000
O-Parts
2400
1500
1000
500
Mission 2
Medal Requirements
Element
Platinum
Gold
Silver
Bronze
Time
1:45
2:00
2:30
3:00
Combo
8000
5000
2000
500
Damage
0
2000
3000
4000
O-Parts
6600
4000
3000
2000
Mission 3
Medal Requirements
Element
Platinum
Gold
Silver
Bronze
Time
2:00
2:30
3:00
3:30
Combo
8000
5000
2000
500
Damage
0
2000
3000
4000
O-Parts
4400
3000
2000
1000
Hard Mode
Hard A
Brace yourself, as things are about to get serious. The jungles of Operation 005 greet your team at the start of this path, where the tall grass hides hidden items and lethal Dooras. Mission 2 throws you onto a platform surrounded by lava that is spewing chunks onto the sides of the arena, while you fend off Gurry Dooras, Diedough-Goo, and eventually a Tumeekey. The final battle on an icy platform sends a swarm of Dahkarts and a Deah-Kani, while stalactites fall from above.
Mission 1
Medal Requirements
Element
Platinum
Gold
Silver
Bronze
Time
2:15
3:00
3:30
4:00
Combo
1000
500
100
50
Damage
0
2000
3000
4000
O-Parts
3000
2500
1500
500
Mission 2
Medal Requirements
Element
Platinum
Gold
Silver
Bronze
Time
3:15
3:45
4:15
4:45
Combo
8000
5000
2000
500
Damage
0
2000
3000
4000
O-Parts
2600
2000
1000
500
Mission 3
Medal Requirements
Element
Platinum
Gold
Silver
Bronze
Time
3:00
3:30
4:00
4:30
Combo
8000
5000
2000
500
Damage
0
2000
3000
4000
O-Parts
3900
3000
2500
2000
Hard B
At the start of this path, in the courtyard in front of Blossom Elementary, you encounter Koh-Tumeekeys and a squad of all three types of Doora. This immediately sets the tone for all of Hard B. The second mission returns you to Vorkken’s body, where you start off surrounded by Raydowns able to snipe you from elevated positions, while Diedough-Goo, Gedie Dough-Goo, and Dahkarts assault from the ground level. The final mission puts you up against a Die-Rixen, with all the firepower that comes with it, along with the You-Houghs it can summon to its aid.