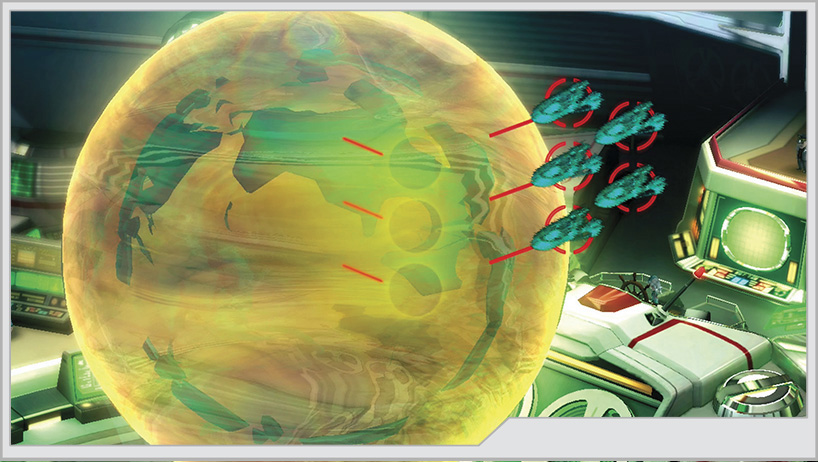
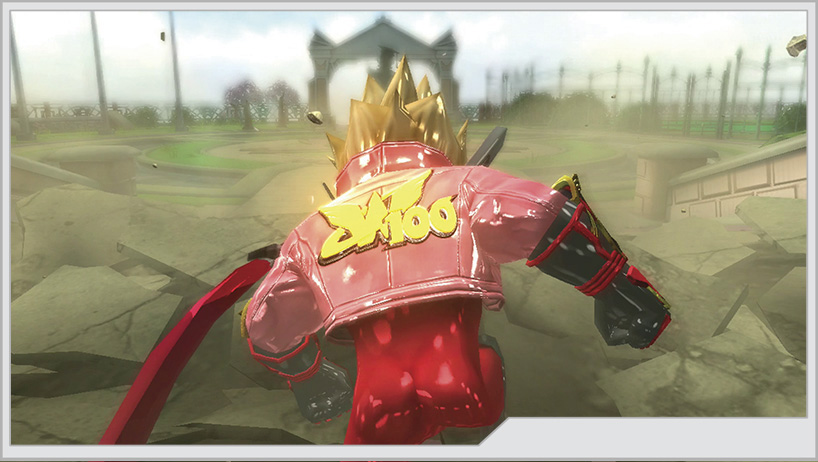
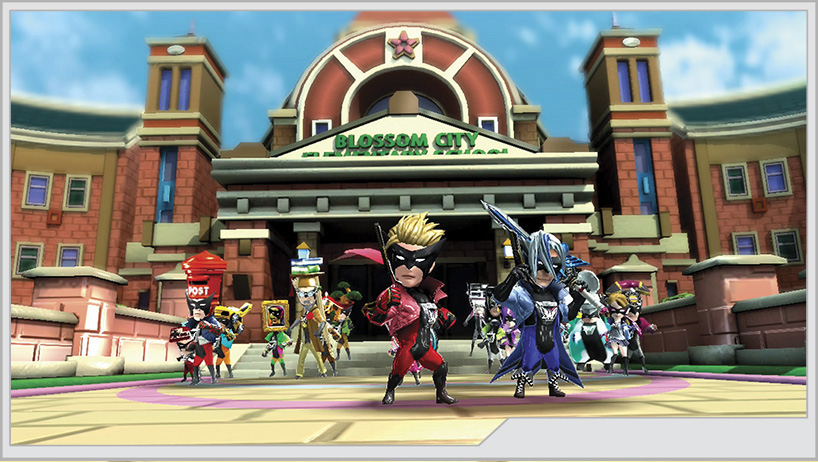
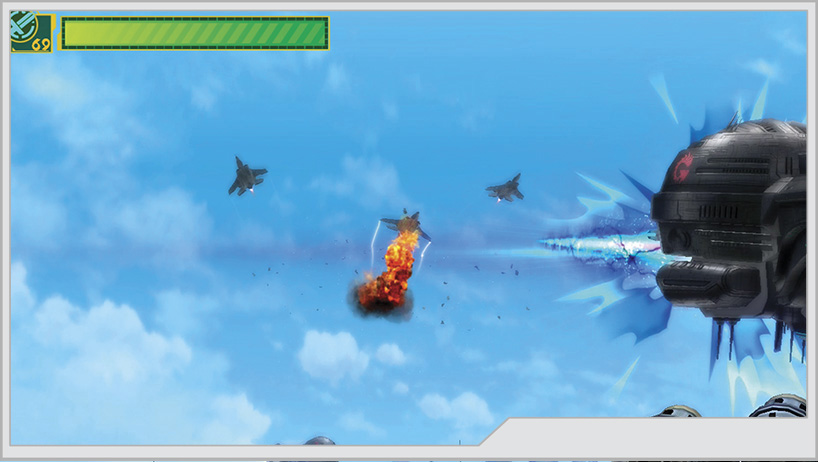
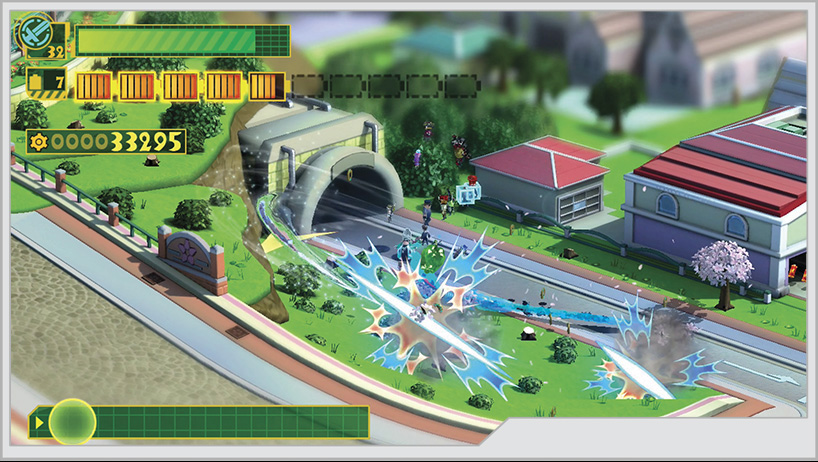
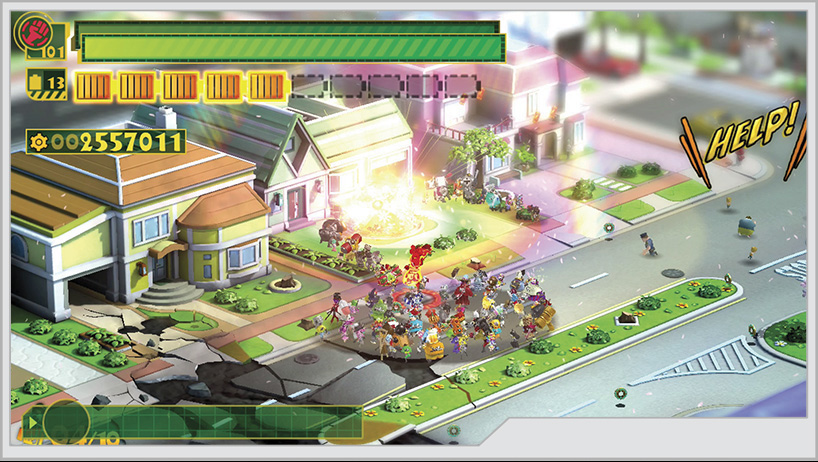
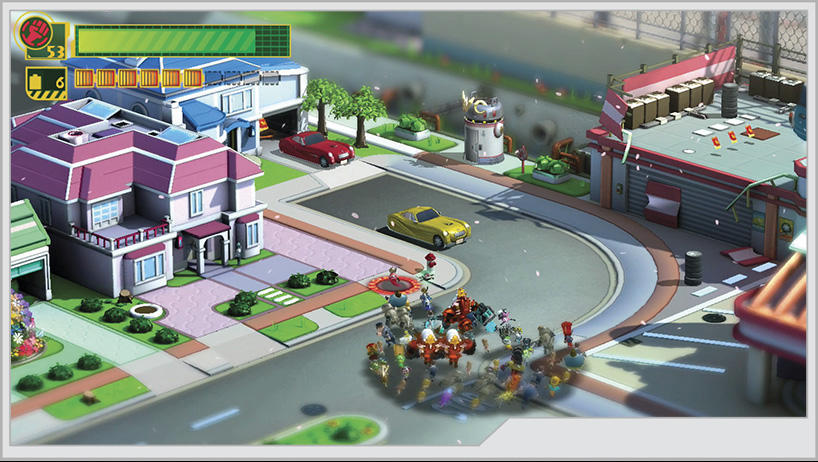
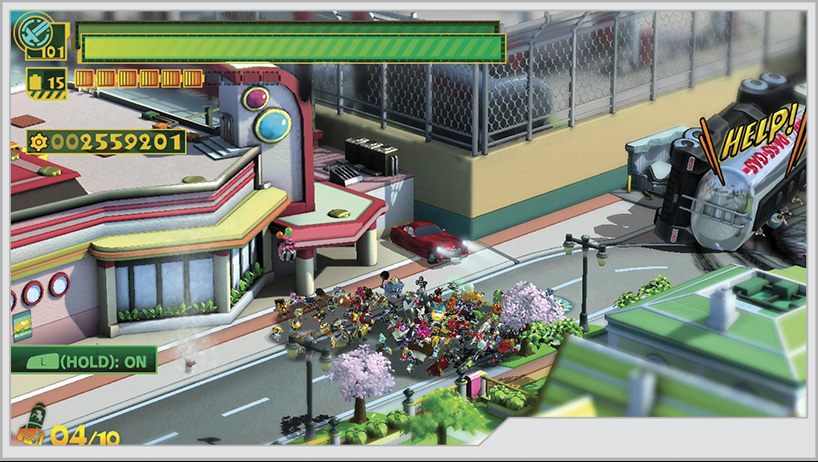
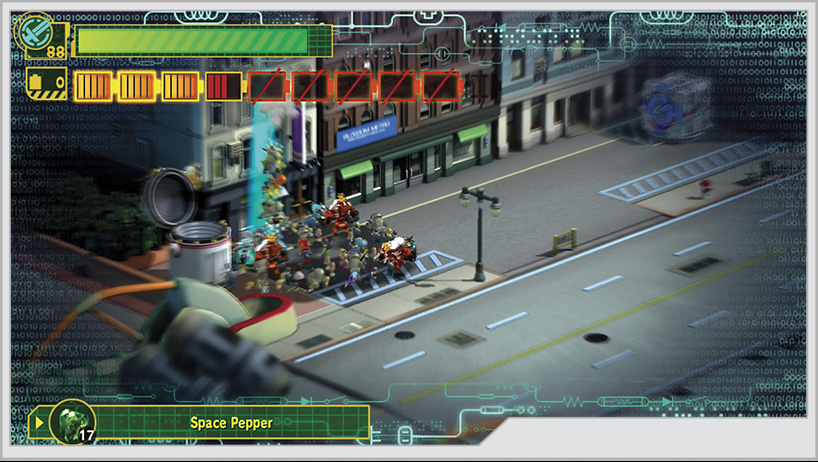
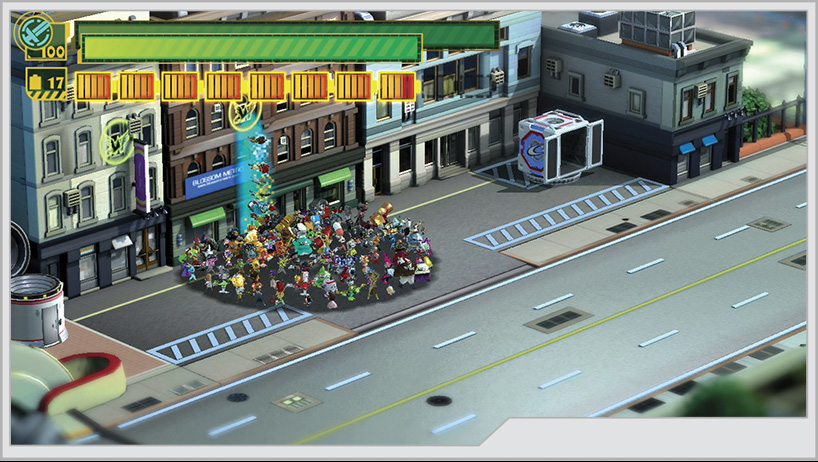
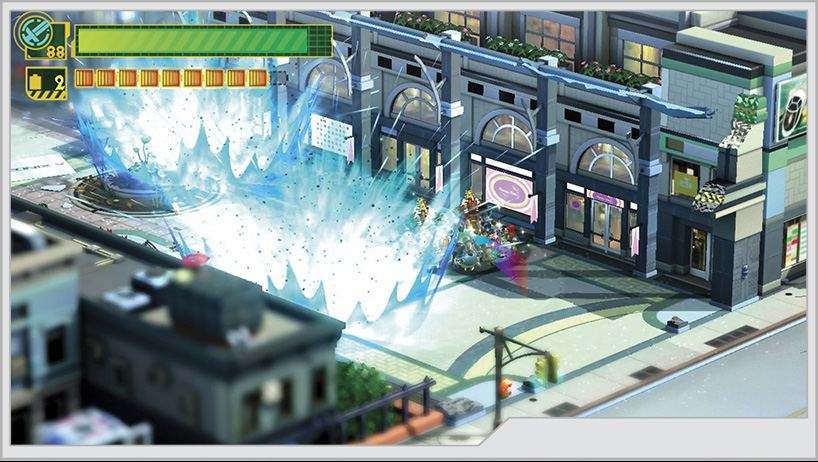
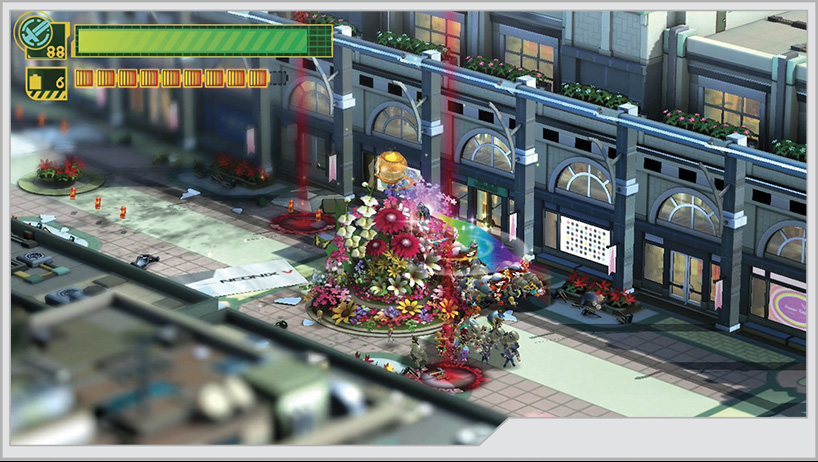
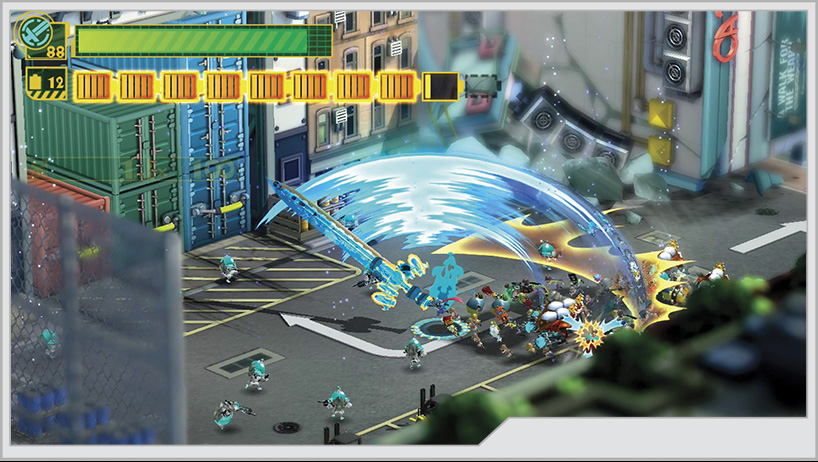
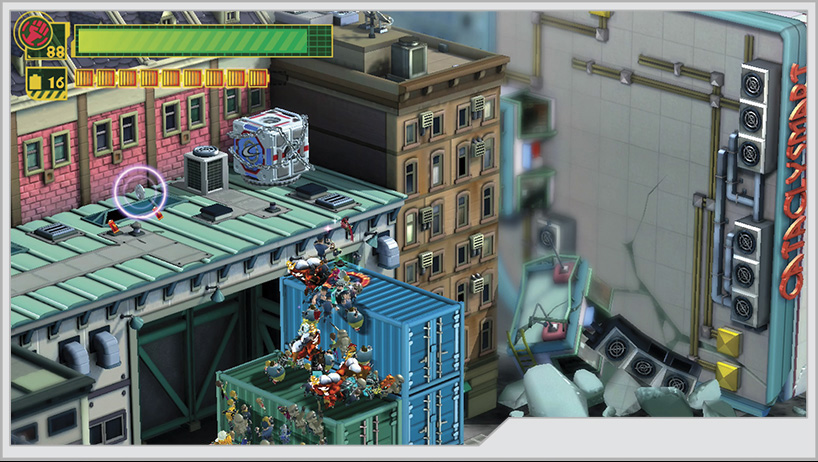
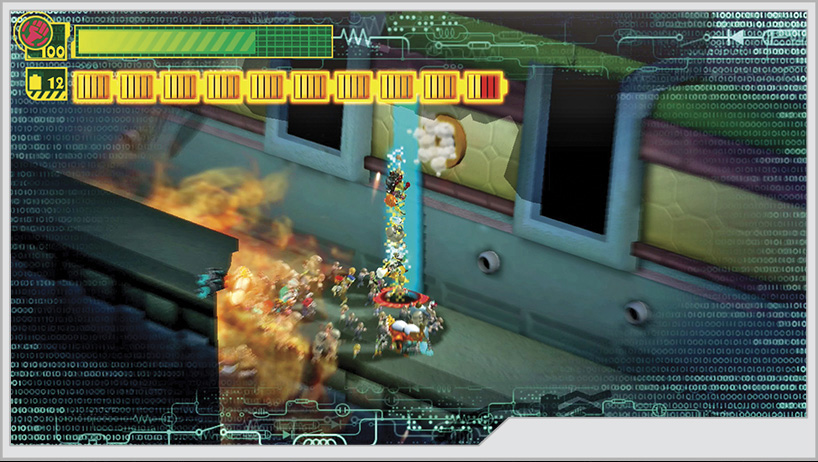
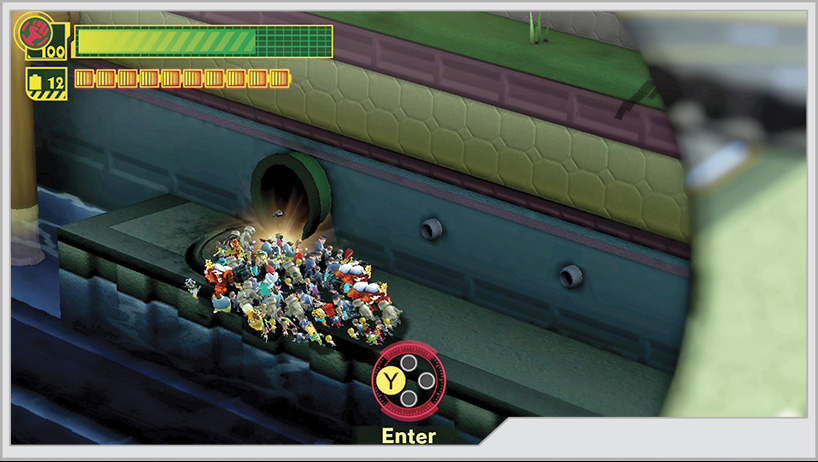
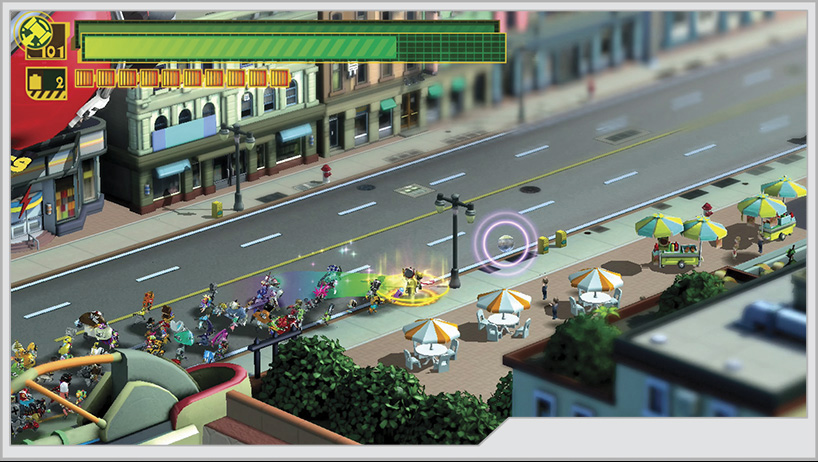
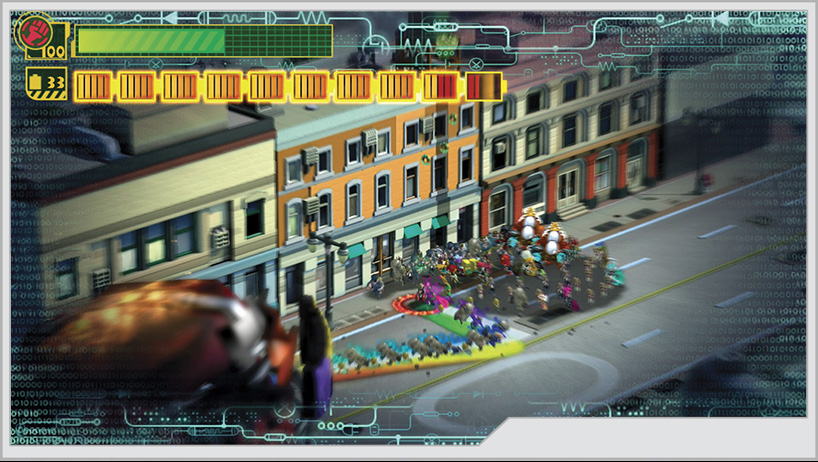
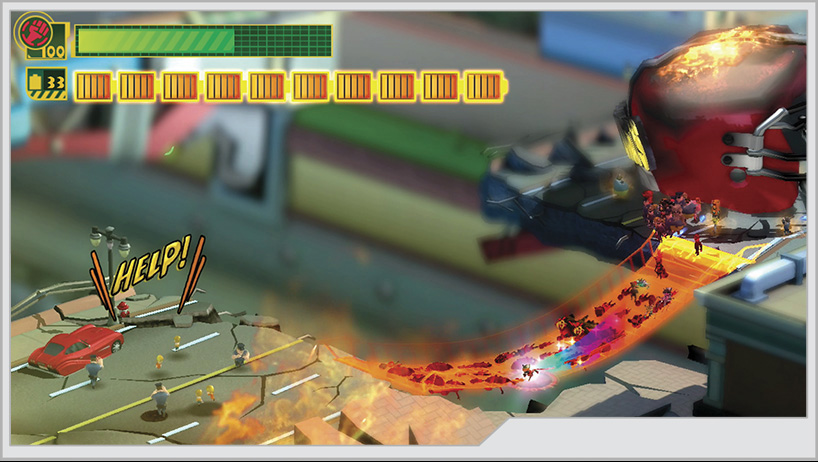
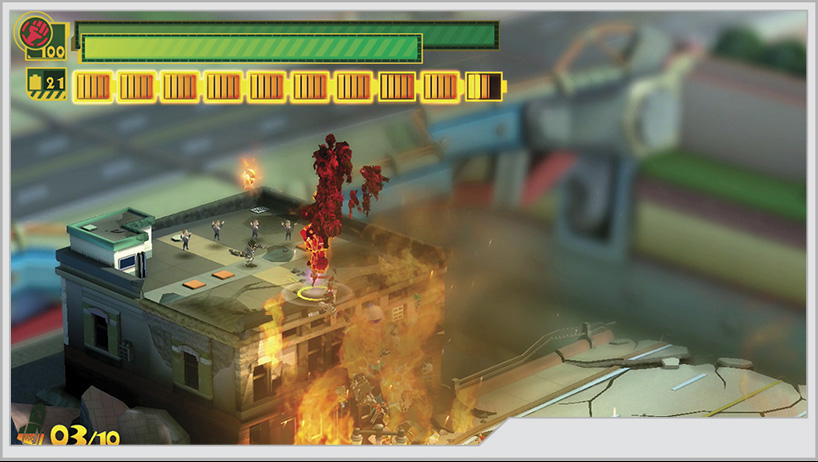
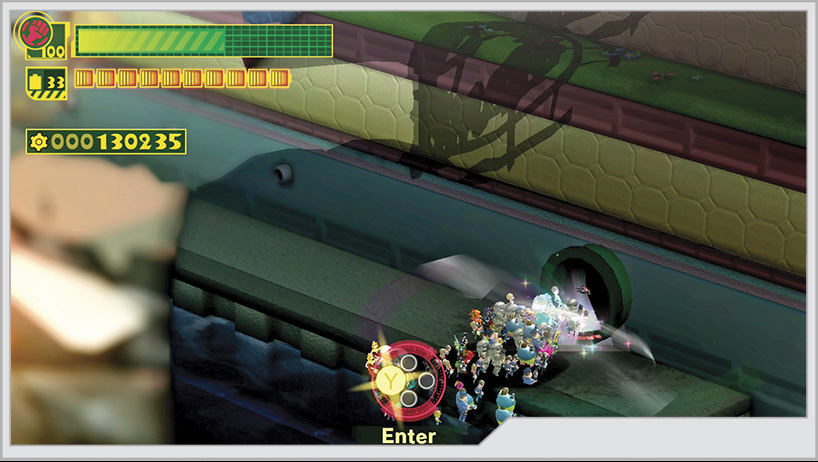
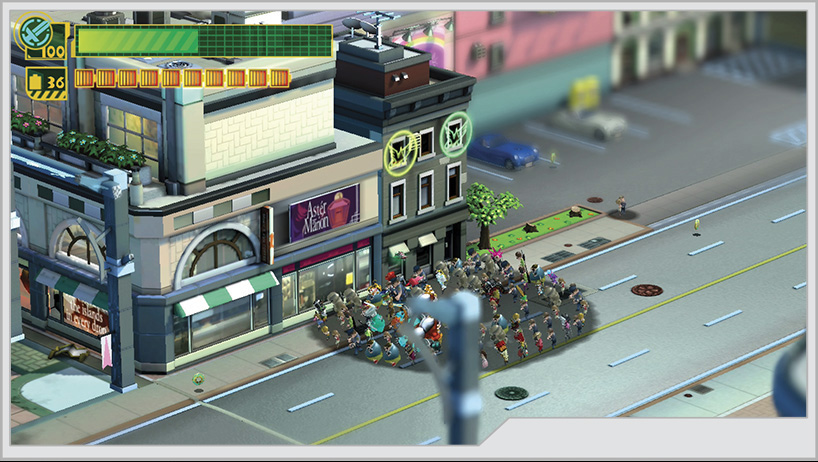
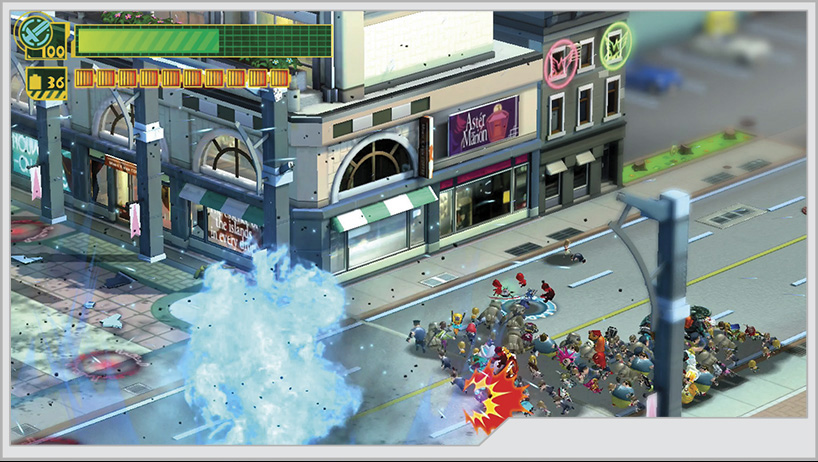
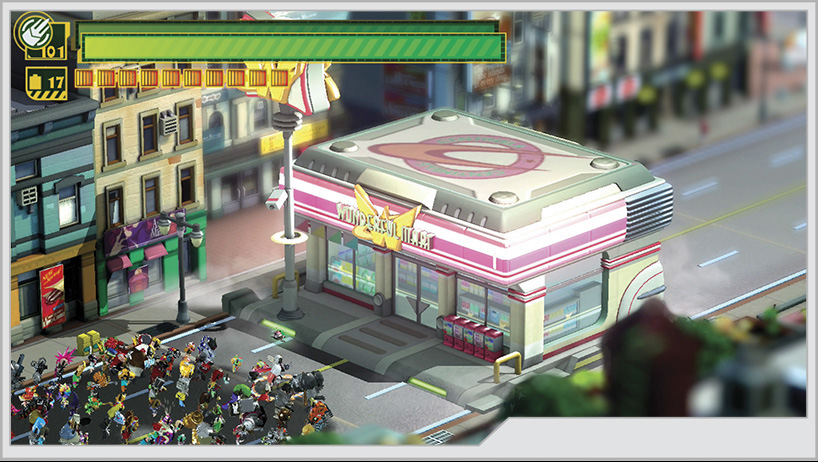
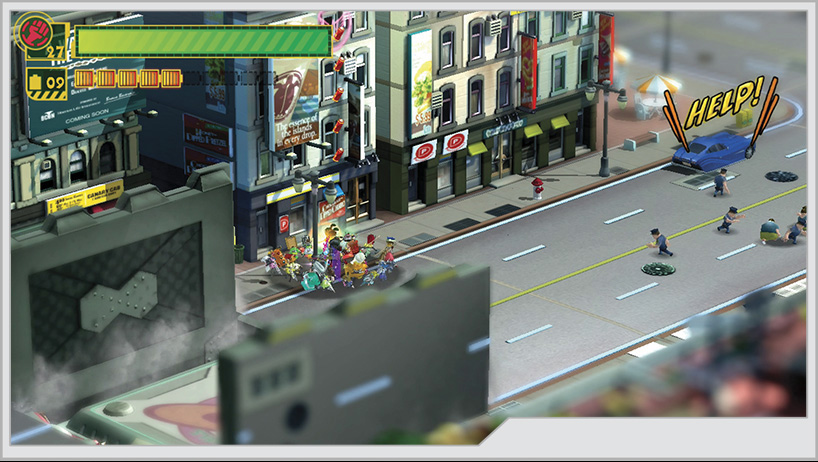
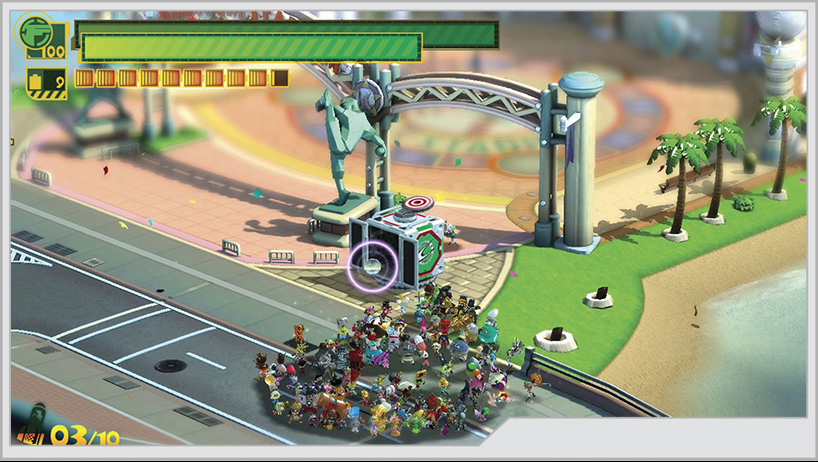
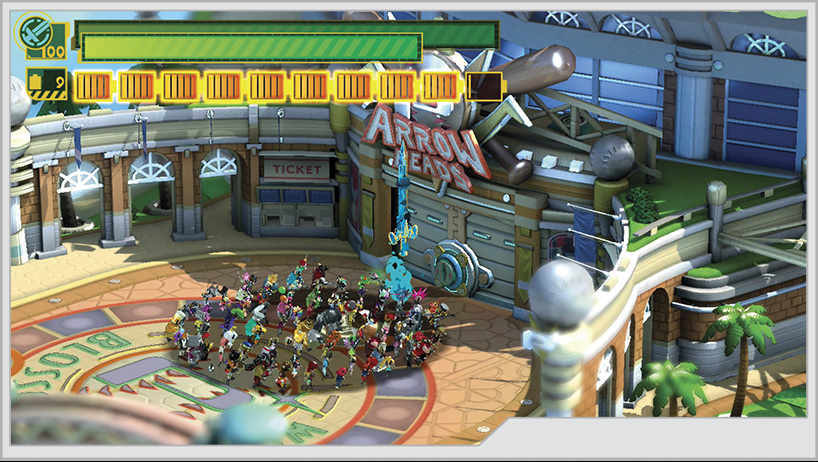
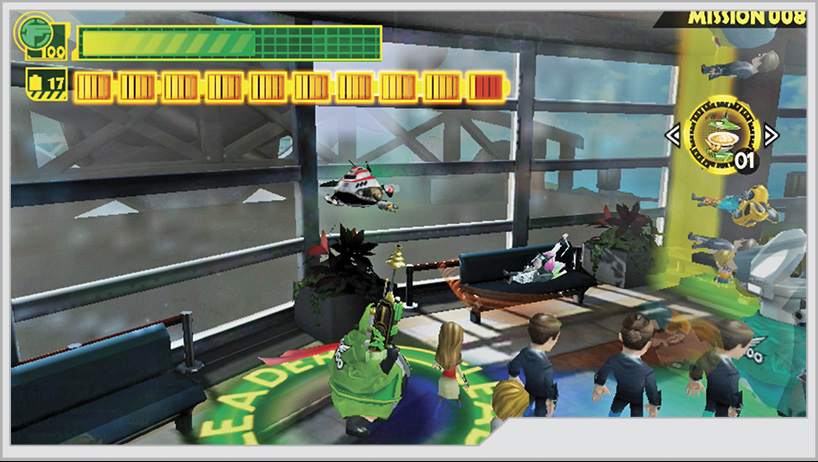
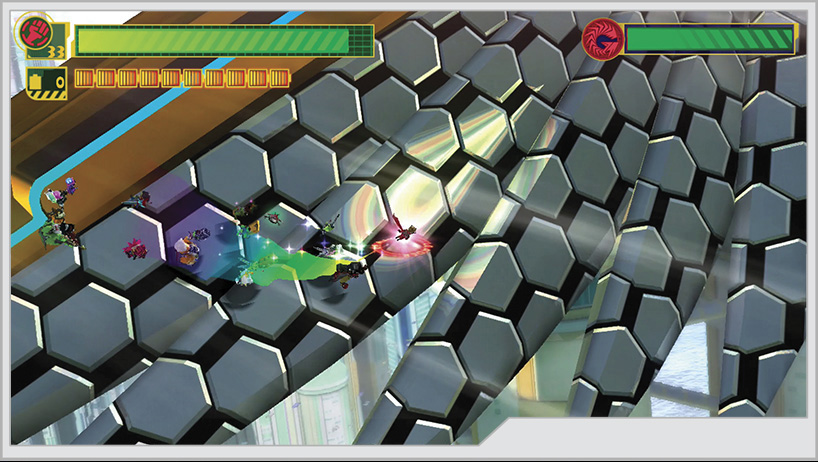
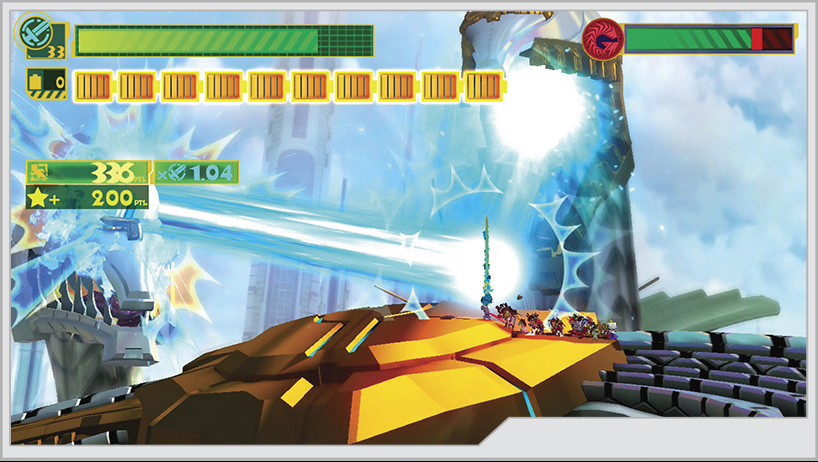
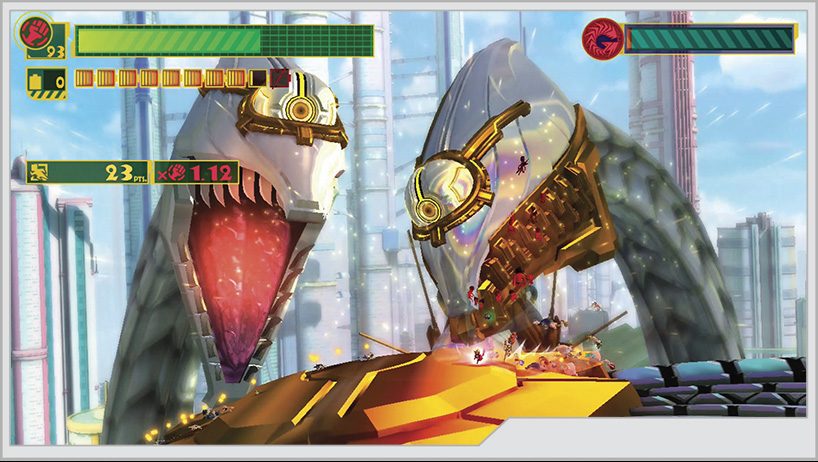
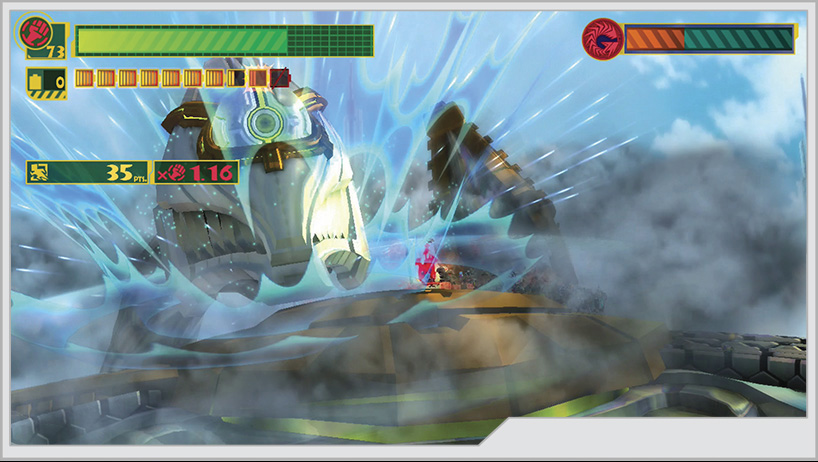
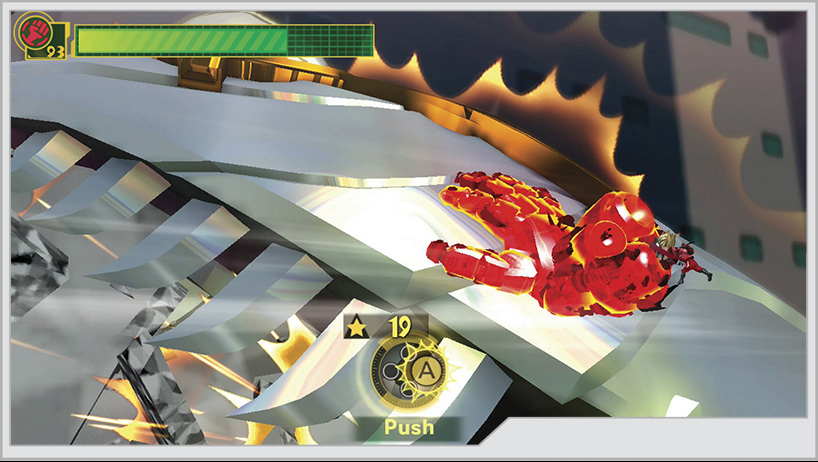
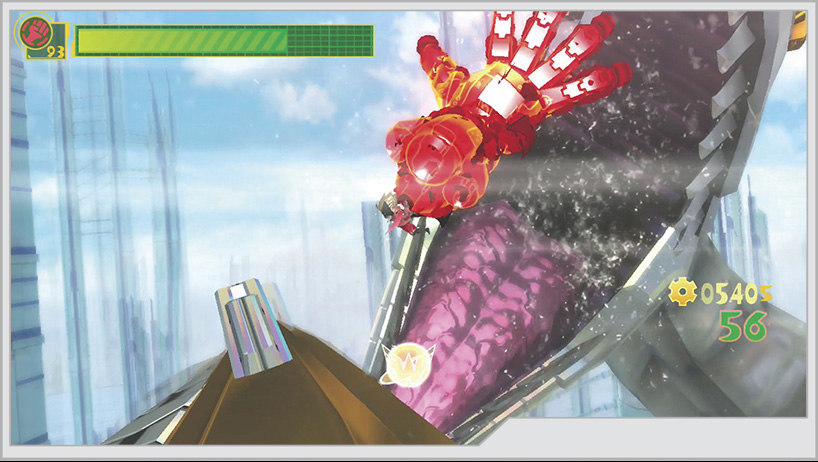
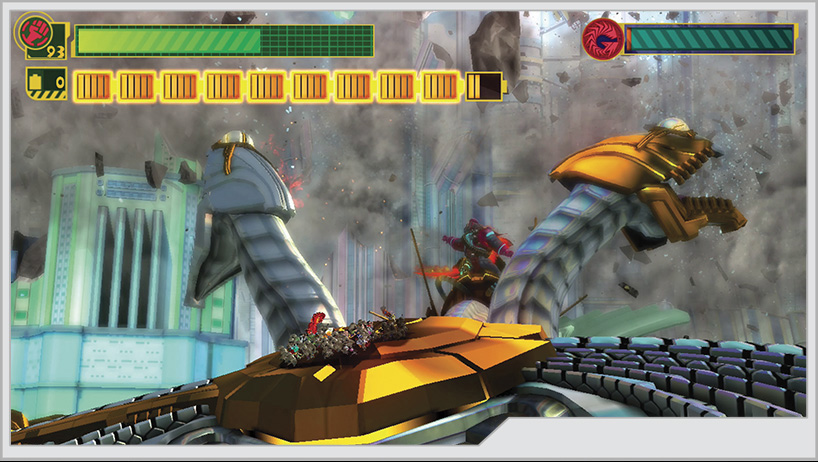
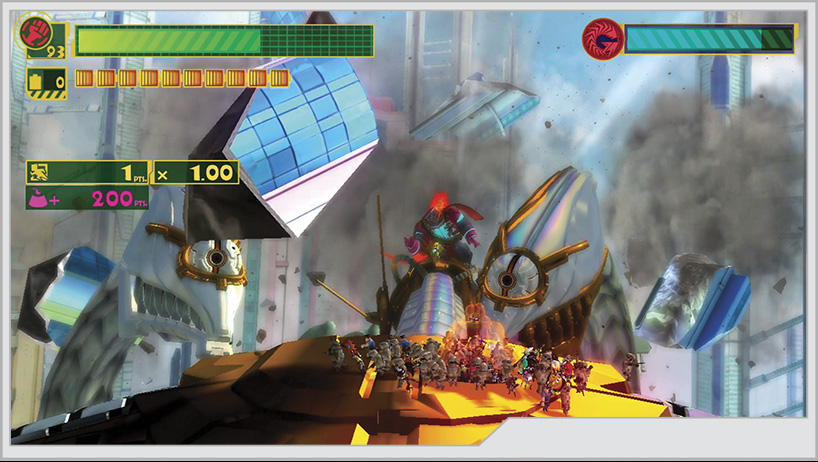
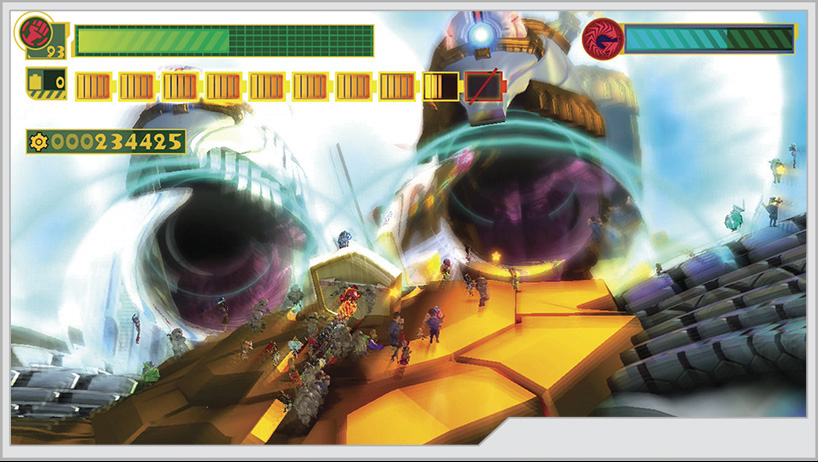
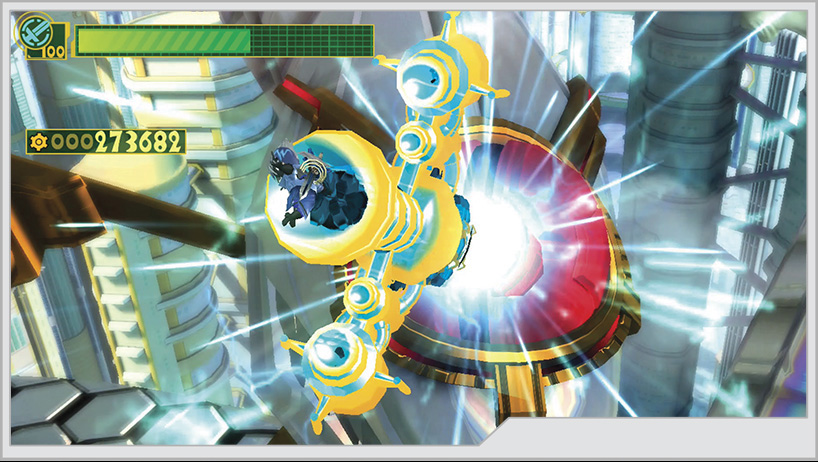
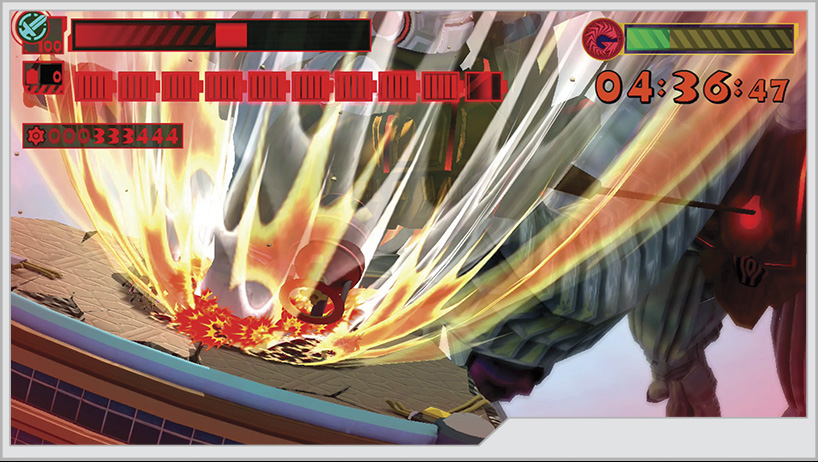
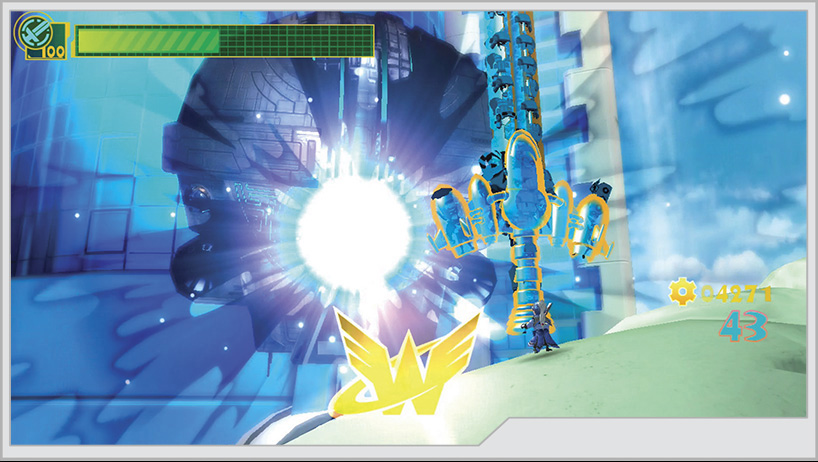
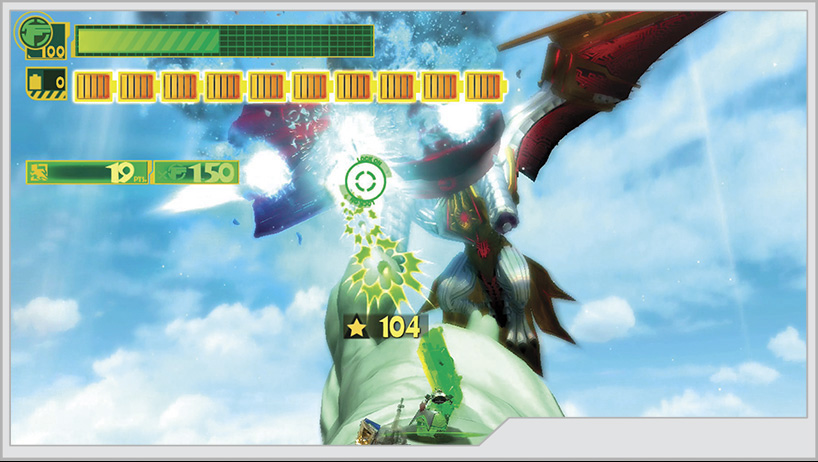
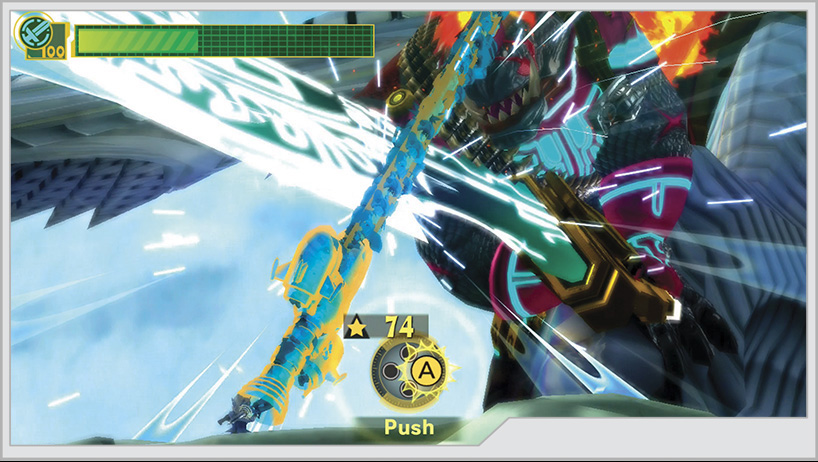
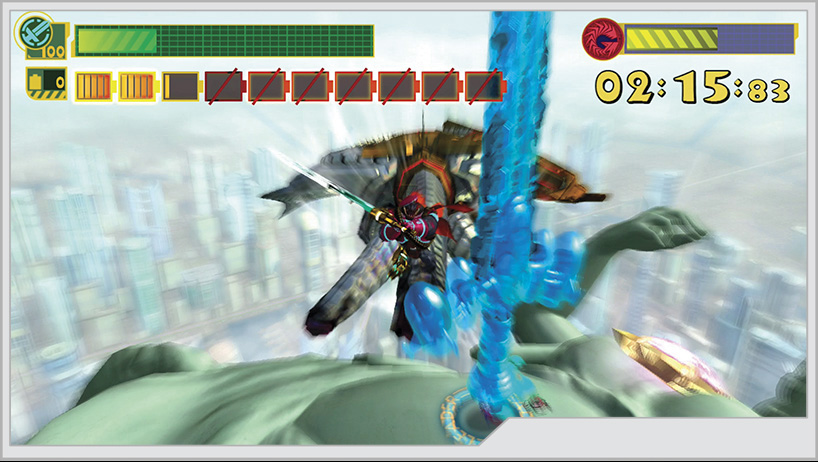
The GEATHJERK invasion of Earth has begun in earnest. Blossom City is at the epicenter of the assault as the enemy quickly attempts to gain ground worldwide. However, the planet is spared the absolute worst of the assault, as the CENTINELS have activated the planetary defense shield “Margarita,” denying the Jerks the ability to bring the full weight of their forces to the ground. Now aboard the CENTINELS’ flagship Virgin Victory, Commander Laurence Nelson has turned over field command of the Wonderful 100 to Wonder-Red and orders the Victory’s navigator, Alice, to deploy the heroes into the city. Jerk-matter detection systems have revealed that Blossom City is already in a bad way. Heavy enemy presence has made itself felt across the metropolis, including a powerful anti-aircraft battery that threatens to take the Virgin Victory out of the fight. The Wonderful 100 must bring down that AA gun and any enemies who stand in their way. The counterattack begins now.
Operation 001-A
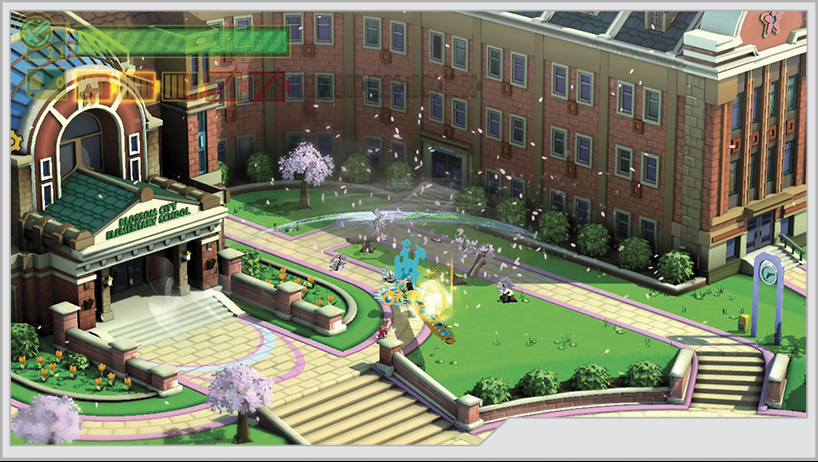
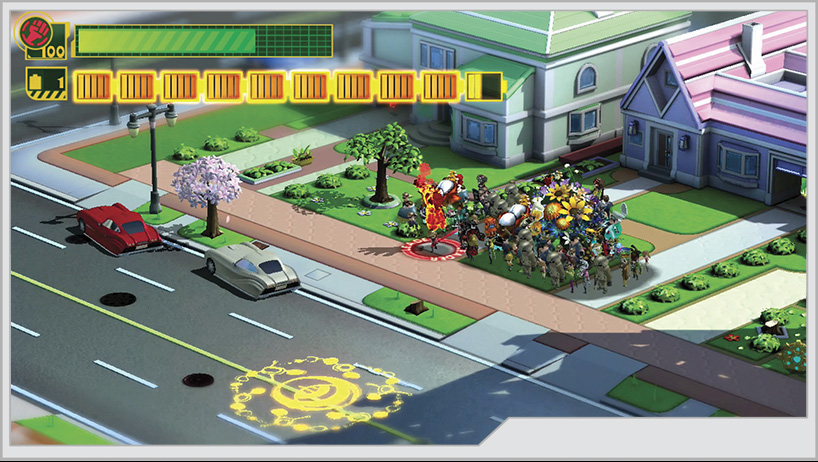
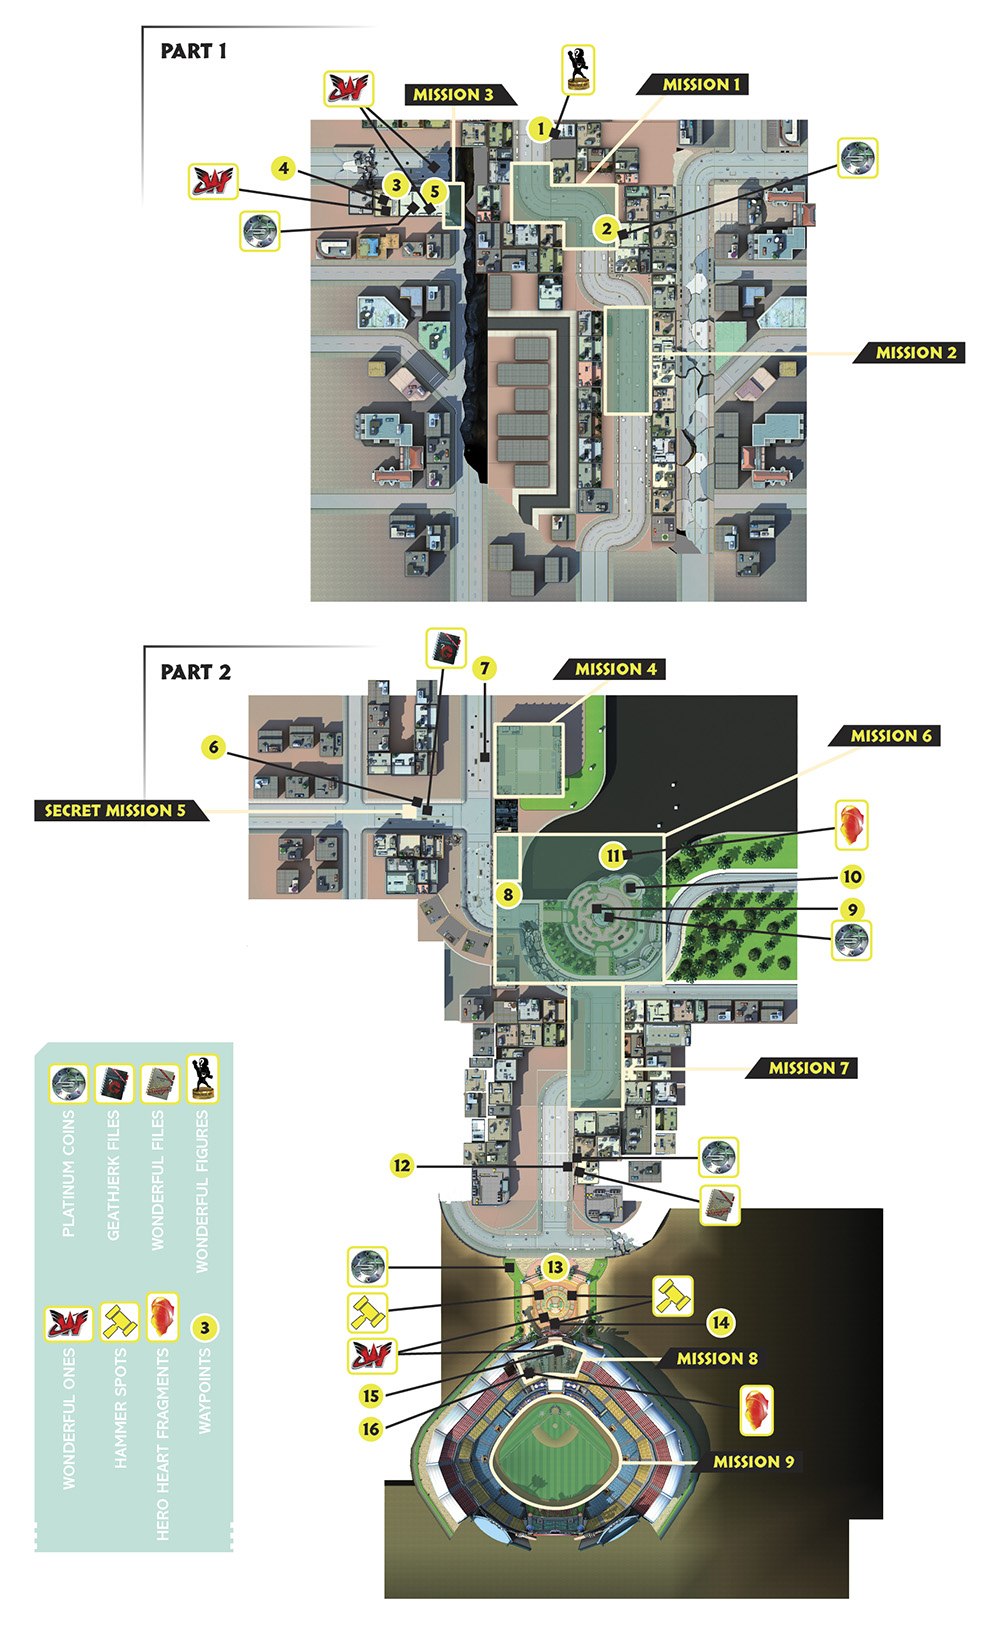
Your starting location is none other than Blossom City Elementary School. Start going to town on the local scenery. Many of the breakable bits of the environment contain useful O-Parts, Space Peppers, Carrots, and Eggplants.
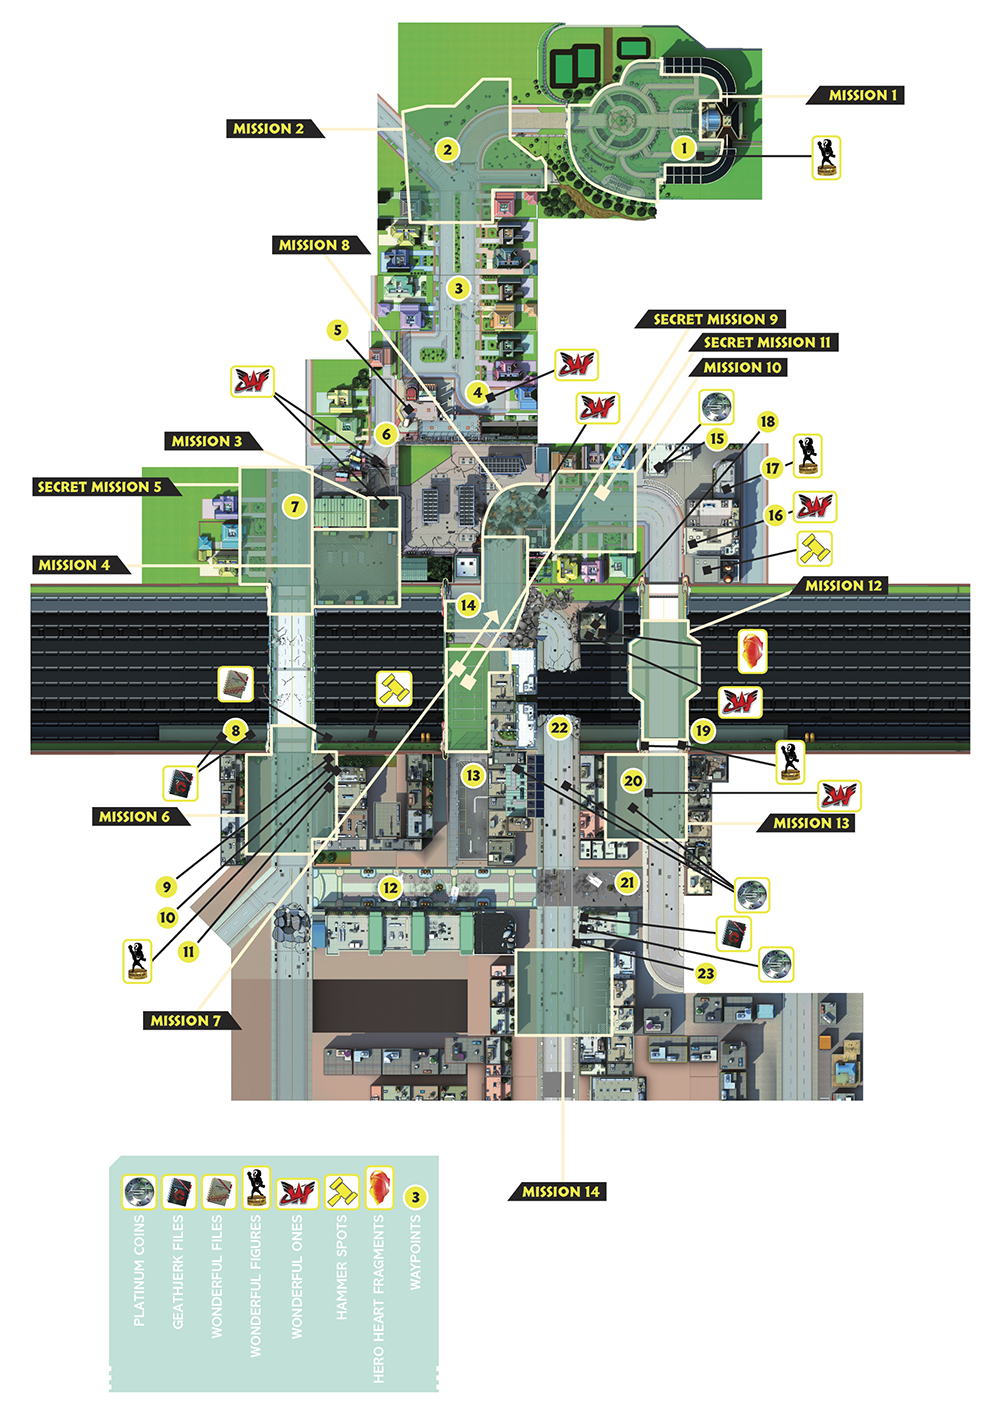
[1] Before you try to move away from the school, extend the Wonder-Liner into this open window on the school building to collect Wonderful Figure No. 11.
[2] As you proceed into the neighborhood, you’ll encounter several civilians you can recruit into your ranks. A little past the first cluster of civilians is a circular planter; circle it with a Wonder-Liner to restore it, and it grants you a healing item. Just about every house lining the street has numerous breakable objects to take advantage of, as well as hidden Space Vegetable items for mixing and batteries to boost your Unite Gauge. However, wait until after Mission 2 ends before you take the time to really pillage a suburb of all its goods.
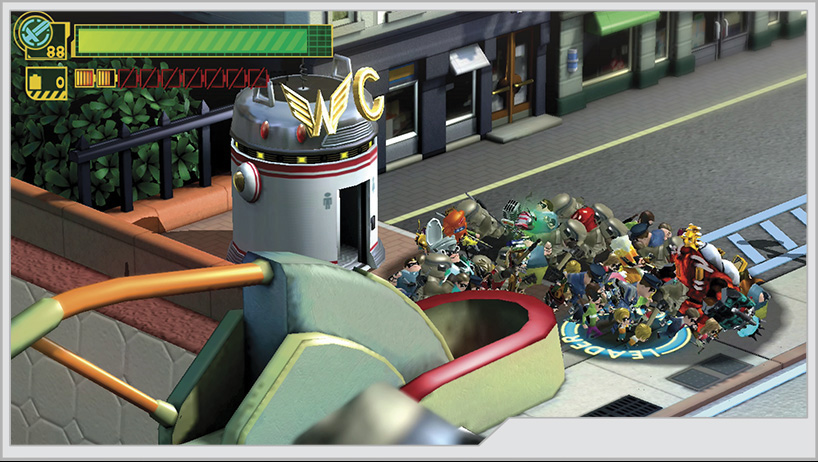
[4] As you reach the end of the neighborhood, you’ll find clusters of civilians waiting to join the team. More importantly, if you destroy the parked yellow sedan across the road from a Wonderful Toilet, you will reveal the 28th member of the Wonderful 100, Wonder-Painter. The Wonderful Toilet contains a supply of O-Parts; collect them before crossing the roof of the nearby Shifty’s Used Cars [5].
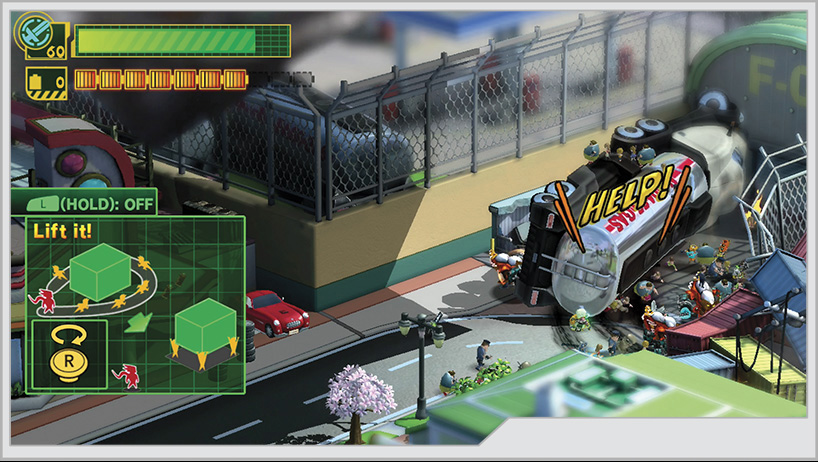
Just past Shifty’s, an overturned fuel tanker [6] blocks your way forward, and civilians are pinned down close to the wreck. Wrap the Wonder-Liner around the tanker to lift it away from the civilians and throw it. This act also rescues another Wonderful One, the man known as Wonder-Beer. Afterward, use the Unite Hand to twist open the door to a locked warehouse.
As you exit the warehouse to continue deeper into the city, you encounter one of the more insidious creations GEATHJERK has at its disposal to intimidate humanity.
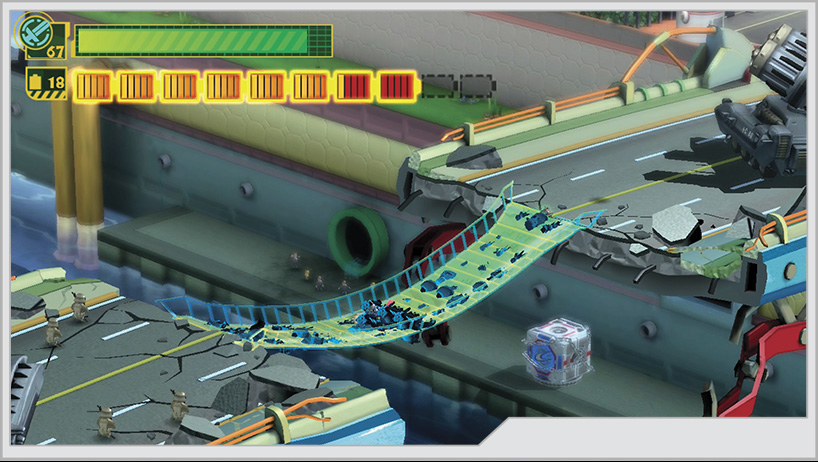
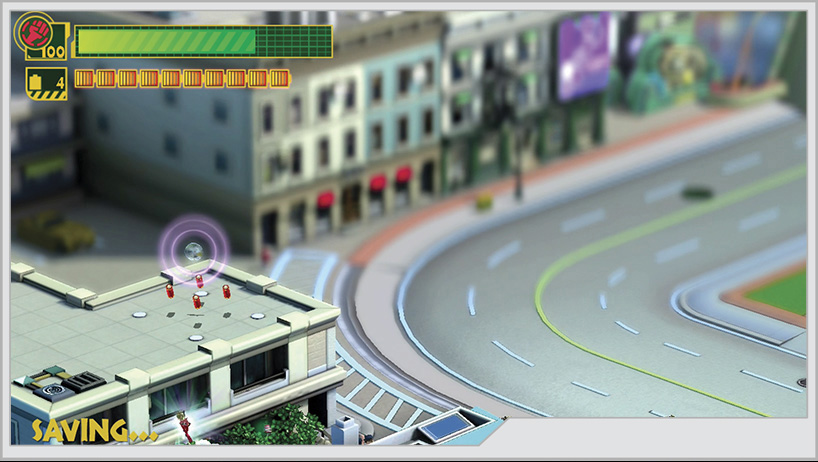
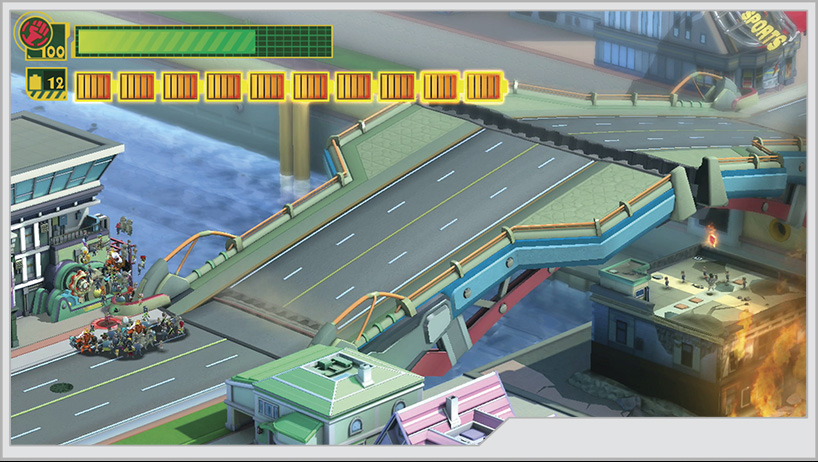
You’ve got some work to do now that the mission is no longer hanging over your head. First, send a Wonder-Liner across the broken bridge to open that supply box. Afterward, head back to the Mission 3 warehouse to recruit Wonder-Diva, who has just arrived on the scene.
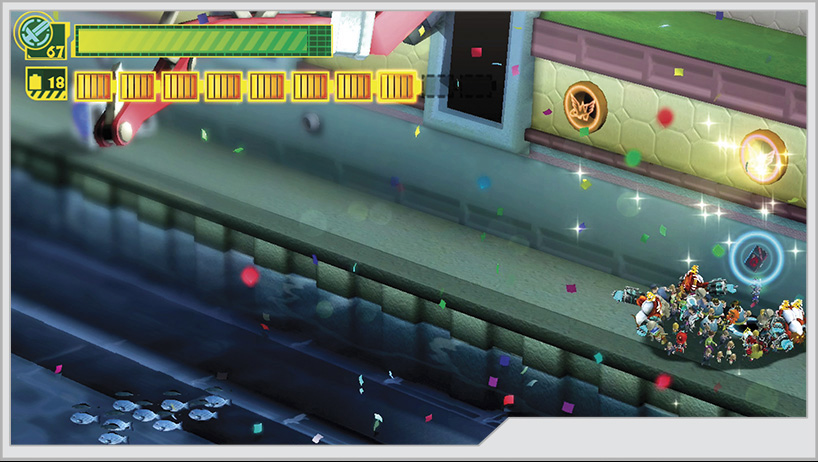
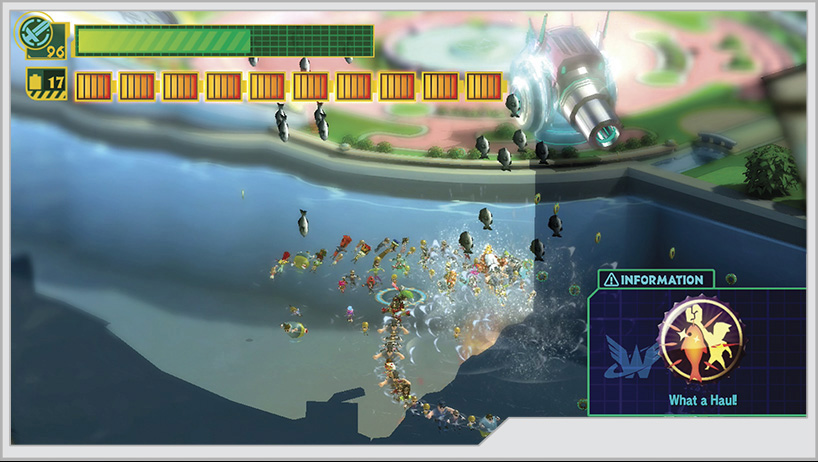
With that unpleasantness out of the way, get to the warehouse to recruit Wonder-Diva, then return to the broken bridge. Jump off the bridge into the canal below. You can wrap a Wonder-Liner around a school of fish swimming in the water, which will contribute toward the What a Haul! Achievement in the Bottlecap Collection.
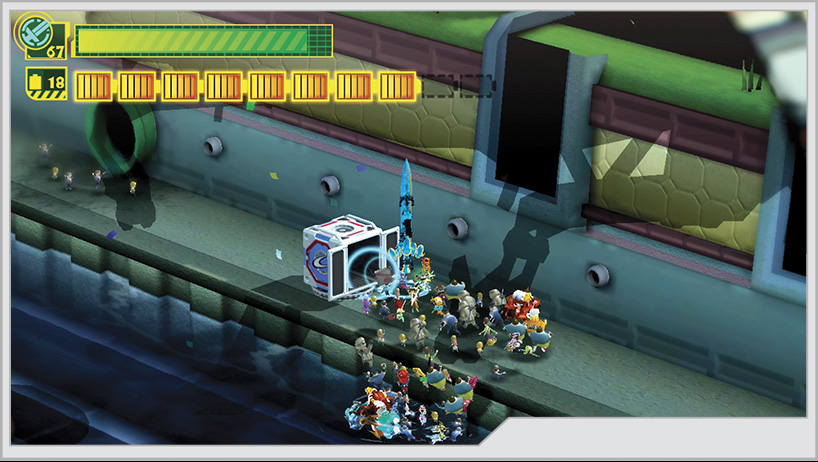
Still inside the canal, you can jump onto a ledge and cut open a blue supply box with Unite Sword, revealing Wonderful File No. 3. There is an exit from the canal via an open sewer pipe near the supply box. However, stay in the canal and head to the right of the bridge [12] to find a pair of brown pipe openings. Send the Wonder-Liner into those pipes [8] to uncover GEATHJERK Files No. 1 and 2, respectively. Now you can exit the canal! The sewer pipe will take you back to where Secret Mission 5 was triggered. Cross the bridge. There are several items to collect on the other side, but tend to Mission 6 first.
With Mission 6 cleared, you can take your time retrieving all the secrets in this area. Start with the Wonderful Toilet [9], which is filled with Space Peppers. Next to it are a pair of buildings with open windows [10] [11] that you can send a Wonder-Liner into, revealing Wonderful Figure No. 10 and GEATHJERK File No. 3. There’s also another blue supply box near the Wonder-Liner that contains a useful health-recovery item.
[12] You have to pass through a shopping center while a GEATHJERK artillery barrage rains down into the area. The pattern is predictable and easy to avoid, but there are plenty of Wonderful Batteries to collect, along with several planters you can wrap the Wonder-Liner around for bonus health items, but this may put you in the line of fire. Eventually this path is cut off by a collapsing building.
[13] You reach a lot separated from a football field by a chain-link fence. It’s apparently a dead end, complete with a small ambush by numerous Dough-Goo. This isn’t a rated battle, so feel free to use the quickest means to defeat them without worrying over your rating. Afterward, switch to Unite Hand, and drag the cargo containers out from their place inside the buildings next to you. You can use these containers to climb up to the roof, where your first Platinum Coin and a blue supply box awaits. You can also explore the area behind the containers to find some extra supplies. Additionally, you can bypass the container pulling if you use Unite Rocket to launch the team to the rooftops.
Mission 7
Medal Requirements
| Element | Platinum | Gold | Silver | Bronze | Difficulty |
|---|---|---|---|---|---|
| Time | 1:50 | 2:20 | 2:50 | 3:50 | Very easy |
| Time | 1:50 | 2:20 | 2:50 | 3:50 | Easy |
| Time | 1:30 | 2:00 | 2:30 | 3:30 | Normal |
| Time | 1:30 | 1:40 | 2:00 | 2:30 | Hard |
| Time | 1:30 | 1:40 | 2:00 | 2:30 | 101% Hard |
| Combo | 1500 | 1200 | 800 | 500 | Very easy |
| Combo | 2000 | 1500 | 1000 | 500 | Easy |
| Combo | 3000 | 2500 | 2000 | 1000 | Normal |
| Combo | 4000 | 3000 | 2000 | 1000 | Hard |
| Combo | 5000 | 4000 | 3000 | 2000 | 101% Hard |
| Damage | 0 | 500 | 1000 | 2000 | Very easy |
| Damage | 0 | 500 | 1000 | 2000 | Easy |
| Damage | 0 | 500 | 1000 | 2000 | Normal |
| Damage | 0 | 1000 | 2000 | 4000 | Hard |
| Damage | 0 | 1000 | 2000 | 4000 | 101% Hard |
Enemies Present (All Difficulties)
- Wave 1: Dough-Goo, Chew Dough-Goo x2
- Wave 2: Hoedown, Dough-Goo
The rooftop path gets you past the chain-link fence onto the rugby field. This is where the game officially gives you the ability to Wonder-Circle parts of the environment with the Wonder-Liner for bonus points. Two Chew Dough-Goo and a defensive line of Dough-Goo warp onto the field ready to intercept you. You ought to be used to dealing with these guys by now, but the Hoedown that shows up during the second wave could present more problems. You have less room to react to its cannon shots or dash attacks, which can be quite disastrous on the higher difficulties. The Hoedown comes with another group of Dough-Goo, which makes it harder to use larger Unite Morphs on them for fear of bouncing off the Hoedown’s shield. The Team Attack can eventually stun the Hoedown, giving you a chance to clear out the small fry first.
[14] The mission isn’t done after you defeat the two waves of enemies. Continue on the newly opened path until you see a red supply box that contains Wonderful File No. 1. You can open it, but if you’re looking to achieve Pure Platinum, it takes up time. Going past the box triggers a cutscene showing a multi-vehicle pileup that involves a half dozen fuel tankers. You’ll be thrust into a quick-time event to evade the initial explosion from the crash; then you’ll defend yourself with a handy shield emblem that falls from the sky. You’re then given full control of the situation.
Five fuel trucks crash to the ground. Make sure the shield is pointed at the explosion caused by each crash, and make doubly sure you’re not under a falling truck. The game will show you their position via a faint shadow on the ground and will put the world into slow motion, which should give you enough time to defend yourself. This absolutely does count toward the mission rating, so pay attention. Once the rain of falling trucks ends, Mission 7 is complete. While your score is being tallied, return to the rugby field for Secret Mission 9!
Hard and 101% Hard Mode
As usual, the time constraints of the higher difficulties are complicated by the greater resilience of your foes and the Chew Dough-Goo’s propensity to summon more friends. Resist the urge to wipe out the second wave of Dough-Goo with a single Unite Bomb; you need them to meet the combo requirements while you also avoid the Hoedown’s attacks.
Secret Mission 9
Medal Requirements
| Element | Platinum | Gold | Silver | Bronze | Difficulty |
|---|---|---|---|---|---|
| Time | 1:20 | 1:40 | 2:00 | 2:30 | Very easy |
| Time | 1:20 | 1:40 | 2:00 | 2:30 | Easy |
| Time | 1:10 | 1:30 | 1:50 | 2:20 | Normal |
| Time | 1:00 | 1:20 | 1:40 | 2:00 | Hard |
| Time | 1:00 | 1:20 | 1:40 | 2:00 | 101% Hard |
| Combo | 1000 | 800 | 600 | 400 | Very easy |
| Combo | 1500 | 1200 | 800 | 500 | Easy |
| Combo | 2500 | 2000 | 1500 | 1000 | Normal |
| Combo | 3500 | 3000 | 2500 | 2000 | Hard |
| Combo | 4000 | 3500 | 3000 | 2500 | 101% Hard |
| Damage | 0 | 500 | 1000 | 2000 | Very easy |
| Damage | 0 | 500 | 1000 | 2000 | Easy |
| Damage | 0 | 500 | 1000 | 2000 | Normal |
| Damage | 0 | 1000 | 2000 | 4000 | Hard |
| Damage | 0 | 1000 | 2000 | 4000 | 101% Hard |
Enemies Present (All Difficulties)
- Wave 1: Dough-Goo, Chew Dough-Goo, Hoedown
Technically you’re doing missions out of order, but if you continue too far into the operation, you won’t be able to return to the rugby field for this secret mission. Best to get it out of the way now. A Hoedown and a Chew Dough-Goo are out for blood here. It’s the same problem as with the start of Mission 7: The Hoedown’s armor can be problematic to any large Unite Morph attacks you attempt on the smaller foes summoned by the Chew Dough-Goo. Play defensively with Unite Guts to limit the Hoedown’s effectiveness and hopefully take out its armor plating quickly or stun it out of a dash. The Chew Dough-Goo will likely be trying to summon many Dough-Goo to the field, so work fast before things get overwhelming.
Mission 8
Medal Requirements
| Element | Platinum | Gold | Silver | Bronze | Difficulty |
|---|---|---|---|---|---|
| Time | 0:30 | 0:35 | 0:40 | 0:50 | Very easy |
| Time | 0:30 | 0:35 | 0:40 | 0:50 | Easy |
| Time | 0:30 | 0:35 | 0:40 | 0:50 | Normal |
| Time | 0:30 | 0:35 | 0:40 | 0:50 | Hard |
| Time | 0:30 | 0:35 | 0:40 | 0:50 | 101% Hard |
| Damage | 0 | 200 | 400 | 600 | Very easy |
| Damage | 0 | 200 | 400 | 600 | Easy |
| Damage | 0 | 200 | 400 | 600 | Normal |
| Damage | 0 | 200 | 400 | 600 | Hard |
| Damage | 0 | 200 | 400 | 600 | 101% Hard |
Mission 8 begins if you walk a short distance forward from the Mission 7 zone. Civilians are trapped by a fire, and you need to smother the flames quickly. Unfortunately, while Unite Hand can harness fire for offense, it can’t protect you while you walk through the inferno, so you’ve got to find another way. Quickly send a Wonder-Liner up the nearby Manti Corps Securities building to build a ladder to the rooftop. Once there, stop the fire by using Unite Sword to slash at a set of suspended construction platforms being held up by a crane. The mission ends when you Wonder-Circle the civilians to safety. Among them is Wonder-Kungfu, the 12th Wonderful One.
Mission 10
Medal Requirements
| Element | Platinum | Gold | Silver | Bronze | Difficulty |
|---|---|---|---|---|---|
| Time | 1:00 | 1:10 | 1:30 | 2:00 | Very easy |
| Time | 1:00 | 1:10 | 1:30 | 2:00 | Easy |
| Time | 0:50 | 1:00 | 1:20 | 1:40 | Normal |
| Time | 0:50 | 1:00 | 1:20 | 1:40 | Hard |
| Time | 0:50 | 1:00 | 1:20 | 1:40 | 101% Hard |
| Combo | 1500 | 1200 | 800 | 500 | Very easy |
| Combo | 2000 | 1500 | 1000 | 500 | Easy |
| Combo | 3000 | 2500 | 1500 | 1000 | Normal |
| Combo | 3500 | 3000 | 2500 | 2000 | Hard |
| Combo | 4000 | 3500 | 3000 | 2000 | 101% Hard |
| Damage | 0 | 500 | 1000 | 2000 | Very easy |
| Damage | 0 | 500 | 1000 | 2000 | Easy |
| Damage | 0 | 500 | 1000 | 2000 | Normal |
| Damage | 0 | 1000 | 2000 | 4000 | Hard |
| Damage | 0 | 1000 | 2000 | 4000 | 101% Hard |
Enemies Present (All Difficulties)
- Wave 1: Diedough-Goo
GEATHJERK Encounter: Diedough-Goo
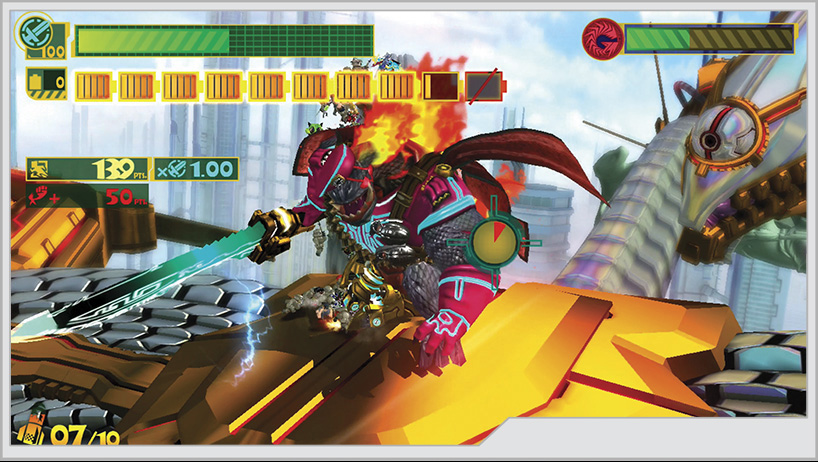
One of the most lethal combat units in the GEATHJERK arsenal, the Diedough-Goo is well armored, surprisingly agile for its size, and a dangerous melee combatant. Even the combined might of the Wonderful 100 can be swept aside in a single swipe from one of its limbs, and it’s equipped with a flamethrower and the same type of cannon found on a Hoedown. As the Diedough-Goo takes more damage and its combat armor is stripped away from its frame, it becomes a greater threat. Though it loses its ranged weapons, the machine becomes even more dangerous, growing in speed and occasionally shifting red in color, indicating that even the most powerful Unite Morph abilities will bounce harmlessly off its armor.
Full stop: The Diedough-Goo is a tough opponent for players just getting into the game, so don’t get discouraged if you feel like a Wonderful punching bag by the time this fight’s done. It punishes players severely for attacking recklessly by going into its “rage mode,” able to shatter any Unite Attack, and ignore Unite guts. The trick is knowing when it is in rage mode and staying the heck away from it until it subsides. A Diedough-Goo can also parry your attacks, erecting a short-lived defensive shield. You can see when this barrier appears, and it is possible to react in time and stop attacking.
You can weaken a Diedough-Goo with the Team Attack, but its powerful melee strikes can shake off any Wonderful Ones attached to it. Fortunately, with Unite Guts, you can defend against it’s melee attacks so long as it’s not enraged. This includes the heavily telegraphed air stomp attack, which after being reflected by Unite Guts, leaves the Diedough-Goo stunned. During that time, you can really pile on the damage, and if you have the Wonderful Rising for either Unite Sword or Unite Hand, you can launch and juggle a Diedough-Goo to death if you are smart with your various Unite attacks.
Diedough-Goo have two ranged attacks: a flamethrower and a cannon that fires shells like a Hoedown. You can reflect the shells with Unite Guts, and you can absorb the flamethrower with Unite Hand.
Tip
The back of a Diedough-Goo is its weak spot. It becomes much more prominent the more armor you blast off, like a giant “Unite Hand This Spot” button. A sufficiently powerful Unite Hand can strip huge amounts of health per strike on this weak point. Keep this in mind.
Hard and 101% Hard Mode
Diedough-Goos enrage more often on higher difficulties, which makes fighting them a more dangerous proposition. Unite Bomb it, stun it with rapid-fire Team Attacks, and juggle it to pieces before it becomes a serious threat. These enemies can hit as hard as some bosses are capable of, so handle them with care.
After completing Mission 10, you’re officially introduced to the GEATH-Circles when one appears in the area the Diedough-Goo was guarding. This portal leads to Kahkoo-Regah, a hidden facility the GEATHJERK retreated to in the aftermath of Earth Defense War 2. Every part of an operation outside of the boss battles has one of these portals, and the requirements for unlocking them are varied. Some appear after completing a mission, like this one. Others require you to backtrack into a level. Other’s still might have specific requirements before they appear. Wrap it up with a Wonder-Liner and get ready for a challenge.
Secret Mission 11
Medal Requirements
| Element | Platinum | Gold | Silver | Bronze | Difficulty |
|---|---|---|---|---|---|
| Time | 1:00 | 1:10 | 1:30 | 1:50 | Normal |
| Time | 4:00 | 4:15 | 4:30 | 4:45 | Hard |
| Time | 4:00 | 4:15 | 4:30 | 4:45 | 101% Hard |
| Combo | 5000 | 4000 | 3000 | 2000 | Normal |
| Combo | 3000 | 2500 | 2000 | 1500 | Hard |
| Combo | 3000 | 2500 | 2000 | 1500 | 101% Hard |
| Damage | 0 | 1 | 2 | 3 | Normal |
| Damage | 0 | 1 | 2 | 3 | Hard |
| Damage | 0 | 1 | 2 | 3 | 101% Hard |
Enemies Present (Normal)
- Wave 1: Chew Dough-Goo, Dough Goo x10
- Wave 2: Chew Dough-Goo x3, Dough Goo x10
Enemies Present (Hard–101% Hard)
- Wave 1: Chew Dough-Goo, Dough Goo x10
- Wave 2: Megang x2
Reward For Completion
- Normal Mode: Figure No. 46 Wonder-Oracle
- Hard Mode: Figure No. 82 Wonder-Cellphone
- 101% Mode: Figure No. 3 Wonder-Green
This is the first Kahkoo-regah mission new players will see if they started out on Normal Mode. You will not be able to access it on Very Easy or Easy Mode. It is a fairly simple challenge. You have two minutes to defeat two waves of enemies. The first wave consists of a single Chew Dough-Goo and a squad of Dough-Goo. The second wave starts with three Chew Dough-Goo. If you haven’t learned how useful Unite Guts can be, this mission will teach you all about it. Remember, if you’re gunning for Pure Platinum, you have less than a minute to defeat all enemies while also achieving the necessary combo rating, and of course you can’t take any hits.
Note
After every battle in Kahkoo-Regah, you’re given a collectible reward regardless of the rank you earned for completing the mission. This reward changes between difficulty settings. You can get a total of three different Wonderful Figures from each portal to Kahkoo-Regah, based on the Normal and 101% Hard difficulty settings. Remember that you cannot access ANY of the Kahkoo-regah missions on difficulty settings below Normal Mode.
How you take damage works differently in Kahkoo-Regah. You can take a set number of blows before you fail the mission and have to continue. Restarts in Kahkoo-Regah negatively affect your rating at the end of an operation, just like they do during the main missions. You have no access to healing items or Unite Gauge boosters, and worse still, you don’t get to take the group you have in the real world. You have to work with the forces you’re given. In this battle, you have access only to Wonder-Red and Wonder-Blue’s skills.
Hard and 101% Hard Mode
The first wave is simple enough to handle, but the second wave changes things up a bit with two Megang. You can always position yourself in such a way that they can’t easily support each other. You still have to farm combos from them to meet the Platinum requirements, so don’t make too much use of high-powered Unite Morphs. Work them over one at a time, tipping them on their backs and going ballistic with multiple Unite Hammers until you manage to wreck their shells; then you’re free to use any other ability on them. It helps to further isolate a Megang with a small Unite Bomb.
Now that you’ve taken care of business in Kahkoo-Regah, take a thorough look around the neighborhood surrounding the portal. There’s some collectibles to grab, as well as the Space Fruit supplies hidden in the area.
[15] The second Platinum Coin is found on a rooftop on the left side of the street as you pass the portal. It’s near a cluster of Wonderful Batteries.
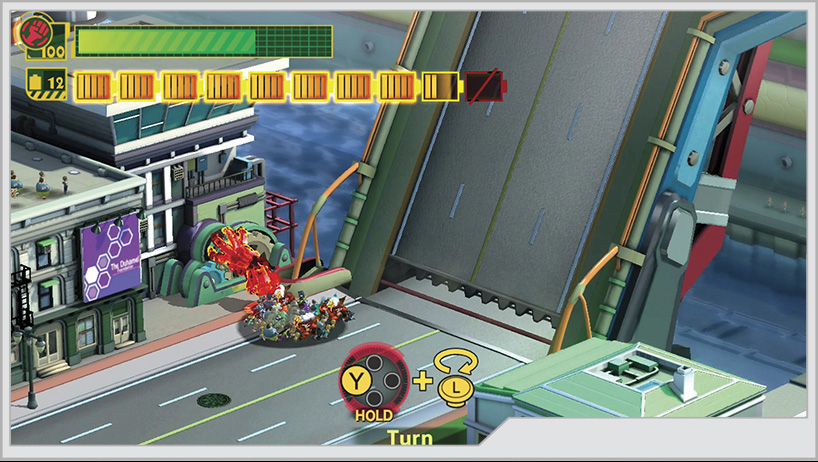
Next, advance toward the drawbridge, and use Wonder-Red’s ability to twist the mechanism and lower the bridge into place. On the rooftop of the building housing this mechanism is a cluster of civilians [16]. Among them is Member No. 36, Wonder-Pâtissière.
Tip
You’ll Be Back
[17] After Wonder-Pink has joined the team, you can return to this part of town to find and open a pink supply box with the Unite Whip power. Additionally, there is a spot on another roof near where you recruited Wonder-Pâtissière. You can put Wonder-Yellow’s hammer to use here. There are three Bottlecap Collection achievements associated with finding the treasures uncovered by Unite Hammer.
It is possible to bypass a battle on the bridge if you don’t lower it all the way. You might see a cluster of civilians on a rooftop to the right of the bridge [18]. There’s a Hero Heart Fragment and Member No. 22 Wonder-Judo waiting for you there, but you can’t extend the Wonder-Liner out to them.
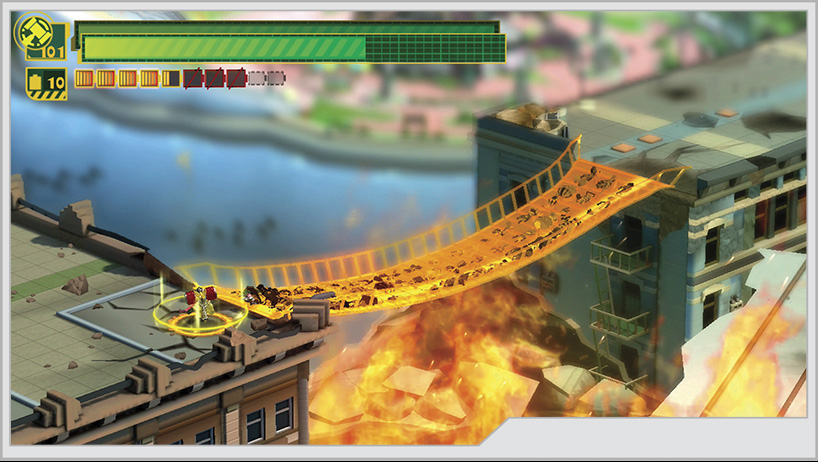
Jumping off the bridge allows you to get some items and make progress toward two Bottlecap Collection achievements. You can wrap a Wonder-Liner around the schools of fish in the water to make progress on the What a Haul! Achievement, which you can accomplish by the end of Operation 001. The large sewer pipe near a cluster of civilians is another one of three that you must use to earn the Good in Tight Spaces Achievement. Underneath the bridge is also a small sewer pipe you can extend the Wonder-Liner into [19], recovering Wonderful Figure No. 13.
Mission 12
Medal Requirements
| Element | Platinum | Gold | Silver | Bronze | Difficulty |
|---|---|---|---|---|---|
| Time | 1:30 | 1:50 | 2:10 | 2:40 | Very easy |
| Time | 1:20 | 1:40 | 2:00 | 2:30 | Easy |
| Time | 1:10 | 1:30 | 1:50 | 2:10 | Normal |
| Time | 1:10 | 1:20 | 1:40 | 2:00 | Hard |
| Time | 1:00 | 1:20 | 1:30 | 2:00 | 101% Hard |
| Combo | 3000 | 2500 | 1500 | 500 | Very easy |
| Combo | 4000 | 3000 | 2000 | 1000 | Easy |
| Combo | 5000 | 4000 | 3000 | 2000 | Normal |
| Combo | 5000 | 4000 | 3000 | 2000 | Hard |
| Combo | 6000 | 5000 | 4000 | 3000 | 101% Hard |
| Damage | 0 | 500 | 1000 | 2000 | Very easy |
| Damage | 0 | 500 | 1000 | 2000 | Easy |
| Damage | 0 | 500 | 1000 | 2000 | Normal |
| Damage | 0 | 1000 | 2000 | 4000 | Hard |
| Damage | 0 | 1000 | 2000 | 4000 | 101% Hard |
Enemies Present (Very Easy–Normal)
- Wave 1: Chew Dough-Goo x2, Dough Goo x10
- Wave 2: Diedough-Goo
Enemies Present (Hard–101% Hard)
- Wave 1: Megang x2
If you lower the drawbridge all the way, a pair of Chew Dough-Goo teleport onto it as you cross, starting Mission 12. The real threat, however, is after you finish off the Chew Dough-Goo, prompting a Diedough-Goo to take their place on the bridge. You should endeavor to clear the bridge of any Dough-Goo summoned in by the Chew Dough-Goos, as they can be a painful distraction when trying to handle the greater threat of the Diedough-Goo.
Hard and 101% Hard Mode
Another pair of Megang control the bridge as you attempt to cross. They are positioned in such a way that it can be somewhat difficult to maneuver to a place where only one can strike at you directly at a time. The narrow nature of the bridge also means that dealing with their lava pillars can get a bit dicey if you’re in a bad place. Focus on one at a time as usual, and try to work a Unite Bomb into the mix to help control the fight.
As you cross the bridge, you’ll pass a RockHard Sports store on the left side of the street. Across the street from it is a cafe [20], where you can find the third Platinum Coin and a member of the Wonderful 100, Wonder-Guitar! Try to get the coin and the Wonderful One by extending a Wonder-Liner out from the bridge. Once you go past the sports store, the next mission begins.
Mission 13
Medal Requirements
| Element | Platinum | Gold | Silver | Bronze | Difficulty |
|---|---|---|---|---|---|
| Time | 1:30 | 1:50 | 2:20 | 3:00 | Very easy |
| Time | 1:30 | 1:50 | 2:20 | 3:00 | Easy |
| Time | 1:30 | 1:50 | 2:20 | 3:00 | Normal |
| Time | 1:20 | 1:40 | 2:00 | 2:30 | Hard |
| Time | 1:20 | 1:40 | 2:00 | 2:30 | 101% Hard |
| Combo | 1000 | 800 | 600 | 400 | Very easy |
| Combo | 1500 | 1200 | 800 | 500 | Easy |
| Combo | 2500 | 2000 | 1500 | 1000 | Normal |
| Combo | 3500 | 3000 | 2500 | 2000 | Hard |
| Combo | 4000 | 3500 | 3000 | 2500 | 101% Hard |
| Damage | 0 | 500 | 1000 | 2000 | Very easy |
| Damage | 0 | 500 | 1000 | 2000 | Easy |
| Damage | 0 | 500 | 1000 | 2000 | Normal |
| Damage | 0 | 1000 | 2000 | 4000 | Hard |
| Damage | 0 | 1000 | 2000 | 4000 | 101% Hard |
Enemies Present (All Difficulties)
- Wave 1: Hoedown x2, Dough-Goo
One name for this mission is “Do you have Unite Guts yet?” If the answer is no, things might get a little complicated. As you advance down the street, two Hoedowns teleport in, one near the sports store and the other farther down the road, near the site of a massive artillery barrage that ruined another shopping center. Dough-Goo fight alongside them. You’ll likely start the mission stuck between both Hoedowns.
With Unite Guts, you can sit between both tanks and reflect their explosives until their shields break. A more proactive approach is to rush one of the Hoedowns and put it between you and its ally on the other side of the battlefield. With this method, you’ll be in better position to finish off one of the tanks when its shield breaks. However, you may not actually be able to see the other tank because of the limited camera angle, which means you might have to listen for the buildup to any shots it’s going to fire, and use Unite Guts based on what you hear.
Ideally, one or both of the tanks will try to rush you, which can help you get them both on your screen and make it easier to defend against them while you also deal with those Dough-Goo.
The mission doesn’t end here. The artillery hits the buildings on the left side of the street, knocking the sports store sign to the street. This is convenient, because you need to use it for cover as you advance through the artillery barrage [21] to the next area. Draw a Wonder-Liner around the helmet to pick it up, then hold down the Y Button to gather your entire team close to you. This mostly keeps everyone safe under the helmet. Don’t dawdle during the bombardment; you’re still under the gun until you get to safety.
Hard and 101% Hard Mode
With the advantage of prior playthroughs to help equip you, Unite Guts is probably much more damaging to your enemies now, and Unite Hammer is a definite boon against armored threats like the Hoedown. You can send out a Multi Unite Morph to hammer away at a Hoedown while keeping your finger on the trigger to defend with Unite Guts.
After wrapping up Mission 13, don’t head north just yet unless you have already found the items located in that direction: You can’t backtrack to get them once the next mission starts! Instead, head back down to the southwest to make your way toward Wonder-Judo and the Hero’s Heart Fragment [18]. Along the way, you cross a “07” marking on the street. Trace the 7 with the Wonder-Liner to reveal the fourth Platinum Coin.
In order to actually reach Wonder-Judo and the Hero’s Heart Fragment, first you need to bridge the gap over the canal leading to their part of the neighborhood [22]. The hard part comes when you realize the building they are standing on is on fire. This blocks any direct approach to the Wonderful One and the item unless you have the Wonderful Rising ability that comes from leveling up Wonder-Red. By this point in the stage during a new game, it’s possible to manage that feat, but most people will likely only have earned Wonderful Stinger. With Wonderful Rising, you can punch yourself up through the flames and onto the rooftop to collect the Wonderful One and the heart piece.
The third sewer pipe necessary for the Good in Tight Spaces Achievement can be found if you jump into the canal as opposed to making a bridge over it. There are also more schools of fish to find for the What a Haul! Achievement.
Tip
You’ll Be Back (With Wonder-Black)
Later in the story, you will rendezvous with Wonder-Black, and as with all of the other Wonderful One’s abilities, there are supply boxes only the Unite Bomb can open. This one appears next to the third sewer pipe if you come back with Wonder-Black, and it contains the Wonderful Figure No. 80.
[23] As you travel north, just past the artillery barrage, the football helmet sign will be destroyed. On the left side of the street is a gray three-story building. You can send a Wonder-Liner into the first and third windows on the third floor, uncovering GEATHJERK File No. 6 and the fifth Platinum Coin.
Mission 14
Medal Requirements
| Element | Platinum | Gold | Silver | Bronze | Difficulty |
|---|---|---|---|---|---|
| Time | 1:30 | 1:50 | 2:10 | 2:40 | Very easy |
| Time | 1:20 | 1:40 | 2:00 | 2:30 | Easy |
| Time | 1:10 | 1:30 | 1:50 | 2:10 | Normal |
| Time | 0:50 | 1:00 | 1:20 | 1:40 | Hard |
| Time | 0:50 | 1:00 | 1:20 | 1:40 | 101% Hard |
| Combo | 1500 | 1200 | 800 | 500 | Very easy |
| Combo | 2000 | 1500 | 1000 | 500 | Easy |
| Combo | 3000 | 2500 | 1500 | 1000 | Normal |
| Combo | 3500 | 3000 | 2500 | 2000 | Hard |
| Combo | 4000 | 3500 | 3000 | 2000 | 101% Hard |
| Damage | 0 | 500 | 1000 | 2000 | Very easy |
| Damage | 0 | 500 | 1000 | 2000 | Easy |
| Damage | 0 | 500 | 1000 | 2000 | Normal |
| Damage | 0 | 1000 | 2000 | 4000 | Hard |
| Damage | 0 | 1000 | 2000 | 4000 | 101% Hard |
Enemies Present (All Difficulties)
- Wave 1: Dahkarts
GEATHJERK Encounter: Dahkarts
Akin to a gigantic scorpion, the Dahkarts uses its large pincers and lethal tail barb to sweep aside any resistance. The Dahkarts can also spit out a large blob of highly toxic poison that can burn through a CENTINEL-suit; it can even get through the powerful Unite Morph abilities of the Wonderful 100. It is best to flank these monsters; however, with effort, it is possible to stun a Dahkarts by countering its pincer strikes.
After a short cutscene plays out revealing the new foe you’re up against as well, the mission begins in earnest. Fighting a Dahkarts for the first time can be frustrating, as the monster doesn’t telegraph its moves quite as much as you’ve been seeing so far. Many things that it does can’t be reflected by Unite Guts. Its tail swipes, tail stab, and acid blob do not respect Unite Guts whatsoever and will cost you a Pure Platinum. Unite Guts does work against the single-pincer strikes from the Dahkarts, but should it use both of its pincers simultaneously, it will break Unite Guts and cause heavy damage. Unite Spring will help you evade these attacks while you press your own offense.
If you stun a Dahkarts by parrying a pincer strike, you can deal a lot of damage fairly quickly by launching it into the air with Wonderful Rising (if you have it). While it’s airborne, you can then set multiple Unite Morph attacks to keep the Dahkarts in the air and unable to fight back. When a Dahkarts is stunned after Unite Guts or Hero Counter abilities, you can also pick them up by wrapping a Wonder-Liner around it, or slam it into the ground using Unite Whip. However, if you’re just starting out, you won’t have Unite Whip available just yet.
Another method for fighting a Dahkarts is to use the Team Attack to weaken and eventually stun it from a safe distance. When it flashes yellow, it’s temporarily defenseless, which can allow you to lay on the hurt before it recovers. However you decide to take this beast down, once it’s dead, the mission is complete.
Hard and 101% Hard Mode
A lone Dahkarts is not much of a threat on any difficulty so long as you take care to avoid and defend against its poison and various tail attacks. Use the Unite Bomb to help set the monster up with Team Attacks; then once you start to juggle the Dahkarts, ensure it doesn’t touch the ground until it’s dead.
Before you saunter off to the Wonderful Mart to complete this section of Operation 001, backtrack a short distance to the building where you found the fifth Platinum Coin. The couple that fled the Dahkarts in the cutscene before Mission 14 is in the middle of working out the severe relationship issues that came to light a minute ago. You can recruit them for the Take It Out on the Other Guys! Achievement.
Now you’re done! Head north along the street until you reach the Wonderful Mart to complete this part of Operation 001.
Note
You’ve done good work, citizens!
Remember, between sections of an operation, any citizens who were recruited into the fight will leave the team. The only permanent members will be the Wonderful Ones you rescue during the missions. The Unite Gauge is also reset to its starting level, so be ready to compensate for that lack of power on hand at the start of every chapter!
Operation 001-B
[1] For part 2 of the operation, you start next to a building with a series of Wonderful Batteries lined up on the wall. Trace the batteries with a Wonder-Liner to send your team through a window to recover Wonderful Figure No. 37: Wonder-Schoolgirl.
Mission 1
Medal Requirements
| Element | Platinum | Gold | Silver | Bronze | Difficulty |
|---|---|---|---|---|---|
| Time | 1:20 | 1:40 | 2:00 | 2:30 | Very easy |
| Time | 1:20 | 1:40 | 2:00 | 2:30 | Easy |
| Time | 1:10 | 1:30 | 1:50 | 2:10 | Normal |
| Time | 1:30 | 1:50 | 2:10 | 2:30 | Hard |
| Time | 1:30 | 1:50 | 2:10 | 2:30 | 101% Hard |
| Combo | 3000 | 2500 | 2000 | 1000 | Very easy |
| Combo | 4000 | 3000 | 2000 | 1000 | Easy |
| Combo | 5000 | 4000 | 3000 | 2000 | Normal |
| Combo | 5000 | 4000 | 3000 | 2000 | Hard |
| Combo | 6000 | 5000 | 4000 | 3000 | 101% Hard |
| Damage | 0 | 500 | 1000 | 2000 | Very easy |
| Damage | 0 | 500 | 1000 | 2000 | Easy |
| Damage | 0 | 500 | 1000 | 2000 | Normal |
| Damage | 0 | 1000 | 2000 | 4000 | Hard |
| Damage | 0 | 1000 | 2000 | 4000 | 101% Hard |
Enemies Present (All Difficulties)
- Wave 1: Chew Dough-Goo x2, Dough-Goo
- Wave 2: Diedough-Goo
For those on a first playthrough, this is a good opportunity to bolster your forces. Try to capture as many of the enemies in the first wave as possible, so you can handle the Diedough-Goo and additional Dough-Goo that arrive after the first wave is beaten. The Diedough-Goo can be a bit tougher to handle in these close quarters, and you’re on a strict time limit for the Pure Platinum, so you can’t take your time to stun it with Team Attacks. Players farther along can make very short work of it with the use of Unite Bomb along with a follow-up series of attacks of your choice.
Hard and 101% Hard Mode
The consequences for letting the Diedough-Goo get its hands on you are more severe, but otherwise expect to use the same tactics to defeat the enemies in this mission.
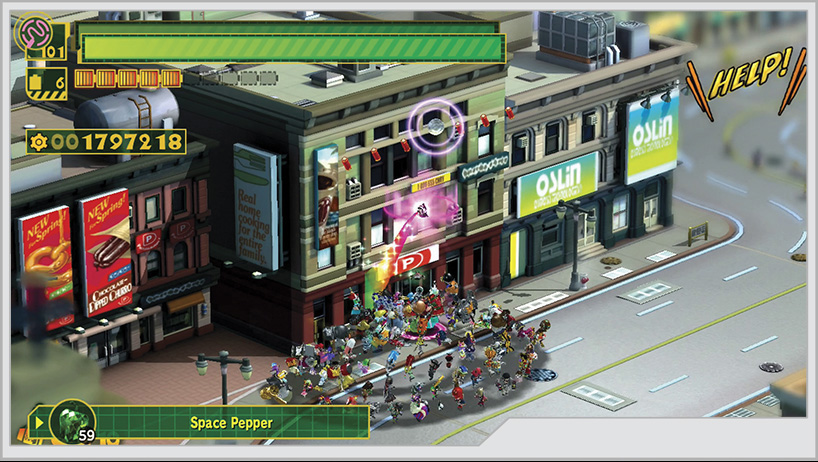
The first Platinum Coin of this stage is on the outside of the building located on the border of the Mission 1 combat zone [2]. It’s easy to accidentally pick it up during heated combat with the Diedough-Goo. If you’re unsure, look for the building with a red “P” sign near its front entrance, then look several floors above it. Keep advancing up the street, picking up civilians as you move.
Mission 2
Medal Requirements
| Element | Platinum | Gold | Silver | Bronze | Difficulty |
|---|---|---|---|---|---|
| Time | 2:10 | 2:20 | 2:30 | 2:40 | Very easy |
| Time | 2:00 | 2:10 | 2:20 | 2:30 | Easy |
| Time | 1:50 | 2:00 | 2:10 | 2:20 | Normal |
| Time | 1:10 | 1:30 | 1:50 | 2:10 | Hard |
| Time | 1:00 | 1:20 | 1:40 | 2:00 | 101% Hard |
| Combo | 600 | 500 | 400 | 200 | Very easy |
| Combo | 800 | 600 | 400 | 200 | Easy |
| Combo | 1000 | 800 | 600 | 400 | Normal |
| Combo | 1500 | 1000 | 800 | 600 | Hard |
| Combo | 1500 | 1000 | 800 | 600 | 101% Hard |
| Damage | 0 | 500 | 1000 | 2000 | Very easy |
| Damage | 0 | 500 | 1000 | 2000 | Easy |
| Damage | 0 | 500 | 1000 | 2000 | Normal |
| Damage | 0 | 1000 | 2000 | 4000 | Hard |
| Damage | 0 | 1000 | 2000 | 4000 | 101% Hard |
Enemies Present (All Difficulties)
- Wave 1: Raydown
GEATHJERK Encounter: Raydown
A variant of the Hoedown, the Raydown is better than equal to its brethren. Having all the same capabilities of its predecessor, the Raydown adds a powerful beam cannon in addition to the high-explosive shells that can be fired from the same barrel. This beam is the perfect weapon for tearing through formations of infantry and armor, or through careless Wonderful Ones.
The Raydown has all the strengths and weaknesses of the Hoedown but adds another weakness alongside of its new beam weapon: That beam can be easily reflected with Unite Sword, and it’s one of the ways you can quickly destroy its armored plating. Outside of that beam, the Raydown isn’t all that more dangerous than the Hoedown, especially when it’s alone.
The mission doesn’t end with the destruction of the Raydown. Run quickly forward until something starts to destroy the entire neighborhood. Go back the way you came, double time!
A giant hand will suddenly rip through the street from below, causing buildings to collapse and starting a quicktime event where you must use Unite Sword to escape the disaster. The mission ends when you arrive near a Wonderful Toilet.
Hard and 101% Hard Mode
This new location is filled with collectibles and new recruits. Most recruits are temporary, but there are three permanent additions among them. [3] First off, near the Wonderful Toilet, is another member of the team, Wonder-Socho. The Toilet itself is filled with mixing components.
[4] Don’t take the elevator up to the top of the building just yet. Instead, draw a Wonder-Liner up the side of the building next to the elevator. There you’ll find a Gatcha with more prisoners, and Wonder-Matador inside. Next to the Gatcha on the rooftop is a door you can Wonder-Liner into to locate the second Platinum Coin.
Now you can head for the elevator and take it to the rooftop. Unfortunately, a mishap ruins the elevator, so you’ll have to rebuild it using the Wonder-Liner. [5] On this rooftop, you can find Wonder-Magician among a group of survivors.
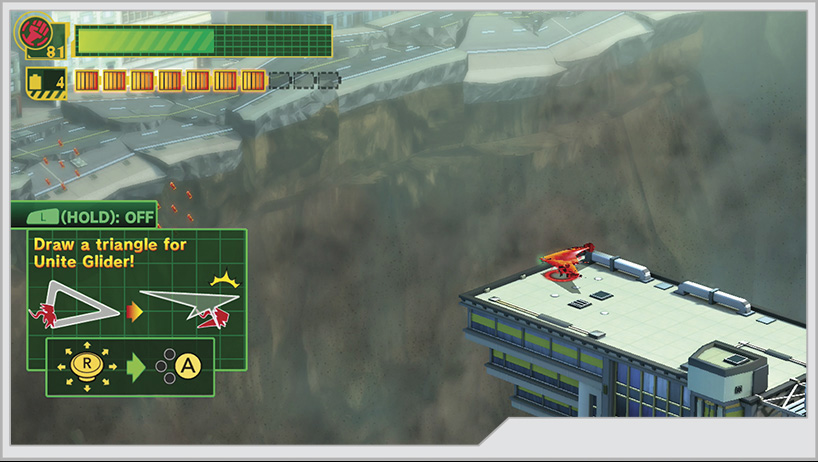
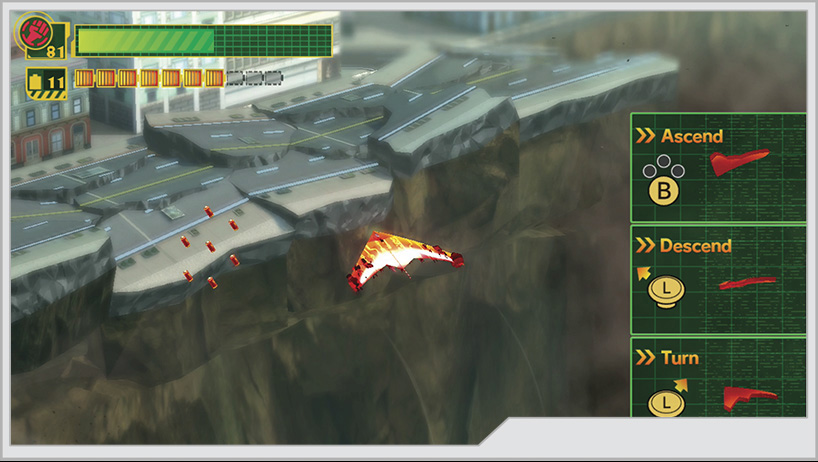
At the ledge where you collected Wonder-Magician, you’re prompted to use the Unite Glider to cross the massive chasm in front of you. Try to collect the clusters of Wonderful Batteries on the way to safety.
GEATHJERK Encounter: Gah-Goojin
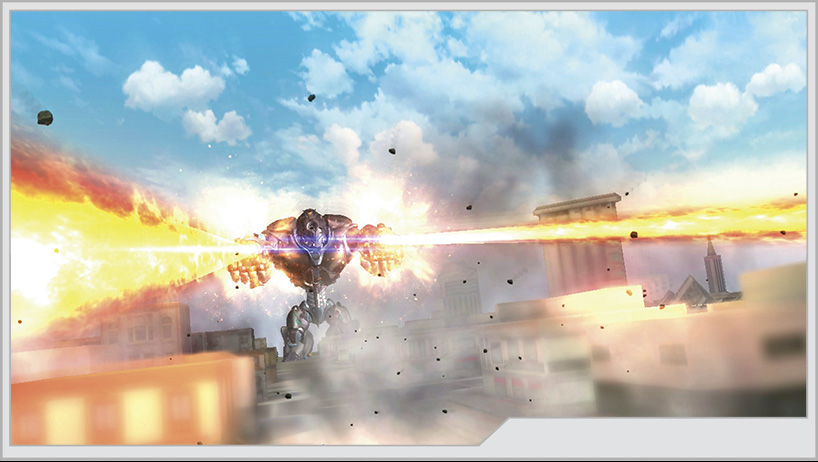
The bipedal assault weapon that is the face of GEATHJERK dominance in land warfare against humanity, the enormous Gah-Goojin is one of the largest weapons in the invader’s arsenal. Heavily armed, heavily armored, and seemingly unstoppable by conventional means, it is doubtless that the only power on Earth that can properly stand up to such a monster is none other than the Wonderful 100 itself, and even then, they will likely have to get creative with every encounter.
Gah-Goojin wastes no time demonstrating its awesome power.
Mission 3
Medal Requirements
| Element | Platinum | Gold | Silver | Bronze | Difficulty |
|---|---|---|---|---|---|
| Time | 3:30 | 3:50 | 4:30 | 5:00 | Very easy |
| Time | 3:30 | 3:50 | 4:30 | 5:00 | Easy |
| Time | 3:20 | 3:40 | 4:00 | 4:30 | Normal |
| Time | 3:10 | 3:30 | 3:50 | 4:10 | Hard |
| Time | 3:00 | 3:20 | 3:40 | 4:00 | 101% Hard |
| Combo | 2000 | 1500 | 1000 | 500 | Very easy |
| Combo | 3000 | 2500 | 2000 | 1000 | Easy |
| Combo | 4000 | 3000 | 2000 | 1000 | Normal |
| Combo | 5000 | 4000 | 3000 | 2000 | Hard |
| Combo | 6000 | 5000 | 4000 | 3000 | 101% Hard |
| Damage | 0 | 500 | 1000 | 2000 | Very easy |
| Damage | 0 | 500 | 1000 | 2000 | Easy |
| Damage | 0 | 500 | 1000 | 2000 | Normal |
| Damage | 0 | 1000 | 2000 | 4000 | Hard |
| Damage | 0 | 1000 | 2000 | 4000 | 101% Hard |
Enemies Present (All Difficulties)
- Gah-Goojin Cores
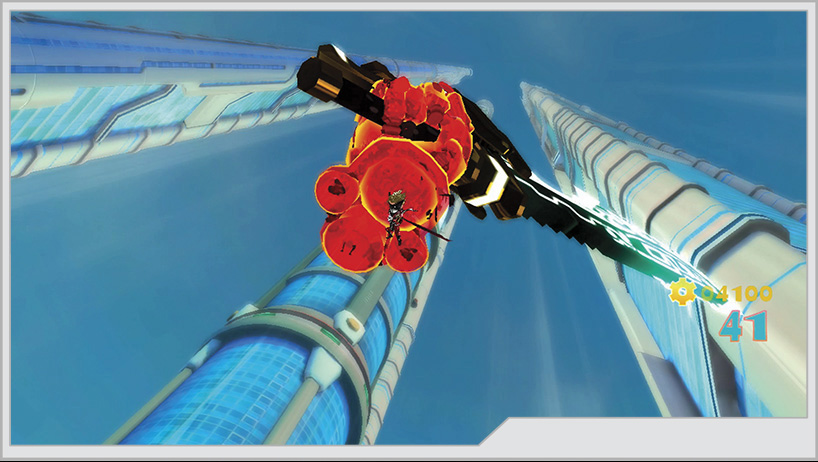
Defeating Gah-Goojin is a tall order. You start off on one of his forearms, and there are three blue spheres glowing on it. These have got to go. The fastest way is to use the largest Unite Sword you can muster, directing others on your team to use it as well if you have people to spare. The spheres occasionally sink into the armor to protect themselves, but with Unite Sword you are guaranteed to hit all three targets almost simultaneously for good damage.
When the camera angle shifts, showing Gah-Goojin bringing up his other hand toward your position, get ready to defend yourself! Gah-Goojin will try to smash you flat with its free hand, causing considerable damage (or flat out one-shotting you on harder difficulties). Sometimes he also pulls back on the smash at the last moment, causing you to mistime your Unite Guts attempts.
He can also use his powerful forearm gun to incinerate you. Avoid this by timing your double-jumps or simply using Unite Spring to vault over the beam safely. You can also reflect this beam with Unite Sword.
Lastly, Gah-Goojin is equipped with the mother of all power drills in both of his forearms. Successfully evading the beam, the Giga-drill, or his Uber-Fist Bump will cause Gah-Goojin to give up for now, allowing you to continue your assault.
After destroying the first three spheres on the Gah-Goojin, you will have to Unite Build a bridge to the other forearm in order to continue the fight. The process is much the same here.
Once you destroy the second set of targets, a passing fighter destroys part of the armor on the arm you’re standing on, revealing a point where you can use Unite Hand to twist a valve open. Work quickly when you do this! The Gah-Goojin opens his mouth to reveal a Diedough-Goo that is powering up to blast you. The forearm will twist around once again to reveal another valve for you to go to work on.
The arm falls free from the Gah-Goojin, and you have to Unite Hand onto a passing transport chopper to reach safety. The massive mech retreats from the city, and the mission ends when you’re dropped off at a new location.
Hard and 101% Hard Mode
Gah-Goojin’s cores on his forearms are much more resilient, which means you’ll probably have to face down many more attacks from the arm you’re not currently occupying before the spheres are destroyed. This will make the fight drag on for a lot longer, as Gah-Goojin is very proactive at trying to squash the pests crawling over him. Stay calm and get your licks in on the spheres when you can.
The other major difference is that twisting the valves on Gah-Goojin’s arm when the fight is at a climax actually requires more turns. This can put you in danger of taking damage from Gah-Goojin’s mouth cannon, so be prepared to defend yourself if it looks like he’ll fire before you can finish turning the valve.
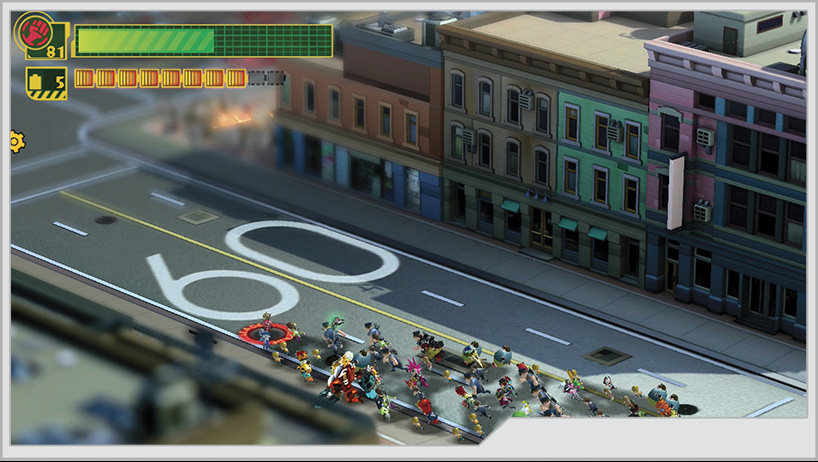
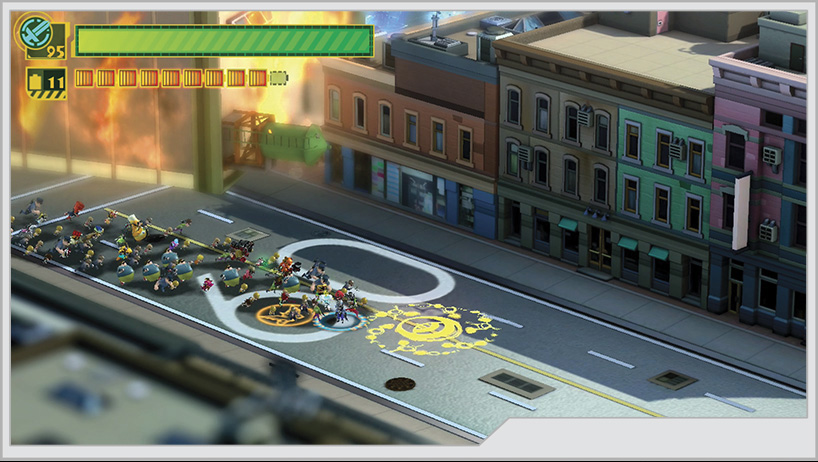
[6] Not far from where you’re dropped off, you can find a large “60” stenciled onto the street. Trace the 6 with the Wonder-Liner for GEATHJERK File No. 36. As you advance along the street, you finally see what has been bombarding the neighborhoods.
GEATHJERK Encounter: Tiekuu
With seemingly limitless ammunition, the Tiekuu has been suppressing Gaia Defense Army units and the citizens of Blossom City with impressively lethal firepower. There’s no mistaking your purpose here: this machine must be destroyed at any cost!
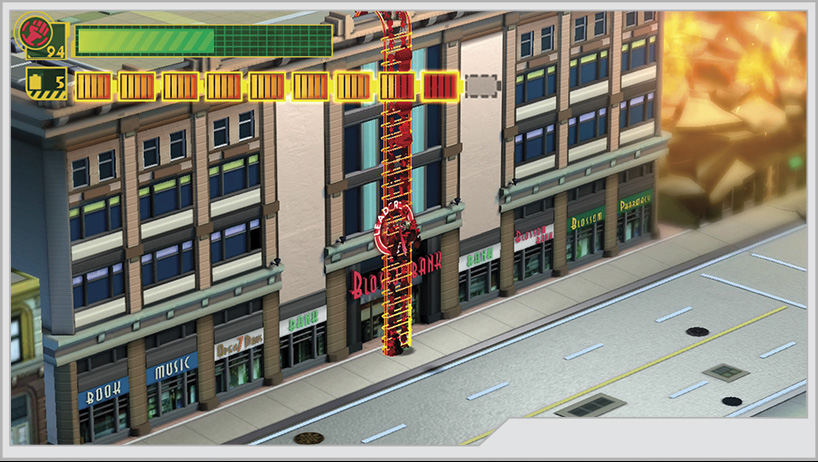
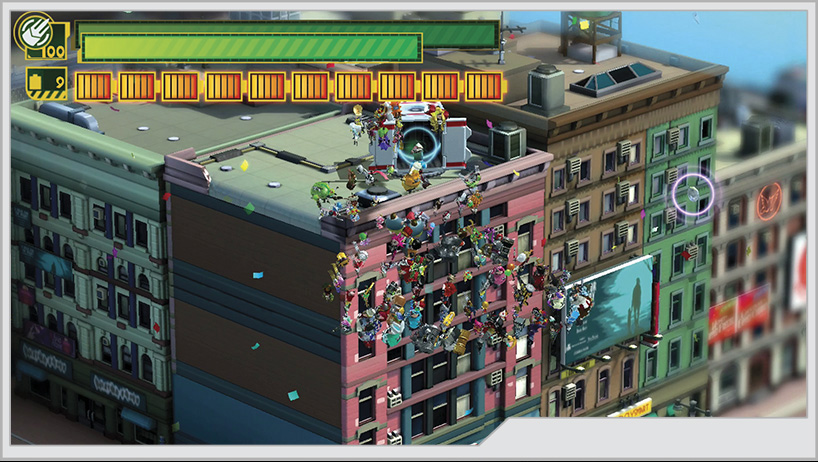
Advance down the street, collecting more citizens for your army, until you reach a building that contains several Wonderful Batteries in a line leading to its rooftop [7]. Draw a Wonder-Liner up the building and climb up to continue toward the artillery piece. When you reach the rooftop, another battle begins.
Mission 4
Medal Requirements
| Element | Platinum | Gold | Silver | Bronze | Difficulty |
|---|---|---|---|---|---|
| Time | 0:40 | 1:00 | 1:30 | 2:00 | Very easy |
| Time | 0:40 | 1:00 | 1:30 | 2:00 | Easy |
| Time | 0:40 | 1:00 | 1:30 | 2:00 | Normal |
| Time | 0:30 | 0:50 | 1:10 | 1:30 | Hard |
| Time | 0:30 | 0:50 | 1:10 | 1:30 | 101% Hard |
| Combo | 800 | 600 | 400 | 200 | Very easy |
| Combo | 1000 | 800 | 600 | 400 | Easy |
| Combo | 1200 | 1000 | 800 | 600 | Normal |
| Combo | 1200 | 1000 | 800 | 600 | Hard |
| Combo | 1500 | 1200 | 1000 | 800 | 101% Hard |
| Damage | 0 | 200 | 400 | 600 | Very easy |
| Damage | 0 | 200 | 400 | 600 | Easy |
| Damage | 0 | 200 | 400 | 600 | Normal |
| Damage | 0 | 400 | 800 | 1200 | Hard |
| Damage | 0 | 400 | 800 | 1200 | 101% Hard |
Enemies Present (All Difficulties)
- Wave 1: You-Hough
GEATHJERK Encounter: You-Hough
The standard anti-infantry assault craft of the GEATHJERK, the lightly armed You-Houghs are not particularly well armed compared to what you just crawled all over, but they make up for it with numbers. They are also somewhat taxing to hit with your melee attacks. If only there was some way to hit them from afar, or at least slow them down...
You-Houghs are very annoying in groups and flit around so much that they can be hard to target individually. Fortunately, a large Unite Sword can make swatting these flies out of the sky a little easier. Unite Hand can do more damage, but it’s harder to land those hits. You can also use the Team Attack to get members of your army to latch on to them. Also, always watch for the small tracers fired by a You-Hough’s guns. It’s easy to miss within all the chaos. You-Houghs are also capable of a dangerous ramming attack.
Keep swinging until it soon becomes apparent that unless you stop the source of these You-Houghs, you’ll eventually be overwhelmed through sheer attrition!
Tip
Catch a Ride
Interestingly, the You-Houghs can be commandeered if you don’t destroy them outright. Riding on five separate UFOs throughout the adventure earns the We Come in Peace Achievement.
Wonder-Green enters the scene with a splash. Complete his quicktime event to take care of the Cough-Foon hovering overhead.
Finish the battle by wiping out the remaining You-Houghs in the area. With Wonder-Green’s Unite Gun, you can easily snipe the little pests out of the sky if they stand still. Unite Gun has the added advantage of using your people as the ammunition, and they will try to latch on to anything they hit. Think of Unite Gun as another type of Team Attack with significantly more range and power.
Note
Now that you have Wonder-Green, the next time you enter this operation, you do not have to watch his introduction again.
Hard and 101% Hard Mode
On these difficulties, the You-Houghs are significantly more annoying and aggressive with their guns and charge attacks. Since you already have Wonder-Green at this point, it’s possible to end this fight quickly with Unite Gun, but you still need to score a decent combo, something that Unite Gun by itself tends to struggle with.
With the battle complete, head back to the “6” you traced earlier. A portal to Kahkoo-Regah awaits!
Secret Mission 5
Medal Requirements
| Element | Platinum | Gold | Silver | Bronze | Difficulty |
|---|---|---|---|---|---|
| Time | 0:50 | 1:00 | 1:20 | 1:40 | Normal |
| Time | 3:00 | 3:15 | 3:30 | 3:45 | Hard |
| Time | 3:00 | 3:15 | 3:30 | 3:45 | 101% Hard |
| Combo | 2500 | 2000 | 1500 | 1000 | Normal |
| Combo | 3000 | 2500 | 2000 | 1500 | Hard |
| Combo | 3000 | 2500 | 2000 | 1500 | 101% Hard |
| Damage | 0 | 1 | 2 | 3 | Normal |
| Damage | 0 | 1 | 2 | 3 | Hard |
| Damage | 0 | 1 | 2 | 3 | 101% Hard |
Enemies Present (Normal)
- Wave 1: Hoedown x2
- Wave 2: Diedough-Goo
Enemies Present (Hard–101% Hard)
- Wave 1: Gurry Doora
Reward for Completion
- Normal Mode: Figure No. 73 Wonder-Science
- Hard Mode: Figure No. 99 Wonder-Camera
- 101% Mode: Figure No. 2 Wonder-Blue
In this secret mission, you have a very small team to work with while you deal with two Hoedowns and a Diedough-Goo that follows them. Fortunately, there are some very helpful alien weapons lying around for you to use. The Hoedowns are somewhat annoying to deal with, because you don’t even have enough people to form Unite Guts! However, the cannons you can pick up from the ground can easily break the shields and keep the enemy off balance. You can’t afford to miss.
Note
Players starting out fresh on Normal Mode will find it impossible to score a Pure Platinum on this Kahkoo-regah mission. You just don’t have the resources to make the Combo requirements at first. You’ll have to come back after unlocking at least seven of the hidden heroes via the Bottle Cap Collection.
The Diedough-Goo is intimidating on paper, but the cannons here can make alarmingly short work of it. Try not to miss a single time with any of the weapons on hand, or you stand a good chance of missing the time requirements.
Hard and 101% Hard Mode
There’s only a single enemy to contend with in this challenge that has remained fundamentally the same. However, the enemy is a Gurry Doora, and he’s way faster than your small group of heroes will ever be, especially when you’re wielding one of the cannons found on the battlefield. You really can’t afford to miss any of your shots, but you’ll almost certainly take damage if you stand your ground. Even while on the move, the Gurry Doora is a tough customer to evade.
Boost your chances for the Platinum rank by using the Hero Sense Custom Block. Whenever you’re about to take damage, Hero Sense slows the world down, creating a chance to escape unfazed. This can be a very useful ability, but it consumes vast quantities of Unite Gauge, so make that slowdown count.
Once you’ve dealt with Kahkoo-Regah, return to the roof where you had the rendezvous with Wonder-Green. You need to make a bridge to cross the way to a rooftop that is closer to your target.
Mission 6
Medal Requirements
| Element | Platinum | Gold | Silver | Bronze | Difficulty |
|---|---|---|---|---|---|
| Time | 2:10 | 2:30 | 2:50 | 3:10 | Very easy |
| Time | 2:10 | 2:30 | 2:50 | 3:10 | Easy |
| Time | 2:00 | 2:20 | 2:40 | 3:00 | Normal |
| Time | 2:00 | 2:20 | 2:40 | 3:00 | Hard |
| Time | 2:00 | 2:20 | 2:40 | 3:00 | 101% Hard |
| Combo | 2500 | 2000 | 1500 | 1000 | Very easy |
| Combo | 3500 | 3000 | 2000 | 1000 | Easy |
| Combo | 4500 | 4000 | 3000 | 2000 | Normal |
| Combo | 4000 | 3000 | 2000 | 1000 | Hard |
| Combo | 5000 | 4000 | 3000 | 2000 | 101% Hard |
| Damage | 0 | 500 | 1000 | 2000 | Very easy |
| Damage | 0 | 500 | 1000 | 2000 | Easy |
| Damage | 0 | 500 | 1000 | 2000 | Normal |
| Damage | 0 | 1000 | 2000 | 4000 | Hard |
| Damage | 0 | 1000 | 2000 | 4000 | 101% Hard |
Enemies Present (Very Easy–Normal)
- Wave 1: Dough-Goo, Hoedown x2
- Wave 2: Dough-Goo, Dahkarts
Enemies Present (Hard–101% Hard)
- Wave 1: Orgon x2
The Tiekuu needs to be taken down, and Wonder-Green’s power is half of what you need. The Tiekuu is kind enough to lob several spiked spherical explosives that you can use against it with the Unite Gun. Simply create the gun, then walk into the spheres before they start their detonation sequences. Aim and fire them back at the Tiekuu. After a number of hits, the Tiekuu is history, with only its gun left behind as a reminder of its passing.
[8] Now you need to reach the courtyard the artillery once held down. Two Hoedowns and a squad of Dough-Goo confront you here, followed up by a Dahkarts. This can be a very taxing series of battles for those on a new game. However, the Tiekuu’s gun can be picked up with the Wonder-Liner, and your teammates are excellent marksmen with the alien weapon. Use it to put these invaders down and end the mission!
Hard and 101% Hard Mode
It will take many more explosives to destroy the Tiekuu on these difficulties, but the key difference here is that two Orgon will attack the team once it enters the courtyard the Tiekuu once protected. As with the earlier difficulties, it’s possible to use the Tiekuu’s gun with your teammates in order to put an early end to the Orgon. However, the Unite Whip is just as effective against them here as it is on any other difficulty setting. Before entering the courtyard, build up a maximum-strength Unite Whip, then sprint into the courtyard and rush both Orgon down before they submerge into the ground. If you’re lucky, you can stun them both before they have a chance to get their attacks started. Finish them off by trapping them with Unite Bomb and wail away with extended combos and Team Attacks.
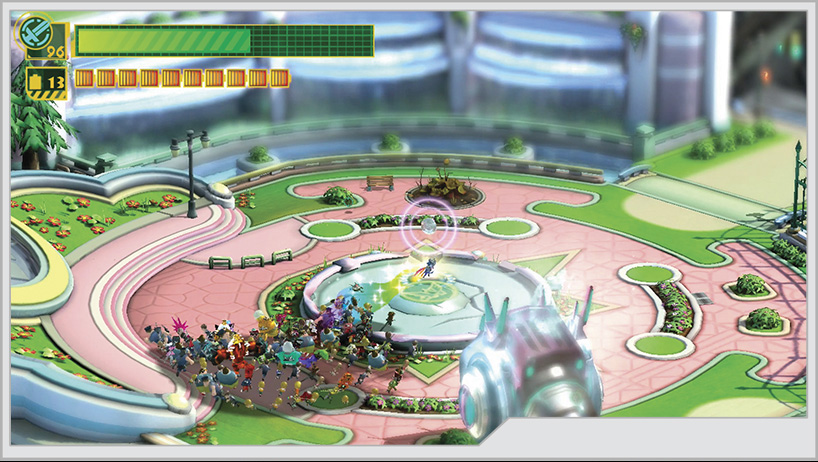
[9] At the center of the courtyard where the Tiekuu once stood, wrap a Wonder-Liner around the center circle to reveal the third Platinum Coin. Don’t forget to visit the waters to capture more fish for the What a Haul! Achievement. If you’ve been diligent with your fishing duties earlier in the operation, the small lake here should finally complete it. Before you leave the area, take the giant gun with you, if it’s still available.
Tip
You’ll Be Back
Unfortunately, you need Wonder-Yellow’s power before you can say you’ve found all there is to find in this part of the operation. First, there is the clock at the courtyard [10]. Hammering the center of it reveals a hidden item. When you return with Wonder-Yellow, an appropriately themed supply box containing a Hero Heart Fragment appears in the lake [11].
Mission 7
Medal Requirements
| Element | Platinum | Gold | Silver | Bronze | Difficulty |
|---|---|---|---|---|---|
| Time | 1:45 | 1:50 | 1:55 | 2:00 | Very easy |
| Time | 1:45 | 1:50 | 1:55 | 2:00 | Easy |
| Time | 1:45 | 1:50 | 1:55 | 2:00 | Normal |
| Time | 1:45 | 1:50 | 1:55 | 2:00 | Hard |
| Time | 1:45 | 1:50 | 1:55 | 2:00 | 101% Hard |
| Combo | 2000 | 1500 | 1000 | 500 | Very easy |
| Combo | 2500 | 2000 | 1500 | 1000 | Easy |
| Combo | 3000 | 2500 | 2000 | 1500 | Normal |
| Combo | 4000 | 3500 | 2500 | 1500 | Hard |
| Combo | 5000 | 4500 | 3500 | 2500 | 101% Hard |
| Damage | 0 | 500 | 1000 | 2000 | Very easy |
| Damage | 0 | 500 | 1000 | 2000 | Easy |
| Damage | 0 | 500 | 1000 | 2000 | Normal |
| Damage | 0 | 1000 | 2000 | 4000 | Hard |
| Damage | 0 | 1000 | 2000 | 4000 | 101% Hard |
Enemies Present (Very Easy–Normal)
- Wave 1: 2 x Diedough-Goo
Enemies Present (Hard–101% Hard)
- Wave 1: Diedough-Goo x2
- Wave 2: Diedough-Goo x2
As soon as you enter the battle zone, two Diedough-Goo come after you. If you followed our previous advice, you have that giant artillery cannon. To say that it makes short work of these two mechs is an understatement: The author record for Normal difficulty is six seconds with a Pure Platinum rating.
If for some reason the cannon isn’t available, you definitely have your work cut out for you. Unite Hand is your primary damage dealer, but having two of these in close proximity will be a challenge. Abuse the Wonder-Liner slowdown to position yourself for maximum damage...but if you’re playing on 101% difficulty, you don’t even have that going for you. Get your licks in when you can, but until at least one of the Diedough-Goos is down, you’re in for a protracted battle.
Hard and 101% Hard Mode
With the Tiekuu’s cannon, even on the high difficulties the Diedough-Goo rapidly get slagged. Try to give your gunners room to work with, because these Diedough-Goos can survive a couple more shots than their lower-difficulty cousins. There are two waves of two Diedough-Goos apiece.
[12] As you progress down the street, check the buildings on the left as you reach the intersection. Use a Unite Build ladder to climb the white building directly behind where the Diedough-Goos spawned; you’ll find some additional civilians to rescue. You can find the fourth Platinum Coin on the wall of a nearby building several floors up. Next to it, there’s a window to Wonder-Liner into for Wonderful File No. 17.
The front entrance to the stadium has plenty of civilians to rescue and some collectibles. A green supply box contains the last Platinum Coin on the right side of the courtyard entrance [13]. Just in front of the stadium entrance, Wonder-Kabuki is waiting to join the team [14]. To get inside the stadium proper, you need to use Unite Sword to unlock the door.
Tip
You’ll Be Back
The Blossom Stadium logo on the ground in front of the main entrance has three distinct circles that you can smack with the Unite Hammer for some items.
Mission 8
Medal Requirements
| Element | Platinum | Gold | Silver | Bronze | Difficulty |
|---|---|---|---|---|---|
| Time | 1:10 | 1:50 | 2:30 | 3:00 | Very easy |
| Time | 0:50 | 1:10 | 1:50 | 2:30 | Easy |
| Time | 0:40 | 1:00 | 1:30 | 2:00 | Normal |
| Time | 0:35 | 0:45 | 0:55 | 1:20 | Hard |
| Time | 0:30 | 0:35 | 0:45 | 1:00 | 101% Hard |
| Damage | 0 | 100 | 200 | 300 | Very easy |
| Damage | 0 | 100 | 200 | 300 | Easy |
| Damage | 0 | 100 | 200 | 300 | Normal |
| Damage | 0 | 100 | 200 | 300 | Hard |
| Damage | 0 | 100 | 200 | 300 | 101% Hard |
Enemies Present (All Difficulties)
- None
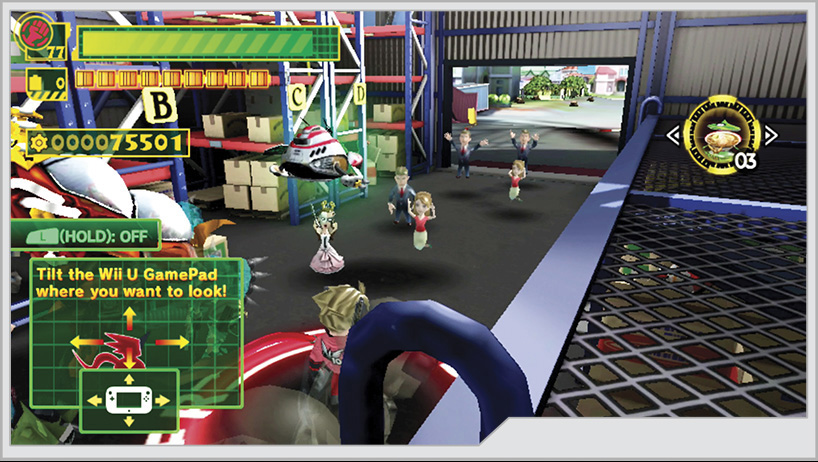
Once inside the stadium, you have to control the action with the GamePad. Wonder-Green is the man for this assignment, so switch to him right away, as you’re on a strict time limit. From where you enter the building, use Unite Gun to pick up a large battery, then head up the stairs on the right side of the room. Avoid walking into any flames on the ground; it’d be a silly way to lose the Pure Platinum rank.
When you reach the top of the stairs, follow the walkway to its end. Face the camera in the direction you’re going to see where you need to launch the battery. You can’t afford to miss if you’re shooting for the Pure Platinum.
A Platinum Baseball logo inside the stadium above the exit lights up. Outside of the stadium, the circular logo begins to light up in sequence. You need to shoot the baseball with Unite Gun whenever one of the three circle-shaped lights is indicated. After the first and second shots, the light sequence speeds up. Every time you shoot at the baseball while the correct light isn’t lit up, you will take damage. Shoot the baseball three times for the three lights in the sequence outside, and you’ll complete the mission! Step onto the baseball field to move on.
Inside the stadium, you can locate Wonder-Science lying on a bench on the second floor [15], just after you shoot the battery into its slot. There is also a Hero Heart Fragment in the rafters over the stairs [16]. A double-jump should help you reach it.
Tip
You’ll Be Back
Once you actually enter the baseball field, you can pound on the pitcher’s mound with the Unite Hammer for another hidden item.
Mission 9
Medal Requirements
| Element | Platinum | Gold | Silver | Bronze | Difficulty |
|---|---|---|---|---|---|
| Time | 4:00 | 4:30 | 5:00 | 6:00 | Very easy |
| Time | 4:00 | 4:30 | 5:00 | 6:00 | Easy |
| Time | 3:50 | 4:10 | 4:30 | 5:00 | Normal |
| Time | 3:40 | 3:50 | 4:20 | 5:00 | Hard |
| Time | 3:40 | 3:50 | 4:20 | 5:00 | 101% Hard |
| Combo | 4000 | 3000 | 2000 | 1000 | Very easy |
| Combo | 5000 | 4000 | 3000 | 2000 | Easy |
| Combo | 6000 | 5000 | 4000 | 3000 | Normal |
| Combo | 8000 | 7000 | 6000 | 5000 | Hard |
| Combo | 10000 | 8000 | 6000 | 4000 | 101% Hard |
| Damage | 0 | 500 | 1000 | 2000 | Very easy |
| Damage | 0 | 500 | 1000 | 2000 | Easy |
| Damage | 0 | 500 | 1000 | 2000 | Normal |
| Damage | 0 | 1000 | 2000 | 4000 | Hard |
| Damage | 0 | 1000 | 2000 | 4000 | 101% Hard |
Enemies Present (All Difficulties)
- Wave 1: Dough-Goo, Chew Dough-Goo, Laambo, Die-Tiekuu
GEATHJERK Encounter: Laambo
A Sixth-Class Officer and GEATHJERK veteran of Earth Defense War 2, Laambo is boisterous, overconfident, and brutal. He is a memorable sight to humans who survived their encounters with him. Leading a portion of the vanguard that has struck Earth, Laambo is an extremely powerful and dangerous opponent. His Dechno-Bo has claimed the lives of many a brave defender and helpless innocent alike, and he is more than willing to brag about this.
GEATHJERK Encounter: Die-Tiekuu
A significant enhancement over the standard Tiekuu, this artillery piece is the one that is threatening the Virgin Victory and must be destroyed immediately! You first need to eliminate the significant defenses around the base of the unit before you can finally start doing real damage to its main guns. However, the Die-Tiekuu appears to be enveloped by an anti-intruder electro-kill field that activates whenever unauthorized personnel stray too close to the machine!
The first phase of this battle is actually quite simple. The turrets around the Die-Tiekuu will fire cannon shots onto the field. These can be recovered with Unite Gun (and on later playthroughs, Unite Whip) and shot back at the turrets for heavy damage. Any shells fired directly at the field can be reflected with Unite Guts. It is possible to use melee attacks on the turrets. A fully powered Unite Hand using Wonderful Stinger and Wonderful Rising can strip huge chunks of life off the turrets, but you risk eating a cannon shot point-blank. There’s also the electrical field that Die-Tiekuu starts to generate if you stay too close to it during the battle.
Complicating matters is the fairly constant presence of Chew Dough-Goo and Dough-Goo. They will keep teleporting onto the field until you defeat the Die-Tiekuu. If you’re playing the ranged game, constantly check your surroundings to make sure you’re not about to get blindsided by the small fry. The good news is that Unite Guts can keep you mostly safe from their antics so long as you’re ready to react in time.
Once you wipe out the turrets around the Die-Tiekuu, Laambo drops onto the field to introduce a world of hurt. While generally a slow, lumbering target, Laambo is supremely skilled and dangerous with his Dechno-Bo. Unite Guts cannot block any strikes from that weapon. At all. Don’t even try it. Scary as it might sound, you generally want to stick close to him and go nuts with combos of Unite Sword and Unite Hand. Unite Gun might have some applications, but only during portions of the fight where you can’t get close.
Unite Guts isn’t entirely useless during this fight, but new players will have difficulty reacting to the attacks that can be stopped by it. Attacks using Laambo’s free hand can be reflected, but they generally come so fast that they can beat Unite Guts before it’s even properly formed.
When Laambo draws his weapon back as though he’s about to take a huge swing, fall back immediately! He will start spinning and cover a ridiculous portion of the field with the Dechno-Bo as he whirls around. Wait for him to stop spinning and don’t let yourself get cornered by him while he is. You can resume the offensive once he comes to a halt. Also, be aware of your position at all times during this phase, as the Die-Tiekuu’s electrical field is still a factor in this fight! Also, if Laambo still has the Dechno-Bo intact and he jumps into the air, that’s another cue to be anywhere else but where he’s going to land.
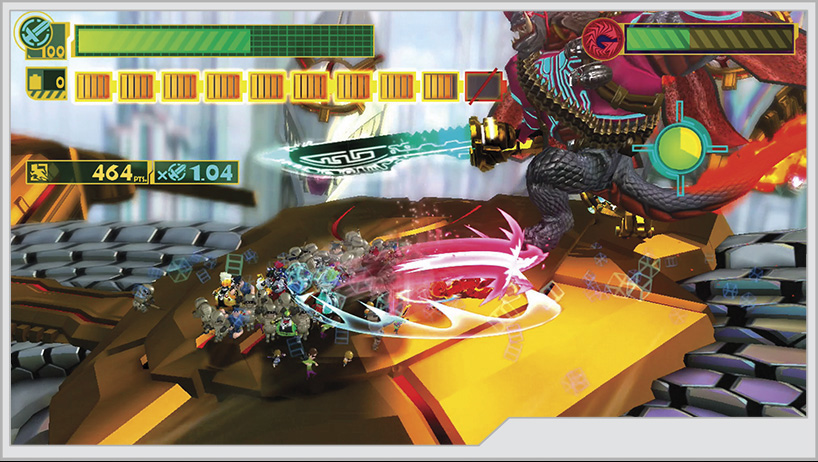
One trick to always attempt is to get Laambo “stuck” defending from your constant frontal assault. He will block most attacks to his face with the Dechno-Bo, which can eventually break and can stun him. However, if you trigger several Unite Sword attacks, then flank him with Unite Hand from the rear; you can deal heavy damage while he’s busy stopping the sword strikes. If you manage the stun, pile on the Team Attacks, then beat the stuffing out of Laambo with the biggest Unite Hand you can summon. If you have the Wonderful Rising for the Unite Sword or Unite Hand, you can launch Laambo while he’s stunned and set up some very punishing combos.
While active, Laambo easily shrugs off any Wonderful Ones involved with Team Attacks, so using them might seem futile given how fast he shakes them loose. However, you can get some additional damage out of it between combos, particularly if you’re running low on Unite Gauge and need a way to recharge.
Lastly, Wonder-Blue might shout “Hey!” and appear onscreen. This is your chance to switch to Unite Sword and clash with the Dechno-Bo. If you win the ensuing clash, you can cause heavy damage to the monster, but setting this up can be very tough. Not only do you need the weapon out and ready, but you need to attack at the oncoming Dechno-Bo to even initiate this clash.
This can be a very brutal fight to new players, but everything Laambo does is telegraphed and can be avoided. Zoom the camera out as far as it can go while fighting Laambo, so that you’re able to see what he’s going to do and react accordingly. Once you drop his health bar into the yellow, Laambo retreats to tend to some urgent business. It’s time to finish off the Die-Tiekuu.
Tip
You’ll Be Back
Players returning with Wonder-Black’s Unite Bomb can fillet poor Laambo with incredible speed. The time-dilation effect enhances whatever damage you’re doing to him. You also can essentially keep him permanently on the defensive with Wonder-White’s Unite Claw, at least until the Dechno-Bo breaks.
The Die-Tiekuu unleashes a huge artillery barrage onto the field. Concentrate on keeping yourself out of the line of fire. Holding down the Sprint button will keep you moving and gather the team around you, which can help absorb the blast waves of near misses. After this barrage, a Chew Dough-Goo emerges from the Die-Tiekuu, armed with a GEATHJERK Baseball Bat. Deal with that Chew Dough-Goo and take the bat for yourself, and try to avoid letting it summon in any Dough-Goo while you’re at it.
The final battle consists of you standing your ground while the Die-Tiekuu uses an elaborate targeting laser to telegraph the massive spiked shell he’s going to fire directly at you. You must swing just before impact to reflect the shell back at the Die-Tiekuu. If there are still Dough-Goo in the area, deal with them by sending out Unite Sword to protect your flanks while you take on the Die-Tiekuu’s shots. It is possible to reflect the shots while on the move, but it’s a lot easier to stand your ground as far away as possible so you have the most time to react. After enough home runs, Die-Tiekuu dies a much deserved death, and this chapter is over!
Tip
Batting a Thousand!
This achievement requires you to hit back every cannon shot fired by the Die-Tiekuu. You can’t miss even one, which is why we suggest holding your ground.
Hard and 101% Hard Mode
There isn’t much that is significantly different about this battle on higher difficulties beyond the increased health of all the enemies involved. That said, be especially careful when handling Laambo. Try to control him with Unite Bomb while keeping up the pressure on his flanks with Team Attack and Unite Morph combos. So long as you use the smallest Unite Bombs possible, you can actually keep him controlled while savaging him with near impunity and regenerating enough Unite Gauge to keep him slowed down with even more Unite Bombs. He’s still capable of hurting you grievously even while slowed down, so don’t forget to play defense when necessary.
Operation 001-C
Welcome to your first proper boss battle in The Wonderful 101! Utilizing a combination of intense quicktime events and the sort of blistering challenge fans have come to expect from PlatinumGames, every boss chapter in the game will be a wild ride. Some things to remember during these encounters:
- You start the Boss Battle chapters only with the permanent members of your team. Some battles send reinforcements you can easily recruit during the heat of combat. This is not always the case.
- You start many boss battles with a limited Unite Gauge. When Wonder-Red engages Unlimited Form, the gauge is maxed out. However, after this first boss battle, there is often an extended sequence of events and combat that lead up to Unlimited Form being used, so be ready to fight with this limitation in mind.
- Boss battles are long, and these entire chapters count as a single mission. Even if you skip all the cutscenes, you can expect multiple phases of every fight, and every phase counts toward your final rating of the chapter. This means that to meet the requirements for the Pure Platinum, you must perform at your best for an extended period of time without failing any quicktime events, avoid getting hit, and be on-point with every opportunity to attack the boss.
- Outside of random factors during actual combat, the boss battles will play out more or less the same every time, on every difficulty. Obviously you’ll have to work a lot harder on Hard or 101% mode to succeed, but you can take all that you learn on the lower difficulty settings and apply it to higher ones. Certain counterattacks that would take a third of a life bar off a boss on Normal might only do a quarter of a life bar on higher difficulties.
Medal Requirements
| Element | Platinum | Gold | Silver | Bronze | Difficulty |
|---|---|---|---|---|---|
| Time | 13:00 | 13:30 | 14:30 | 16:00 | Very easy |
| Time | 12:00 | 12:30 | 13:30 | 15:00 | Easy |
| Time | 9:00 | 9:30 | 10:30 | 12:00 | Normal |
| Time | 8:30 | 9:00 | 9:30 | 10:00 | Hard |
| Time | 8:30 | 9:00 | 9:30 | 10:00 | 101% Hard |
| Combo | 13000 | 12500 | 12000 | 11000 | Very easy |
| Combo | 14000 | 13000 | 12000 | 11000 | Easy |
| Combo | 16000 | 15000 | 14000 | 13000 | Normal |
| Combo | 18000 | 17000 | 16000 | 15000 | Hard |
| Combo | 20000 | 19000 | 18000 | 17000 | 101% Hard |
| Damage | 0 | 1000 | 2000 | 4000 | Very easy |
| Damage | 0 | 1000 | 2000 | 4000 | Easy |
| Damage | 0 | 1000 | 2000 | 4000 | Normal |
| Damage | 0 | 2000 | 4000 | 8000 | Hard |
| Damage | 0 | 2000 | 4000 | 8000 | 101% Hard |
GEATHJERK Encounter: Diekuu Ohrowchee
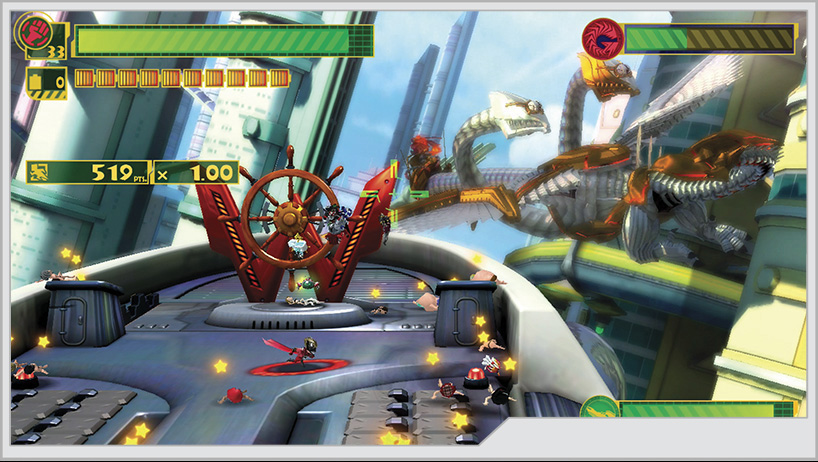
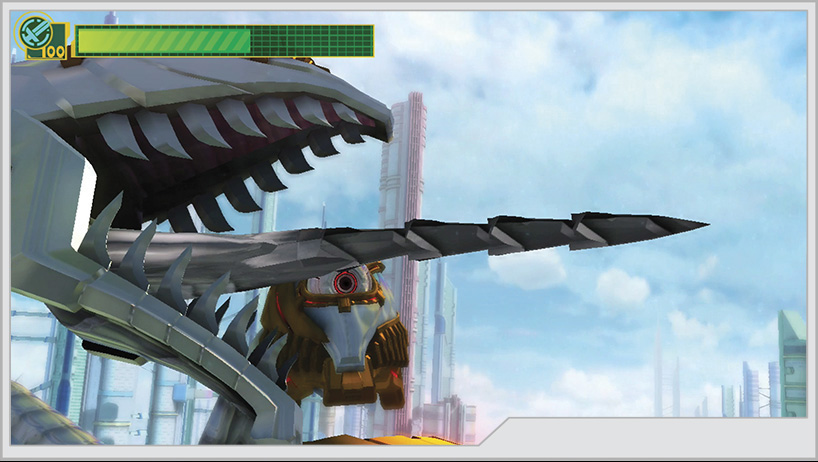
Laambo’s personal chariot, the Ohrowchee is an extremely capable machine and is currently carrying a Super Reactor, which is the linchpin of Earth’s defense, in its jaws. If humanity is to stand a chance against GEATHJERK, you must take Ohrowchee down! Expect the dragon to be bristling with firepower, all of which its pilot has plenty of experience handling. You’ll have to tear it apart piece by piece up close.
Phase One
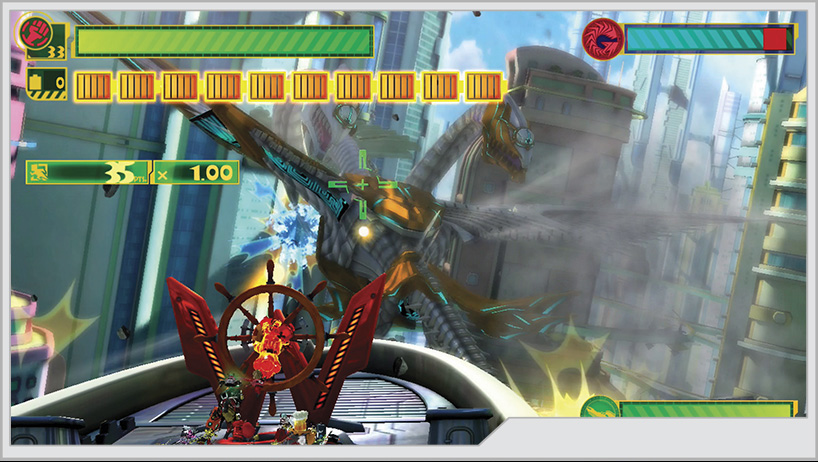
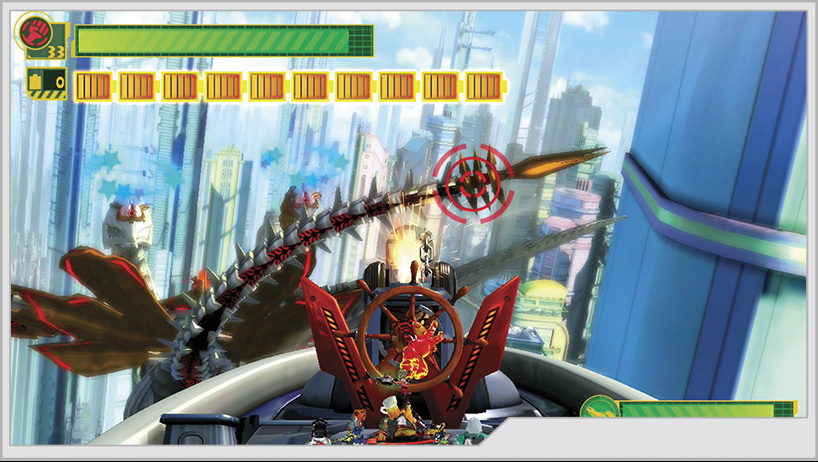
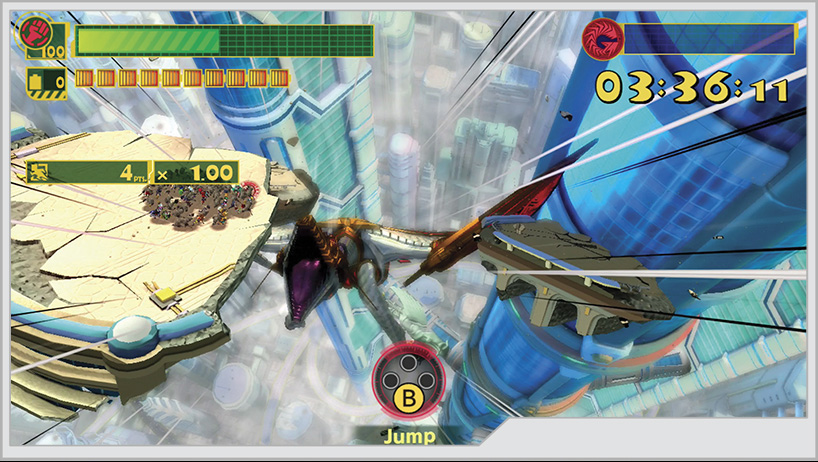
The battle begins with you on the deck of the Virgin Victory. With Unite Hand, grab the ship’s wheel to take control and give chase to Ohrowchee. You have to steer the Virgin Victory around any obstacles and avoid taking damage to the ship or yourself from Ohrowchee’s attacks. At the same time, you must use the ship’s cannons to pummel the flying mech and shoot down any attacks it fires or any debris created from the buildings it crashes through. You can also speed the ship up to get close to the target and ensure your shots hit, but this gives you less time to react to any potential incoming damage.
Eventually, you deal enough damage to Ohrowchee that you are prompted to aim and fire the ship’s anchor at its tail so you can board it. Make sure the ship is properly aimed at the indicated target before you fire to avoid wasting time. When the reticle turns green, you’re good to go!
Phase Two
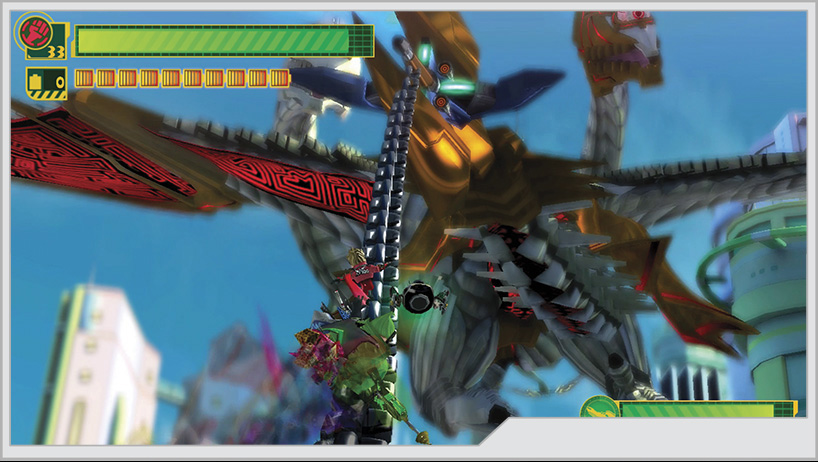
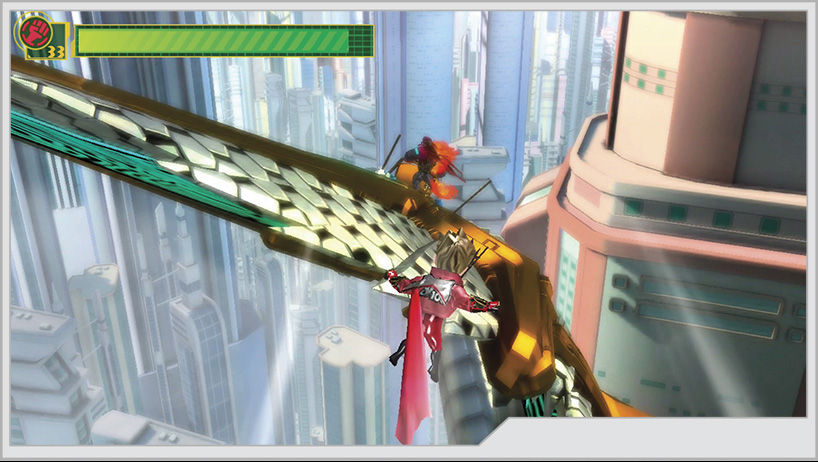
As you reach the tail, Ohrowchee flings you toward its wings. Complete the Unite Hand quicktime event to cling to the monster, then head across the wing to reach its back. Watch for blue lights on the wing to indicate the arrival of spikes that can damage you during your run, and double-jump over them.
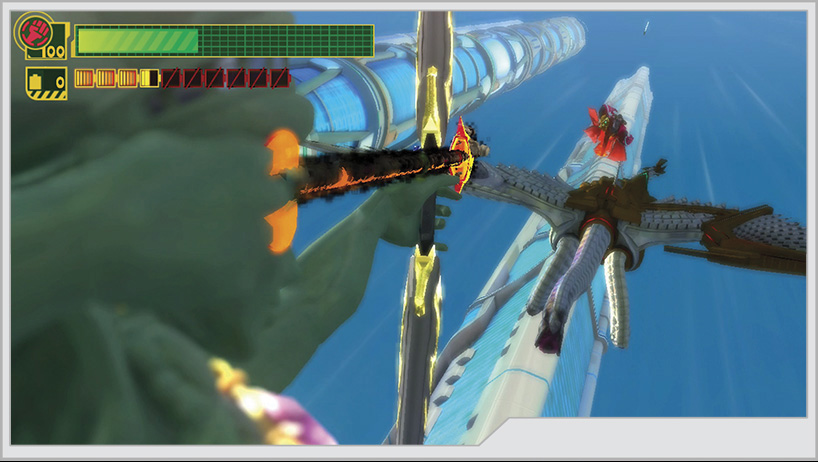
Now the fight truly begins! Two of Ohrowchee’s heads will engage you as you reach the back. They are capable of using fireballs and beam attacks, both of which can be defended against with Unite Hand and Unite Sword, respectively. It’s especially important to use Unite Sword against the beam attack, as you will deflect the shot toward the other head to cause heavy damage. In addition to fire and laser breath, Ohrowchee can spit blue slime balls, but you can hack these apart with Unite Sword. If you work fast, you might not see this attack often.
The heads will also try to crush you, but you can stop this with Unite Guts. However, it won’t stop their rapid, alternating bite attacks, so fall back to safety the moment you see both heads move toward your position with their mouths open. As the fight progresses and you deal damage, Ohrowchee’s heads will cough up Gatcha balls that contain captured civilians to add to your team. Recruit them as quickly as possible.
Deal enough damage, and Ohrowchee tries to fling you into the air in hopes of putting a swift end to the fight. A Unite Hand event will trigger, and if you succeed, you deal extra damage to Ohrowchee.
Eventually, the two Ohrowchee heads will destroy a series of buildings, trying to crush you with falling debris. The chunks of masonry can be reflected at the heads with Unite Guts, but the timing is fairly tight. Eventually, a large shield falls onto their back. You must pick it up to defend against the incoming sound blast the heads will try to set up. Successfully defending against the sound blast with the shield deals heavy damage to Ohrowchee.
After significant damage to Ohrowchee has occurred, Laambo leaps into the fray. You’ve already fought him once, and the same strategies still apply. This time you have a bit more open space to work with, and there’s no threat of an electric barrier to run into. Work him down as quickly as you can, preferably by stunning him through breaking the Dechno-Bo. His part of the fight can be either the shortest or the longest, depending on how you fare fighting him.
As you get Ohrowchee lower on health, eventually one of the heads will try to spear your team with its tongue, triggering a Unite Sword event. This disables the head, allowing you to Unite Build a new eye for it and take command of that head for yourself! Work quickly on the Unite Build, as the other head will try to blast you with its laser breath. Once the disabled head is under you command, complete the event to relieve Ohrowchee of its other head.
Phase Three
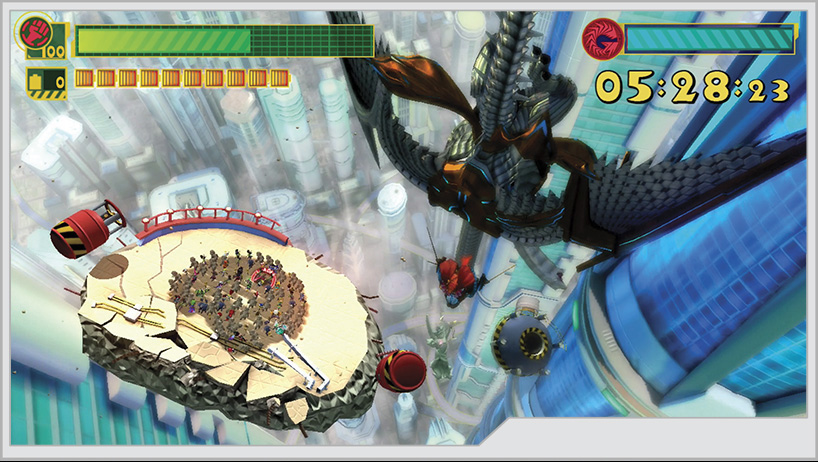
After a series of events, you’re now falling toward the ground, chasing after the Goddess of Blossoms. You have less than six minutes before impact. With Unite Hand, toss the nearby explosive canisters at Ohrowchee: They will home in on it regardless of your aim. Occasionally, Ohrowchee will rise up to blast at you with beam breath, so defend with Unite Sword. It’ll also try to smash you with its remaining chin, so be ready to Unite Guts if you have 50 or more heroes ready to go. You’ll also be prompted to jump from platform to platform, as Ohrowchee will try to destroy your footing to damage you. Just keep chucking the explosives at Ohrowchee until you’re prompted to leap across multiple platforms consecutively, eventually arriving at the Goddess statue.
A Cough-Foon decides to add its two cents to the vigorous debate. Defend with Unite Sword! Ohrowchee catches the damaged ship with its mouth, but you’re prompted to use Unite Gun to blow them both away.
Phase Four
Laambo is done messing around, charging head-on at you with his Dechno-Bo. Meet his charges with Unite Sword. Make sure the weapon is out and as large as you can manage before Laambo closes in; then swing the sword at Laambo just before impact. You must successfully counter his charges, or you will take heavy damage!
After dealing enough damage through counterattacks, you have two more events to complete. First, Unite Build a new arrow for the Goddess of Blossoms to shoot at Laambo; then use Unite Hand on the Dechno-Bo to finish the job. With wonderful fanfare, Operation 001 is finally complete!

Hard and 101% Hard Mode
This is where nerves and skill factor in heavily. A single mistake can lead to a chain of mistakes that cost you a continue on these difficulties. The key to remember is that this boss fight, like every other in the game, is mechanically the same across all difficulties. All of Ohrowchee’s attacks and Laambo’s attacks are the same and follow the same rules. No boss battle introduces new phases on higher difficulties, nor does any boss gain new attacks. You can essentially take everything you learn about a boss on a lower difficulty setting, and apply it to Hard and 101% Hard mode. The primary differences are that you’ll take significantly more damage on the harder settings, and the bosses have more health to chew through. The Pure Platinum rankings for all boss fights can be incredibly strict on these modes, so you have to exploit every advantage you get.
Speaking of advantages, you get some amazing ones coming up from earlier difficulties. You should have most, if not all, of the heroes who can be found in the operations. You’ll have all of the available Unite Morphs from the main cast of heroes, which opens up some additional defensive and offensive capabilities. A Unite Hammer made of at least 50 Wonderful Ones can act as a Unite Guts on Ohrowchee’s rapid bite attack during Phase Two. A large enough Unite Bomb can catch both heads during Phase Two, helping you to send out your teammates with the Team Attack to further weaken the enemy before you really lay into them.