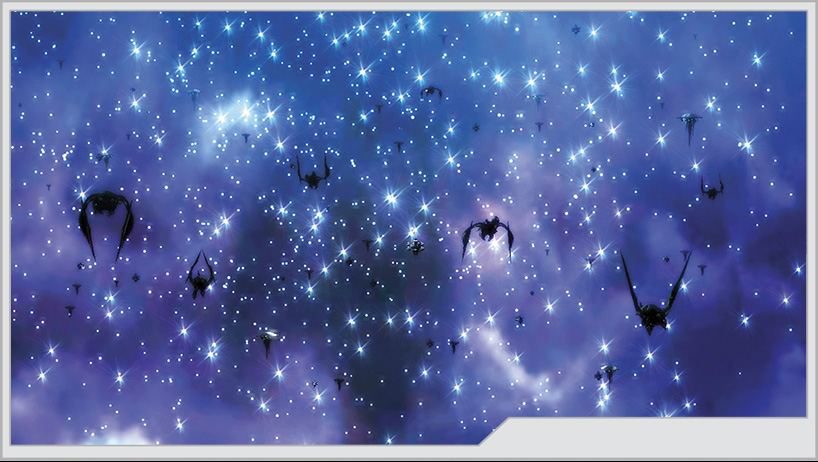
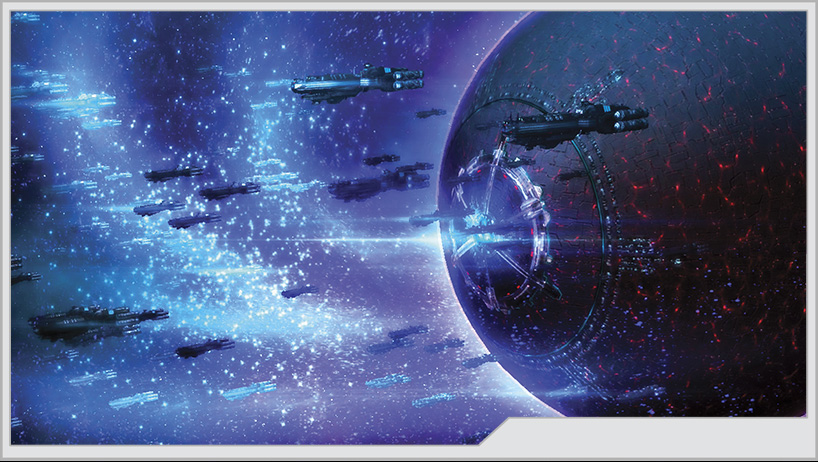
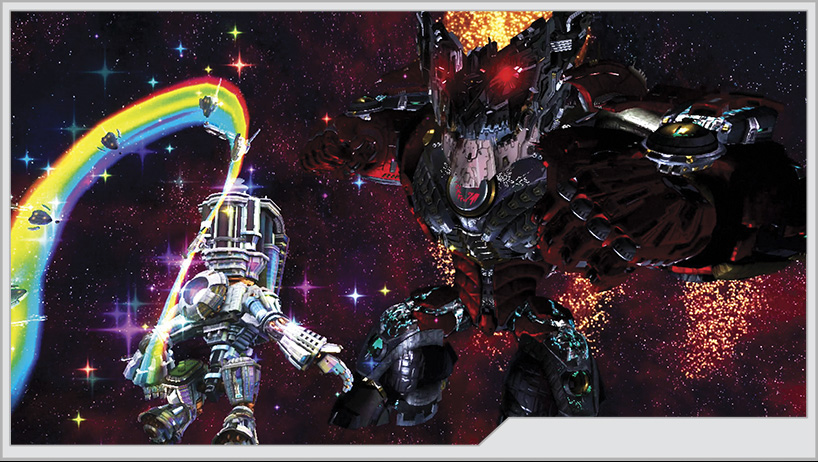
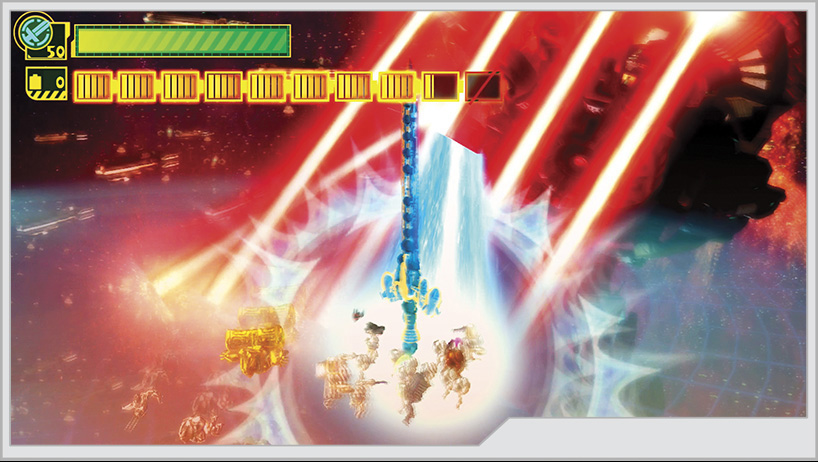
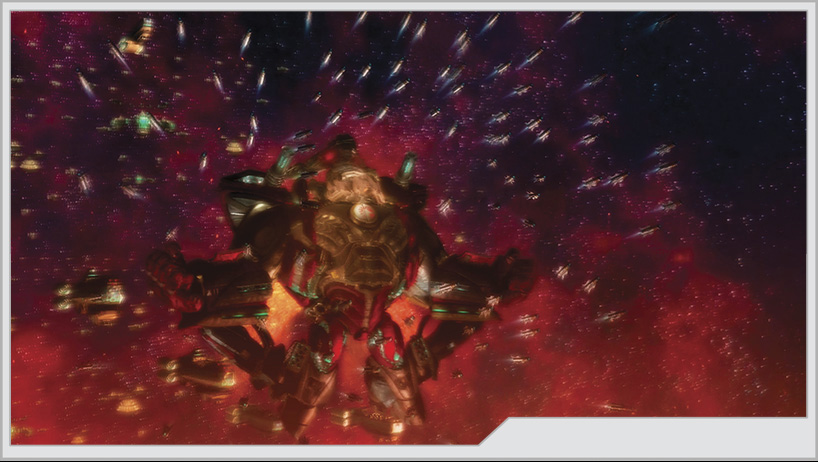
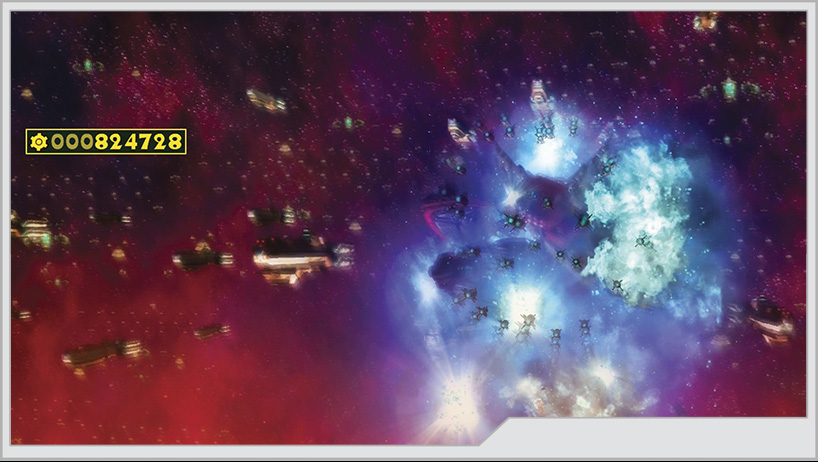
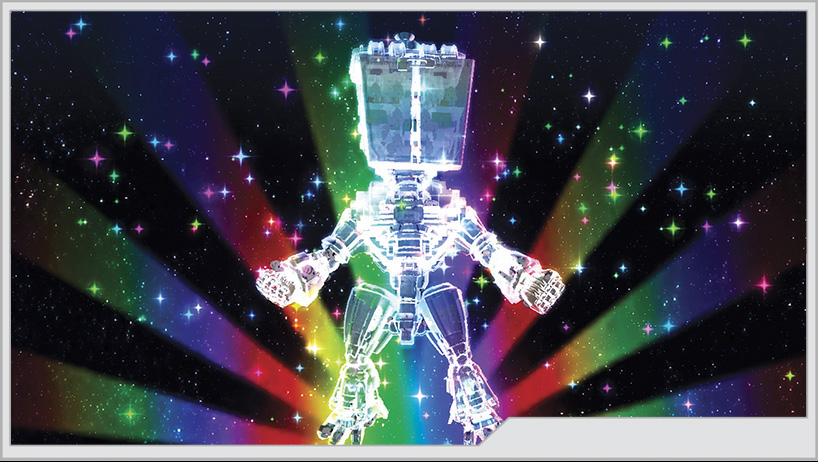
Margarita has fallen, and humanity’s silver bullet, the Shirogane Comet, drifts lifeless and out of orbit. With almost nothing to stop them, the ludicrously massive GEATHJERK fleet descends upon the Earth.
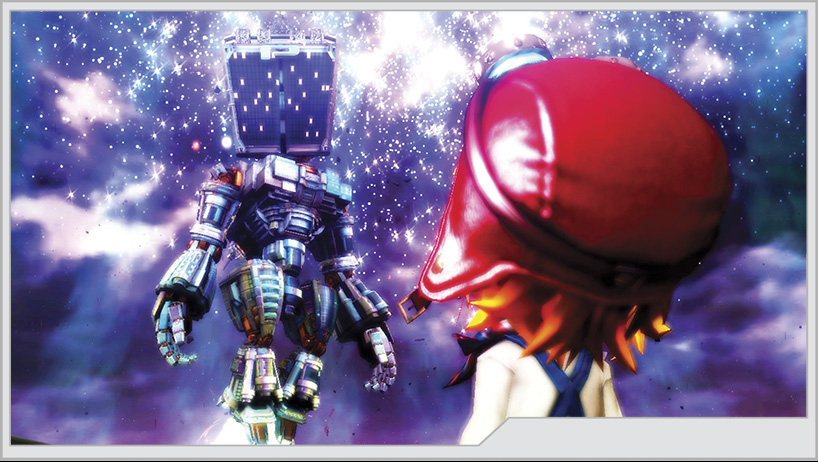
The Wonderful One-Double-Oh isn’t out of the fight just yet. Platinum Robo is still at their side, and after awakening to a new level of power, the construct takes the heroes into space for one last battle. One last chance to save the world.
Operation 009-A
Operation 009-B
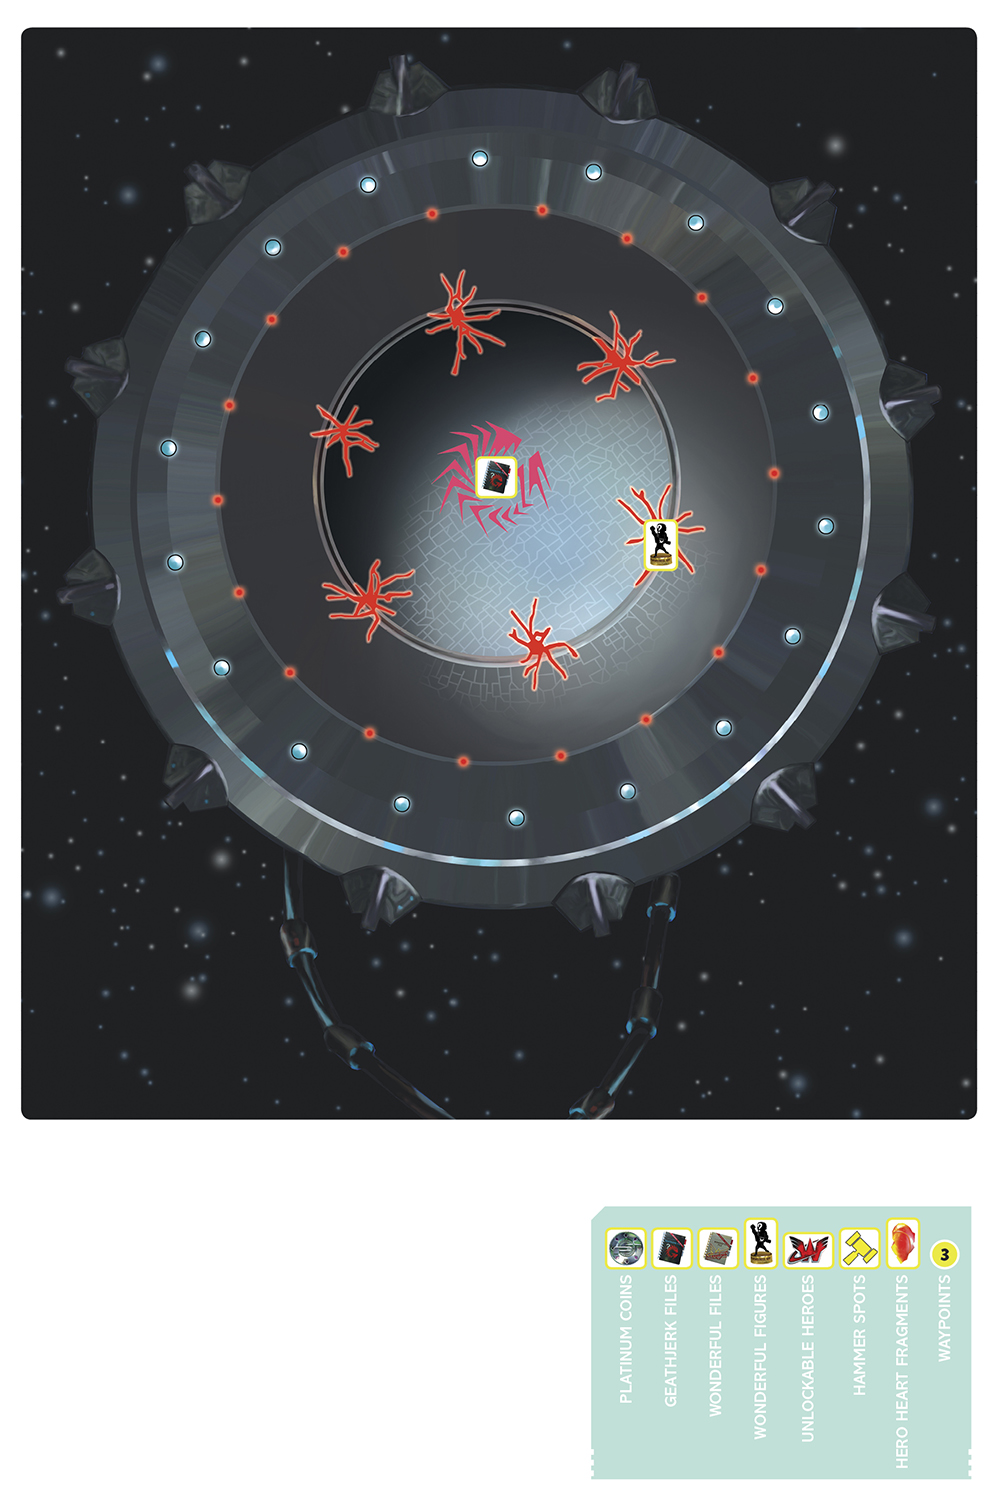
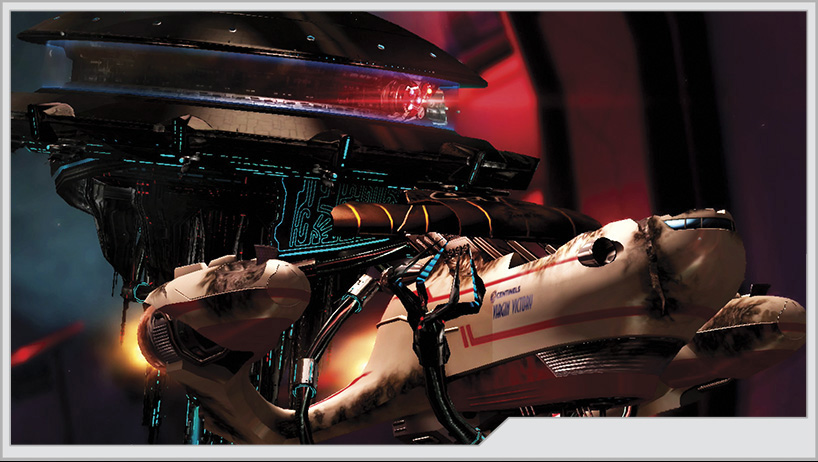
Picking up where Operation 009-A left off, the Virgin Victory and Platinum Robo blast off to strike at the GEATHJERK Federation’s ultimate ace in the hole. Retreat was never an option.
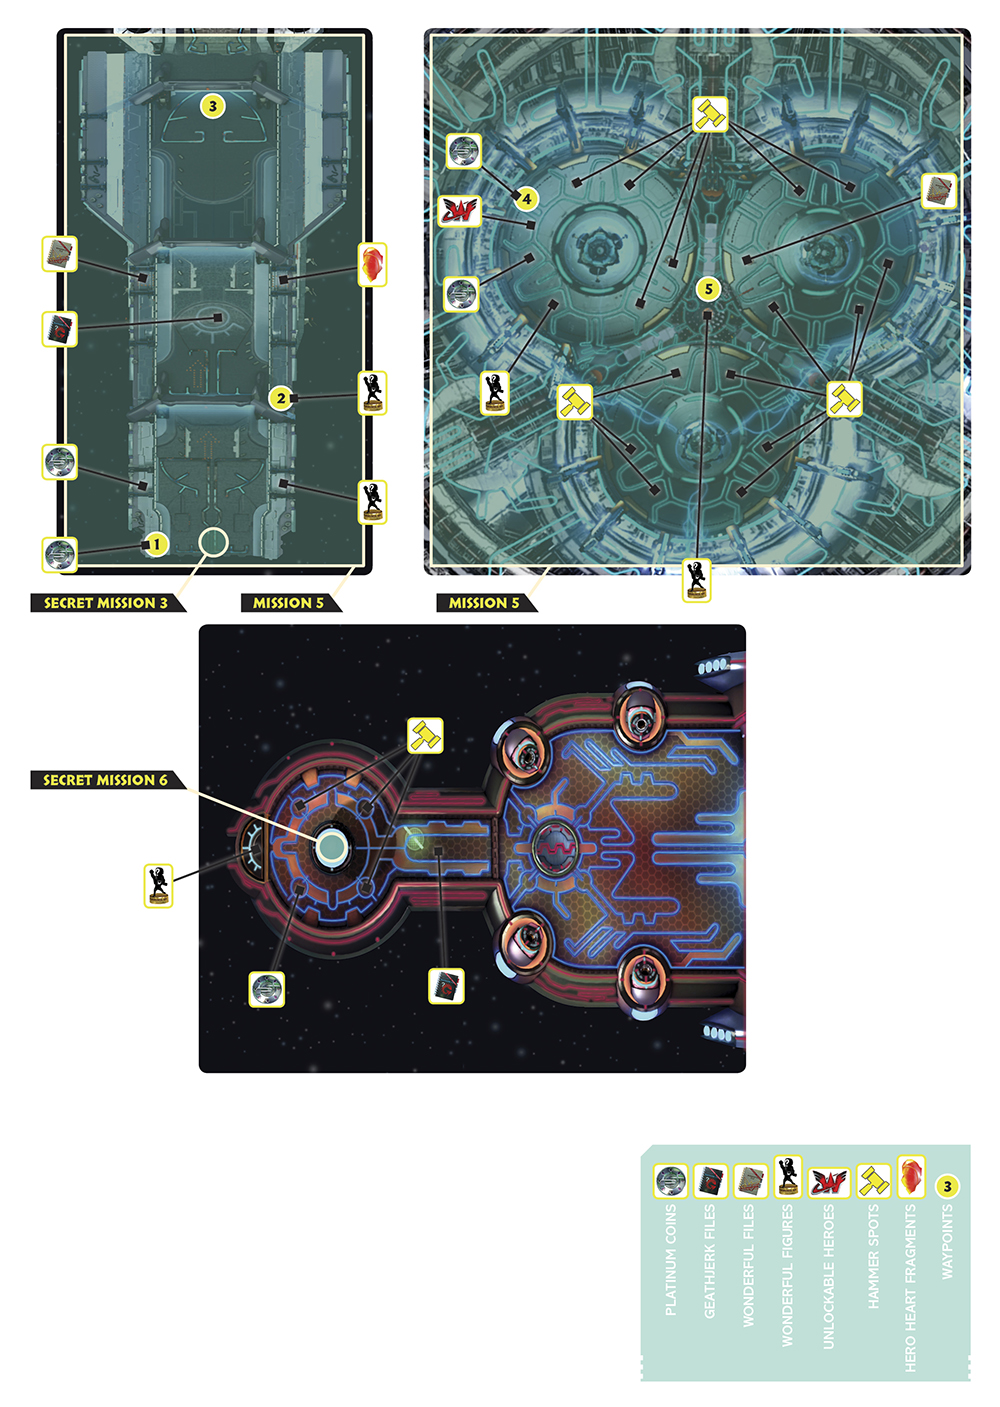
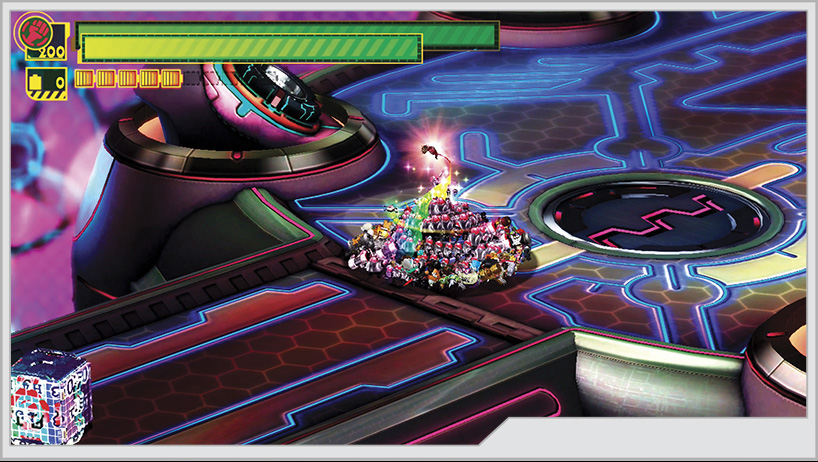
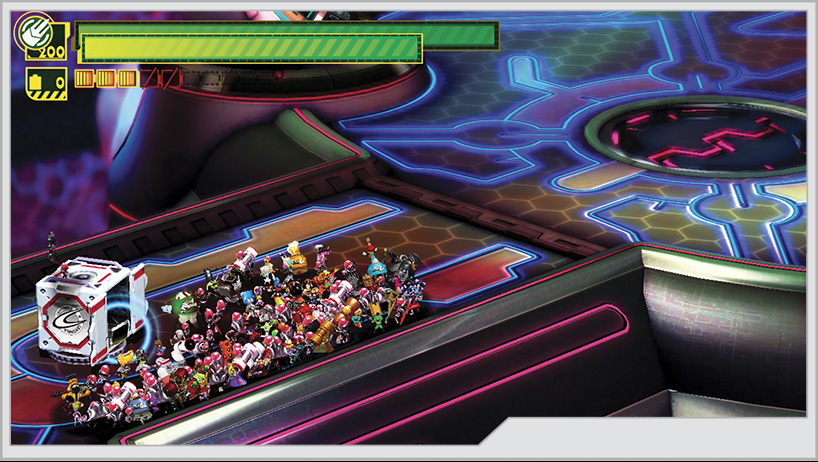
With everything on the ship collected or beaten into submission and recruitment, punch your way through the final door to continue your journey.
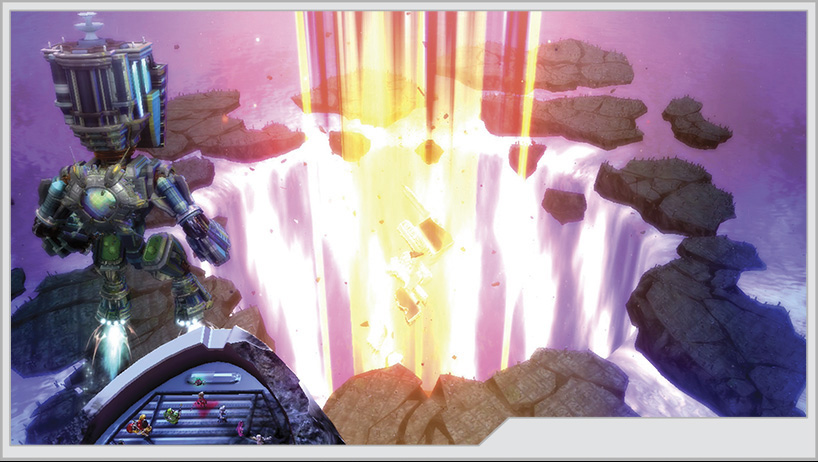
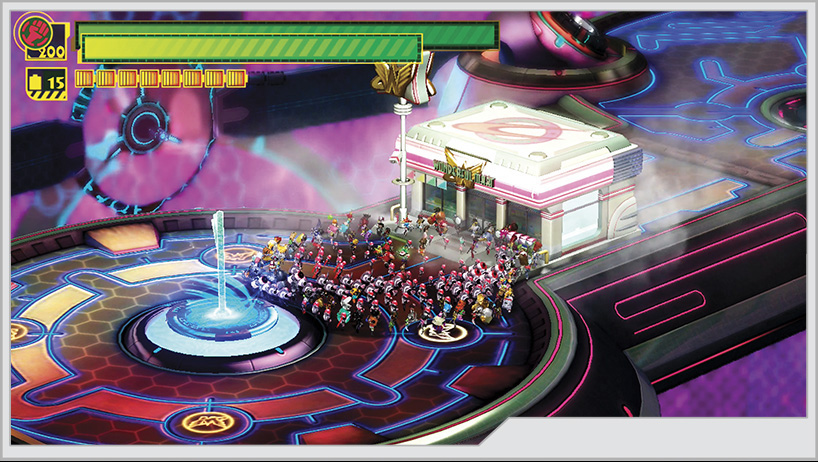
[5] A section of the fortress’s hull collapses, dropping the heroes deep inside, with apparently no way to escape. Technically this is where the level ends, but DON’T walk toward the device Wonder-Pink points out just yet! First, use another full-strength Unite Hammer to hit the ground where you land to trigger the four hammer spots on this platform, one of them holding the last Platinum Coin.
Next, you might notice a statue floating on a raised ledge behind you. That would be Wonderful Figure No. 81. You can also trace the D shape near the statue to trigger the appearance of a Kahkoo-regah portal.
With the Kahkoo-regah portal and all the collectibles in this area complete, attempt to cross the bridge to rendezvous with a Wonderful Mart and bring this part of the operation to a close.
Operation 009-C
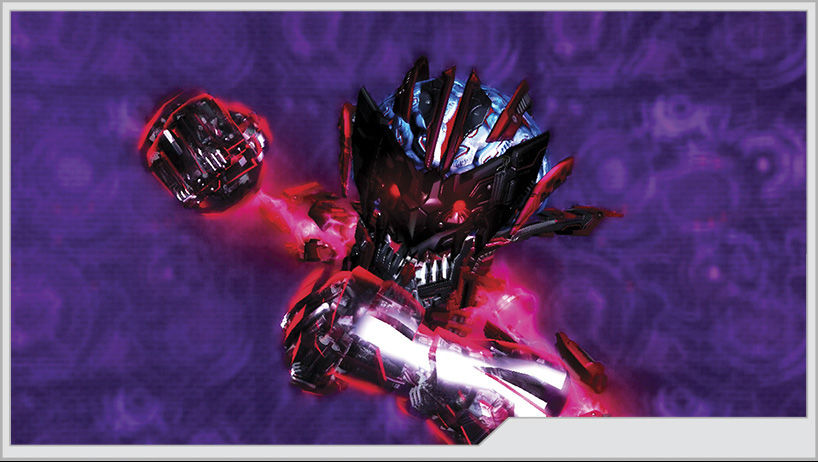
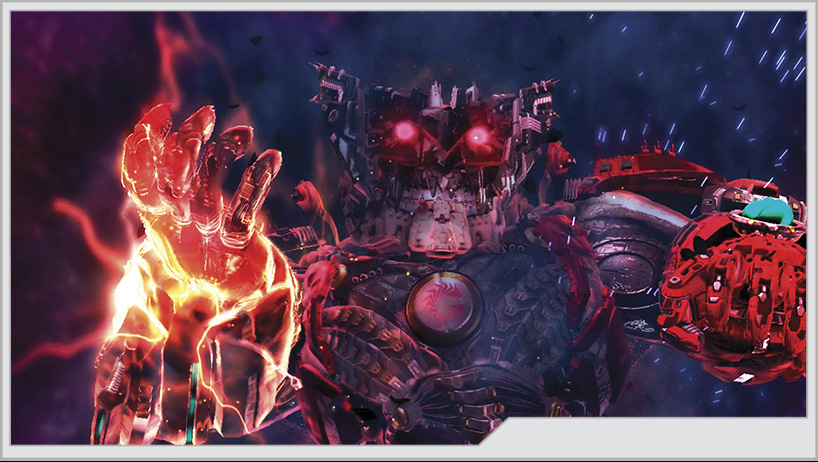
Now at the core of the GEATH-Wahksay, and with no apparent hope for escape, our heroes prepare to bravely face their true nemesis. The fiercest opponent, the greatest Jerk of them all, awaits the reckoning of justice.
Medal Requirements
Element
Platinum
Gold
Silver
Bronze
Difficulty
Time
6:00
9:00
11:00
13:00
Very easy
Time
6:00
9:00
11:00
13:00
Easy
Time
6:00
9:00
11:00
13:00
Normal
Time
11:00
13:00
15:00
17:00
Hard
Time
11:00
13:00
15:00
17:00
101% Hard
Combo
40000
35000
30000
25000
Very easy
Combo
45000
40000
35000
30000
Easy
Combo
50000
45000
40000
35000
Normal
Combo
50000
45000
40000
35000
Hard
Combo
50000
45000
40000
35000
101% Hard
Damage
0
4000
8000
12000
Very easy
Damage
0
4000
8000
12000
Easy
Damage
0
4000
8000
12000
Normal
Damage
0
4000
8000
12000
Hard
Damage
0
4000
8000
12000
101% Hard
Enemies Present (All Difficulties)
Jergingha (All Forms)
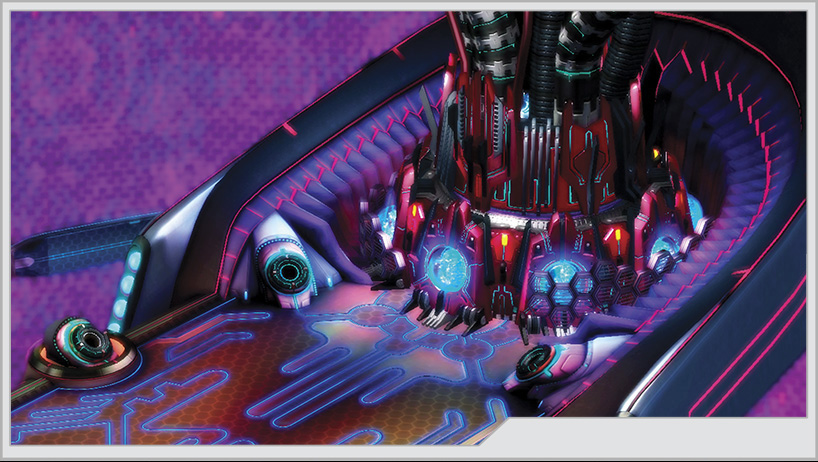
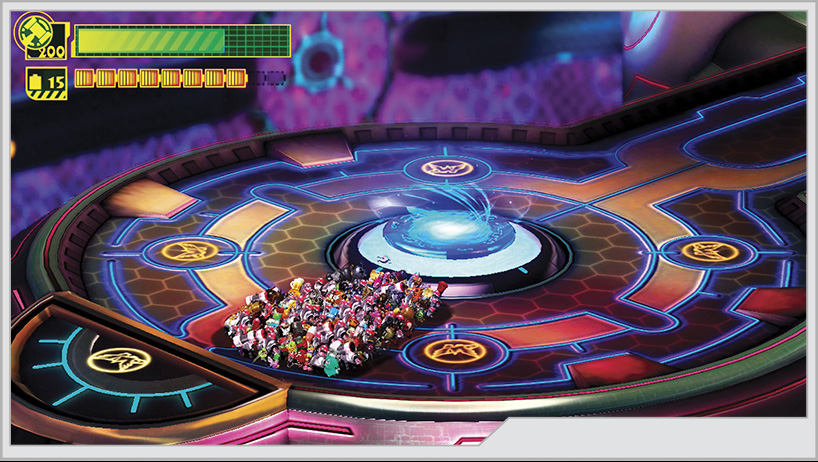
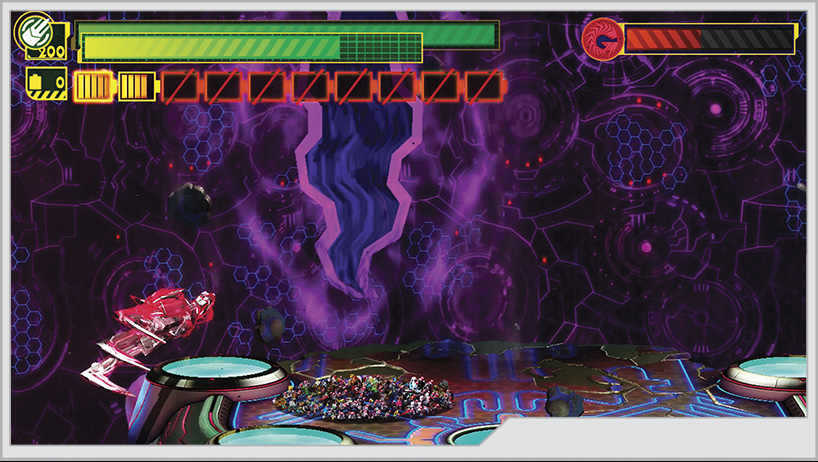
Operation 009-C opens up where the previous section left off. You can walk straight forward to initiate the final boss battle. Don’t do this right away if this is your first time here! Instead, double-jump away from your platform toward the main arena, but guide yourself back to the bridge. Your entire team must be off the ground and technically over the dividing line between platforms. This will trigger the appearance of a white supply box near where the Wonderful Mart once stood. Inside it is GEATHJERK File No. 34. Now proceed onward to meet your destiny, along with the dramatic reveals that come with it.
Phase One
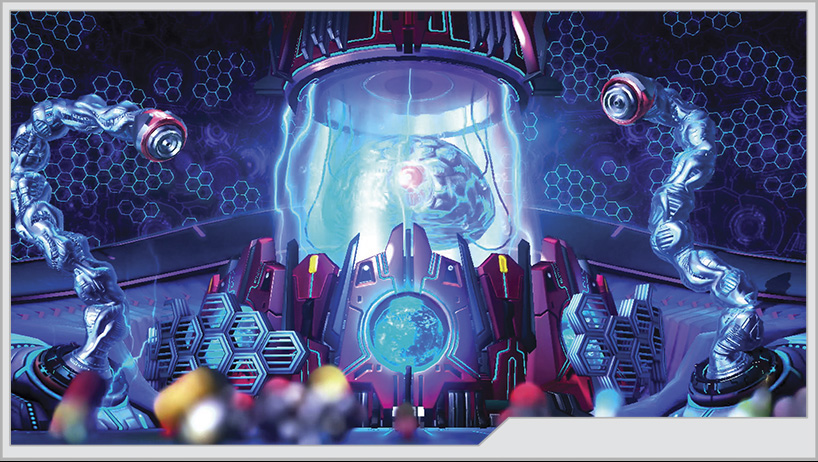
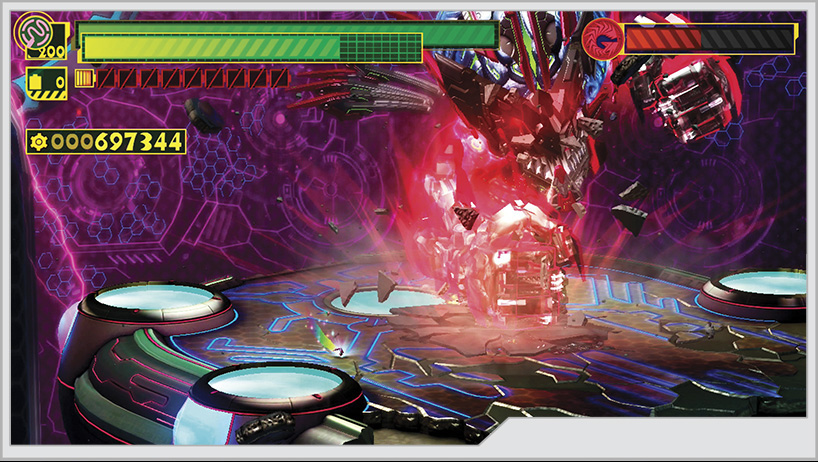
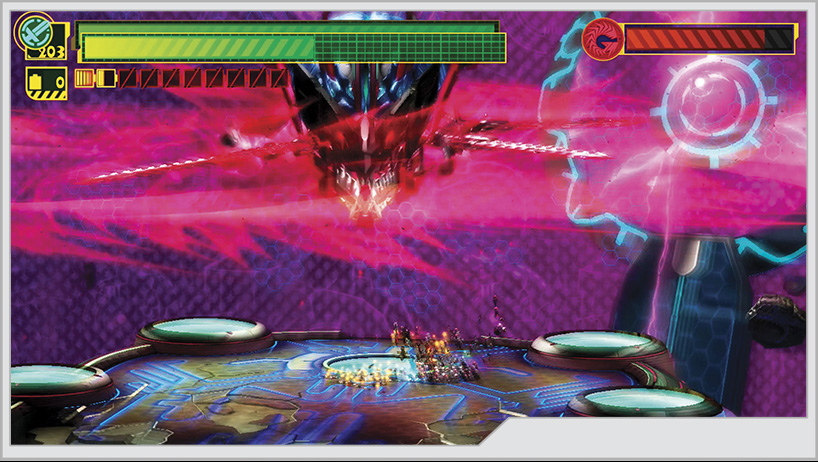
Jergingha summons a set of tentacles to try and crush the heroes before the fight can get started. Counter this with a Wonder-Punch. With the preemptive attack blocked, Wonder-Red orders the team into Unlimited Form, one last time.
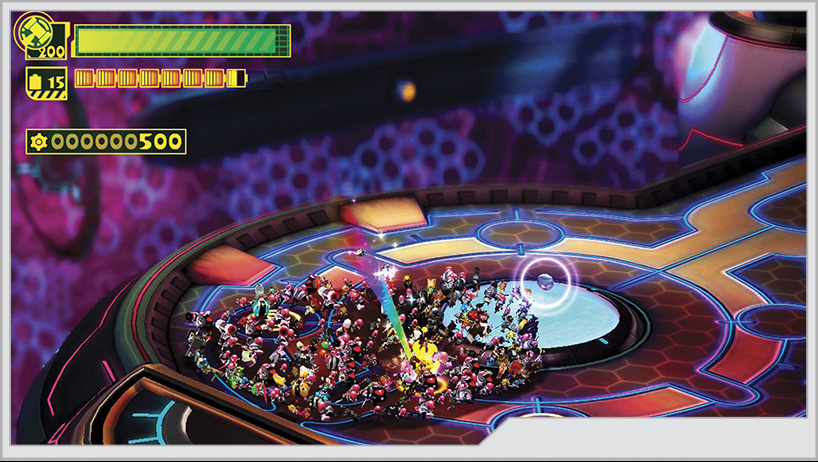
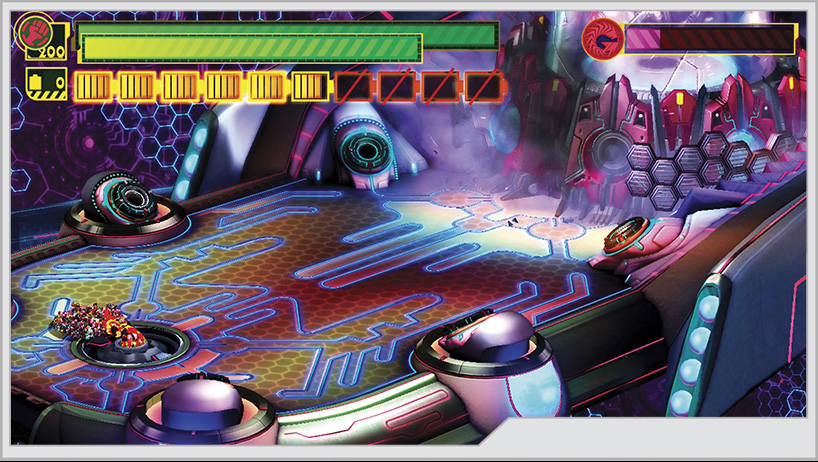
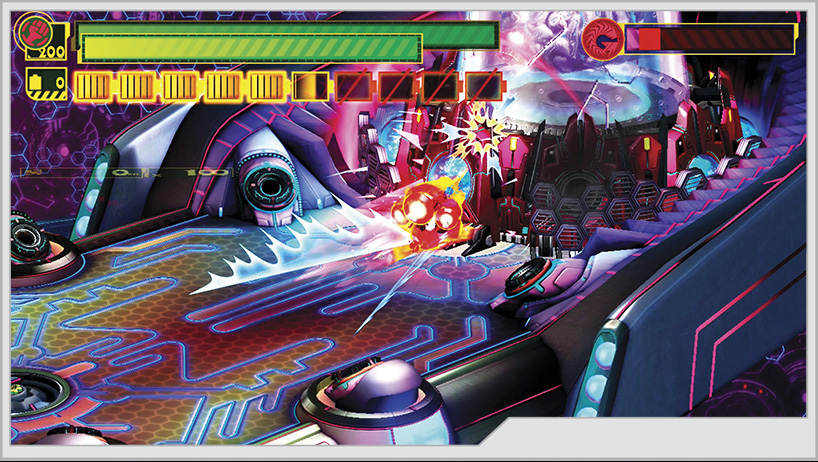
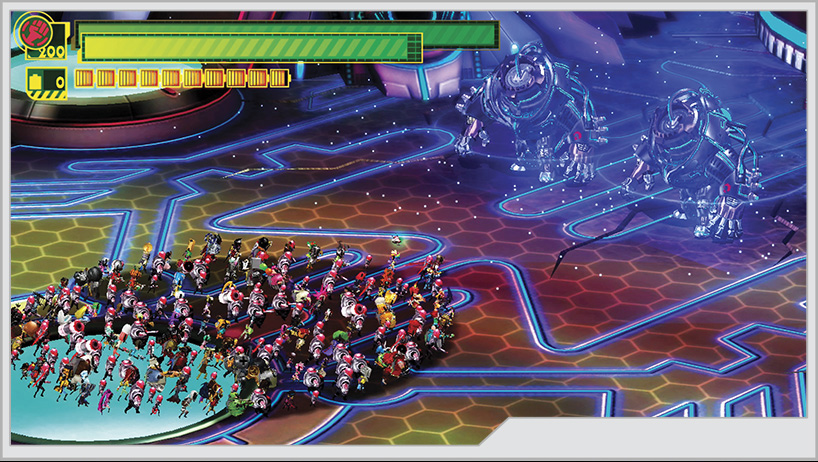
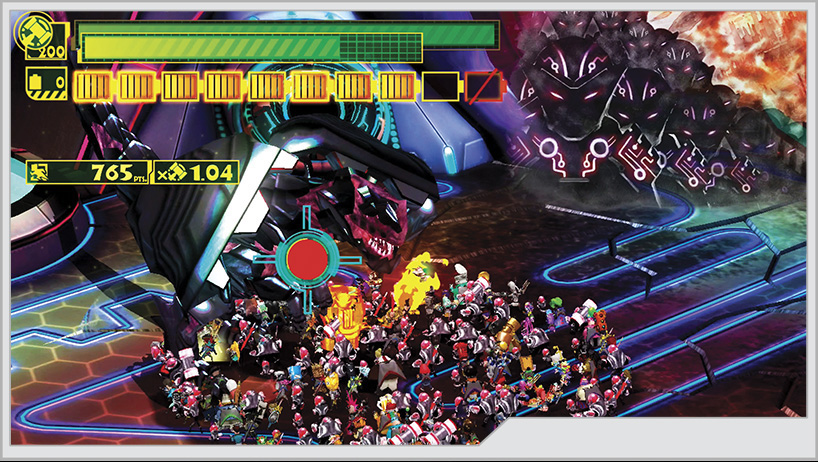
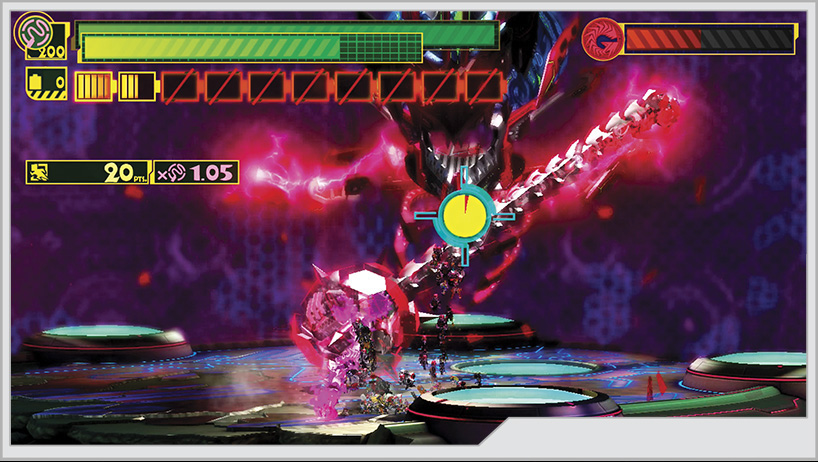
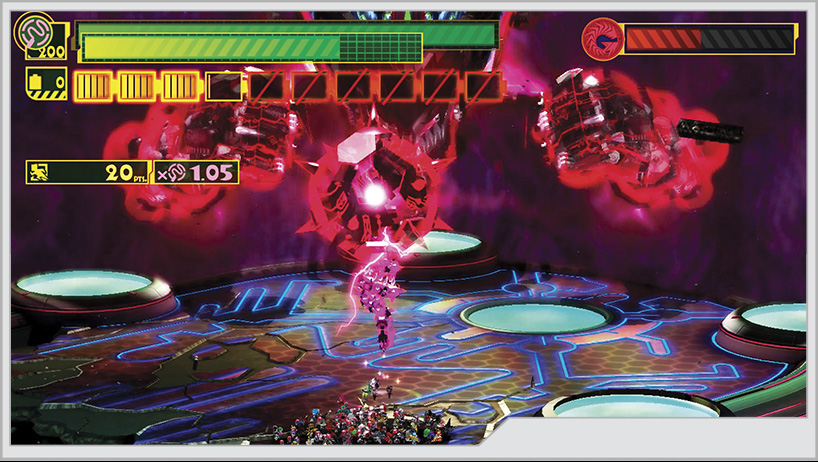
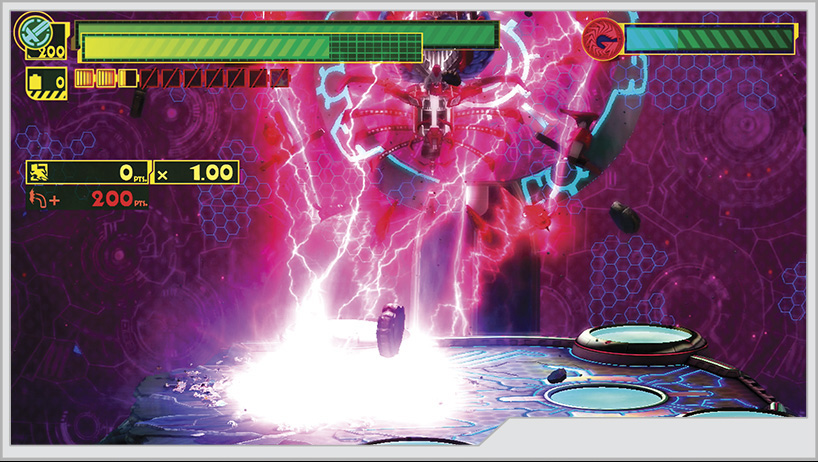
Your target throughout this fight is the large blue orb at Jergingha’s base. However, your first order of business should be to eliminate the tentacles defending Jergingha. There are six ports that tentacles will deploy from surrounding the arena, with an arsenal that mirrors what you saw the Ohdarko capable of wielding. Unfortunately for these tentacles and the blue orb, a 200-hero Unite Hand utterly wrecks them, even on 101% Hard (though you’ll have to land more hits on that difficulty to be sure). Of course, you may not have the Unite Gauge to always be able to summon such destructive power, particularly if you’re low on Wonderful Cake’s To Go. You can counter the following tentacles attacks with specific Unite Morphs:
Laser Tentacles: Reflect with Unite Sword
Chainsaw Tentacles: Wonder-White will signal to counter with Unite Claw
Electroshock Tentacle: Absorb shock with Unite Sword
Ohrowchee Tentacle Flamethrower: Absorb with Unite Hand
Ohrowchee Tentacle Jelly Bomb: Slice jelly bombs with Unite Sword
It is simply faster to destroy the tentacles with a full-powered Unite Hand, but at the least you do have options should a tentacle start attacking. With the defenses wiped out temporarily, focus your efforts on destroying the blue orb at Jergingha’s base.
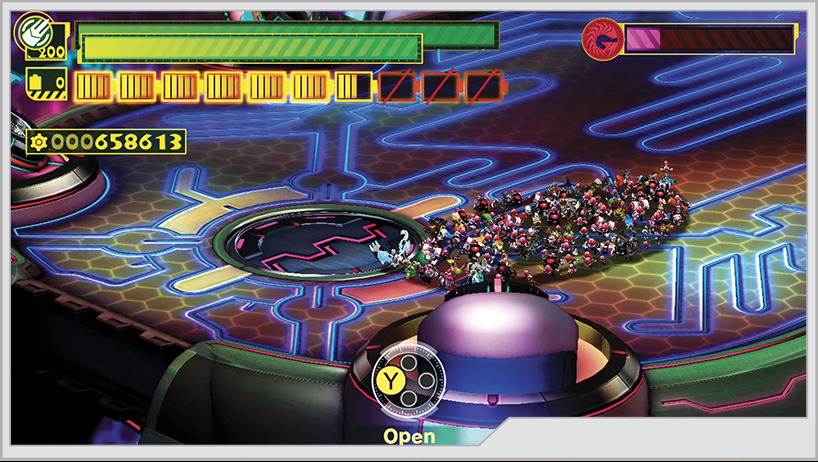
It’s not enough to destroy one blue orb; you need to access the others currently being protected by the armor at Jergingha’s base. To access them, you must fall back to the opposite side of the arena and pry open an access hatch with Unite Claw, then use Unite Hand on the valve there to twist Jergingha’s base enough to reveal another blue orb, which you must then destroy. Note that the access hatch over the valve will close after a short period of time, ensuring that you’ll have to repeat this process multiple times to destroy all the blue orbs.
Throughout all this, more tentacles will try to show up and stop you, focusing primarily on defending Jergingha or the valve. Again, it is highly recommended that you put down these threats immediately. The longer they’re allowed to stick around, the more troublesome they can become as the fight progresses.
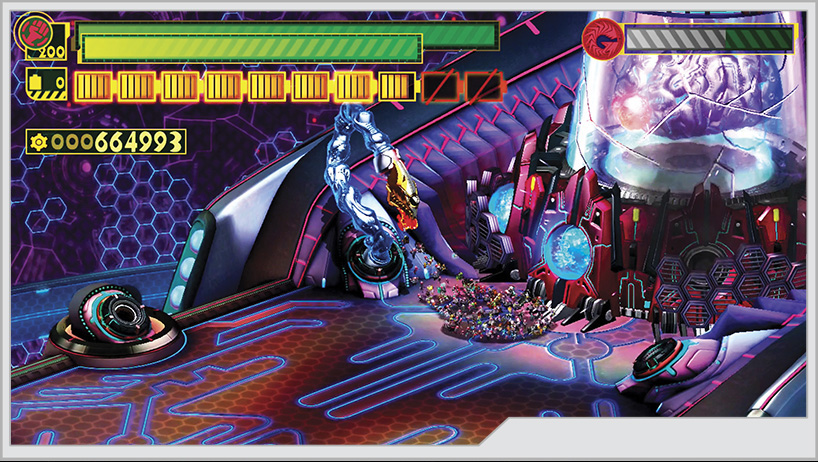
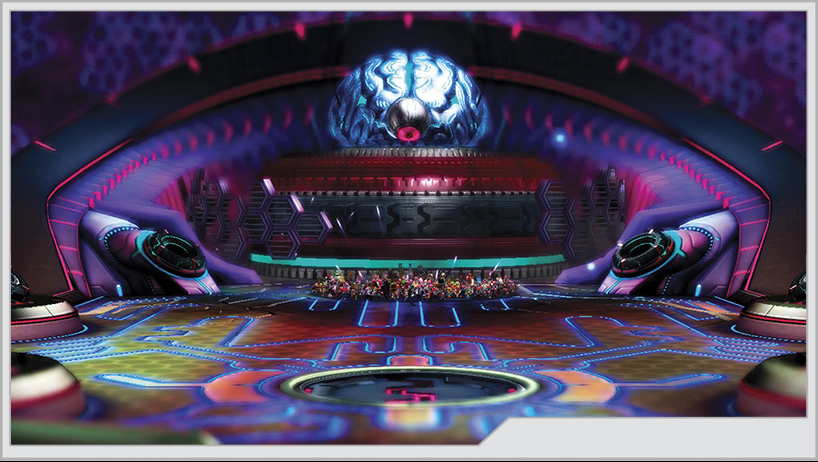
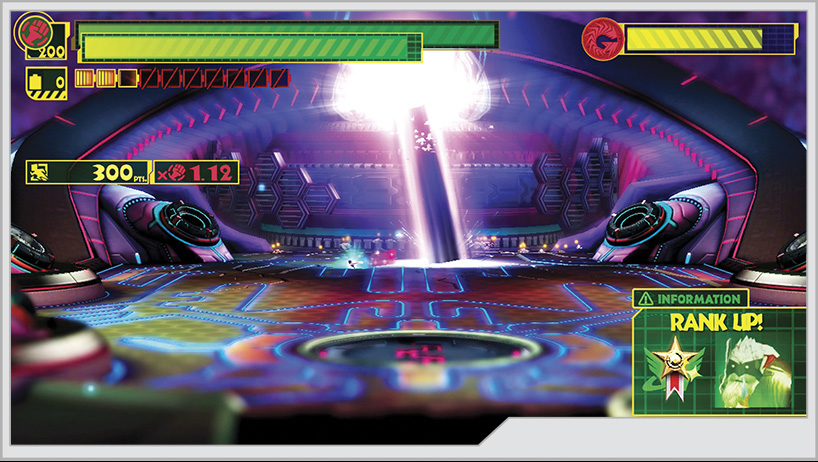
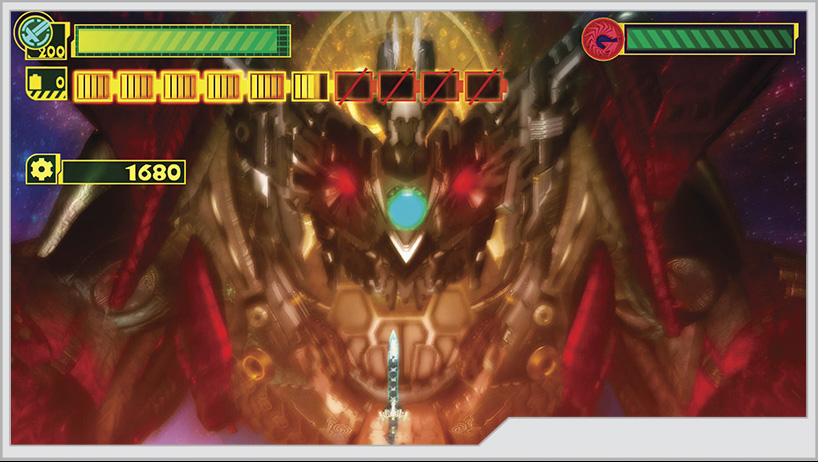
Once you destroy all of the orbs, Jergingha is exposed to your wrath. The camera view changes to face the brain head-on. While you continue to pummel Jergingha, more tentacles will continuously attack from the two closest ports, and the brain will fire a powerful eye laser that you can reflect with Unite Sword. For this section of Phase One, we do recommend sticking to the Unite Sword, just to be ready to handle the laser when it inevitably comes.
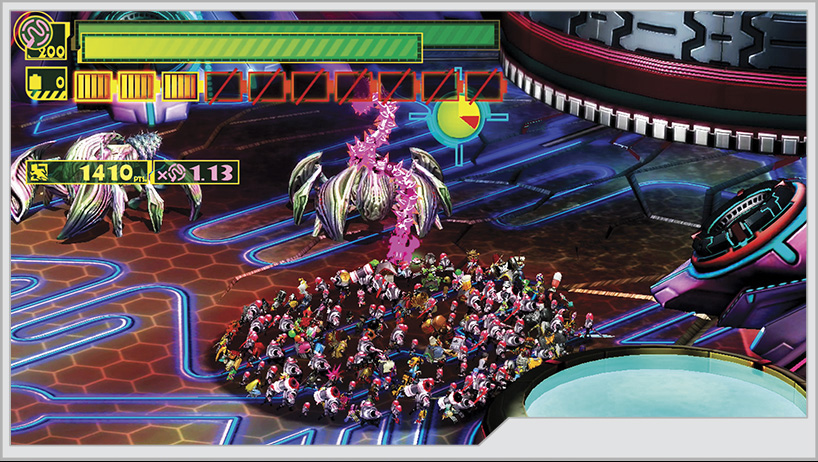
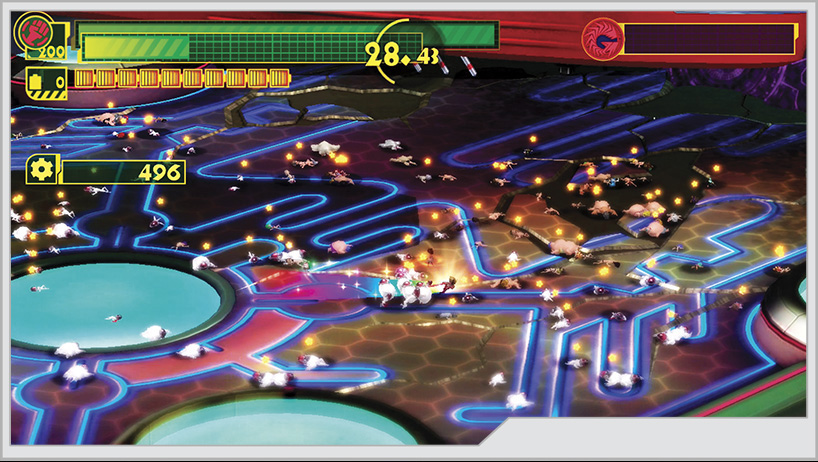
After beating the remaining health out of Jergingha, an artillery barrage takes out the floor beneath you, sending the fight down to a lower level. On the way down, you’ll collect a Hero Heart Fragment. Jergingha will begin a lengthy round of taunting and exposition while you hold off waves of enemies: two Diedough-Goo, followed by two Dahkarts, then a Megang, and lastly a Hah-Gonay. If you can get through all of these enemies before the plot bombs from Jergingha stop falling, you’ll earn a tidy little O-Parts bonus, and another round of enemies will begin to spawn in, starting once again with two Diedough-Goo. However, once the conversation ends, the next phase of the battle begins.
Phase Two
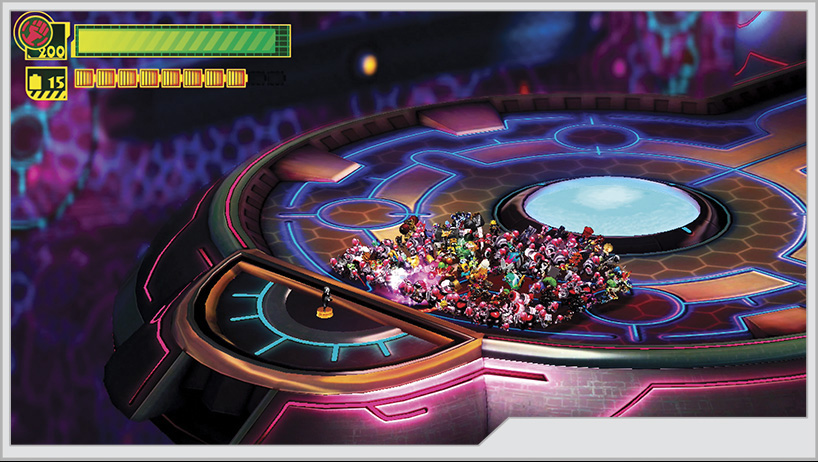
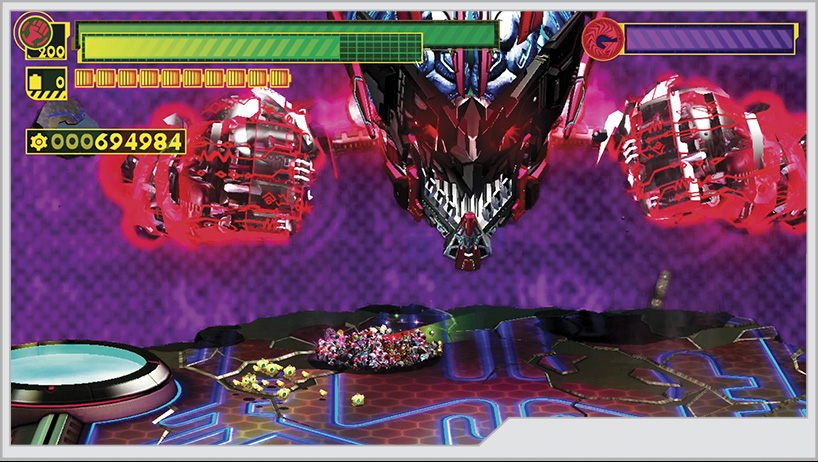
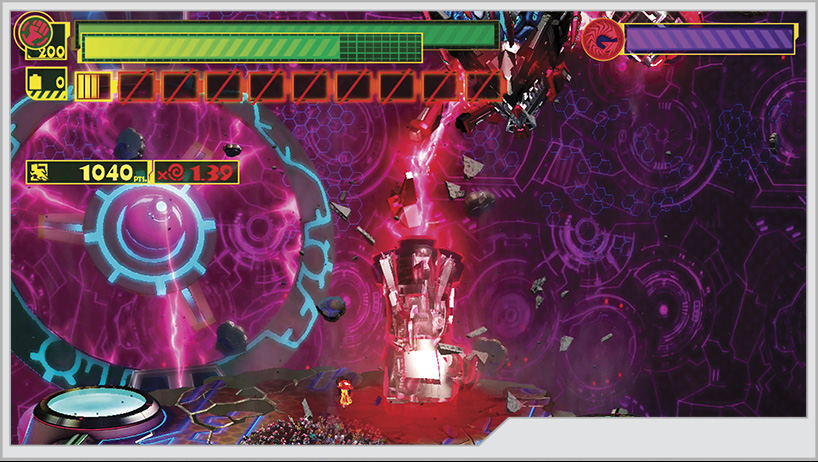
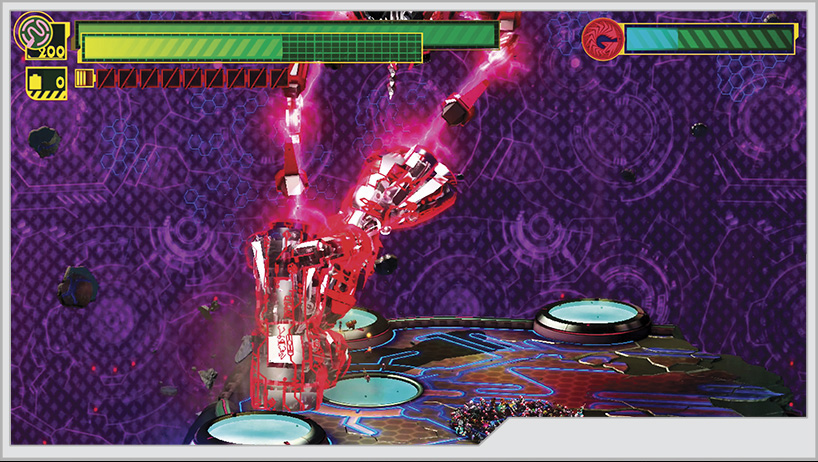
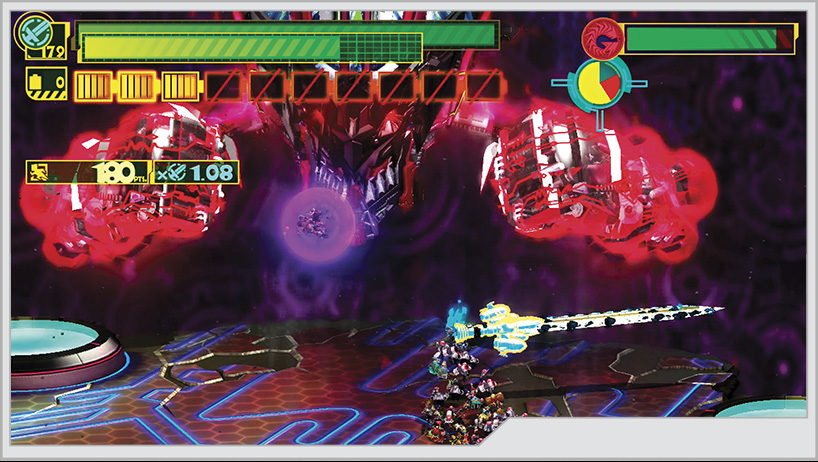
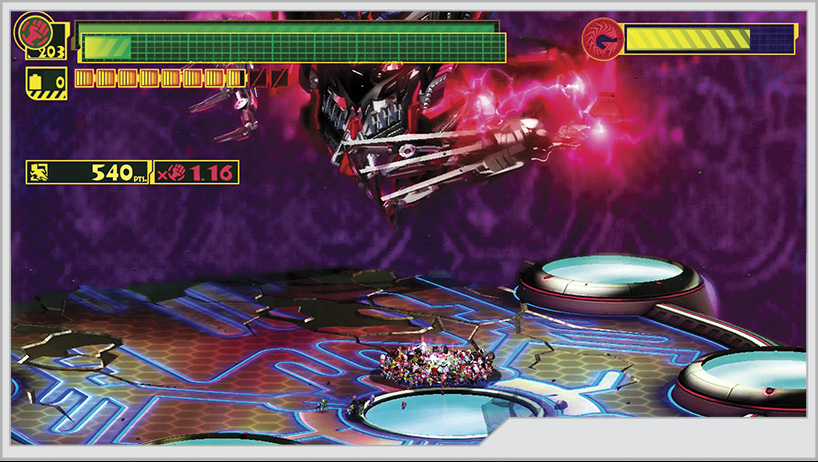
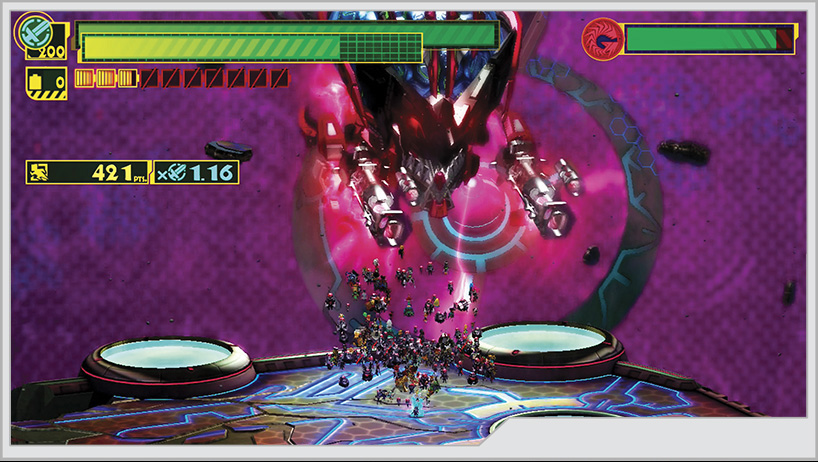
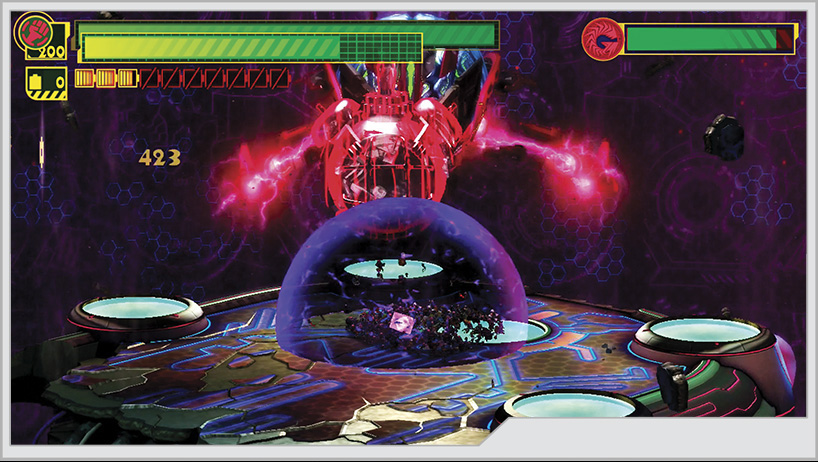
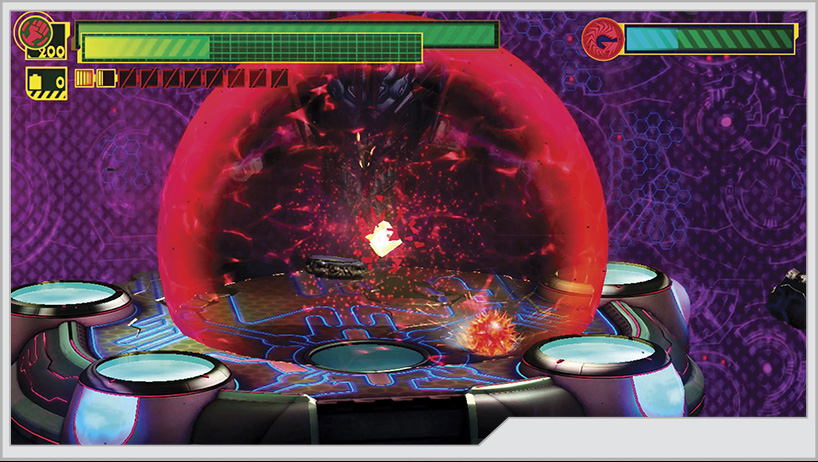
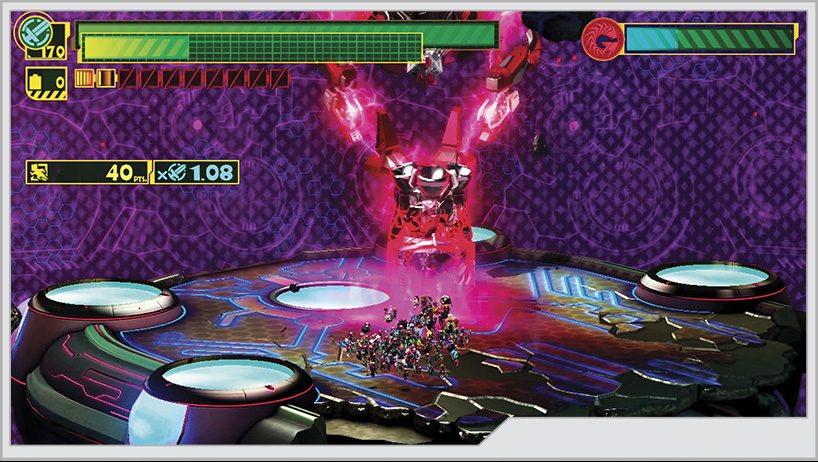
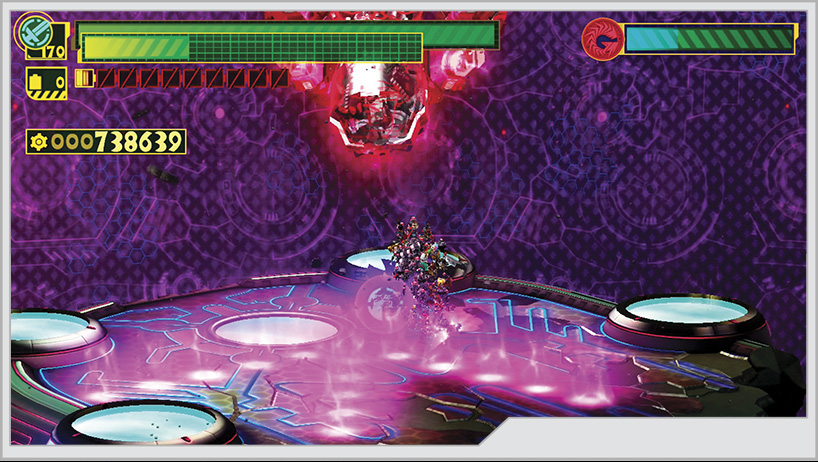
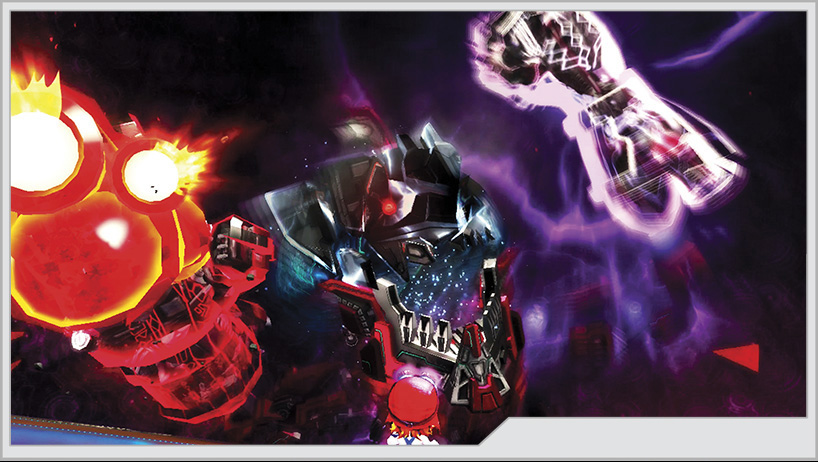
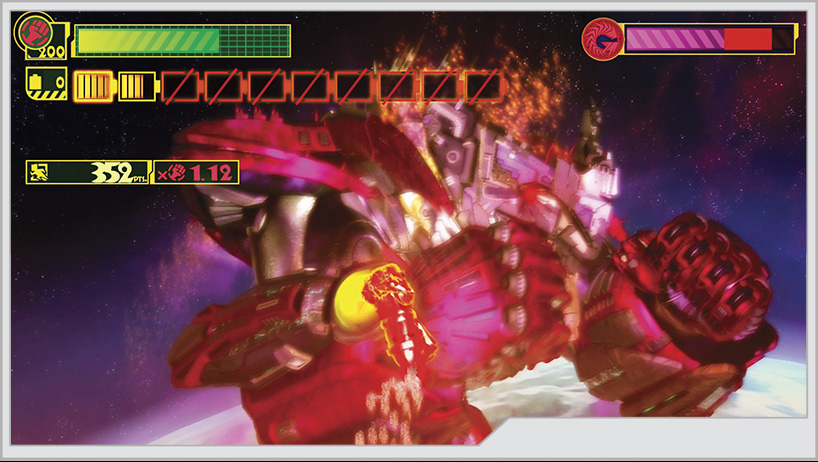
Wonder-Jergingha has three parts of his “body” that have individual health meters: the mask, left hand, and right hand. The basic premise of this fight is to use whatever means are at your disposal to drain the health of one of these parts, which will cause a stun, causing Jergingha to collapse to the platform and giving you precious seconds to do real damage to the brain before he recovers. The damage you do to his individual parts does not count as damage to the brain itself and will be reset after recovering from a stun.
Wonder-Jergingha has multiple attack modes that you will have to deal with, and you’ll definitely be seeing them multiple times before you deal enough damage to put an end to the fight.
Fists
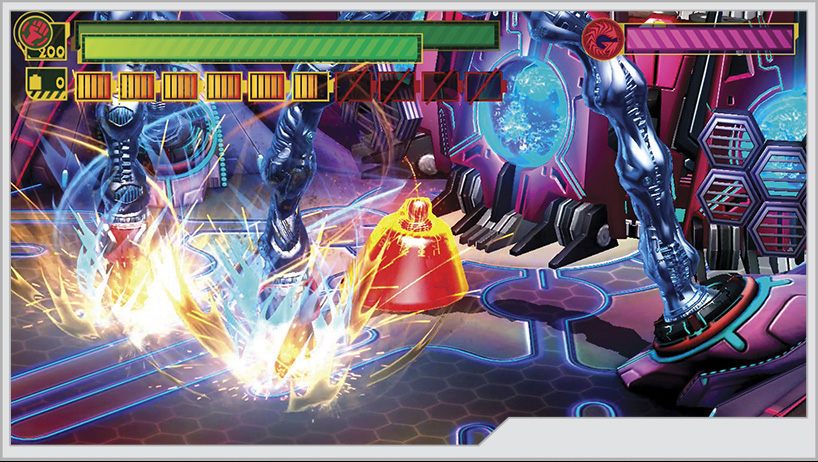
Wonder-Jergingha starts off in Fists mode. He will alternate between repeated straight punches at the platform, a single fist pound, or a left or right hook. The fist pound and the hook punches can be blocked with Unite Guts consisting of over 100 heroes; you should ALWAYS try to use this. It will cause a temporary stun that lets you get in good damage on that particular limb. However, the straight punches directly at the platform (preceded by a red energy field appearing where he’s going to strike) do not respect Unite Guts at all, so get out of the way. However, after several straight punches, one of his fists will get stuck in the platform, giving you a chance to pile on some damage.
While in Fists mode, Wonder-Jergingha can summon a small singularity that will pull randomly chosen members of your team inside. To free them, you must attack the singularity until it collapses.
Ball and Chain
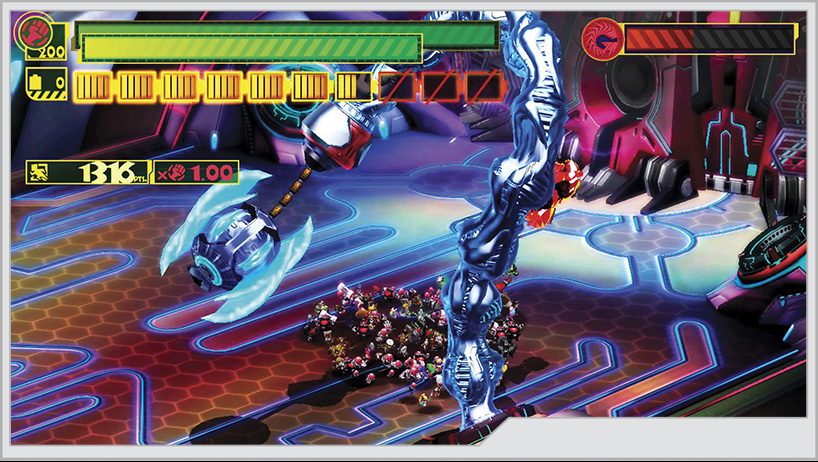
A somewhat limited attack mode, the Ball and Chain is still very dangerous. After a short windup, Wonder-Jergingha will strike the platform multiple times. On the final strike, the ball becomes stuck in the ground. This is your chance to use Unite Whip to tear the ball free from the ground. You can then throw it back at Wonder-Jergingha for heavy damage, potentially causing him to collapse and expose his brain.
Claws
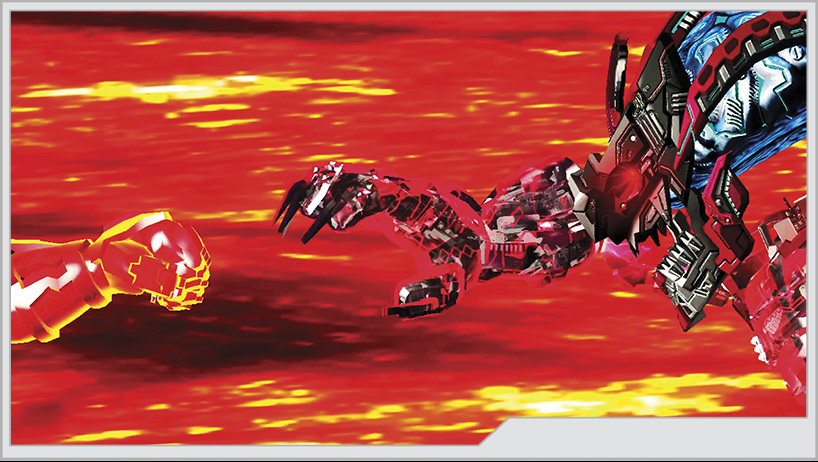
Using a massive replica of Unite Claw, Wonder-Jergingha will violate who knows how many laws of physics to carve open a portal to an alternate dimension, jumping inside the newly created rift. This rift will circle around the arena, and occasionally a claw will lash out from it. You can put a very swift end to this attack by countering with Unite Claw. Pry open the rift with some button mashing and reach inside. You yank Wonder-Jergingha out, completely stunning him and exposing his brain to direct assault. Always try to counter Wonder-Jergingha’s claws!
Guns
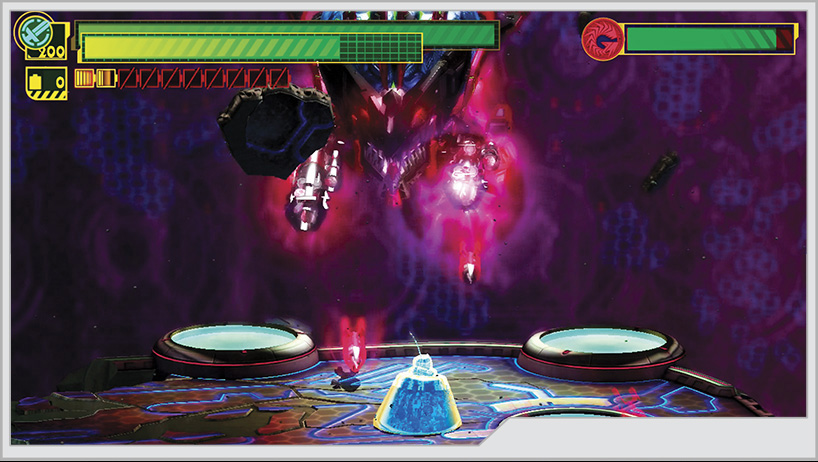
Floating well outside of traditional melee range, Wonder-Jergingha will summon a pair of rapid-fire hand howitzers to barrage the arena. Fortunately, you can reflect these shells with Unite Guts.
Swords
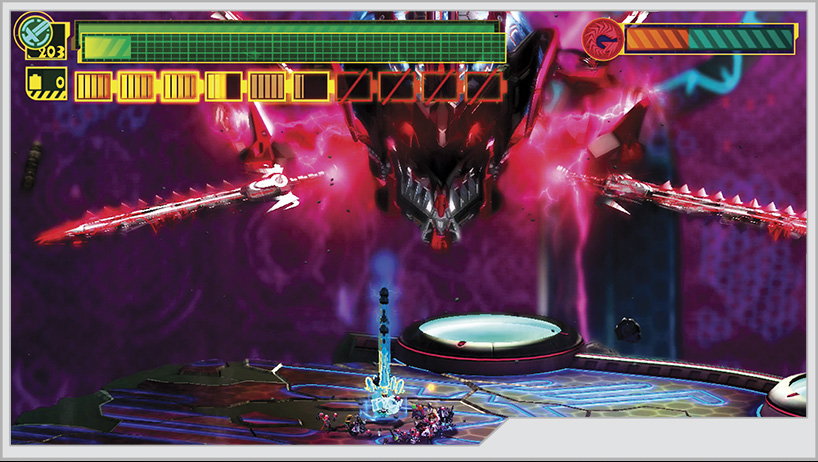
Wonder-Jergingha can pull out a series of swords to initiate two types of attacks. The first is a series of rotating slashes that can be dodged with Unite Spring (Hero Time once again proves to be an amazing Custom Block). The second is to pull back from the platform and charge up a lethal electric shock. Fortunately, the shock can’t do anything but enhance your Unite Sword.
Bomb
Wonder-Jergingha has his own Unite Bomb that can cover the entire platform, deal heavy damage, and slow you down considerably. This can be flung back into his face with a well-timed Unite Guts.
Hammer
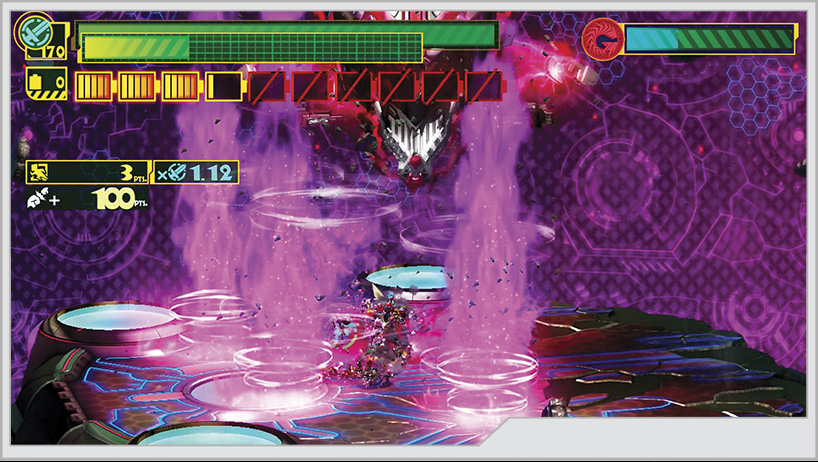
Summoning a massive hammer, Wonder-Jergingha can strike the platform and cause three sets of shock waves to erupt in flames in a line from the impact point. Counter this with Unite Guts if you can.
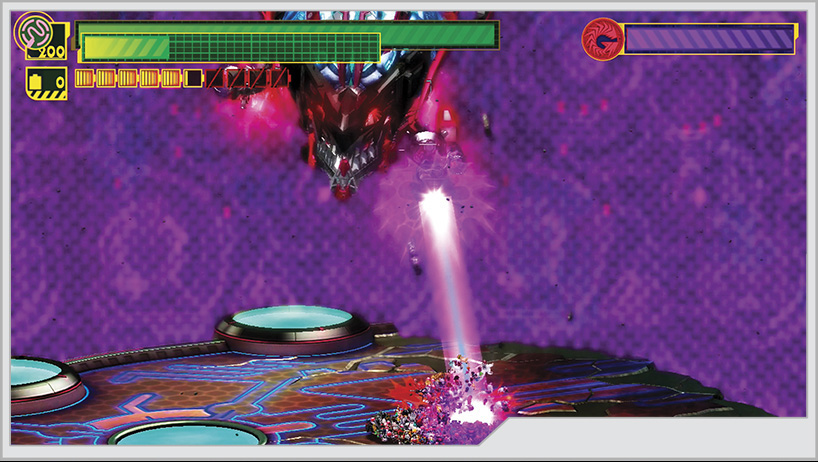
On top of all this, Wonder-Jergingha is still capable of firing a high-powered laser. This can still be reflected by Unite Sword, but you have very little time to set up for it once Wonder-Jergingha starts prepping for the shot.
Once you drain all of Wonder-Jergingha’s health, you’re prompted to set up the grand finale with a Wonder-Punch.
But it’s not enough...
But after a display of courage from Luka, you get a chance to try once again, this time with theme music! Get punched in the FACE, alien scum—
Oh. Bugger.
After a mysterious force intervenes on your behalf, and the Virgin Victory makes a grand entrance, your team must be gathered from all around the arena. You have 30 seconds to pull this off!
With the team gathered, and the Virgin Victory charging up its main gun, form Unite Hand one last time, and win. Finally. Geez.
Phase Three
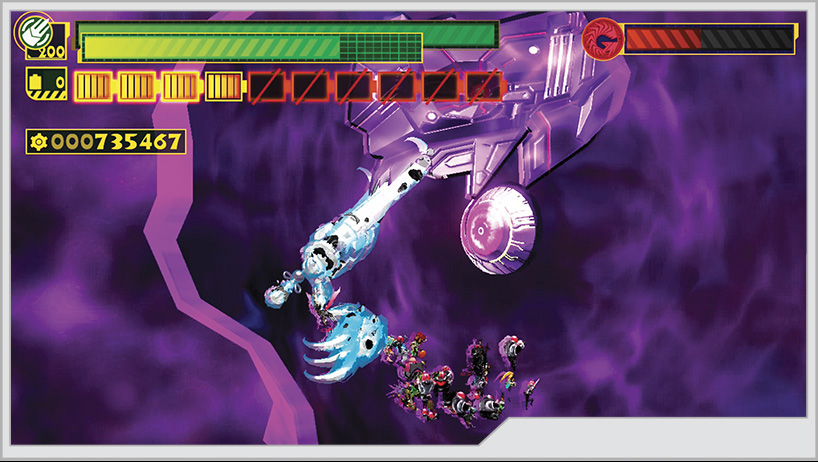
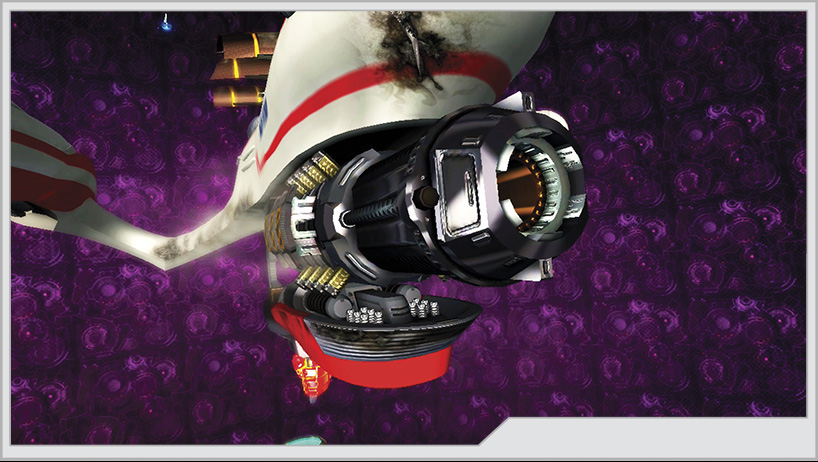
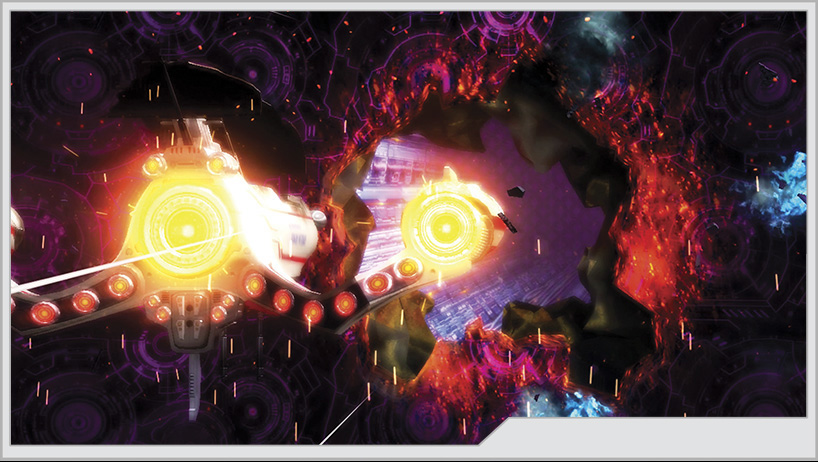
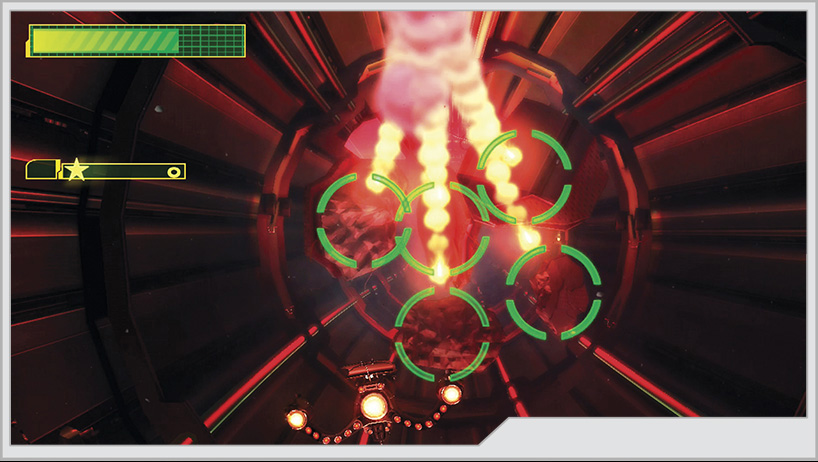
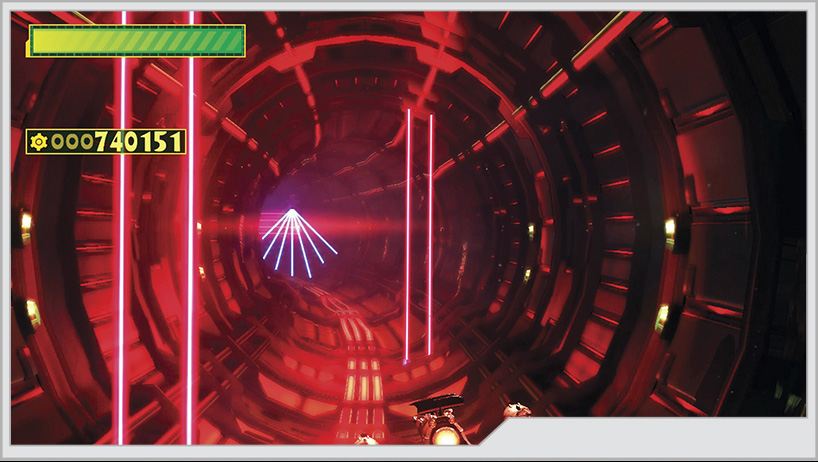
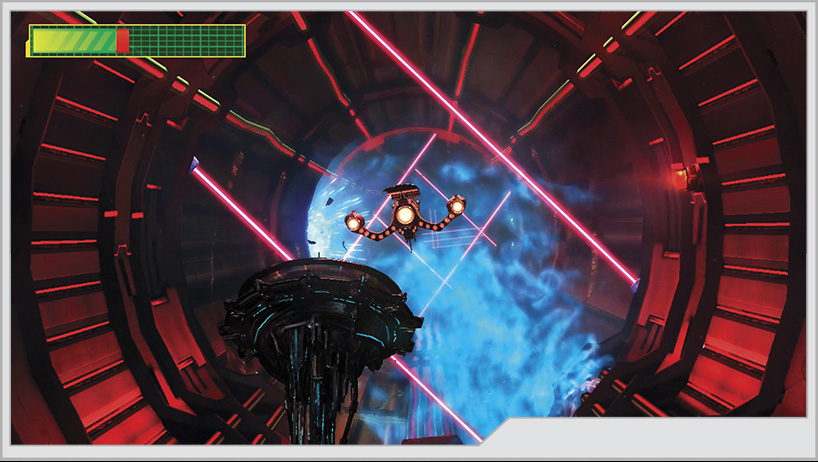
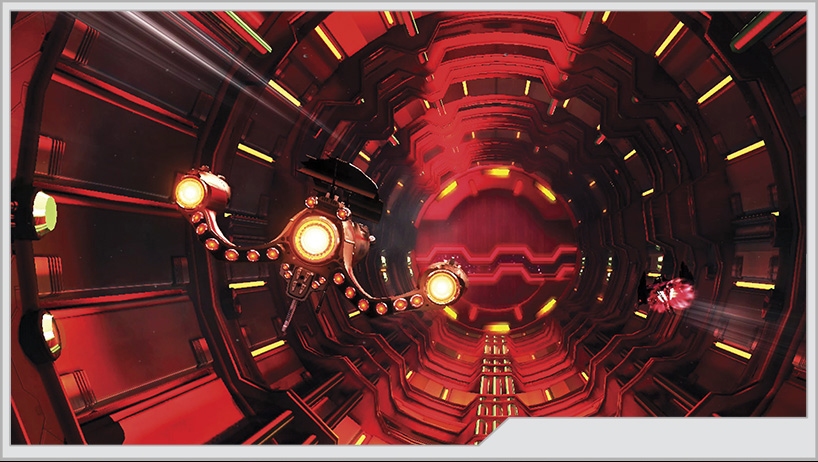
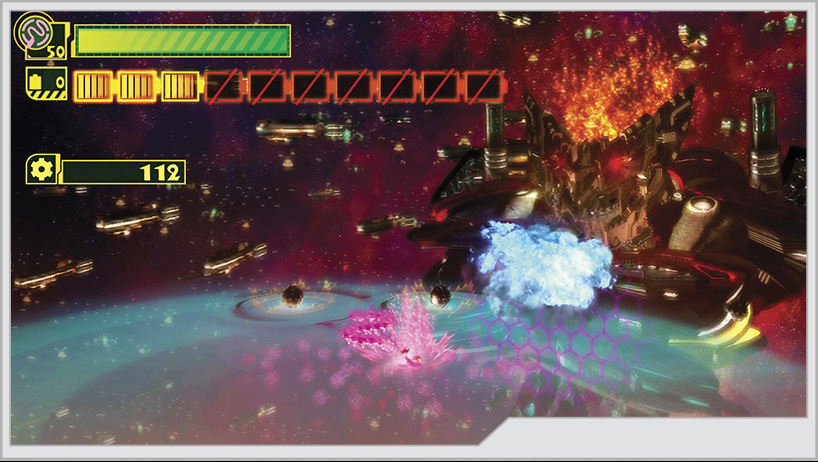
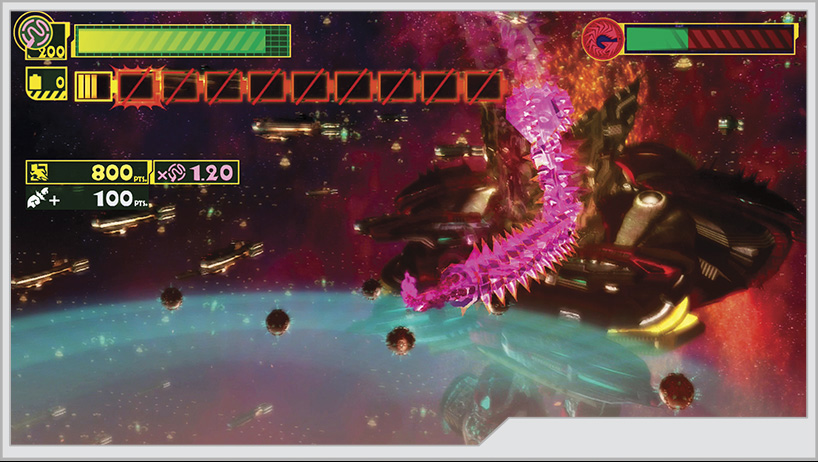
A victory is not complete if you’re not alive afterward to celebrate it. The Virgin Victory must now retreat through the bowels of the exploding machine world, and you must guide it around the laser traps that are in place to stop you. Occasionally, the action slows down, giving you a chance to lock missiles onto any stray debris or laser emitters to destroy them. You have to make these shots or the ship will take damage.
At some point during the chase, an Envan will appear on the scene, charging up its tentacles for vicious melee strikes on the aft of the Virgin Victory; all the while you are still trying to evade laser traps. Eventually, despite your best efforts, the Envan will grab a hold of the ship.
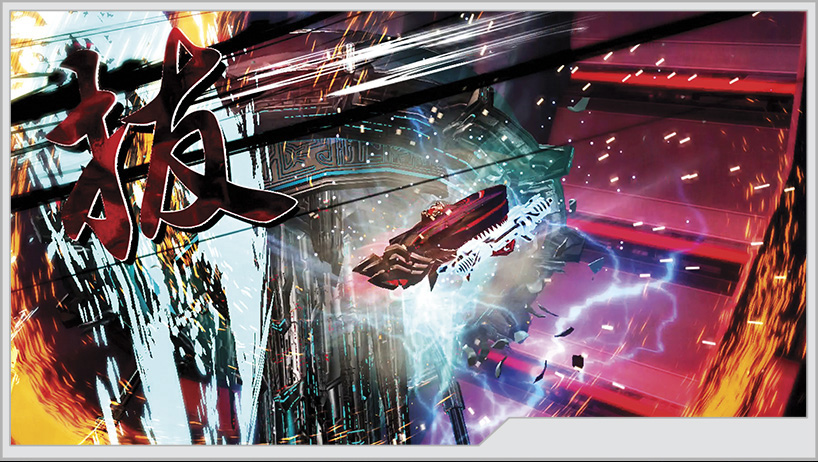
But suddenly Vorkken’s ship, the Meizerr, joins the action. Freeing the Virgin Victory from the Envan with a decisive cut-and-take attack, it joins the Virgin Victory on the last leg of this journey. You now control the Virgin Victory with the Left Stick and the Meizerr with the Right Stick. Guide the two ships around the laser traps, shooting down targets as they appear with homing missiles. Both craft have their own health bars to be concerned with, and the Virgin Victory doesn’t get repaired at any point during this escape. You only need to keep it together for a few more seconds!
Phase Four
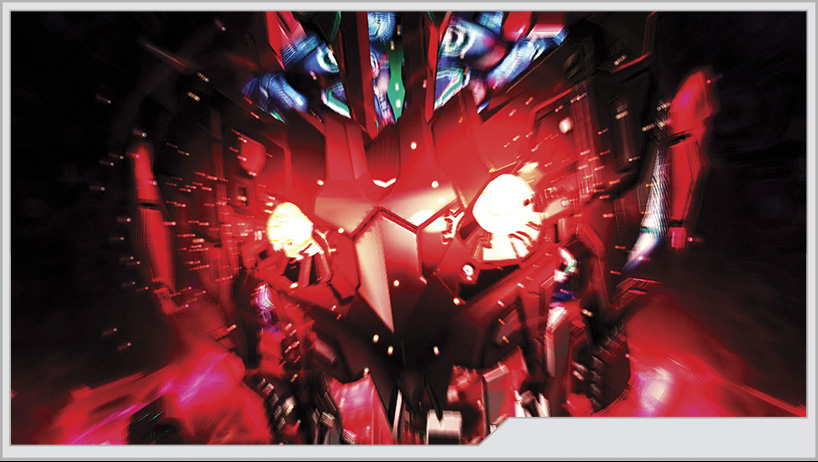
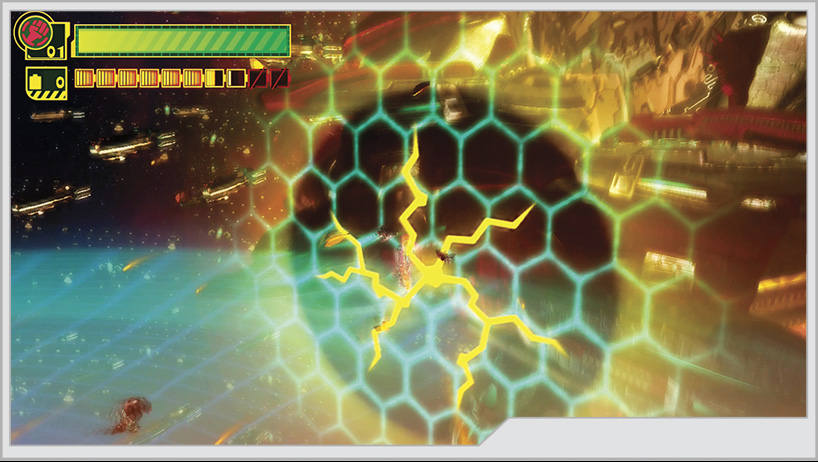
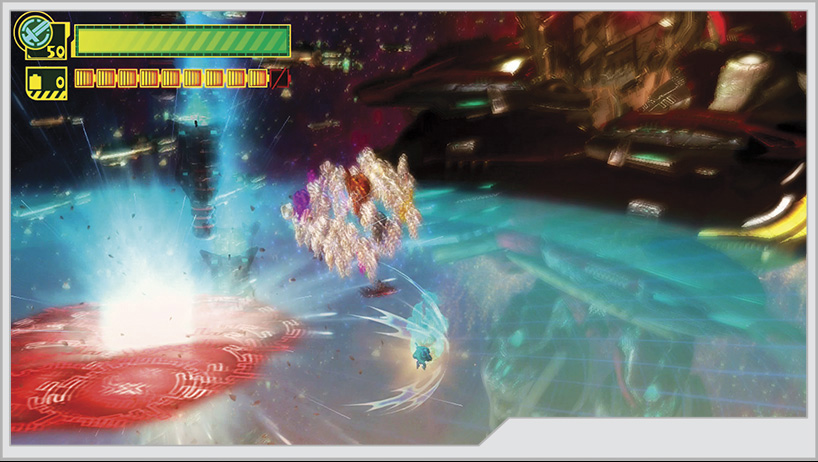
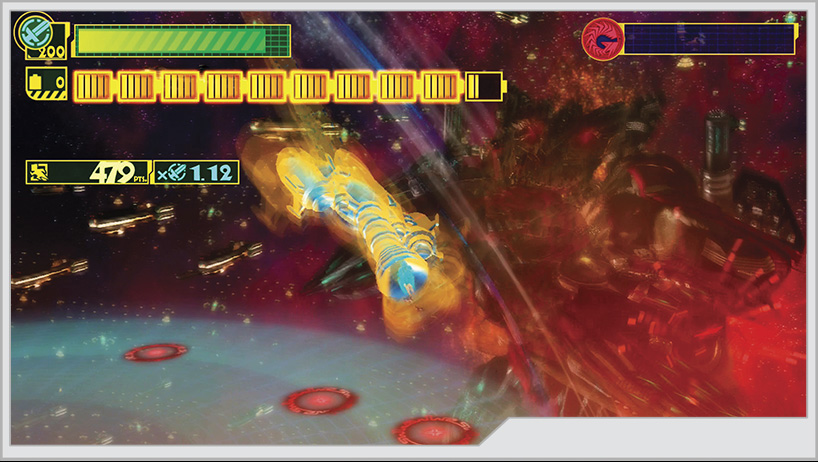
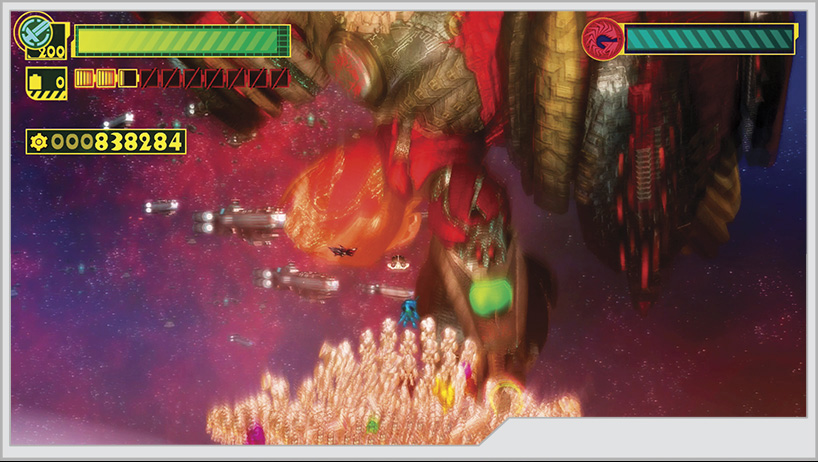
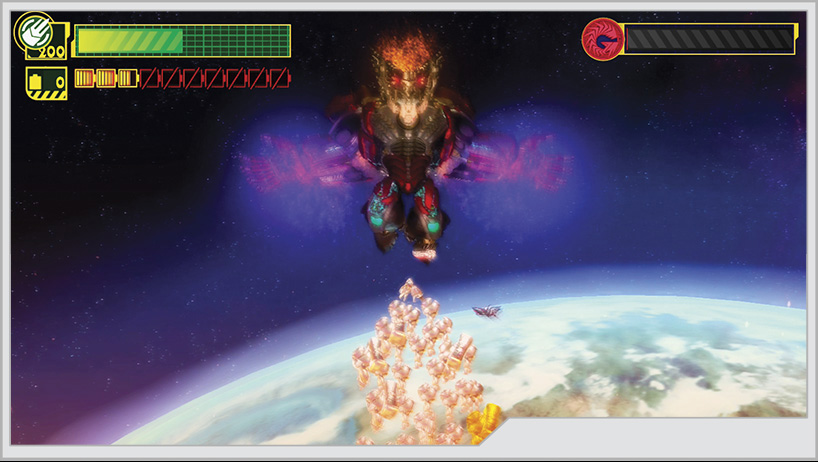
After the dramatic reveal of Jergingha’s final form, the team returns to the Platinum Robo to begin the final, final duel. You must fight your way through a series of barriers, but you can’t do that without Unite Morphs. Beat down the incoming Gah-Goojins to get your teammates to pilot them, and use your ever increasing power to Unite Hand through the shields Jergingha has placed. Every shield can be broken once you reach a certain number of allies. If you can’t punch through a shield, Jergingha will eventually send more Gah-Goojins for you to capture. However, while you’re still a distance away, he will use a variety of attacks to try and stop you.
Artillery barrages will rain onto the battlefield on a regular basis. Evade them, or block them with a Unite Hammer.
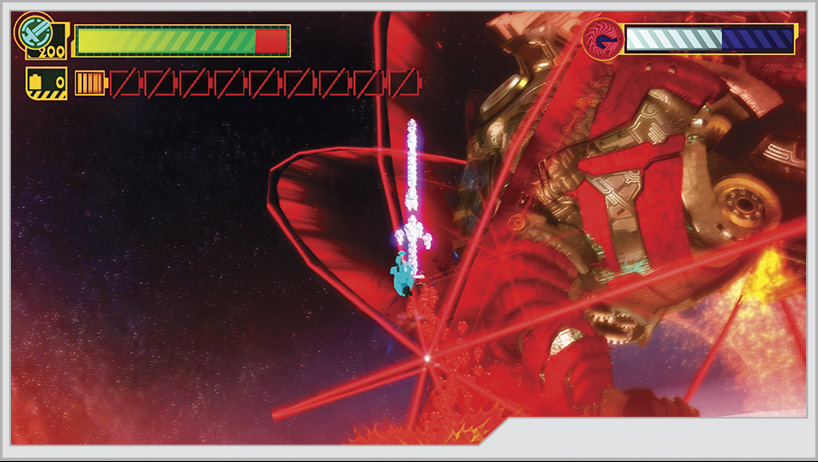
Finger lasers will rake across the area toward you. Irrelevant. Reflect them with Unite Sword.
As you get closer to Jergingha, he will start firing spiked mines onto the playing field. Unite Whip or Gun them at the shield.
With all the shield barriers down, you can start dealing damage directly to Jergingha. Flinging back bombs, or reflecting finger lasers are both valid tactics, but it is faster just to make the biggest Unite Sword or Unite Whip you can and use them to strike directly.
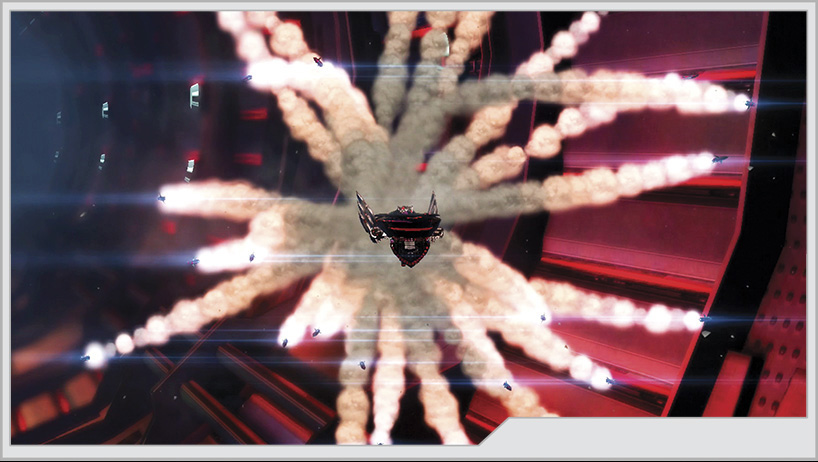
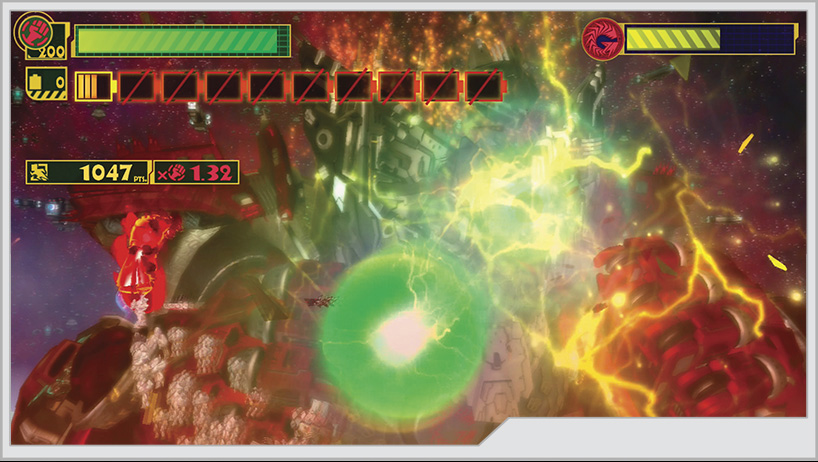
Even after you take out all of Jergingha’s health, he’s far from done, unleashing an absurdly massive barrage of missiles. Counter this with Unite Bomb and Wonder-Punch!
Phase Five
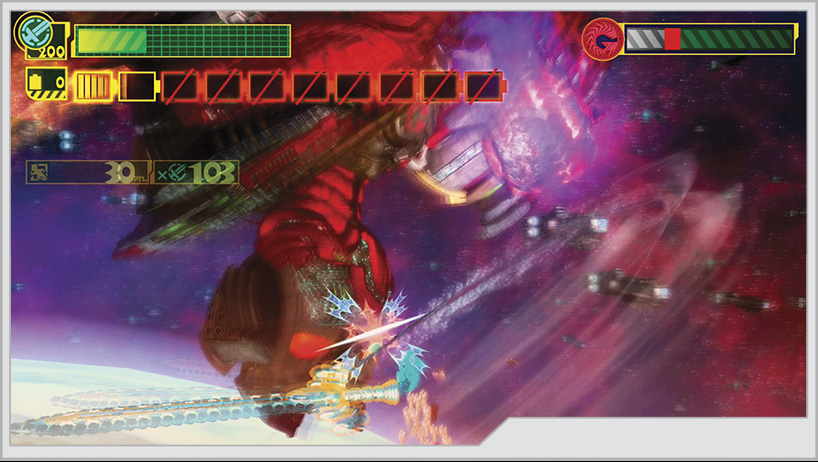
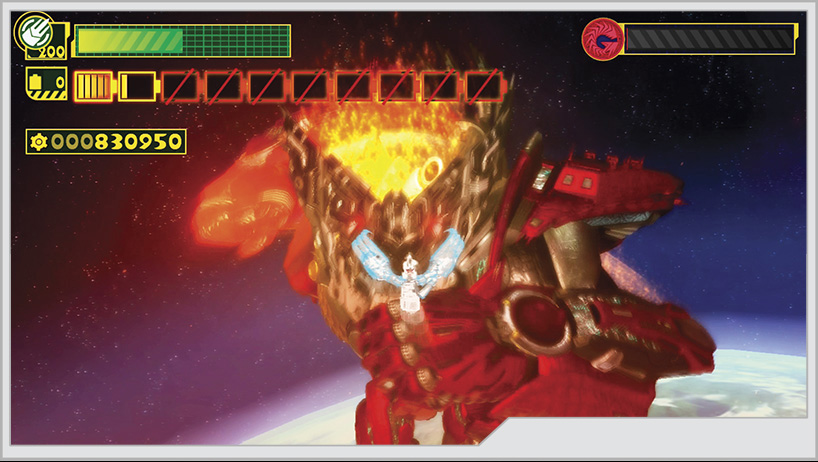
The battle changes once again. You now can fly around Jergingha, similar to how you fought the Vaaiki inside Vorkken’s body, evading his attacks while countering with your own. The initial targets are the glowing cores on his forearms and legs. While Unite Hand is indeed harder hitting, Unite Whip or Unite Sword are better choices simply due to their potential range, making it easier to hit your target, especially Unite Sword’s wide horizontal swings.
As you fly near his arms and legs, you can expect Jergingha to try punching and kicking you. These attacks can be stopped with Unite Guts.
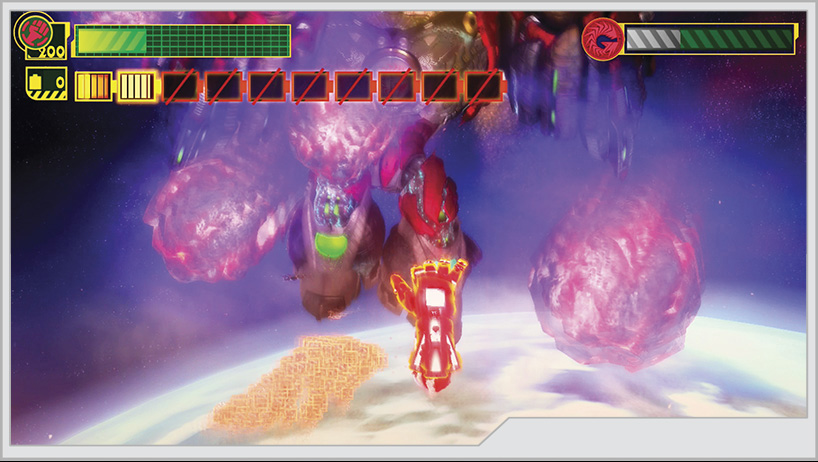
Swarms of purple meteors will also fall from above. Unite Guts can also take care of these. As a bonus, you can restore a lot of health if you have Healing Guts as an active Custom Block.
Jergingha will periodically emit an omnidirectional shock-wave attack. You can escape this by flying in between shock waves.
Occasionally, Jergingha will teleport a long distance away to grab a huge meteor to throw at you. Evade or block this with Unite Guts.
Once you destroy the first four cores, a fifth appears on Jergingha’s head, and he rushes in, committed exclusively to close-range combat. You can Unite Guts his punches, but try and steer clear of the green energy bombs fired from his forehead. Now that Jergingha is so close, Unite Hand becomes a very good morph to rely on just for the sheer damage output. It does put you in prime range for the energy bombs, though, and those can’t be stopped with Unite Guts.
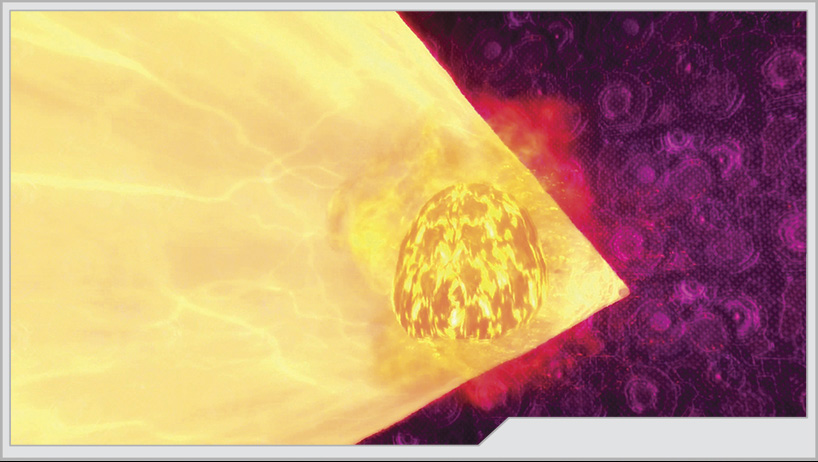
After you destroy the final crystal, an amazing cutscene plays out, one that we refuse to spoil even a tiny bit but that culminates in the use of the special attack Unite Ultra Platinum. Follow the prompt onscreen to unleash this wonderful power.
And even THAT is not enough! As the stakes continue to rise, you’re given one last symbol to draw on your GamePad.
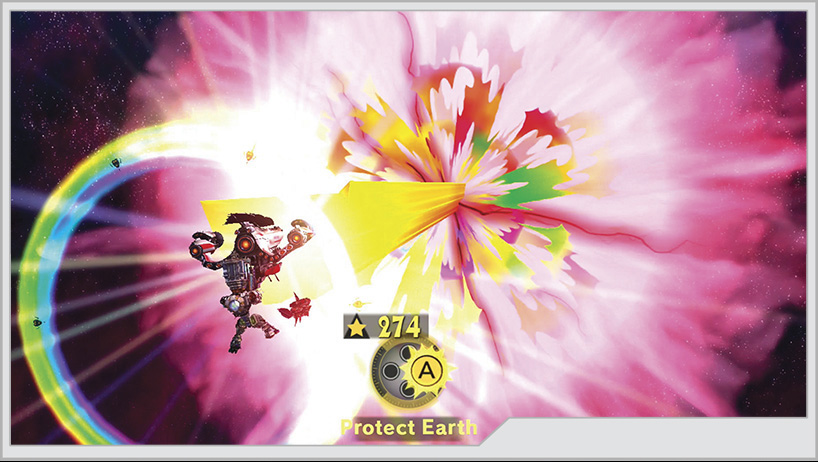
You have only one final task: protect Earth. Mash that A button as hard and as fast as you can, and complete Operation 009!