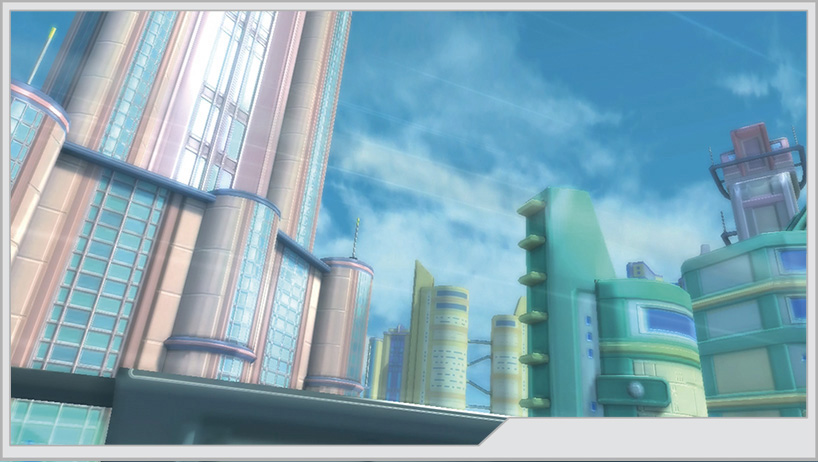
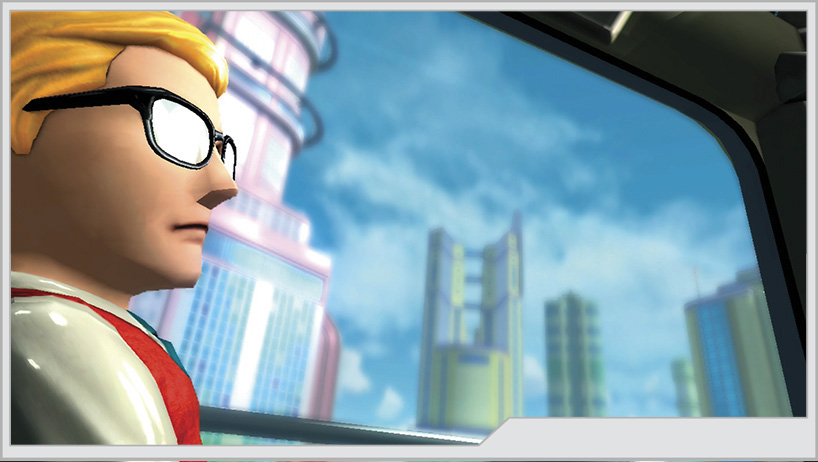
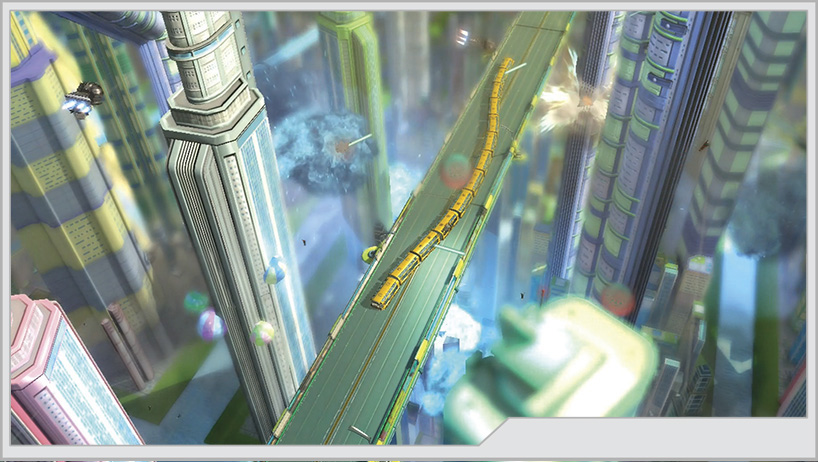
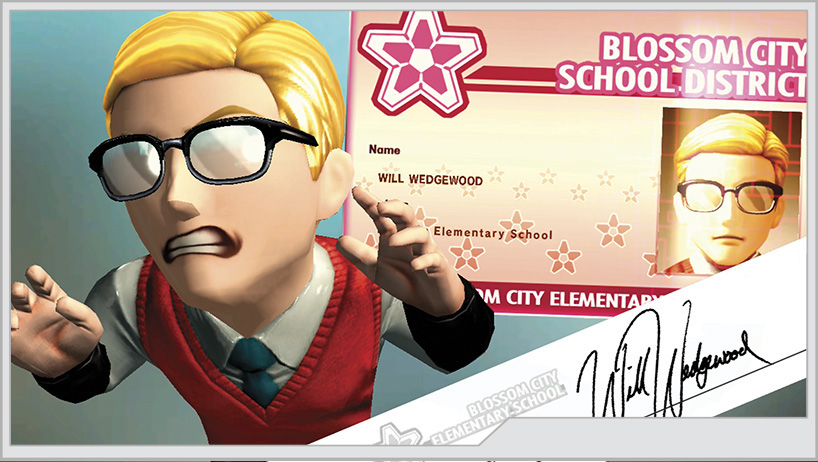
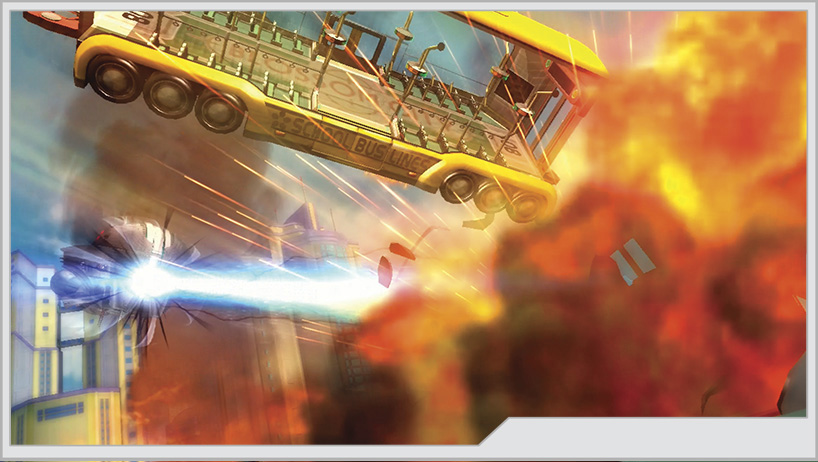
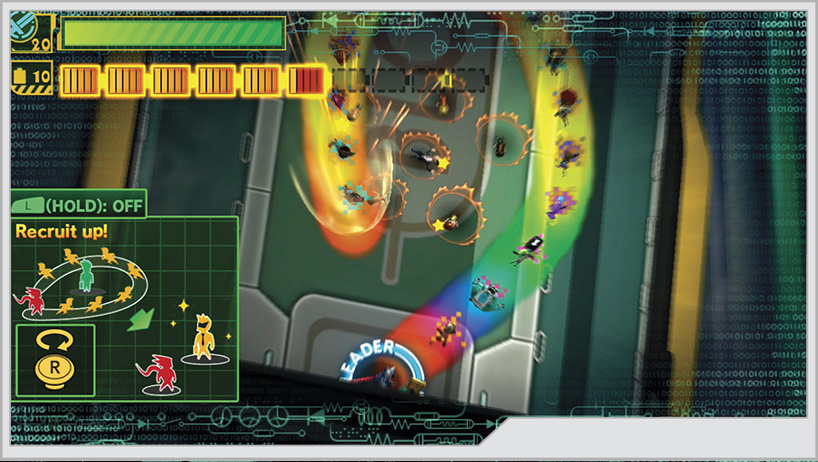
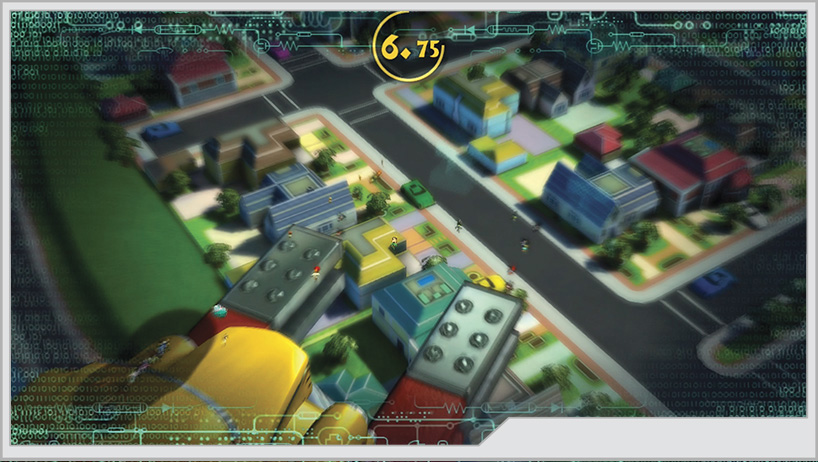
Blossom City, a quickly growing metropolis, a symbol of humanity beating the odds whenever it has been challenged. A symbol of recovery in the wake of Earth Defense War 2. It’s an idyllic morning, and Will Wedgewood, a teacher at Blossom City Elementary School, reminisces of a past tragedy while escorting his class on a bus ride to school. The idyllic morning is shattered by an assault from the skies above. Blossom City is under attack, and as we will soon discover, the whole planet is once again in jeopardy!
Try your best to achieve the Pure Platinum ranks during the Prologue missions, as you gain a significant point bonus for each mission you clear at that rank. These are arguably going to be the easiest Pure Platinums you’ll achieve in the entire game. If you can clear the Prologue with a Platinum or Pure Platinum rank, you’ll start the first real operation with a significant point advantage, allowing you to purchase the Unite Guts ability before you start the main game. We also recommend replaying the Prologue to make sure you have enough points to also purchase Unite Spring.
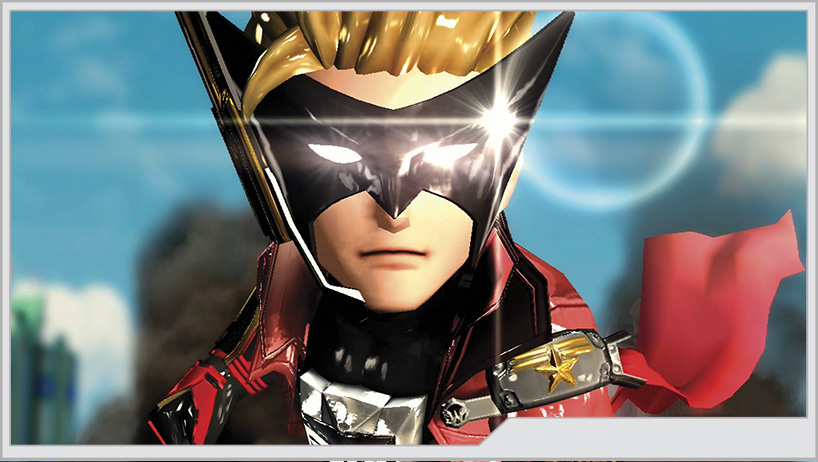
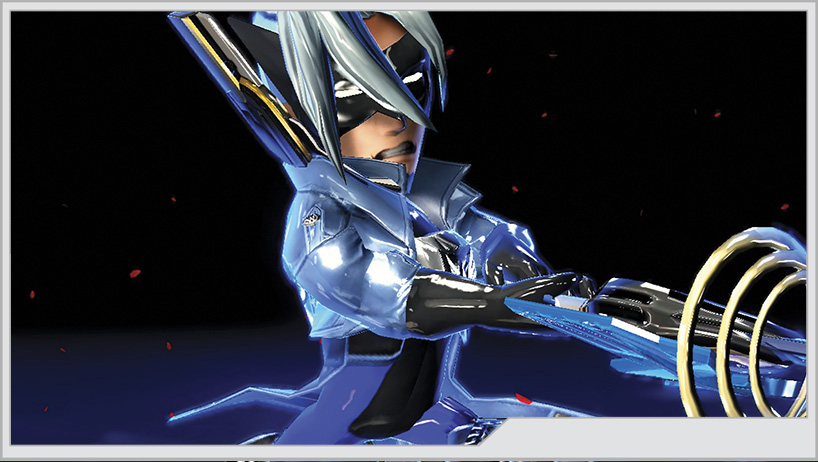
Despite your best efforts to run, a Cough-Foon blasts the compartment of the bus you’re on. Will Wedgewood, however, performs a dramatic transformation and becomes Wonder-Red, a member of the Wonderful 100!
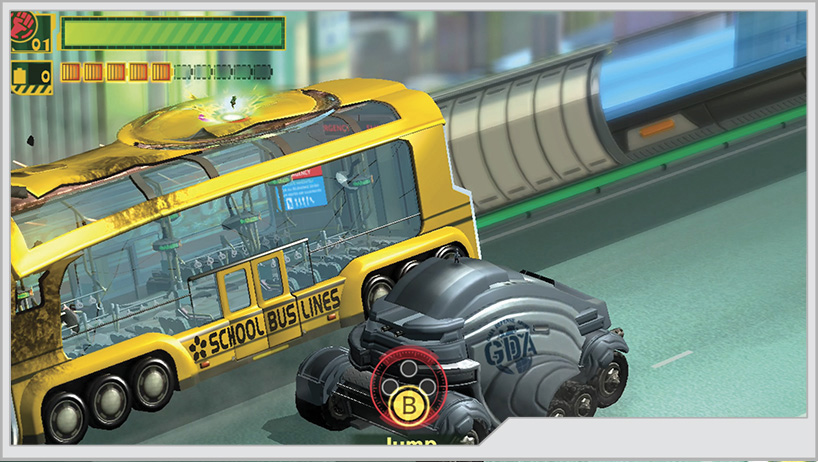
Shortly after the brawl ends, a Gaia Defense Army APC rolls alongside the damaged bus, with a man standing atop it calling for Wonder-Red to jump aboard. It’s none other than Wonder-Blue, and he’s accompanied by a squad of fellow Wonderful Ones.
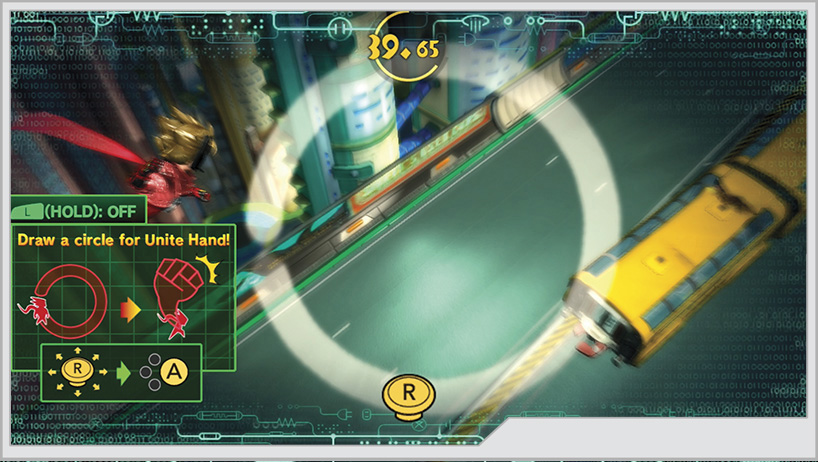
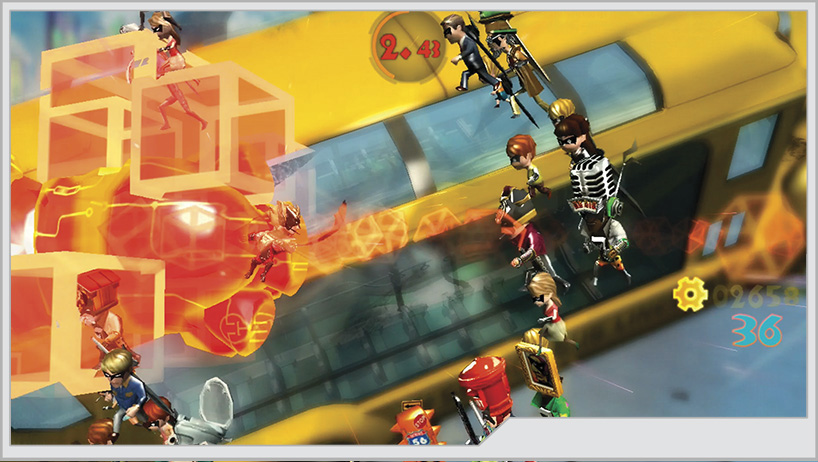
Shortly after joining up with your fellow heroes, you go through the Wonder-Liner tutorial. Using either the touch screen on the GamePad or the right analog stick, draw the requested shapes within the specified time limit and use the A Button to commit to the Unite Morph before time runs out.
Bringing the Band Back Together
At this point in the level, you now have a team with which you can Unite Morph to cause significant damage to the enemy. More importantly, if you are playing through the level again after progressing farther into the game, this team will be filled with any of the Wonderful Ones you have recruited throughout your journey. If you want to find all of the secrets in every level, including the Prologue, revisit the operations once you’ve unlocked at least all of the main Wonderful Ones in order to have access to their unique Unite Morph abilities.
Mission 4
Medal Requirements
| Element | Platinum | Gold | Silver | Bronze | Difficulty |
|---|---|---|---|---|---|
| Time | 0:40 | 0:50 | 1:00 | 1:10 | Very easy |
| Time | 0:40 | 0:50 | 1:00 | 1:10 | Easy |
| Time | 0:35 | 0:40 | 0:50 | 1:00 | Normal |
| Time | 1:30 | 1:40 | 1:50 | 2:00 | Hard |
| Time | 1:30 | 1:40 | 1:50 | 2:00 | 101% Hard |
| Combo | 900 | 700 | 600 | 300 | Very easy |
| Combo | 900 | 700 | 600 | 300 | Easy |
| Combo | 1000 | 800 | 500 | 300 | Normal |
| Combo | 2500 | 2000 | 1500 | 1000 | Hard |
| Combo | 2500 | 2000 | 1500 | 1000 | 101% Hard |
| Damage | 0 | 100 | 200 | 300 | Very easy |
| Damage | 0 | 100 | 200 | 300 | Easy |
| Damage | 0 | 100 | 200 | 300 | Normal |
| Damage | 0 | 500 | 1000 | 2000 | Hard |
| Damage | 0 | 500 | 1000 | 2000 | 101% Hard |
Enemies Present (Very Easy—Normal)
- Wave 1: Dough-Goo x4
- Wave 2: Dough-Goo x5
Enemies Present (Hard–101% Hard)
- Wave 1: Dough-Goo x3, Chew Dough-Goo x1
- Wave 2: Dough-Goo x3, Chew Dough-Goo x1
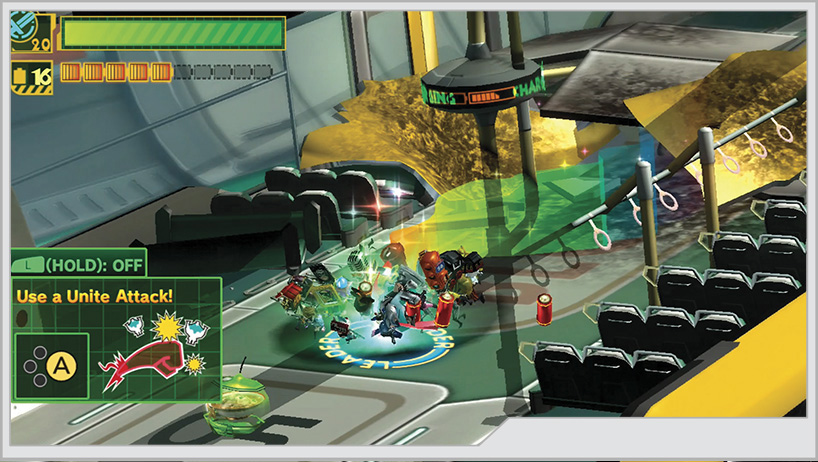
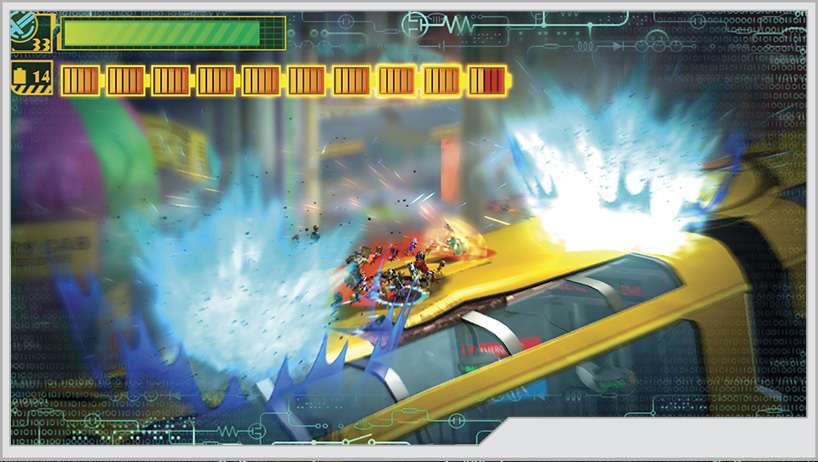
More Dough-Goo teleport onto the bus to combat the newly re-formed Wonderful 100. This is your first real fight. The Dough-Goo are surprisingly agile and are capable of evading Unite Morph attacks. You can use your X button Team Attack to sic members of your team onto the enemy to hold them in place while you line up Unite Hand or Unite Sword attacks. Note that while the Dough-Goo are in the middle of their evasive rolls, they are invulnerable. You can bait them into a roll with a single strike, then catch them as they recover from their roll.
Hard and 101% Hard Mode
This battle is a bit tougher with the inclusion of Chew Dough-Goo, but otherwise even on 101% Hard you will not be particularly pressed to clear this mission. The challenge will be managing to land a large enough combo while also clearing the mission quickly without sustaining extra damage.
Once the fight is resolved, you’ll receive a rating for completing the mission; then a missile barrage will blast open the bus. Drop inside Compartment 5 of the bus to continue forward. Make sure you explore this car thoroughly to collect the Wonderful Batteries that are strewn about to boost your Unite Gauge. You can also find a capsule containing Wonderful Noodle Soup to Go in this compartment. To escape, you’ll have to bust your way through a set of broken doors to reach Compartment 4.
Tip
After you acquire the Unite Hammer ability, return to the Prologue to pick up a few hidden secrets. One of the first is just after you land inside Compartment 5 of the bus. Pound the ground underneath the hole in the roof with Unite Hammer to uncover a hidden item.
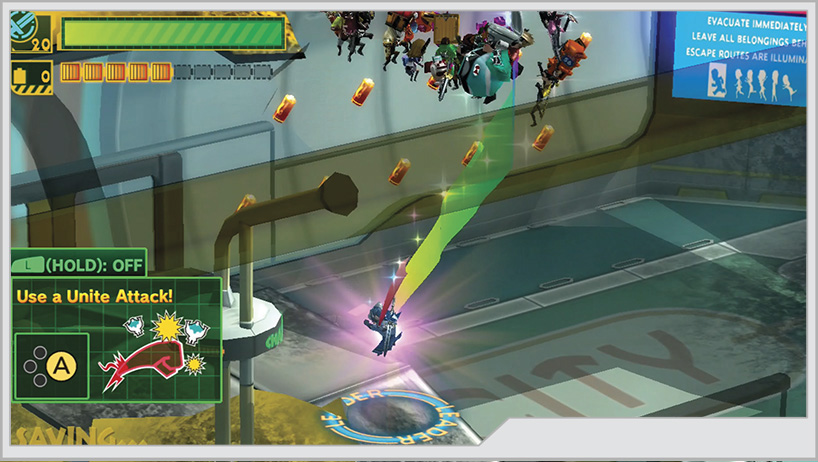
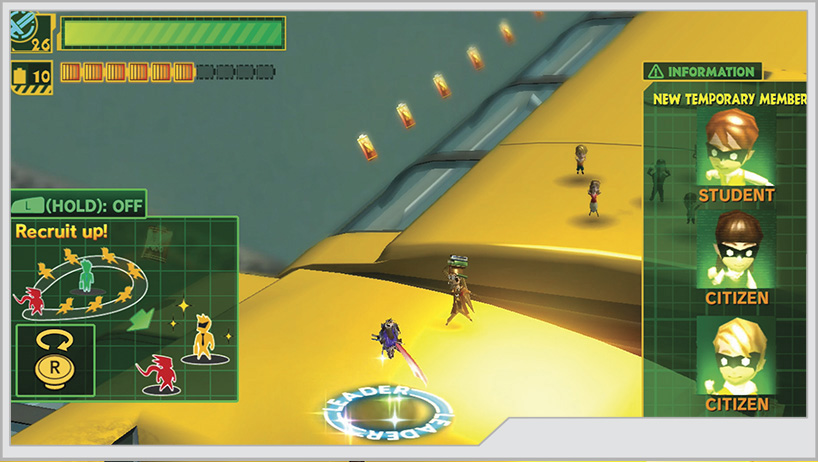
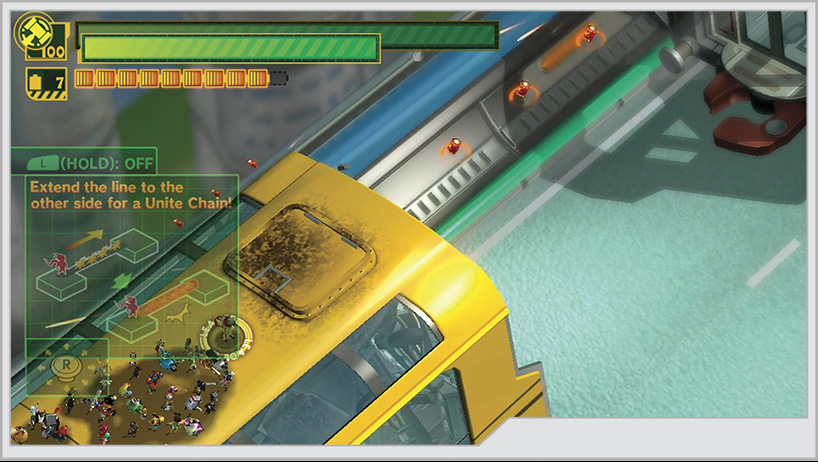
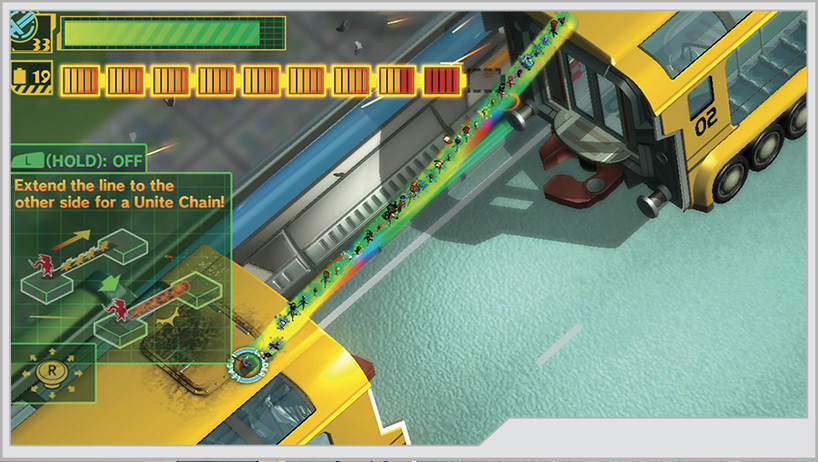
Once in Compartment 4, you’ll have a tutorial on how to extend the Wonder-Liner around civilians to gain reinforcements. You’ll climb to the top of the car to recruit your first permanent addition to the team, Wonder-Professor, along with more civilian volunteers.
Tip
Staying on the top of Compartment 4, if you travel back toward Compartment 5, you will find a ring of Wonderful Batteries sitting conspicuously alone. Return to this part of the Prologue after you obtain Wonder-Yellow. His Unite Hammer ability, if slammed into the center of the ring of batteries, will reveal a hidden item.
Mission 5
Medal Requirements
| Element | Platinum | Gold | Silver | Bronze | Difficulty |
|---|---|---|---|---|---|
| Time | 0:40 | 0:50 | 1:00 | 1:10 | Very easy |
| Time | 0:40 | 0:50 | 1:00 | 1:10 | Easy |
| Time | 0:35 | 0:40 | 0:50 | 1:00 | Normal |
| Time | 1:30 | 1:40 | 1:50 | 2:00 | Hard |
| Time | 1:30 | 1:40 | 1:50 | 2:00 | 101% Hard |
| Combo | 900 | 700 | 600 | 300 | Very easy |
| Combo | 900 | 700 | 600 | 300 | Easy |
| Combo | 1000 | 800 | 500 | 300 | Normal |
| Combo | 2500 | 2000 | 1500 | 1000 | Hard |
| Combo | 2500 | 2000 | 1500 | 1000 | 101% Hard |
| Damage | 0 | 100 | 200 | 300 | Very easy |
| Damage | 0 | 100 | 200 | 300 | Easy |
| Damage | 0 | 100 | 200 | 300 | Normal |
| Damage | 0 | 1000 | 2000 | 4000 | Hard |
| Damage | 0 | 1000 | 2000 | 4000 | 101% Hard |
Enemies Present (Very Easy—Normal)
- Wave 1: Dough-Goo x5
- Wave 2: Dough-Goo x5
Enemies Present (Hard—101% Hard)
- Wave 1: Mini-Dahkarts x3
- Wave 2: Dahkarts x1, Mini-Dahkarts x2
As you cross over to Compartment 3’s roof, you encounter the largest contingent of Dough-Goo you’ve yet seen. Work quickly, but don’t get reckless and ignore stragglers on the outskirts of the fighting. If you’re just starting out, you don’t have many tools to help avoid their charge attacks. Switch to Unite Sword. Even if you can’t kill them all in one swipe, you can keep them on the defensive and prevent them from landing a blow that will cost you the Pure Platinum rank.
Hard and 101% Mode
The Mini-Dahkarts in the first wave are not an issue, but their big brother that shows up on the second wave is a different matter. You don’t have much room to work with atop the bus, which can make the Dahkats’ sweeping attacks tough to avoid. Wipe out the little guys first, then work on stunning the Dahkarts so you can set up a lengthy, damaging juggle combo.
Tip
Again with the Yellow Hammer Time
At the start location of Mission 5, you can find a couple of secrets with the Unite Hammer. On top of Compartment 3 is a pair of closed hatches. Pound the first of these with the Unite Hammer to uncover Wonderful File No. 2.
Another major secret found in the Prologue also requires the use of the Unite Hammer. In the aftermath of Mission 5, a missile barrage blasts Compartment 3 away from the rest of the bus, and you’re prompted to Unite Chain across the gap. Instead, use Unite Hammer on the hatch at the front of the compartment to drop inside. Use the Unite Hammer once more inside the bus car, near the rear. This reveals a Kahkoo-Regah portal for Secret Mission 6. You don’t get your official introduction to these portals until you’re deep into Operation 001, and until you have Unite Hammer, don’t worry about coming back to the Prologue for this mission. Secret Mission 6
Medal Requirements
| Element | Platinum | Gold | Silver | Bronze | Difficulty |
|---|---|---|---|---|---|
| Time | 0:35 | 0:40 | 0:45 | 0:50 | Normal |
| Time | 1:20 | 1:30 | 1:40 | 2:00 | Hard |
| Time | 1:20 | 1:30 | 1:40 | 2:00 | 101% Hard |
| Combo | 140 | 120 | 100 | 80 | Normal |
| Combo | 85 | 70 | 60 | 50 | Hard |
| Combo | 85 | 70 | 60 | 50 | 101% Hard |
| Damage | 0 | 1 | 2 | 3 | Normal |
| Damage | 0 | 1 | 2 | 3 | Hard |
| Damage | 0 | 1 | 2 | 3 | 101% Hard |
Enemies Present (Very Easy—Normal)
- Wave 1: Chew Dough-Goo
Enemies Present (Hard–101% Hard)
- Wave 1: Diedough-Goo
Reward for Completion
- Normal Mode: Figure No. 26 Wonder-Professor
- Hard Mode: Figure No. 51 Wonder-Rabbit
- 101% Mode: Figure No. 1 Wonder-Red
Note
After every battle in Kahkoo-Regah, you’re given a collectible reward regardless of the rank you earned for completing the mission. This reward changes between difficulty settings. You can get a total of three different Wonderful figures from each portal to Kahkoo-Regah, based on the Normal, Hard, and 101% Hard difficulty settings.
This is a deceptively hard Secret Mission to accomplish at first glance. With only Wonder-Red, you must defeat a Chew Dough-Goo. Your lack of a proper team means you get no Unite Morphs to work with. Focus on bringing down the Chew Dough-Goo as fast as you can, but it will also summon in Dough-Goo reinforcements with annoying frequency. Chew up that Chew Dough-Goo before you even consider taking on the small fry.
This can be a frustrating secret mission to Pure Platinum, as the time requirement is tough to meet while also meeting the combo requirement. Wonder-Red by himself just doesn’t pile on the damage, which makes defeating the enemy a time-consuming process. You also lack all of the defensive abilities you are likely used to having by the time you come back for this Secret Mission. Just keep at it!
Hard and 101% Mode
A lone Diedough-Goo replaces the Chew Dough-Goo from the lower difficulties, and it’s a big threat as always. However, you’ve got a lot of room to avoid its wrath, so as long as you pay attention and avoid taking hits, you can bring the giant down under the par time for a Platinum ranking. Even the combo requirement is easy enough to reach so long as you make every moment that you can strike the Diedough-Goo count.
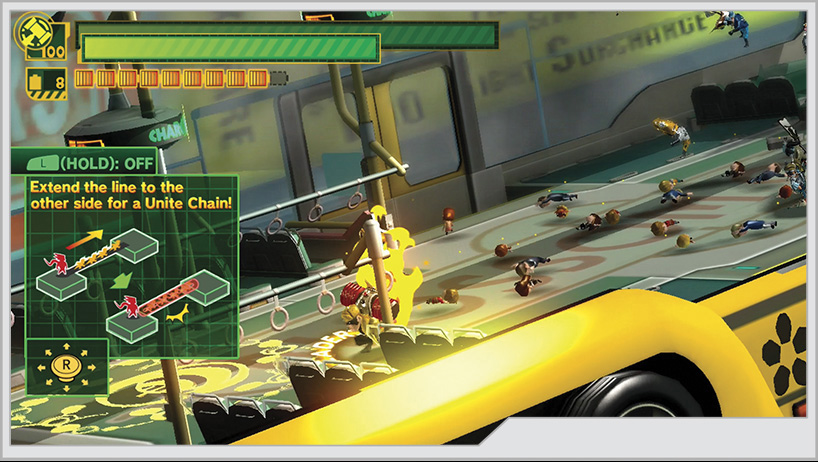
After completing Mission 5, the third compartment is severed from the second as you try to cross between the cars. Use the Wonder-Liner to create a bridge that will take you safely across the growing gap between cars. The second car gets blasted away from the front of the bus, and you’ll have to repeat the bridge-making process.
Tip
This is a secret that can be easy to miss while crossing over Compartment 2. Use the Unite Hammer on the first hatch you find on the roof, before the missiles crash onto the bus. You have to sprint to the hatch with all the speed you can muster.
Finally, as you reach the front of the bus, you must use the Wonder-Liner to craft a ramp that will safely launch the bus over the school, and then use the Wonder-Punch to send the bus into one of the GEATHJERK Cough-Foons. This saves the school and completes the Prologue!