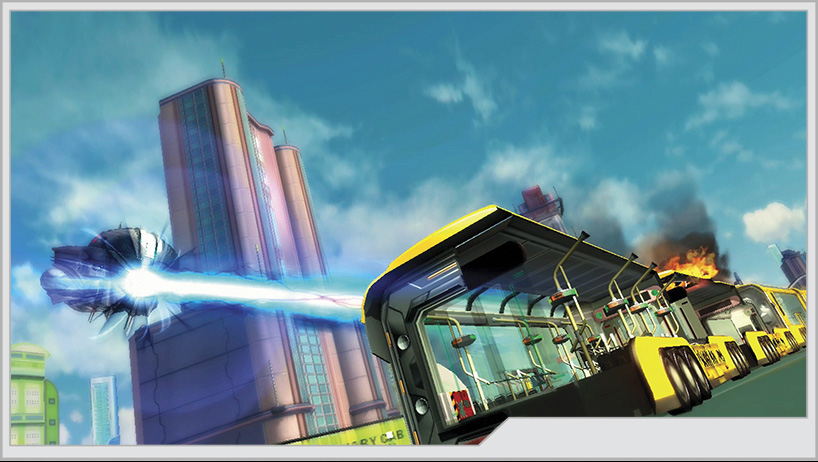
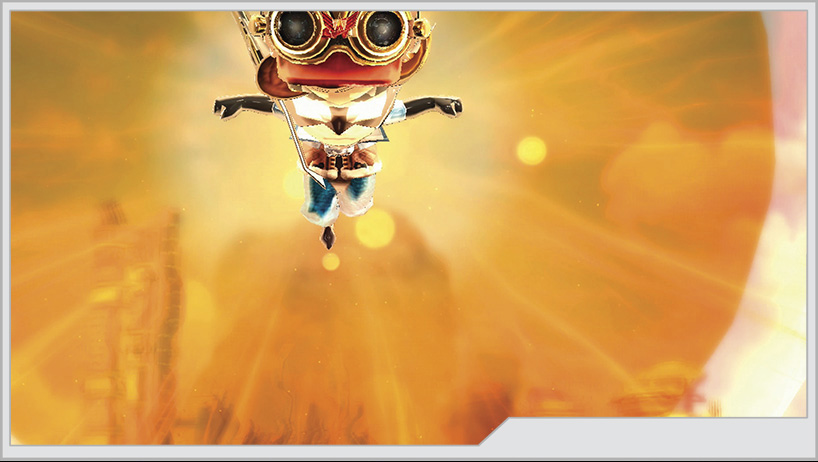
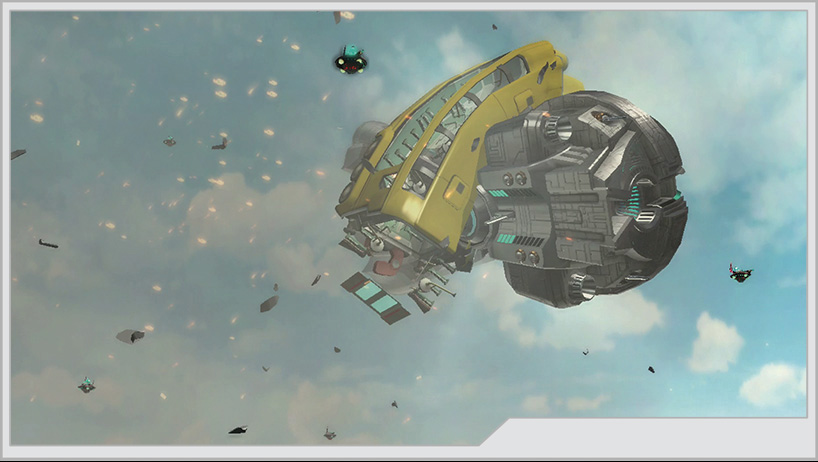
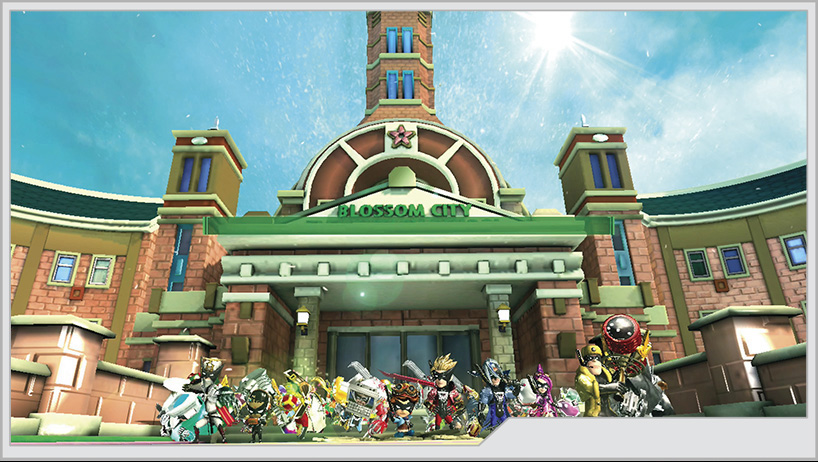
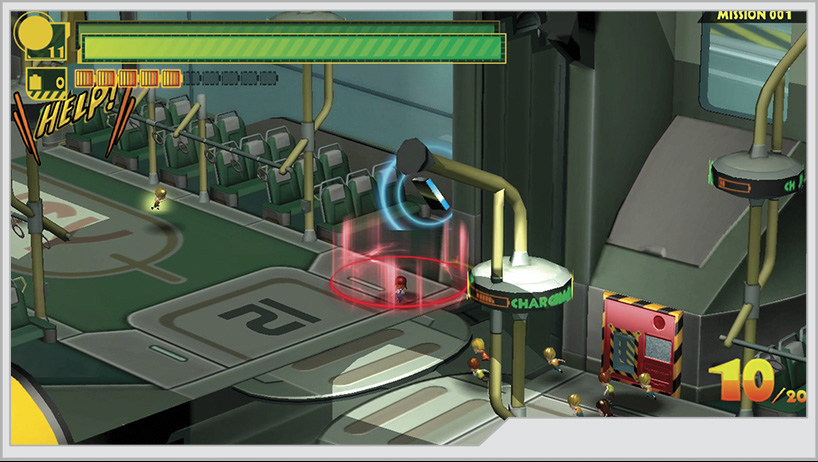
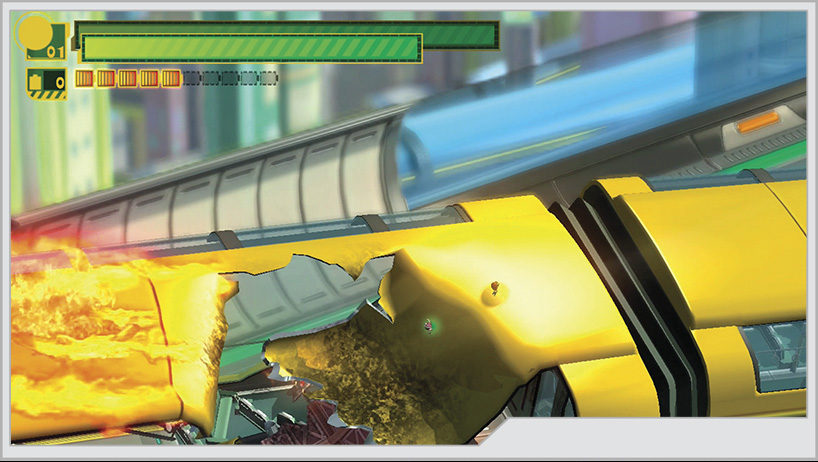
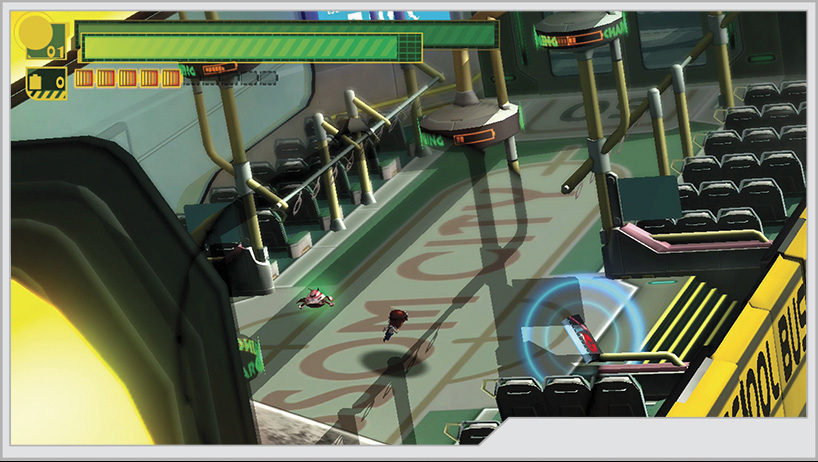
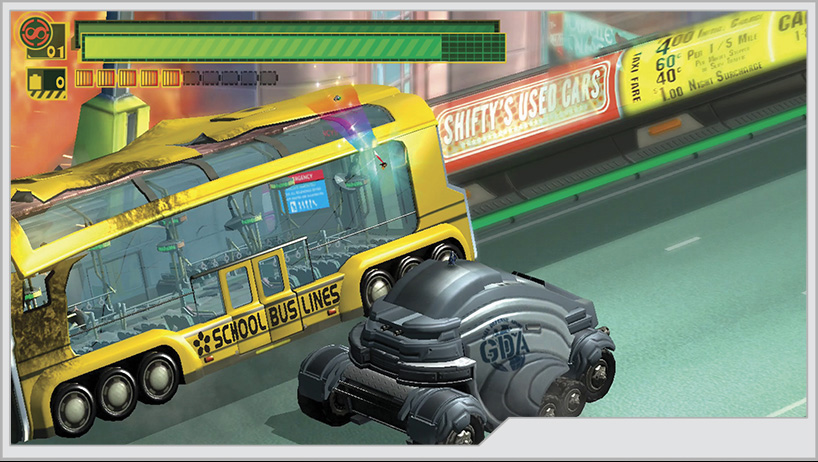
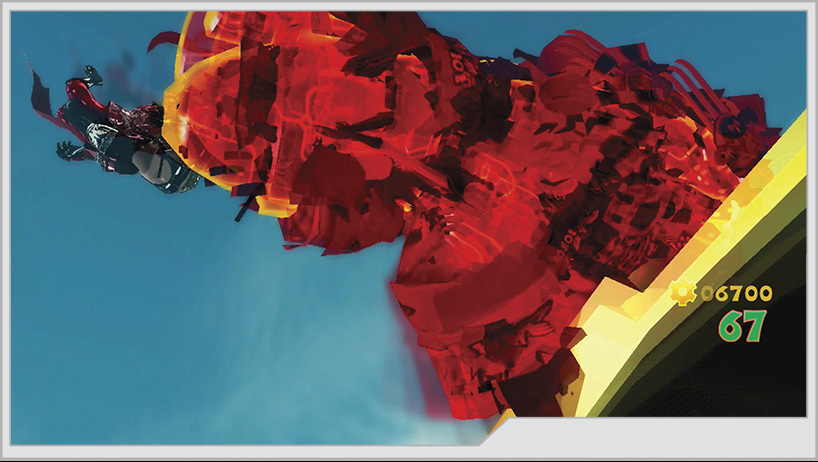
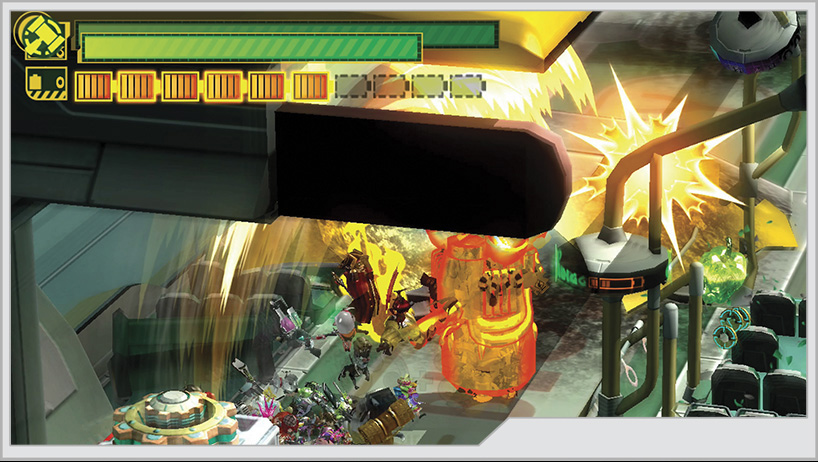
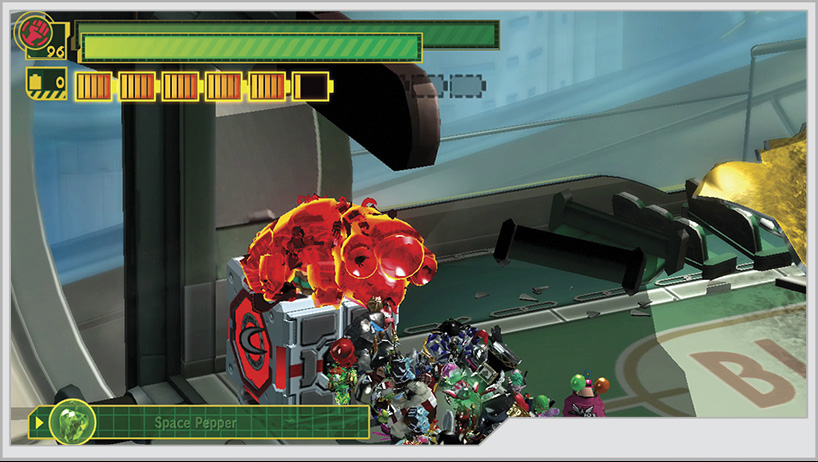
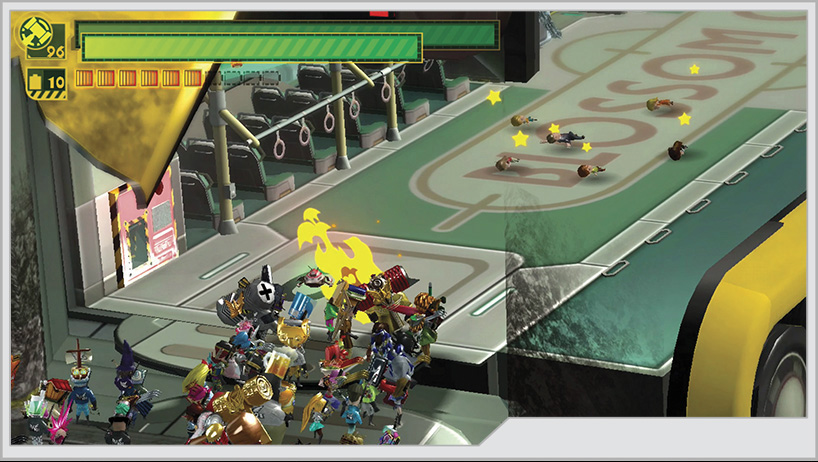
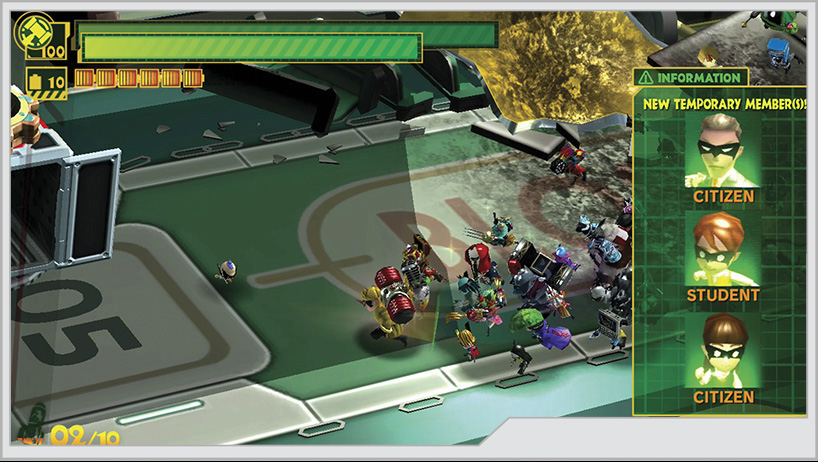
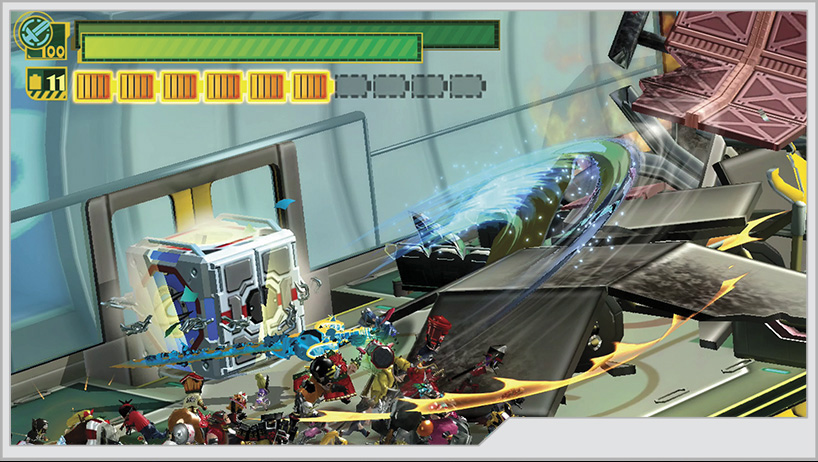
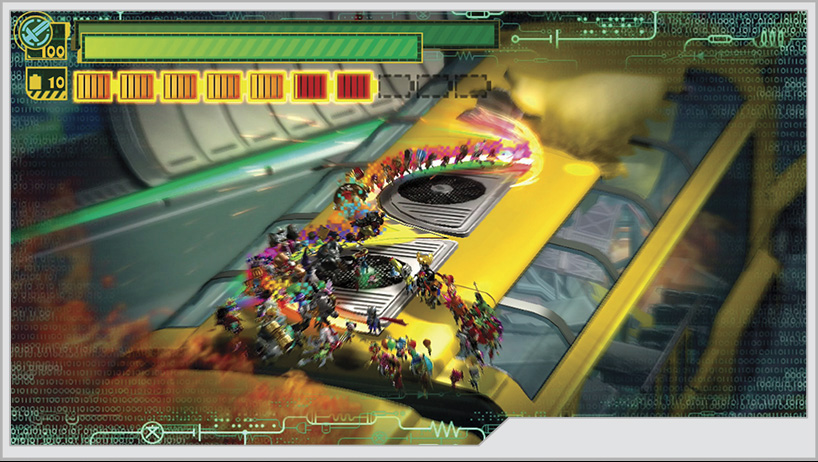
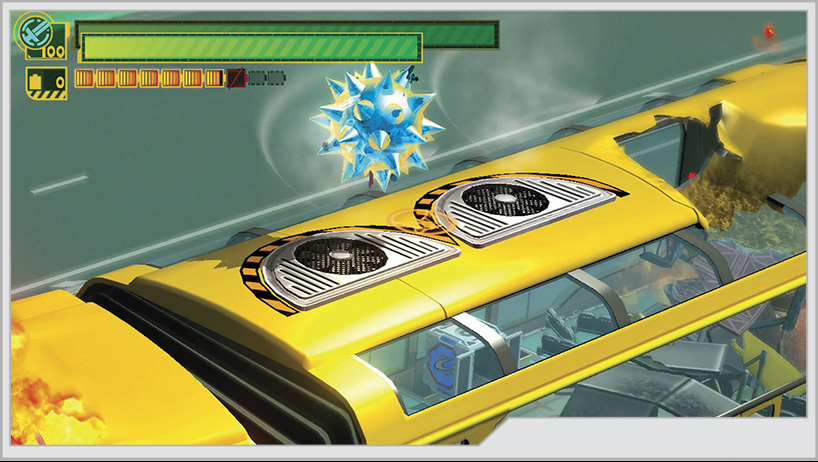
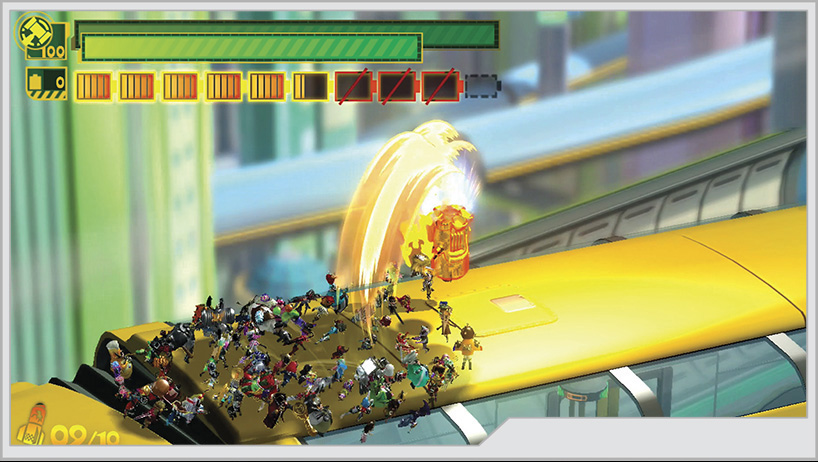
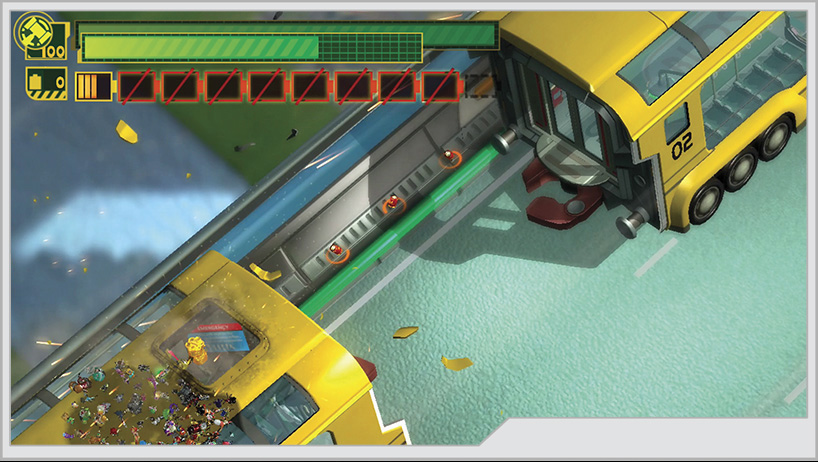
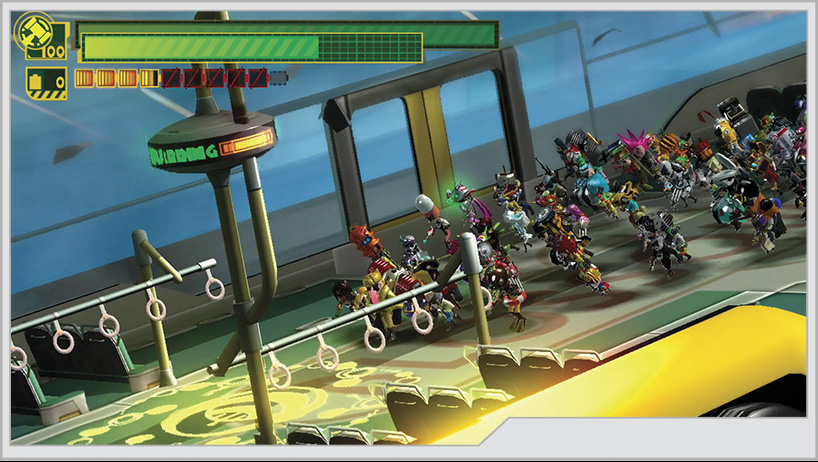
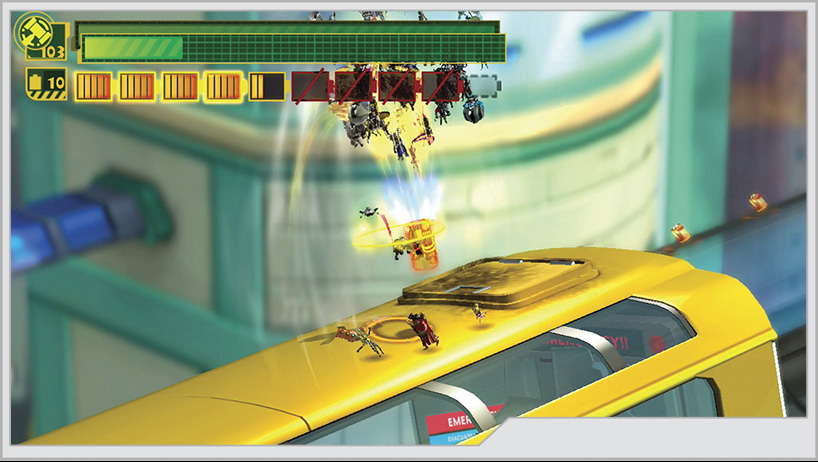
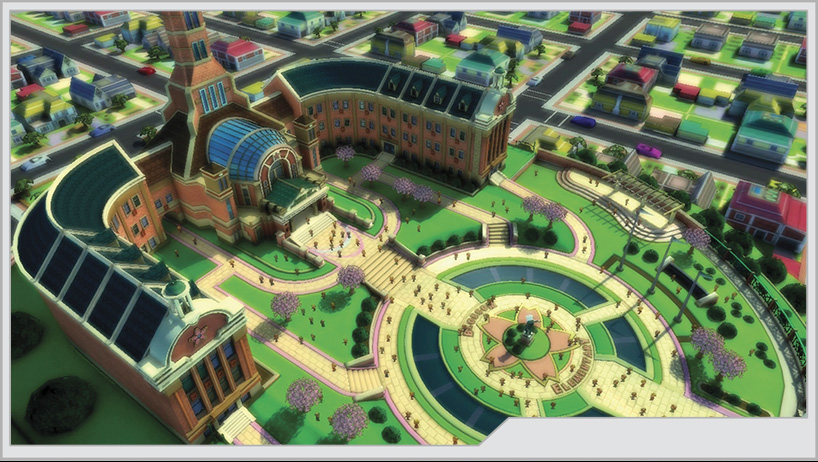
Blossom City is a quickly growing metropolis, a symbol of humanity beating the odds whenever it has been challenged. A symbol of recovery in the wake of Earth Defense War 3. It’s an idyllic morning, and Luka Alan Smithee, a student at Blossom City Elementary School, reminisces about the recent past while the school bus takes him and his fellow students to morning classes. Suddenly, the peace that so many fought so hard to restore is shattered by violence. Familiar ships fill the skies, bombarding newly reconstructed buildings. The child springs into action, prepared to assist his fellow students.
Epilogue
Mission 1
Medal Requirements
Time
0:25
0:30
0:40
0:50
Very easy
Time
0:25
0:30
0:40
0:50
Easy
Time
0:20
0:25
0:30
0:40
Normal
Time
0:20
0:25
0:30
0:40
Hard
Time
0:20
0:25
0:30
0:40
101% Hard
Enemies Present (All Difficulties)
None
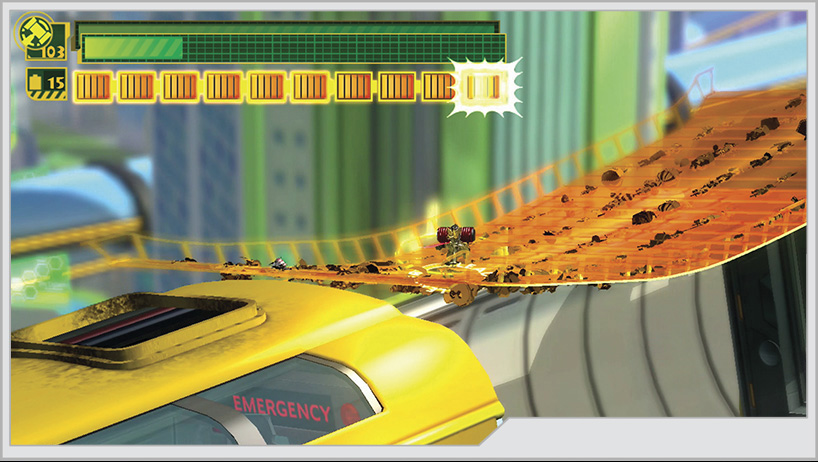
Mirroring the actions of his teacher, Luka must dash through two bus compartments, rescuing 20 students and getting them to safety.
It’s easy to miss, but don’t forget to pick up GEATHJERK File No. 52 on the second compartments full of students. You can find it next to the door separating your starting location and the second compartment.
Now make for the front of the bus. You’ll have to cross over the roof of some compartments, but you will drop back inside compartment 9 eventually. Don’t forget to pick up GEATHJERK File No. 53 when you get there.
Mission 2
Medal Requirements
Time
3:30
3:50
4:10
4:30
Very easy
Time
3:30
3:50
4:10
4:30
Easy
Time
3:30
3:50
4:10
4:30
Normal
Time
3:30
3:50
4:10
4:30
Hard
Time
3:30
3:50
4:10
4:30
101% Hard
Damage
0:05
0:10
0:15
0:20
Very easy
Damage
0:05
0:10
0:15
0:20
Easy
Damage
0:05
0:10
0:15
0:20
Normal
Damage
0:05
0:10
0:15
0:20
Hard
Damage
0:05
0:10
0:15
0:20
101% Hard
Enemies Present (All Difficulties)
Dough-Goo x6, Chew Dough-Goo
As you cross through compartment 9, the GEATHJERK attempt to ambush you. Ignore them and keep moving forward until a Cough-Foon forces Luka to make a dramatic transformation, becoming the mighty hero Wonder-Goggles!
Mission 3
Medal Requirements
Time
0:30
0:40
0:50
1:00
Very easy
Time
0:30
0:40
0:50
1:00
Easy
Time
0:30
0:40
0:50
1:00
Normal
Time
1:30
1:40
1:50
2:00
Hard
Time
1:30
1:40
1:50
2:00
101% Hard
Combo
30
20
10
5
Very easy
Combo
30
20
10
5
Easy
Combo
45
40
30
20
Normal
Combo
55
50
40
30
Hard
Combo
55
50
40
30
101% Hard
Damage
0
100
200
300
Very easy
Damage
0
100
200
300
Easy
Damage
0
100
200
300
Normal
Damage
0
100
300
500
Hard
Damage
0
100
300
500
101% Hard
Enemies Present (Very Easy–Normal)
Wave 1: Dough-Goo x3
Wave 2: Dough-Goo x3
Enemies Present (Hard–101% Hard)
Wave 1: Dough-Goo x3
Wave 2: Diedough-Goo
Landing on compartment 7 at the end of Mission 2, you’re thrust immediately into another battle. Wonder-Goggles uses his headgear to fire powerful but extremely short-ranged lasers, but it should be more than enough for the enemies at hand.
Hard and 101% Hard Mode
The second wave on higher difficulties is replaced by a Diedough-Goo, and it’s here that Wonder-Goggles’ ability shows its key weakness: It’s relatively slow to fire, and the hero recovers slowly from each shot, which gives the Diedough-Goo plenty of time to smack you around.
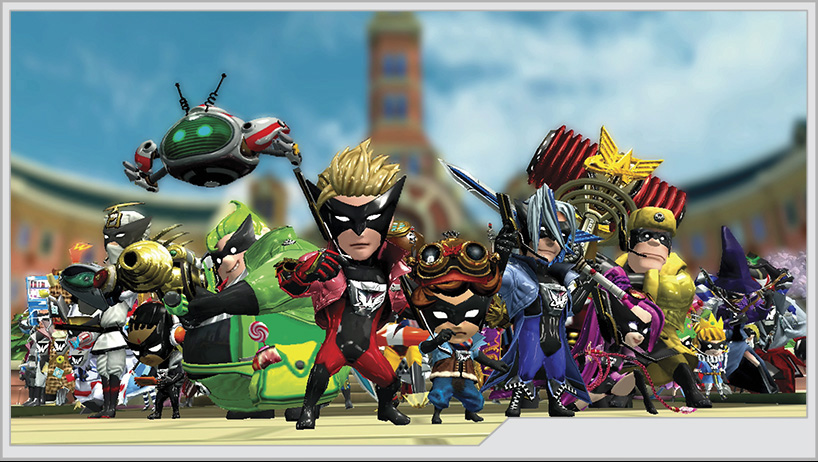
In the aftermath of Mission 3, the bus sustains multiple artillery barrages. Fortunately, Wonder-Red and Wonder-Blue arrive on the scene, along with the rest of the team. Just like in the Prologue , you’ll need to survive a leap off the bus to meet with Wonder-Blue, climb back aboard the bus with Wonder-Red’s Unite Hand, and cut apart a flying car with Wonder-Blue’s Unite Sword.
Mission 4
Medal Requirements
Time
1:00
1:20
1:40
2:00
Very easy
Time
1:00
1:20
1:40
2:00
Easy
Time
1:00
1:20
1:40
2:00
Normal
Time
4:30
5:00
5:30
6:00
Hard
Time
4:30
5:00
5:30
6:00
101% Hard
Combo
1000
800
600
400
Very easy
Combo
1500
1200
800
500
Easy
Combo
2000
1500
1000
500
Normal
Combo
6000
5000
2000
1500
Hard
Combo
7000
6000
3000
2000
101% Hard
Damage
0
500
1000
2000
Very easy
Damage
0
500
1000
2000
Easy
Damage
0
500
1000
2000
Normal
Damage
0
1000
2000
4000
Hard
Damage
0
1000
2000
4000
101% Hard
Enemies Present (Very Easy–Normal)
Wave 1: Dough-Goo x4, Chew Dough-Goo
Wave 2: Dough-Goo x4, Chew Dough-Goo
Enemies Present (Hard–101% Hard)
Wave 1: Diedough-Goo x2
Wave 2: Gedie Dough-Goo
You shouldn’t have much trouble with Dough-Goo or Chew Dough-Goo by this point, especially after what you survived during the previous large-scale operation.
Hard and 101% Hard Mode
This can be a tough mission to Platinum. It’s possible to knock the huge combat machines off the bus, which doesn’t hurt them and makes you wait for them to teleport back onto the bus before you can keep fighting.
Continue forward after completing Mission 4. An artillery barrage will blast open the rooftop to compartment 5. Inside is a red supply box with GEATHJERK File No. 54. You can also hammer the ground on the side of the debris facing the door to uncover some additional goodies.
Crossing into compartment 4, rescue the civilians lying on the ground, then fall back to the red supply box to find Wonder-Babe, the youngest of all Wonderful Ones.
Back in compartment 4, a blue supply box appears, containing more food items.
Climbing back to the roof of compartment 4, you can head away from where you’re supposed to go, finding an air-conditioning vent. If you trace the M-shape over these vents, you earn some food, and it activates the air vents. Use these to reach Wonderful Figure No. 59.
Before triggering Mission 5, it is possible to hammer on the first air vent of compartment 3, where you find an extra support item.
Mission 5
Medal Requirements
Time
2:30
3:00
4:00
5:00
Very easy
Time
2:30
3:00
4:00
5:00
Easy
Time
2:30
3:00
4:00
5:00
Normal
Time
4:30
5:00
5:30
6:00
Hard
Time
4:30
5:00
5:30
6:00
101% Hard
Combo
4000
3000
2000
1000
Very easy
Combo
6000
4000
2000
1000
Easy
Combo
8000
6000
4000
2000
Normal
Combo
6000
5000
2000
1500
Hard
Combo
7000
6000
3000
2000
101% Hard
Damage
0
500
1000
2000
Very easy
Damage
0
500
1000
2000
Easy
Damage
0
500
1000
2000
Normal
Damage
0
1000
2000
4000
Hard
Damage
0
1000
2000
4000
101% Hard
Enemies Present (Very Easy–Normal)
Wave 1: Diedough-Goo x2
Wave 2: Gedie Dough-Goo
Enemies Present (Hard–101% Hard)
Wave 1: Doora x2
Wave 2: Surey Doora x2
The hardest part of this mission is the sheer size of both the two Diedough-Goo in the first wave and the Gedie Dough-Goo in the second wave. You can still do a lot to contain these threats with smart use of Unite Bomb to help set up your offense. It can be frustrating because when these units enrage and begin rampaging across the bus, your only evasion options are to jump over them or to use a well-timed Unite Spring to get on the other side of them. It’s also possible to accidentally knock these units off the bus, which doesn’t destroy them, but causes them to teleport back onto the bus. This process wastes time and can cost you the Platinum ranking.
Hard and 101% Hard Mode
The higher difficulty versions of this mission present a different threat altogether: the high-speed combat style of the Doora and Surey Doora units in a confined space with nowhere to hide. Liberally apply Unite Bombs to the problem, backed up by Hero Time–enhanced Unite Spring dodges or even Hero Sense. The slower they are going, the better off you’ll be while trying to fight them.
After Mission 5 wraps up, you can hammer the second vent of compartment 3 to fall back inside the bus. Rescue the civilians here. Among them is Wonder-Toy! Additionally, you find the last of the Kahkoo-regah portals here, just like in the prologue !
Secret Mission 6
Medal Requirements
Time
3:00
3:30
4:00
4:30
Normal
Time
4:30
5:00
5:30
6:00
Hard
Time
10:00
10:30
11:00
11:30
101% Hard
Damage
2500
2000
1500
1000
Normal
Damage
3000
2500
2000
1500
Hard
Damage
3000
2500
2000
1500
101% Hard
Enemies Present (Very Easy–Normal)
Wallgah-Goojin
Enemies Present (Hard–101% Hard)
Giga-Goojin
Rewards for Completion
Normal Mode: Figure No. 117 Virgin Victory
Hard Mode: Figure No. 53 Wonder-Sister
101% Mode: Figure No. 104 Wonder-Goggles
In one of the most evil Kahkoo-regah portal missions of the game, only surpassed by the Hard and 101% Hard versions of the same mission, you must fight Wallgah-Goojin without taking any damage. Not even blocking damage is acceptable. The moment you take any damage, the mission fails.
Expect to practice a LOT. Wallgah-Goojin has a wide variety of attacks that you must handle in specific ways to avoid them altogether. Consult page 225 to see tips on how to fight Wallgah-Goojin during your original encounter, or check out page 368 in the GEATHJERK Files section to see a chart of all his attacks, along with your available options to dealing with them!
Hard and 101% Hard Mode
You’ve got the same “no damage” requirements as you did on the earlier difficulties, but now you face a considerably nastier opponent. Giga-Goojin is a whole different level of Jerk compared to Wallgah-Goojin. The tells for all his attacks come much faster, the attacks themselves are faster, and the animations for them can easily throw off the timing of your evasions and cause you to eat a hit and lose.
The nastiest thing Giga-Goojin has in his arsenal is the Kaizor Diejeah summon. The flying dragon cannot be blocked; you MUST cleanly evade all of the flybys it performs. The problem is that Giga-Goojin can order perhaps three passes on one summon, seven or eight on another, sometimes with passes being ordered while Kaizor Diejeah is already in the middle of starting its attacks. During this phase of the fight, you must keep an eye on Giga-Goojin’s arm motions to determine where Kaizor Diejeah is attacking from.
If you can survive this, you’re probably already well acquainted with everything else Giga-Goojin does, and that skill is going to come from a lot of practice. Expect to tank your overall mission score while trying this out for your first time; it’s very easy to lose the fight due to the no damage requirement.
Consult page 295 to see tips on how to fight Giga-Goojin during your original encounter, or check out page 371 in the GEATHJERK Files section to see a chart of all his attacks, along with your available options to dealing with them! Good luck.
When you leave behind compartment 3 and bridge your way over to compartment 2, don’t forget you can hammer the second vent of compartment 2 for a hidden food item.
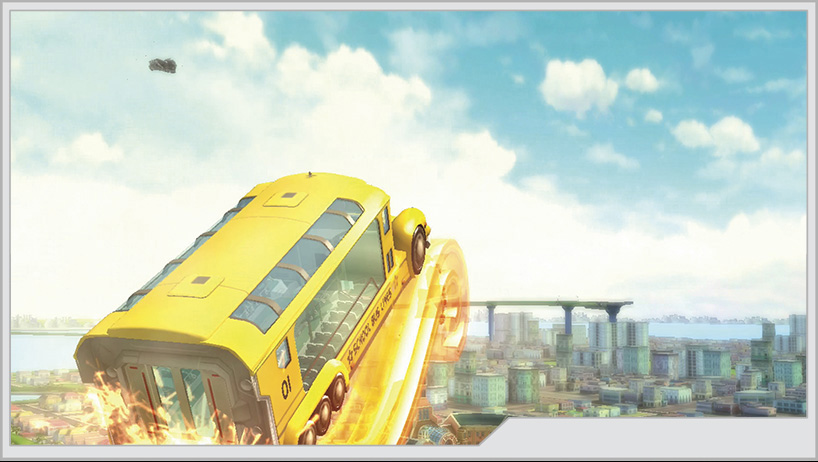
As you reach the front of the bus, you must save the school by Unite Building a ramp to launch the bus over the campus; then blast it with Unite Goggles to destroy an oncoming Cough-Foon. Just like old times! However, after the triumphant final cutscene plays out and the credits begin to roll, there’s still fighting left to do.
The following battles are all truncated versions of events that occurred throughout the adventure while the credits continue to play out. You’ll be fighting weakened versions of the enemies you faced and will have very limited time during each scenario to finish off your opponents. You’re still being graded here, so don’t get careless even as you bask in your victory!
Mission 8
Medal Requirements
Time
0:30
0:31
0:32
0:33
Very easy
Time
0:30
0:31
0:32
0:33
Easy
Time
0:30
0:31
0:32
0:33
Normal
Time
0:30
0:31
0:32
0:33
Hard
Time
0:30
0:31
0:32
0:33
101% Hard
Combo
70
60
50
40
Very easy
Combo
70
60
50
40
Easy
Combo
70
60
50
40
Normal
Combo
70
60
50
40
Hard
Combo
70
60
50
40
101% Hard
Damage
0
500
1000
1500
Very easy
Damage
0
500
1000
1500
Easy
Damage
0
500
1000
1500
Normal
Damage
0
500
1000
1500
Hard
Damage
0
500
1000
1500
101% Hard
Enemies Present (All Difficulties)
Gah-Goojin
Your goal here is to quickly destroy the orbs on the Gah-Goojin’s forearms. Unite Hand and Unite sword can make short work of the orbs. You’re not done after taking out the first set on the arm you start on; you have to bridge your way over to the next arm in order to reach the second set of targets.
Mission 9
Medal Requirements
Time
0:30
0:31
0:32
0:33
Very easy
Time
0:30
0:31
0:32
0:33
Easy
Time
0:30
0:31
0:32
0:33
Normal
Time
0:30
0:31
0:32
0:33
Hard
Time
0:30
0:31
0:32
0:33
101% Hard
Combo
50
40
30
20
Very easy
Combo
50
40
30
20
Easy
Combo
50
40
30
20
Normal
Combo
50
40
30
20
Hard
Combo
50
40
30
20
101% Hard
Damage
0
500
1000
1500
Very easy
Damage
0
500
1000
1500
Easy
Damage
0
500
1000
1500
Normal
Damage
0
500
1000
1500
Hard
Damage
0
500
1000
1500
101% Hard
Enemies Present (All Difficulties)
Notoriyeah
The Notoriyeah’s reactor starts off already firing its energy beams. Charge up the biggest Unite Hand you can, get up close, and pound away. The lasers will start moving faster, so at some point you should take to the air and try to wrap up the fight with an air combo. A large enough Unite Hand can finish off the reactor before the lasers threaten to damage you.
Mission 10
Medal Requirements
Time
0:30
0:31
0:32
0:33
Very easy
Time
0:30
0:31
0:32
0:33
Easy
Time
0:30
0:31
0:32
0:33
Normal
Time
0:30
0:31
0:32
0:33
Hard
Time
0:30
0:31
0:32
0:33
101% Hard
Combo
100
70
40
10
Very easy
Combo
100
70
40
10
Easy
Combo
100
70
40
10
Normal
Combo
100
70
40
10
Hard
Combo
100
70
40
10
101% Hard
Damage
0
500
1000
1500
Very easy
Damage
0
500
1000
1500
Easy
Damage
0
500
1000
1500
Normal
Damage
0
500
1000
1500
Hard
Damage
0
500
1000
1500
101% Hard
Enemies Present (All Difficulties)
Chew Dough-Goo x2, Dough-Goo, Tiekuu
This can be tough to Platinum. Open the fight with the largest Unite Bomb you can, in order to destroy the Chew Dough-Goo so they can’t summon Dough-Goo. Then, reflect a single cannonball back at the Tiekuu if necessary. It’s possible with the right positioning to destroy all the enemies with a single Unite Bomb.
Mission 11
Medal Requirements
Time
0:30
0:31
0:32
0:33
Very easy
Time
0:30
0:31
0:32
0:33
Easy
Time
0:30
0:31
0:32
0:33
Normal
Time
0:30
0:31
0:32
0:33
Hard
Time
0:30
0:31
0:32
0:33
101% Hard
Combo
4
3
2
1
Very easy
Combo
4
3
2
1
Easy
Combo
4
3
2
1
Normal
Combo
4
3
2
1
Hard
Combo
4
3
2
1
101% Hard
Damage
0
500
1000
1500
Very easy
Damage
0
500
1000
1500
Easy
Damage
0
500
1000
1500
Normal
Damage
0
500
1000
1500
Hard
Damage
0
500
1000
1500
101% Hard
Enemies Present (All Difficulties)
Wonder-Blue
The duel with Wonder-Blue is as tough as you’d expect, if you let it be. However, landing a single parry will weaken him to such an extent that it’ll only take a few blows to end things and set up the button-mashing finale. Don’t fail that button-mash event; you’ll not get another chance to win if you do.
Mission 12
Medal Requirements
Damage
0
100
200
300
Very easy
Damage
0
100
200
300
Easy
Damage
0
100
200
300
Normal
Damage
0
100
200
300
Hard
Damage
0
100
200
300
101% Hard
Enemies Present (All Difficulties)
Wallgah-Goojin
Replaying a section of the escape from Wallgah-Goojin at the end of Operation 005, you only need to evade his attacks for 20 seconds. Fly safe!
Mission 13
Medal Requirements
Time
0:30
0:31
0:32
0:33
Very easy
Time
0:30
0:31
0:32
0:33
Easy
Time
0:30
0:31
0:32
0:33
Normal
Time
0:30
0:31
0:32
0:33
Hard
Time
0:30
0:31
0:32
0:33
101% Hard
Combo
100
80
60
40
Very easy
Combo
100
80
60
40
Easy
Combo
100
80
60
40
Normal
Combo
100
80
60
40
Hard
Combo
100
80
60
40
101% Hard
Damage
0
500
1000
1500
Very easy
Damage
0
500
1000
1500
Easy
Damage
0
500
1000
1500
Normal
Damage
0
500
1000
1500
Hard
Damage
0
500
1000
1500
101% Hard
Enemies Present (All Difficulties)
Laambo, Dough-Goo
Laambo can easily cost you a Platinum due to how fast his attacks come. However, all you need to do is land a solid hit to get him to drop a GEATH-Remote. Grab the remote to convert any Dough-Goo that appear, which will also stun Laambo. Finish him off while he’s stunned.
Mission 14
Medal Requirements
Time
0:30
0:31
0:32
0:33
Very easy
Time
0:30
0:31
0:32
0:33
Easy
Time
0:30
0:31
0:32
0:33
Normal
Time
0:30
0:31
0:32
0:33
Hard
Time
0:30
0:31
0:32
0:33
101% Hard
Combo
100
80
60
40
Very easy
Combo
100
80
60
40
Easy
Combo
100
80
60
40
Normal
Combo
100
80
60
40
Hard
Combo
100
80
60
40
101% Hard
Damage
0
500
1000
1500
Very easy
Damage
0
500
1000
1500
Easy
Damage
0
500
1000
1500
Normal
Damage
0
500
1000
1500
Hard
Damage
0
500
1000
1500
101% Hard
Enemies Present (All Difficulties)
Ohdarko
Returning to the helm of the Virgin Victory, avoid Ohdarko’s attacks while shooting it until it falls down. Set up Unite Sword to absorb its electric attacks and reflect its large beam attack. You can’t afford to miss your shots too much for this mission; if Ohdarko survives after 30 seconds, you’ll fail the time requirement.
Mission 15
Medal Requirements
Time
0:30
0:31
0:32
0:33
Very easy
Time
0:30
0:31
0:32
0:33
Easy
Time
0:30
0:31
0:32
0:33
Normal
Time
0:30
0:31
0:32
0:33
Hard
Time
0:30
0:31
0:32
0:33
101% Hard
Combo
30
25
20
15
Very easy
Combo
30
25
20
15
Easy
Combo
30
25
20
15
Normal
Combo
30
25
20
15
Hard
Combo
30
25
20
15
101% Hard
Damage
0
500
1000
1500
Very easy
Damage
0
500
1000
1500
Easy
Damage
0
500
1000
1500
Normal
Damage
0
500
1000
1500
Hard
Damage
0
500
1000
1500
101% Hard
Enemies Present (All Difficulties)
Vaaiki
A large Unite Bomb causes heavy damage to the Vaaiki, and during that slowdown effect you can charge up a sufficiently powerful enough Unite Hand to finish the job in a single punch.
Mission 16
Medal Requirements
Time
0:40
0:41
0:42
0:43
Very easy
Time
0:40
0:41
0:42
0:43
Easy
Time
0:40
0:41
0:42
0:43
Normal
Time
0:40
0:41
0:42
0:43
Hard
Time
0:40
0:41
0:42
0:43
101% Hard
Combo
180
150
120
90
Very easy
Combo
180
150
120
90
Easy
Combo
180
150
120
90
Normal
Combo
180
150
120
90
Hard
Combo
180
150
120
90
101% Hard
Damage
0
500
1000
1500
Very easy
Damage
0
500
1000
1500
Easy
Damage
0
500
1000
1500
Normal
Damage
0
500
1000
1500
Hard
Damage
0
500
1000
1500
101% Hard
Enemies Present (All Difficulties)
Deah-Kani
Use Wonderful Rising to encourage the Deah-Kani to stand. Then cut off three legs with Unite Sword, pry open the back with Unite Claw, and enjoy seafood for dinner. If you’re fast enough, the Deah-Kani won’t even get to fight back.
Mission 17
Medal Requirements
Time
0:50
0:51
0:52
0:53
Very easy
Time
0:50
0:51
0:52
0:53
Easy
Time
0:50
0:51
0:52
0:53
Normal
Time
0:50
0:51
0:52
0:53
Hard
Time
0:50
0:51
0:52
0:53
101% Hard
Combo
250
200
150
100
Very easy
Combo
250
200
150
100
Easy
Combo
250
200
150
100
Normal
Combo
250
200
150
100
Hard
Combo
250
200
150
100
101% Hard
Damage
0
500
1000
1500
Very easy
Damage
0
500
1000
1500
Easy
Damage
0
500
1000
1500
Normal
Damage
0
500
1000
1500
Hard
Damage
0
500
1000
1500
101% Hard
Enemies Present (All Difficulties)
Hah-Gonay x2, Megang x2
The final mission returns us to the scene just before the credits roll. Surrounded by two Hah-Gonay and two Megang, open the fight with a large Unite Bomb to severely weaken the Hah-Gonay. Finish them off quickly before they can defend themselves with their armored wings, then switch to Unite Hammer to quickly work over the two Megang. Note that Unite Spikes can almost kill a Megang outright, which can help finish the battle quickly if you catch them trying to use foot stomps on you.
Congratulations! You’ve defeated the GEATHJERK invasion decisively! Earth is saved. You have “beaten” The Wonderful 101! Do a happy dance if you’re so inclined. However, for those who have found all of the portals to Kahkoo-regah, the final challenge of Operation 101 openly taunts you for assuming you’re a true master of The Wonderful 101. School is still in session.