
The Wonderful 101 Guide Walkthrough Operation 007: The Alien Vorkken Ohgee’s Internal Organs
Operation 007: The Alien Vorkken Ohgee’s Internal Organs
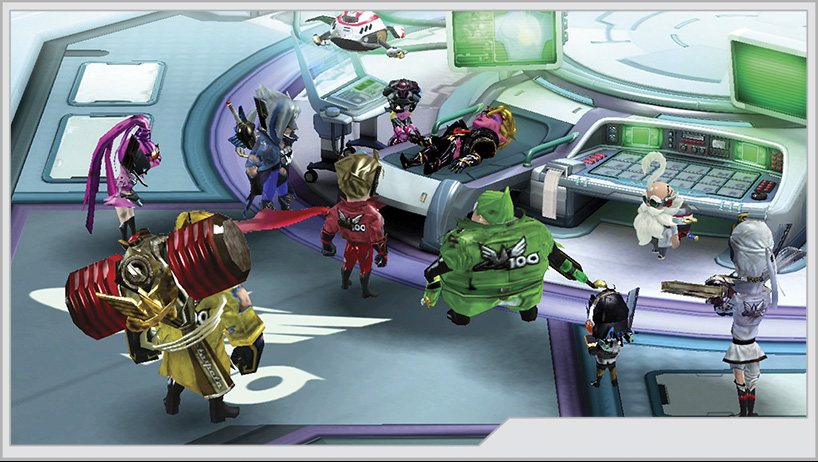
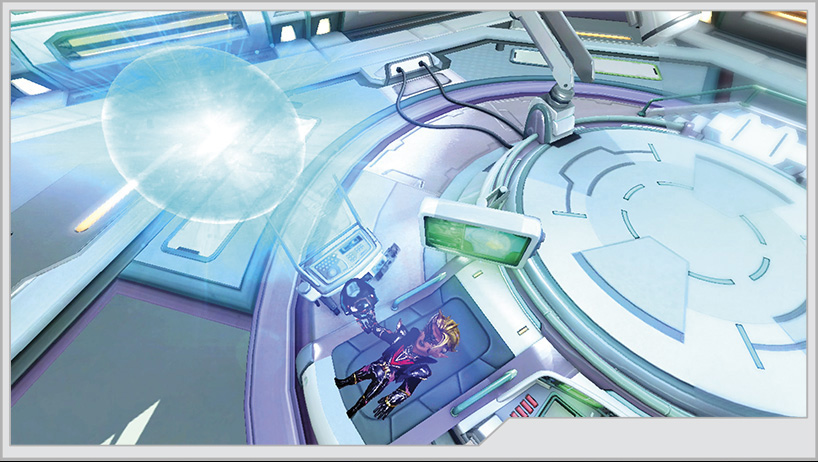
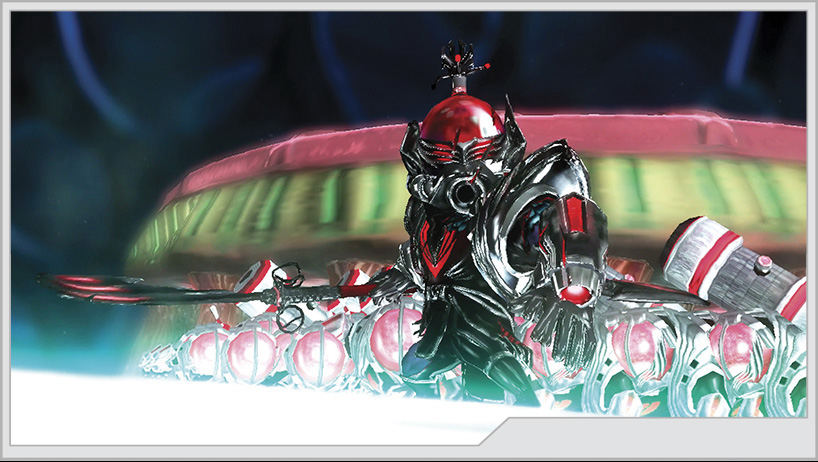
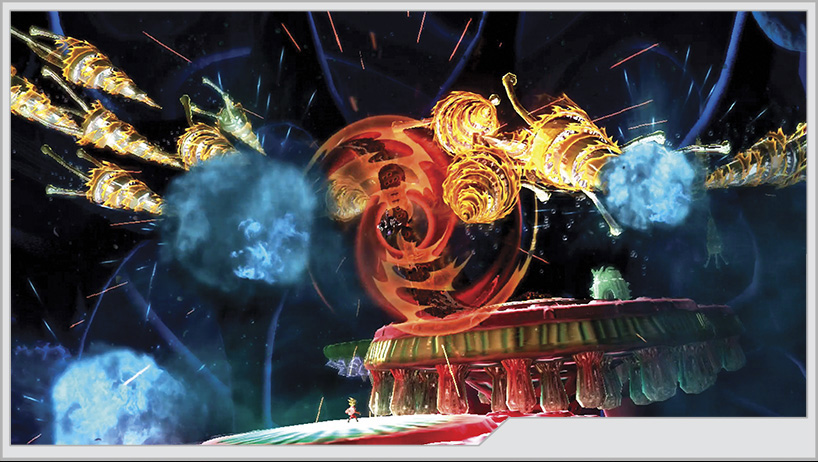
The shocking aftermath of Luka’s announced intentions has resulted in the absolute worst-case scenario. Worldwide, it appears that Margarita has begun to lose power, meaning that a full-scale GEATHJERK invasion is imminent. The Super Reactors, despite having been protected, are failing Earth in her most dire hour.
As the Virgin Victory speeds off in pursuit of Gimme, the Wonderful 100 prepare to undertake a mission of mercy. Vorkken has been afflicted with the cruelest nano-bioweapon in the GEATHJERK arsenal. To rescue him, Wonder-Red has elected to shrink a team of Wonderful Ones using Professor Shirogane’s Nano-Accel, and lead them inside the alien’s organs to root out the bioweapon.
Operation 007-A
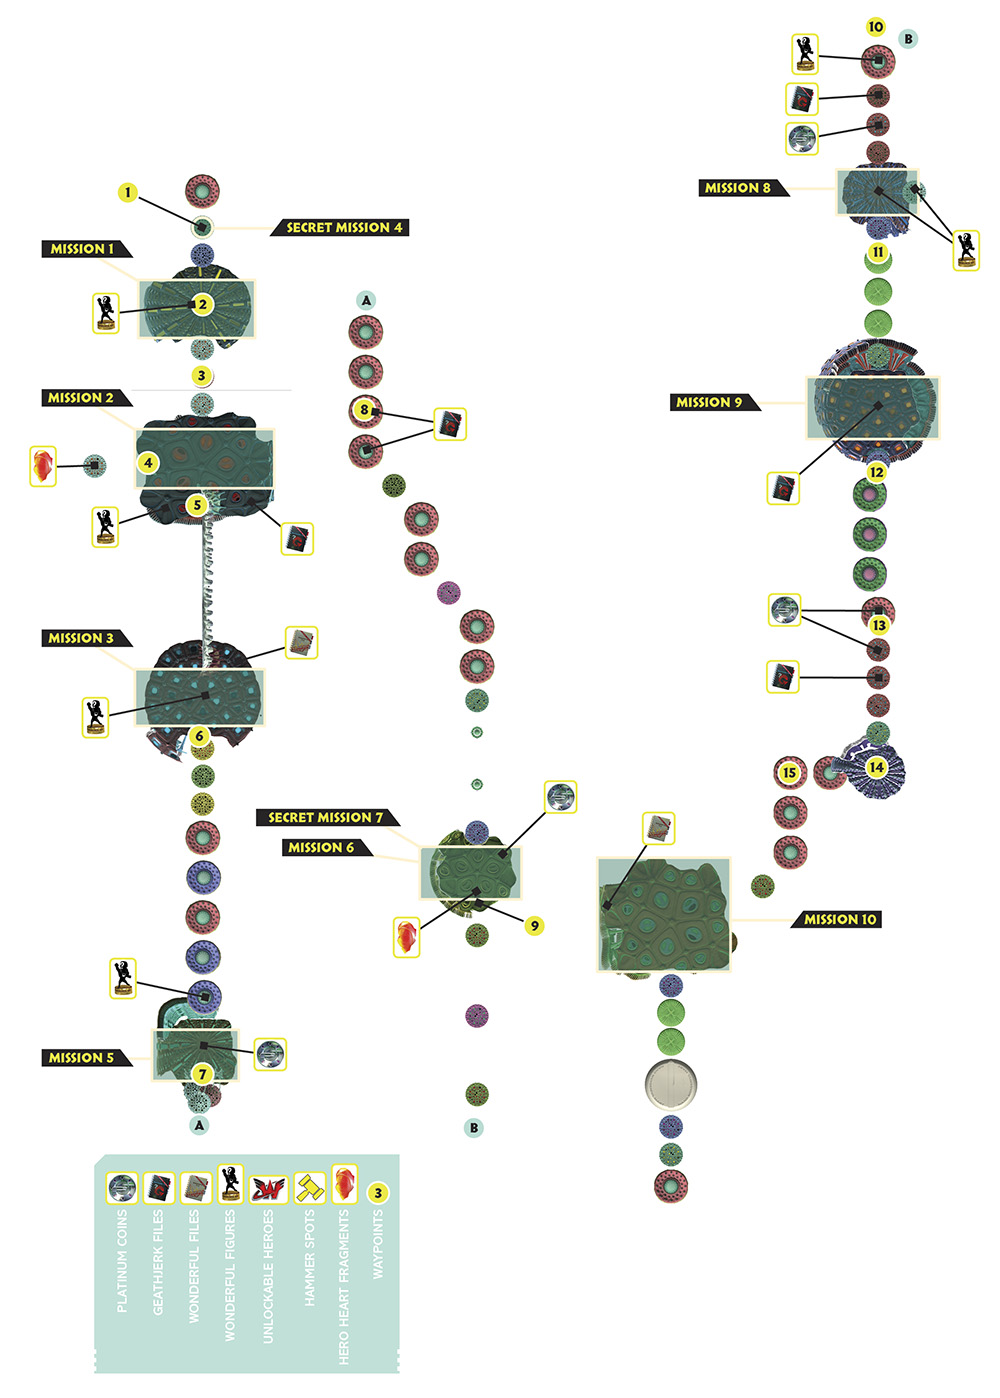
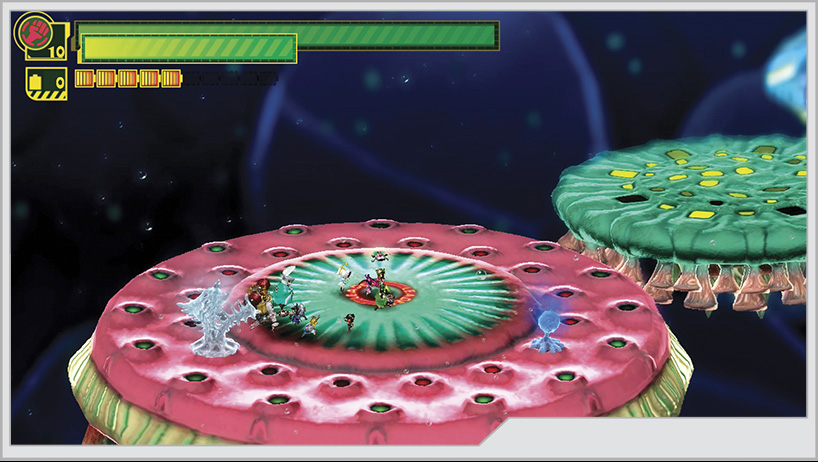
This operation begins with your team at a disadvantage. Outside of the main heroes, you have only three more Wonderful Ones along for the ride. Jump across the platforms to press on toward Mission 1.
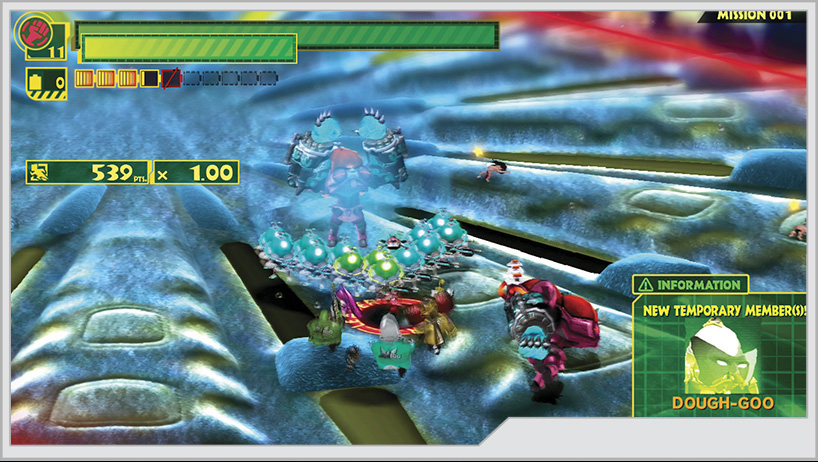
[2] Before leaving the Mission 1 area, don’t forget to Unite Hammer the center of the arena for Wonderful Figure No. 42.
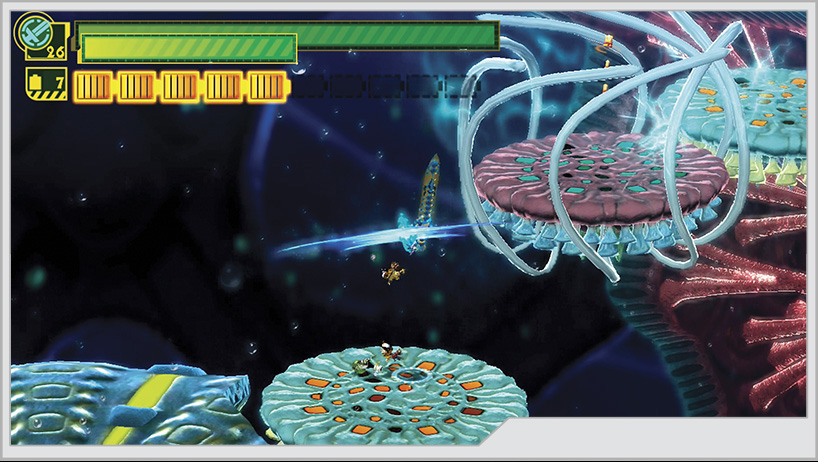
[3] This next set of platforms introduces a new obstacle to you. Tentacles rise up from the middle platform and can knock you into the abyss. Cut them down with Unite Sword.
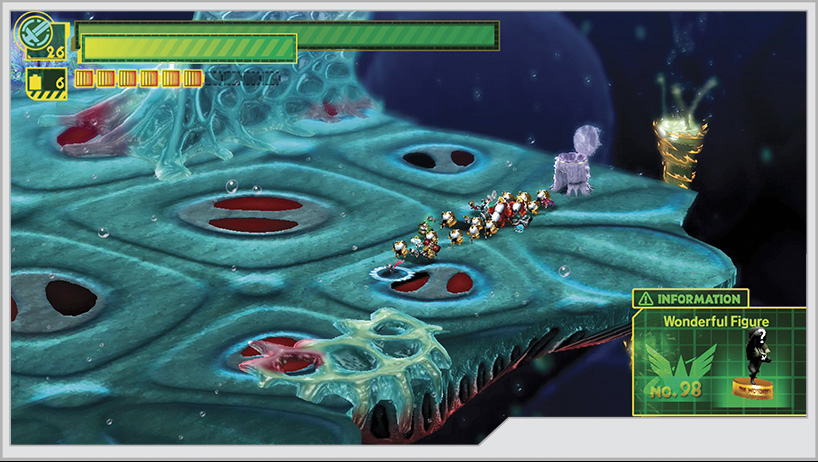
The Wonderful Toilet (that somehow got inside Vorkken) on this platform requires 20 heroes in your squad, which is why we insisted on getting as many as possible from the first mission. Inside it is Wonderful Figure No. 98.
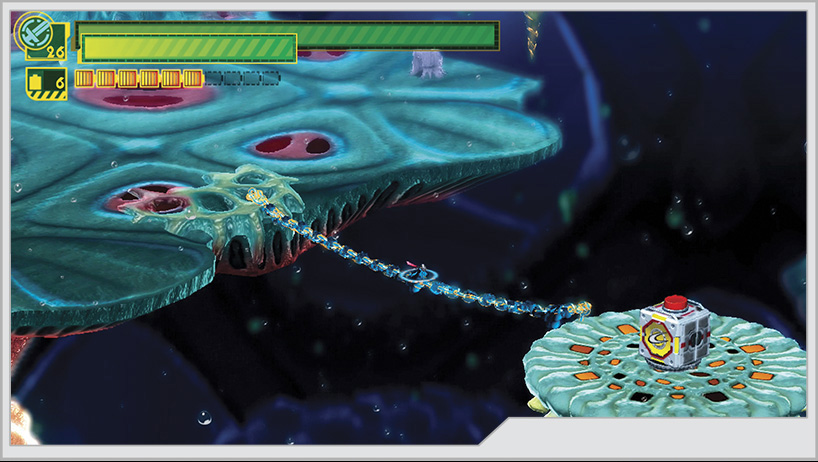
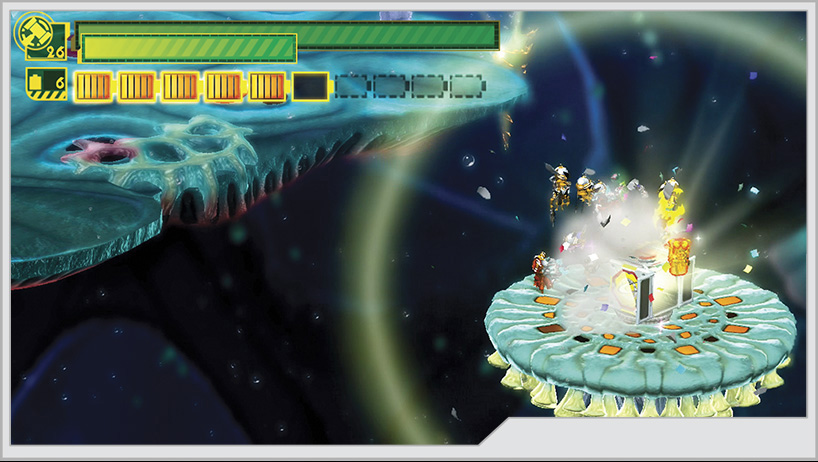
One last item is located off the main platform. You need to build a bridge off the side [4] to reach a smaller platform. The yellow supply box there contains a Hero Heart Fragment. This item also requires at least 20 heroes on the team.
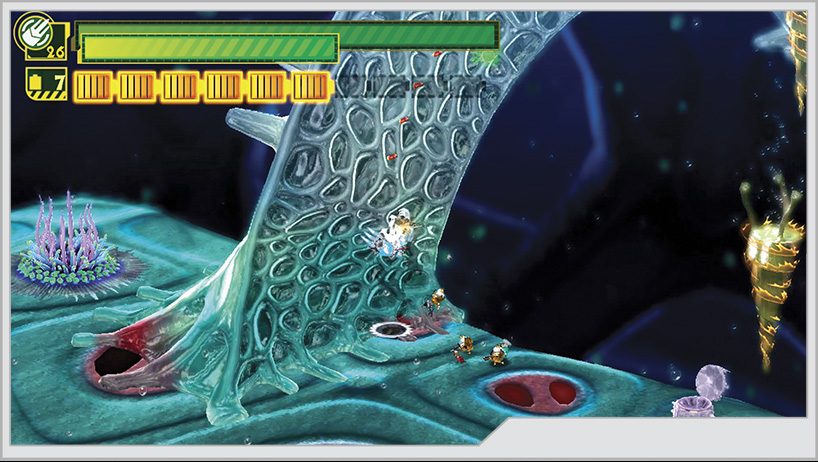
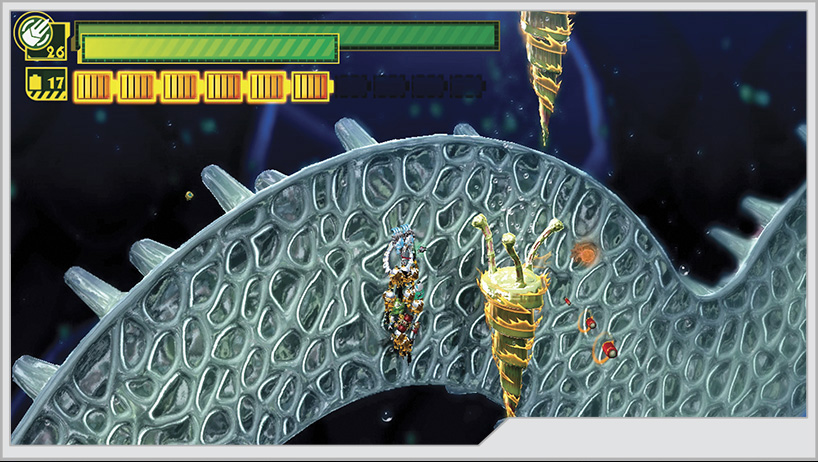
[5] Now, using Unite Claw, climb along a wall to reach the next large platform. However, Drill Cells occasionally pass near the wall, and can hurt you on contact.
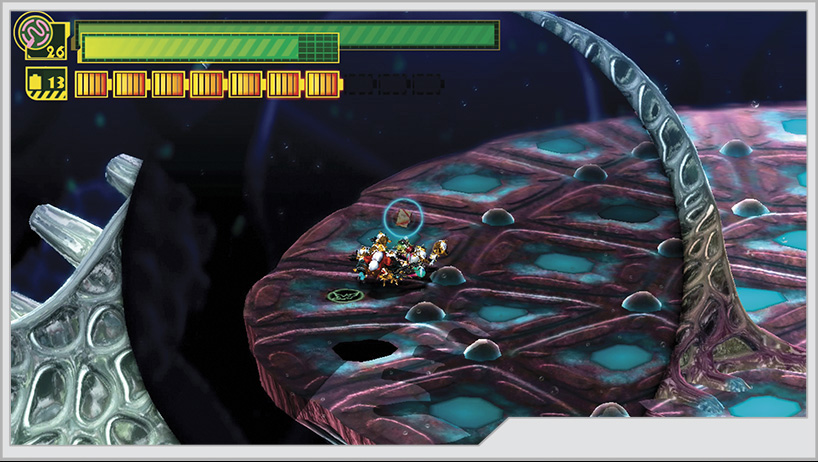
Before running back to the start of the operation to find the Kahkoo-regah portal, you can collect some items on the Mission 3 platform. First, go behind the climbing wall and look for a spot on the floor that does not light up like other sections do. Sending a Wonder-Liner into it reveals Wonderful File No. 15. You can also wrap a Wonder-Liner around the center of the platform to find Wonderful Figure No. 92.
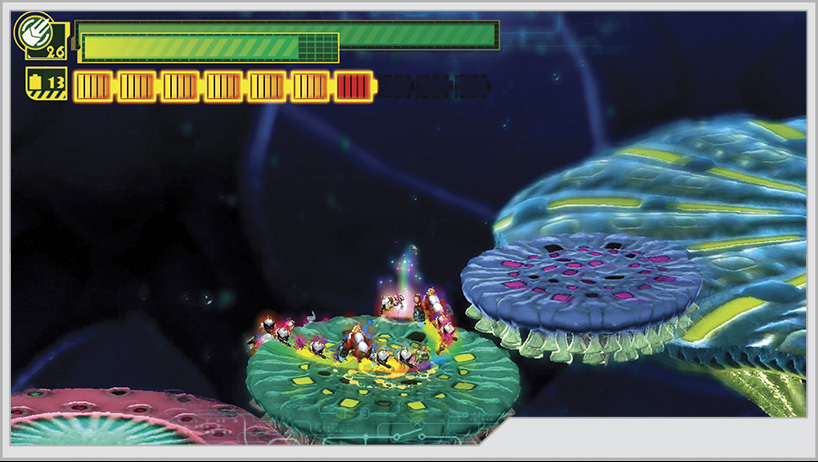
Now go back toward the start of the operation to open the portal to Kahkoo-regah.
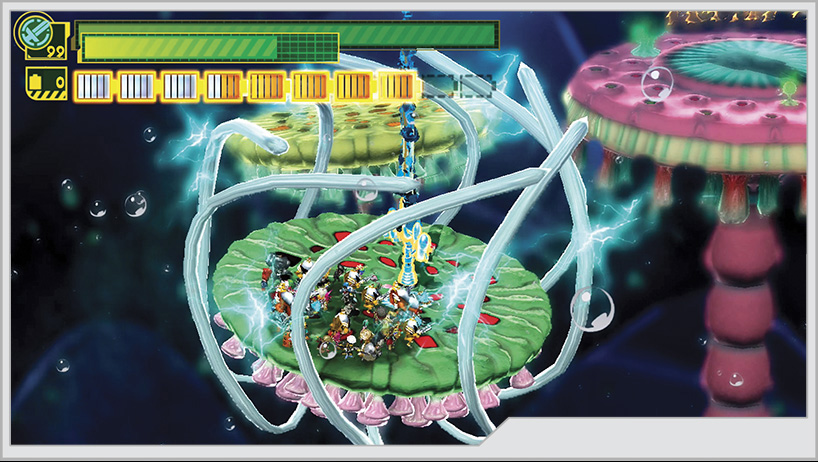
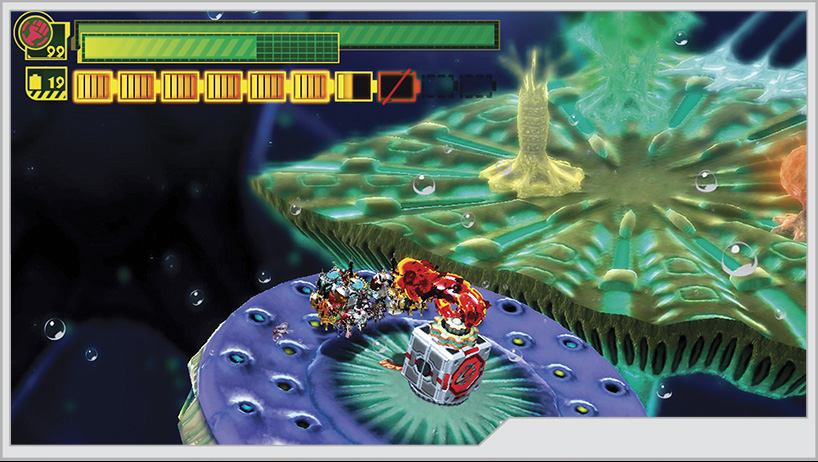
After wrapping up Secret Mission 4, go back to the Mission 3 arena and start crossing the next chasm [6]. This time, some of the platforms are moving. Watch out for tentacles to cut down along the way, as well as the random flights of Drill Cells. One of these platforms has a red supply box containing Wonderful Figure No. 46.
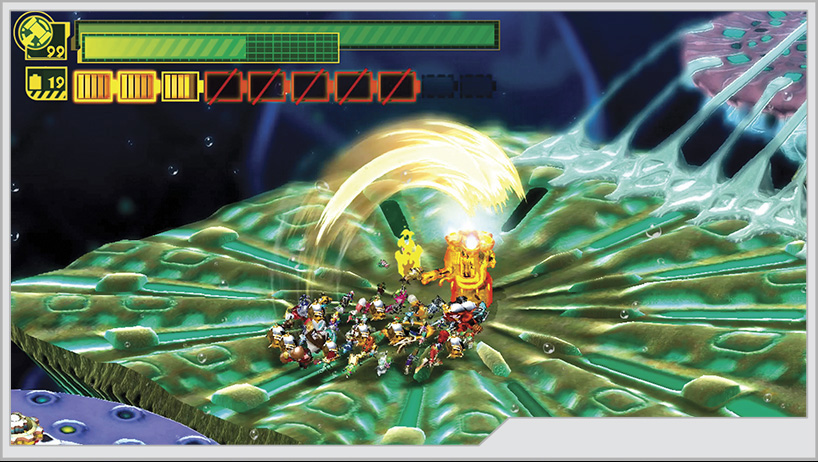
Don’t miss out on hammering the center of the Mission 5 platform to receive a Platinum Coin.
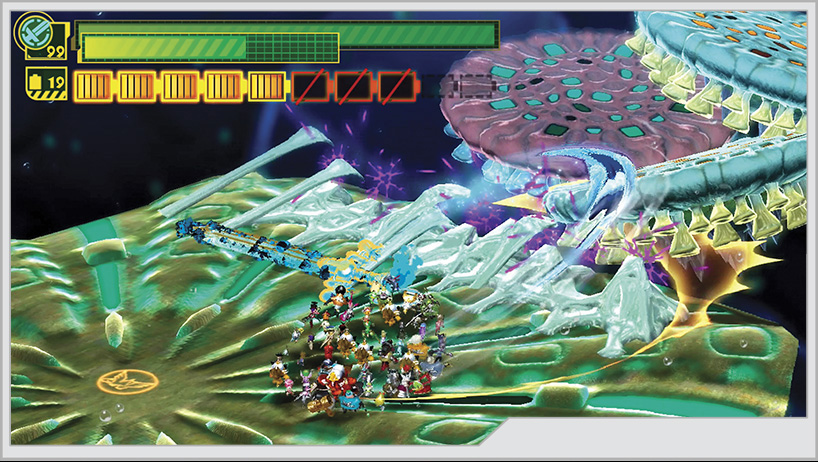
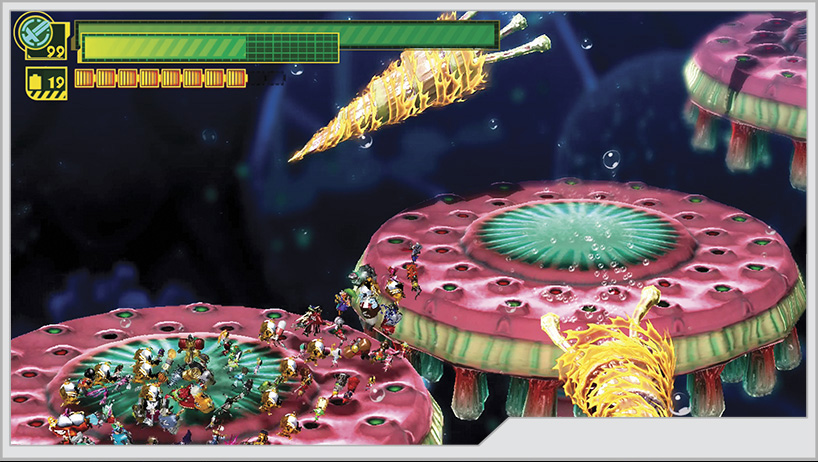
[7] Cut the tentacles to release the platforms and cross the gap. However, as you advance, it looks as though you’ll have no answer to the swarms of drill parasites infesting Vorkken.
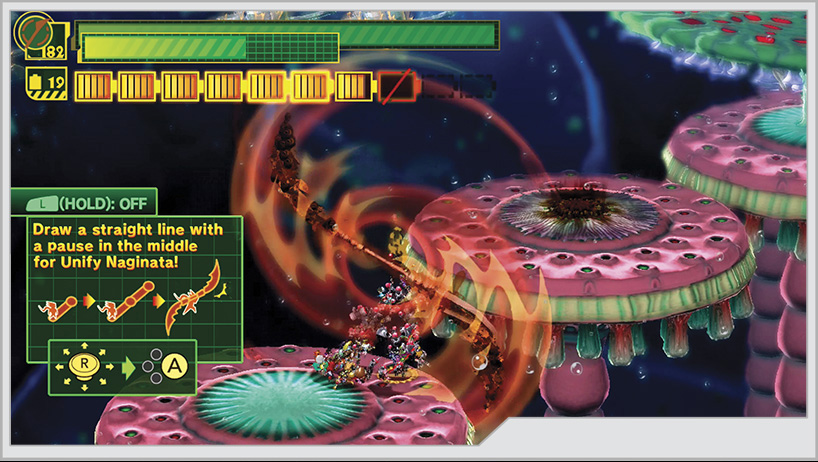
Fortunately, Chewgi and the rest of the Guyzoch appear! Use Chewgi’s Unify Naginata to slice through the parasite swarm. Out of respect for the Wonderful 100, Chewgi offers the services of the Guyzoch to Wonder-Red, who gladly accepts.
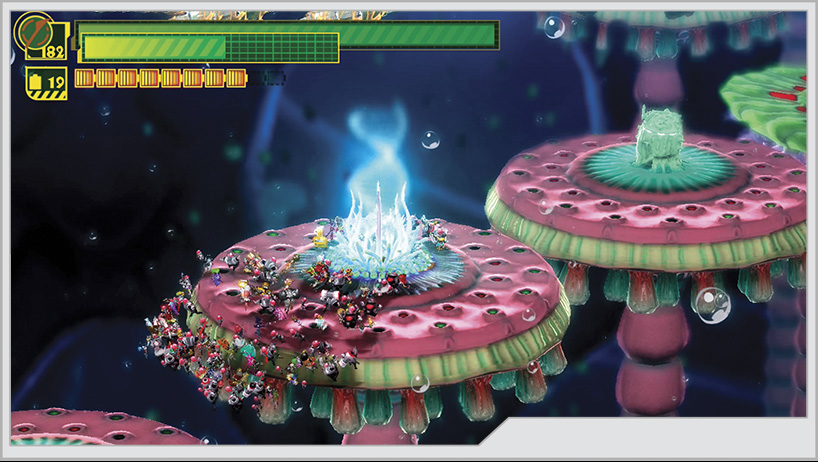
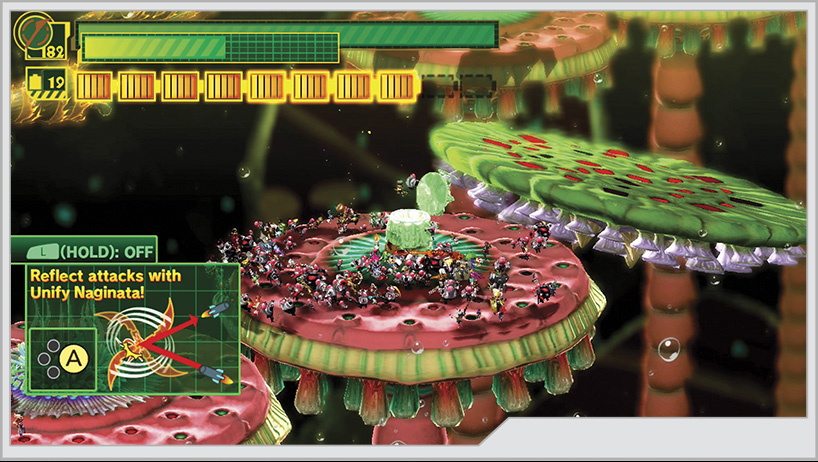
[8] As you advance forward, rejuvenate the flower bed on the platform before the Wonderful Toilet to receive GEATHJERK File No. 37. The toilet contains GEATHJERK File No. 38. Keep moving from platform to platform, cutting down drill parasites with the naginata as you go.
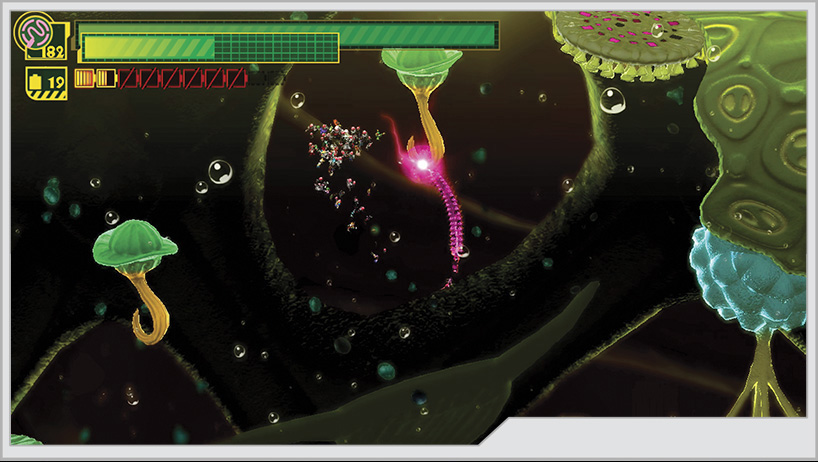
Once past the drill parasite swarms, you must whip-swing across a part of the chasm.
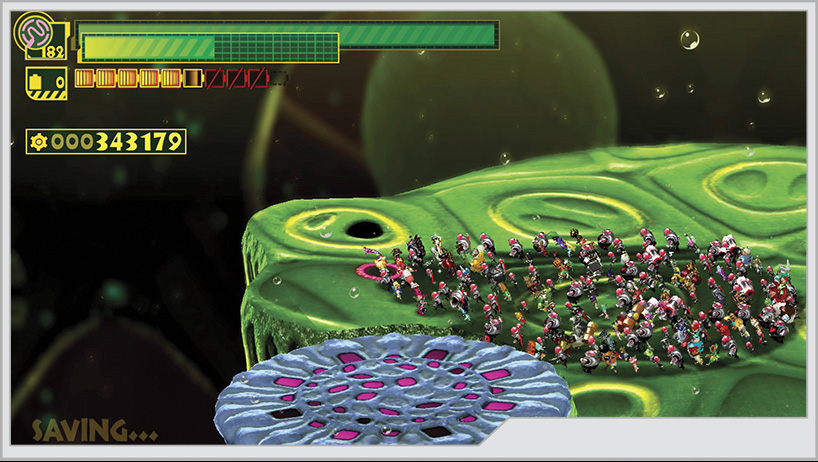
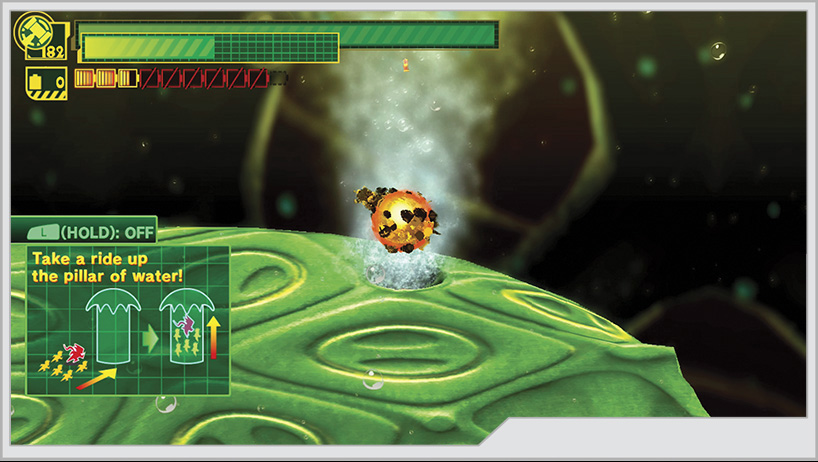
On the upper left corner of the Mission 6 platform is another hole to Wonder-Liner into, revealing another Platinum Coin. Next, you can roll into the nearby air vent with Unite Ball and be launched into the air to retrieve a Hero Heart Fragment. Consider switching to Unite Claw in midair so you can use its rapid air slashes to help guide you onto the moving platform [9] to continue forward.
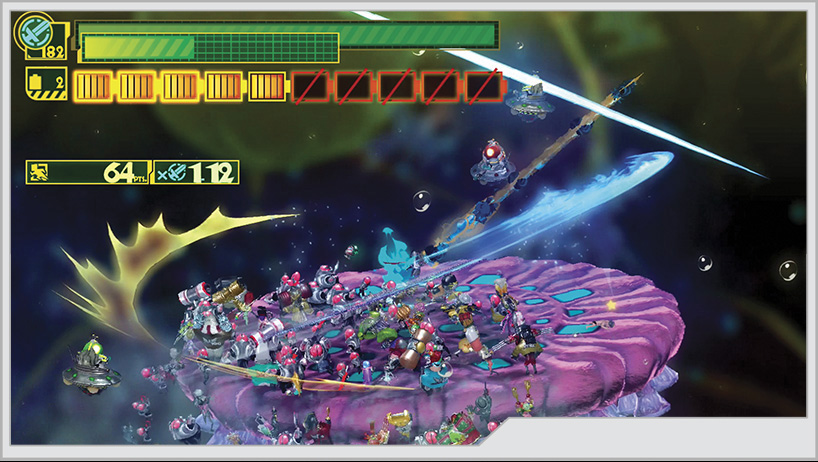
You’ll be attacked by several You-Hough along the way, but the battle isn’t rated. Deal with them as you see fit.
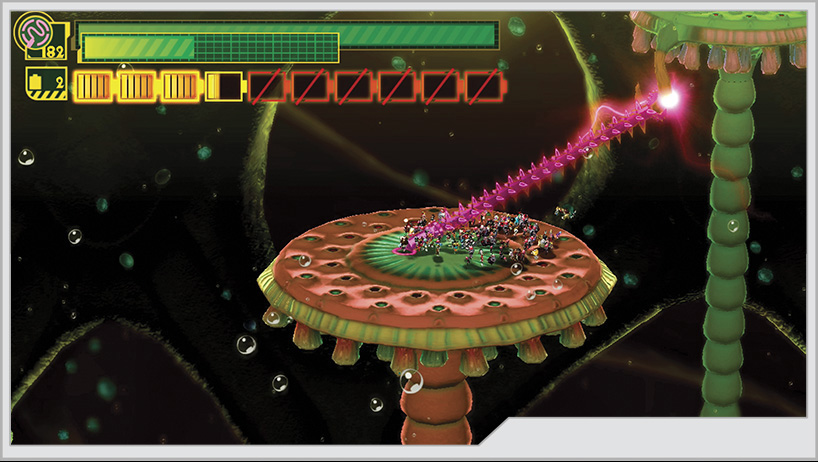
As you continue across this new chasm, you’ll encounter a hook you must grab on to with Unite Whip, which will drag the entire platform toward you. You then must board the platform and hammer the yellow button on the far side to straighten it out. Now that you’ve done this, you can start making the return trip back to the Mission 6 island to start Secret Mission 7.
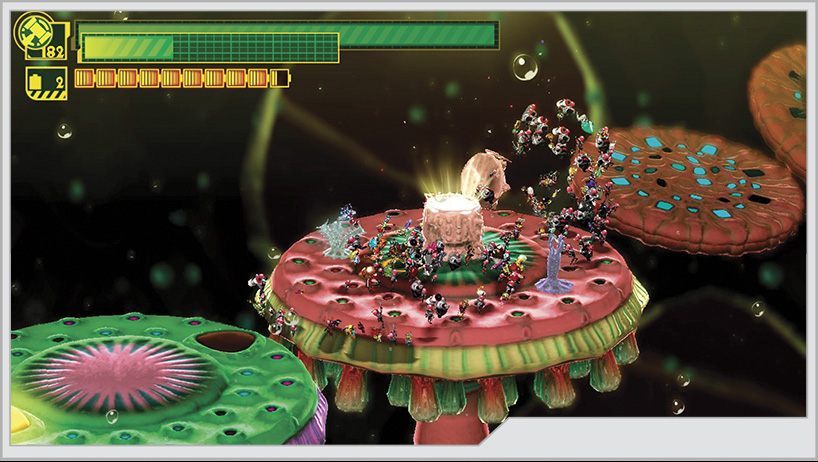
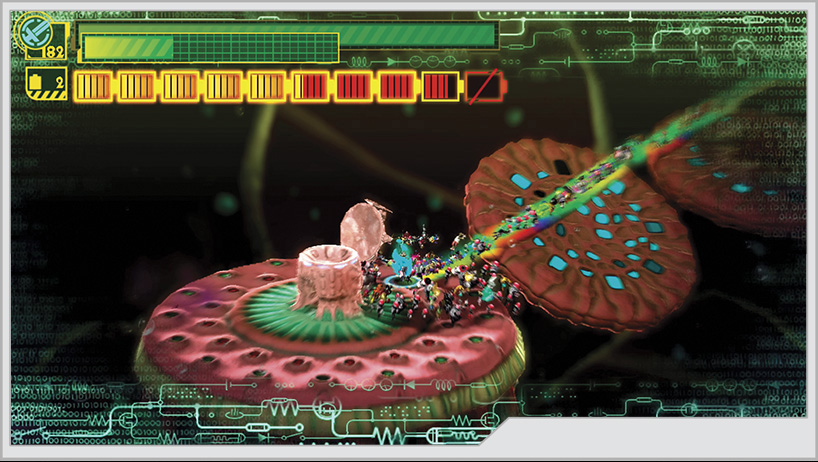
[10] Returning to the platform you can move with Unite Whip and Unite Hammer, you can reach another small island with a Wonderful Toilet containing Wonderful Figure No. 62. The next two islands after that are rotating in the air, requiring you to time your jumps across them lest you get dumped into the abyss. However, the next two islands also have GEATHJERK File No. 49 and a Platinum Coin, in that order. Collect these easily by extending a Wonder-Liner out to them.
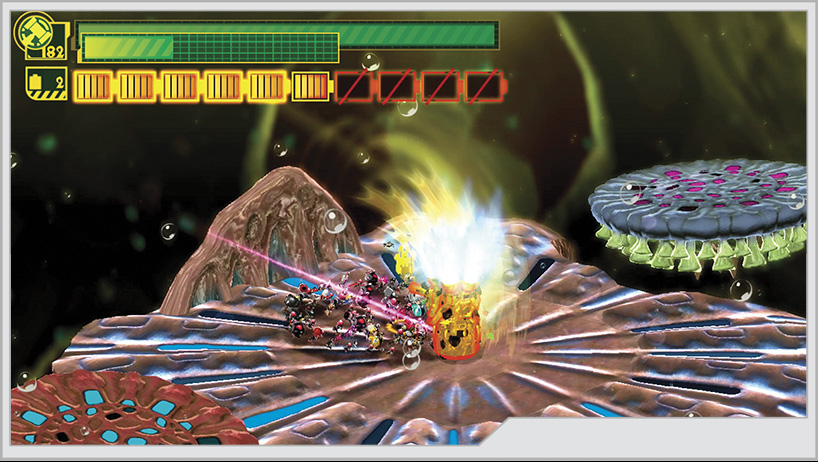
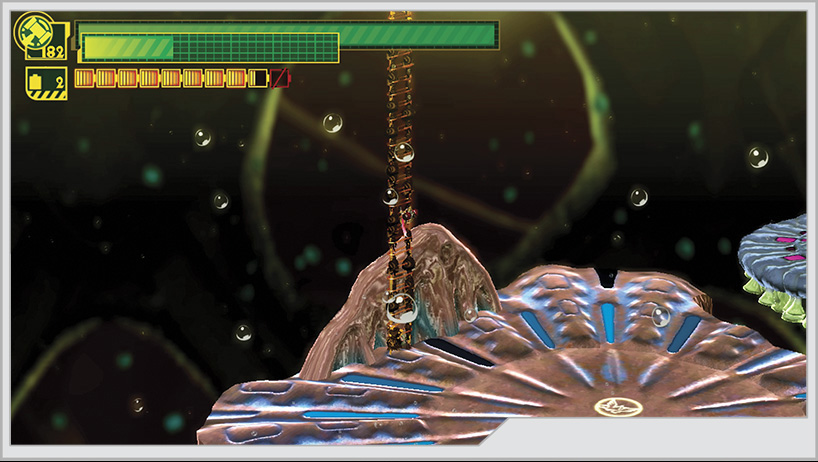
Hammer the center of the Mission 8 island for Wonderful Figure No. 21. Additionally, you can use the short wall on the island’s side to extend a Wonder-Liner up to another platform. Open the black supply box there to nab Wonderful Figure No. 18.
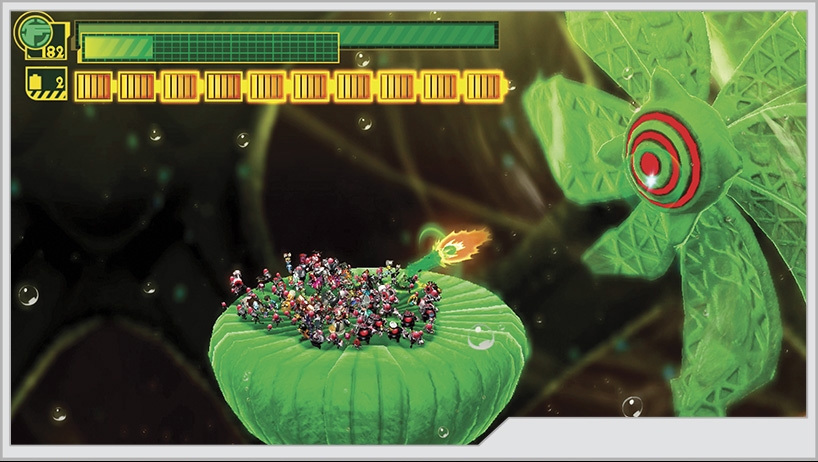
The next chasm is guarded by green flowerlike entities [11]. If you shoot them with Unite Gun, they will become platforms you can use to reach the next island.
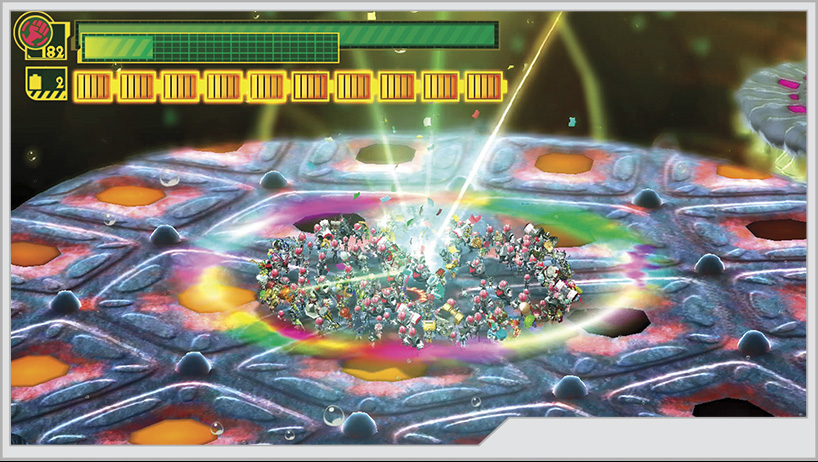
Wrap a Wonder-Liner around the center of the Mission 9 island to receive GEATHJERK File No. 30.
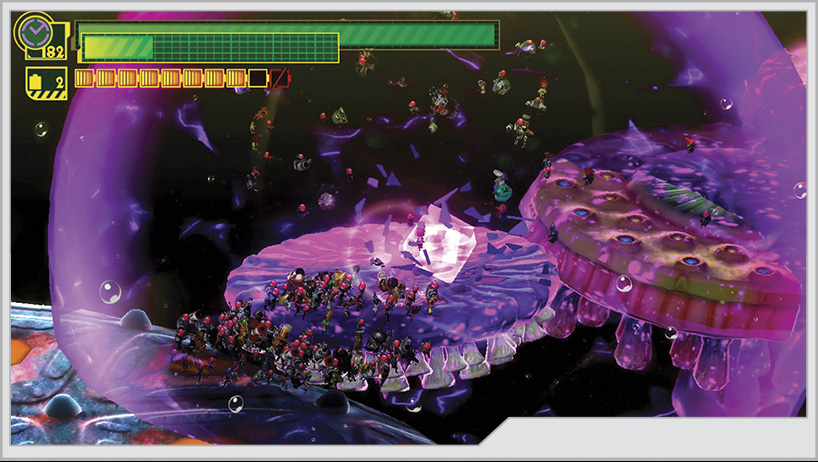
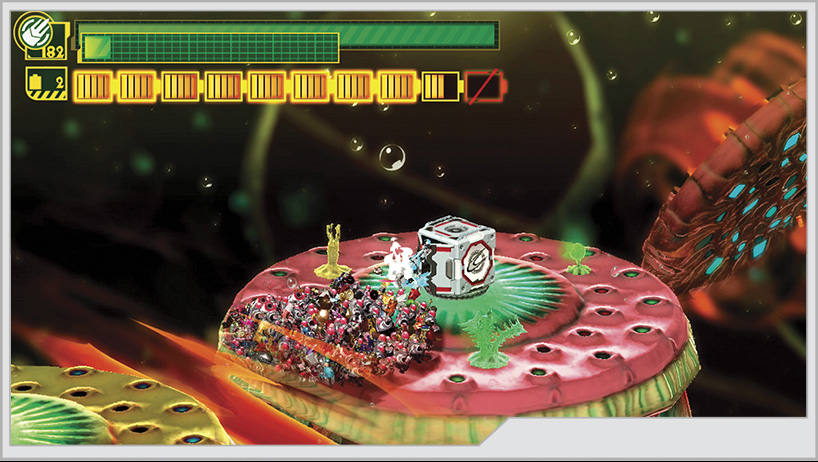
The next sets of platforms [12] are moving so fast that you can’t land on them unless you slow them down with Unite Bomb. You’ll eventually find a white supply box with a Platinum Coin inside.
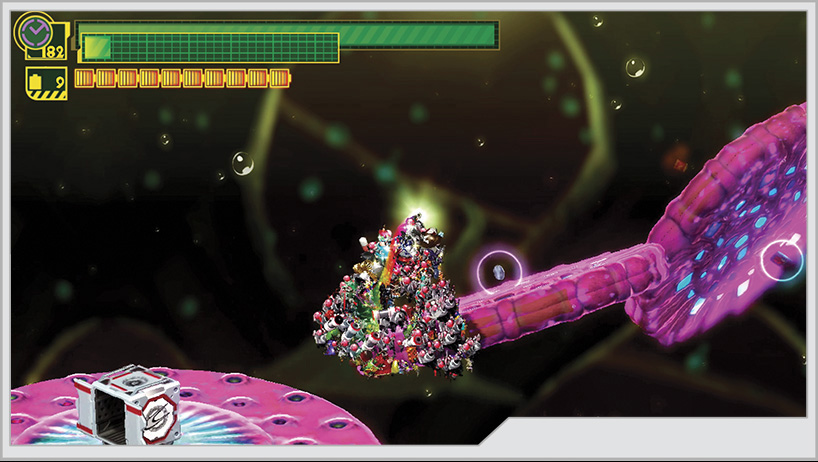
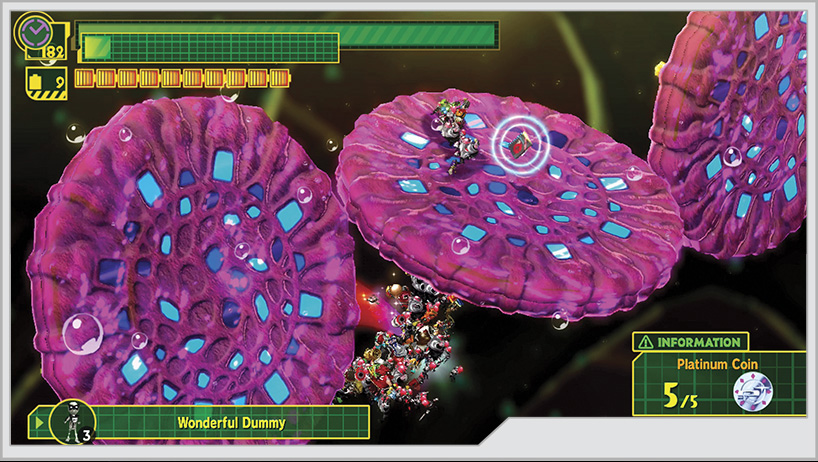
Beyond the supply box are more platforms. Slow these down with Unite Bomb [13]. As they rotate in slow motion, you can see that the first two platforms have a Platinum Coin and GEATHJERK File No. 50. Keep moving until you reach another island that promptly dumps your team deeper inside Vorkken’s body [14].
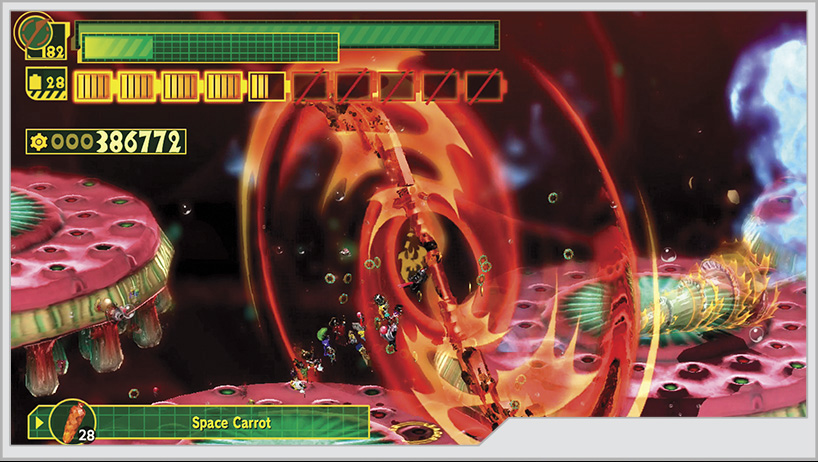
[15] The Unify Naginata is required to destroy the oncoming drill parasites to make it to Mission 10.
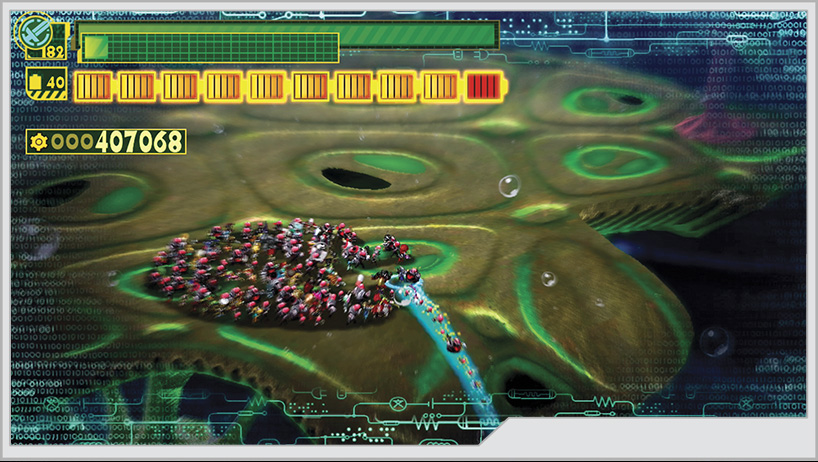
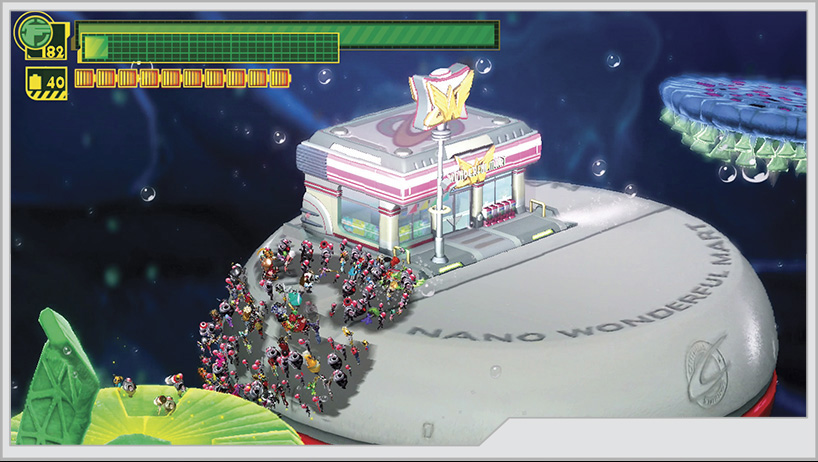
Don’t run for the Wonderful Mart just yet! The southern edge of the arena has a small hole you can Wonder-Liner into for Wonderful File No. 24. Now you just need to blast the flower creatures with Unite Gun to make platforms leading to the Wonderful Mart and the end of Operation 007-A.
Operation 007-B
The nano-bioweapon that is tearing Vorkken apart from the inside might have the size advantage for now, but with the Nano-Accel wearing off, the Wonderful 100 are increasing in size by the second, leaving them precious little time to destroy the monstrous weapon before it’s too late. Fortunately, P-Star is equipped with what you need to cure this plague.
Medal Requirements
| Element | Platinum | Gold | Silver | Bronze | Difficulty |
|---|---|---|---|---|---|
| Time | 12:00 | 14:00 | 16:00 | 18:00 | Very easy |
| Time | 12:00 | 14:00 | 16:00 | 18:00 | Easy |
| Time | 12:00 | 14:00 | 16:00 | 18:00 | Normal |
| Time | 12:00 | 14:00 | 16:00 | 18:00 | Hard |
| Time | 12:00 | 14:00 | 16:00 | 18:00 | 101% Hard |
| Combo | 12000 | 10000 | 8000 | 6000 | Very easy |
| Combo | 12000 | 10000 | 8000 | 6000 | Easy |
| Combo | 12000 | 10000 | 8000 | 6000 | Normal |
| Combo | 20000 | 18000 | 16000 | 14000 | Hard |
| Combo | 22000 | 20000 | 18000 | 16000 | 101% Hard |
| Damage | 0 | 1000 | 2000 | 4000 | Very easy |
| Damage | 0 | 1000 | 2000 | 4000 | Easy |
| Damage | 0 | 1000 | 2000 | 4000 | Normal |
| Damage | 0 | 2000 | 4000 | 8000 | Hard |
| Damage | 0 | 2000 | 4000 | 8000 | 101% Hard |
Enemies Present (All Difficulties)
Vaaiki
Phase One
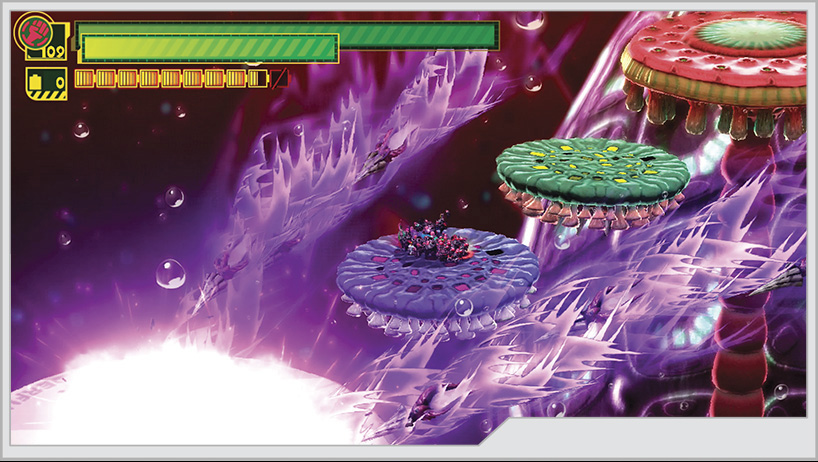
As soon as you start the mission, jump forward to the next platform. A barrage of missiles destroys the Wonderful Mart capsule, and more will keep destroying all the platforms until you finally see the nano-bioweapon come into view.
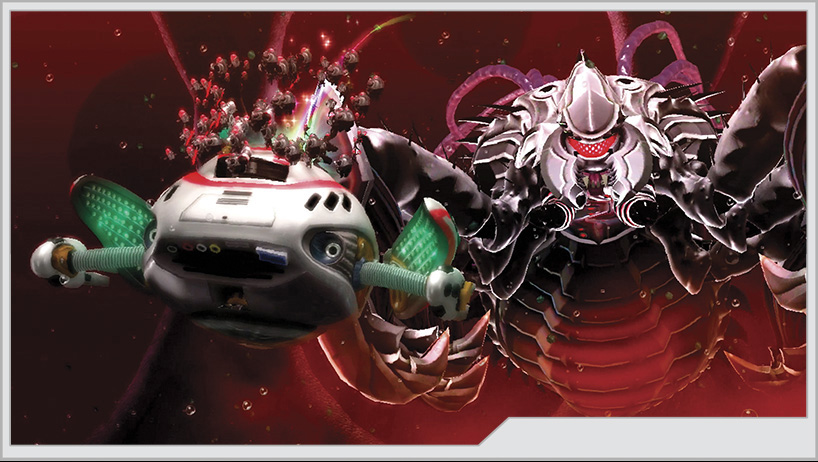
After a revealing conversation with P-Star, Wonder-Jump to avoid the missiles and land atop the rapidly growing robot helper. After switching the team to Unlimited Form, Wonder-Red takes control of P-Star and engages the Vaaiki.
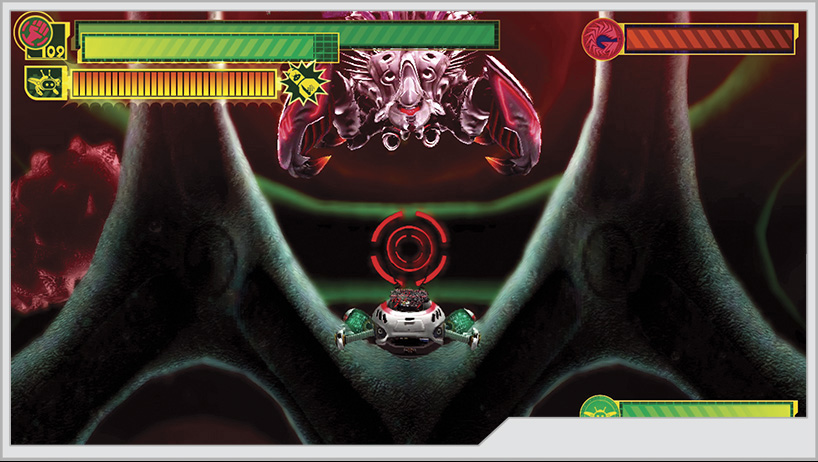
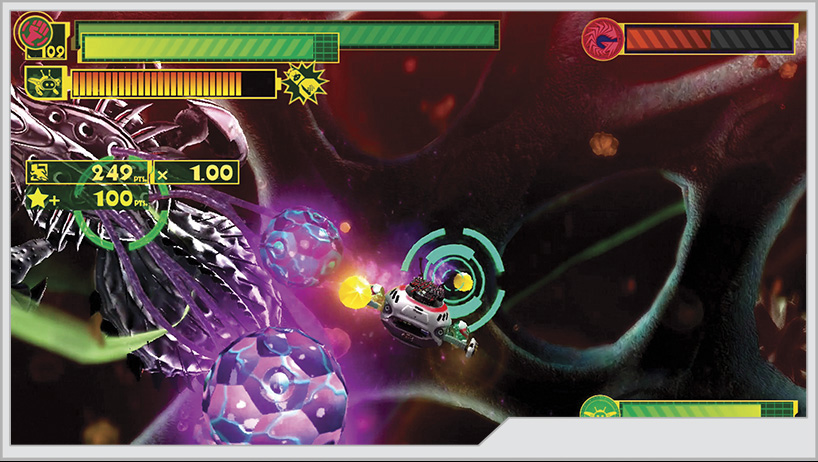
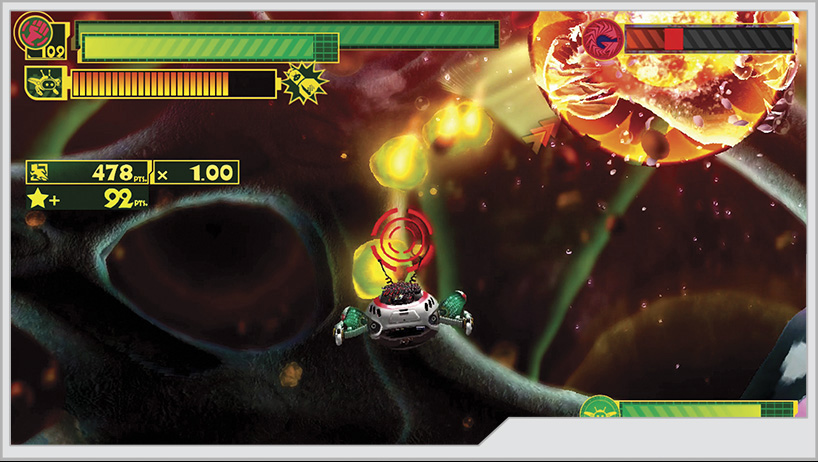
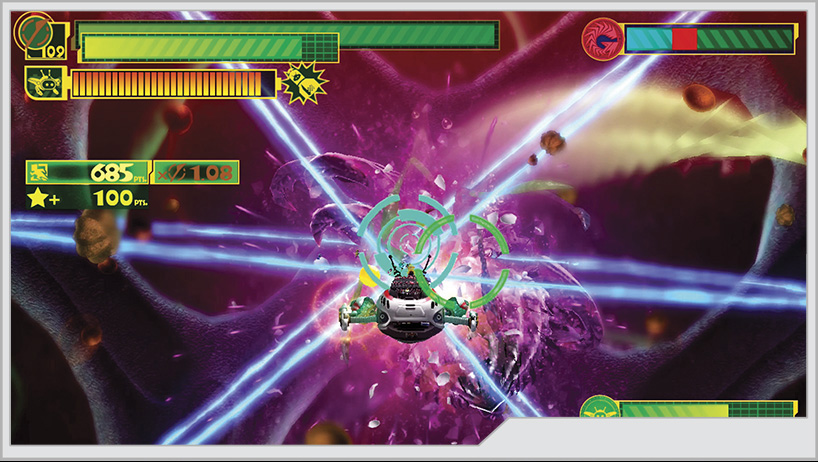
Now flying around inside of Vorkken with P-Star, you must take care to avoid damage as much as possible. In addition to your own health meter, P-Star has his own, and he can take only so much damage before the mission is a failure.
The first part of this battle has you flying around a large spherical arena, chasing down the Vaaiki and evading its various projectiles. It will fire purple missiles that you must evade and yellow globs of slime that will temporarily paralyze you. Next, it sets up a ramming attack if you do not break free fast enough. You can use the Evade command illustrated by the short tutorial to roll away from attacks, or reflect them by not moving P-Star in a given direction while using the Evade. Also be on the lookout for Vaaiki to shoot out an omnidirectional series of shock waves.
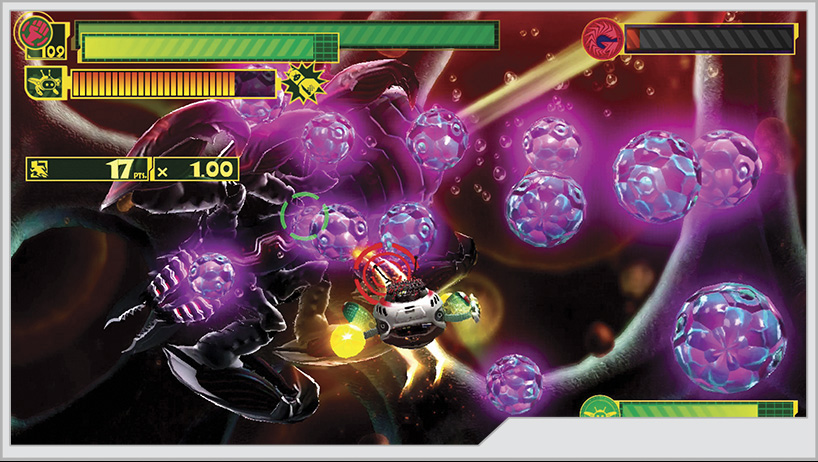
Keep up the chase as best you can, blasting the Vaaiki with your guns, using missiles as your Unite Gauge allows. While the Vaaiki flees you, it will also drop off purple mines that you need to avoid. If you somehow lose visual contact with the beast, follow the orange arrow icon that will appear at the edges of the screen.
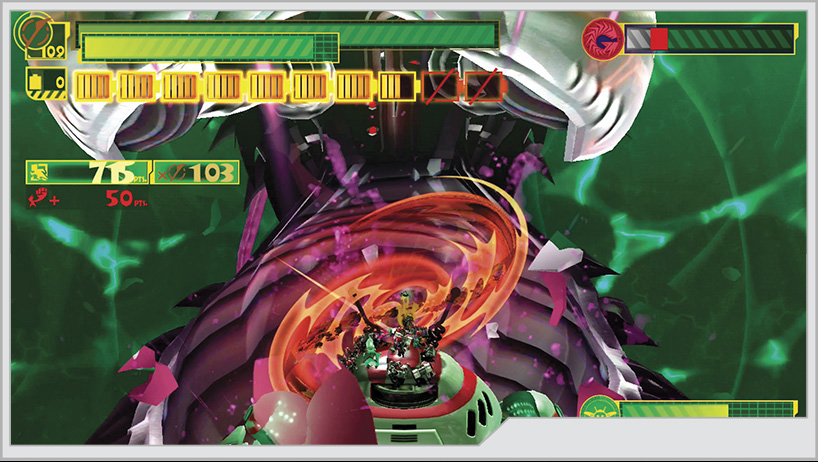
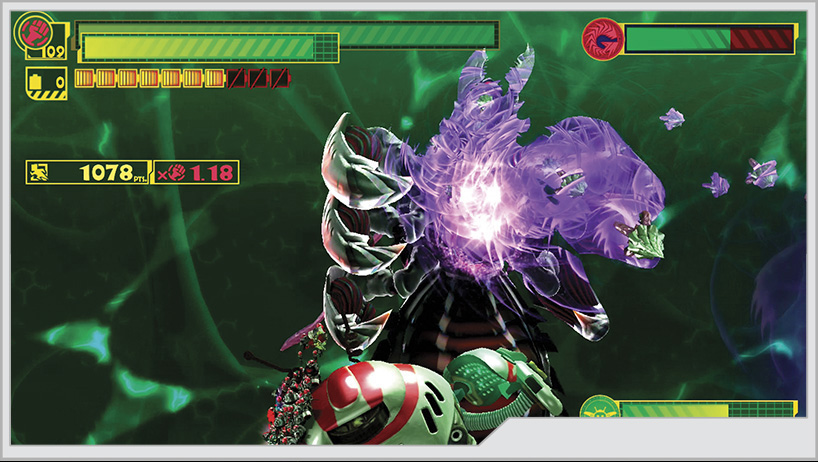
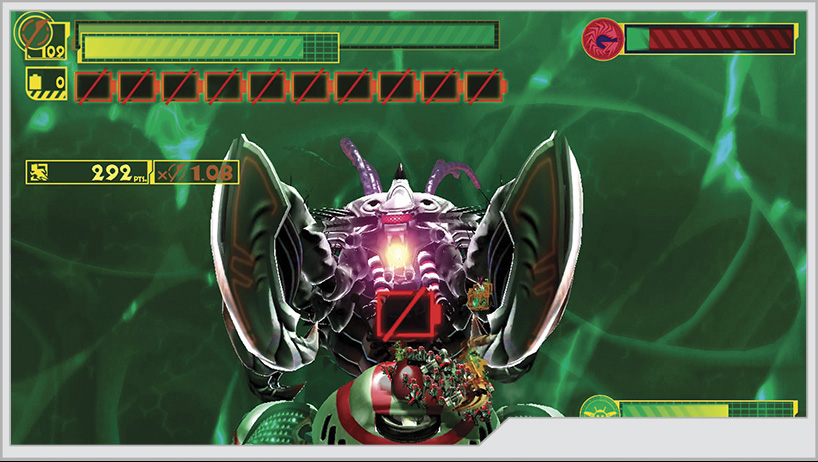
After striking the Vaaiki with enough missiles, it will be trapped inside a green barrier that you must fly into. Once inside, the controls for P-Star change slightly. You’re now locked on facing the Vaaiki, and any direction you press the left analog stick in will rotate you around the Vaaiki in that direction. You no longer can use missiles, but you can use Unite Morphs again. The Vaaiki will eventually break free; pile on the damage as best you can.
During these moments where it is trapped, the Vaaiki is far from defenseless, spewing swarms of missiles (that you can blocked with Unify Naginata) or more of the purple mines in various patterns. It can also lash out with its claws, though you can block them with Unite Guts.
Depending on your difficulty setting, it could take only one round of the Vaaiki being trapped, or it could take multiple cycles of being trapped before you completely drain its health.
Phase Two
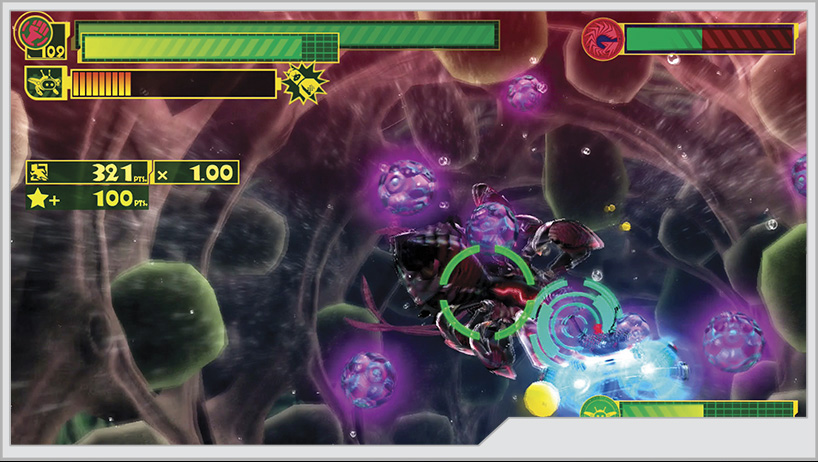
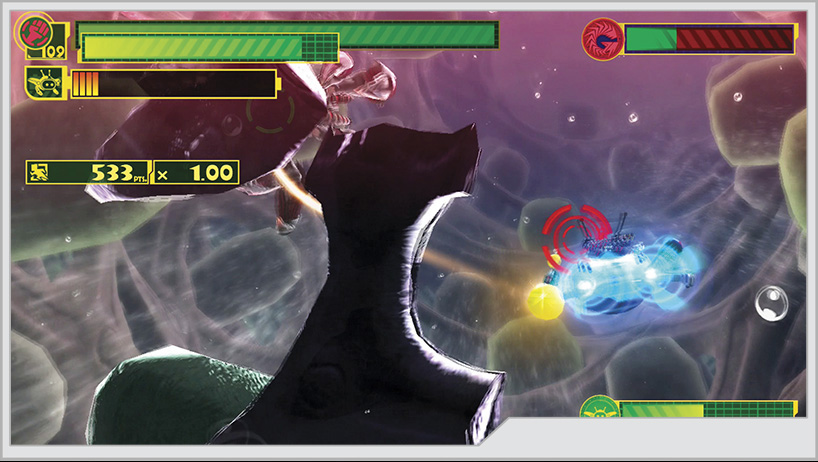
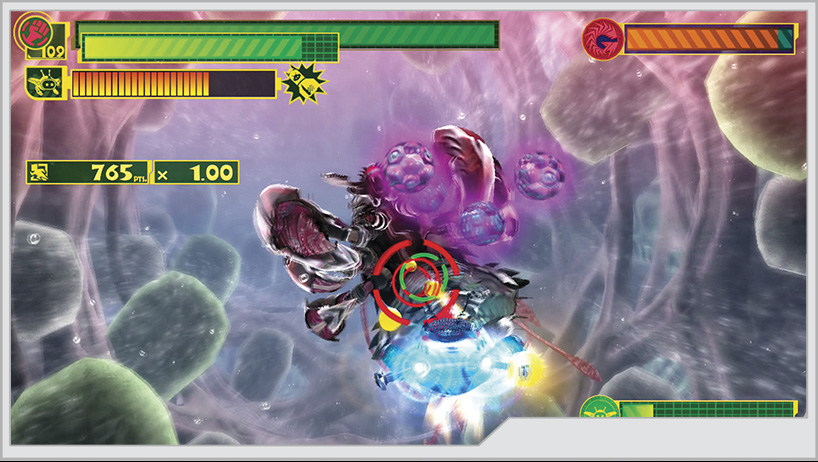
The Vaaiki will start to retreat out of Vorkken once you drain its first set of health bars. You must guide P-Star around any missiles or mines it leaves behind, while also avoiding the debris from the tunnel walls that the Vaaiki churns up in its wake. Keep firing your guns and missiles every chance you get! Eventually you will trap the bioweapon once again and be able to pound it with your Unite Morphs.
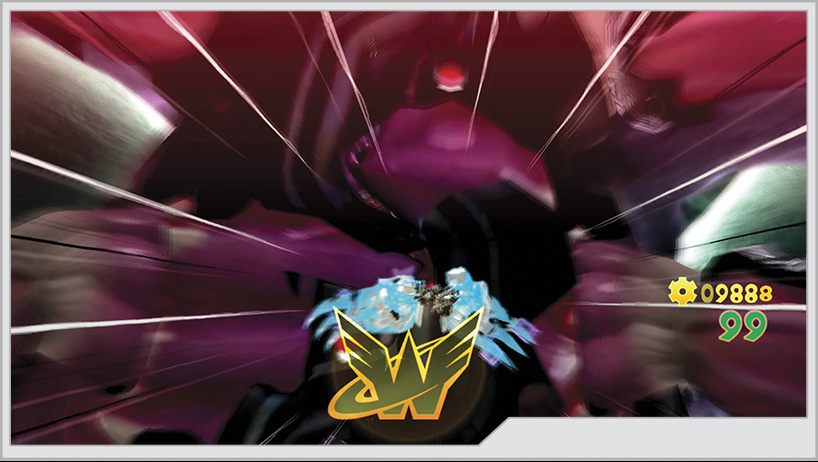
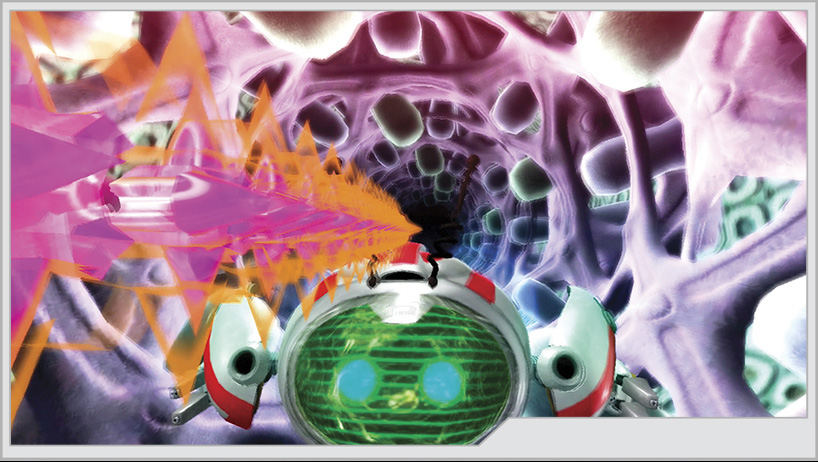
After you deal with the second set of health bars, you are prompted to use Unite Claw to rip the beast wide open to gain access to its core. It responds with a missile barrage that you must block with Unify Naginata. The aftermath of your counterattack sends the Vaaiki fleeing from Vorkken, but Unite Whip helps keep the group on its heels. The battle continues inside Professor Shirogane’s lab.
Phase Three
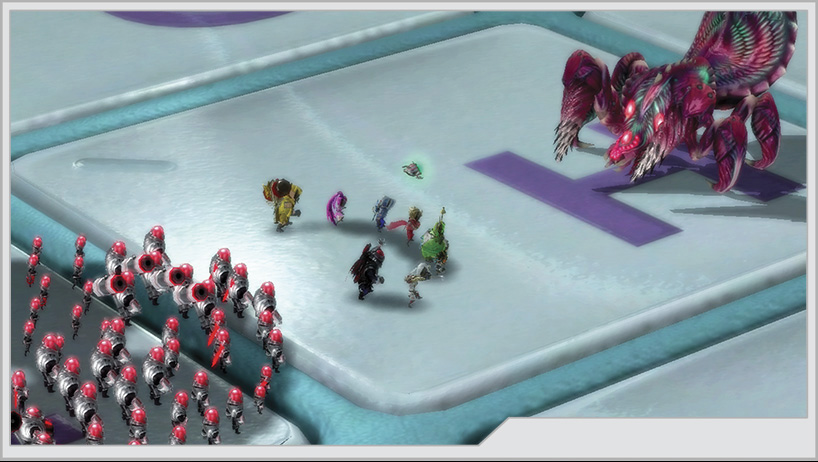
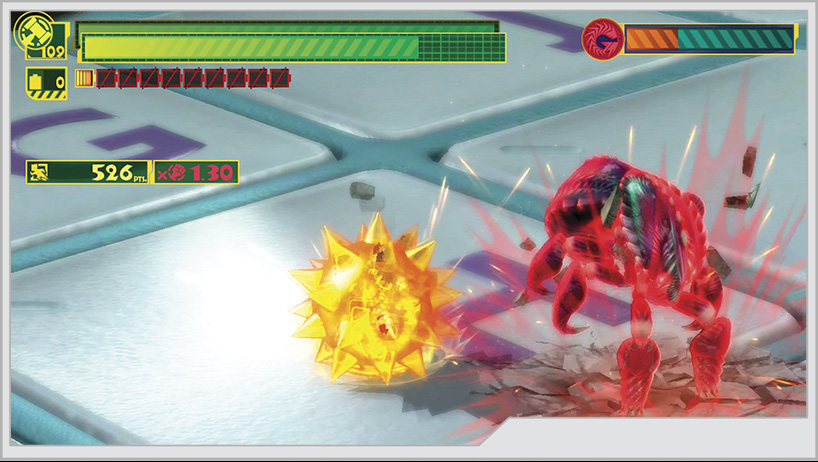
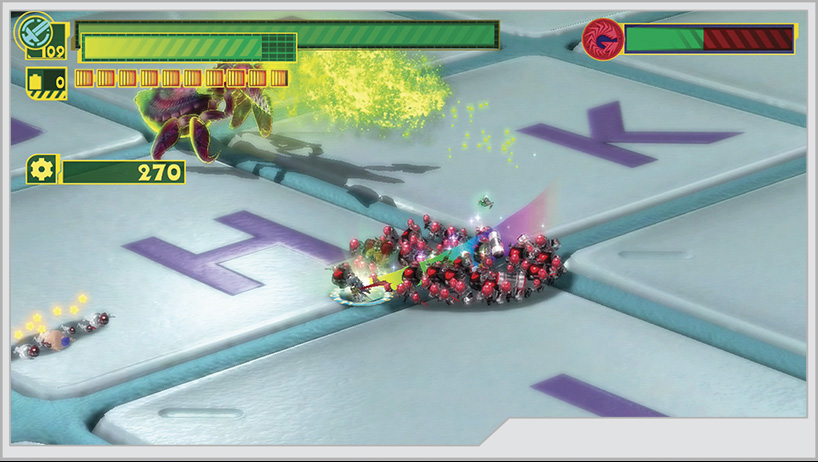
The team and the Vaaiki land on top of Professor Shirogane’s computer keyboard. While it no longer has total access to abilities it had inside Vorkken, the Vaaiki is still a threat. It can use its claws for a variety of melee attacks, spit deadly acid, or even fire a laser beam. It is possible to stun the Vaaiki with Team Attacks and slow it with Unite Bombs, both of which are excellent at helping put this monster down as quickly as possible.
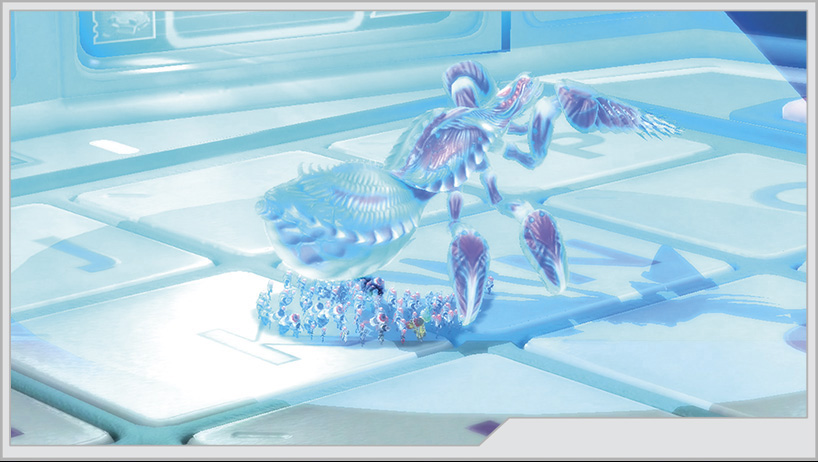
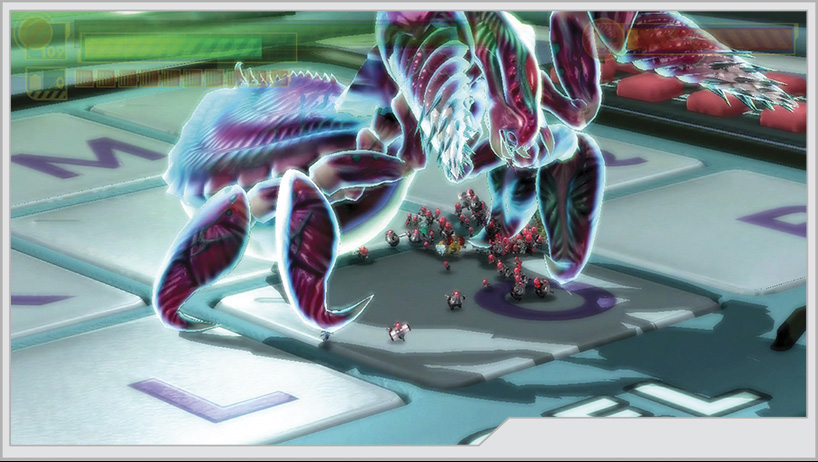
There is another factor at play during this final phase of the battle. When the camera zooms out to show you the whole keyboard, watch for a key to suddenly rise up slightly. You must beat the Vaaiki to that key; otherwise it will absorb Shirogane’s growth beam and increase in size dramatically. If you get there first, you’ll grow tall enough to step on the hapless bug. The growth effect is not permanent, so if the Vaaiki beats you to it, don’t fret and keep up the assault using all means at your disposal.
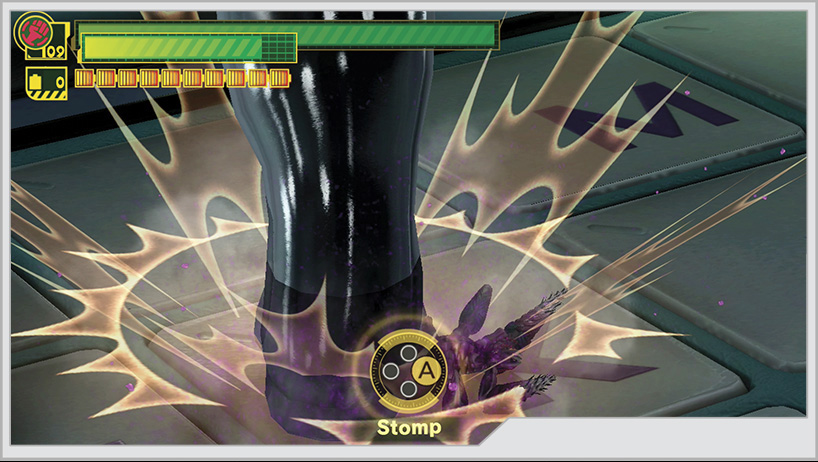
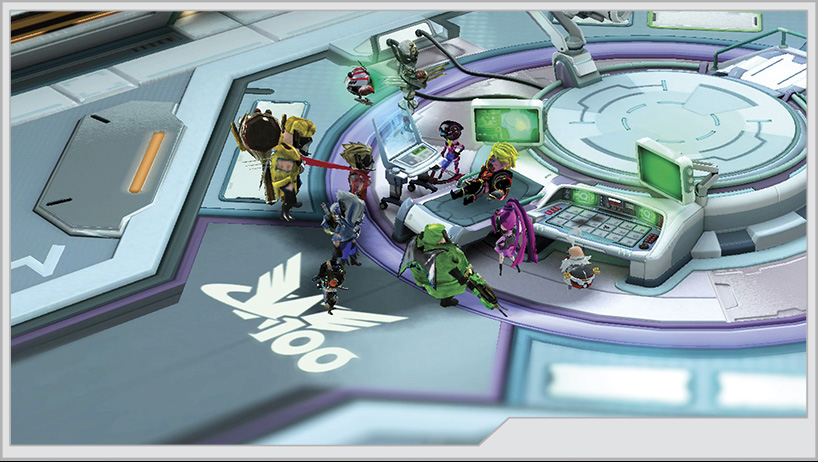
After dealing enough damage to the Vaaiki, the Nano-Accel finally wears off, and the team starts to grow to their original size permanently. Put the final few stomps to the Vaaiki to bring this battle to an end. Operation 007 is complete, and Vorkken is saved...
...but with Margarita compromised worldwide, it may not matter.