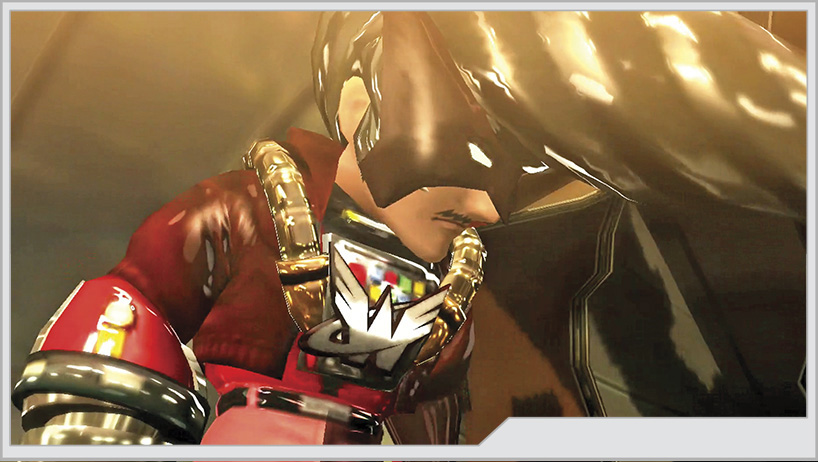
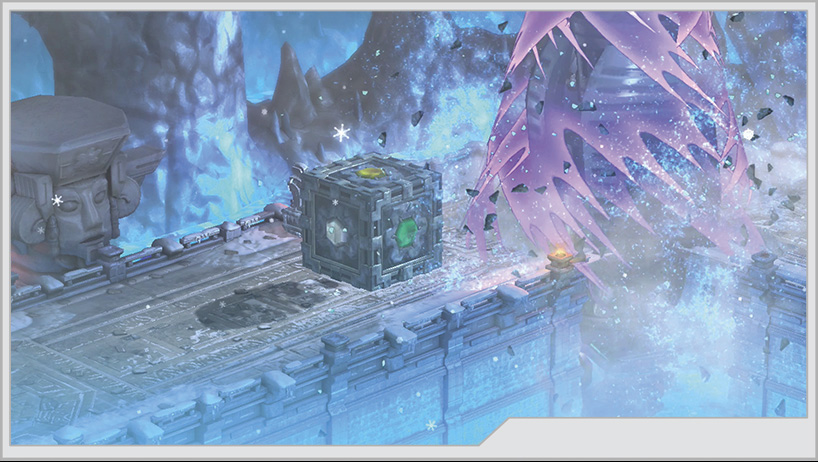
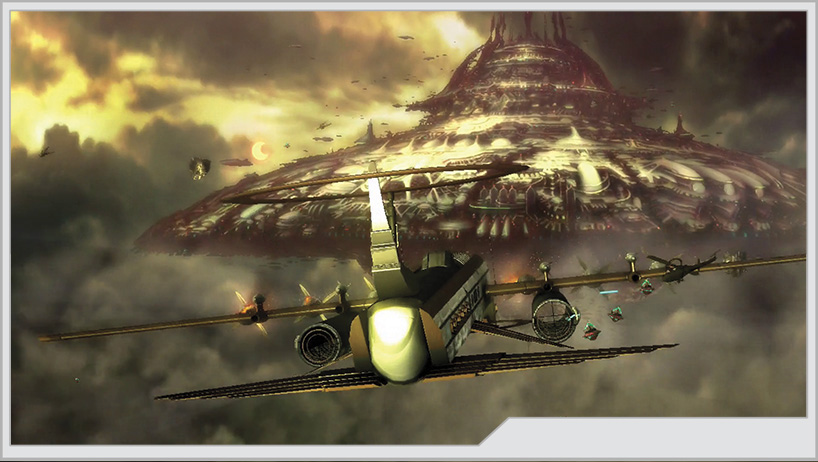
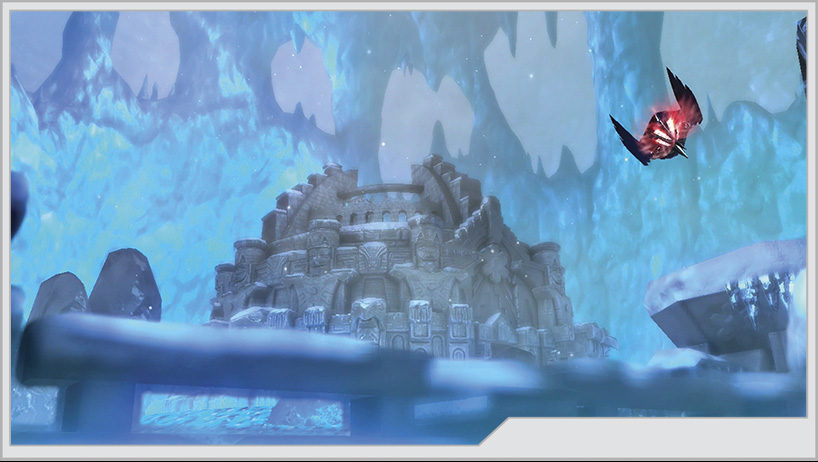
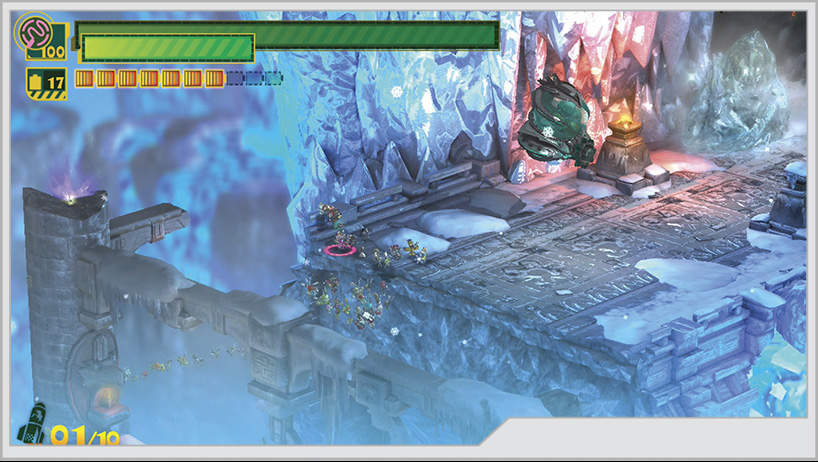
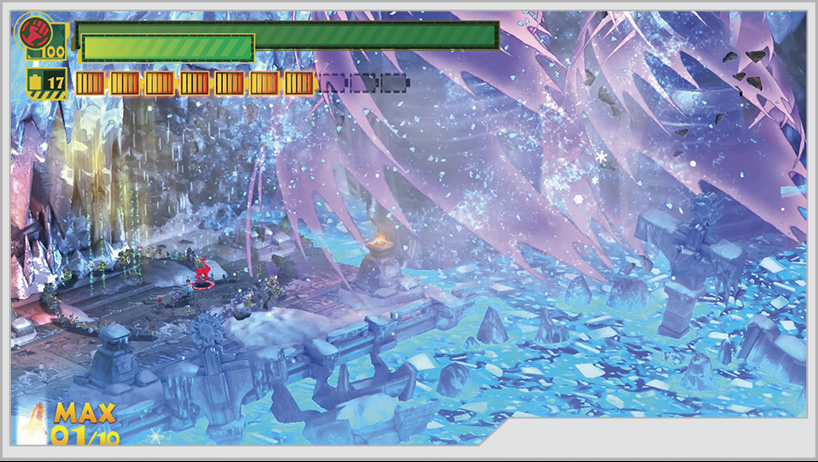
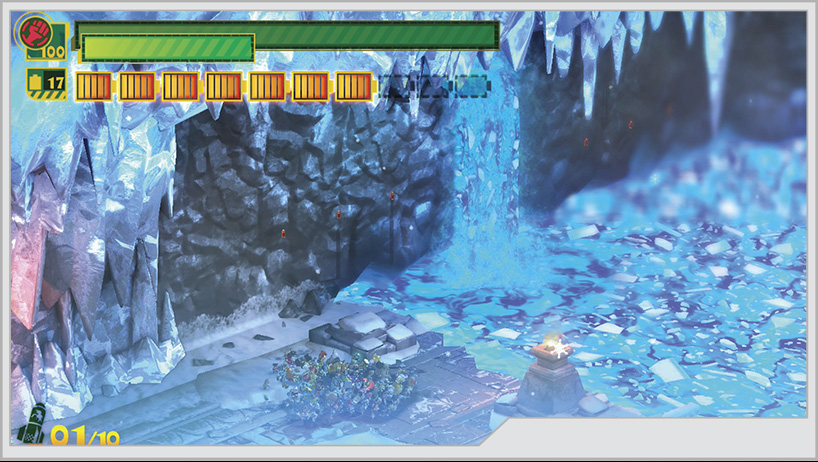
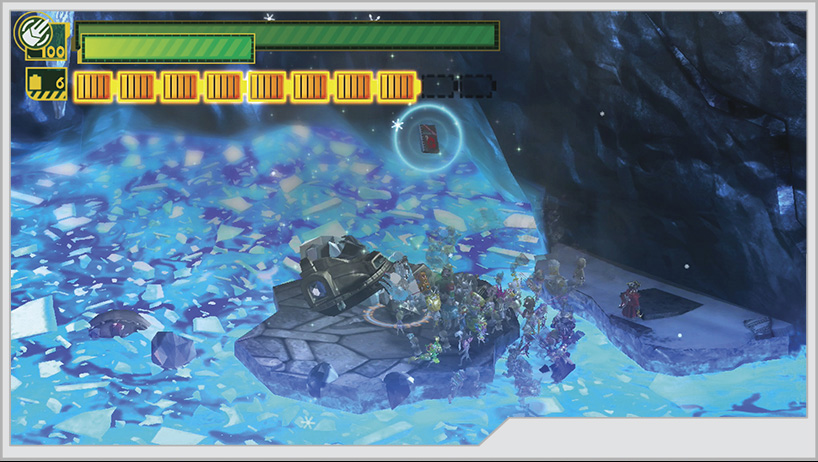
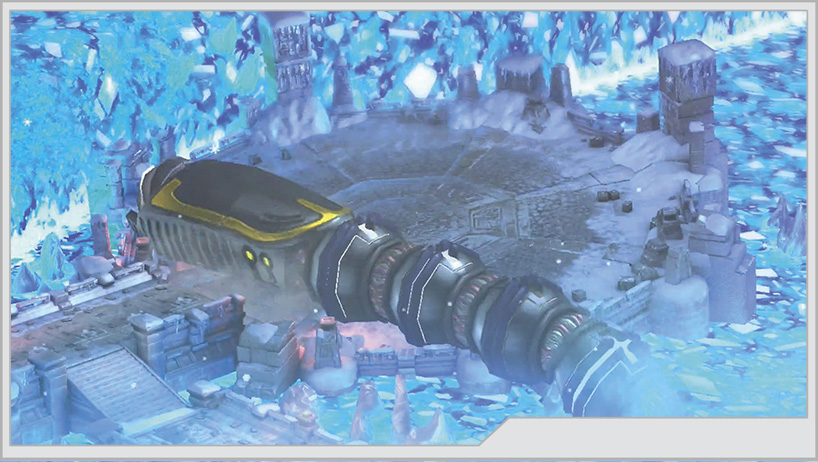
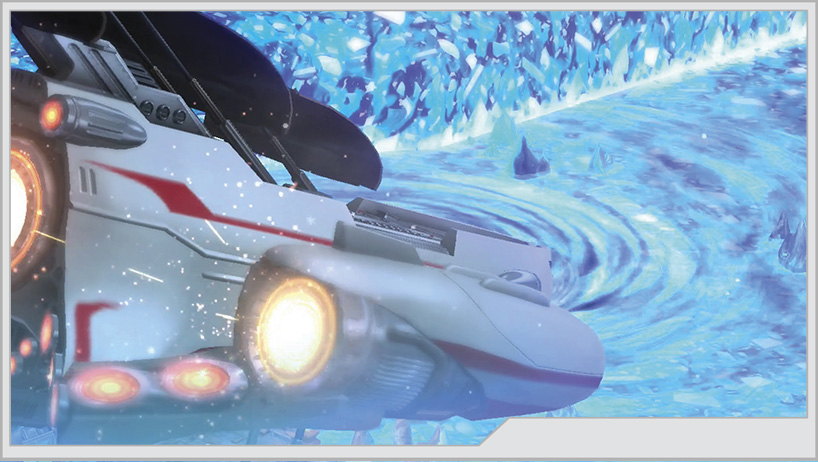
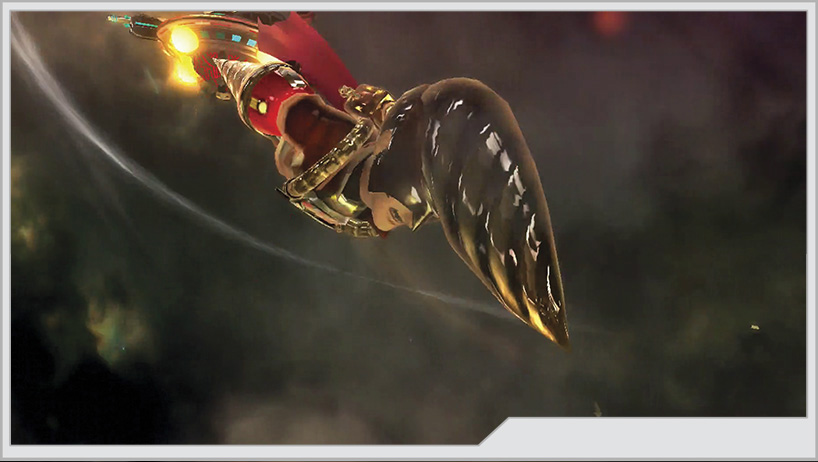
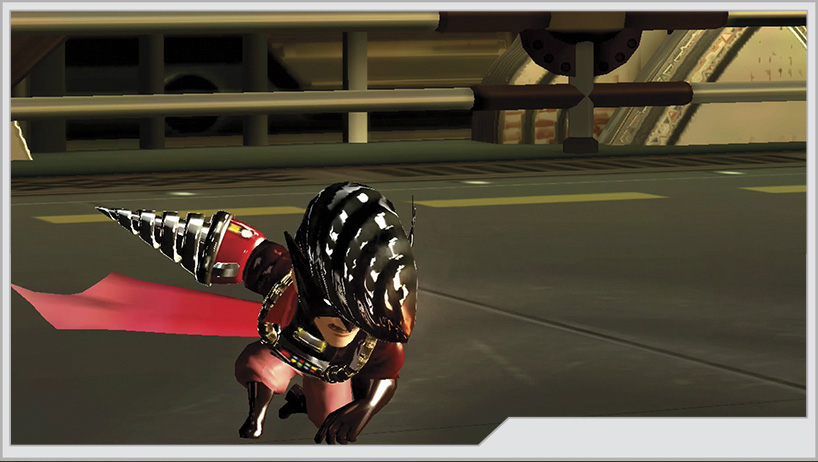
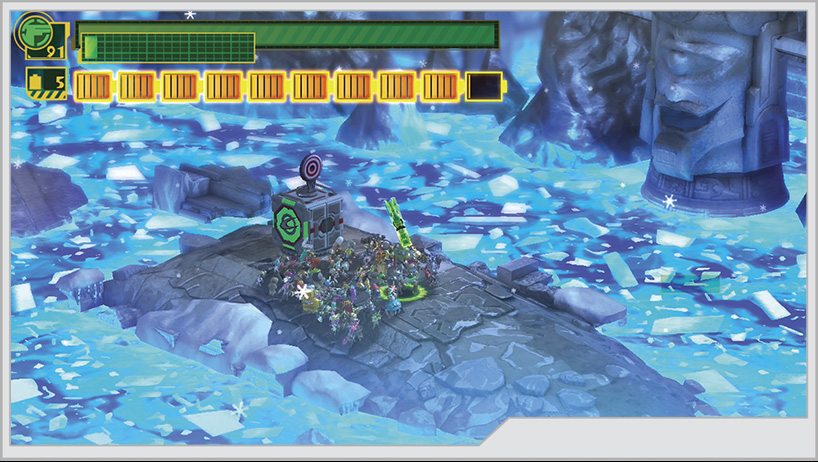
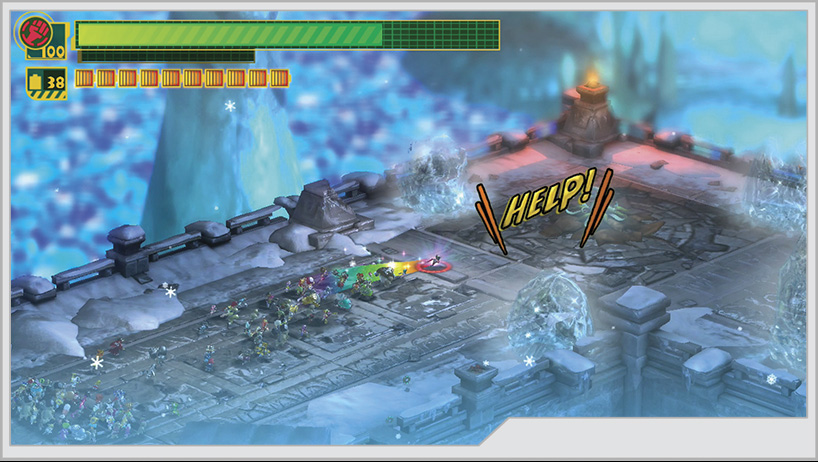
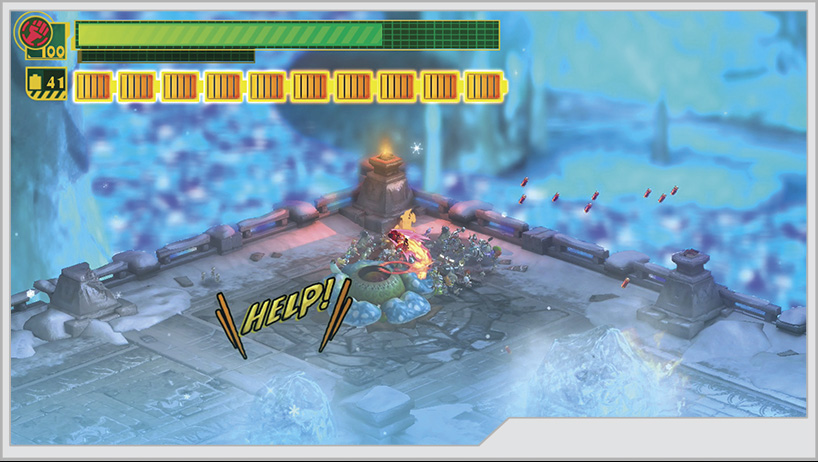
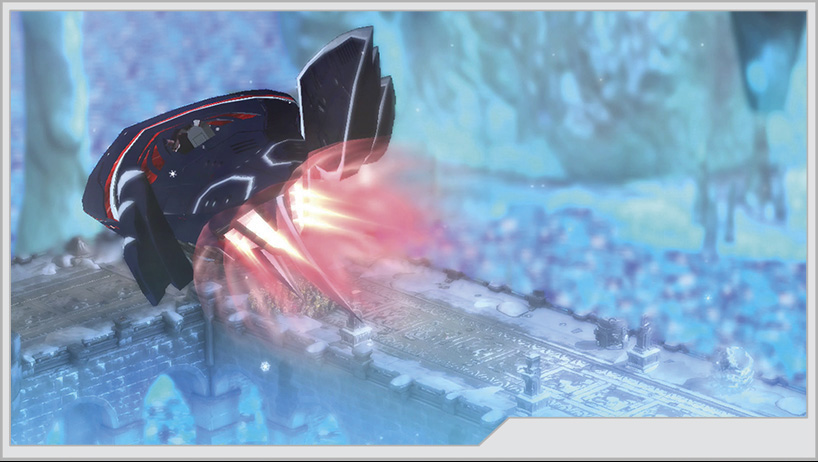
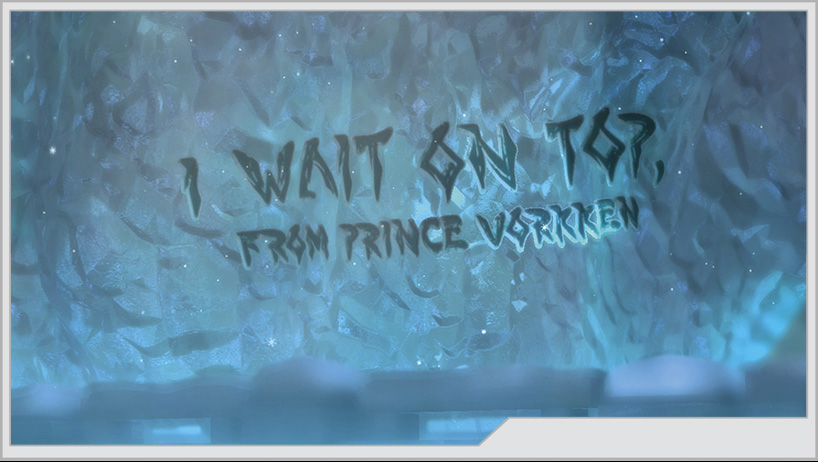
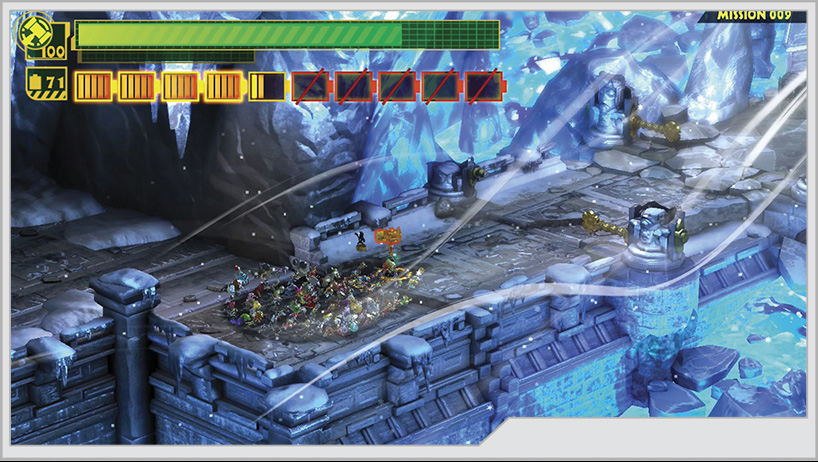
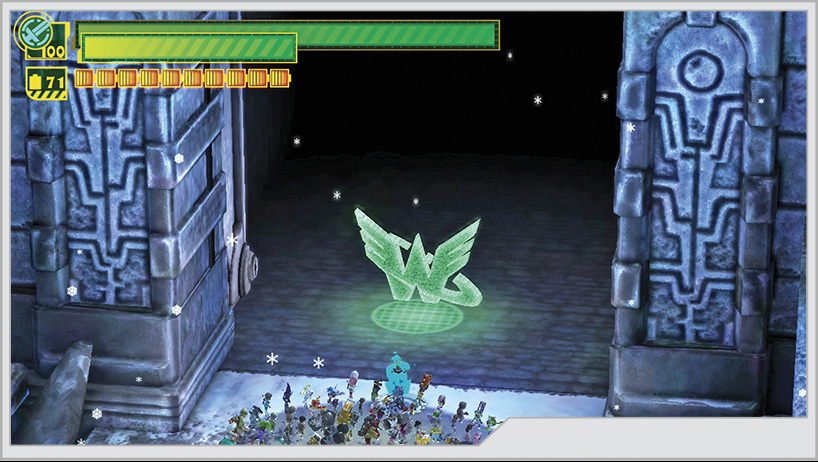
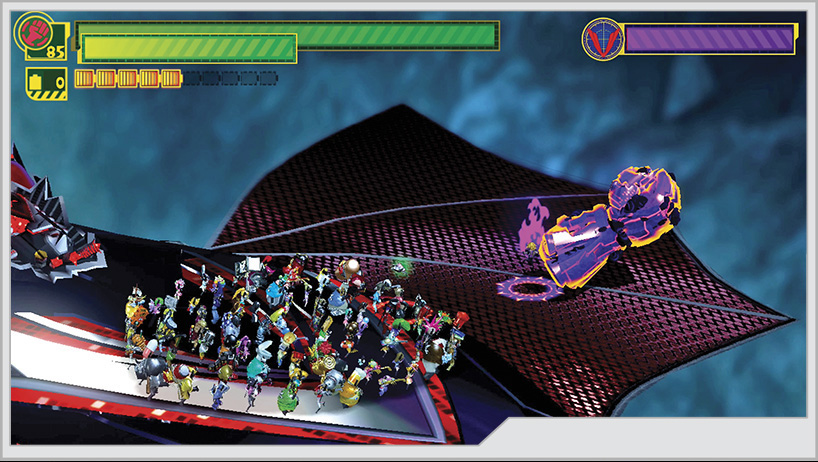
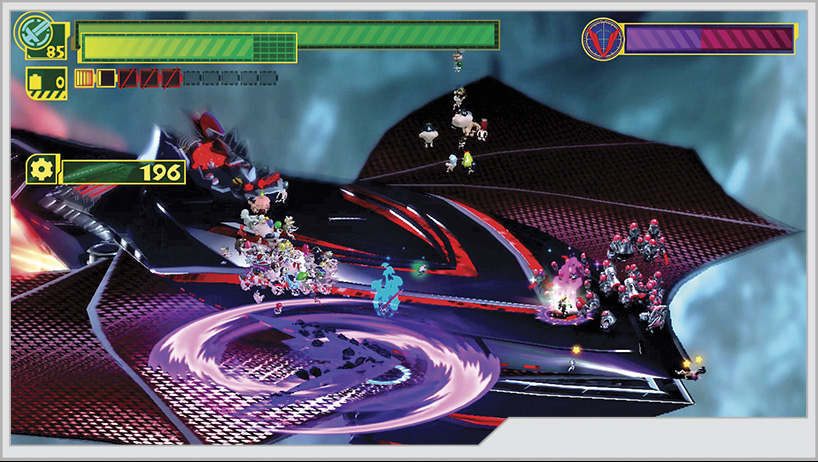
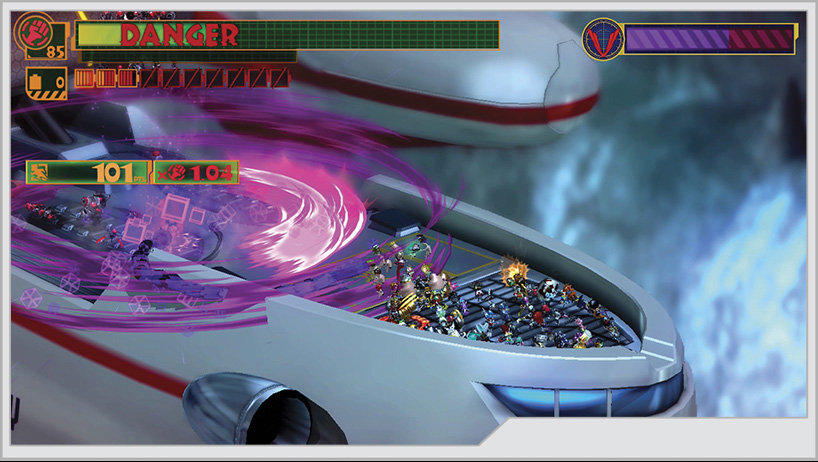
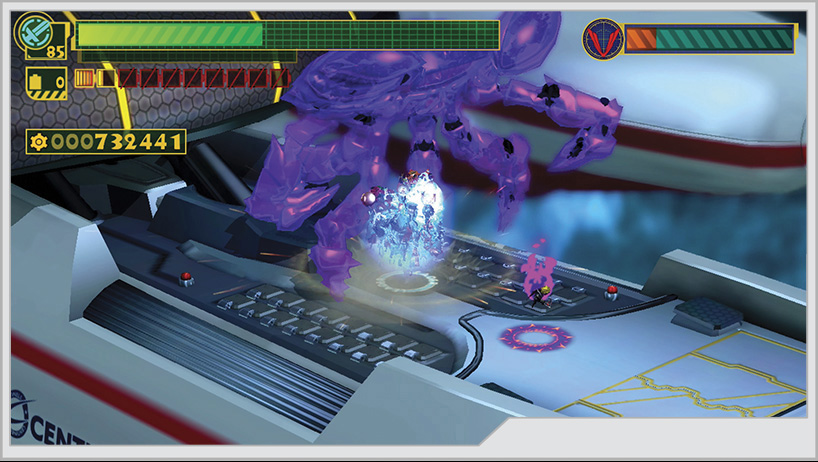
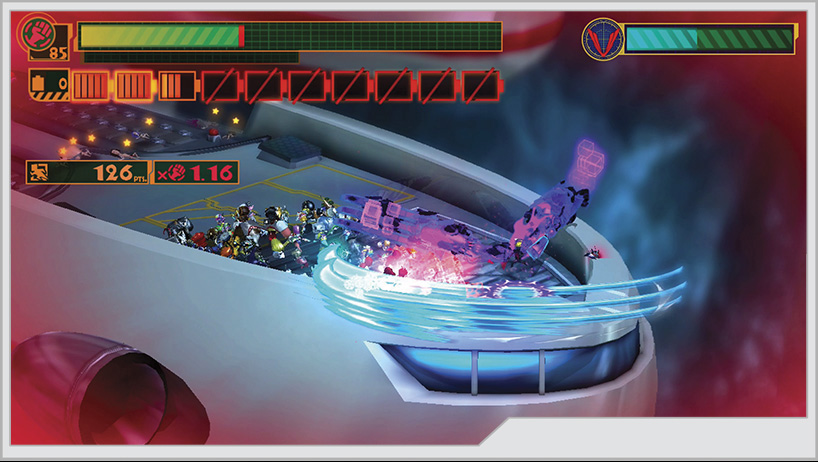
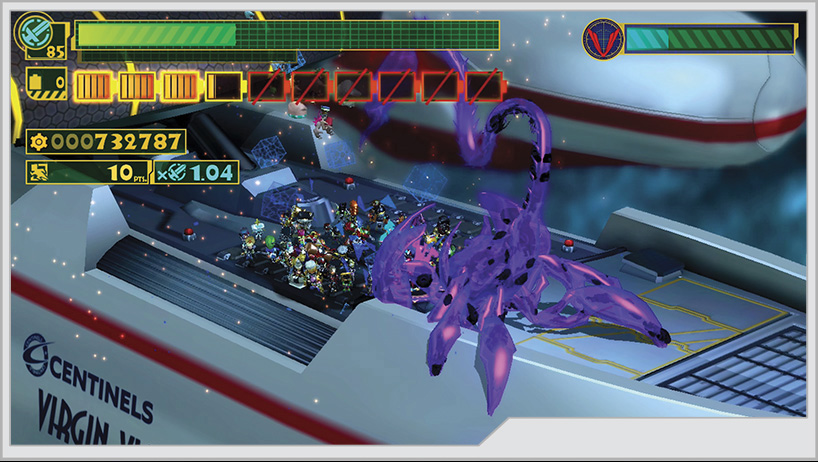
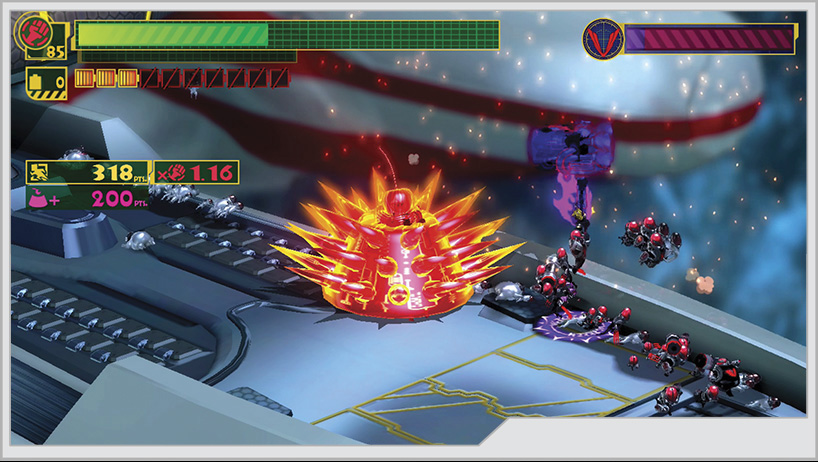
The last of the Super Reactors is buried deep under the antarctic in the lost city of Kowrule. This is the coolest location seen in the war against the GEATHJERK Federation. The Wonderful Ones must contend with low temperatures and the drama building inside the team with Luka’s presence and with Wonder-Blue’s extreme trust issues. Once again, the enemy has beaten Earth’s heroes to the punch. A fated duel in the name of justice awaits.
Operation 006-A
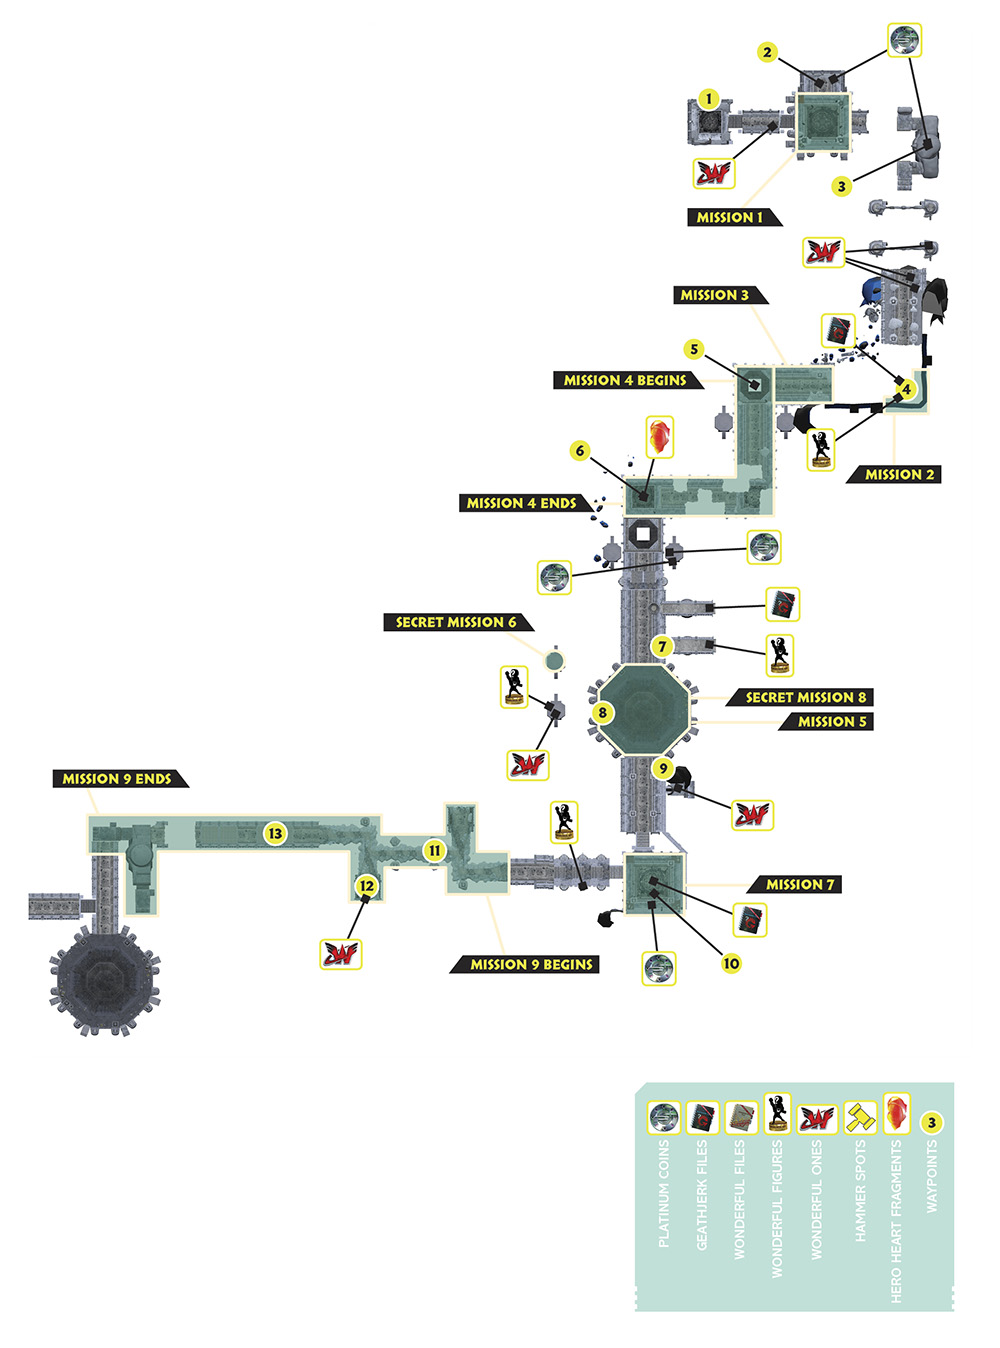
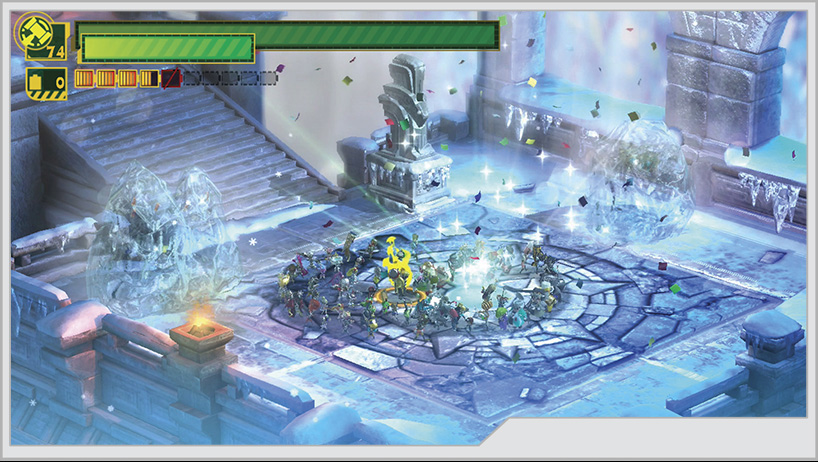
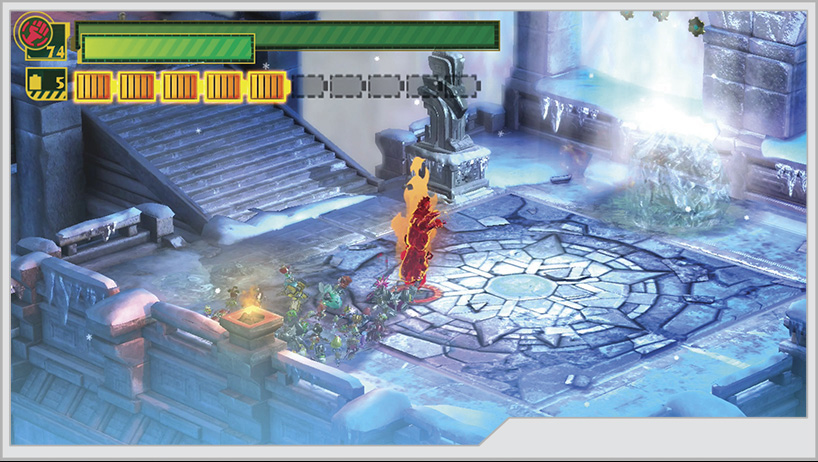
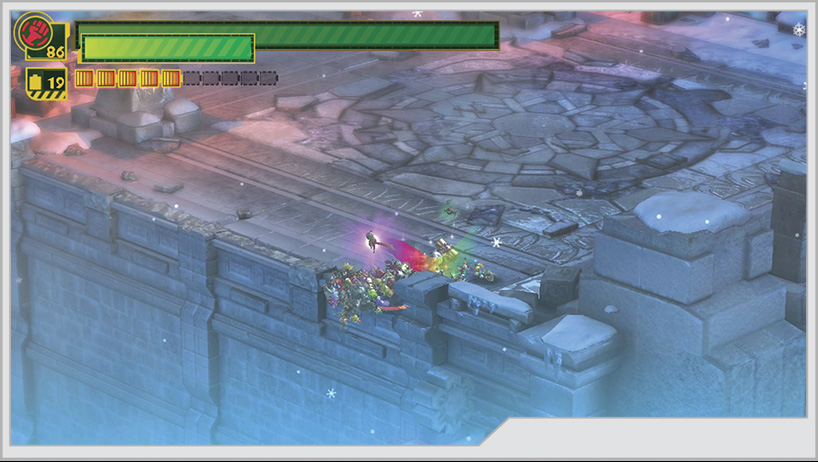
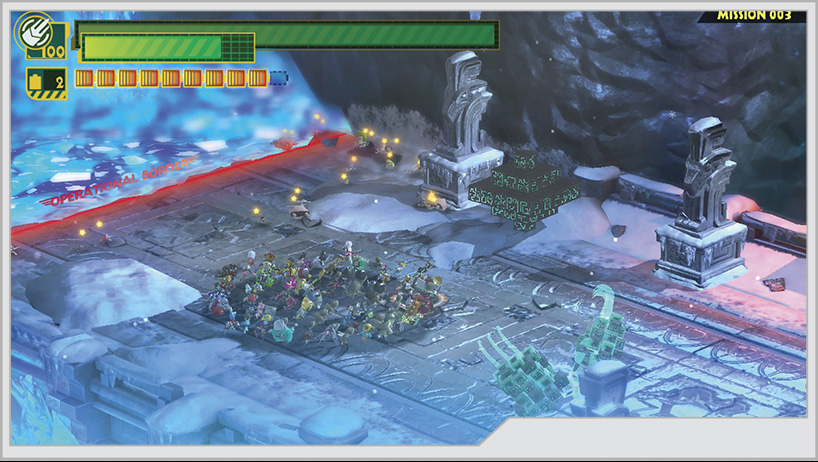
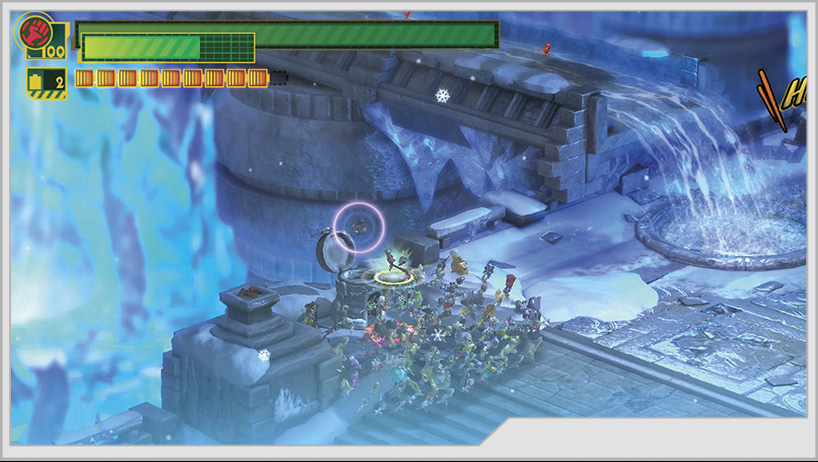
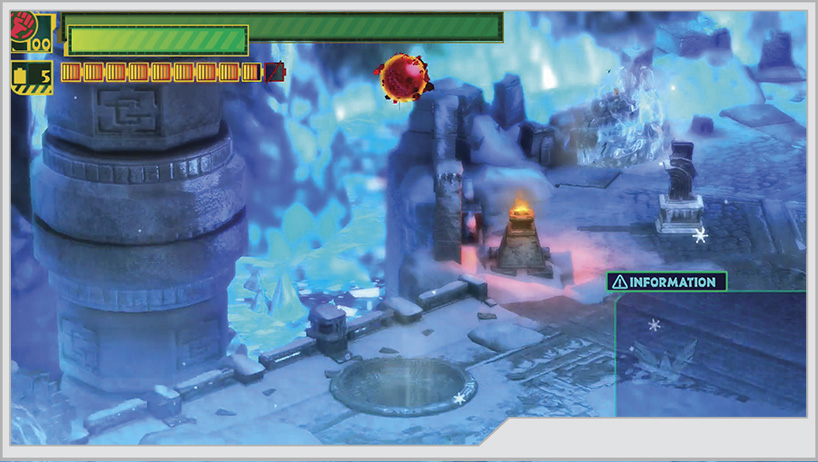
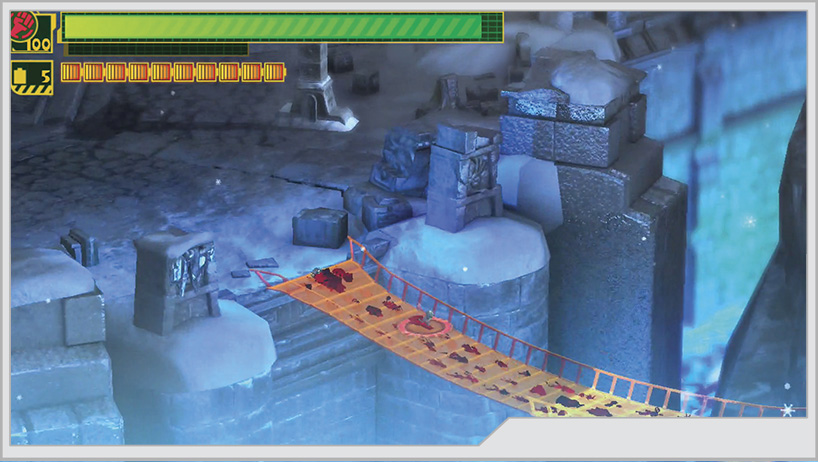
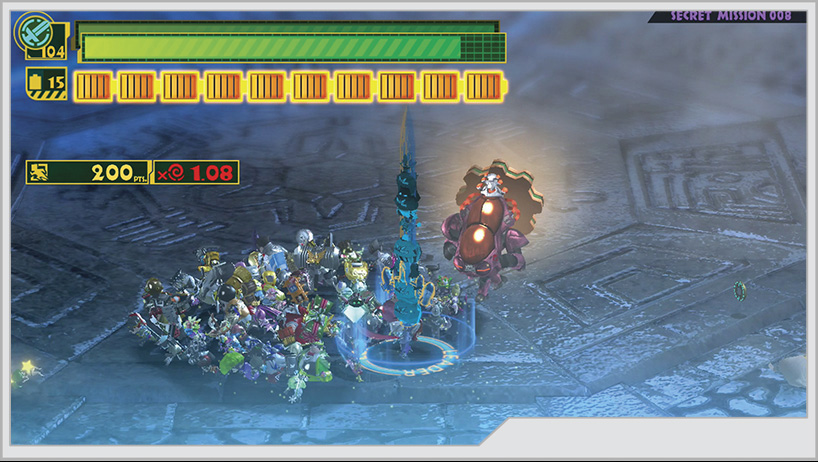
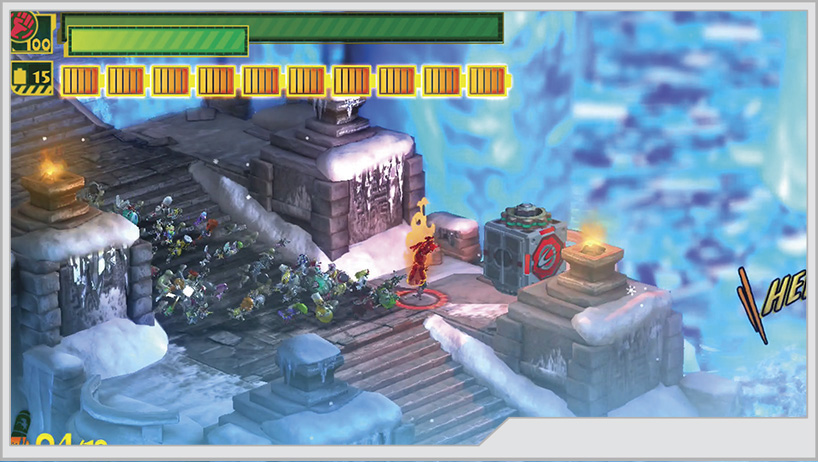
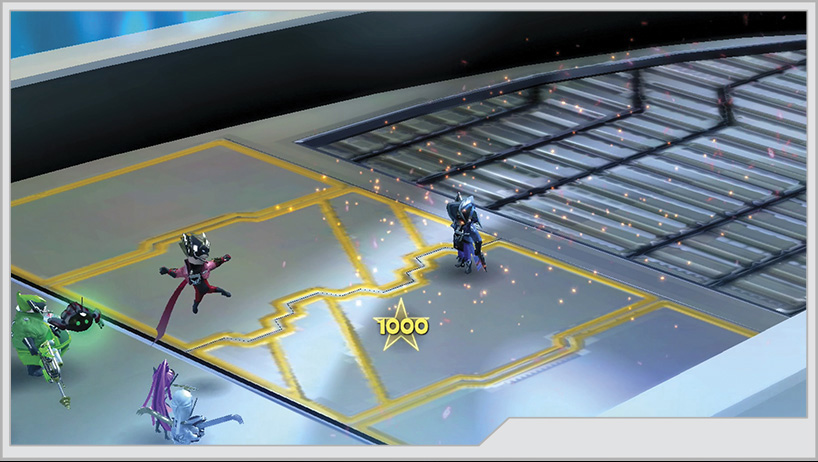
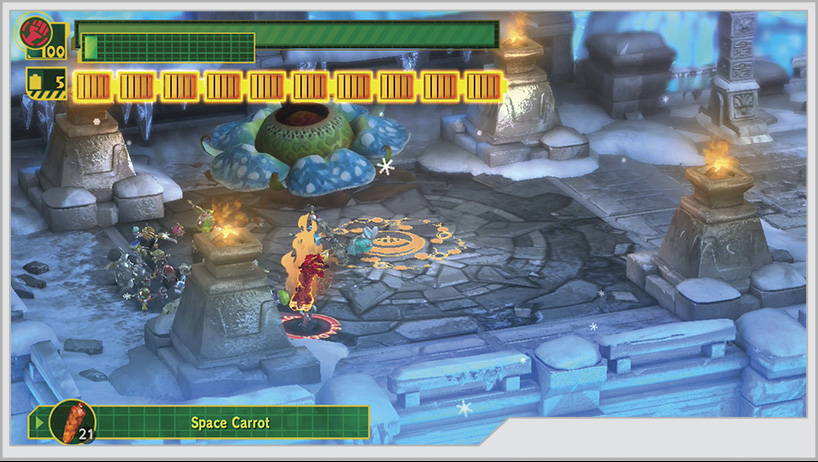
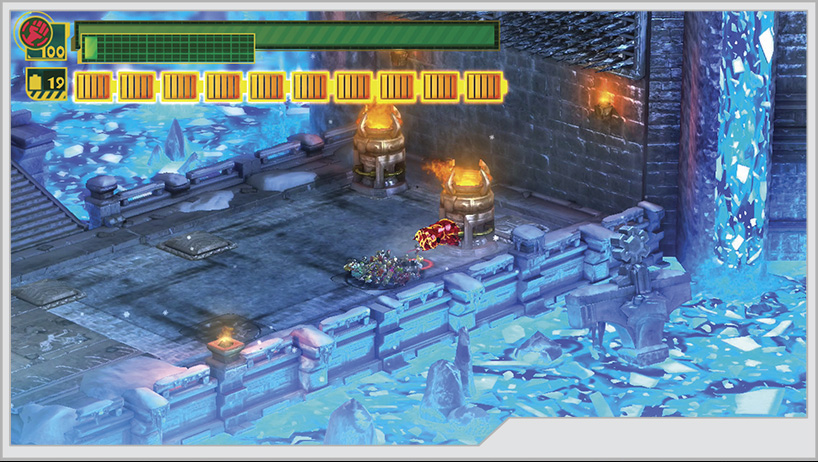
The moment you start, circle a Wonder-Liner at the center of the platform to reveal some hidden food. Next, note the nearby lit torch [1] and the large ice chunks throughout the area. You can collect the fire with Unite Hand and shoot fireballs at (or punch) the ice to free civilians or hidden items.
You can free Wonder-Ice Cream from an ice rock close to the start.
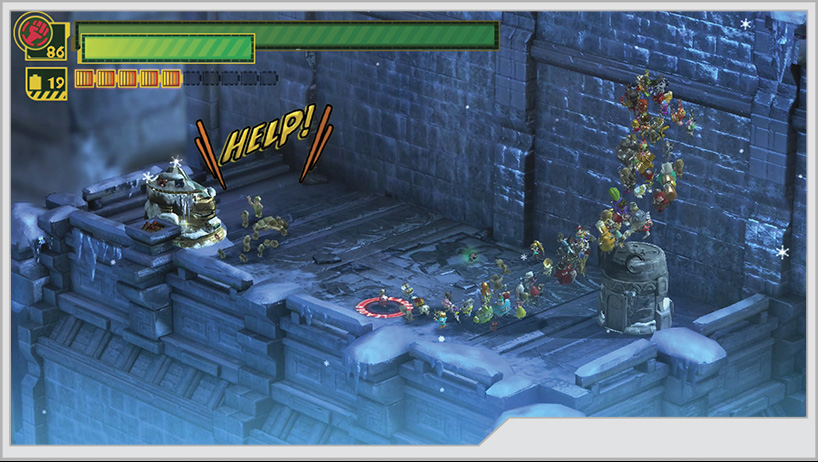
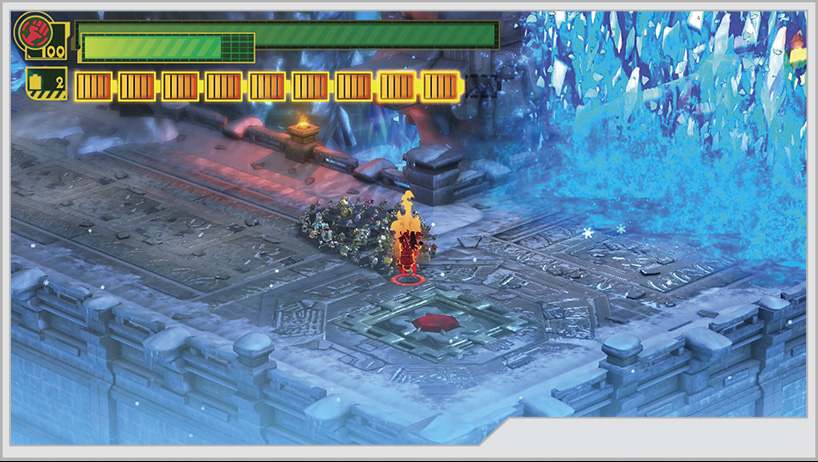
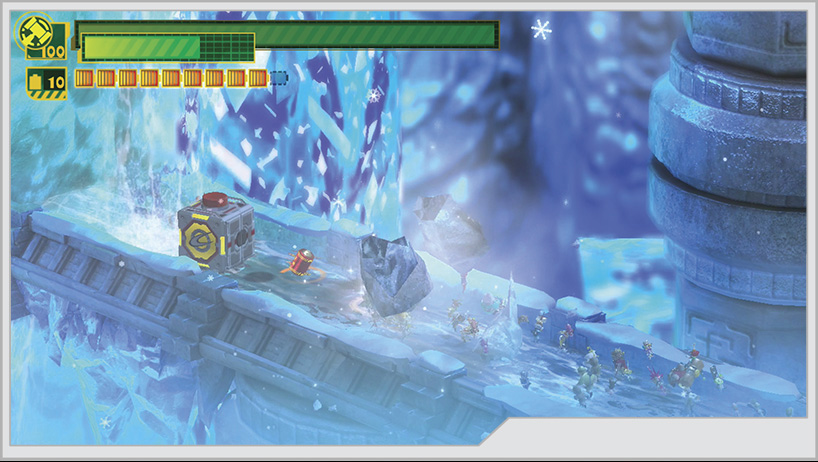
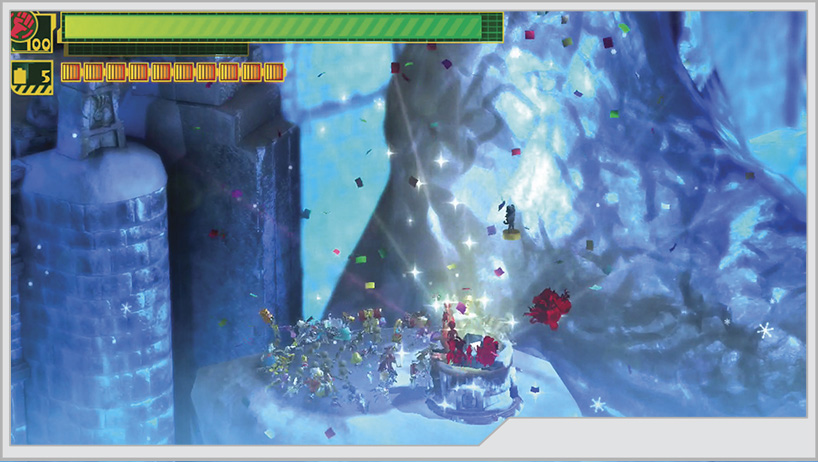
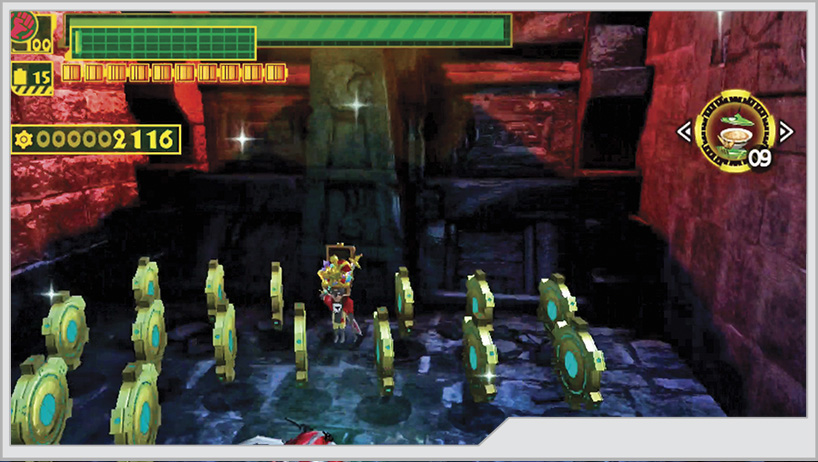
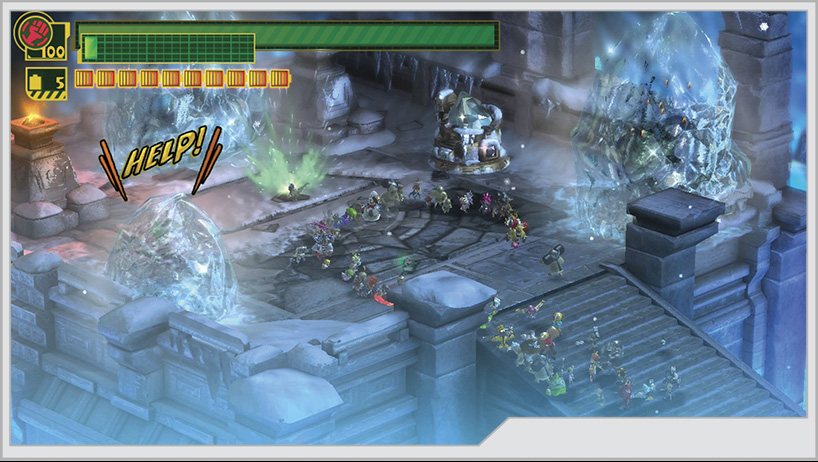
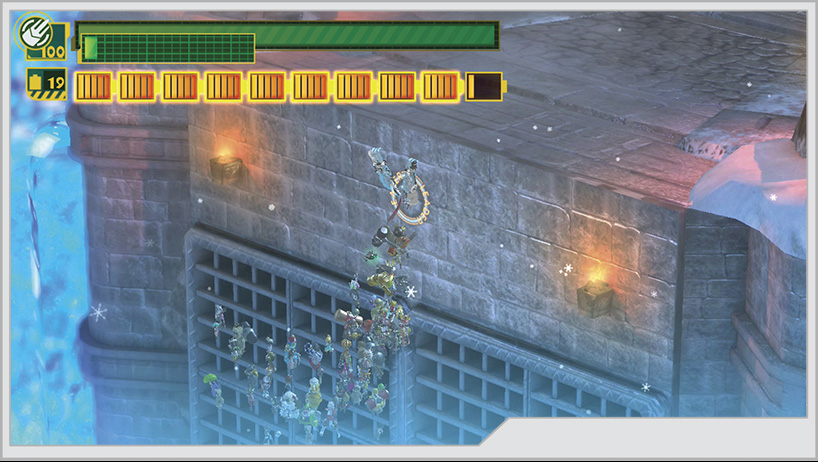
[2] After finishing Mission 1, jump off the left side of the arena to reach a hidden area. You can rebuild a treasure chamber with the Wonder-Liner for a Platinum Coin, while the nearby Wonderful Toilet contains a food item.
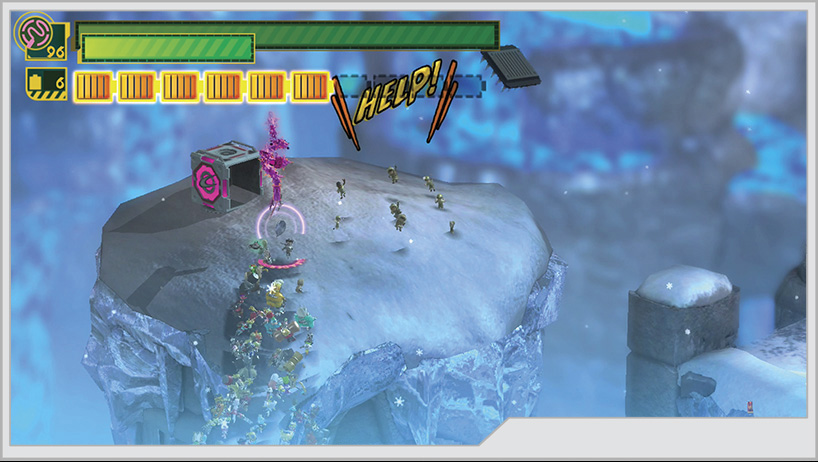
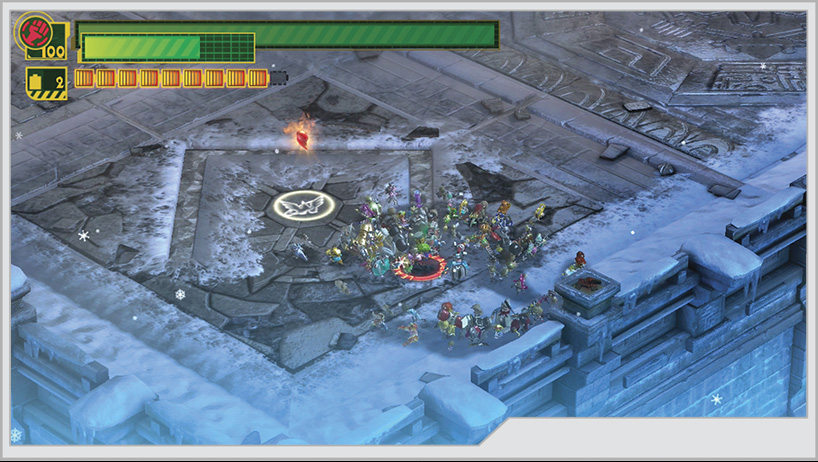
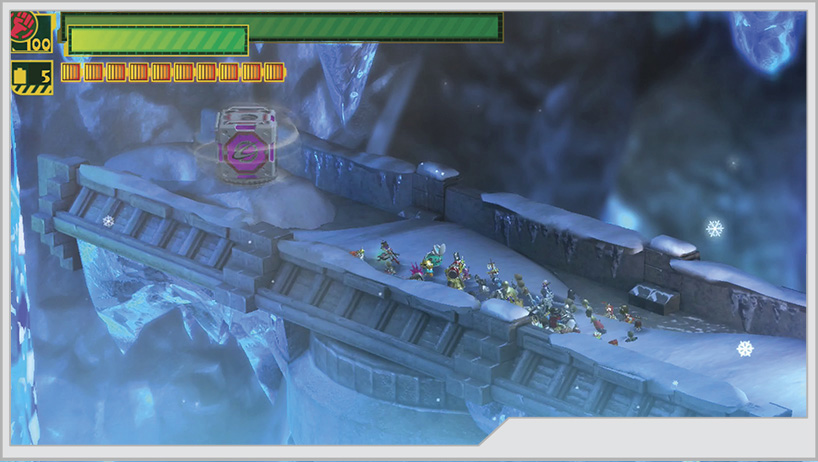
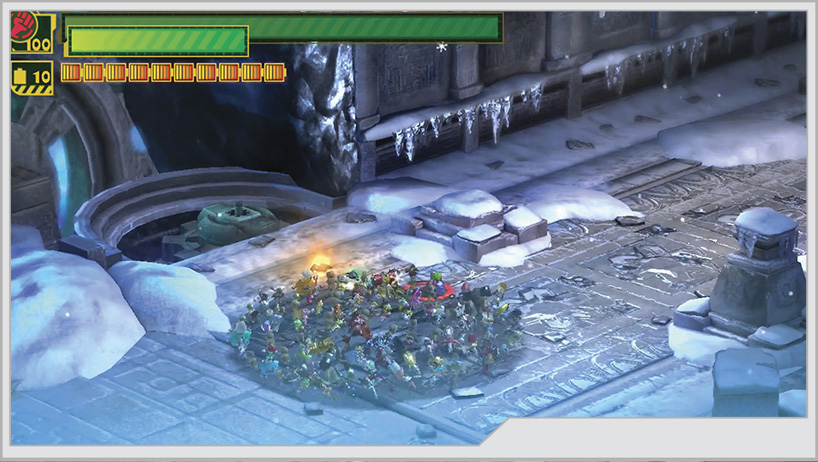
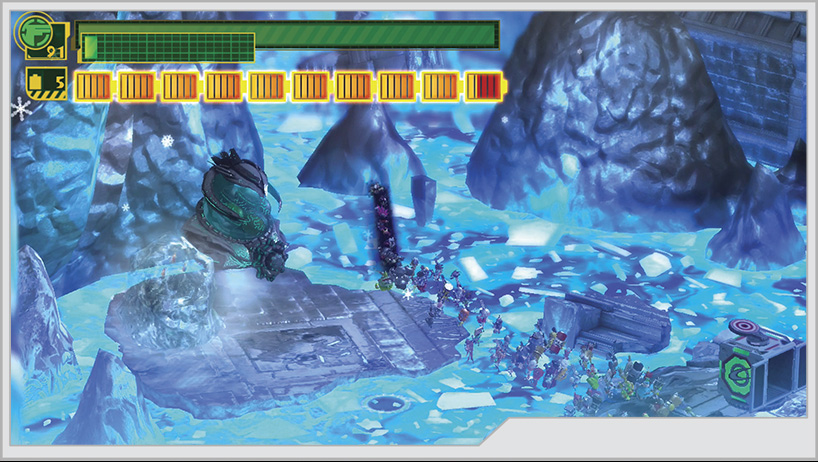
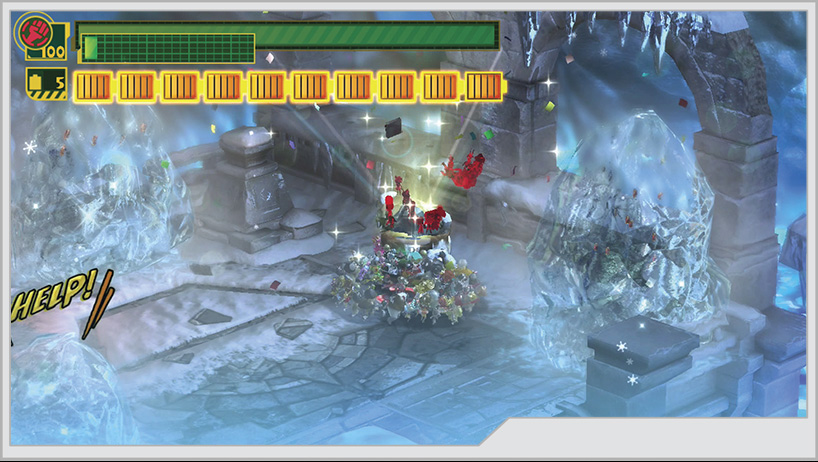
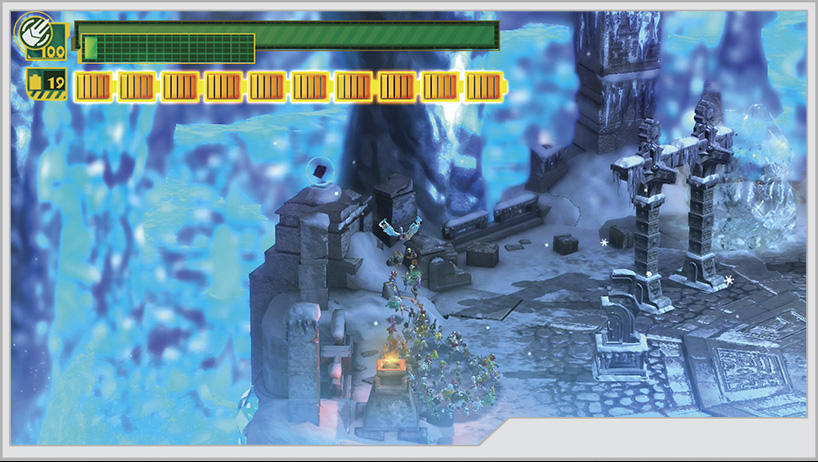
[3] After bridging across the gap from the Mission 1 arena to press onward, you can jump on top of a small ledge to rescue civilians and open a pink supply box containing a second Platinum Coin. Next, Unite Whip across the nearby chasm using a pair of hooks to reach another pathway. Near a Gatcha is a crowd of civilians, among whom is Wonder-Rabbit. Next, look back at the pillar holding up the second hook. If you send a Wonder-Liner around it, you can rescue the hero Wonder-Ghost, as he hovers at the top of the pillar. Lastly, twisting open the Gatcha will recruit Wonder-Dancer onto the team.
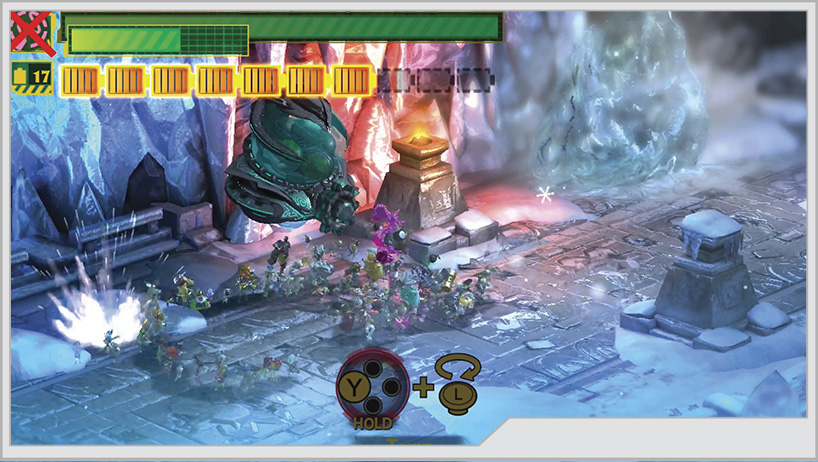
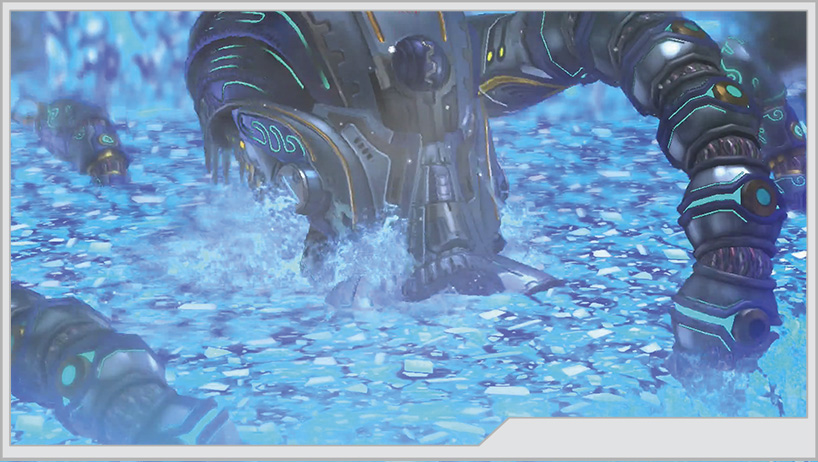
As you follow the path, a section of it is ripped apart by large mechanical tentacles. You have to Unite Claw along the wall over the water, which is cold enough to be as dangerous as lava. There are also waterfalls that will hurt you if you touch them.
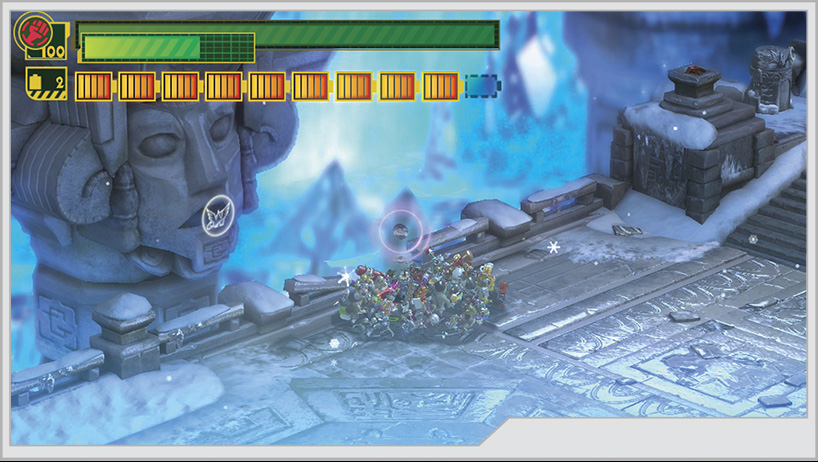
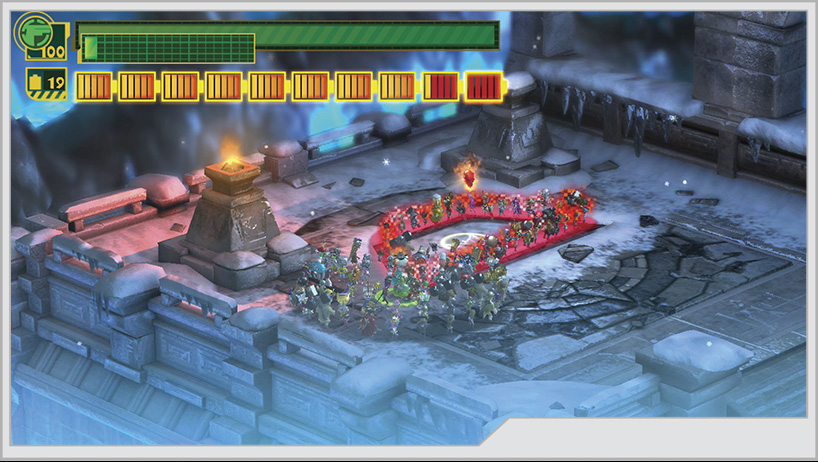
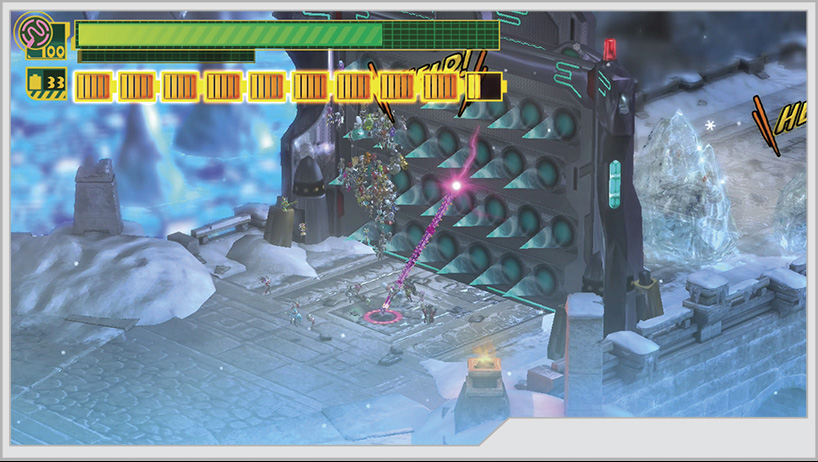
[4] After finishing Mission 2, drop down to a ledge near a small island with a treasure chamber on it, and destroy it for GEATHJERK File No. 25. Unite Hammer the spot it once occupied for Wonderful Figure No. 60. After this, keep climbing along the wall, taking care to avoid the waterfalls until you reach a safe pathway.
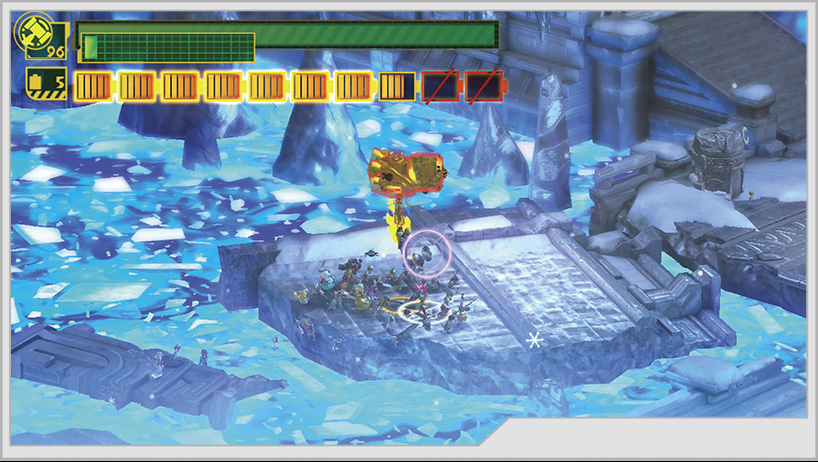
Mission 4 is very close by. [5] Walk onto the stone tile with a red gem on it to trigger the mission.
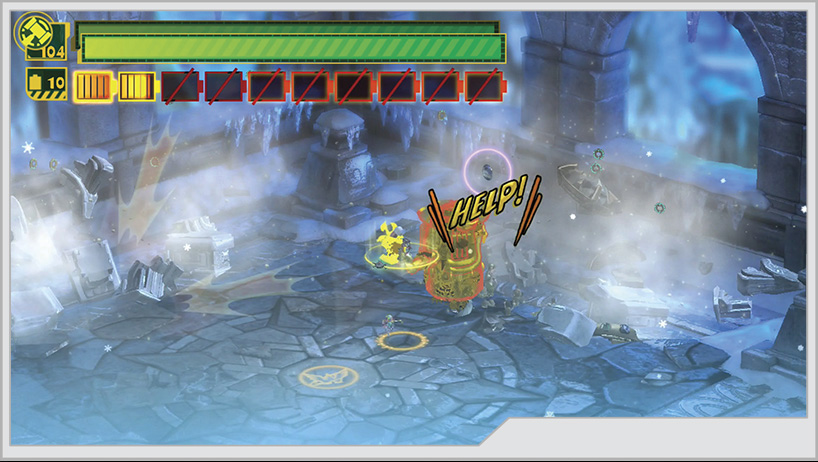
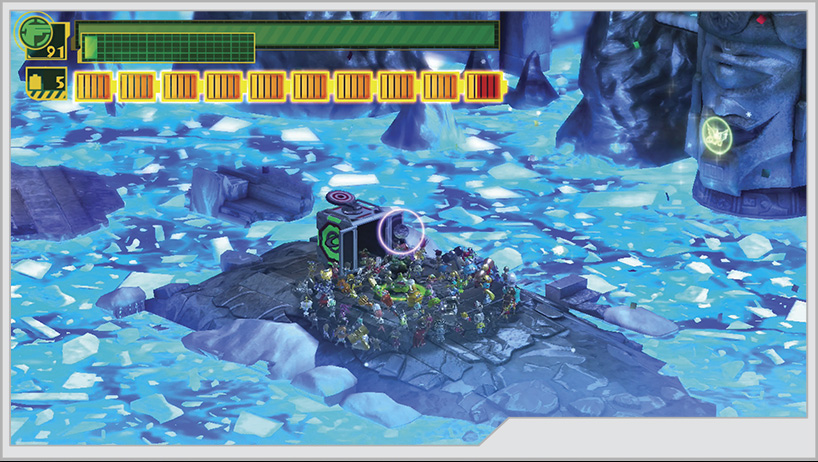
Once you’ve parked your cube, fall back a short distance to where the Diedough-Goo spawned [6]. You can trace a Wonder-Liner along a pattern on the ground to reveal a Hero Heart Fragment. Then, to the left of where you exited the cube, there is a statue with an open mouth you can send a Wonder-Liner into for a Platinum Coin. Another Platinum Coin can be found inside a nearby Wonderful Toilet.
Next to the Wonderful Toilet is a ramp filled with flowing water. With the Unite Hammer out, climb onto the ramp and walk against the current to reach a yellow supply box. Behind that box is a hammer spot containing GEATHJERK File No. 26.
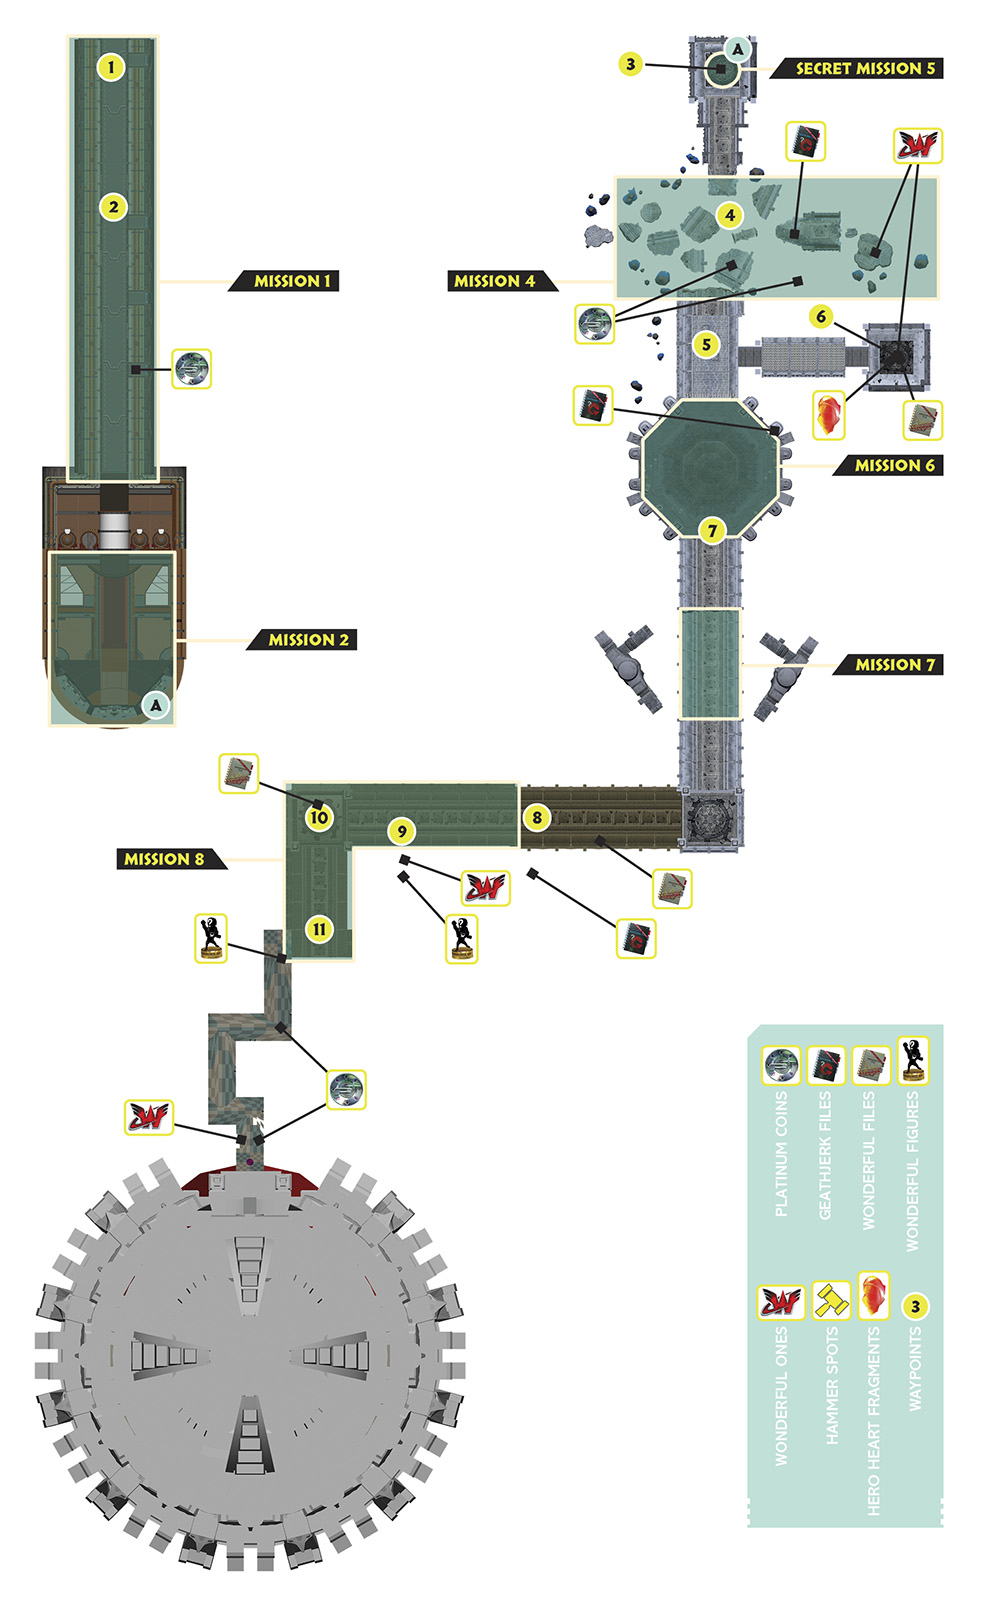
A short distance from the water ramp is an air hole you can roll into with Unite Ball [7]. The air flow will shoot you up near a ledge suspended high above the ground. You have to exit Unite Ball and air jump onto the ledge, then follow it to the end to find a black supply box. Inside it is Wonderful Figure No. 23.
On the right side of the Deah-Kani arena [8], you can extend a Wonder-Liner across a chasm to reach a small mesa, where you recruit Wonder-Pixie. Next to Wonder-Pixie is a small treasure chamber that you can rebuild to receive Wonderful Statue No. 24. Next, extend a Wonder-Liner to the southwest to locate a portal to Kahkoo-regah.
Secret Mission 6
Medal Requirements
| Element | Platinum | Gold | Silver | Bronze | Difficulty |
|---|---|---|---|---|---|
| Time | 1:00 | 1:20 | 1:40 | 2:00 | Normal |
| Time | 2:30 | 2:40 | 2:50 | 3:00 | Hard |
| Time | 2:30 | 2:40 | 2:50 | 3:00 | 101% Hard |
| Combo | 3000 | 2500 | 2000 | 1000 | Normal |
| Combo | 1500 | 1300 | 1000 | 800 | Hard |
| Combo | 1500 | 1300 | 1000 | 800 | 101% Hard |
| Damage | 0 | 1 | 2 | 3 | Normal |
| Damage | 0 | 1 | 2 | 3 | Hard |
| Damage | 0 | 1 | 2 | 3 | 101% Hard |
Enemies Present (Normal)
Doora, You-Hough x6
Enemies Present (Hard-101% Hard)
Surey Doora x3, You-Hough x6
Rewards for Completion
Normal Mode: Figure No. 69 Wonder-Treasure
Hard Mode: Figure No. 55 Wonder-Plane
101% Mode: Figure No. 103 Immorta
Fairly basic stuff at this point. Stay mobile so you don’t get surprised by the You-Houghs attacks, and go right after the Doora first. Consider opening the fight with a large Unite Bomb to soften the enemies up before you tear into them. If the You-Hough are a nuisance, use Team Attacks to bring them down to the ground before you finish them off.
Hard and 101% Hard Mode
The lone Doora is replaced by three Surey Dooras on these difficulty settings. This is not an easy fight to manage, even with liberal use of Unite Bombs. With this many Surey Dooras, you can’t allow yourself to get pinned down, and their speed means you can’t reliably trap them all with Unite Bombs. Expect to dodge a lot of throwing stars early in the fight. Hero Time, along with skilled use of Unite Spring, are vital tools to have at your disposal. Remember that Surey Dooras can parry and disrupt your Unite Morph attacks, so if you attack them outside of Unite Bomb or Hero Time effects, there’s a chance that they can scatter your team, which will only further slow your attempt at this fight.
The best advice here is to simply not get greedy. Outside of any time-dilation effects at your disposal, you are at a severe disadvantage against three Surey Dooras, and that’s further compounded on 101% Hard, where you don’t get any slowdown while drawing attacks with the Wonder-Liner. If a pair of Surey Dooras are in close proximity while slowed down, pick one and focus on it. If it dies, don’t immediately start attacking the next target unless you’re in a position to slow or stun it, as they can turn around and hit you in a split second.
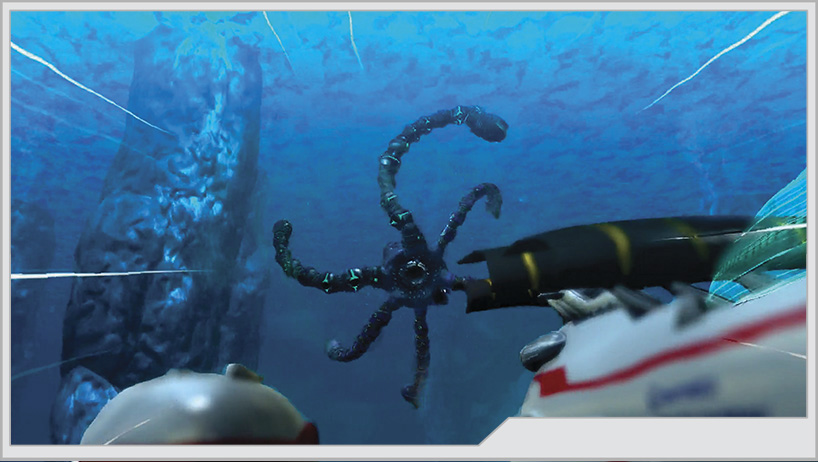
Team Attacks can be quite useful during this battle when combined with Unite Bomb, but keep in mind when setting up a stun for a juggle combo that Surey Doora have ranged attacks and are very adept at clipping you out of the air mid-combo with a throwing star.
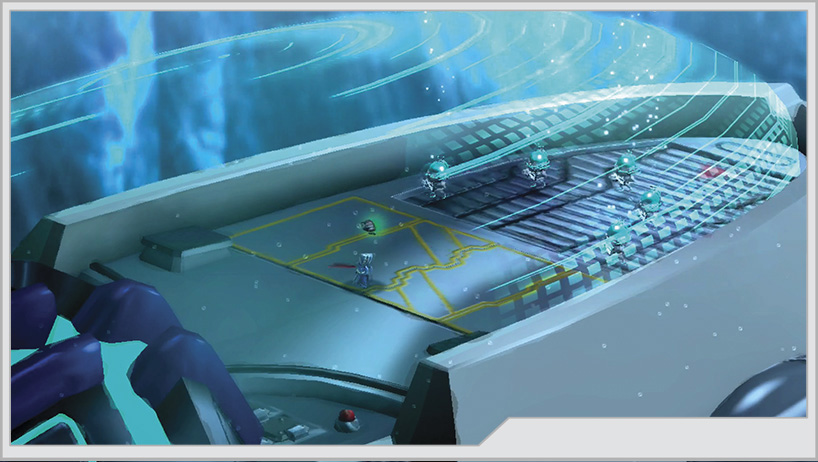
[9] Leaving behind the crab battle arena, you’ll pass by a machine that is missing the gear required to get it operational. You’ll be back for it later.
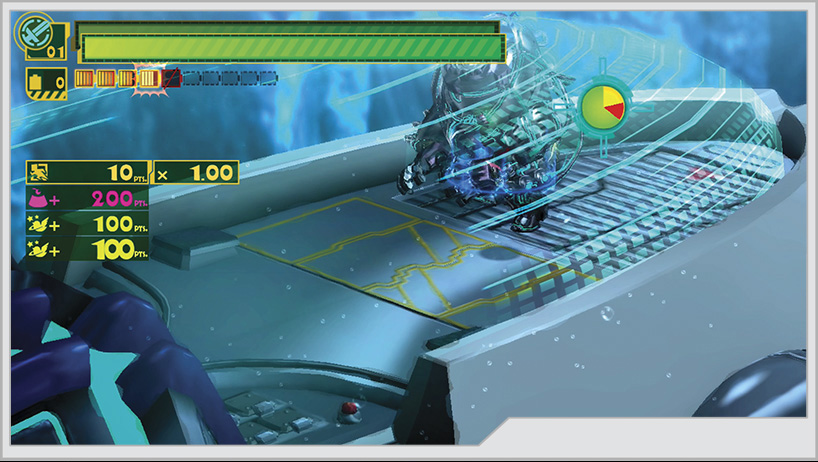
[10] Before Mission 7 begins, you can retrieve GEATHJERK File No. 40 and the fifth Platinum Coin with a single Unite Hammer swing. Make a 100-man Unite Hammer and hit the center of this area. You’ll pop the file out of the ground and destroy the nearby statue containing the coin.
Mission 7
Medal Requirements
| Element | Platinum | Gold | Silver | Bronze | Difficulty |
|---|---|---|---|---|---|
| Time | 1:50 | 2:10 | 2:30 | 2:50 | Very easy |
| Time | 1:40 | 2:00 | 2:20 | 2:40 | Easy |
| Time | 1:40 | 2:00 | 2:20 | 2:40 | Normal |
| Time | 1:40 | 2:00 | 2:20 | 2:40 | Hard |
| Time | 1:40 | 2:00 | 2:20 | 2:40 | 101% Hard |
| Combo | 1500 | 1200 | 800 | 500 | Very easy |
| Combo | 2000 | 1500 | 1000 | 500 | Easy |
| Combo | 3000 | 2500 | 2000 | 1000 | Normal |
| Combo | 4000 | 3000 | 2000 | 1000 | Hard |
| Combo | 5000 | 4000 | 3000 | 2000 | 101% Hard |
| Damage | 0 | 500 | 1000 | 2000 | Very easy |
| Damage | 0 | 500 | 1000 | 2000 | Easy |
| Damage | 0 | 500 | 1000 | 2000 | Normal |
| Damage | 0 | 1000 | 2000 | 4000 | Hard |
| Damage | 0 | 1000 | 2000 | 4000 | 101% Hard |
Enemies Present (All Difficulties)
Wave 1: Orgon
Wave 2: Orgon
This should be an easy battle, particularly after the Kahkoo-regah portal. The Orgon here come at you one at a time, so you will not have any interference when it comes to setting up juggle combos on them.
Note
After clearing Mission 7, return to the site of Mission 5’s crab battle for Secret Mission 8.
Secret Mission 8
Medal Requirements
| Element | Platinum | Gold | Silver | Bronze | Difficulty |
|---|---|---|---|---|---|
| Time | 2:00 | 2:20 | 2:50 | 3:20 | Very easy |
| Time | 2:00 | 2:20 | 2:50 | 3:20 | Easy |
| Time | 1:50 | 2:10 | 2:40 | 3:10 | Normal |
| Time | 2:20 | 2:40 | 3:00 | 3:40 | Hard |
| Time | 2:20 | 2:40 | 3:00 | 3:40 | 101% Hard |
| Combo | 3500 | 3000 | 2500 | 2000 | Very easy |
| Combo | 5000 | 4000 | 3000 | 2000 | Easy |
| Combo | 6000 | 5000 | 4000 | 3000 | Normal |
| Combo | 7000 | 6000 | 5000 | 2000 | Hard |
| Combo | 8000 | 7000 | 6000 | 5000 | 101% Hard |
| Damage | 0 | 500 | 1000 | 2000 | Very easy |
| Damage | 0 | 500 | 1000 | 2000 | Easy |
| Damage | 0 | 500 | 1000 | 2000 | Normal |
| Damage | 0 | 1000 | 2000 | 4000 | Hard |
| Damage | 0 | 1000 | 2000 | 4000 | 101% Hard |
Enemies Present (All Difficulties)
Wave 1: Tumeekey
Wave 2: Chew Dough-Goo
The hardest part about this mission isn’t just the fact that it opens up with a Tumeek; it’s that the time requirement is brutally strict if you’re aiming for Platinum. If you can’t put this guy away within a minute and a half, you’re already off track for the Platinum.
Then there’s the Chew Dough-Goo, which isn’t necessarily a threat except that it stalls for time with its dodge-rolls. This is why it’s so important to tear up the Tumeekey as quickly as possible; you have to account for these dodge shenanigans taking precious time off the clock. Once the Chew Dough-Goo goes down, the mission is over. To make things even faster, make the kill with Unite Sword so it splits in half and explodes right away.
The Chew Dough-Goo carried the gear you need to place on the machine at [9]. Twisting it opens a small door leading to a chamber that is displayed on your GamePad. You can collect a substantial number of O-Parts here, and more importantly, you can recruit Wonder-Treasure to the team.
Continuing forward from the Mission 7 area, you’ll come across a red supply box containing Wonderful Figure No. 71.
Mission 9
Medal Requirements
| Element | Platinum | Gold | Silver | Bronze | Difficulty |
|---|---|---|---|---|---|
| Time | 1:00 | 1:03 | 1:06 | 1:09 | Very easy |
| Time | 0:55 | 0:58 | 1:01 | 1:04 | Easy |
| Time | 0:50 | 0:53 | 0:56 | 0:59 | Normal |
| Time | 0:45 | 0:48 | 0:51 | 0:54 | Hard |
| Time | 0:40 | 0:43 | 0:46 | 0:49 | 101% Hard |
| Combo | 200 | 150 | 100 | 50 | Very easy |
| Combo | 200 | 150 | 100 | 50 | Easy |
| Combo | 400 | 300 | 200 | 100 | Normal |
| Combo | 400 | 300 | 200 | 100 | Hard |
| Combo | 500 | 400 | 300 | 200 | 101% Hard |
| Damage | 0 | 300 | 600 | 900 | Very easy |
| Damage | 0 | 300 | 600 | 900 | Easy |
| Damage | 0 | 200 | 400 | 600 | Normal |
| Damage | 0 | 200 | 400 | 600 | Hard |
| Damage | 0 | 200 | 400 | 600 | 101% Hard |
Enemies Present (All Difficulties)
Ohdarko
Oh look, it’s Vijounne! She’s still a horrible monster lady who wants to kill you. Armed with a new Ohdarko, she starts chasing you down a narrow path that is flanked by lethal ice water. You must stay ahead of her, as she’s causing the water to surge up behind you. If the water reaches you, you have to retry the section.
Ohdarko will occasionally plant a tentacle in your path. Waste no time removing them with Unite Sword or Unite Hand.
After the first tentacle [11], watch for civilians on a small platform to the right of the main path [12]. This group has Wonder-Dynamite hiding among them.
Another tentacle will eventually try to block your path. Afterward you will come across a series of spike traps [13]. Use Unite Bomb to slow them down. Another option is to have Hero Sense equipped, which will slow the action down and let you get to safety, but this is a bit riskier.
After surviving the spike trap gauntlet, you find a large statue that you must jump down to reach another pathway. Be careful during this leap—it’s easy to misjudge and fall into the ice water. Once you land on the path, one final tentacle sprouts up, standing between you and the exit.
Consumed by rage, Wonder-Blue rushes ahead of the group to confront Vijounne’s Ohdarko by himself, but this proves to be a trap. Commander Nelson orders the rest of the team to move on to the Super Reactor, while he orders Alice to plot a course into the sea to retrieve Blue and chase down Vijounne.
Operation 006-B
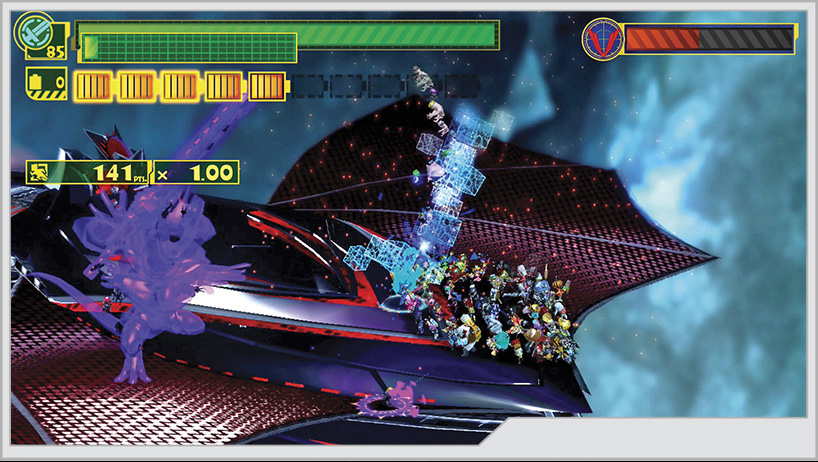
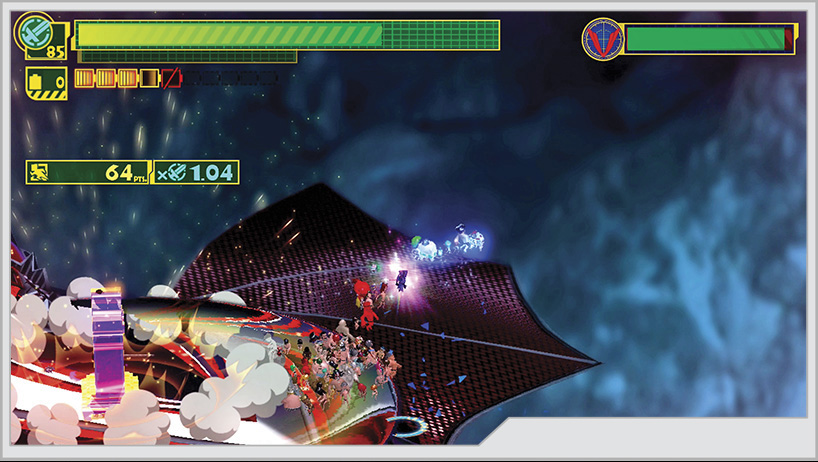
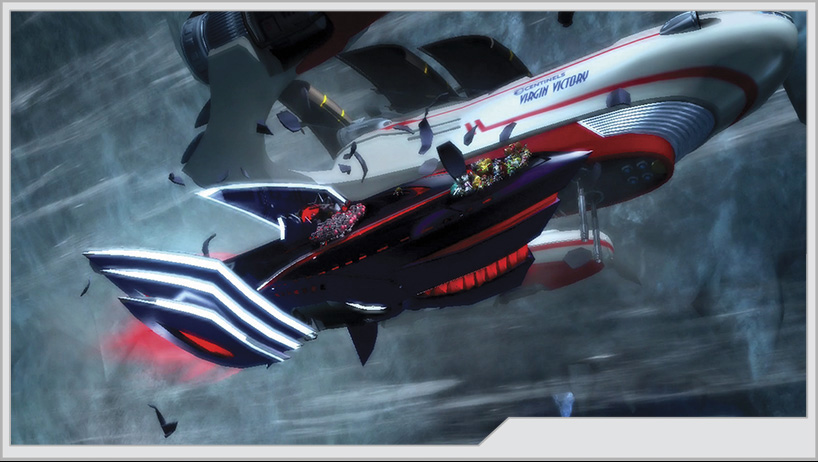
Wonder-Blue is retrieved by the Virgin Victory, but Vijounne’s Ohdarko manages a surprise attack and clasps tightly to the vessel. Controlling Blue, fend off the swarms of Dough-Goo (or a lone Diedough-Goo on Hard and 101% Hard), until Commander Nelson takes the story back in time, back to the climax of Earth Defense War 2.
Tearing through the skies in pursuit of justice, Wonder-Red (Emeritus) dives into the fray to protect the Earth’s last hope.
Mission 1
Medal Requirements
| Element | Platinum | Gold | Silver | Bronze | Difficulty |
|---|---|---|---|---|---|
| Time | 1:10 | 1:20 | 1:40 | 2:00 | Very easy |
| Time | 1:10 | 1:20 | 1:40 | 2:00 | Easy |
| Time | 1:10 | 1:20 | 1:40 | 2:00 | Normal |
| Time | 1:20 | 1:30 | 1:40 | 2:00 | Hard |
| Time | 1:20 | 1:30 | 1:40 | 2:00 | 101% Hard |
| Combo | 400 | 350 | 300 | 250 | Very easy |
| Combo | 450 | 400 | 350 | 300 | Easy |
| Combo | 500 | 450 | 400 | 350 | Normal |
| Combo | 1000 | 800 | 600 | 400 | Hard |
| Combo | 1500 | 1000 | 800 | 600 | 101% Hard |
| Damage | 0 | 200 | 400 | 600 | Very easy |
| Damage | 0 | 200 | 400 | 600 | Easy |
| Damage | 0 | 200 | 400 | 600 | Normal |
| Damage | 0 | 400 | 800 | 1500 | Hard |
| Damage | 0 | 800 | 1500 | 2000 | 101% Hard |
Enemies Present (All Difficulties)
Wave 1: Dough-Goo x5
Wave 2: Dough-Goo x5
Wave 3: Dough-Goo x5, Diedough-Goo
As soon as you gain control of Wonder-Red (Emeritus), dash forward until five Dough-Goo teleport in front of you. Punish them with Wonder-Red’s drill attack. Unlike the modern-day Wonder-Red, the one in this era used Unite Drill. Hold the drill in place by rapidly tapping the A button, but for now concentrate on quick combo hits. [1] Behind these troops, you can dive into an alcove on the left side of the corridor for extra O-Parts. Just be careful to avoid flames on the ground; running into them damages you and will cost you a Platinum rank for the mission.
Running a short distance forward from the first skirmish, another five Dough-Goo teleport in to try their luck [2]. As with the previous battle, there is an alcove with more O-Parts.
Another short jog forward is interrupted by a third squad of Dough-Goo, joined by a Diedough-Goo. In your haste to fight through them, don’t ignore the Platinum Coin that is inside another alcove, partly obscured by fire and debris.
Thankfully, the Diedough-Goo in this encounter is not at full strength, so he should go down fairly quick. Once the fight ends, quickly run up the stairs at the end of the corridor to complete the mission.
Once you’re in the control room of the aircraft, a traumatic event experienced by a young Will Wedgewood plays out in its entirety. Wonder-Red stands between the frightened child and the rampaging Laambo, the fate of the world riding on this battle.
Mission 2
Medal Requirements
| Element | Platinum | Gold | Silver | Bronze | Difficulty |
|---|---|---|---|---|---|
| Time | 4:00 | 4:40 | 5:10 | 5:40 | Very easy |
| Time | 3:50 | 4:30 | 5:00 | 5:30 | Easy |
| Time | 3:40 | 4:00 | 4:20 | 5:00 | Normal |
| Time | 2:40 | 3:00 | 3:20 | 4:00 | Hard |
| Time | 2:40 | 3:00 | 3:20 | 4:00 | 101% Hard |
| Combo | 1500 | 1200 | 800 | 500 | Very easy |
| Combo | 2000 | 1500 | 1200 | 800 | Easy |
| Combo | 2500 | 2000 | 1500 | 1000 | Normal |
| Combo | 3000 | 2500 | 2000 | 1500 | Hard |
| Combo | 4000 | 3500 | 3000 | 2500 | 101% Hard |
| Damage | 0 | 500 | 1000 | 2000 | Very easy |
| Damage | 0 | 500 | 1000 | 2000 | Easy |
| Damage | 0 | 500 | 1000 | 2000 | Normal |
| Damage | 0 | 1000 | 2000 | 4000 | Hard |
| Damage | 0 | 1000 | 2000 | 4000 | 101% Hard |
Enemies Present (All Difficulties)
Laambo, Dough-Goo
This is another fight with Laambo. He has no extra special tricks hidden up his sleeve. There is a slight problem, though: Wonder-Red is alone, and Laambo has constant Dough-Goo backup arriving at regular intervals. Fortunately you can turn things around by managing to score several hits on Laambo. This will cause him to drop a GEATH-Remote. Collect it to turn the Dough-Goo to your side.
From here on, the fight should more or less play out similar to your first encounters with Laambo and his brother Walltha. The Unite Drill, which you have full access to now, is the only Unite Morph attack at your disposal, but it should be more than enough. Be aggressive, get the drill in Laambo’s face, and try to keep drilling even if he’s blocking. The drill hits rapidly, as you might expect, which can break Laambo’s Dechno-Bo very quickly. He’ll keep dropping remotes, and you can build up your forces to keep improving your power.
You have the ability to use Unite Guts, Spring, Ball, and Tombstone, so don’t forget these moves during the fight. You also still benefit from any Custom Blocks you have equipped, so consider slapping on Hero Sense and Hero Time to take advantage of the slowdown they provide in tight situations.
After the fight with Laambo, the sadistic alien tries one last time to finish off Wonder-Red (Emeritus). Repel him with Unite Drill and bring this duel to a decisive end!
Mission 3
Medal Requirements
| Element | Platinum | Gold | Silver | Bronze | Difficulty |
|---|---|---|---|---|---|
| Time | 13:40 | 14:00 | 14:20 | 15:00 | Very easy |
| Time | 13:40 | 14:00 | 14:20 | 15:00 | Easy |
| Time | 13:40 | 14:00 | 14:20 | 15:00 | Normal |
| Time | 13:40 | 14:00 | 14:20 | 15:00 | Hard |
| Time | 13:40 | 14:00 | 14:20 | 15:00 | 101% Hard |
| Combo | 6000 | 4000 | 2000 | 1000 | Very easy |
| Combo | 8000 | 6000 | 4000 | 2000 | Easy |
| Combo | 10000 | 8000 | 6000 | 4000 | Normal |
| Combo | 12000 | 10000 | 8000 | 6000 | Hard |
| Combo | 14000 | 12000 | 10000 | 8000 | 101% Hard |
| Damage | 0 | 1000 | 2000 | 4000 | Very easy |
| Damage | 0 | 1000 | 2000 | 4000 | Easy |
| Damage | 0 | 1000 | 2000 | 4000 | Normal |
| Damage | 0 | 1000 | 2000 | 4000 | Hard |
| Damage | 0 | 1000 | 2000 | 4000 | 101% Hard |
Enemies Present (All Difficulties)
Megang, Kaizor Diejeah, Envan, Kaizor Ohrowchee, Notoriyeah, Cough-Foon, Deah-Kani, Ohdarko
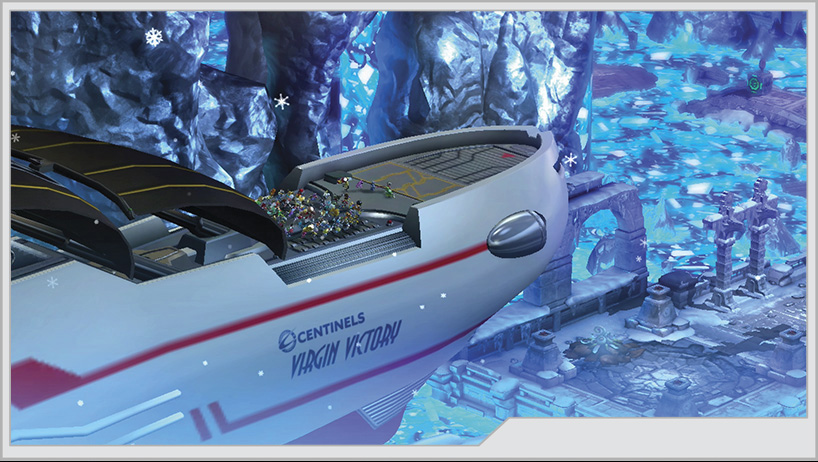
Back in the present, the Ohdarko threatens to crush the Virgin Victory but is saved by the timely intervention of Immorta and the rest of the Wonderful 100. As Vijounne retreats, the team hotly pursues. This starts a very different section of gameplay. The camera takes up an isometric angle, and you must guide the ship through waves of incoming enemies and around obstacles on the flight path.
Flying next to the Virgin Victory is Immorta’s stolen Gah-Goojin. She will provide additional firepower during this battle and can even melee strike enemies that get close to her.
As you fly through the level, you find power-ups for two types of primary weapons. Red P-Boxes power up your starting spread shot, which is the ideal weapon for higher difficulty settings because you can guarantee that you’ll hit just about anything in front of you. The other weapon comes from Blue P-Boxes, a powerful laser that penetrates multiple targets in a line but has a delay between shots. You can only have one primary weapon at a time, and collecting a different colored P-Box will start you at the bottom of that weapon’s upgrade chain.
We really recommend the spread shot, just to take the stress out of moving into position directly in front of the enemy to hit them. However, later difficulties boost the enemy health levels to such a degree that the power of an upgraded laser can offset the risk of having to put yourself into the line of fire just to fight back.
Tip
The primary weapons can be powered up three times.
You can also collect missile power-ups, giving you the ability to fire missiles, which will home in on nearby targets for additional damage.
You can wrap a Wonder-Liner around Gaia Defense Army fighter planes to recruit them to your formation. Unlike the Gah-Goojin, which can take unlimited amounts of punishment, the GDA fighters tend to die in a single hit, so it can be hard to keep them around farther into the level.
Caution
This is a long mission, and on higher difficulties the Virgin Victory simply can’t sustain all that much damage. A single Cough-Foon shot can almost destroy the ship even on Normal mode, but you have some time to get out of the beam’s path. On Hard and 101% Hard, you might be dead before you can properly react.
During this mission, you also have the ability to use your Unite Morphs—use it to fight the enemy, open special doors, or destroy obstacles in your path. Most importantly, with Unite Guts, you can absorb enemy bullets to heal any damage you sustained. Of course, certain attacks, like the Cough-Foon’s beam, will go right through it.
You don’t have Unite Spring, but pressing that button will cause the Virgin Victory to perform a loop. You can reach out-of-the-way items and avoid enemy fire this way.
Early on, you’ll face waves of GEATHJERK fighters coming at you in a line, while Megang rush onto the screen from behind. One of the greatest threats to your ship is crashing into enemies, and they don’t always come onto the playing field conveniently from in front. It’s best to stay away from the edges of the screen.
After opening the first door with Unite Hand, you’ll be attacked by a swarm of Tumeekeys that are trying to ram you. Unite Hand can make short work of them as they close in. Not long after you deal with them, a Kaizor Diejeah will charge onto the scene. Try to kill it quickly for the O-Parts, and so it can’t annoy you alongside the other approaching threats.
A consistent obstacle to be aware of are the pillars that shoot out from the ground at set intervals. Typically you’ll also be fighting multiple enemies while navigating these obstacles, but there are sections that place water jets on either side of the flight path, which can push you into the pillars or other enemies.
The action slows down a bit when you reach a narrow corridor with several crushers occasionally slamming down through it. Take this section slowly and patiently so you don’t accidentally rush underneath the crushers as they are coming down.
Just past the crusher corridor is a large ambush from an Envan, a Kaizor Diejeah, and a number of Notoriyeah and Cough-Foon. By now you either have a fully upgraded laser or spread shot, so those weapons, combined with defensive flying, should keep you safe. Beyond this is a door requiring Unite Claw to open.
The section beyond the Unite Claw door is cordoned off by numerous obstacles. You can cut through the chains with Unite Sword, and the spike barriers can be removed with Unite Whip. More dangerous here is the presence of Cough-Foon on either side of the area.
Watch out for the thrusting pillars and the moving water jets in this section. You don’t have a lot of room to maneuver here.
There are multiple doors that can be opened in this section, leading to passageways that are protected by crushers. There’s no correct path to take, and all will require patience to navigate if you don’t want to get squashed while the action slowly scrolls forward.
This rapidly rotating chamber has one entrance and exit. In order to safely pass through, you need to use the power of the Unite Bomb. Be careful about the trench beyond this trap, as multiple enemy fliers will try to ambush you there.
Ohdarko, the giant enemy mechanical octopus, is now approaching. Gun it down before it overwhelms you with its arsenal. It still possesses many of the same weapons you previously encountered while fighting it on foot, such as the lightning gun (which can be absorbed with Unite Sword), the beam cannon from its face (which can be reflected with Unite Sword), and the Gatling gun (just get out of the way). Ohdarko will also occasionally slam its tentacles on the ground in an attempt to crush you and will occasionally spew curtains of bullets that can be absorbed with Unite Guts.
As Ohdarko gets low on health, it will start using its beam cannon more often, while also bombarding the area with missiles strikes indicated by red target sights on the ground. Keep Unite Sword at the ready to deal with the beam, and keep shooting! When its health is completely drained, Ohdarko runs off for one last beam cannon gambit, which you must counter with Unite Sword to end the battle.
Tip
There is a special achievement available during this shooter segment. If you destroy 170 enemies, you earn the Shmup To No Good Achievement. The spread shot can make this easier to reach, especially when fully powered up.
In the aftermath of Vijounne’s defeat, Blue asks to be punished for his insubordination. Make the biggest Unite Hand you possibly can, and impart wisdom and friendship upon him. Violently. After you’ve finished befriending him, it’s time to move on.
The Virgin Victory drops the team off inside another ruined temple [3]. Remember to come back here after Mission 4; a portal to Kahkoo-regah will appear.
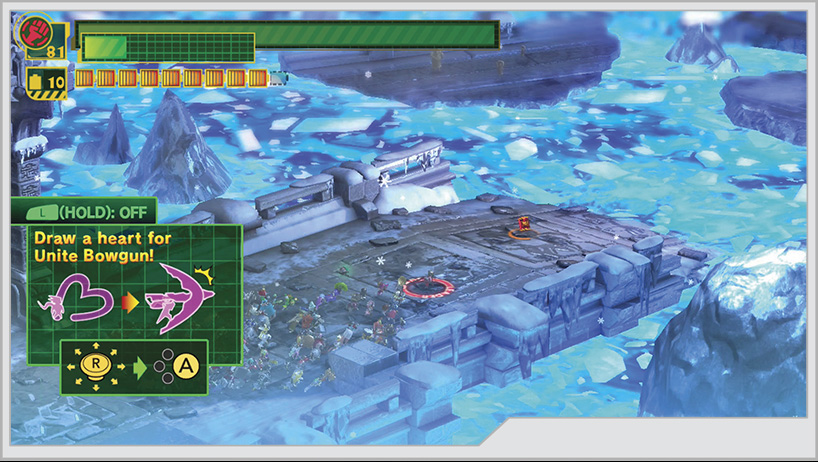
As you approach the ice water, you’re given a short tutorial on how to use Immorta’s Unite Bow. This weapon has the unique ability to charm enemies it strikes, which can help weaken otherwise stubborn opponents and prevent them from attacking.
Mission 4
Medal Requirements
| Element | Platinum | Gold | Silver | Bronze | Difficulty |
|---|---|---|---|---|---|
| Time | 1:10 | 1:20 | 1:40 | 2:00 | Very easy |
| Time | 0:50 | 1:00 | 1:20 | 1:40 | Easy |
| Time | 0:40 | 0:50 | 1:10 | 1:40 | Normal |
| Time | 0:35 | 0:45 | 1:00 | 1:30 | Hard |
| Time | 0:30 | 0:40 | 1:00 | 1:30 | 101% Hard |
| Combo | 1000 | 800 | 600 | 400 | Very easy |
| Combo | 1000 | 800 | 600 | 400 | Easy |
| Combo | 1000 | 800 | 600 | 400 | Normal |
| Combo | 1500 | 1300 | 1100 | 900 | Hard |
| Combo | 2000 | 1800 | 1600 | 1400 | 101% Hard |
| Damage | 0 | 300 | 600 | 1000 | Very easy |
| Damage | 0 | 300 | 600 | 1000 | Easy |
| Damage | 0 | 300 | 600 | 1000 | Normal |
| Damage | 0 | 600 | 1200 | 2000 | Hard |
| Damage | 0 | 600 | 1200 | 2000 | 101% Hard |
Enemies Present (All Difficulties)
You-Hough, Hoedown
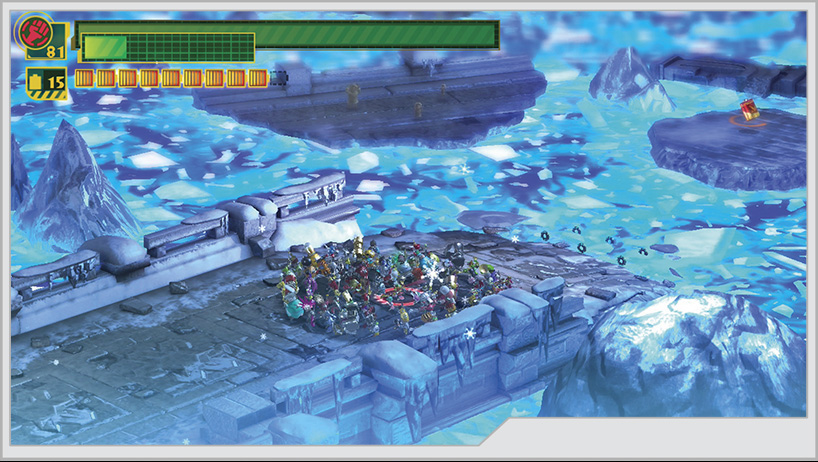
As you jump to the central floating platform of this zone [4], a small squad of You-Hough and a lone Hoedown greet you. Unite Guts the Hoedown’s shells to return to sender, while you Unite Bow the annoying You-Houghs out of the air. Arguably the real threat is accidentally falling into the ice water and costing yourself the Platinum rank and some health.
Before returning to the starting point of this map for the Kahkoo-regah portal, do some item collection. GEATHJERK File No. 27 can be located inside a green supply box. Next to the box, extend a Wonder-Liner into the mouth of a nearby statue head for a Platinum Coin. On another small island to the northwest, you can open up a Gatcha to rescue Wonder-Yeti.
The last item to collect is another Platinum Coin hidden on the platform closest to the far side of the ice. You must use Unite Hammer to break it free. Once this is all done, head back to the start point of this area to take care of business in Kahkoo-regah. You must collect fire with Unite Hand, then light up the torches at the starting area to take on the challenge.
Secret Mission 5
Medal Requirements
| Element | Platinum | Gold | Silver | Bronze | Difficulty |
|---|---|---|---|---|---|
| Time | 1:00 | 1:20 | 1:40 | 2:00 | Normal |
| Time | 2:30 | 3:00 | 3:30 | 4:00 | Hard |
| Time | 2:30 | 3:00 | 3:30 | 4:00 | 101% Hard |
| Combo | 4000 | 3000 | 2000 | 1000 | Normal |
| Combo | 5000 | 4500 | 4000 | 3500 | Hard |
| Combo | 5000 | 4500 | 4000 | 3500 | 101% Hard |
| Damage | 0 | 1 | 2 | 3 | Normal |
| Damage | 0 | 1 | 2 | 3 | Hard |
| Damage | 0 | 1 | 2 | 3 | 101% Hard |
Enemies Present (Normal)
Wave 1: Hah-Gonay x2
Enemies Present (Hard–101% Hard)
Wave 1: Ankho x2
Rewards for Completion
Normal Mode: Figure No. 56 Wonder-Pixie
Hard Mode: Figure No. 17 Wonder-Vegetable
101% Mode: Figure No. 104 Wonder-Red (Emeritus)
Another demanding challenge, this Kahkoo-regah mission gives you only ten heroes to work with and limits you to using ten Unite Morphs total, while sending you up against two Hah-Gonay. Wail and gnash your teeth as much as you feel necessary.
Fortunately there are ways to stack the fight in your favor. With Unite Morphs so limited, having Hero Sense and Hero Time is a huge help in keeping out of harm’s way. Additionally, there are a variety of supply boxes scattered around the field, all containing weapons that you can normally find after defeating certain enemies. These weapons can rip through the Hah-Gonay way faster than a 10-man Unite Morph could ever hope to, so exploit these items to the fullest extent, conserving Unite Morph uses for emergency Unite Springs or Guts. Try to engage the enemy one at a time, and always be ready to run if it looks like you don’t have enough Unite Gauge to trigger Hero Sense.
Hard and 101% Hard Mode
On these settings, you face off against a pair of Ankho, while dealing with the same limitations imposed upon you in the easier difficulties. This can be extremely challenging. The same basic strategies work here, though; your opponents are simply more versatile and dangerous. Use Hero Sense and Hero Time to stay out of harm’s reach, then use your weapon of choice.
Do what you can to attack the Ankho one at a time, and don’t get greedy. For whatever weapon you pick up, try to fight at the limit of its range to give you enough time to react to any attacks the Ankho uses. Weapons such as the Hah-Gonay’s Head, or the Ankho’s Sword are highly desirable and powerful tools to find in the supply boxes.
Always be ready to retreat if an Ankho turns red; that is the prelude to its spin-slash attack. If you circle them clockwise, you should be able to stay just ahead of any sword thrusts, and combined with Hero Sense and Hero Time, you’ll be able to exploit openings for more damage.
[5] This section is a puzzle of sorts. There are two large torches that can be moved with Unite Hand and four switches on the ground. Two are close to a stairway that takes you to a side path blocked off by spikes, while the other two are near a wall you must scale, also blocked off by spikes. Take both torches and cover the switches next to the stairs. The spikes will retract, and you can follow this side path to another section of the temple. [6] It is possible to recruit Wonder-Goddess here, and you can also melt an ice block to recover Wonderful File No. 16. Lastly, you can draw a Wonder-Liner on the trapezoid shape at the center of the temple section to recover a Hero Heart Fragment.
Now, return to the torches and move them both onto the switches near the wall you need to climb. This will retract the spikes blocking the way to the top.
If you hug the left side of the arena after climbing the wall, you can get close to where GEATHJERK File No. 46 is located. Extend a Wonder-Liner out to it so you can avoid triggering Mission 6 by moving too far into the arena.
Mission 6
Medal Requirements
| Element | Platinum | Gold | Silver | Bronze | Difficulty |
|---|---|---|---|---|---|
| Time | 3:10 | 3:30 | 3:50 | 4:10 | Very easy |
| Time | 2:50 | 3:10 | 3:30 | 3:50 | Easy |
| Time | 2:30 | 2:50 | 3:10 | 3:30 | Normal |
| Time | 2:20 | 2:40 | 3:00 | 3:20 | Hard |
| Time | 2:20 | 2:40 | 3:00 | 3:20 | 101% Hard |
| Combo | 4000 | 3000 | 2000 | 1000 | Very easy |
| Combo | 6000 | 5000 | 4000 | 3000 | Easy |
| Combo | 8000 | 7000 | 6000 | 5000 | Normal |
| Combo | 12000 | 10000 | 8000 | 6000 | Hard |
| Combo | 14000 | 12000 | 10000 | 8000 | 101% Hard |
| Damage | 0 | 500 | 1000 | 2000 | Very easy |
| Damage | 0 | 500 | 1000 | 2000 | Easy |
| Damage | 0 | 500 | 1000 | 2000 | Normal |
| Damage | 0 | 1000 | 2000 | 4000 | Hard |
| Damage | 0 | 1000 | 2000 | 4000 | 101% Hard |
Enemies Present (Very Easy–Normal)
Wave 1: Surey Doora
Wave 2: Hah-Gonay x2
Enemies Present (Hard–101% Hard)
Wave 1: Surey Doora x2
Wave 2: Hah-Gonay x2
A lone Surey Doora starts this party, which should be fairly easy pickings once you use the first Unite Bomb to slow it down. The two Hah-Gonay in the second wave are as problematic as other times you’ve faced two of the beasts at the same time. If possible, concentrate on one at a time, using the target you’re focusing on to stand in between you and the second.
Hard and 101% Hard Mode
For the higher difficulties, the first wave consists of two Surey Dooras, which does change the dynamics of that opening battle. Watch out for flanking attempts, as this arena is quite large, and the Surey Dooras can quickly get outside of Unite Bomb range and surprise you with long-distance throwing stars. The second wave stays the same as it appears on the Normal mode.
Bust down the spike barrier with Unite Whip [7], and press onward.
Mission 7
Medal Requirements
| Element | Platinum | Gold | Silver | Bronze | Difficulty |
|---|---|---|---|---|---|
| Time | 1:50 | 2:10 | 2:30 | 2:50 | Very easy |
| Time | 1:40 | 2:00 | 2:20 | 2:40 | Easy |
| Time | 1:30 | 1:50 | 2:10 | 2:30 | Normal |
| Time | 1:30 | 1:50 | 2:10 | 2:30 | Hard |
| Time | 1:30 | 1:50 | 2:10 | 2:30 | 101% Hard |
| Combo | 2500 | 2000 | 1500 | 1000 | Very easy |
| Combo | 4000 | 3000 | 2000 | 1000 | Easy |
| Combo | 5000 | 4000 | 3000 | 2000 | Normal |
| Combo | 6000 | 5000 | 4000 | 2000 | Hard |
| Combo | 7000 | 6000 | 5000 | 3000 | 101% Hard |
| Damage | 0 | 500 | 1000 | 2000 | Very easy |
| Damage | 0 | 500 | 1000 | 2000 | Easy |
| Damage | 0 | 500 | 1000 | 2000 | Normal |
| Damage | 0 | 1000 | 2000 | 4000 | Hard |
| Damage | 0 | 1000 | 2000 | 4000 | 101% Hard |
Enemies Present (All Difficulties)
Diedough-Goo x2
Another battle on a shifting bridge begins as a pair of Diedough-Goo crash onto the scene. As with your experience in a similar situation before, you have to keep the fight away from the edges of the bridge; otherwise you’ll get dropped into the drink and lose health.
The section of bridge beyond Mission 7 is devoid of combat. You can rejuvenate a flower bed, melt ice blocks to free civilians and Wonderful Batteries, and refresh yourself before taking on the next challenge.
Vorkken’s ship flies overhead, delivering an ultimatum and a challenge. Immorta decides that it is time to relay the story of her people to you.
Mission 8
Medal Requirements
| Element | Platinum | Gold | Silver | Bronze | Difficulty |
|---|---|---|---|---|---|
| Time | 7:20 | 7:40 | 8:00 | 8:20 | Very easy |
| Time | 6:20 | 6:40 | 7:00 | 7:20 | Easy |
| Time | 5:20 | 5:40 | 6:00 | 6:20 | Normal |
| Time | 5:20 | 5:40 | 6:00 | 6:20 | Hard |
| Time | 5:20 | 5:40 | 6:00 | 6:20 | 101% Hard |
| Combo | 10000 | 8000 | 6000 | 4000 | Very easy |
| Combo | 10000 | 8000 | 6000 | 4000 | Easy |
| Combo | 12000 | 10000 | 8000 | 6000 | Normal |
| Combo | 13000 | 11000 | 9000 | 7000 | Hard |
| Combo | 15000 | 12000 | 10000 | 8000 | 101% Hard |
| Damage | 0 | 500 | 1000 | 2000 | Very easy |
| Damage | 0 | 500 | 1000 | 2000 | Easy |
| Damage | 0 | 500 | 1000 | 2000 | Normal |
| Damage | 0 | 1000 | 2000 | 4000 | Hard |
| Damage | 0 | 1000 | 2000 | 4000 | 101% Hard |
Enemies Present (Very Easy–Normal)
Wave 1: Dough-Goo (unlimited spawn)
Wave 2: Gedie Dough-Goo, Diedough-Goo
Enemies Present (Hard–101% Hard)
Wave 1: Dough-goo (unlimited spawn)
Wave 2: Gedie Dough-Goo, Ankho
Tip
Immorta speaks throughout most of this mission, which can make fighting difficult if you leave her text bubbles onscreen. Remove that stuff if it’s getting in the way.
Just a few steps from where the mission begins is a Wonderful Toilet containing Wonderful File No. 14. A little ways past this is a statue; Wonder-Liner into its mouth for GEATHJERK File No. 28.
[8] Multiple squads of Dough-Goo try to swarm you as you leave the statue behind. This marks the first of a series of battles that set up mini-arenas for you to fight in. While Immorta narrates her story, the enemies will keep arriving until she reaches a stopping point, which will cause any remaining enemies to vanish and will lift the barriers for you to proceed.
[9] Use the torches to melt open a small side cave, taking care to avoid the stalactites falling from above. When you enter the cave, the interior will be shown on your GamePad. Navigate the cave carefully to avoid the dangerous ice water. At the end of it is a huge supply of Wonderful Cakes, a white supply box containing Wonderful Figure No. 96, and another recruit for the team, Wonder-Santa.
[10] Leaving the cave, head toward the turn in the walkway, triggering an ambush by a Gehdown and more Dough-Goo. Once you destroy them, wrap a Wonder-Liner around the circular crest to retrieve Wonderful File No. 20.
[11] The last battle zone sends a Gedie Dough-Goo after you, along with another group of Dough-Goo. Mission 8 ends as soon as you clear the area.
Hard and 101% Hard Mode
Overall, not much changes on the higher difficulties up until you reach the final battle zone [11]. In place of the Gedie Dough-Goo is an Ankho, which can be tricky to fight because its sword reach extends across the vast majority of the arena.
Just as Mission 9 is about to begin, hammer this small crack in the ground to release Wonderful Figure No. 83.
Mission 9
Medal Requirements
| Element | Platinum | Gold | Silver | Bronze | Difficulty |
|---|---|---|---|---|---|
| Time | 1:00 | 1:10 | 1:20 | 1:30 | Very easy |
| Time | 0:50 | 1:00 | 1:10 | 1:30 | Easy |
| Time | 0:40 | 0:50 | 1:00 | 1:30 | Normal |
| Time | 0:30 | 0:40 | 0:50 | 1:20 | Hard |
| Time | 0:30 | 0:40 | 0:50 | 1:20 | 101% Hard |
| Damage | 0 | 200 | 400 | 600 | Very easy |
| Damage | 0 | 200 | 400 | 600 | Easy |
| Damage | 0 | 200 | 400 | 600 | Normal |
| Damage | 0 | 200 | 400 | 600 | Hard |
| Damage | 0 | 200 | 400 | 600 | 101% Hard |
Enemies Present (All Difficulties)
None
Mission 9 involves no fighting against enemies, but rather against the forces of nature. You must scale a narrow path up a steep hill, as quickly as possible. However, intense winds can kick up and will send you flying back down to the bottom of the hill. To prevent this, use Unite Hand to grab on to rods sticking out the sides of statues flanking the path.
A blue supply box on the early part of the climb contains a Platinum Coin.
Eventually you will reach a staircase leading up to the Super Reactor door. On one side, you can recruit Wonder-Witch. Across the way from her, you can rebuild a small treasure statue to retrieve the last Platinum Coin.
At the top of the hill, the only thing left to do is open the final door with Unite Sword and meet up with Vorkken on the other side.
Operation 006-C
Due to a sudden case of “the boss you were supposed to fight mouthed off to Vorkken and got destroyed,” the original final fight on Operation 006’s schedule has been replaced by one last duel: the heroes of Dearth, led by Blunder-Red, versus the pirate band Guyzoch, led by Prince Vorkken. This time, there will be no restraint from the prince, and absolutely no mercy. Let’s go.
Medal Requirements
| Element | Platinum | Gold | Silver | Bronze | Difficulty |
|---|---|---|---|---|---|
| Time | 15:00 | 20:00 | 1:00 | 6:00 | Very easy |
| Time | 10:00 | 15:00 | 20:00 | 1:00 | Easy |
| Time | 10:00 | 15:00 | 20:00 | 1:00 | Normal |
| Time | 10:00 | 15:00 | 20:00 | 1:00 | Hard |
| Time | 10:00 | 15:00 | 20:00 | 1:00 | 101% Hard |
| Combo | 9000 | 8000 | 7000 | 6000 | Very easy |
| Combo | 10000 | 9000 | 8000 | 7000 | Easy |
| Combo | 14000 | 12000 | 10000 | 8000 | Normal |
| Combo | 21000 | 18000 | 15000 | 12000 | Hard |
| Combo | 21000 | 18000 | 15000 | 12000 | 101% Hard |
| Damage | 0 | 10000 | 15000 | 20000 | Very easy |
| Damage | 0 | 10000 | 15000 | 20000 | Easy |
| Damage | 0 | 10000 | 15000 | 20000 | Normal |
| Damage | 0 | 10000 | 15000 | 20000 | Hard |
| Damage | 0 | 10000 | 15000 | 20000 | 101% Hard |
Enemies Present (All Difficulties)
Vorkken, Chewgi
Phase One
Once again, your duel with Vorkken opens atop his ship as it flies through the Lost City of Kowrule. At this time, Vorkken’s arsenal contains every single Unite Morph you could possible have up to this point, in addition to the unique Unify Boomerang and Unify Naginata abilities. More worrisome, he consistently uses the strongest level of each Unite Morph. This being the longest and toughest battle against Vorkken you’ve yet experienced, have Custom Blocks that can help negate opportunities for him to damage you as much as possible. Hero Sense, Hero Time, and Hero Counter are likely staples. Dodge Mine is also a neat little trick, as Vorkken’s aggression tends to have him run over the mines you’ll leave behind after a Unite Spring.
Refer to Vorkken’s entry on our enemy move list on page 369 so you know how to counter his attacks or how to evade them altogether with Unite Spring. As another reminder, do not overextend yourself when going on the offense. Vorkken and his men recover incredibly fast from stuns to punish any nearby enemies. Vorkken’s crew has also gotten remarkably more proficient at using Unite Guts, and striking Vorkken when he is in that form can result in a lengthy stun and a devastating counterattack.
After taking down Vorkken’s health, events occur that force you to Wonder-Jump over to the Virgin Victory. Vorkken’s ship pursues you, and both teams engage in a Wonder-Punch clash.
Stripping away the advantage of his ship has not upset the prince. In fact, he’s quite impressed. Impressed enough to activate his special Teio Form. In response, the Wonderful 100 trigger Unlimited Form. Now it’s really on.
Phase Two
The hull of the Virgin Victory is the least ideal place to hold a duel with Vorkken. You’ve got exceedingly little room to maneuver; all of Vorkken’s Unite Morphs have great reach across wide swaths of the deck; and Chewgi’s monster morphs have reached their maximum capacity, able to summon a Deah-Kani form to assist his master, along with every other form you have yet seen. For players interested in scoring the Platinum rank for this battle, you will have many retries and failures. The deck is almost too narrow, and being out of position means you might take a surprise Unite Gun, Unite Bomb, or Unify Boomerang attack before you can even consider reacting. A lot of your dodges will be a mix of Unite Spring, as well as basic dashing double jumps over certain attacks.
Keep your Unite Gauge filled as much as possible. Set your quick-use item to the Small Wonderful Cake To Go, as you will likely have many to spare. Scarf them down quickly if you drop below a third of your maximum Unite Gauge. You need to keep energy to spare in order to maintain a solid offense and have enough beyond that for Hero Sense to still be able to trigger. Only specific items will cost you rank, and the small cakes aren’t one of those items.
When you reach the last two health bars for Vorkken, the fight begins to rapidly lose control. Chewgi will start leading the rest of the Guyzoch into Team Unite Morphs, taking up part of the pirate team to use one type of Unite Morph while Vorkken uses another. This is the duel at its most dangerous, particularly on Hard and 101% Hard Mode, where it’s a fairly common occurrence to lose half of your total life meter thanks to a single misstep that puts you at the wrong end of an attack, unable to defend or evade.
During these last two life bars, your goal is to score a hard counter with Unite Guts, which can be done off of Vorkken’s Unite Hammer or Unite Hand, assuming you have the manpower for it. You always want to be doing this, but it’s especially important here, because you don’t want to drag out this last portion of the fight. If you break his formation with Unite Guts, immediately charge up the biggest Unite Hand you can and go for broke. Of course, this is easier to pull off on Normal mode and below. On the harder settings, Vorkken has significantly more health to work through.
After draining all of Vorkken’s health, he manages to recover his ship and try for one last gambit. After you counter with Wonder-Punch, a dramatic scene occurs, forcing Wonder-Pink to rescue the prince with Unite Whip.
Phase Three
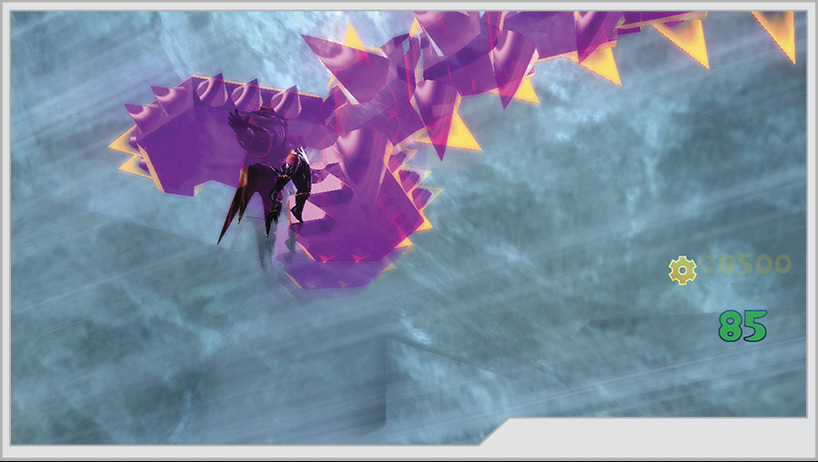
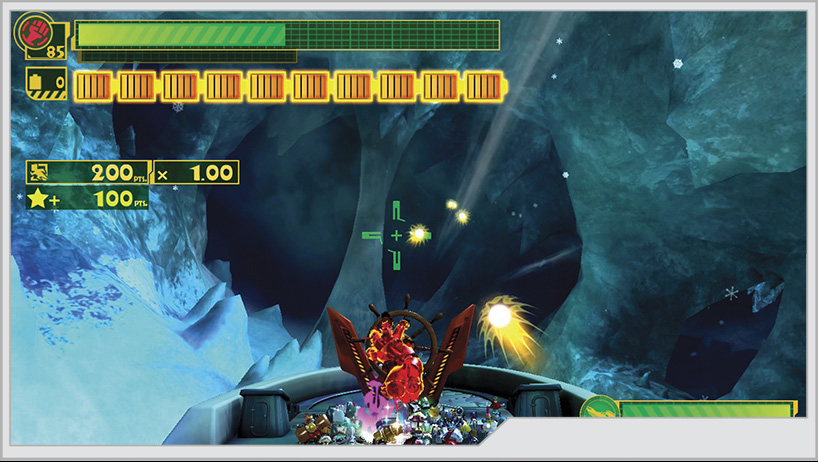
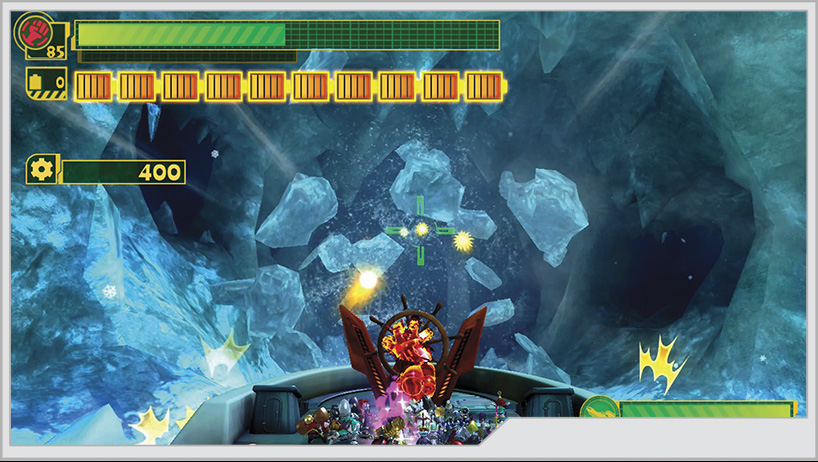
In the aftermath of the battle, it appears that the cavern the Virgin Victory is traveling through has begun to collapse. You must take up the ship’s wheel with Unite Hand, and fly the last 6,000 meters to the exit. Ice formations will occasionally block your path, but you can destroy them with the ship’s guns.
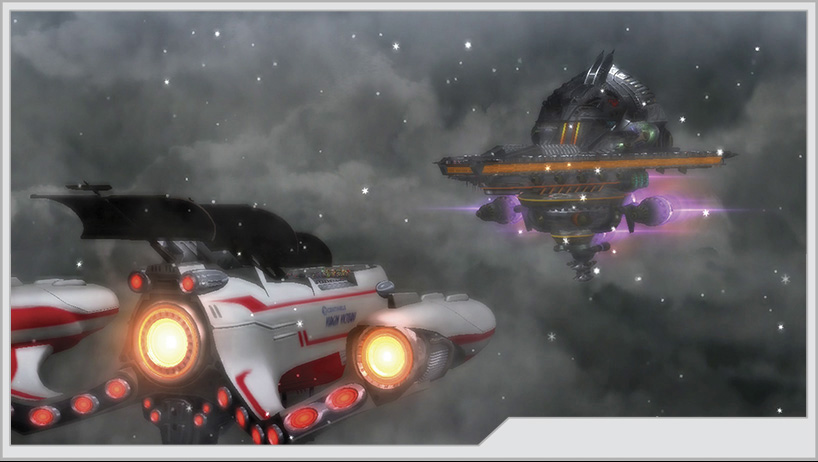
After more drama rocks the Virgin Victory, a new GEATHJERK officer makes his debut.
GEATHJERK Encounter: Gimme
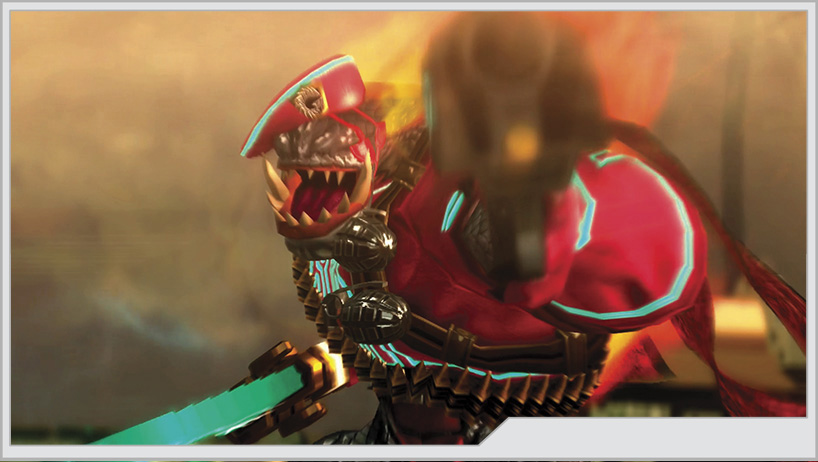
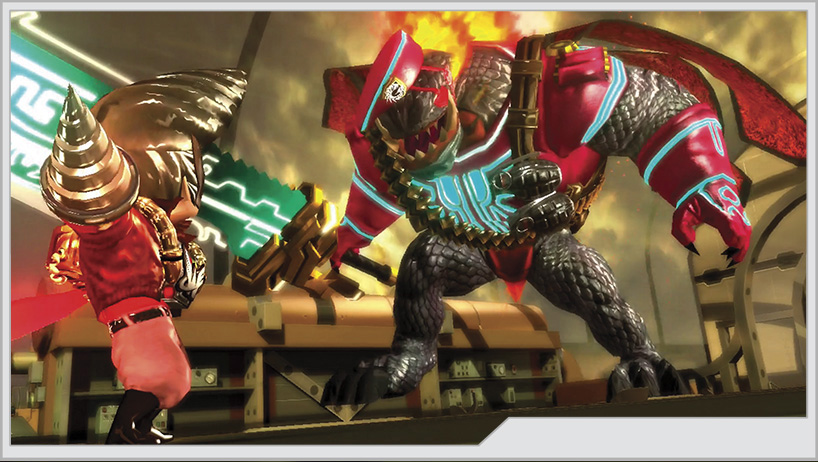
High Commander of the GEATHJERK, and the right hand of Admiral Jergingha, Gimme is the cruelest, most implacable opponent the Wonderful 100 has seen to date. Capable of cruelties that would make every previous officer shudder with fear and disgust, Gimme is willing to use anything and everything at his disposal and discard it when he no longer needs it.
On an ominous note, Operation 006 is complete...but it may not actually matter.