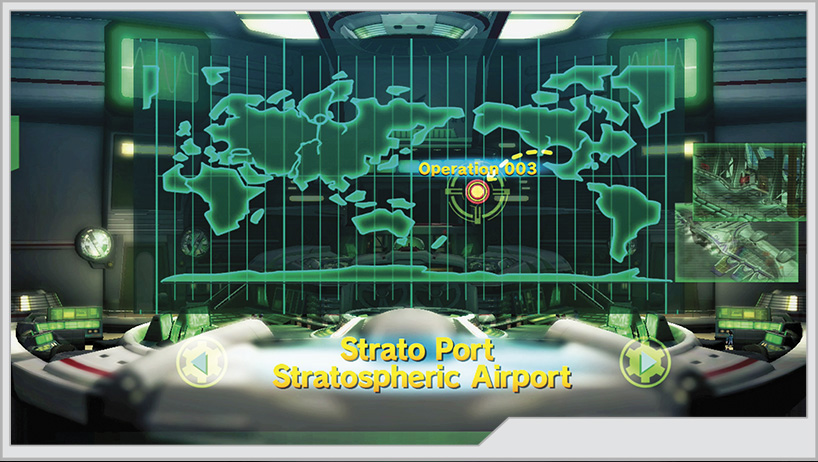
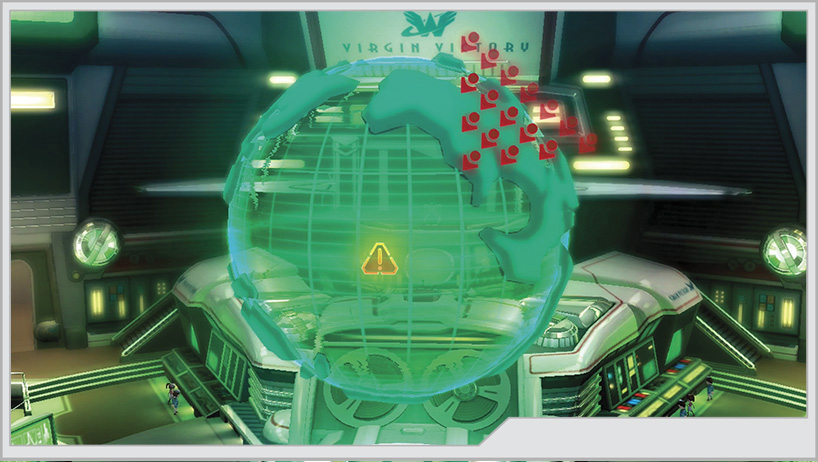
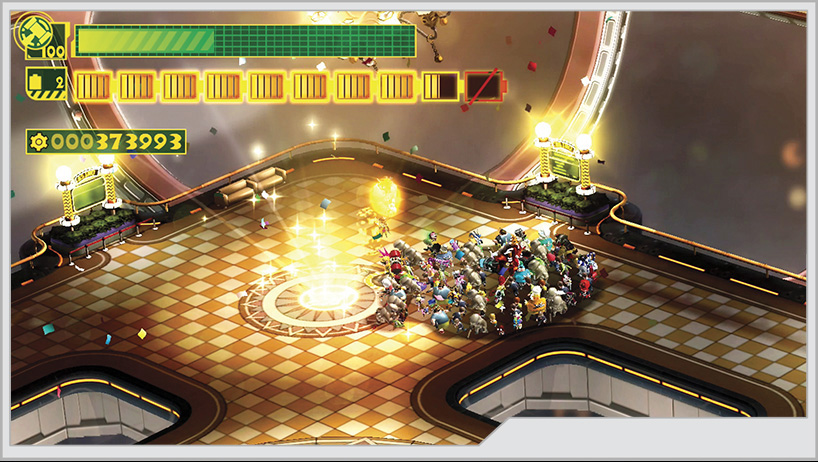
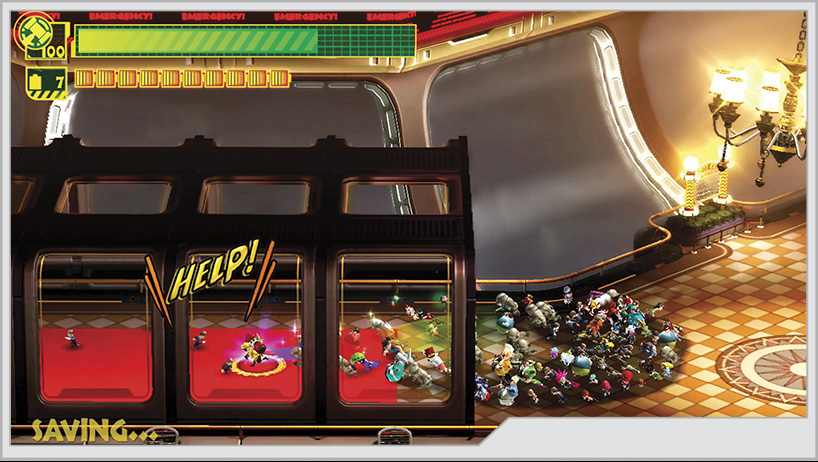
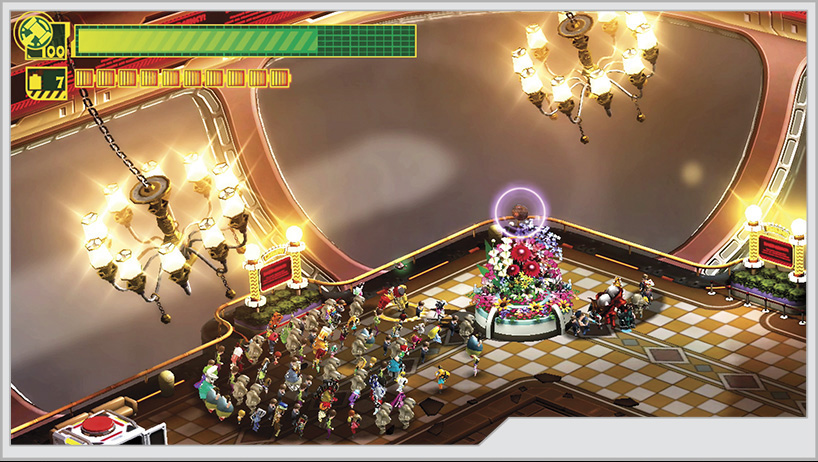
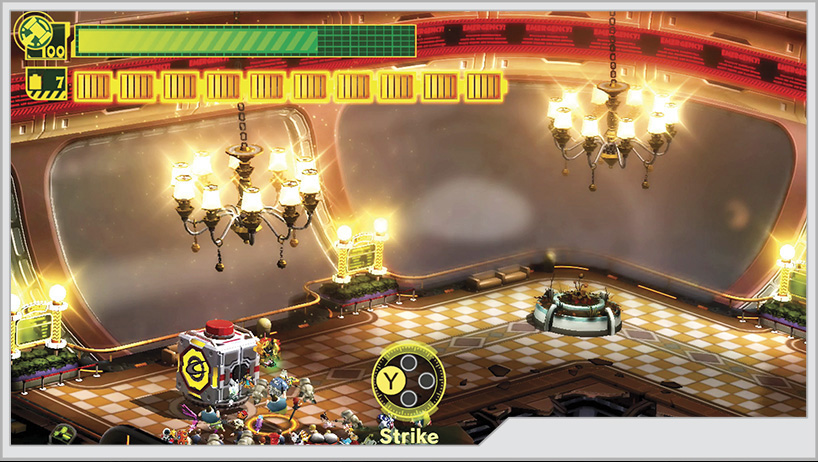
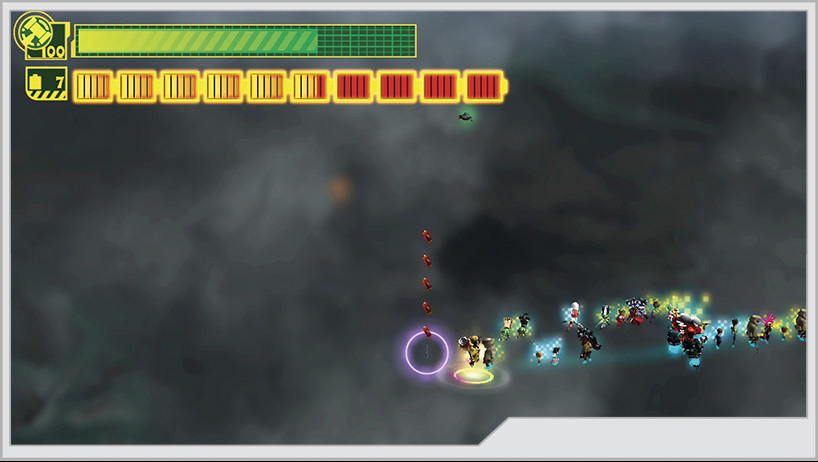
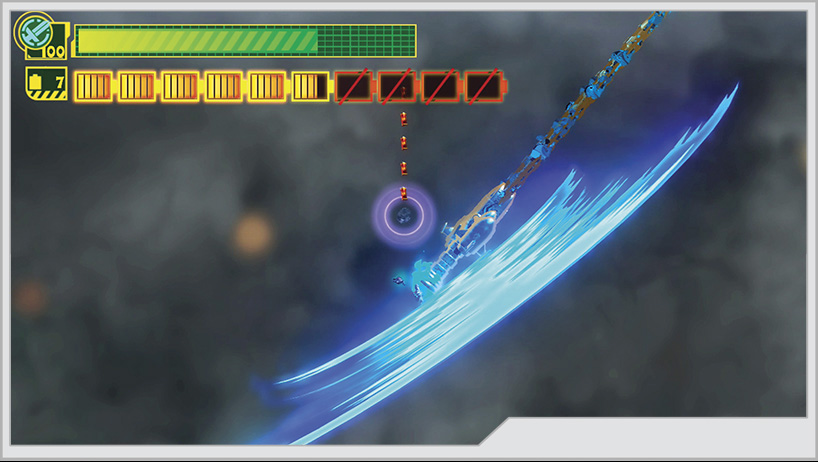
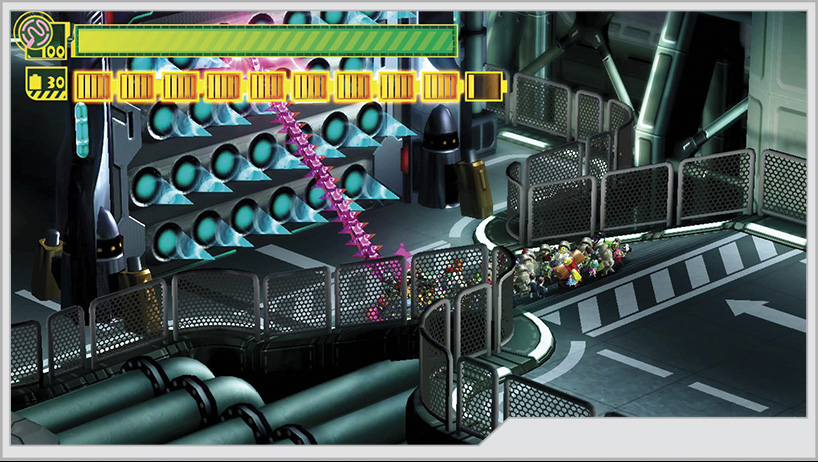
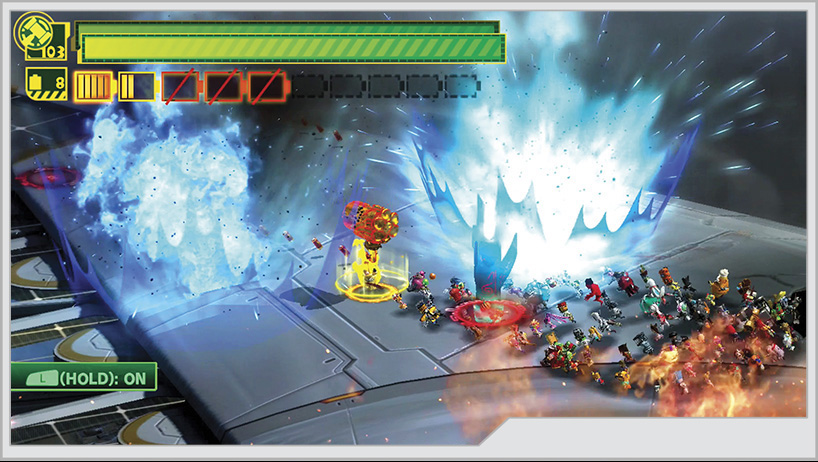
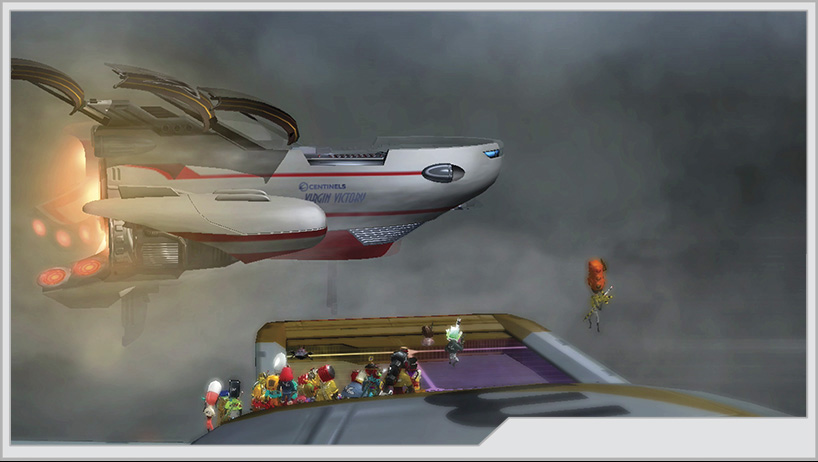
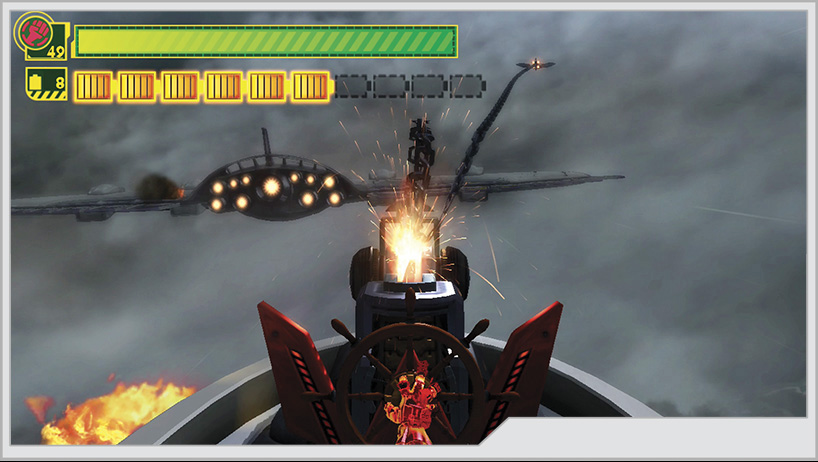
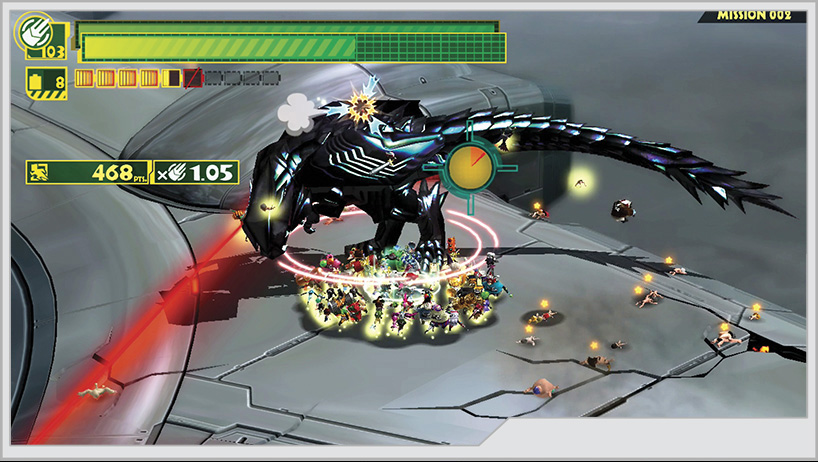
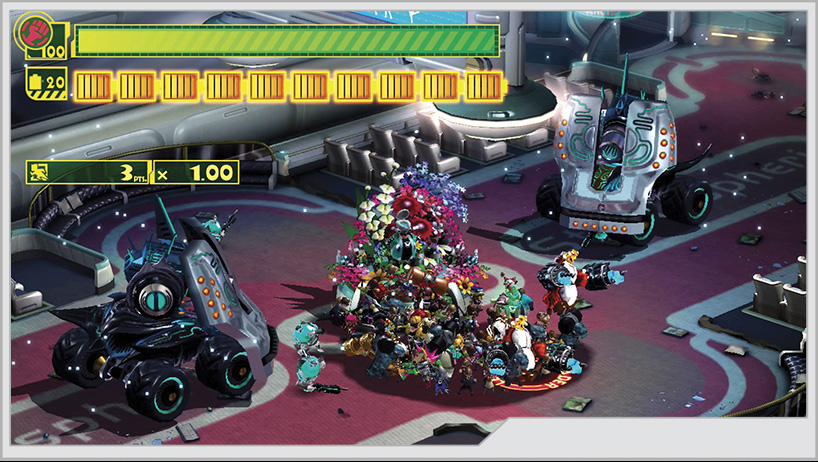
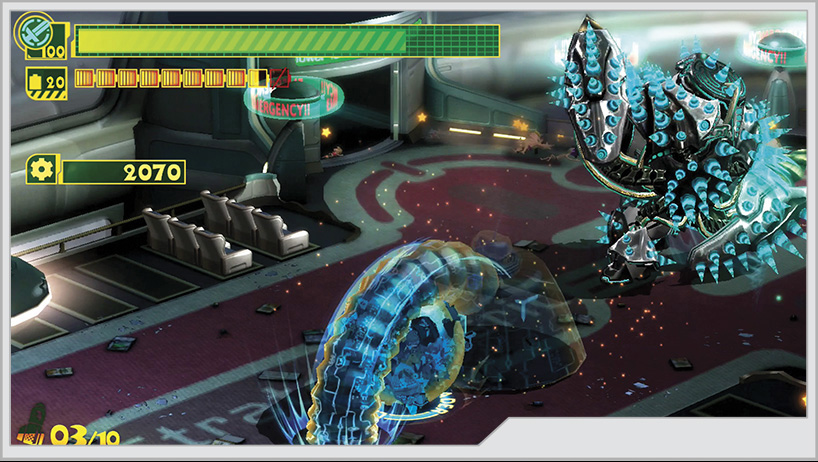
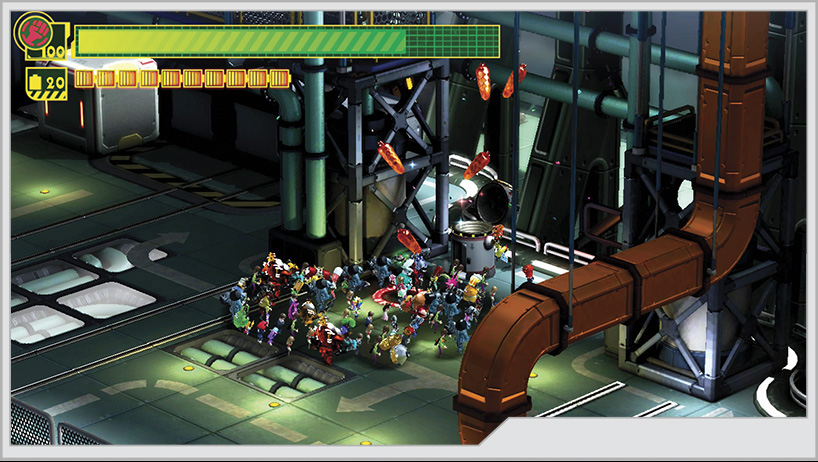
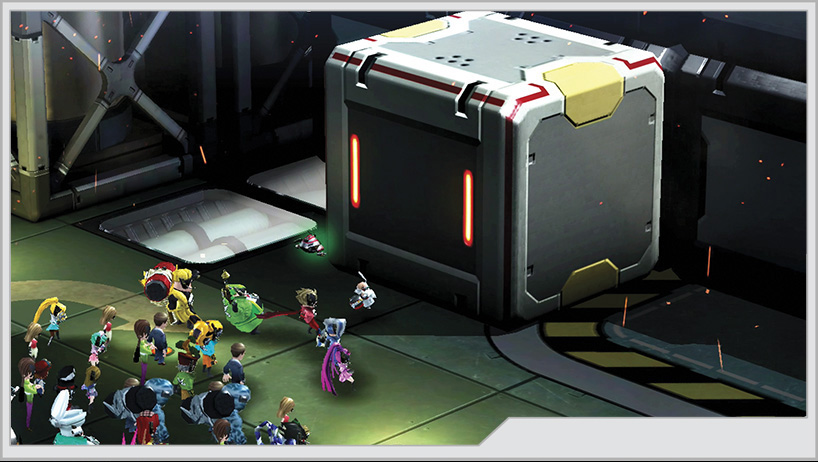
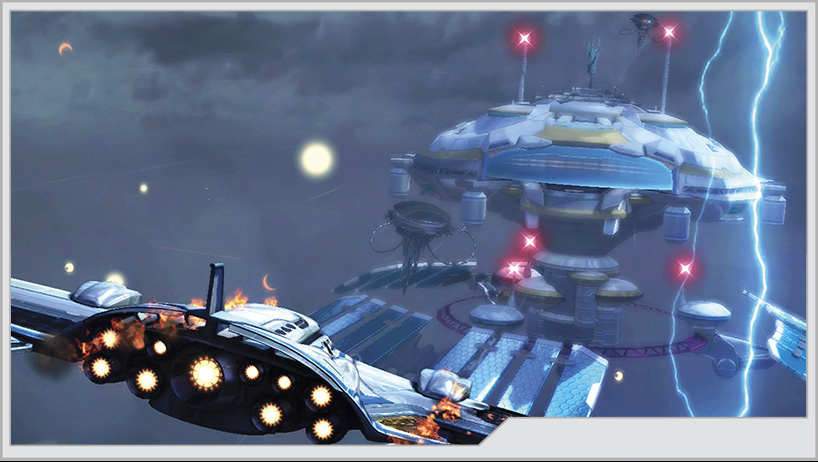
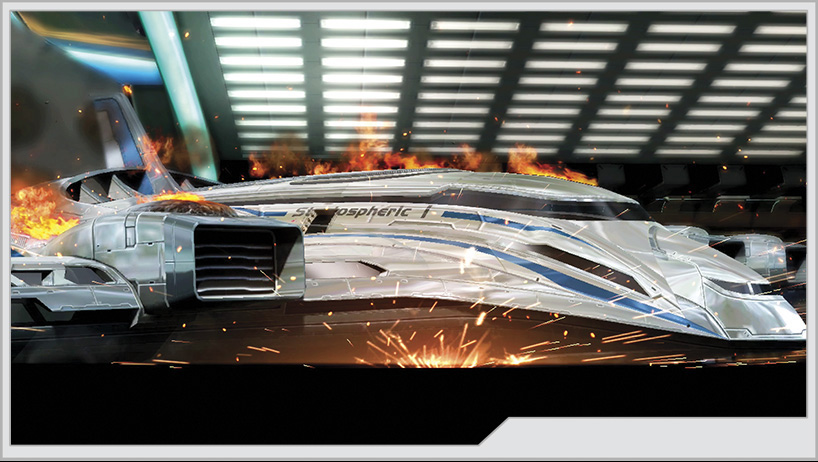
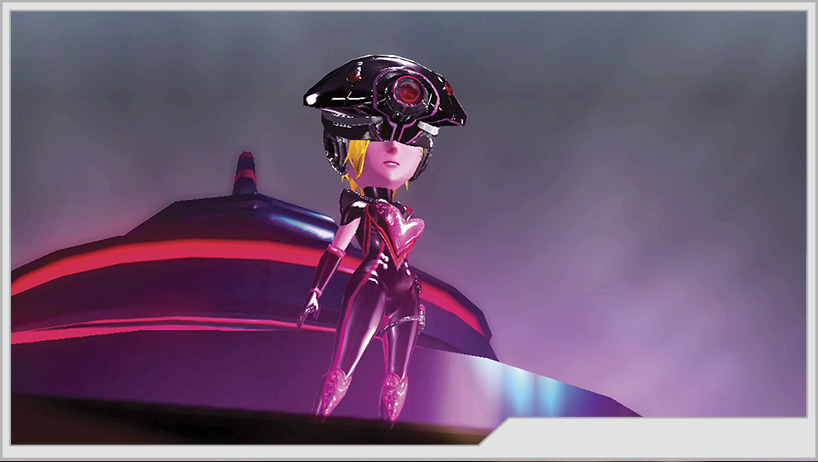
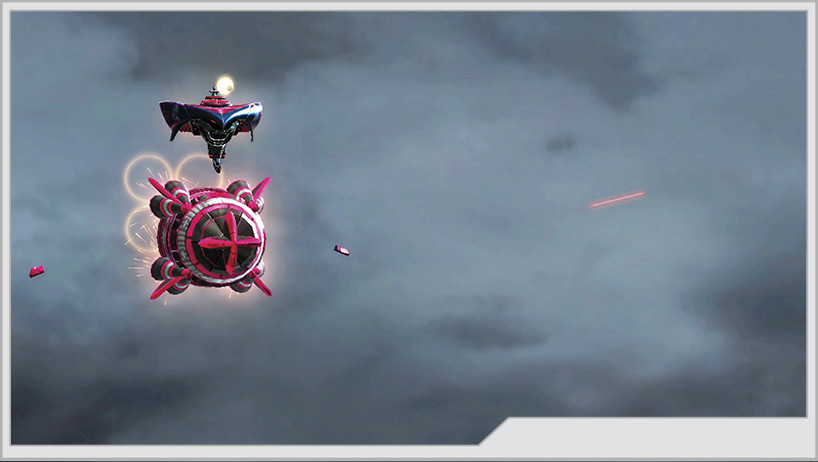
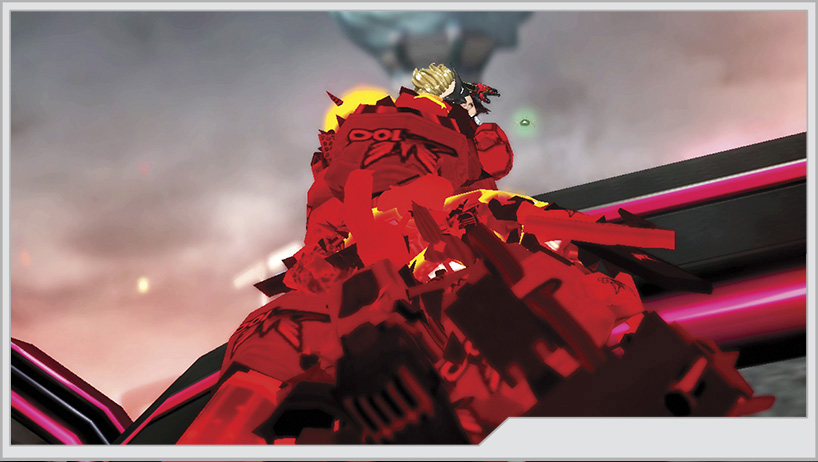
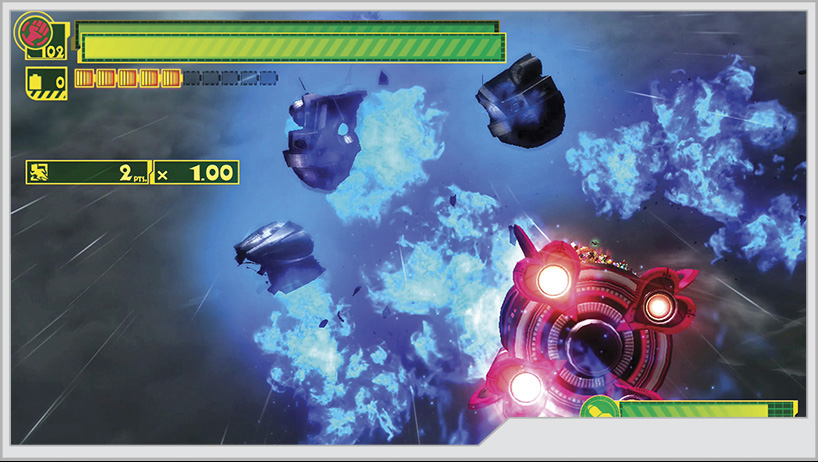
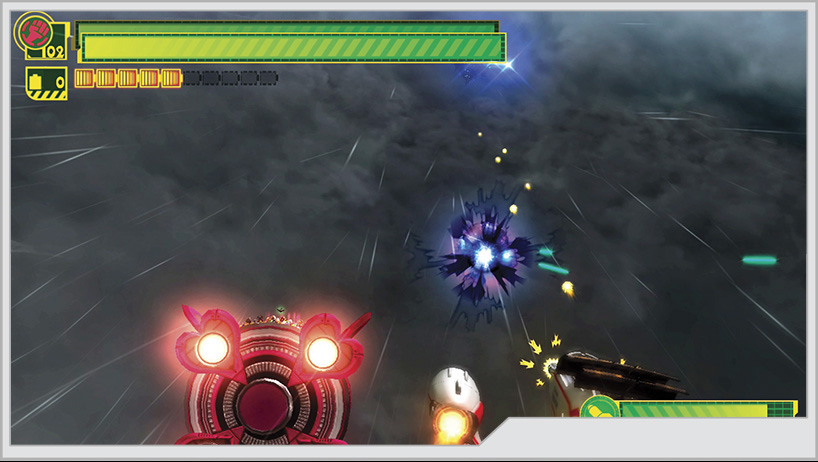
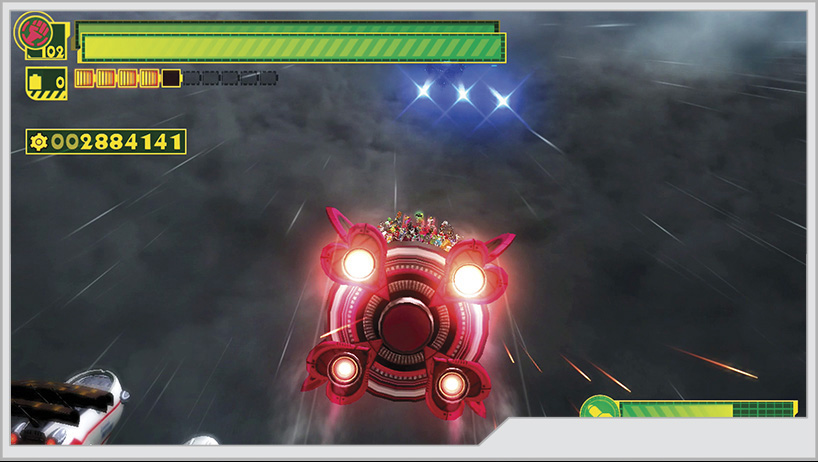
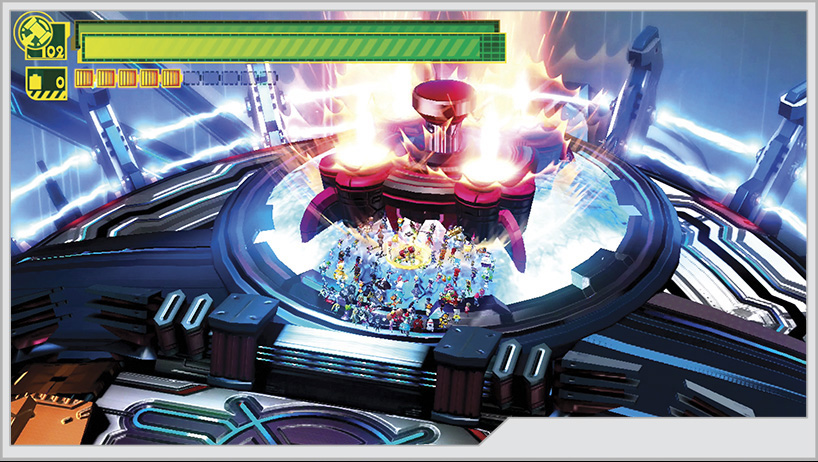
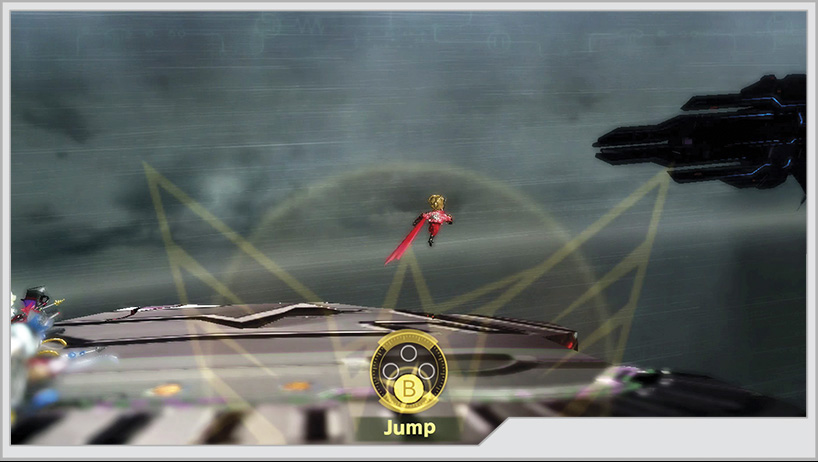
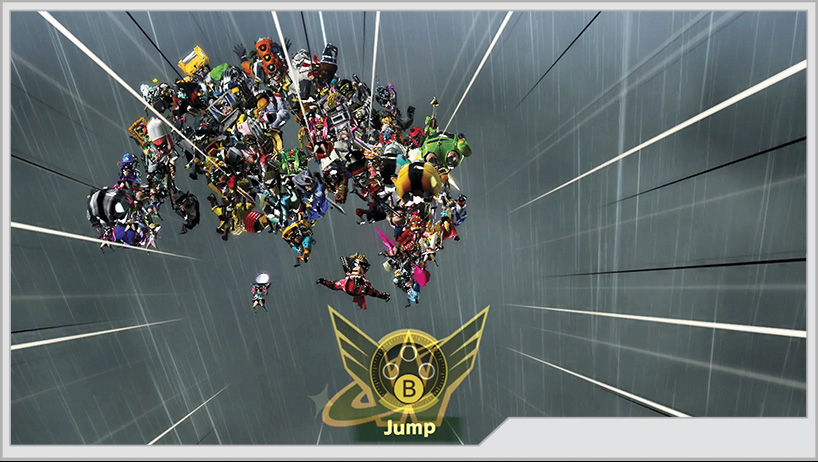
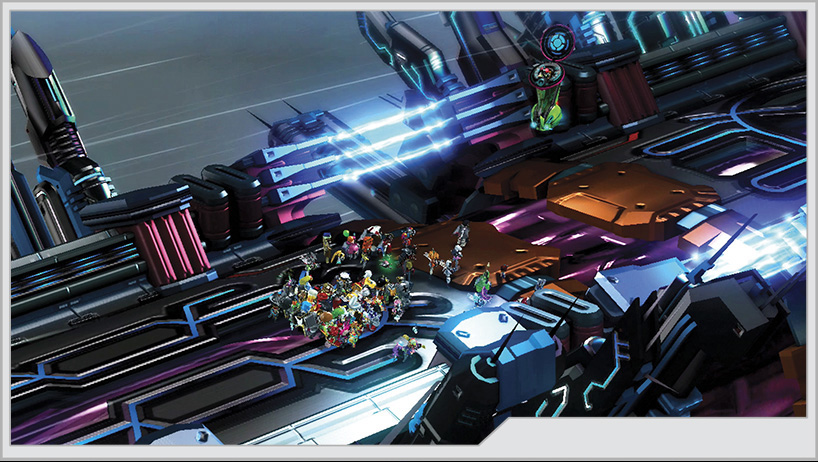
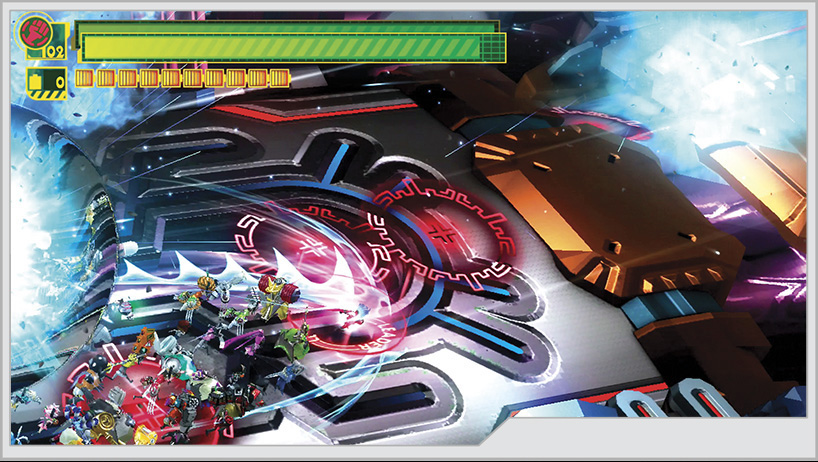
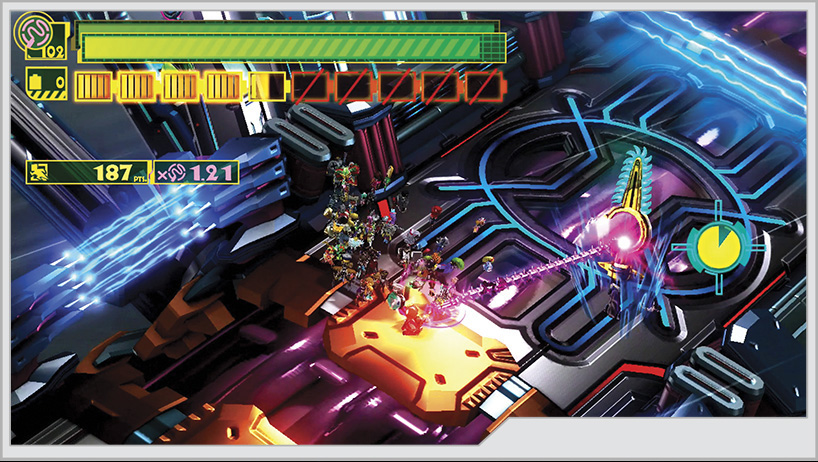
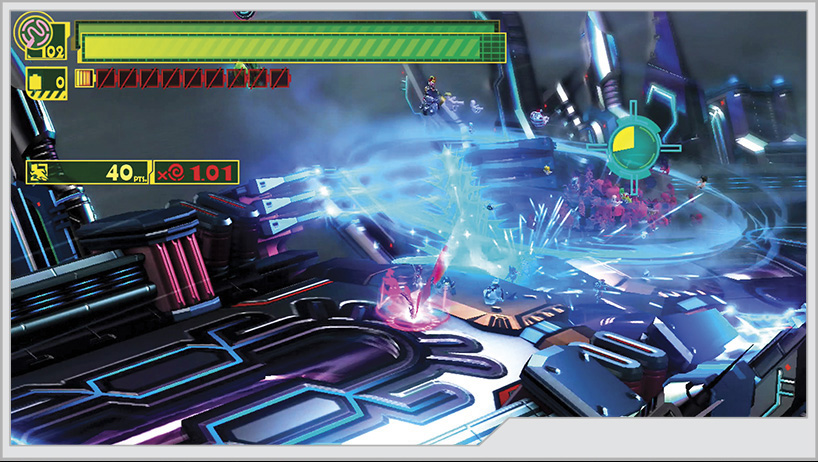
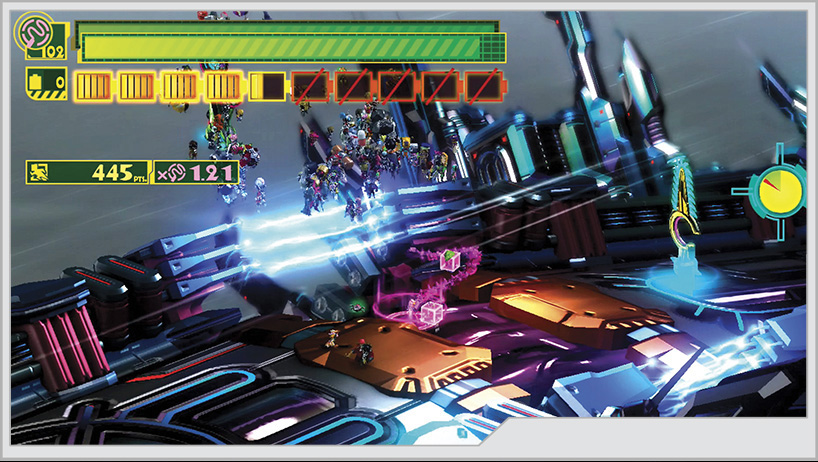
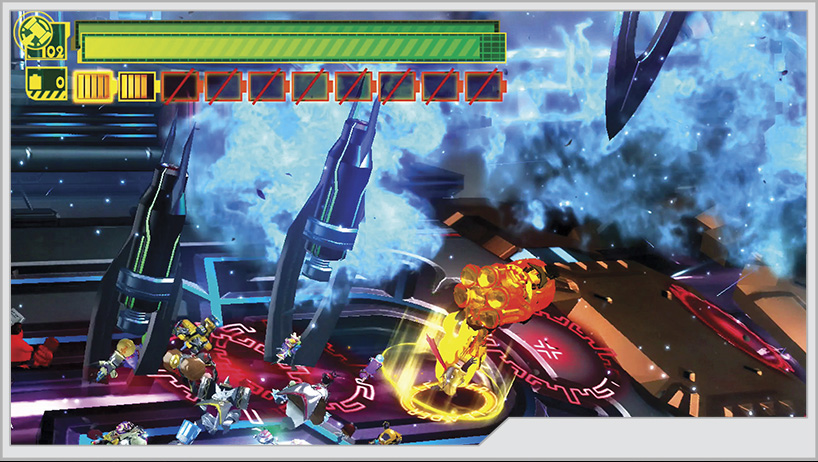
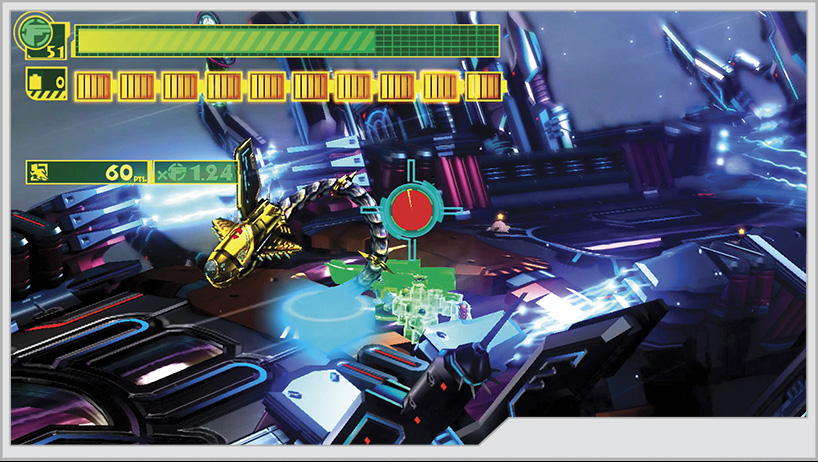
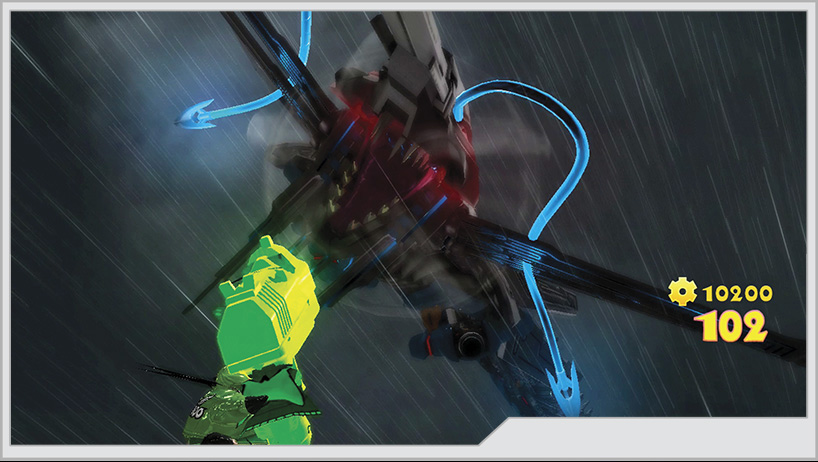
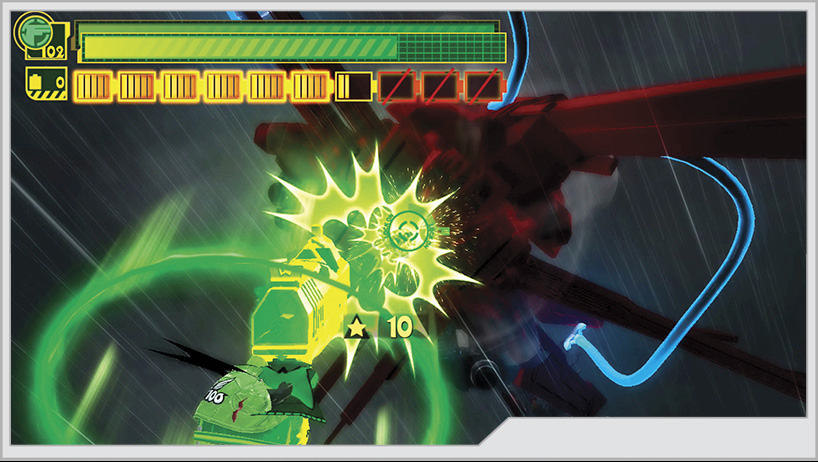
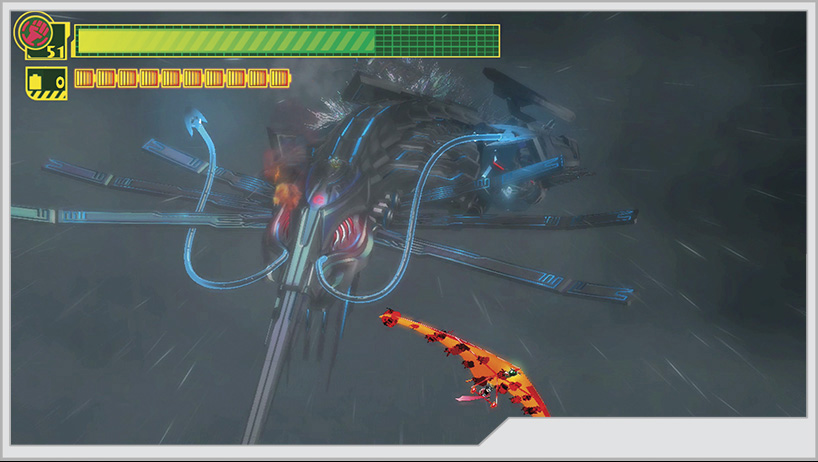
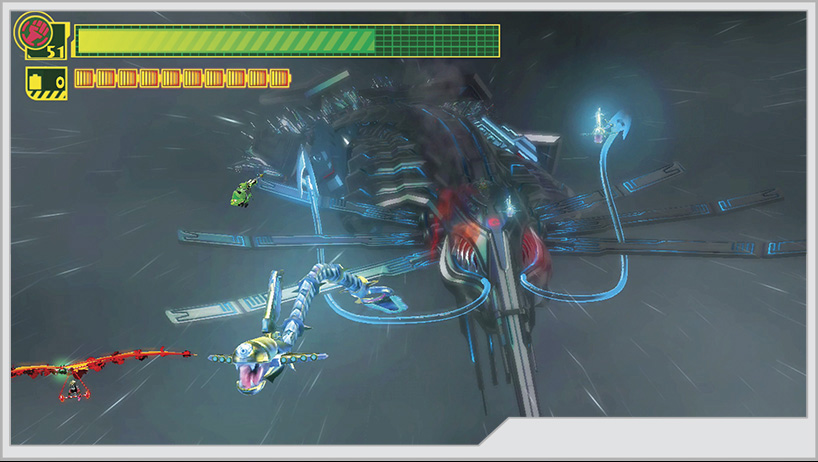
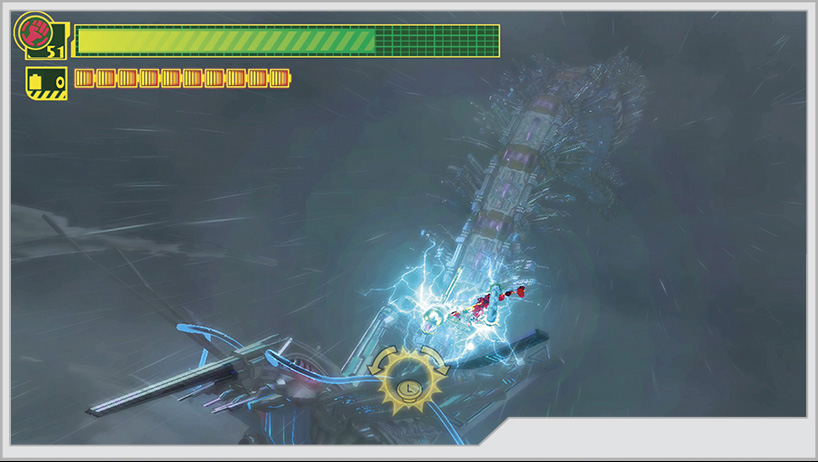
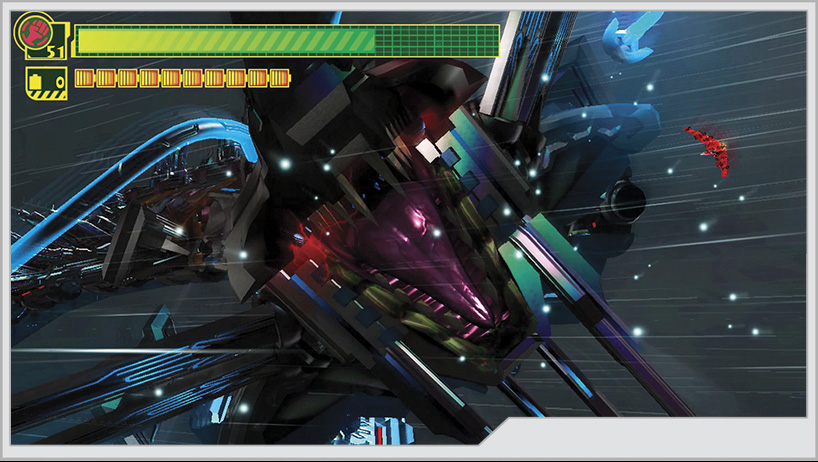
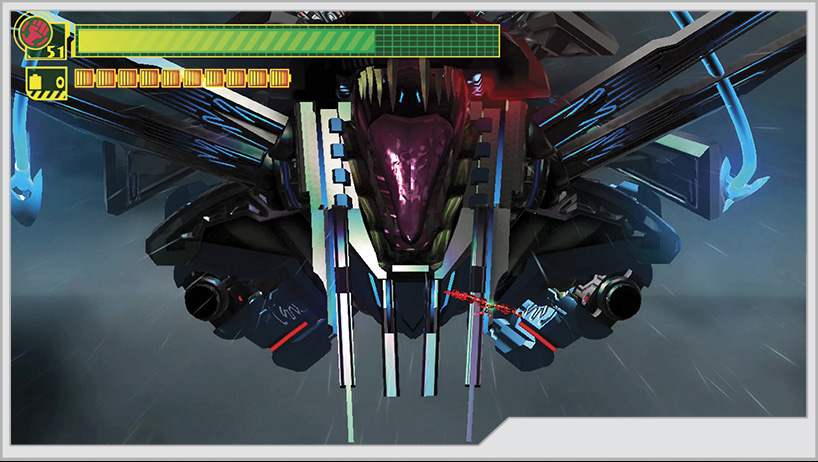
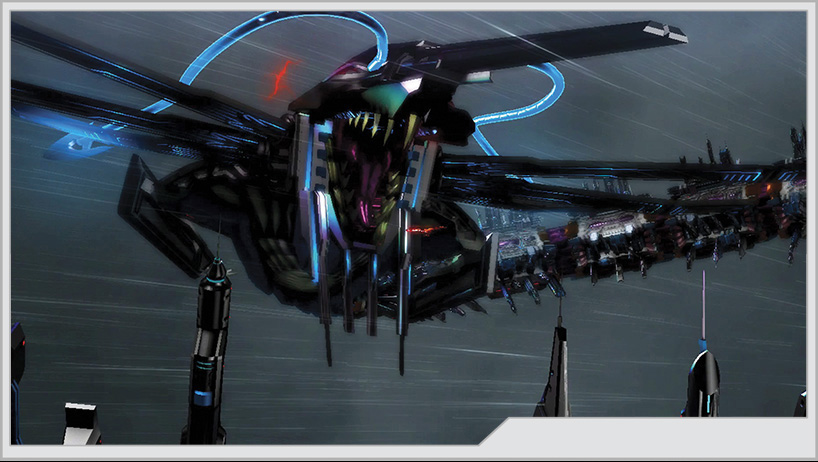
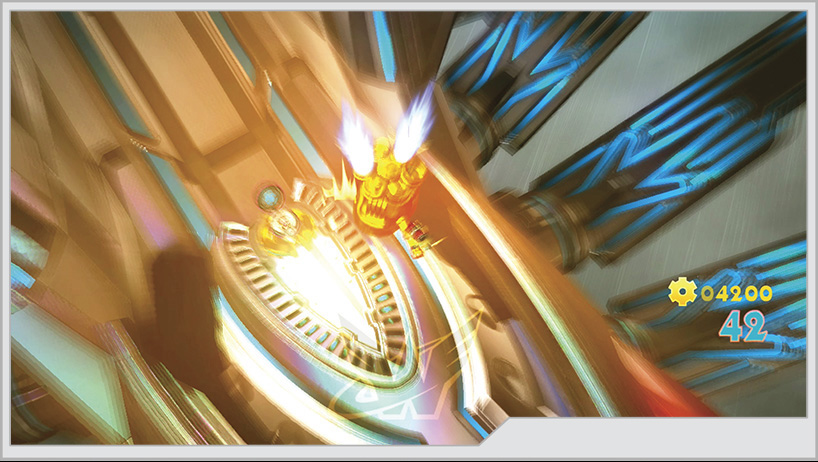
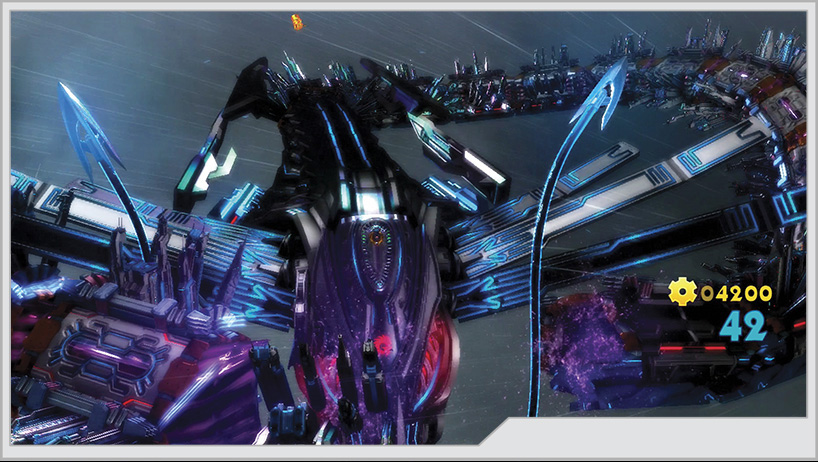
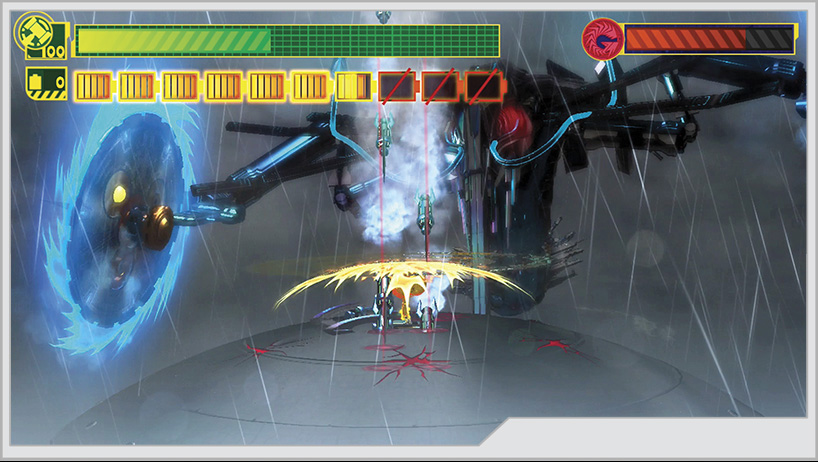
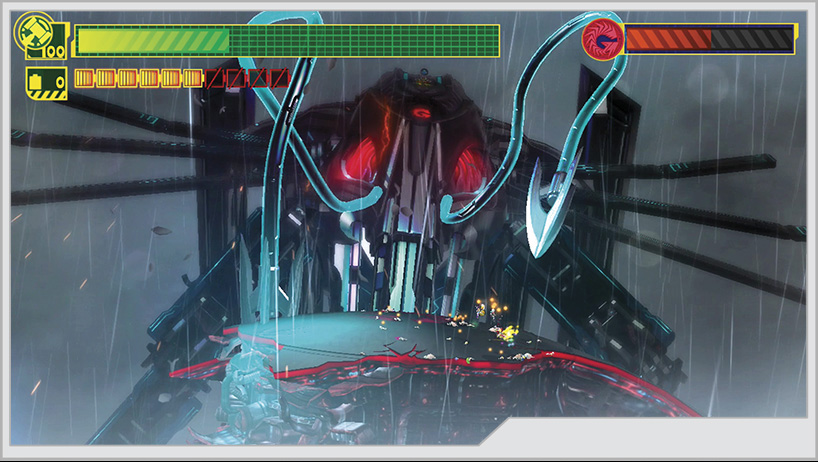
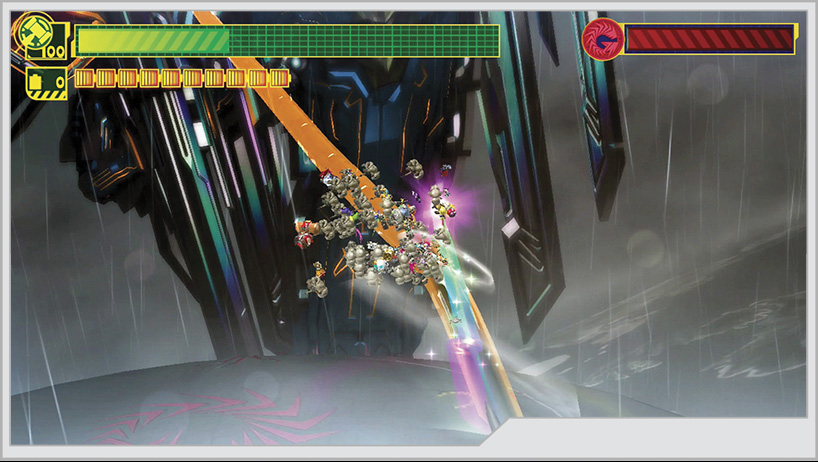
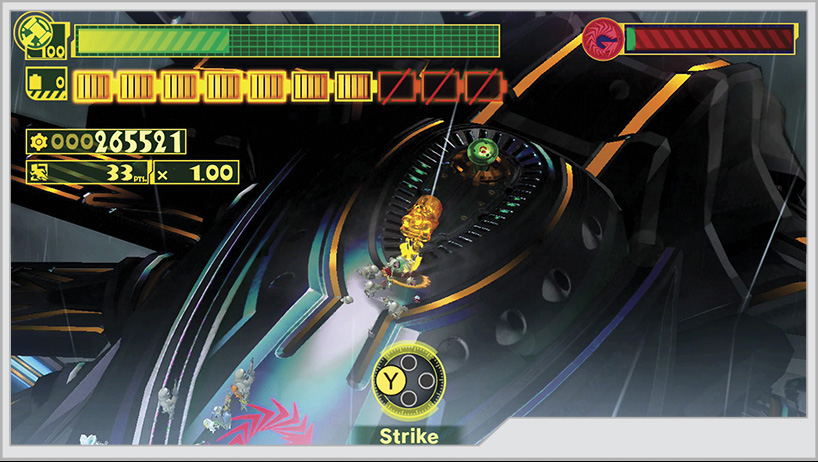
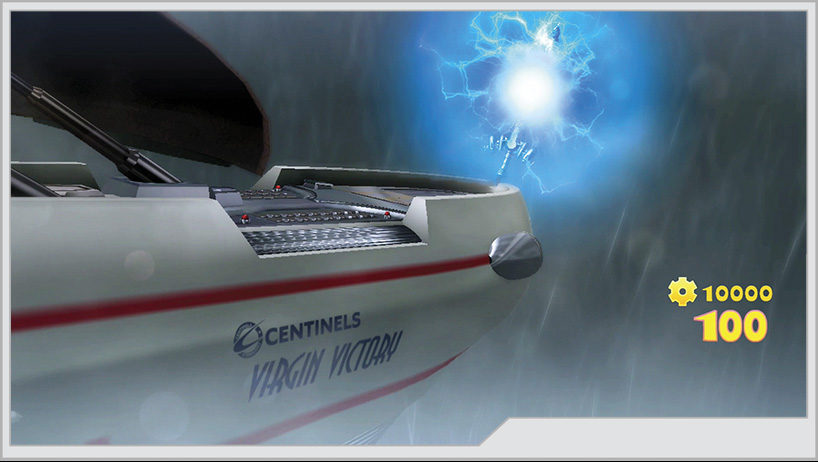
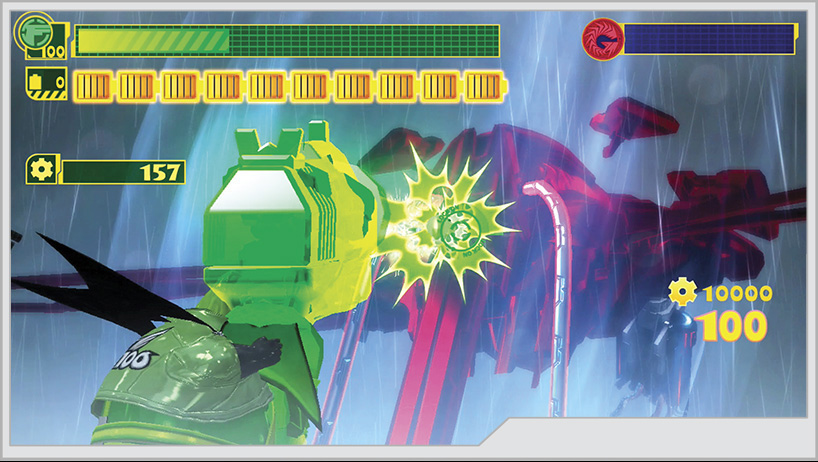
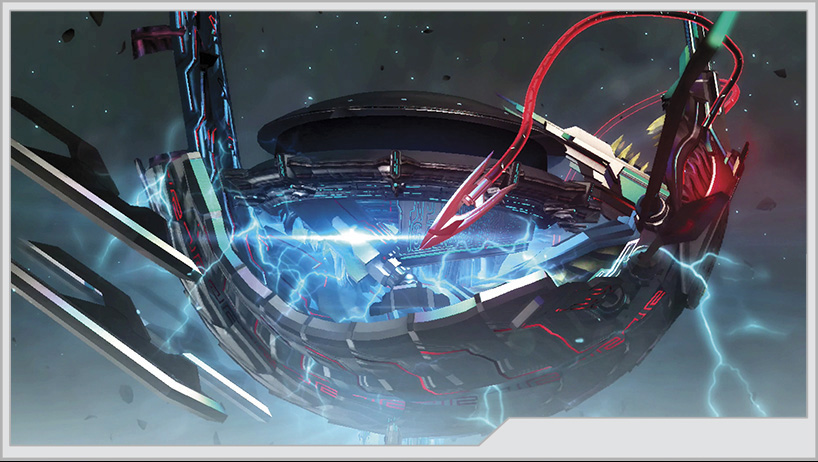
Securing Blossom Tower has kept the Jerks off balance for the moment, but they are moving rapidly to rectify the situation to their favor. A massive GEATHJERK invasion fleet has targeted the Strato Port. Should it fall, one of the Super-Reactors powering Earth’s defensive shield, Margarita, will be compromised. This will allow the whole Jerk force to pour onto the planet in uncountable numbers. However, before the Virgin Victory can engage the enemy fleet, a distress signal from a fleet of Strato Port shuttles is intercepted: They are under attack. The Wonderful 100 are sent to rescue any survivors before they can assist the port itself.
Operation 003-A
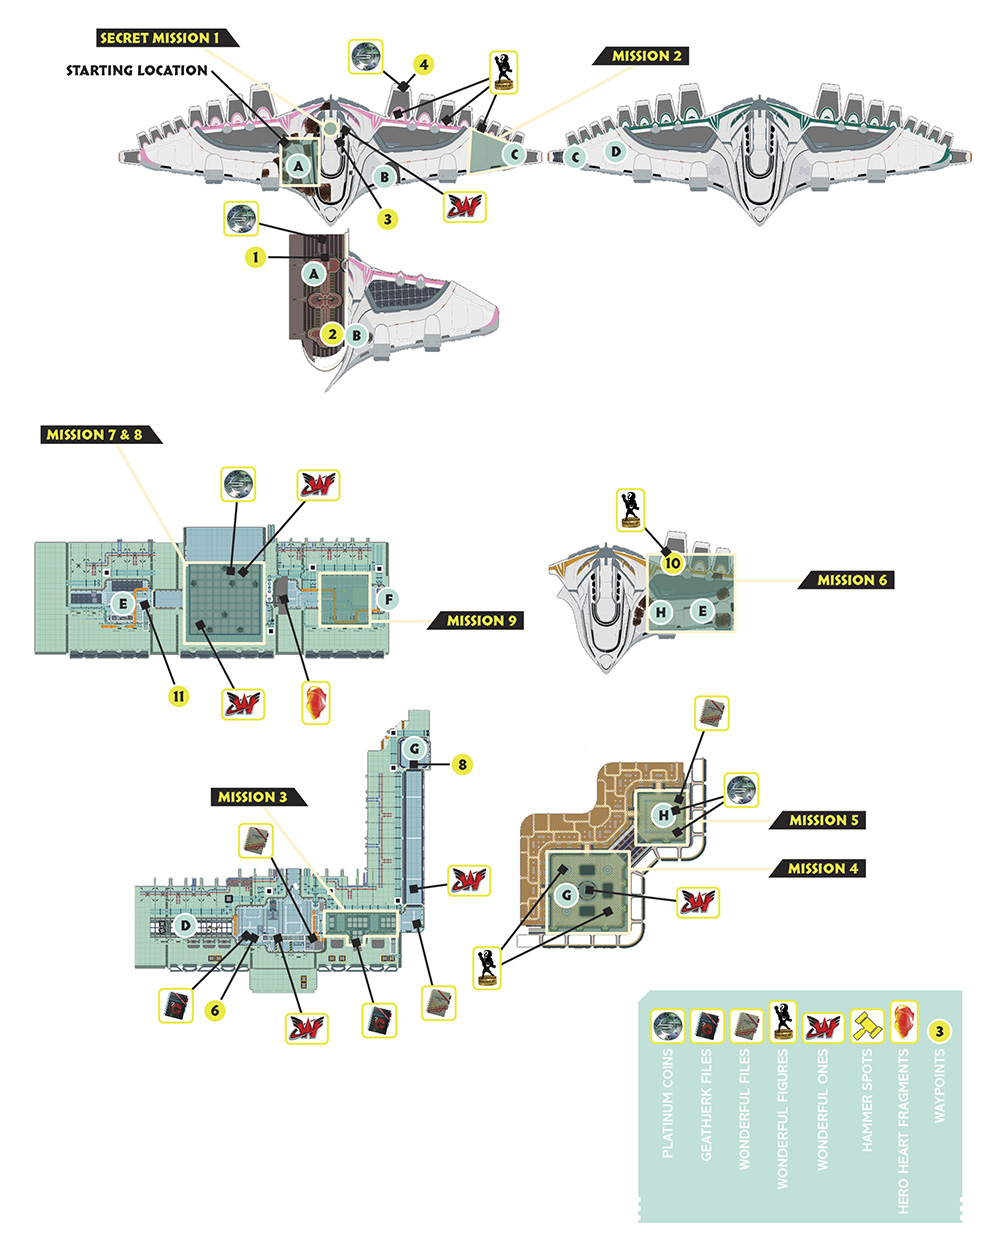
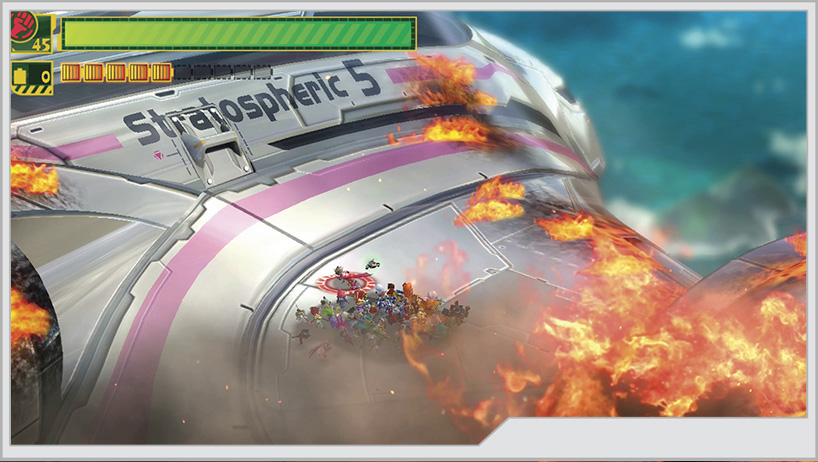
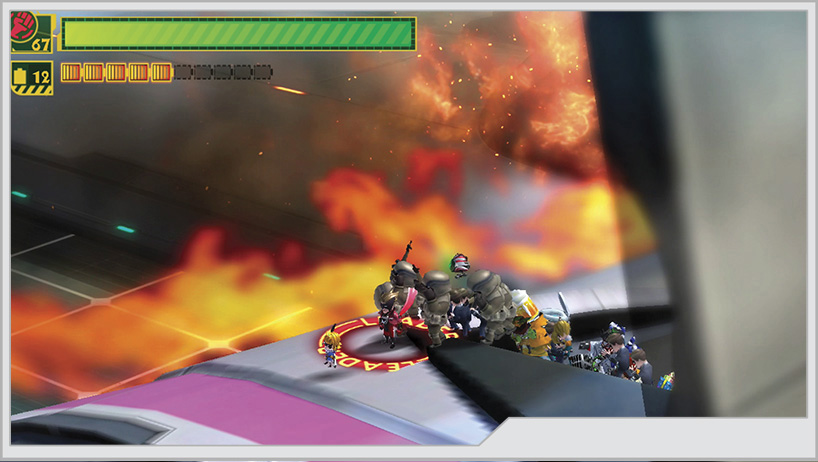
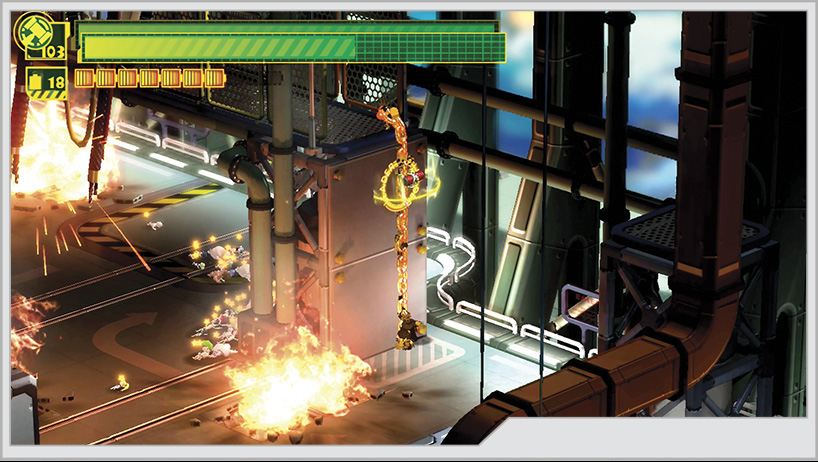
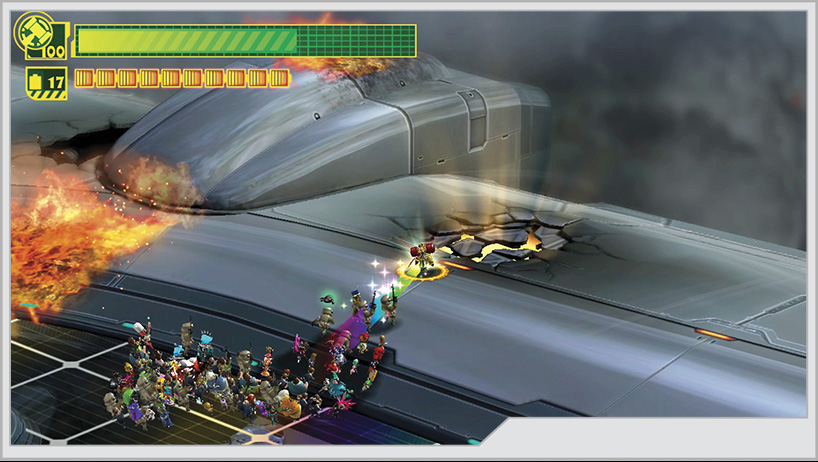
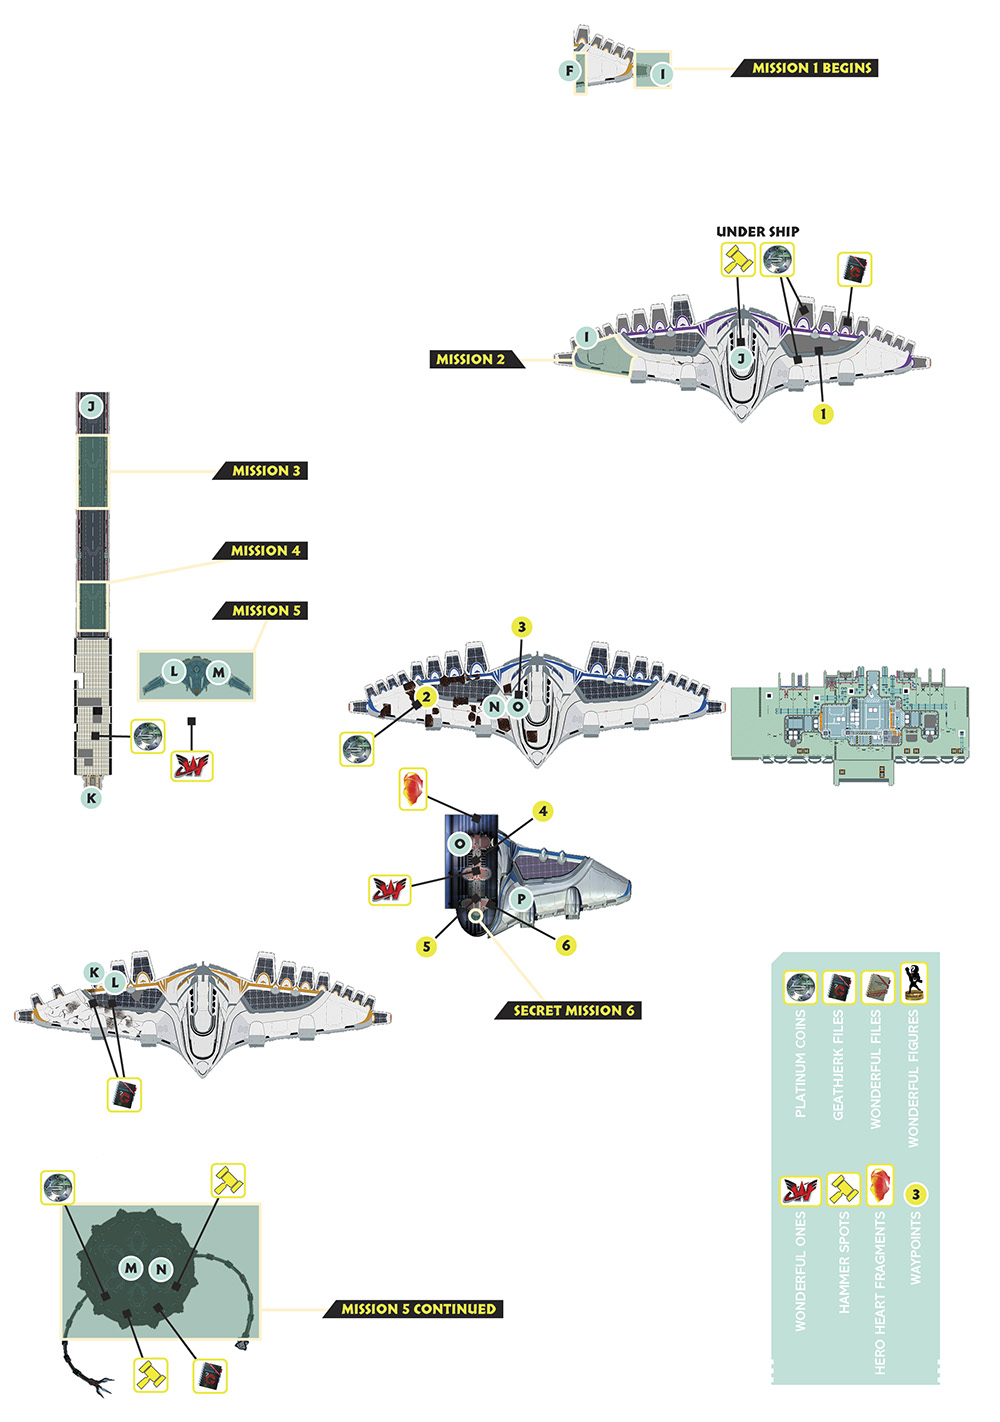
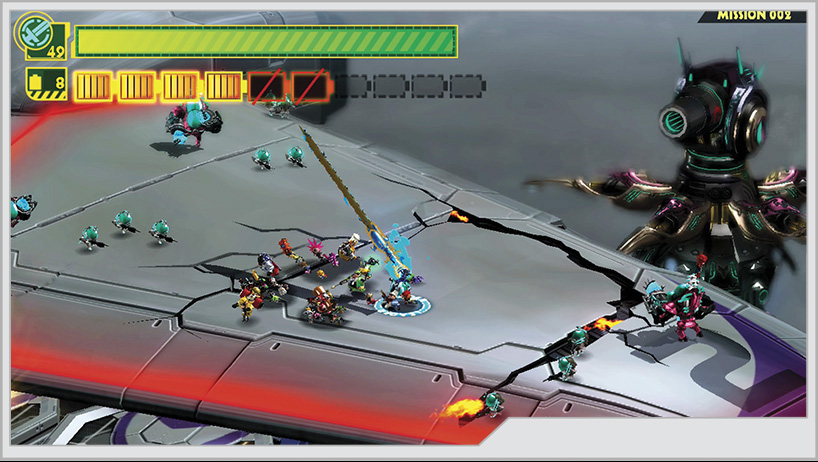
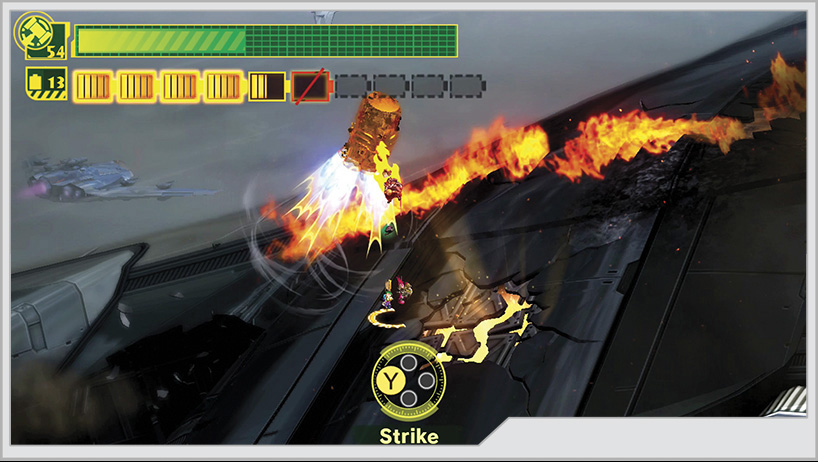
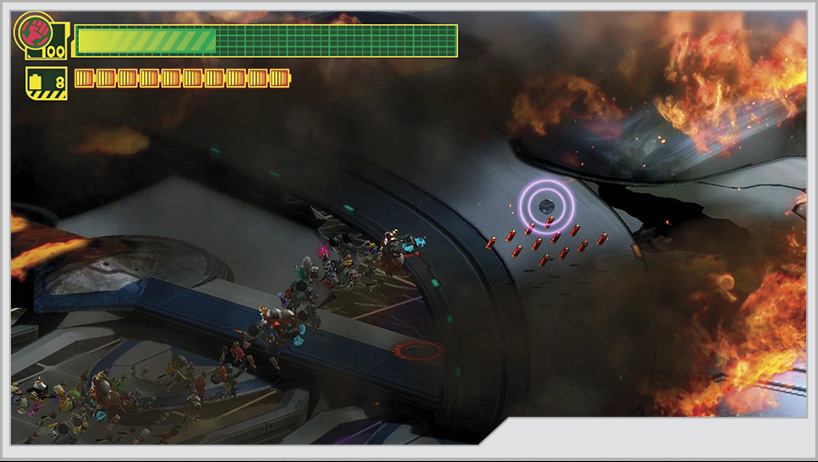
After landing on the burning wing of a shuttle, rip open the access hatch to enter the shuttle.
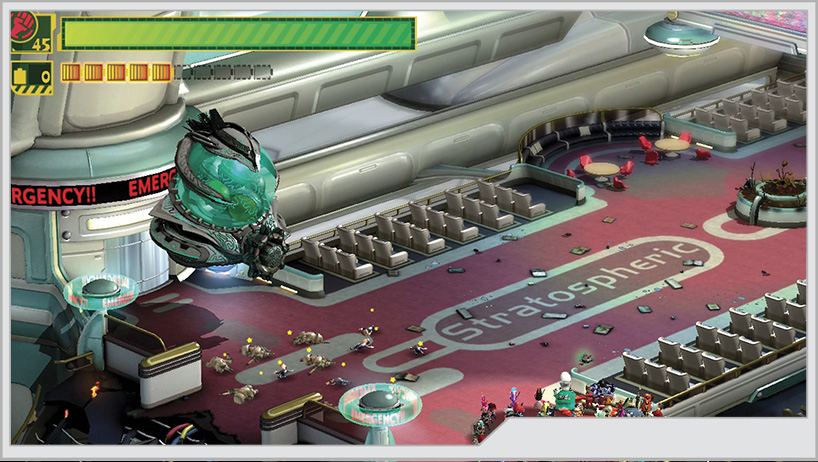
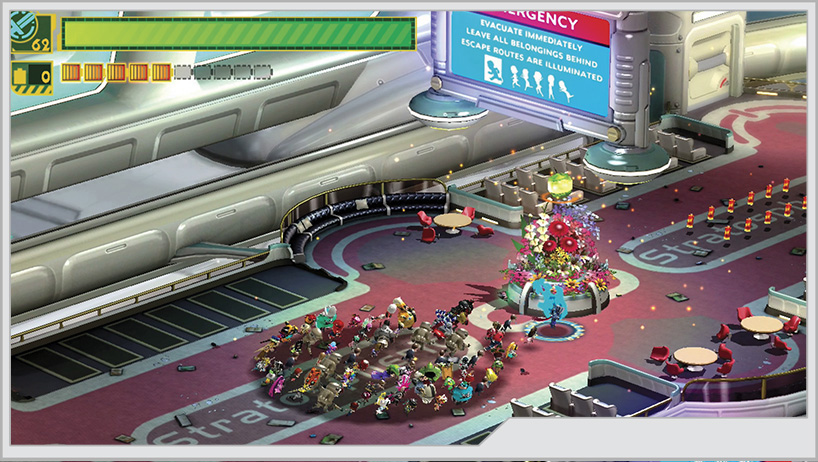
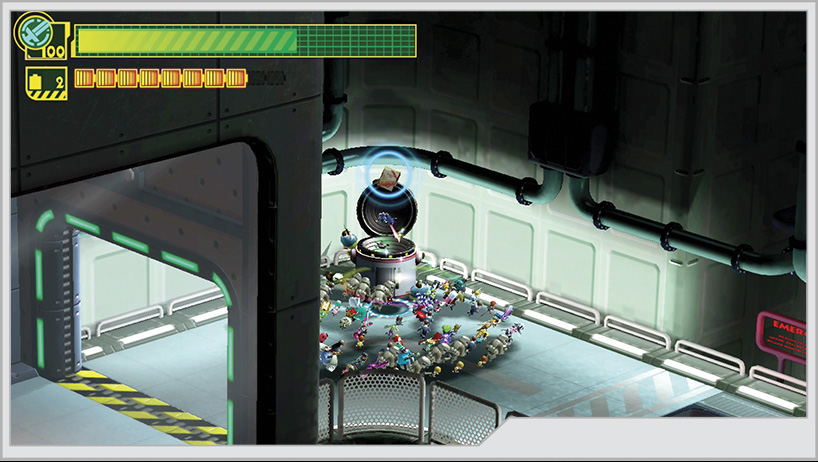
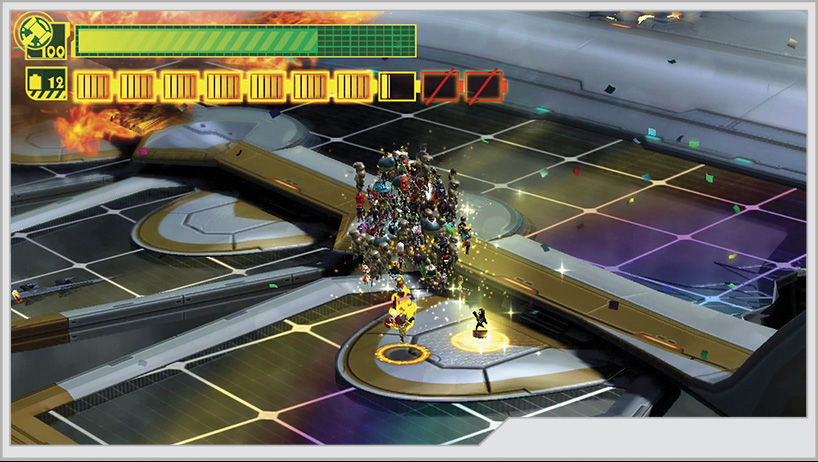
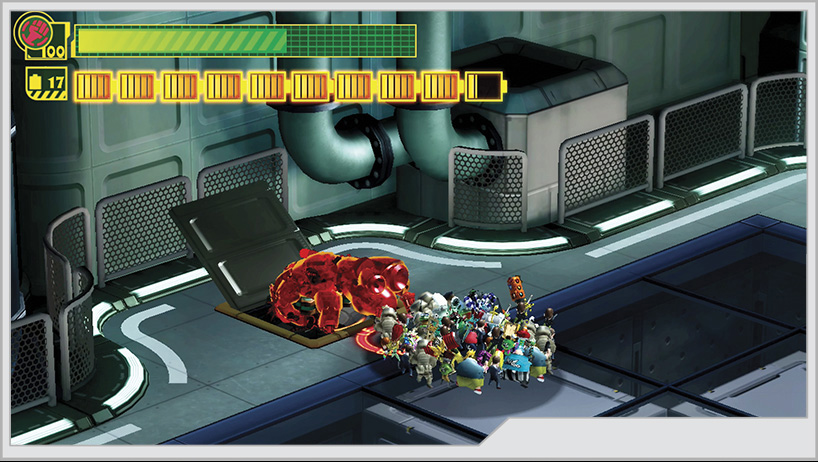
Once inside, you will find a Gatcha next to a cluster of civilians. If you extend a Wonder-Liner off the ledge to the left of the Gatcha [1], you can locate a Platinum Coin.
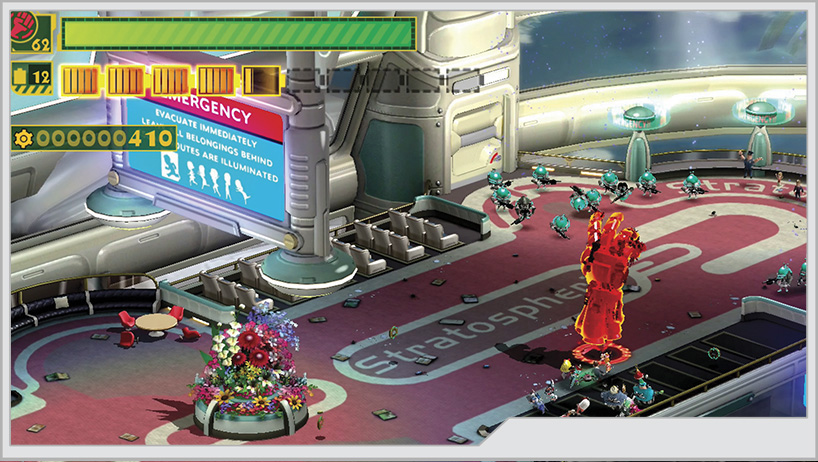
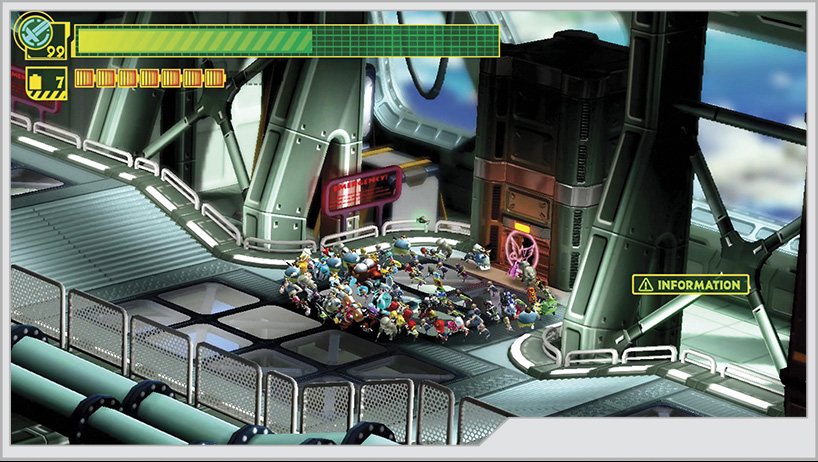
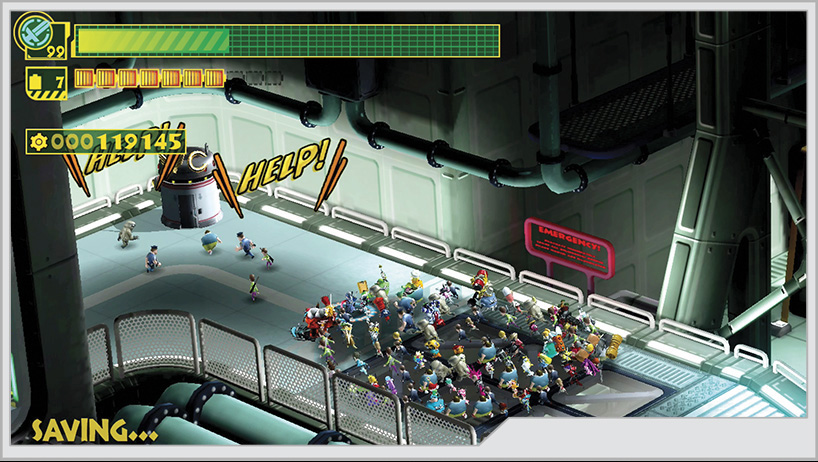
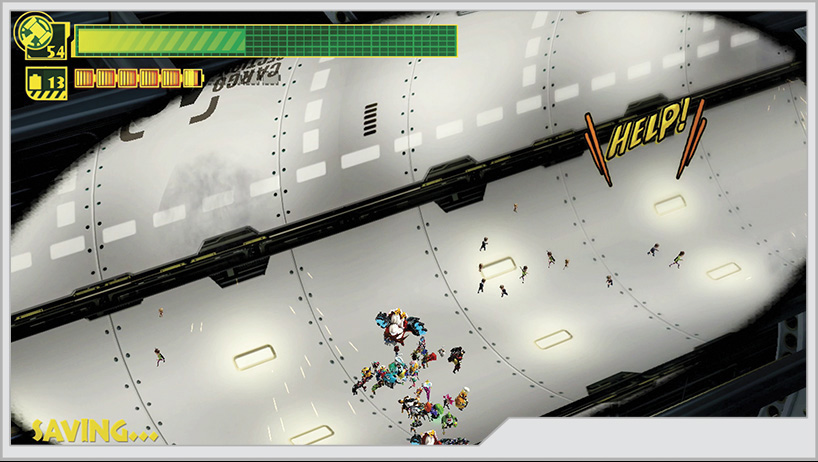
Not far from the Gatcha, the team runs into Luka, the angry schoolboy from the end of the Prologue. He insists on coming with the team, so get a Wonder-Liner around him to bring him along. You can also rejuvenate the flower bed near Luka for some food.
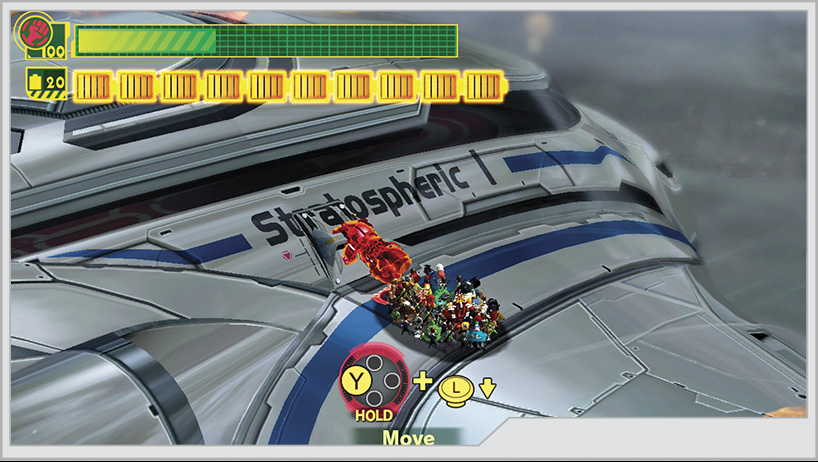
[2] You can use any Unite Morph attack to open the shuttle’s exit. However, several Dough-Goo will try to stop you. This isn’t a rated battle, so don’t worry about your combo rating or speed here.
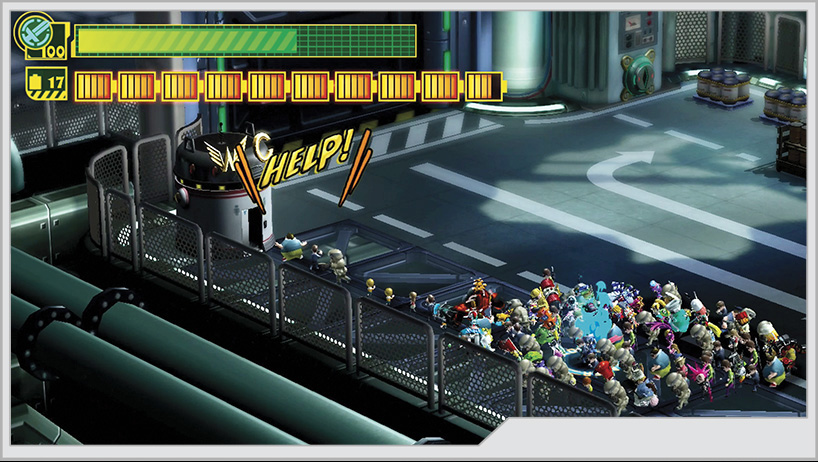
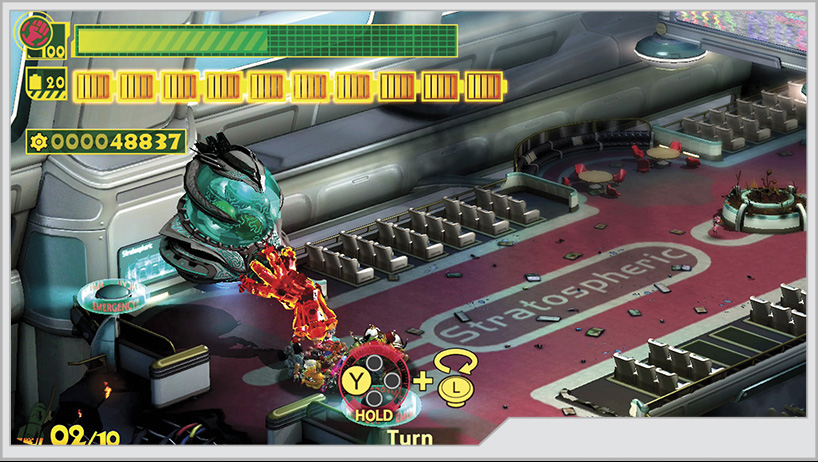
[3] Outside the shuttle, you can find a portal to Kahkoo-regah, as well as another addition to your permanent ranks, Wonder-Prince. Collect him before you enter the portal.
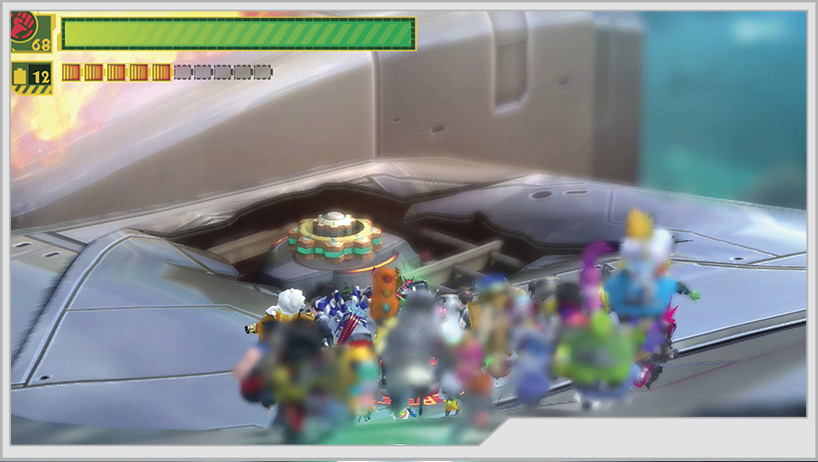
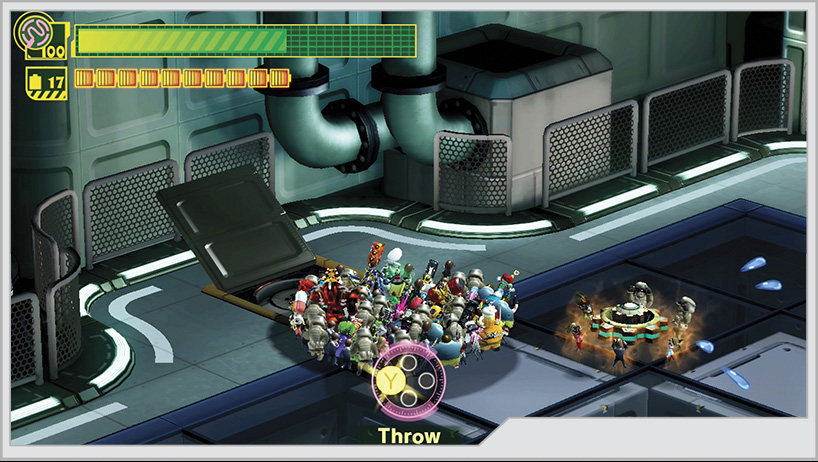
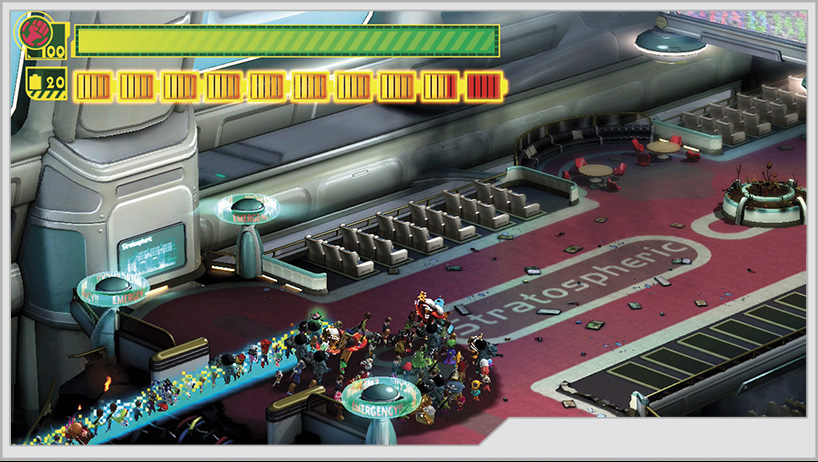
[4] Back outside the portal, you need to twist this valve to get access to the rest of the wing. If you follow the piece engine you released to the trailing edge of the wing, you’ll find a Platinum Coin.
Make your way toward the wing tip, avoiding the missiles the Envan fires. You can’t do anything about it right now.
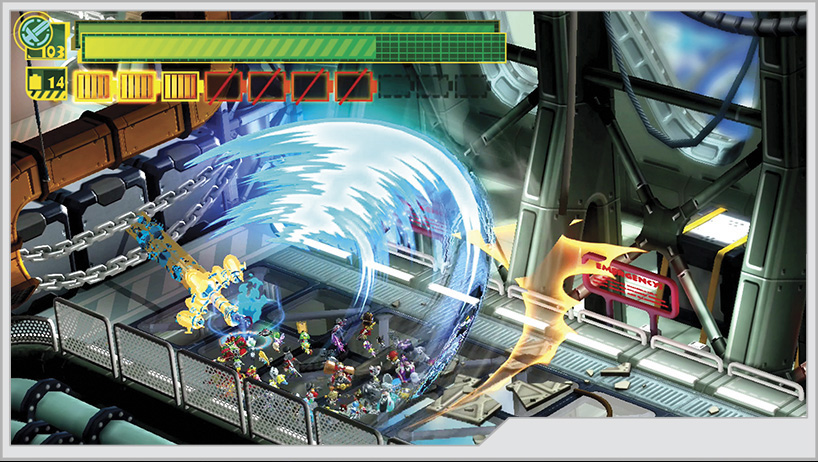
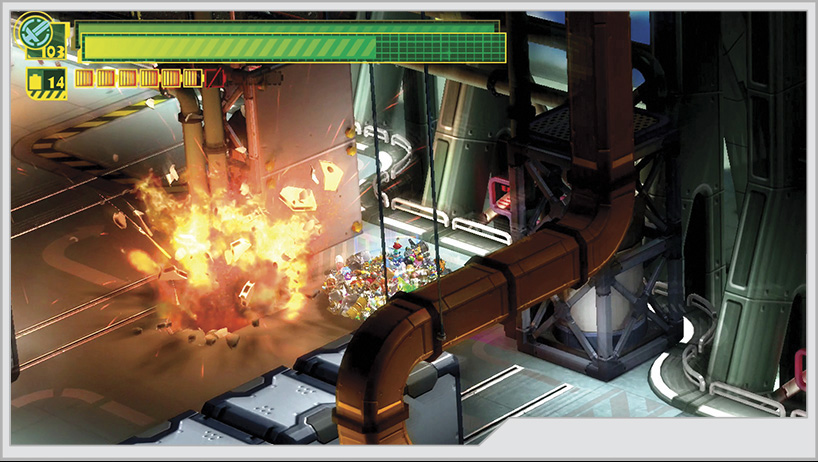
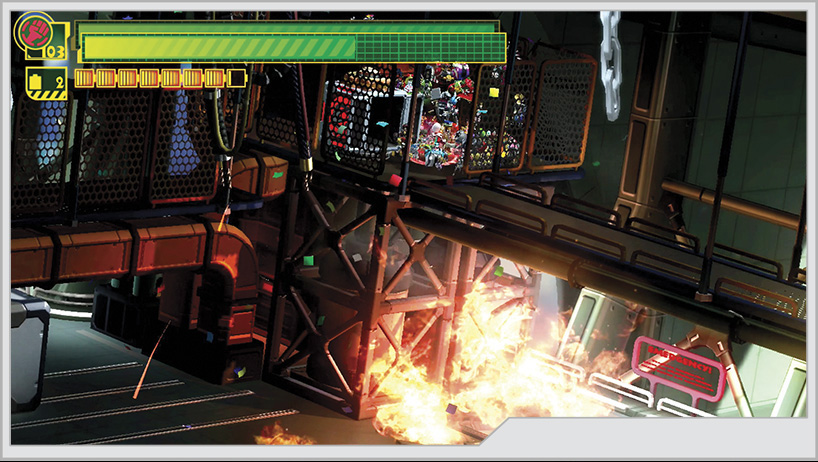
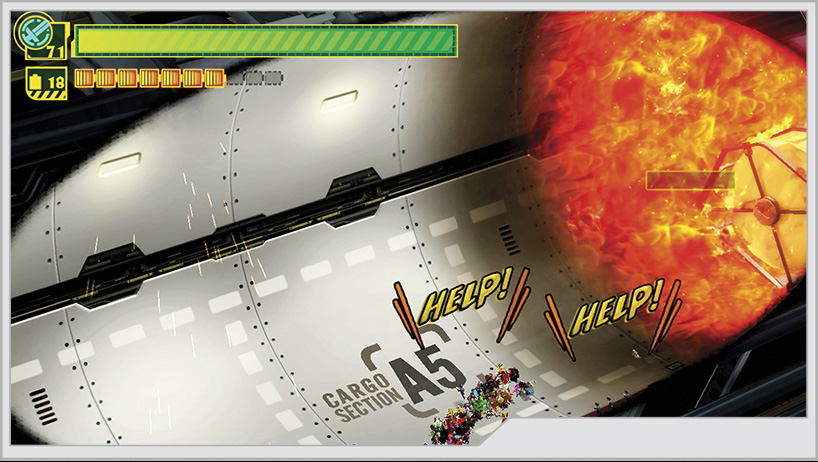
[5] After your brief reunion with Professor Shirogane, he joins your team as you continue deeper into the transport. Unite Sword your way past the chains holding down the boxes and continue forward. Watch out for parts of the deck to explode into flames; these can hurt you. Also look out for the cargo crates shifting back and forth, as they can crush you.
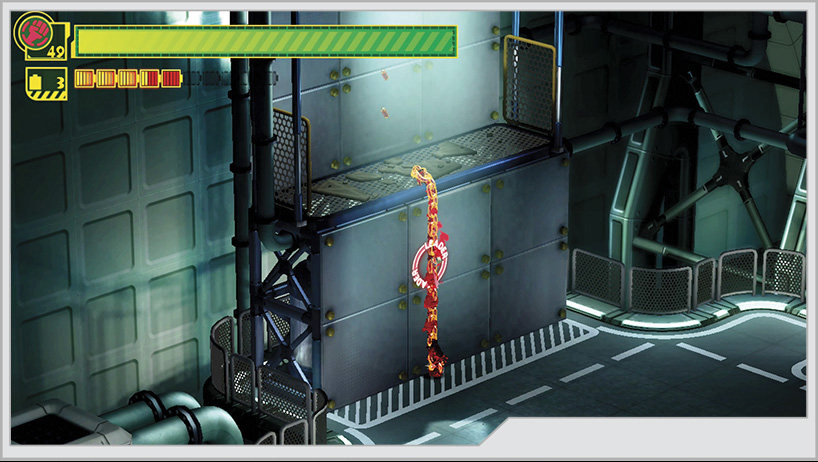
[6] Climb up the wall that the lone moving crate keeps running into and you’ll reach a walkway above the corridor. On the walkway, you can rescue several civilians and Wonder-Clean. Past the cluster of new recruits is a red supply box that contains Wonderful File No. 4.
[7] As you get past the moving crates section, you’ll encounter a pile of debris with civilians you can rescue, next to an out-of-order service elevator. Send a Wonder-Liner into the elevator to reveal GEATHJERK File No. 11.
A Wonderful Toilet just past the Mission 3 zone contains Wonderful File No. 8. Additionally, you can extend a Wonder-Liner into the corridor to the left before triggering the next mission, allowing you to rescue civilians and Wonder-Movie early.
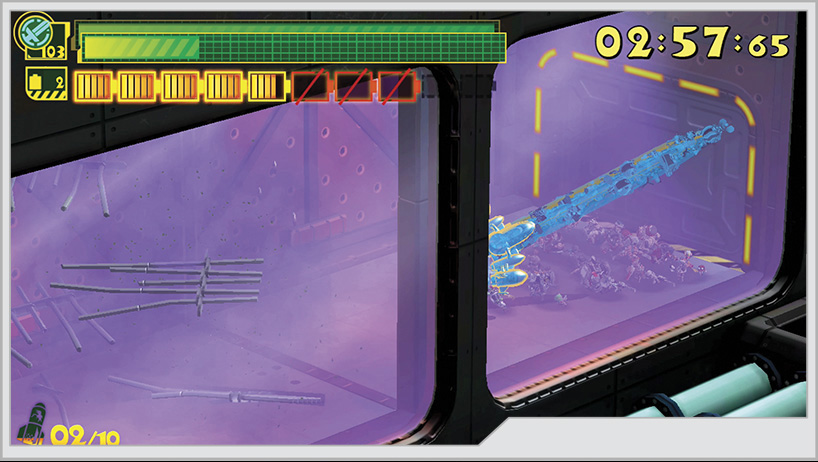
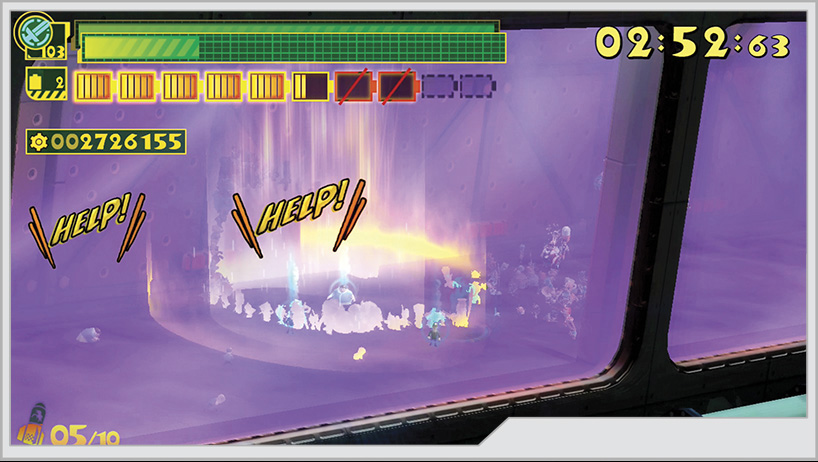
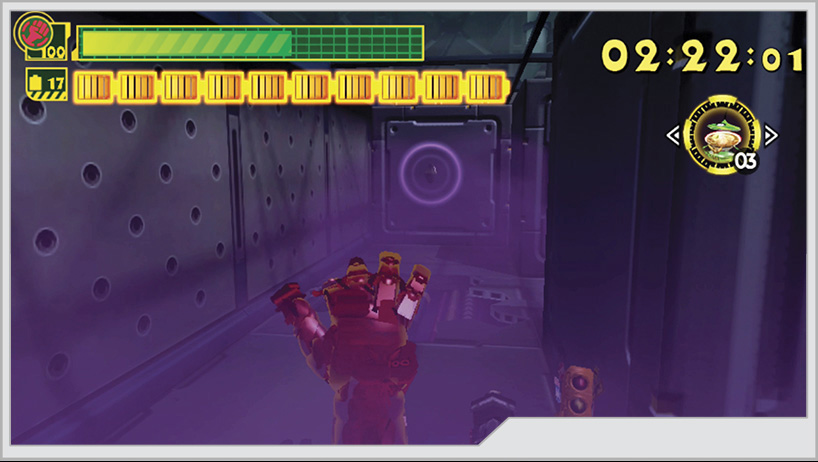
If you proceed into the corridor, a short scene plays out, showing you poison gas filling the corridor and locking you inside it. You have three minutes to break your way through the security barriers, rescuing everyone along the way, including Wonder-Movie if you haven’t already.
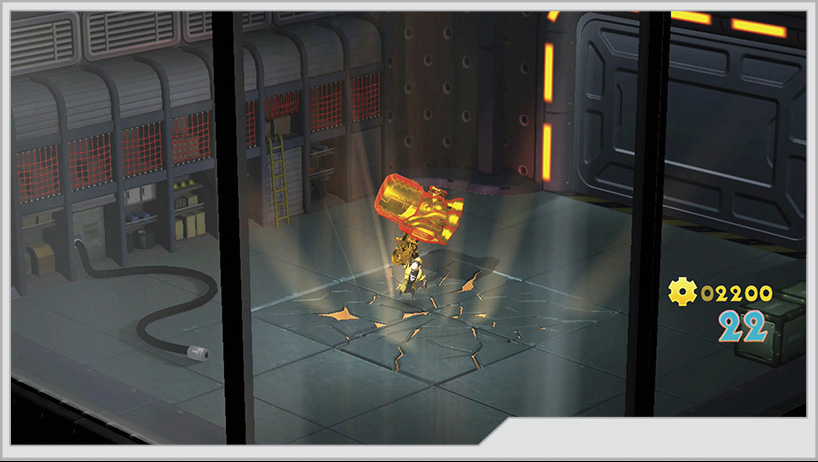
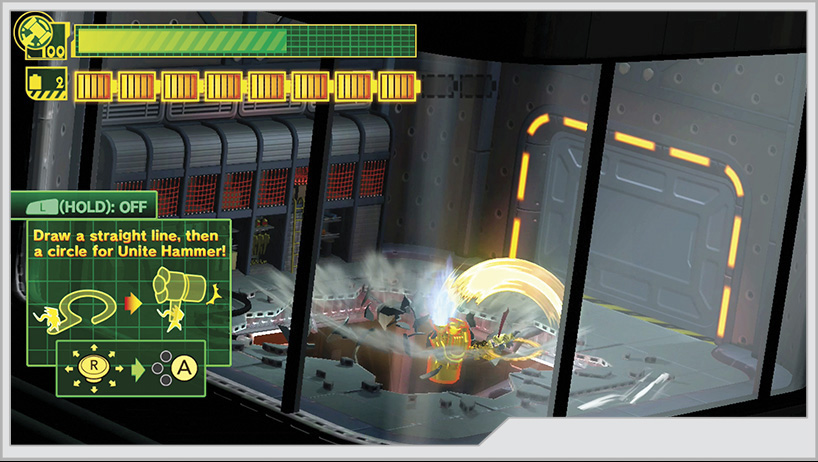
[8] The corridor leads to a dead end, but all is not lost for new players, as Wonder-Yellow finally joins the team and can help you hammer your way through the floor to safety! Additionally, in all prior operations, yellow supply boxes will start to appear throughout, requiring Unite Hammer to open.
With its shell broken, a Megang becomes vulnerable to any type of Unite Morph and can even be stunned with Team Attacks. In this state, the Megang’s tail also becomes more visible; yank it with Unite Whip for a short stun.
Hard and 101% Hard Mode
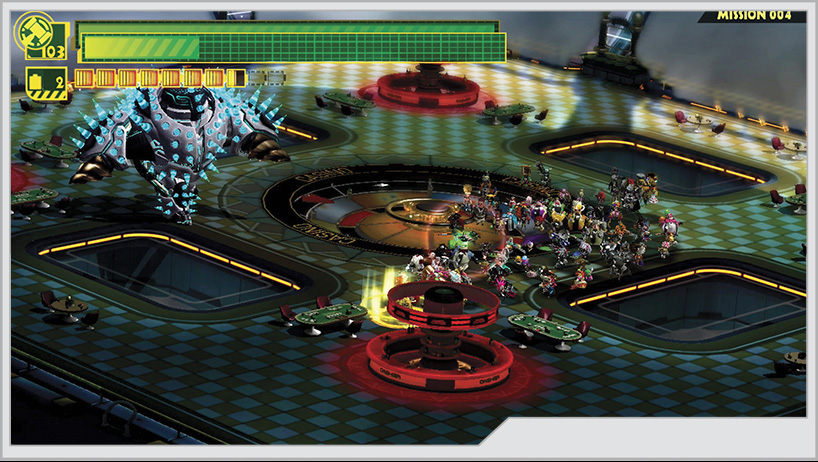
The primary difference of this fight on higher settings is that a single Gedie Dough-Goo is what greets you in the casino before the Megang show up. The Megang are a lot more aggressive with their fire pillars, and of course they hit significantly harder, but the basic strategy should be the same.
There’s some item cleanup to perform before leaving the casino roulette room. First, use the Unite Hammer to check the circle on the room’s bottom left to uncover Wonderful Figure No. 12.
Do the same on the circle on the upper right, mashing the fountain there with the hammer to reveal Wonderful Figure No. 86.
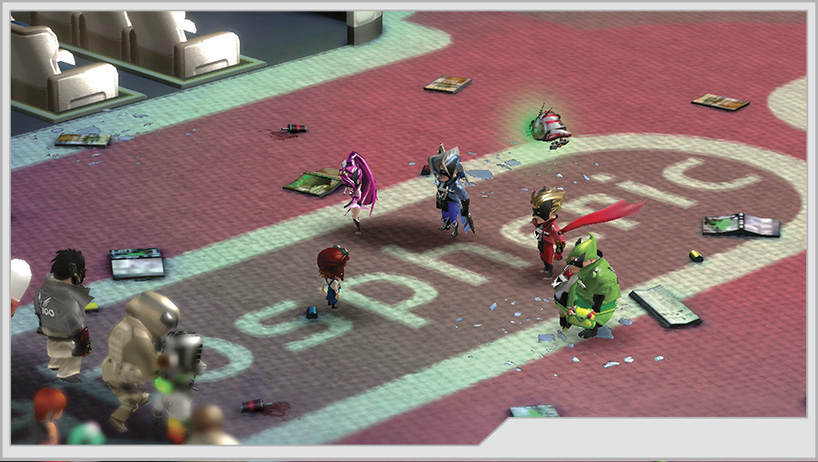
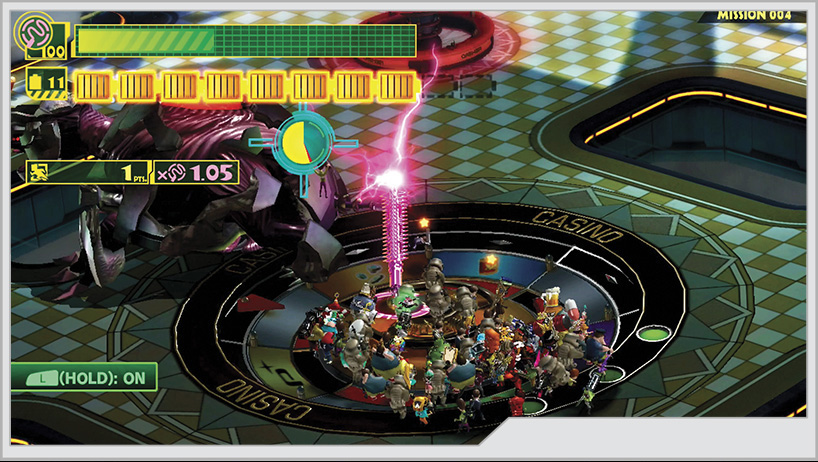
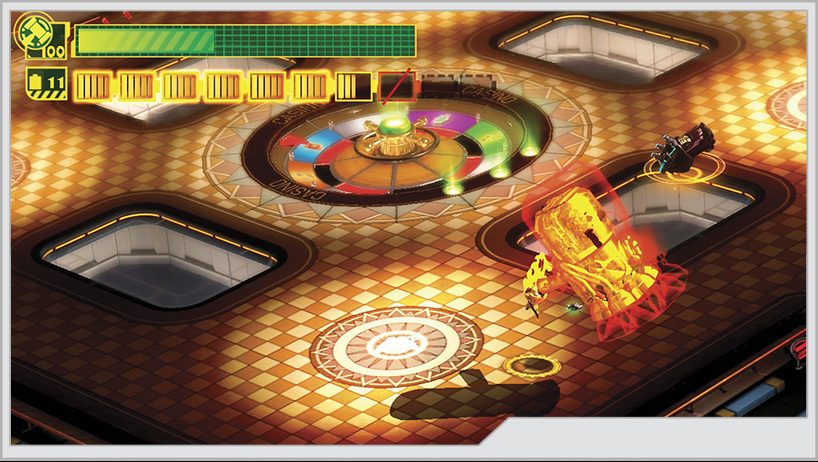
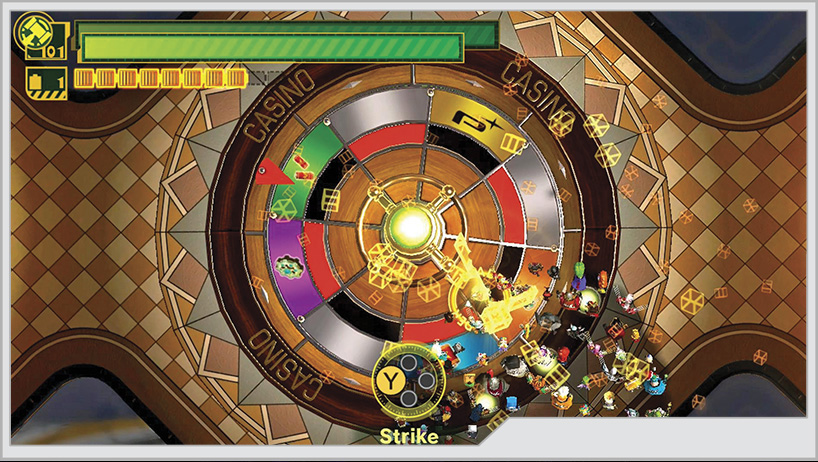
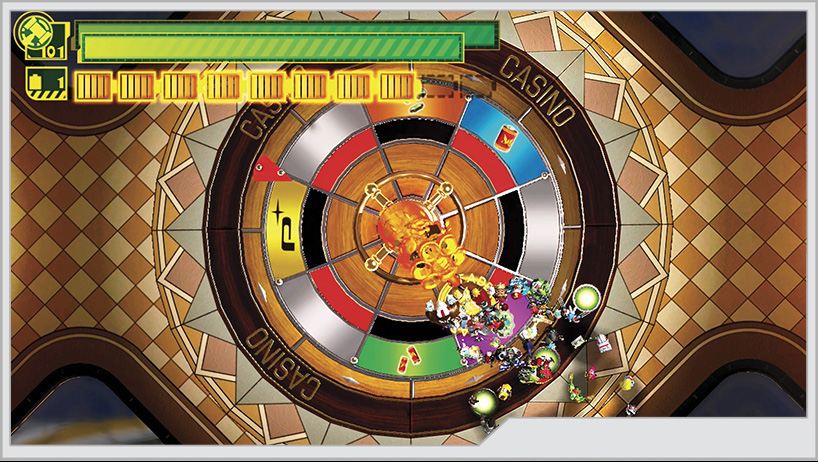
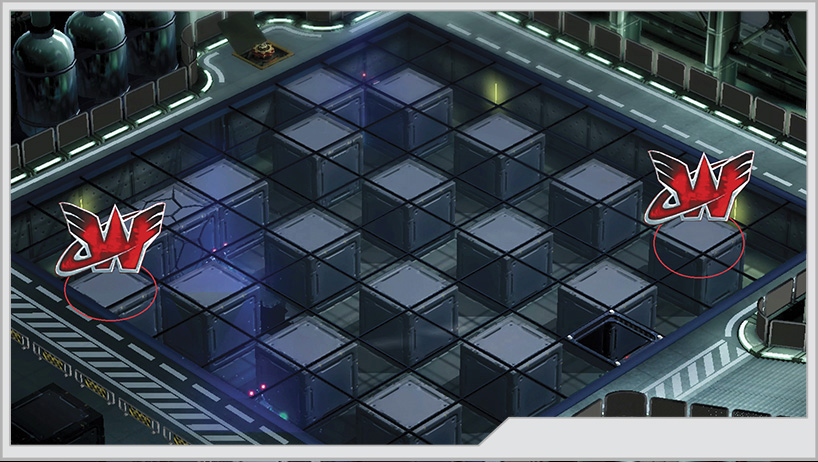
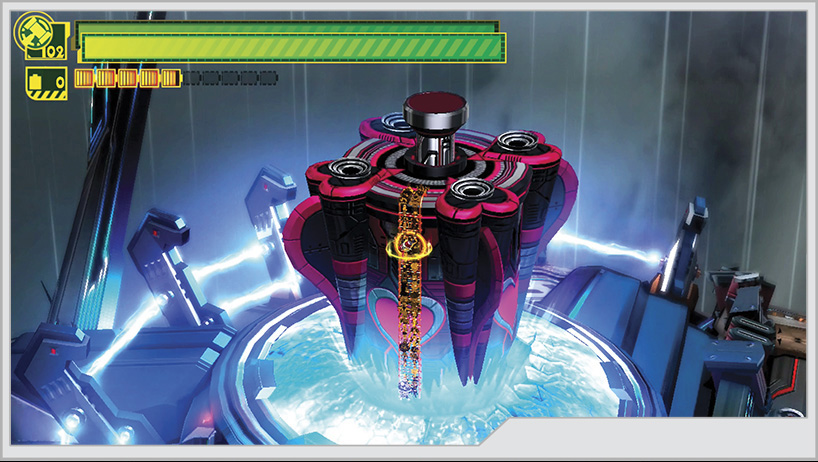
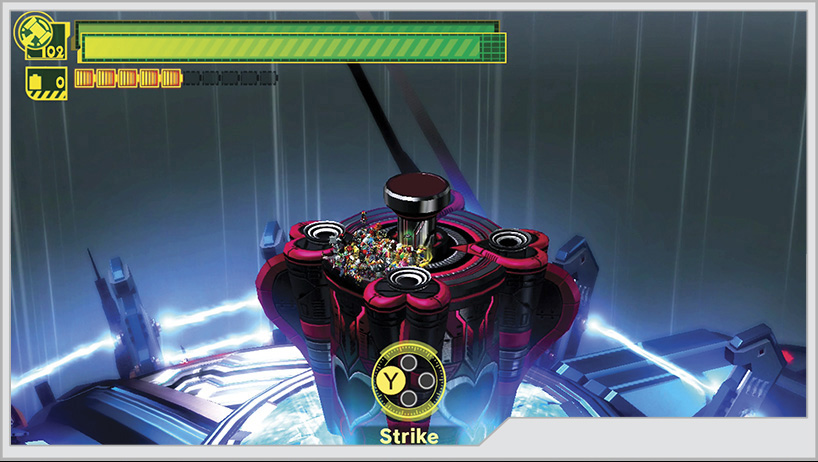
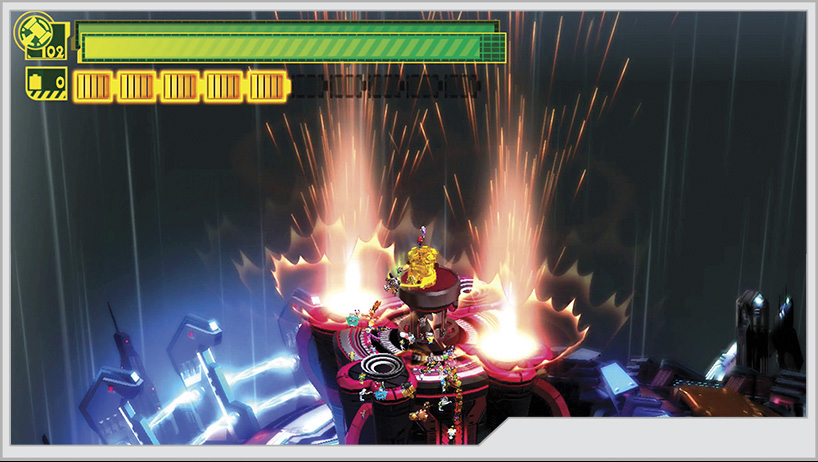
The roulette wheel at the center of the room can be played three times with the Unite Hammer. If you land on the yellow PlatinumGames logo, Wonder-Gambler will reward you with his presence, ready for recruitment. This can be tricky, as it takes time before the hammer strikes. If you trigger the hammer strike when the “P” logo is where it appears on the first screenshot, you should get exactly what you want.
[9] Work your way through the corridor to the left of the roulette room to reach Mission 5.
After swatting the You-Houghs out of the air, you’ve got some items to pick up. First is a Platinum Coin earned by wrapping a Wonder-Liner around a flower bed at the top corner of the room.
In the same room, you can locate Wonderful File No. 9 in a yellow supply box.
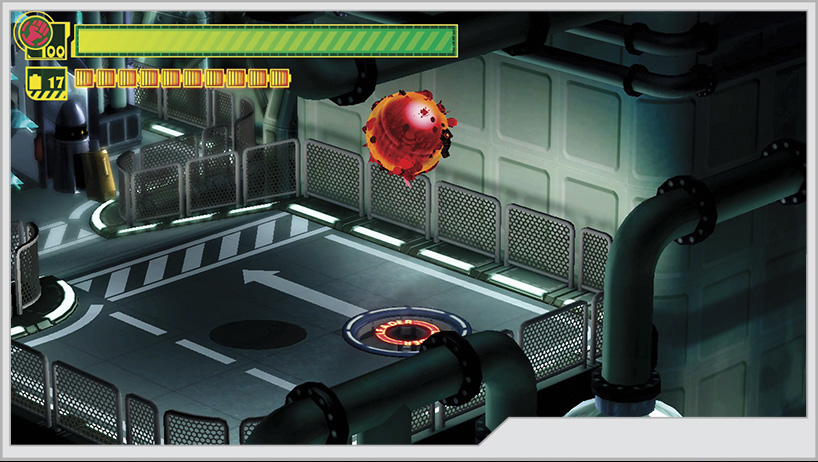
The next Platinum Coin is very easy to miss, and can be recovered only during the fall from the hole at the center of the Mission 5 room. Set up the largest Unite Sword possible before taking the leap. The coin is located just below the second trail of Wonderful Batteries you pass, but it’s difficult to directly aim for. With Unite Sword you can swipe at the coin to collect it. Good luck with this. The game auto saves the moment after you complete the jump, so missing it on the first pass means you have to get the coin on a later attempt.
[10] After landing on the wing of the next shuttle, a missile barrage damages the wing and creates a section that can be busted open with Unite Hammer. Before you dive right in, check the trailing edge of the wing with the Unite Hammer for Wonderful Figure No. 41.
Once you get inside the shuttle through the breach you created, you’ll discover a Wonderful Toilet with some civilians. The toilet contains some food. The door out of the area is sealed by a Unite Sword lock [11], but power is out in this room and the door will not open. You’re prompted to return to the wing of the shuttle to absorb lightning strikes with the Unite Sword in order to power the lock.
After you put the Dahkarts down, Wonder-Liner around the valve, then have it carried over to the machine that needs it and throw it on. Twist the valve to open a door that will take you underneath the glass floor. Get ready for another ambush under the glass.
Hidden in the maze are a Platinum Coin and two Wonderful Ones to recruit to the team. The coin is more obvious and can be easily found during Mission 8 or afterward, as it can be seen through the glass. Wonder-Fighter is located inside a block behind the Platinum Coin. You have to break into that block by destroying its right side wall. Wonder-Sniper is inside a block on the far right corner of the maze. You first must destroy a block that is next to it; then you can destroy another wall to get access to your new recruit.
After you’ve scoured the maze for goods and recruits, go through the door that opened at the end of Mission 8. You will be launched up an air vent to the next room. Don’t run forward just yet! Turn into a 100-man Unite Ball and try to roll back into the air vent. After a few seconds, you will be launched up to a Hero Heart Fragment. Use the Unite Whip to break through the barrier, and continue toward the waiting Wonderful Mart!
Operation 003-B
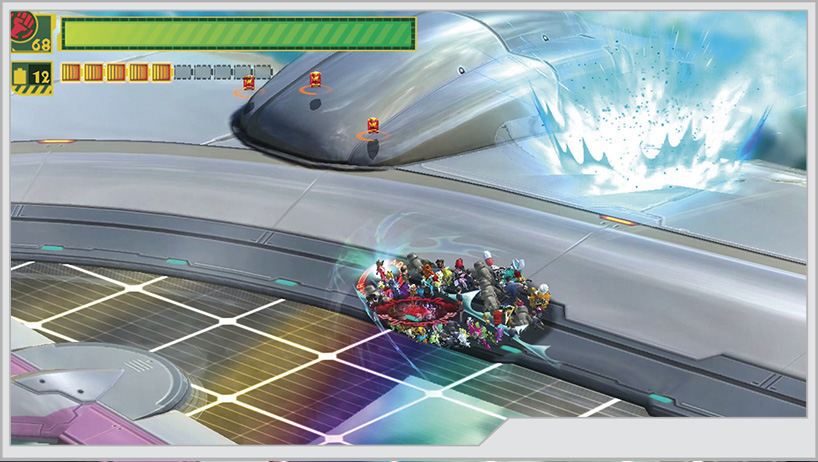
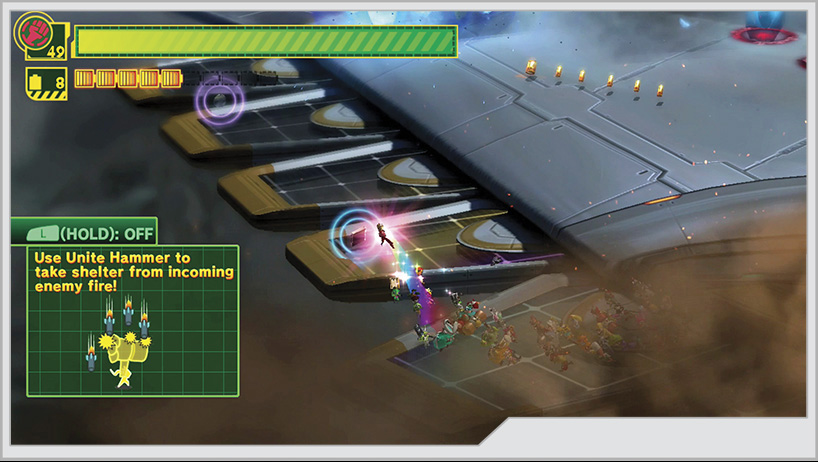
[1] After exiting the Wonderful Mart, climb up the wall behind it to get back to the outside of the shuttle. Once outside, check the trailing edge of the wing for GEATHJERK File No. 13 and a Platinum Coin. As you approach the wing tip, a massive missile barrage starts to fall all across the wing. If you use Unite Hammer, it can protect you from any direct hits.
Surviving the barrage, you will see a short cutscene. The Envan from before has returned to harass the Virgin Victory and the rest of the surviving shuttles. Once you regain control, jump aboard the Virgin Victory and perform Unite Hand so you can grab the ship’s wheel.
The shuttle is safe for the moment, but you now need to fire the Virgin Victory’s anchor over to the shuttle so you can board it. As you reach the shuttle, an ambush takes place.
Mission 2
Medal Requirements
Element
Platinum
Gold
Silver
Bronze
Difficulty
Time
5:30
5:50
6:10
6:30
Very easy
Time
5:00
5:30
5:50
6:10
Easy
Time
4:30
4:50
5:10
5:30
Normal
Time
3:20
3:40
4:00
4:20
Hard
Time
2:20
2:40
3:00
3:20
101% Hard
Combo
2500
2000
1500
500
Very easy
Combo
3000
2500
2000
1500
Easy
Combo
3500
3000
2500
2000
Normal
Combo
4000
3500
3000
2500
Hard
Combo
5000
4000
3000
2000
101% Hard
Damage
0
1000
2000
4000
Very easy
Damage
0
1000
2000
4000
Easy
Damage
0
1000
2000
4000
Normal
Damage
0
1000
2000
4000
Hard
Damage
0
1000
2000
4000
101% Hard
Enemies Present (Very Easy–Normal)
Wave 1: Chew Dough-Goo x3, Dough-Goo x12, Tiekuu
Wave 2: Diedough-Goo x2
Enemies Present (Hard–101% Hard)
Wave 1: Chew Dough-Goo x3, Dough-Goo x12, Tiekuu
Wave 2: Hah-Gonay
The first wave of this mission can easily cost you the Pure Platinum thanks to the Tiekuu hovering just off to the side of the wing, lobbing cannon shots onto the aircraft while you are preoccupied with the Chew Dough-Goo and Dough-Goo. Try clearing out the infantry first, then focus on firing the Tiekuu’s cannon shots back at it.
Two Diedough-Goo follow up the first wave. The wing has plenty of room to maneuver, so it should be simple to stay out of their reach while you go to work. If possible, lure the two close to each other so you can nail both with a sufficiently powerful Unite Whip.
Hard and 101% Hard Mode
The Hah-Gonay is all by its lonesome for the second wave, replacing the Diedough-Goo. Arguably this is an easier fight to manage.
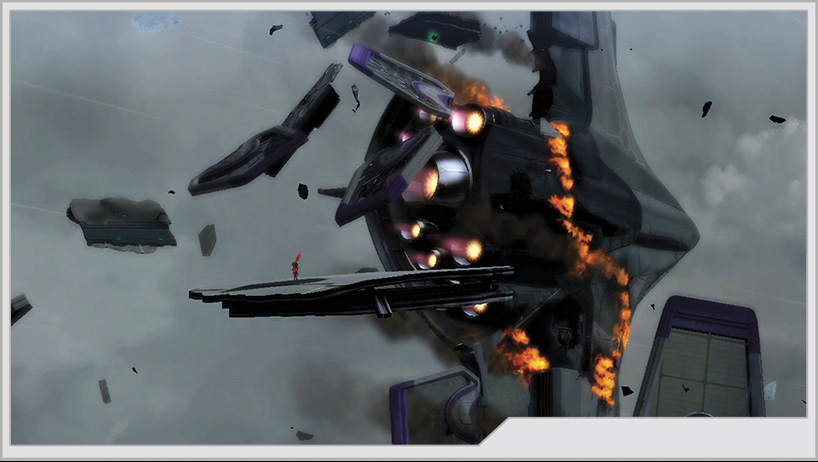
After you complete the battle, the shuttle suffers catastrophic damage, with the wing coming apart and sending the Wonderful 100 flying away. You have to Wonder-Jump across a series of debris chunks until you can manage a “safe” return to the now-spiraling shuttle. Mission accomplished...?
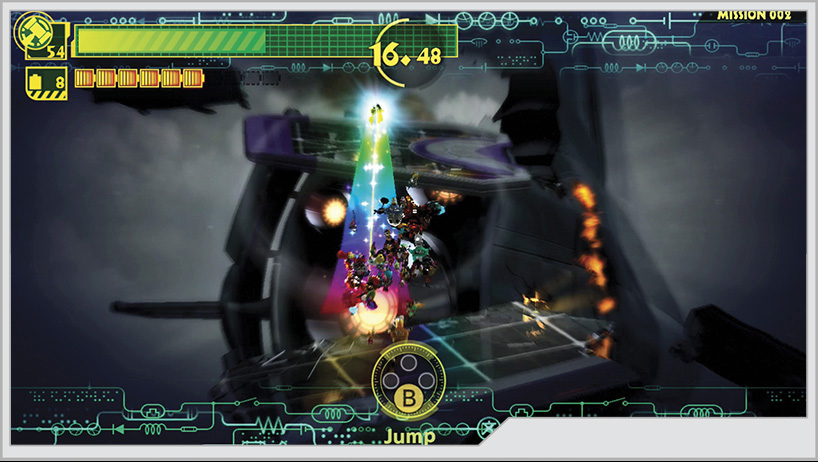
As the shuttle spirals through the air, you need to keep walking with it to avoid getting flung off. You will see a place you can hammer through to get inside the shuttle, but ignore it for a moment and keep following the hull until you find a valve you can twist open with Unite Hand. This will reveal a Platinum Coin. Work fast, as the shuttle will start rotating in the opposite direction, forcing you to hammer your way inside or fall off and lose health.
A number of civilians can be found inside the rotating central shuttle passage. Save who you can, and press onward to the right.
Not long after the first ambush, you will encounter a firestorm that blocks your forward progress in the passage. Unite Gun can destroy the water supplies inside the flames, dousing them and allowing you to proceed.
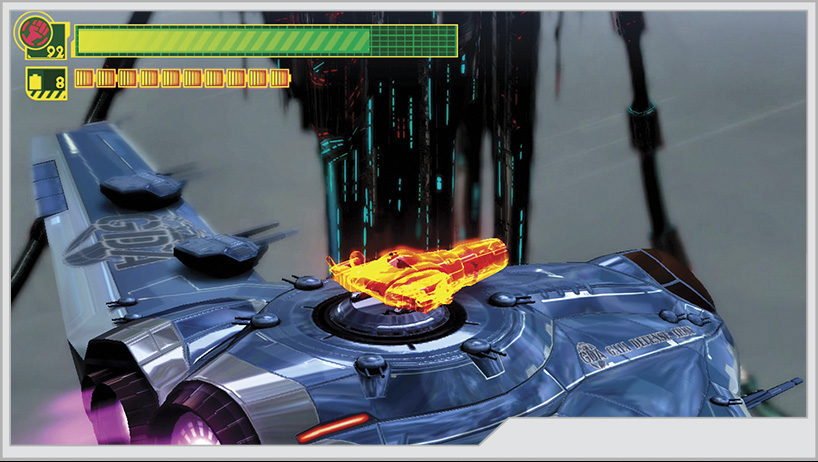
P-Star prompts you to rebuild the main gun on the GDF fighter and return fire on the Envan.
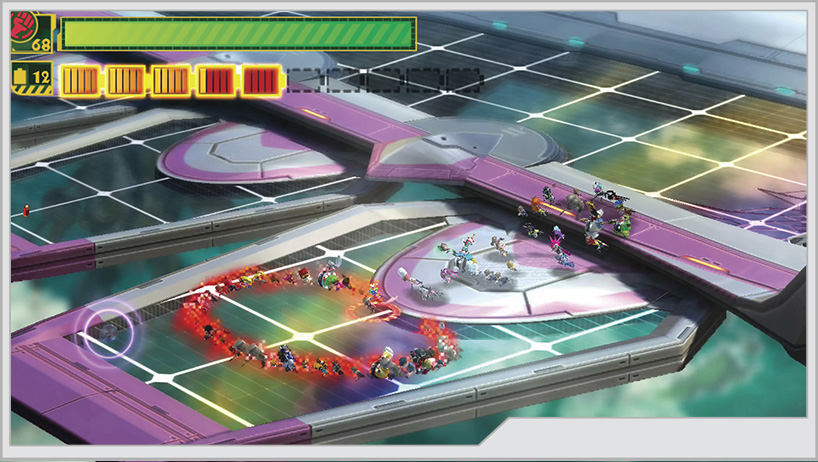
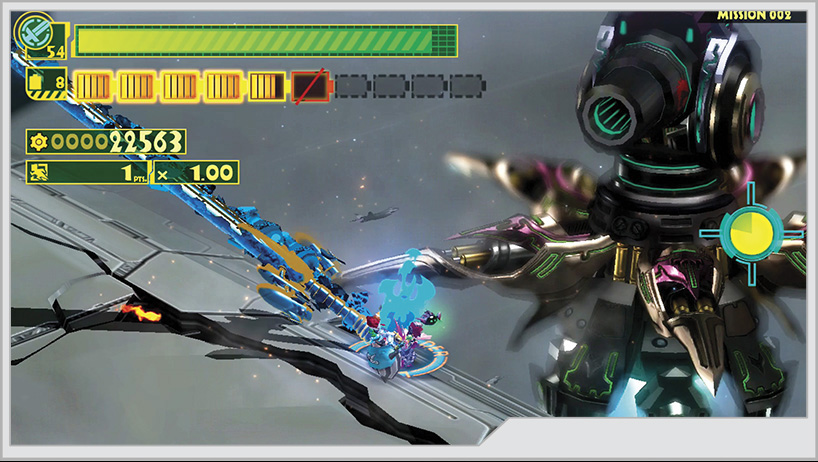
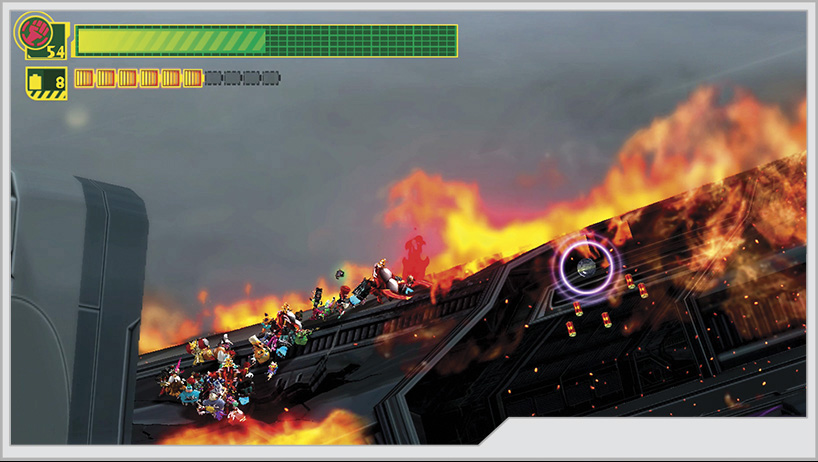
Now on the wing of the second shuttle you’ve saved, take a small detour along the trailing edge of the burning wing [2]. You will find a Platinum Coin near a cluster of batteries. Return to the main section of the wing and rip open an access hatch [3] to get inside the shuttle.
Once inside, you encounter a Gatcha and a large group of civilians to save. Extend a Wonder-Liner off the ledge to the Gatcha’s left to locate a Hero Heart Fragment. To the right, waiting appropriately next to a flower bed, is the hero Wonder-Flower.
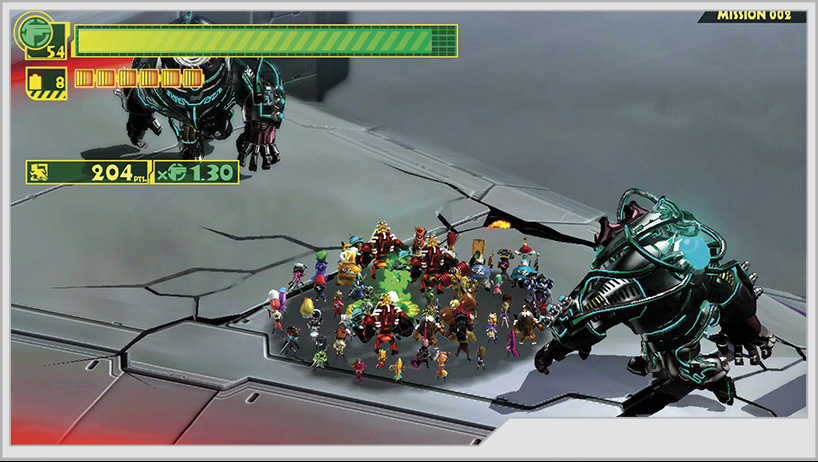
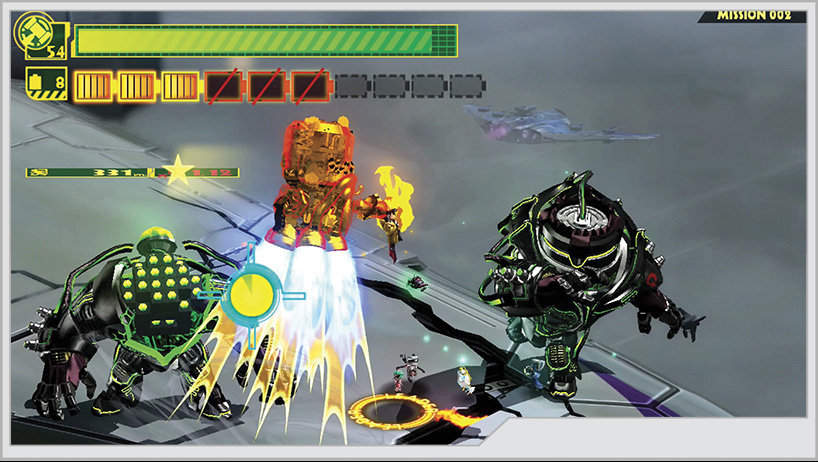
Approaching the flower bed triggers an ambush by two Raydown [4]. Considering what you’ve just gone through, it’s nice that this battle isn’t rated.
[5] At the end of the corridor is another cluster of civilians. A Gedie Dough-Goo teleports directly onto them. Again, this battle is not rated, but work fast on destroying this beast so you can save the civies for extra points. Defeating the Gedie Dough-Goo reveals a portal to Kahkoo-regah!
After handling the Kahkoo-regah portal, enter the open elevator door next to it to drop into the bowels of the shuttle [6]. There are many civilians you can rescue throughout the area, and there’s a Wonderful Toilet that contains a supply of space fruit for crafting. More importantly, you find what Professor Shirogane was looking for.
But after a sudden crash landing at the Strato Port, it’s obvious that the Wonderful 100 still have a lot to do before the day is saved. Head to the Wonderful Mart sign to complete Operation 003-B.
Operation 003-C
The Wonderful 100 have deployed to the Strato Port statue containing one of the Super Reactors that help project Margarita around the Earth. Professor Shirogane has a plan that can be put into effect soon, but it relies entirely on the Wonderful One’s ability to hold the enemy off for just a little bit longer. Unfortunately, when the heroes arrive at the statue, it becomes clear that they are not alone...
Medal Requirements
Element
Platinum
Gold
Silver
Bronze
Difficulty
Time
0:00
1:00
2:00
3:00
Very easy
Time
22:00
23:00
0:00
1:00
Easy
Time
20:00
20:30
21:00
22:00
Normal
Time
15:00
15:30
16:30
17:00
Hard
Time
11:00
11:30
12:30
14:00
101% Hard
Combo
8000
6000
4000
2000
Very easy
Combo
10000
8000
6000
4000
Easy
Combo
12000
10000
8000
6000
Normal
Combo
14000
12000
10000
8000
Hard
Combo
16000
14000
12000
10000
101% Hard
Damage
0
2000
4000
8000
Very easy
Damage
0
2000
4000
8000
Easy
Damage
0
2000
4000
8000
Normal
Damage
0
2000
4000
8000
Hard
Damage
0
2000
4000
8000
101% Hard
Enemies Present (All Difficulties)
Wanna, Diejeah, Envan, Cough-Foon
Phase One
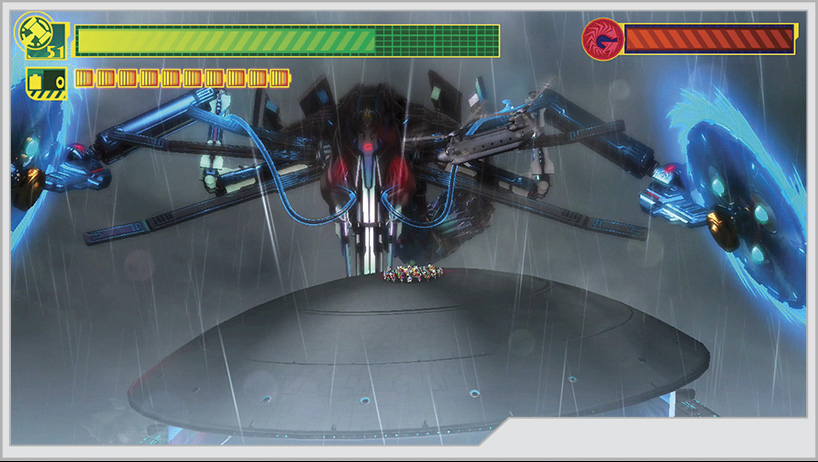
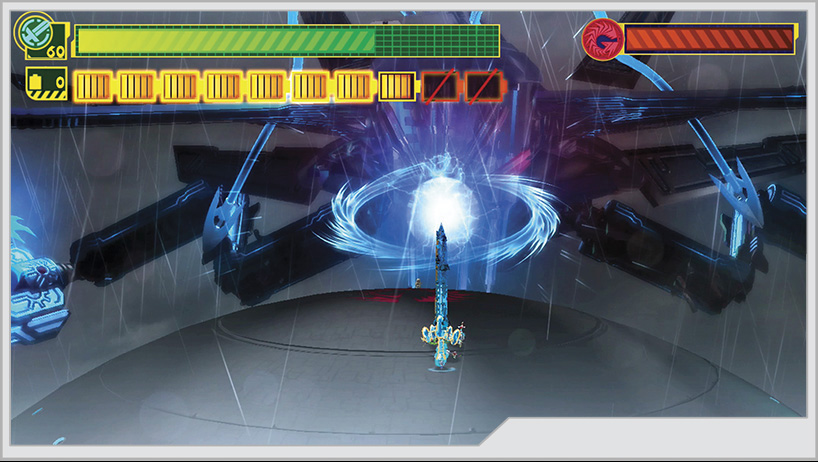
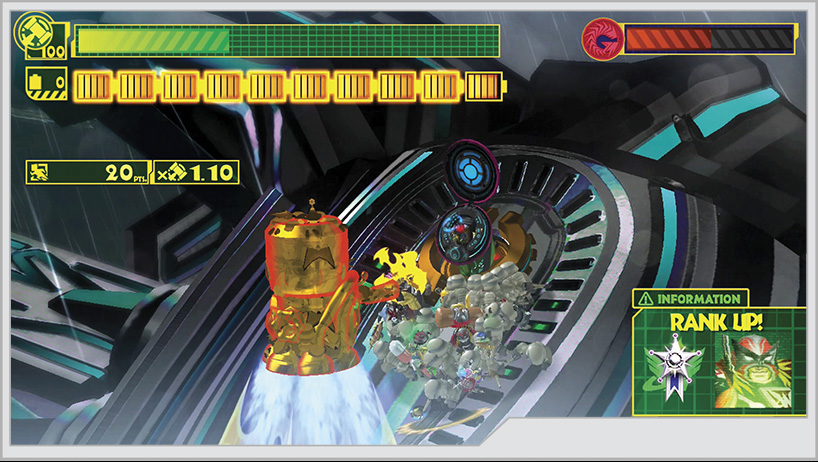
Shortly after introductions are made between the Wonderful Ones and Wanna, Diejeah prepares to fire its main gun. However, a mysterious interloper arrives and provides our heroes with some assistance of a questionable nature. Unite Hand onto the missile delivered by the stranger!
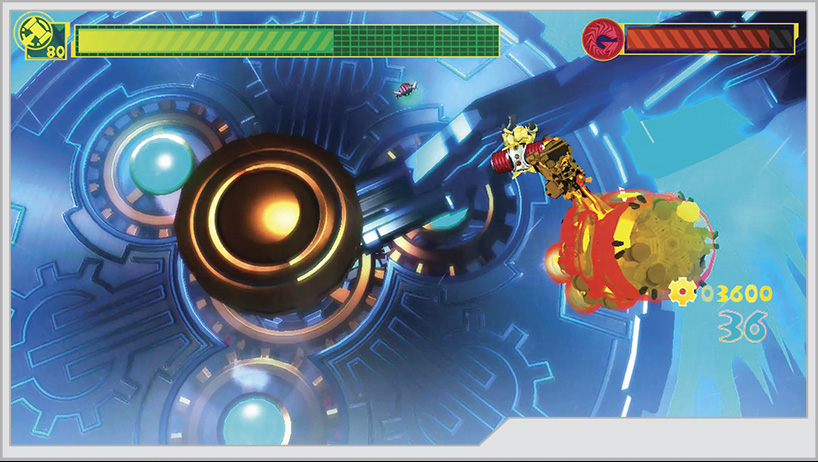
The missile speeds toward Diejeah, and you must avoid incoming missiles, Cough-Foon laser blasts, the Cough-Foon debris after the Virgin Victory destroys them, and an Envan’s melee strikes. The missile can only take so much damage before it’s wiped out, and despite its speed, it will still take some time before you reach Diejeah.
When you get close enough, Diejeah’s main gun is marked by a red reticle. Aim your missile directly at it; this will be confirmed when it turns green.
Phase Two
After a brief flashback, the team awakens on Diejeah to the sound of bad news: The main gun is still active and Strato Port is still in danger. The solution is to hammer the missile closer to home. You can either Unite Build a ladder to reach the top of the missile, or use a double-jump combined with Wonderful Rising to reach the top of the missile.
You need to strike the center of the missile multiple times to drive it down into the core. However, the missile’s four engines will periodically shoot flames and can knock you back to the ground if you don’t evade in time. At first, only two of the thrusters will fire up, but after the missile is driven down one step, three thrusters light up periodically. After being driven into the core a second time, all four engines will light up, with a short reprieve between bursts. Just keep at it until the missile finally detonates, wiping out Diejeah’s main gun.
Phase Three
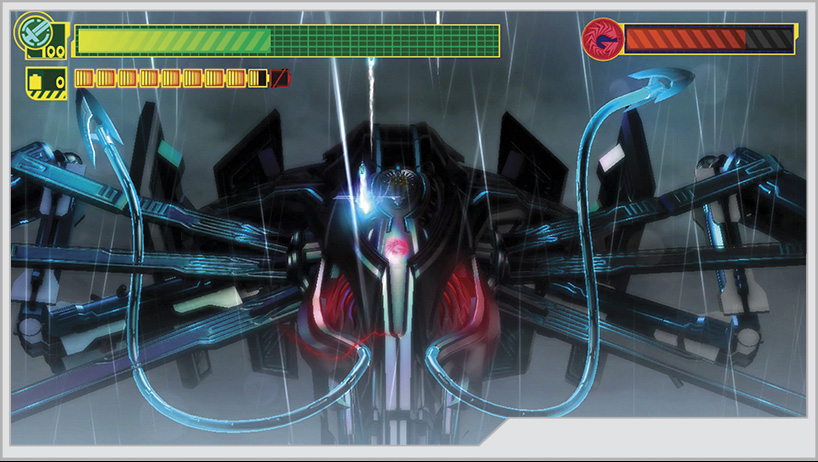
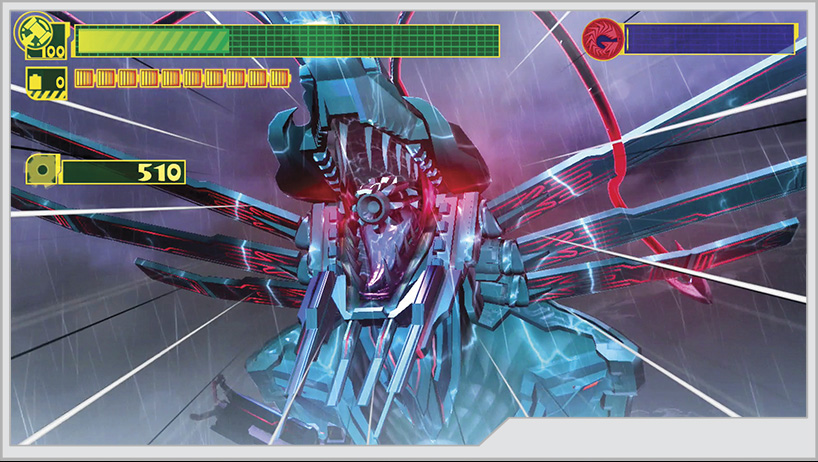
Losing the main gun was only a temporary setback. Diejeah reveals its true combat form, and the fight continues. You have to Wonder-Jump onto the back of the enormous cyborg serpent. Wonder-Red orders the use of Unlimited Form.
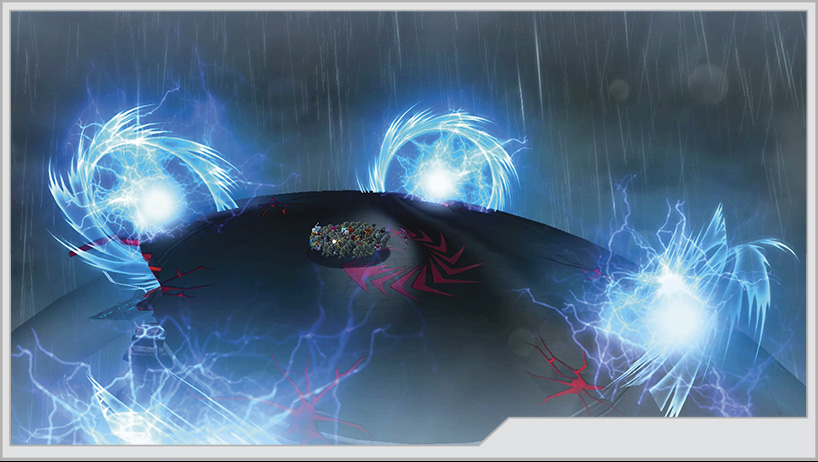
Navigating Diejeah’s back is simple enough. Wanna will flutter about in his personal chariot to harass you as you move forward. Occasionally, he will call down artillery on your head, which can be blocked with Unite Hammer. You can also get Wanna to temporarily leave if you shoot at him with Unite Gun.
You meet an Orgon shortly after the first artillery barrage. On paper, they are certainly intimidating. Generating high-voltage electricity, the Orgon will swim around the area, looking to cut and stab things with its tail. They will sometimes leap high from a spot on the ground, hurting anything in their path and striking again when they fall from the sky.
If allowed to get started, an Orgon has a vicious spin attack executed while swimming around, and it cannot be stopped or blocked. Prevent this from being used against you by smacking the Orgon with Unite Whip as it swims around. After enough hits, the whip will suddenly yank the Orgon out of the ground, leaving it stunned. While stunned, an Orgon can be lifted and slammed by the Unite Whip for heavy damage. However, it is probably better to launch the monster into the air with Wonderful Rising and then proceed to lay a prodigious beating before it can touch the ground again.
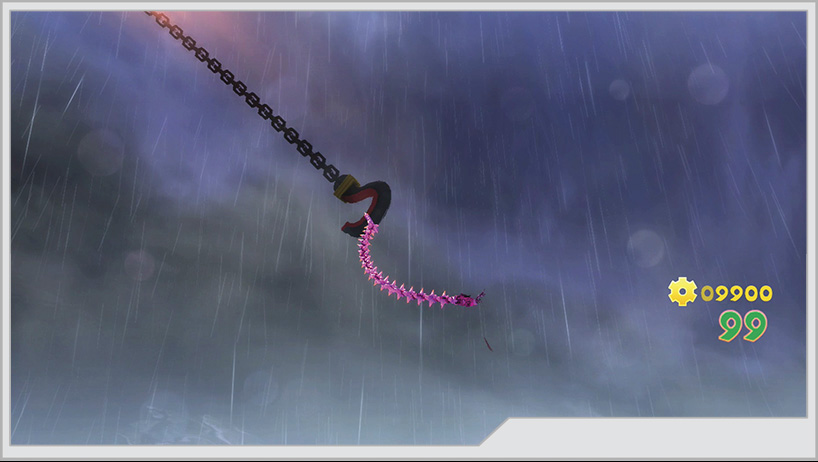
Orgons will occasionally stab their tails out of the ground while swimming, trying to surprise their foes on the surface. This tail has a distinct hook shape that Unite Whip can grab on to, yanking the Orgon out of the ground.
The fight along Diejeah’s back will alternate between artillery barrages and Orgon battles. Eventually, you will be forced to face off against two Orgon at once.
After you get far enough along Diejeah’s back, the beast will rear back, trying to make a snack out of you. Intercept the attack with Unite Gun when prompted, and the fight will shift to the next phase.
Phase Four
After some tense moments, you’re forced to create a Unite Glider and flee Diejeah’s wrath. As it chases you down, Orgon will fly out after you. Do everything you can to avoid them. If they grab on to you, you’ll have to fight to break free; otherwise you’ll be in a bad position to avoid Diejeah’s next attack.
After you’ve avoided a barrage of Orgon (or even if they have managed to stick to you), Diejeah closes in to take a huge bite out of you. It will track you fairly well up until a few seconds before it actually bites, and it will be trying to suck you in closer during that time. Do not be anywhere near its mouth when it finally bites down, or you’ll lose health and be forced to repeat this section again! After you alternate between Orgon barrages and bites, Diejeah will move in and try to bite three times in a row. This can be tough at first, especially if Orgon catches you; you’ll have very little time to escape a bite after breaking free.
Survive the bite barrage, and a short scene will play out, with Wonder-Red displaying his skills as a glider pilot. As Diejeah closes in for the kill one last time, Wonder-Yellow steps up to bat with the Unite Hammer. Succeed at this event, and you land on top of an Envan, with Diejeah looking a little worse for wear as it closes in.
Phase Five
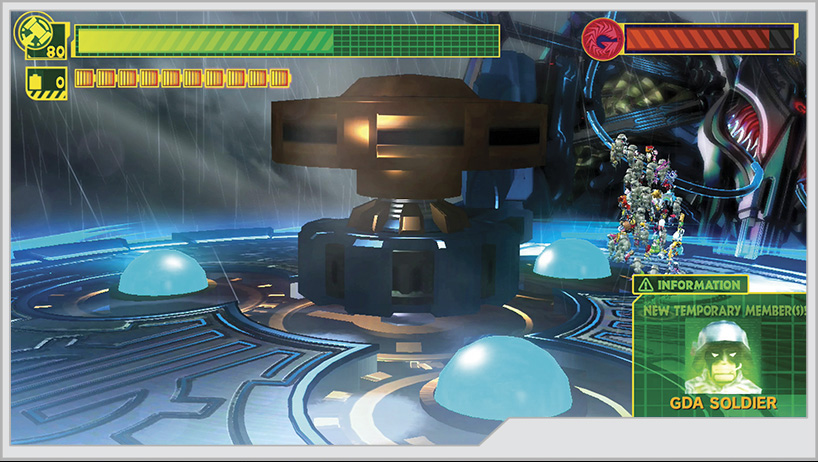
For this next phase, you’ll start to see reinforcements delivered by helicopter. Pick them up as soon as you can if you’re not playing with a full 100-man team. You need all the damage you can muster to try and finish off the boss in time.
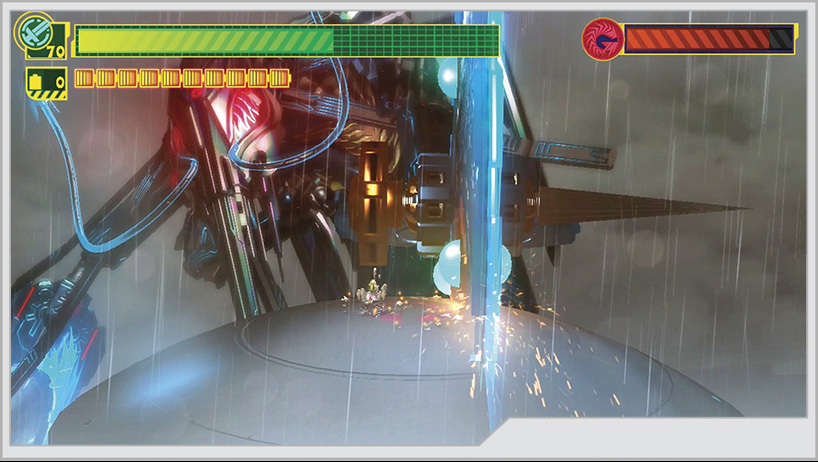
Diejeah deploys a pair of massive electro-sawblades, which will come into play very soon. It is capable of carving apart the Envan you’re standing on with a vertical slice of the blades, and if the Envan takes too much damage, you’re forced to flee to a new ride. You can strike at the three glowing orbs on each blade to cause damage to them and eventually destroy the sawblade.
Occasionally, Diejeah will take a horizontal slice with the sawblades, prompting a quicktime event where Unite Hammer comes into play, stopping the sawblade cold and allowing you to really go to work on the weak spots.
Diejeah will fire bolts from the electro-pulse cutter in its mouth. Swat these back at Diejeah with Unite Sword for some extra damage.
If the Envan is in bad condition, Diejeah will ram it with its nose in hopes of taking you down with the Envan. Don’t miss this Wonder-Jump prompt!
After jumping to a new Envan, it will try to smash you with its tentacle arms. You can see where these will land next by a small electrical field that forms a second before impact. After a number of attempts, Envan gives up, and Diejeah will catch up with you to continue the struggle.
Watch out for a missile barrage coming from Diejeah’s forehead! It’s targeted directly at where you are standing when the missiles cut loose. You can defend against it with Unite Hammer, but you don’t have a lot of time to react. It might be safer to just Unite Spring and sprint out of danger, depending on your position. On 101% Hard, where you don’t get time dilation while drawing Unite Morphs, you should just get out of the way and stay on the move to throw off potential missile barrages.
Diejeah can also strike at the Envan with its own tentacle spikes on its face. This is one of your big opportunities. Like with the Envan’s tentacles, the impact sites are telegraphed by blue electric fields, so be ready to Unite Spring if it looks like you can’t jump or sprint away in time. Hero Time is a really good Custom Block to have equipped during this fight.
Evade the tentacle strikes until one is inevitably stuck. You’re then prompted to Unite Hammer the spike into the Envan. This allows you to run up the tentacle to finally reach where Wanna is and start causing some real damage!
Wanna’s command seat is protected by an armored shell. However, a good hammer swing can knock him senseless, forcing the shell open and letting you pound the little insect into submission. Unite Hammer does amazing damage here.
It’s also possible to reach Wanna by destroying both sawblades, though it might be more likely that you first reach the bugger via its tentacle attack.
Phase Six
If you manage to navigate around all of Diejeah’s attacks and deplete its health enough, one last action sequence remains. Diejeah powers up its electro-pulse cannon to ridiculous levels before unloading directly onto the Envan you’re standing on. Run away from the blast and Wonder-Jump when prompted! You’ll have to do this three times.
Next, you’ll evade the blasts with Unite Whip...
...followed by catching them with Unite Sword. This gets you back on top of Diejeah for one last Wanna smackdown. After another beating, Diejeah bucks you off and traps you within an electric field. Shake it off quickly, and then complete the Unite Gun prompt. Make sure you aim at Diejeah’s face while shooting!
Put the final nail in Diejeah’s coffin with Unite Hammer, and Operation 003 is complete!