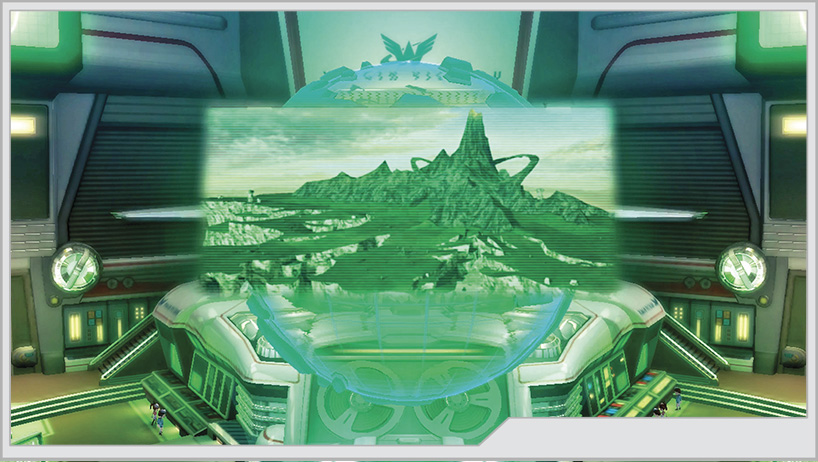
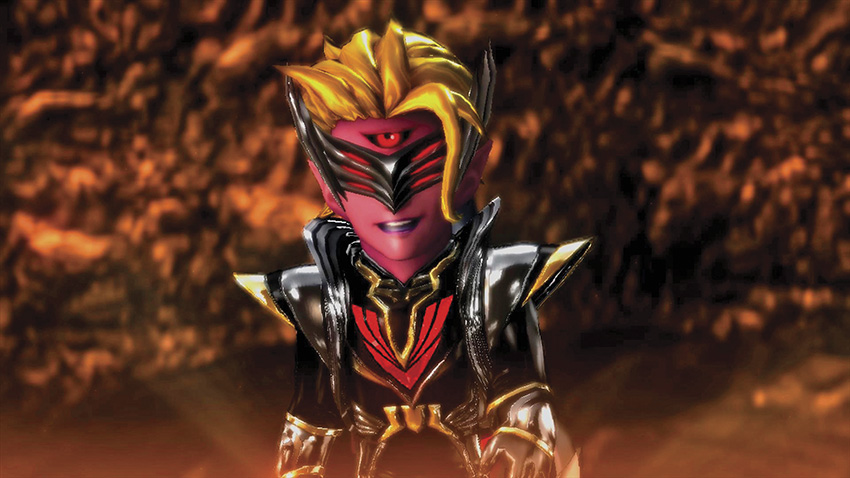
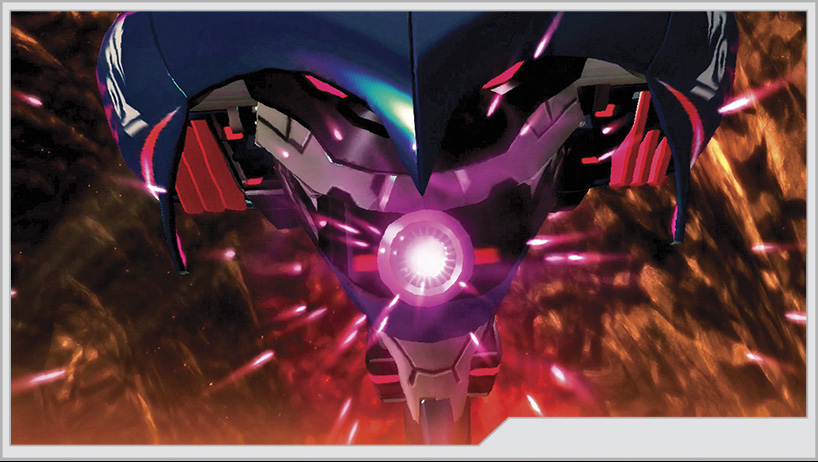
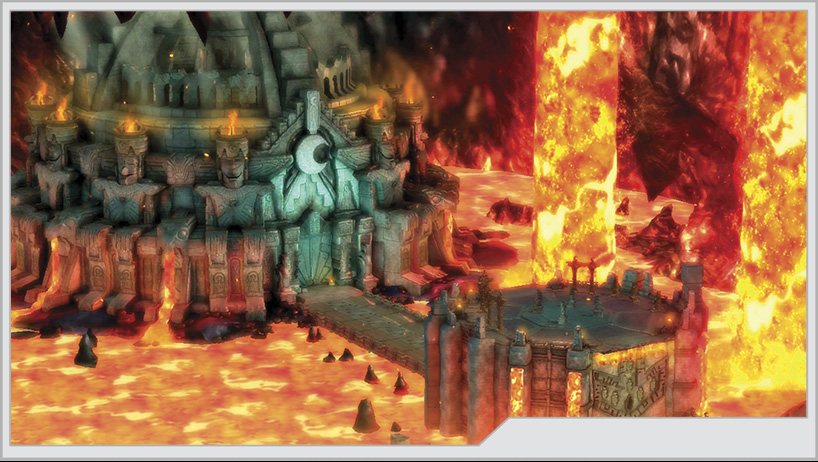
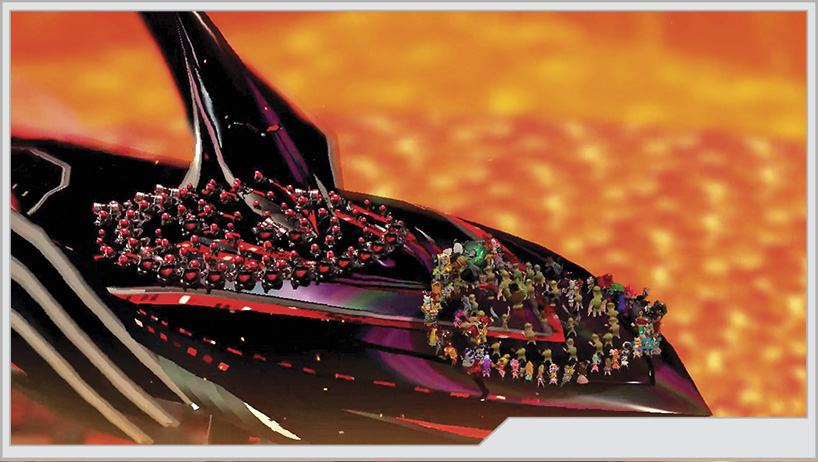
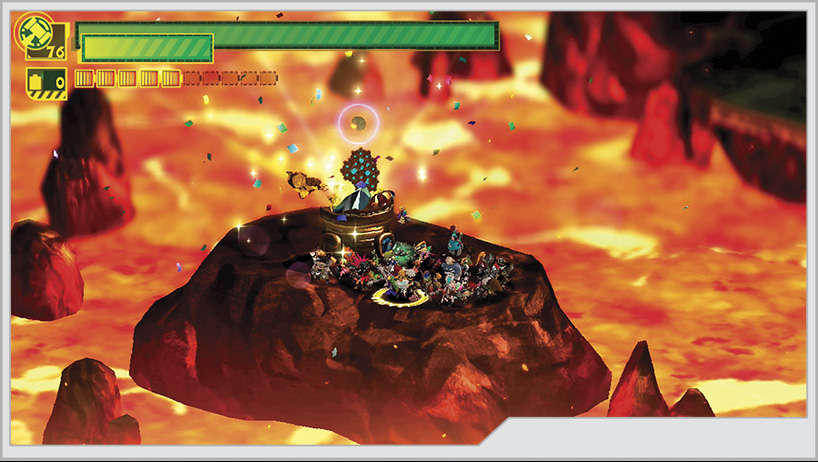
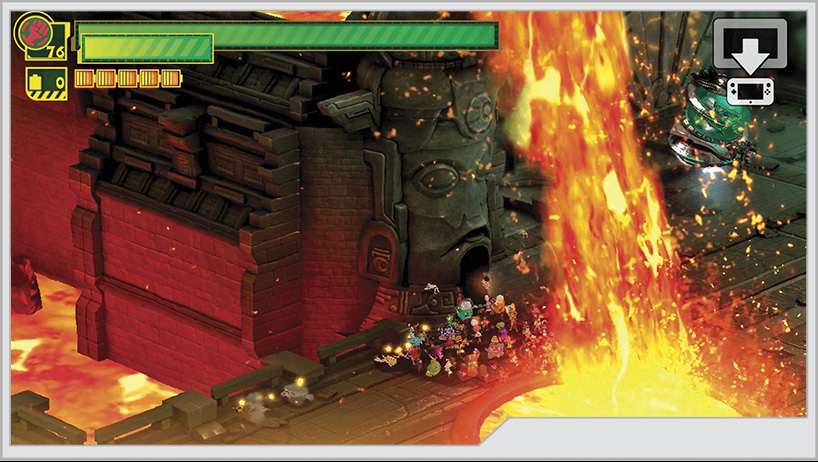
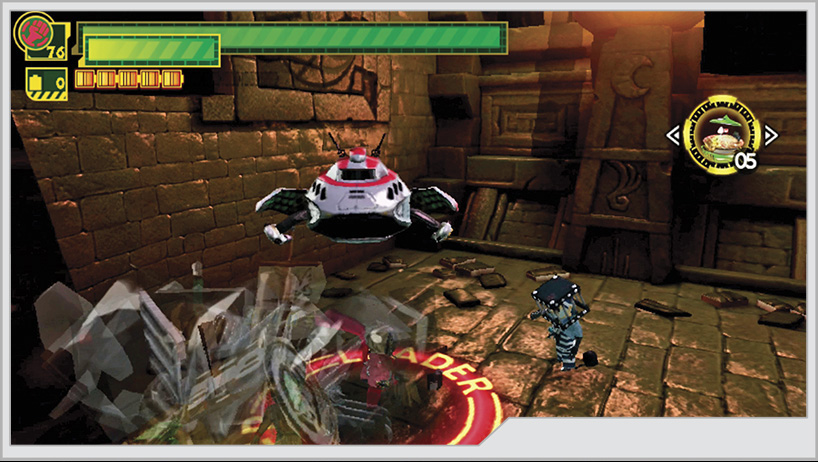
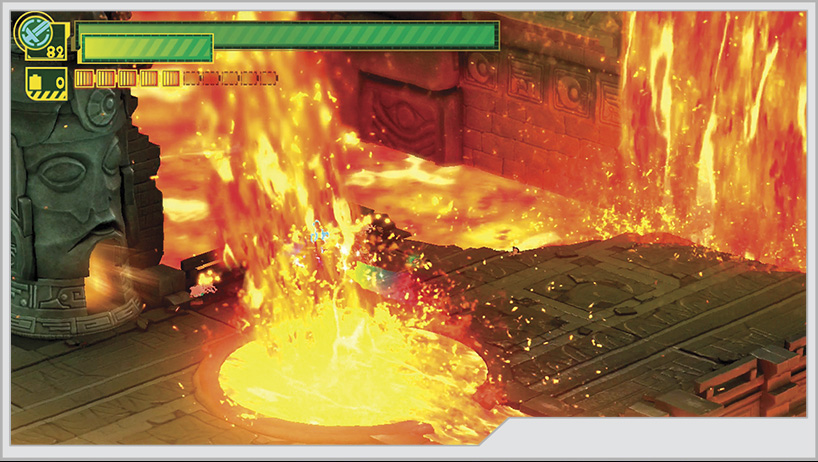
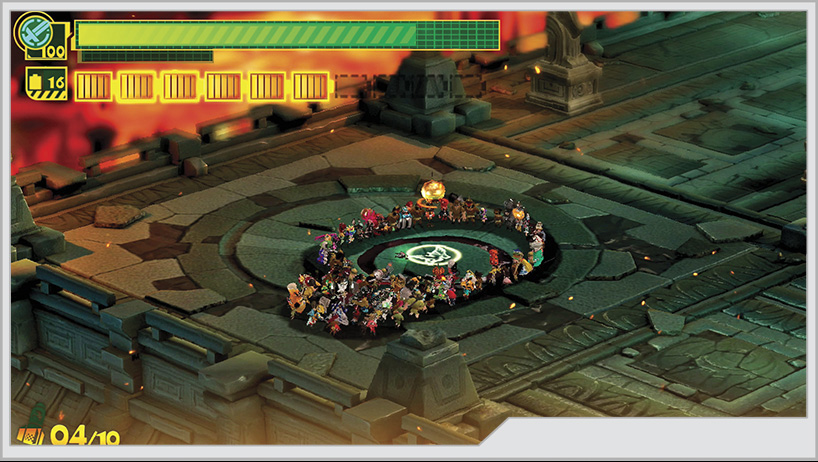
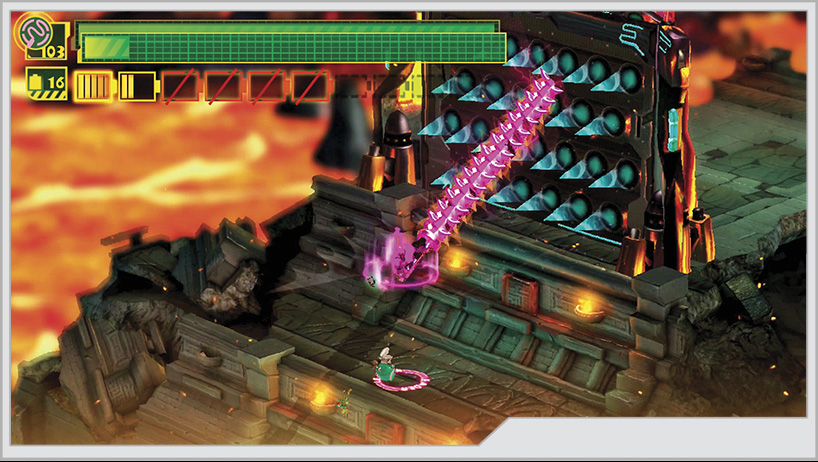
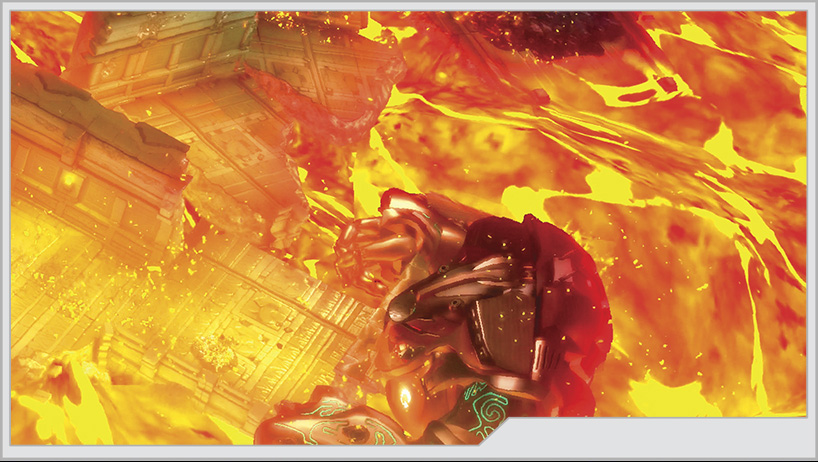
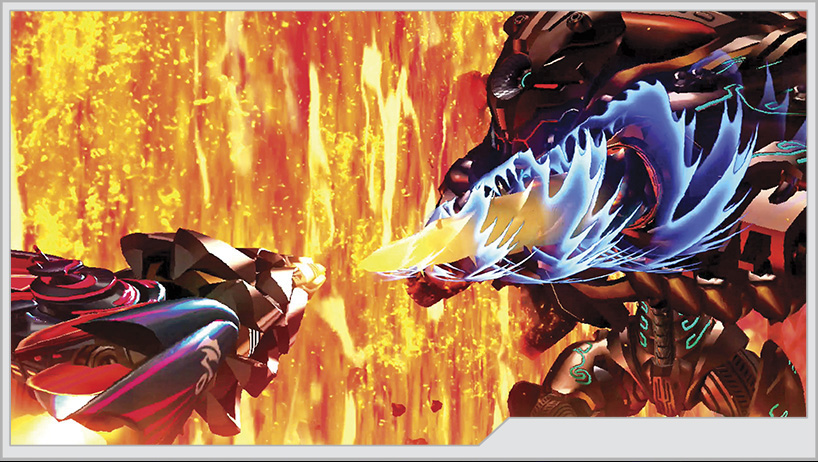
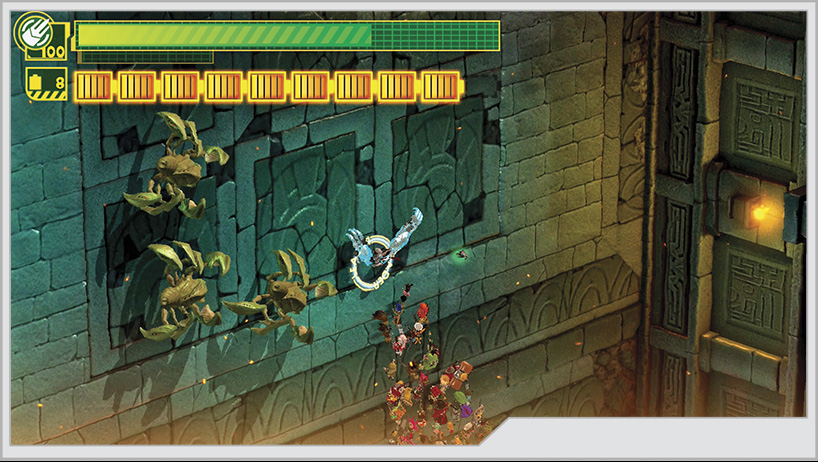
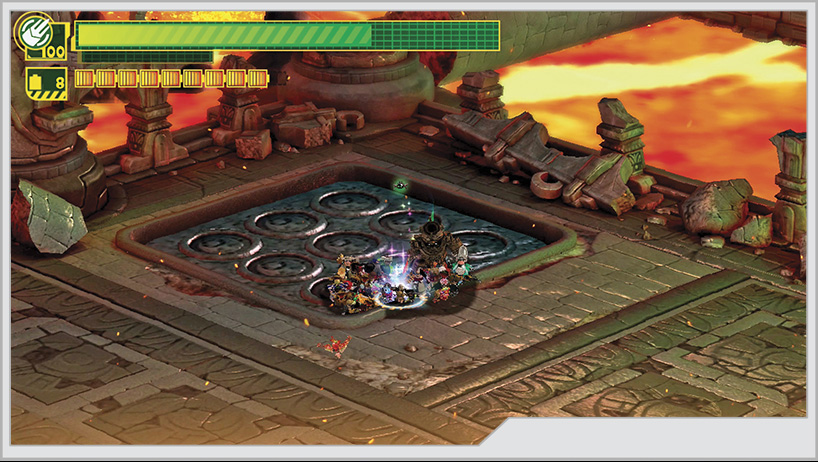
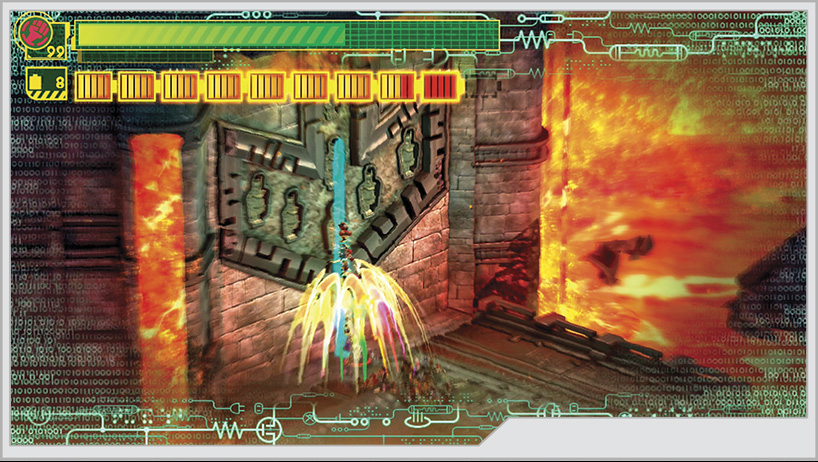
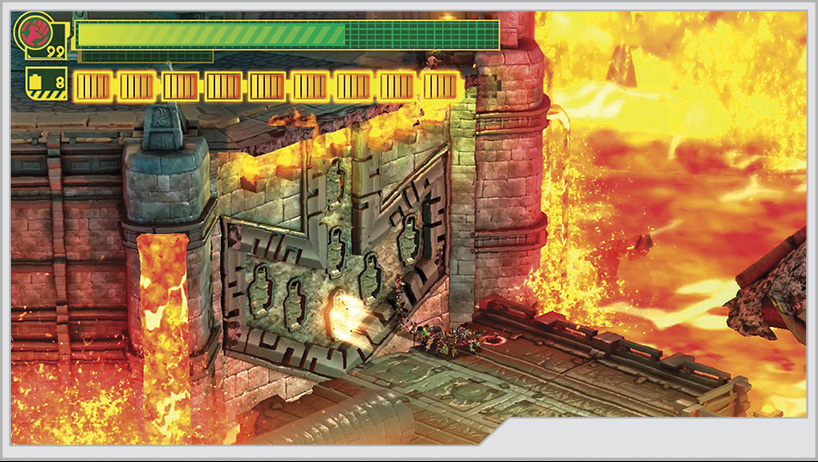
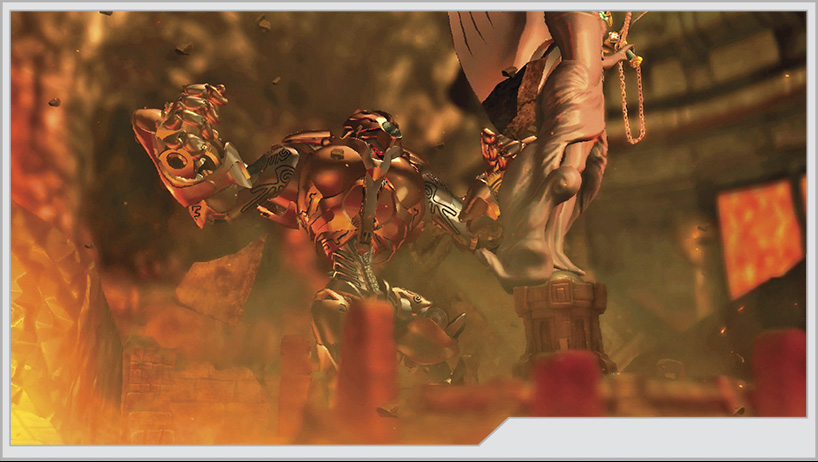
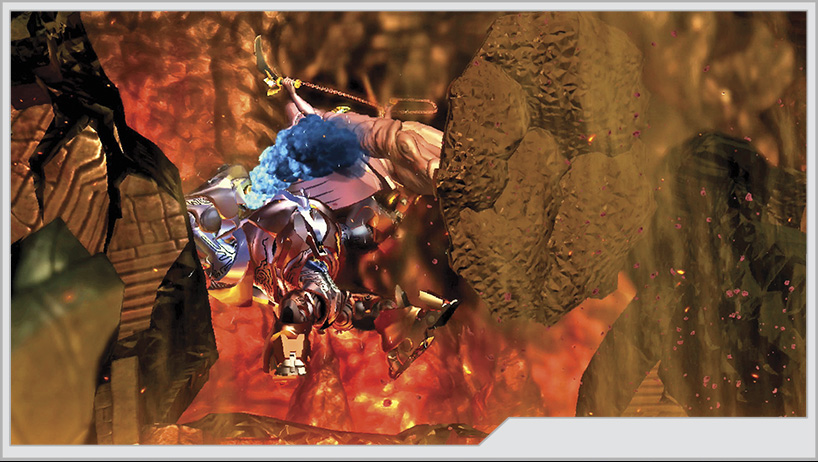
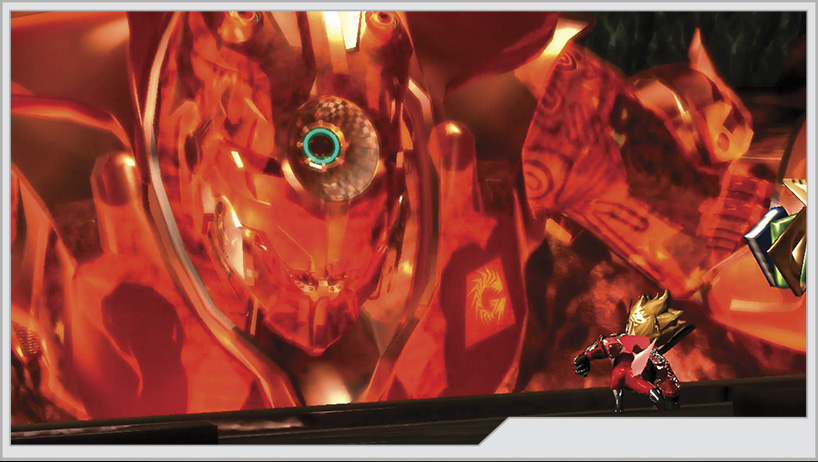
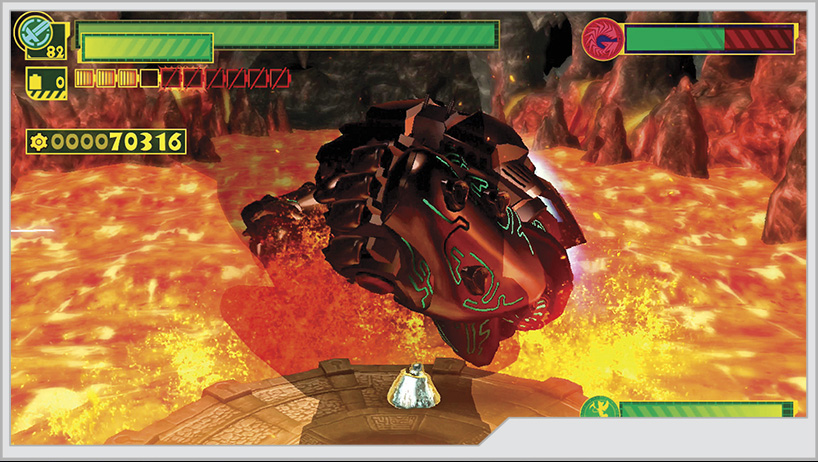
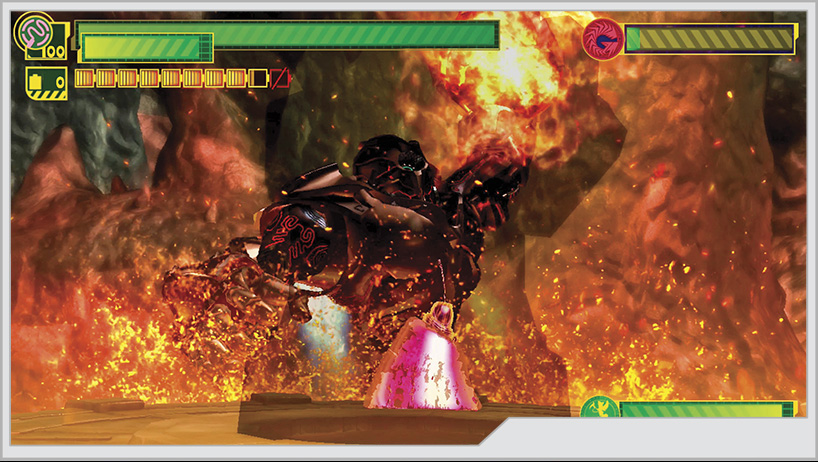
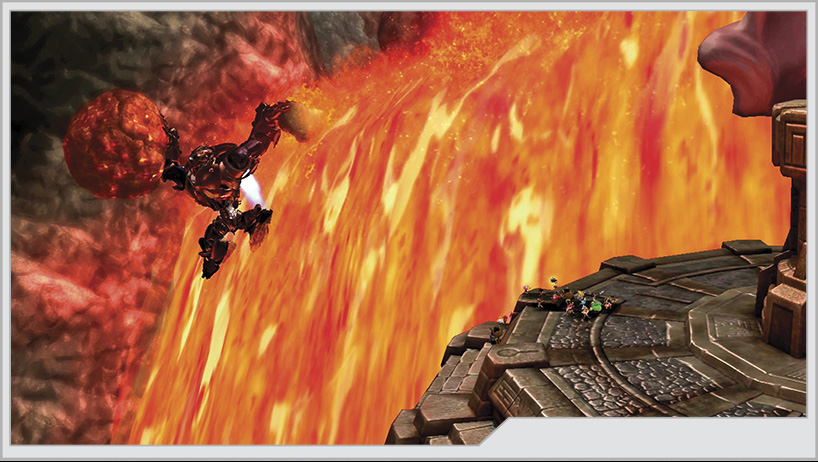
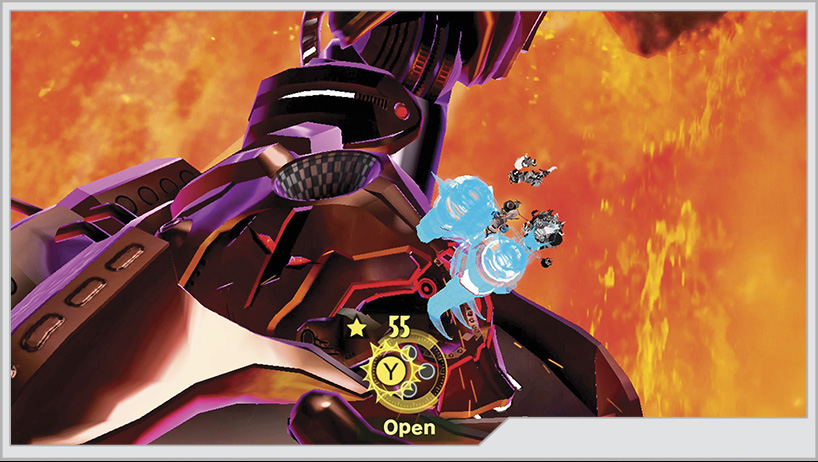
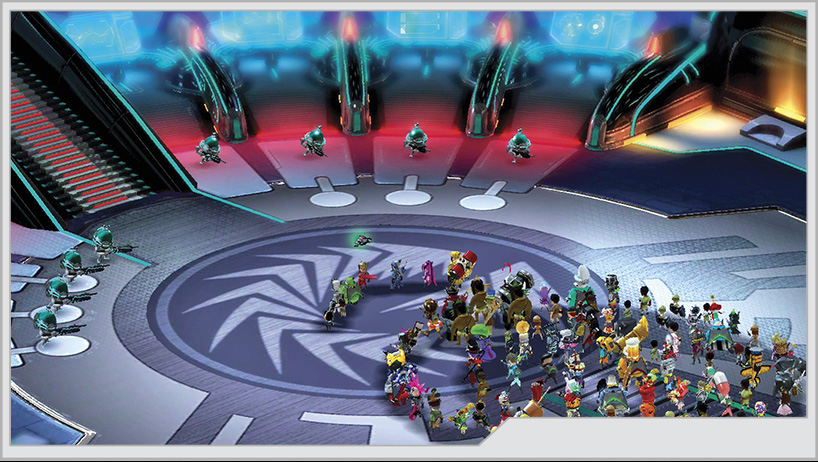
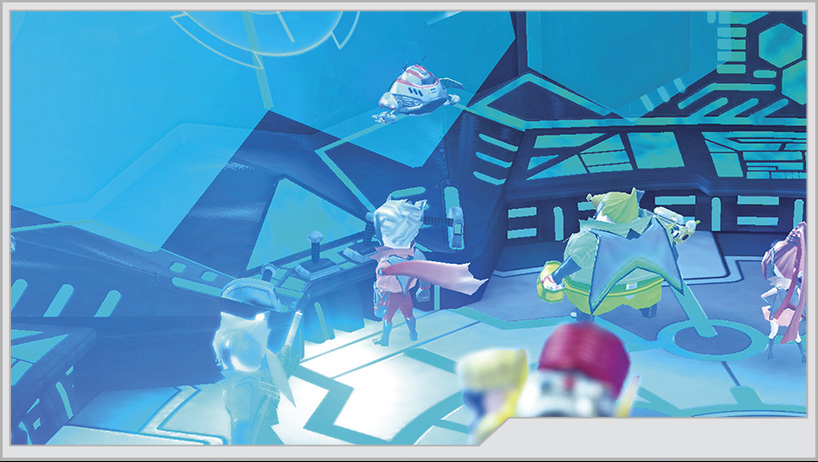
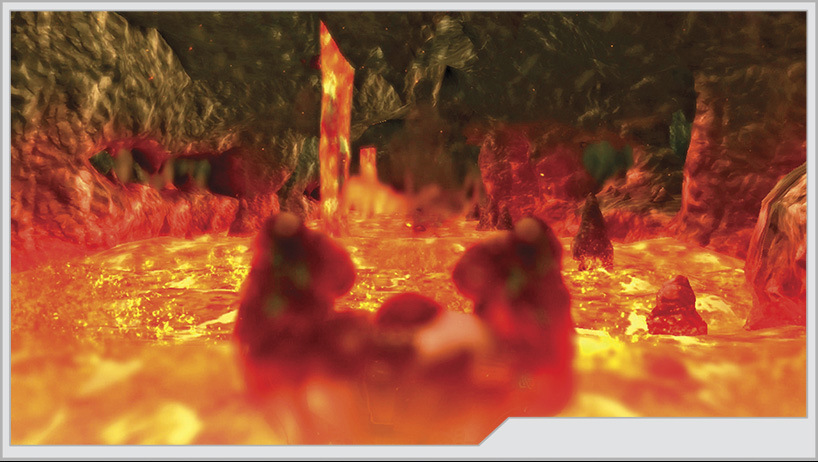
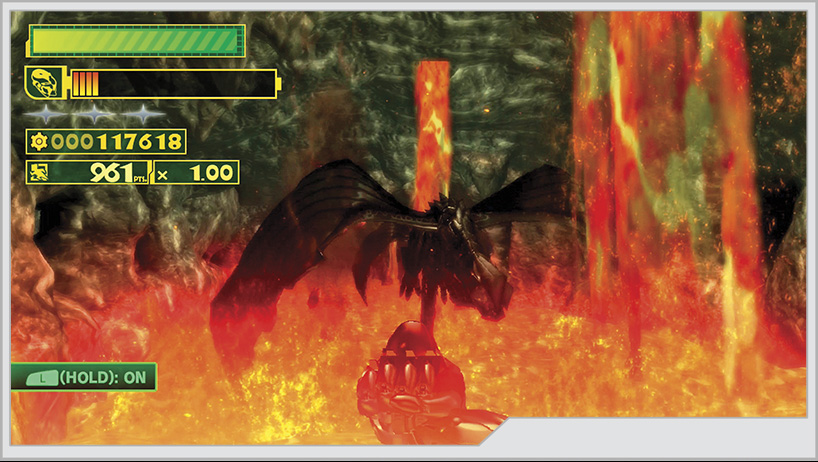
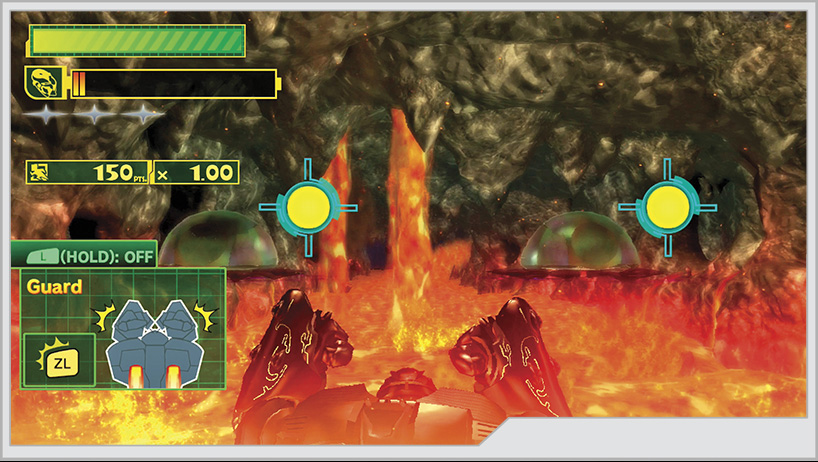
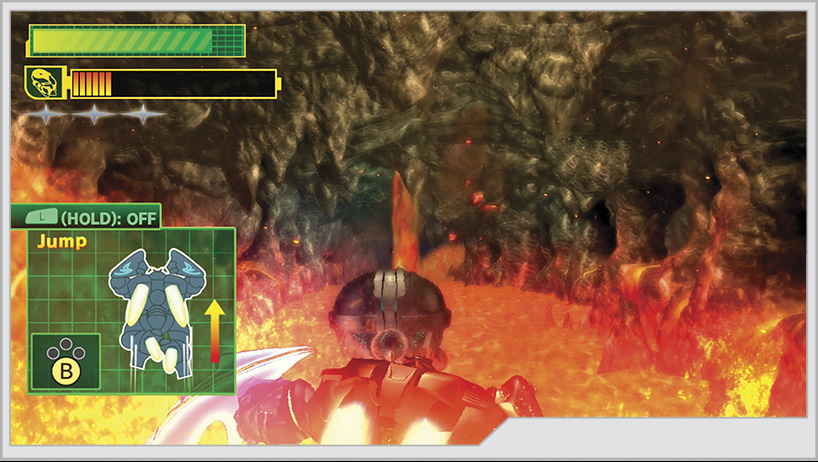
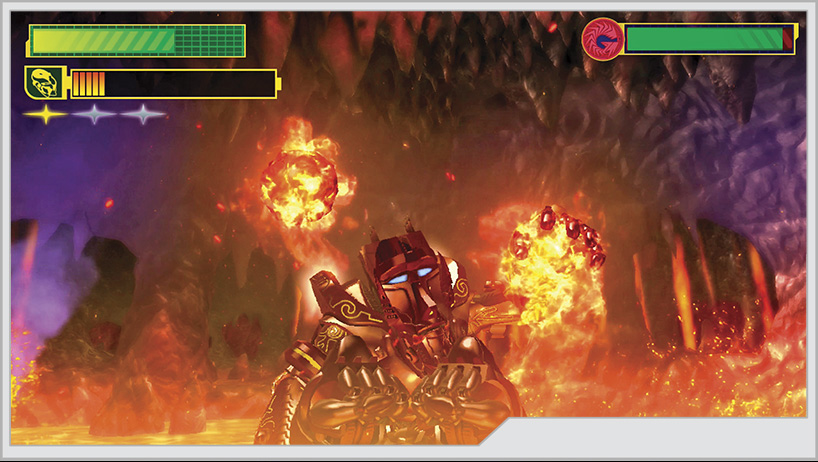
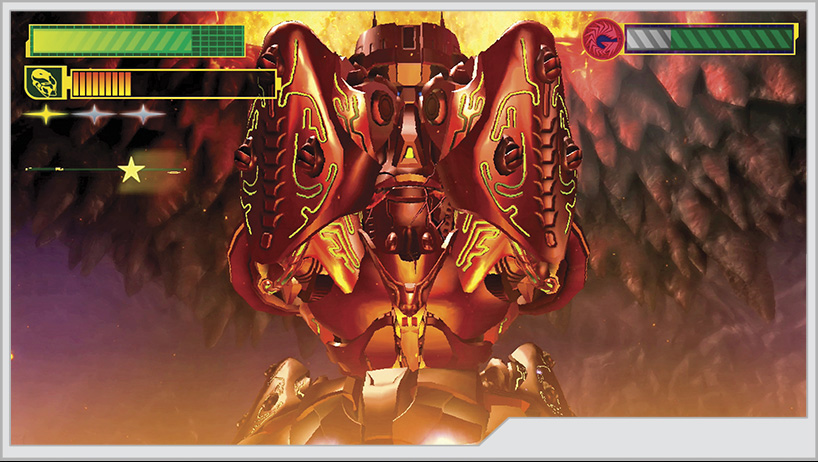
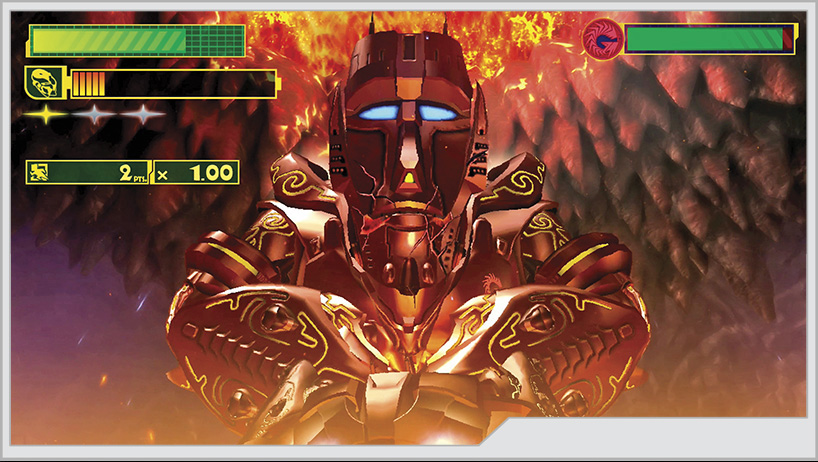
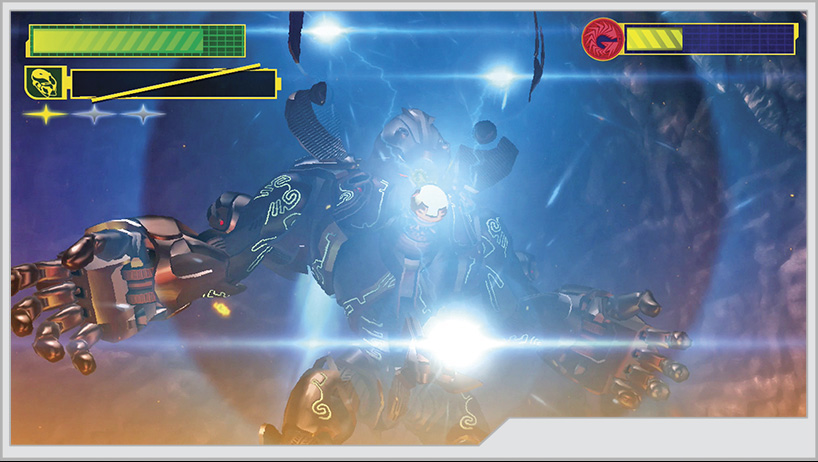
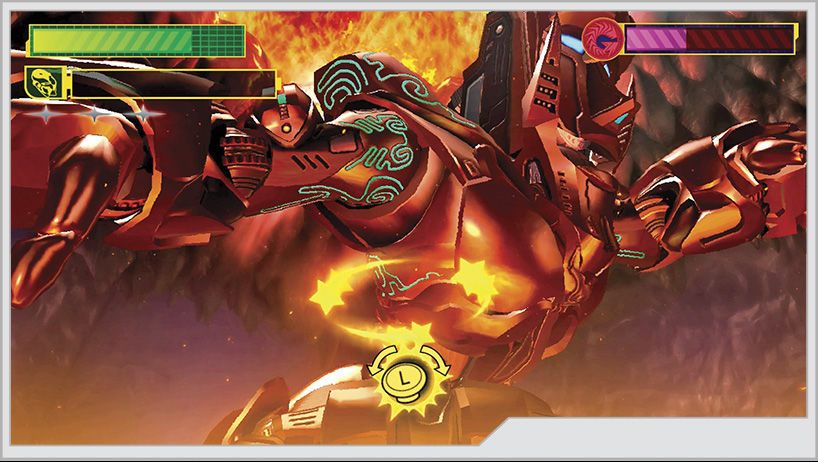
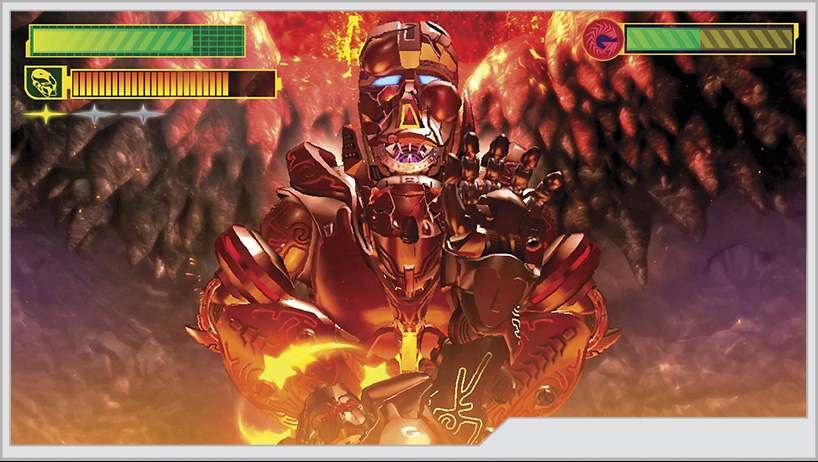
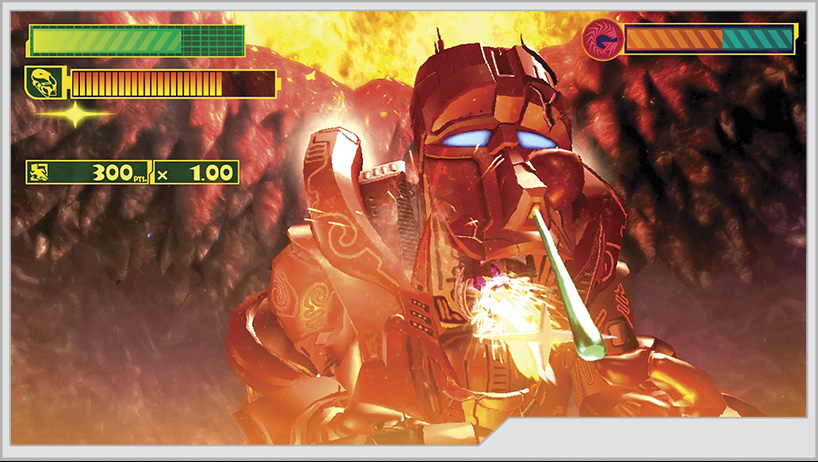
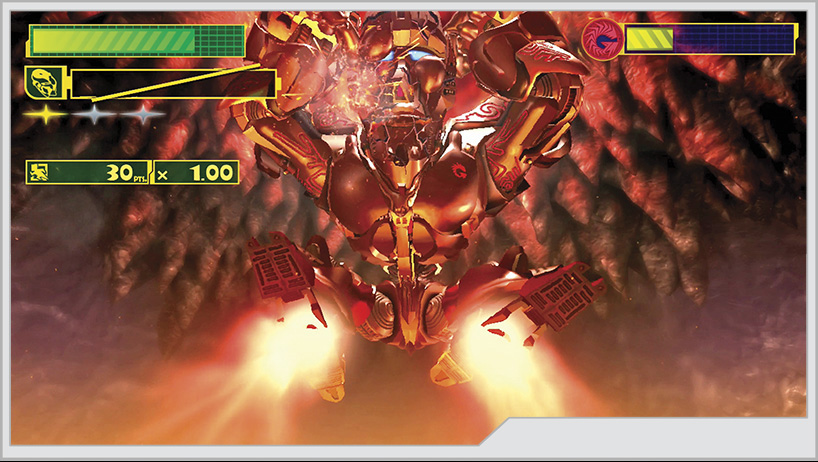
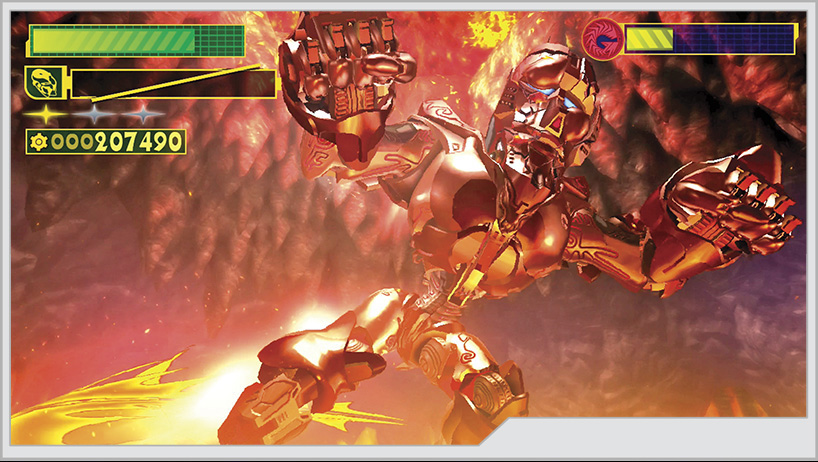
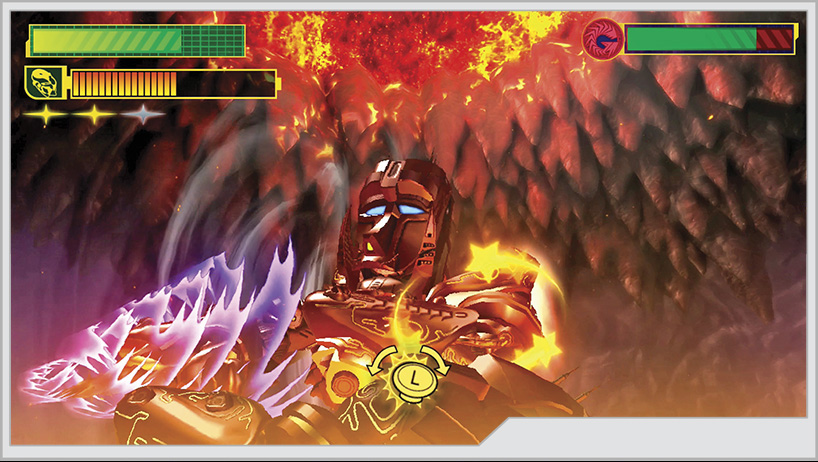
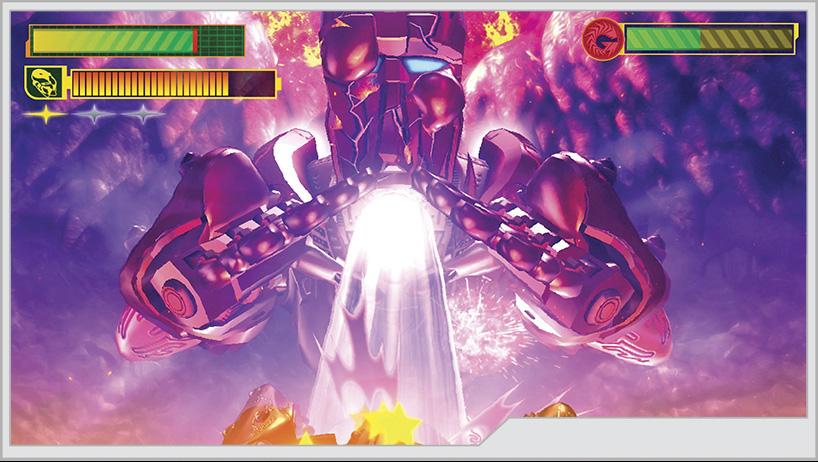
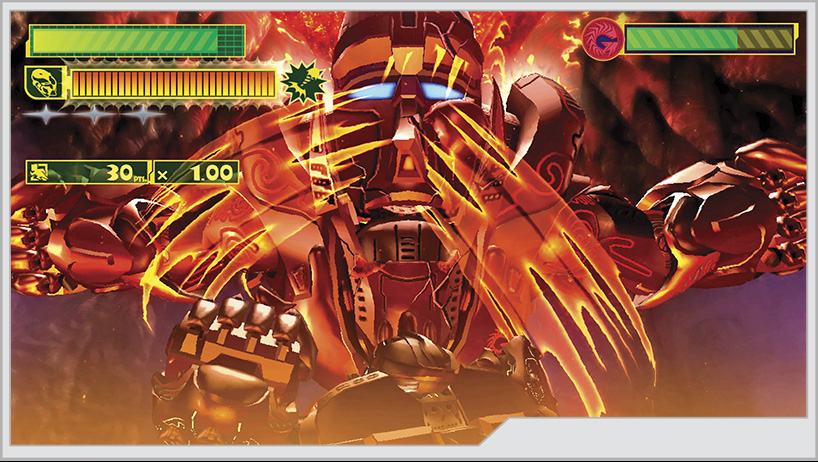
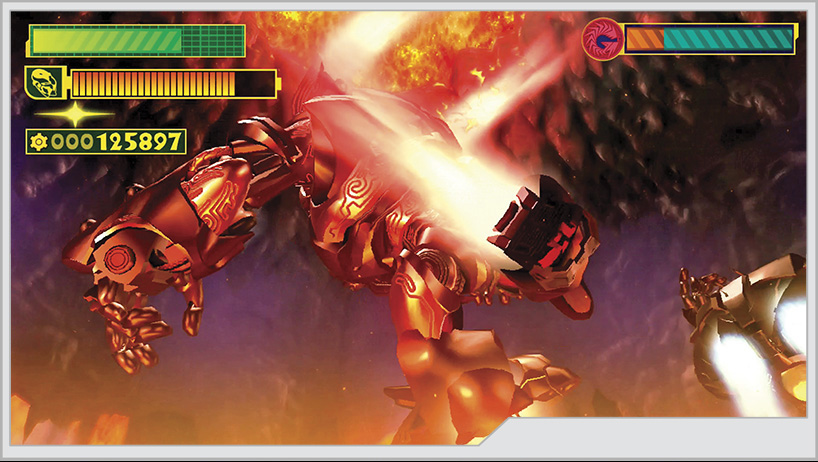
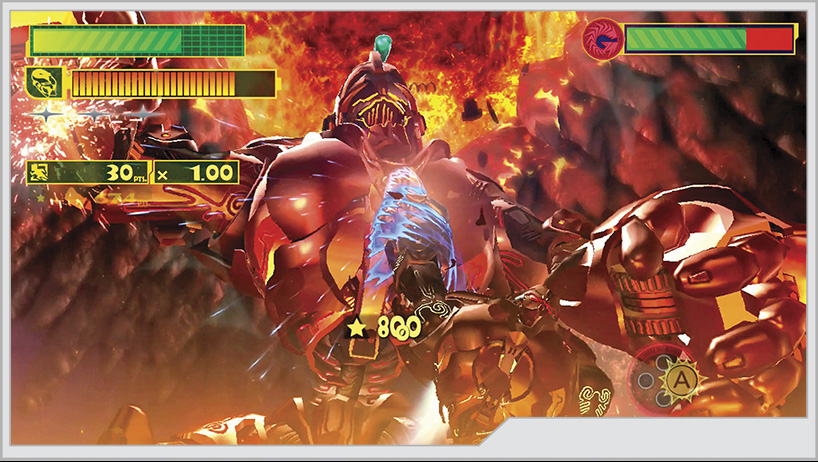
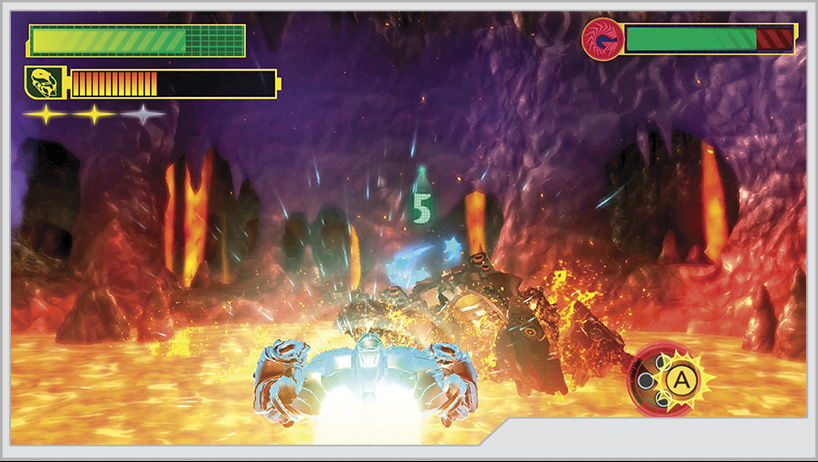
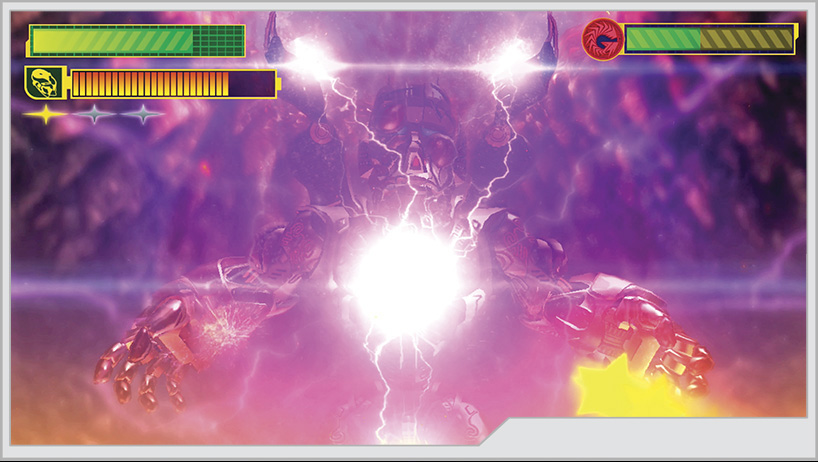
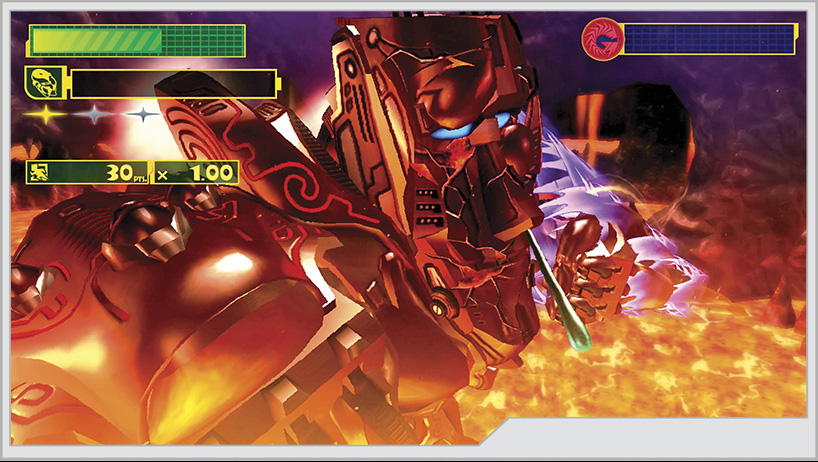
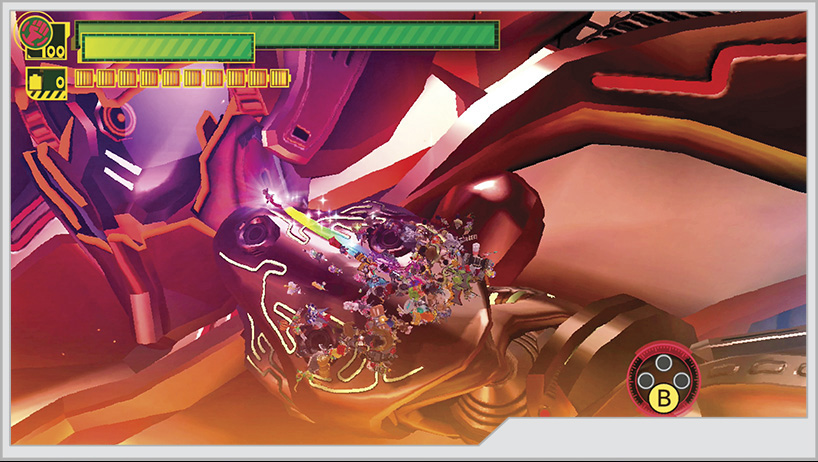
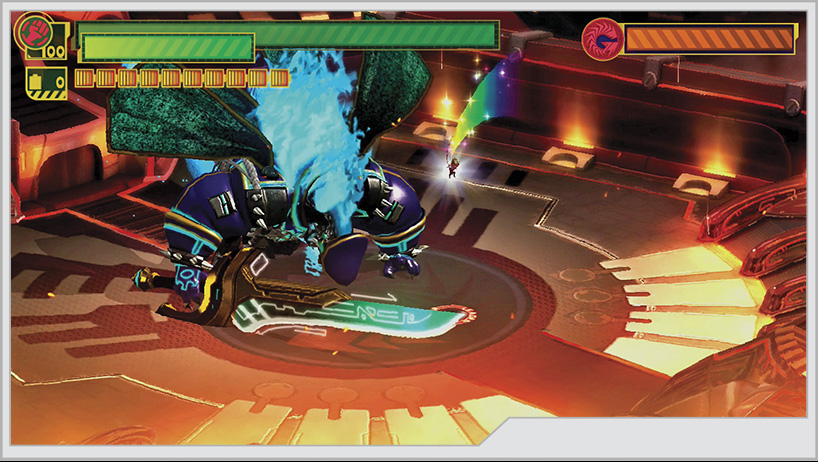
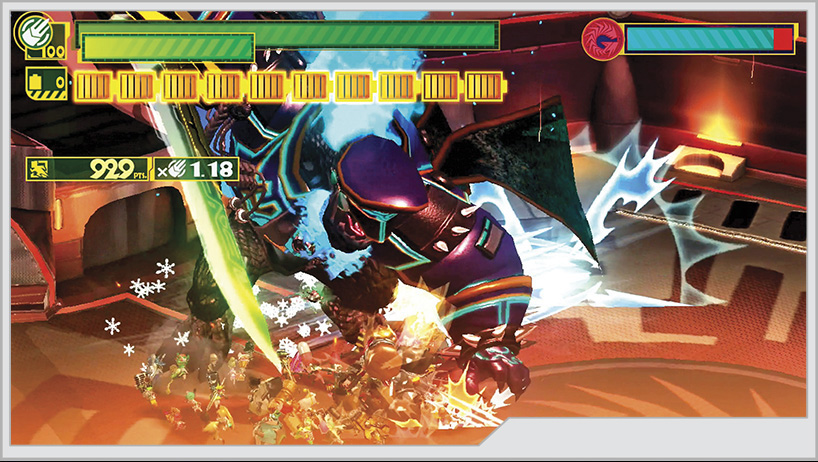
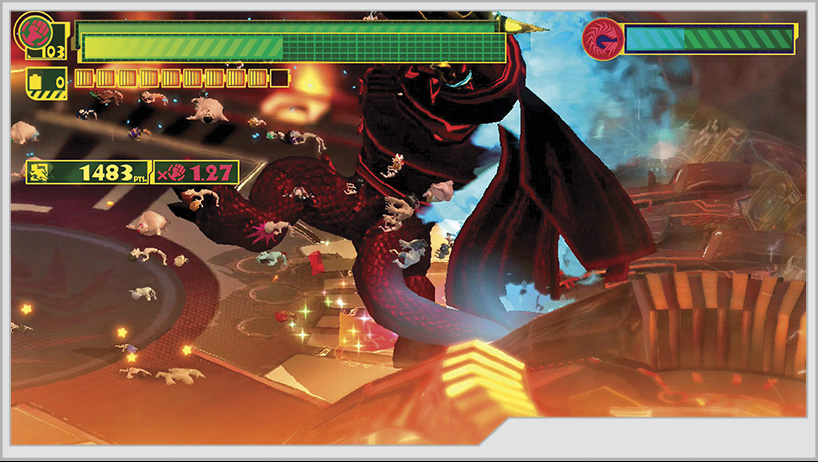
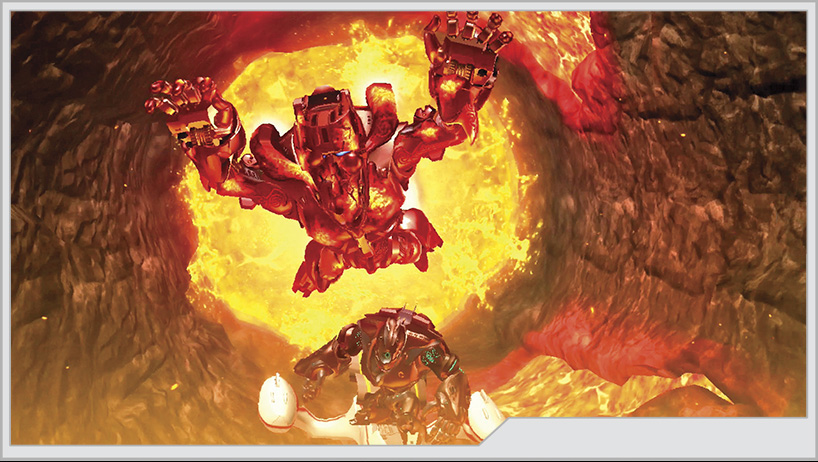
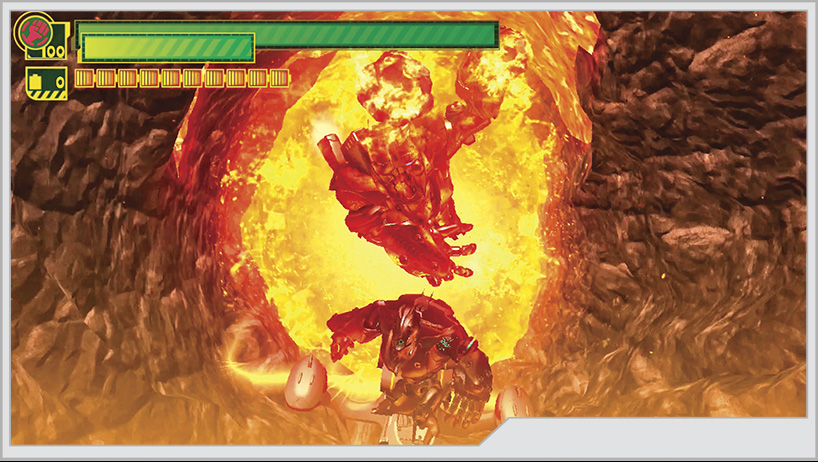
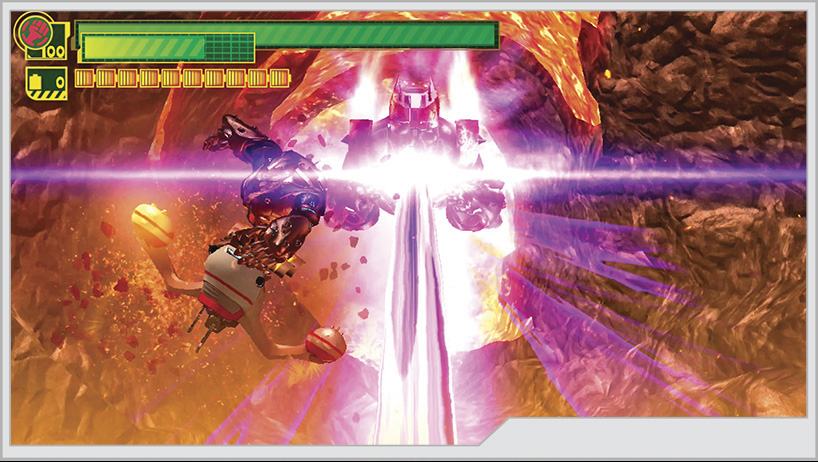
You have successfully defended three of five Super Reactors against GEATHJERK ambition, and those three have been safely hidden away by Professor Shirogane’s inventions. The Wonderful 100 are being deployed to the jungles of Mt. Ogretoe to locate and defend the Super Reactor there. But the GEATHJERK beat the team to the punch, and the heroes must fight through the GEATHJERK army or risk losing the whole planet to the Jerks.
Operation 005-A
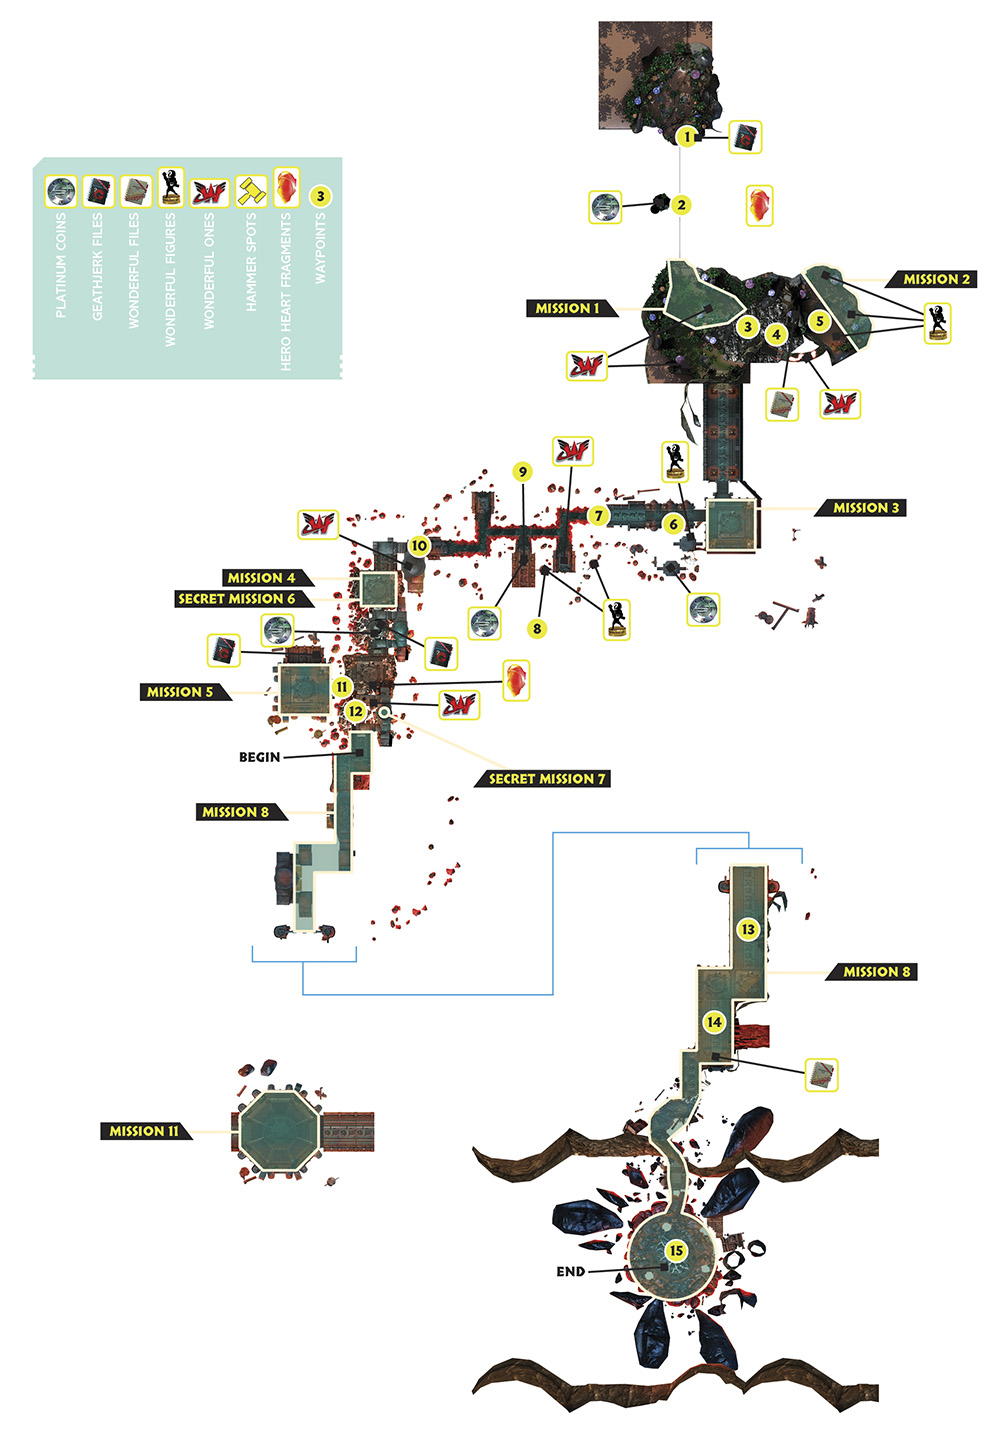
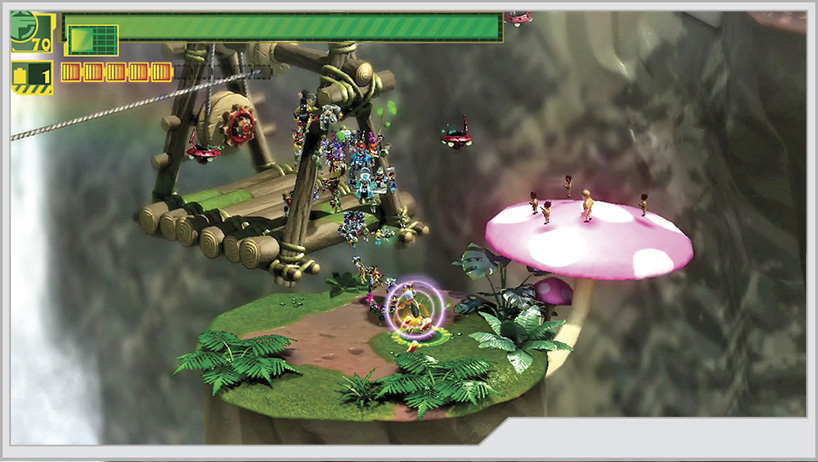
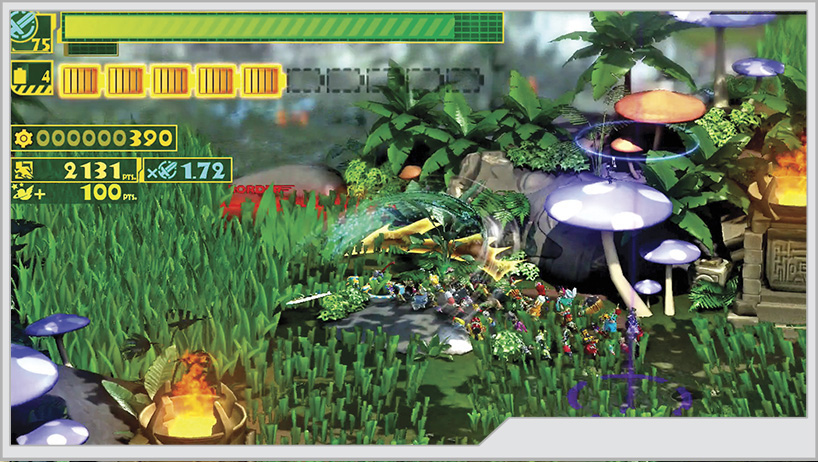
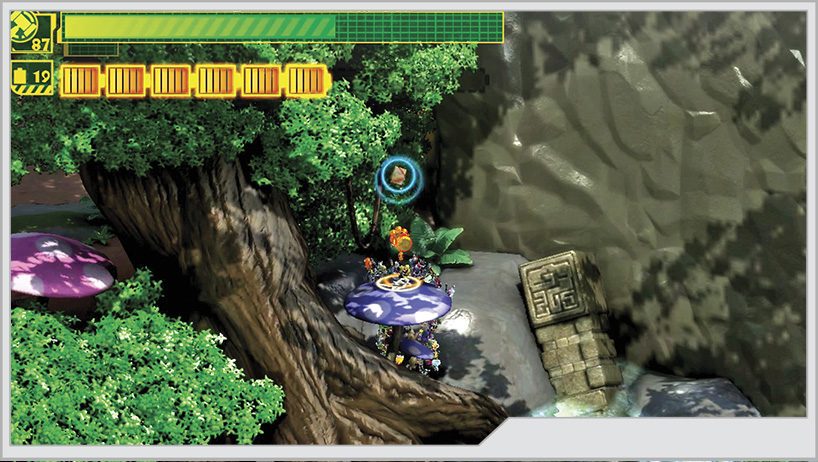
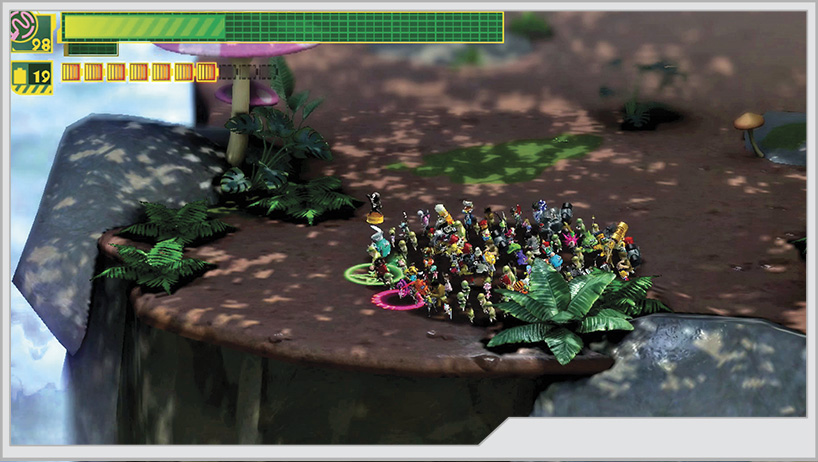
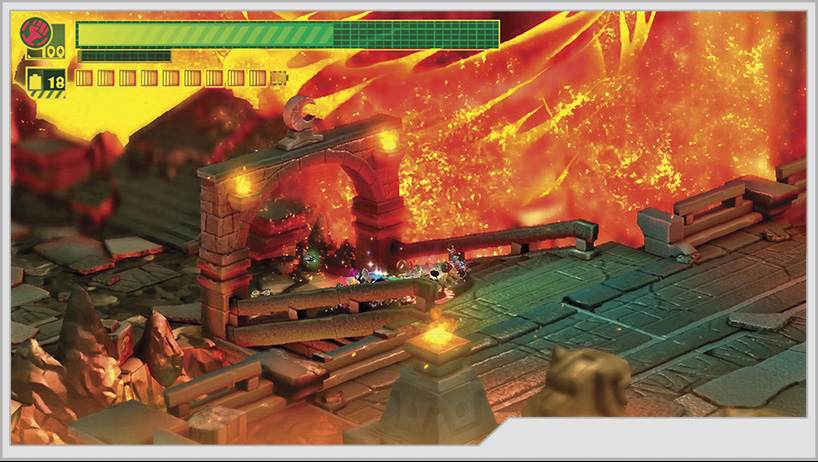
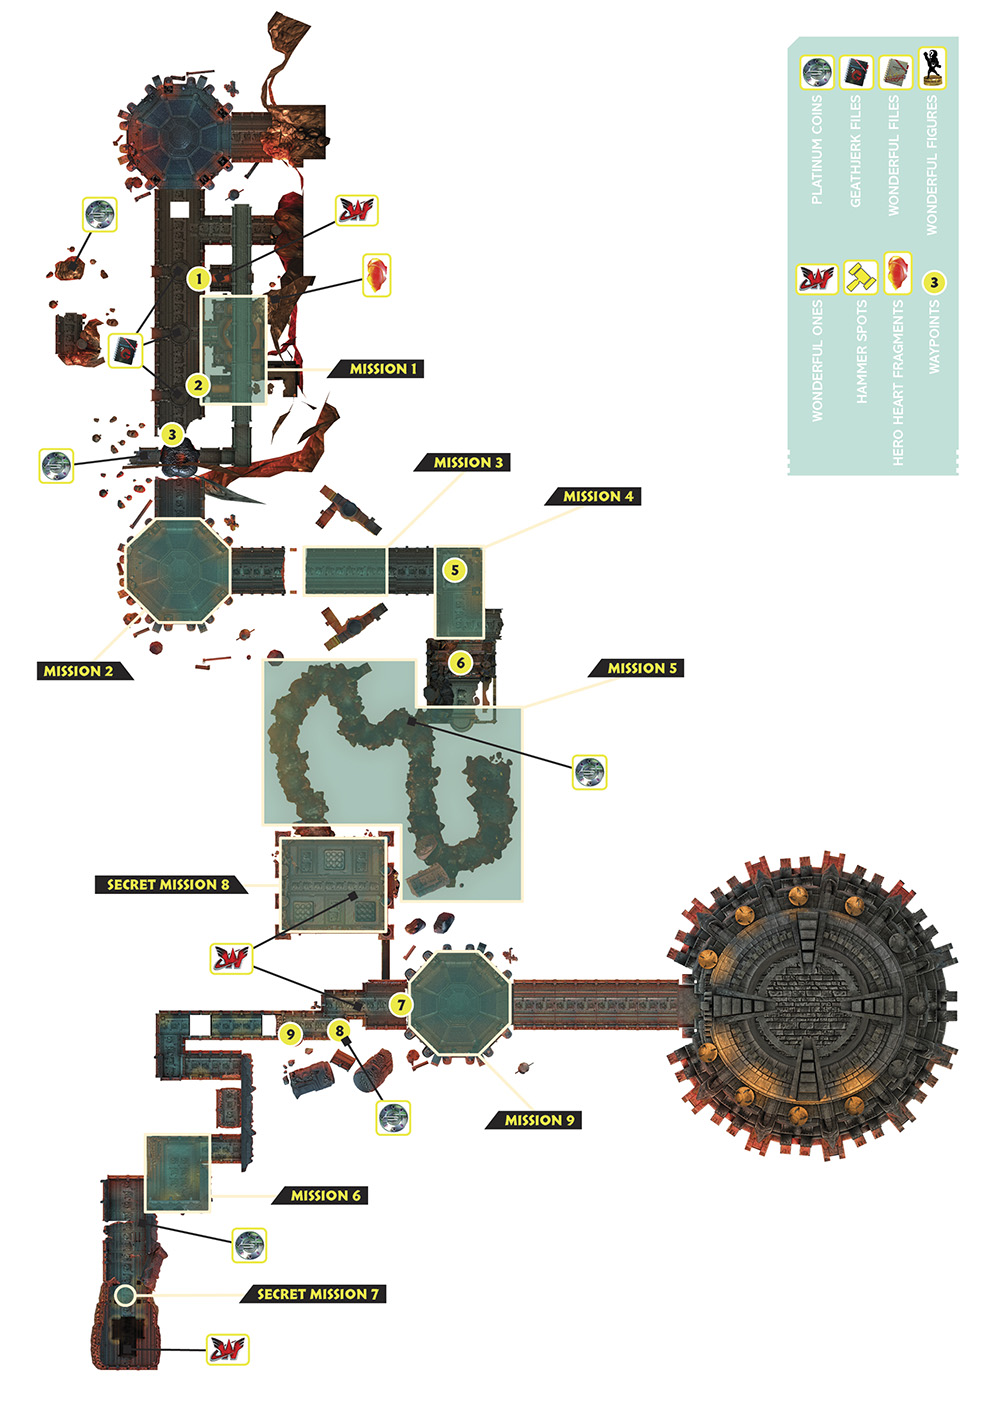
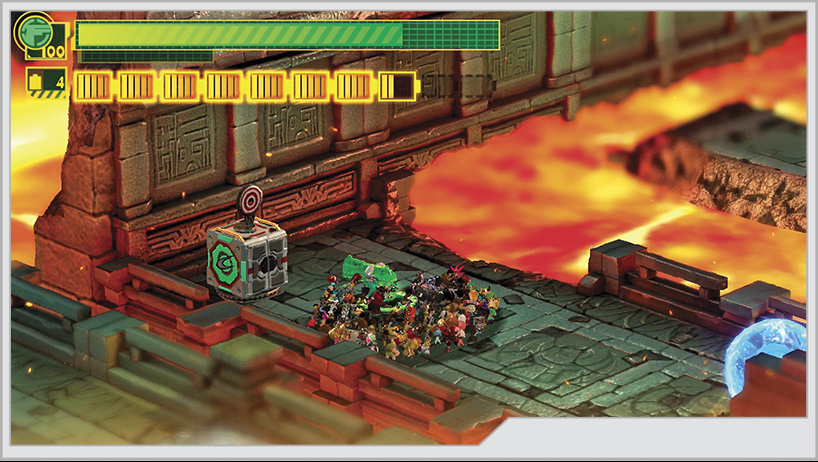
[1] The area where you start contains a number of civilians to rescue. More importantly, you can use double jumps and Wonderful Rising to get on top of a large pink mushroom near the cliffs. Hammer on this mushroom for GEATHJERK File No. 22.
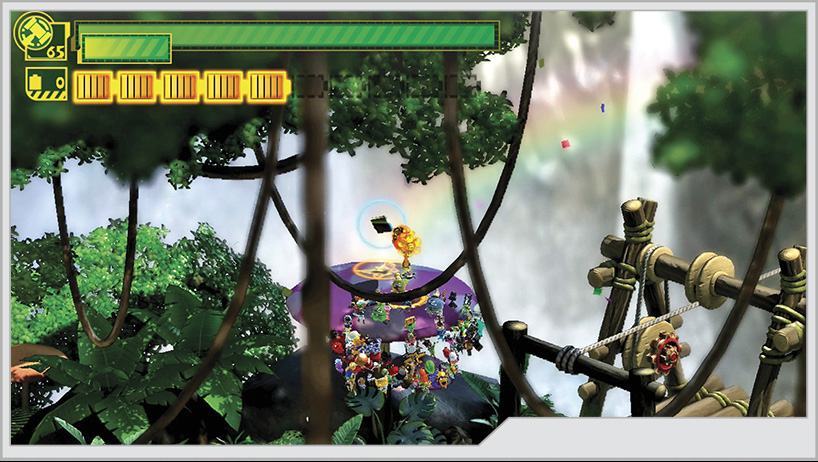
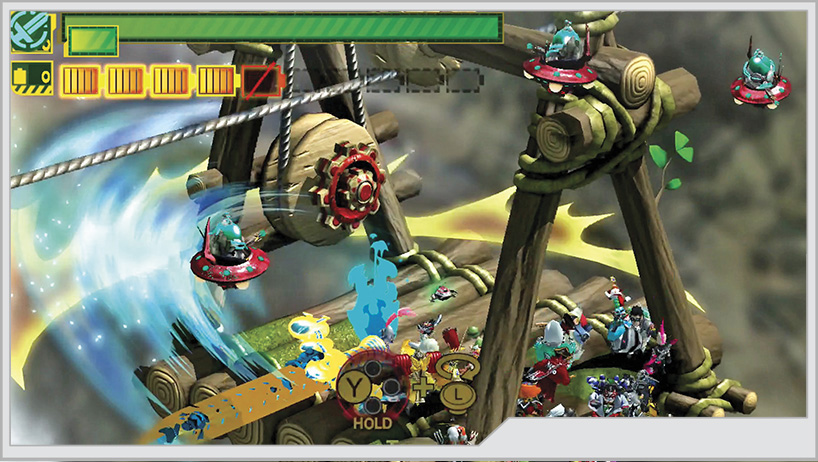
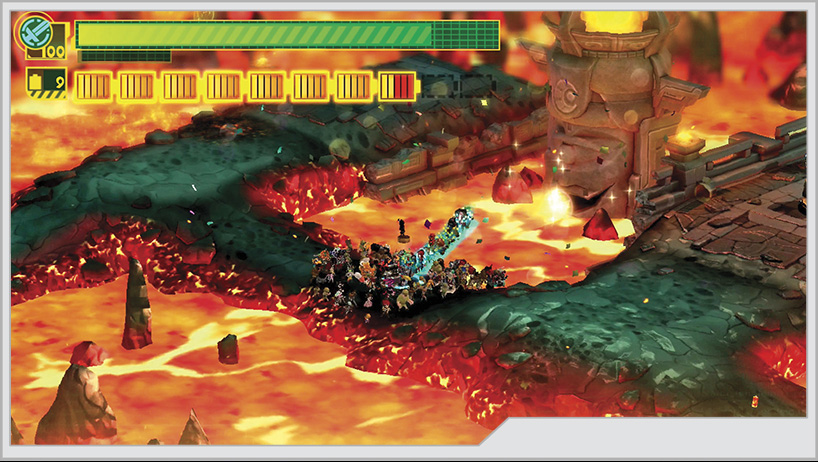
[2] Using Unite Hand on the crank, you can move the tram across the massive chasm to reach the entrance of the city. However, stop at the small mesa in the middle of the chasm. You are attacked by You-Hough here, but the battle isn’t ranked. Find a Platinum Coin and some more civilians on the island. Also, if you take one of the UFOs from the You-Houghs to the northwest of the island, you can find a Hero Heart Fragment.
Once you cross the chasm with the tram, you have a lot of stuff you can do before you even get around to unlocking the temple. For players here on their first attempt, this guide is going to focus first on all of the collectibles and new Wonderful Ones you can find before we even start Mission 1.
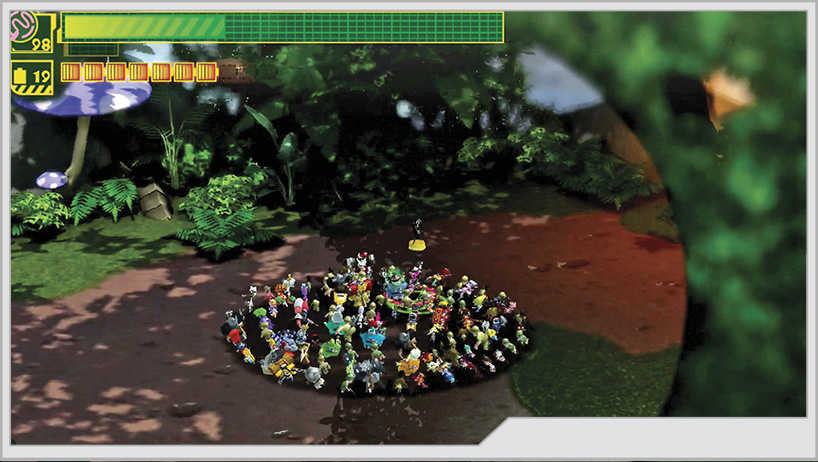
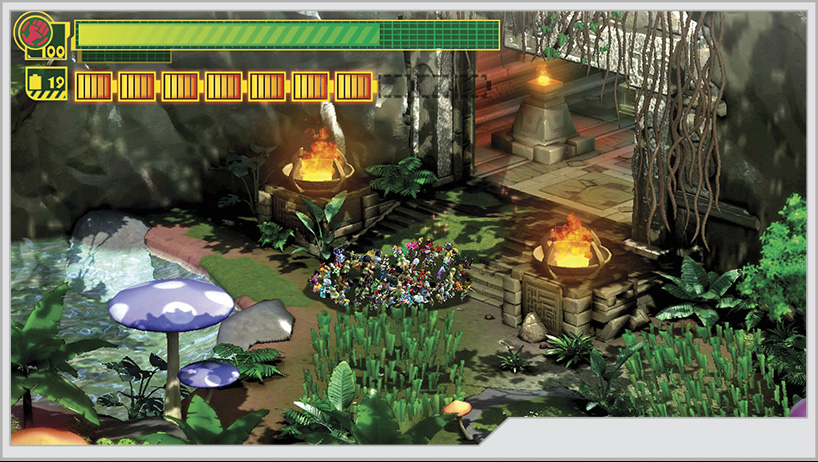
For now, ignore the prompt to use Unite Hand to take fire from the lit torch and light the unlit torches. Cut down all the tall grass in the area with Unite Sword for the Ah, Now That’s Better Achievement. While hacking away at the grass, you might also accidentally cut down the vines covering the temple door. It will not open until you light up all the torches in the area.
With the tall grass cut back, it’ll be easier to see where the civilians and Wonder-Beetle are located.
Wonder-Samurai is located atop a purple mushroom next to one of the unlit torches.
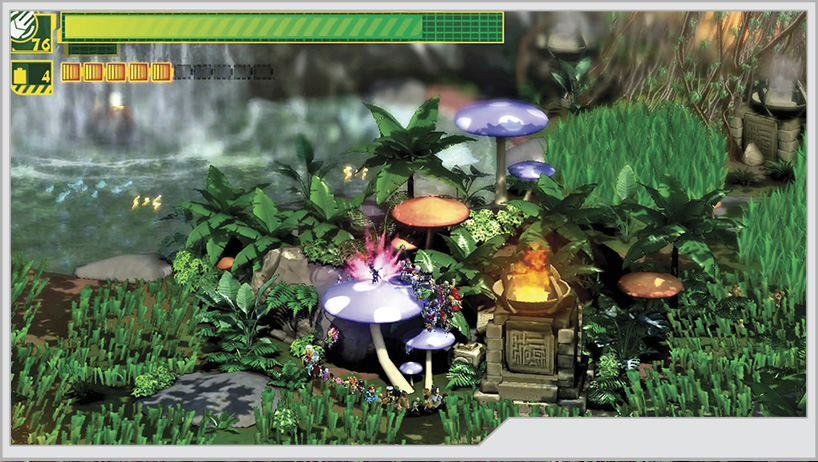
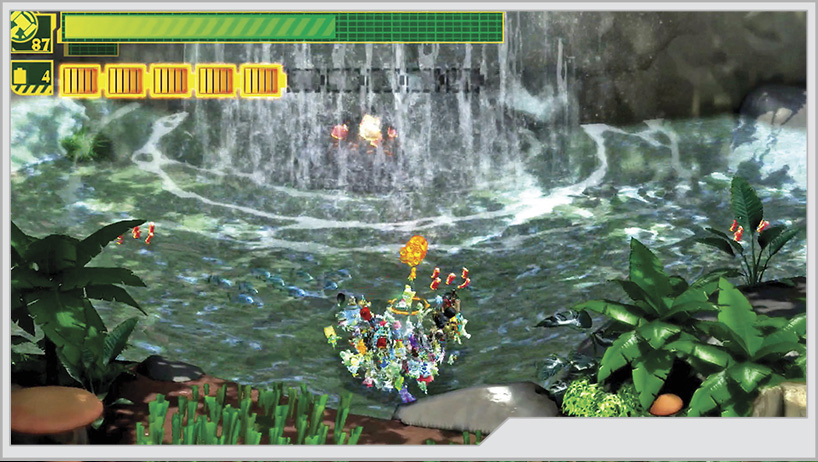
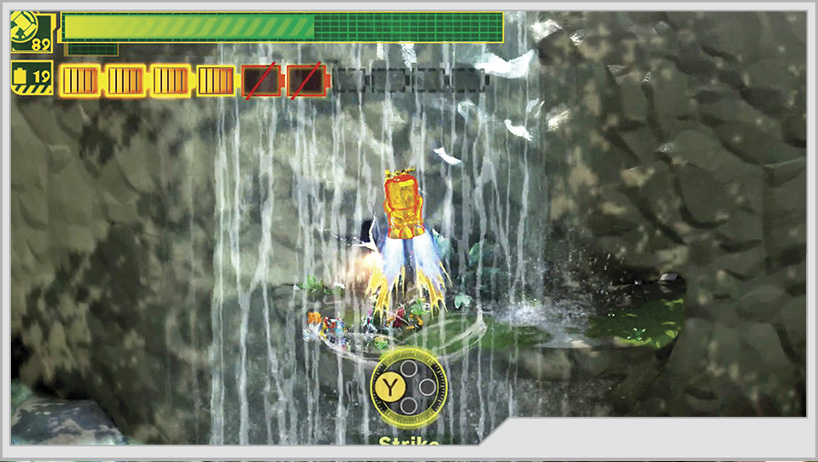
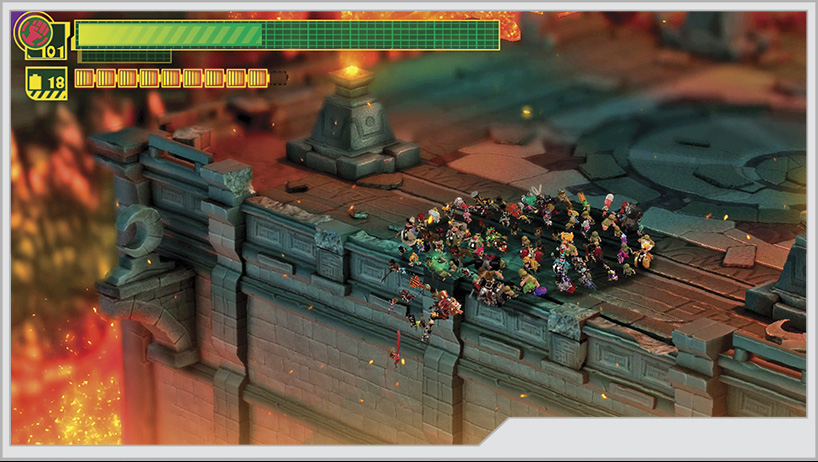
Investigate the small lake with the waterfall feeding it to the north [3], and scour it for some Wonderful Batteries. If you travel to the west of the lake, you’ll find a dead end with a purple mushroom you can climb onto and pound with Unite Hammer for Wonderful File No. 18.
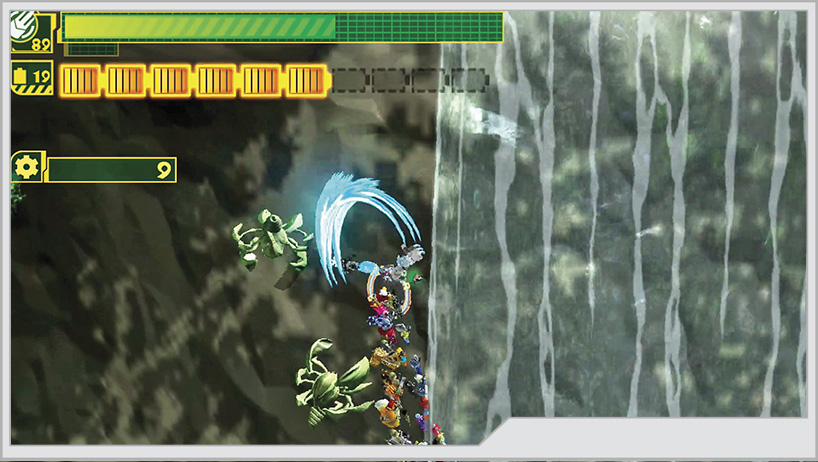
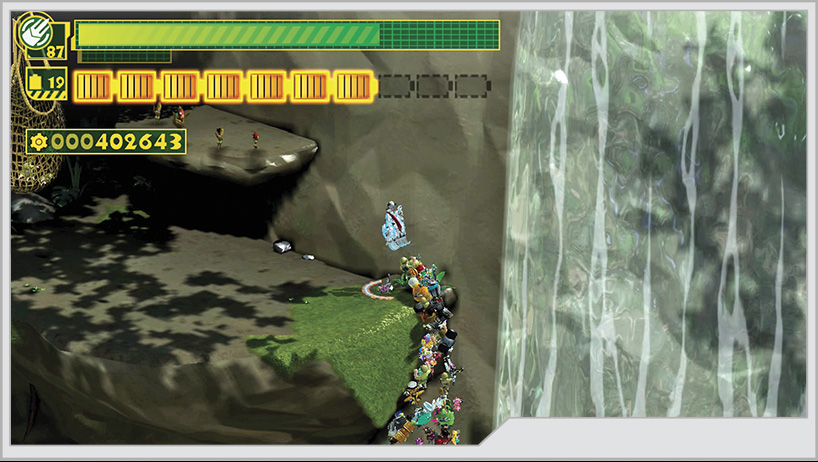
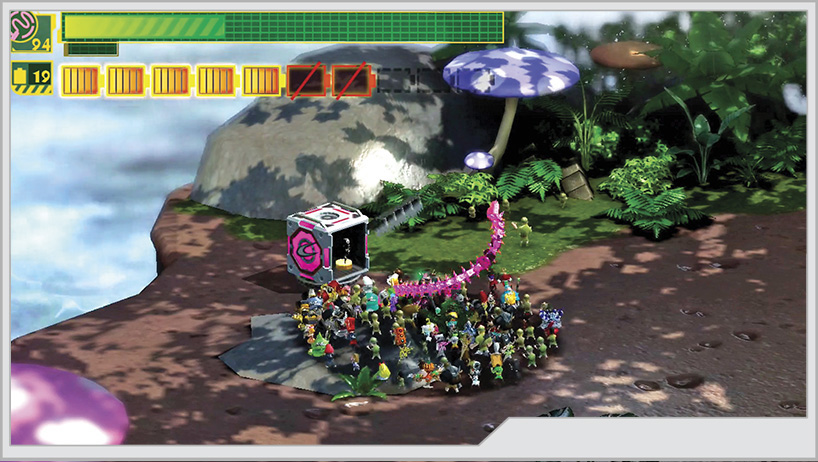
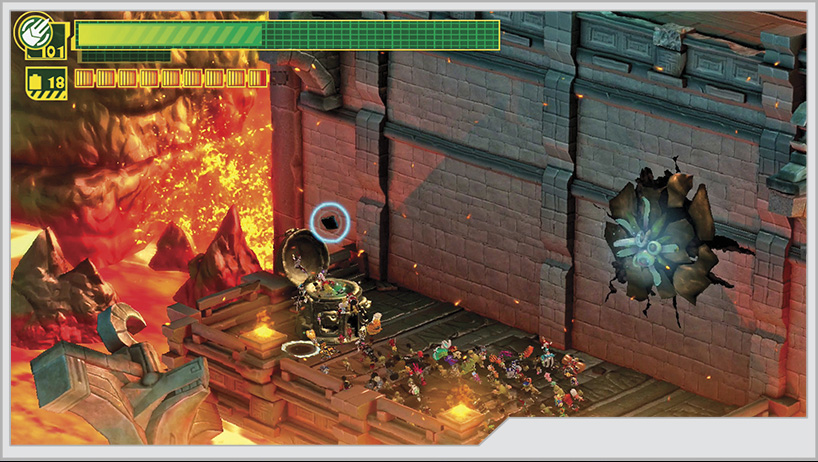
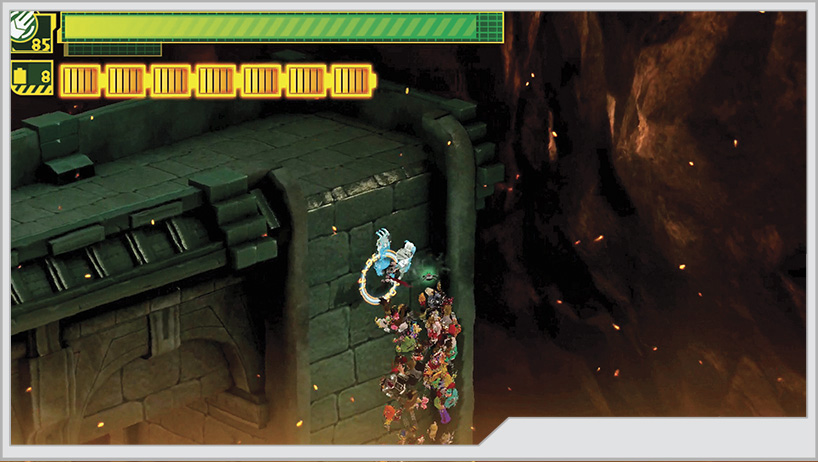
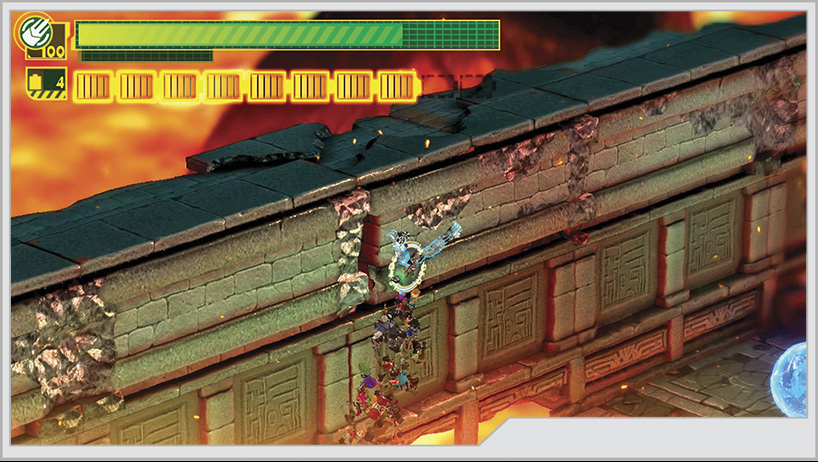
With Unite Claw, you can climb up the rock face on the left side of the waterfall to eventually reach a ledge [4] with some captives trapped in a net. Cut down the net to rescue the survivors and earn the Explorers Achievement.
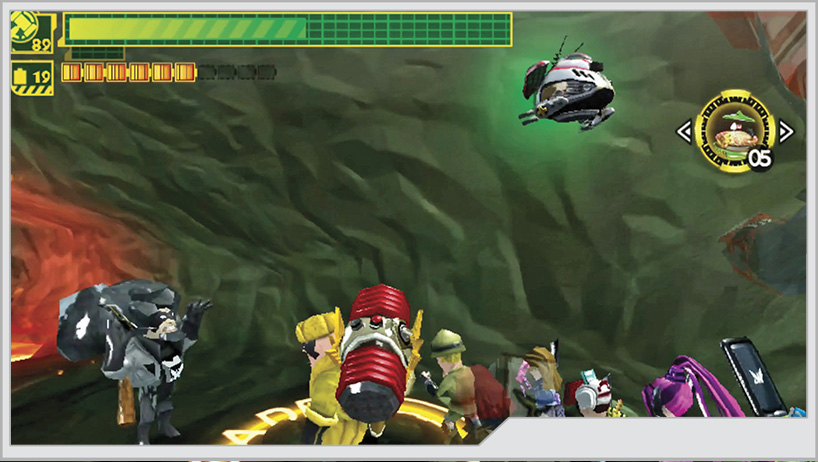
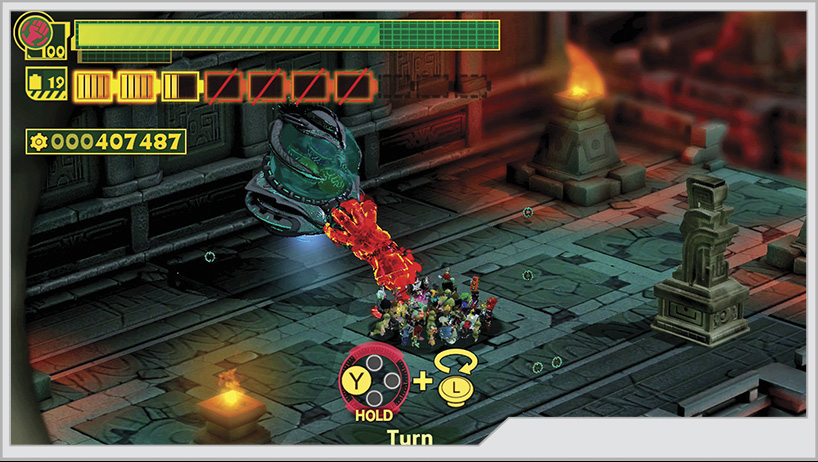
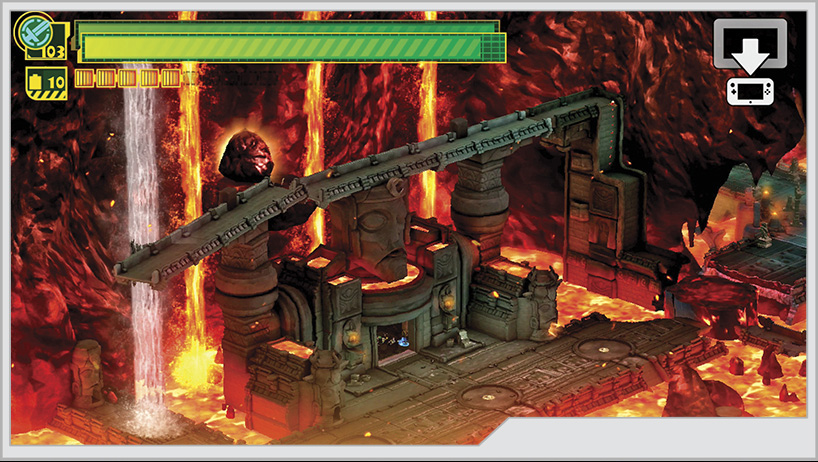
Now climb back down behind the waterfall to reach another ledge. The Unite Hammer can break through a crack in the rockface, which leads to a cave. Navigate through here with the GamePad. Be mindful of the lava flows, and don’t run through so quickly that you miss out on recruiting Wonder-Rock.
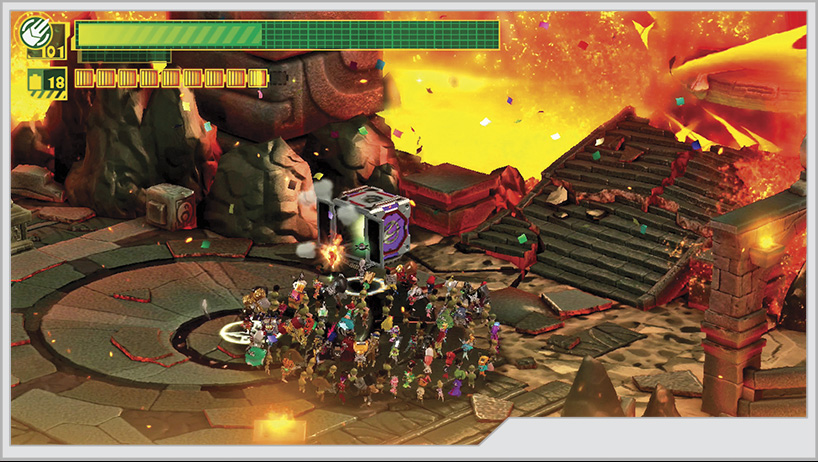
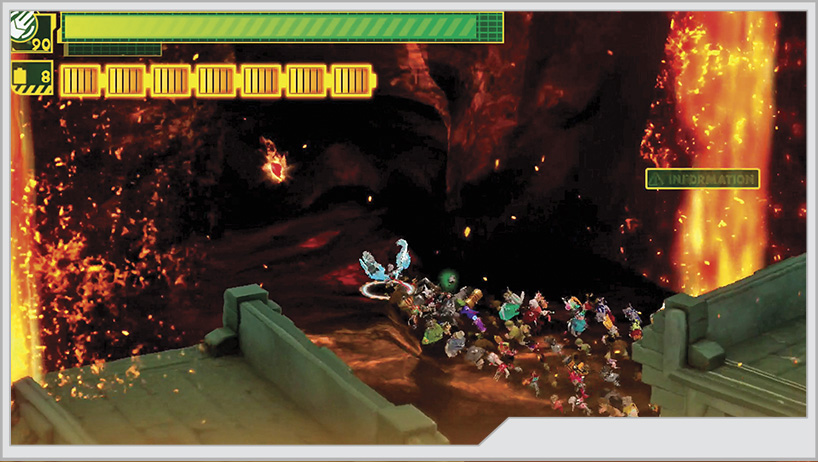
Getting through the cave takes you to a secret area behind the waterfall rockface [5]. Immediately near the cave exit is a ring of Wonderful Batteries. Wrap a Wonder-Liner around this ring for Wonderful Figure No. 20.
Left of this is a pink supply box with Wonderful Figure No. 77, and south of it is another ring of Wonderful Batteries that you can Wonder-Liner around to reveal Wonderful Figure No. 45. However, approaching the last item triggers an enemy ambush.
With the item roundup complete, go back through the cave to the torches in the first area and start lighting them up.
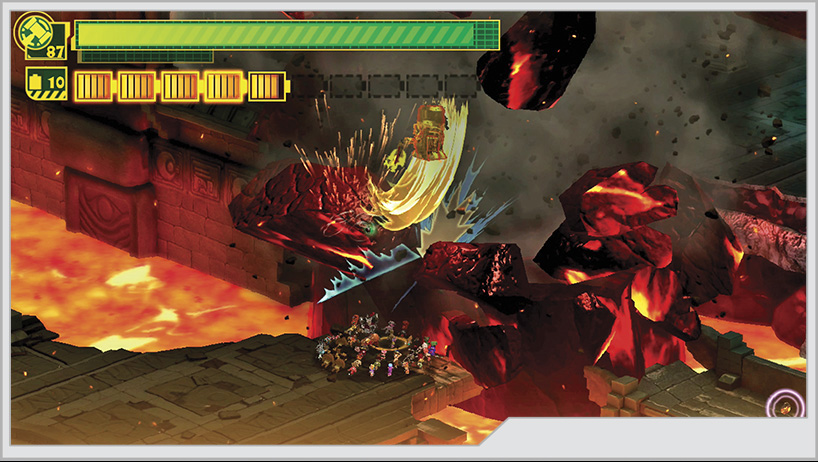
The door to the temple will open after you light all the torches. You can destroy a lot of the objects in the hall for space fruit and O-Parts.
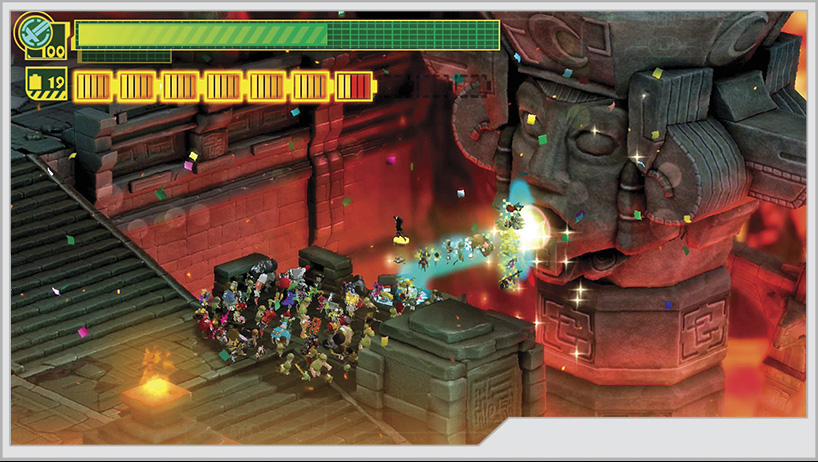
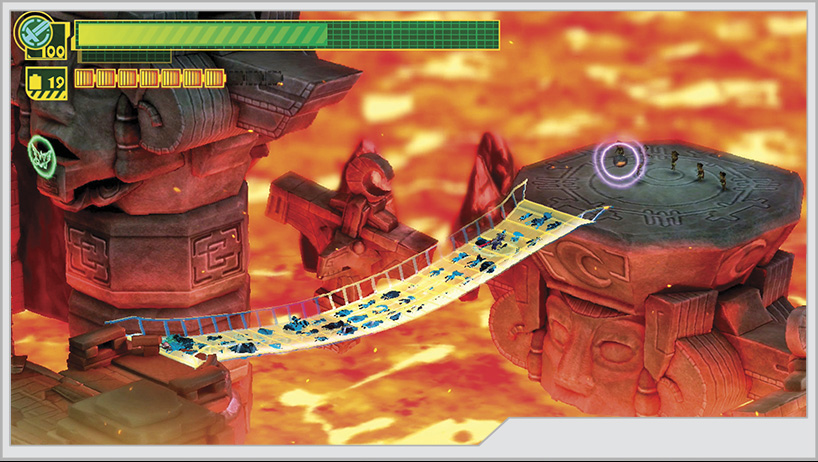
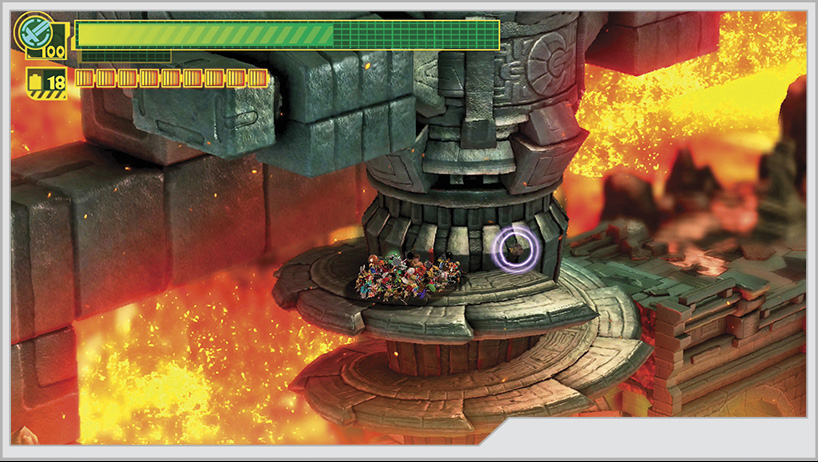
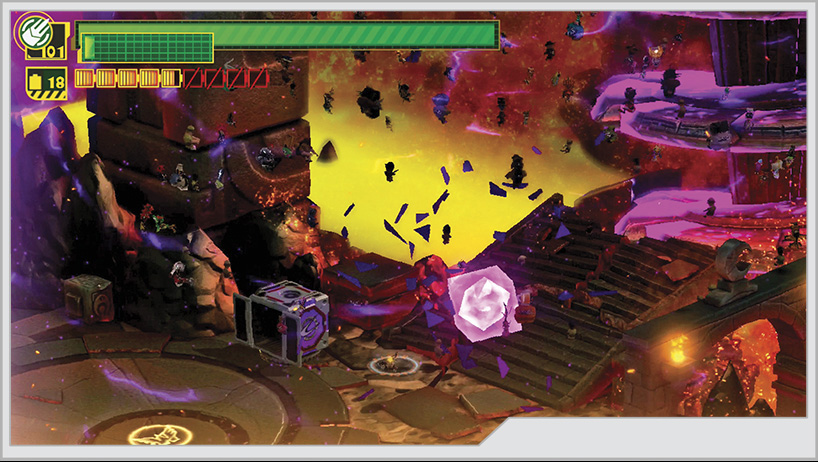
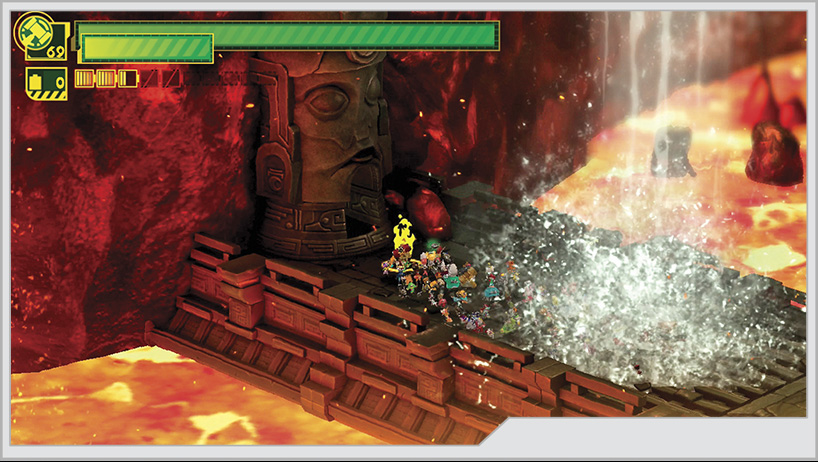
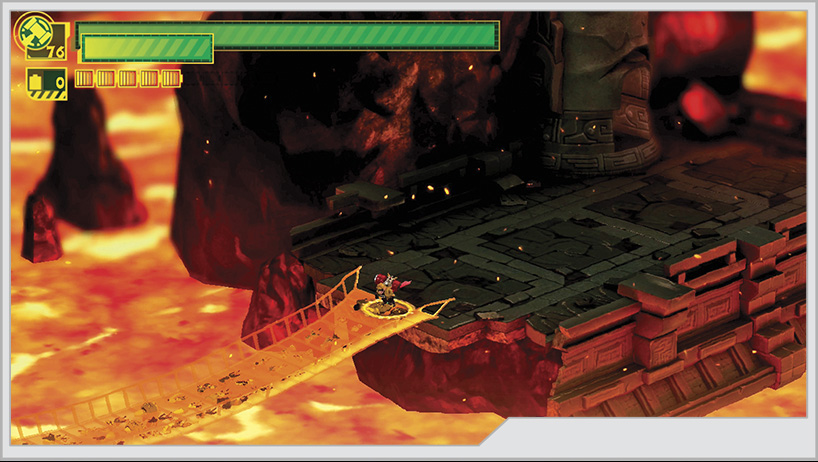
[6] Upon finishing Mission 3, travel down the ramp and send a Wonder-Liner into the mouth of the statue on the right side of the path to recover Wonderful Figure No. 67. A short distance from that statue, you can Unite Chain a bridge across the lava to a small platform leading to a Platinum Coin.
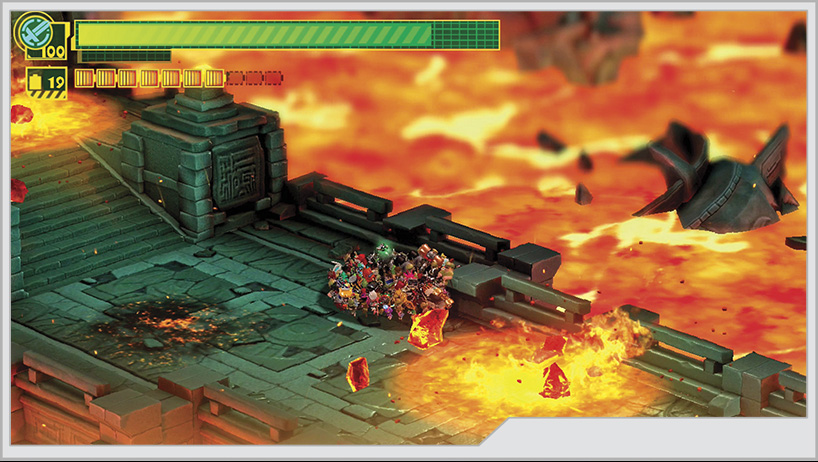
Be careful as you advance down the walkway, as chunks of lava fly onto it and can burn you severely for a short while after impact with the walkway. Go around or over any such impacts until they dissipate.
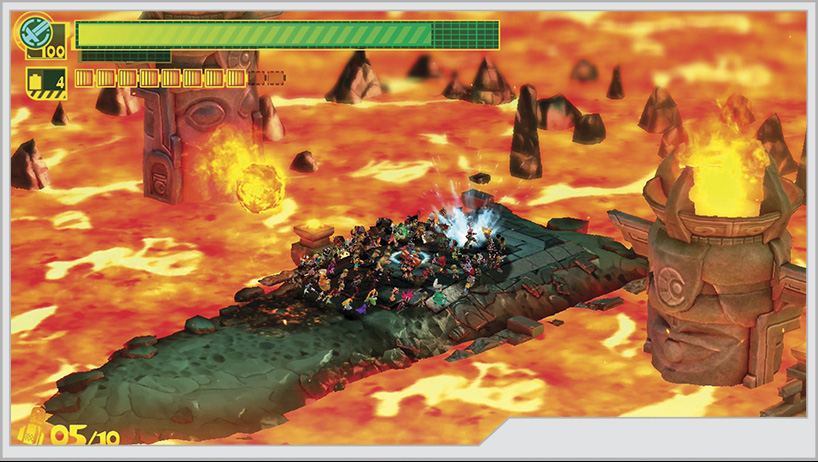
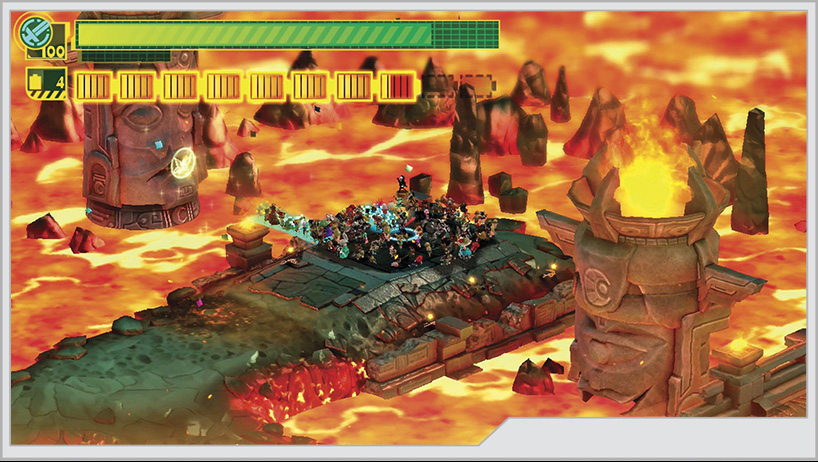
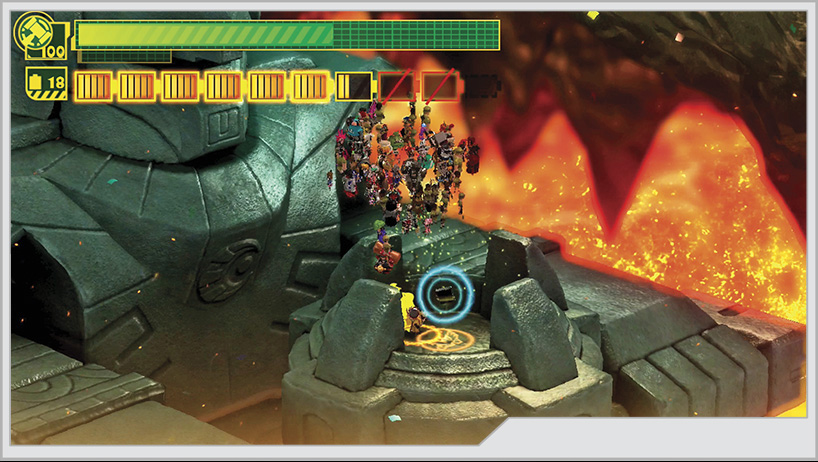
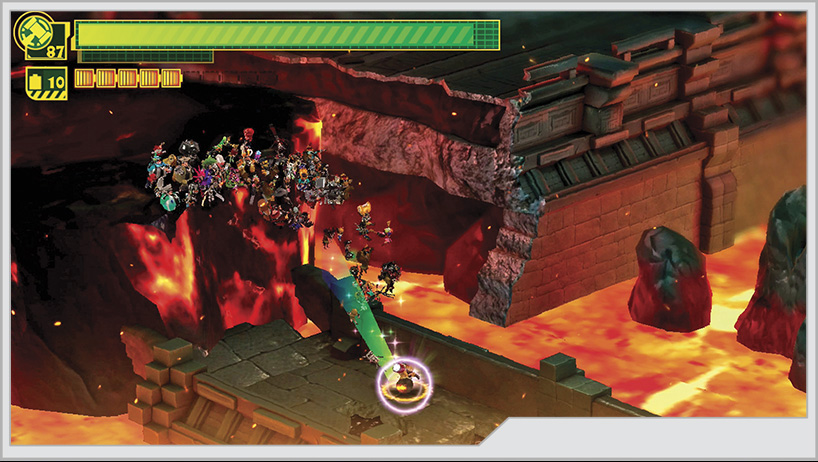
[7] The lava rises and falls here, covering up the path you must take. Don’t miss Wonder-Measure, who awaits you on a side platform. Across from him in the lava is another statue; send a Wonder-Liner into its mouth, revealing Wonderful Figure No. 31.
[8] Not far from Wonder-Measure is another small path where the lava overflows. To the right of it is another statue mouth that can be blocked off by lava. If you’re fast, you can send a Wonder-Liner into it to recover Wonderful Figure No. 87.
[9] There is a small treasure chest next to where you recover Wonderful Figure No. 87 that appears to be broken. Repair it with a Wonder-Liner for another Platinum Coin.
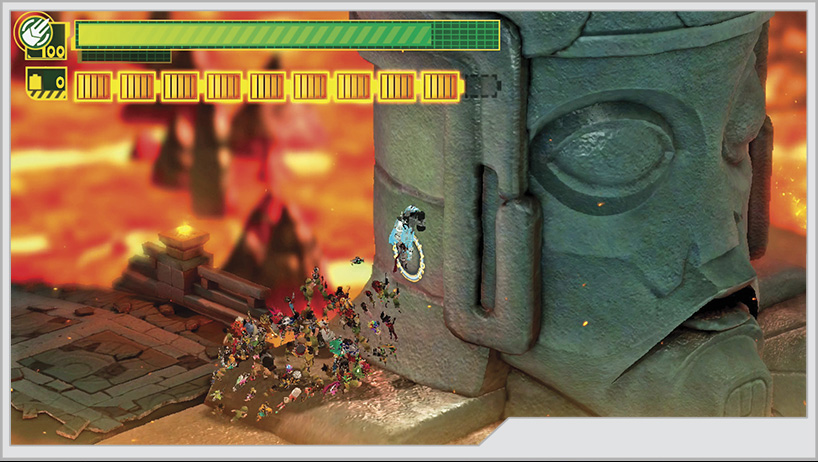
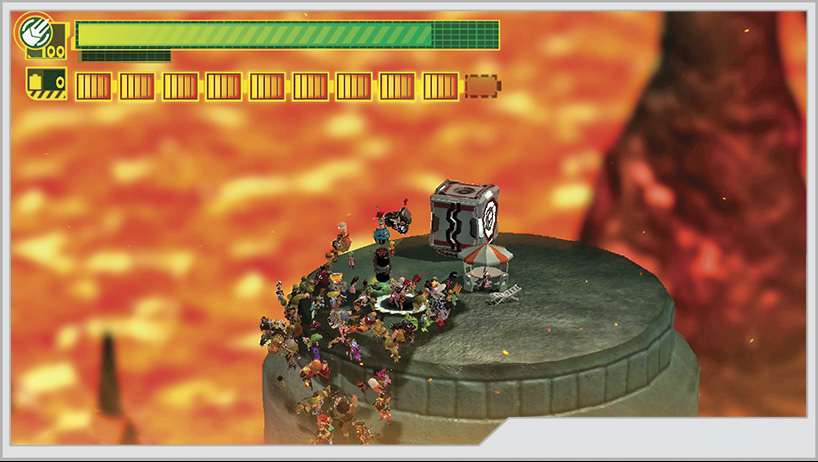
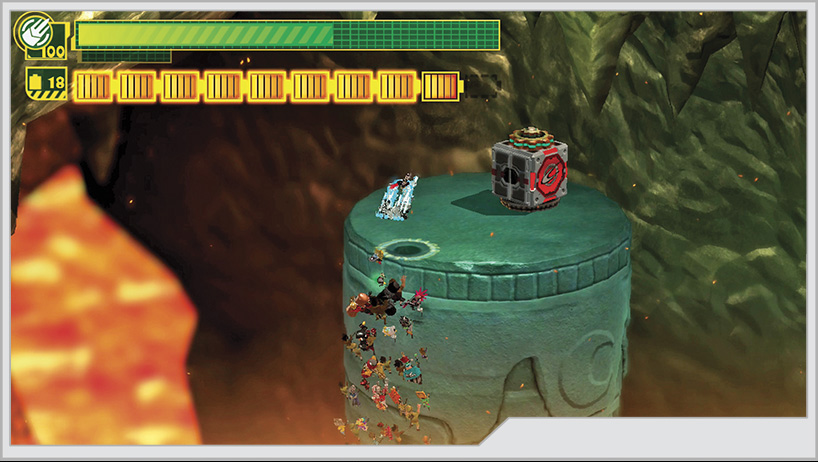
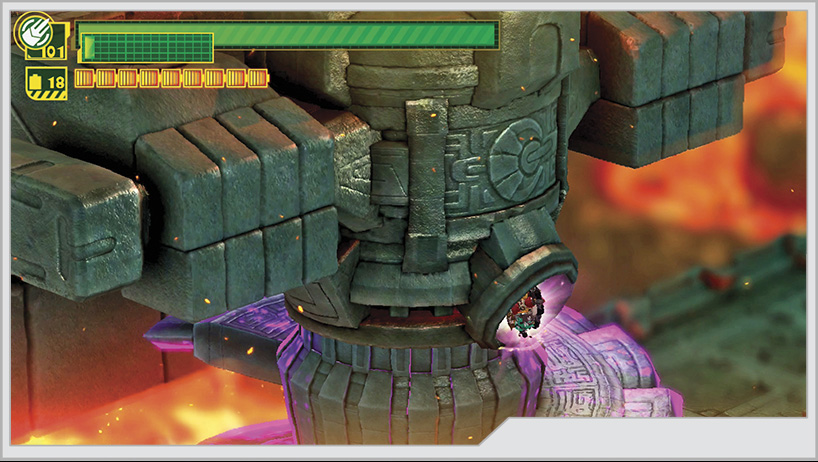
As you leave the lava behind, you encounter a massive statue [10]. Climb this with Unite Claw. At the top is a white supply box with a useful food item and the hero Wonder-Music.
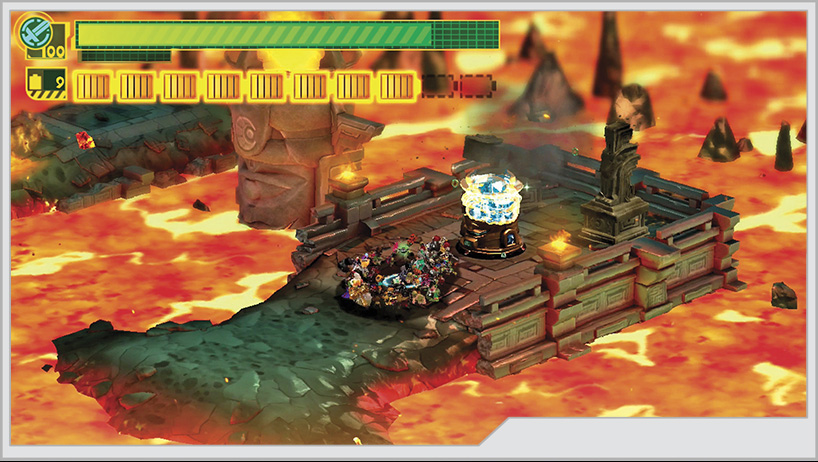
After Mission 4, you come across a defunct drill sticking out of the lava near another of the massive statues. Follow it to its highest point to retrieve a Platinum Coin.
You’re not done yet with this statue. Climb up it, recruiting the civilians on its arms. You can also Unite Hammer the center of the gourd it is holding for GEATHJERK File No. 20. You can also keep climbing to the top of the statue’s head to snag an item from the red supply box placed there.
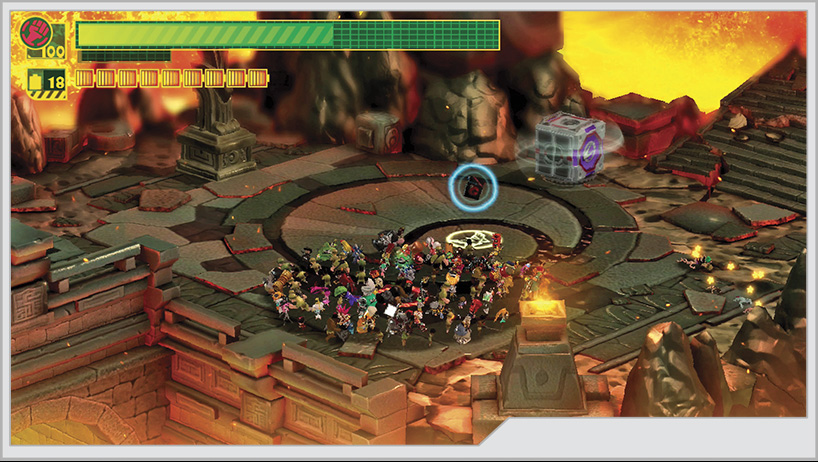
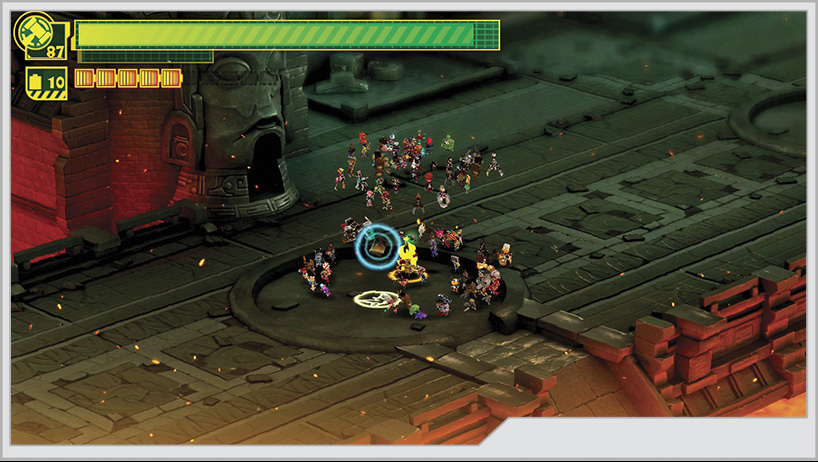
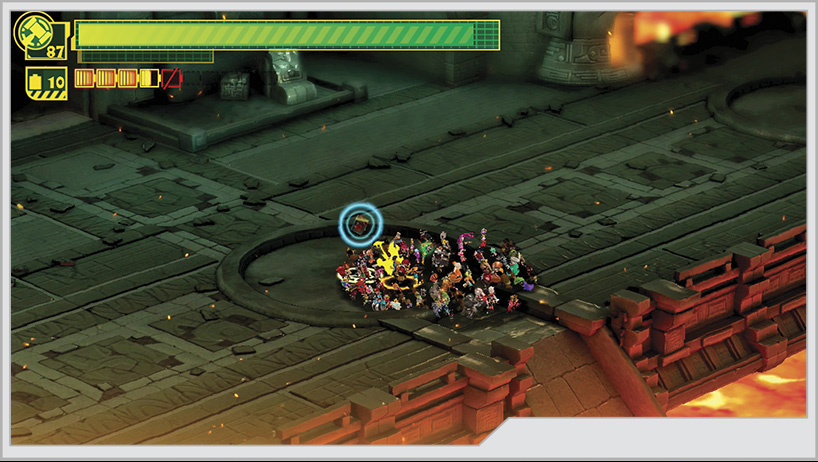
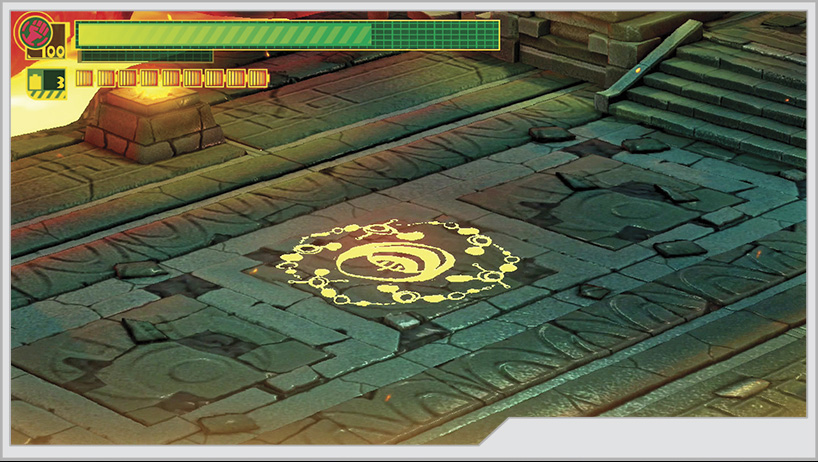
Drop back down to the drill, and continue into the temple. You’ll see a shining circular shape on the floor that you can trace with a Wonder-Liner for GEATHJERK File No. 45. A black supply box is spinning away near this item, but you can’t open it without Unite Bomb. If you try to continue forward, you’ll see that another one of the drills is hard at work, blocking your progress. Take the route to the right [11] to reach another section of the temple.
After cleaning up the Dooras, you can jump off the left side of the arena down to a ledge above the lava. This place has a Wonderful Toilet containing GEATHJERK File No. 21.
Secret Mission 6 is now available back at the Mission 4 location. On the way there, you can open up that black supply box for a Hero Heart Fragment.
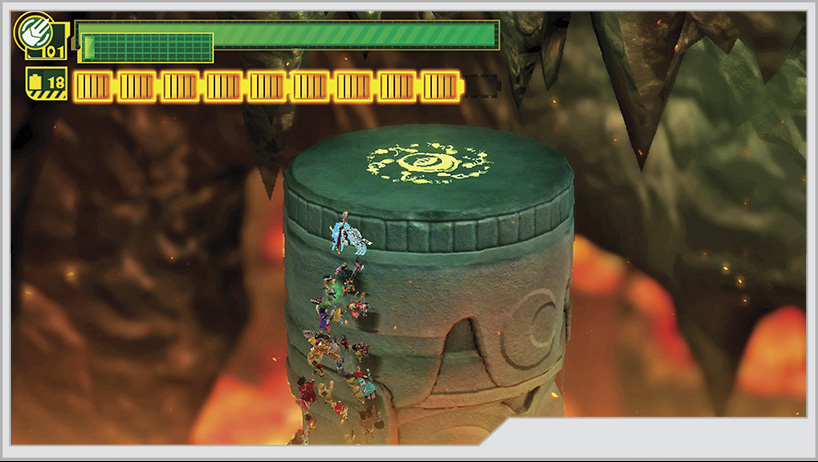
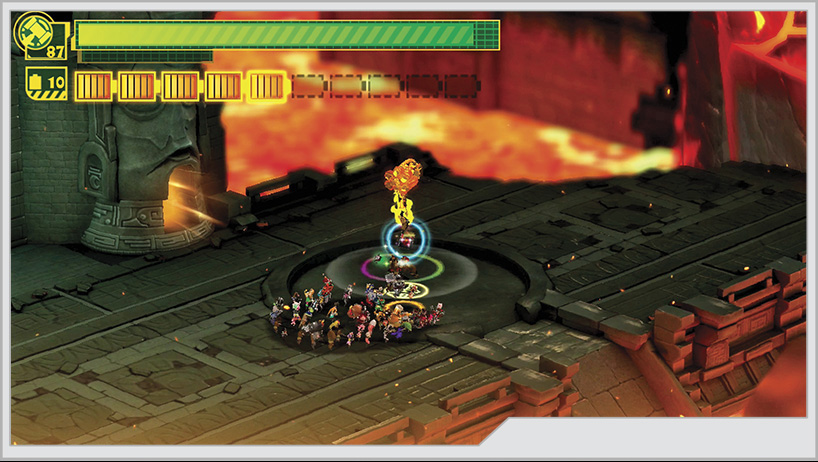
[12] Make your way back to the spinning drill from before. You can toss a large Unite Bomb at it to slow it down and cross to the other side. However, climb to the top of the drill, and jump into a duct located there. This will take you up to this statue’s arms, where you can recruit Wonder-Fruit to the team.
Next, climb up to the top of this statue’s head to find a portal to Kahkoo-regah.
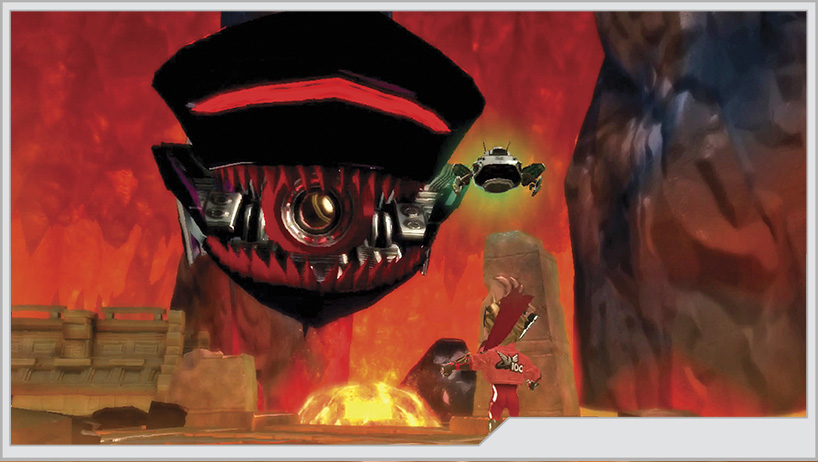
The Meizerr levels its main gun at your team, forcing you to Wonder-Jump out of danger and onto the ship. Round Three is at hand.
Operation 005-B
[1] Immediately on starting this level, take the path to the left of the Wonderful Mart, walking through the waterfall and entering the mouth of the statue behind it. This warps you to an island with civilians on it. Make a bridge from that island to the southwest to reach another island with a broken treasure chamber. Repair it with the Wonder-Liner for a Platinum Coin.
Near the first pool of lava you walk past is another statue whose mouth you can enter. Inside it is the hero Wonder-Prisoner.
Progress forward is blocked by a massive lava geyser. You’ll have to enter the temple through a side entrance [2] to be able to find a way forward.
With the lava flows redirected, move the ramp on the far left of the temple enough so that the water stops flowing.
Next head back outside the temple, and hammer the center of the three former lava pools to recover GEATHJERK Files Nos. 23, 24, and 39.
Attack the hardened lava geyser to break it down, then drop onto the platform to the right of it for a Platinum Coin.
You’re not done with this area yet. With Unite Claw or ladders built with a Wonder-Liner, climb up the ramp from which the water was directed into the lava geyser. You’ll eventually come across a large boulder next to the ramps on a small ledge with some civilians on it. Shatter that boulder to retrieve a Hero Heart Fragment! Now, with all that out of the way, go to the area that the lava geyser once blocked access to [3].
[4] You can trace a Wonder-Liner around this circle next to the civilians for some food.
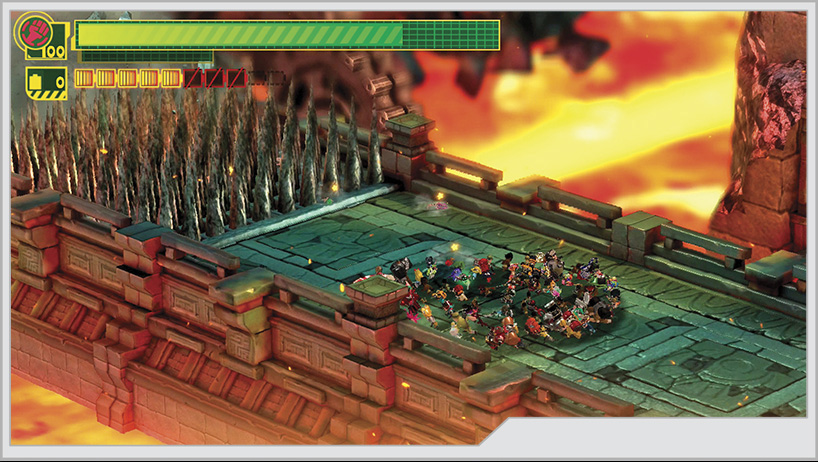
With the Koh-Tumeekey out of the way, climb the stairs, rescuing civilians along the way. Tear aside the spike barrier with Unite Whip [5].
At the top of the stairs, more drama breaks out among the Wonderful 100, until a nearby Gah-Goojin takes offense to their existence and destroys the part of the temple they are standing on. Wonder-Jump to survive!
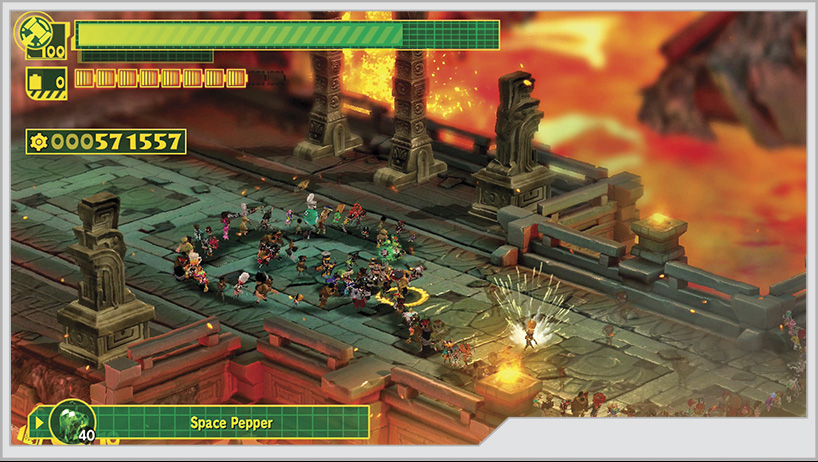
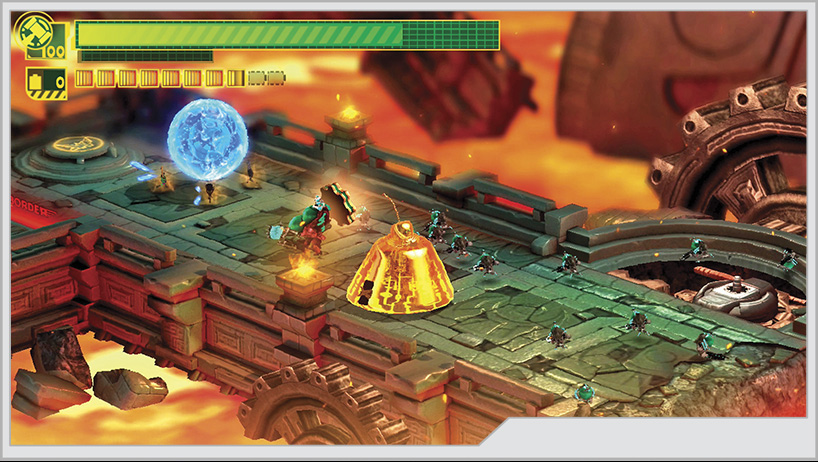
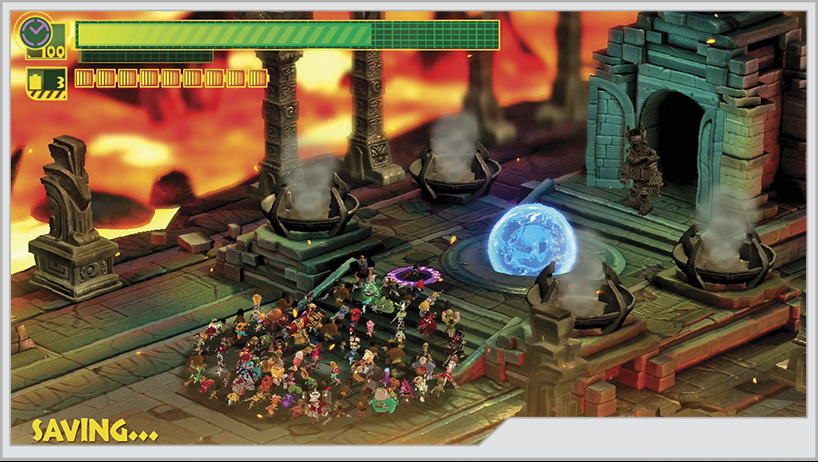
After forcing the Gah-Goojin to spike itself into submission, a pillar falls and creates a new walkway to the next area. The way to the Super Reactor is up the wall to the left of the fallen pillar, but a fire trap prevents all attempts to climb it [6]. Near this wall is a group of civilians panicking near Wonder-Bulb.
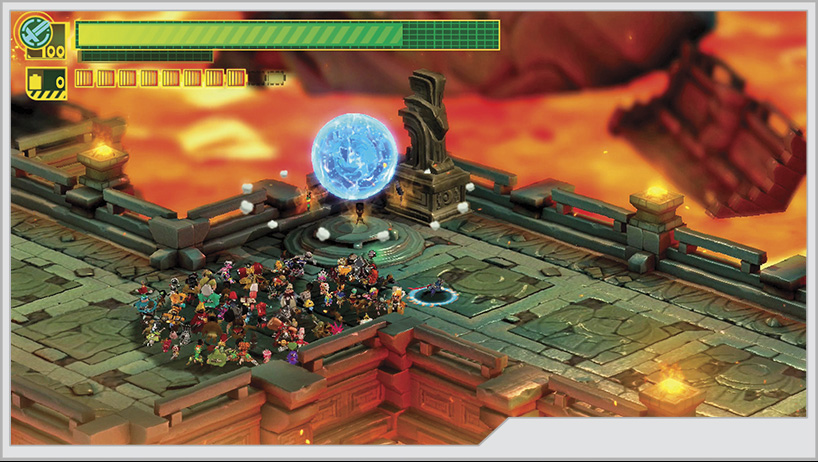
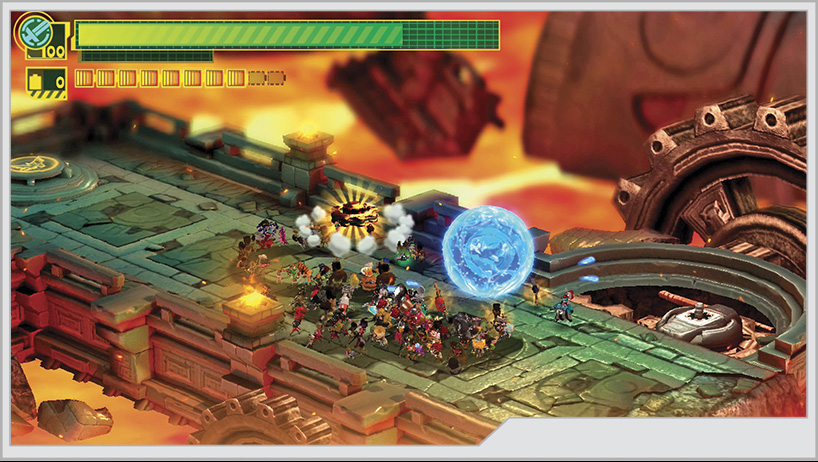
The solution to scaling the wall requires you to carry this blue sphere [7] deeper into the volcano to reach the proper pedestal. After picking up the sphere with a Wonder-Liner, hammer the pedestal to find another Platinum Coin.
The path forward is a dead end for the moment. The valve needed to create the bridge to the next area is missing. Fortunately, a gaggle of Dough-Goo and a Chew Dough-Goo show up with the valve you need. This is an unrated battle, so destroy them however you want. Wrap another Wonder-Liner around the valve and toss it into place [8].
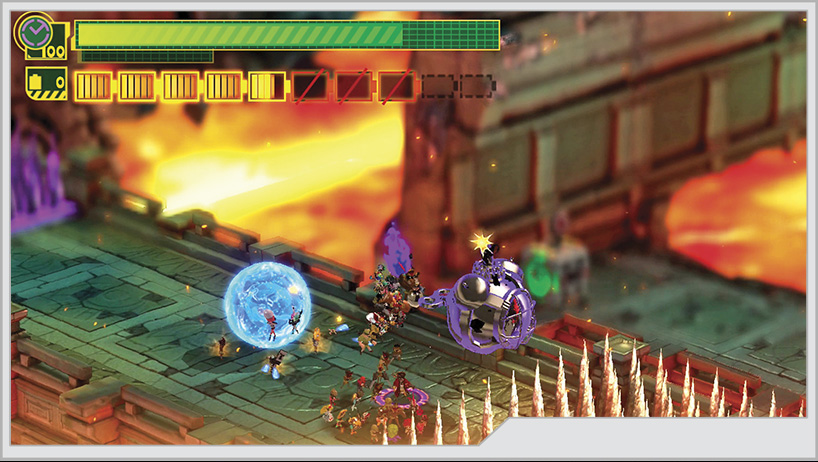
Be careful crossing the gratings that appear after creating the new pathway. These contain spikes that appear at different intervals and can force your team to drop the blue sphere and make you backtrack to pick up a new one. You can slow these down with Unite Bomb, but the spikes still hurt if they are already out.
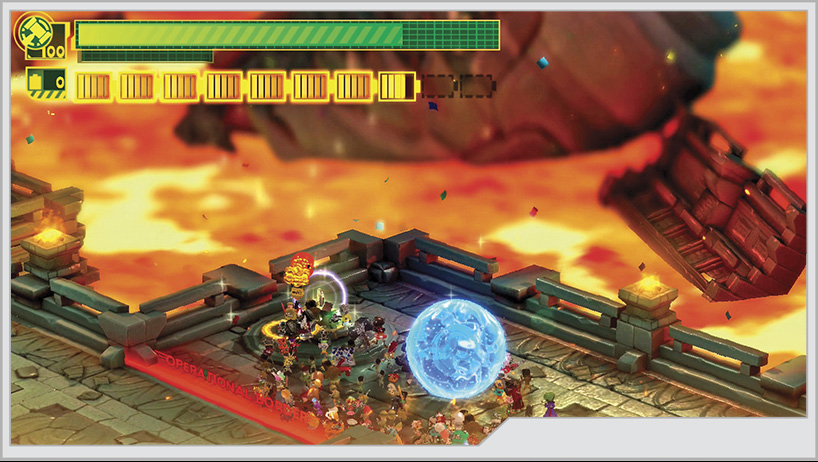
As you approach the lava next to the green supply box, you’re prompted to throw the blue sphere over to the next island. You must then Unite Claw along the wall, drop onto the island, and throw the sphere once more to the next pathway.
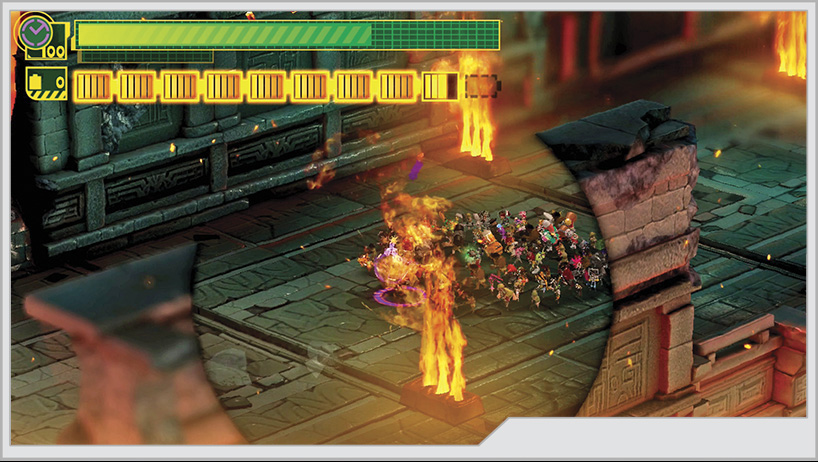
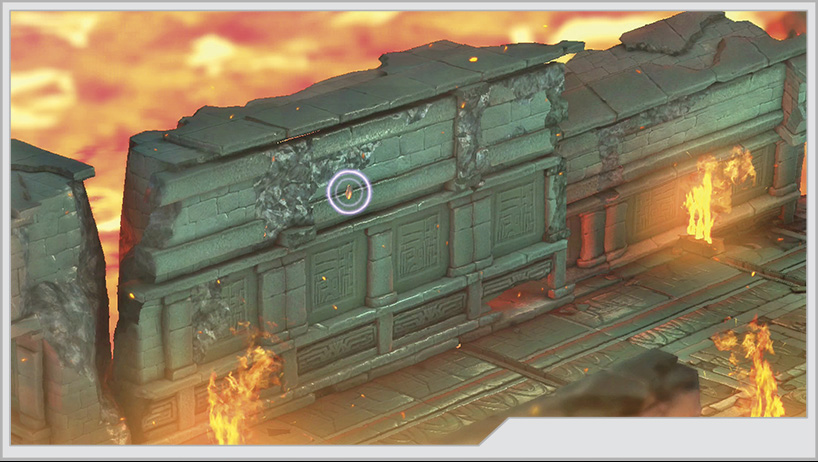
The next trial here is to head past a series of fire traps similar to those first encountered back on Mission 1 of this level. Unite Bomb to slow them down, then move on past. Give adequate time for your teammates carrying the sphere to make it past. However, in your rush, don’t neglect the Platinum Coin on the far wall in between the first and second fire traps. You can either climb up to it or extend a Wonder-Liner.
Once you get past the firetraps, you’re very close to the temple. Throw the sphere into place before the temple to recruit the living statue; this will help you get past the wall at the start of this section. Don’t forget to recruit Wonder-Voodoo, standing atop the small temple.
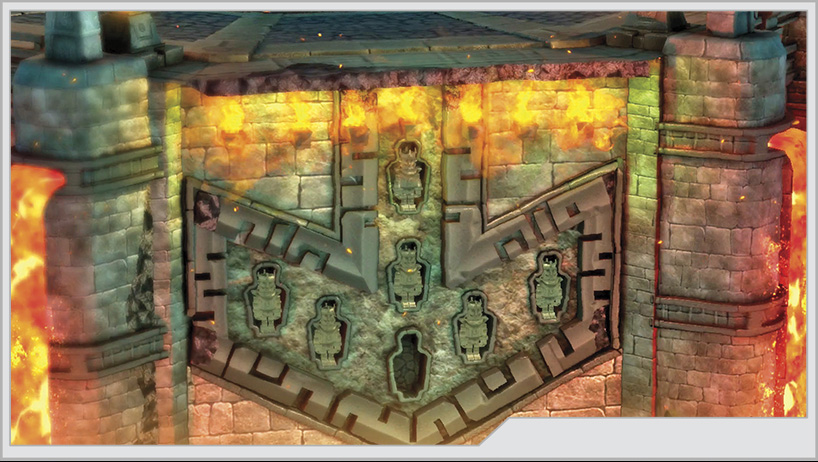
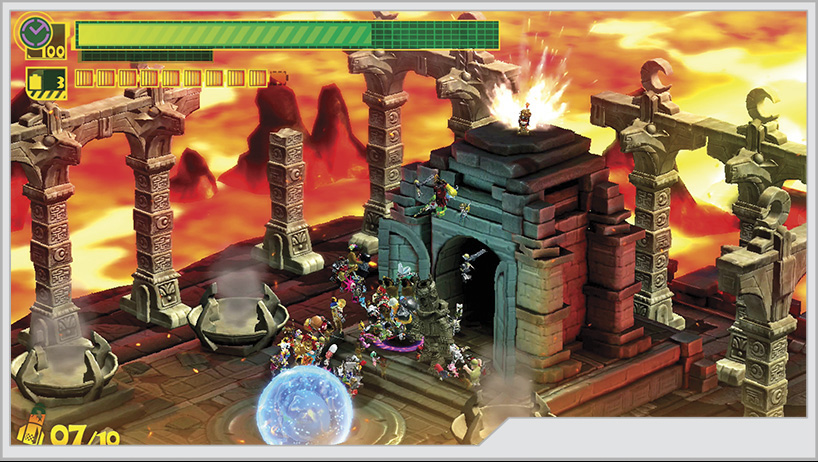
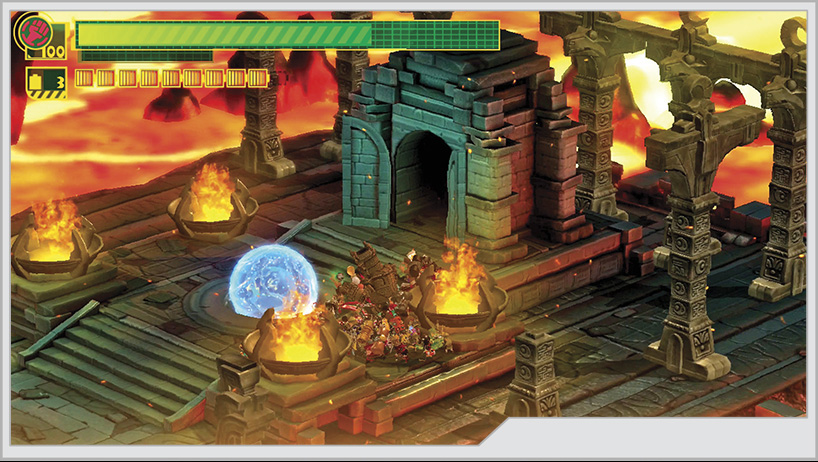
[9] Locate the portal to Kahkoo-regah by lighting the four torches surrounding the sphere’s resting place.
As you leave the temple with your living statue buddy temporarily in tow, the Gah-Goojin shows up once more with a friendly reminder to die at your earliest convenience, forcing the timely intervention of Unite Sword. It’s not enough to dissuade the giant, but the arrival of Immorta and her ship spares the team a bath in lava. After the cutscene, you’ll have to climb your way back to where you need to be [6].
Throughout this climb, you’ll face off against Dough-Goo and Mini-Dahkarts. These are unrated battles, so you can rush past them if you want. Before you climb up the wall to head toward the level exit, you must go back to where Mission 5 ended to take on Secret Mission 8 and recruit Wonder-Lunch!
To scale the final wall, send a Wonder-Liner into the slot for the living statue to enter. This shuts off the flames and allows you to finally scale the wall with no problems.
After the mission score is posted, you must open the final door with Unite Sword to reach the end of the level.
Operation 005-C
The Gah-Goojin persists in its efforts to reach the Super Reactor, but the Wonderful 100 stand firm in defense of the statue. However, it becomes apparent that another GEATHJERK officer is in command of this operation, and he is willing to take steps that will ensure he personally puts an end to the stubborn warriors of Earth.
With the Gah-Goojin making a move to destroy the Super Reactor, Wonder-White steps up to the challenge with Unite Claw. Succeed at this event to knock the Gah-Goojin into the lava, thus saving the day. Shortest boss battle ever!
Oh. Unlimited Form it is, then!
Fortunately, you have fought this boss battle once before. This Gah-Goojin does many of the same moves as the one you fought in Operation 002-C, and you can defend against them in the same ways. It’s easier to list what Gah-Goojin will not do in this fight: the wire-guided rocket punch is out, and Gah-Goojin will not try to fly onto the statue to step on you or fire his laser cannon. Since this one also has both of its original arms, you don’t have to worry about Cough-Foon laser blasts or special ship-rocket punches, either. Lastly, Gah-Goojin will try to slam debris onto you, which you can reflect back at it, but it will also use debris that requires you to shoot it with Unite Gun.
You must work quickly while fighting Gah-Goojin, as its attacks hurt the statue, and enough damage will force you to use a continue. Unlike the previous time you faced him, there is no way to repair the damage being done here. Too much damage, and you fail the mission. Keep an eye on that statue life gauge in the screen’s lower right corner!
Another way to instantly fail the battle is to let Gah-Goojin tip the statue over into the lava. This is pretty easy to see coming and to stop. If Gah-Goojin grabs on to the base of the statue, hit that arm as hard as you can to get him to let go.
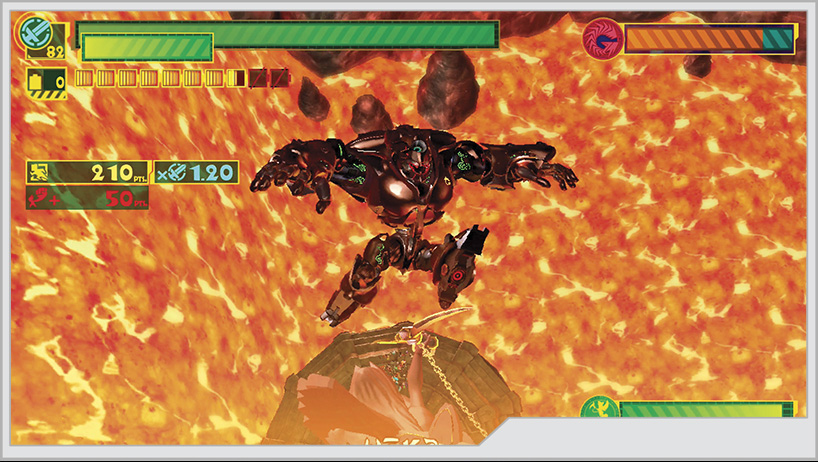
As the battle progresses, the statue and Gah-Goojin will be floating down a massive lava river that occasionally goes over a lavafall. This has the side effect of interrupting whatever Gah-Goojin is doing. Luck plays a significant role in how well this battle can go for you.
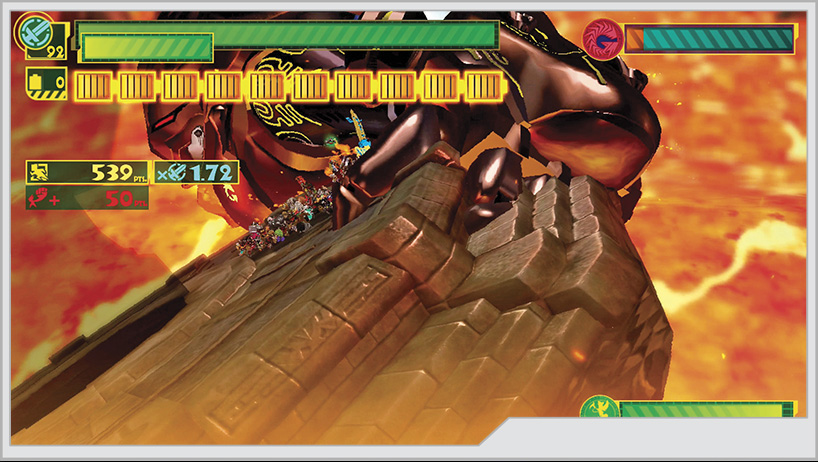
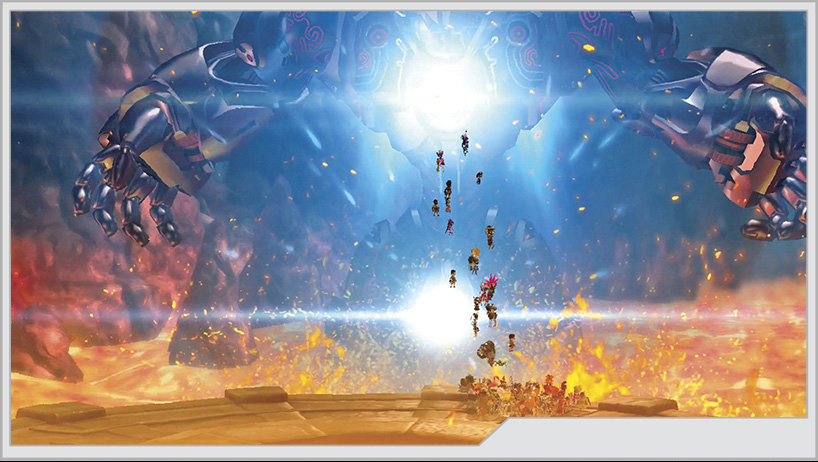
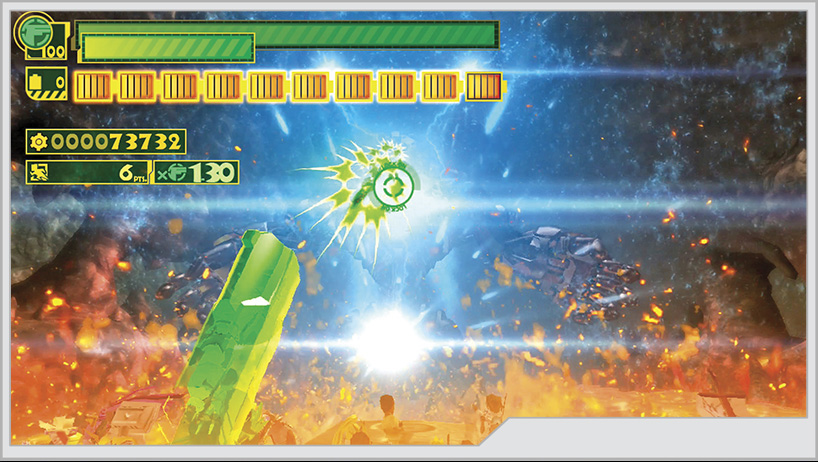
When you finally drain the Gah-Goojin’s health, it tries for one last desperation attack, charging up its main gun. Counter it with Unite Gun, aim for the center of the rapidly expanding light, and don’t let up on the trigger until Gah-Goojin falls down.
And yet Gah-Goojin hangs in there, quite literally, and throws a massive boulder at the statue. Intercept with Unite Bomb, then Wonder-Jump from rock to rock until you land on the Gah-Goojin’s arm. Switch to Unite Claw to pry open its mouth and dive right in.
The team arrives inside Gah-Goojin’s control room, much to the surprise of the Chew Dough-Goo and the Dough-Goo manning the mech. Eliminate them to take control of the Gah-Goojin for yourself.
Phase Two
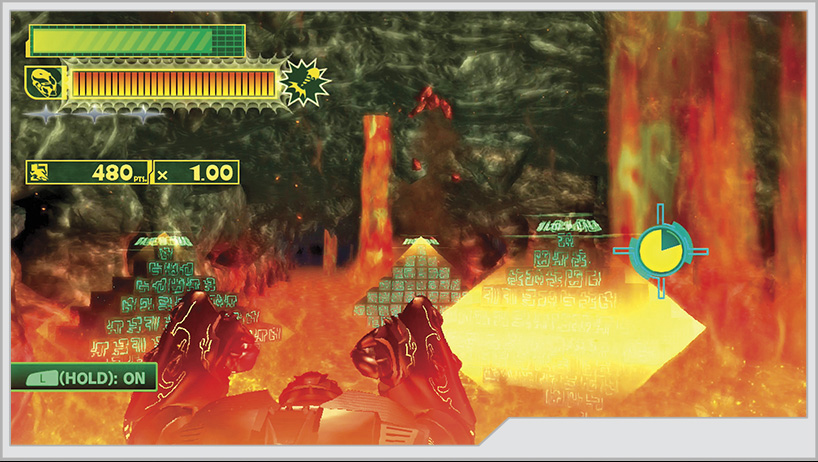
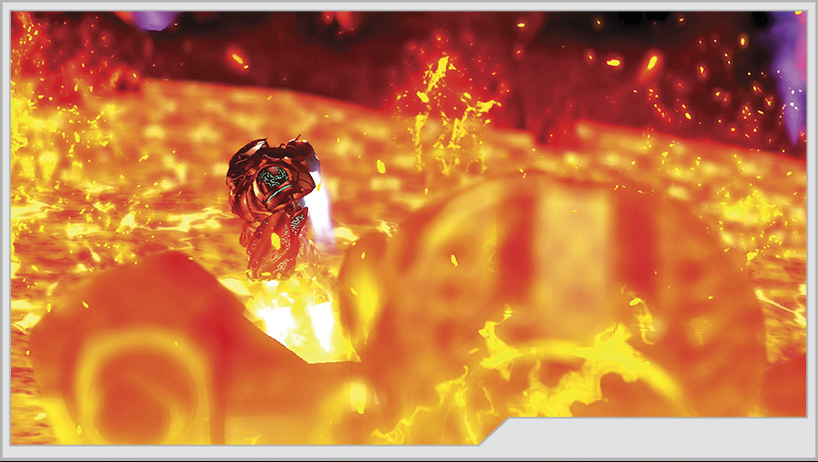
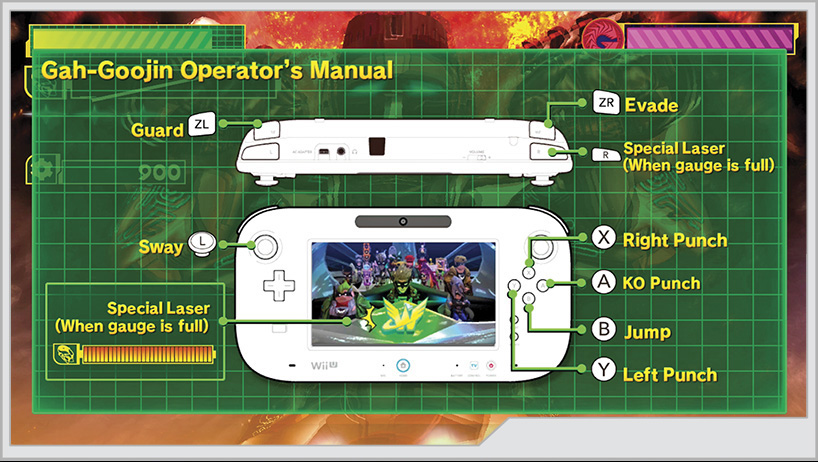
The next section has you marching through the lava in control of the Gah-Goojin, looking for a way out of Mt. Ogretoe. This section acts like a sort of tutorial for what is to come. Memorize the buttons you’re introduced to here, as victory will demand it.
First you’ll be attacked by swarms of Hah-Gonay. Punch them out of the sky. On Hard and 101% Hard mode, this will take two punches. This is teaching you about the correct rhythm to fire off alternating left and right combos without pausing between punches. You can also hold up on the Left Stick while punching, which will reach toward higher targets.
Eventually, Megang start popping up from the lava. You could punch them to death, but it’s more effective to stand in front of them and guard against their charges, which will destroy them faster.
Cough-Foons will try to blast you with their main guns. Leap over the lasers, and then punch them when they get close enough. This usually happens after they fire two shots.
A swarm of Tumeekey will show up close to the end of this firewalk. Blast them with the Special Laser when prompted. Note that this attack takes time to fire up.
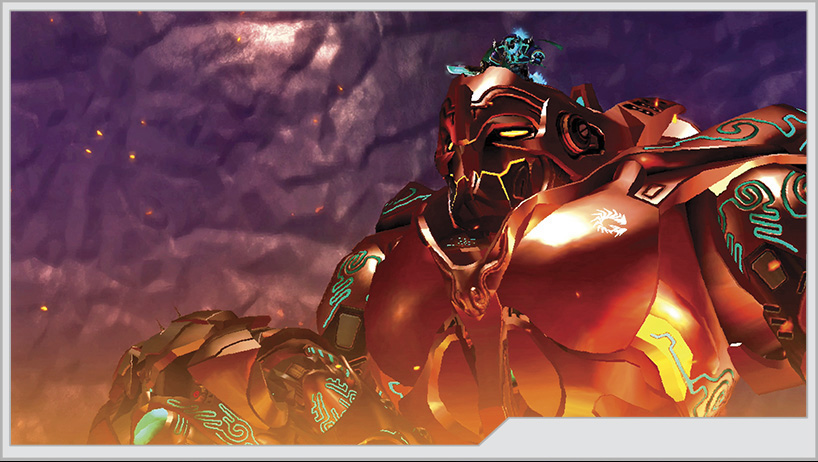
With the Tumeekey no longer a threat, something massive rises up out of the lava before your Gah-Goojin. Standing proudly atop it is another commander of the GEATHJERK.
Phase Three
Longtime Nintendo fans will be instantly familiar with what is about to happen here. This is a boxing match between incredible machines built for this sort of battle, and believe it or not, you have a good chance to win.
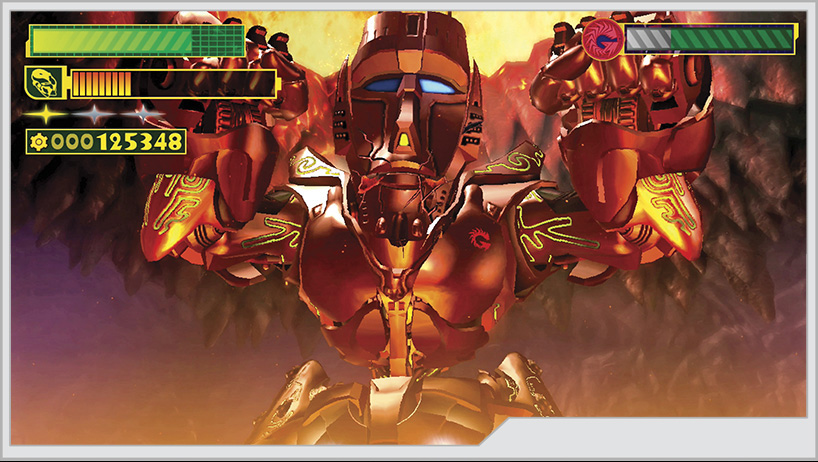
The first thing about fighting Wallgah-Goojin is to pay attention to his face. Specifically the eyes. If the eyes flash, you will see a left or right hook.
If an eyebrow twitches, expect straight jabs from that side.
However, it’s not just the face that provides the tells. Wallgah-Goojin’s body will also sway in particular ways. If he ducks slightly to one side or the other, he will use uppercuts.
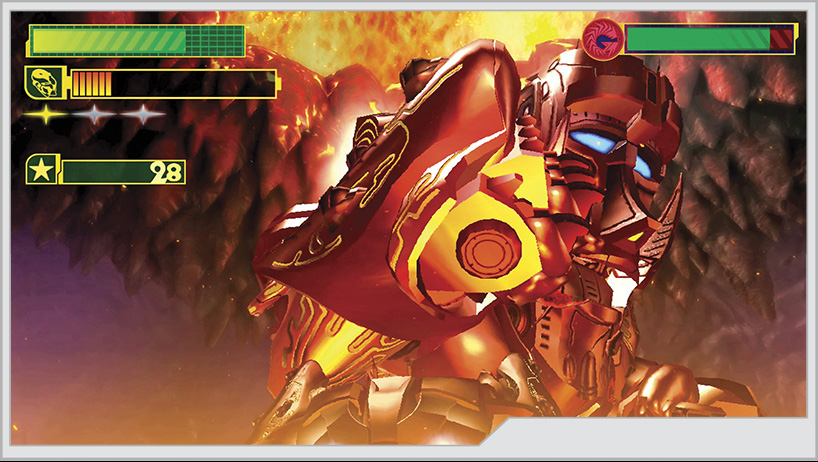
Wallgah-Goojin will also use kicks, telegraphed by spinning away from you. Jump over these kicks! He will also fall back and pick up boulders to throw at you. These can be blocked, but if you punch them out of the air, you can get health restoration items.
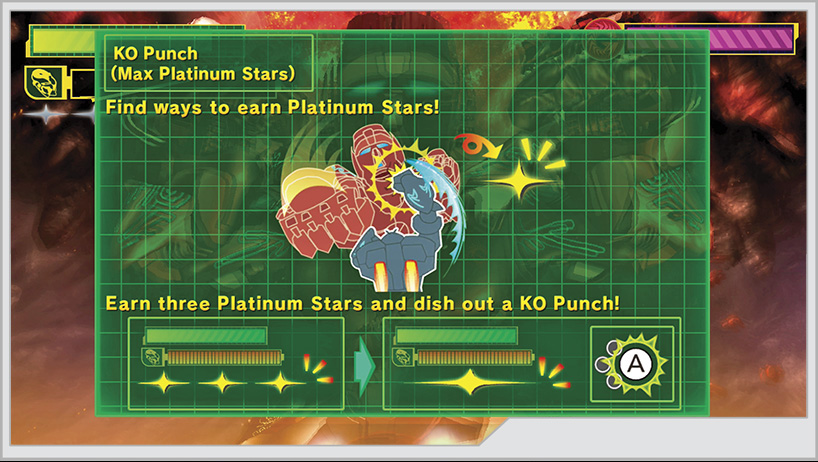
Do NOT punch at random. Wallgah-Goojin can guard all day without consequence. Let him strike, then begin the counterattack. Ideally, you can cross-counter every one of his punches by punching him in the stomach (Left Stick is at neutral + left or right punch) or in the face (hold Up on Left Stick + left or right punch) at the precise moment before his punches land. If he throws a right, you throw a right. Timed correctly, this can score you a Platinum Star, and three of these will allow you to use a KO Punch. However, hold on to that punch unless Wallgah-Goojin is dizzied, and the same goes with the Special Laser. Use these when he’s able to counter, and he will flatten you.
Scoring enough counterpunches in succession can dizzy him quickly. However, if you’re not confident about counterpunching (the timing is tight), you can always dodge one of his blows, then strike afterward.
If Wallgah-Goojin manages to hit you in succession, there’s a chance that you will be dizzied as well. Rapidly tap the Left Stick back and forth to recover before he really lets you have it.
Either through cross-counters or counterpunching after Wallgah-Goojin misses an attack, you can temporarily stun him, allowing you to score a flurry of punches so long as you properly time your hits between left and right punches. Wallgah-Goojin will eventually recover from these moments. Sometimes, rather than just a temporary stun, Wallgah-Goojin will be completely dizzied, which is an opening for your KO Punch or Special Laser.
The last thing Wallgah-Goojin has up his sleeve is to fly up in the air and display a combination that he is about to perform. It can be a short combo or a lengthy series of alternating straights, hooks, and kicks. Pay attention, because when he flies back down, he’s going to do everything he shows you.
It is totally possible to cross-counter every attack in these combinations. It is also totally awesome, and as a bonus just absolutely devastates his life meter.
Wallgah-Goojin has an incredible number of attacks. You can block most of the punches and kicks, but you can’t stop his beam cannon breath, headbutt, or drill punches. Thankfully, you will be able to see these coming and can move or sway out of their way.
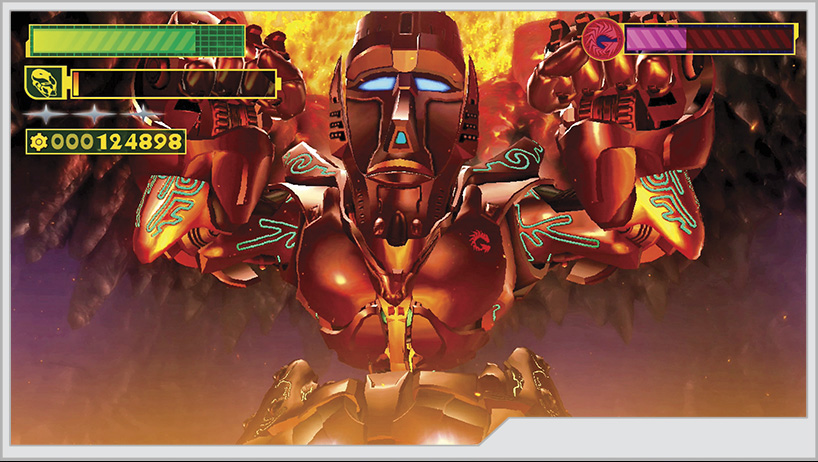
Dodging the drill punch is especially vital, as it can leave Wallga-Goojin disoriented, and if you’ve got a KO Punch ready to go, this is the perfect opportunity to use it. Just make sure you actually see the stars spinning over his head before you try it. The KO Punch does heavy damage, fills a large chunk of your Special Laser meter, and immediately knocks Wallgah-Goojin to the lava mat. You can also use the Special Laser if it is ready.
After sustaining enough of a beating, Wallgah-Goojin will eventually get knocked down from your regular punches as well. In the event of a knockdown, you can mash the A Button rapidly to build up a charge for your Special Laser. However, if you are knocked out yourself, you are knocked out of the Gah-Goojin. You must gather up your team and climb back aboard before the ten count passes! During those moments, he will start charging up his own Special Laser. If you recover fast enough, you can score a flurry on him while he’s in the middle of charging, or even a KO Punch. The latter is quite risky, though.
When you finally take out all of Wallgah-Goojin’s health, he goes for a desperate gambit, setting up another drill punch. In this event, you must successfully mash the B Button fast enough to set up a final counterattack. You then control the Wonderful 100 to board Wallgah-Goojin to face Walltha in personal combat!
Walltha fights exactly like his younger brother did, so you will not see anything new, but everything you see will be as dangerous as usual. However, after the beating his machine has sustained, he hasn’t fared very well, starting the fight temporarily stunned. Refer to the strategies you’ve used to beat both Laambo and the Ankho.
Be wary if Walltha turns red, especially on higher difficulty settings. It’s a small space to fight in, and his spin slash, while enraged, can be utterly devastating. Hero Sense and Hero Time are excellent Custom Blocks to switch on for this part of the fight.
Phase Four
The Virgin Victory swoops in to pull your Gah-Goojin out of the fire, but Walltha apparently refuses to give up. The Wallgah-Goojin will pursue you out of the erupting volcano, throwing boulders at you and attempting drill punches. He’ll even fire off his laser breath. Dodge these the best you can; this is the homestretch.
After a heart-pounding minute, Wallgah-Goojin falters, but the Virgin Victory is about to crash into a dead end. Power up the Gah-Goojin’s main guns and shoot your way to freedom. Operation 005 is complete!