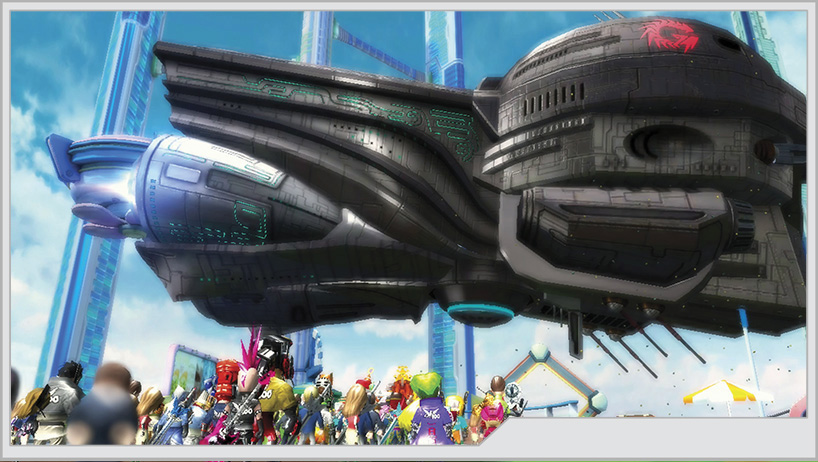
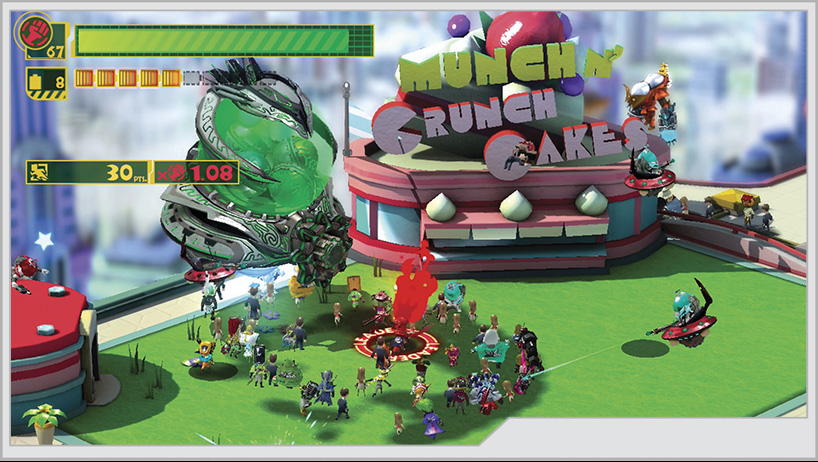
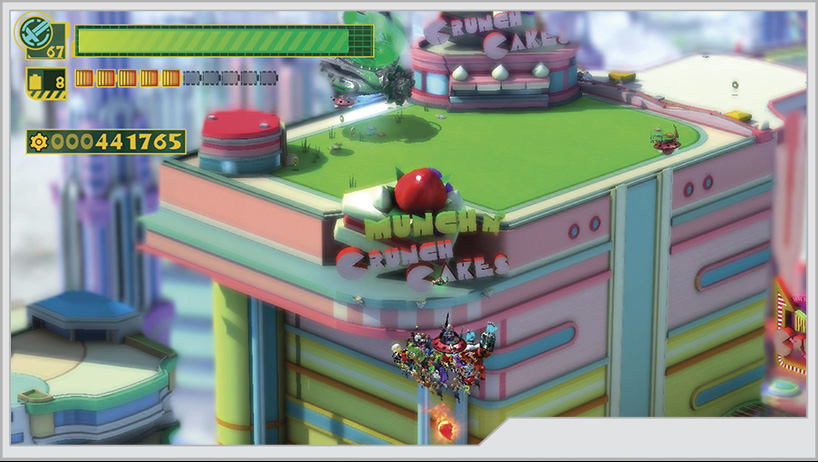
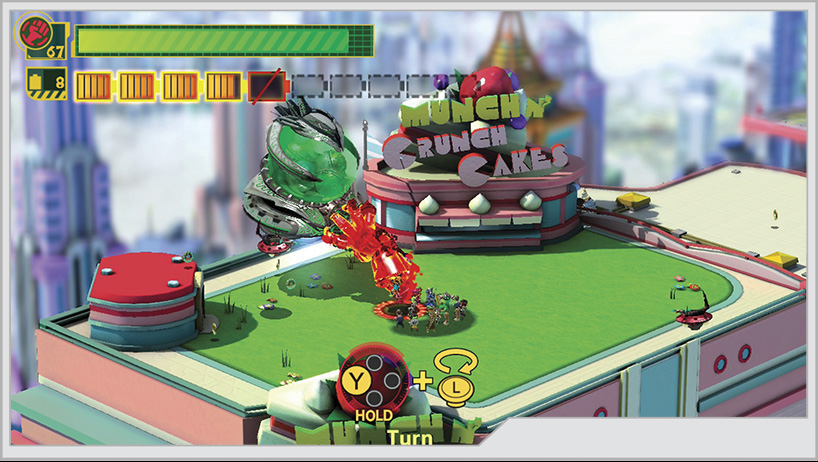
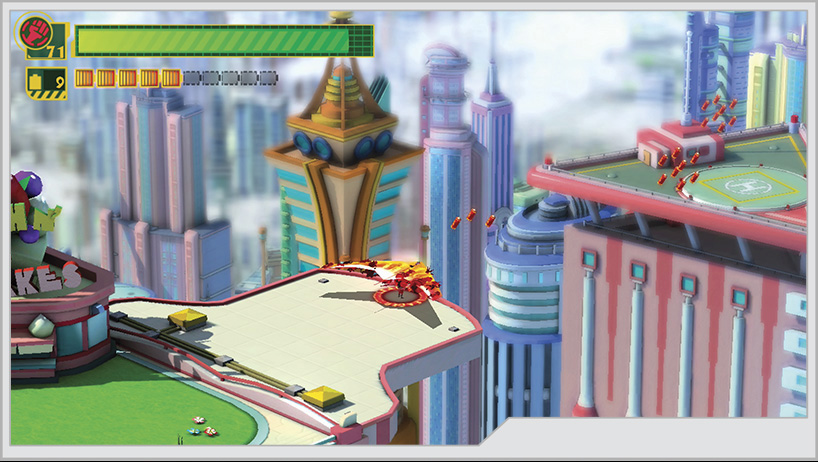
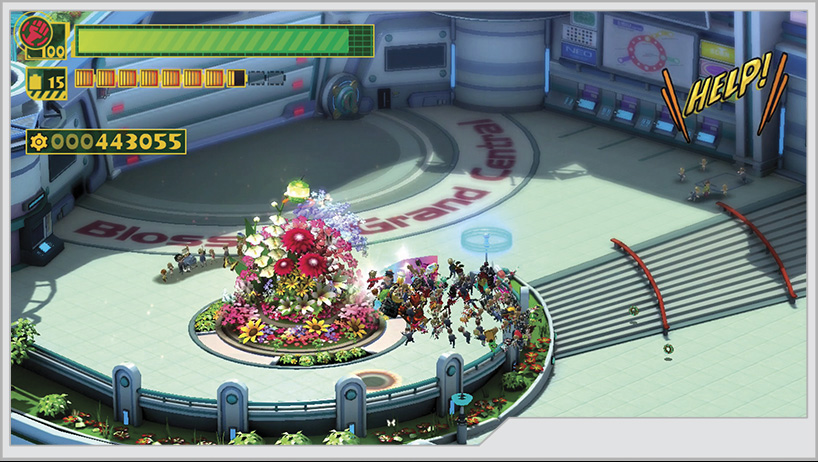
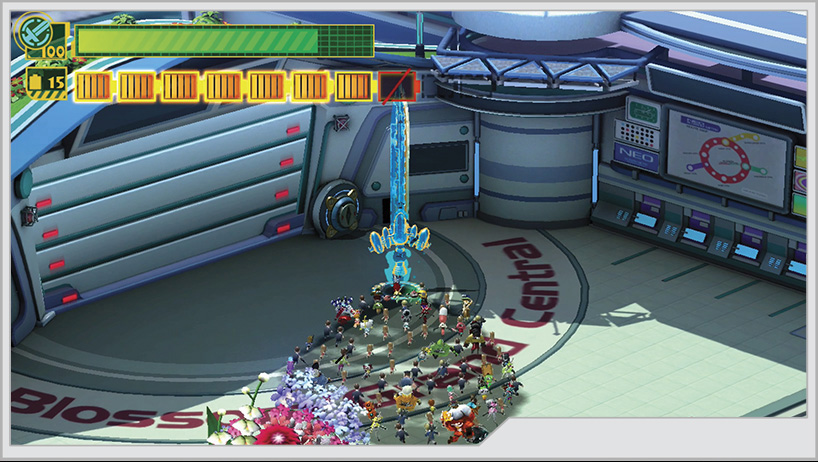
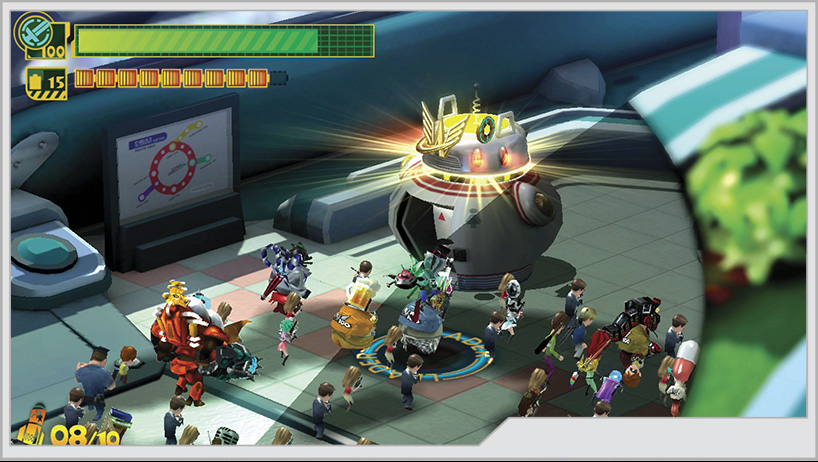
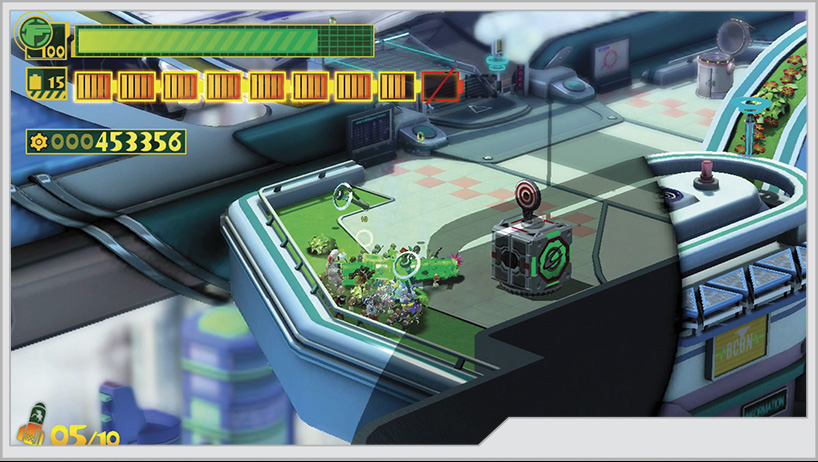
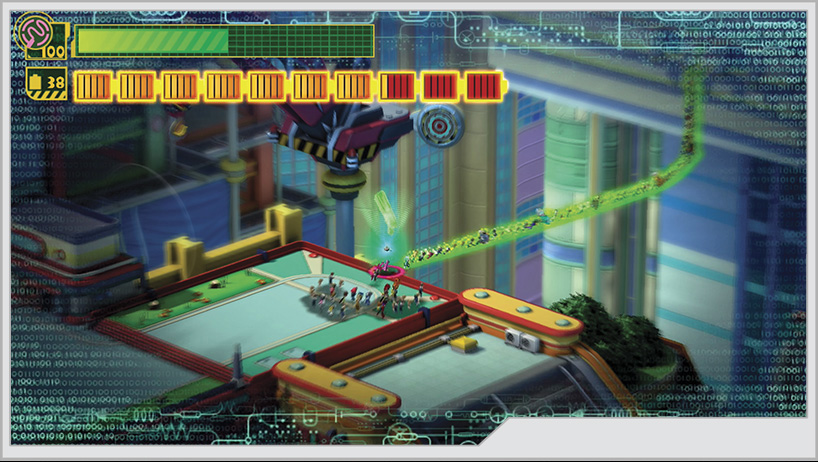
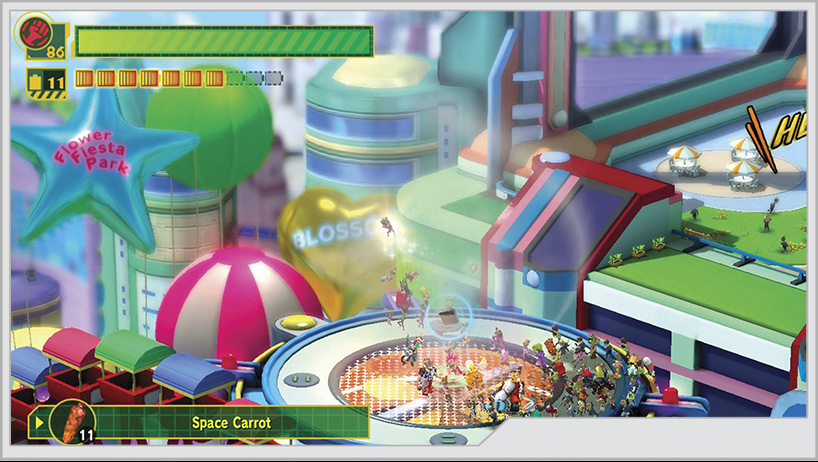
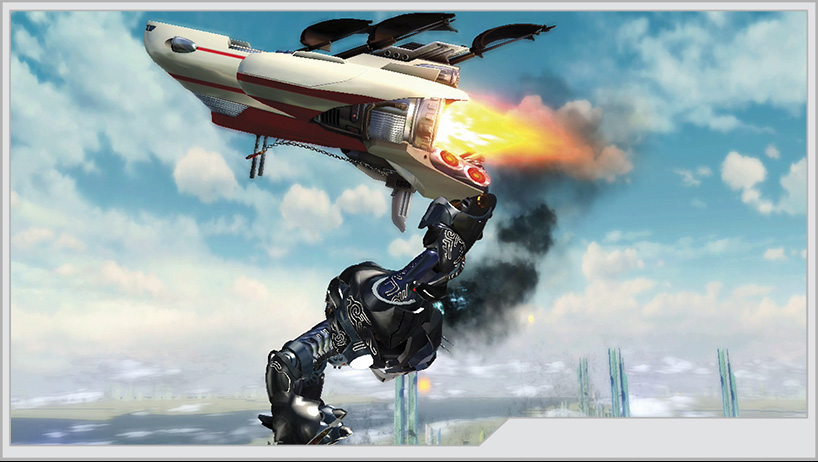
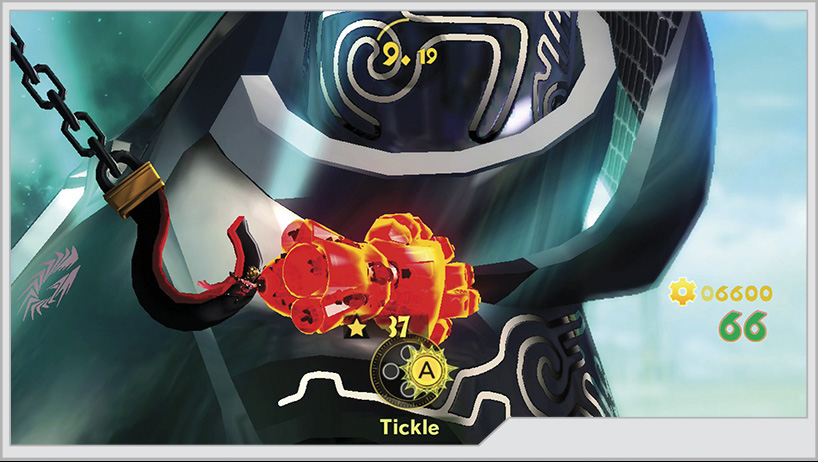
Laambo has been defeated, and nobody will miss his shenanigans. Unfortunately, the GEATHJERK forces that slipped into Earth’s atmosphere before the planetary defense shield Margarita was activated are still numerous and capable of ruining everyone’s day...which could be starting within the next few minutes. A parasitic intelligence extractor has landed on Blossom Tower, a key communications facility, and has possibly even bypassed the Virgin Victory’s defenses.
Operation 002-A
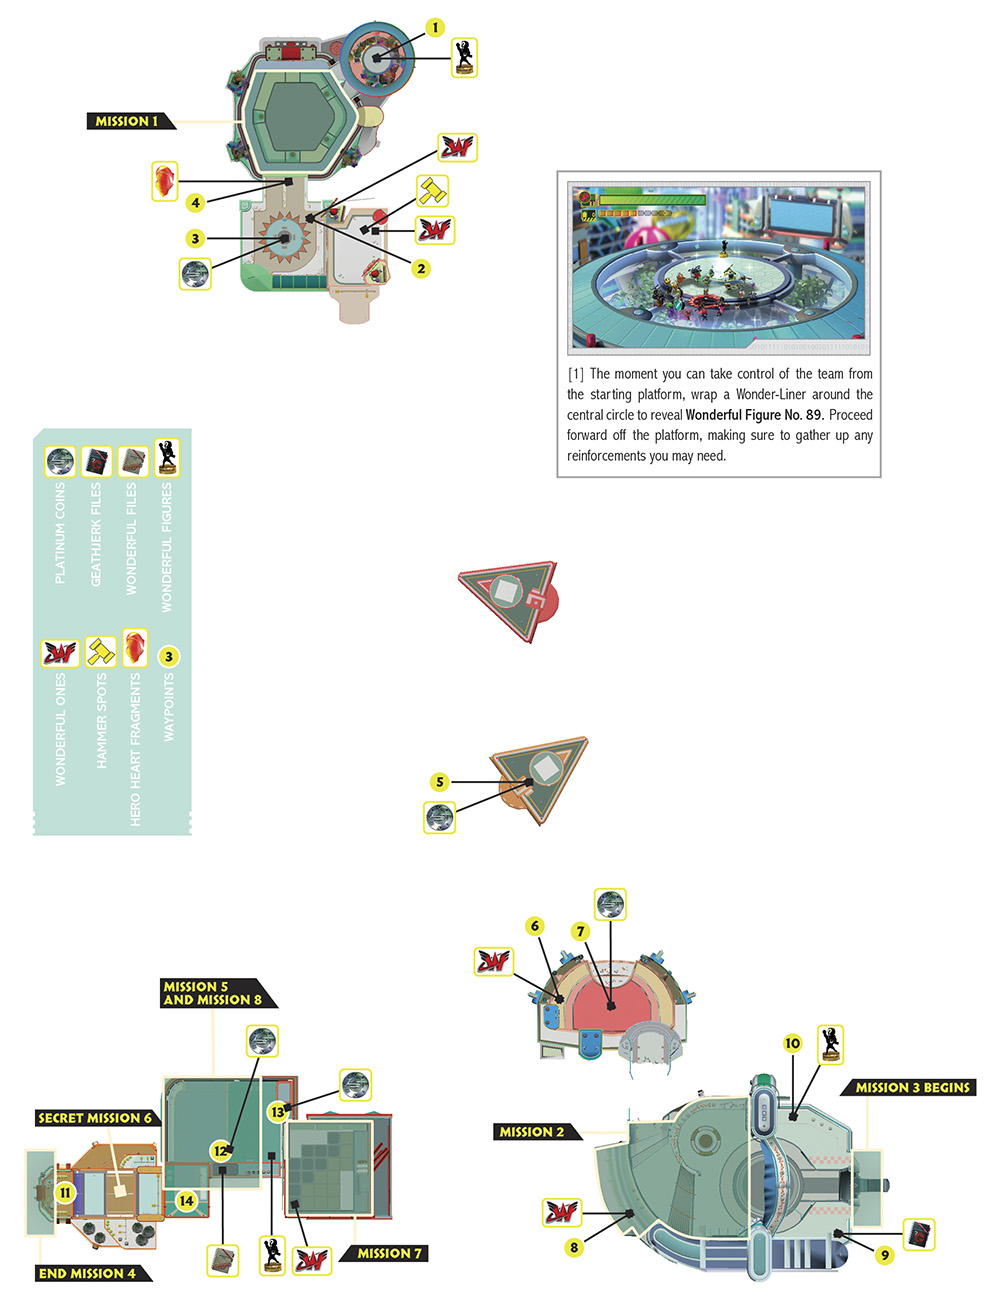
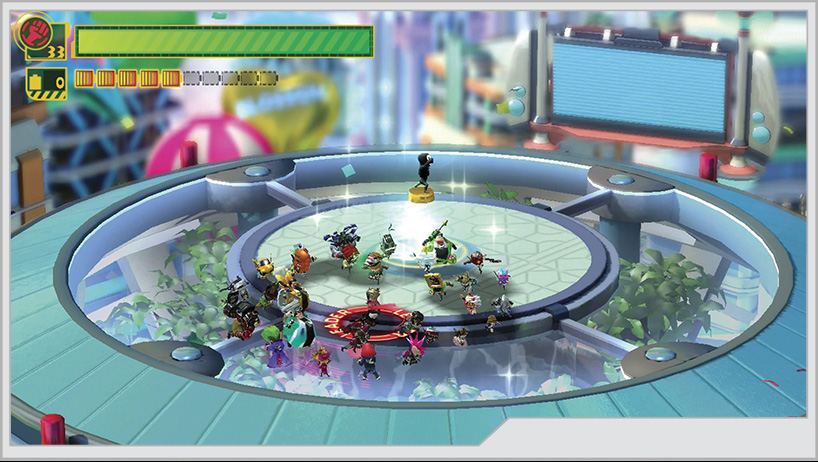
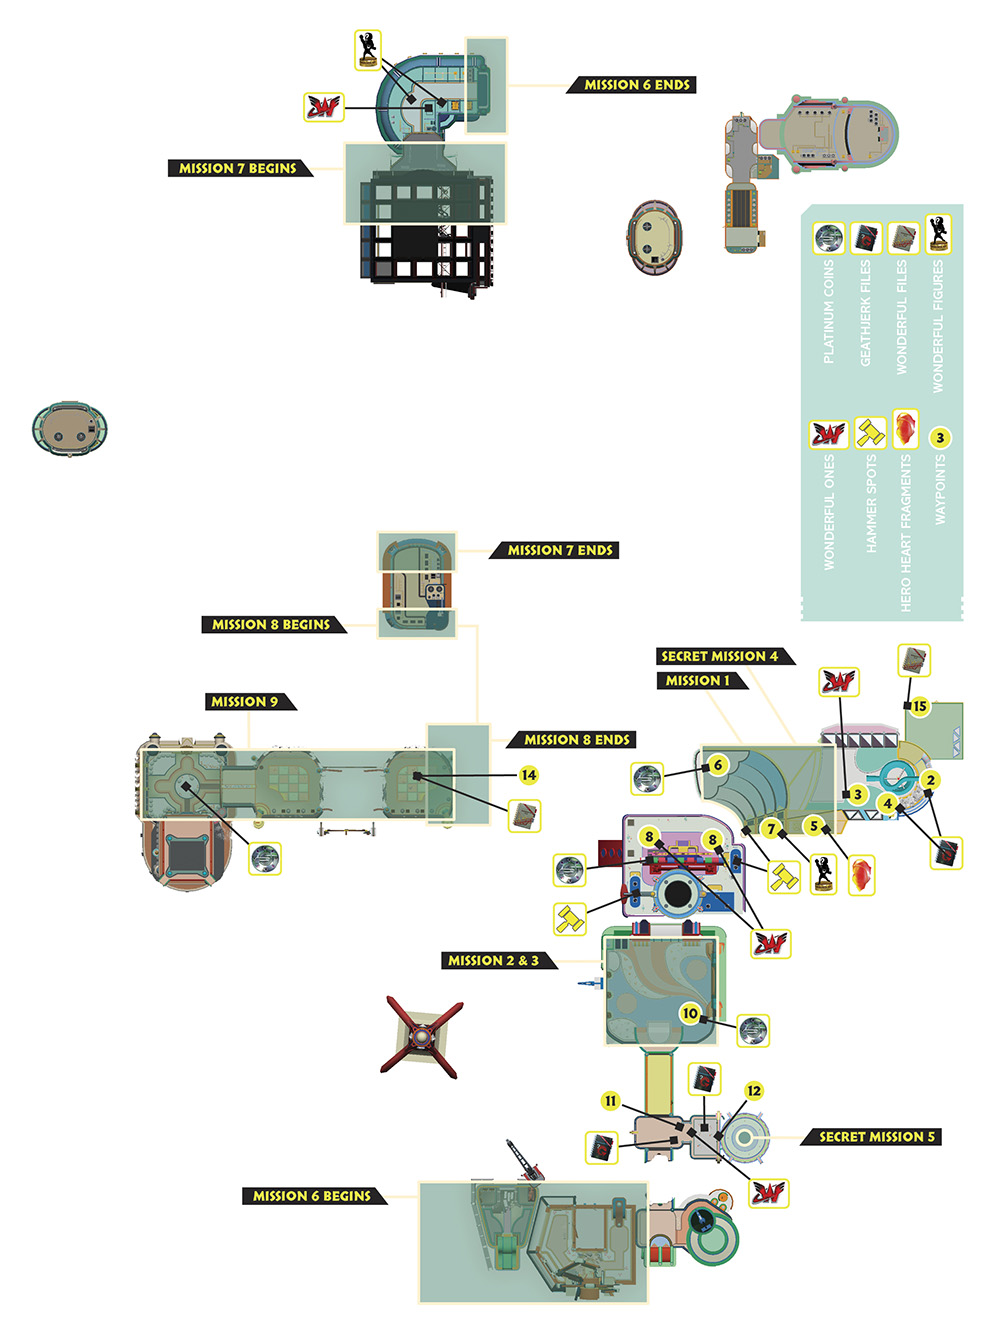
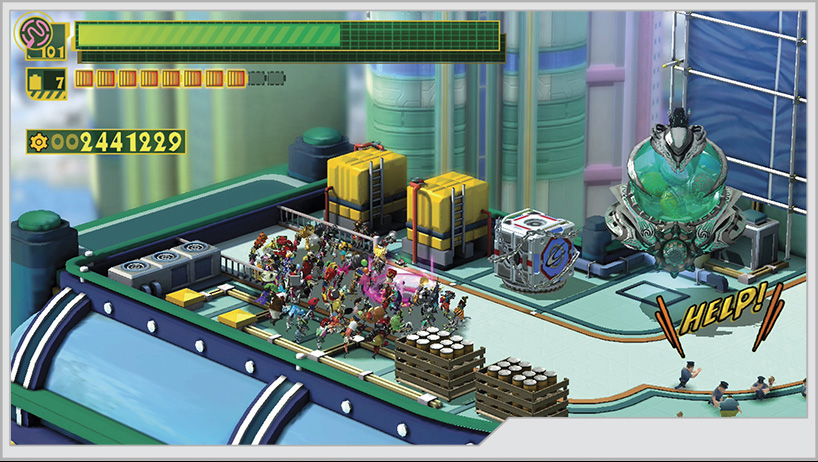
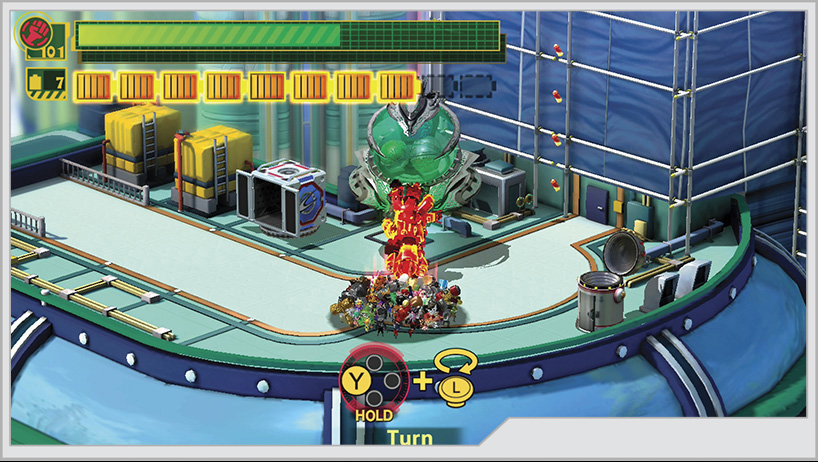
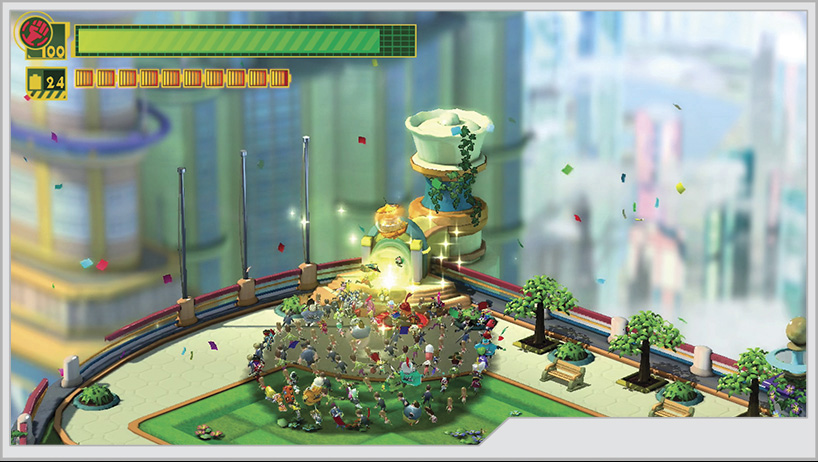
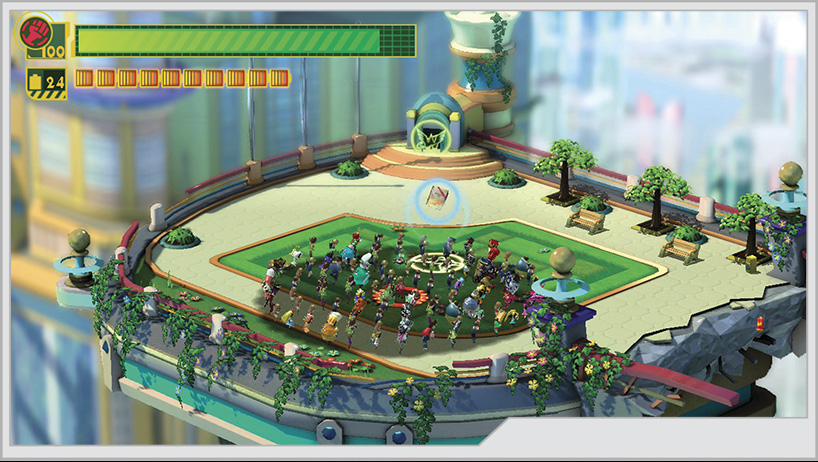
[1] The moment you can take control of the team from the starting platform, wrap a Wonder-Liner around the central circle to reveal Wonderful Figure No. 89. Proceed forward off the platform, making sure to gather up any reinforcements you may need.
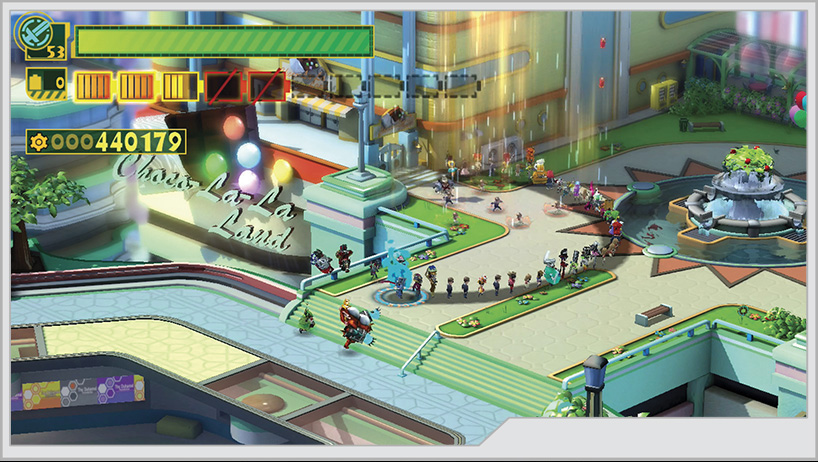
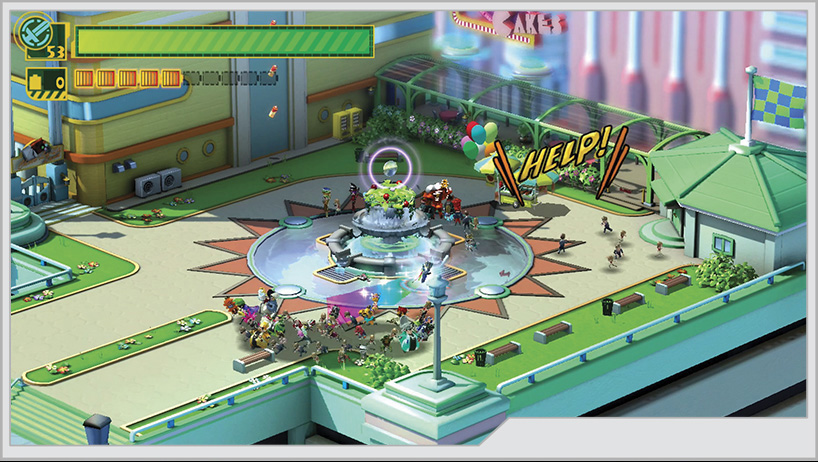
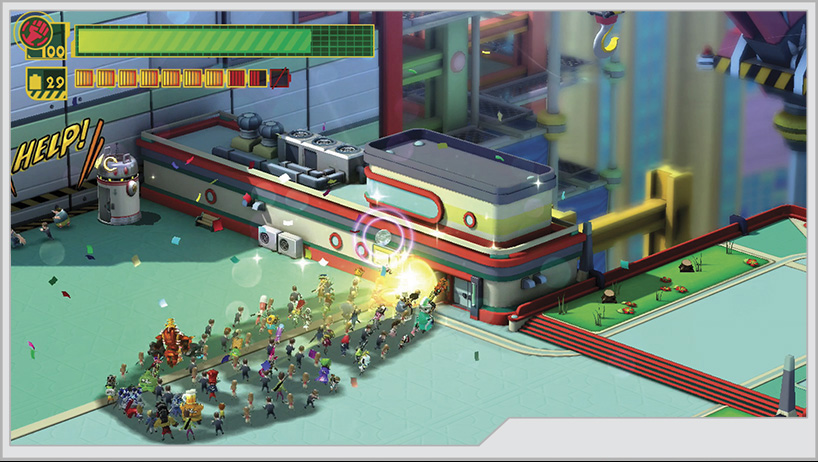
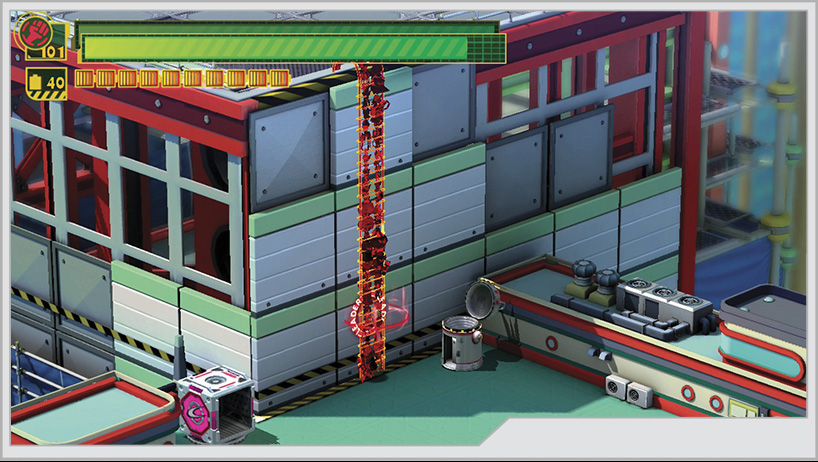
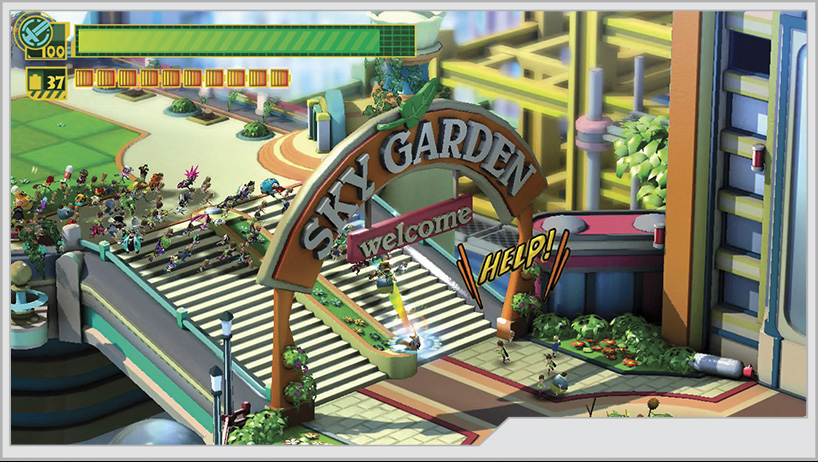
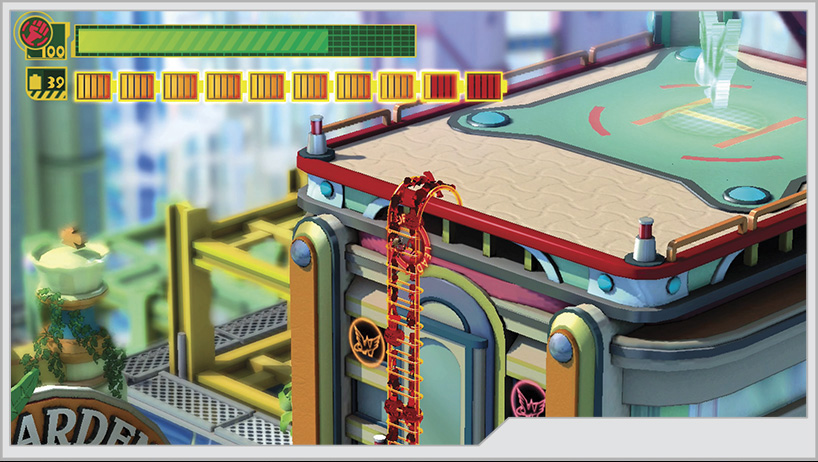
[2] After Mission 1 is in the can, you can proceed to the next part of the platform. On the left near a Wonderful Toilet is another member of the team, Wonder-Chef. [3] The fountain next to him can be circled by a Wonder-Liner for the first Platinum Coin. Climb up the building with Unite Chain, collecting batteries as you go.
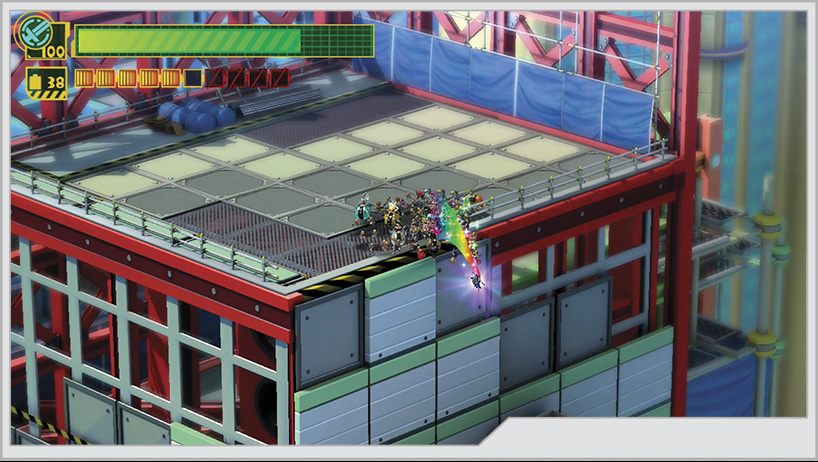
At the top of the building is a Gatcha, and as you approach it, a squad of Dough-Goo and You-Houghs appear in the area to try and stop you. It’s important to take one of the You-Houghs for yourself, as you can fly it off the lower left corner [4] of the rooftop to locate a Hero Heart Fragment. The Gatcha itself contains Wonder-Nurse to add to the team.
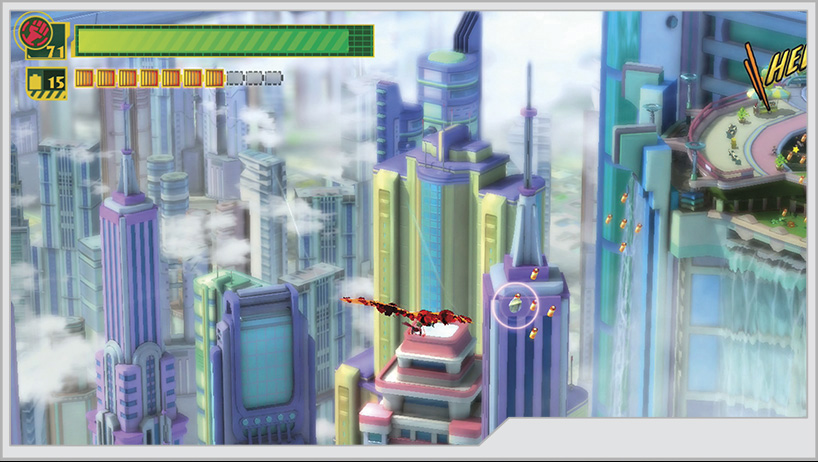
[5] Get to the ledge on the upper right of the rooftop, and create the Unite Glider. Do your best to follow the clusters of Wonderful Batteries, as they will take you through the second Platinum Coin.
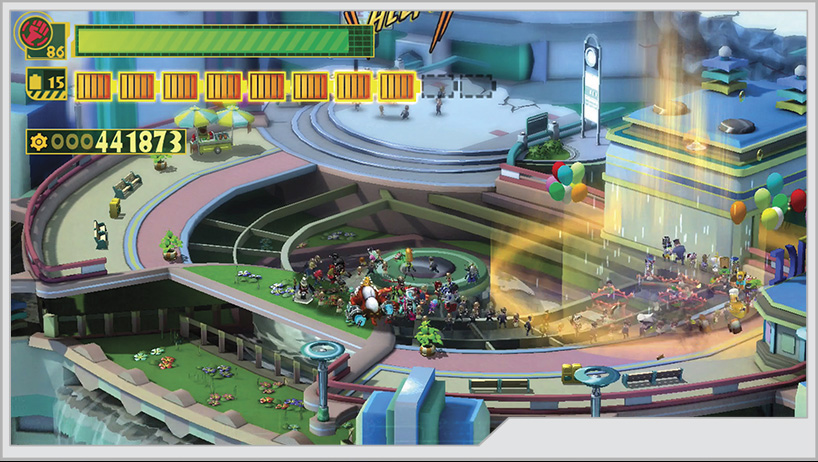
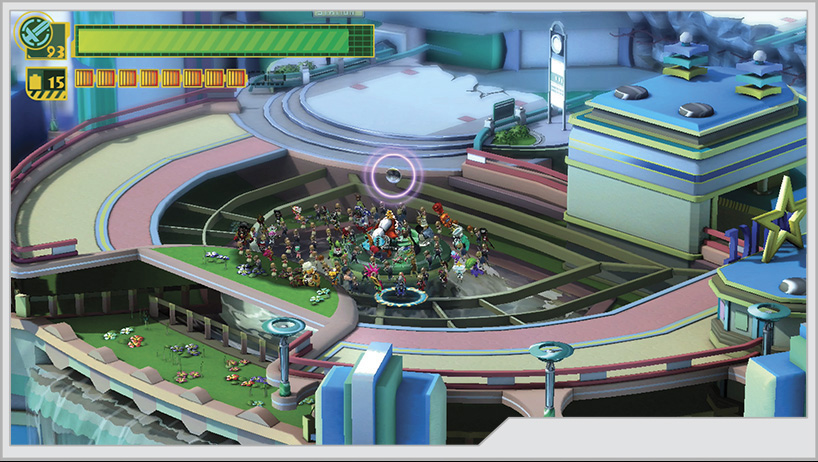
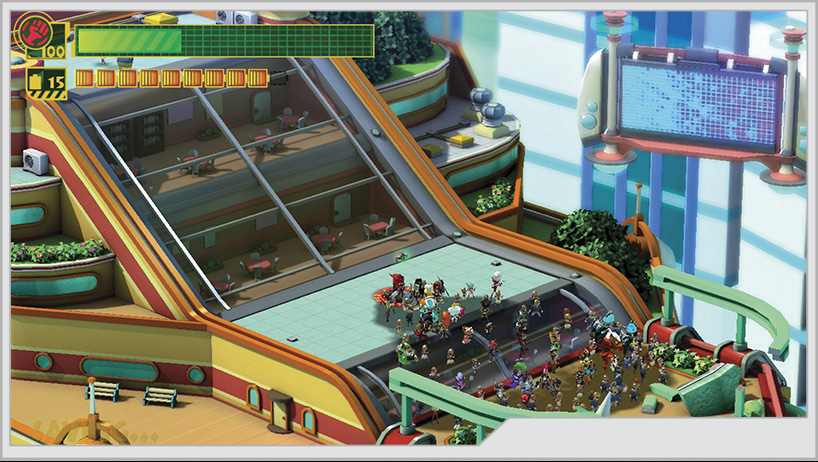
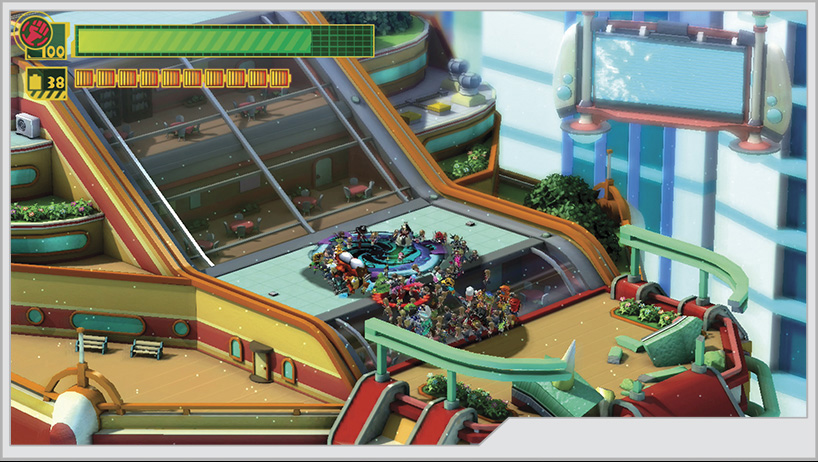
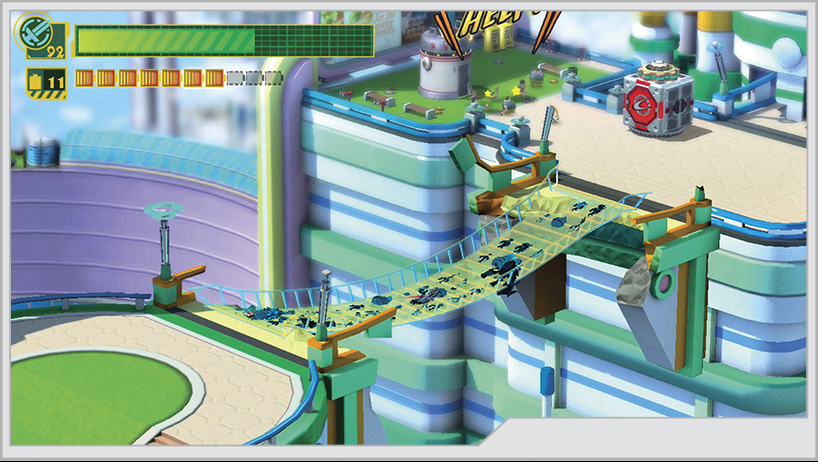
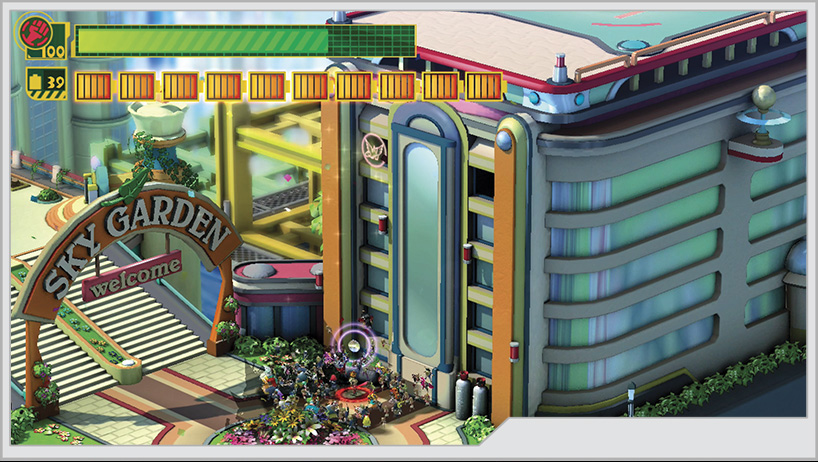
The building you eventually arrive at contains some collectibles for you. Among the first groups of citizens [6], you can find Wonder-Makeup hiding in the crowd. The third Platinum Coin can be found at the center of your initial landing site [7]; just trace the circle at the center of the glass with the Wonder-Liner. After you cross the broken bridge to the next building, you can find Wonder-Medicine being held prisoner within a Gatcha [8].
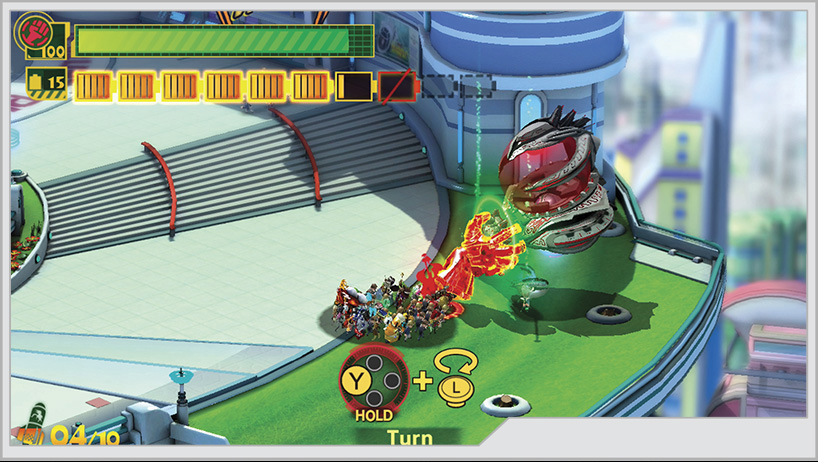
To continue onward, you must use Unite Sword on the gate lock. Don’t forget to revitalize the flower bed before going through the open gate, as it has a potent healing item. Also, remember to work toward the Mystic Wonderful Power Achievement.
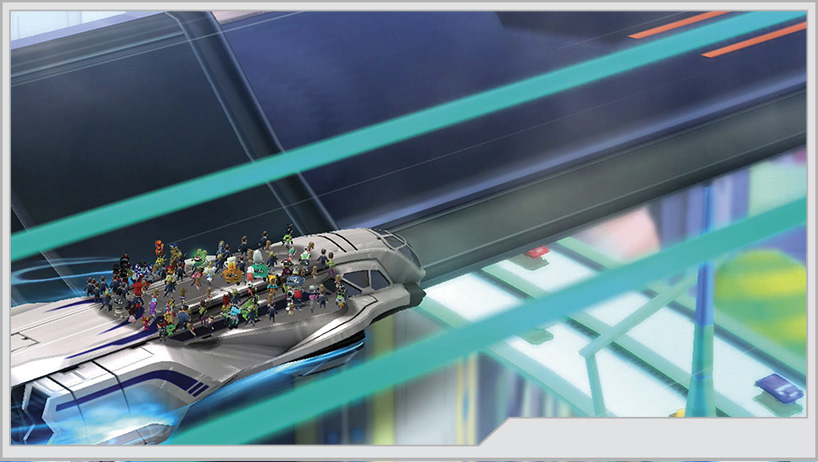
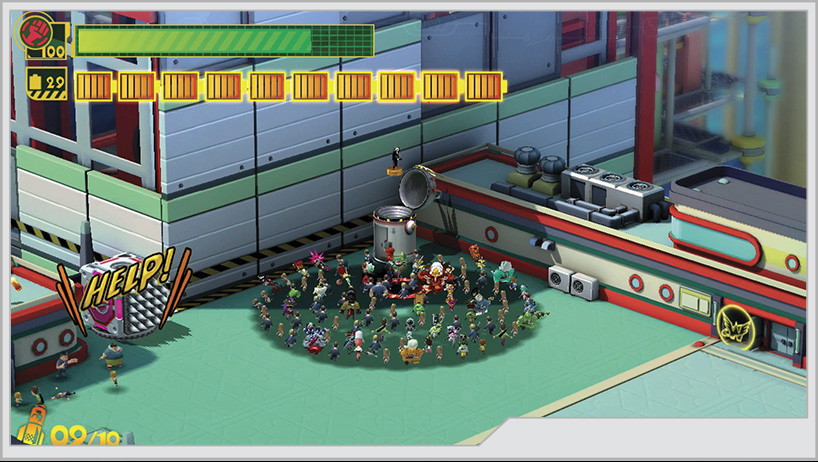
Once opened, the door reveals a large supply of Wonderful Batteries. On the other side of the gate is a Wonderful Toilet [9], containing GEATHJERK File no. 10. Don’t miss the green supply box across the way from the Wonderful Toilet [10], as it holds Wonderful Figure no. 70. With the area cleared of the essentials, climb aboard the Maglev, and get ready for a wild ride and a wilder showdown.
[11] After surviving the Maglev ride and Vorkken’s test, you arrive on another building rooftop. Move up the ramp to reach the higher areas, and another mission begins.
With Mission 5 out of the way, you’ve got some item collection to do. First is a Platinum Coin through a Wonder-Liner doorway in the building to the right of a Wonderful Toilet [12]. The Wonderful Toilet contains Figure No. 74: Wonder-Clock.
To the left of the Wonderful Toilet [13], near the edge of the rooftop, is a pink supply box that contains another Platinum Coin. You need the Unite Whip power to open this box; first-time players can get that power by climbing up the building to the right of the supply box. Next to the supply box is another small building that has a doorway you can send a Wonder-Liner into for additional healing items.
If you head back toward where you landed after the Vorkken battle in Mission 5, you will find a portal to Kahkoo-Regah.
After completing Secret Mission 6, climb the building that is between the Wonderful Toilet and the pink supply box back in the real world.
After Mission 7 is complete, drop off the roof to trigger the last mission of Operation 002-A.
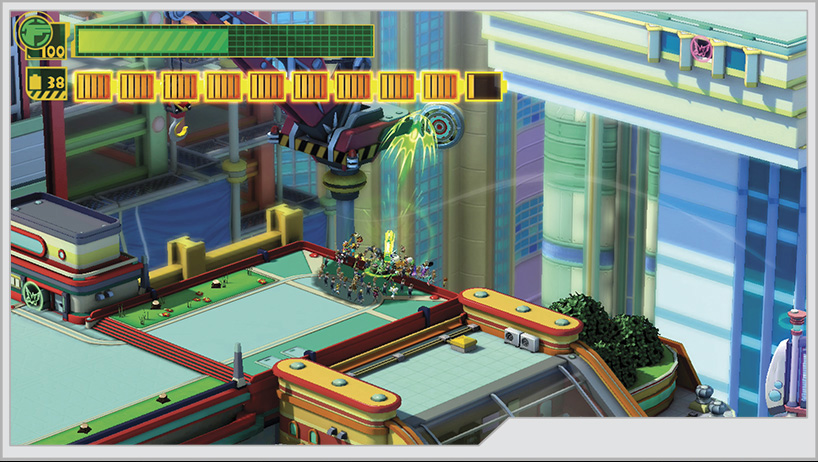
With Mission 8 out of the way, you need to head to the Wonderful Mart to complete this part of the operation. Stand on the roof of the building where you recovered a Platinum Coin [12], and use Unite Gun to shoot the target on the nearby construction crane. However, don’t use Unite Whip to cross the chasm just yet!
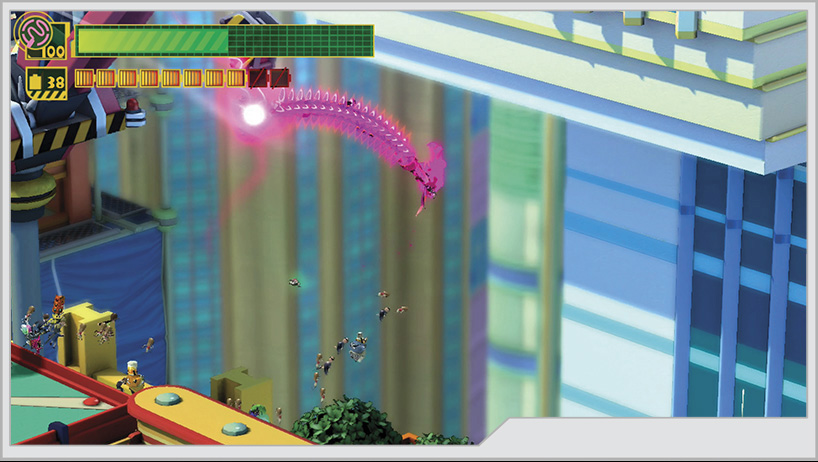
[13] Send a Wonder-Liner across the gap into an open window on the building across the gap to retrieve Wonderful File No. 5. Now you can use Unite Whip on the crane to cross the gap and complete the level.
Operation 002-B
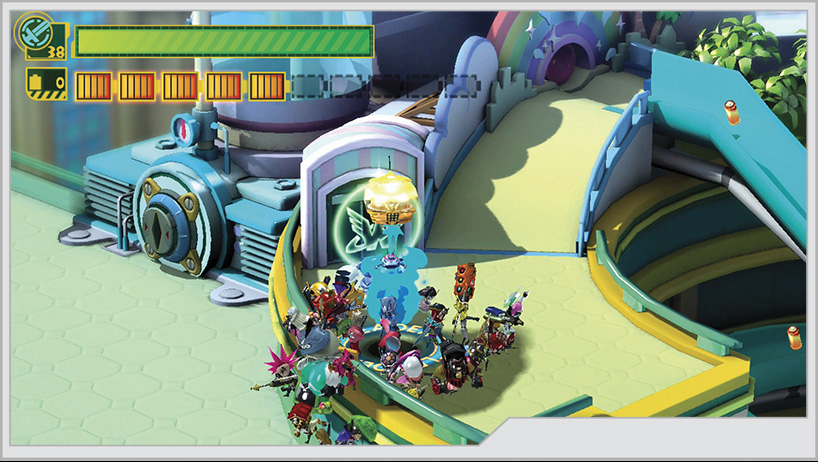
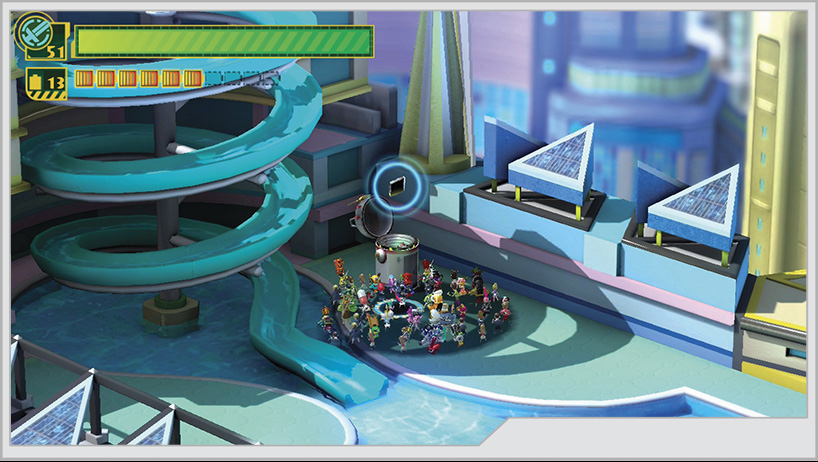
[1] [2] The level opens with your team in front of a water slide that you can activate by using Unite Sword on a specialized switch near the start point. However, ignore that at first, and send a Wonder-Liner into the pictured locations to uncover a food item and GEATHJERK File no. 8. You can’t get the latter item if you activate the water slide first.
[3] To the right of the slide exit is a group of civilians; among them is Wonder-Ribbon, waiting to join the team. [4] A nearby Wonderful Toilet also contains GEATHJERK File no. 7.
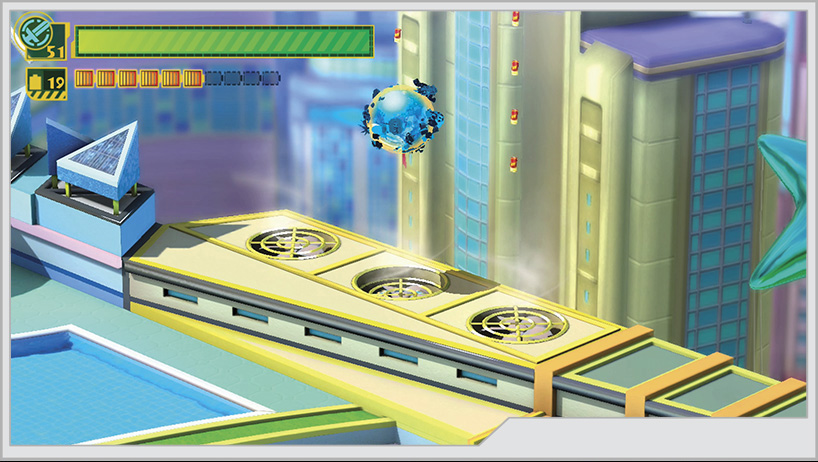
[5] Close to Wonder-Ribbon’s location are three air vents with Wonderful Batteries hovering above them. If you turn into a large enough Unite Ball and roll onto the middle vent, you’ll be launched up to receive a Hero Heart Fragment. You can also earn the Skyrocket! Achievement.
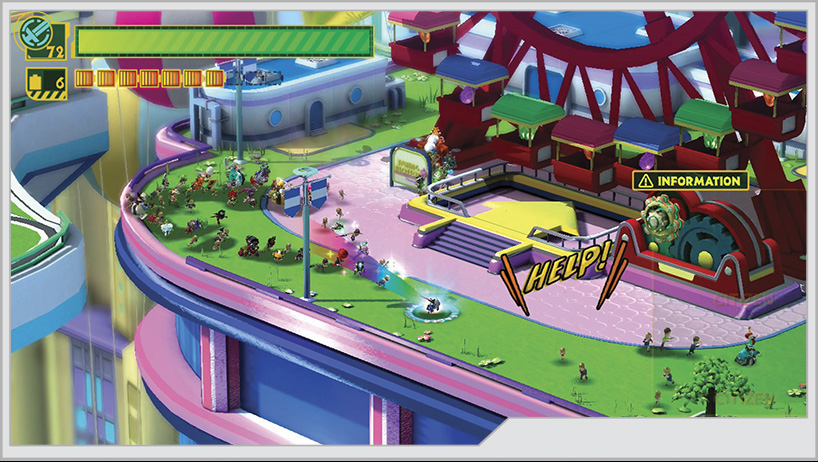
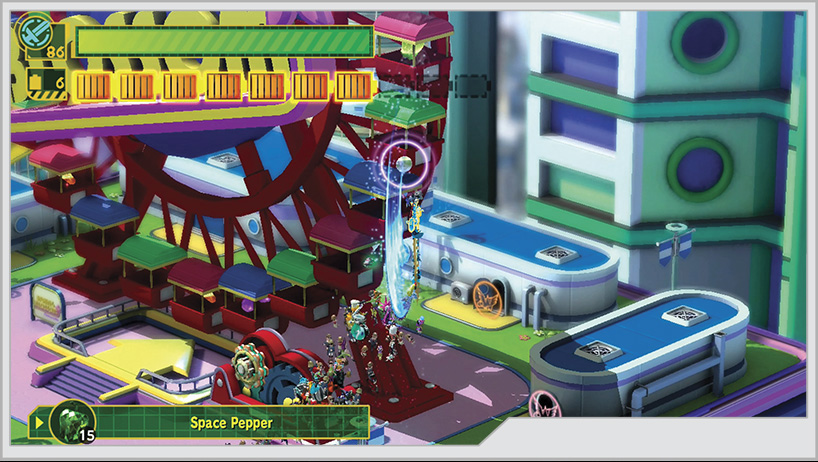
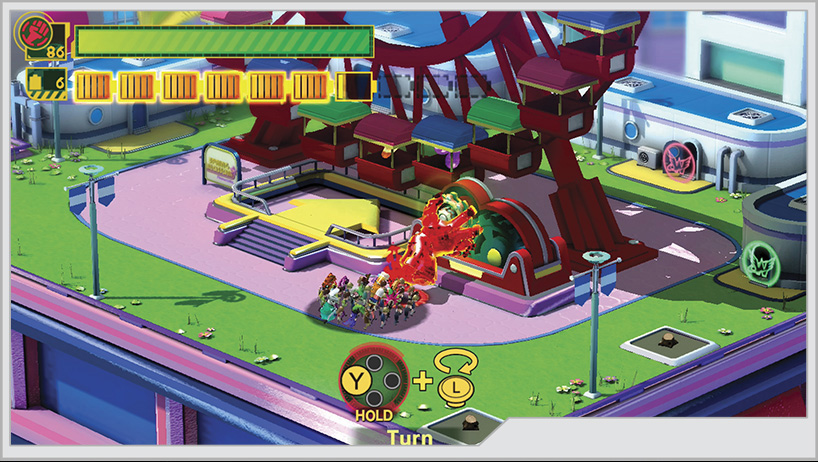
[8] Two more Wonderful Ones, Wonder-Pierrot and Wonder-Wonderland, are among the civilians gathered around the Ferris wheel. You can also send a Wonder-Liner into the doors of the small blue buildings around the Ferris wheel to recover some extra items.
The Ferris wheel also contains a Platinum Coin, which you can retrieve by riding in the Ferris wheel or by using Wonderful Rising with either Unite Sword or Unite Hand to get the height necessary to reach it.
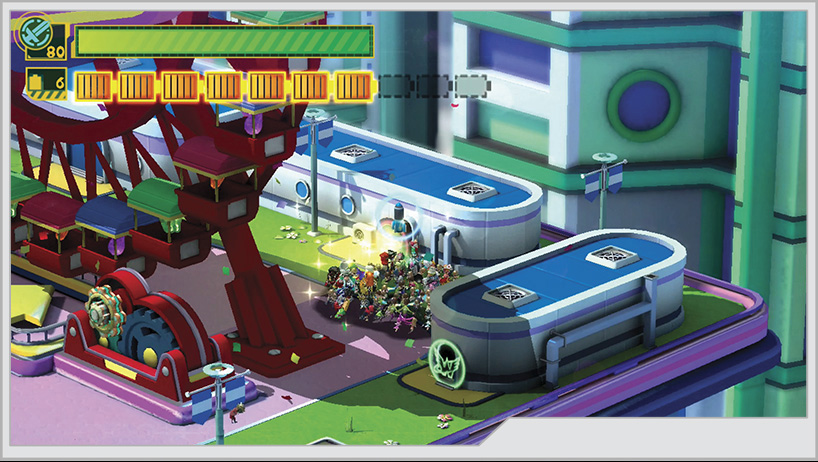
To ride the Ferris wheel, twist the valve at its base with Unite Hand, then climb aboard. You’ll reach a fan platform at the top of the ride [9], where you’ll automatically jump out. Wrap the fan grating with a Wonder-Liner to earn GEATHJERK File No. 5.
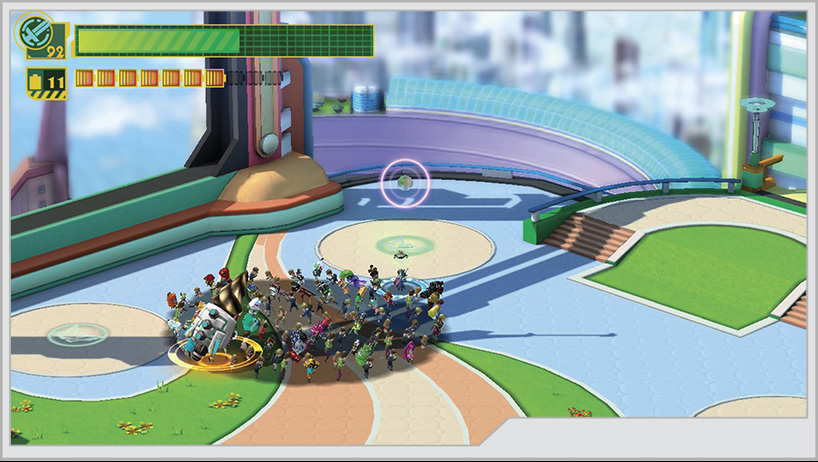
Just before Mission 2 begins, you can stand at the edge of the courtyard and send a Wonder-Liner around three tan circles on the ground. [10] One of these contains a Platinum Coin.
After finishing off the Nyerk, return to the site of Mission 1 for Secret Mission 4.
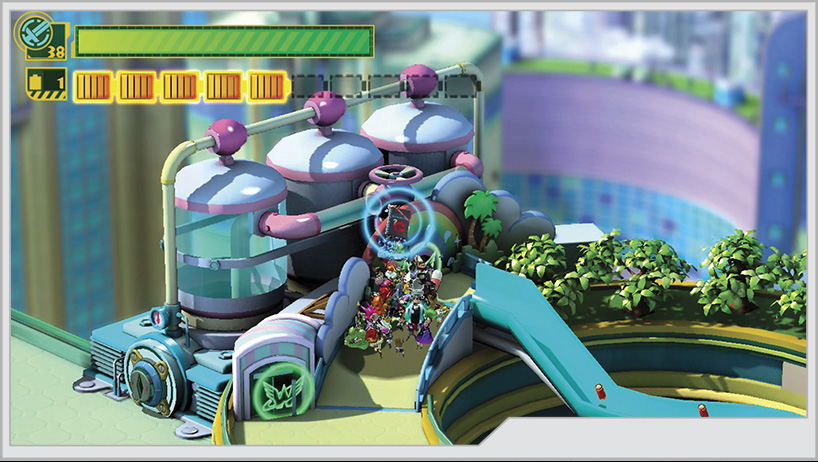
Head back up to the Mission 2 and 3 zones to cross the broken bridge. On the other roof [11], you can find a red supply box with GEATHJERK File no. 4; a Wonderful Toilet with GEATHJERK File no. 44; and, among the civilians there, Wonder-Cheerleader.
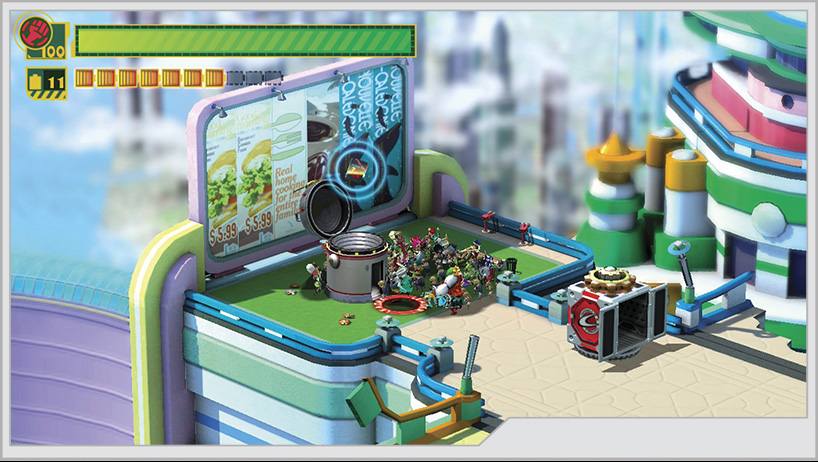
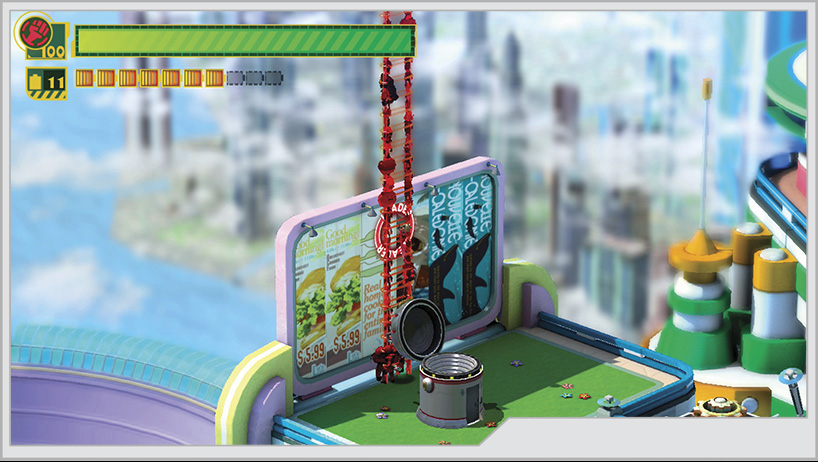
But that isn’t all there is. Using the sign behind the Wonderful Toilet [12], you can create a ladder that will take you to a hovering platform that contains a portal to Kahkoo-Regah. You need 100 heroes on your team in order to make this ladder though.
As you leave behind the rooftop with the Wonderful Toilet, an old friend decides to make an appearance.
[13] After surviving Mission 6, take the time to loot this new rooftop. The blue supply box contains Wonderful Figure No. 30, the Wonderful Toilet near it has Wonderful Figure No. 28, and the Gatcha is holding Wonder-Shopping prisoner. You can then Unite Build a ladder up the blue tarp marked by batteries to reach the next mission start.
The roof you’ve landed on is devoid of collectibles. However, the Cough-Foon has crashed nearby, and its access hatch is open. When you climb inside, the action shifts to the GamePad. Inside the ship’s command room, you will find a valve to twist with Unite Hand, bringing the Cough-Foon back to life and activating a set of controls in the middle of the room.
The building you land on [14] has a small patch of grass with a shape you can see shining along its edge. Trace it to reveal Wonderful File No. 6. North of this marking is a doorway you can Wonder-Liner into for a food item. Bridge the gap to the right over to the next rooftop.
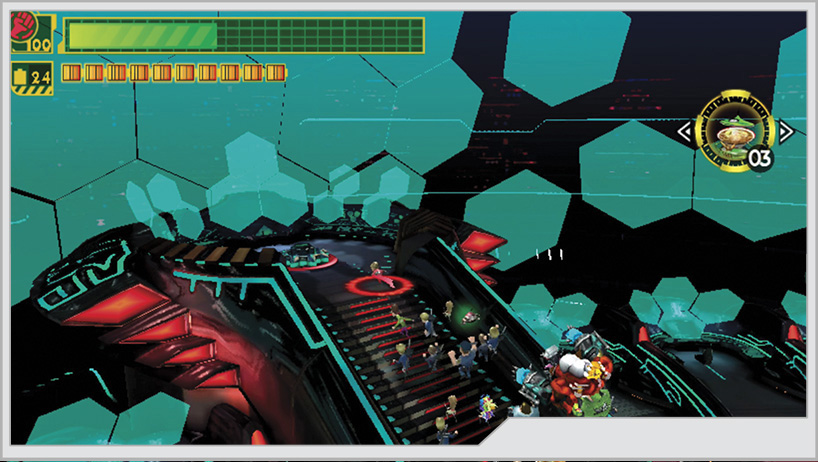
Keep moving down the stairs until more enemies teleport onto the rooftops.
This part of the operation is almost over, but before you scale the building near the flower bed, send a Wonder-Liner into the open window on the left of the building’s large glass panel to reveal the last Platinum Coin. The window opposite to it contains some food.
With everything looted, climb up to the final rooftop to recover at the waiting Wonderful Mart. The climax of Operation 002 is in sight!
Operation 002-C
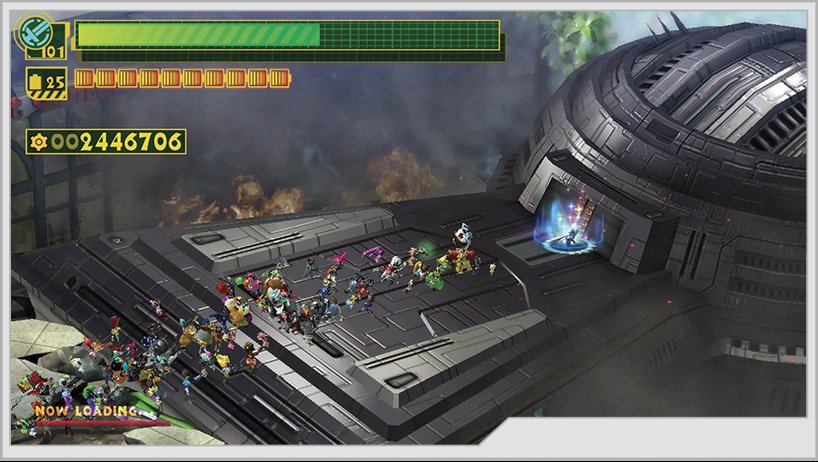
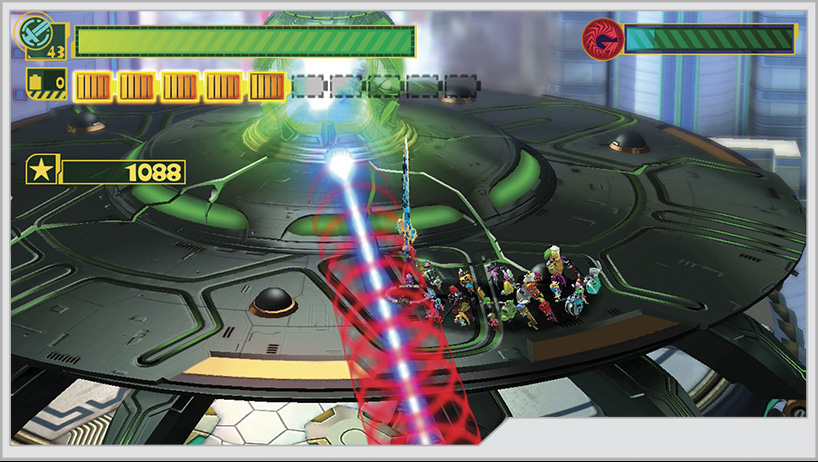
The team arrives at Blossom Tower, finding that the parasitic intelligence extractor is still hard at work. It can’t be allowed to escape, lest Earth’s defenses be left vulnerable to the wrath of GEATHJERK. The final battle of Operation 002 begins!
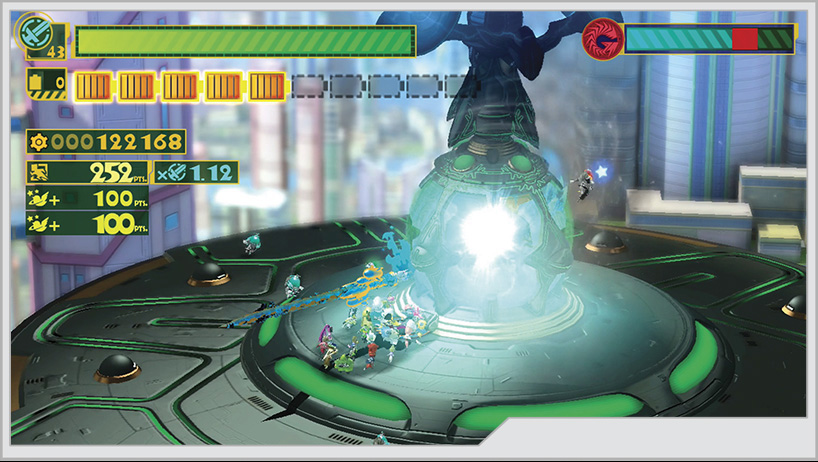
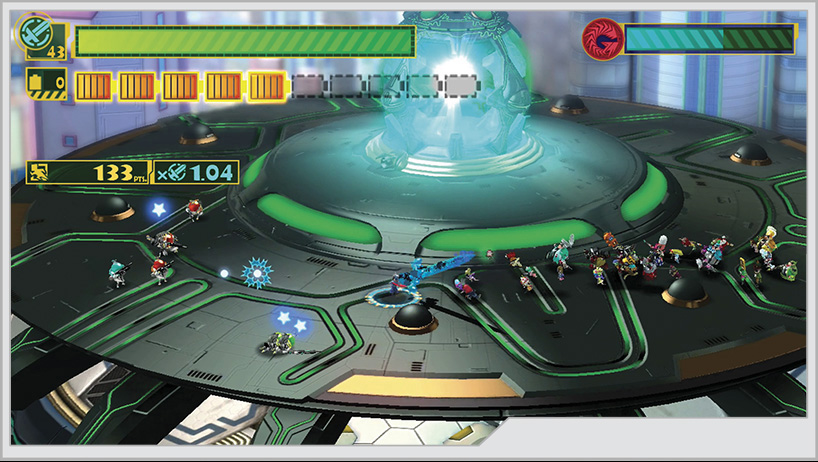
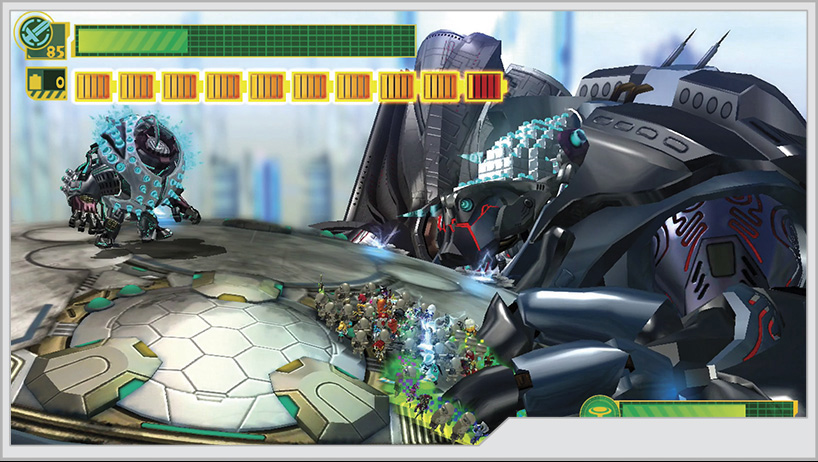
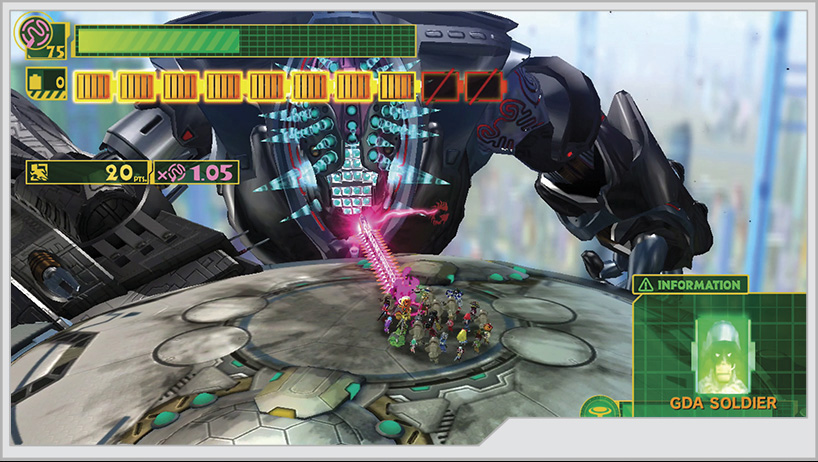
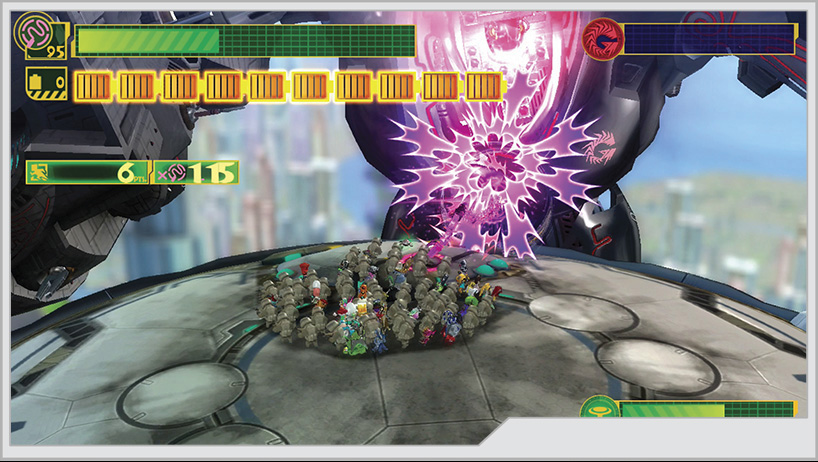
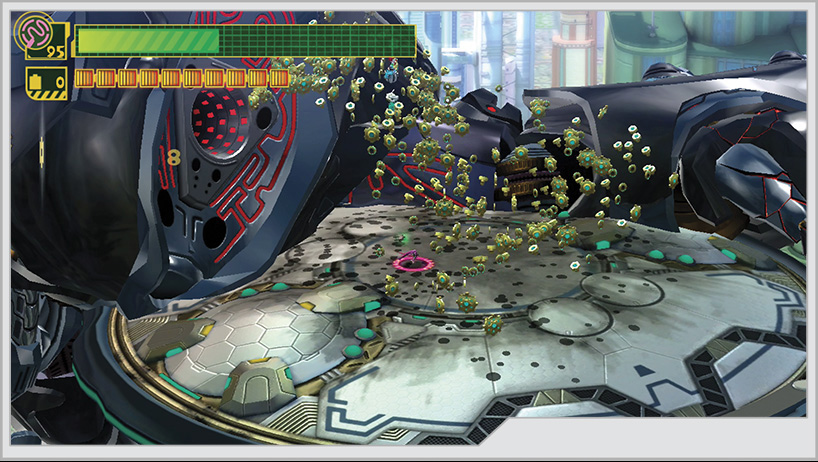
The Notoriyeah seems docile at first, relying on Dough-Goo to teleport to its defense as you strike the seemingly helpless central reactor. This perception will change the moment it deploys its anti-Unite field, which makes it impossible to use any Unite Morph. You must rely entirely on running and sprinting to avoid incoming attacks from the Dough-Goo. However, the field does eventually shut down, allowing you to tear into the reactor again.
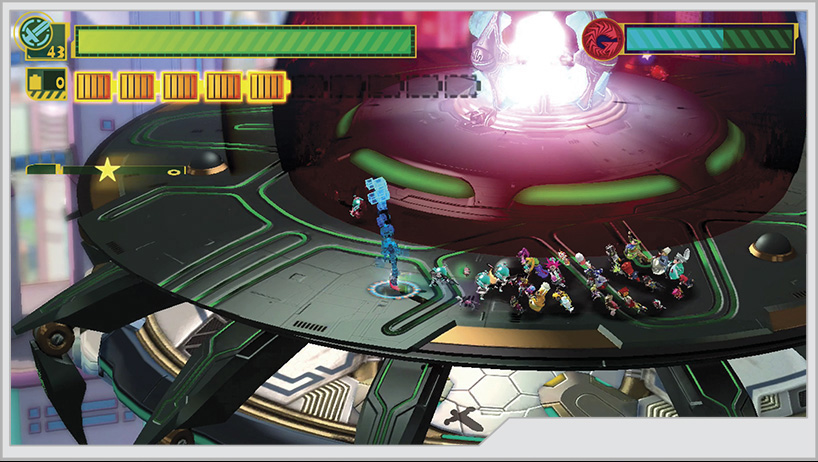
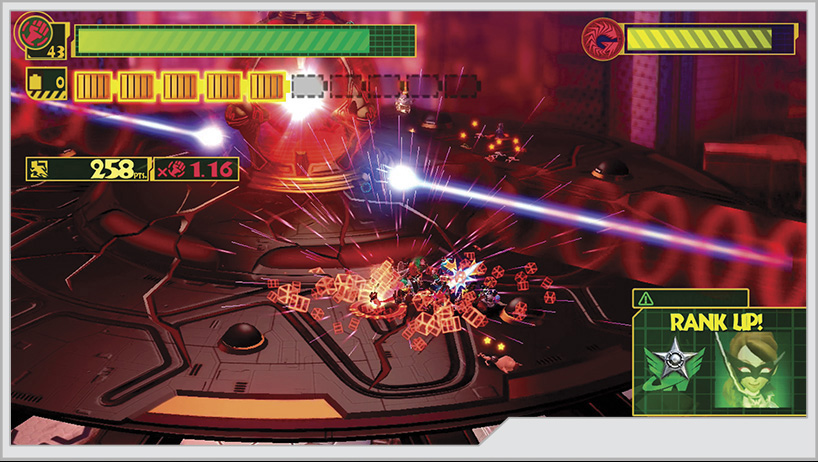
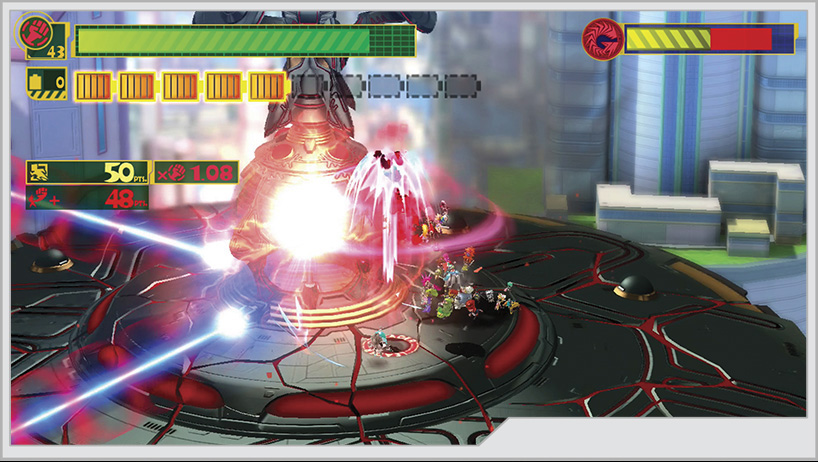
As you deal damage to the Notoriyeah, it will start firing lasers from its reactors, sweeping them across its surface continuously, forcing you to move around the area to avoid getting burned. You can Unite Spring over these lasers, but the timing can be deceptively tough. The lasers start off firing on opposite directions of each other, essentially dividing the arena in half, and the rotation speeds up the more damage you cause. The anti-Unite field (AUF) is deployed constantly throughout the fight to further complicate things.
As you get closer to destroying the Notoriyeah, the beams begin to travel in opposite directions in addition to moving even faster, and the AUF will be deployed more often. You have to make your chances at striking the reactor count for more. Unite Sword and Unite Hand can deal heavy damage while you stay in the air, letting the lasers pass underneath you.
On higher difficulties, you will inevitably be capable of hitting much harder than someone just starting the game, as you’ll be able to call on larger groups of heroes from the start to form larger Unite Morphs. You also have other nice tricks potentially at your disposal, such as the Hero Sense, Hero Time, and Dodge Mine custom blocks. The fight against the Notoriyeah plays out the same regardless of your difficulty settings, but it will definitely be faster on repeated playthroughs, when you have better skills.
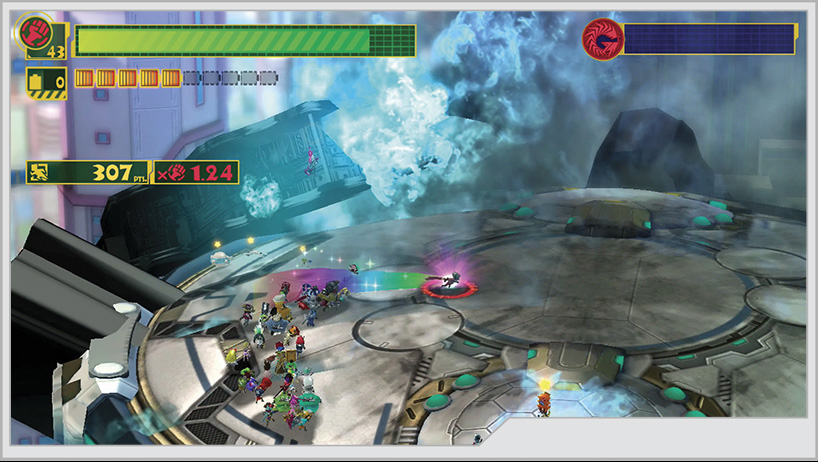
Shortly after you turn the Notoriyeah to scrap, an old friend stops by. In response, Wonder-Red orders the team to engage Unlimited Form. The fight’s on!
Phase Two
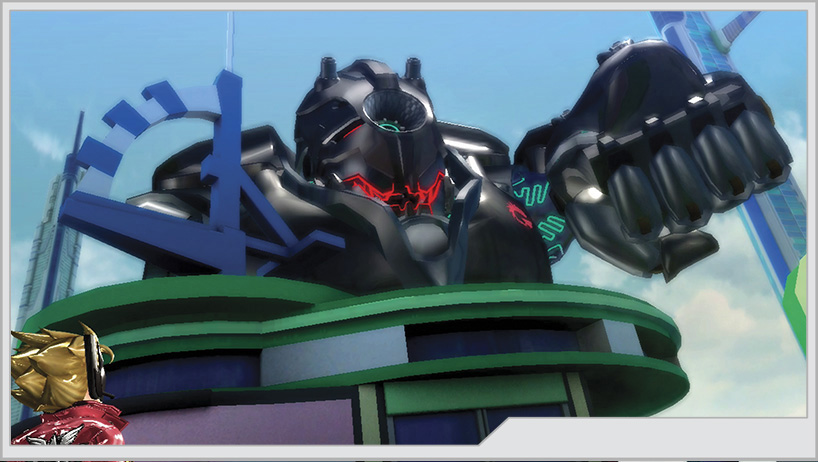
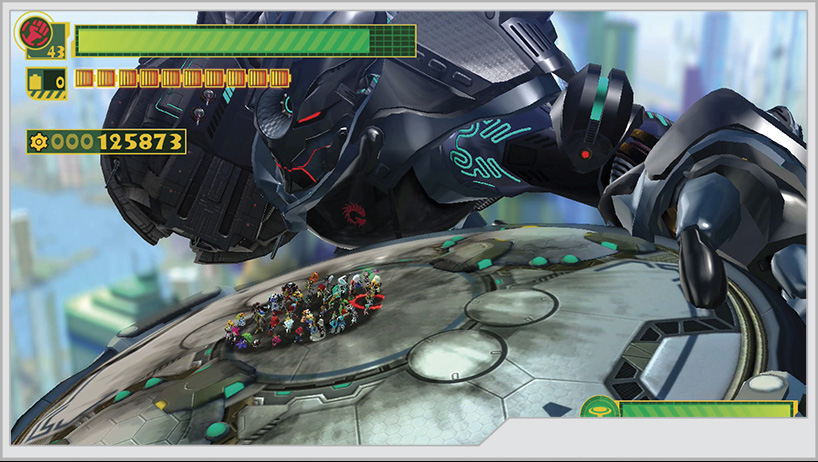
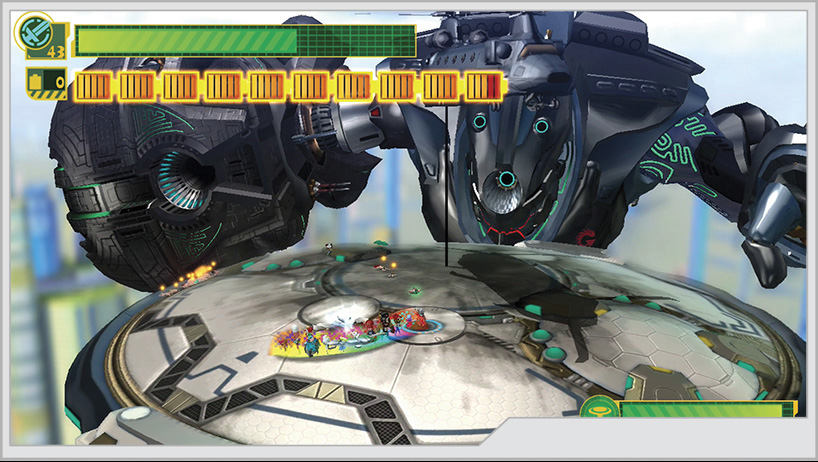
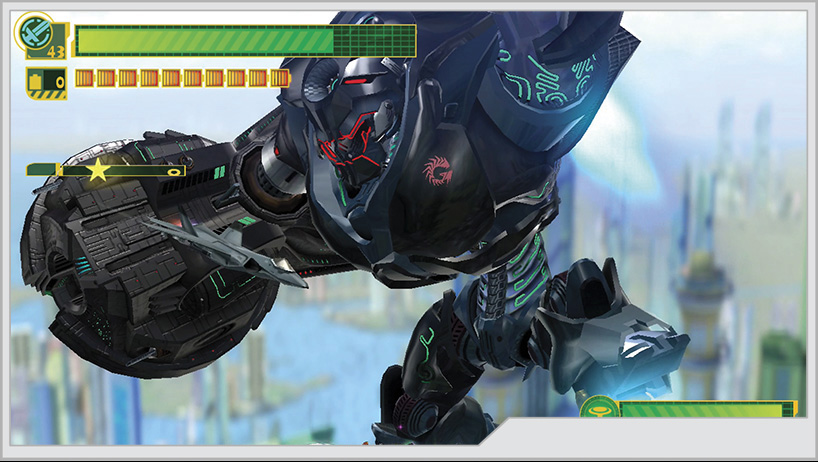
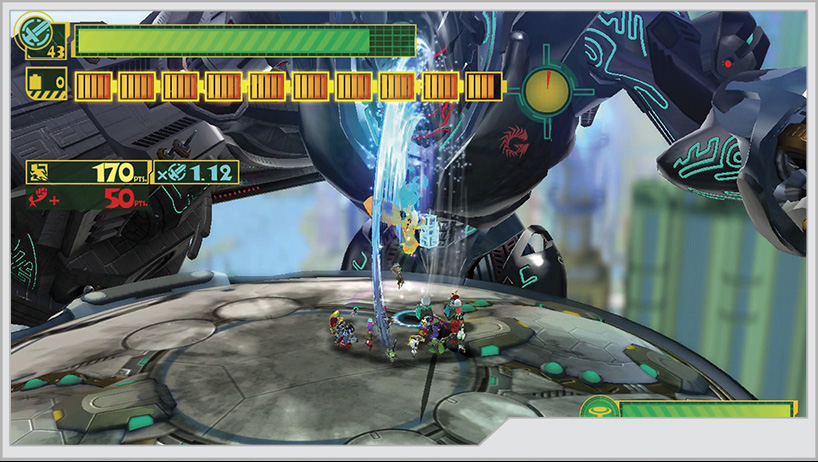
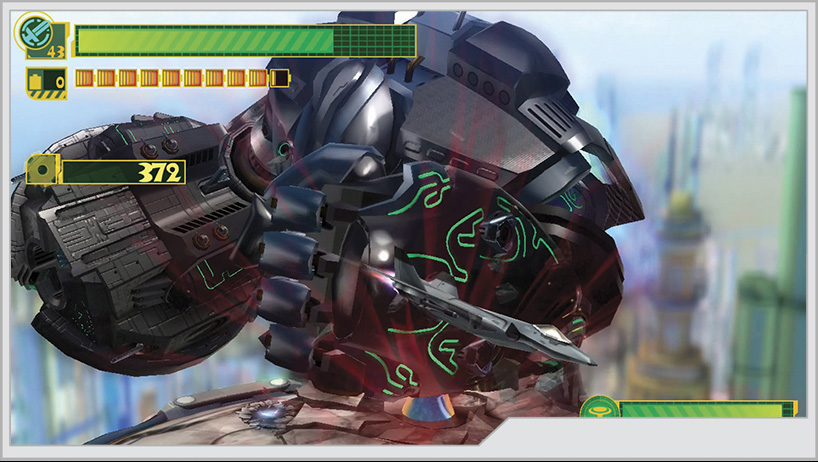
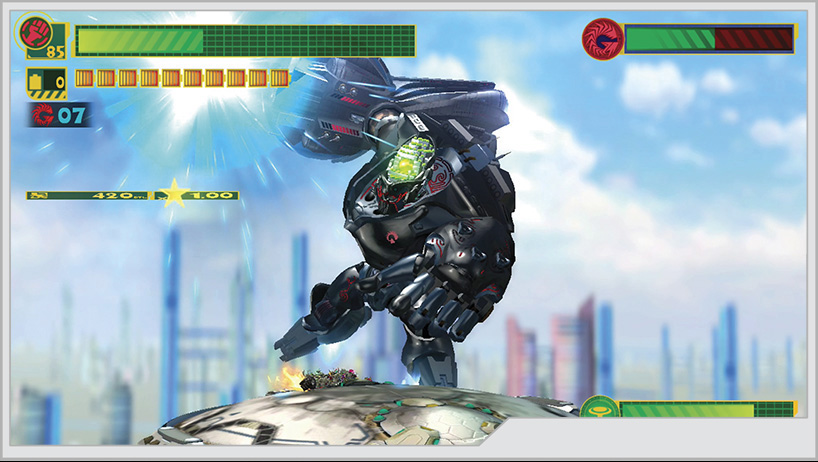
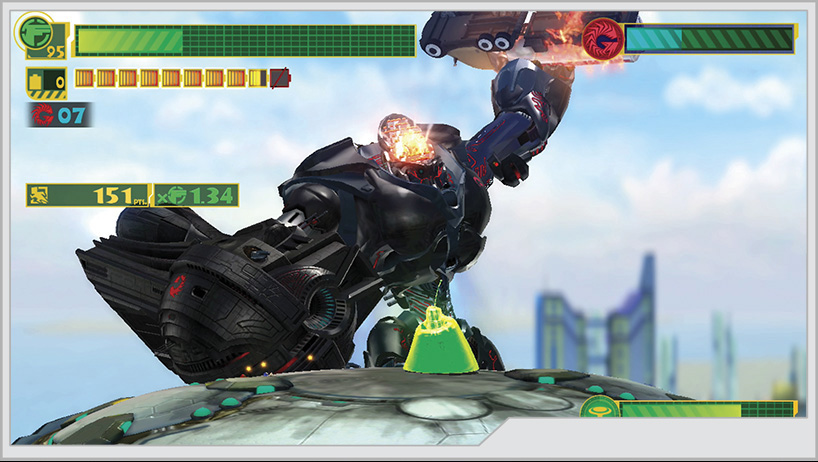
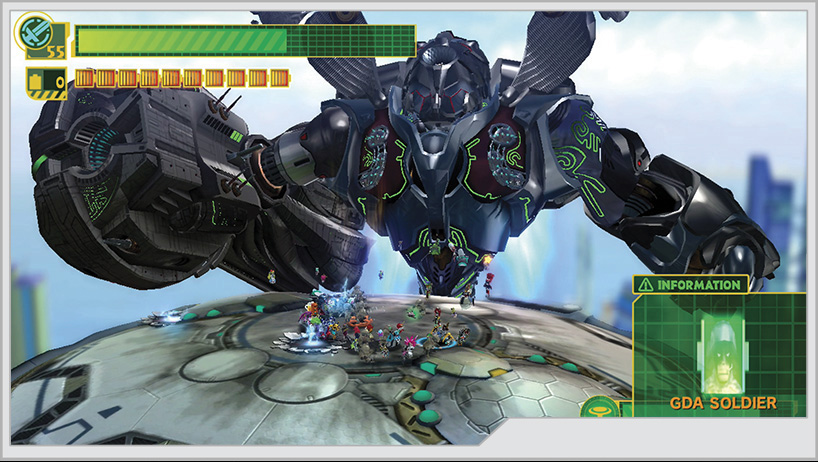
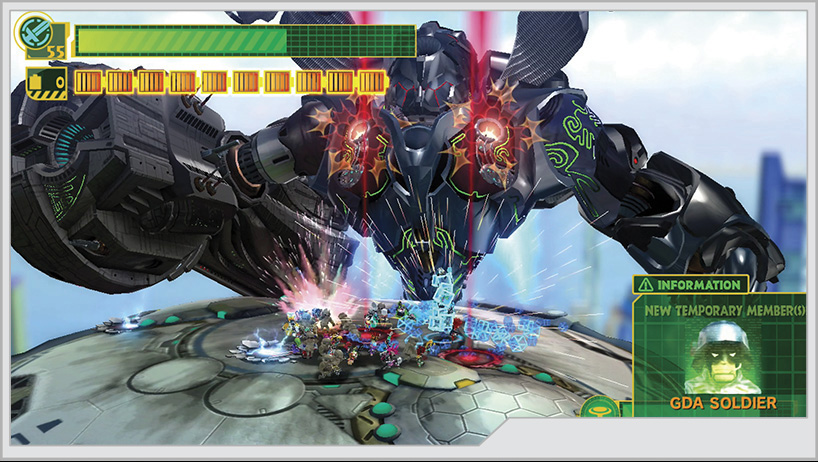
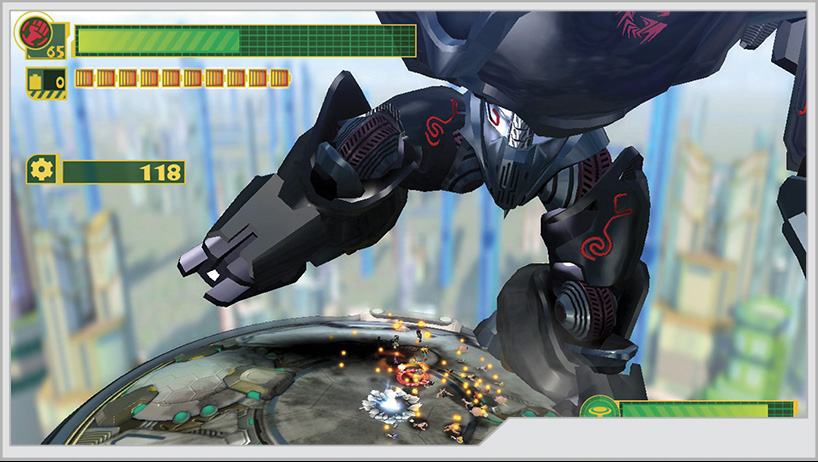
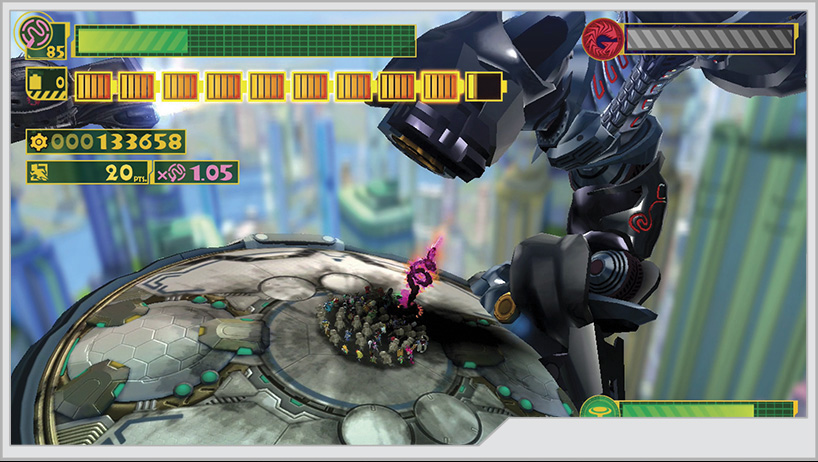
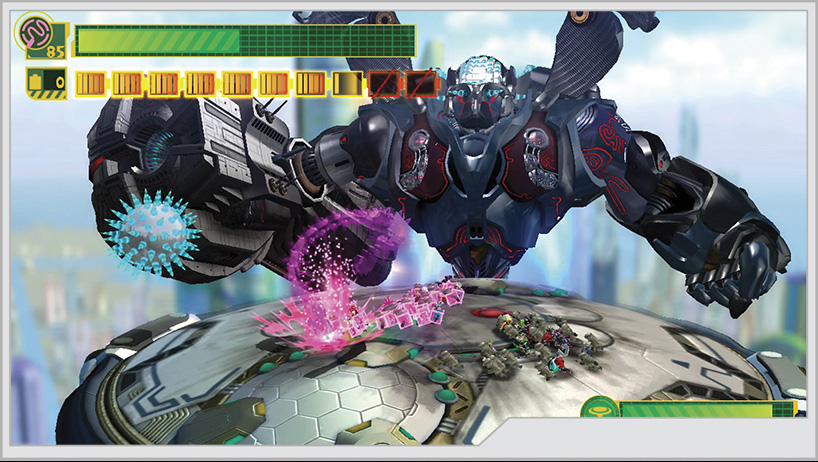
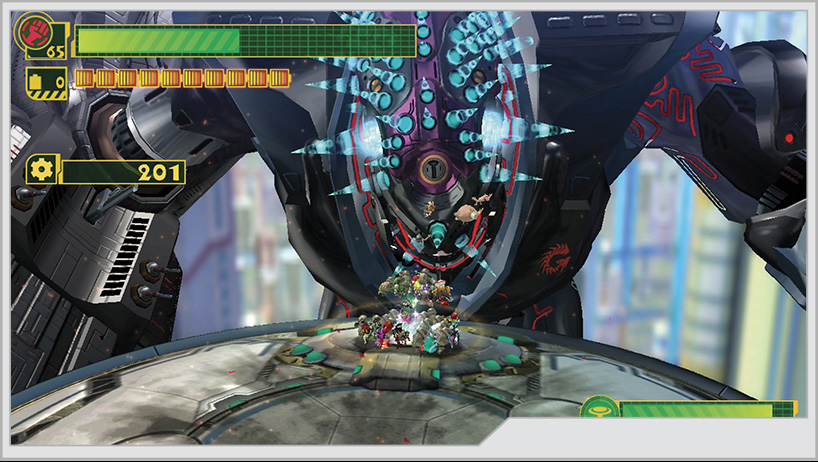
Gah-Goojin starts off the fight with a wide variety of abilities. Complicating all this is the fact that you’re standing on Blossom Tower, which has its own health meter you must watch. As Gah-Goojin attacks you, it will inevitably be striking the tower. As it takes damage, craters and pockmarks will appear on its surface. Fortunately, you can repair the visible damage with the Wonder-Liner, but this only restores a portion of the tower’s health. You can’t keep this up forever; eventually it will be destroyed and you will fail the mission.
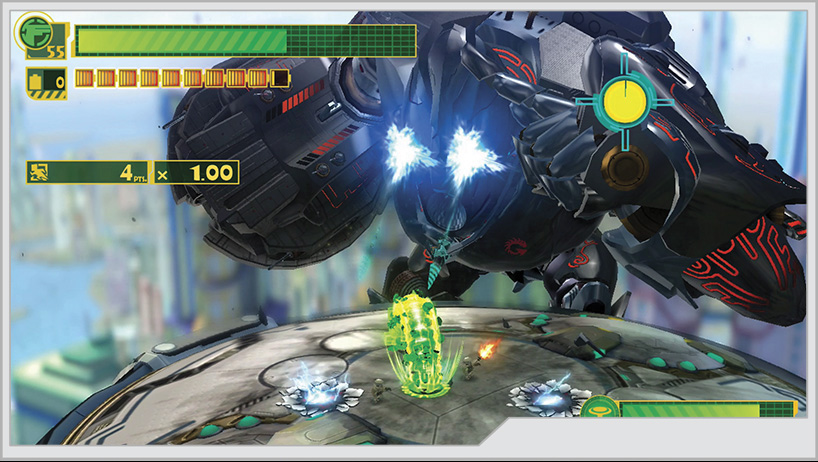
Your primary target throughout this fight is the head of the Gah-Goojin. Unite Whip and Unite Sword have the best range and damage combination, while Unite Hand can outdamage both but requires you to get much closer. Unite Gun works well early on when boosted into its bazooka form.
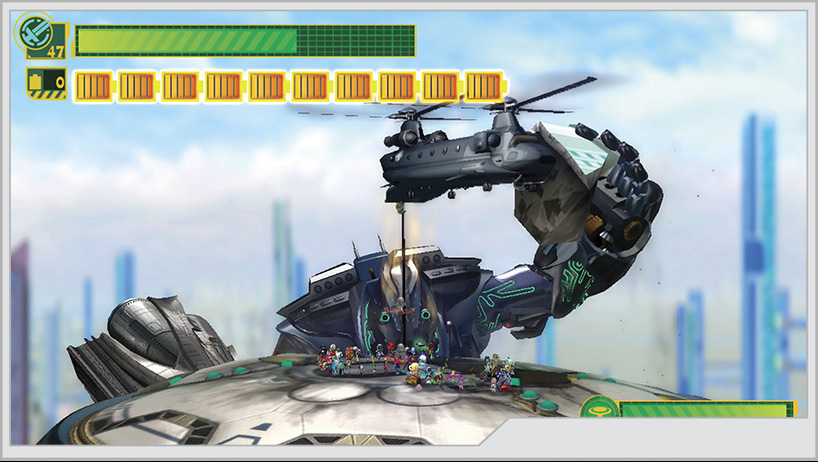
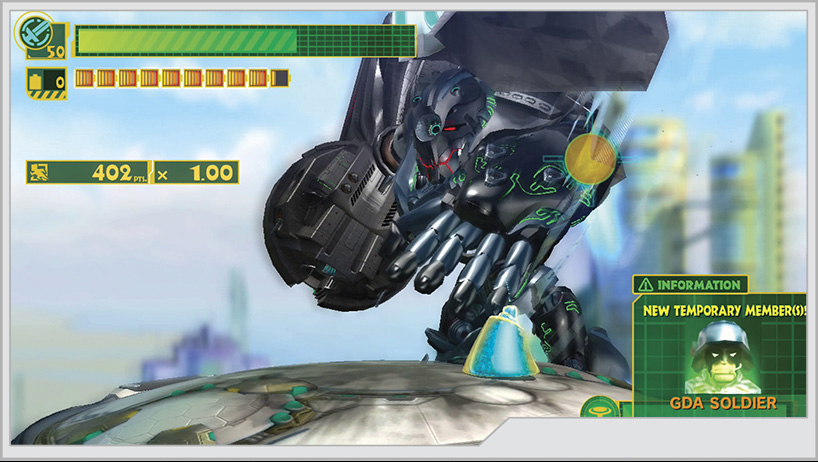
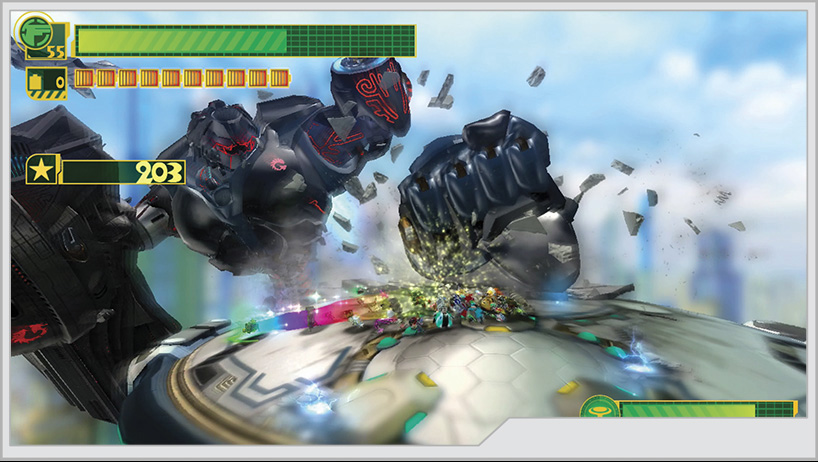
Gah-Goojin will try to pound the top of the tower with the Cough-Foon or his actual remaining fist. This can be blocked with Unite Guts, but only if you have 50 or more heroes on your team. Reinforcement troops from the GDA will be deployed regularly by helicopter throughout the battle to help starting players max out their potential.
Gah-Goojin can fire its vulcan cannons at the tower. This can’t be blocked unless you’ve unlocked a hero with the Unify Naginata ability, so just get out of the way.
The laser from the Cough-Foon can be reflected as usual.
When Gah-Goojin ducks under the tower and returns with a gas tanker or burning fuel tank in its left hand, raised high, switch to Unite Gun immediately to blast it. If you’re fast, you can blow up the object in its hand. Gah-Goojin will also throw large chunks of debris at the tower, but these can be reflected with a Unite Guts consisting of 50 or more heroes.
Gah-Goojin will also fire a series of cannonballs onto the tower, which will detonate after a short delay and cause heavy damage to the tower. With Unite Gun or Unite Whip, you can return these packages to the sender.
Gah-Goojin will also occasionally climb onto the tower and try to stomp onto you, or fire his laser at point-blank range. These can be stopped with Unite Guts and Unite Sword, respectively.
Possibly the most dangerous to your success are Gah-Goojin’s more direct assaults on Blossom Tower. It will attempt to grab on to the tower and tear it apart; respond to this with the heaviest attacks you can muster on its limbs until it lets go.
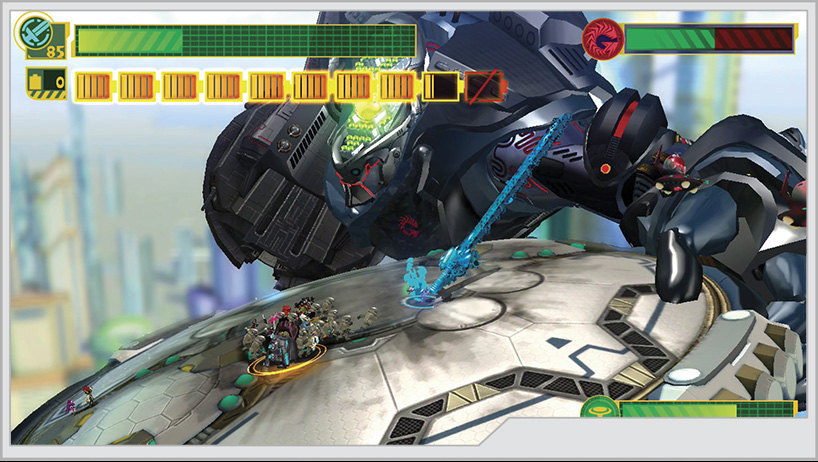
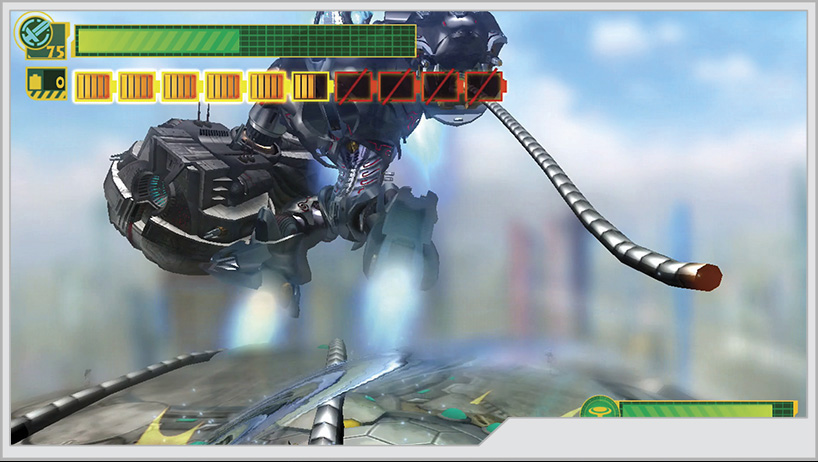
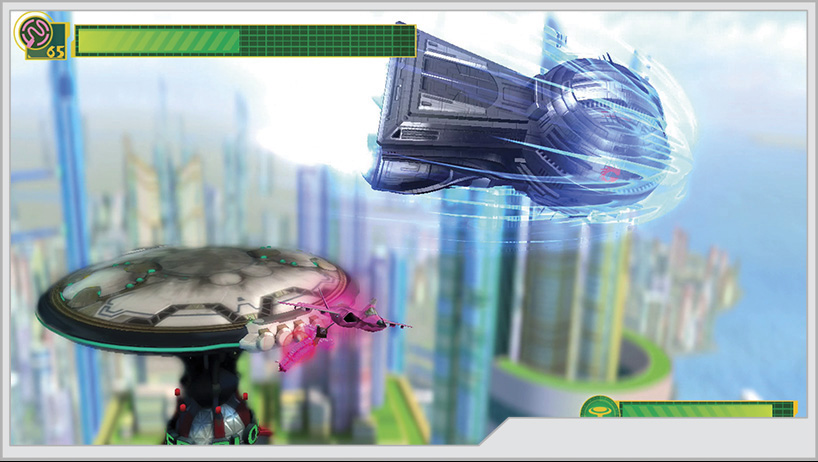
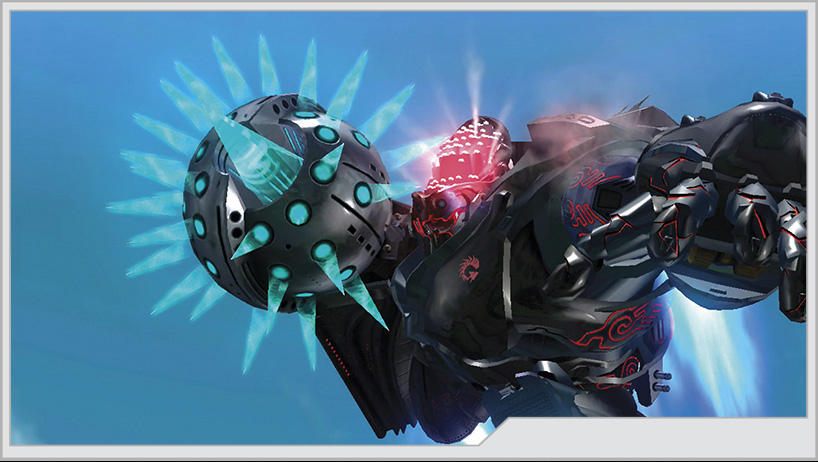
The Gah-Goojin occasionally will fly a distance away and fire a wire-guided rocket punch at the tower. The wires will cling to the tower and threaten to pull it down. Use Unite Sword on the cables on your right to save the tower. In another variation of this attack, Gah-Goojin will fire off the Cough-Foon as a rocket punch, but this can be intercepted with a well-timed Unite Whip strike.
Gah-Goojin will also deploy Diedough-Goo onto the tower. Deal with them accordingly, and quickly. You really can’t afford to have them stomping around the tower while you deal with the boss.
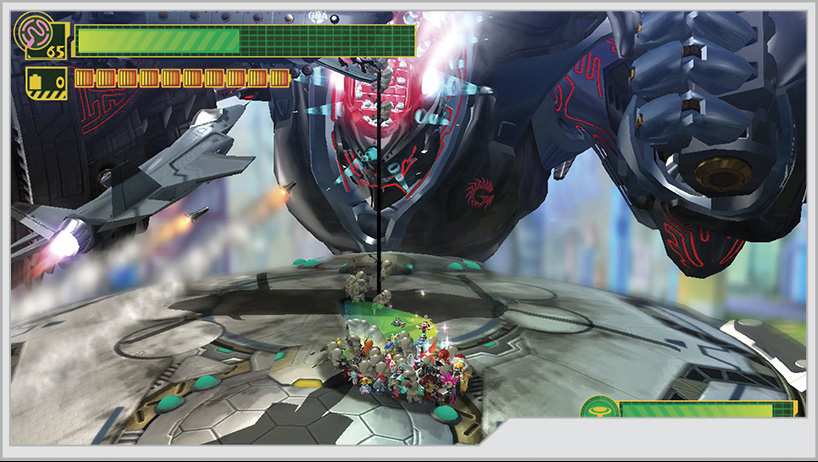
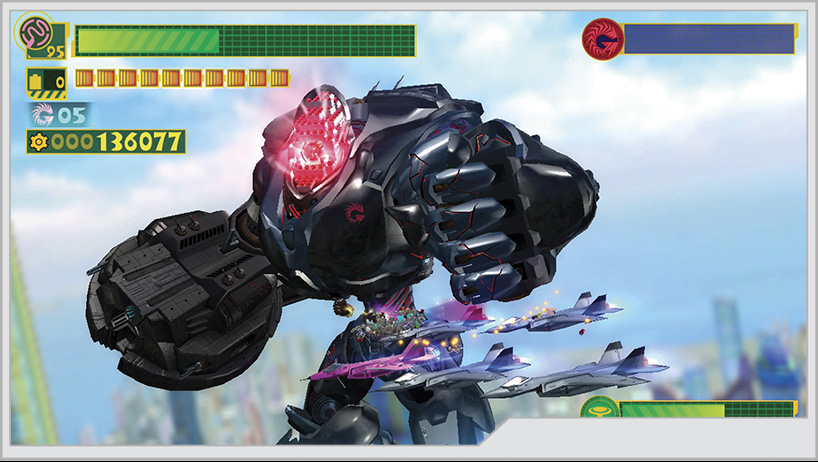
Throughout the battle, GDA fighters, led by Pink Leader, will be swooping in with air strikes on Gah-Goojin. You’ll be prompted to Wonder-Jump onto a passing squadron of fighters flying in formation, giving you a chance to Unite Whip the head of Gah-Goojin directly. It will try to smash the fighters with its fist, but you can stop that with Unite Guts. Take as much advantage of this flight as possible before you’re returned to the tower.
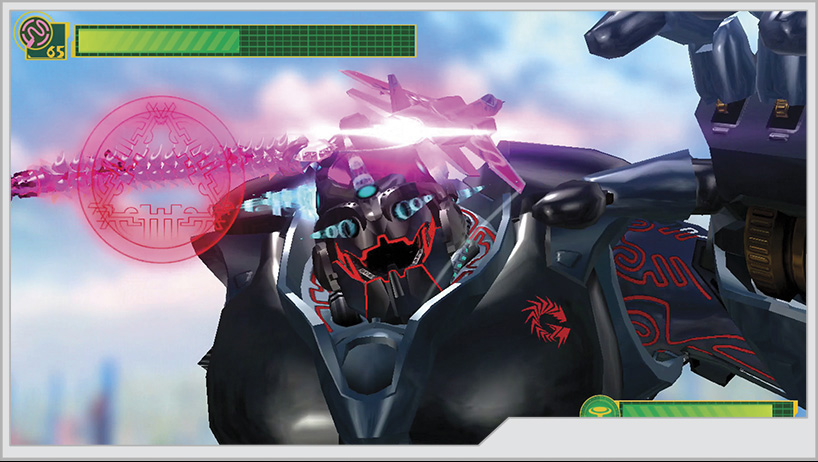
Throughout all of the above, you should be constantly striking Gah-Goojin’s head, which will eventually break the armor on it. Gah-Goojin will deploy spikes on its head, requiring you to use Unite Whip to tear the spike armor off of the machine. During this phase of the fight, it will deploy Gedie Dough-Goo. Try to get that armor off before you’re dealing with more enemies on the tower!
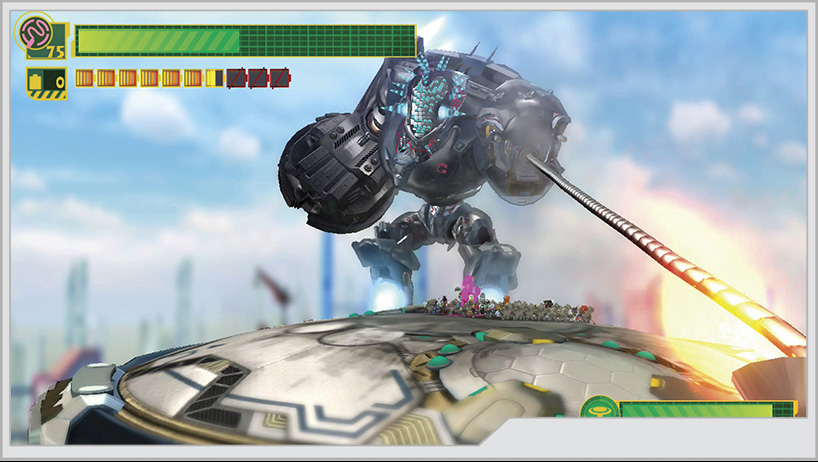
Gah-Goojin will also fire its Cough-Foon as a rocket punch toward you while its head spikes are deployed. This attack can be reversed with a Unite Whip strike on the oncoming vessel, which will be prompted by Wonder-Pink calling for your attention. Alternatively, Gah-Goojin will attempt to use a high-powered laser from the Cough-Foon, and Wonder-Green will call for you to use Unite Gun to stop the incoming shot.
Phase Three
With the spike armor removed, you can finally start dealing real damage to the Gah-Goojin. Unite Whip and Unite Hand are excellent choices here. Even on higher difficulty settings, you should be able to smack some justice into Gah-Goojin fairly quickly at this point.
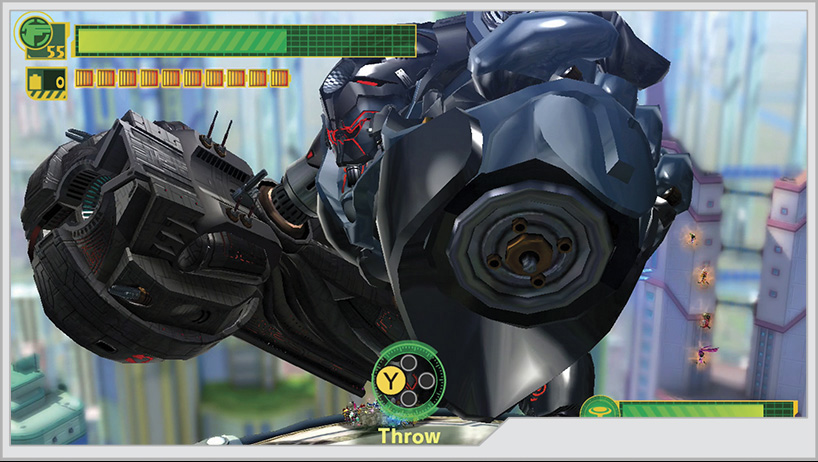
In addition to its regular arsenal, it will try to slam debris directly onto the tower. This can be stopped with Unite Guts and will eventually cause its left arm to fall onto the tower. Wrap a Wonder-Liner around the arm to pick it up, then follow the command prompt to throw it back at Gah-Goojin’s face.
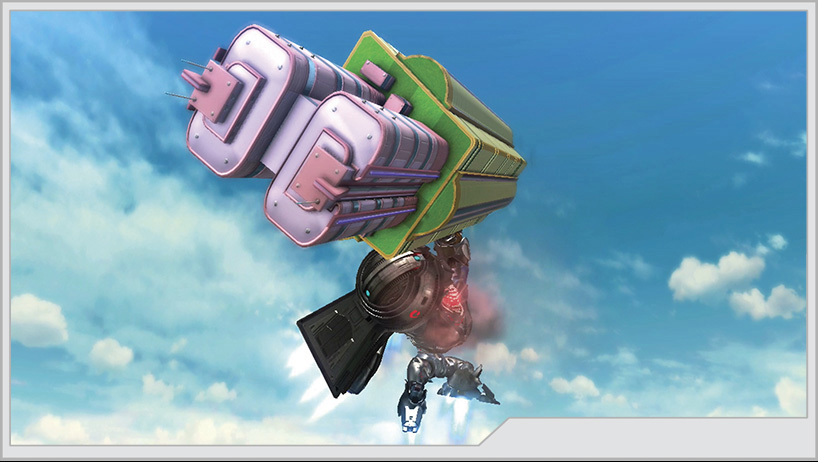
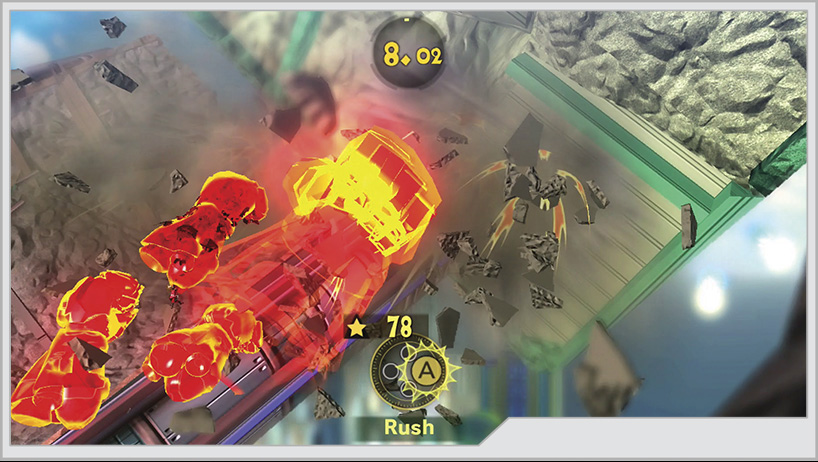
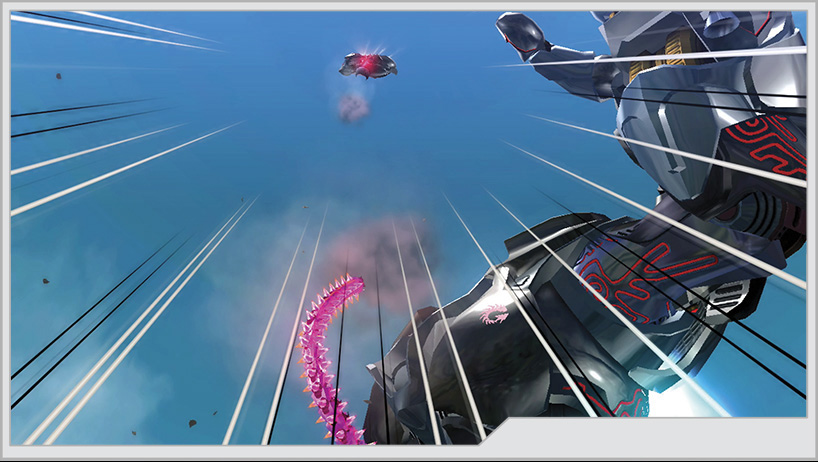
Once you’ve depleted all of Gah-Goojin’s health, it decides that enough is enough, and it tries to slam a skyscraper through you and into the tower. Unite Hand your way through the obstacle. Gah-Goojin will counter your counter with a Cough-Foon Spike Rocket Punch (really), and you will counter its counter of your counter with Unite Whip.
Now headless, Gah-Goojin’s body collapses against the tower, spewing O-Parts galore. Collect everything you can, then climb inside the machine. You’re not done yet!
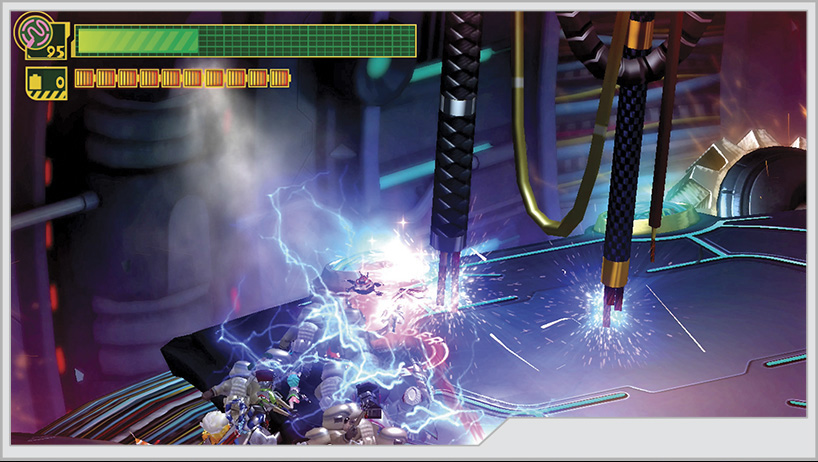
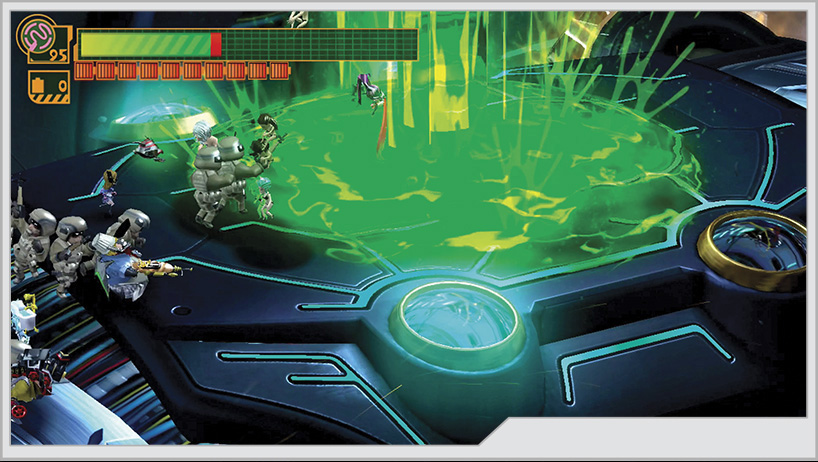
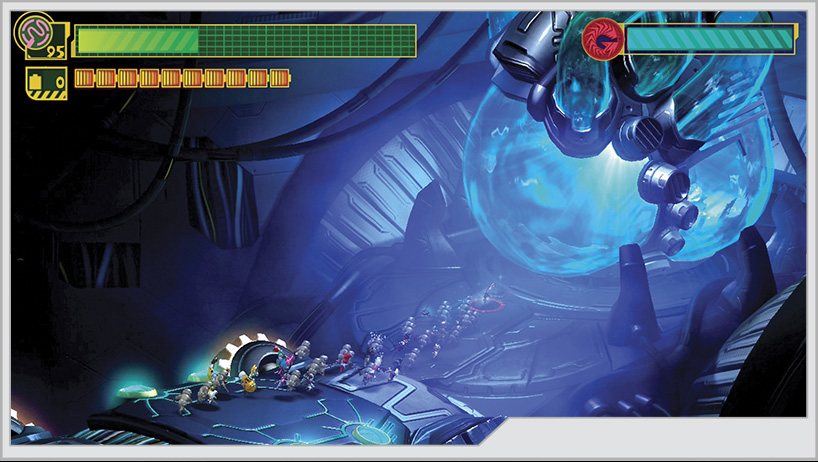
Inside the Gah-Goojin, you need to follow the undulating conduit, avoiding acid flows and swinging electric cords. Leap over gaps in the conduit until you reach the heart of the beast. Mash it as quickly as possible with the biggest Unite Morph attacks you can summon. It’s undefended!
With a head like a hole, and without a heart to call its own, Gah-Goojin still does not give up, pursuing the Wonderful 100 after they Unite Whip to the Virgin Victory. Its last gasp for victory is stopped through precise application of Unite Hand, and the battle finally concludes.