
The Wonderful 101 Guide Walkthrough Operation 008: Blossom City—State of Emergency
Operation 008: Blossom City—State of Emergency
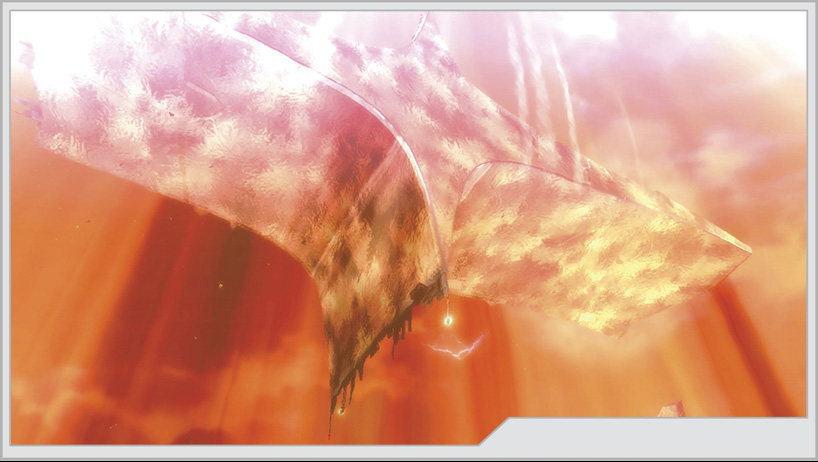
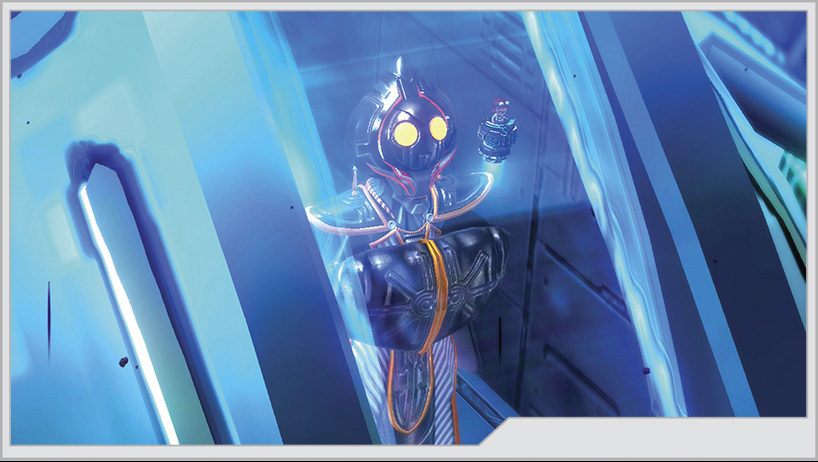
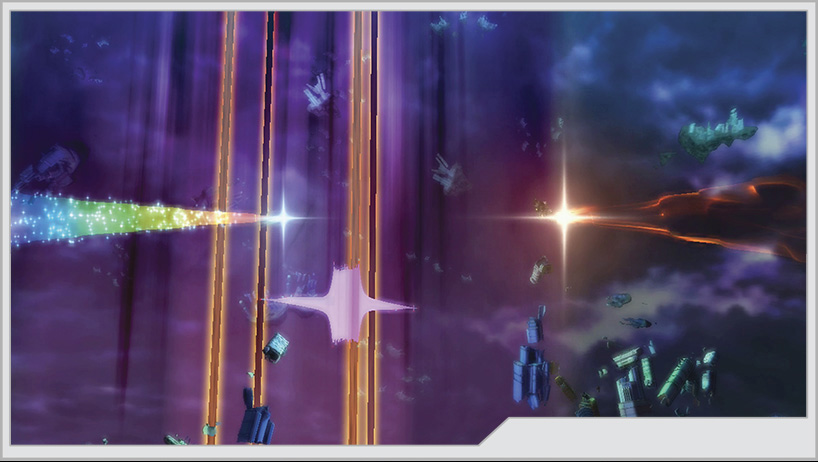
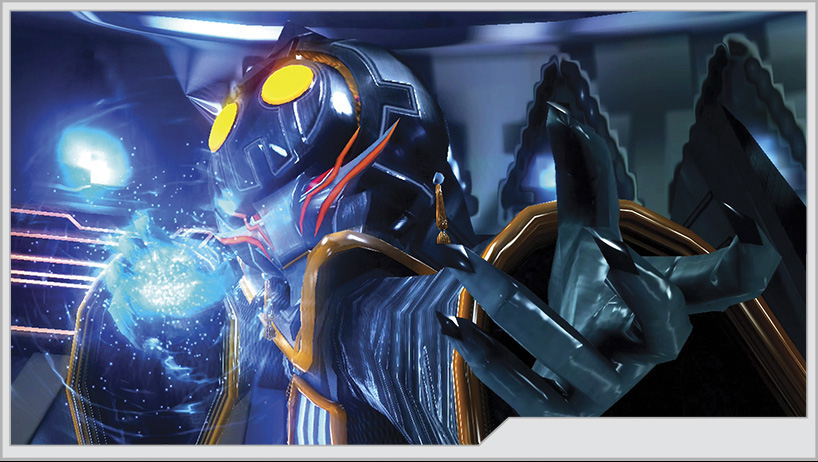
Despite the best efforts of the Wonderful 100, the GEATHJERK have finally managed to strike a crippling blow to the Earth’s defenses. Margarita is weakening by the second, and as it weakens, gaps in the shield are appearing all over the planet. The largest breach is directly over Blossom City, and the Jerks have managed to bore directly into the CENTINELS’ nerve center, Mother Platinum. Earth’s last hope, the Shirogane Comet, rides on the survival of Mother Platinum. If it falls, the war is lost. Wonderful 100 must fight through a shattered Blossom City and hopefully turn the tide. The stakes have never been higher, Wonderful Ones!
Operation 008-A
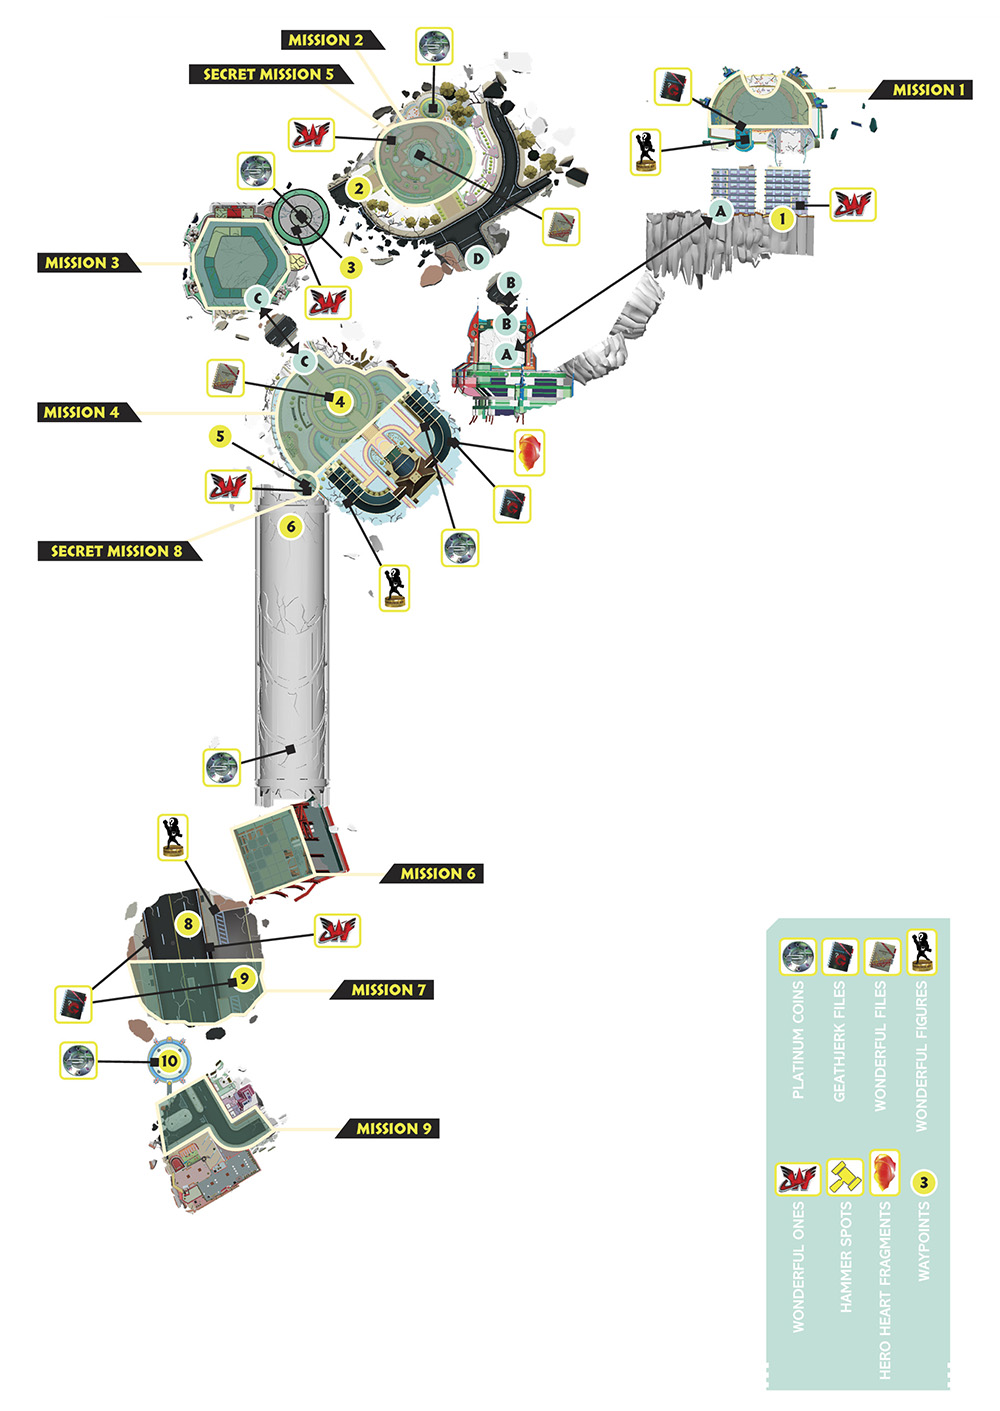
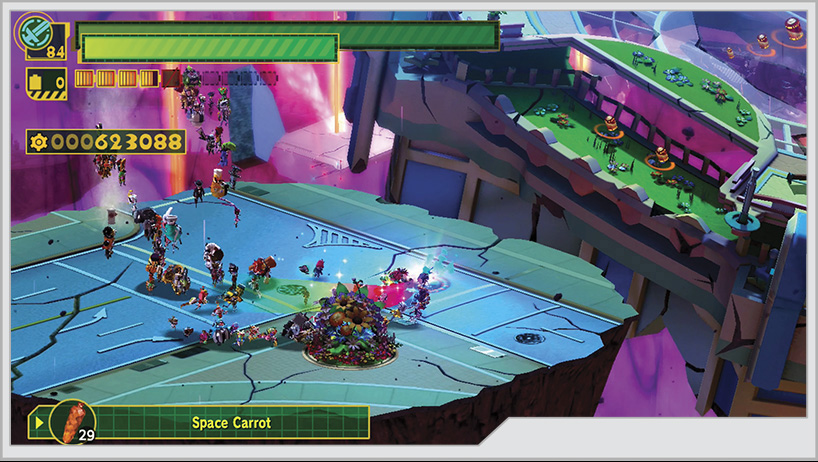
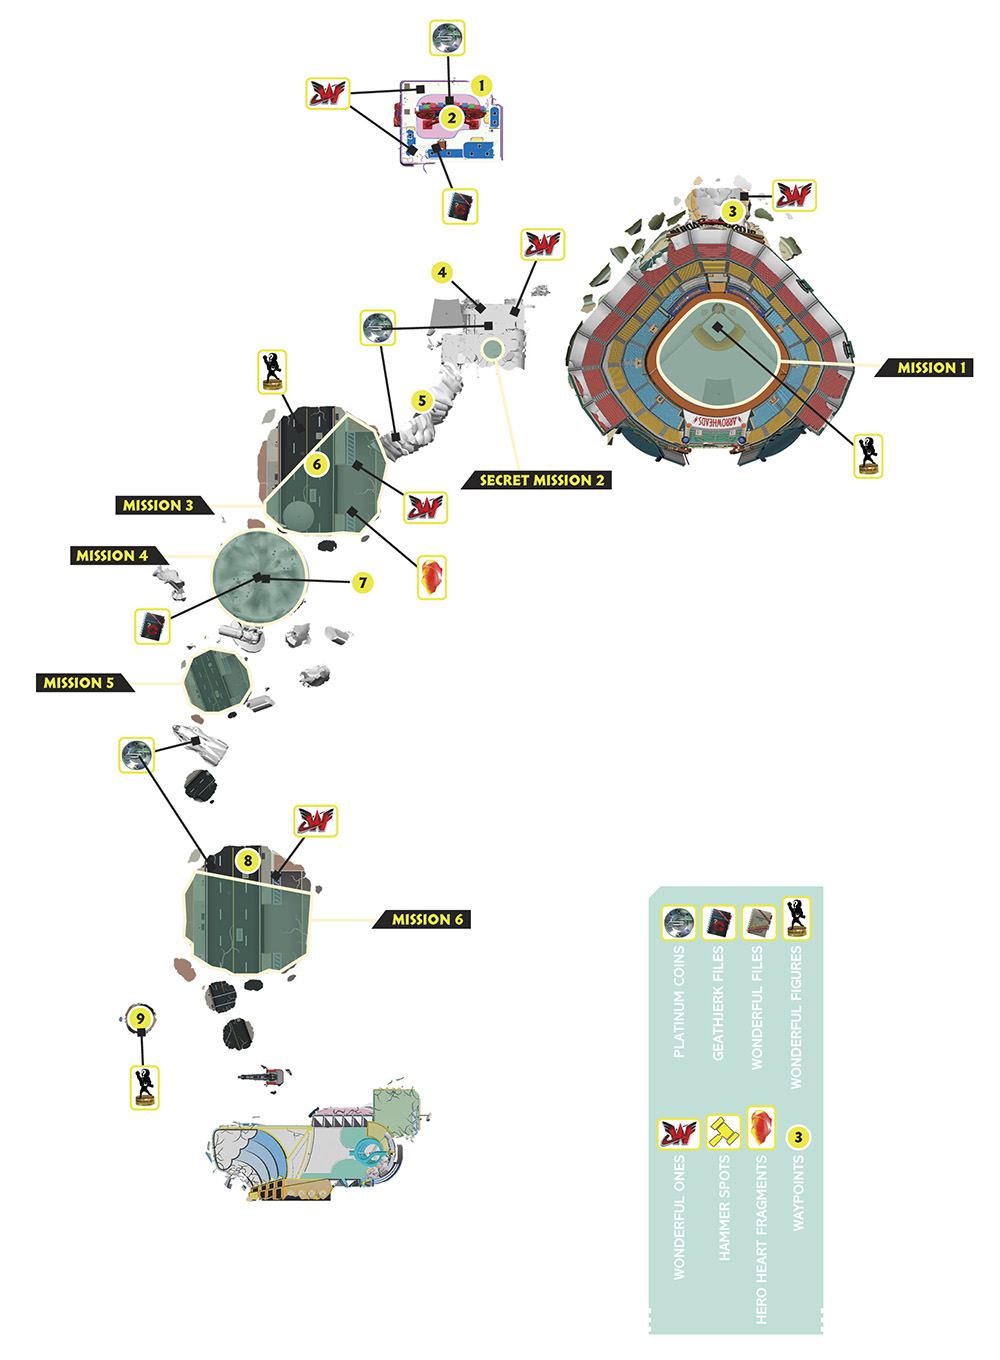
You start on top of a floating island made from a shattered street intersection. Rejuvenate the nearby flower bed for some food, then jump over to the larger island next door to begin Mission 1. It’s a short jump, but keep in mind that every landmass you come across in this operation is suspended thousands of feet in the air, and a careless misstep will cost you health.
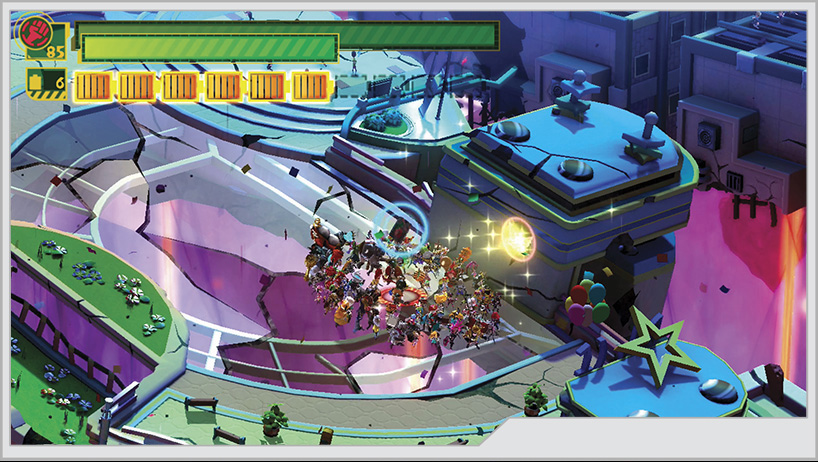
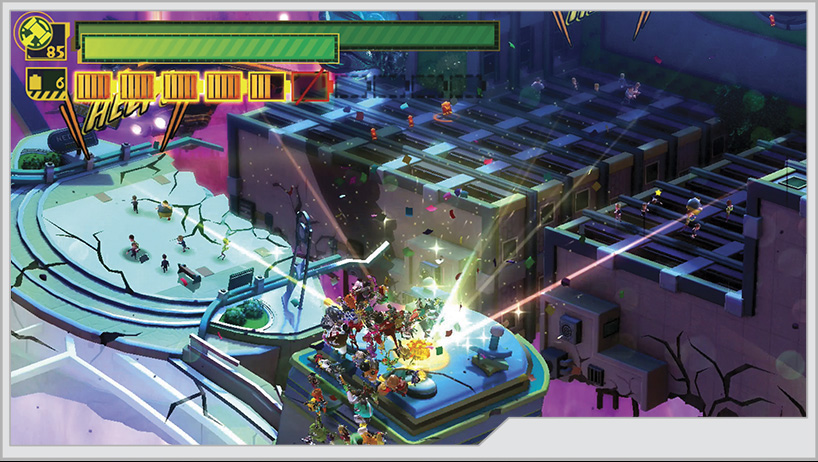
Before leaving the Mission 1 area, don’t miss out on some collectibles. One of the small structures has a hole you can Wonder-Liner into for GEATHJERK File No. 33. The roof of that building can also be hammered for Wonderful Figure No. 50.
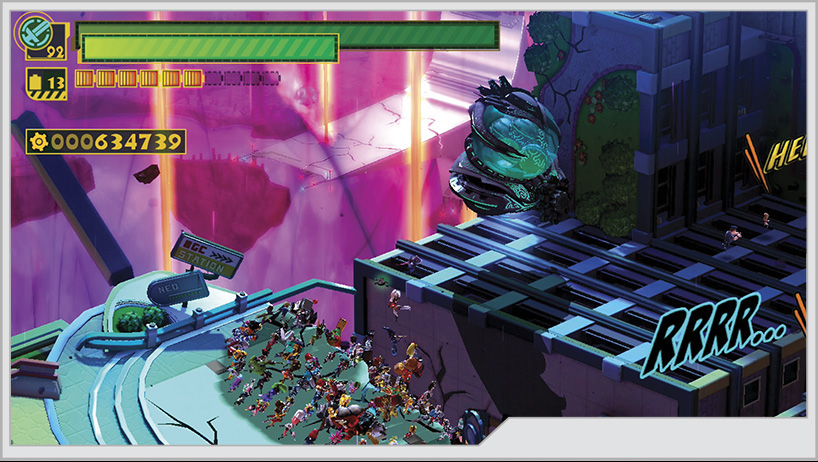
Jumping over from the Mission 1 island, you can twist open the Gatcha to free Wonder-Death.
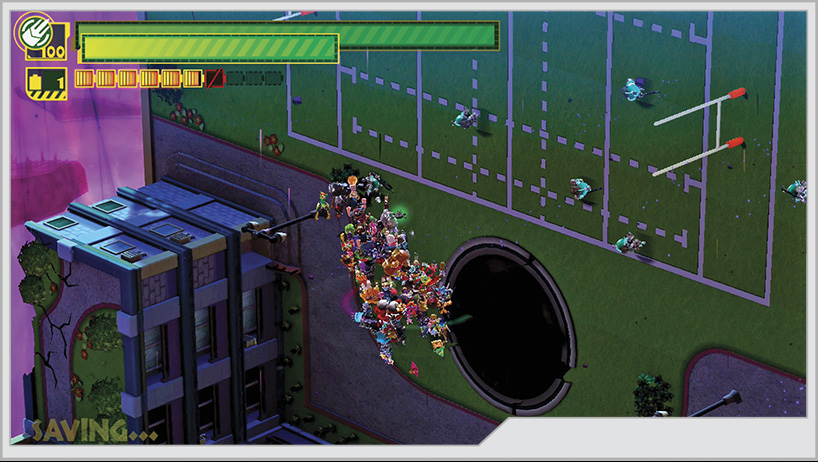
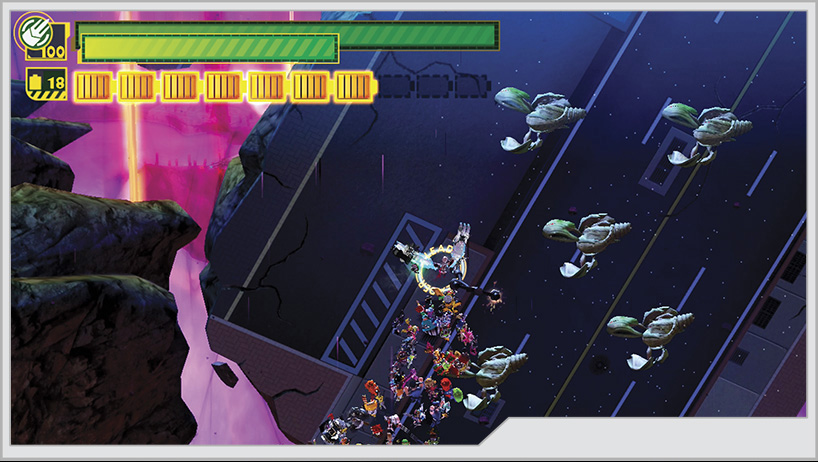
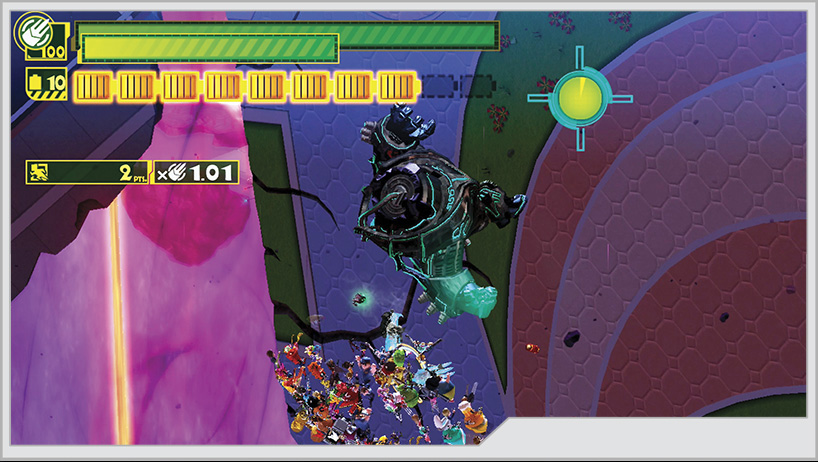
[1] You’ll have to scale the wall near the Gatcha to continue the operation. As you climb along the wall, following it to the right and jumping from section to section, you’ll be attacked by Dough-Goo and Mini-Dahkarts, and at one point a Diedough-Goo. These battles are not rated, so if you’re in a hurry, you can rush past them. We do recommend exploring the wall enough to gather up all the Wonderful Batteries you can. P-Star will also provide some directional assistance during this climb, so look for his hologram arrows if you get disoriented.
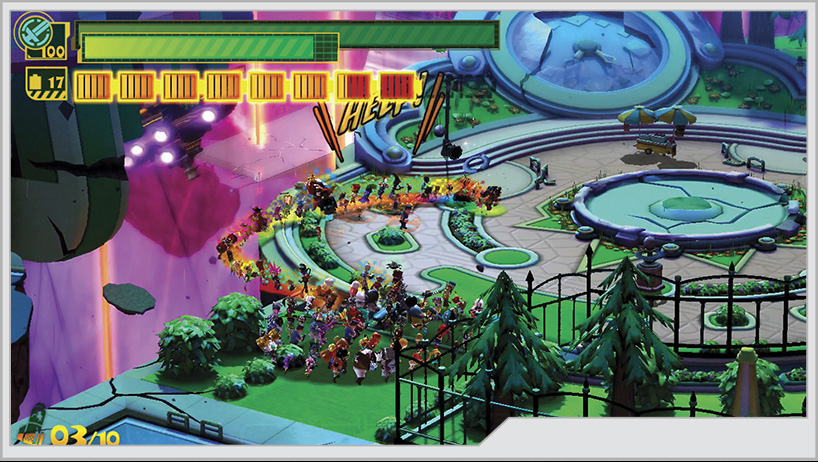
[2] After surviving the wall climb, you’ll be close to the island where Mission 2 is located. However, stand on the edge of the island and extend your Wonder-Liner out to rescue the clumps of civilians near the central fountain, specifically to recruit Wonder-Jungle.
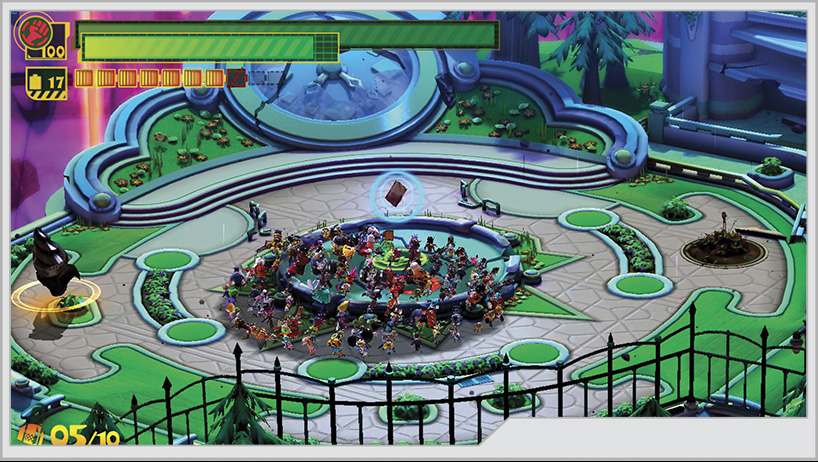
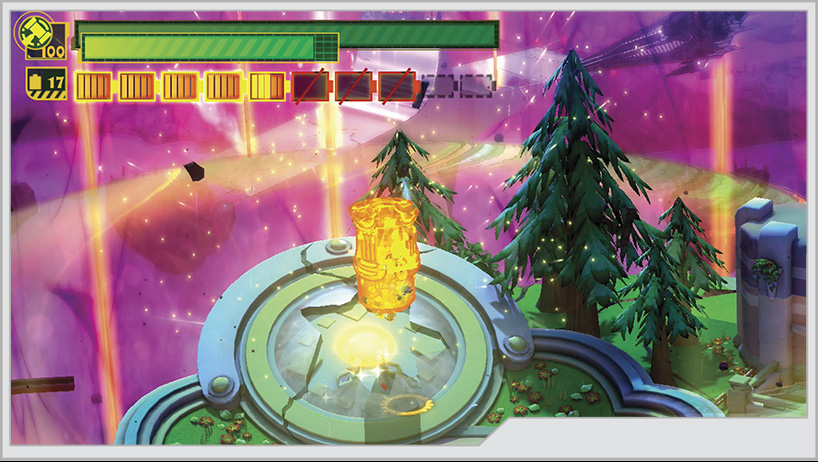
There are a pair of hidden collectibles in the Mission 2 area. Wrap a Wonder-Liner around the central fountain to uncover Wonderful File No. 23. North of that, you can hammer the broken clock for a Platinum Coin.
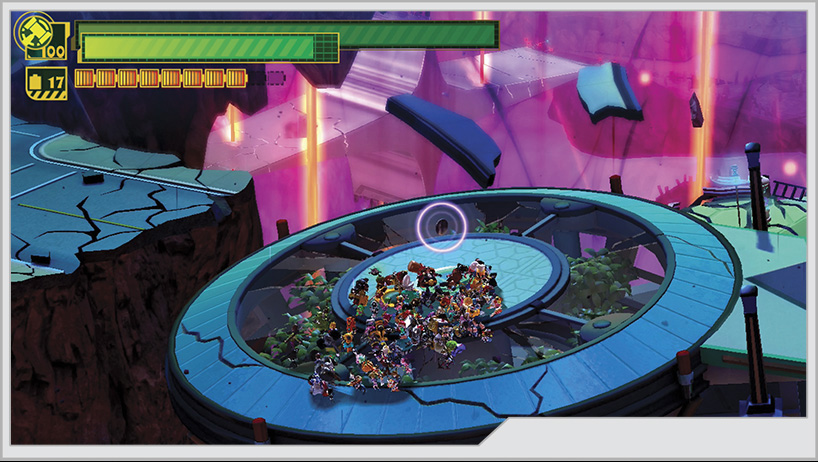
[3] As you leave behind the Mission 2 island, you’ll come across a circular platform where you can recruit Wonder-Yang. Additionally, wrapping a Wonder-Liner around the circle at the center of platform will reveal another Platinum Coin.
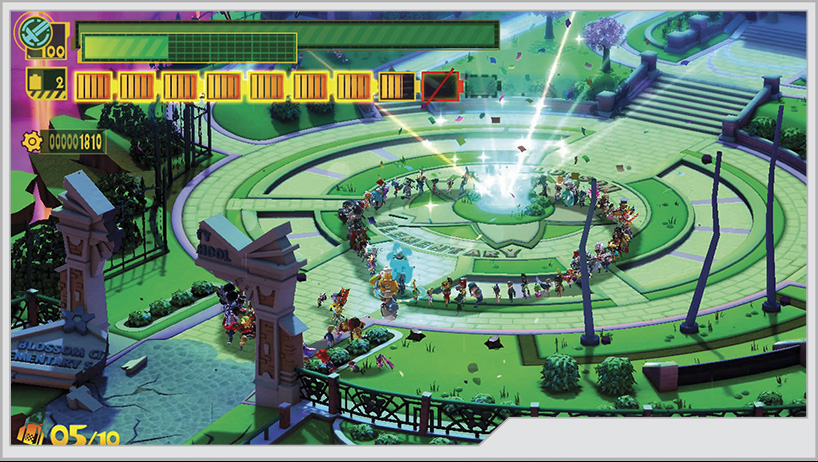
[4] In the aftermath of Mission 4, you have got a lot of collecting to do on the school grounds. Start by wrapping a Wonder-Liner around the fountain where Mission 4 occurred to recover Wonderful File No. 25.
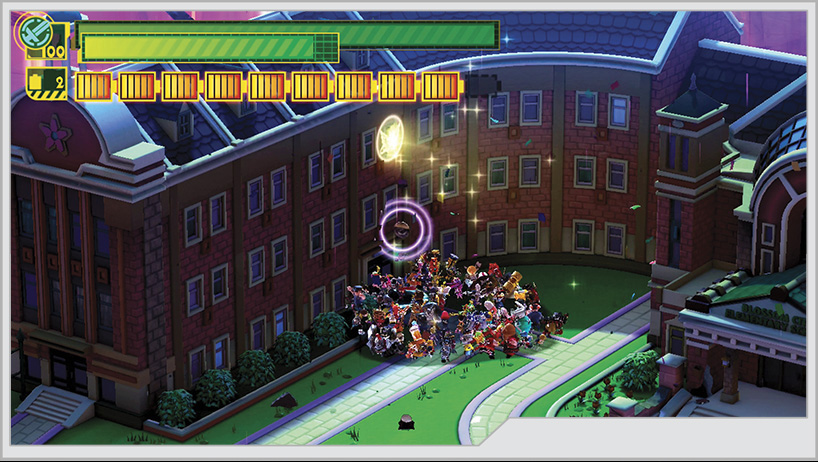
On the left side of the main building, you can send a Wonder-Liner into a window for a Platinum Coin. It can be hard to see the window initially, as it’s in the shadows.
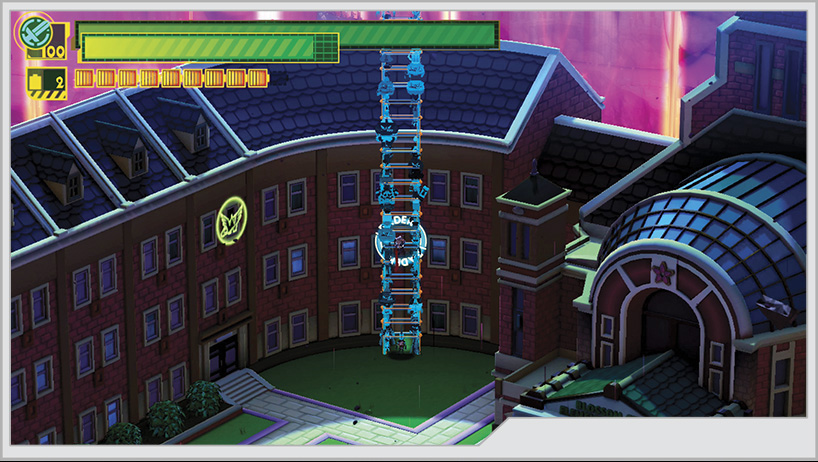
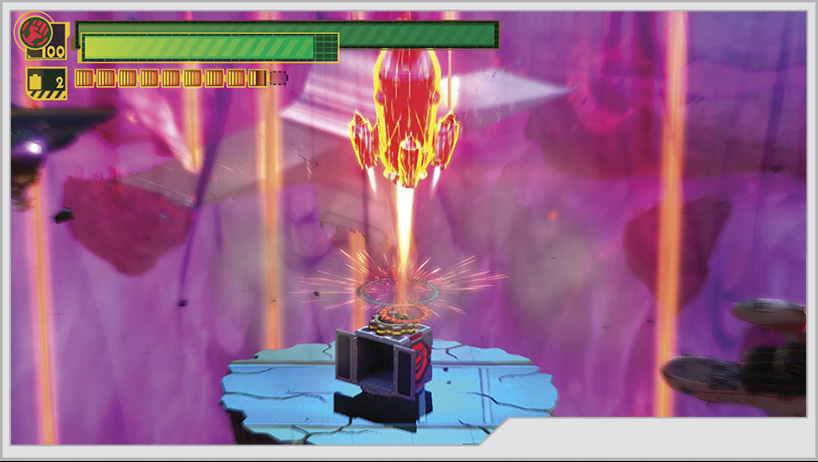
Next to the Platinum Coin window, you can extend a Wonder-Liner up the side of the building, until it eventually reaches another island floating above the school and creates a ladder. On this island is a red supply box with GEATHJERK File No. 51. You can then use Unite Rocket from on top of that supply box to launch up to a Hero Heart Fragment.
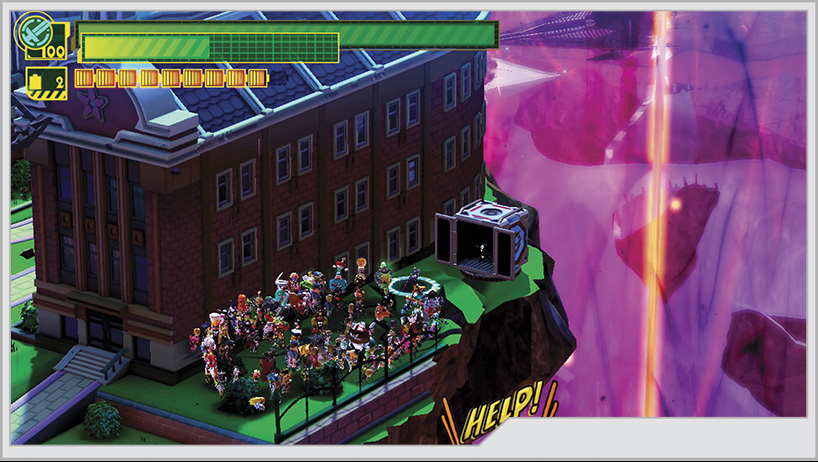
As you’re leaving the school behind, don’t miss the blue supply box on the side of the main building, containing Wonderful Figure No. 58.
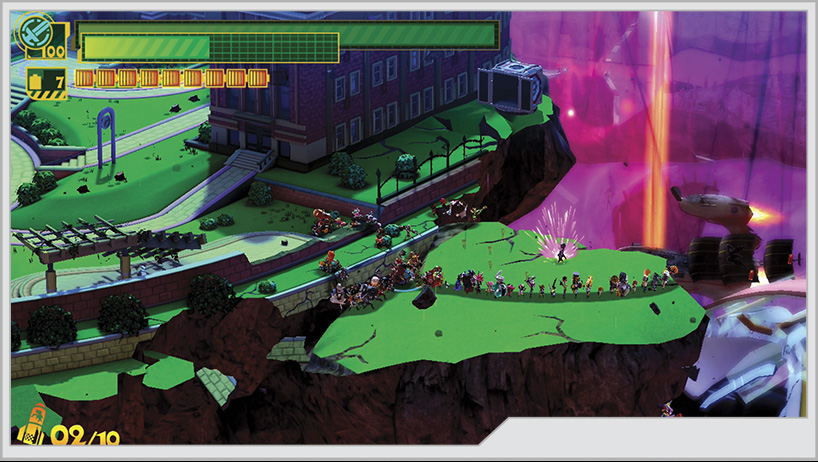
[5] A small green island next to the supply box has civilians, and among them is Wonder-Tombstone. Remember this island for later, as a Kahkoo-regah portal will eventually appear here. If you’ve yet to trigger Secret Mission 5, head back to the Mission 2 site now!
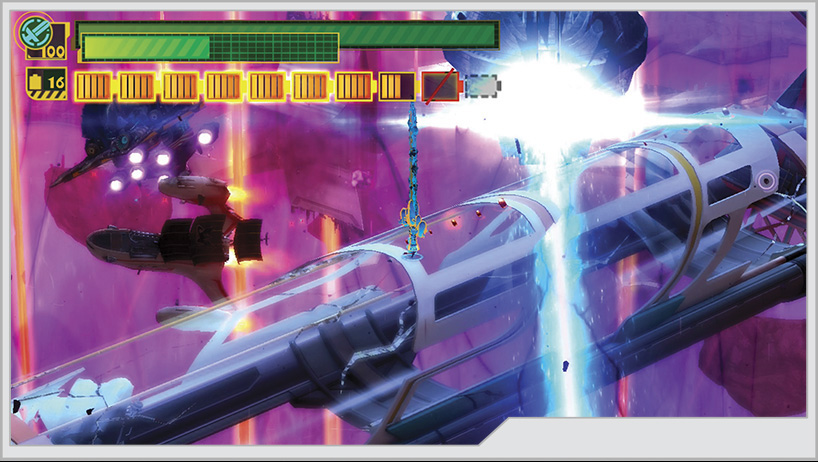
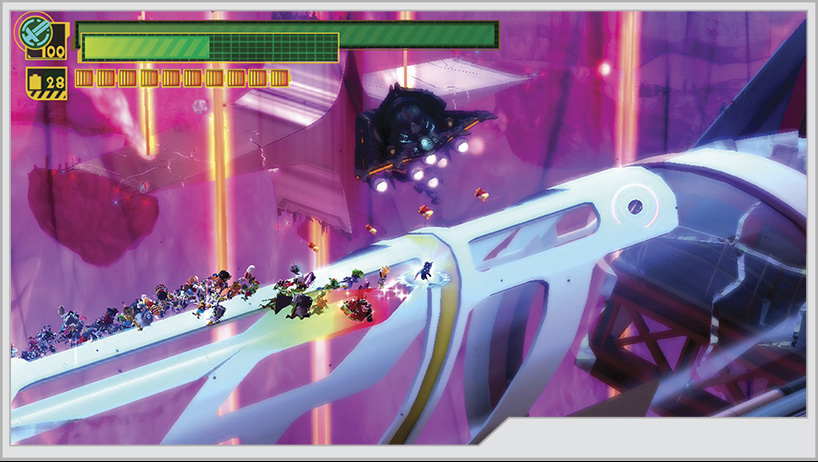
[6] Just past Wonder-Tombstone’s location is a rotating cylinder that you must cross, taking care not to slip off the sides into the abyss below. A Cough-Foon will try to block your forward progress, but you can easily use its laser against it. As you cross the cylinder, don’t miss the Platinum Coin among the lines of Wonderful Batteries near the end of the cylinder.
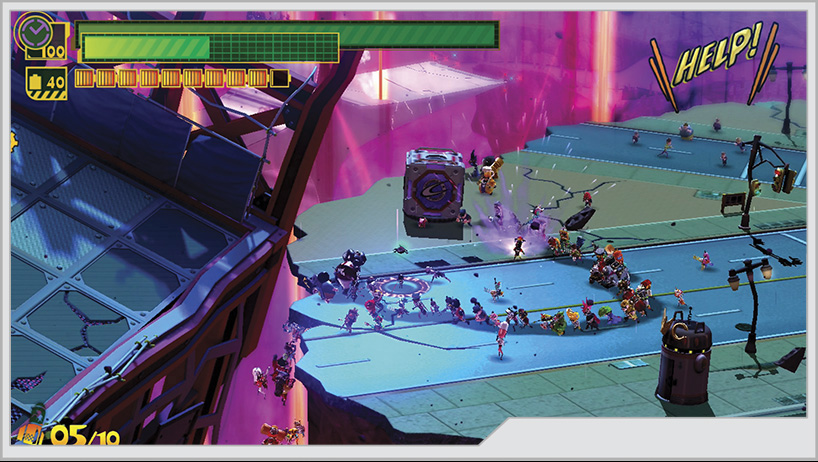
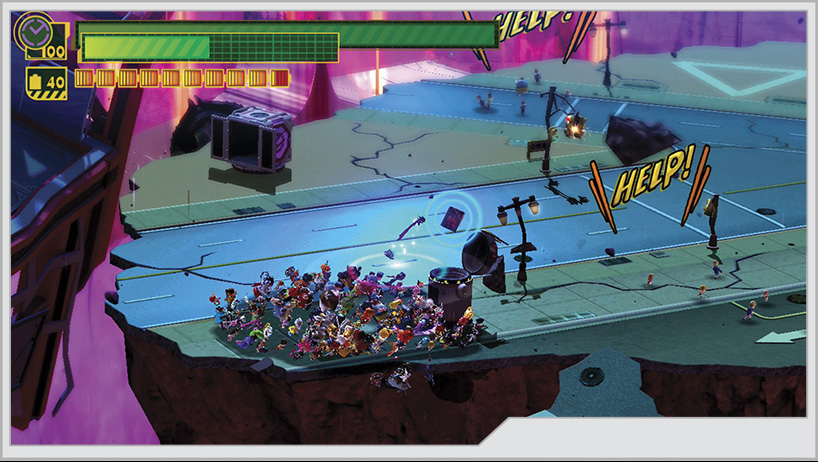
[8] The island next to the Mission 8 arena has some collectibles to retrieve the moment you set foot on it. A black supply box contains Wonderful Figure No. 91. The Wonderful Toilet just south of the supply box hides GEATHJERK File No. 32. Lastly, the groups of civilians between these items hides the hero Wonder-Motorbike.
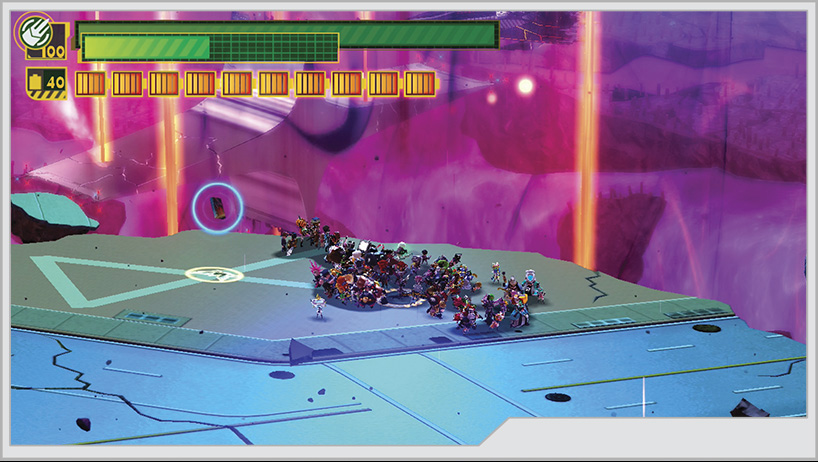
[9] On the northern edge of the island is an hourglass symbol painted on the ground. Trace it with the Wonder-Liner to retrieve GEATHJERK File No. 41.
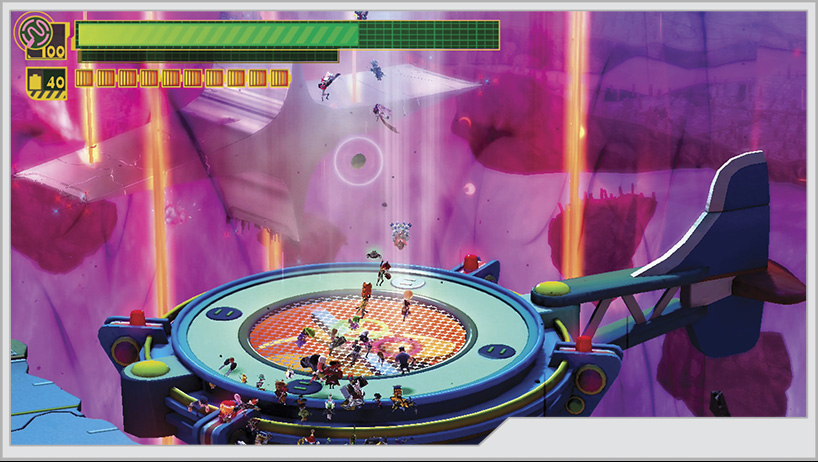
[10] Lastly, the fan that can push you to the final mission of this level hides a Platinum Coin. Find it by wrapping a Wonder-Liner around the fan vent.
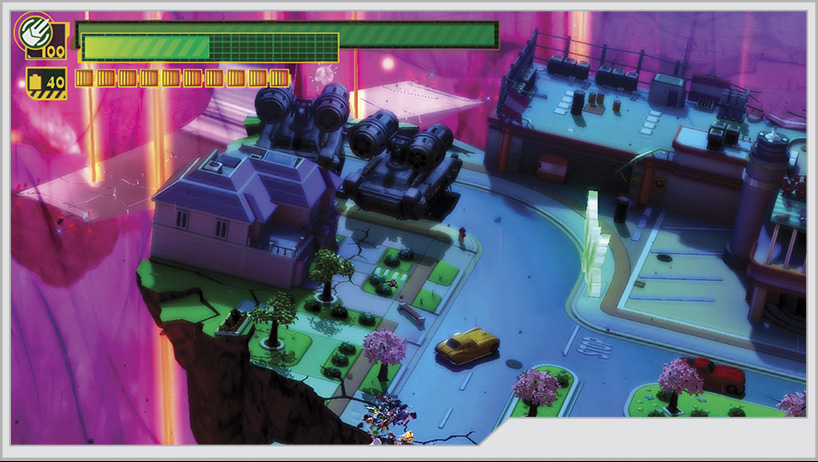
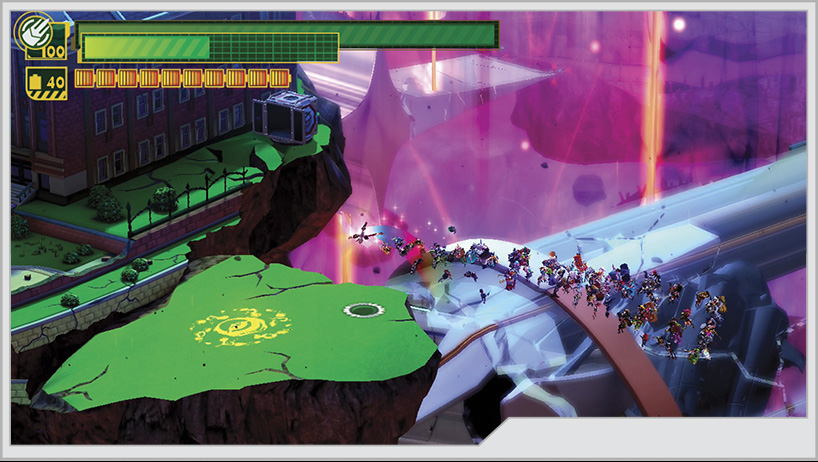
In order to trigger the appearance of the Kahkoo-regah portal for Secret Mission 8, you must use the fan to fly high into the air, high enough that you can see your destination island with the Wonderful Mart symbol on it. However, rather than jumping toward it, let yourself fall back down to the fan. You can now run back toward the school to find the portal.
With Secret Mission 8 taken care of, return to the fan and launch yourself toward the Wonderful Mart and the final mission of the level.
Operation 008-B
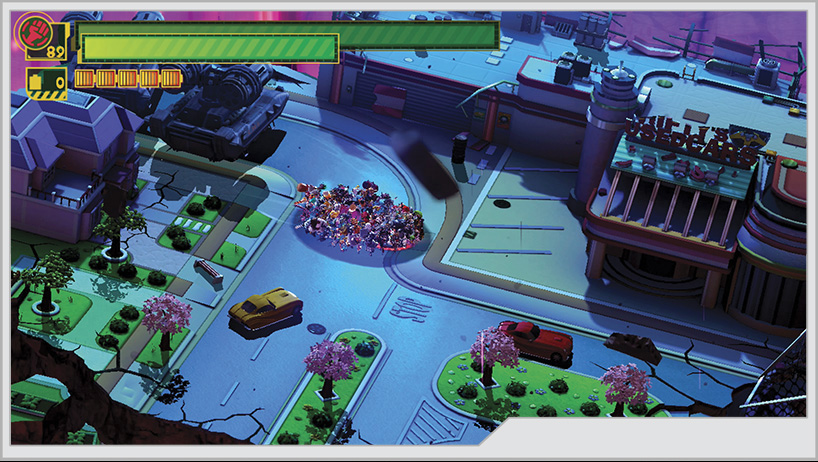
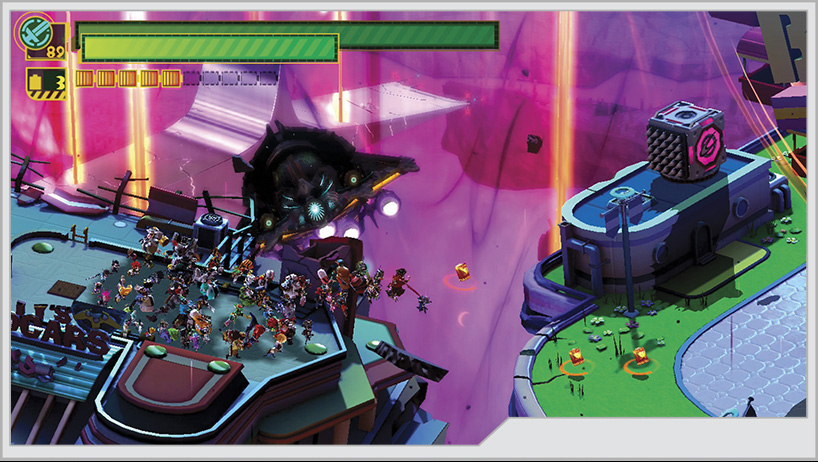
The Wonderful Mart found at the end of the first half of the Operation was right next to Shifty’s Used Cars, which you may remember from the first Operation all those hours ago. [1] You’ll have to jump onto its roof once again to make a jump to the next island, which contains the Ferris wheel from the second Operation.
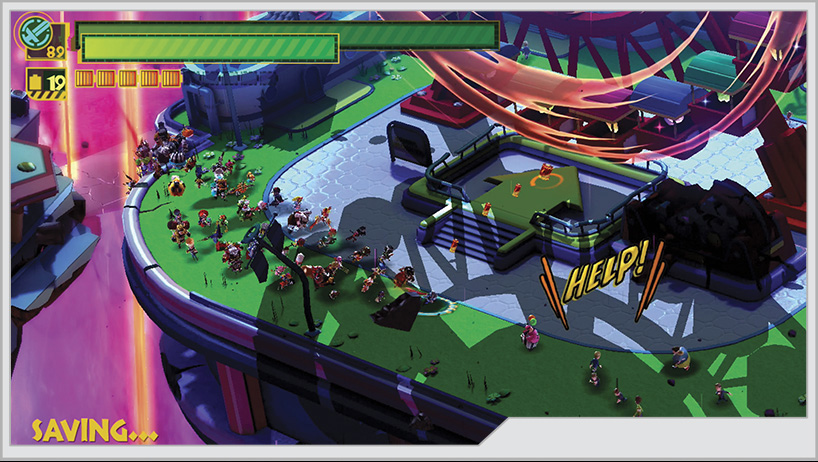
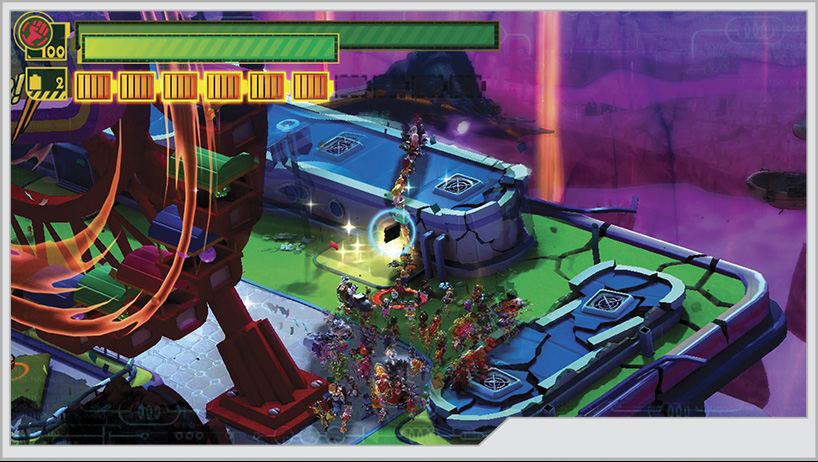
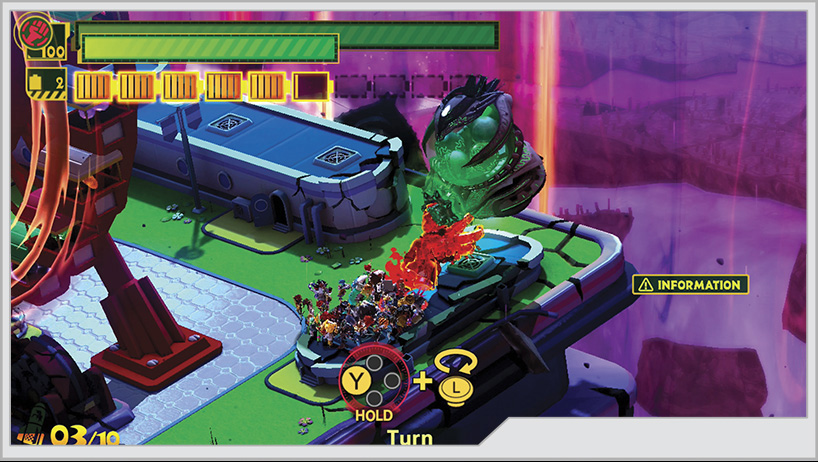
[2] The Ferris wheel is moving too fast to safely board, but Unite Bomb can fix that. Before you take the ride, you’ve got some collecting to do. First off, Wonder-Clown can be found among civilians in front of the attraction. Behind the Ferris wheel is a small building you can send a Wonder-Liner into, retrieving GEATHJERK File No. 42. The Gatcha next to that structure is holding Wonder-Zombie prisoner. The building on the other side of the Ferris wheel has a pink supply box on its roof, containing a helpful food item.
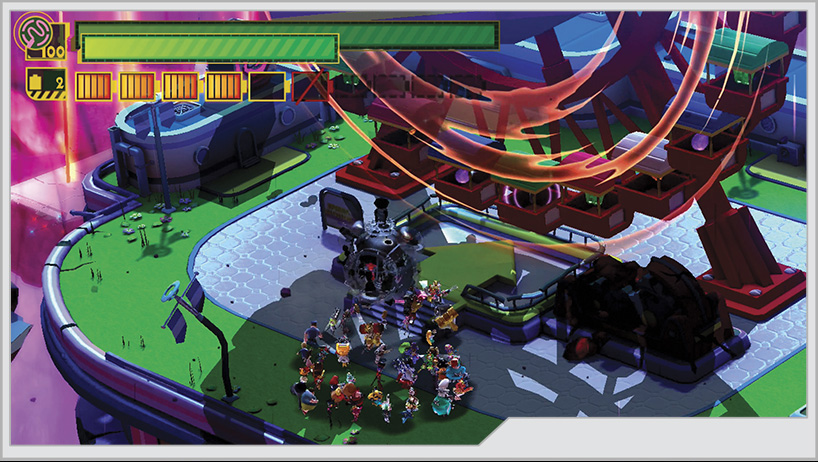
With that business over with, take the Ferris wheel once you’ve slowed it down with Unite Bomb. You’ll automatically retrieve a Platinum Coin during the ride, and you’ll be flung to the next island.
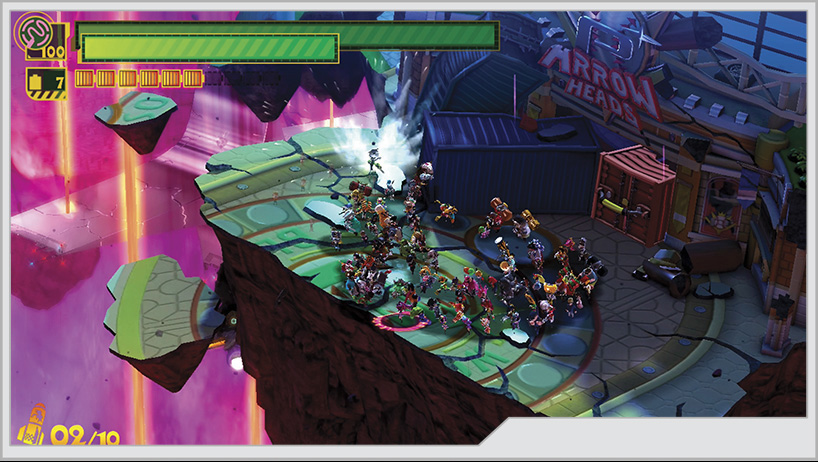
[3] You’ll arrive back in front of the Blossom City baseball stadium, though the way inside is sealed off by a mess of cargo containers. Before pulling them open with Unite Hand, rescue the civilians close by. Among them is Wonder-Antenna. Now tear open the cargo container and proceed into the stadium.
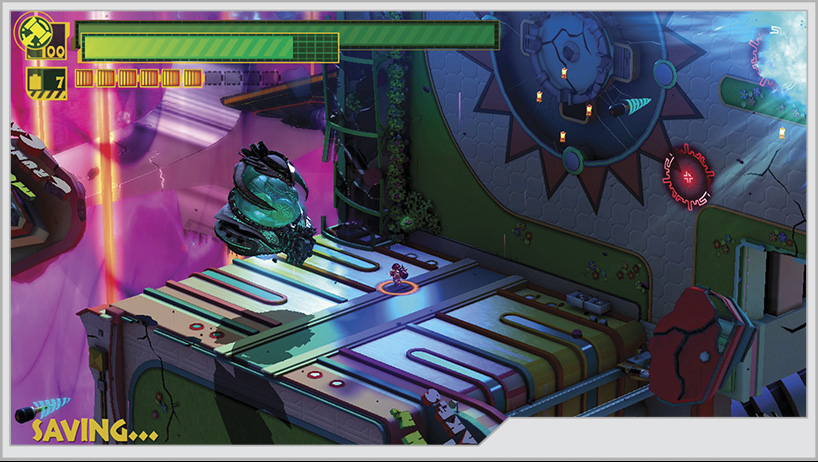
Unite Hammer the cracks in the field to create a hole that lets you drop down to another island [4] that is under missile fire. The Gatcha you land next to has Wonder-Fireworks imprisoned inside.
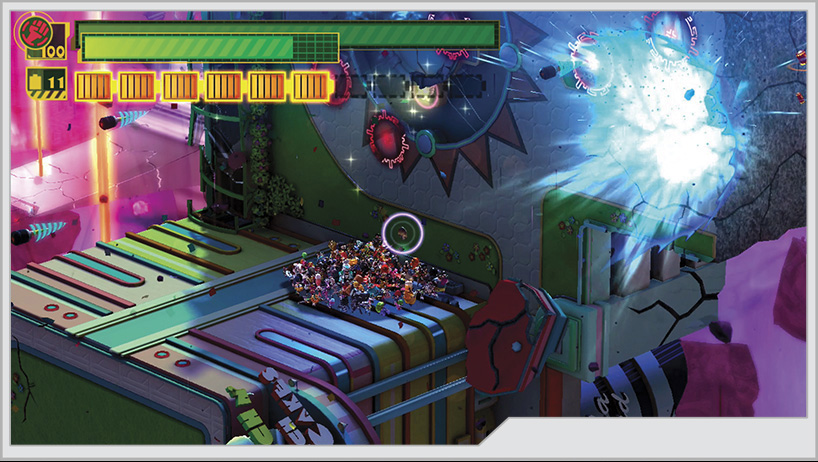
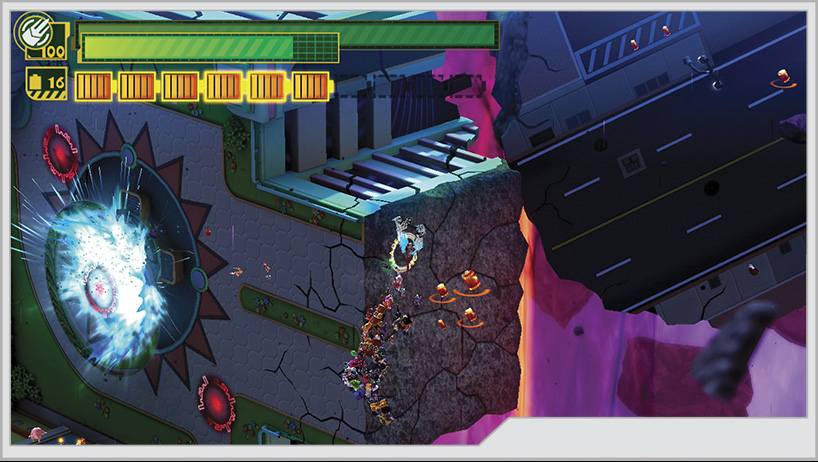
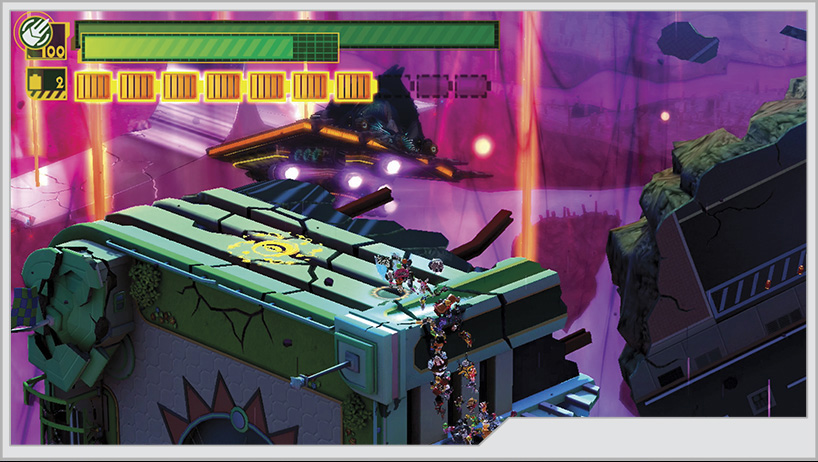
A Kahkoo-regah portal leading to Secret Mission 2 can be found on top of the wall currently being bombarded. Before you make the climb, send a Wonder-Liner into a hole just underneath the fountain on the wall to find a Platinum Coin. To climb up the wall and reach the portal, you’ll want to use the largest Unite Claw to help speed past and around incoming missile strikes. Climb straight up, then use a double-jump off the wall to get past the guardrail and reach the portal.
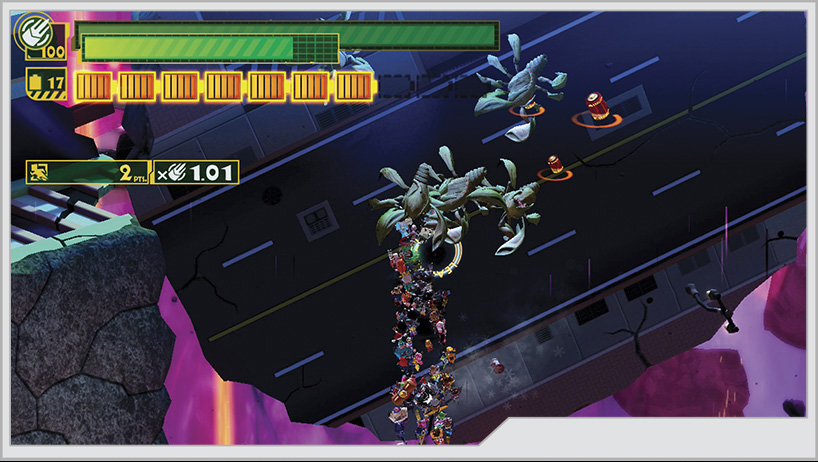
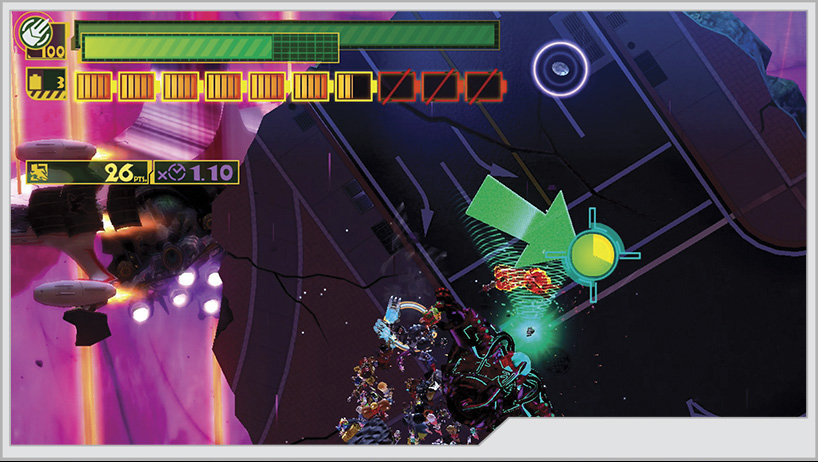
[5] On the second climbing section, a swarm of Mini-Dahkarts will attack you, while a Diedough-Goo ambushes you on the third wall. None of these battles are rated, so it’s possible to avoid combat here altogether. Make sure that you don’t miss the Platinum Coin at the top of the wall the Diedough-Goo teleports onto.
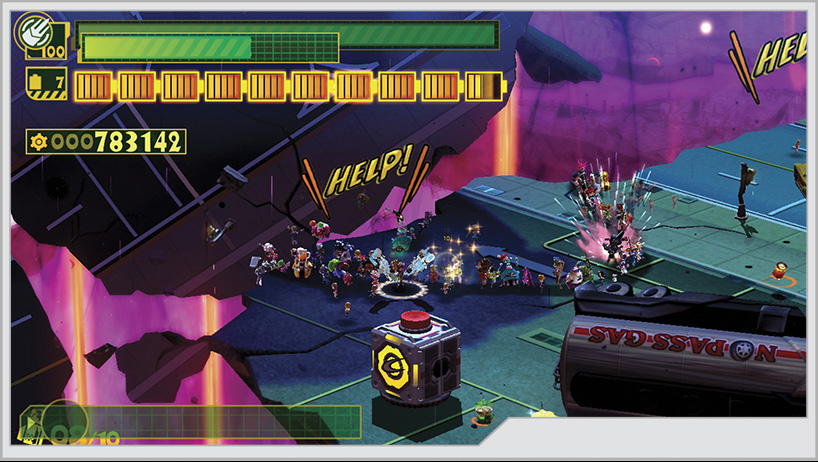
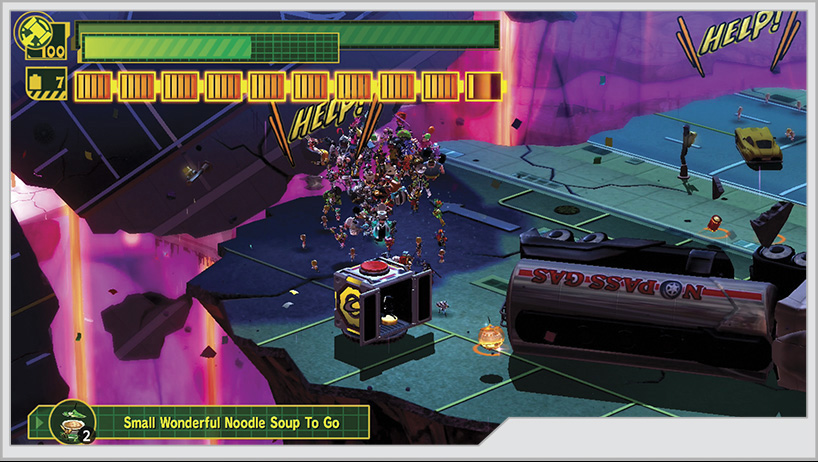
[6] The large island just after the climbing section has several collectibles, as well as Mission 3, but you can get to a number of these before starting the mission proper. Wonder-Fixit is hiding among a crowd of civilians near the last wall-climb section, and a yellow supply box just south of the hero contains Wonderful Figure No. 54.
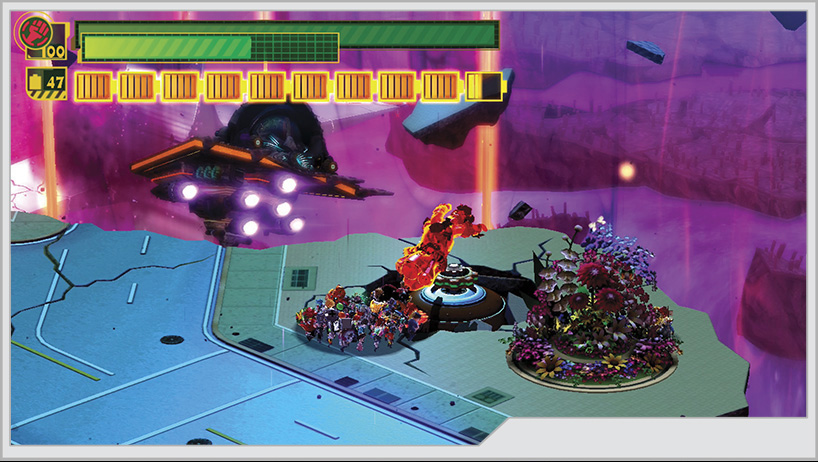
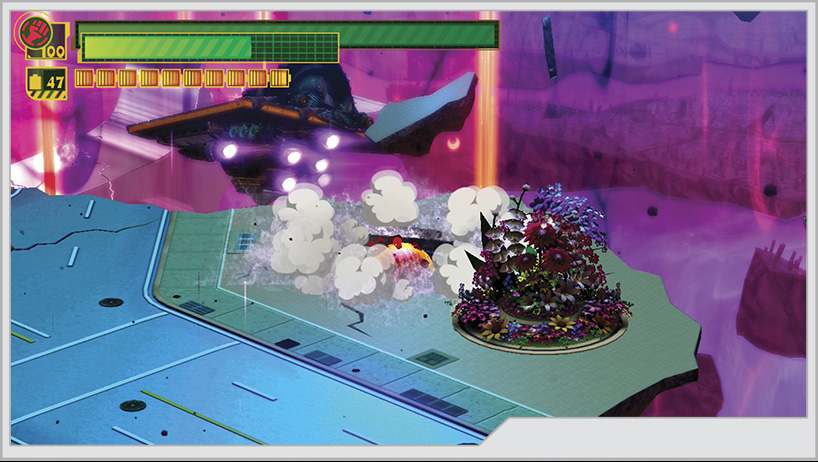
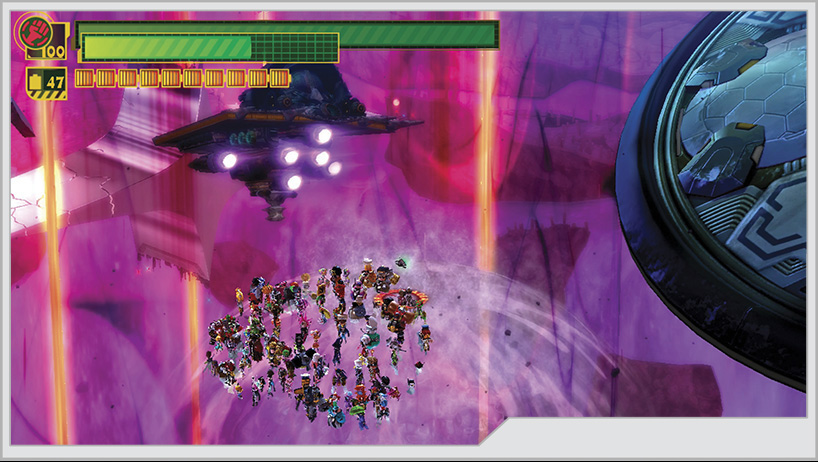
Toss the valve from the Hah-Gonay into its proper place, then twist until a water geyser explodes from it. Roll into the geyser with Unite Ball, and it will launch you high in the sky. Stay on course to reach a Hero Heart Fragment. You’ll land back on top of the geyser and can jump from it to what remains of the tower [7] you defended at the end of the second operation.
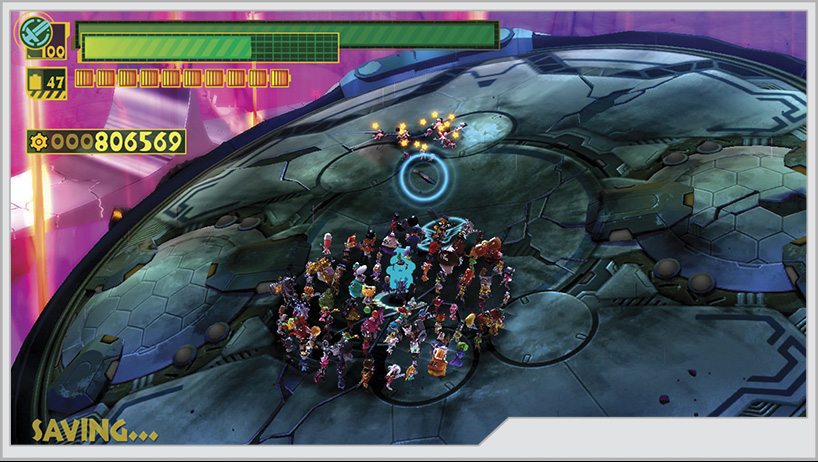
Circle the Wonder-Liner around the center of the tower roof to recover GEATHJERK File No. 31.
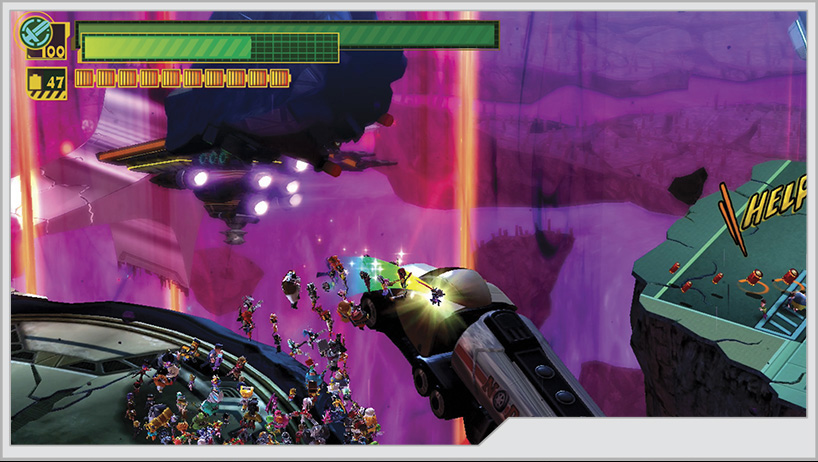
To reach the next mission, you’ll have to use a floating fuel tanker as a platform to jump from the tower onto the next island.
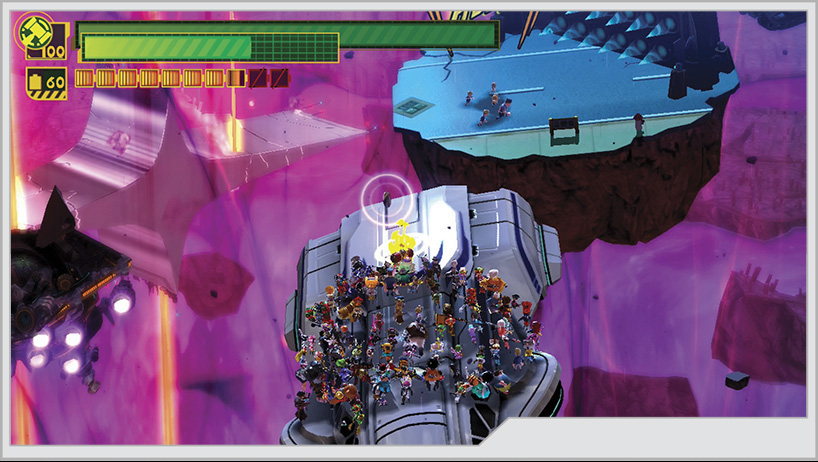
From the Mission 5 island, jump onto the Maglev car to the north, and Unite Hammer on the rear section to uncover a Platinum Coin.
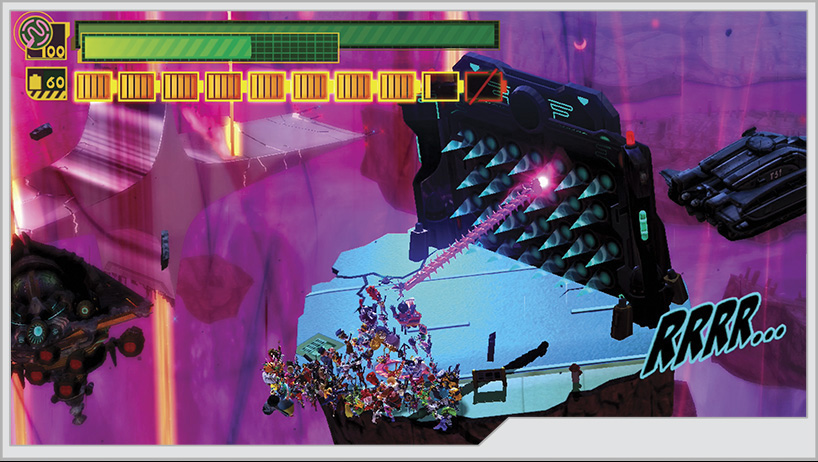
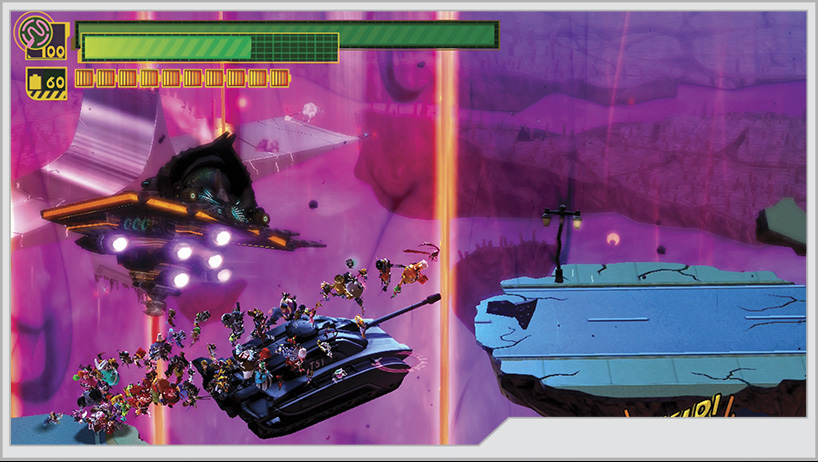
The next jumps away from the Maglev car can be a bit dicey. If you’re unsure about judging your position before or during the jump, you can always send out a Wonder-Liner to help line up the jump.
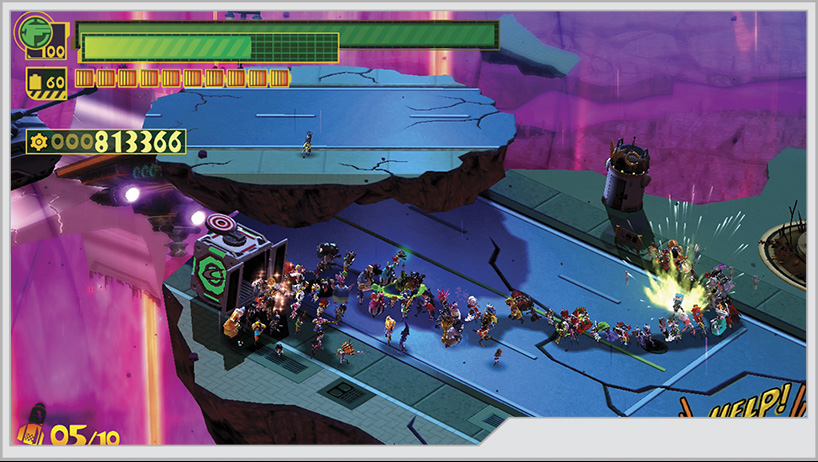
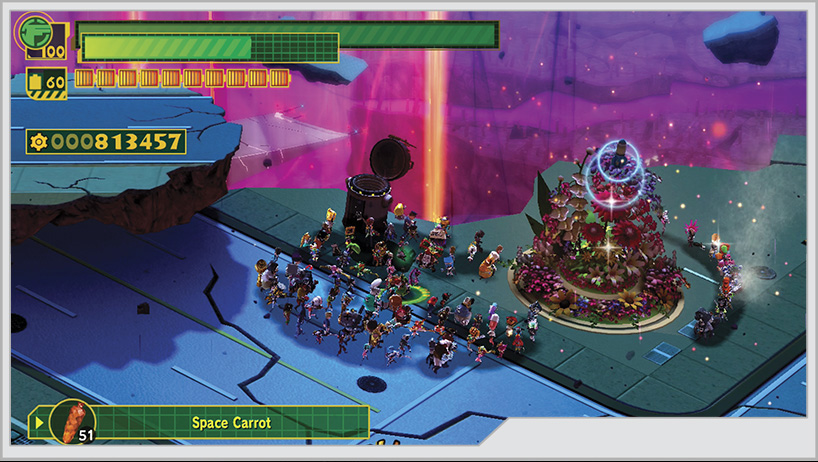
[8] The next large island has a green supply box with a Platinum Coin inside. Next to the box are more civilians, with Wonder-Vender hiding among them. There’s also a Wonderful Toilet and a flower bed close by, both of which contain useful food items.
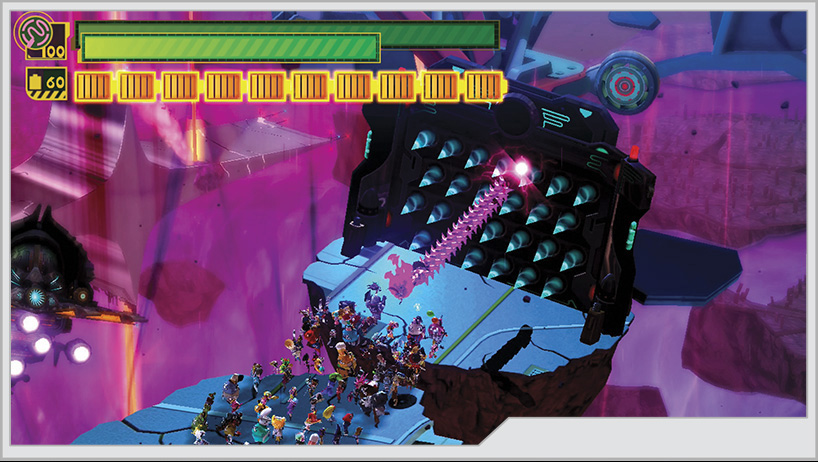
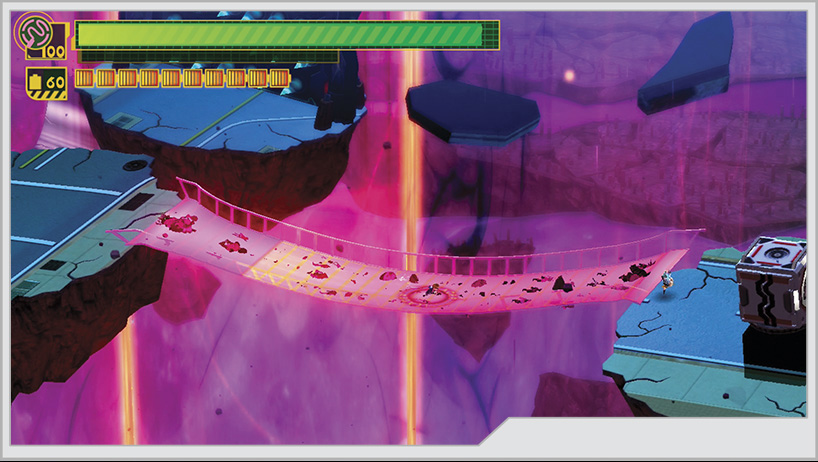
From the Mission 6 island, you’ll have to cross a set of smaller platforms, each blocked off by a spike barrier. For players on their first run-through, don’t forget to extend a Wonder-Liner off the side of the first island [9]. You can build a bridge from it to another smaller island where a white supply box awaits. Inside it is Wonderful Figure No. 38.
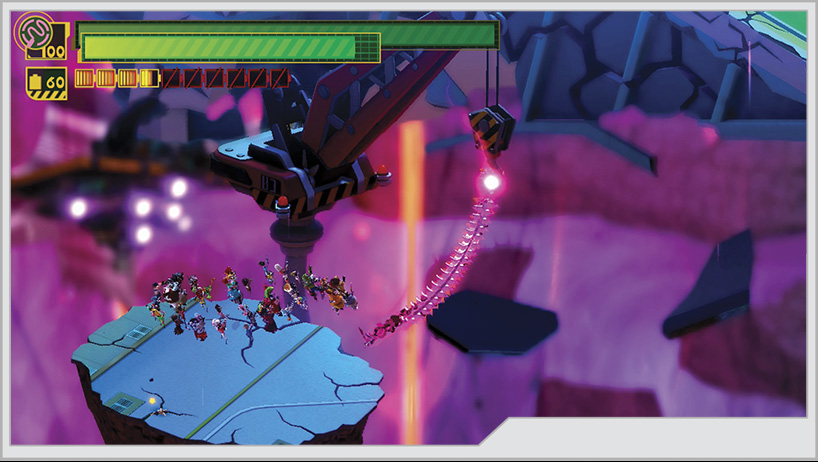
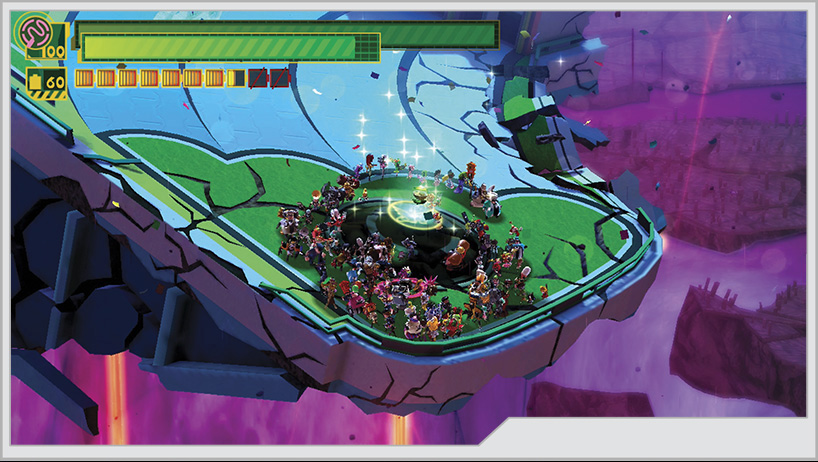
After busting through two spike barriers, you will have to whip-swing across a large chasm to reach the final island and the Wonderful Mart. If you aim slightly to the right, you can land on a flower bed that will provide some food once rejuvenated. When you’re ready, walk to the Wonderful Mart symbol to complete Operation 008-B.
Operation 008-C
Whether he wants to or not, Luka is coming back to the Virgin Victory. Hopefully the team can figure out a way to restore Margarita and hold off the GEATHJERK fleet before it pounds humanity into a carpet stain. There is the small task of wresting the child from the hands of Officer First Class Gimme, and he’s excited at the prospect of personally smashing your hopes to dust.
Medal Requirements
| Element | Platinum | Gold | Silver | Bronze | Difficulty |
|---|---|---|---|---|---|
| Time | 22:00 | 23:00 | 0:00 | 1:00 | Very easy |
| Time | 22:00 | 23:00 | 0:00 | 1:00 | Easy |
| Time | 22:00 | 23:00 | 0:00 | 1:00 | Normal |
| Time | 22:00 | 23:00 | 0:00 | 1:00 | Hard |
| Time | 22:00 | 23:00 | 0:00 | 1:00 | 101% Hard |
| Combo | 8000 | 6000 | 4000 | 2000 | Very easy |
| Combo | 8000 | 6000 | 4000 | 2000 | Easy |
| Combo | 12000 | 9000 | 6000 | 3000 | Normal |
| Combo | 15000 | 12000 | 9000 | 6000 | Hard |
| Combo | 18000 | 15000 | 12000 | 9000 | 101% Hard |
| Damage | 0 | 1000 | 2000 | 4000 | Very easy |
| Damage | 0 | 1000 | 2000 | 4000 | Easy |
| Damage | 0 | 1000 | 2000 | 4000 | Normal |
| Damage | 0 | 2000 | 4000 | 8000 | Hard |
| Damage | 0 | 2000 | 4000 | 8000 | 101% Hard |
Enemies Present (All Difficulties)
Cough-Foon, Dough-Goo, Chew Dough-Goo x3, Dahkarts, Megang x2, Hah-Gonay, Doora x2, Ankho, Turrets x4, Giga-Goojin
Phase One
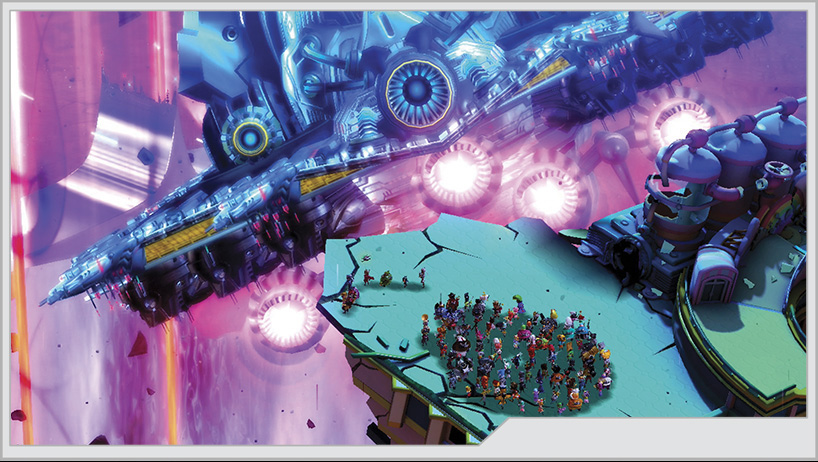
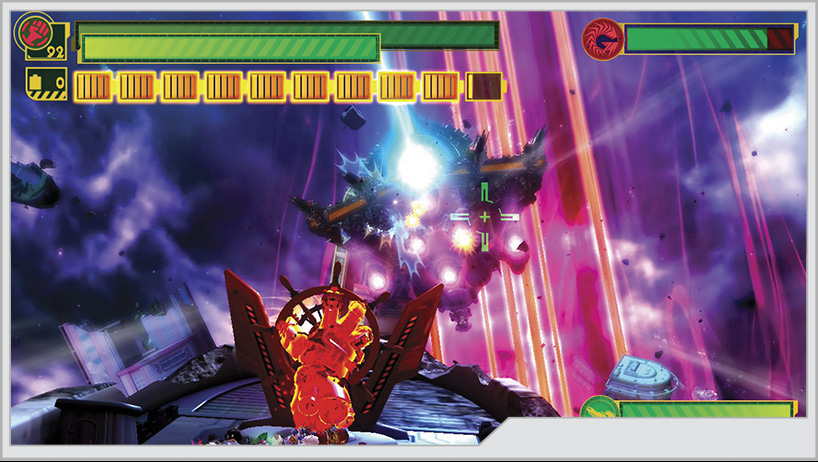
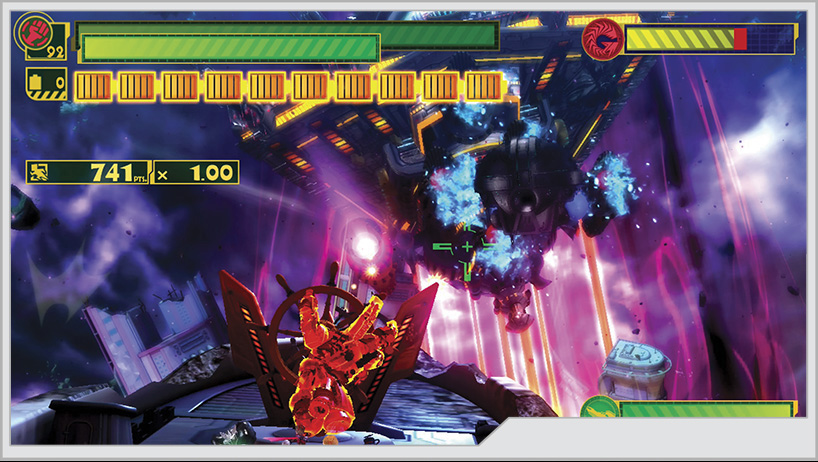
After the union-mandated pre-battle expository taunting, Gimme’s ship flies off to finish off Mother Platinum, while Wonder-Red activates Unlimited Form. You’re prompted to take the Virgin Victory’s wheel to chase the enemy down.
Dodging the debris from buildings shattered by Gimme’s weapons, you have to use the Virgin Victory’s guns to shoot out the engines of Gimme’s ship. You can accelerate to get closer and guarantee your shots will hit home, but that puts you in danger of taking hits from the Cough-Foon that swoop into the area to fire their lasers.
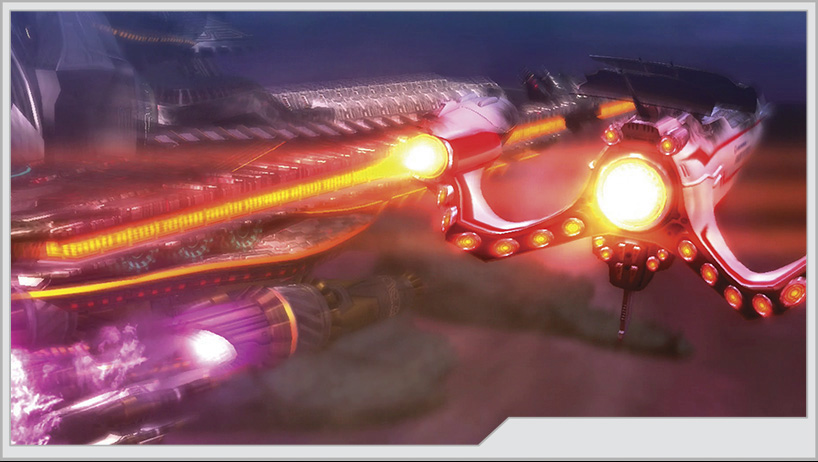
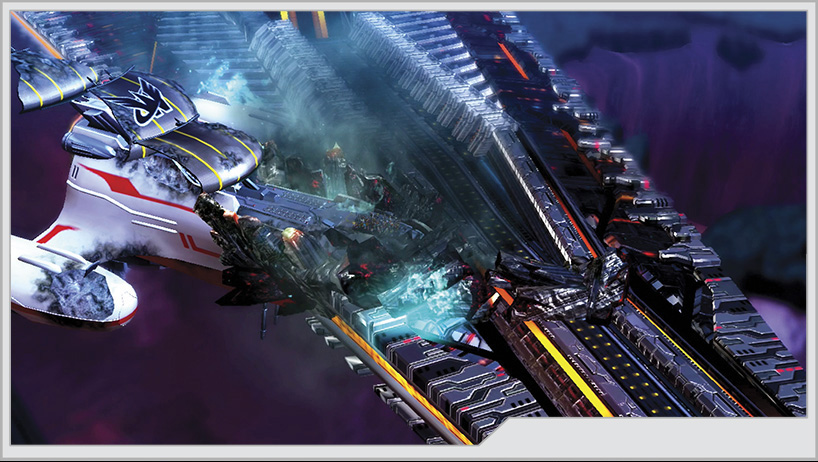
Once you’ve shot up all of Gimme’s engines, you’re prompted to “tackle” the ship by accelerating right into it. After two impacts, the Virgin Victory becomes lodged onto part of the ship’s hull, and the team boards the GEATHJERK vessel.
Phase Two
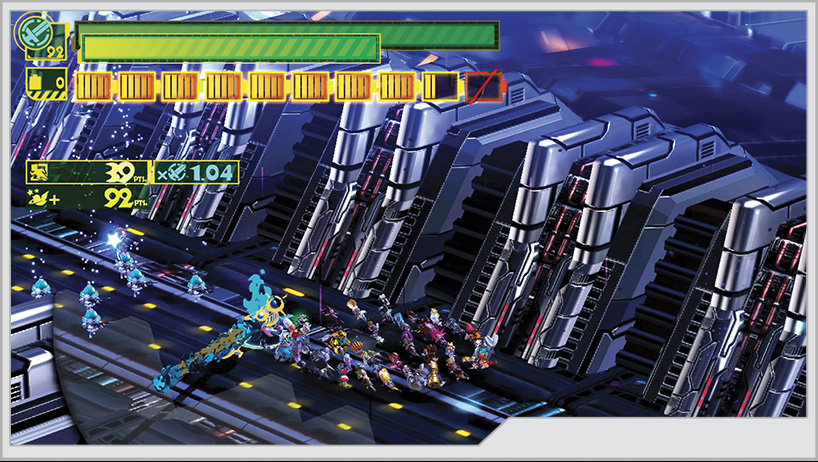
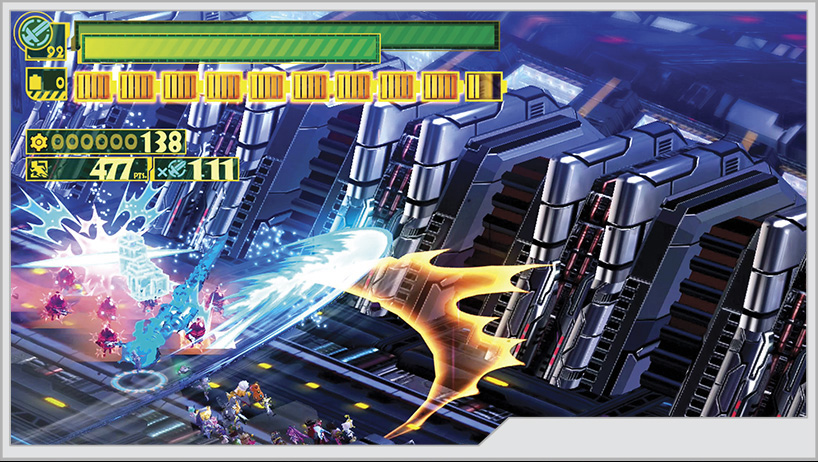
Retreat is no longer an option until the Virgin Victory gets its own engines up and running. Charge forward through the narrow trench, fighting your way past two squads of Dough-Goo.
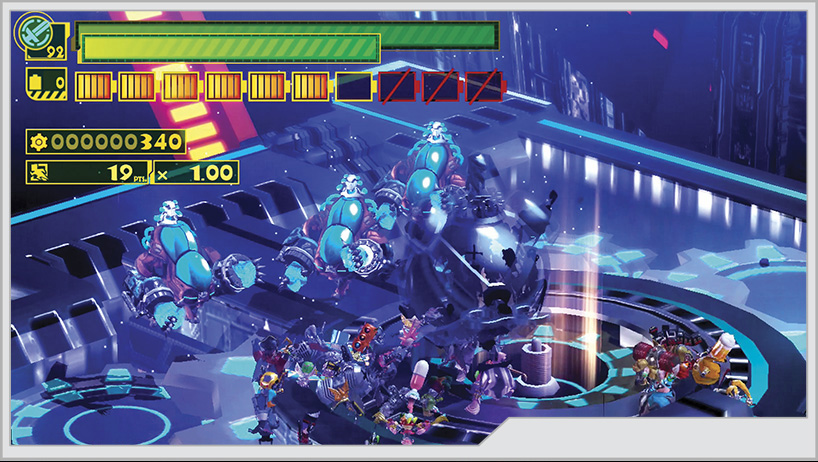
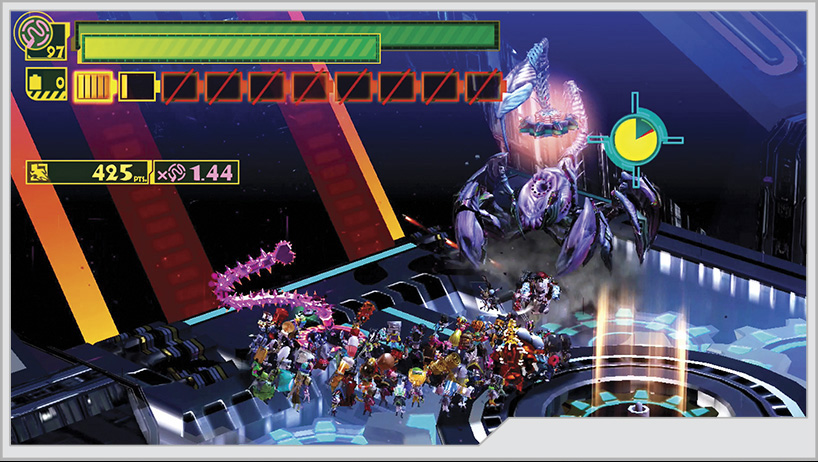
You eventually reach what appears to be a dead end, with a trio of Chew Dough-Goo waiting for you. When they are beaten, a Dahkarts teleports in to take their place. Destroying it will grant you access to a valve that you can place at the center of the deck. Rotating it will lift the deck elevator to the next level on the ship.
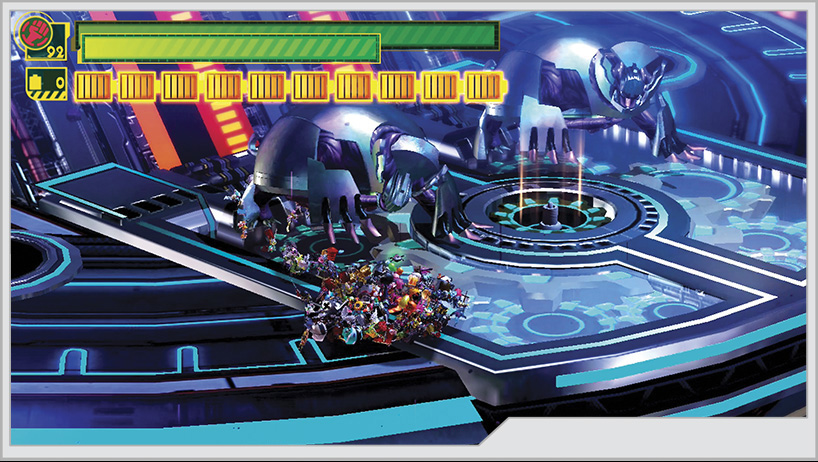
Soon after you arrive on the second level, the valve self-destructs, and two Megang show up to ambush you. Once you defeat the Megang, a Hoh-Ganay appears. The Hoh-Ganay drops a replacement valve for you to move the deck elevator up another level.
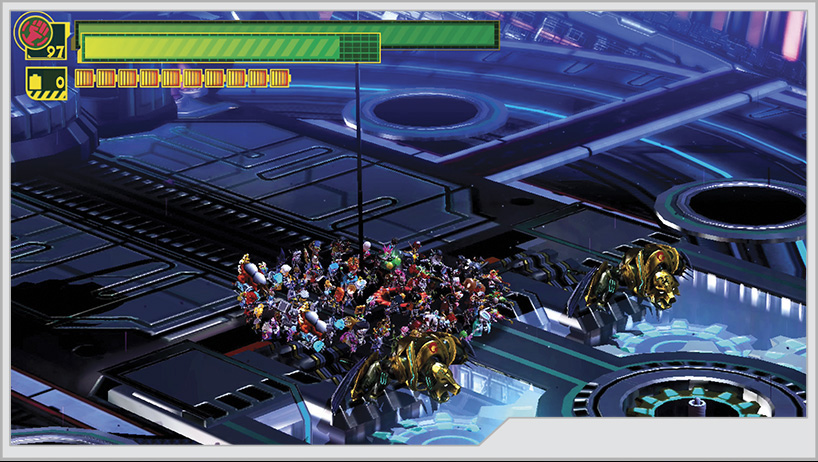
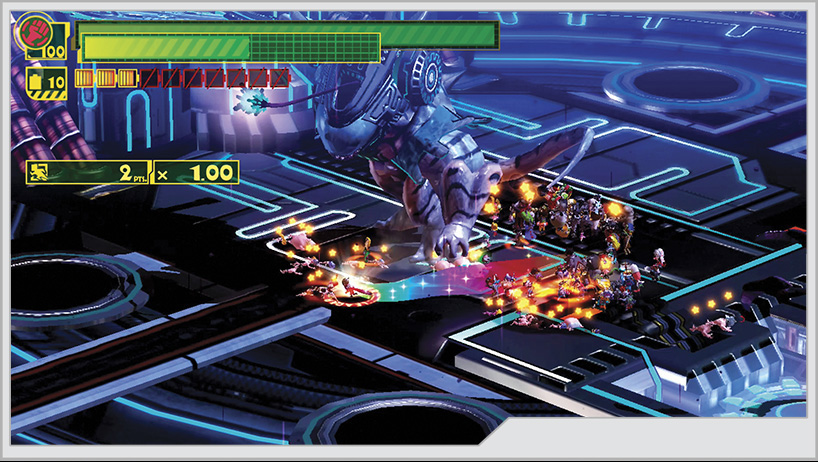
Following another round of verbal jousting and melodrama, Gimme summons a pair of Dooras to attack you. Shortly after you dispatch them, an Ankho makes its presence felt.
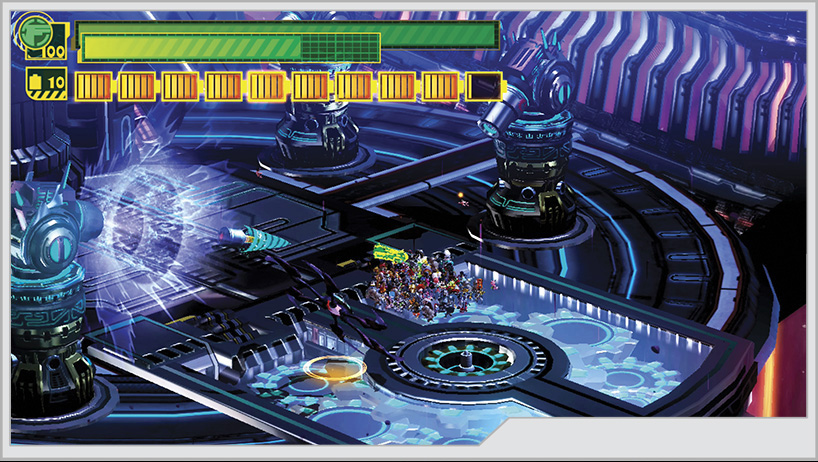
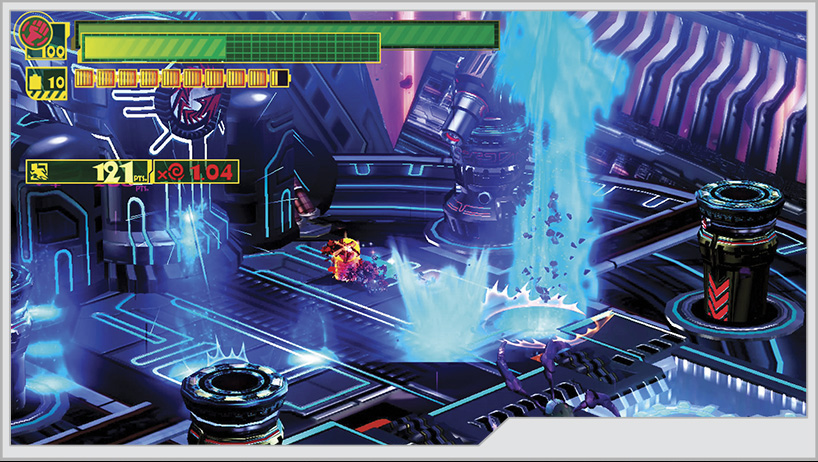
With the Ankho no longer in the picture, four pillars rise around the deck elevator, each armed with a cannon, and a laser beam traces a line of destruction on the ground. Moments after the laser passes, flames erupt in its wake. Stay mobile to avoid taking direct hits, and concentrate on destroying the turrets. Keep in mind that even if the turrets are destroyed, the pillars will still fire lasers at you.
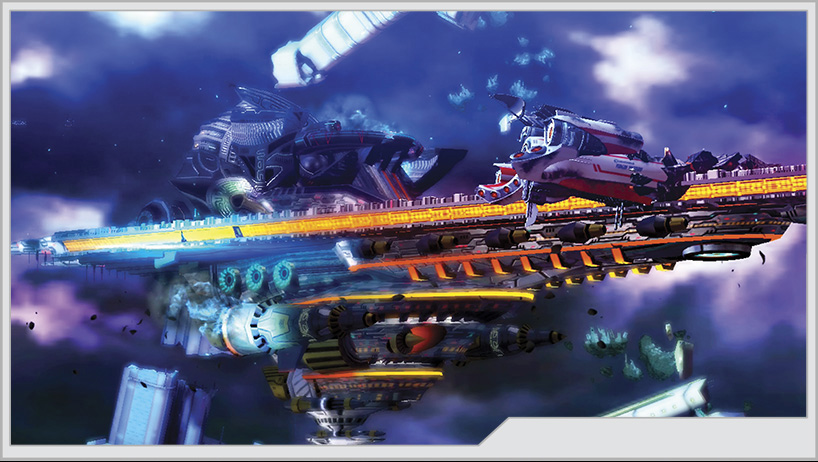
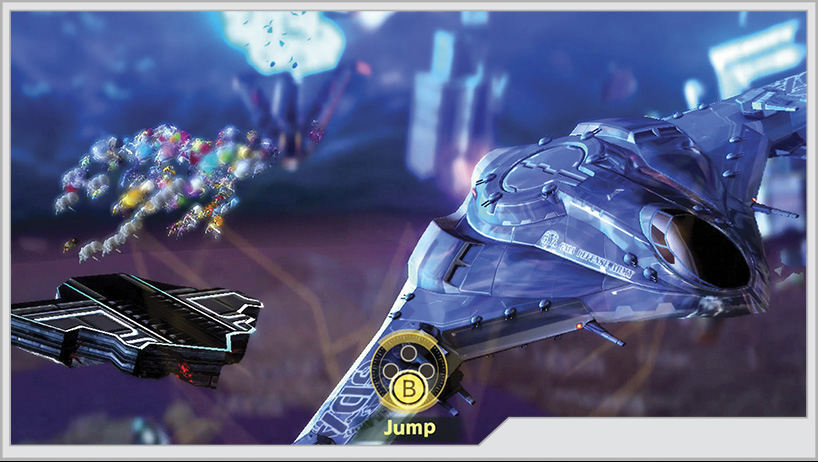
As you wipe the turrets out, Unite Hammer the pillars back inside Gimme’s ship. This causes catastrophic damage to the ship, and as it collapses, you’re forced to Wonder-Jump to a passing GDA fighter commandeered by Immorta.
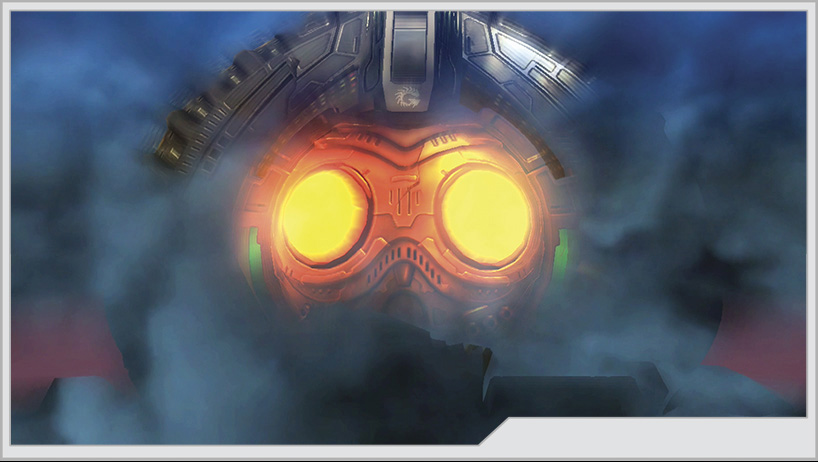
The loss of the ship doesn’t appear to have slowed Gimme down a whole lot, though.
Phase Three
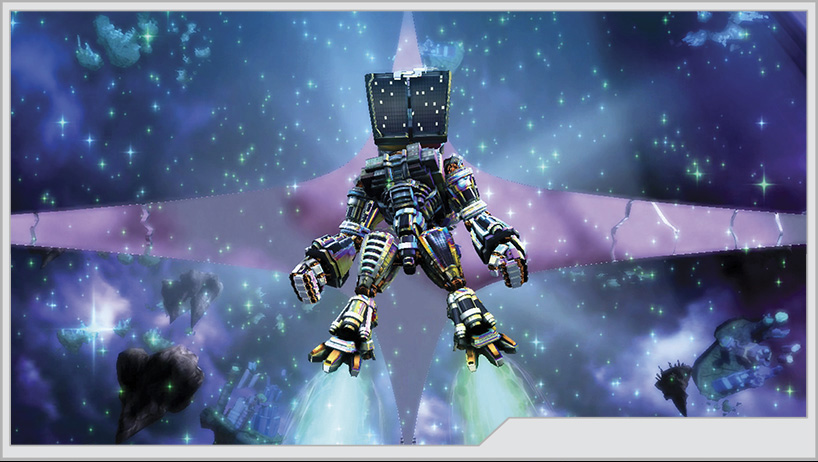
A series of events places you in command of the Platinum Robo, the one combat machine available that can stand up to Giga-Goojin. The stage is set for another exciting boxing match!
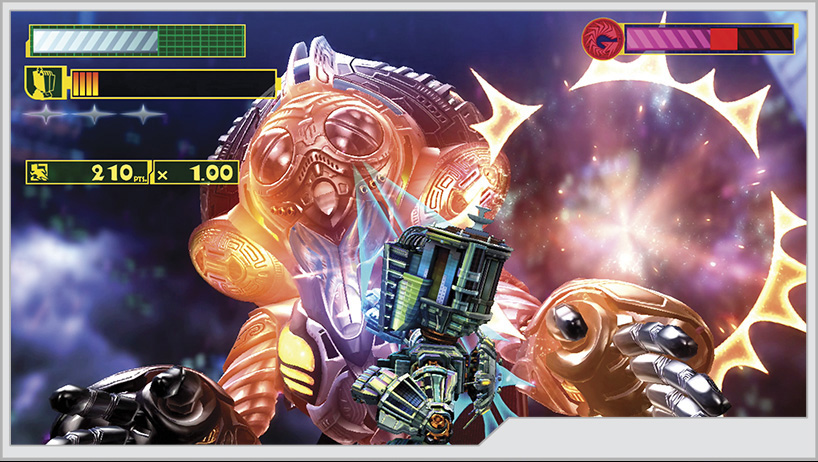
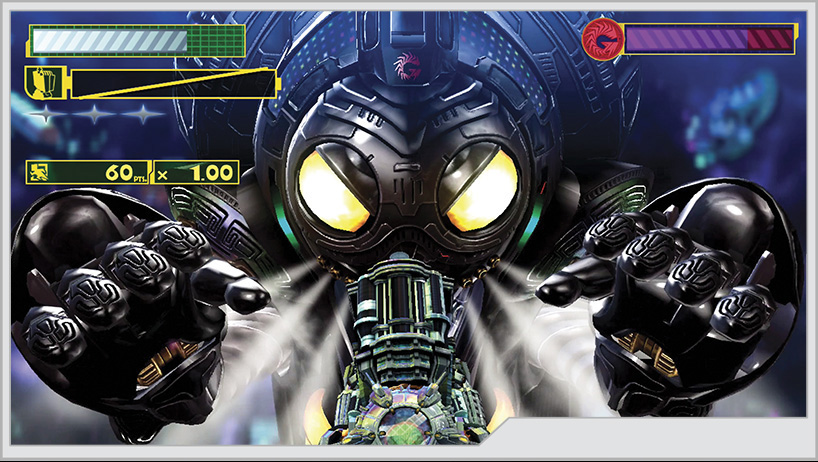
Fundamentally, this fight is very close to fighting Wallgah-Goojin. Giga-Goojin has the same basic punches and kicks that Wallgah-Goojin had, a counter-headbutt, and the ability to fire lasers from its eyes as opposed to its mouth. Giga-Goojin’s kick arsenal is slightly expanded, adding a faster set of straight kicks.
As with the fight against Wallgah-Goojin, Platinum Robo has the ability to gain stars to build up a KO Punch and can build up a Special Laser meter to further punish Giga-Goojin should you manage to stun it. You can still cross-counter punches from Giga-Goojin, setting up opportunities for Special Lasers or KO Punches.
However, in addition to being a stronger and faster fighter, Giga-Goojin is definitely calmer and more precise. There will be times during the fight where he simply does not attack and waits for you to initiate. He’ll still try for a hopeful drill uppercut every now and then, but you’ll typically see it more often during moments when you’re dizzied.
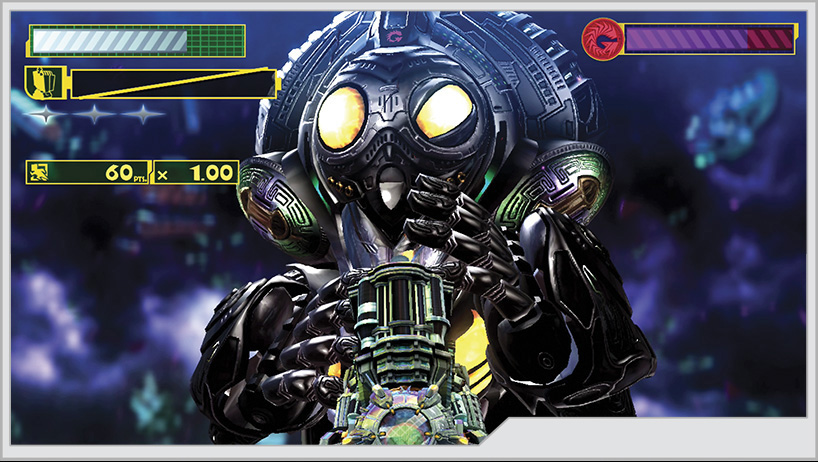
As with the Wallgah-Goojin, Giga-Goojin has “tells” on his face that let you know what punch he’s going to hit with. Watch the large bulbs on his forehead and the eyes on his face to determine what fist is headed your direction. Of course, for larger punches like uppercuts or low blows, he’ll throw his body into the windup for the punch, and that will be your only tell before he cuts loose.
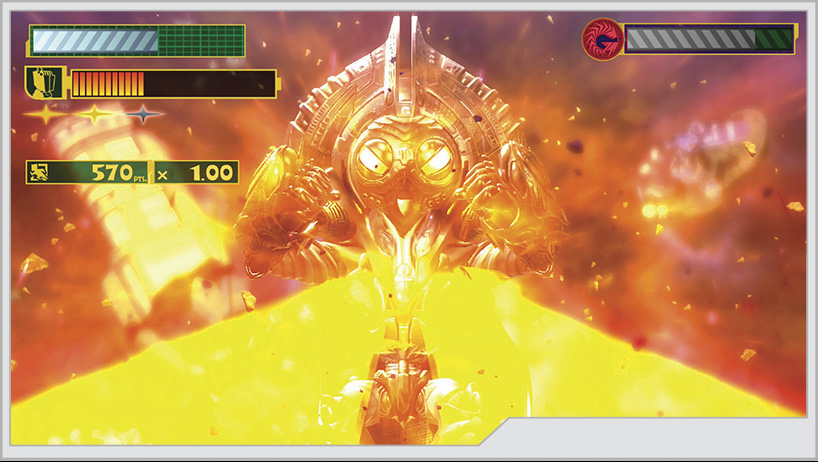
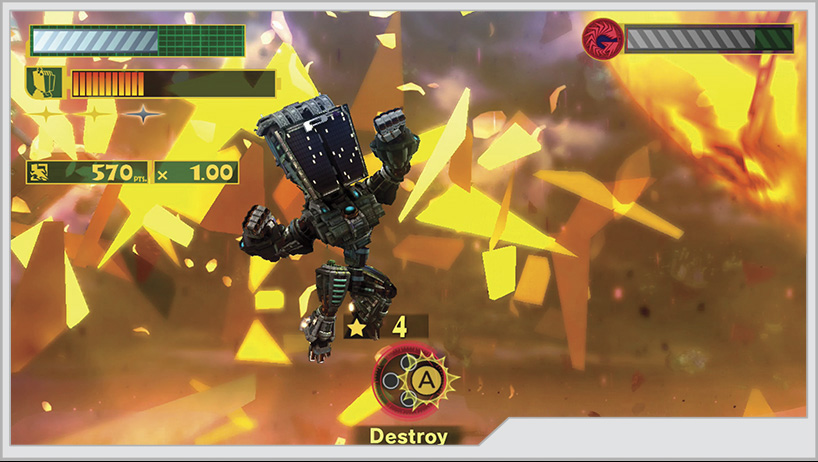
After draining through a large chunk of Giga-Goojin’s overall health, an event occurs where he fires a hard-light laser beam that you must punch your way through before delivering a colossal blow. This thoroughly upsets Gimme, and he takes things to the next level.
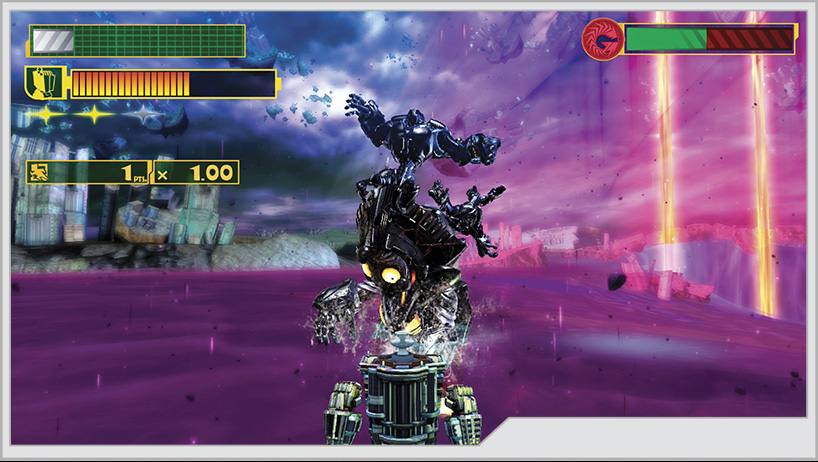
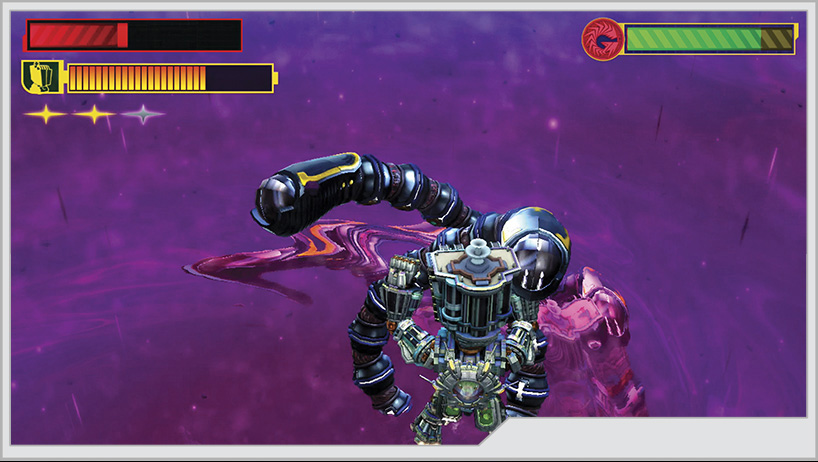
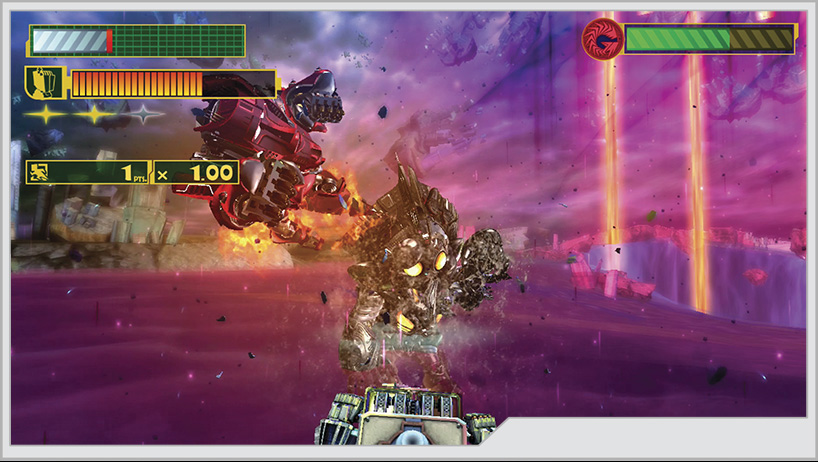
Giga-Goojin starts using many new attacks. He’ll start throwing hapless Gah-Goojin and fireballs at you and even summon a horde of tentacles from the waters below to try and grab on to you. You can punch aside the Gah-Goojin and even punch the fireballs right back at Giga-Goojin. The tentacles should be avoided at all costs by dodging to the side just before they come out of the water.
If the tentacles do grab on to you, follow the onscreen prompts to escape, and do this as quickly as possible.
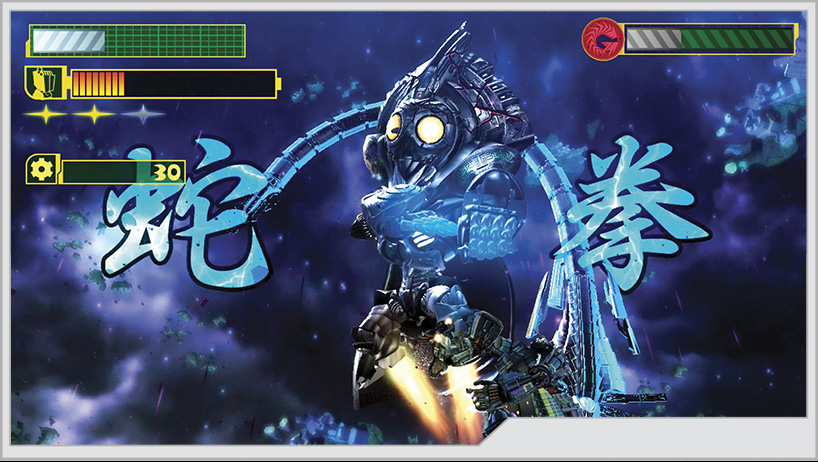
Of all the attacks Giga-Goojin gains during the second half of the match, the most frustrating is the Kaizor Diejeah. He will hover in the sky, symbols lighting up the screen, and wave an arm to the left, right, or straight down. The snake orbiting behind him will suddenly rush at you from either side of the screen or from above, following the order of his arm movements at roughly the same intervals. Blocking these is not an option, as eventually your guard will break. To avoid any attacks from above, you can sidestep, but the attacks from the side can only be cleanly dodged by jumping straight up with the correct timing. If there is an attack that will ruin a Pure Platinum run on this boss, it is this.
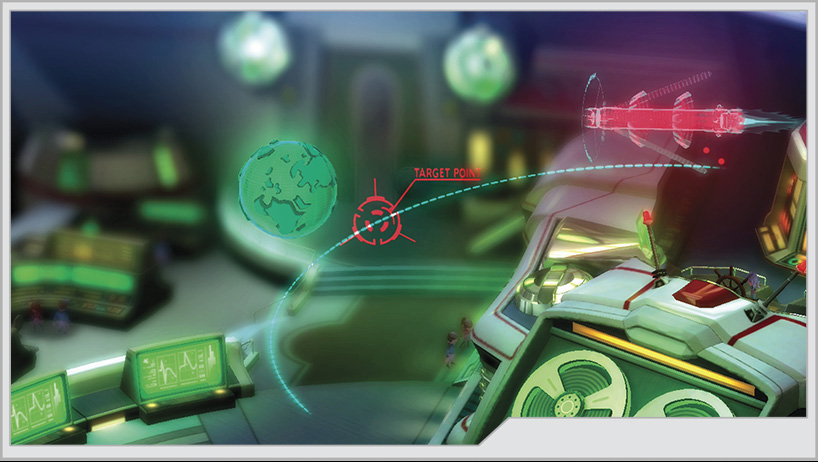
The fight is over once you manage to drain all of Giga-Goojin’s health. Prepare for shocking revelations, and the sounding of the horn that heralds the apocalypse. Could your efforts up to now have been for naught? Is humanity well and truly doomed? More importantly, was the statement “The impossible is possible when you’re Wonderful, baby!” a lie all along?!