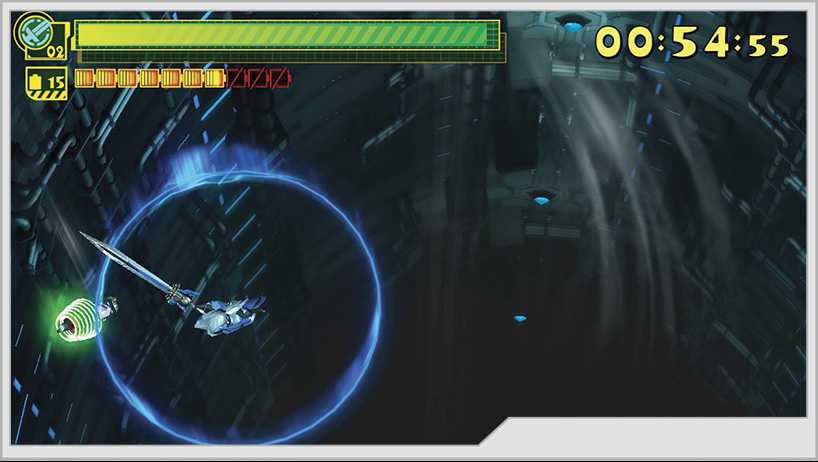
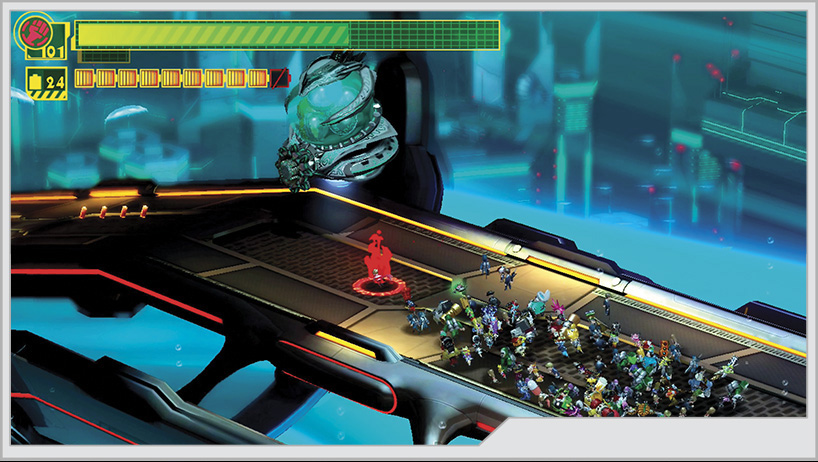
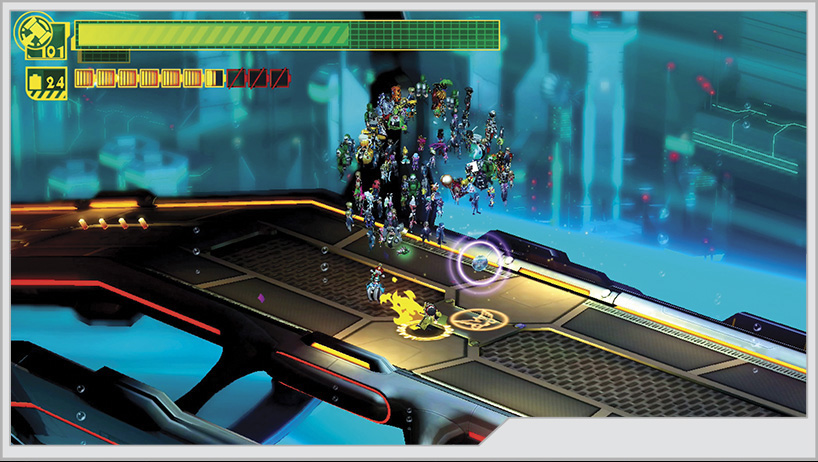
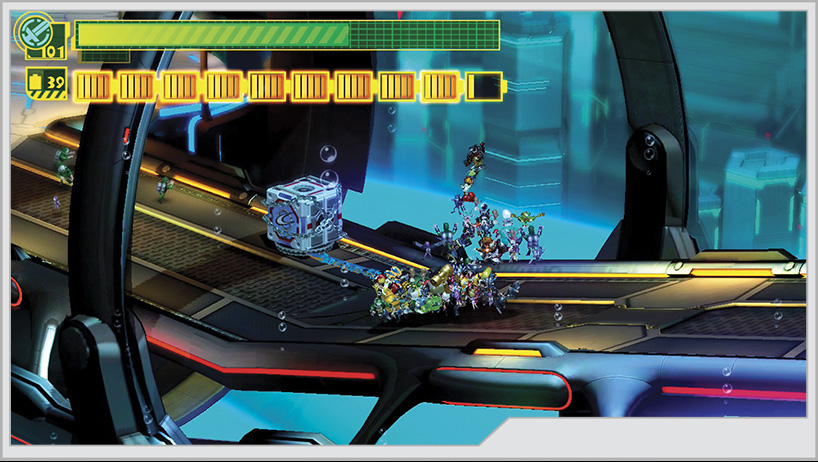
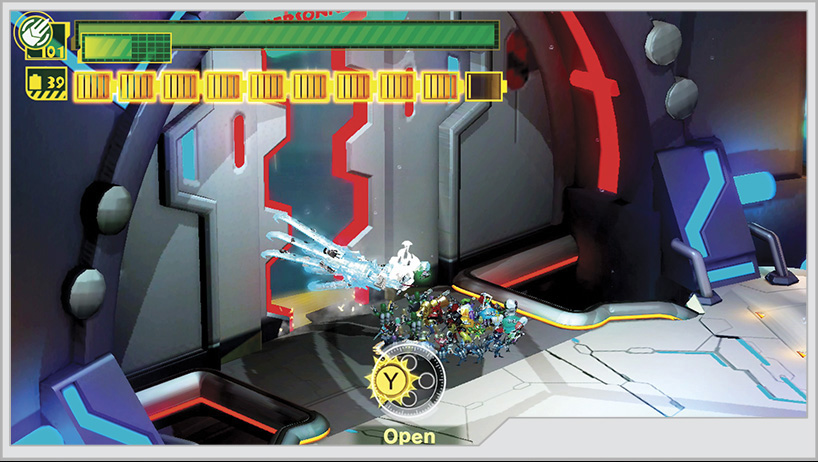
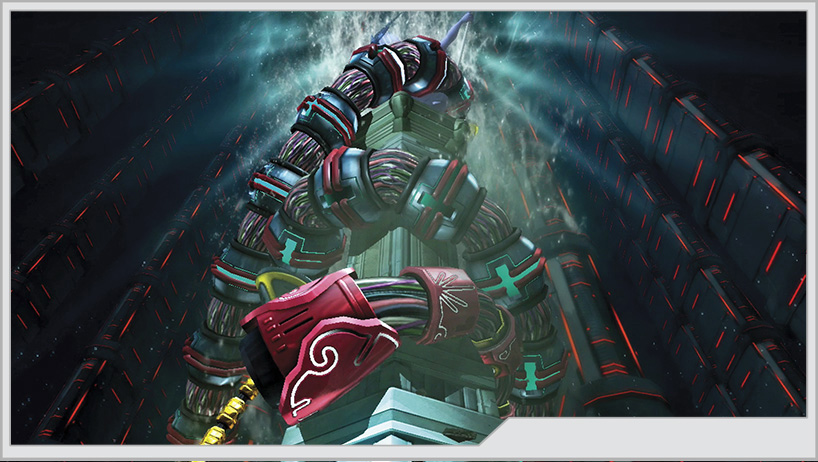
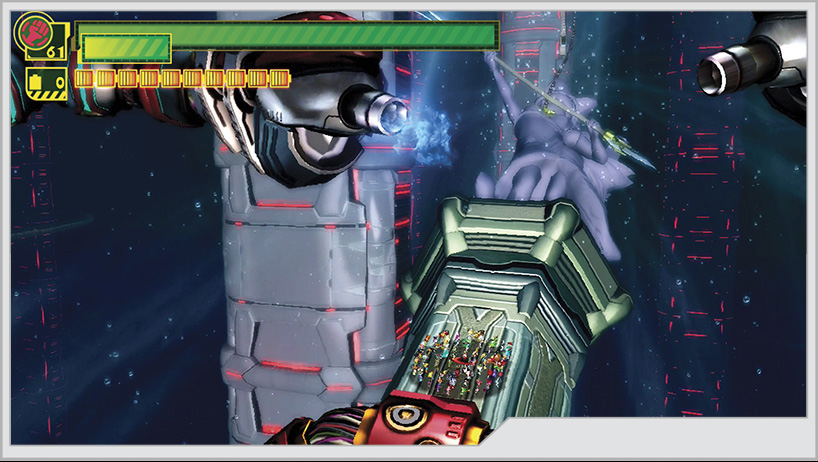
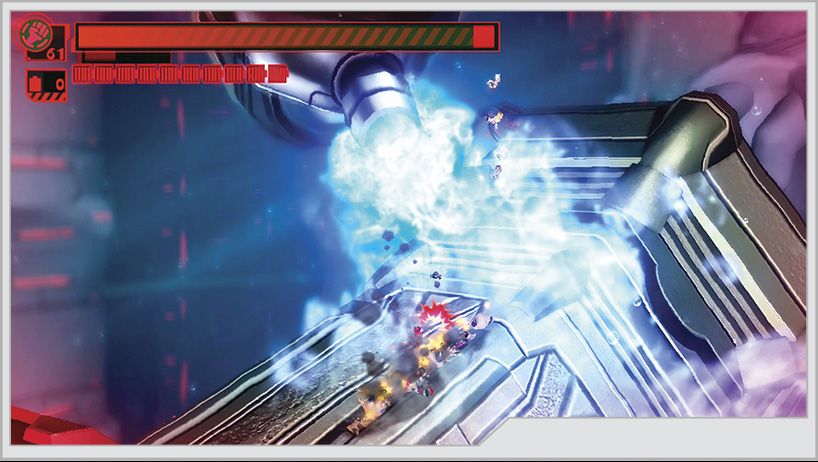
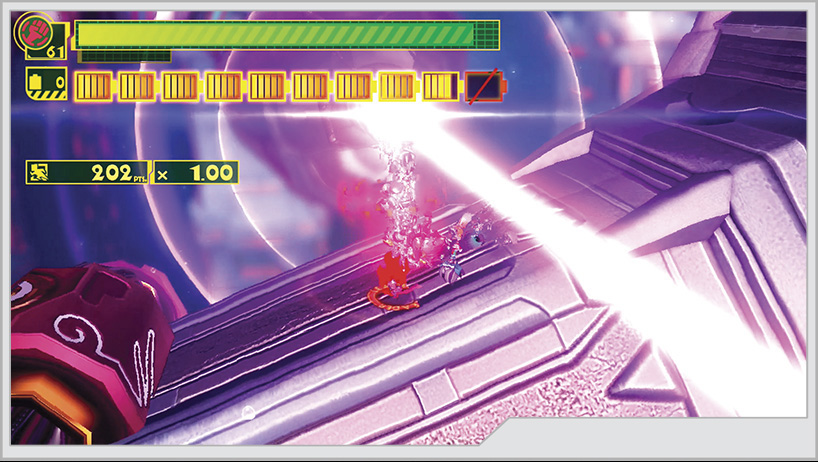
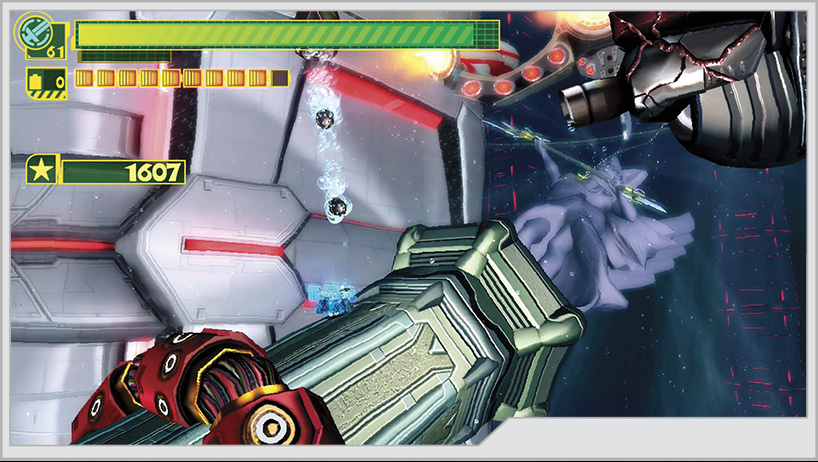
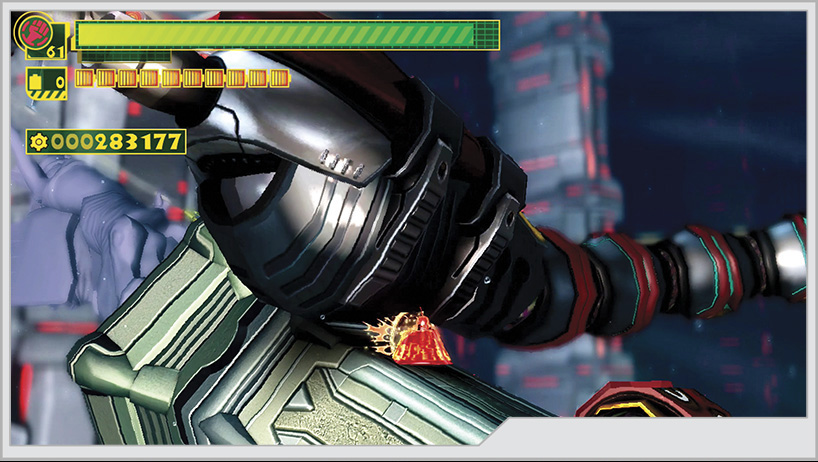
The ocean metropolis of Neo Mu is the secret home to another of the five Super Reactors powering Margarita. Recent events have led Commander Nelson to believe that the GEATHJERK have indeed compromised the locations of all the reactors and that direct attacks on the remaining reactors are imminent. The Wonderful 100 are being deployed to Neo Mu to put a halt to just such an attack. Failure now would mean Earth will not be able to hold out until the Shirogane Comet, the final weapon, is in position to annihilate the enemy forces in orbit.
Operation 004-A
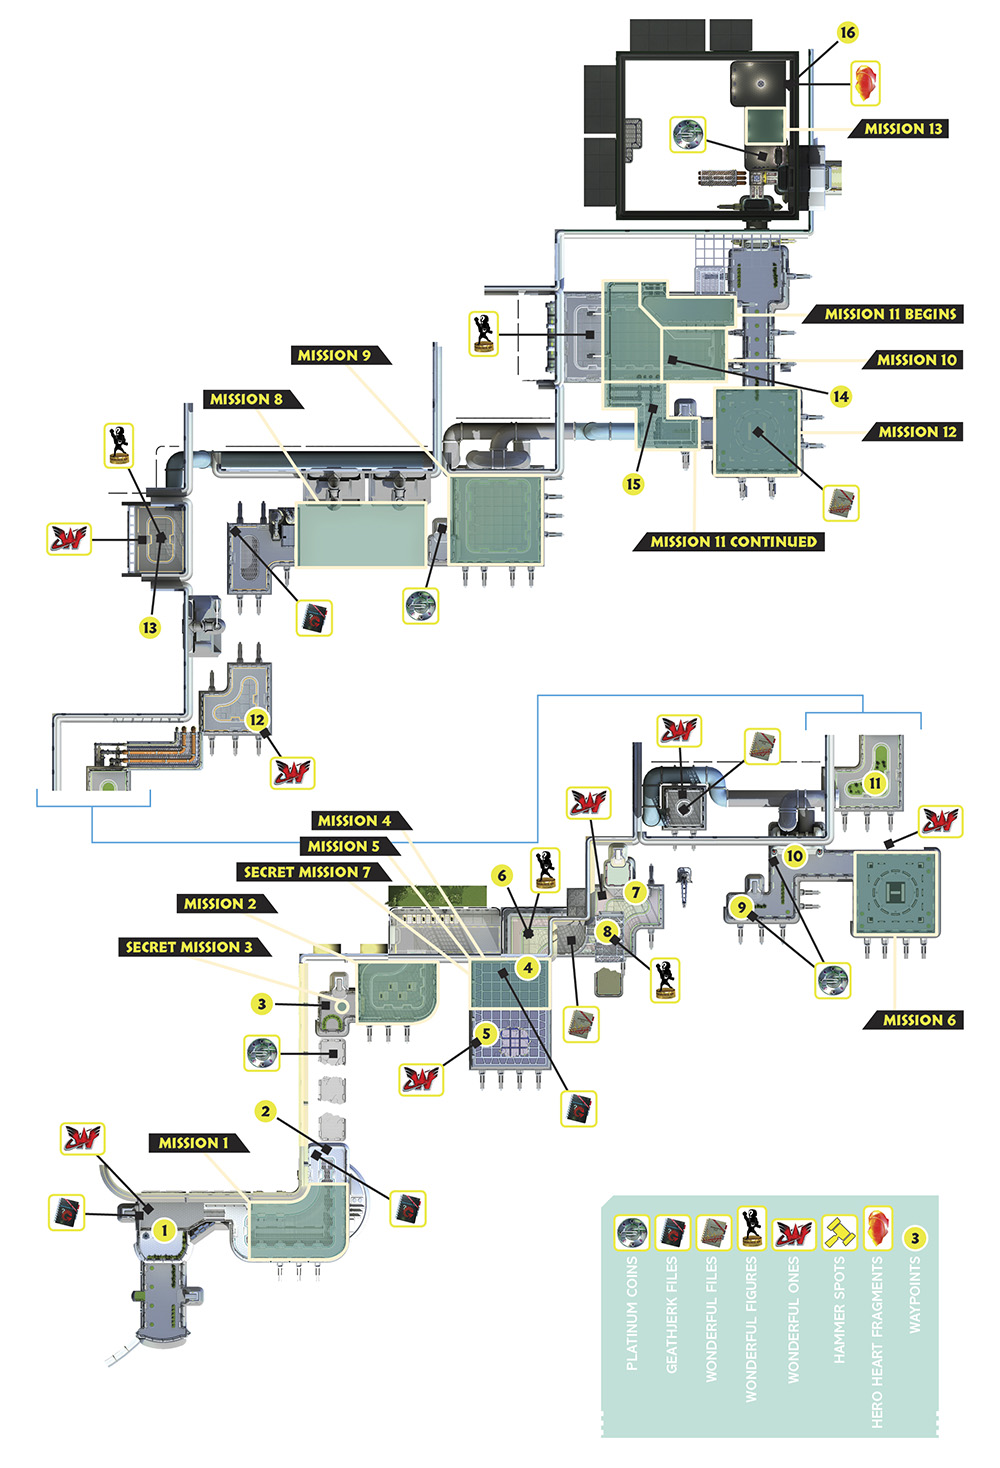
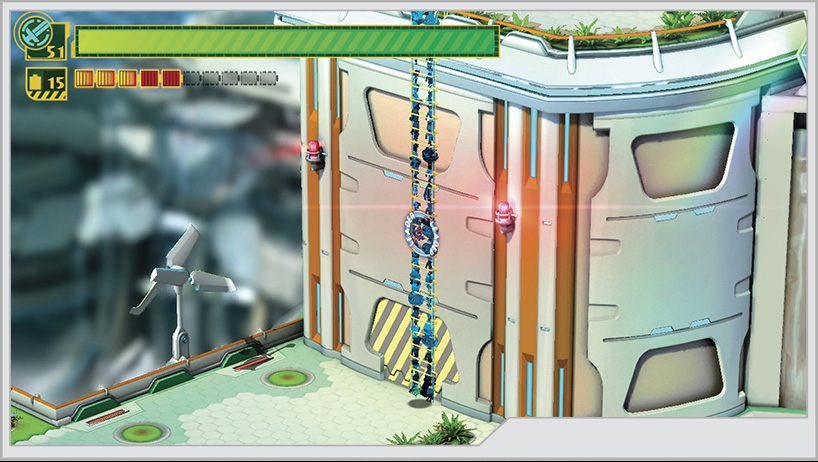
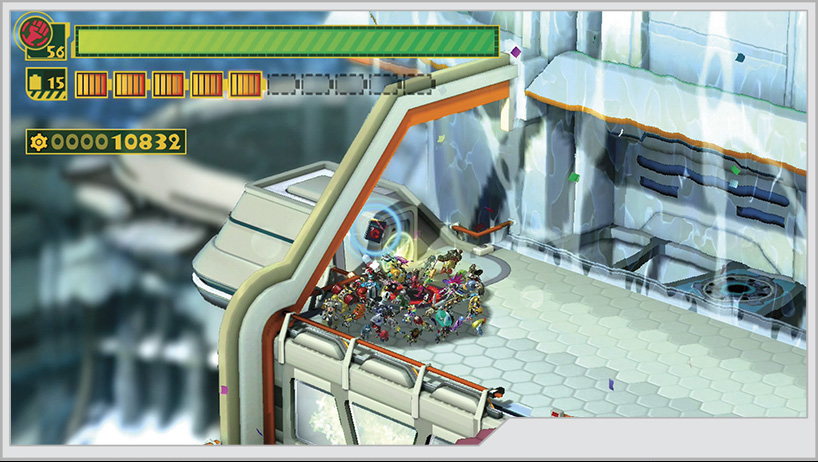
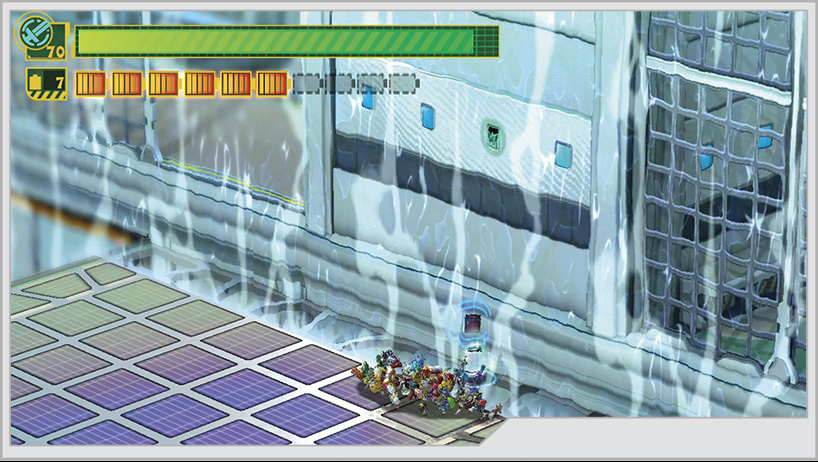
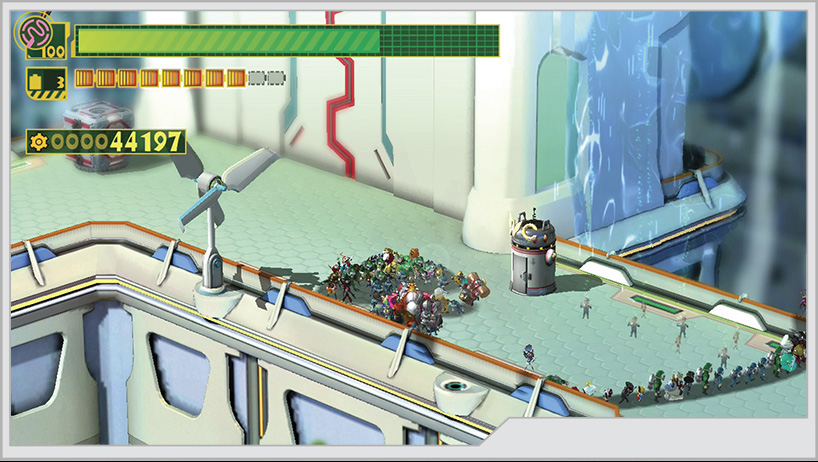
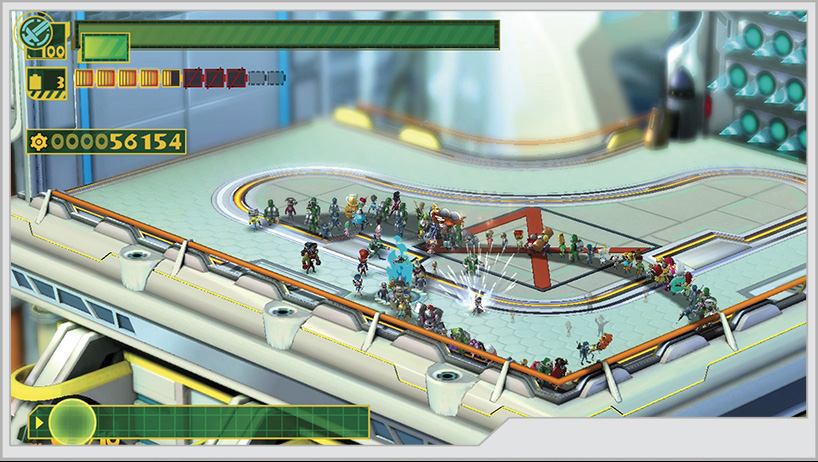
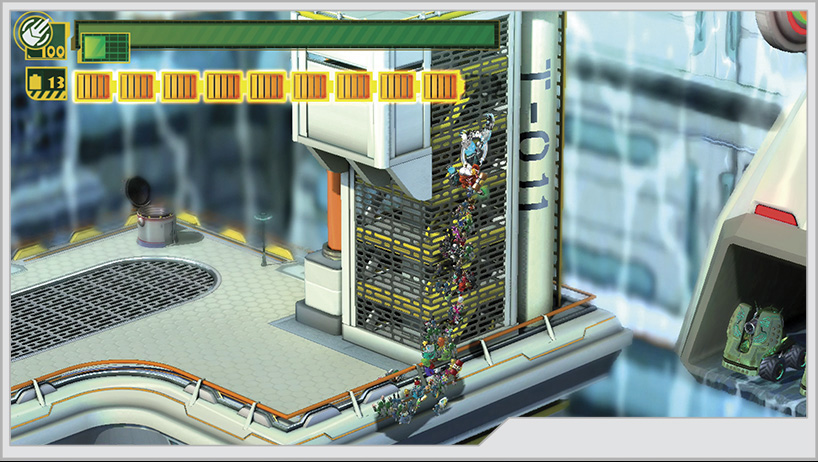
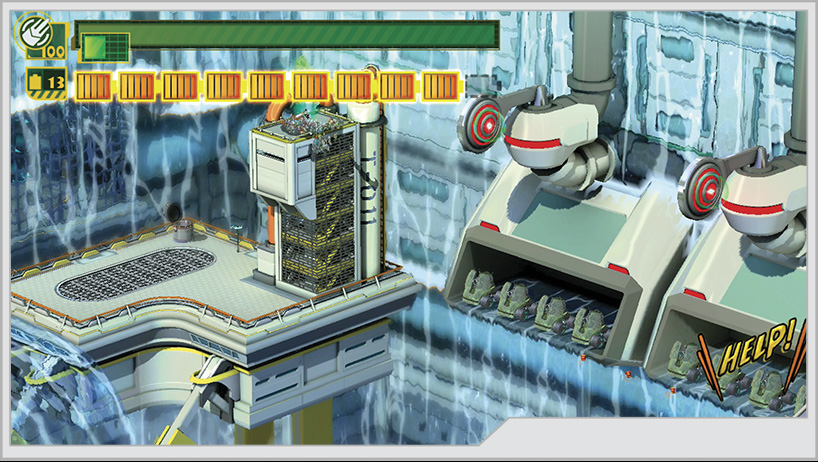
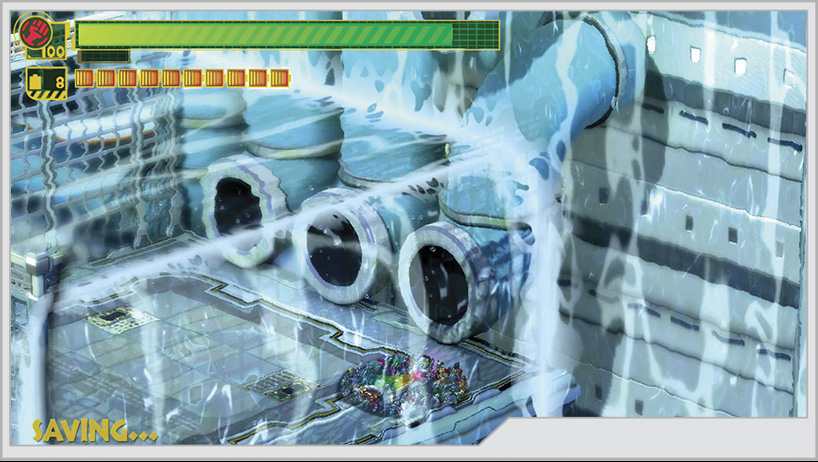
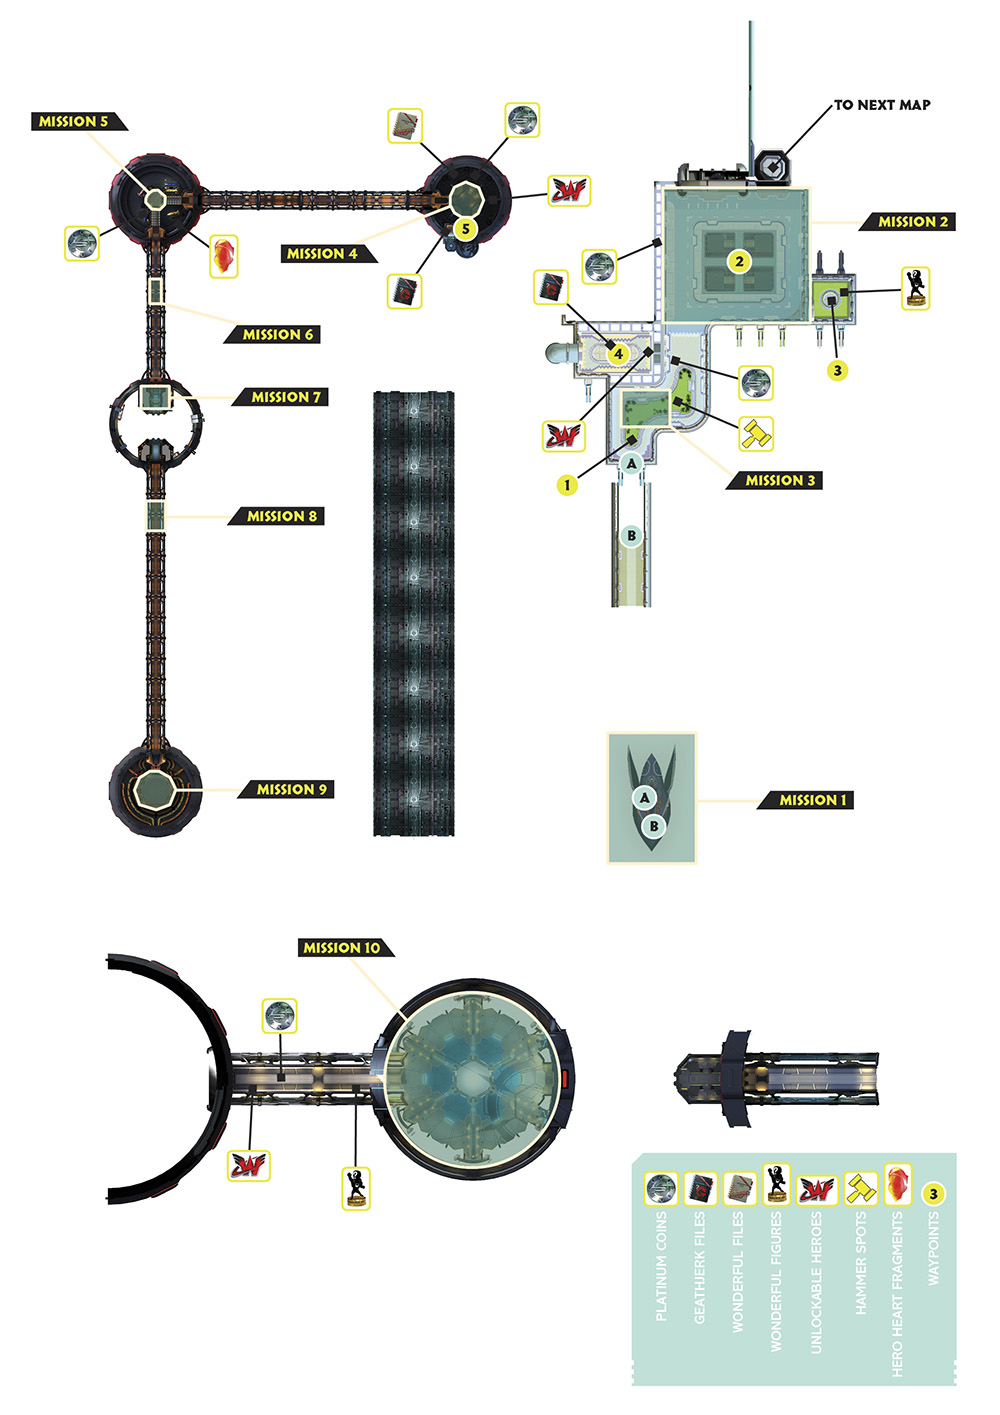
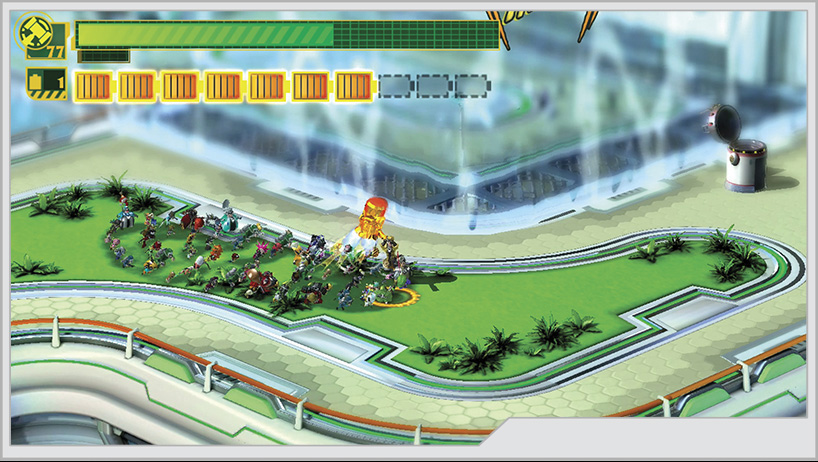
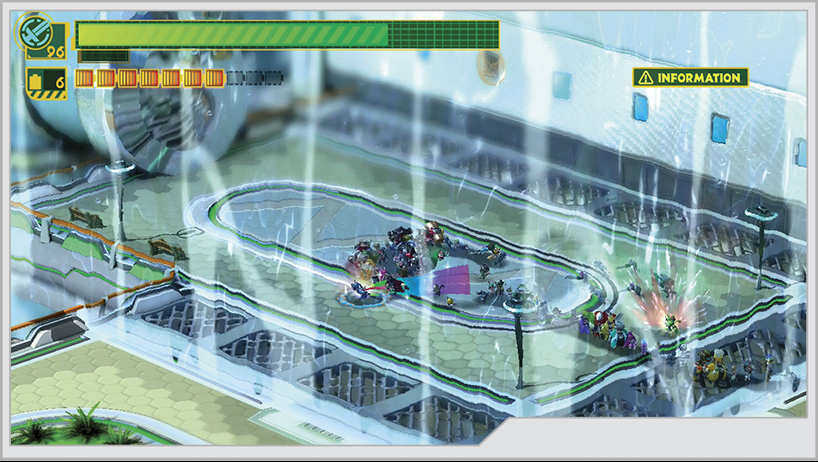
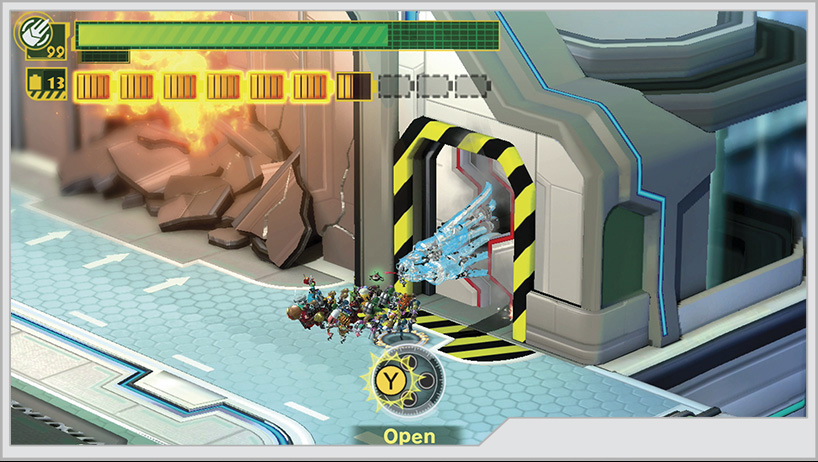
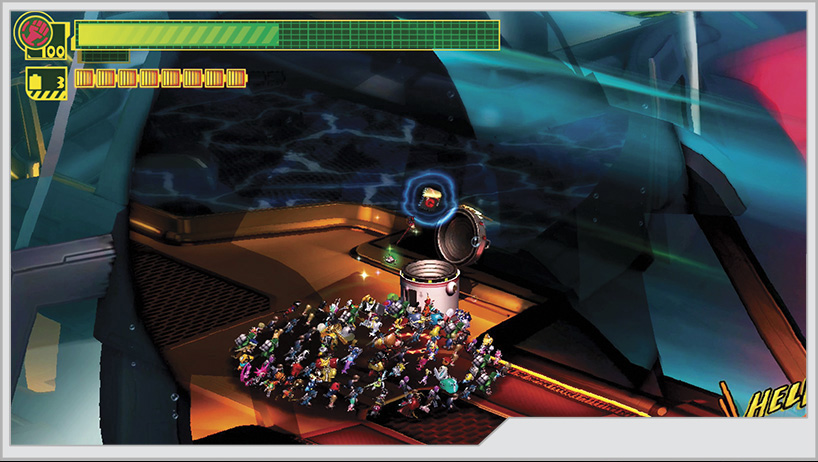
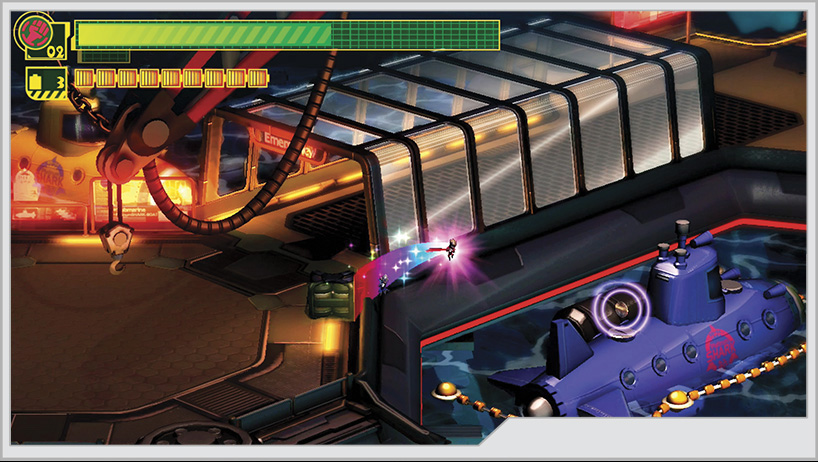
[1] Shortly after you start the Operation, you must Unite Chain a ladder to reach a high ledge. You’re attacked by a swarm of You-Houghs near a Gatcha, but this battle isn’t rated, so you’re free to prioritize expedience over style. Freeing the Gatcha’s prisoners also releases Wonder-PC. Behind the Gatcha is a door you can Wonder-Liner into to retrieve GEATHJERK File No. 19. Follow the path down the stairs to trigger the first mission.
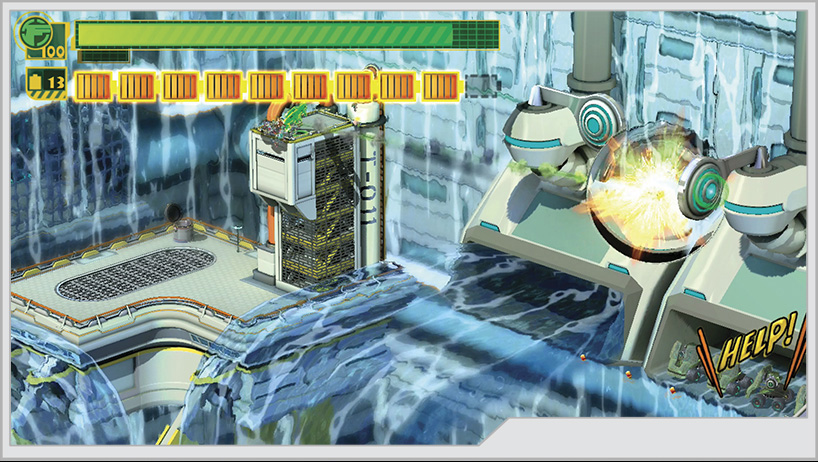
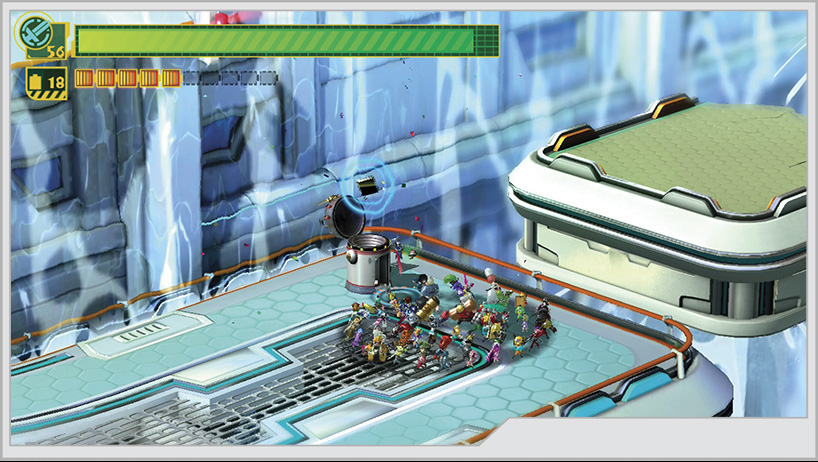
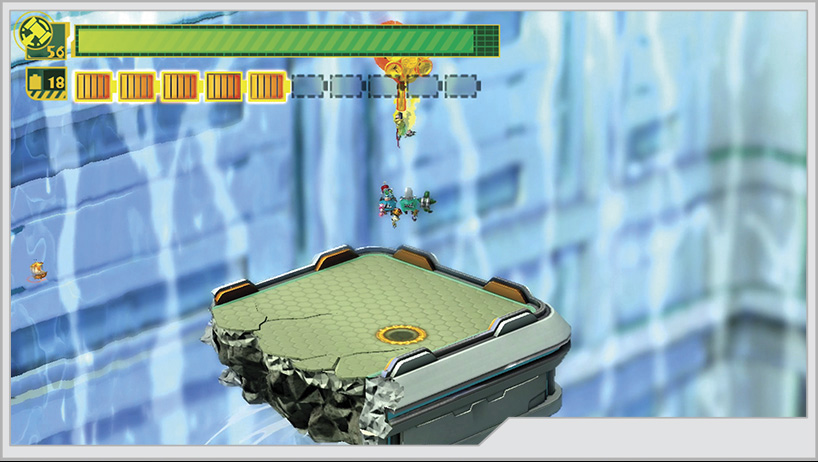
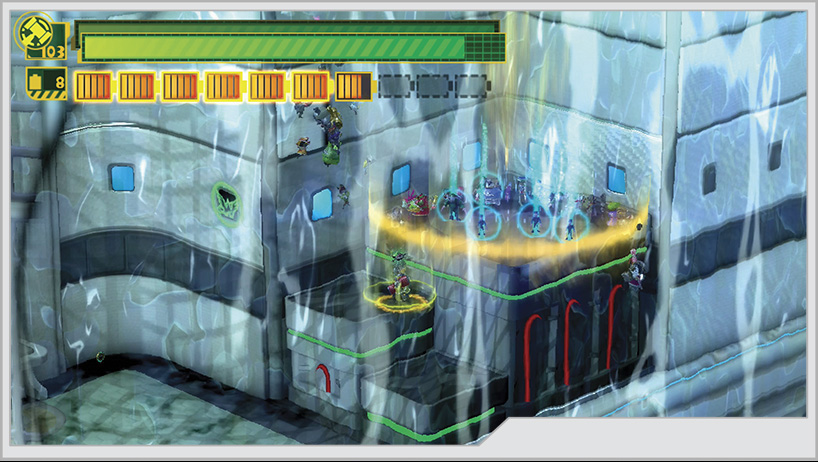
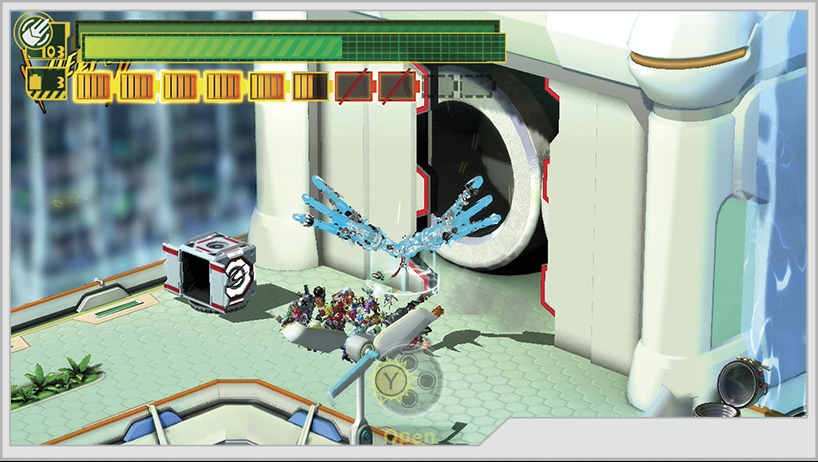
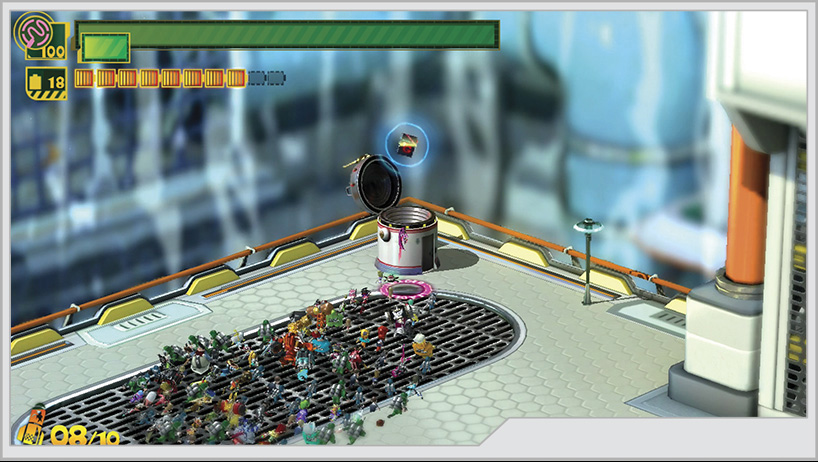
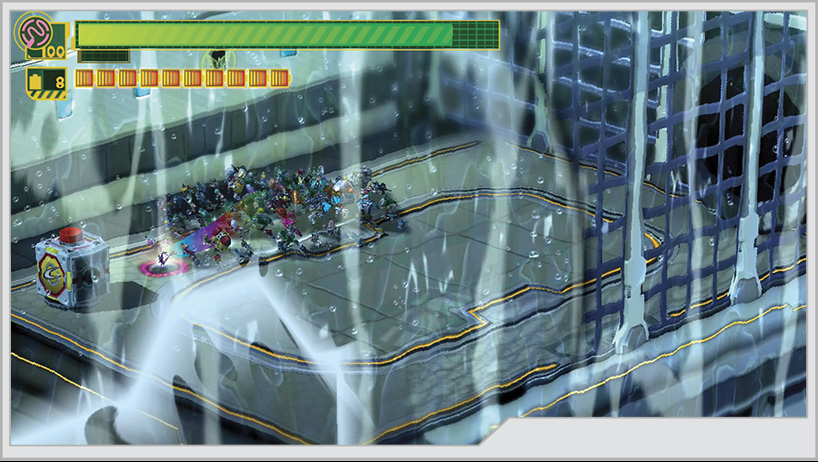
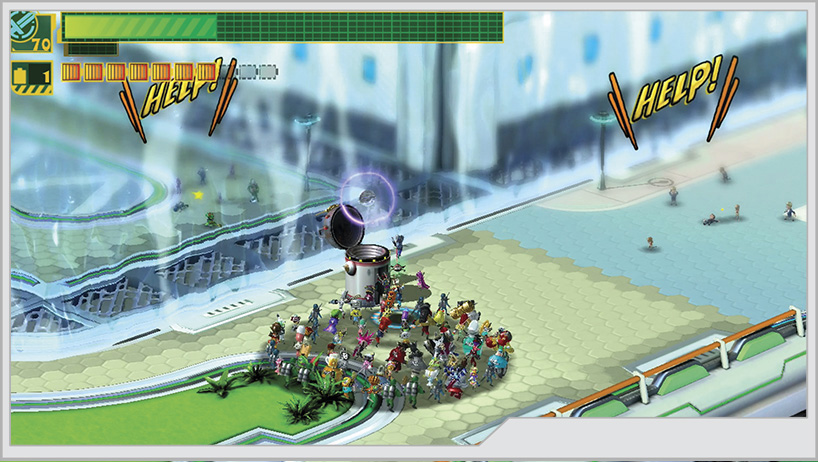
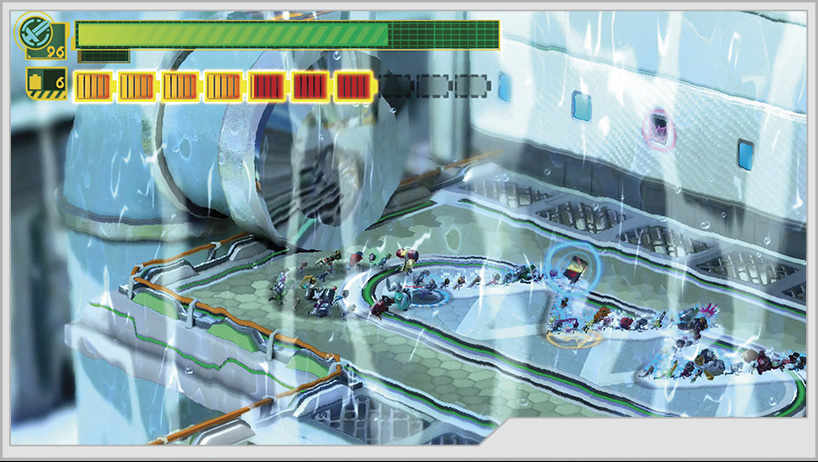
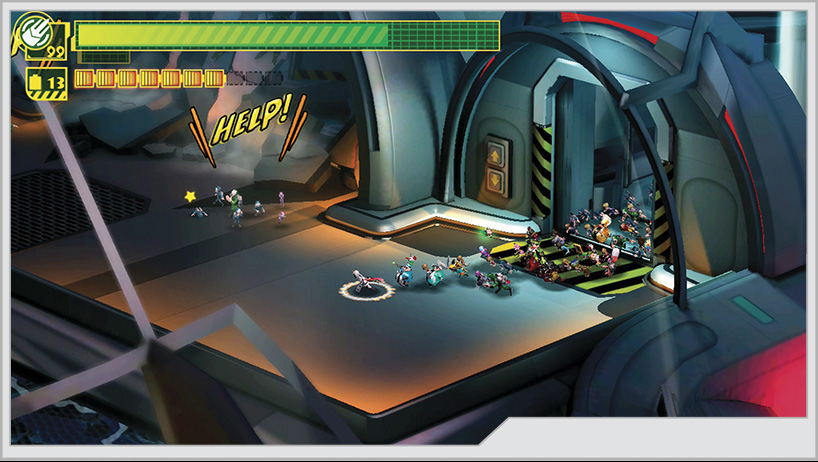
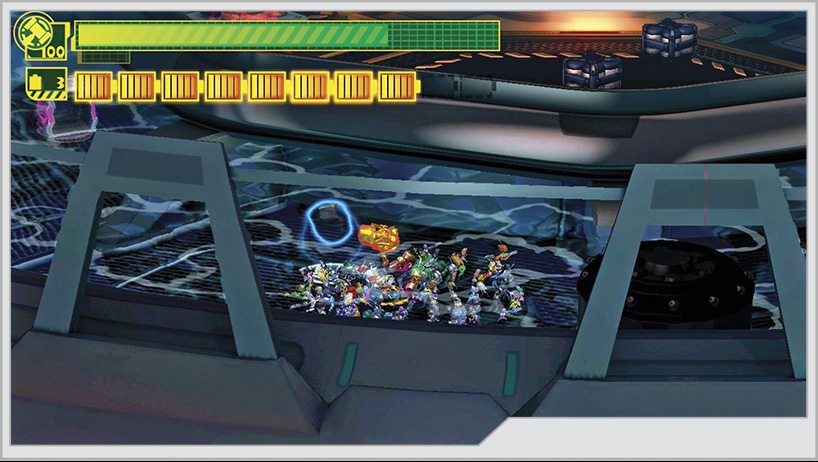
[2] To cross this gap, you must use the platforms being suspended in the air by water geysers. Don’t miss the Wonderful Toilet before you start the crossing; it contains GEATHJERK File No. 16.
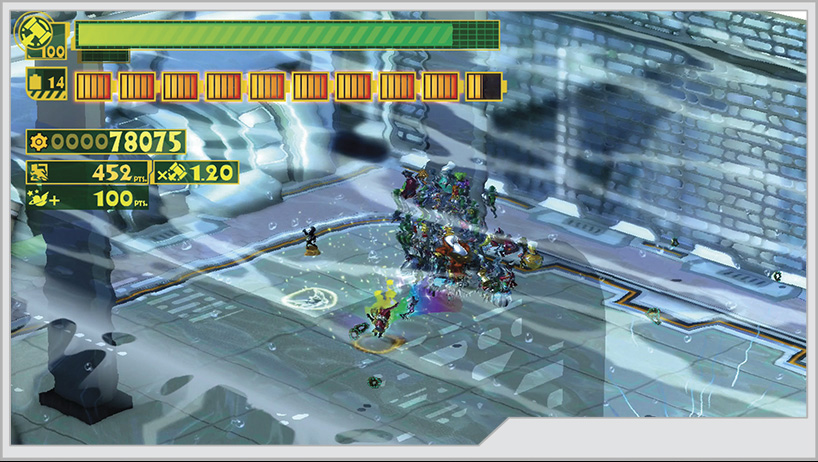
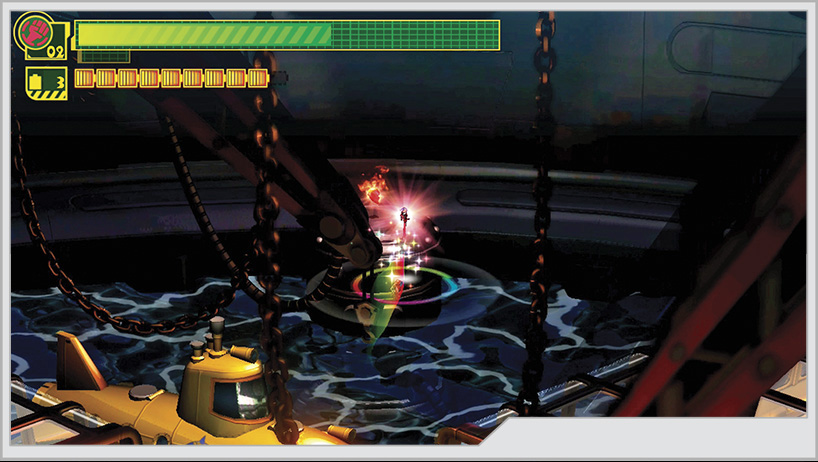
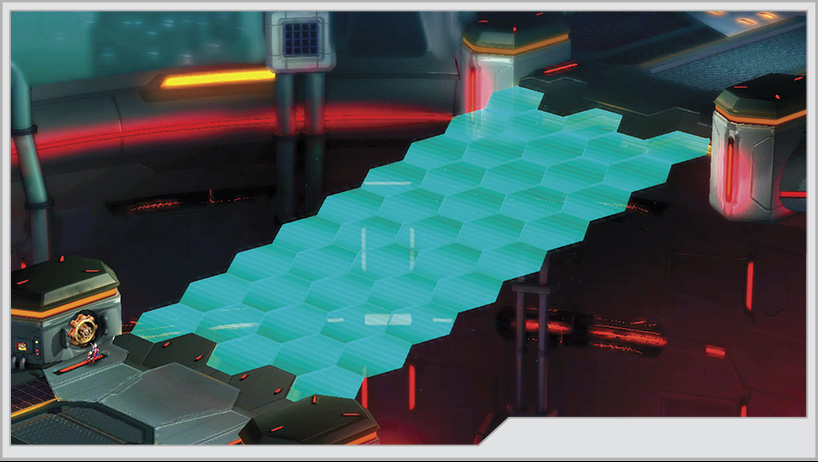
If you activate Wonder-Hammer with 50 or more characters on your team, the platforms will sink, and deactivating the hammer will cause the platform to shoot upward, launching you into the sky. You can collect a number of items this way, including a Platinum Coin hovering high above the third platform.
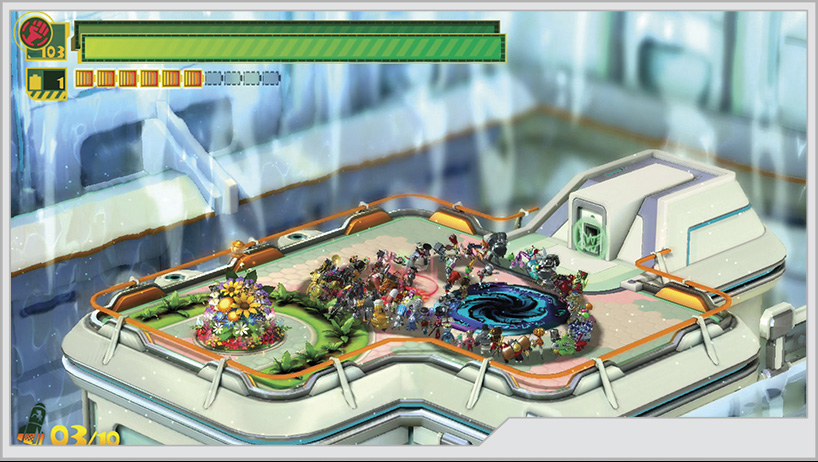
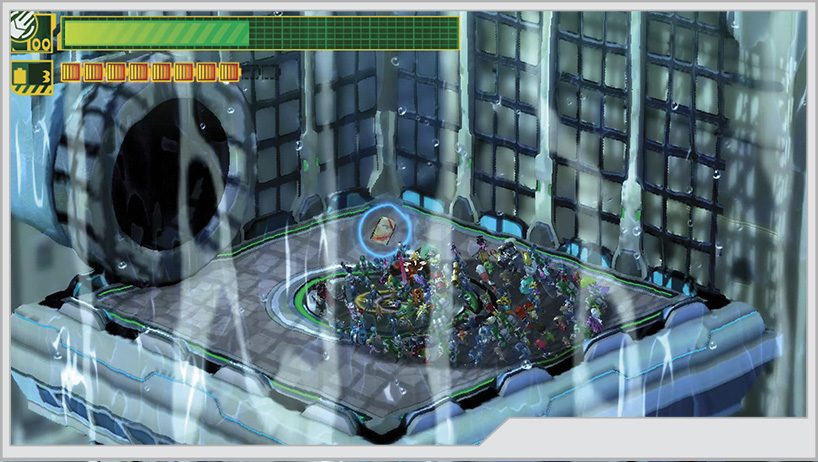
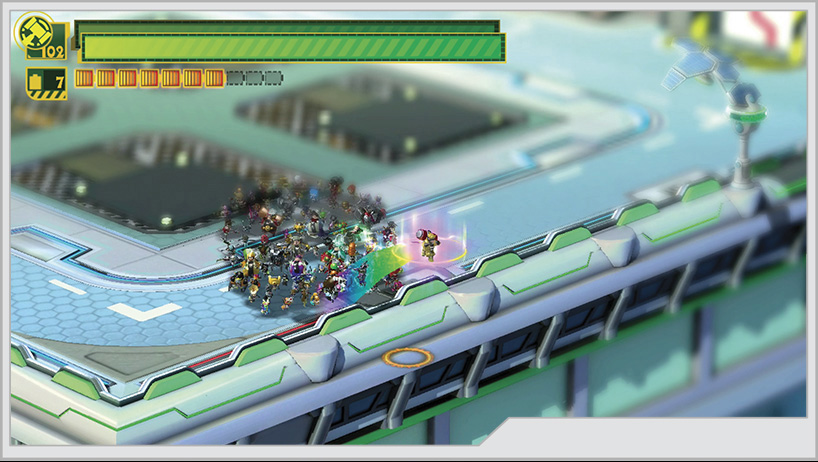
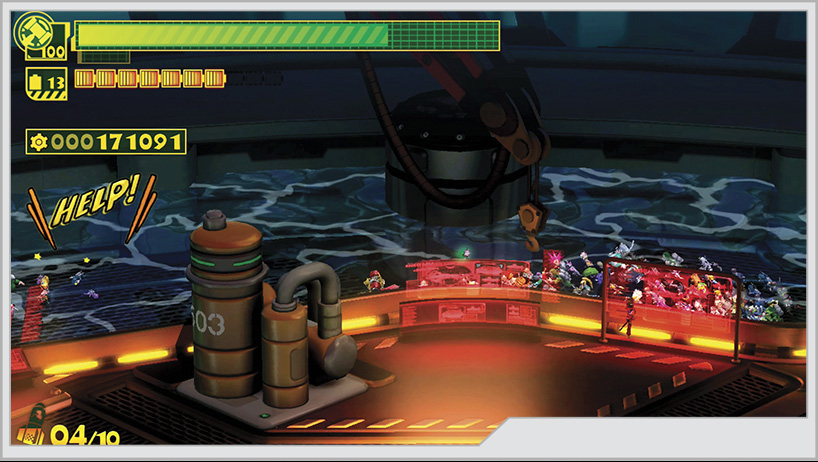
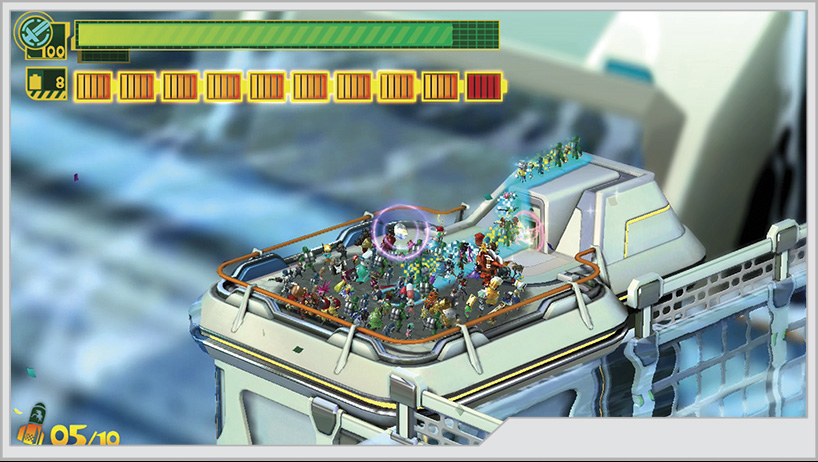
[3] This platform is where a portal to Kahkoo-regah can appear. To do this, you must fight the next battle without sinking below the water’s surface. Basically, don’t use Unite Hammer, and for players returning on higher difficulties, don’t use any Unite Morph consisting of 100 heroes.
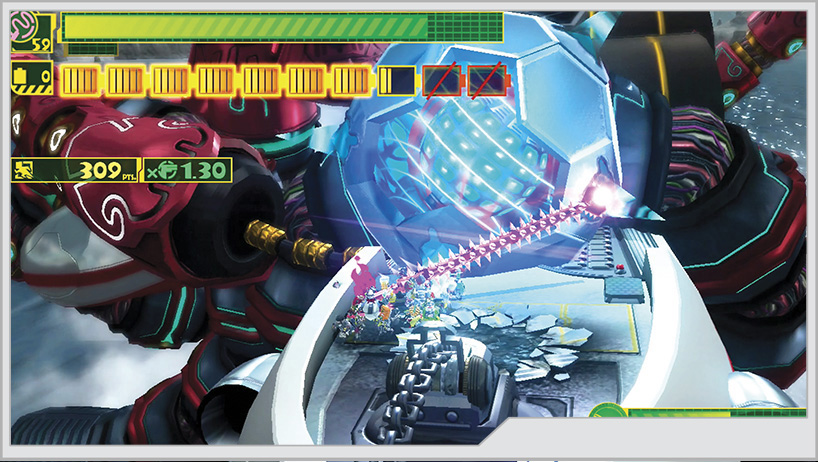
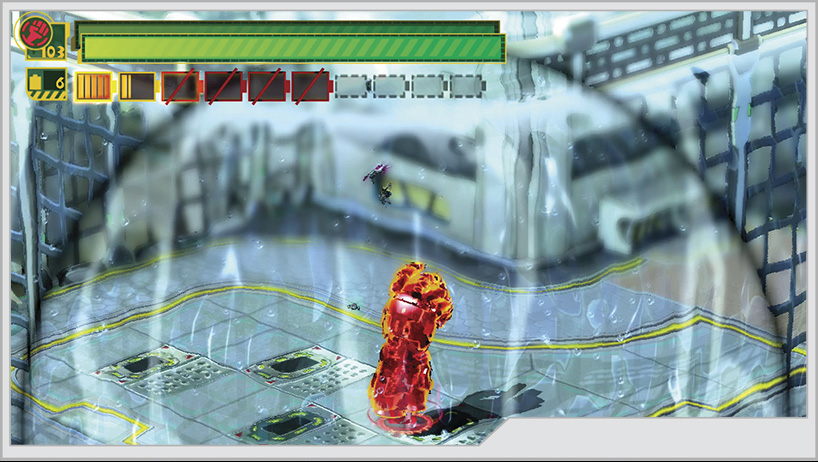
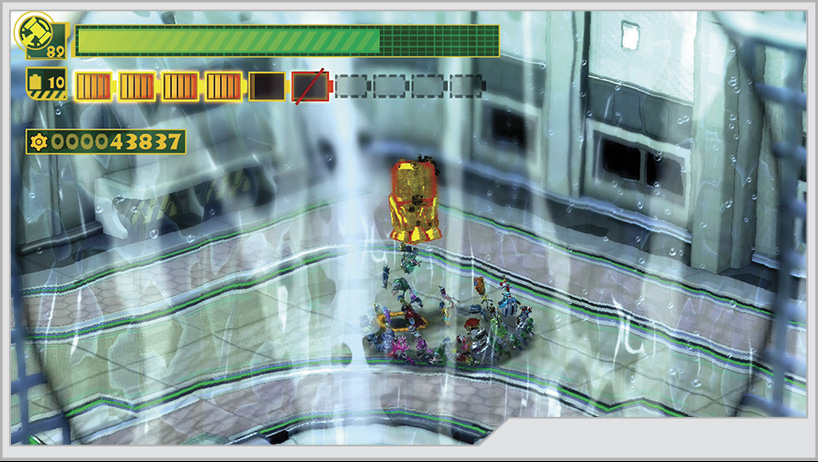
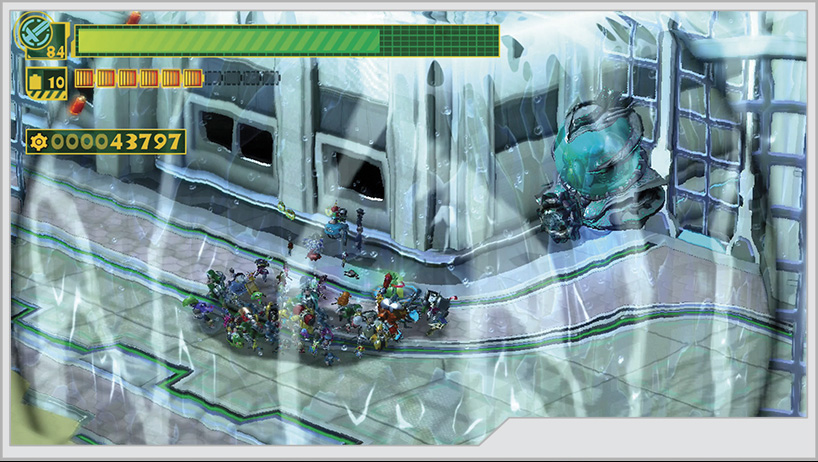
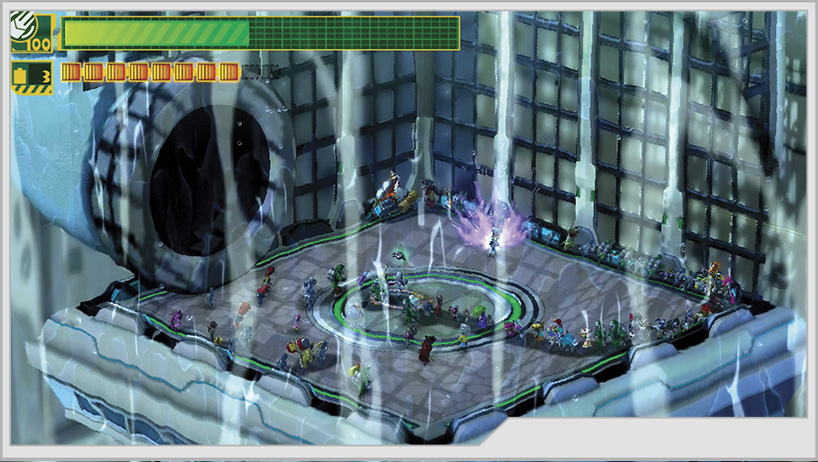
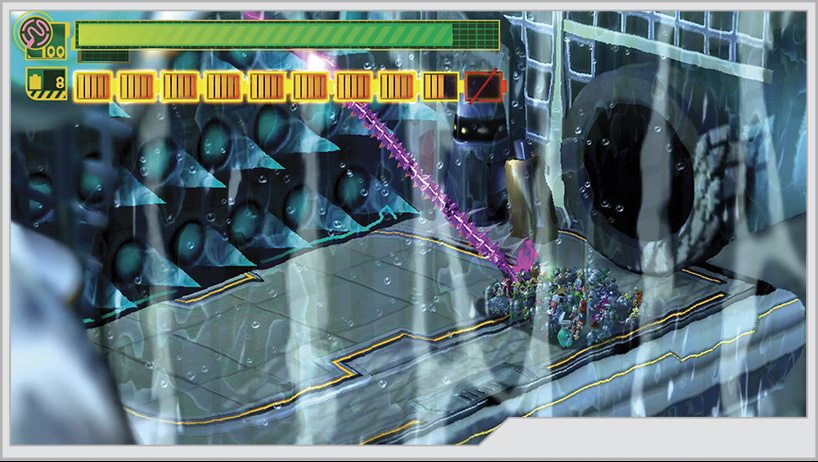
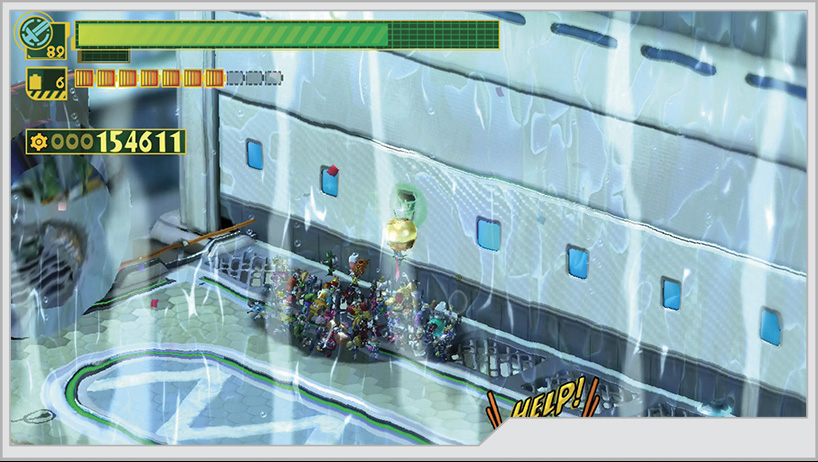
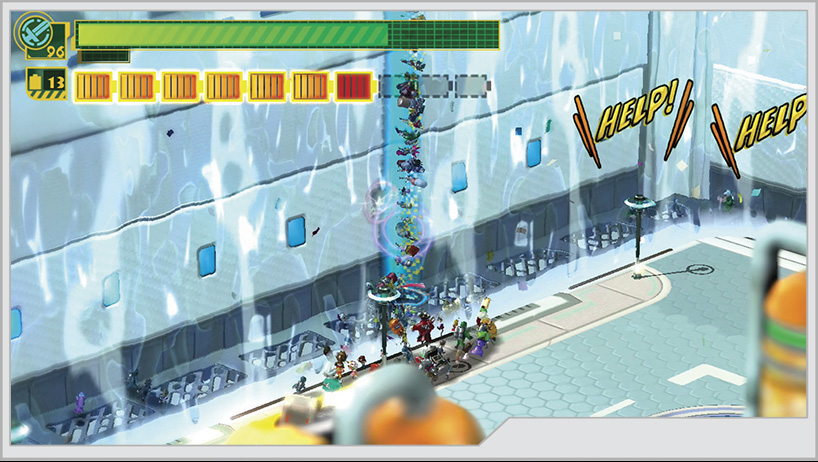
[4] Follow the underwater path from Mission 2 until you reach a waterfall exit. Don’t follow the batteries outside of the waterfall! Instead, stay inside of it as you drop down, then walk inside the waterfall down to the right, and send a Wonder-Liner up into the open window for GEATHJERK File No. 47. You’ll know exactly where to walk by following the three destructible water tanks inside the waterfall.
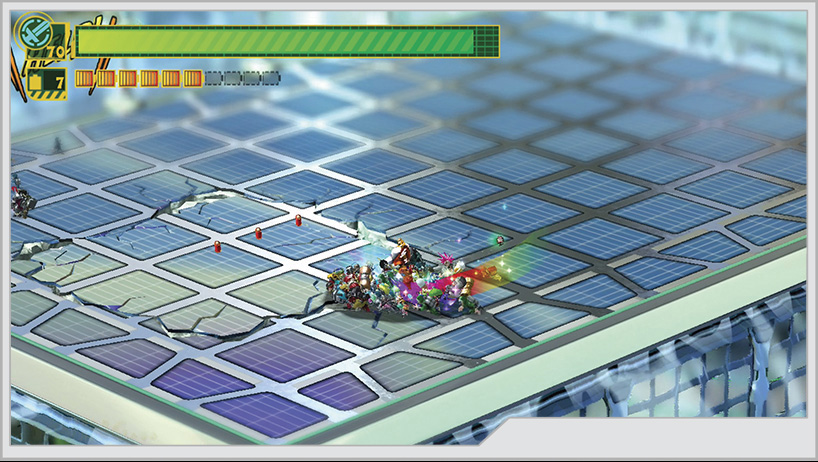
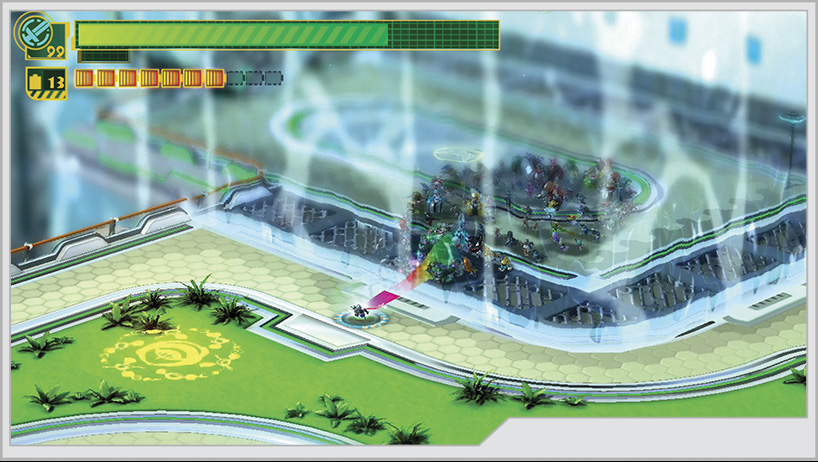
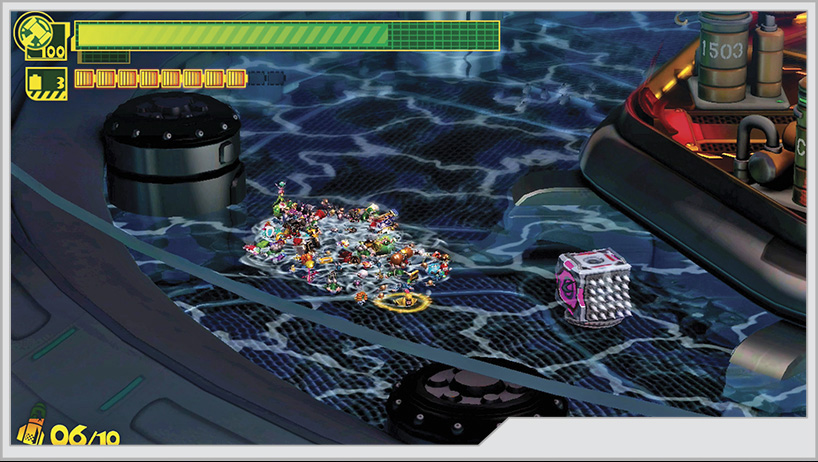
[5] Continuing onward after Mission 4, you’ll find that a section of the ground is cracked in such a way that sufficient weight could cause part of the floor to sink into the water below. Don’t do this without recruiting the nearby Wonder-Armor. Once you sink below the water and leave the platform, you can’t recruit the Wonderful One unless you restart the Operation.
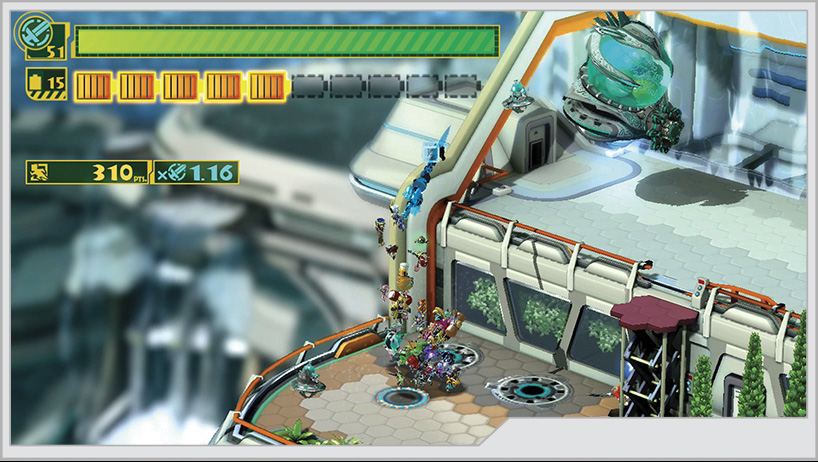
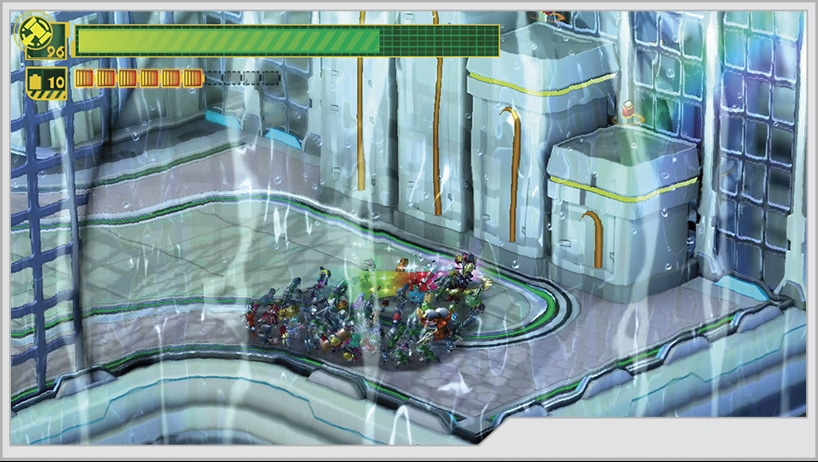
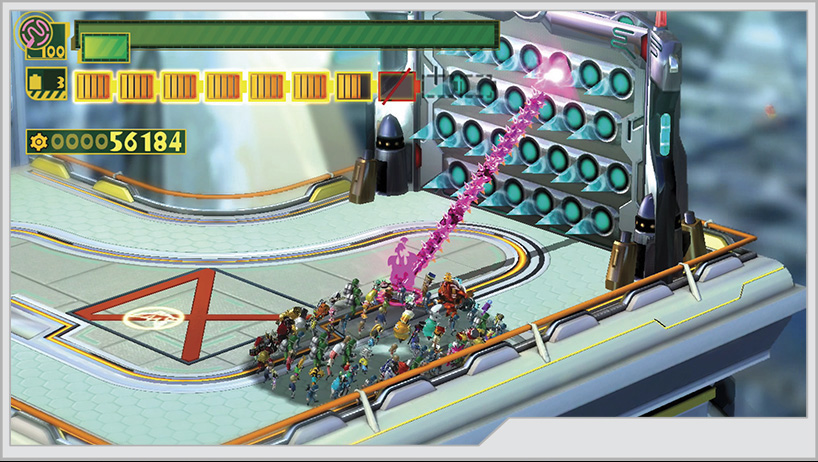
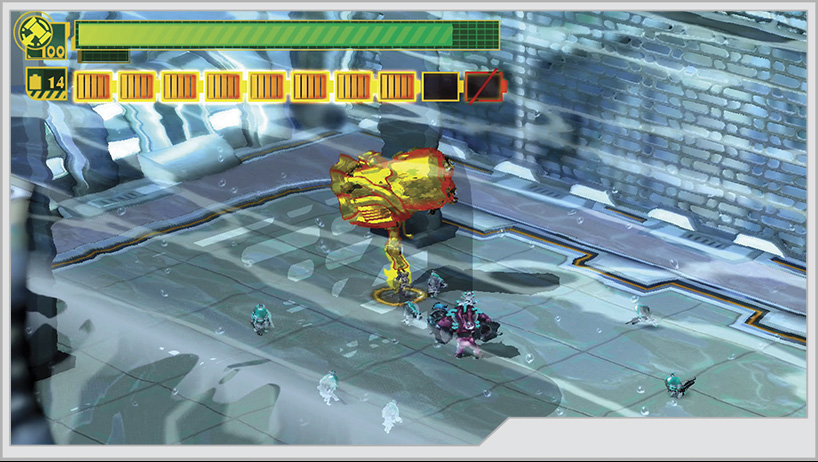
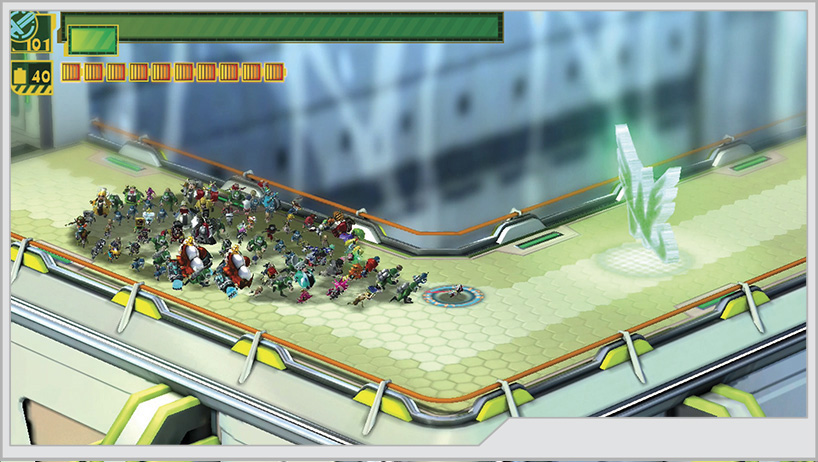
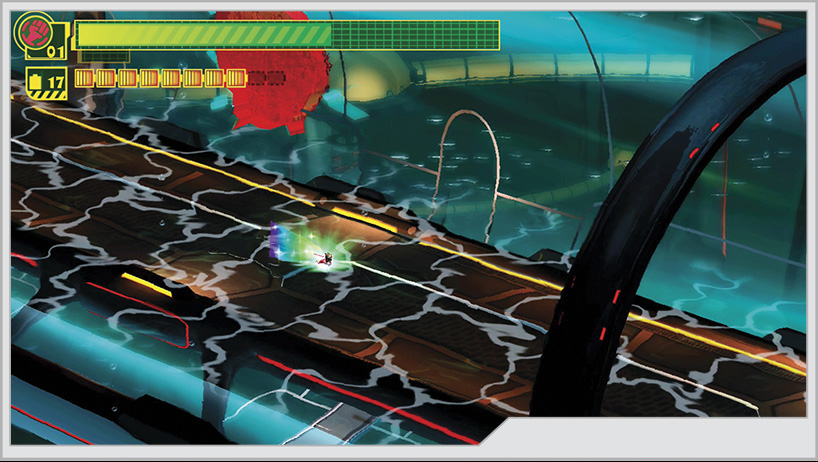
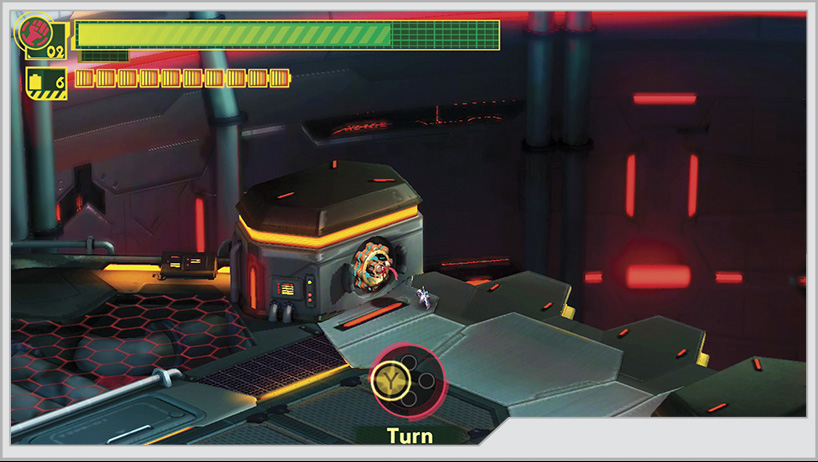
[6] Following the corridor just past Mission 5, use Unite Hammer to strike the spot in the screenshot, revealing Wonderful Figure No. 44. A little farther down the corridor is a Gatcha that currently holds Wonder-Pirate in custody. You might notice a trail of batteries outside of a waterfall across the way from the Gatcha, as well as a platform suspended by a water geyser. You want to get to that platform.
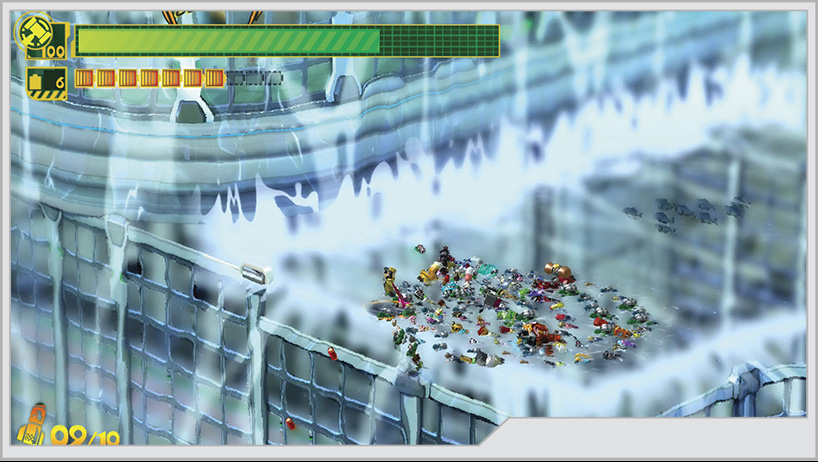
[7] Use this set of steps to get back to the water’s surface. There are more civilians to rescue on a platform close to the steps next to a door you can send a Wonder-Liner into for some food. More civilians are swimming in the water.
[8] The platform from before can be accessed from the water surface here. Follow that trail of batteries. Use Unite Hammer to help boost the platform up to a hidden side area with a red supply box that contains Wonderful Figure No. 29.
Next to that supply box is another small pool of water you can dive into. Sink into it with the hammer and rescue the civilians trapped at the bottom. Wonder-Diver is among them. You can also destroy the tall water tank next to Wonder-Diver and send a Wonder-Liner into the open window for an extra item. In this room there is also an exit that will take you back toward point [7].
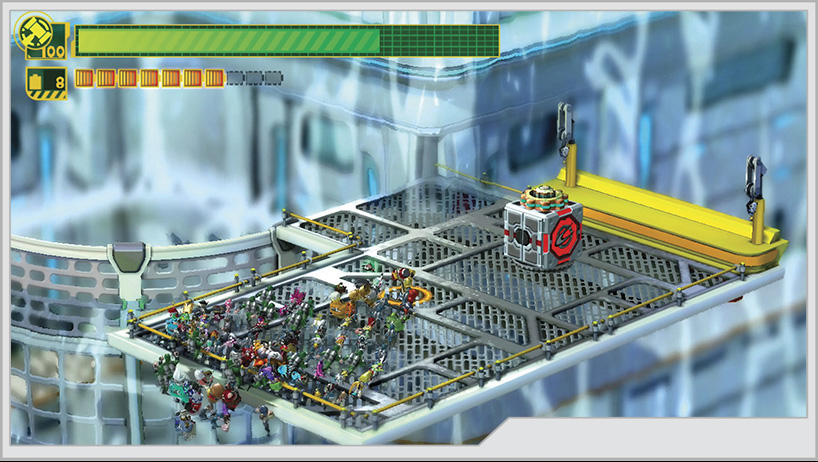
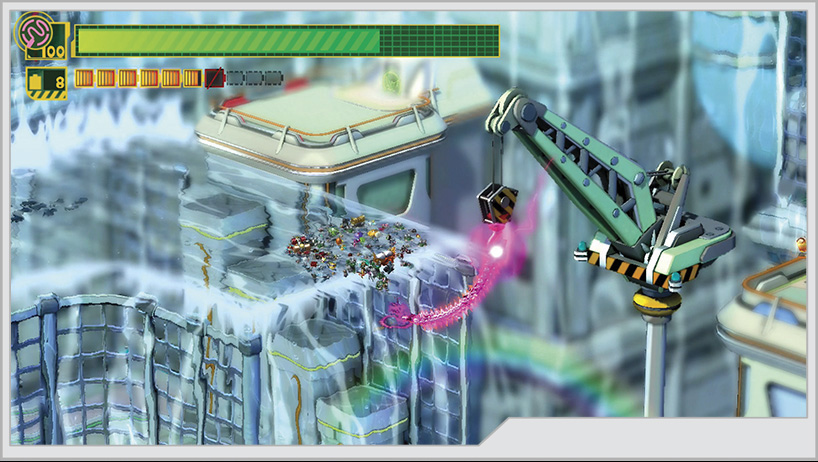
[9] From Wonder-Diver’s side room, follow the water current until you see a chasm with a crane that you can Unite Whip across. Find the second Platinum Coin by hammering the small bushes near where you land from the whip swing. You can also send a Wonder-Liner into the nearby door for an item. After this, tear down the spike wall that is blocking your progress and continue forward.
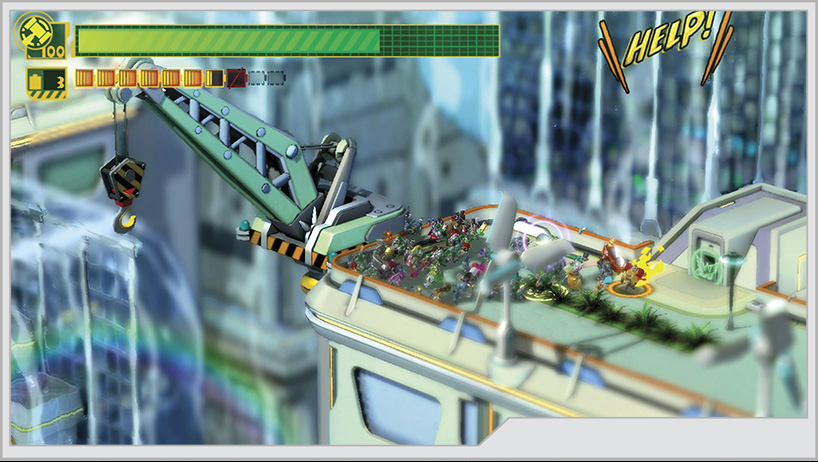
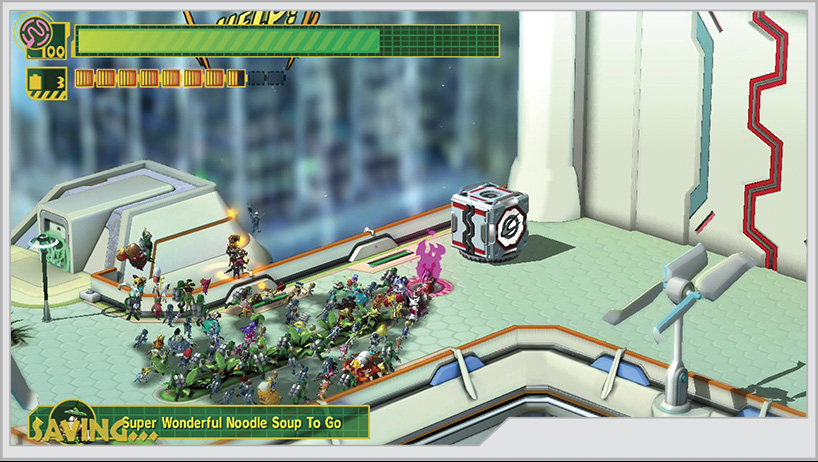
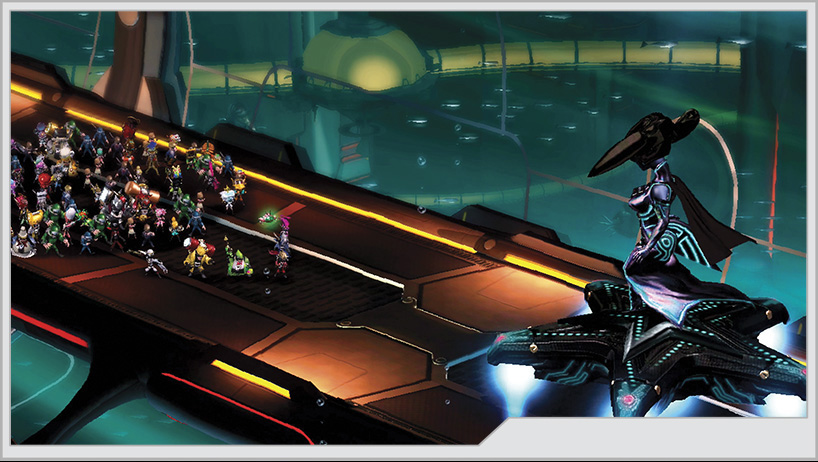
You will see a white supply box next to a sealed door [10] that you need to get through, but players on their first run of the game don’t have the means just yet to open both the door and the supply box. Next to that door is also a Wonderful Toilet, which contains another useful food item. Head toward the helipad, rescuing civilians as you go.
Mission 6
Medal Requirements
| Element | Platinum | Gold | Silver | Bronze | Difficulty |
|---|---|---|---|---|---|
| Time | 3:00 | 3:20 | 3:40 | 4:00 | Very easy |
| Time | 3:00 | 3:20 | 3:40 | 4:00 | Easy |
| Time | 3:00 | 3:20 | 3:40 | 4:00 | Normal |
| Time | 3:00 | 3:20 | 3:40 | 4:00 | Hard |
| Time | 3:00 | 3:20 | 3:40 | 4:00 | 101% Hard |
| Combo | 1500 | 1200 | 900 | 600 | Very easy |
| Combo | 1500 | 1200 | 900 | 600 | Easy |
| Combo | 1500 | 1200 | 900 | 600 | Normal |
| Combo | 2500 | 2000 | 1500 | 1000 | Hard |
| Combo | 3000 | 2500 | 2000 | 1500 | 101% Hard |
| Damage | 0 | 500 | 1000 | 2000 | Very easy |
| Damage | 0 | 500 | 1000 | 2000 | Easy |
| Damage | 0 | 500 | 1000 | 2000 | Normal |
| Damage | 0 | 1000 | 2000 | 4000 | Hard |
| Damage | 0 | 1000 | 2000 | 4000 | 101% Hard |
Enemies Present (All Difficulties)
Hah-Gonay
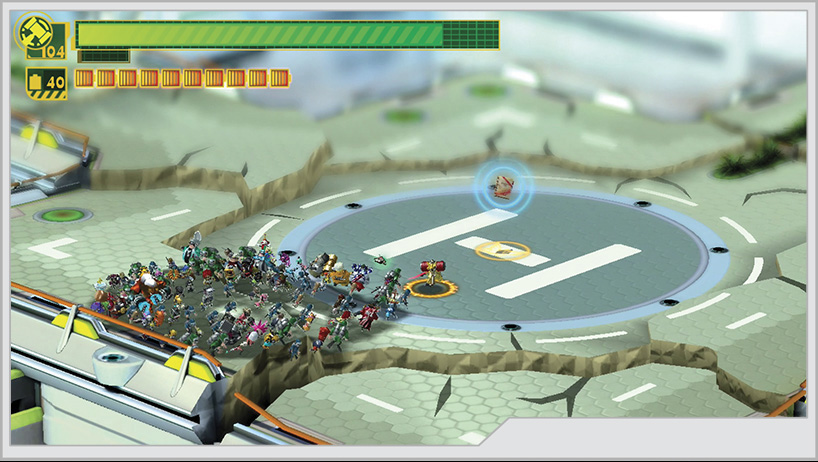
As you reach the center of the helipad, something big, fast, and angry bursts through a wall in the distance.
GEATHJERK Encounter: Hah-Gonay
A biomechanical dragon, the Hah-Gonay strikes an imposing figure on the battlefield. Despite the heavily armored skin, the Hah-Gonay is capable of swift flight and is fairly agile on the ground, able to fend for itself. The most remarkable feature of the creature is its defensive stance, where it covers its head with its wings, forming a near-impervious shield.
The Hah-Gonay is quite dangerous the first time you encounter it. In addition to its fire breath, the dragon can stomp on foes or smack them with its tail. Should you try to stand back and engage from afar with Unite Gun, the Hah-Gonay can fly over to you and try to land on your team.
More troubling about the monster is its defensive stance. It will slam its wings in front of its head in a protective shell, which knocks back any Wonderful One that is close by. Not only does this stop any attacks from the front, but also the Hah-Gonay will deploy a massive barrage of missiles from its wings. Flanking it is difficult, as the Hah-Gonay is surprisingly mobile in this mode and will turn to face you. Even if you do manage to flank it, you have to contend with the missiles and its tail.
The timely arrival of Wonder-White provides a quick solution to the Hah-Gonay’s absolute defense.
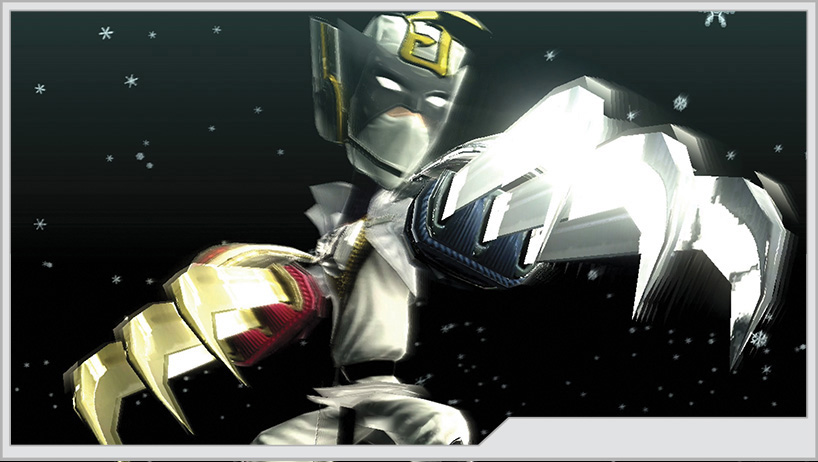
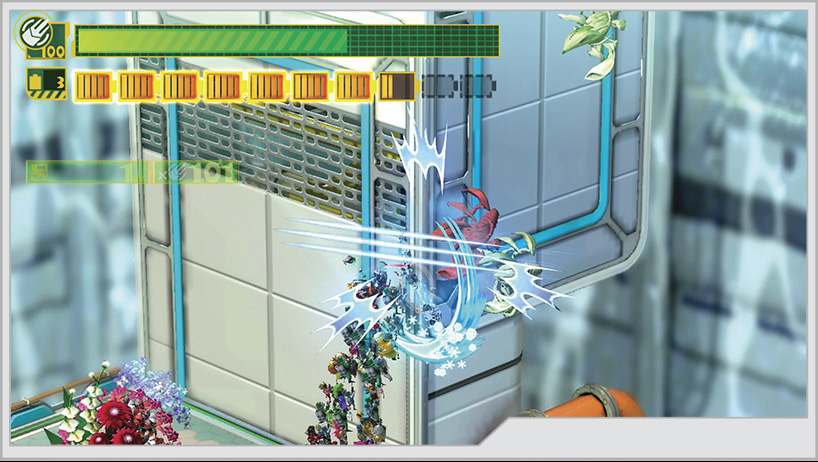
After Wonder-White’s lengthy introduction, quickly switch to Unite Claw and stand in front of the dragon. You will get a prompt to help pry open the wings. Once the beast is exposed, go wild. The Unite Claw strikes incredibly fast and has a chance to freeze its victims in place. If you see the wings about to close again, back off, then pry them open once more. Eventually you will cause enough damage to weaken the Hah-Gonay’s armor, which makes it more vulnerable to your other Unite Morphs. Additionally, if you Unite Guts its tail swipe or stomp attacks, you can stun the Hah-Gonay, leaving it vulnerable to a juggle. Of course, you can also try Team Attacks to stun it, but it takes a large number of Wonderful Ones to pull that off, and they can be easily shaken off by any of its attacks.
Hard and 101% Hard Mode
Alone, a Hah-Gonay isn’t much of a challenge to an experienced player possessing all of the skills acquired from earlier playthroughs. Unite Bomb the sucker the moment it lands, and apply copious amounts of wonderful justice.
Once the battle ends, go back to the white supply box and open it with Unite Claw for a Platinum Coin; then pry open the sealed door next to it. However, before you jump into any of the pipes behind it, run back to the Mission 5 area to trigger a secret mission!
Secret Mission 7
Medal Requirements
| Element | Platinum | Gold | Silver | Bronze | Difficulty |
|---|---|---|---|---|---|
| Time | 3:30 | 3:50 | 4:10 | 4:30 | Very easy |
| Time | 3:30 | 3:50 | 4:10 | 4:30 | Easy |
| Time | 3:30 | 3:50 | 4:10 | 4:30 | Normal |
| Time | 3:30 | 3:50 | 4:10 | 4:30 | Hard |
| Time | 3:30 | 3:50 | 4:10 | 4:30 | 101% Hard |
| Combo | 1000 | 800 | 600 | 400 | Very easy |
| Combo | 1000 | 800 | 600 | 400 | Easy |
| Combo | 1000 | 800 | 600 | 400 | Normal |
| Combo | 1800 | 1400 | 1000 | 600 | Hard |
| Combo | 2000 | 2600 | 1200 | 800 | 101% Hard |
| Damage | 0 | 500 | 1000 | 2000 | Very easy |
| Damage | 0 | 500 | 1000 | 2000 | Easy |
| Damage | 0 | 500 | 1000 | 2000 | Normal |
| Damage | 0 | 1000 | 2000 | 4000 | Hard |
| Damage | 0 | 1000 | 2000 | 4000 | 101% Hard |
Enemies Present (All Difficulties)
Nyerk
One Nyerk versus the Wonderful 100 at this point? Its odds are not favorable. Put it down, then get back to the previously sealed door [10].
Behind that door was a pair of pipes. For now, take the one on the right. After a short ride, you end up in a room with some civilians and the hero Wonder-Sailor. Also, if you trace the circle at the center of the room, you will recover Wonderful File No. 19. Go back through the pipe, and take the one on the left to continue the Operation.
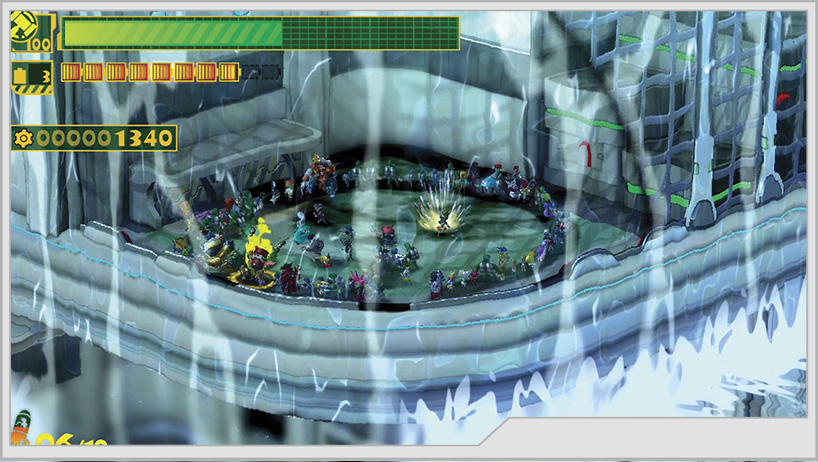
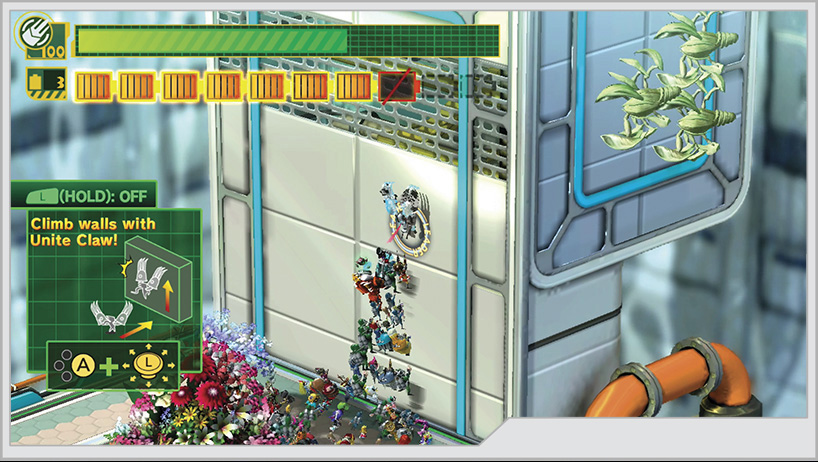
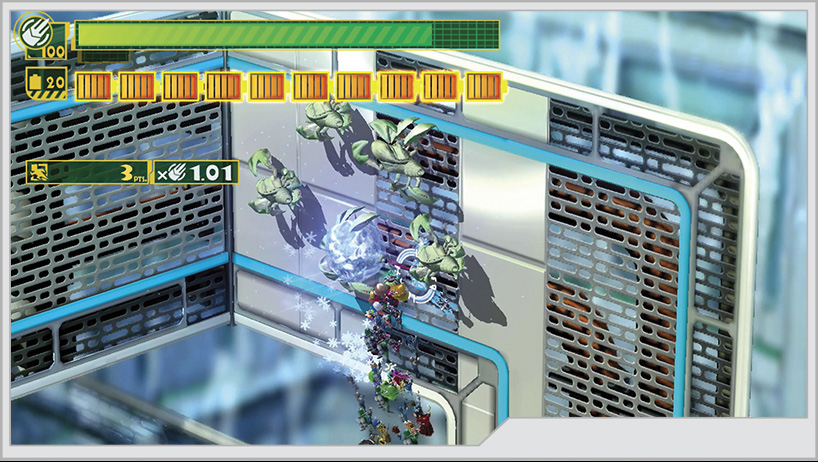
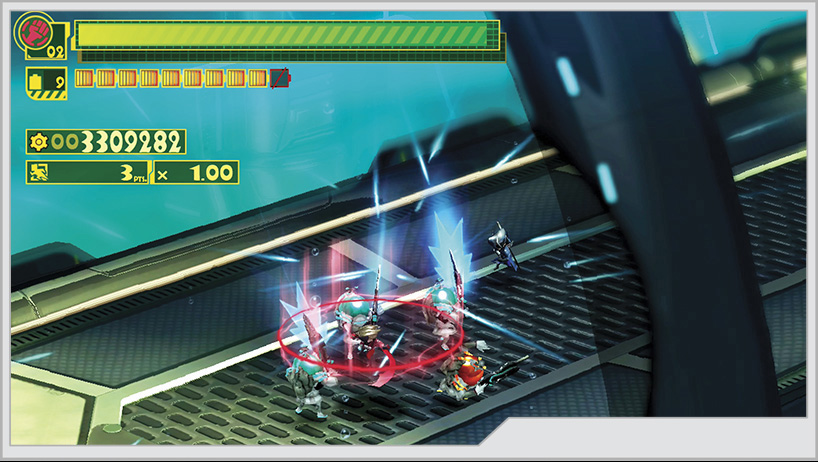
[11] The left pipe takes you to another section of Neo Mu. You can revive a flower bed at the edge of the grass field for some food, but otherwise this appears to be a dead end for superhero teams without the Unite Claw. Since you have that, you’re able to climb the wall to move on, but as you approach the wall, an ambush occurs.
GEATHJERK Encounter: Dahkarts (Self-Replicated; aka Mini-Dahkarts)
Shortly after the GEATHJERK deploys a Dahkarts to an invasion target, the alien beast immediately sets out to feed itself, which ultimately results in the Dahkarts creating multiple offspring. These small clones of the original are not quite as dangerous individually, but they do have numbers on their side and can appear in swarms on nearly any surface.
The fighting during the wall climb is not particularly difficult. Unite Claw tends to freeze the Mini-Dahkarts in a swipe or two, if not outright destroying them. If you power up the claws before starting the climb, you’ll enjoy a temporary speed boost to your climbing ability, as well as a massively improved range on your hanging melee attacks, which ought to be enough to make short work of the monsters.
[12] The climbing route takes you to another platform, where you can find Wonder-Sister among a crowd of civilians. There is also a marking on the ground near Wonder-Sister that you can trace with the Wonder-Liner to reveal some food. Unite Whip through the barrier to proceed.
Pass over the waterfall behind the barrier to reach a platform that contains a Wonderful Toilet. Inside is GEATHJERK File No. 17. You need to then climb up the tower next to the Wonderful Toilet.
You must climb the tower because there is no way to cross the chasm, even with a Wonder-Liner. Even if you could, there are several Hoedown stationed nearby, and they’d just blast you as you tried to cross. The solution is to shoot at a pair of targets with Unite Gun from the top of the tower. This starts a flow of water that washes away the Hoedown and provides you a bridge of sorts to cross the chasm.
Mission 8
Medal Requirements
| Element | Platinum | Gold | Silver | Bronze | Difficulty |
|---|---|---|---|---|---|
| Time | 1:00 | 1:20 | 1:40 | 2:00 | Very easy |
| Time | 1:00 | 1:20 | 1:40 | 2:00 | Easy |
| Time | 1:00 | 1:20 | 1:40 | 2:00 | Normal |
| Time | 1:00 | 1:20 | 1:40 | 2:00 | Hard |
| Time | 1:00 | 1:20 | 1:40 | 2:00 | 101% Hard |
| Combo | 40 | 30 | 20 | 10 | Very easy |
| Combo | 40 | 30 | 20 | 10 | Easy |
| Combo | 40 | 30 | 20 | 10 | Normal |
| Combo | 400 | 300 | 200 | 100 | Hard |
| Combo | 500 | 400 | 300 | 200 | 101% Hard |
| Damage | 0 | 200 | 400 | 600 | Very easy |
| Damage | 0 | 200 | 400 | 600 | Easy |
| Damage | 0 | 200 | 400 | 600 | Normal |
| Damage | 0 | 400 | 800 | 1200 | Hard |
| Damage | 0 | 400 | 800 | 1200 | 101% Hard |
Enemies Present (All Difficulties)
You-Hough x5
The You-Hough attack as you try to make your way across the new waterfalls. They are not as much of a threat as the current that is trying to pull you into the abyss. Finish the enemy off and continue across the water.
There is a Platinum Coin inside a door on the platform just beyond the waterfalls. The next pool of water beyond this platform contains more pipes for you to explore, but you’ve got to sink to the bottom of the pool to access them.
Mission 9
Medal Requirements
| Element | Platinum | Gold | Silver | Bronze | Difficulty |
|---|---|---|---|---|---|
| Time | 2:10 | 2:30 | 2:50 | 3:10 | Very easy |
| Time | 2:10 | 2:30 | 2:50 | 3:10 | Easy |
| Time | 2:10 | 2:30 | 2:50 | 3:10 | Normal |
| Time | 2:10 | 2:30 | 2:50 | 3:10 | Hard |
| Time | 2:10 | 2:30 | 2:50 | 3:10 | 101% Hard |
| Combo | 300 | 200 | 100 | 50 | Very easy |
| Combo | 400 | 300 | 200 | 100 | Easy |
| Combo | 800 | 700 | 600 | 500 | Normal |
| Combo | 3000 | 2500 | 2000 | 1000 | Hard |
| Combo | 3500 | 3000 | 2000 | 1000 | 101% Hard |
| Damage | 0 | 500 | 1000 | 2000 | Very easy |
| Damage | 0 | 500 | 1000 | 2000 | Easy |
| Damage | 0 | 500 | 1000 | 2000 | Normal |
| Damage | 0 | 1000 | 2000 | 4000 | Hard |
| Damage | 0 | 1000 | 2000 | 4000 | 101% Hard |
Enemies Present (Very Easy–Normal)
Gedie Dough-Goo
Enemies Present (Hard–101% Hard)
Gurry Doora
First you’ve got to get past a Gedie Dough-Goo. As this is another battle that takes place underwater, you will have to factor in that your attacks and movements are all going to be slower, which can make fighting the Gedie Dough-Goo up close harder than usual. Since you have to use the Unite Whip to take off the armor, give yourself a bit more space than usual to make sure your strikes land true without the threat of being interrupted by the Gedie Dough-Goo just walking into you.
Hard and 101% Hard Mode
On the harder settings, you fight a Gurry Doora underwater. This can be a bit more frustrating, as it is a much faster opponent. Fortunately, it is alone, and you can do a lot to take away its speed advantage before you really lay into it.
Of the three pipes, two actually lead to important locations, while the left one just takes you back to this pool. Head into the right pipe to be taken to a secret area [13].
Tearing down the barrier in the secret area, you can find Wonder-Mop among a group of civilians and a yellow supply box next to him containing Wonderful Figure No. 43. Additionally, there’s an open window you can Wonder-Liner into for extra food supplies. Return to the Mission 9 pool and take the center pipe to continue forward.
The central pipe takes you to another large pool of water with a climbable wall spanning over it. Should you take to the wall, Mini-Dahkarts will ambush you in an unranked battle, while another unranked battle will start in the water with a group of Dough-Goo led by a Chew Dough-Goo. Consider diving into the water before making your way to the platform across from where you start this section [14]. If you use Unite Hammer on the ground between the two pillars supporting the climbing wall, you’ll find Wonderful Figure No. 64. Head to the other side of the pool.
Mission 10
Medal Requirements
| Element | Platinum | Gold | Silver | Bronze | Difficulty |
|---|---|---|---|---|---|
| Time | 1:50 | 2:10 | 2:30 | 2:50 | Very easy |
| Time | 1:50 | 2:10 | 2:30 | 2:50 | Easy |
| Time | 1:40 | 2:00 | 2:20 | 2:40 | Normal |
| Time | 3:10 | 3:30 | 3:50 | 4:10 | Hard |
| Time | 3:10 | 3:30 | 3:50 | 4:10 | 101% Hard |
| Combo | 100 | 80 | 60 | 40 | Very easy |
| Combo | 120 | 100 | 80 | 60 | Easy |
| Combo | 400 | 300 | 200 | 100 | Normal |
| Combo | 600 | 400 | 200 | 100 | Hard |
| Combo | 800 | 600 | 400 | 200 | 101% Hard |
| Damage | 0 | 500 | 1000 | 2000 | Very easy |
| Damage | 0 | 500 | 1000 | 2000 | Easy |
| Damage | 0 | 500 | 1000 | 2000 | Normal |
| Damage | 0 | 1000 | 2000 | 4000 | Hard |
| Damage | 0 | 1000 | 2000 | 4000 | 101% Hard |
Enemies Present (All Difficulties)
Vijounne
As you try to cross the metal grating bridge away from the pool, a surprise attack drops a massive pillar onto the team, forcing Wonder-Blue to Unite Sword it in half. The source of the ambush makes her presence known, and suddenly things get very, very personal for Blue.
GEATHJERK Encounter: Vijounne
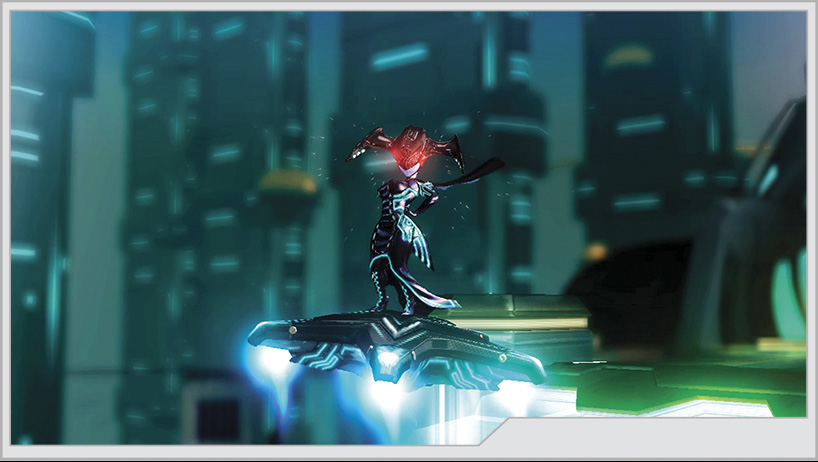
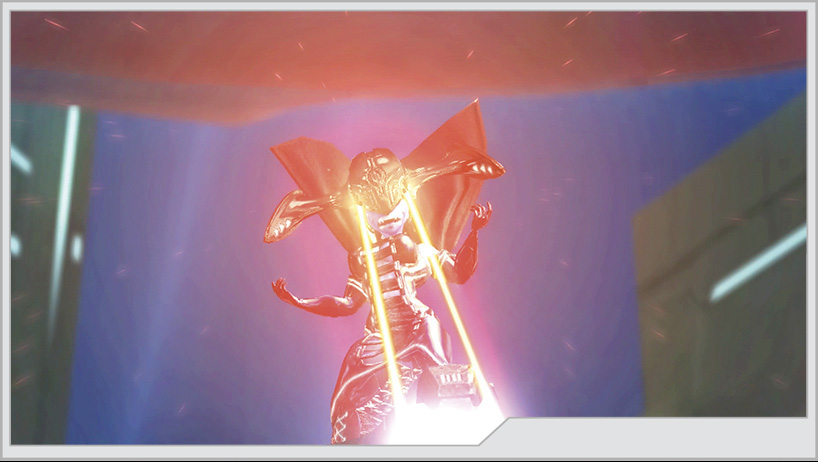
The only woman among the GEATHJERK commanders, Vijounne is obsessed with her concept of beauty and seeks to prove that she stands at the peak of that definition and will destroy anything that doesn’t quite match up. She used her considerable powers to disguise herself as a human in the aftermath of Earth Defense War 2, stealing vital secrets of the planet’s defenses before escaping. The details surrounding this theft haunt Wonder-Blue to this day.
Wonder-Blue isn’t thinking straight and vows to cut down Vijounne single-handedly, while the rest of the team watches from the sidelines. Blue has no access to any Unite Morph abilities during this fight and must rely on his Valiantium Blade. Every swing takes a chunk of Unite Gauge, so only strike when you know you’re going to hit.
Vijounne doesn’t necessarily have a large arsenal of attacks, but what she does have hurts quite a bit. She will hover around the pool, her platform spinning around violently, which hurts on contact.
Vijounne will blow a kiss at Blue, creating a heart-shaped projectile that follows him around the area for a short time. If it hits, Blue will be turned into a defenseless puppy. The effect wears off after a short time, but it is something to avoid if you’re trying to come under the Platinum time.
While Vijounne typically relies on her spin attack to fight Blue, she is equipped with ballistics and can launch missiles from her platform. These projectiles home in fairly slowly on Blue, but it can be a pain to avoid them and her incessant spinning while trying to mount an offense.
Lastly, as she gets low on health, Vijounne will create a copy of herself, telegraphed by a light show emitting from her platform while she dances. If struck, the copy will explode after a very short delay, harming Blue if he is in range. However, if you manage to hit Vijounne instead of her clone, she is stunned and will take significantly more damage until the stun wears off.
This fight is more or less the same across all difficulties, with the obvious changes to Wonder-Blue and Vijounne’s stamina and how hard she can hit. Maintain the pressure, but don’t get so greedy that you keep landing on her platform as it spins. Leap in, get in a few slashes, then back off and concentrate on evading until she stops attacking.
Mission 11
Medal Requirements
| Element | Platinum | Gold | Silver | Bronze | Difficulty |
|---|---|---|---|---|---|
| Time | 3:00 | 3:20 | 3:40 | 4:00 | Very easy |
| Time | 3:00 | 3:20 | 3:40 | 4:00 | Easy |
| Time | 3:00 | 3:20 | 3:40 | 4:00 | Normal |
| Time | 3:00 | 3:20 | 3:40 | 4:00 | Hard |
| Time | 3:00 | 3:20 | 3:40 | 4:00 | 101% Hard |
| Combo | 80 | 70 | 60 | 50 | Very easy |
| Combo | 100 | 90 | 80 | 70 | Easy |
| Combo | 200 | 150 | 100 | 50 | Normal |
| Combo | 300 | 200 | 100 | 50 | Hard |
| Combo | 400 | 300 | 200 | 100 | 101% Hard |
| Damage | 0 | 200 | 400 | 600 | Very easy |
| Damage | 0 | 200 | 400 | 600 | Easy |
| Damage | 0 | 200 | 400 | 600 | Normal |
| Damage | 0 | 400 | 800 | 1200 | Hard |
| Damage | 0 | 400 | 800 | 1200 | 101% Hard |
Enemies Present (All Difficulties)
Mini-Dahkarts, Dough-Goo, Diedough-Goo
After Vijounne flees, flooding separates Blue from the rest of the team, and you’re forced to climb along a series of grates, fighting your way past Dough-Goo and Mini-Dahkarts as they appear on the wall.
A Diedough-Goo appears as you make your way along the wall. This can be tough to fight, as you have to stay clinging to the wall to avoid falling into the chasm below. Consider hit-and-run tactics while you try to stun it with Team Attacks, throwing in Multi Unite Morphs to pile on the damage. Once you get past the Diedough-Goo, you need to bridge across a chasm to reach safety and the end of this mission [15].
You arrive at another helipad. If you Wonder-Liner around its center, you can locate Wonderful File No. 11.
Mission 12
Medal Requirements
| Element | Platinum | Gold | Silver | Bronze | Difficulty |
|---|---|---|---|---|---|
| Time | 2:30 | 2:50 | 3:10 | 3:30 | Very easy |
| Time | 2:30 | 2:50 | 3:10 | 3:30 | Easy |
| Time | 2:30 | 2:50 | 3:10 | 3:30 | Normal |
| Time | 3:20 | 3:40 | 4:00 | 4:20 | Hard |
| Time | 3:20 | 3:40 | 4:00 | 4:20 | 101% Hard |
| Combo | 1200 | 1000 | 800 | 600 | Very easy |
| Combo | 1400 | 1200 | 1000 | 800 | Easy |
| Combo | 6000 | 5000 | 4000 | 3000 | Normal |
| Combo | 8000 | 7000 | 6000 | 5000 | Hard |
| Combo | 10000 | 9000 | 8000 | 7000 | 101% Hard |
| Damage | 0 | 500 | 1000 | 2000 | Very easy |
| Damage | 0 | 500 | 1000 | 2000 | Easy |
| Damage | 0 | 500 | 1000 | 2000 | Normal |
| Damage | 0 | 1000 | 2000 | 4000 | Hard |
| Damage | 0 | 1000 | 2000 | 4000 | 101% Hard |
Enemies Present (Very Easy–Normal)
Wave 1: Dough-Goo, Chew Dough-Goo x3
Wave 2: Hah-Gonay
Enemies Present (Hard–101% Hard)
Deah-Kani
The Hah-Gonay arrives after the three Chew Dough-Goo are wiped out. Try to take out the Dough-Goo entirely. The fewer distractions on hand, the better.
Hard and 101% Hard Mode
The Deah-Kani exists primarily to slow you down while you try to get it into a state where it can be stunned and you can start striking its weak point. The par time for Platinum rank is quite strict for fighting such an opponent, so hold off on the Unite Bombs until you reveal the weak point.
After finishing up Mission 13, cross the bridge leading away from the helipad without hesitation, as it collapses behind you. You eventually reunite with Wonder-Blue, which goes swimmingly. After a mysterious ship opens the way forward for your team, it’s time to get moving.
Mission 13
Medal Requirements
| Element | Platinum | Gold | Silver | Bronze | Difficulty |
|---|---|---|---|---|---|
| Time | 5:00 | 5:20 | 5:40 | 6:00 | Very easy |
| Time | 5:00 | 5:20 | 5:40 | 6:00 | Easy |
| Time | 3:00 | 3:20 | 3:40 | 4:00 | Normal |
| Time | 3:00 | 3:20 | 3:40 | 4:00 | Hard |
| Time | 3:00 | 3:20 | 3:40 | 4:00 | 101% Hard |
| Combo | 100 | 80 | 60 | 40 | Very easy |
| Combo | 100 | 80 | 60 | 40 | Easy |
| Combo | 100 | 80 | 60 | 40 | Normal |
| Combo | 100 | 80 | 60 | 40 | Hard |
| Combo | 100 | 80 | 60 | 40 | 101% Hard |
| Damage | 0 | 100 | 200 | 300 | Very easy |
| Damage | 0 | 100 | 200 | 300 | Easy |
| Damage | 0 | 100 | 200 | 300 | Normal |
| Damage | 0 | 100 | 200 | 300 | Hard |
| Damage | 0 | 100 | 200 | 300 | 101% Hard |
Enemies Present (All Difficulties)
Dough-Goo, Cough-Foon
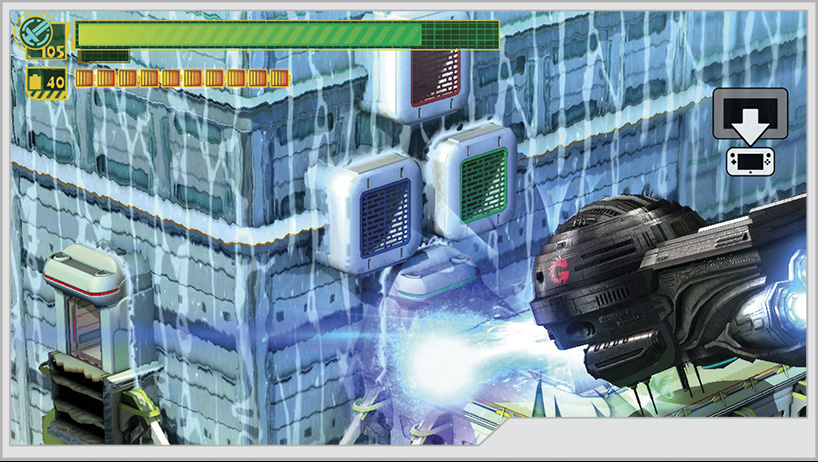
The action switches to the GamePad when you enter the next building, starting an interesting mission. On your television, you’ll see the outside of the structure and a Cough-Foon blasting at one of three gratings, colored red, green, and blue, alternating at random. The way you came is sealed away as more of the external structure collapses, and the way forward is sealed tight.
Left of the sealed door is a path of grating that you must climb to eventually reach a switch that will open the way back outside. The panels of this climbing route are color coded just like those that the Cough-Foon is shooting at outside. Whichever color the Cough-Foon is shooting, that panel on the inside of the structure is electrified and will hurt you. You don’t have a lot of time once the Cough-Foon is in position to shoot, so climb fast and don’t hesitate for long, if at all.
Throughout your climb, Dough-Goo will spawn on the grating to try and stop you. Do your best to destroy them all; you still need to score combo points for a Pure Platinum attempt.
Eventually you reach a large balcony with a green supply box on it. Next to it is a small piece of railing with an arrow pointed upward [15]. The box only contains food, but if you draw a Wonder-Liner up that piece of railing, it will eventually reach another ledge that you can climb up to and retrieve a Hero Heart Fragment. You will need 100 team members to make the ladder that will take you to this item.
Back on the lower balcony with the box, there are two circular markings on the floor. The one closest to the door switch [16] can be wrapped in a Wonder-Liner to reveal the last Platinum Coin. Now use Unite Sword on the switch near this coin, and drop through the nearby access hatch back to the beginning section. Mission complete!
This is the last part of Operation 004-A! Go through the newly opened door with Unite Sword ready to reflect the Cough-Foon’s laser. With that out of the way, continue onward to the Wonderful Mart!
Operation 004-B
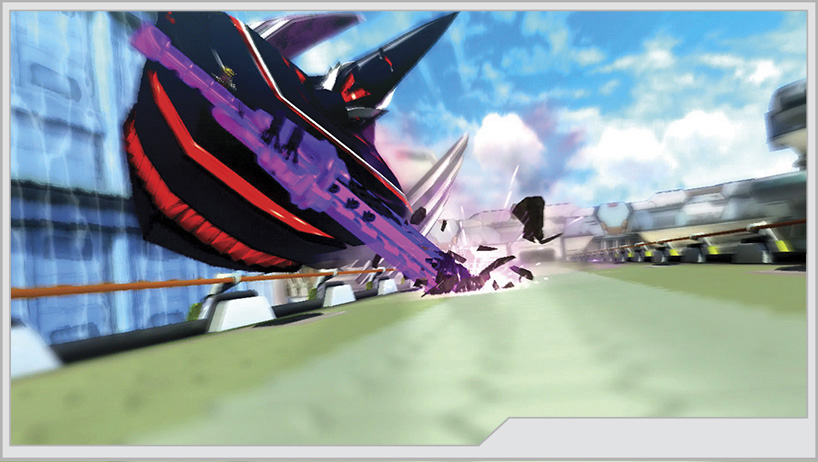
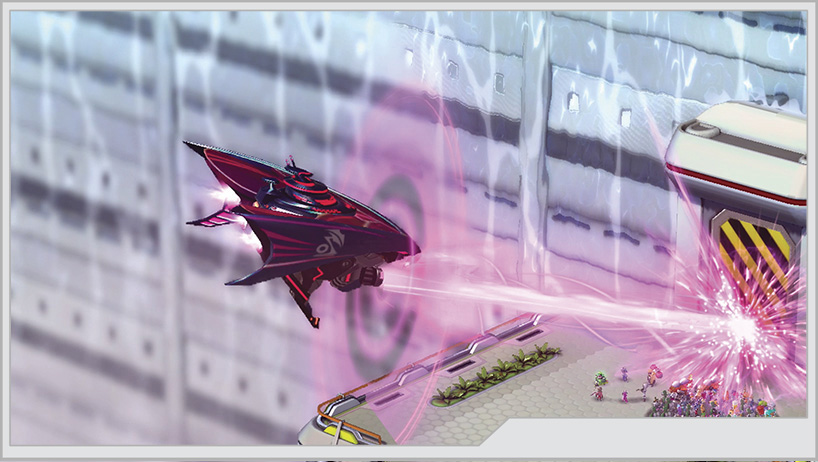
Collect the pile of batteries just behind the Wonderful Mart as the Operation begins. Not more than a dozen steps past them, a black ship swoops overhead and makes a beeline for your team. Intercept with Unite Claw!
Vorkken’s back. Be prepared or be afraid.
Mission 1
Medal Requirements
| Element | Platinum | Gold | Silver | Bronze | Difficulty |
|---|---|---|---|---|---|
| Time | 6:00 | 7:00 | 8:00 | 9:00 | Very easy |
| Time | 7:00 | 8:00 | 9:00 | 10:00 | Easy |
| Time | 8:00 | 9:00 | 10:00 | 11:00 | Normal |
| Time | 13:00 | 14:00 | 15:00 | 16:00 | Hard |
| Time | 14:00 | 15:00 | 16:00 | 17:00 | 101% Hard |
| Combo | 5000 | 4000 | 3000 | 2000 | Very easy |
| Combo | 10000 | 8000 | 6000 | 4000 | Easy |
| Combo | 20000 | 15000 | 10000 | 5000 | Normal |
| Combo | 25000 | 20000 | 10000 | 5000 | Hard |
| Combo | 30000 | 20000 | 10000 | 5000 | 101% Hard |
| Damage | 0 | 500 | 1000 | 2000 | Very easy |
| Damage | 0 | 500 | 1000 | 2000 | Easy |
| Damage | 0 | 500 | 1000 | 2000 | Normal |
| Damage | 0 | 1000 | 2000 | 4000 | Hard |
| Damage | 0 | 1000 | 2000 | 4000 | 101% Hard |
Enemies Present (All Difficulties)
Vorkken, Chewgi
Similar to the previous duel, Vorkken shares much of his arsenal with yours. He is notably more aggressive with Unite Hammer, chaining Stingers into full-powered overhead swings that have incredible range through their shock waves. He’s also more proactive at using the Unify Boomerang, which can be bad if you’ve allowed yourself to get cornered.
If you’ve been following the guide, you should have over 50 heroes in your starting party, which means you can defend against many of Vorkken’s Unite Morphs with Unite Guts. However, pay very close attention to whether or not he’s used his entire team for a morph! First-playthrough teams can’t repel any of Vorkken’s full power moves, and players on higher difficulties will still be hard pressed to fight him toe to toe.
By this point, you should definitely have a good stable of Custom Blocks to enhance the team with. We recommend Unite Charge, Hero Counter, and Hero Time. Unite Charge is one of the better abilities in the game, allowing you to power up any of your offensive Unite Morphs without having to draw a large shape for roughly the same level of Unite Gauge consumption. Hero Counter works in sync with Hero Time, as you can dodge from an attack to set up slow-mo, then rush back in and Hero Counter another for some extra damage. Hero Sense is workable but can drain your Unite Gauge incredibly fast in the wrong circumstances, leaving you poorly prepared to take advantage of any openings Vorkken exposes. You can counter Unite Gauge drain with Team Attacks to stun Vorkken’s men.
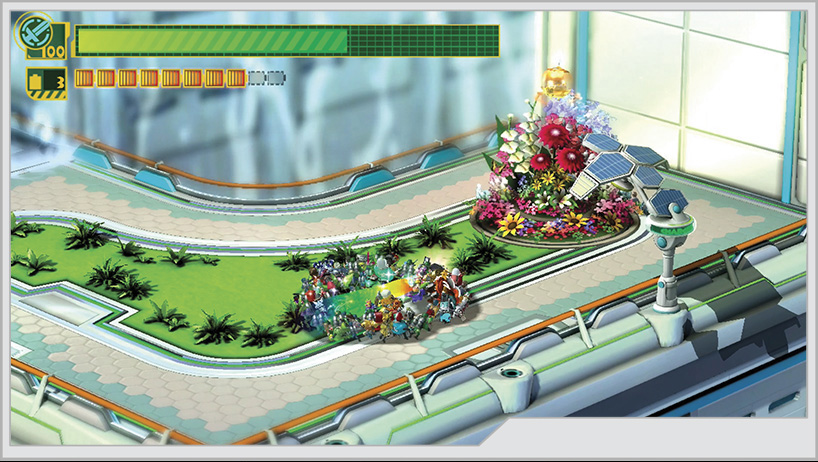
[1] After fighting Vorkken to a standstill, you end up on another platform farther into Neo Mu, next to a large flower bed and a Gatcha filled with civilians. You will see another group of civilians behind a waterfall, but you can’t reach them just yet. There is also a spot on the grass that you can hammer for more food.
Note
Remember that you’ll be coming back here for a portal to Kahkoo-regah in short order!
A Wonderful Toilet near the waterfall barrier contains the first Platinum Coin. Afterward, head toward the elevator leading deeper into Neo Mu for some drama with Luka [2].
Mission 2
Medal Requirements
| Element | Platinum | Gold | Silver | Bronze | Difficulty |
|---|---|---|---|---|---|
| Time | 1:30 | 1:50 | 2:10 | 2:30 | Very easy |
| Time | 1:30 | 1:50 | 2:10 | 2:30 | Easy |
| Time | 1:00 | 1:20 | 1:40 | 2:00 | Normal |
| Time | 1:30 | 1:50 | 2:10 | 2:30 | Hard |
| Time | 1:30 | 1:50 | 2:10 | 2:30 | 101% Hard |
| Combo | 1500 | 1200 | 900 | 600 | Very easy |
| Combo | 1800 | 1500 | 1200 | 900 | Easy |
| Combo | 3500 | 3000 | 2000 | 1000 | Normal |
| Combo | 3500 | 3000 | 2000 | 1000 | Hard |
| Combo | 3500 | 3000 | 2000 | 1000 | 101% Hard |
| Damage | 0 | 500 | 1000 | 2000 | Very easy |
| Damage | 0 | 500 | 1000 | 2000 | Easy |
| Damage | 0 | 500 | 1000 | 2000 | Normal |
| Damage | 0 | 1000 | 2000 | 4000 | Hard |
| Damage | 0 | 1000 | 2000 | 4000 | 101% Hard |
Enemies Present (All Difficulties)
Ankho
GEATHJERK Encounter: Ankho
The massive Ankhos are among the GEATHJERK elite in frontline combat. Far larger than most Gaia Defense Army land vehicles, and armed with a serrated plasma saw, these space beasts are very nearly the equal of Officer Sixth-Class Laambo. Having a strong preference to watery environments, the Ankho make perfect shock troops to send to the sinking Neo Mu.
For players on their first run, it has been a long time since they fought Laambo. Fighting an Ankho is practically the same. They share the same moves with Laambo and even have the same tells and weaknesses to exploit. That does not make Ankhos less threatening; they still hit like freight trains and have amazing reach with their weapons.
Unfortunately for this Ankho, it’s all alone, and you have Wonder-White on your team. Unite Claw can keep an Ankho almost permanently occupied trying to block the rapid flurry of strikes while other Multi Unite Morphs strike from the flanks. Players on harder difficulties can really abuse the Ankho with Unite Bomb.
After you defeat the Ankho, don’t pry open the doors to take the elevator just yet; otherwise you’ll miss everything else this section has to offer! Instead, jump off the right side of the arena you fought in to reach a hidden side area [3]. There’s a flower bed to rejuvenate, as well as a pipe leading back to the area blocked off by the waterfall.
Tip
You’ll Be Back (with Wonder-Black)
A black supply box appears on this hidden ledge when you return with Wonder-Black. It contains Wonderful Figure No. 32.
[4] Now on the other side of the waterfall, you’ve got some work to do. You can locate some food in an open window near where the pipe deposits you. You can trace the zigzag on the ground with the Wonder-Liner for GEATHJERK File No. 48, and you can also locate the heroine Wonder-Vegetable among some civilians in the area!
Now follow the grating behind the waterfall, heading toward the elevator, and stay on it. You find a window above some Wonderful Batteries that you can Wonder-Liner into for a Platinum Coin. Rescue the nearby hostages, then exit the waterfall next to the burning passageway and make your way back toward this area’s start point [1] to find the Kahkoo-regah portal.
Secret Mission 3
Medal Requirements
| Element | Platinum | Gold | Silver | Bronze | Difficulty |
|---|---|---|---|---|---|
| Time | 5:10 | 5:30 | 5:50 | 6:10 | Normal |
| Time | 4:00 | 4:30 | 5:00 | 5:30 | Hard |
| Time | 4:00 | 4:30 | 5:00 | 5:30 | 101% Hard |
| Combo | 100 | 80 | 60 | 40 | Normal |
| Combo | 2500 | 2000 | 1500 | 1000 | Hard |
| Combo | 2500 | 2000 | 1500 | 1000 | 101% Hard |
| Damage | 0 | 1 | 2 | 3 | Normal |
| Damage | 0 | 1 | 2 | 3 | Hard |
| Damage | 0 | 1 | 2 | 3 | 101% Hard |
Enemies Present (Normal)
Kuzzler
Enemies Present (Hard–101% Hard)
Kuzzler, Hoedown x2
Rewards for Completion
Normal Mode: Figure No. 55 Wonder-Prince
Hard Mode: Figure No. 34 Wonder-Shopping
101% Mode: Figure No. 110 Wonder-Future
GEATHJERK Encounter: Kuzzler
A heavily modified version of the command pod once used by Wanna of the GEATHJERK, the Kuzzler is armed with a light autocannon that can punch through even the thickest defenses a Wonderful One can muster. It also has a seemingly infinite supply of high-explosive charges and missiles. More worrying is the Kuzzler’s mobile anti-Unite field, which prevents the Wonderful 100 from using their best abilities.
You haven’t officially met the Kuzzler in game yet, but now’s as good a time as any to discuss it. A Kuzzler alone is very annoying, but not a critical existential threat. The other major problem is that you can only use a single Unite Morph for this mission!
Evade its machine gun by dashing away, and reflect its spherical explosives and missiles with Unite Guts to cause heavy damage. For its sphere bombs, it will try to plant them directly on your head. The missiles tend to be fired from afar and have very good homing ability.
While it has its anti-Unite field (AUF) deployed, you can’t use your defensive or offensive morphs, but the Kuzzler can’t fight back directly either. In these situations, Team Attack the Kuzzler until it is stunned, which will shut down the AUF and drop it to the ground. You can then pick it up with a Wonder-Circle and toss it into the ground for good damage. You can also do the same to any of the bombs it tries to plant on top of you. If you get out of its way, you have a few seconds to retrieve it and throw it back.
Hard and 101% Hard Mode
Hard and 101% Hard add a pair of Hoedowns to the mix. Combined with the Kuzzler’s propensity to shut down your morphs with the AUF, this fight can go in an embarrassing direction very quickly. Focus on reflecting cannon shots from the Hoedowns until their shields are destroyed, but be ready to move if the Kuzzler deploys the AUF.
Caution
Both versions only give you ten heroes to work with. This is a real problem because if even one is knocked out, you can’t Unite Guts to defend yourself until your fallen ally recovers.
Now that you’ve found everything possible outside, follow Luka into the elevator.
Inside the depths of Neo Mu, you’ll encounter several civilians on the walkways. When you reach this bridge [5] before a large central plaza, jump into the water surrounding it to begin a sweep for some items and new recruits.
Wonder-Padlock is among a group of divers on the north side of the room.
A Platinum Coin is inside a pink supply box under the water to the left of the central plaza.
A little farther south from the supply box, you can hammer the center of the grating to recover Wonderful File No. 10. Now head to the center of this room to begin Mission 4.
Mission 4
Medal Requirements
| Element | Platinum | Gold | Silver | Bronze | Difficulty |
|---|---|---|---|---|---|
| Time | 2:30 | 2:50 | 3:10 | 3:30 | Very easy |
| Time | 2:30 | 2:50 | 3:10 | 3:30 | Easy |
| Time | 5:30 | 5:50 | 6:10 | 6:30 | Normal |
| Time | 5:30 | 5:50 | 6:10 | 6:30 | Hard |
| Time | 5:30 | 5:50 | 6:10 | 6:30 | 101% Hard |
| Combo | 1200 | 900 | 600 | 300 | Very easy |
| Combo | 1500 | 1200 | 900 | 600 | Easy |
| Combo | 4000 | 3000 | 2000 | 1000 | Normal |
| Combo | 5000 | 4000 | 3000 | 2000 | Hard |
| Combo | 6000 | 5000 | 4000 | 3000 | 101% Hard |
| Damage | 0 | 500 | 1000 | 2000 | Very easy |
| Damage | 0 | 500 | 1000 | 2000 | Easy |
| Damage | 0 | 500 | 1000 | 2000 | Normal |
| Damage | 0 | 1000 | 2000 | 4000 | Hard |
| Damage | 0 | 1000 | 2000 | 4000 | 101% Hard |
Enemies Present (Very Easy–Normal)
Wave 1: Raydown x2
Wave 2: Megang x2
Enemies Present (Hard–101% Hard)
Wave 1: Doora x 2
Wave 2: Megang x 2
Not a particularly threatening first wave, there’s plenty of room to work with when dealing with the Raydowns. The Megang are slightly tougher to fight due to their spacing, as they can support each other well with the vast majority of their arsenal.
Hard and 101% Hard Mode
Two standard Dooras replace the Raydowns from Normal and below, and because there is so much space to work with, they can easily slip out of range of a large Unite Bomb. Focus on one at a time if possible, and take advantage of the arena space to try and isolate the Dooras from each other. You can handle the Megang afterward as you did on the lower settings.
As you leave the aftermath of Mission 4 in your wake, check out the Wonderful Toilet as you move on. GEATHJERK File No. 18 is inside.
Travel down the corridor is interrupted by Vijounne, whose taunting causes Blue to split off from the group once again. To stymie your pursuit, Vijounne destroys part of the glass on the walls, threatening to flood this section of Neo Mu. The rest of the team is forced to Unite Build into a plug for glass while Wonder-Red continues on, alone.
Well, mostly alone. Immorta, Galactic Federation Police officer, saves Red’s bacon from an imminent ambush before genially reminding him that the Wonderful 100 are outmatched by Prince Vorkken’s powers. Thanks for the vote of confidence, mysterious lady! Keep running down the corridor, picking up as many Wonderful Batteries as you can.
Mission 5
Medal Requirements
| Element | Platinum | Gold | Silver | Bronze | Difficulty |
|---|---|---|---|---|---|
| Time | 1:00 | 1:10 | 1:20 | 1:30 | Very easy |
| Time | 1:00 | 1:10 | 1:20 | 1:30 | Easy |
| Time | 1:00 | 1:10 | 1:30 | 2:00 | Normal |
| Time | 1:30 | 1:50 | 2:10 | 2:30 | Hard |
| Time | 1:30 | 1:50 | 2:10 | 2:30 | 101% Hard |
| Combo | 300 | 200 | 100 | 50 | Very easy |
| Combo | 300 | 200 | 100 | 50 | Easy |
| Combo | 300 | 200 | 100 | 50 | Normal |
| Combo | 1200 | 1000 | 800 | 500 | Hard |
| Combo | 1500 | 1200 | 800 | 500 | 101% Hard |
| Damage | 0 | 200 | 400 | 800 | Very easy |
| Damage | 0 | 200 | 400 | 800 | Easy |
| Damage | 0 | 200 | 400 | 800 | Normal |
| Damage | 0 | 400 | 800 | 1500 | Hard |
| Damage | 0 | 1000 | 2000 | 3000 | 101% Hard |
Enemies Present (All Difficulties)
Dough-Goo
You eventually run across Wonder-Blue taking out his impotent frustrations on some Dough-Goo. This isn’t a particularly hard battle, but there are three waves of Dough-Goo and they can get in some lucky hits if you’re not paying attention. Work quickly, as Blue can steal your kills and reduce your chances of getting a Platinum if you don’t have enough targets to punch for your combo score.
With the Dough-Goo out of the picture, check the waters surrounding the central platform. The purple submarine to the east has a Platinum Coin. North of the platform, atop a pillar, is a Hero Heart Fragment.
Mission 6
Medal Requirements
| Element | Platinum | Gold | Silver | Bronze | Difficulty |
|---|---|---|---|---|---|
| Time | 0:40 | 0:50 | 1:00 | 1:20 | Very easy |
| Time | 0:40 | 0:50 | 1:00 | 1:20 | Easy |
| Time | 0:40 | 0:50 | 1:00 | 1:20 | Normal |
| Time | 0:40 | 0:50 | 1:00 | 1:20 | Hard |
| Time | 0:40 | 0:50 | 1:00 | 1:20 | 101% Hard |
| Combo | 50 | 40 | 30 | 20 | Very easy |
| Combo | 50 | 40 | 30 | 20 | Easy |
| Combo | 50 | 40 | 30 | 20 | Normal |
| Combo | 700 | 600 | 500 | 400 | Hard |
| Combo | 800 | 700 | 600 | 500 | 101% Hard |
| Damage | 0 | 200 | 400 | 800 | Very easy |
| Damage | 0 | 200 | 400 | 800 | Easy |
| Damage | 0 | 200 | 400 | 800 | Normal |
| Damage | 0 | 400 | 800 | 1500 | Hard |
| Damage | 0 | 1000 | 2000 | 3000 | 101% Hard |
Enemies Present (All Difficulties)
Dough-Goo
As you continue down the corridor, Blue and Red’s conversation is rudely interrupted by another Dough-Goo ambush. Splatter them and drive on.
Mission 7
Medal Requirements
| Element | Platinum | Gold | Silver | Bronze | Difficulty |
|---|---|---|---|---|---|
| Time | 2:00 | 2:20 | 2:40 | 3:00 | Very easy |
| Time | 2:00 | 2:20 | 2:40 | 3:00 | Easy |
| Time | 1:30 | 1:50 | 2:10 | 3:00 | Normal |
| Time | 1:40 | 2:00 | 2:20 | 2:40 | Hard |
| Time | 1:40 | 2:00 | 2:20 | 2:40 | 101% Hard |
| Combo | 100 | 80 | 60 | 40 | Very easy |
| Combo | 120 | 100 | 80 | 60 | Easy |
| Combo | 400 | 300 | 200 | 100 | Normal |
| Combo | 600 | 500 | 400 | 300 | Hard |
| Combo | 700 | 600 | 500 | 400 | 101% Hard |
| Damage | 0 | 500 | 1000 | 2000 | Very easy |
| Damage | 0 | 500 | 1000 | 2000 | Easy |
| Damage | 0 | 500 | 1000 | 2000 | Normal |
| Damage | 0 | 1000 | 2000 | 4000 | Hard |
| Damage | 0 | 1000 | 2000 | 4000 | 101% Hard |
Enemies Present (All Difficulties)
Wonder-Blue
It was inevitable, wasn’t it? Blue has been...kinda a big jerk about Red being the leader, and he’s been spoiling for a chance to settle things. See to it that he learns the importance of teamwork, as well as his new designation as Wonder-Black-and-Blue by the time this scuffle finishes.
Wonder-Blue does have the skills to back up his confidence and the reach to make it hard getting close, thanks to his Valiantium Blade. He will use Wonderful Stinger, Wonderful Rising, and Wonderful Cyclone to try and stop you. More importantly, he inherently has access to Hero Counter, which he will use to score a huge combo on you, if he manages to land it.
Let Blue come to you. You don’t have Unite Guts, but you do have a parry put in its place that can stun Blue and let you really pile on the punishment, as it weakens Blue’s defenses. Ideally, a stun on Blue should be followed with a couple attacks on land, then led into a Wonderful Rising, with a few more hits before doing a second Wonderful Rising off an air jump, then finishing the combo. Don’t try the parry too often, as it leaves you vulnerable every time it misses! You can also dodge-roll away from his attacks and strike his flanks.
Once Blue is depleted of health, an event occurs where he grapples with Red, the two heroes pounding the heck out of each other. You must win this button-mashing competition; otherwise Blue will kick you away and gain back some health.
Differences settled, and knowledge imparted through violence, the two team back up to find a way across the massive gap in the walkway. Fortunately, there is a valve that Red can twist nearby to create a bridge [6]. Keep moving down the corridor.
Mission 8
Medal Requirements
| Element | Platinum | Gold | Silver | Bronze | Difficulty |
|---|---|---|---|---|---|
| Time | 3:00 | 3:20 | 3:40 | 4:00 | Very easy |
| Time | 3:00 | 3:20 | 3:40 | 4:00 | Easy |
| Time | 2:20 | 2:40 | 3:00 | 3:20 | Normal |
| Time | 2:20 | 2:40 | 3:00 | 3:20 | Hard |
| Time | 2:20 | 2:40 | 3:00 | 3:20 | 101% Hard |
| Combo | 400 | 300 | 200 | 100 | Very easy |
| Combo | 400 | 300 | 200 | 100 | Easy |
| Combo | 500 | 400 | 300 | 200 | Normal |
| Combo | 1500 | 1200 | 800 | 500 | Hard |
| Combo | 2000 | 1500 | 1000 | 500 | 101% Hard |
| Damage | 0 | 200 | 400 | 800 | Very easy |
| Damage | 0 | 200 | 400 | 800 | Easy |
| Damage | 0 | 200 | 400 | 800 | Normal |
| Damage | 0 | 400 | 800 | 1500 | Hard |
| Damage | 0 | 1000 | 2000 | 3000 | 101% Hard |
Enemies Present (Very Easy–Normal)
Dough-Goo
Enemies Present (Hard–101% Hard)
Diedough-Goo
As you advance down the next corridor, more Dough-Goo show up to interfere with Blue’s sad tale. The most challenging part of all this? The word bubbles from Blue obscuring the screen. Hold down the L Button to make ’em disappear, or turn off subtitles in the options.
Hard and 101% Hard Mode
A lone Diedough-Goo shows up on Hard and 101% Hard. You can still parry many of its moves as you would if Unite Guts was an option.
Mission 9
Medal Requirements
| Element | Platinum | Gold | Silver | Bronze | Difficulty |
|---|---|---|---|---|---|
| Time | 2:00 | 2:20 | 2:40 | 3:00 | Very easy |
| Time | 2:00 | 2:20 | 2:40 | 3:00 | Easy |
| Time | 1:40 | 2:00 | 2:20 | 2:40 | Normal |
| Time | 2:00 | 2:00 | 2:40 | 3:00 | Hard |
| Time | 2:00 | 2:00 | 2:40 | 3:00 | 101% Hard |
| Combo | 20 | 15 | 10 | 5 | Very easy |
| Combo | 25 | 20 | 15 | 10 | Easy |
| Combo | 40 | 30 | 20 | 10 | Normal |
| Combo | 1200 | 900 | 600 | 300 | Hard |
| Combo | 1500 | 1200 | 900 | 600 | 101% Hard |
| Damage | 0 | 500 | 1000 | 2000 | Very easy |
| Damage | 0 | 500 | 1000 | 2000 | Easy |
| Damage | 0 | 500 | 1000 | 2000 | Normal |
| Damage | 0 | 1000 | 2000 | 4000 | Hard |
| Damage | 0 | 1000 | 2000 | 4000 | 101% Hard |
Enemies Present (Very Easy–Normal)
Diedough-Goo
Enemies Present (Hard–101% Hard)
Diedough-Goo x2
On Normal mode and below, you face a single Diedough-Goo. On higher difficulties, it’s a pair. Thankfully, these are not full-strength Diedough-Goo; otherwise you’d be here for a while. Remember that you can parry any attack from these guys that you’d normally respond to with Unite Guts.
After the area is secured, red and blue plugs appear at the center of the generator room, with conduits rising up from the ground all around the area. Wonder-Red and Wonder-Blue pick up their designated plug, and your job is to get them individually to a series of indicated conduits. Red is controlled by the left analog stick, Blue with the right. You’ve got 30 seconds to get Red and Blue to eight different conduits. You must take them to the correct color conduit, or you have to restart the sequence.
Now run back the way you came. Dough-Goo will try to challenge you, but they can be ignored, as these battles aren’t ranked.
When you get back to the energy bridge, Vijounne shows up to rain on the parade. She blasts Red into the abyss, and Blue is forced to pass on another shot at the villainess to go save Red.
Controlling Blue, you have one minute to break Red out of his trap. Just keep chasing him down and striking him until you finally shatter his bonds. The rest of the team shows up momentarily, and you must use Unite Sword to get everyone to safety.
After a short cutscene, the team is back together and you’ve got some item hunting to accomplish. A nearby Gatcha holds Wonder-Plane hostage, and near the Gatcha is a place on the floor you can Unite Hammer for the last Platinum Coin. As you continue down the corridor to reach the end of the mission, you’ll come across a blue supply box that contains Wonderful Figure No. 35. That’s the last of the collectibles for Operation 004-B! The exit lies before you, but you’ve got one last fight to deal with.
Mission 10
Medal Requirements
| Element | Platinum | Gold | Silver | Bronze | Difficulty |
|---|---|---|---|---|---|
| Time | 10:00 | 12:00 | 14:00 | 16:00 | Very easy |
| Time | 10:00 | 12:00 | 14:00 | 16:00 | Easy |
| Time | 7:00 | 7:20 | 7:40 | 8:00 | Normal |
| Time | 10:00 | 12:00 | 14:00 | 16:00 | Hard |
| Time | 10:00 | 12:00 | 14:00 | 16:00 | 101% Hard |
| Combo | 3500 | 3000 | 2000 | 1000 | Very easy |
| Combo | 4500 | 3000 | 2000 | 1000 | Easy |
| Combo | 6000 | 5000 | 4000 | 3000 | Normal |
| Combo | 6000 | 5000 | 4000 | 3000 | Hard |
| Combo | 6000 | 5000 | 4000 | 3000 | 101% Hard |
| Damage | 0 | 1000 | 2000 | 4000 | Very easy |
| Damage | 0 | 1000 | 2000 | 4000 | Easy |
| Damage | 0 | 1000 | 2000 | 4000 | Normal |
| Damage | 0 | 2000 | 4000 | 8000 | Hard |
| Damage | 0 | 2000 | 4000 | 8000 | 101% Hard |
Enemies Present (All Difficulties)
Die-Rixen (You-Houghs deployed on Hard and above)
GEATHJERK Encounter: Die-Rixen
Towering above the battlefield, the Die-Rixen could technically be considered a tank but is best described as a mobile fortress. Bristling with guns and protected by thick armor, a single Die-Rixen can change the tide of any battle through sheer intimidation or firepower.
The Die-Rixen is absolutely enormous, and fast for its size. When not firing any of the five artillery cannons mounted to the hull, the Die-Rixen can dash across the battlefield at alarming speed or can spin rapidly in place to throw off unwanted passengers and mash anyone who strays too close.
The basic way to take down the Die-Rixen is to keep your distance and fire back any cannon shots it deposits onto the battlefield with Unite Gun or Unite Whip. You must take out the four smaller turrets to temporarily incapacitate the fortress. This will cause the machine to spin out of control and present its primary vulnerability to you. You can speed this along by using the cannon shots on the turrets, but in a pinch Unite Whip and Unite Sword have the range to reach these turrets from a relatively safe distance.
In addition to the cannon shells being fired by the guns, the main gun will also launch a large barrage of missiles that will arrive from above several seconds after firing. This can be evaded, or you can block it entirely with Unite Hammer. The main gun also occasionally acts as an enormous flamethrower.
After you disable the fortress, you can use Unite Claw to climb up the grating on its backside. You can try to climb the grating earlier if you manage to bypass the spike armor, but while the tank is fully mobile, it will likely spin to send you flying away. When you reach the top of the Die-Rixen, you must then pry open the back of its main gun with Unite Claw to reveal the primary weak spot of the tank. At that point it is time to attack aggressively. But not so much that you ignore signs that the fortress is coming back to full function. The moment the tank starts to prop itself back up and its turrets regenerate, you need to be somewhere else, or you’ll suffer heavy damage.
Hard and 101% Hard Mode
In addition to everything the Die-Rixen can do, on Hard and 101% Hard it will summon You-Houghs in waves at its enemies.
After you make the Die-Rixen go kaput, pry open the last sealed door and race to the Wonderful Mart beyond. Operation 004-B is cleared!
Operation 004-C
The voracious war veteran Vijounne vicariously vexes Blue. He has sworn a virulent Valiantium vow to vanquish the villainous and vacuous GEATHJERK officer, the vestige of a violent vendetta twenty years in the making.
Also, the Virgin Victory must secure the Super Reactor so that it may be hidden away, safe from GEATHJERK’s wrath. To do this, the Wonderful 100 must buy some time to set the plan into motion. But that other stuff is important too.
Medal Requirements
| Element | Platinum | Gold | Silver | Bronze | Difficulty |
|---|---|---|---|---|---|
| Time | 17:00 | 19:00 | 21:00 | 23:00 | Very easy |
| Time | 17:00 | 19:00 | 21:00 | 23:00 | Easy |
| Time | 12:00 | 14:00 | 16:00 | 18:00 | Normal |
| Time | 17:00 | 19:00 | 21:00 | 23:00 | Hard |
| Time | 17:00 | 19:00 | 21:00 | 23:00 | 101% Hard |
| Combo | 10000 | 8000 | 6000 | 4000 | Very easy |
| Combo | 11000 | 9000 | 7000 | 5000 | Easy |
| Combo | 12000 | 11000 | 10000 | 9000 | Normal |
| Combo | 12000 | 11000 | 10000 | 9000 | Hard |
| Combo | 12000 | 11000 | 10000 | 9000 | 101% Hard |
| Damage | 0 | 1000 | 2000 | 4000 | Very easy |
| Damage | 0 | 1000 | 2000 | 4000 | Easy |
| Damage | 0 | 1000 | 2000 | 4000 | Normal |
| Damage | 0 | 2000 | 4000 | 8000 | Hard |
| Damage | 0 | 2000 | 4000 | 8000 | 101% Hard |
Enemies Present (All Difficulties)
Ohdarko
Phase One
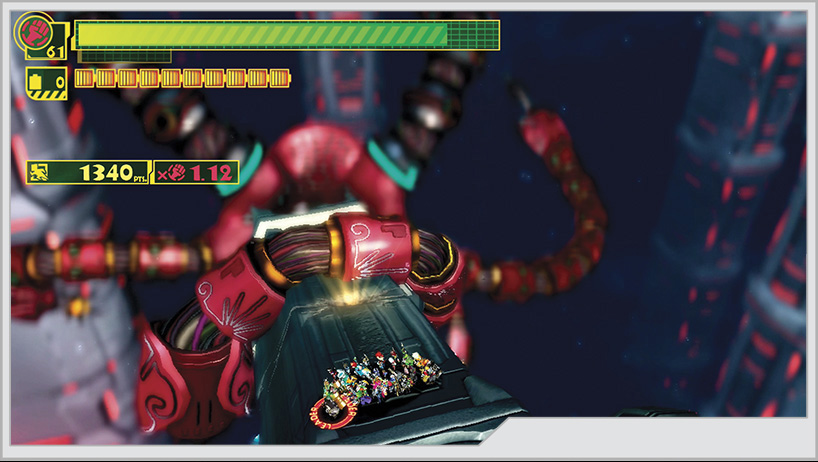
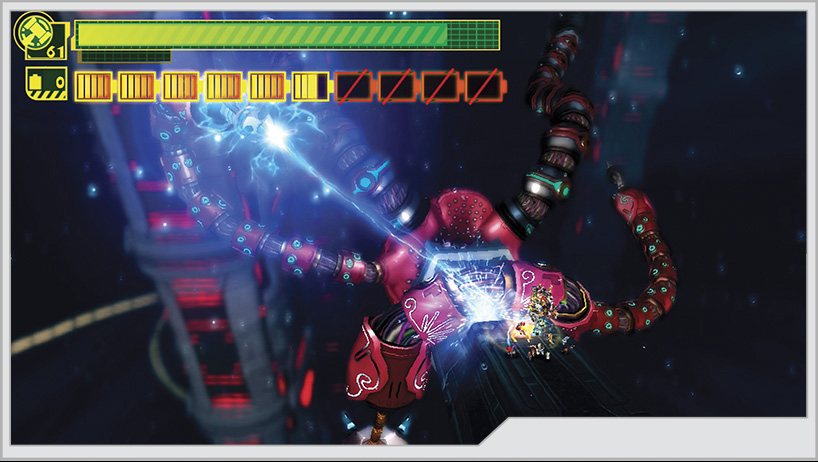
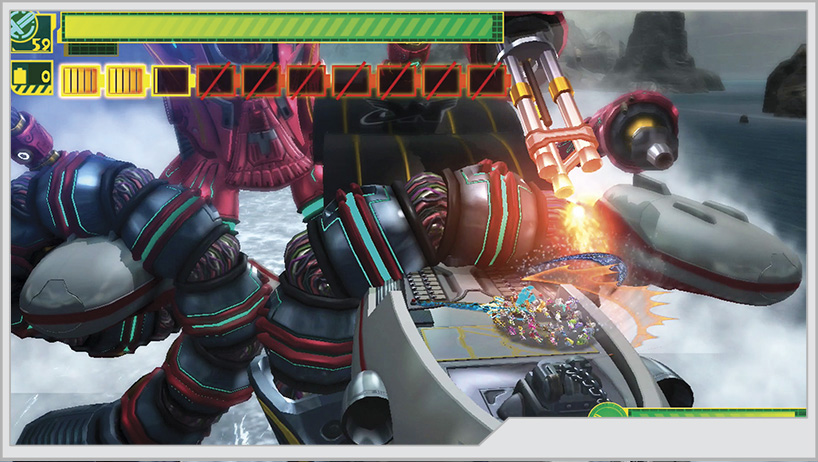
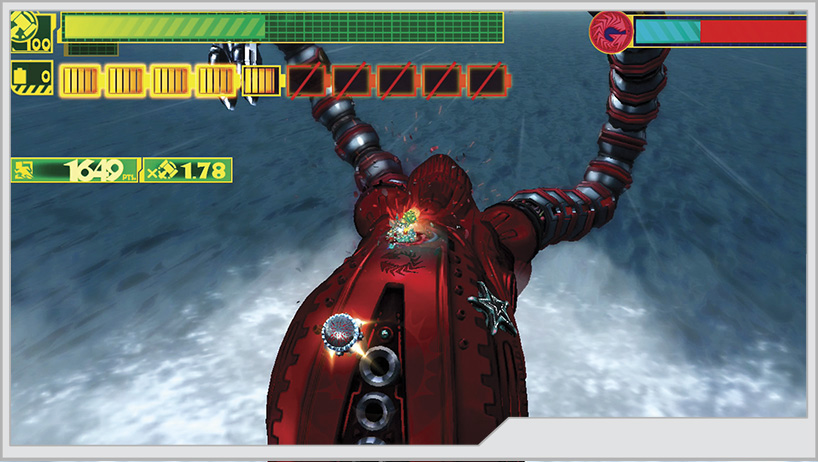
Wonder-Red wastes no time ordering the team to enter Unlimited Form. When combat begins after a short taunting session between Blue and Vijounne, at first you do not have a full glimpse of the machine holding on to the statue; you see only two tentacles flanking it on the left and right. The tentacles alternate attacks and go one at a time. Get your own attacks in whenever you have the opportunity.
The tentacles are capable of using laser beams and flamethrowers. You can counter these with Unite Sword and Unite Hand, respectively. The flamethrower powers up Unite Hand, which makes it a good time to let loose with your own attacks before the absorbed flames wear out or the enemy pulls just out of reach.
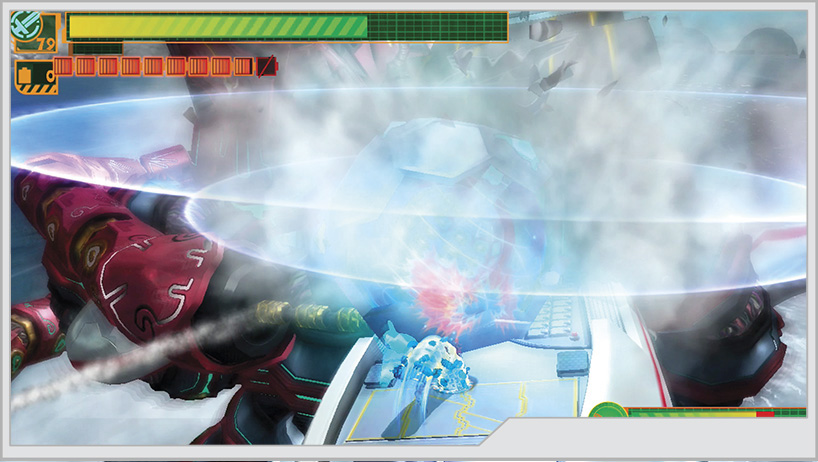
When you see a tentacle hover above the base of the statue with its weapon pointed straight at it, you’re about to see a cannon shot be fired at your position. Return these gifts to sender with Unite Gun or Unite Whip.
If the tentacle rises above the statue’s base, but the dull bottom of the tip is what faces you, get ready to Unite Guts a tentacle slam attack.
After defeating both tentacles, you’re prompted to hammer off a section of the base to knock the pursuing machine loose. It does not approve of this and will attempt to strike with other weapons in its arsenal, such as an electro-shock cannon and an ink jelly bomb launcher. It is possible to repel the lightning with Unite Sword, but try to hammer at the crack in the statue quickly and often to drive off the machine. It communicates to you that this will not do at all.
GEATHJERK Encounter: Ohdarko
Vijounne tries to avoid direct contact with her enemies unless it is to torment or seduce them. However, after the events at Neo Mu, she has called upon this mechanical monstrosity to try and decisively end this war in GEATHJERK’s favor. Armed with a wide variety of weapons, the Ohdarko is perfectly designed for deep-sea warfare, dragging its opponents to dark depths and crushing them mercilessly.
Phase Two
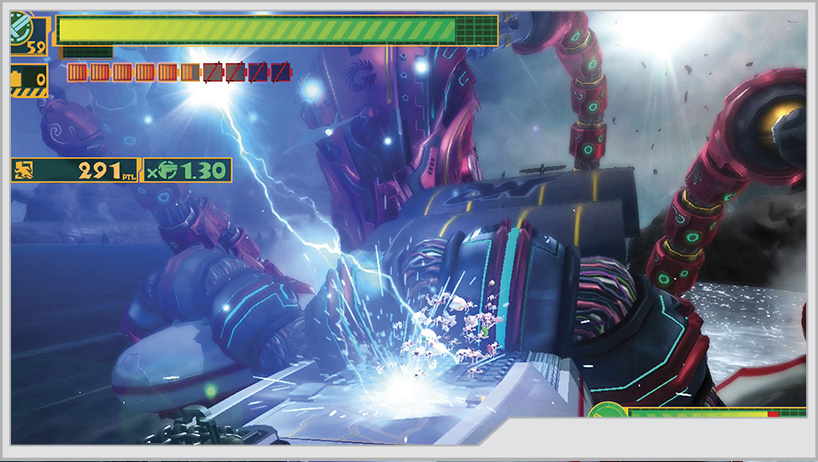
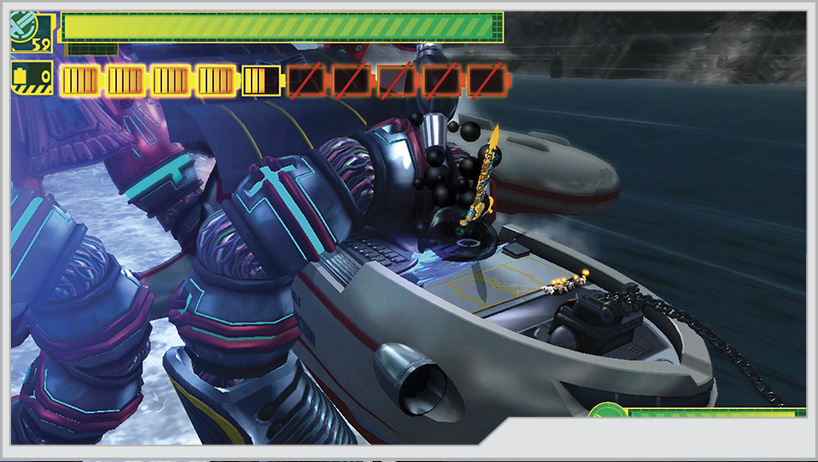
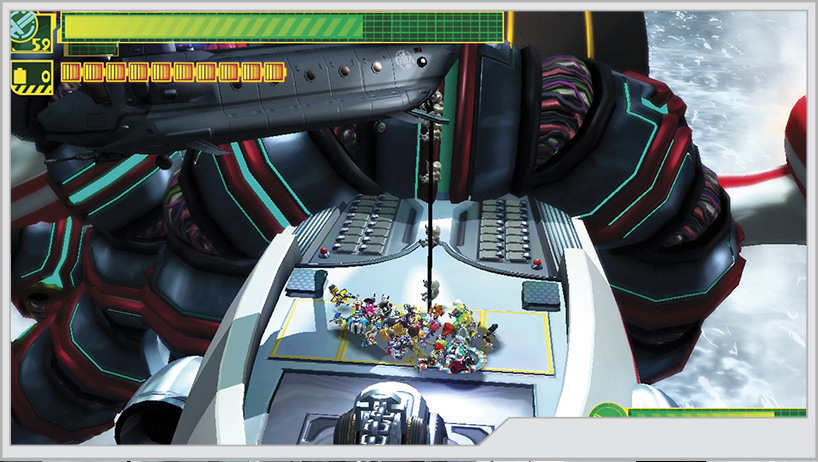
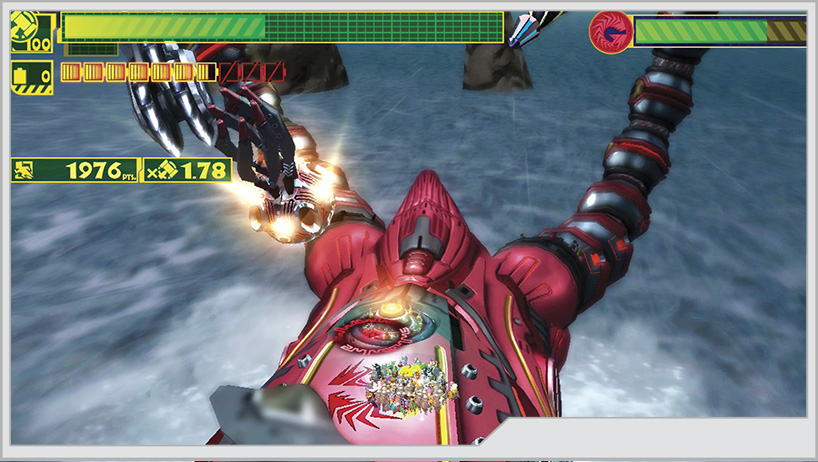
Grasping firmly on to the Virgin Victory like a scorned alien octopus robot, the Ohdarko unleashes its firepower both at the Wonderful 100 and the Victory. You must do your best to quickly destroy the limbs as they draw in close to attack, while also keeping the ship up and running by wrapping a Wonder-Liner around any damaged sections on the ship’s deck. Ohdarko still has the use of its electro-shock cannon and ink jelly bombs, but other weapons will also come into play.
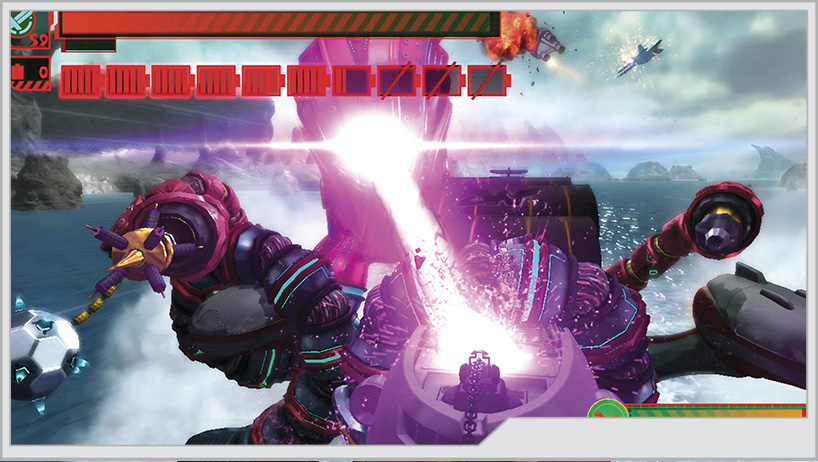
One of the tentacles on Ohdarko is tipped by a massive spiked mace that can be very tough to evade and cannot be blocked with Unite Guts. The timing for Hero Counter is particularly tough as well due to how fast the attack is executed. Try to Unite Spring away while equipped with Hero Time. The mace embeds itself on the Virgin Victory’s deck, allowing you to tear off sections of it with Unite Whip to eventually reach its core and destroy it.
Ohdarko also has another beam cannon on its head. You can reflect this beam toward limbs that are out of your reach.
Throughout this phase, helicopters will deliver reinforcements, and fighters will attempt air strikes that can harm Ohdarko’s limbs. You need a full 100 hero team to put an end to Ohdarko, so recruit ’em if you need to.
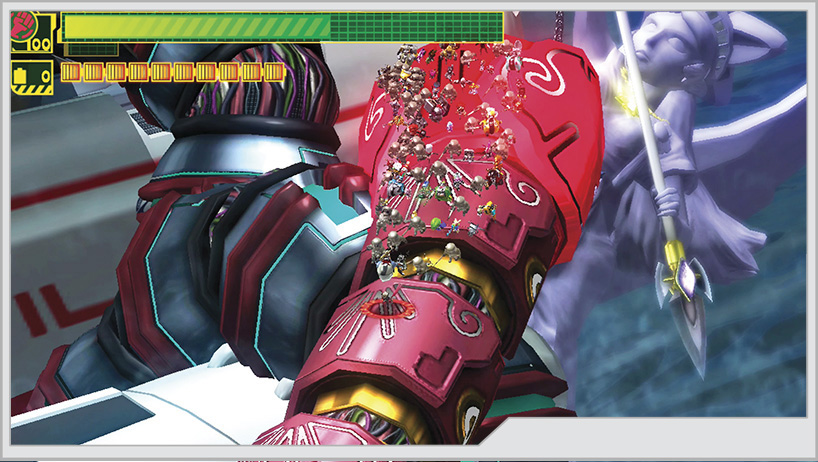
After you destroy all of the weapon limbs you can see, the team leaps onto one of the arms to try and save Luka. You must guide the team toward the body of Ohdarko and pry open an access hatch with Unite Claw. Work fast, as the tentacle you’re on is self-destructing.
Phase Three
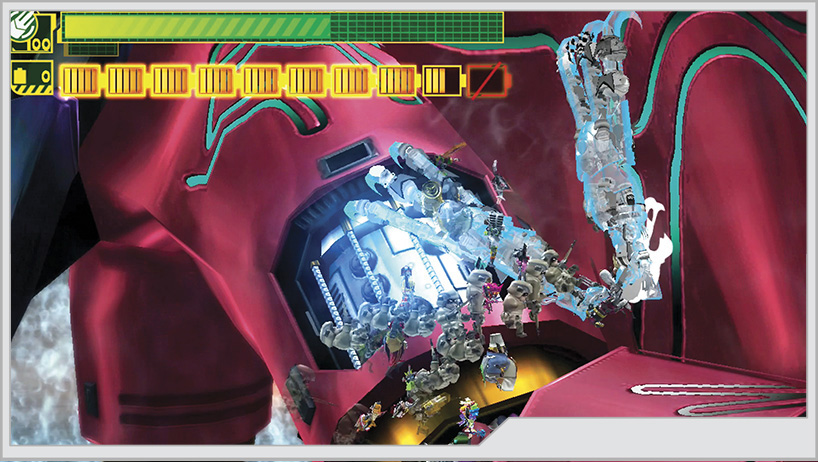
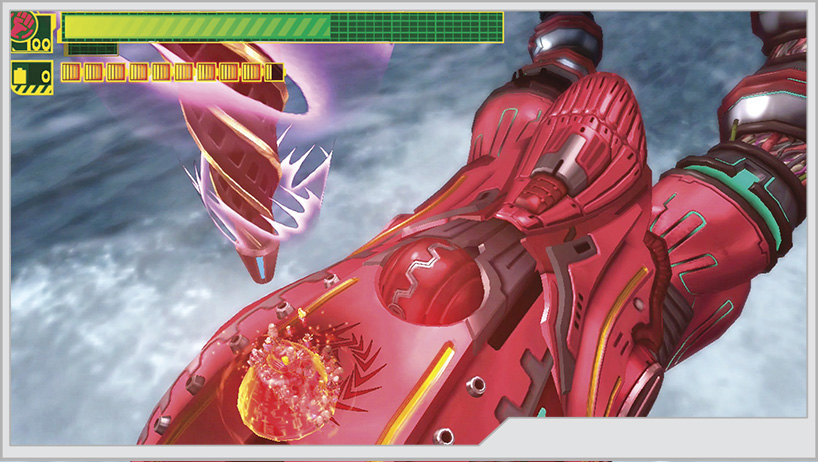
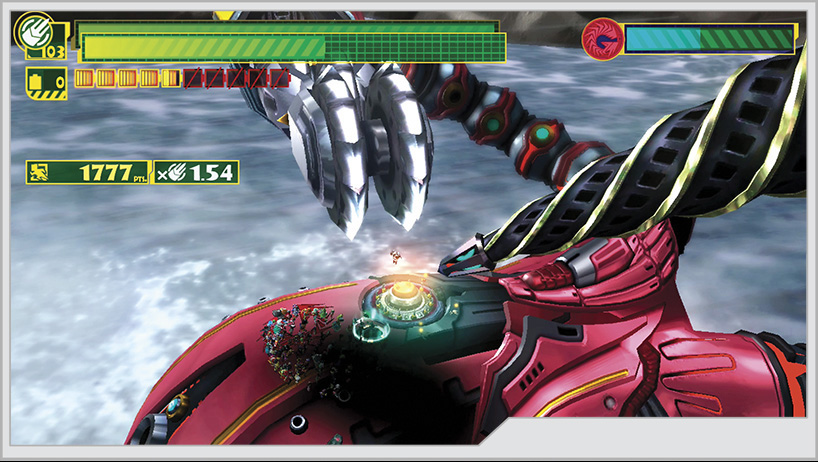
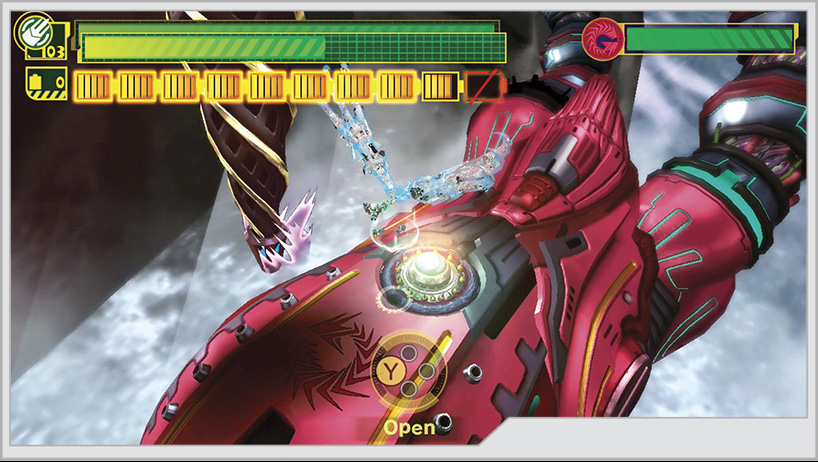
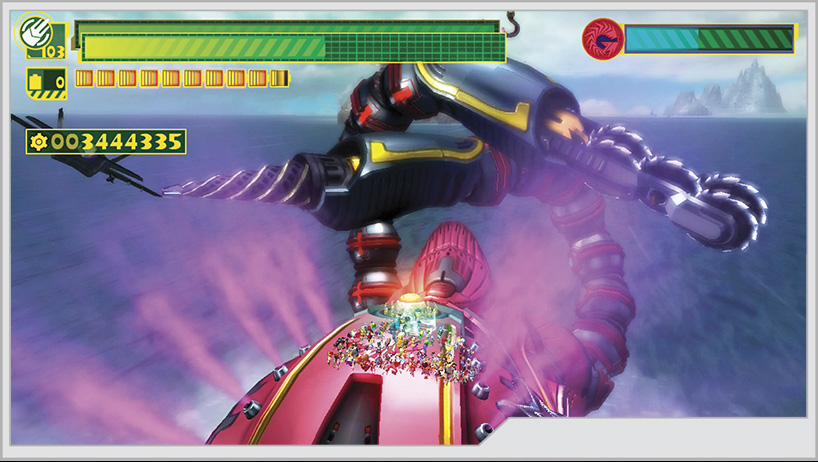
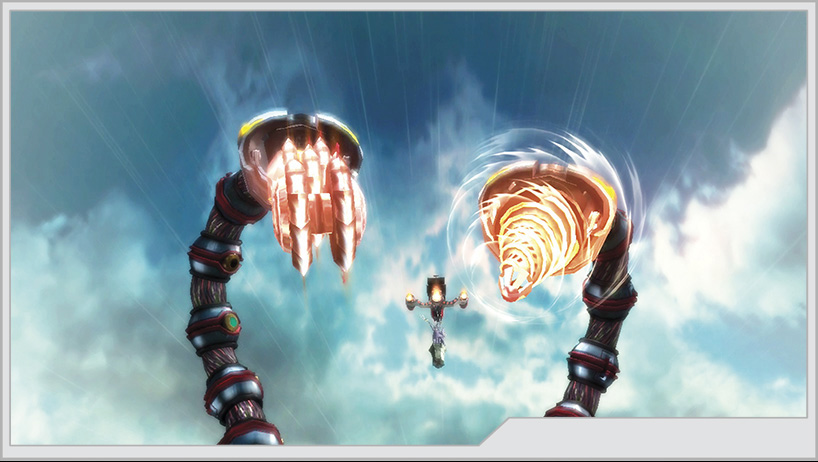
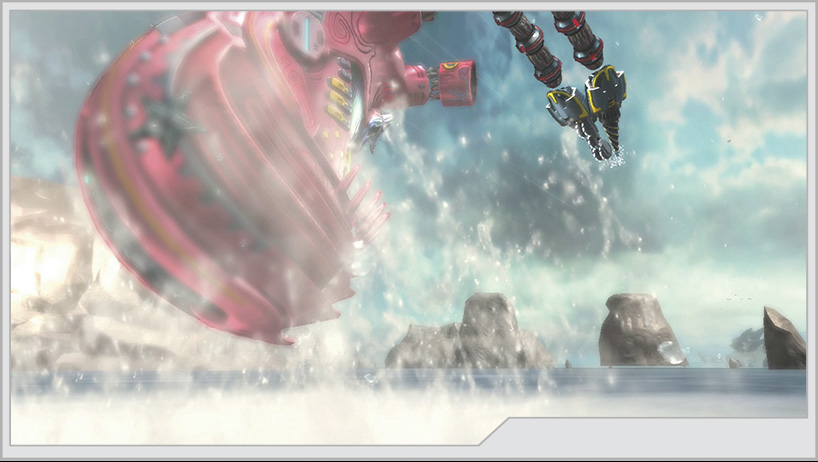
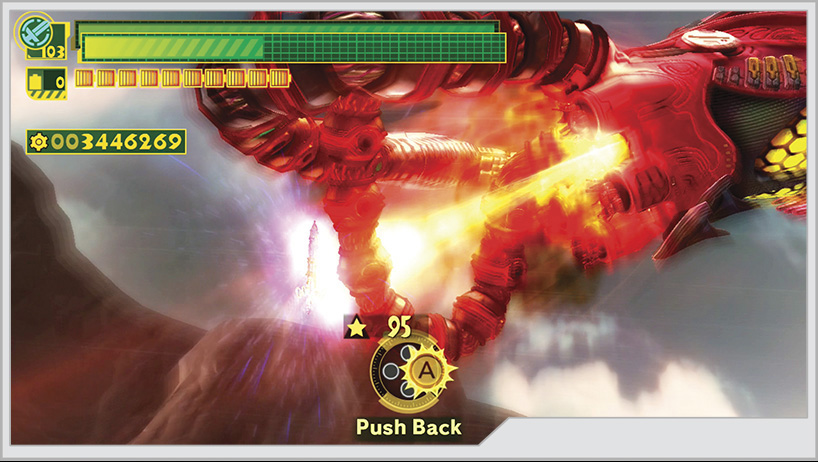
Vijounne angrily reasserts Ohdarko’s grip on the Virgin Victory, and you jump onto its head to finish the fight. Now you must use Unite Claw to get access to its weak point, while evading the drill from one of the remaining tentacles and the saw blades mounted on the other. You can actually intercept the saw blades with Unite Claw to cause serious damage to Ohdarko, if you win the event that takes place after the intercept.
Ohdarko will release large missiles from its head, targeting them to land on you from above. Get moving when you see the missiles fly up!
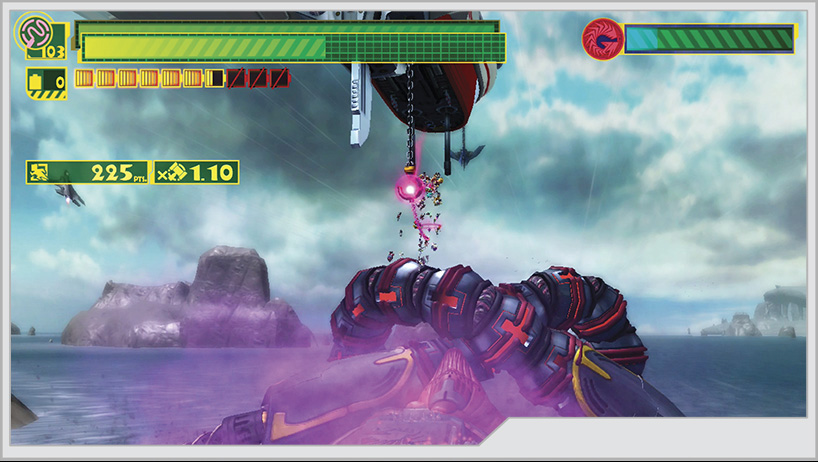
Lastly, Ohdarko can emit a poisonous purple mist from vents on its body. The Virgin Victory will lower an anchor for you to Unite Whip to and safely stay away from the gas.
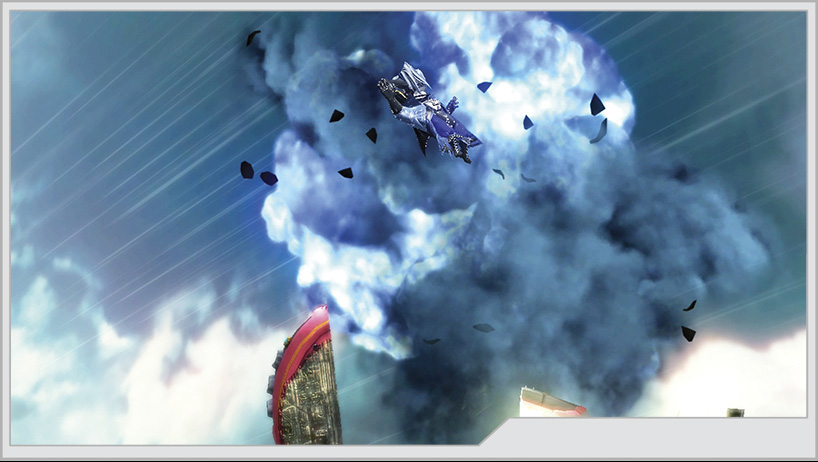
When Ohdarko’s health is completely depleted, it attempts to destroy the Wonderful 100 with a combined drill and saw blade attack, which you must intercept with Unite Claw. After Wonder-White finishes abusing the mech, it is tossed into the sky where you must then intercept Ohdarko’s laser with Unite Sword.
Despite Blue’s efforts, Vijounne slips away to fight another day. There is no time for more debate on Blue’s recklessness, as the team is needed back on the Virgin Victory’s bridge. For now, Operation 004 is complete.