
Metroid: Samus Returns Guide Walkthrough
Area 8

 This is it, the final area. One last Metroid stands between you and mission completion. This isn’t a particularly large area, but stay on your guard. Who knows what might be lurking around these depths?
The path to the end of this long, winding room isn’t terribly complicated.
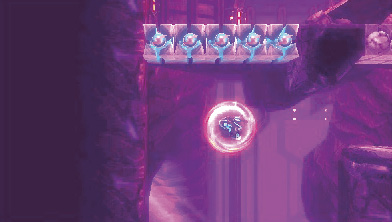
Head east, then climb up the corridor on the room’s east end. Space Jump your way up to avoid getting stopped by the Screw Attack Blocks obstructing your path.
In fact, avoiding the enemies and Screw Attacking your way up the corridor is likely the most practical way to climb this tower. There are plenty of strong enemies along the route, and fighting them is a good way to burn through health.
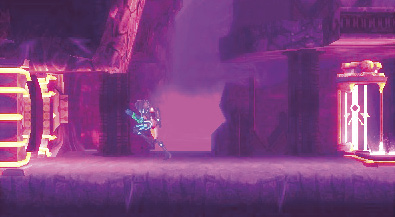
Once you’re at the top of the corridor, go left and pass through the door just ahead of the Save Station.
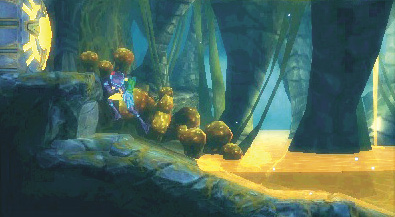
Continue to the door on the left side of this liquid-filled hall. There are a few enemies here, but the path is as straight as they come.
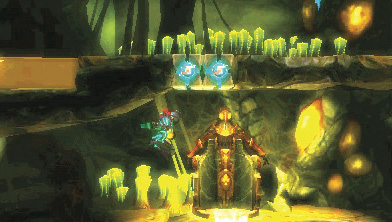
Head left slightly, then Screw Attack through the Blocks above the Teleport Station.
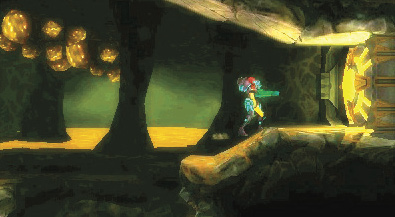
Continue climbing and take the door near the top-right corner of the corridor.

 Head to the door on the right side of this room, then climb up the corridor and take the door near the top left.

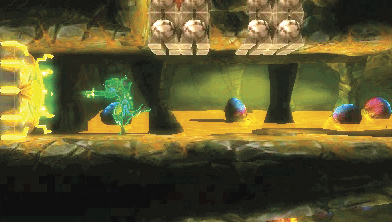

This next corridor is a straight shot, but the floor is strewn with Pit Blocks. If you Space Jump through, you’ll have no problems, but falling through any of the Pit Blocks guarantees a long trek back up to this room.
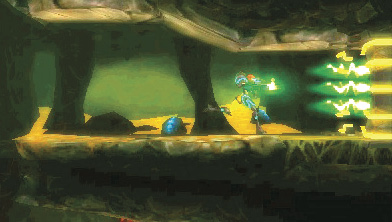
Once on the left side of the room, head up the corridor and through the door on the right side.
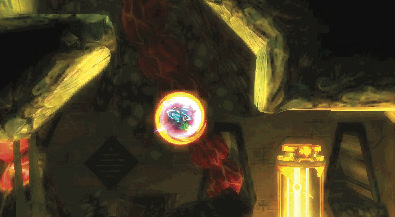
Continue on to the right and jump up as soon as you see the Save Station. Note the Gunzoo upon entering a tall, wide-open room. This is where things get tricky.

 Space Jump straight up the middle of the room. It’s divided into two parts: the lower area, which is nothing but open space; and the upper area, which is a twisting, turning maze of corridors and items. It’s a challenge to traverse, so be prepared.

Jumping up the center of the room leads you to one of the two openings into the maze. Enter and head left. Jump up to the top of the spike-laden corridor and grab on to the handhold to your left. Or, for a safer route, line yourself up in the middle of the room and boost yourself with a Power Bomb up to the top. The choice is yours.

Head right and bomb the Block at the end of the passage, and you fall into another corridor. Immediately plant a Power Bomb to deal with the Black Autrack at the bottom.

Climb up the corridor’s right wall and bomb the second Block from the top. Drop to the bottom of the next corridor to find a Pull Block. Destroying this creates a shortcut from the Recharge Stations below directly into this corridor.

Jump up into the opening near the top of the right wall and go right. It’s prudent to plant a Power Bomb a little way into this passage. Not only is there a GlowFly ahead, but the entire upper area is littered with them. Once the Power Bomb detonates, continue right to find an opening into the upper half of the room.
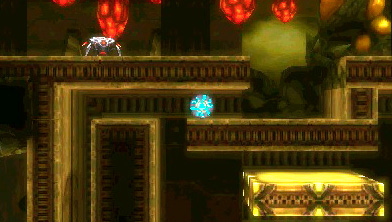
With all the enemies gone, you can head to the left side of this room with little issue. Climb through the opening in the ceiling as soon as you see it.
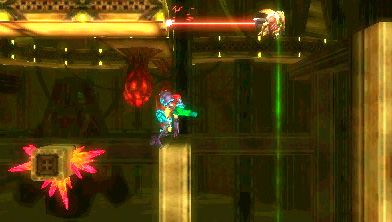
Go left and jump into the opening above. You see another Pull Block on the way—destroying it opens another shortcut.
Proceed right after jumping into the opening until you reach a Gunzoo.

From here, head up, continue left, then up again when you hit the west wall. You find the door out of this labyrinthine room there.


Screw Attack through the floor in front of the door to activate a Teleport Station below. Climb up to the top of the corridor and into the passage on the right.
What is that pod? Is it an egg? That does make sense. All these Metroids had to come from somewhere. Or something. A mother Metroid? There’s only one Metroid left, and that egg must be it. Continue to the right.
When you reach the deactivated door on the right side of the next room, Screw Attack through the Blocks on the floor. Continue right.

 The Metroid Radar’s going off the charts. Wait… The reading says 11 more Metroids! There are more?! This is just a Metroid larva. It’s susceptible to your Ice Beam and missiles, so freeze it and blow it up. Whatever you do, don’t let it bite you! Metroid larvae are well-known for their energy-sapping abilities. If they grab you, immediately drop into the Morph Ball and plant Bombs to shake them loose.

Metroid larvae plague these halls, and the corridor doors don’t open until they’re defeated. There’s only one path to follow here, so defeat the Metroid larva and press on ahead!
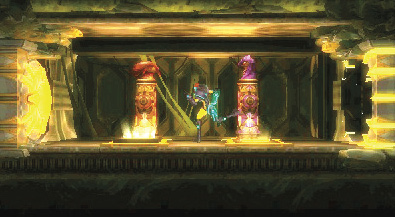
Be sure to use the Recharge Stations when you pass them. With this many Metroid larvae around, there’s sure to be a source. You’re nearing the end of this mission; be ready for anything.

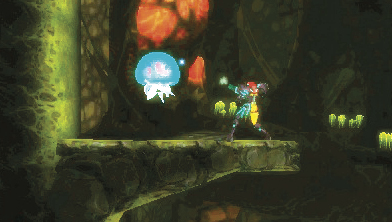
 When you reach the corridor on the far left, jump up to the top to find a pair of Metroid larvae.
Drop to the bottom of the corridor and head through the door on the right.
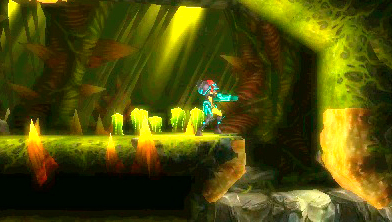
The drop at the end of the Save Station room is setting off the Metroid Radar like a fireworks show. Consider this the point of no return. Whatever created those Metroid larvae definitely wasn’t that egg, so expect the worst. If you have things to do, this is the time to get them done.

40/40
Queen Metroid
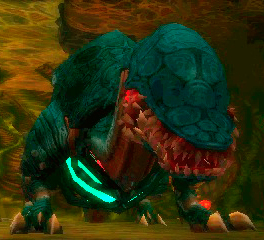
This is it, the source of the Metroids—the Queen Metroid. Defeating it means an end to the Metroids, mission accomplished. This fight is tough, so read up on each phase as soon as it begins to keep from getting blindsided by the Queen Metroid’s attacks.
Unlike its brood, the Queen Metroid’s core is not its weak point. You must hit its mouth while it’s open to damage it, but like its brood, only the Ice Beam and your missiles do damage. If possible, save your Super Missiles for Phases 2 and 3, and use normal missiles and your Ice Beam for Phase 1. The Queen Metroid hits hard, but once you understand its attacks, you’ll have a much easier time dealing with this behemoth.
Phase 1
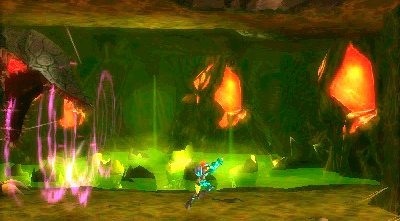
The Queen’s nest is long and narrow; there isn’t much in the way of ceiling space here. The Queen’s attacks take up large portions of the room, and the Queen itself moves forward and backward, either pressing you against the wall or giving you a good bit of wiggle room.
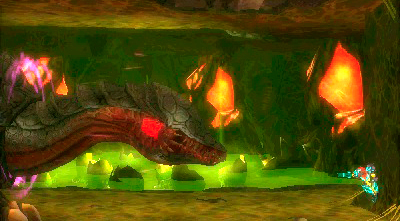
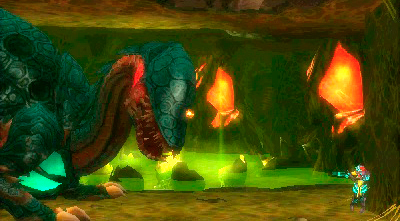
Space is a constant issue, so always be mindful of potential safe spots and escape routes to avoid taking damage.
One of the most frequently occurring attacks in the Queen’s arsenal is the forward lunge. The Queen lifts its head and opens its mouth while ripples form around it. This is your sign to race to the right side of the room. The Queen lunges forward, dealing massive damage if you’re unlucky enough to get hit.
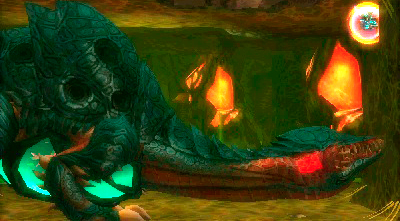
The Queen often follows up the forward lunge with a head-smash attack. It reels its head back, then brings it up and straight to the ground. Whenever the Queen performs a forward lunge, expect a head smash to follow.
The safest place to be for both of these attacks is the top-right corner of the room. As soon as you see the Queen’s forward lunge, race to the right and start Space Jumping in the corner. Chances are good that you’ll come out unscathed.
Most of the Queen’s attacks take advantage of the room’s limited space. Another such staple of its arsenal is its
fire-breath attack. It comes in a variety of patterns, but you only have to deal with one during this first phase.

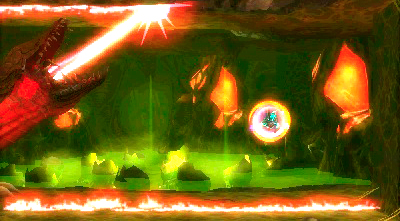
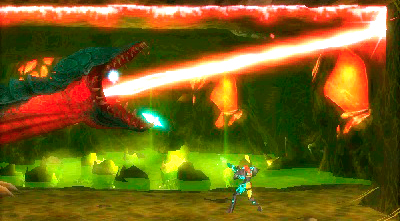
The queen sprays the floor with a beam of flame, then sprays the ceiling and drags the flame down the east wall. The flames on the floor last until the Queen’s second beam reaches the east wall. Spider Ball on the east wall as soon as you see the first beam begin dragging along the floor. When the flames on the floor clear, drop off the wall and advance toward the Queen. This is a good time to get some shots in. Its mouth is open the entire time it fires the beam.
The Queen’s color turns from gray-blue to deep red when you do enough damage to change the phase. You know the phase has ended when the Queen drops a cluster of resources.

Phase 2

The Queen introduces its counterable attack at the start of Phase 2.
It stops moving while its head twitches and sways. This is the sign that you should get in closer to the Queen, and also an excellent time to sneak some Super Missiles into its mouth. Its counterable attack is incredibly fast, so use this tell to maximize your chances of hitting it in time. Almost immediately after the rings appear around its mouth, the Queen snaps its giant jaws low to the ground in a flash.

Note that once you counter the attack, you don’t move into your normal attack mode. Instead, a red light appears at the tip of the Queen’s tongue. You’ve seen similar red lights during your time on SR388, though not inside an enemy’s mouth. Free Aim at the red light, grapple it, and then pull!
Following a successful counter, quickly roll into the Queen’s stomach. Make sure your Lightning Armor is equipped when you do, since you take damage rolling in. Drop a Power Bomb here for big damage. Normal Bombs also work, but they’re much less effective.
The Queen’s head hits the ground, and its mouth gapes open for a Super Missile volley. Take care not to stand too close. Its mouth snaps, which is an easy way to take a little damage unexpectedly.
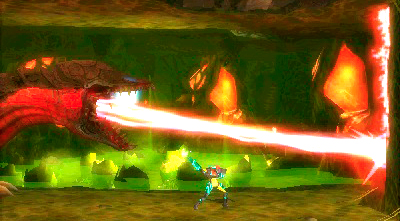
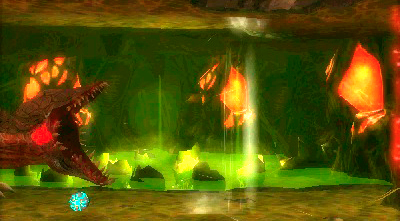
At times, the Queen breathes fire only on the east wall. This may look like a non-issue, but if you aren’t in the Morph Ball and underneath the Queen’s head before it finishes spraying fire, you’re sure to take damage. As soon as the Queen finishes breathing fire, it begins blowing air out of its mouth, pushing you toward the engulfed wall. If you stay under the Queen’s head and roll to the left during this time, you can get through the attack unscathed.
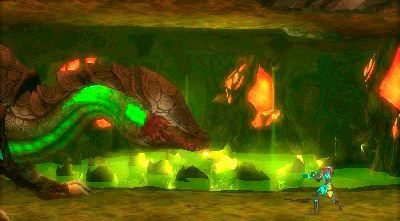
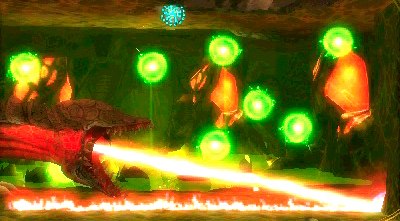
If the Queen turns green, quickly Spider Ball up the east wall, around the ceiling, and stop just in front of where its head is below you. It sprays a small smattering of acidic bubbles around the center of the room, then sprays the floor and east wall with fire. As soon as the fire on the floor disappears, find an opening between the acid bubbles, then fall to the floor. The Queen performs a head-smash attack almost immediately following the fire beam. If you’re still on the ceiling when this happens, you’re dropped to the ground, almost certainly hitting the acidic bubbles on the way. That’s why it’s best to drop between the bubbles before this happens, and the spot on the ceiling in front of the Queen’s head is often the easiest place to fall from.

Phase 3
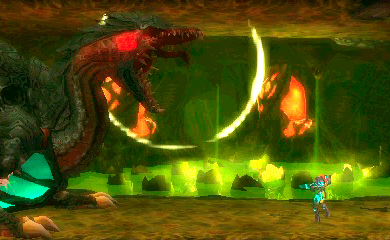
The Queen starts Phase 3 with another counterable attack. Don’t miss this opportunity to score some easy Super Missile shots.

The Queen mixes up its acid bubble attack by shooting fire beams at the ceiling instead of the floor. During this phase, it’s best to wait in the bottom-right corner when the Queen unleashes its acid bubbles. Climbing to the ceiling not only risks the fire beams, but it’s harder to get to a place where you can avoid damage.

The best place to hide when the Queen starts spraying the ceiling after the acid bubble attack is under its head. It follows up spraying the ceiling by spraying the floor, which gives you scant space to hide. Don’t go under the Queen’s head until after it finishes spraying the ceiling, or you run the risk of getting hit by its neck while it’s still spraying.

As soon as the fire clears, roll to the right side of the room. The Queen can easily follow up this series of attacks with a forward lunge.
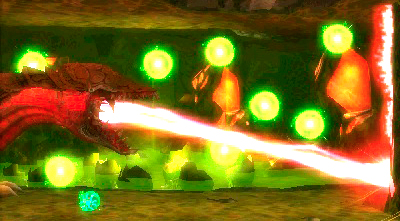
Bad news: you’re not done dealing with the Queen’s fire beams yet. Occasionally, the Queen spits out acid bubbles, then immediately sprays fire on the east wall. This is your cue to race under the Queen’s head—but not until it begins spraying the wall, or you might get hit by its neck. As soon as it finishes spraying the wall, it begins blowing air to push you not only against the wall, but through the acid bubbles as well.
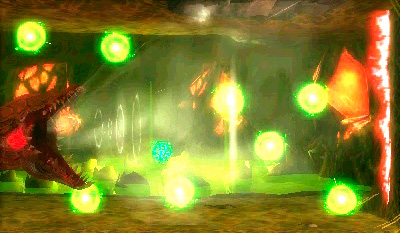
This attack is the hardest of the Queen’s entire arsenal to dodge. Your best bet is to turn on your Lightning Armor, roll toward the Queen, and jump over the acid bubbles while its breath pushes you toward the wall.
Phase 4

This is the homestretch. The Queen has only one more trick up its sleeve, so hang in there! You’re almost done!
As in the other phases, the Queen starts by performing its counterable attack. Get into position and take advantage!
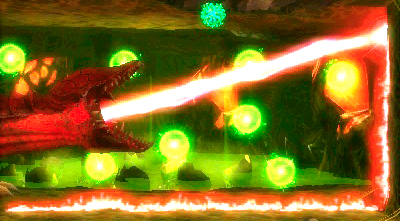

The Queen’s last attempt at damaging you is another acid bubble attack. It shoots out the bubbles, then begins spraying the ground with fire. As soon as the beam hits the ground, Spider Ball up to the ceiling and wait. The Queen follows up the first beam by spraying another onto the ceiling. When it starts the second beam, drop to the floor. The east wall stays engulfed, but the fire on the floor clears almost immediately after the Queen starts shooting its beam at the ceiling. Once it finishes breathing its second beam, the green bubbles clear, along with the fire.
At this point, the Queen recycles attacks from previous phases. Stay calm and careful, avoid its attacks, and wait for a clear shot into its mouth.
The single, unhatched egg remains at the left end of the room. Just as Samus is about to shoot it, a Metroid hatches. Since Samus is the first living thing the Metroid Hatchling sees, it instantly takes a shine to her.
 With the Queen and her offspring defeated, it’s time to head home. There’s an elevator leading back to the Surface at the top of this area. The path there isn’t complicated, so get going!

Head to the left side of the room to find a cluster of crystals blocking your way out. Good news! The Metroid Hatchling seems to enjoy chomping away at and destroying these crystals. Whenever you see them, get close, and the Metroid Hatchling goes to town.


Press ahead and follow the path. There’s only one way to go, and it’s a straight shot getting there. You reach a point where the crystals block a passage above you. Spider Ball up to them, and the Metroid Hatchling starts chomping away.

Continue your climb to find what appears to be a dead end. A platform blocks the path, but you know by now that dead ends aren’t always as they appear. Screw Attack through the left side of the platform to blow right past it.

You reach the elevator at the highest point of the area. Once you’re there, enter it to be transported to the back end of the Surface.