
Metroid: Samus Returns Guide Walkthrough
Area 7


 At first glance, the path to this Chozo Seal is somewhat convoluted, but it’s much simpler than it looks. There are three paths you can take to get through the room following the elevator: the upper path, the lower path, and a path straight through the center. All of them lead you to the Chozo Seal, so long as you’re always heading left. Take note, however, that the center and upper paths both lead to items, so they may be worth a visit.
Only four Metroids remain on SR388, according to your Metroid Radar, and three of them are in this area. You’re nearing the end of this journey, so hang in there and see your mission through!


 Take the door on the left side of the room. This next room is what we’re terming the “Chozo Tower. Is it full of Chozo? No. But it’s filled to bursting with Chozo security machines and is a difficult place to climb without taking a significant amount of damage—or knowing a clever shortcut.

Proceed to the left wall after destroying the Autrack ahead. Bomb the Block under the support beam and enter the shaft. The walls are lined with spikes that offer no clear route through them. Hopefully you saved some Power Bombs, because they’re going to come in handy here.

Line yourself up between the spikes, Spider Ball on the floor, and place a Power Bomb. You rocket straight to the top of the chamber, skipping half of the Chozo Tower.
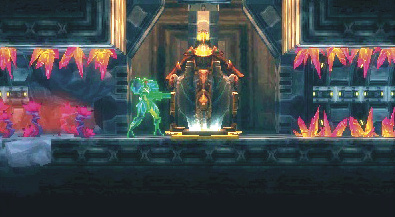
This next part is tricky, however. While gripping the ceiling, turn on your Lightning Armor and release the Spider Ball while holding right. You should land perfectly in the hall to the right.
From here, roll to the right until you reach the Teleport Station near the right end of the room.
Jump onto the platforms above the Teleport Station and bomb the Blocks to open the pathway. The Blocks above you and under the Fireball Wallfire are Bomb Blocks, so destroy them and jump through the new opening.
If you still have Power Bombs, head to the left side of the room. Find a fan in the top-left corner barricading a series of Blocks that happen to be Bomb Blocks. This would be a problem if you didn’t recently get ahold of Power Bombs. Plant a Power Bomb to clear out all the Bomb Blocks above and gain a clear passage past the fan.


Spot the Save Station on the right side of the tower. There’s nowhere to go but left and up. You need to avoid some Gunzoos on the way up, but that’s nothing the Lightning Armor and Screw Attack can’t easily handle. At the end of the path is the door leading out of the Chozo Tower. Head on through.
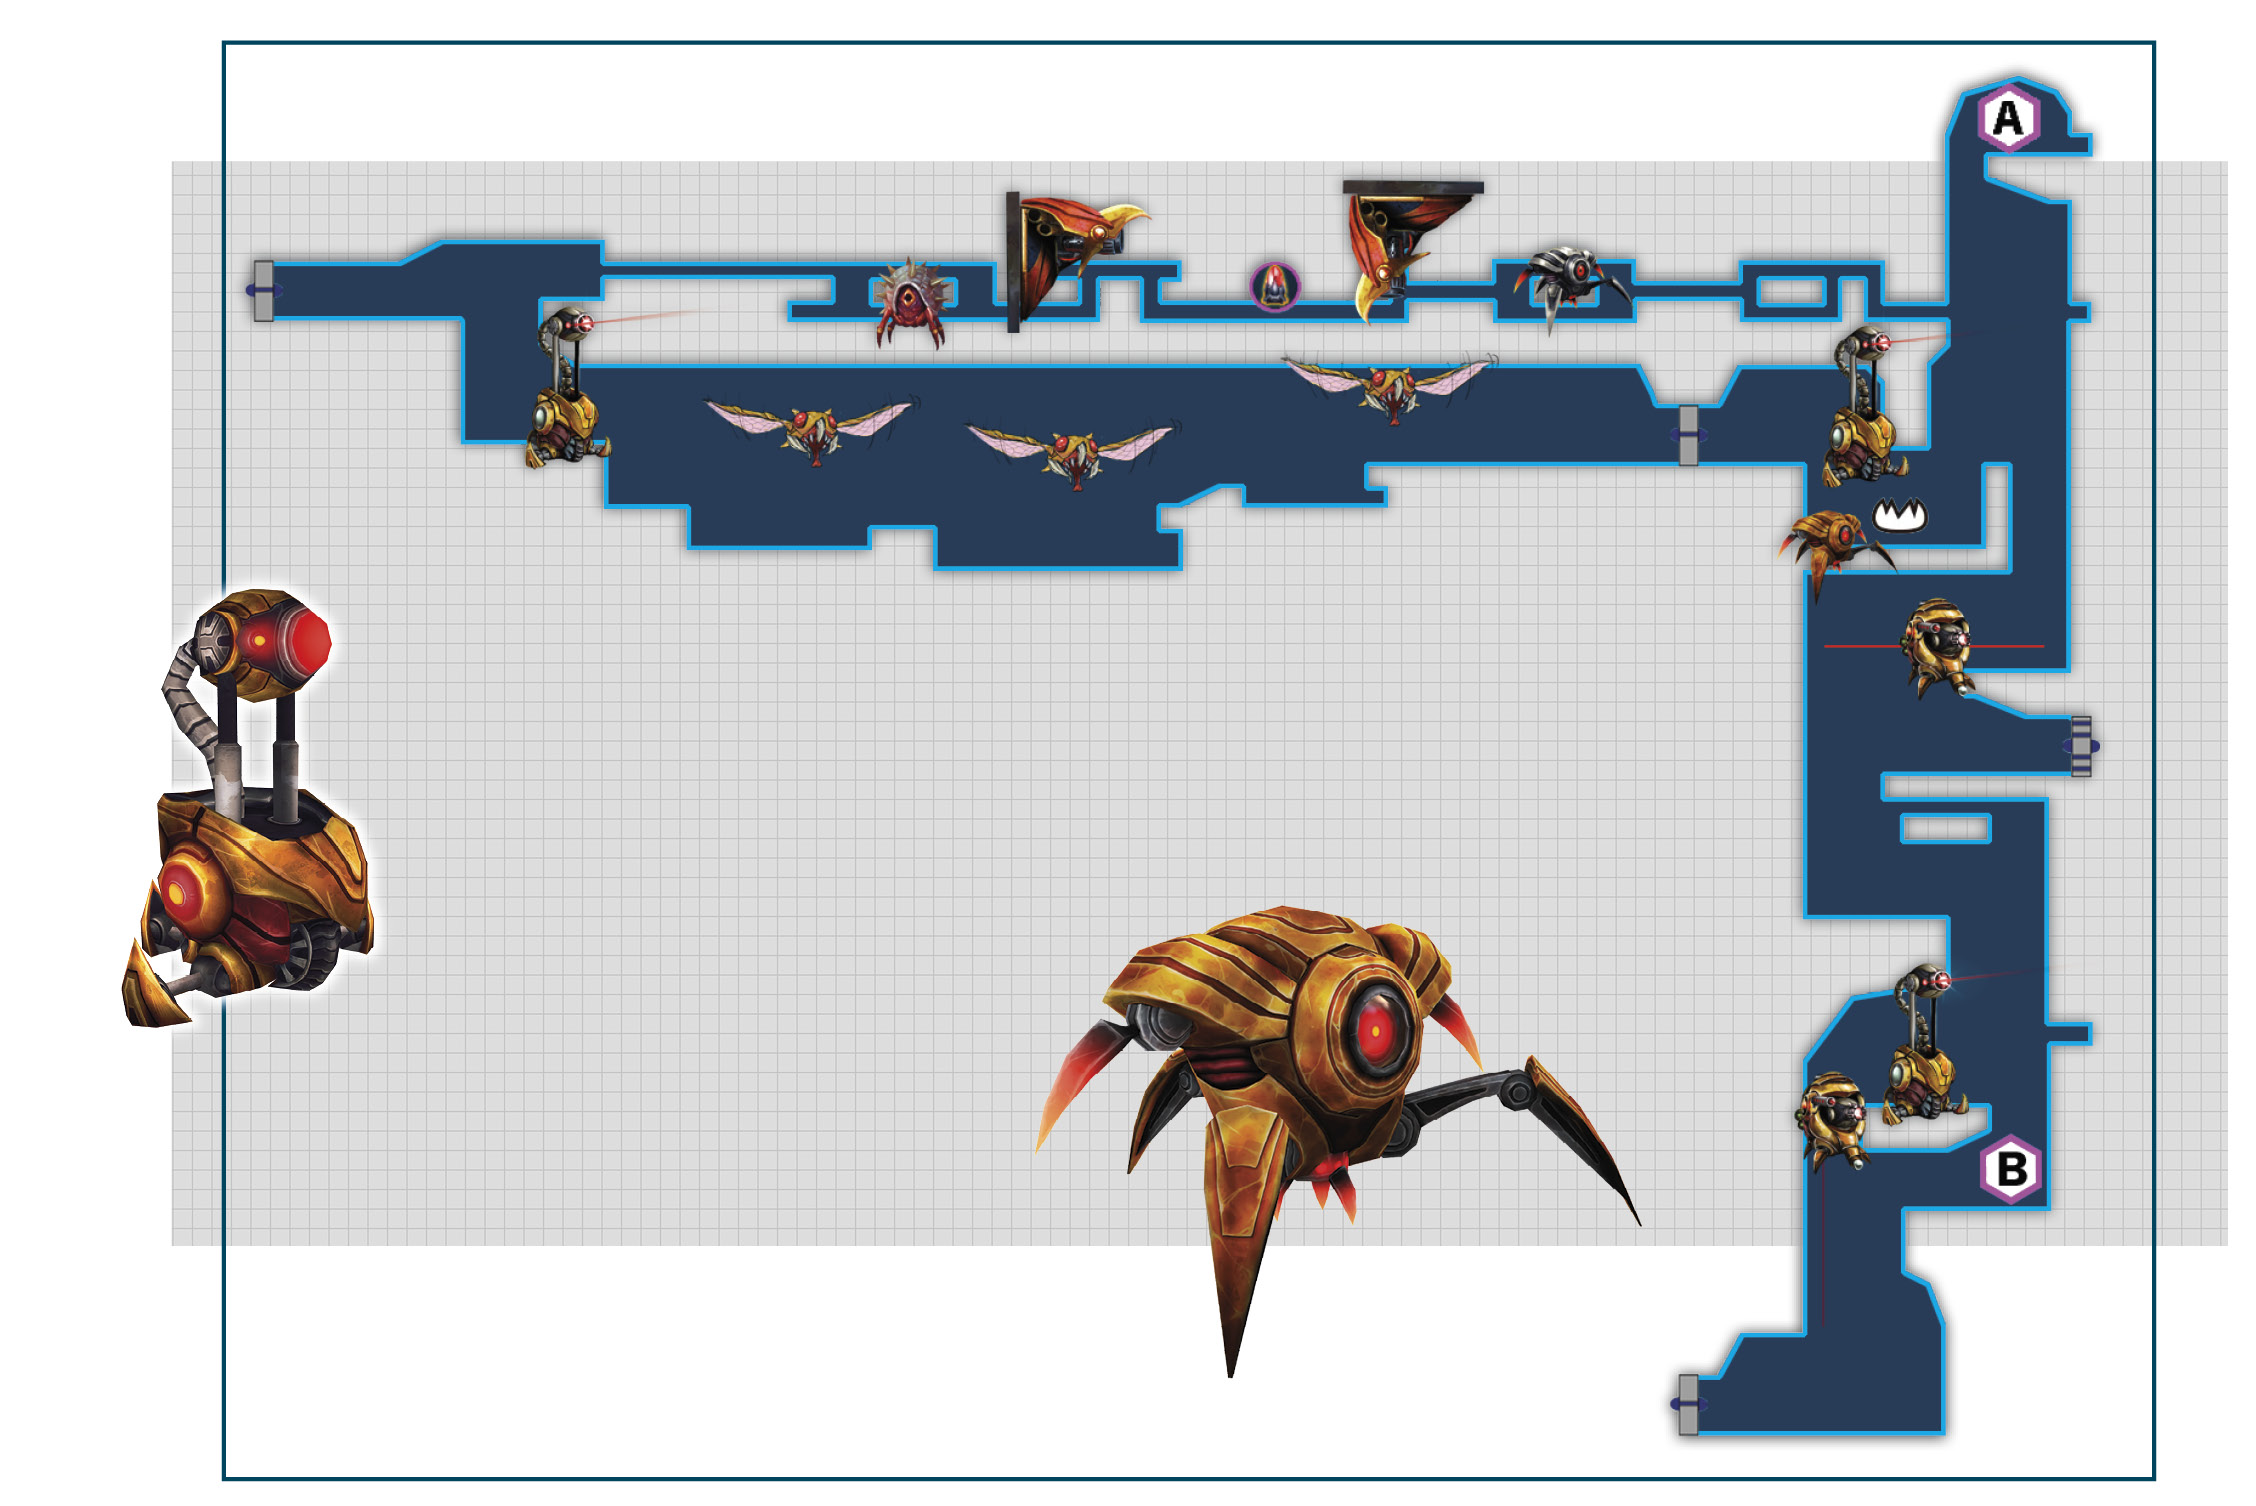

 If you take the left door at the top of this next tall corridor, you’ll be well on your way to your next Metroid. Don’t delay! Only four Metroids remain, and this is one of them. Plenty of Chozo security machines inhabit this corridor, but the path to the top is simple.
Proceed to the left side of the room and through the door. It’s a straight shot with few enemies in your path, so you shouldn’t have any trouble making your way there.
The next Metroid lies beyond the door.


37/40
Omega Metroid
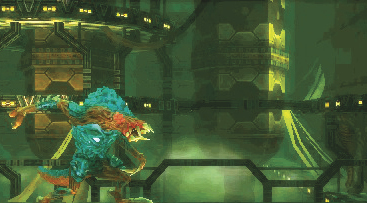
Another Omega is waiting in its chamber to greet you, but don’t worry! This fight is several times easier than the first Omega battle. The reason: Power Bombs. Remember that pesky chest plate that blocks the Omega’s core and also self-repairs? A single Power Bomb placed almost anywhere in the room causes that plate to be practically erased from existence. At this point, all you need to do is sink a swath of Super Missiles right into that bulbous blue core and the Omega is done.

The attacks are all the same as in the previous fight, but Power Bombs give you the ability to interrupt some attacks if the Omega’s chest plate has regenerated. Whenever the plate regenerates, place a Power Bomb and shoot the core.
Shattering the Omega’s chest plate often prompts its counterable attack. Once you place that Power Bomb, get in close and wait for the counter opportunity.
If you find yourself struggling with this Omega, flip back to the first Omega fight in the Area 6 section of this Walkthrough.
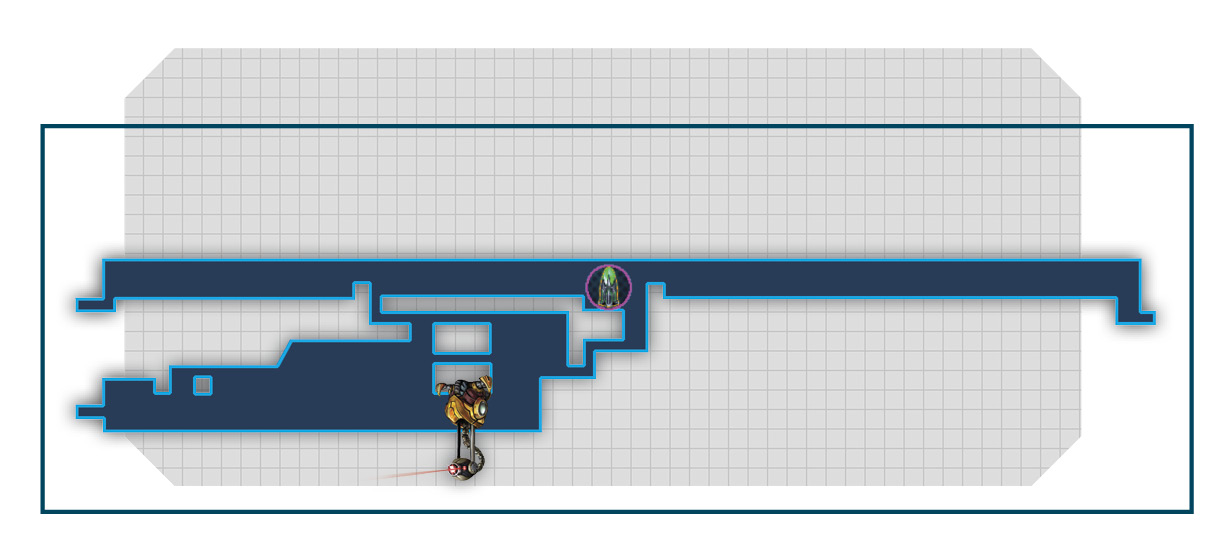
 You need to return to the tall corridor connected to the door on the right side of
  ’s room. Either double back and return the way you came, or follow the tip labeled “Missile Tank M-62 and exit the room while grabbing a Missile Tank.

Once you’re back in the tall corridor, head to the right side. The platform above you (and below the industrial-sized fan) is made up of Bomb Blocks. Bomb it, then jump up to the Ammo Recharge Station at the top of the room.

Bomb the Blocks at the base of the wall to the right of the Ammo Recharge Station, then pass through the opening.

Spider Ball onto the left wall in the next room and position yourself between the rows of spikes lining the floor and ceiling. Place a Power Bomb and watch the magic happen.


 Your next stop is this area’s second Metroid. To reach it, roll through the hole at the end of the spike-covered passage you just blasted across. You’re dropped to the center of the corridor as soon as you roll into the room. Continue downward and head through the Gryncore-covered door at the bottom of the corridor.
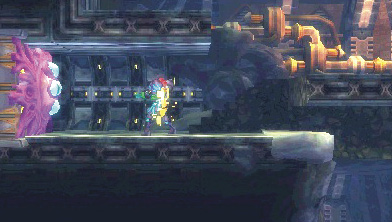
Go down the next corridor until you reach the Gigadora-covered door in the bottom-left corner.

Screw Attack through the wall ahead and make your way to the left side of the room. Once there, jump to the upper-left corner, then take the door on the right. This area’s second Metroid is in that room.
38/40
Omega Metroid
Don’t waste time: plant a Power Bomb and get that chest plate removed. Move in close and put those Super Missiles to good use. To keep the fight from dragging on, take care not to waste any of your Super Missiles. Dodge the Omega’s attacks, wait for the opening, then dive in and fire. If you feel the last fight went well, expect this one to go even better.

Watch out for the Omega’s tail swipes, and get into the air when it engulfs the floor in flames. Be ready for its surprise jump attack, and avoid its concentrated fire beams. Remember, the Omega usually performs its counterable attack immediately after having its chest plate Power Bombed, so be ready to catch it if it happens. Wrap this one up, and you can consider yourself an expert on Omega-slaying.

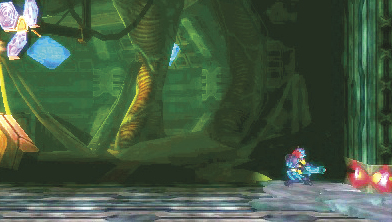
 One more Metroid and you’ll have enough DNA to activate the Chozo Seal. Luckily the final Metroid is quite close to this location. Head to the right side of this room and shoot a missile at the bottom Block on the wall. Roll to where the Block was to fall through a Pit Block, back to the room below.

Exit the room, then roll into the Morph Ball passage ahead. Drop down and take the Charge Door on the right.
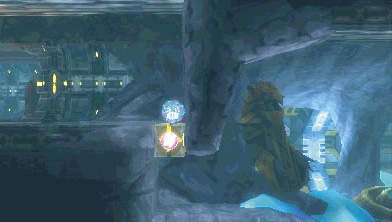
Continue right until you reach a wall. Plant a Power Bomb to blow up the Block near the wall’s lower corner, then proceed through the now-open passage.

Almost immediately after dropping into the open area, Space Jump up to the ceiling to find a Morph Ball passage. Jump into the passage, climb up, and jump through the first opening you see.

Continue straight up to the top of the room, then head right.

Drop down the opening on the right side of the room’s upper area, then descend all the way to the bottom. Head right to find a Gigadora-covered door. Destroy it and enter to reveal Omega Metroid number three.
39/40
Omega Metroid

This Omega may feature a flashy new color scheme, but the battle is business as usual. Use your Super Missiles carefully. Break the chest plate with your Power Bombs, and stand nearby afterward to catch the counterable attack. The rest of the fight involves waiting for opportunities to shoot the Omega in its core without getting hit. This is your fourth Omega fight—you’ve got this!

With this third and final Omega defeated, you now have enough DNA to activate the Chozo Seal. Head left and drop down the first opening on the right to speed up your trip.
Cleanup
We skipped the Cleanup for Area 6 and combined it with Cleanup for Area 7. This is going to be a long one, so buckle up! Before you return to the Chozo Seal, seek out the Teleport Station to the immediate left of the final Omega’s chamber.
Area 2: Power Bomb Tank P-14

Warp to the Teleport Station near the center of Area 2. Exit the Teleport Station’s alcove and head up to the top of the room. Exit through the passage in the top-left corner.

Take the door on the left side of the next room, then Screw Attack up the narrow corridor while hugging the left wall. A short way up, your Screw Attack destroys secret Screw Attack Blocks. Continue Screw Attacking through the walls and enter the door on the left.

Screw Attack through the small left wall, roll through the Morph Ball passage below, then take the door in the bottom-left corner of the room. Continue left and drop through the first opening you see. Head right to find a Yellow Door near the center of the room’s right side. Use a Power Bomb to destroy it, then pass through.

Jump onto the platform near the start of this room and stand in front of the spikes. Before grappling onto the grapple point ahead, activate your Phase Drift. The platform below the grapple point is entirely made of Pit Blocks, and using Phase Drift is the only way to prevent falling through.

Grapple onto the grapple point and quickly run to the right while firing your Plasma Beam. Blocks ahead stop you dead in your tracks if they aren’t destroyed. Once on the right side of the room, Screw Attack up through the Blocks above to reach the Power Bomb Tank.
Area 3: Power Bomb Tank P-3

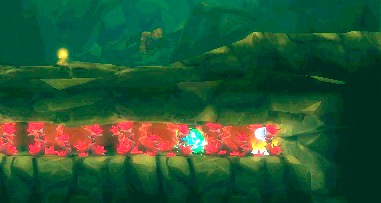
Teleport to the northeast station in Area 3. Head through the door immediately to the right, then drop into the red plants lining the bottom of the room. Proceed to the end of the path, plant a Power Bomb, and grab the Power Bomb Tank that appears ahead.
Area 3: Power Bomb Tank P-4

After exiting the northeast Teleport Station, head straight along the corridor until you reach a Morph Ball passage on the left near the corridor’s middle.

Follow the passage to the left and drop down. Spot two steel orbs in the path to your left. Shoot them with your Beam Burst, then Spider Ball your way up the now-unblocked passage. Once at the top, place a Power Bomb to destroy the top Block.

Drop down the next passage on the left and climb up the room until you reach the second cluster of crystals on your right.
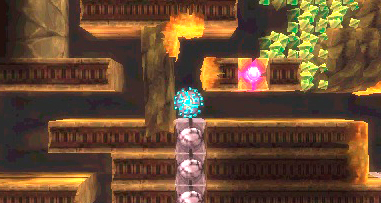
Roll to the left off the center platform and activate the Spider Ball while moving toward the left wall. Your goal is to stick to the wall and align yourself with the passage to the right. Use a Power Bomb to launch yourself to the right to reach the Power Bomb Tank in this room. Place the Power Bomb while still gripping the left wall, and the Bomb carries you directly into the Power Bomb Tank.
Exit the room by heading through the passage on the right. It’s normally blocked with Bomb Blocks, but the Power Bomb should have destroyed them.
Area 3: Power Bomb Tank P-5


Teleport to the station on the south end of Area 3. Head to the bottom of the corridor, go through the door on the right, then climb to the top of the next corridor. Take the door in the top-right corner.

Jump on the platform to the right, activate your Phase Drift, then cross the platform to reach the elevator on the right side of the room.

Use the elevator, then climb up to the door above and to the left.
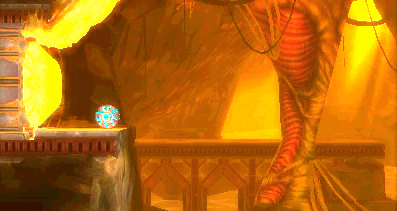
Move left through the next three rooms to eventually reach a Yellow Door. Use a Power Bomb to open it.

Roll to the center of the room and place Bombs along the ground to blow a hole through the platform. Drop into the hole, then head right. Follow the path from here for a straight shot to the Power Bomb Tank.
If you’ve been following the steps in this Walkthrough so far, you should now have 100% of Area 3’s items.
Area 4: Power Bomb Tank P-6

Teleport to the station on the east side of Area 4. Exit the room through the Morph Ball passage to the right of the Teleport Station.

Climb up the corridor to the space just above the Save Station. Crawl into the narrow passage on the corridor’s right side, then place a Power Bomb to destroy the Block at the end.

Head to the right end of the second pool of water, then wait. Either Space Jump up to reach a ledge on the right above you, or Spider Ball on the ground and place a Power Bomb to launch yourself to the ceiling. Space Jumping is faster and easier, but it’s also easy to tag the spikes on either side of the passage while you’re at it.

Whatever your method, crawl into the narrow passage to the right, drop down, then Spider Ball onto the right wall and line yourself up between the rows of spikes. Plant a Power Bomb and let it launch you to the other side of the room. You find the Power Bomb Tank there.
Area 5: Power Bomb Tank P-7

Teleport to the northernmost station in Area 5.

Head right from the Teleport Station and drop down to the last door on the right side of the corridor.

Use the elevator, then go to the right side of the room. Find a Morph Ball passage in the upper-right corner. Jump up to it, then crawl in.

Climb up the corridor and take the door on the left. Stop immediately after entering. The floor of this hall is littered with Pit Blocks. Save yourself the hassle and turn on your Phase Drift while making your way to the right.
You reach a Yellow Door on the left end of this hall. Use a Power Bomb to open the door and grab the Power Bomb Tank on the other side.
Area 5: Power Bomb Tank P-8

From the northernmost Teleport Station in Area 5, travel straight up the corridor until you reach a landing on the right.

Head right and enter the first door you find.

Continue right after passing through the door, then drop down the opening ahead. Hug the left wall to fall on a landing; you find a Morph Ball passage to your left. Roll into the passage and drop through the opening on the left end. You fall through a handful of Pit Blocks down to the bottom half of the room.
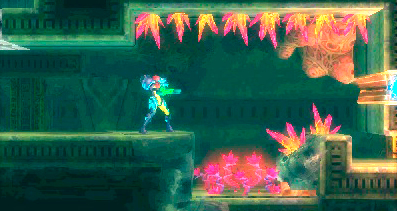
Proceed right and grapple onto the grapple point ahead.

Spider Ball onto that same wall and rest on the grapple point. Plant a Power Bomb and let it launch you to the left side of the hall. You find the Power Bomb Tank waiting for you there.
Roll to the left to fall through a Pit Block back to the Teleport Station’s corridor.
Area 5: Aeion Tank A-13
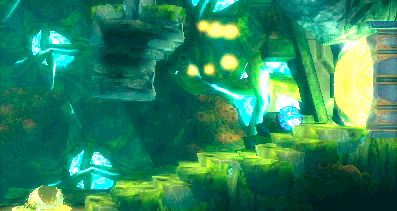
From the northernmost Teleport Station in Area 5, climb up and over the northern side of the map. Continue east and drop down the corridor on the room’s east end.
You find a Yellow Door smack-dab in the middle of that tall corridor. Use a Power Bomb to open it, then head on through.

This maze area is completely filled with red plants. Don’t be intimidated—it’s a lot easier to traverse than its appearance suggests. Turn on your Lightning Armor and climb through any openings you find. Once on the other side of the maze, continue a little farther to the right to find the Aeion Tank.
Area 5: Power Bomb Tank P-9

From the southwestern Teleport Station, head up toward the hall on the right near the top of the room. At first glance, the hall looks blocked with red plants and crystals. Place a Power Bomb to destroy the Block hanging from the ceiling in the hall’s center. Enter the newly created opening to find the Power Bomb Tank just ahead.
Area 5: Power Bomb Tank P-10
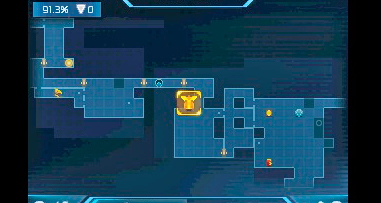
From the Teleport Station on the southeastern corner of Area 5, go right and drop after the landing.

Jump onto the right wall and bomb the two Blocks obstructing the Morph Ball passage. Once in the next room, jump over the pit and continue right. After rolling through the narrow passage on the right end, you’re in the Chozo Seal’s room.

Head to the right as far as you can go, then drop to the lower level as soon as you see the crystal formation on the right.

Drop down the opening on the far left end of the tunnel and land next to the spike- and red-plant-laden hall on the right.

Turn on your Lightning Armor and traverse the red-plant tunnel. Find a Morph Ball passage on the top-right corner at the end.

Continue right to find an alcove with a small opening leading to a Pull Block.
The passage slightly to the left is completely covered in anti-Bomb fans; the Power Bomb Tank is at the top of that corridor. Pull the Pull Block, then drop into the opening it was covering.

Spider Ball on the ground between the rows of spikes. Plant a Power Bomb to be launched straight up to the Power Bomb Tank.
Drop back down and make your way left to find an opening above you that leads back to the path you took to get to the Power Bomb Tank. Backtrack to the Teleport Station.
Area 6: Super Missile Tank S-22

Teleport to the northern station in Area 6. After exiting the station, hop onto the platform above and go left.

Head straight up the corridor once you reach the Save Station, then take the door on the left at the first opportunity.

Space Jump in the next room and Screw Attack through the platform blocking the upper level. Enter the door on the right.

Jump up the corridor and Screw Attack through the platform above.

Once at the top of the room, Screw Attack through the wall on the left.

Bomb the Block in the upper-left corner of the water-filled passage, then bomb the Block in the bottom-left corner at the end of the room.

Spider Ball onto the rock platform jutting out of the left wall. Grip its right side, then use a Power Bomb to launch to the right. You find the Super Missile Tank in an alcove barricaded by a Pull Block. Destroy the Block and claim the tank.
Area 6: Power Bomb Tank P-11

From Area 6’s northernmost Teleport Station, head straight up to the top of Area 6.
The Screw Attack helps destroy Blocks that seemingly obstruct your path (for a more detailed explanation regarding how to reach the top of the area, read the previous tip, “Area 6: Super Missile Tank S-22). Once at the top, enter the passage on the right and proceed through the door.

Drop below the door and use a Power Bomb to open the Yellow Door.
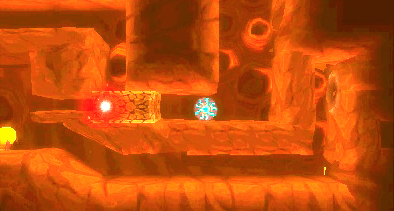
Drop down and roll up against the Pull Block ahead. Plant a Bomb to destroy the Block below, then roll left and destroy the Pull Block. Destroy the Bomb Block you fell through and jump back into the passage above. Go left to find the Power Bomb Tank.
Area 6: Super Missile Tank S-23

Teleport to Area 6’s southern station. Exit via the left door and walk onto the platform ahead. It’s made up of Pit Blocks, so you fall right through. From the corridor’s lower level, take the door on the right.

Head to the top-right corner of this large, open room. The Blocks up there are Bomb Blocks. Once they’re removed, enter the passage and drop down.

Roll slightly to the right of the fan and place a Power Bomb to destroy the Block at the left end of the passage you’re currently in. Roll left and use the opening to destroy the Pull Block, then climb back up and access the now-open passage.

A Bomb Block and a Missile Block barricade the small alcove on the right. Spider Ball next to the Bomb Block and destroy it, then swiftly grab on to the upper-right ledge, Free Aim to the left, and fire a missile to destroy the second Block. Quickly climb through.

Roll past where the Missile Block was and fall straight down. You fall through a Pit Block, but the Blocks at the top of the alcove slightly right of you are Screw Attack Blocks. Screw Attack your way up the passage.

Head left once past the Screw Attack Blocks, but stop short of the suspended Blocks. Those and the Blocks below them are Pit Blocks; if you’re not careful, you fall right through them back to the bottom of the room.

Jump and Spider Ball onto the ceiling and work your way along the left wall, down into the left passage. The Super Missile Tank is just beyond that passage.


 Drop below the Chozo Seal and all the way to the bottom of the room, then take the door on the left.
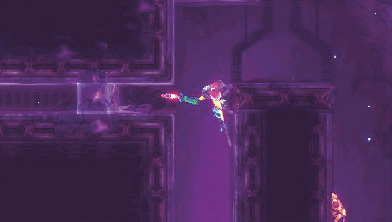
Climb up the corridor to find a Pull Block. You can’t pull it from this side, so drop down and hang from the left side of the platform suspended in the corridor’s middle. Free Aim to the left and fire a missile at the Block obstructing the passage.
Enter the passage and climb up to the alcove above. You can pull the Pull Block from here. Once you do, drop back down, assume a crouching position while facing right, and fire a missile at the Block ahead.
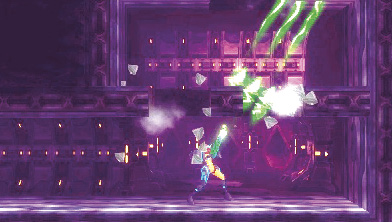
Ascend past the Pull Block, and the rest of the path is basically a straight shot. If you get caught up at the two rows of Blocks near the top of the room, fire away to destroy most of them and Space Jump on through. Those not destroyed by your beam are Pit Blocks—avoid them while Space Jumping. Once you’re through, find the elevator to Area 8 up ahead.