
Metroid: Samus Returns Guide Walkthrough
Area 5
 You’ve got only one choice of direction and the Chozo Seal is a short distance away, so don’t delay.

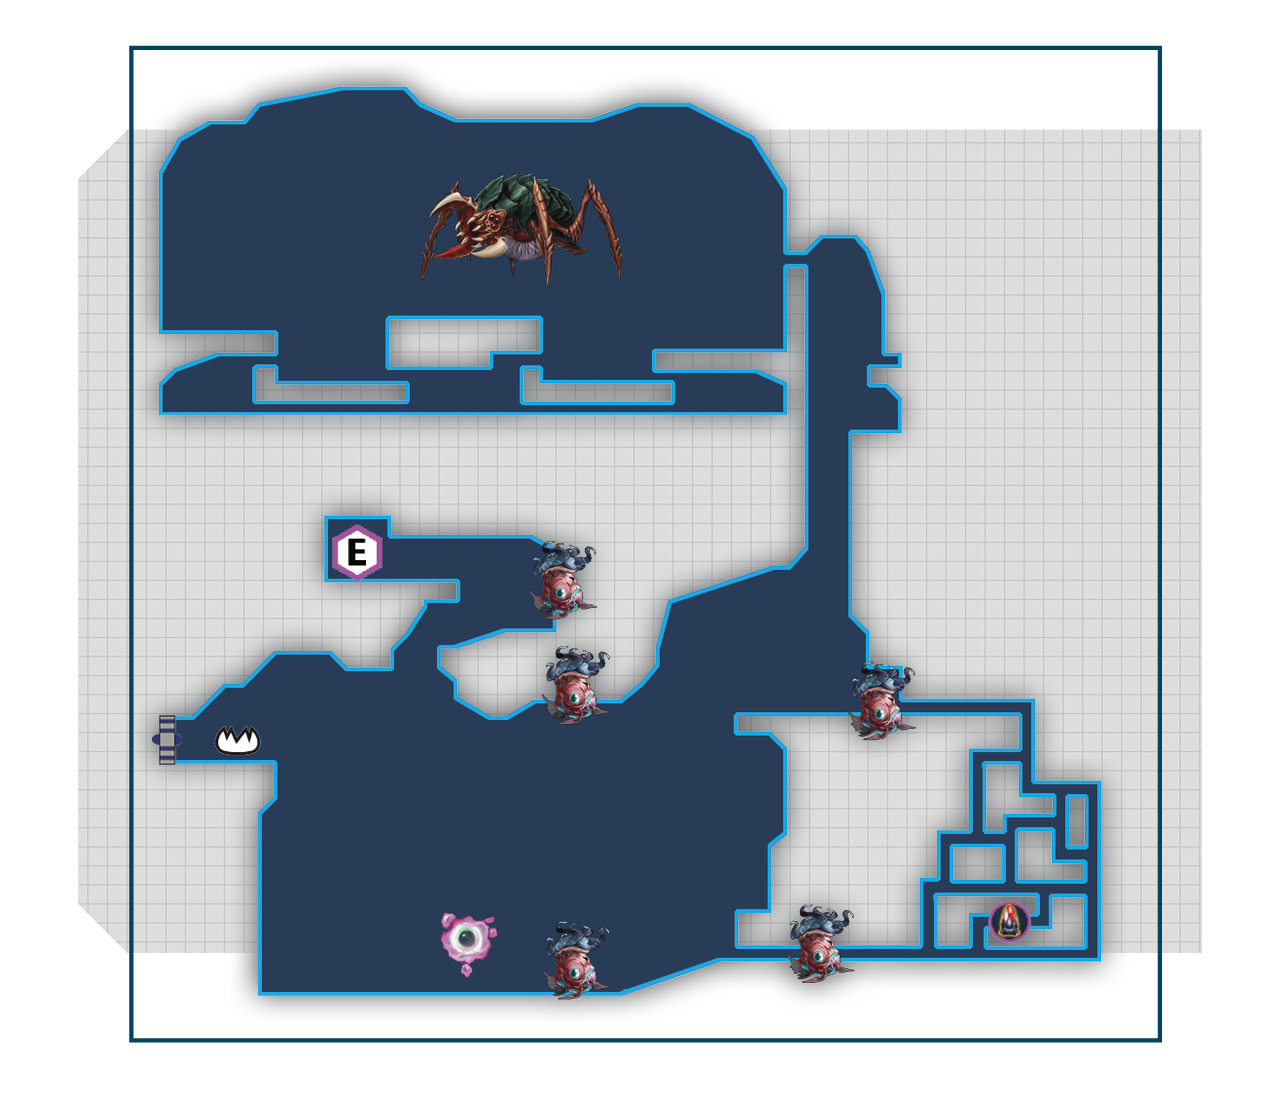
The seal requires seven DNA strands this time, so you’ve got your work cut out for you. Consider this: by the time you finish this floor, you only have six Metroids left to find. You’re getting close to purging the planet of these terrible parasites. Hang in there and get moving.

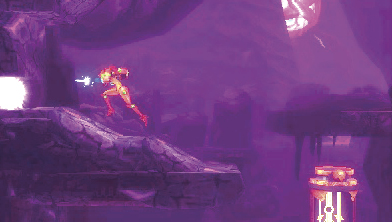
 Your first Metroid for this area isn’t far. To get there, start by Space Jumping up to the upper landing on the left. Head left past the Save Station and shoot the wall to proceed to the next room.
Make your way to the bottom, then go through the door.
Water is a bigger concern in Area 5 than you’ve seen up to this point. It causes a bit of trouble in certain areas, but there are often ways to avoid taking a swim. Proceed carefully when it’s present.
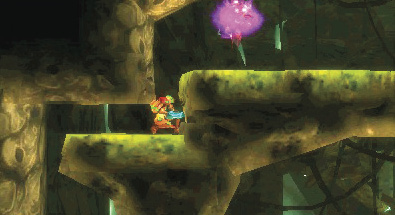
Head to the left side of the water-filled room and jump up to the ledge above. You see another Fleech Swarm hive up ahead. There’s only one way to go and there’s a pool of water not far from here, so as soon as you pass the Fleech Swarm, quickly make your way to the right and follow the path to find that pool.
Continue up to the top of the room and take a moment to activate the Teleport Station while you’re at it. Once at the top, take the door on the right. The next Metroid is waiting behind it.

28/40
evolved Alpha Metroid

Though you’re only fighting an Alpha Metroid, proceed with a bit of caution. The floor is submerged in water, which makes movement slower—that includes your jumps.
Take a few practice jumps to get a feel for the difference in movement before the Alpha has a chance to lay into you. As before, when you see an opening, unload your Super Missiles into the Alpha’s core. It doesn’t take many to drop an Alpha, so don’t expect a long fight.

 Once the Metroid’s been defeated, head through the left door.
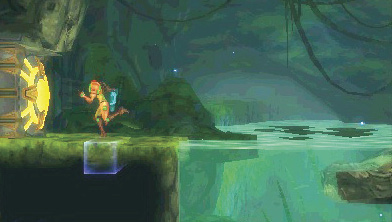
This next room is full of water, which makes movement and jumping quite the task. Space Jump doesn’t work underwater, so you have to jump platform to platform like the good ol’ days.
Luckily, getting out of this room is pretty straightforward. Use the available platforms to make your way to the top-left corner, and head through the door.

Go left in the next room and roll into the Morph Ball passage as soon as you reach it. About halfway through the passage, you fall through Pit Blocks into a room below. Don’t worry, this is a good thing. If you proceed right from here, you find a new Aeion Ability: Phase Drift.
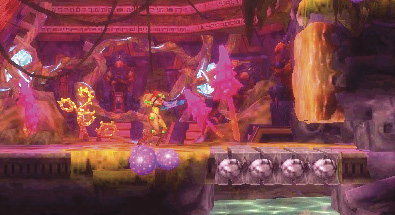
To escape the room, go one of two ways: simply run to the right until you fall through a row of Pit Blocks on the right side; or walk right and stand on the small patch of grass, turn on your Phase Drift, run toward the wall, and jump up to the small handhold in the top-right corner. Either way works, but the upper path saves you the hassle of moving through the water again.

With Phase Drift in hand, return up to the hall you fell through earlier and roll into the Morph Ball passage near the left end. Turn on your Phase Drift and roll to the other side—you don’t fall through the Pit Blocks this time if you have Phase Drift on.

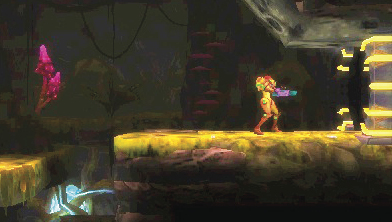
 Climb to the top of the room and enter the door in the top-right corner.
This next room is a true tutorial in the ways of Phase Drifting. The room is lined with extra-fast Wallfires, and the only way to safely climb to the top is with the Phase Drift. There’s a Big Aeion Orb on the side in case you need to cap off your Aeion Energy. When you’re ready, turn on Phase Drift and Space Jump up to the top-right corner. The elevator there lets you reach the upper portions of Area 5.

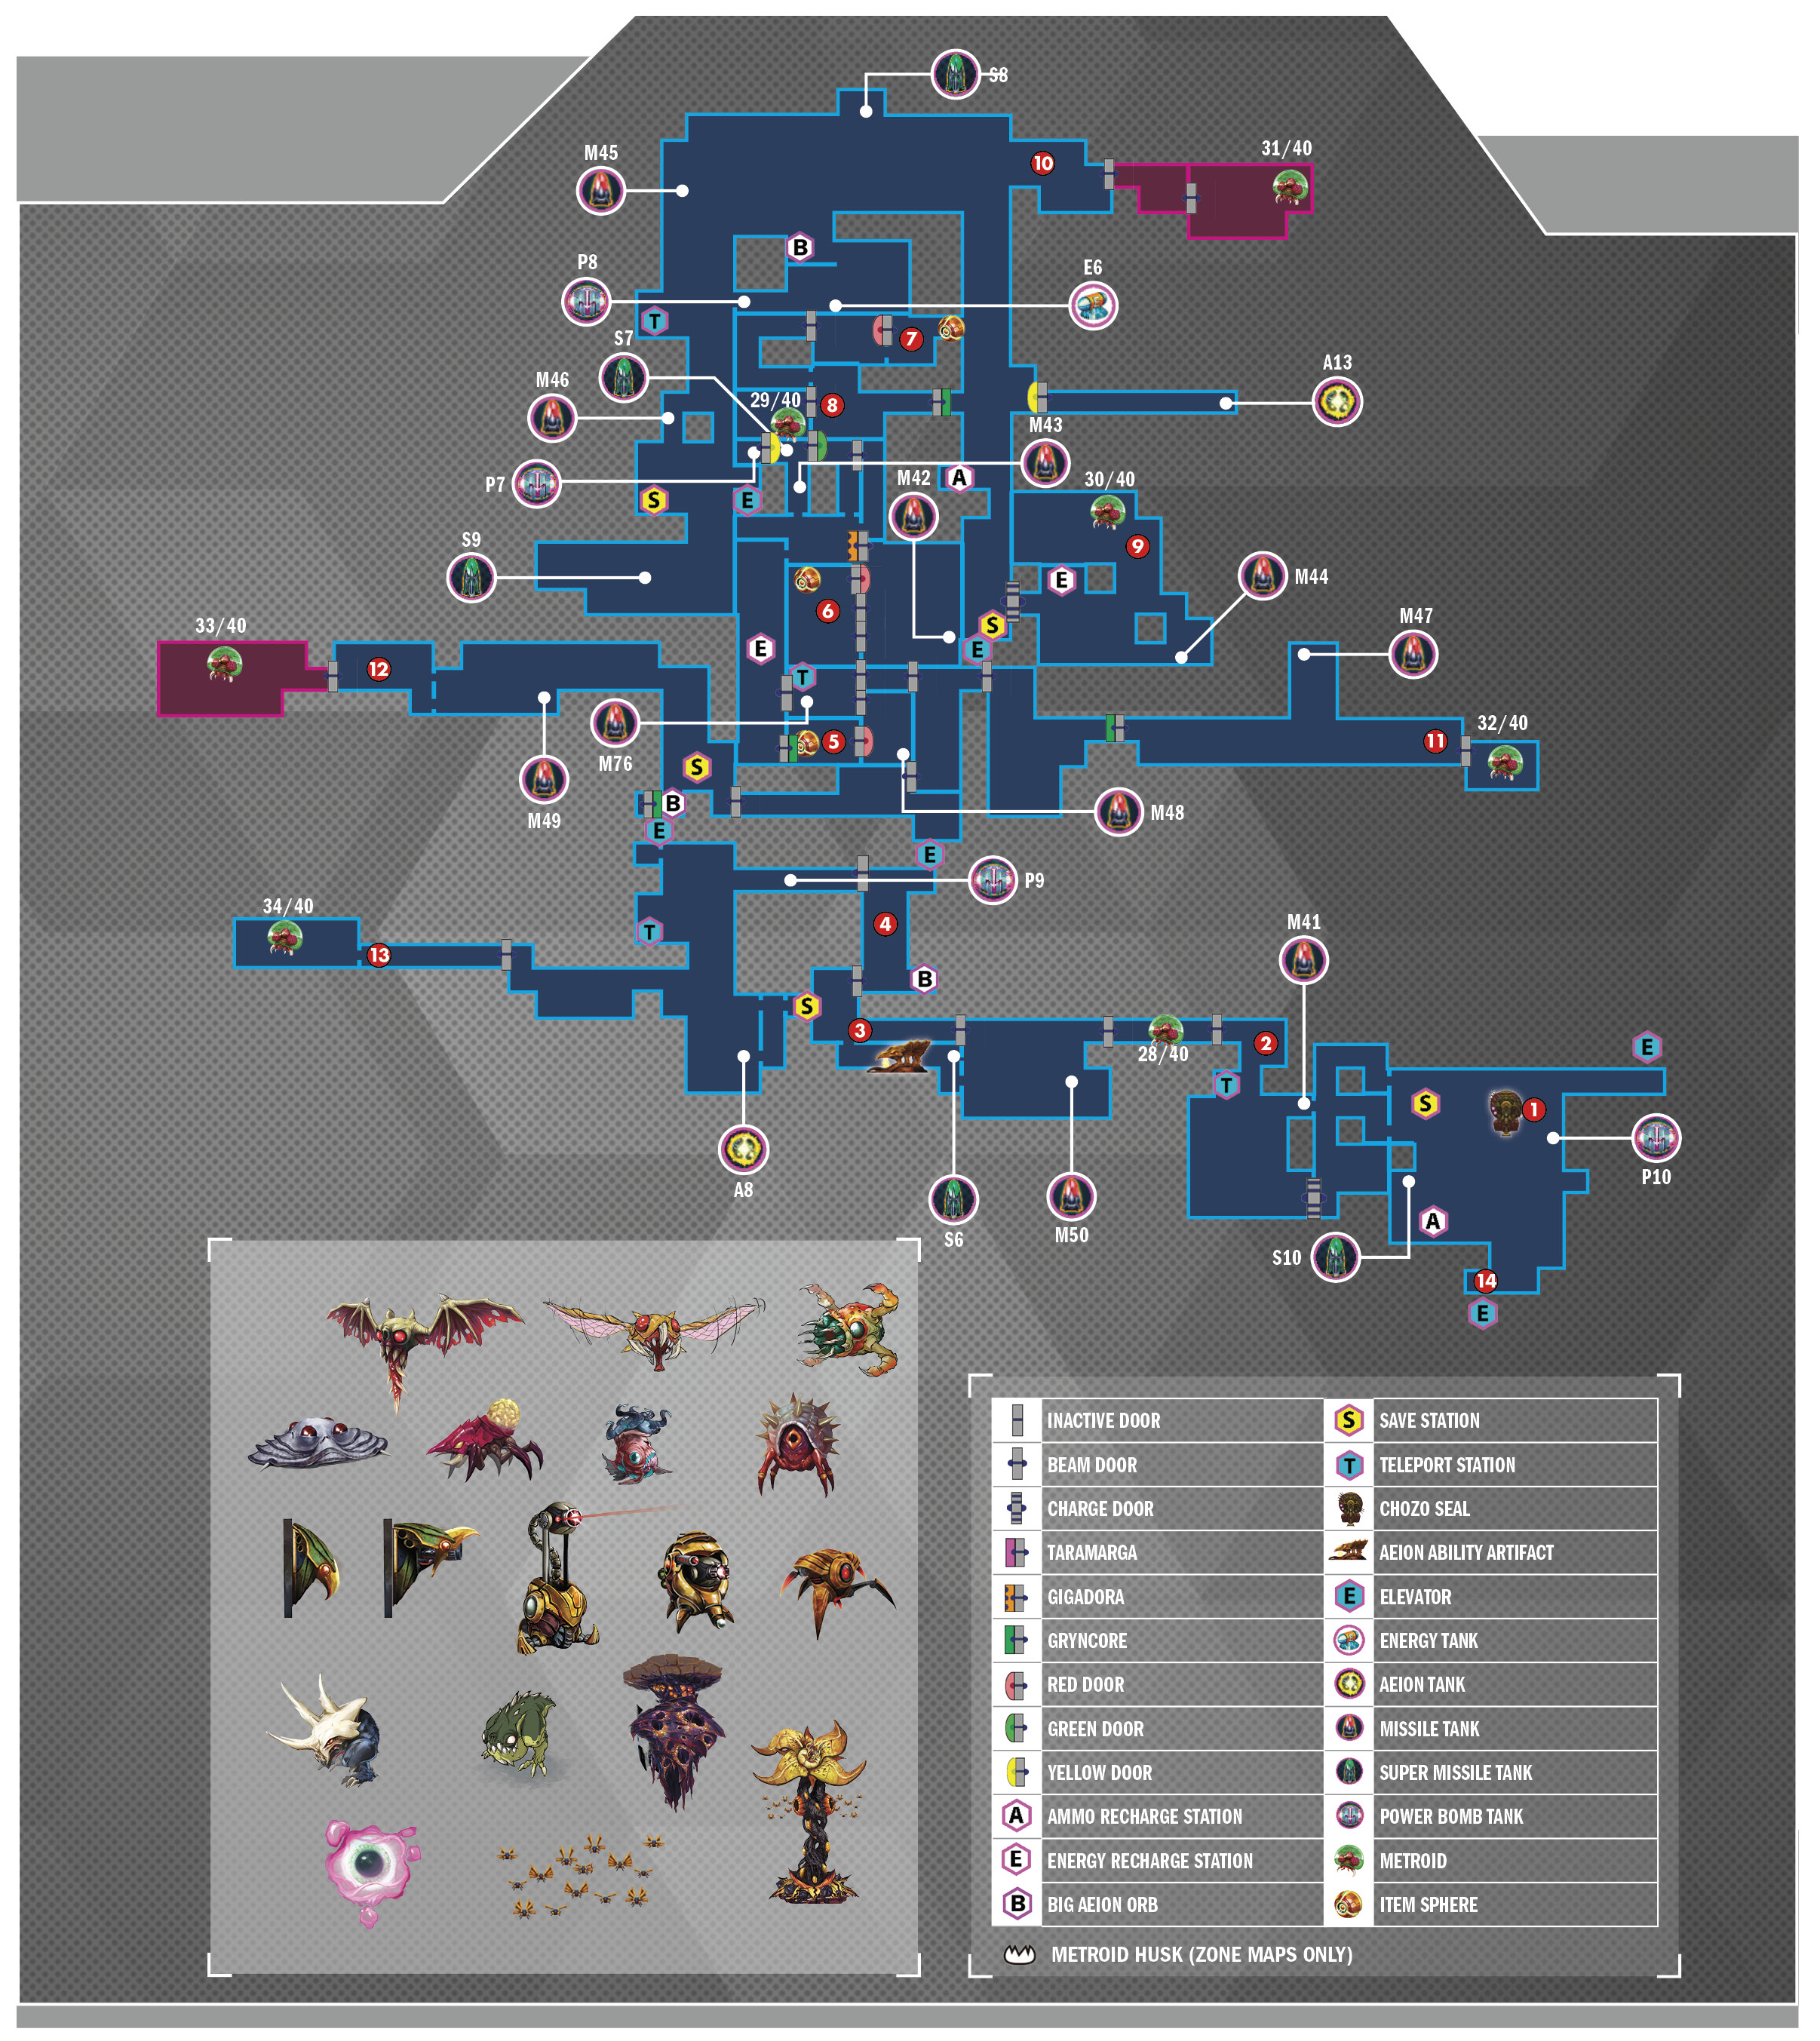
 The upper portion of Area 5 is massive and maze-like. Navigating as efficiently as possible requires a zigzag route. Your first stop is a new item for your Power Suit.
Start by making your way to the door almost directly north of the elevator. To reach the door, simply follow the path, then jump up the first opening in the ceiling you find. From there, climb a bit and maneuver right to find the door.
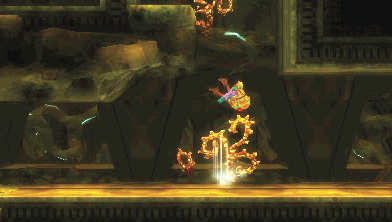
Climb to the top of this next room and head through the door on the top-left corner. The path up is all about Space Jumping and avoiding the Gunzoos that try to hit you with their lasers. Don’t sit in one spot for long.
Move to the top-left corner of the room to activate a Teleport Station, then make your way to the door in the bottom-right corner.
This next room is tricky. You need to move a Pull Block sitting in the middle of the room back and forth while you create an opening down to the room’s lower half.
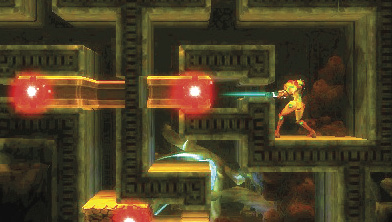
Drop through the opening on the right side, then into the alcove on the right side of the Morph Ball passage. Pull the Pull Block, then drop through the opening it creates.
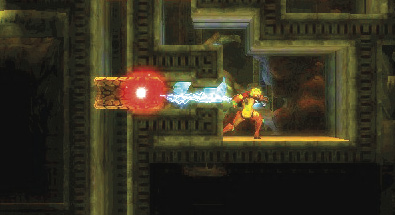
Drop into the alcove below the Pull Block to find another Pull Block waiting for you. This one can be destroyed when pulled, so do so, then return to the top of the room.
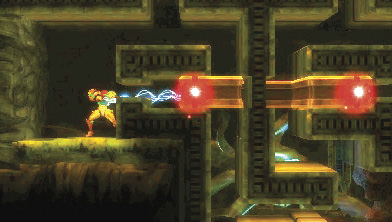
Back at the top, drop into the left opening and down into the alcove below. Pull the Pull Block from this side to open up a new path. Drop down that path to reach the Red Door leading to the Item Sphere.
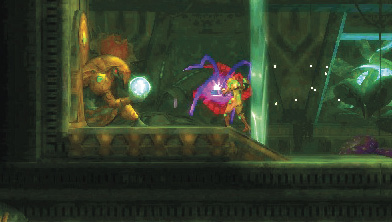
The Item Sphere is in the upper-left corner of the room. It contains the strongest beam weapon you find during this mission: the Plasma Beam.
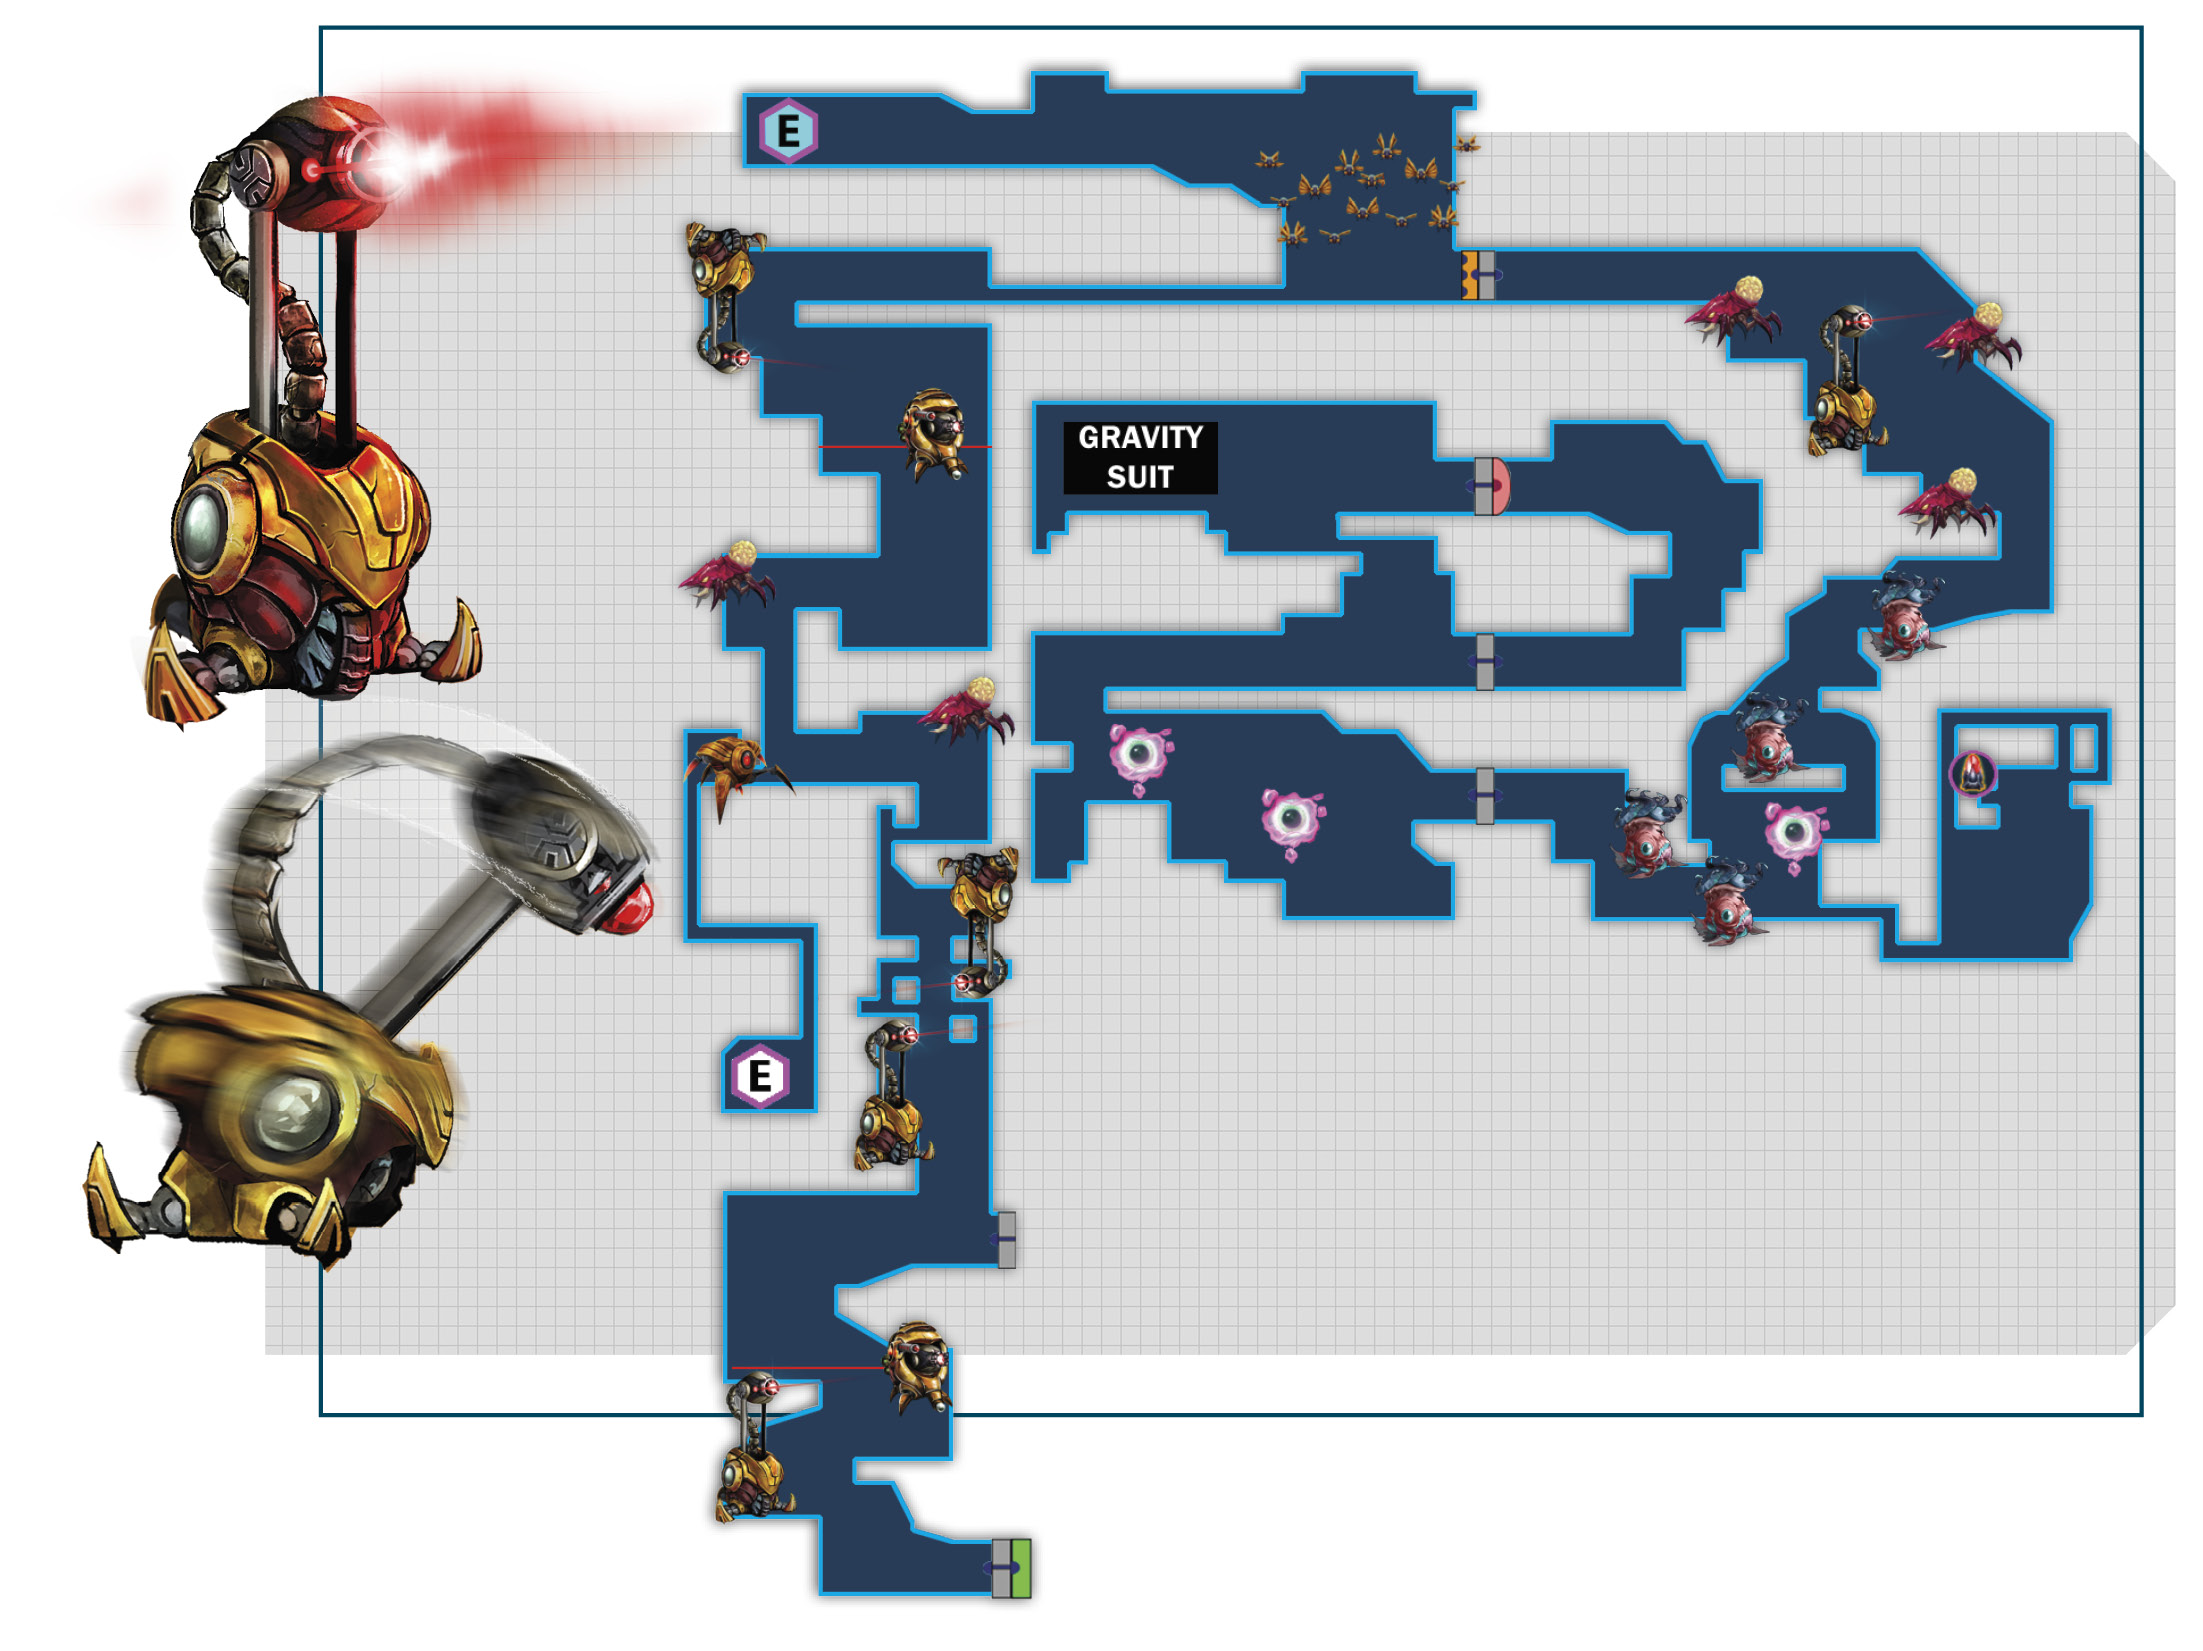
 The Plasma Beam isn’t the only new item you find in Area 5; there’s another one quite close to this location. To reach it, head to the bottom-left corner of the room and destroy the Gryncore covering the door.
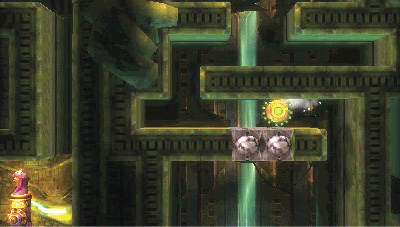
Begin progressing up the tall corridor to the passage in the upper-right corner. Just before the halfway point, when you’re alongside the Teleport Station in the room to the right, is a Morph Ball passage. Upon climbing in, immediately Spider Ball onto the ceiling and traverse across it to the left. The platforms below and above are made up of Pit Blocks, which drop you all the way to the floor.
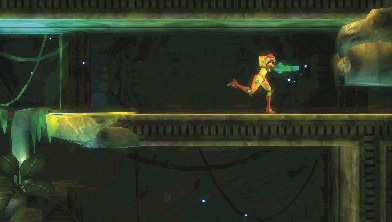
Use the ceiling of the next platform above to climb out of the passage without touching any more Pit Blocks. Aside from the enemies littering this corridor, the path to the upper-right passage is simple.
Bomb your way out of the passage, then go through the Taramarga-covered door.
Follow the path in this next room to reach a door near the bottom-left corner.
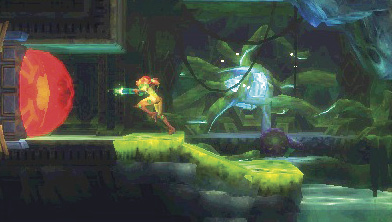
Follow the path in the next room to reach a door near the top-right corner. This door sends you back to a different part of the previous room. From here, make your way up the passage and take the Red Door above. Your next item is just beyond.
Head to the left side of the room to find the Item Sphere. Break it open to find the Gravity Suit.

 The two items you’ve picked up so far are excellent, but you’re not done yet. There’s one more item in Area 5, and it’s definitely worth grabbing.
Backtrack out of  ’s room to the top of the water-filled room next to it. You can find two more item tanks in here.
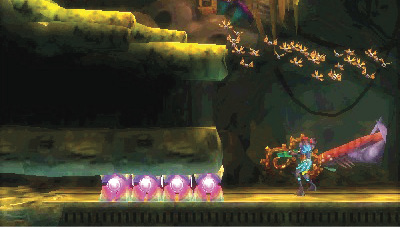
Bomb the Blocks directly left of the door you exited the water-filled room from and continue left until you reach the tall corridor ahead.

Drop to the bottom of the corridor and enter the Teleport Station room via the second-to-last door.
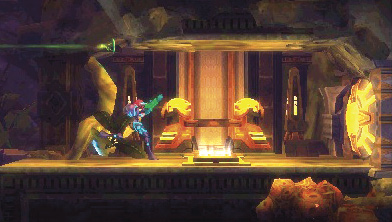
Exit the Teleport Station room through the top-right door and continue to the right until you reach the elevator ahead. Use the elevator.

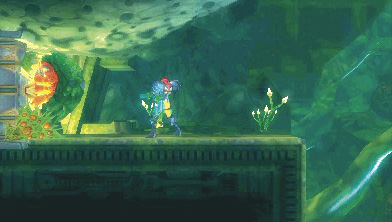
Continue up the corridor until you see a Gryncore-covered door on the left wall near the corridor’s center. Destroy the Gryncore and head through the door.

Drop into the water ahead and jump up the center of the room. Your Metroid Radar starts pinging as you reach the center. Ignore it for now; you can return to fight that Metroid momentarily. First, head to the left end of the passage in the top-left corner and plant a Bomb.

Once the Bomb blows, make your way through the now-open passage. Continue forward until you reach the door in the top-right corner of the room. Keep going, and eventually you run into a Red Door. Behind it is your final Item Sphere for Area 5, so blast your way through and into the next room.
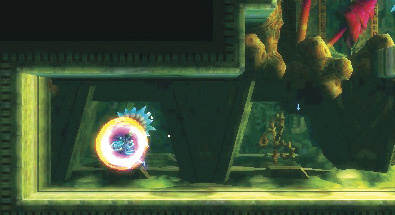
The item ahead is none other than the Metroid staple, the Screw Attack. Once it’s in your possession, drop to the bottom of the room and approach the bottom-left corner. Looks like a dead end, right? Perform the Screw Attack into the left wall. Do it properly, and you cut through the wall like butter.
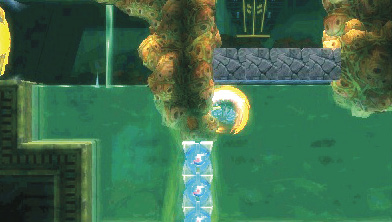
 With all of the Power Suit upgrades in Area 5 collected, head back a few rooms to where the Metroid Radar was beeping—the room where the door on the left is blocked by a coral-reef-like wall. Screw Attack against its lower portion to break through, then enter the door to face your next Metroid.

29/40
Zeta Metroid
This is a typical Zeta fight, with one difference: you now have the Phase Drift. Your new Aeion Ability comes in handy when the Zeta climbs on the ceiling and reveals the red light on its back. Turning on Phase Drift relieves some of the pressure to be quick about pulling the Zeta down. It’s especially helpful when the Zeta performs the bouncing green acid-ball attack; slowing the balls down can give you some breathing room and allow you to pull the Zeta off the wall with ease.

Everything else about this fight is business as usual. The Screw Attack, unfortunately, doesn’t do much to the Zeta, and the Gravity Suit’s not a lot of help either. Fight the Zeta as you have in the past, and utilize the Phase Drift to make short work of it.
 There are quite a few Metroids not too far from this location, so get going and take them out.
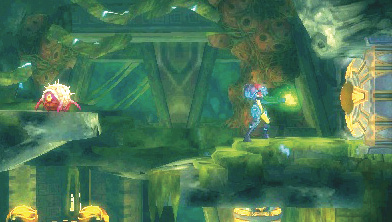
Exit the Zeta’s chamber, then take the door on the right side of the next room to reach the very tall corridor. Drop all the way down to the bottom and head through the Charge Door above the Save Station.

Make your way to the right until you hit a wall. Space Jump up the room to the top-right corner. It looks like you have nowhere to go, but you know by now that a dead end isn’t always a dead end. Spider Ball onto the left wall and plant a Bomb next to the top Block. As soon as you drop in on the wall’s other side, your next Metroid fight begins.

30/40
Gamma Metroid
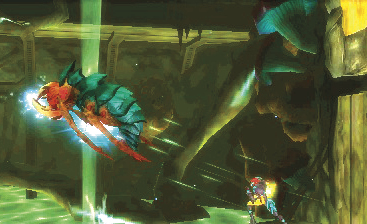
The center platform is, as usual, a pretty good place to fight the Gamma Metroid, but positioning doesn’t matter a whole lot in this fight. The water in the room doesn’t slow you down anymore and you’re armed to the teeth. You’re experienced enough with Gammas and Zetas that this fight shouldn’t be a problem.
 To keep the Metroid train rolling, back out to the tall corridor to the left of this room, then climb it until you reach the opening on the right at the top.

Space Jump above the red-plant-filled gorge and take the door on the right.

Traverse the high-temperature area and head through the door on the right to find the next Metroid.
31/40
evolved Gamma Metroid

The right side of the chamber is a decent spot to fight from, but again, you’re armed enough and skilled enough to knock this Gamma out with ease.
Remember, a charged Ice Beam shot freezes the Gamma’s core and prompts it to perform its counterable attack more frequently. Use Phase Drift to make the shot (and any other shot) easier, and Super Missiles to destroy this Gamma in no time at all.

 Another Metroid down, but there are still more in Area 5. You can reach the next one by heading back out to the very tall corridor, dropping to the bottom, and using the elevator from earlier. However, there is another way. It’s longer but also more rewarding, if you’re in the mood for a handful of item tanks. If you’re in a hurry, use the elevator at the bottom of the tall corridor and skip the following item tanks. Otherwise, read on.
The longer path requires you to travel west over the top of Area 5. You get to grab several items along the way. For best results, gather the items in the order we provide.
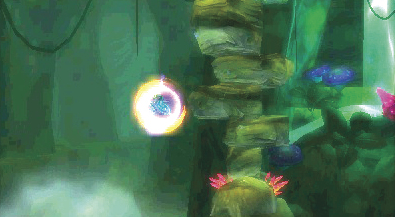
Take the door to the right of the elevator. This next room is large, but the path through is simple. Get to the door on the right side, destroy the Gryncore on it, and head on through.
Space Jump straight to the right side of this next room and don’t stop, even when you see a wall ahead. The walls that line the center of this room are made up of Screw Attack Blocks, so keep Space Jumping to tear through them. The next Metroid is past the door on the right side of the room.
32/40
Zeta Metroid
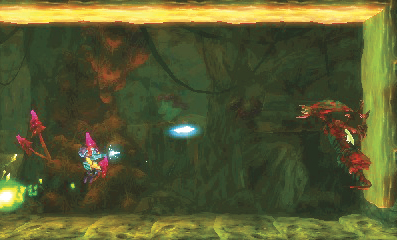
Use your Super Missiles carefully, and watch out for those counterable attacks. Pull the Zeta off the ceiling when the red light appears, and use Phase Drift to dodge its attacks. There are only eight Metroids remaining after this one, so don’t delay!


 Two more Metroids remain in Area 5, both on the west side. Reach the first one by backtracking to the elevator you took from the giant room in the upper half of the area. Make your way down to the door in the bottom-left corner of the elevator room and head through.
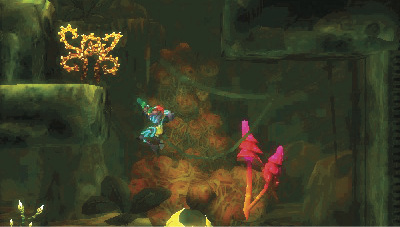
Take the door at the left end of this next room. Climb up the first passage, then proceed through the passage above it. Carefully Space Jump between rows of spike crystals lining the walls to progress.

Once you successfully maneuver between the spikes, continue left to eventually reach a grapple point on the left end of the room. Use it to safely cross the gap without hitting the crystal spikes on the ceiling.
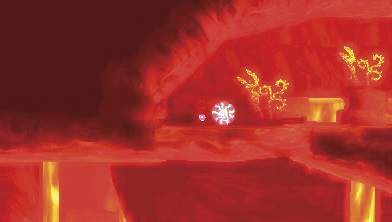
The next room is lined floor to ceiling with red plants and crystal spikes. To avoid taking damage, carefully Space Jump to the left side without touching either hazard. Once on the room’s other side, head through the door.
Follow the path up, then left, and bomb the floor at the base of the left wall. Drop into the opening to find the next Metroid.
33/40
evolved Gamma Metroid
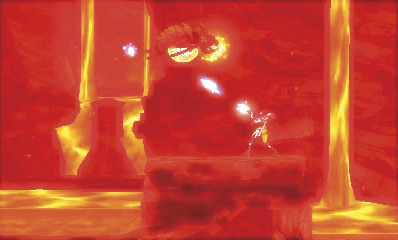
You land on a platform near the center of the chamber, which is arguably the best position to fight from. Make careful use of your Super Missiles and land a charged Ice Beam shot on the Gamma’s core to speed up the fight.
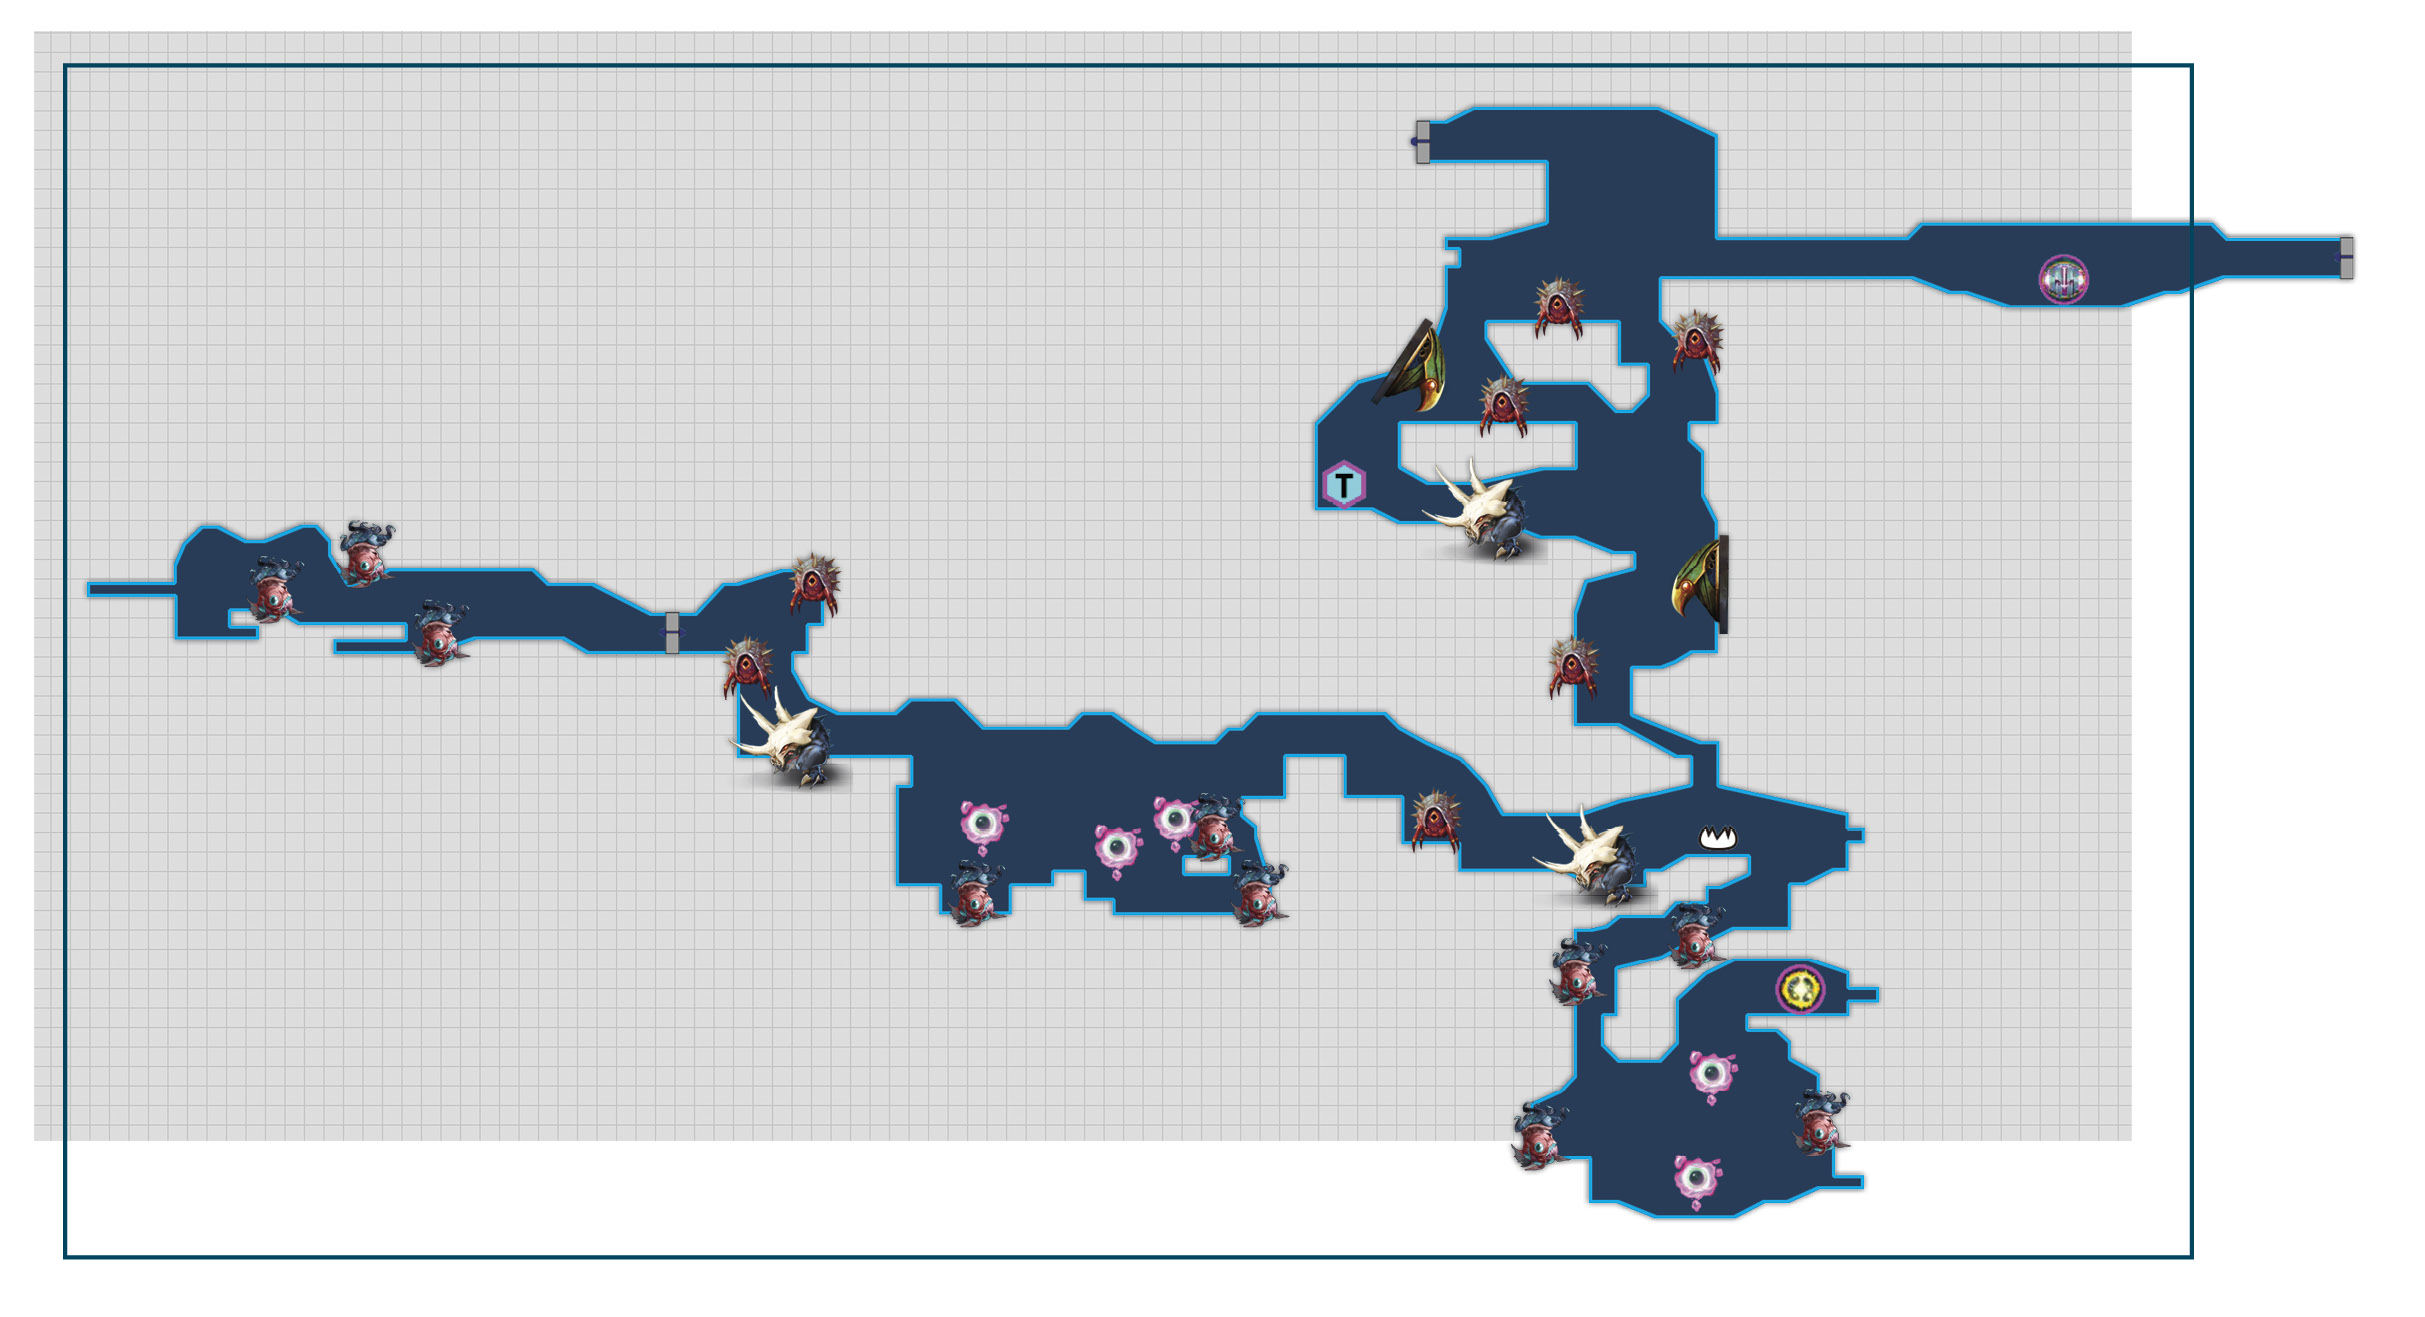
 There’s one Metroid left in this area—and only seven left on SR388, according to the Metroid Radar. Your destination isn’t far, so don’t waste time.
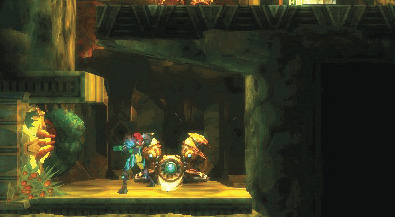
Exit the Metroid’s chamber and backtrack to the bottom of the large room with a Save Station. Instead of taking the right door, which is the way you entered this room in the first place, go left of the Save Station to find a Gryncore-covered door. Destroy the Gryncore and head through—you find an elevator ahead.
A quick Scan Pulse after using the elevator shows a Teleport Station directly below. Activate it on your way down the room.

This room isn’t as straightforward as most others in Area 5, but if you set yourself toward a location in here, you’ll find it with ease. Hug the left wall as much as you’re able while descending to eventually reach the Teleport Station. Once you activate it, continue down until you arrive at a fork with the path branching to the left and downward.
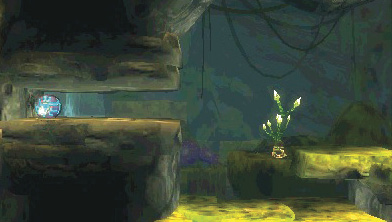
Turn left at the fork and make your way to the door on the left side of the room. At the left end of the hall-like room ahead, place a Bomb inside the Morph Ball passage embedded in the wall. Area 5’s final Metroid is just beyond that passage.
34/40
evolvedGamma Metroid

What a way to wrap up the Metroid fights for this area. You’ve had to challenge several Zetas, but the last two Metroids are Gammas. It would seem that the planet is giving you a bit of a break.
The platform in the chamber’s center is tiered, so stay at its highest point. Drop off either side for a quick escape from the explosive Electric Pulse or floor-engulfing Giant Electric Mine attack, then jump back up. It’s a pretty good room for a Gamma fight, compared to some of the places you’ve been before.

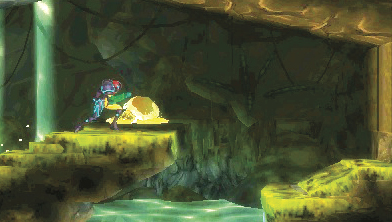
 With the Gamma’s defeat, it’s time to head back to the Chozo Seal. Exit the Metroid’s chamber, then traverse the hall following it. You should now be in the Teleport Station room. Continue to the right until you reach the fork from earlier. This time, go down.
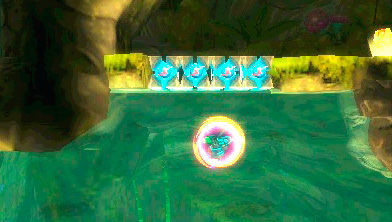
Head to the bottom of the room, move toward the middle, then Space Jump straight up to punch through the ceiling and into an alcove housing Aeion Tank A-8. Grab it, then destroy the Pull Block to the right and crawl through the passage it was blocking.
Climb up the passage and bomb the Block on the right. You pop out next to the Save Station in  ’s room. From here, continue back to the Chozo Seal. You can find a Missile Tank in the following room, but it requires going off the beaten path.
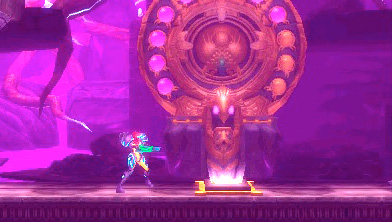
Back at the Chozo Seal, insert the Metroid DNA to lower the purple liquid level.
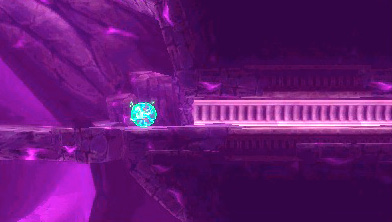
Drop down the opening to the left of the seal and head right. Drop down the shaft ahead, then make your way left and drop down the next opening all the way until it ends. Turn right and roll into the Morph Ball passage ahead.

Bomb the Block at the end of the Morph Ball passage to open a path to the room’s lower level. Head left and exit the passage, then drop down and enter the next Morph Ball passage on the right.
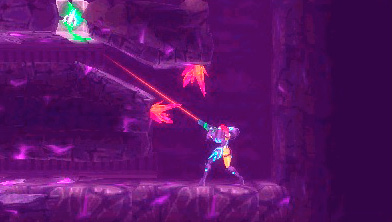
Travel all the way to the end of the passage and drop into the alcove below. Spot two sets of spikes blocking a diagonal passage. If you Free Aim at the Block at the top of the slope and fire a Super Missile, you open another path.

Drop into that path and head left. When you reach the anti-Bomb fan at the path’s end, drop into the alcove below it. The Blocks beneath the fan are Bomb Blocks. Spring Ball and plant a Bomb under the Block in the alcove’s top-right corner, then repeat the process for the next two Blocks to enter the alcove on the right.
Enter the Morph Ball passage, roll to the right, drop down, and roll left to find the elevator to Area 6.
Cleanup
This Cleanup is massive. There are 15 total item tanks now available with your current equipment, so if you’re interested in a slew of new Super Missile Tanks and an increased Aeion Energy bar, read on.
Surface: Super Missile Tank S-11
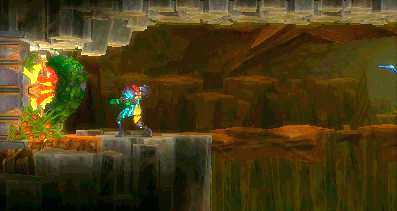
Teleport to the eastern station on the Surface, then head to the Gryncore-covered door on the far-west side. The Surface is an easy area to navigate, so the trek is simple and quick. Find Super Missile Tank S-11 right behind that Gryncore-covered door.
Area 1: Aeion Tank A-9
From the Teleport Station in Area 1, head left out into the tall corridor, then drop down to the passage in the bottom-left corner. Traverse the passage to the left and through the one in the following room’s top-left corner. Spot a Gryncore-covered door below you as you make your way left. Stop and shoot through the floor to destroy it and open the door, then go left and through the door from its opposite end.
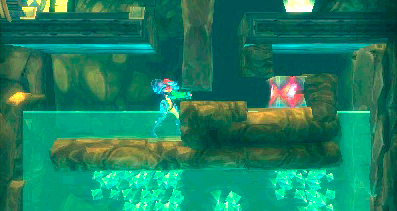
Drop down after entering the room and stand in front of the small opening in the right wall. The Block directly ahead is a Missile Block.
To reach the tank, you must destroy the Block, then quickly navigate around the bottom of the room and through the opening you created by destroying the Block. There isn’t enough time—not without Phase Drift. So activate the ability, destroy the Block, make your way around, and the Aeion Tank is yours for the taking.
Area 1: Super Missile Tank S-12
Super Missile Tank S-12 is in a room directly to the left of Aeion Tank A-9. Head through the Charge Door to the left of the door you entered the Aeion Tank’s room from.
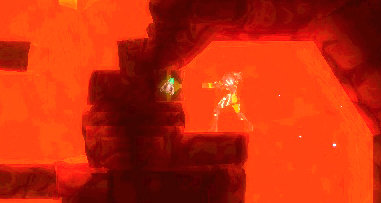
Drop all the way to the bottom of the lava pool, then Space Jump up the right passage. Land on the platform at the top-left side, then shoot a Super Missile at the Block directly to the left to reveal the Super Missile Tank.
Area 2: Aeion Tank A-10
Teleport to the station near the lower-center region of Area 2—it’s the station second from the right.
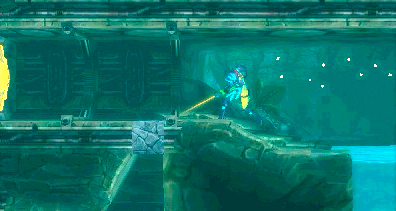
Exit the Teleport Station’s alcove, drop all the way to the bottom of the corridor, and get to the door on the left. Don’t enter yet! A Block slightly to the right of it leads to a Gryncore-covered door in an alcove below.
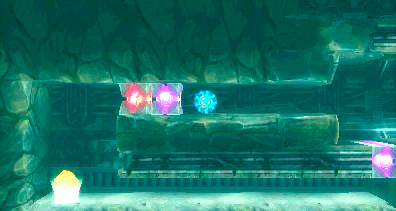
Head to the end of the Morph Ball passage in the next room and place a Bomb.
Roll back out of the passage immediately after planting the Bomb, then fire a missile at the Block behind it. This has to be done very quickly, so consider using your Phase Drift to make it easier.
Area 2: Super Missile Tank S-13
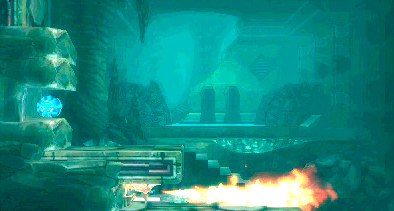
From the Teleport Station second from the right in Area 2, head up to the top-left corner of the corridor and place a Bomb in the small opening in the left wall, above the Wallfire. Continue through the door in the top-left corner of the following room.

Space Jump up the passage while hugging the left wall, and your Screw Attack tears through some Screw Attack Blocks embedded there.
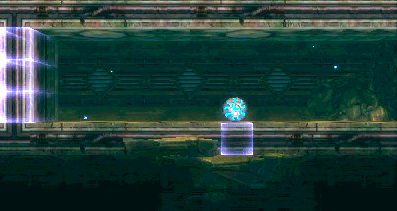
Screw Attack through the next two walls, then place a Bomb in the middle of the floor to reveal the Super Missile Tank.
Area 3: Missile Tank M-52

Teleport to the station in the upper-left corner of Area 3 (under  on our map). Exit the Teleport Station room, then Space Jump straight up to the ceiling of the larger room outside.
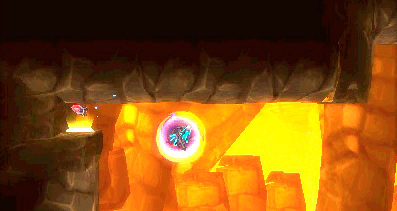
You find Missile Tank M-52 in the ceiling almost directly above the entrance to the Teleport Station room.
Area 3: Missile Tank M-53

From the easternmost Teleport Station in Area 3, take the door on the right.

Climb to the top of the corridor, then Space Jump up to the tip. Screw Attack through the Blocks above and Space Jump all the way up this new passage. The Missile Tank is in the wall, so you need to uncover it. To do this, Space Jump until the Screw Attack Blocks below reform.
At that point, break out of the Screw Attack (firing your weapon or entering the Morph Ball does the trick), land on the Blocks, then Spider Ball your way up the passage.
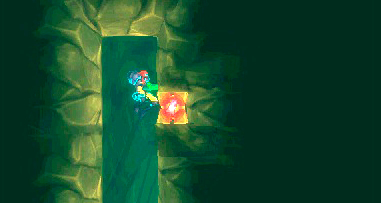
Once you’re standing safely on the Screw Attack Blocks, activate your Scan Pulse to highlight the Block that needs destroying. Jump up and shoot it with a missile to reveal the Missile Tank.
Area 3: Super Missile Tank S-14

Teleport to the western station (the one just below  on our map, but above
  ). Exit the Teleport Station and head through the door above and to the left, then make your way to the tall corridor.
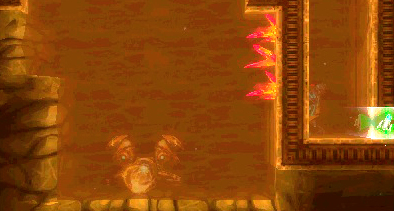
Drop to the bottom of the corridor and jump onto the ledge above the wall of spikes. Drop into the alcove on the right and shoot a Super Missile at the Block at the base of the right wall.
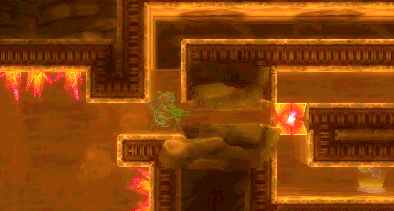
Carefully Space Jump up to the ledge on the right between the two sets of spikes.
Before jumping up to the upper Morph Ball passage, kneel and face right. The Block directly ahead is a Missile Block; it might be hard to see, but there’s an opening in the wall leading right to it. Turn on your Phase Drift, shoot a missile at that Block, and then quickly traverse the Morph Ball passage to reach the Super Missile Tank.
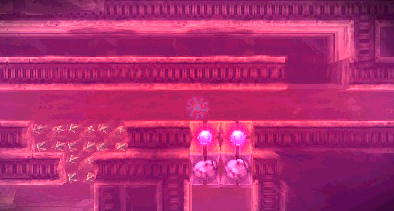
If you make a mistake, bomb the Blocks slightly to the right of the crystal formation to fall through some Pit Blocks down to the bottom of the room, where you can start over.
Area 3: Super Missile Tank S-15
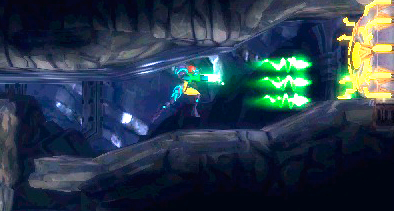
Teleport to the southernmost station, enter the corridor on the right, climb to the very top, and take the door on the right.

To reach Super Missile Tank S-15, jump onto the platform lining the room’s center. Turn on Phase Drift and race to the right side. The Super Missile Tank is hidden inside the Block directly to the left of the Pull Block.
Area 3: Super Missile Tank S-16
After grabbing Super Missile Tank S-15, use the elevator above, then head right and enter the high-temperature area. Wrap around this area and enter the Metroid’s chamber (marked by the Metroid icon on our map). Drop into the lava pool on the left and approach the wall ahead. There’s a small opening with a Pull Block on the other side. Pull the Pull Block, then jump through the opening it was obstructing.

Jump up onto the platform ahead and face the right wall. The Block directly ahead is a Super Missile Block. Destroy it to reveal Super Missile Tank S-16.
Area 4: Super Missile Tank S-17

Teleport to the easternmost station in Area 4. Jump up through the opening just outside and above the Teleport Station’s alcove, then climb to the top of the following corridor. You find a Gryncore-covered door in the top-right corner. Destroy it and enter the next room.

The platform ahead is made up of Pit Blocks. Turn on your Phase Drift, then run across them to the right. Jump up and grab on to the small handhold below the right set of spikes.
While hanging, Free Aim upward and press the Fire button as soon as your laser turns blue. You’re pulled up to the Super Missile Tank’s location.
Area 4: Missile Tank M-54

Teleport to the western station in Area 4. Exit through the Morph Ball passage to the right and climb to the door on the left side of the corridor, above the Ammo Recharge Station.
Drop into the lava in this next room, make your way left, then carefully Space Jump up the corridor to find the Missile Tank.
Area 4: Energy Tank E-7

After grabbing Missile Tank M-54 from the high-temperature room, head through the door on the left.
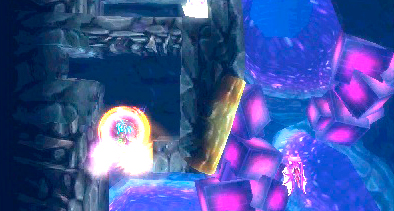
Drop down the corridor to see the Energy Tank in the wall. To reach it, drop below the yellow goo-covered wall, then Screw Attack through the ceiling below it. Crawl into the small opening on the left and plant a Bomb, which blows up the Block to the right, giving you an opening up to the Energy Tank.
Area 4: Super Missile Tank S-18
From the eastern Teleport Station in Area 4, exit through the small Morph Ball passage on the right and drop to the floor below.
Continue to the right to see a door blocked off by a wall. The Super Missile Tank is in that wall. To reach the tank, activate Phase Drift, shoot the door through the wall, then quickly climb through the Morph Ball passage above.
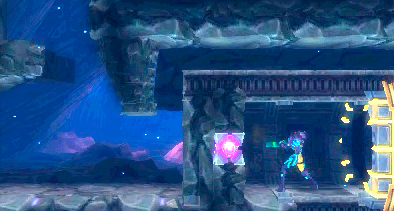
Once you’re inside the alcove, plant a Bomb next to the center Block in the left wall to reveal Super Missile Tank S-18.
Area 4: Missile Tank M-55
Continuing from Super Missile Tank S-18, backtrack out of this small room and take the door above it.

Continue right and drop down the passage to the level below, then head left. Drop halfway down the large opening to the right of the room’s center. Stand at the tip of the platform and fire directly to the right to reveal a passage. Enter the passage and hop onto the rock formation to the right, but stop short of rolling onto the steel platform. That platform is made up of Pit Blocks, so activate your Phase Drift before moving forward.

As soon as you reach the Block at the far end of the platform, plant a Bomb. You fall through the Pit Blocks even with your Phase Drift active, but that’s okay. Quickly roll to the left, hop back onto the platform, and head right until you’re through the hole you made. The Missile Tank is at the end of the passage.