
Metroid: Samus Returns Guide Walkthrough Area 4
Area 4 : Diggernaut Escape
Diggernaut Escape: Room 1
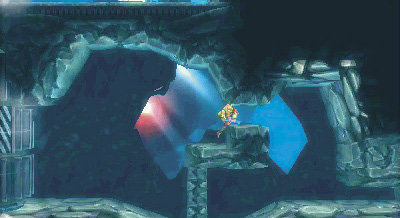
Jump onto the platform and crawl through the Morph Ball passage.


Roll into the small passage ahead and plant a Bomb to destroy the Block at the end.
Jump up into the passage near the top of the room.

Roll out of the passage and destroy the Block at the end of the short passage below and to the right.

Head right to reach a Pull Block. Destroy it and crawl through the passage it was blocking, then proceed right.
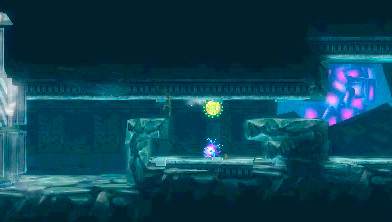
Jump into the narrow passage ahead and Spider Ball across the ceiling over the Moheek.

When you see the wall lined with spikes, roll into the Morph Ball and head toward the goo-covered passage. You fall through a Pit Block down to a lower level in this room. The Diggernaut’s chase subsides for now.

You fall into a small alcove, which you must bomb your way out of. The single Block on the right wall is your ticket out of here.

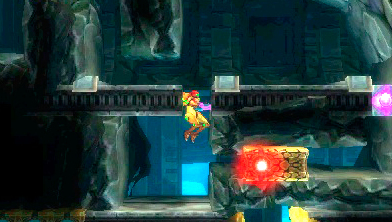
As soon as you drop into the next area, plant Bombs along the floor to destroy the Blocks lining the left side, which gives you a chance to destroy the Pull Block below.

Once the Pull Block is destroyed, climb back out, get to the right side of the room, and plant a Bomb on the right side of the floor.
Drop through the hole in the floor and roll toward where the Pull Block used to be to fall through a Pit Block. The Diggernaut reappears, and the chase begins anew.
Diggernaut Escape: Room 2

The Diggernaut moves faster in this room, so read ahead—mistakes are costly here.
As soon as you land in this room, use the grapple points to swing over the small pool of water. This way you avoid losing speed by walking through it.
Continue left and use the next set of grapple points to swing over the small, water-filled gorge.


With the set of grapple points after that, swing into the opening to the upper left. Spider Ball along the ceiling over the Wallfire. Drop down the passage on the left and place a Bomb to blast your way out.

Continue left to hit a small rock formation covered in Moheeks. Shoot them, then crawl into the opening near the middle of the formation.


On the other side, jump into the opening in the platform above the pool of water.
Immediately Free Aim between the rows of spikes and fire to Grapple Beam to the left side of the room.
When you land, you fall through a Pit Block into a small alcove. The Diggernaut stops pursuing you while you’re in this room, but the fight isn’t over.

Roll into the opening on the left side of the floor, then make your way right. Jump up into the alcove above and crawl into the small alcove on the left. All of the Blocks below you are Missile Blocks. Shoot them and fall through the Pit Blocks below, and the Diggernaut begins its chase a third time.
Diggernaut Escape: Room 3
The Diggernaut moves even faster here. Knowing what to do isn’t necessarily enough to get through unscathed—you need to execute every action as quickly as possible to avoid being ground up by the Diggernaut’s grinder arms.

The moment you start, race to the right and climb into the opening above.

Roll to the right to fall through a Pit Block into the alcove below. Don’t let this stun you. Roll right, stand, and fire through the row of Blocks on the right. Quickly crawl through the hole.

Jump into the next Morph Ball passage and place Bombs on its right end. Jump through the hole they create and continue right.

Use the grapple points on the ceiling ahead to swing across the red-plant-filled pool. There are two sets of grapple points, so be ready to transition from one to the next.

Roll to the right and Spider Ball along the ceiling over the steel platform. That platform is made up of Pit Blocks, which drop you right into the pool below. You can bomb the pool’s right Block to get out, but it still slows you down, which is what you want to avoid.
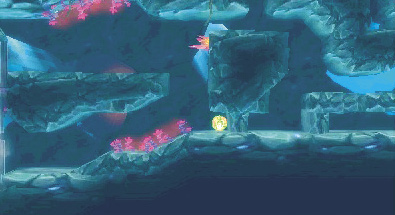
Drop to the lowest path and plant a Bomb in the small crevice at the bottom of the rock formation.

Jump and Spider Ball onto the top of the passage ahead and roll up to the slope before letting go. The Blocks below are also Pit Blocks. You can bomb the Block on the right to escape, should you fall in, but using the Spider Ball to get over is much faster.
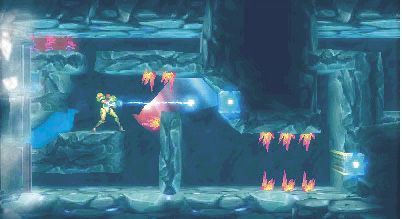
Stand at the right tip of the platform and Free Aim at the grapple point. Pull yourself over, then immediately Free Aim at the second Block ahead.

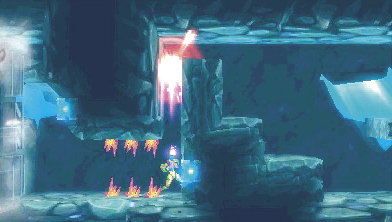
Fire straight up to destroy the Block above. Get to the top of the passage and continue right.

Rush to the right and jump into the small space in the top-right corner of the wall ahead. The Diggernaut gives up its chase once you reach this point.

When the Diggernaut flees, it spits out the Item Sphere it most certainly grabbed from the broken Chozo Statue. Pick it up to obtain the Space Jump.