
Metroid: Samus Returns Guide Walkthrough Area 6
Area 6 : part I
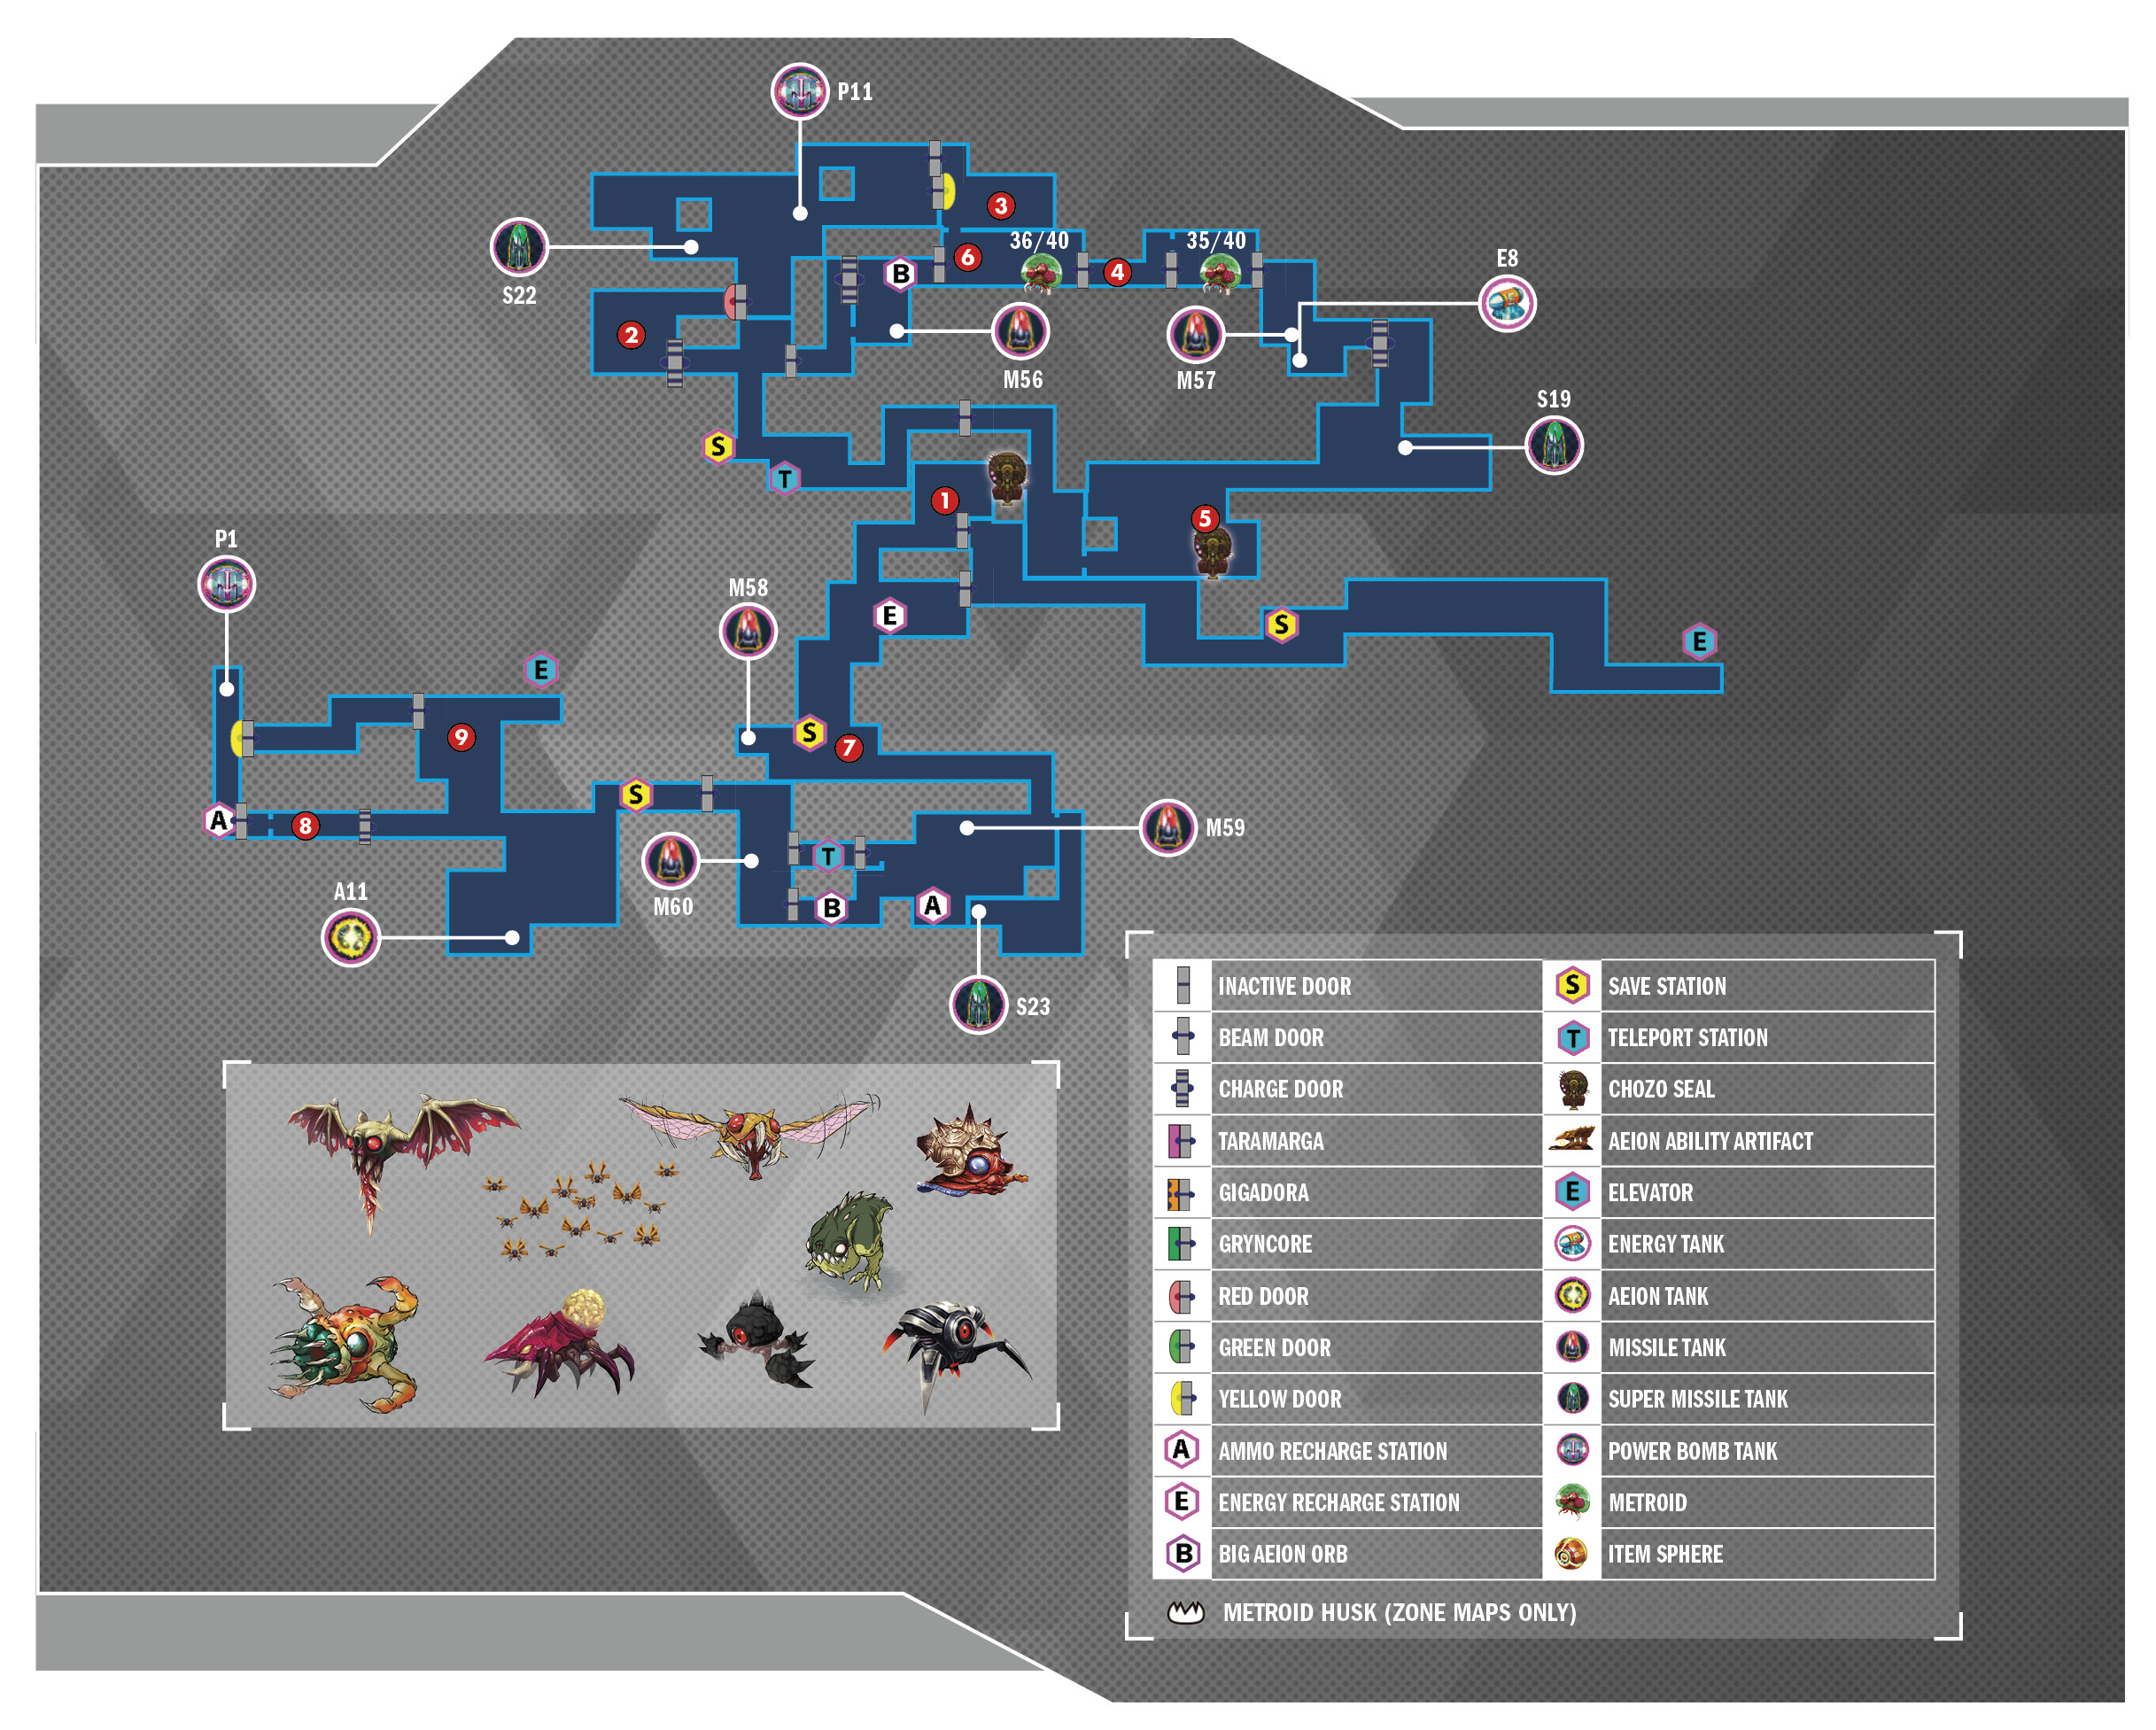

 As far as areas go, Area 6 is straightforward. There isn’t anywhere to go except toward the Chozo Seal at this point. Head left until you reach the only Energy Recharge Station in the entire area.

From here, travel upward and bomb the Block in the top-right corner of the Morph Ball path up ahead. Watch for GlowFlies—this area is littered with them.


Bomb the center Blocks on the platform farther up. Follow the path up and to the right, taking care not to agitate any GlowFlies. Drop into the small pit near the end of the path and wait for a GlowFly before progressing to the end. Bomb the Block at the far end to drop back into open space.
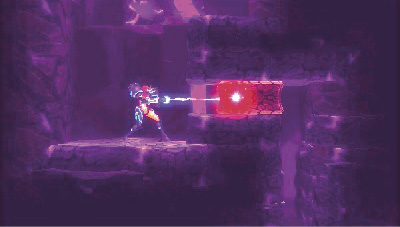
Head to the center of this open area and Space Jump up to find the Chozo Seal in the top portion of the room. It looks like only one Metroid DNA strand is required again. There must be more involved than what you’re seeing, so don’t wait to explore the area further.


 There’s no way to go but onto the right landing and around to the left, so get moving!
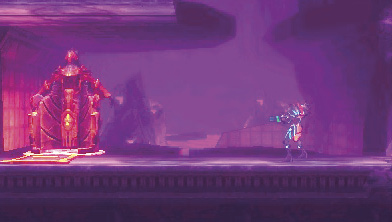
Continue along the path until you reach a Teleport Station. Approach to activate it, then jump onto the platform above it.
Climb until the path forks left and right. Continue left to find a Charge Door. Charge it and move on through.

Head to the left side of the room and Space Jump upward. The Screw Attack cuts through the platform near the top. Once you’re through, get to the Red Door on the right. There’s a new item through there.

 That dang Diggernaut took the item! There’s not much you can do to get it back at the moment, so focus on this area’s Metroids for now.
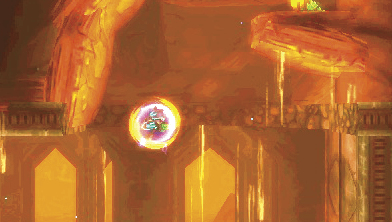

At the center of the room, Space Jump upward. The thin platform blocking the center is made up of Screw Attack Blocks, so keep jumping and tear through them.
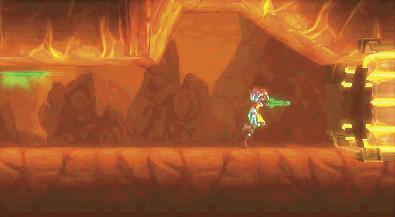
Once through, head right as soon as you’re able. Continue right and take the door at the end of the path.
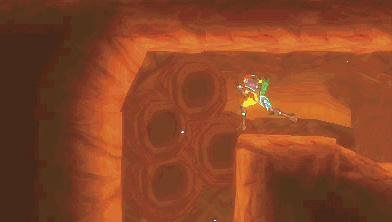
Continue right, drop down, and go to the left corner of the room. Drop down the pit on the room’s left end to fall through some Pit Blocks to the room below.

 Head through the door on the right side of this room, then plant a Bomb at the pass of the platform in the center of the connecting hallway ahead. Bomb the second Block obstructing your path, then take the door on the right side of the hall. The next Metroid is past that door.

35/40
Zeta Metroid

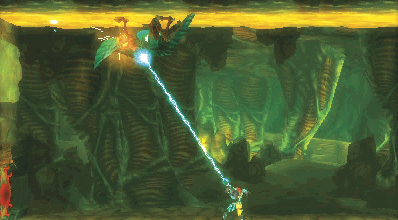
You’re up against another Zeta Metroid. At this point, Zetas are likely second nature. Your first encounter may have been intimidating, but you know their patterns by now.
As a refresher, pull the Zeta off the ceiling after it fires its volley of bouncing projectiles. If it charges up a fire attack while on the ceiling, pull it down with the Grapple Beam before it fires. Pulling it off the wall or countering its counterable attack makes this a brisk fight.

With the Zeta defeated, you have enough DNA to unlock the Chozo Seal. Backtrack to the seal at  ’s location on our map and insert the DNA.

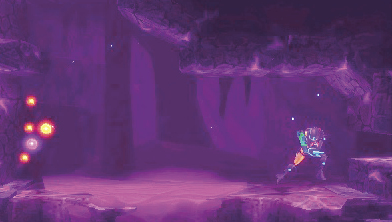
 Instead of draining the purple liquid, this seal shifts it to another part of the map. The path up and to the left of the Chozo Seal is no long accessible, but a new path to the right has opened up. If you’ve used Scan Pulse anywhere on the right side of the map (or if you’ve looked at the map in this book), you may have noticed a second Chozo Seal. That seal is uncovered now, so head that way. Drop to the bottom of the right path and through the Morph Ball hole on the room’s right side.

In the next room, jump up into the Morph Ball passage above the fan. Plant a Bomb on the left side and sit on top of it while you wait for it to blow. When it detonates, drop down and fire a missile straight up at the Block above you. That’s a Missile Block. As soon as you clear it, jump straight up past where it was, and grab on to the ledge.

There’s a Pull Block in this upper alcove. Destroy it, then drop back to the floor and head right. Align yourself with the center of the spike-lined corridor, aim up, and Grapple Beam your way to the top of this small shaft.

Follow the path around and to the right to find the Chozo Seal. This one requires a single Metroid DNA strand as well. There aren’t many Metroid fights left, so see this through to the end.


 The shifting liquid not only opened and closed paths, it also seems to have stirred a Metroid into a room you’ve already visited. To reach it, jump up through the opening to the upper-right side of the Chozo Seal.
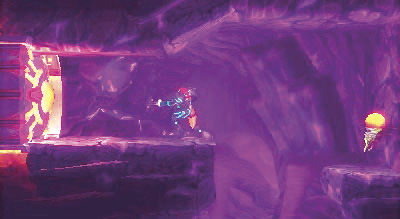
The path ahead is without any forks or tricky platforming. Venture along the path to eventually come to a door on the northeast side of the room. Head through when you reach it.
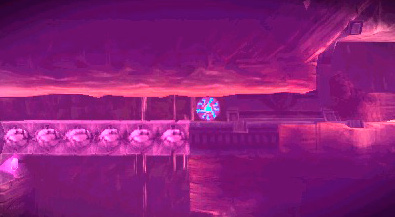
You have to use the Phase Drift to get through the start of this next room. The row of Blocks with nothing below them are Pit Blocks. The ceiling is covered in yellow goo, so the Spider Ball is out of the question. That leaves the Phase Drift, which gets the job done just fine.
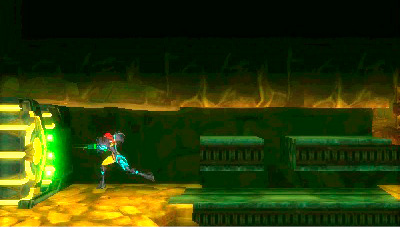
Continue west to reach the lair of your next Metroid: the Omega Metroid.

36/40
omega Metroid
This is it: a Metroid at the pinnacle of maturity. It’s not as fast as a Zeta and it can’t fly like the Alphas and Gammas, but it’s huge and deadly.

Like the Zeta, the Omega Metroid’s mouth and core are weak to attacks. Unlike the Zeta, an Omega can shield its core with a regenerating exoskeleton. Continually shooting its chest eventually breaks the plating that surrounds the core, giving you a chance to damage it. After a time, the Omega’s chest plating heals and covers the core once more. Destroy it again to regain access.
Phase 1

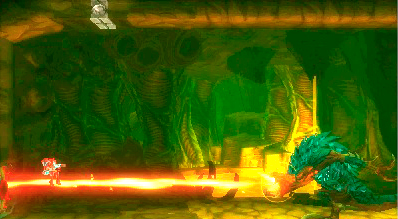
The Omega’s attacks aren’t complicated, but they cover a significant distance. For instance, if you see the Omega get on all fours and lift its tail, that’s your cue that it’s about to start using its tail to smack the floor, shaking rocks loose from the ceiling that damage you if you’re in their path. The Screw Attack doesn’t destroy these rocks, nor does it make you invulnerable to them. However, you can shoot them as they fall to prevent getting hit, and also to gain health and ammunition from them.
At times, the Omega’s mouth fills with fire. This is its tell for its fire beam attack. It fires a concentrated beam wherever you are and holds it there for a couple of seconds.
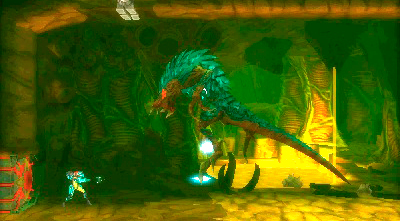
When you see the fire form around its mouth, begin Space Jumping around to keep it from locking on to your location.
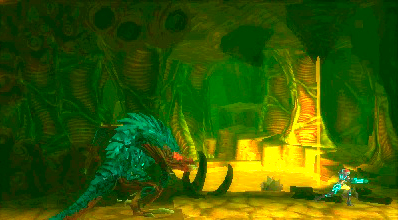
The Omega can also jump unexpectedly. If it performs a short hop in place, anticipate that its next move will be a huge leap toward your location. The only proper response is to quickly close the distance with the Omega. It hops high enough into the air for you to walk under its feet at the peak of its jump.

If the Omega pulls its arm back, expect a claw swipe to follow. This is an easy attack to dodge, but it can catch you if you’re not prepared. If you’re standing near the Omega after its first swipe, it follows up with another swipe right after. Give the Omega plenty of space whenever you see that arm go past its back.
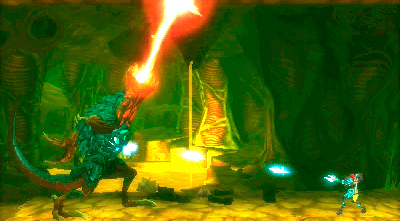
The Omega’s fire beams are not limited to a horizontal trajectory—it can move the beam up or down across the chamber. If the Omega begins firing a beam at its feet, it’s going to drag the beam upward toward the ceiling. Escape by Space Jumping over the Omega. As soon as you pass overhead, it stops firing its beam.
If it starts by shooting its beam at the ceiling instead of its feet, consider yourself in fortune’s favor. This is an ideal time to get in close and unload on the Omega’s chest.
Save the Super Missiles and emphasize normal missiles instead. A handful of missiles breaks the chest plate, and when this happens, you’re in the perfect position to unleash Super Missiles directly into the Omega’s core.

The Omega’s counterable move is heavily telegraphed and easy to counter. When it stands straight up with its arms to its sides and begins roaring with its mouth wide open, the counterable attack is about to happen. Get in close and wait for the rings and clicking sound you’re familiar with. Once you’ve countered the attack, give the Omega all the Super Missiles you can muster.
If the Omega’s tail rises over its head, get to Space Jumping to maneuver over and around the enemy. This is because the Omega is about to perform a tail slap or two, and those slaps have a lot more range than you might expect.
Phase 2
The Omega’s core progressively reddens as it takes damage. Once you deal enough damage, Phase 2 is triggered, and the Omega changes up its attacks. A few of its current attacks grow faster and more intense, so pay extra-close attention to its tells.
For starters, whenever it jumps during this phase, it does so much faster and at a shorter distance. It can perform its tail slap more than twice.
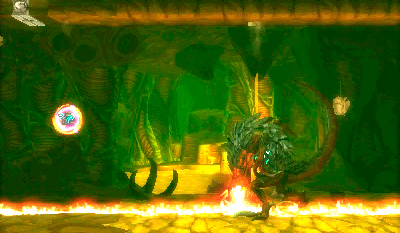
The most dangerous change is a mash-up of the Omega’s fire beam and rock-dropping attacks. The Omega looks straight down at the ground and breathes a fire beam that engulfs the entire floor. While the floor is on fire, the Omega slaps its tail to cause rocks to fall from the ceiling. You have no choice but to Space Jump around and dodge the rocks. Thankfully, the rocks fall at a much sparser rate, so they’re much easier to avoid.
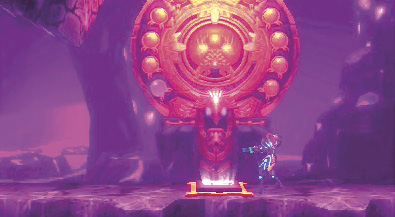
Once the Omega is dust, make your way back to the Chozo Seal. Putting the DNA into this second seal fully drains the purple liquid from the zone. When you’re ready, Space Jump up the passage to the left of the Chozo Seal.
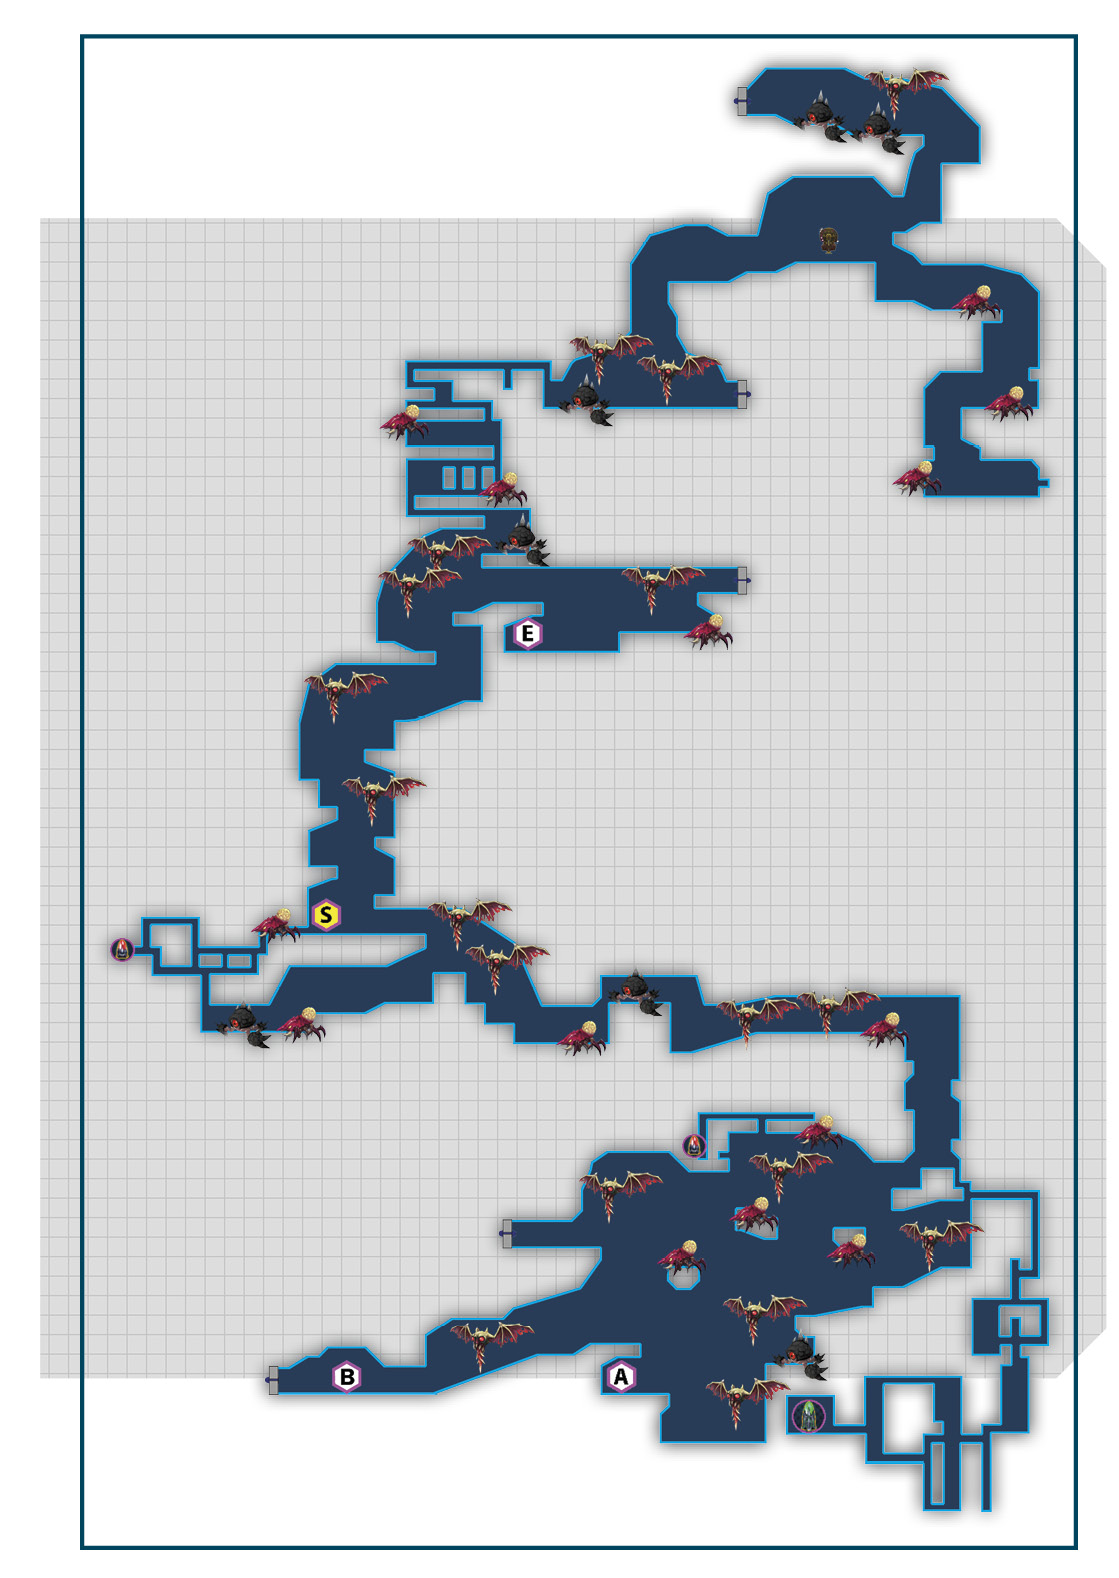

 It’s a linear path to the first Chozo Seal, so head in that direction. Once you reach the seal, go left past it and follow the west wall down past the Energy Recharge Station. When you reach a Save Station, turn right.


 Continue right and drop down the pit at the end of the path, then proceed left.
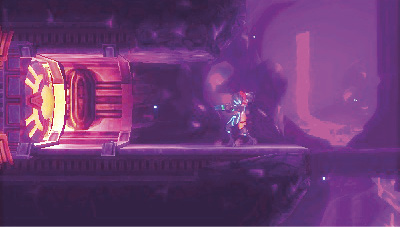
This room is large, full of platforms and swarming with enemies. Space Jump along the top to avoid tricky platforming, and protect yourself from enemy attacks with the Screw Attack. Find a door in the upper-left side of the room. Head on through.
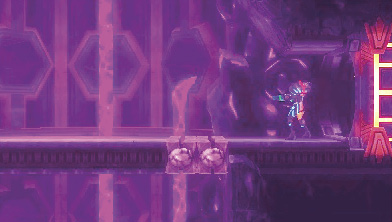
As soon as you enter the door just past the Teleport Station, stop! The platform ahead is full of Pit Blocks. Space Jump up the room to avoid falling through. If you do fall, take the door on the right, traverse the hall, and jump back up to the door leading to the Teleport Station.

Work your way around platforms covered in Pit Blocks to reach the top of this corridor. Once you do, a door on the left is waiting to be opened.
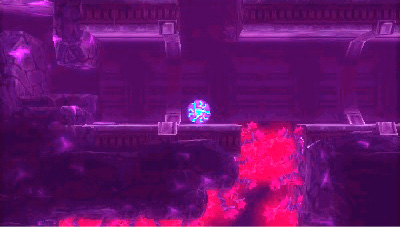
Run past the Save Station and drop into the pit ahead. Follow the path to be dropped out into a fork in the road. The left side contains a Morph Ball passage, while the right has a couple of passages covered in red plants. If you’re looking for an Aeion Tank, head right and read the “Aeion Tank A-11 tip for details. Otherwise, take the Morph Ball passage on the left.

Jump up the stepped landings and stop on the second one (third if you count the small step at the bottom of the room). Attempting to reach the top of the room is fruitless—Pull Blocks obstruct passages that allow you to progress. Instead, bomb the Block at the base of the wall on the second step to open a different passage. Blast your way through, then head through the Charge Door at the end of the hall. Make sure you’re ready before you do: sensors show that something big is lurking in the room beyond the Charge Door.