
Metroid: Samus Returns Guide Walkthrough Area 3
Area 3 : part II
You must perform more midair Grapple Beam transitions in this next room, but this time instead of water, you do it over lava.

Before attempting to cross the lava pit, drop to the platform at the lava’s edge and turn on your Lightning Armor. A swarm of Mumbos is flying back and forth above the lava, and they likely aren’t visible right after you enter the room. Wait for them to fly your way, then use your Lightning Armor-amped melee attack to defeat them. You can also turn on your Lightning Armor and grapple over the lava, but taking this bit of extra time refills your resources rather than burning through your Aeion Energy.

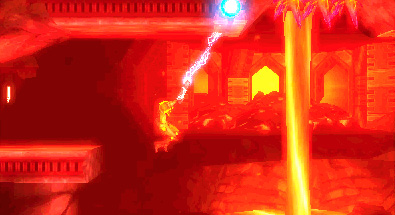
Once the Mumbos have been cleared, you’re free to attempt the lava crossing. Remember your experience with the midair transition in the water room a few rooms back. As soon as you release the Grapple Beam from the first grapple point, immediately hold the Circle Pad up and to the right, activate Free Aim, and fire.

If you fall in the lava, don’t panic. Continuously jump to mitigate the amount of damage you take while you travel back to the left side of the room.
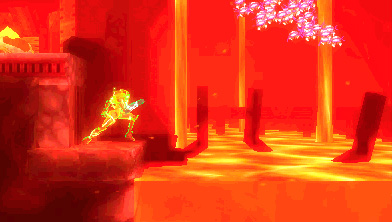
Once you set foot on the landing on the other side of the lava pool, prepare to repeat that entire process. There’s a second pool of lava with another pair of grapple points, and as before, a swarm of Mumbos needs to be dealt with before you cross.

Use the Spider Ball to wrap around to the right side of the platform after grappling across the lava pool. More Mumbos are there to greet you, so dispatch them before carrying on.
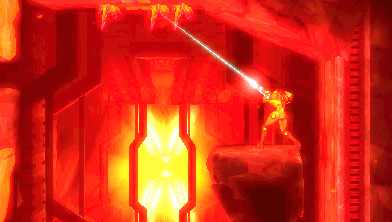
There’s one more grapple point to grapple across before you get away from all this lava, then you’re home free. Once across, climb upward while hugging the right side of the room. You reach another grapple point. Thankfully it’s just one and there’s no lava lying in wait below you. Swing to the left, grab hold of the ledge, and pull yourself up.

Climb to the top of the room and either Spider Ball or jump for the ledge to the upper left of your position.
Follow the left path to eventually reach the door to the next Metroid chamber.

16/40
Alpha Metroid
After the last three Gamma Metroids, an Alpha should practically be a relief.
The chamber features a flat floor with a relatively low ceiling. The ceiling arcs a bit in the center, so fighting there is your best bet. Hit the Alpha with a charged-up Ice Beam shot to encourage it to perform its counterable attack. You can end this fight with a counter and a few bonus missiles, so consider this tactic to wrap things up quickly.


 Double back until you exit the high-temperature zone. The return trip is much easier than the original. If you fall in the lava while trying to grapple across, you can rush to the left and hop on one of the platforms, instead of having to start the entire process over.
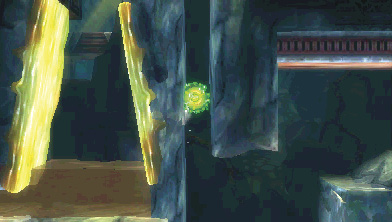
Once out of the high-temperature zone, Spider Ball up the wall to the left—you should see the pit with the two goo-covered walls on your left while you climb.
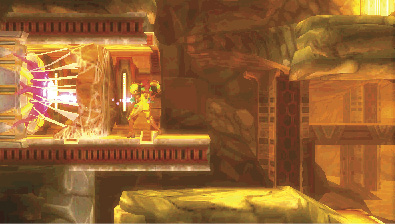
Continue until you reach the Taramarga-covered door in front of  ’s map marker. Past that door is the next Metroid.
17/40
Gamma Metroid (runner)
The Metroid’s chamber is empty. Unfortunately, this is another runner-type Gamma Metroid, so you fight it in multiple rooms. The good news is that it runs between this room and the room to the west, so you’ll have no trouble figuring out which direction it flees in when it decides to bolt.
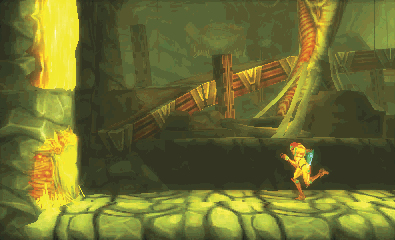


Use the grapple point on the upper-left corner of the room to swing up to an opening that connects the east and west rooms.

As soon as you drop through to the west room, the Metroid begins its attack. The elevated platform in the center of the room is the best place to fight from. The areas to the sides of the platform are deep and narrow; you have a much harder time dodging the Gamma in those locations.

Once you deal enough damage, the Metroid flees back to the east room. Use the grapple point on the top-right corner of the room to swing back over there.
This east room is stairstepped in such a way that you’re safe to fight the Metroid anywhere in here. There are no hazards to deal with and no tricks, just pure Metroid slaying at its finest.


 With the Metroid defeated, head back up through
  ’s room, then to the room with the large crystal formation. Take the first opening you see in the crystals and then the door on the left.

Continue on through the rooms ahead until you reach the Teleport Station. Use it to teleport to the northwestern station in this area (the station marked by  ).
).

 Your destination is the elevator almost directly west of the Teleport Station. You’re ready for the lower half of the area, and the best place to start exploring is from the west side.

Head out of the Teleport Station room and climb up out of the pit. Take the door on the room’s left side.

Continue left until you see the Morph Ball-sized opening near the room’s left side. Roll through it and drop straight to the bottom. You pass an Autrack on the way down. Hug the left wall below it.


Use the Grapple Beam to destroy the Pull Block ahead, then drop down and take the door on the right. Proceed through the Morph Ball passage below the door to reach the elevator.
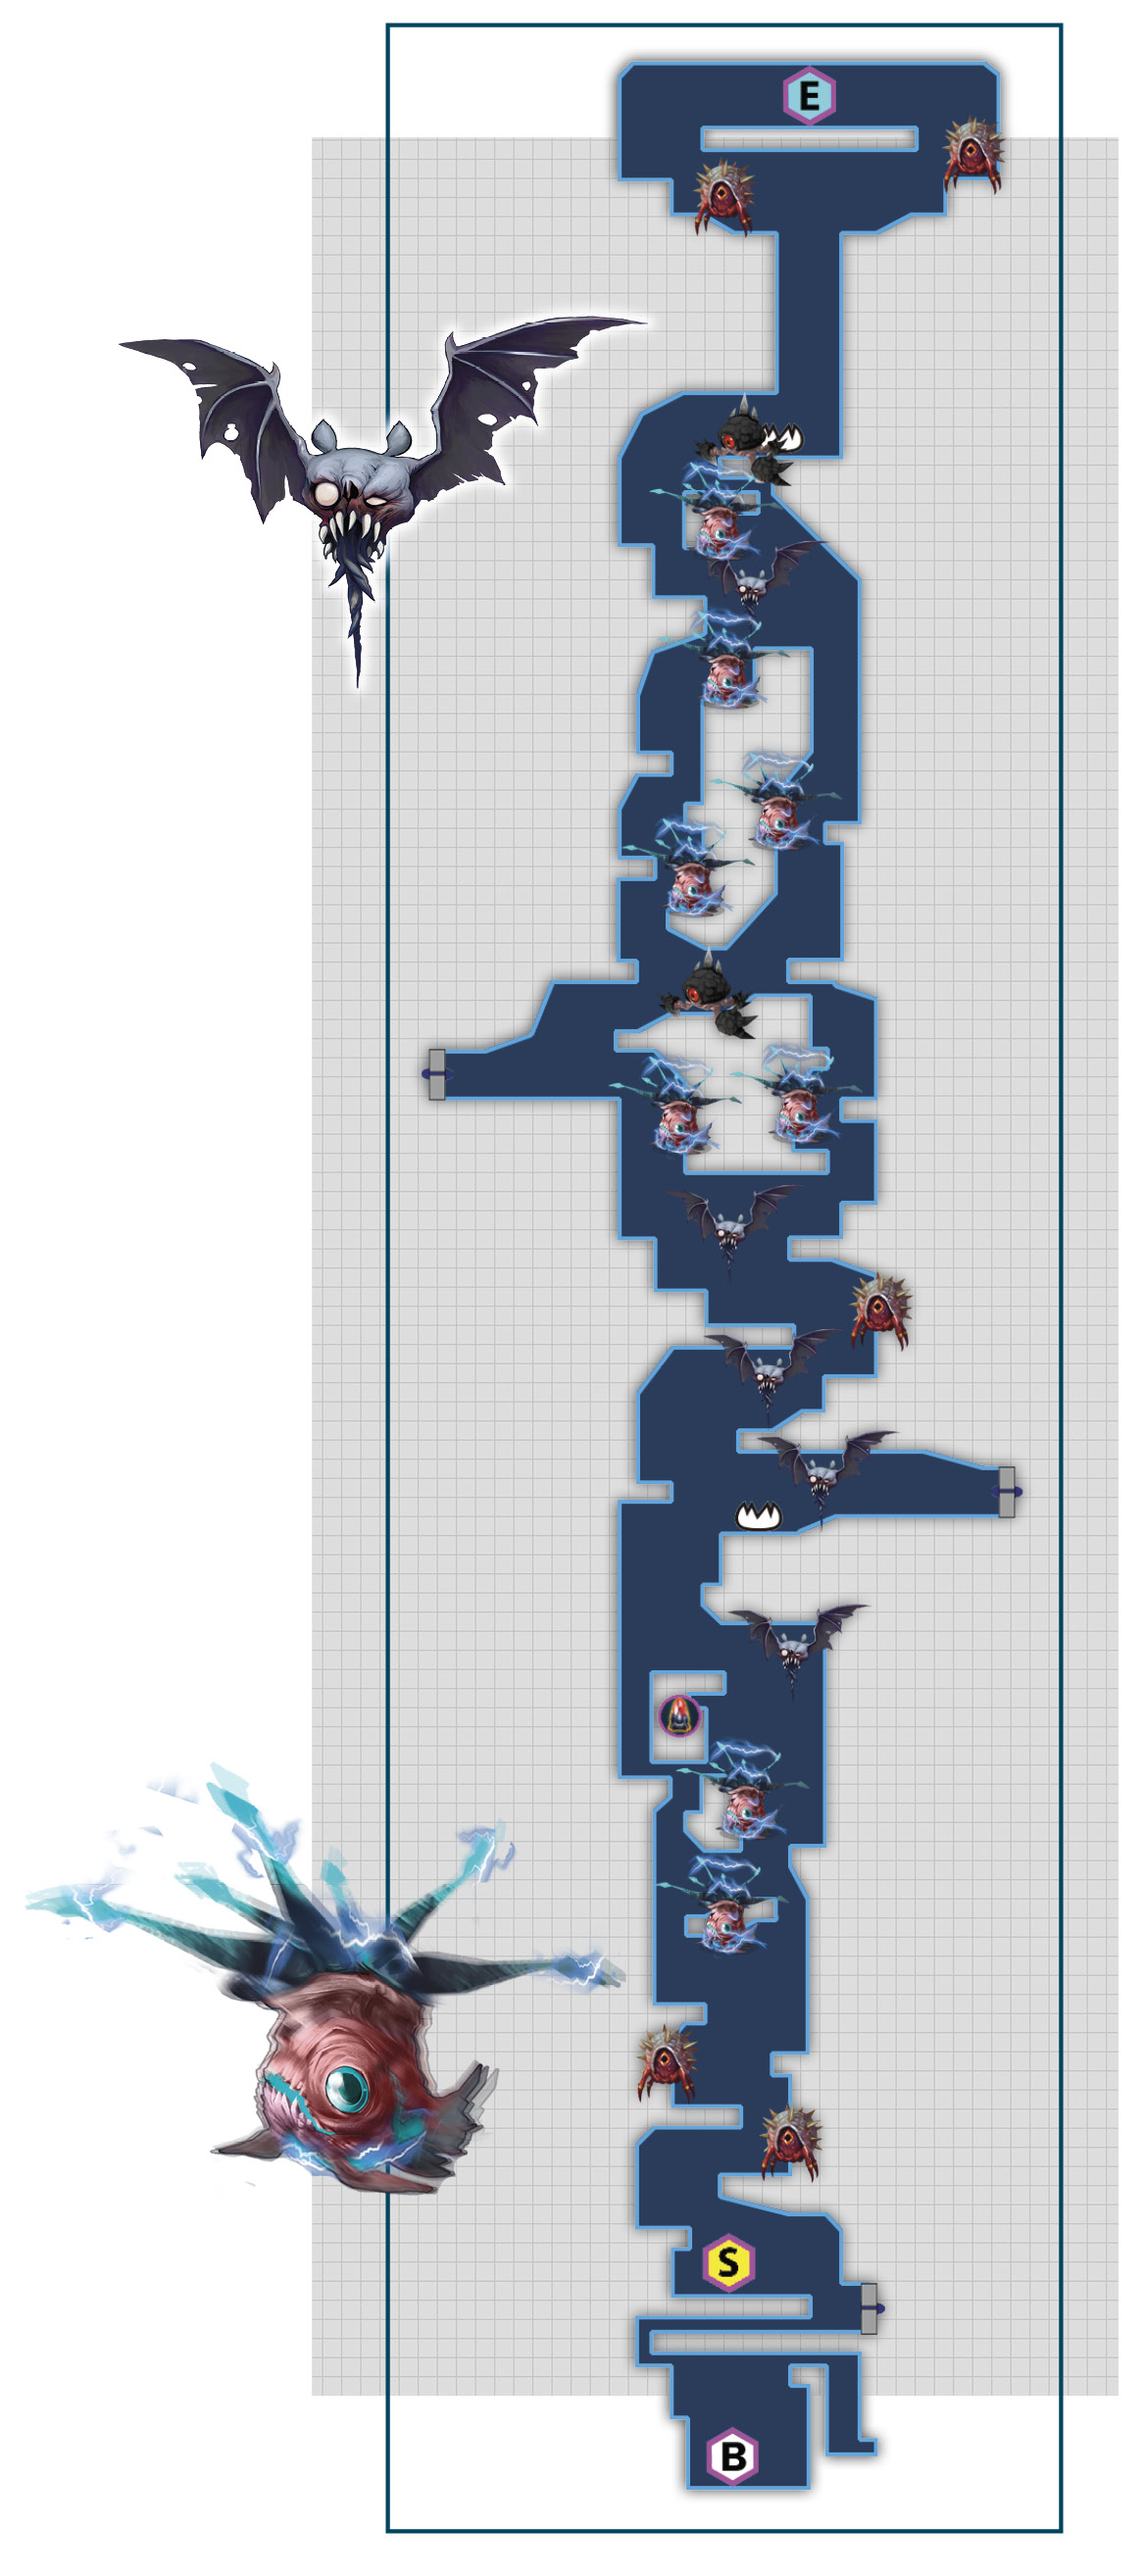
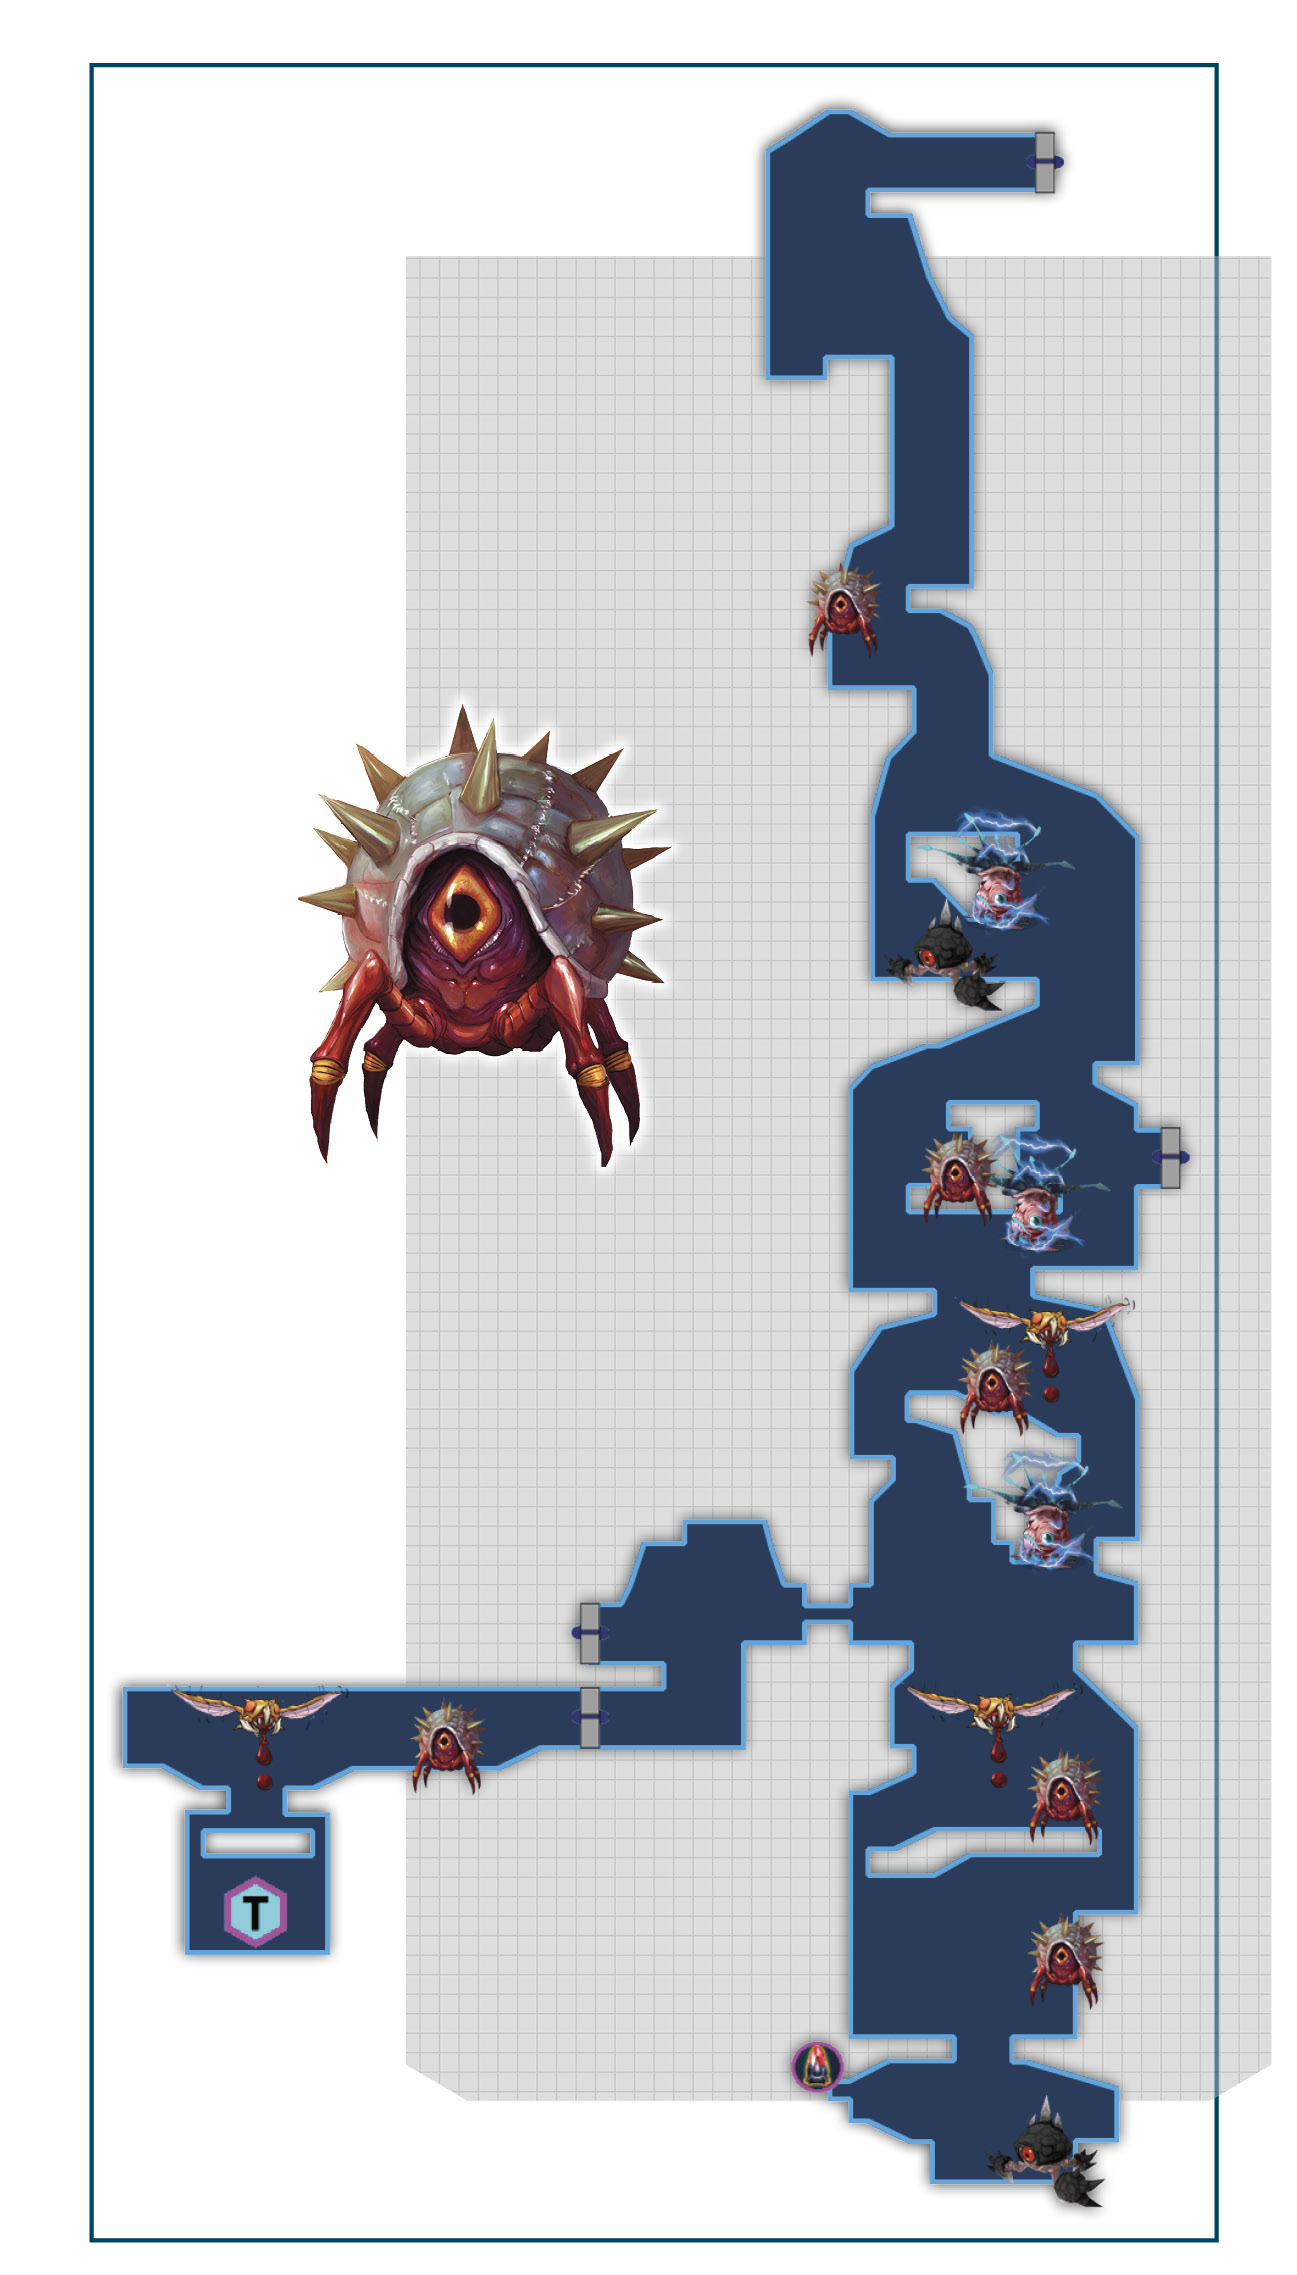
 A long corridor awaits you on the other side of the elevator. A Metroid waits on either side of the corridor near its center. Hold off on fighting the one on the left. You’ll get there later, and it’s faster to wait. For now, head to the Metroid on the middle-right side of the corridor.

The path to the Metroid is free of any complicated platforming or puzzle-solving. Make your way down and defeat any enemies along the route; you should have little trouble.
18/40
Gamma Metroid
There isn’t anything particularly tricky about this Gamma fight. The chamber is stairstepped, but the stairs are short enough that you don’t face much difficulty getting around them. Use the strategies you’ve learned up to this point. Watch out for the Gamma’s tackle attacks, and avoid getting hit by its Electric Pulse. Shoot the orbs it drops to refill your health and ammunition, and let loose a charged Ice Beam shot at its core to encourage it to use its counterable attack more frequently. You’ve got this!
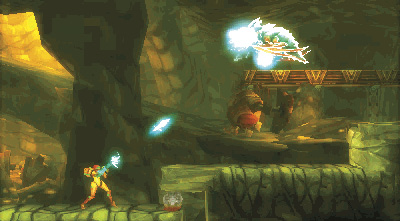

After defeating the Metroid, destroy the steel orb in the center of the room with your Beam Burst, then roll through the opening and exit through the room’s east door.

Before destroying the Pull Block up ahead, drop down and head through the door below to unlock a Teleport Station. You’re going to need it later.
 Destroy the Pull Block and enter the passage. You must climb to the top of the corridor to reach two more Metroids, so start by using the Grapple Beam to grapple across the gap ahead.


The path up the corridor is straightforward, but also filled with enemies of all types. While there isn’t any tricky platforming, take your time climbing, lest you fall prey to the myriad monsters waiting for you. Once you reach the top, take the door on the top-right corner of the zone to find your next pair of Metroids.

19/40
Evolved Alpha Metroid

You find this Alpha in a chamber littered with deadly red plants. An Alpha is a cakewalk at this point; avoid its diving tackle and keep away from platforms where it drops its Giant Electric Mines. Stick to the middle, don’t get tackled into the red plants, and you’ve basically already won.

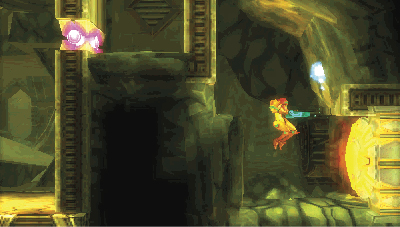
Following the fight, use your Scan Pulse at the right side of the room to find the Bomb Block on the wall. Destroy it and take the passage around to the east door.


Passing through that door means entering a high-temperature area—one that’s particularly lava-filled. Spider Ball onto the wall or ceiling in front of the door and wrap around the bottom of the platform.
Plant a Bomb at the end of the path to destroy a Bomb Block overhead. Jump through the newly created hole to enter the next Metroid’s chamber.
20/40
Evolved Gamma Metroid (Hider)
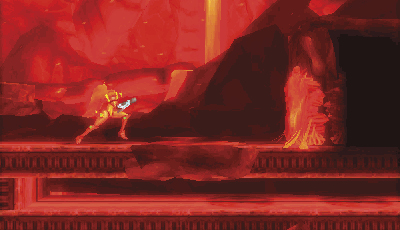
You find your first Evolved Gamma in here…eventually. This is another hider-type Gamma that needs to be flushed out before it takes you on.
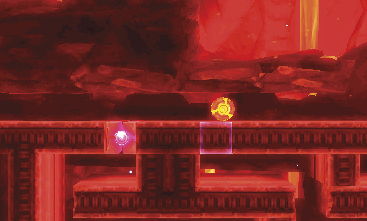

Jump through the hole you created and bomb the Block two Block spaces to the right.
Drop down to the bank next to the lava pool and Spider Ball your way around the platforms and rock formations above you. Roll down the rock spire dangling above the lava and bomb the bottom Block. Quickly roll back up to avoid getting blasted into the lava, then roll around the now-open path you’ve created.

Roll along and bomb the Block at the end of the path. This opens a hole into the Metroid’s nest and scares it out.
Unfortunately, you have to return the way you came to get back into the main area of the chamber. It’s a pain, but you already know how to do it, so the trip should be brisk.
Evolved Gammas are almost identical to normal Gammas. The major variation is that the Evolved Gamma doesn’t drop orbs for you to destroy and instead drops Giant Electric Mines that ignite whatever platform they hit—everything else is the same.

The chamber itself is a nuisance to fight in. There is no ideal position to take up; consider the upper area on the chamber’s right side. You’ll undoubtedly have to transition from one part of the chamber to another, however, so don’t expect to stay in one place for long.
If you can help it, stay out of the chamber’s center. It has the least room to work with, and it’s easy to get trapped there.

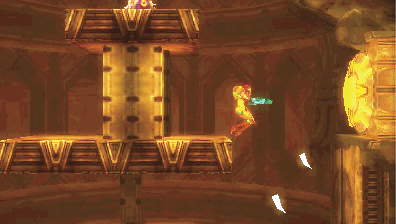
 Backtrack out of the two Metroid chambers, into
  ’s corridor. Drop down and head through the door on the center-right side of the corridor.
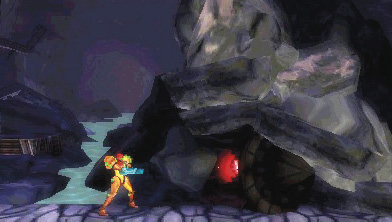
Continue through the halls to come upon a pile of rubble with a red light in its center. That looks an awful lot like one of those Pull Block lights. Use your Grapple Beam to pull it.
What in the world was that?!
 Whatever that was, it’s gone now, so time to get back on the hunt. Your next destination is another Metroid. Take the door on the right, drop down, and enter the left door.

Head to the bottom of the corridor and through the Charge Door on the left. The path there isn’t complicated—fight through the enemies in your way and make your way down.
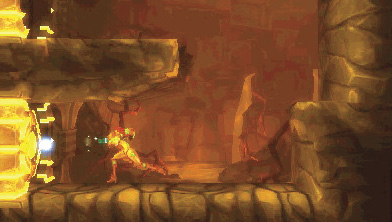
Turn left and drop to the bottom of this second corridor, then head through the door on the right. Take the lower door in the next room.
21/40
Evolved Gamma Metroid (Runnerr)
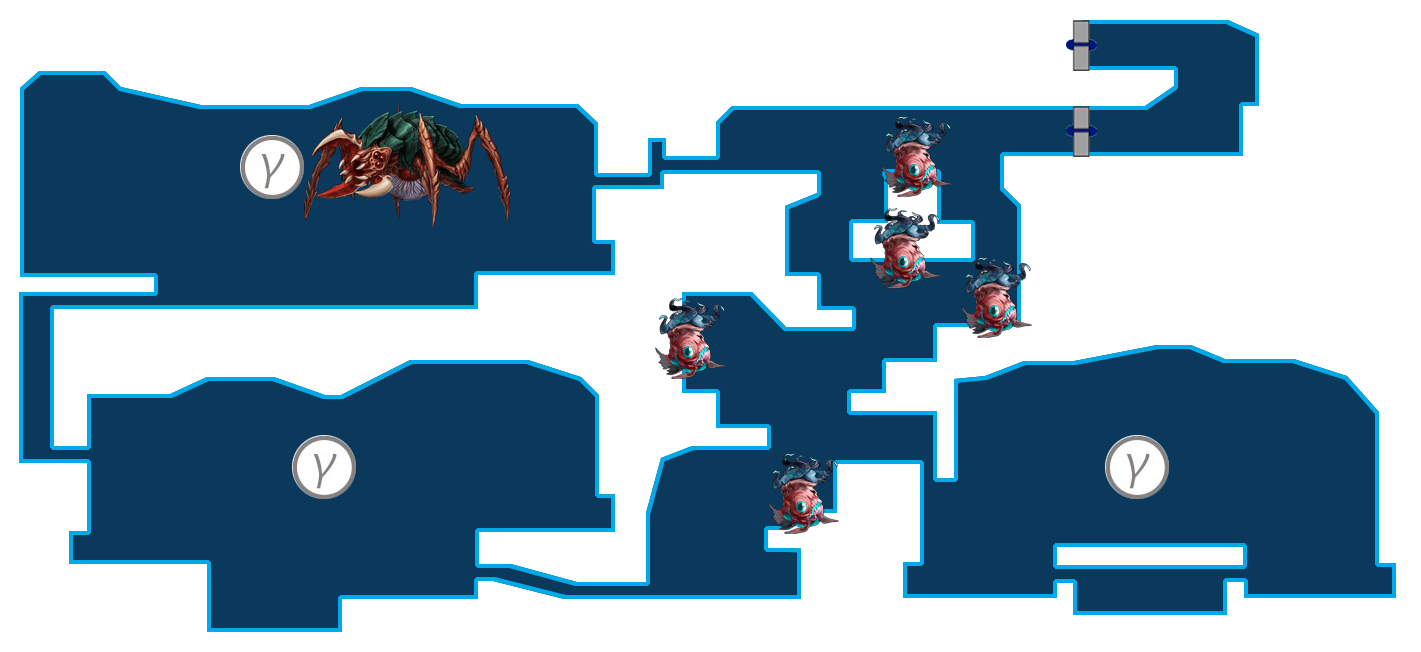
This room acts as a hub for the next Metroid, which is a runner type. This hub, and the room to the left, make up a total of four segmented rooms, three of which the Metroid runs between. As before, use your Metroid Radar to figure out which room the Metroid is in—a red flashing indicator means you’re on the right path.

Room 1
Each of the entrances is hidden, as in previous runner encounters. The first entrance can be found in the top-right corner of the room. Bomb the Blocks on the left wall lowest to the floor to open a path into a small alcove. Bomb the Blocks on the lower left to gain access to the Metroid chamber.
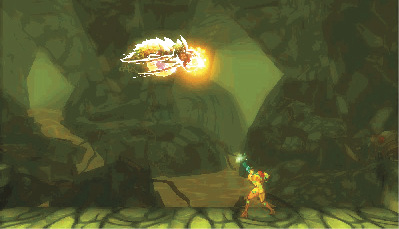
This room is about as basic as you can find for a Metroid fight. There are no hazards, low ceilings, or tricky platforms. Focus on dodging the Metroid’s attacks and dealing damage.
Room 2

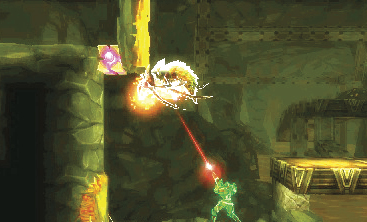
The next opening can be found by tracing the yellow goo-covered wall on the right down until it ends. The Block to the left of the wall is a Bomb Block.
There’s more nuance to this room than the previous one, but it’s still a setup you’re familiar with. An elevated platform sits in the center of the room, and the areas to the sides are low and narrow. Stick to the center as much as possible to avoid taking damage.
Room 3

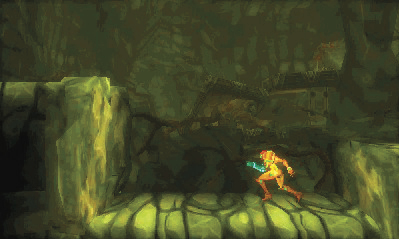
The final room can be found in the bottom-left corner of the hub. Bomb the Blocks closest to the ground to carve your way in.
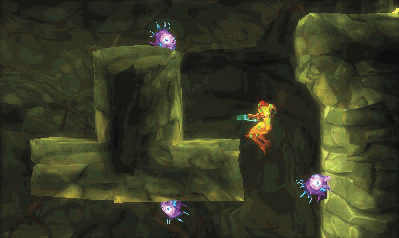
This is the trickiest of all three rooms to fight in. The platforms are lowered and raised at inconsistent heights, turning a fight here unwieldly. One platform is as good as another to battle on. Make sure to stay out of the lowered section in the middle of the room.
If you find yourself low on resources during this fight, defeat the Moheeks scuttling about in the hub room. They don’t provide much, but what they give helps in a pinch.


 Once you finish off the Metroid, make your way back up to the tall middle corridor. You’ve still got two more Metroids to deal with before leaving this area, so don’t delay!
Climb up and head through the Charge Door in the middle and to the left of the corridor. Make sure to unlock the Teleport Station on your way up.

Head up this third tower a little way, then through the Taramarga-covered door to find the next Metroid.
Head left and into the Morph Ball passage, then jump up into the first opening.
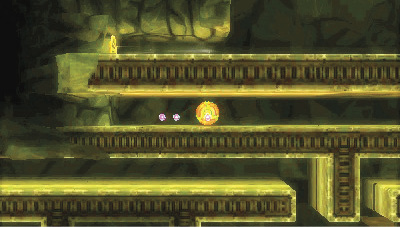
Roll to the end of the path and place Bombs under the Blocks just below the air current above. Jump through the opening, turn right, and the Metroid comes out of hiding.
22/40
Gamma Metroid

Fighting in this chamber can be troublesome.
It’s made up of tall, somewhat narrow stairstepped landings, none of which is great for dodging Gamma attacks. Move about the room as needed, and be extra cautious not to get into an inescapable situation.
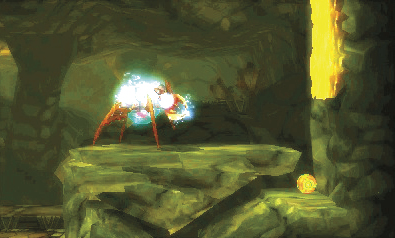

If you do find yourself backed into a corner (literal and/or figurative) while you’re on the right side of the chamber, use the Morph Ball passage to roll under and around the Gamma.
When the fight ends, roll into that same Morph Ball passage and bomb its center. You create an opening that drops you in front of the door on the chamber’s right side.
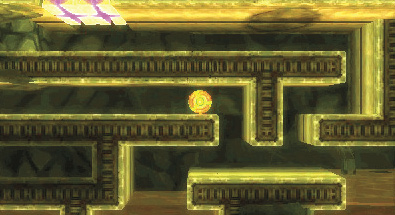
 One more Metroid stands between you and your ticket to Area 4. Head left, enter the Morph Ball passage, and jump through the second opening this time. From here, it’s a straight shot to the door on the left side of the room.

Go straight up the tower until you reach its center. Take the door on the left to enter the chamber of the area’s final Metroid.
23/40
Evolved Alpha Metroid
Here you have a simple Alpha fight in a relatively simple room. There are red plants on the far left and right sides, but they’re in small clusters and should be of little concern. There’s nothing to worry about here. Defeat this Alpha and you’re ready to move on to Area 4.

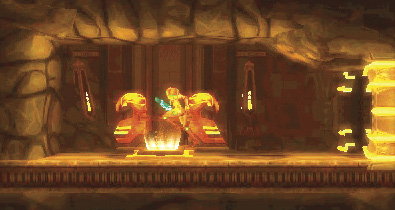
Once the Metroid has been defeated, take the elevator up past the door on the left side of the room—you’re headed for the Chozo Seal.

At the other side of the elevator, face the right wall and shoot a missile at the Block before the ceiling slope. Missile Tank M-29 is waiting to be claimed there. Once you grab it, leave the room and continue left to return to the Chozo Seal.
After inserting the Metroid DNA and lowering the purple liquid, drop down the pit to the right of the Chozo Seal. Continue down the path and head through the first door you see on the left.

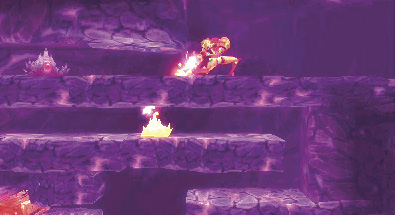
Drop through the opening in the next room and roll into the Morph Ball tunnel to the left. A Block in this tunnel obstructs your path. Approach it to rouse two Black Gravitts from their holes. Roll back out of the tunnel, activate your Beam Burst, and let them have it.

After the enemies have been dealt with, roll in and use Bombs to clear out the obstructing Block. Follow the tunnel until it drops you to the lower part of the room, then take the door on the far right.

Roll up to the right wall and place a Bomb to create an opening. Drop down, then immediately roll into the tunnel to your left. Bomb the Blocks at the end of the short tunnel to drop to the level below.
Head to the bottom of the room and through the passage on the left. Find the elevator to Area 4 near the end of this passage.
Clean up
Area 2: Missile Tank M-32

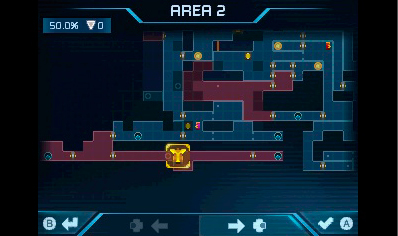
Find the nearest Teleport Station and teleport to the station on the far-west side of Area 2. As soon as you exit the station, turn on your Beam Burst and Free Aim up and to the left. That steel orb is blocking your way to the Missile Tank. Jump and grab on to the ledge the orb was on, then place a Bomb to uncover the tank.
Area 2: Aeion Tank A-3
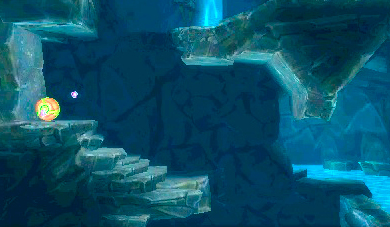
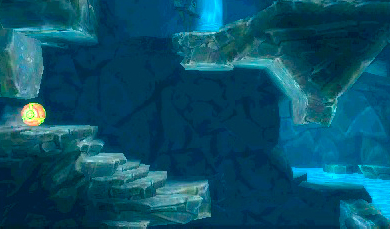
Aeion Tank A-3 is in a room attached to the corridor directly north of the westernmost Teleport Station (look for  on the map). Two paths lead into the Aeion Tank’s room, but only the uppermost opening grants you access to the tank. There isn’t a door, but there is a wall layered with destructible Blocks, so plant some Bombs and head on in.

Once you’re in the room, grapple onto the grapple point on the west side, and the Aeion Tank is yours.