
Metroid: Samus Returns Guide Walkthrough Area 2
Area 2 : part II

Once the fight is complete, Arachnus drops a new upgrade for your Power Suit: the Spring Ball.

To escape the room, blow up the Block in the bottom-right corner of the room.


This next room provides an excellent place to practice with the Spring Ball. At the ledge in front of the fan, jump and activate the Spider Ball to stick to the ceiling. Avoid the yellow goop-covered terrain as you go; the Spider Ball can’t stick to that slime, so rolling over it causes you to slip and fall back to the ground.

Roll to the right and zigzag your way down the Morph Ball tunnels. Roll up against the bottom-right corner, then jump and plant a Bomb next to the sole Block not covered by the yellow residue. Roll and jump your way up the next room and head through the door to reach the area just before Arachnus’ room.

 There are still a few Power Suit upgrades to collect in this area, but first, Spring Ball toward the left wall and Spider Ball your way up. Once at the top, proceed left until you run into the door on the far-left side of this massive room, but don’t head through.
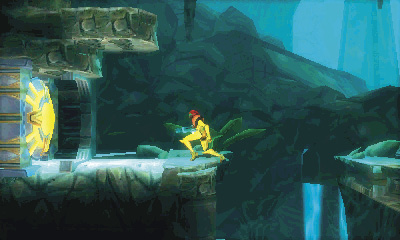
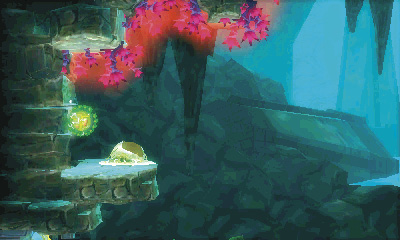
Instead, climb onto the ledge above it, turn on your Lightning Armor, and Spider Ball up the wall.


 Follow the wall until you reach another door. Beyond the door is your next Metroid.

8/40
evolved Alpha Metroid
You face an Evolved Alpha in this chamber. Like several fights before it, this one features a twist. The fight is divided between the top and bottom portions of the chamber, with the fight starting on the bottom and working its way up. After you deal enough damage, the Metroid flees up to the top half.


There isn’t a lot of real estate on the top half of the chamber, so be extra careful when dodging attacks. Charging up an Ice Beam shot is particularly helpful in this fight to prevent the Metroid from executing its fire tackle attack.

 Now that you’ve taken care of that out-of-the-way Metroid, start making your way to another Power Suit upgrade. Head back out of the door on the right side of the room—approach the door from the platform in the top-right corner. From the platform, Spider Ball your way down.

Once you’re out, drop off the platform and head all the way back to the ground.

Turn left, drop down the first pit you see, and use the elevator on the pit’s left side.
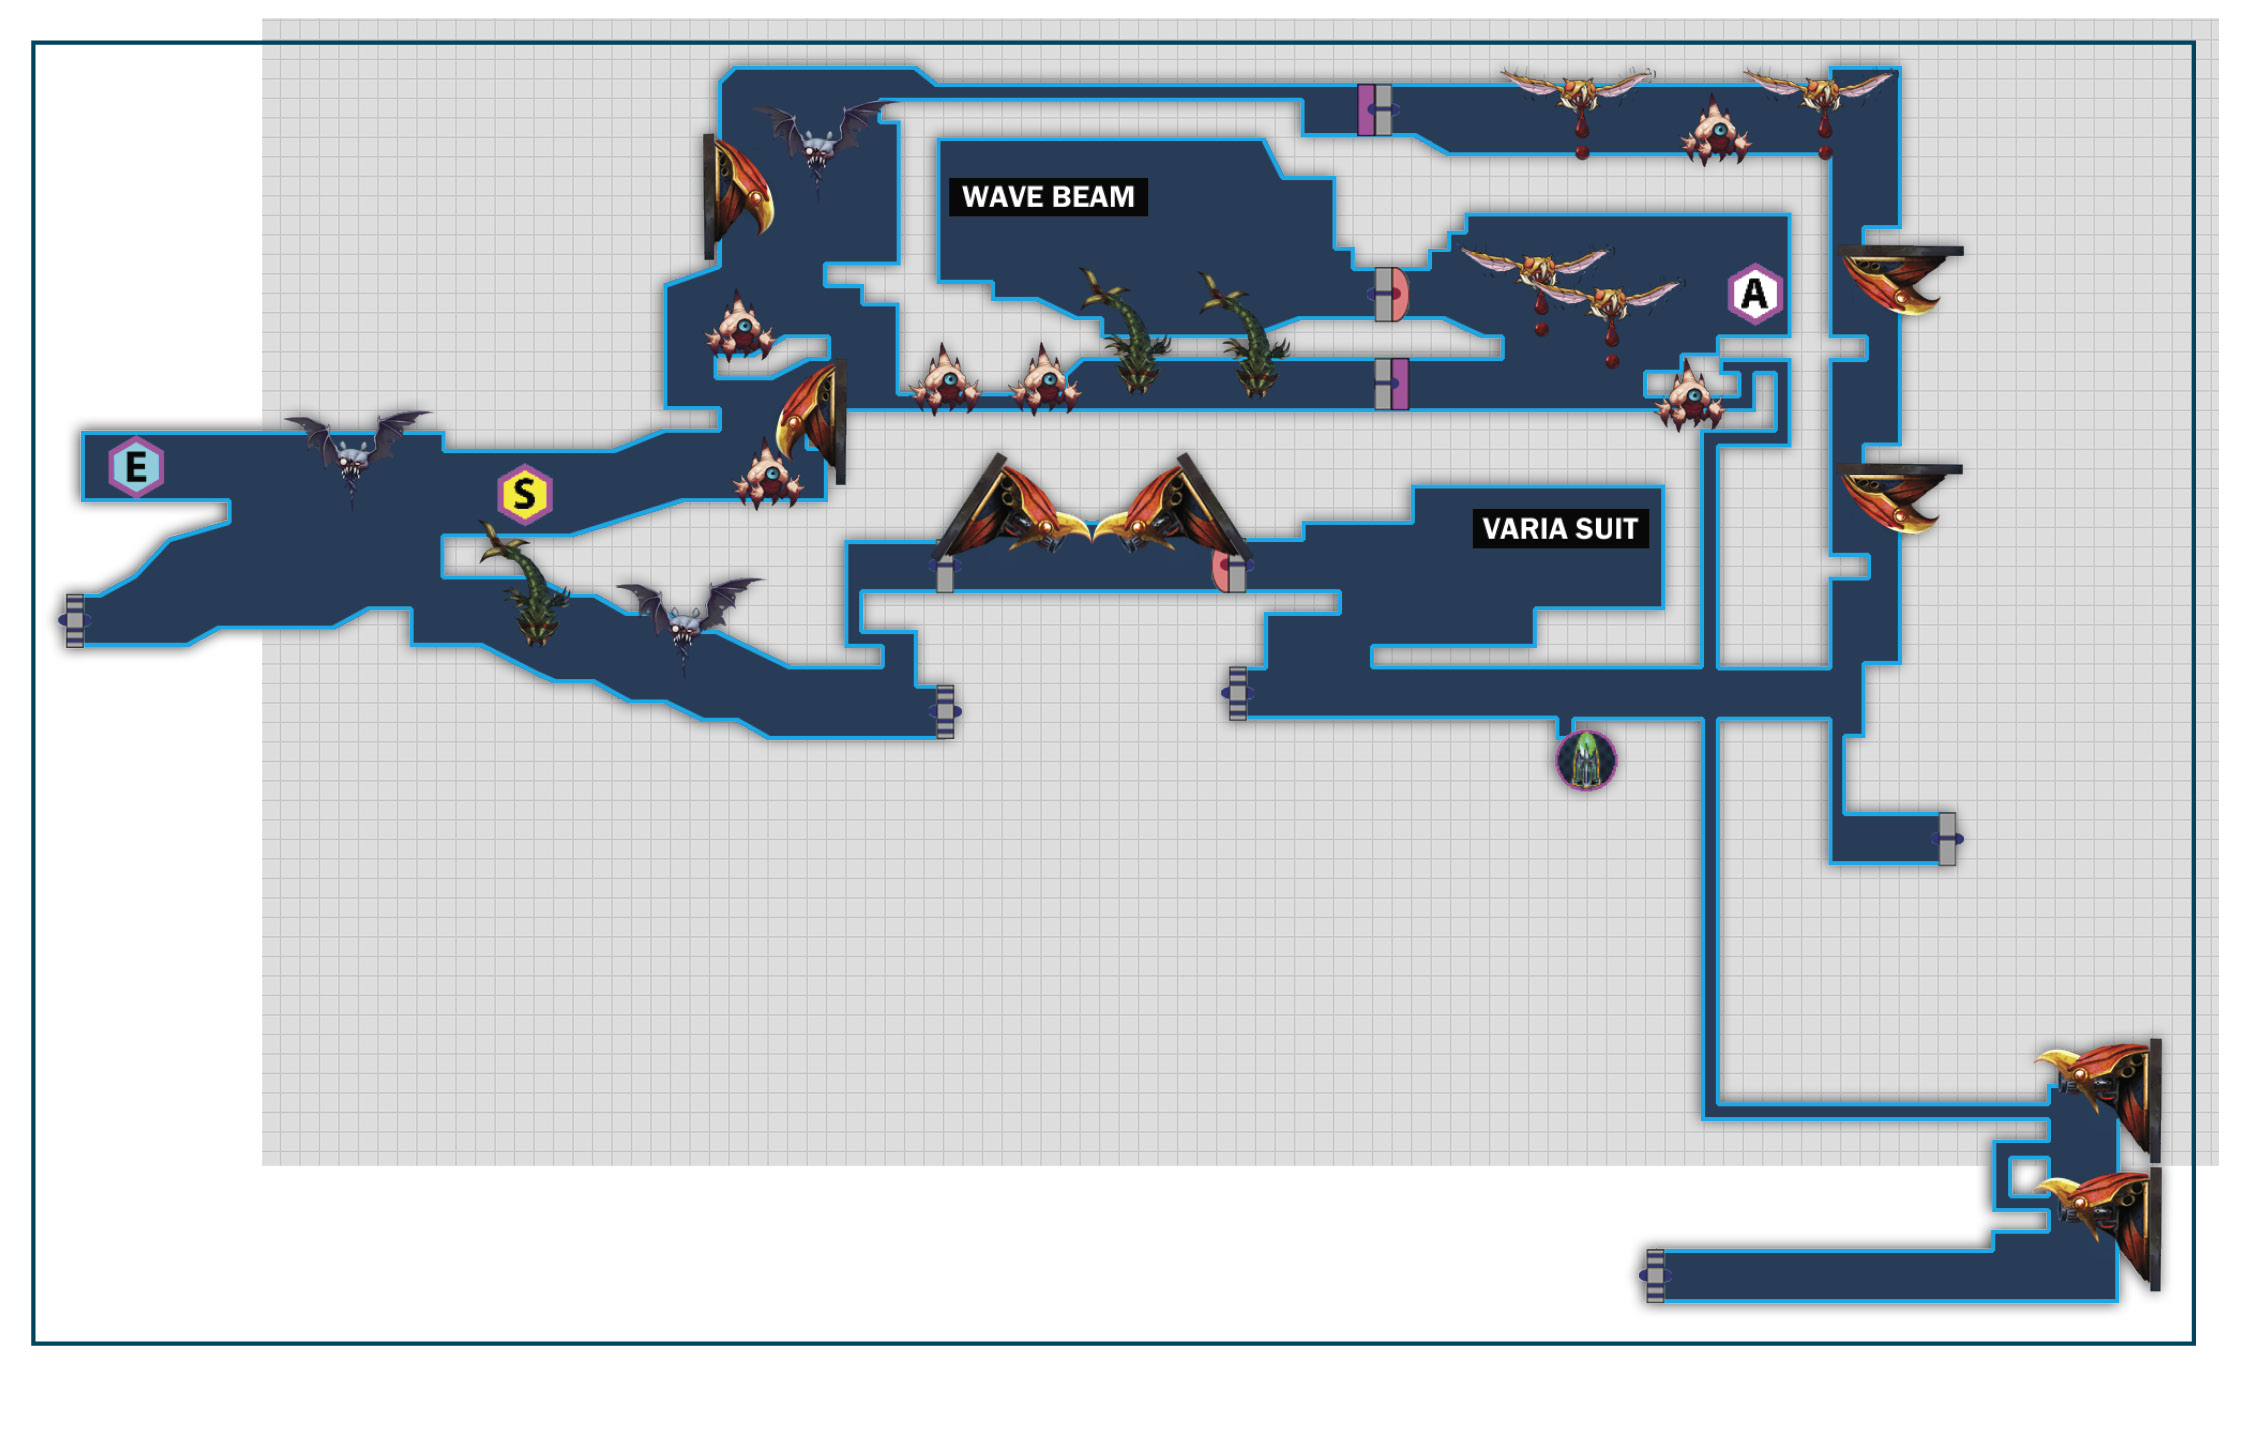

 Get to the Charge Door in the bottom-right corner of the room, but don’t go through. Instead, Spring and Spider Ball onto the ceiling and bomb the Blocks just above the door. Climb up the Morph Ball shaft and head through the door up there.

As soon as you enter the next room, rush to the center and stop. The room is guarded by two Black Wallfires, which begin breathing fire shortly after you enter. Wait for the fire to die down, then take the Red Door on the right side.

You find a new Power Suit upgrade in the next room: a staple of the Metroid series known as the Varia Suit. It allows you to traverse the hot areas on SR388 without taking damage, but you still need to take care around lava; the Varia Suit doesn’t do much if you fall in.

The Charge Door at the bottom-right corner of the room leads to a dead end (for now), so return through the Wallfire hall and down to the Charge Door below the Morph Ball shaft.

Head through the Charge Door and down to the door in the bottom-left corner of the room.

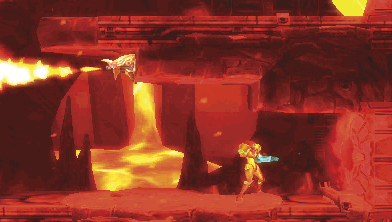
 Head left, drop to the bottom of the room, then continue to the door in the bottom-right corner. You find the next Metroid beyond the door.

9/40
Gamma Metroid

The transition from the common Metroid larva to the Alpha Metroid isn’t the end of the species’ evolutionary cycle. This chamber reveals an Alpha’s husk lying on the ground in much the same way you see larval husks scattered about the areas. It doesn’t take long before the much bigger and more dangerous Gamma Metroid makes its debut.
This fight is significantly harder than the Alpha fights. There are a lot more attacks to dodge, and getting hit by nearly any of them takes huge chunks of health. Don’t be too hard on yourself if you die a few times over the course of this fight.

The rules for defeating a Gamma are the same as for an Alpha: hit it in its core with missiles and Ice Beam shots. Gammas make this trickier, since most of a Gamma’s moves prevent it from taking damage until the move is completed.

As the fight starts, immediately jump back to the left. This Gamma always begins the fight by shooting an electric beam down at you. It doesn’t only perform this attack at the start, so be ready to move if the Gamma stops midair while you’re at a diagonal angle from it.

Like Alphas, Gammas surround themselves in electricity and perform a tackle attack, and like its Alpha counterpart, the Gamma can perform this attack up to three times in a row. This particular Gamma can’t pull off more than a single tackle, given the small size of the chamber. When it charges, it smashes into the wall, which ends its round of attacks prematurely.


Also carried over from the Alpha fights are the electric balls that can be destroyed for health and ammo. The Gamma performs this attack in nearly the exact same way as the Alphas, so handle it by the usual means.
Ground Attacks
After flying around for a time, the Gamma eventually decides to take to the ground and fight you directly; this is where a majority of the Gamma’s new attacks come into play. Take care around ledges and corners. The Gamma can traverse up and down platforms a lot faster than you might expect.
Gammas can be damaged at any point while on the ground, so long as they aren’t charging an attack. While a Gamma is walking toward you, feel free to unload missiles or Ice Beam attacks.


You can also draw a Gamma to the ground by charging up an Ice Beam attack and shooting the Gamma in the core. It falls from the weight of the ice and is temporarily grounded. The ice also prevents it from using a majority of its attacks, making it easier to damage and also increasing the likelihood that it will perform a counterable attack.
While on the ground, the Gamma occasionally covers itself with electricity, reels back, then snaps forward in a biting attack. This attack poses very little threat. It has a huge wind-up and limited range, though getting hit is guaranteed trouble.

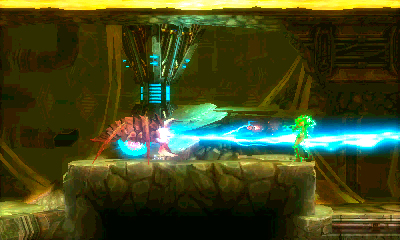
For its counterable attack, the Gamma performs the biting maneuver, but without the electricity. When it reels back and begins shaking, run toward it and wait for it to snap. This is your best opportunity to deal damage.

The Gamma can fire an electric beam horizontally while on the ground. When you see its mouth begin to glow, either rush and jump over it, or get to a lower portion of the chamber. If neither of those options is available, activate your Lightning Armor to absorb the attack.


Pay close attention to when the Gamma’s back arcs upward. When it does this while charging electricity, it’s about to electrify the floor. Spider Ball up a wall or get to a platform higher or lower than the Gamma. The floor stays electrified long enough that simply jumping into the air isn’t enough.
The last and deadliest move to watch for is its Electric Pulse. It begins pulling in energy—indicated by the small beams of electricity creeping into its core—then explodes a giant ring of electricity out around it. Getting hit by this is devastating. If you see it begin to charge, bolt as far away from it as possibly—at least until you have a better understanding of the attack’s range. It can perform this attack both in the air and on land.

 With the Gamma defeated, take the door on the right side of the room. Your next destination is straight to the top of this corridor, but climbing it can be tricky.

Head to the right side of the room, then Free Aim at the Block shown in the screenshot. It’s a Missile Block, but don’t shoot it with a missile yet. Wait for the Black Wallfire to finish blasting fire first, then destroy the Missile Block and climb into the hole.
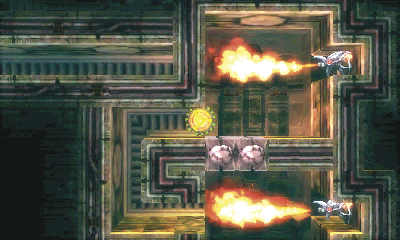

Attach to the roof of the Morph Ball shaft and wait for the second Black Wallfire to finish breathing fire. Once the coast is clear, roll up to the Block the fire reached and bomb it.

Head to the top of the shaft and bomb the Block just below the air current the fan is blowing out.

Exit the shaft and head for the Red Door in the top-left corner of the room. Ignore the strange pink growth on the door below the Red Door for now. You’ll deal with it shortly.
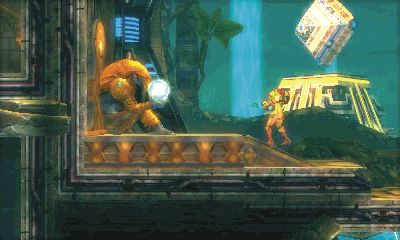
You find a new weapon in this room: the Wave Beam. It can shoot through solid surfaces and also take care of that pink growth on the door outside of this room—known as a Taramarga.

 Backtrack out of the room and use the Wave Beam to shoot and destroy the Taramarga.
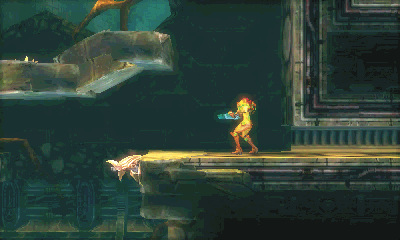

Head left, but stop as soon as you exit the Morph Ball passage. Jump up onto the platform above and climb to the top of the room. Another Taramarga-covered door awaits you there.


 Follow this next passage to the right, then downward until you reach the door on the other end.
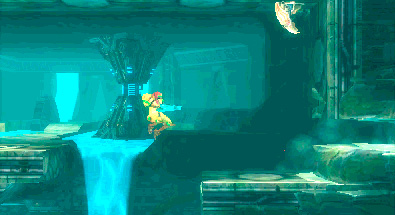
Head to the right side of the next room and into the Morph Ball shaft. Bomb the Block on the far end of the shaft to destroy it and gain entrance to the next room.

In the next room, roll past the Flame Wallfire and place Bombs on the Blocks near the right wall to break them.
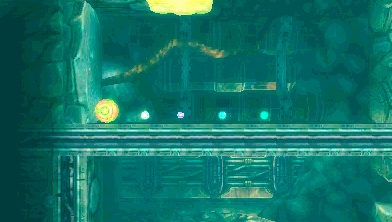

You might notice a Teleport Station when you drop through the newly created hole in the floor. The walls surrounding the Teleport Station are coated in more of that yellow goo, and the entrance to the Teleport Station’s room is too high to reach at the moment. Make a note of its location; you’ll return sooner rather than later. For now, bomb or shoot the Blocks below the Flame Wallfire, then hop into the little Morph Ball passage on the right and bomb the Block.
Bomb the platform immediately below the Flame Wallfire, but not the one after it. That second set of Blocks can be destroyed, but don’t worry about it for now. You come back here soon enough.


From here, drop all the way to the bottom of the corridor to reach another Red Door. Open it and head inside to find the final Power Suit upgrade for this area: the High Jump Boots.

 Double back to the unreachable Teleport Station you passed earlier. The gooey walls make Spider Balling up to it impossible, but the High Jump Boots negate that problem.
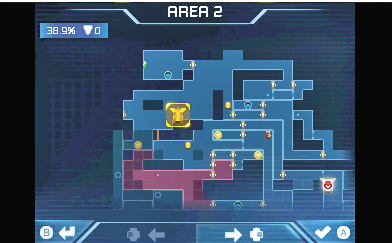
Activate the Teleport Station and use it to teleport to the northwest station near  .
.


 Head to the door directly west of the Teleport Station, underneath
  .
.

Drop to the bottom of the corridor and enter the door on the right.

Drop past the Save and Energy Recharge Stations and head through the opening in the bottom-right corner of the room.


Continue to the right and Spring Ball up past the air currents, plant a Bomb or two, then jump through and bomb the wall on the right. You find your next Metroid on the other side of that hole.
10/40
Alpha Metroid

You can breathe easy—this is just an Alpha, not another Gamma fight. The room is the biggest challenge here. Fight on top of one of the narrow platforms on either side of the chamber, or fight between them. The area between the platforms gives you less dodge space, but the likelihood of the Alpha smashing into one of the platforms after performing a tackle attack is high.

When the fight is over, Spider Ball up the left wall and bomb the top-left Block to escape the room.

Double back to the room with the Save and Energy Recharge Stations, then head through the door on the lower left. Your next Metroid is just beyond that door.
11/40
Alpha Metroid
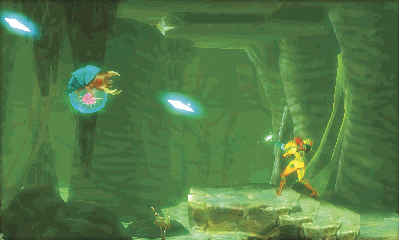
This chamber has a variety of platforms to fight from. Pools of water dot the ground, but the wide selection of platforms means they aren’t much of a threat. Fighting from the sloped platform in the center of the chamber works well—it offers plenty of space for you to jump, and since it’s higher than most other platforms, evading to another platform is quick and effortless.
Pick whatever location works for you. This is a by-the-books fight, so it should cause little issue.
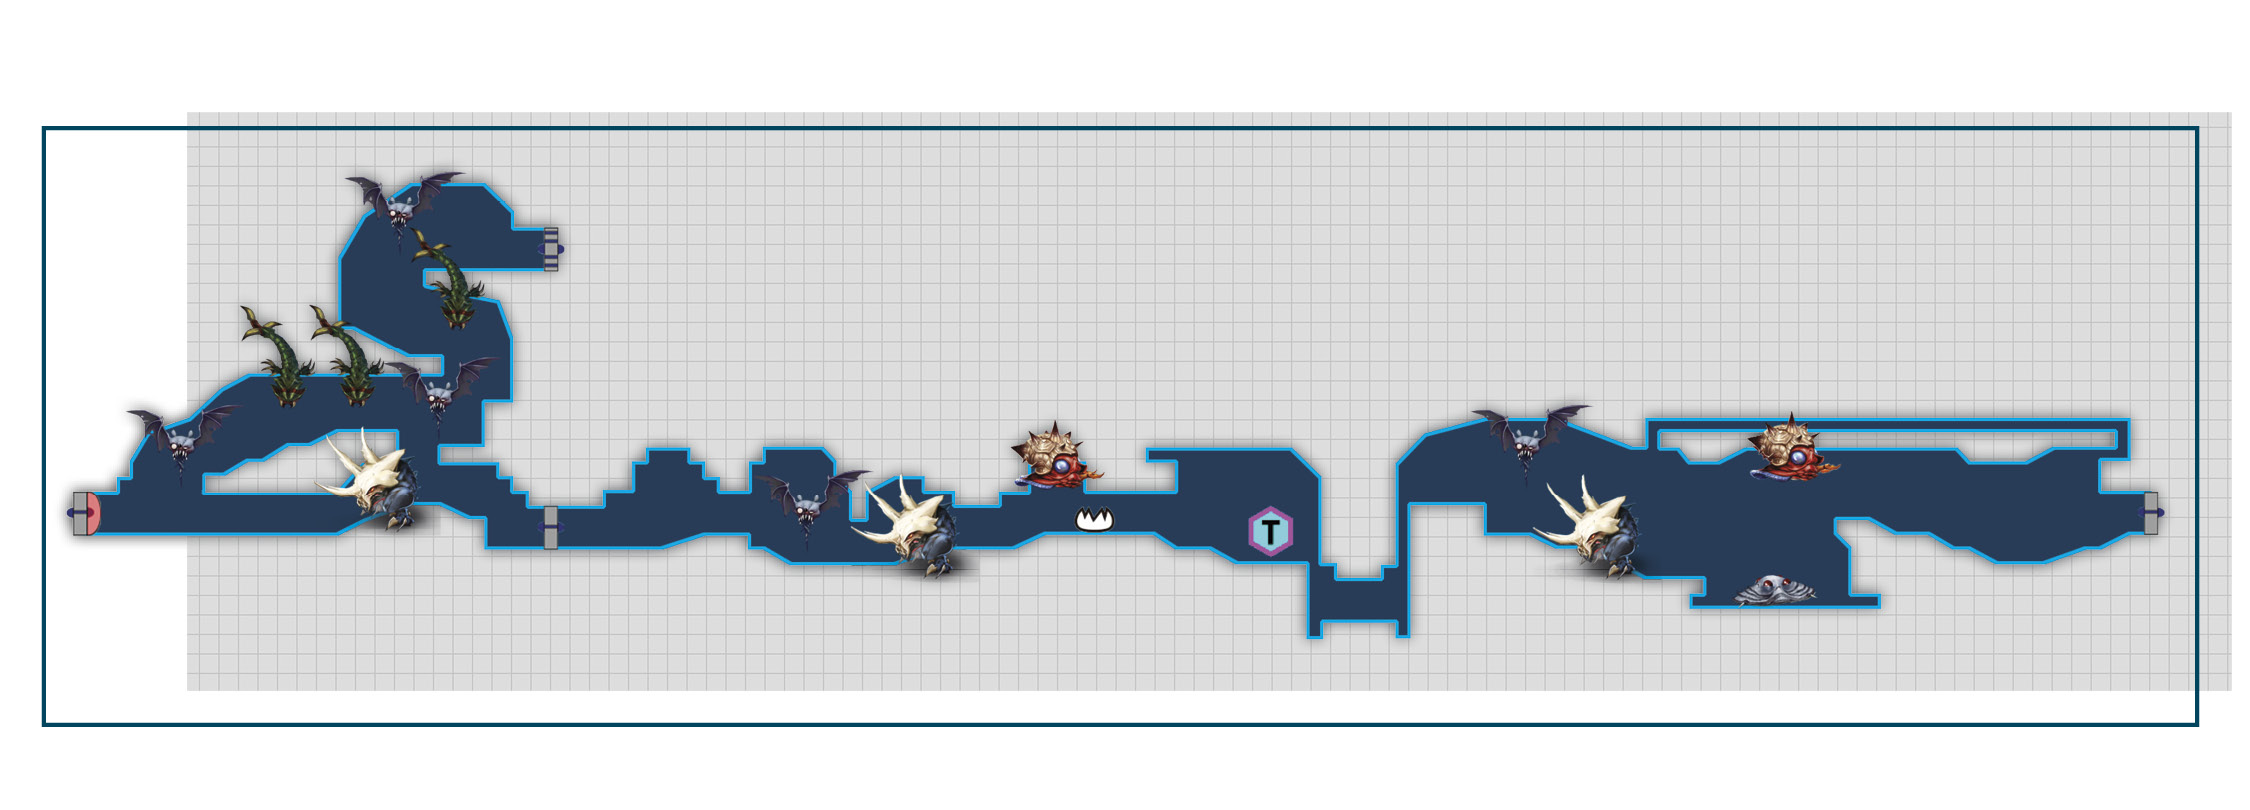

 Access the Charge Door on the left side of the Alpha’s chamber, then make your way to the lower-left corner of the next room. Shoot the Taramarga blocking the door and enter to find your next Metroid.
12/40
Alpha Metroid


The lower half of this chamber is ideal for fighting an Alpha Metroid. The ceiling’s a little low, but the ground is flat for the most part. After you deal a good amount of damage to this Alpha, it flees to the top half of the chamber. Take care not to fall into the lava pools while giving chase.
The ceiling is much lower here, so be careful when the Alpha performs its tackle attack. By this time the Alpha is running on little health, so it’s possible to defeat it before it gets the chance to tackle.

When the fight is finished, double back to the door on the right, head through, then enter the lower-right door of this next room.

The passage is full of walls made up of Blocks. Shoot your way through them and continue on.

You run into a small alcove full of fans and a blocked-off passage with no practical way to Morph Ball through. Thankfully, bombing is not the solution. Aim upward and fire off a missile to break the Block at the top of the passage, then jump through.
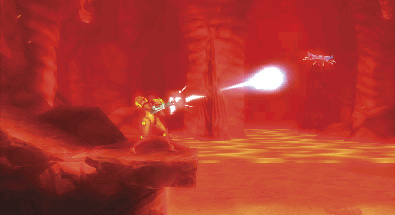
Approach the lava pool on the right, but don’t try anything crazy! There’s a Chute Leech in the lava. Charge up an Ice Beam shot and wait for the Chute Leech to jump into the air, then freeze it and use it as a platform.

Hop to the right and continue on through the door ahead to find the last Metroid in this area.
13/40
evolved Alpha Metroid
Stick to the center of this chamber. There are two lava pools on either side of the center platform, so your movement is severely limited outside the center. Take extra care to avoid getting hit by the Alpha’s tackle attack, as there’s a chance you’ll end up in the lava on either side of the center of the chamber.

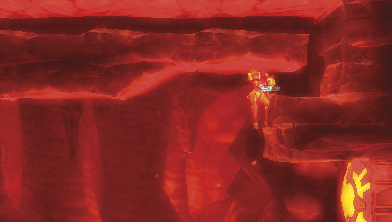

Once you’re finished with this fight, head to the Teleport Station you passed on the way to the Metroid chamber. Defeating this Metroid means you have all eight DNA strands necessary to unlock the Chozo Seal, so get going in that direction.
As soon as you exit the Metroid chamber, jump up to the ledge above the door. You can roll through here all the way to the other side of the room, which saves you the trouble of having to Ice Beam that Chute Leech again.

Use the Teleport Station to teleport to the station on the far-east side of the area. The trip to the Chozo Seal from this point is quick and painless. Once you’re there, insert the Metroid DNA into the seal to lower the purple liquid.
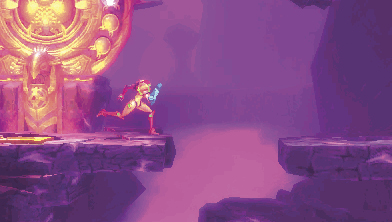

Drop down the hole on the right side of the Chozo Seal and descend while sticking to the right side of the room.


You eventually see a pair of Morph Ball passages: one covered in red plants and another just below it. The red-plant passage leads to Missile Tank M-20. The lower passage is the one you need to take to reach the next area. Bomb the Blocks near the center of this lower passage to progress. From there, follow the path to arrive at the elevator to Area 3.

Cleanup
Area 1: Missile Tank M-21


This is your chance to return to Area 1 for a couple of Missile Tanks. You didn’t have the gear you needed to grab them while you were there the first time, but you do now. Again, follow these Cleanup sections only if you want to collect everything immediately. If you’re in a hurry, wait until the end of the Walkthrough for a complete list.
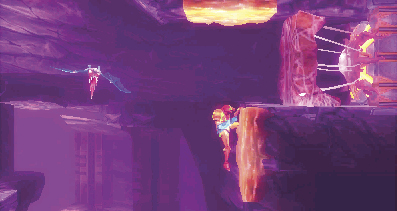

M-21 is easy to wrangle. Starting from the elevator between Area 1 and Area 2, head left and follow the path up until you reach a dead end.
Bomb the Blocks on the right above you. Continue bombing them until you open the path to the right, then hop up into the passage and drop down the hole immediately after the passage starts.
Jump up to the ledge on the right, pull yourself up, then use the Wave Beam to destroy the Taramarga blocking the door. In the next room, bomb the Block on the right side of the Missile Tank’s enclosure. This is simple: Spring Ball up to the Bomb Block, place a Bomb, then jump into the enclosure once the Block is clear.
Area 2: Missile Tank M-22


Head left after exiting the elevator and follow the path until it dead-ends; a fan above you signals that you’re on the right path. Bomb the Blocks above and to the right, and continue bombing them until you open a path leading directly past the fan.

Head up toward the Chozo Seal, then through the door on the right. Climb up the next corridor to find a Charge Door leading into a high-temperature area. Charge the door, then enter.

Destroy the Tsumuri on the ceiling, then Spring and Spider Ball up along that same ceiling. The Missile Tank is yours to collect.