
Metroid: Samus Returns Guide Walkthrough Area 4
Area 4 : part I
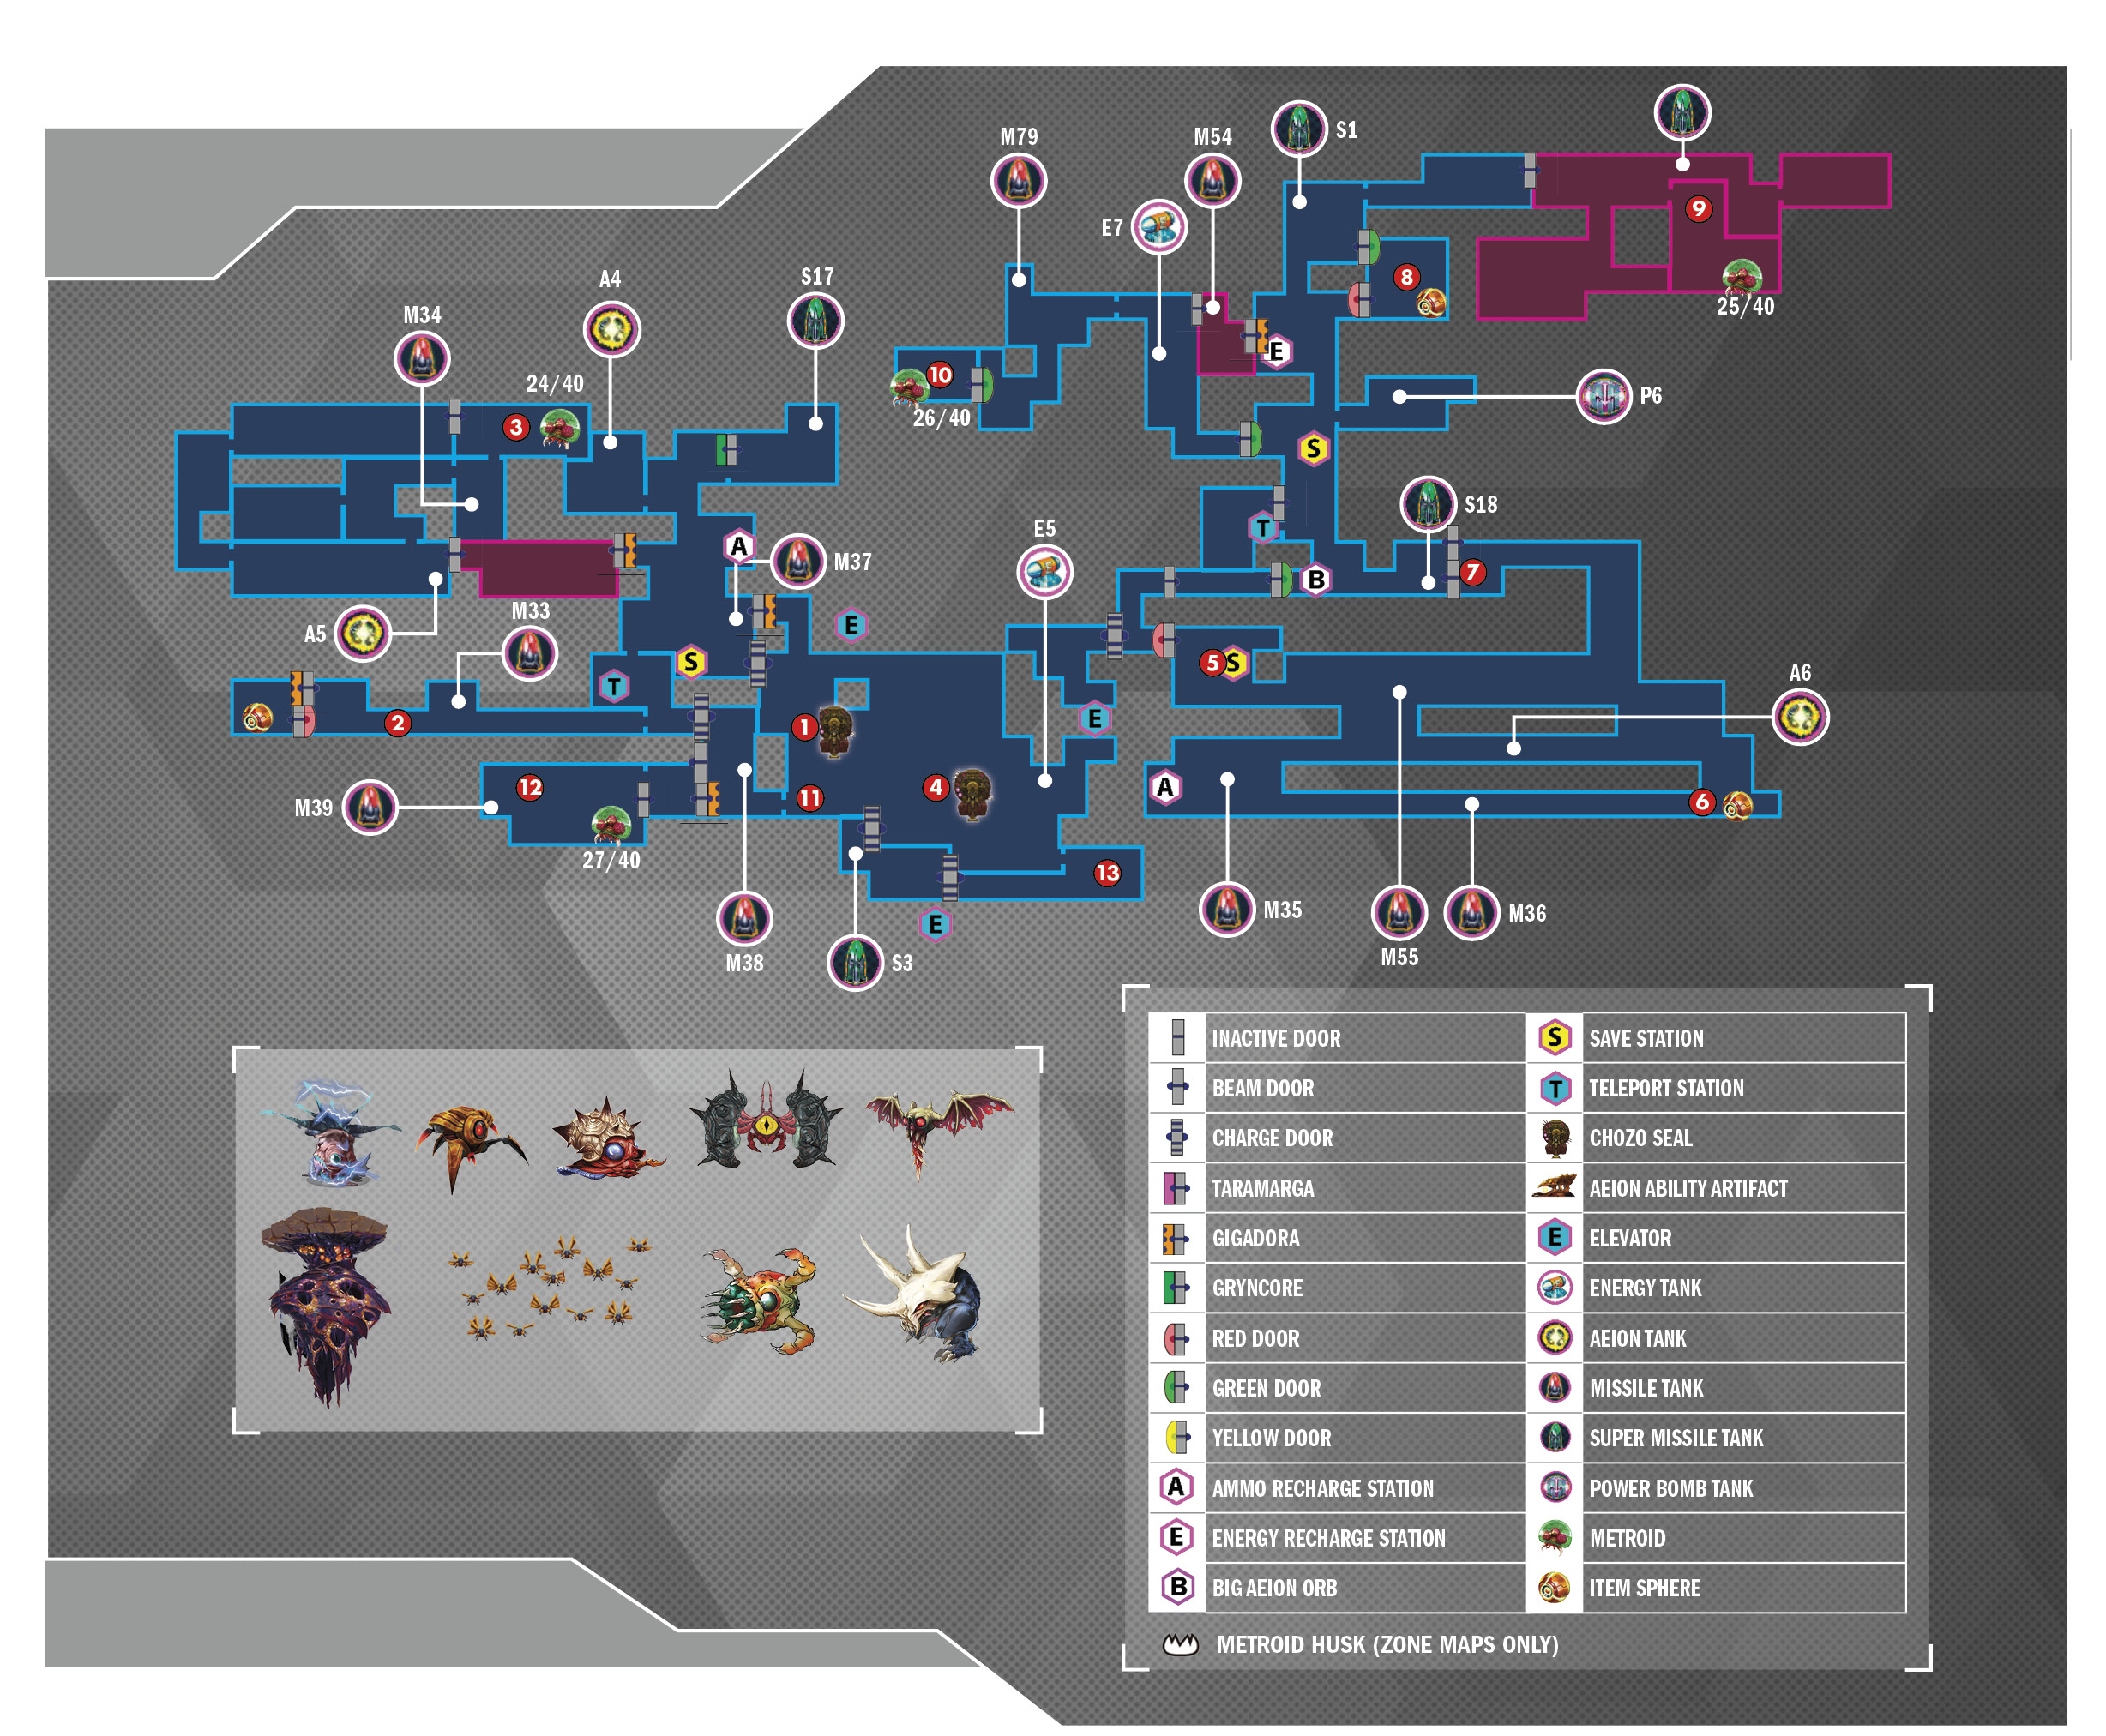

 After exiting the elevator, head right and drop down the opening. Once you’re at the bottom, turn left. Spring and Spider Ball onto the ceiling to cross the hall without touching the purple liquid.
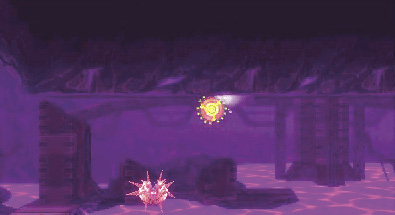
Just before you reach the end of this hall, you encounter a Halzyn. Wait until it smashes against the ceiling before you roll past it. If you try and outrun it, you’ll get smashed.
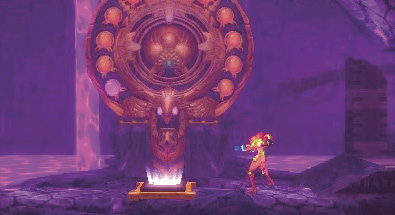
There’s only one light on the Chozo Seal this time. That’s strange, but regardless, you can’t progress until you activate this seal.
Head left past the Chozo Seal and use the grapple point above. Spider Ball around the platform, then take the door at the upper-left side of the room.


 Your next goal is a new suit upgrade nearby. Jump over the Save Station in the next room and continue to the left wall. Bomb the left side of the floor to create a passage to the room below.
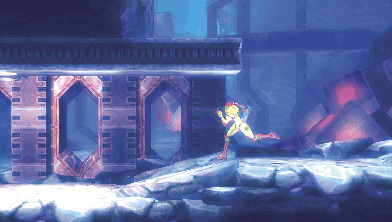
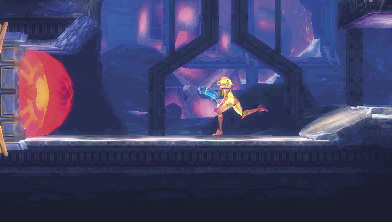
Drop to the bottom-right side of this lower room, then head through the passage on the left.
Continue left across this long, narrow hall until you reach the Red Door on the room’s left side.
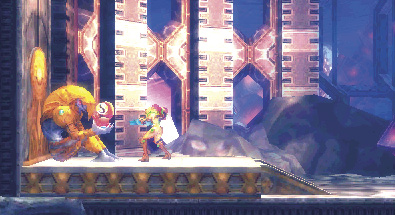
The suit upgrade awaits you on the left side of the room. Grabbing it transforms your Wave Beam into the Spazer Beam, a three-beam powerhouse.
To escape this room, jump up to the upper-right corner and shoot the Gigadora covering the door three times to destroy it.
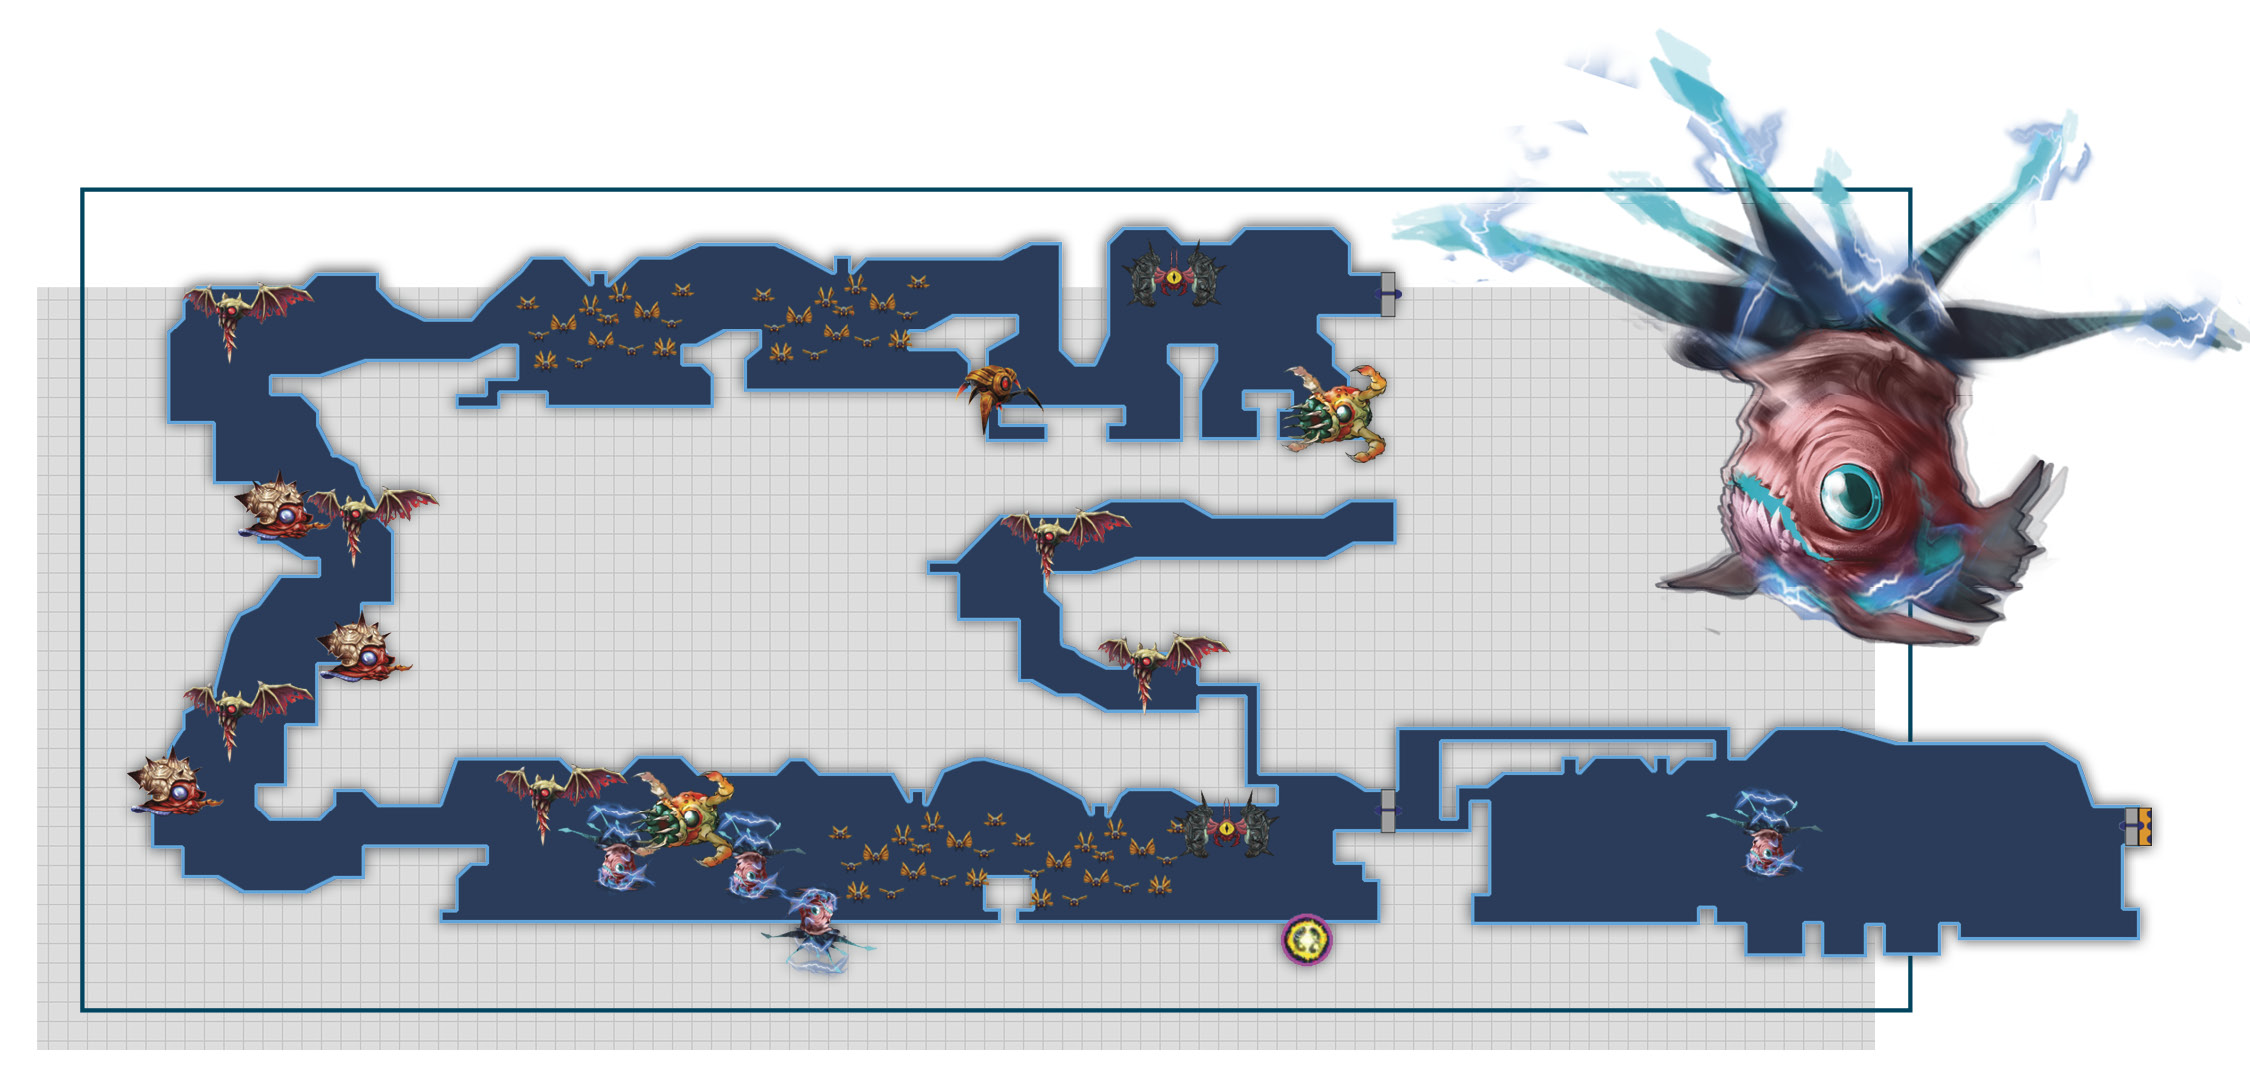
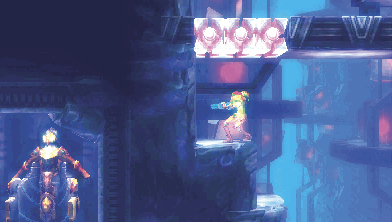
 Your next stop is another Metroid fight. Double back through the hall and head up past the Teleport Station in the room to the right and above this one.
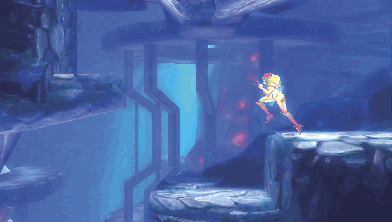
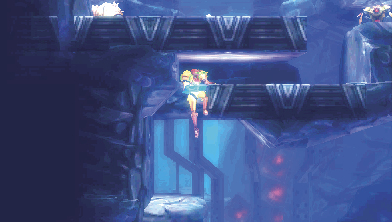
Climb up the corridor a little way while sticking to the left as much as possible. Spot a small platform with an opening above it. Jump into that opening.
Follow the path to reach another Gigadora-covered door. Use your Spazer Beam to shoot through, and enter the door the Gigadora was covering to arrive at a high-temperature room.
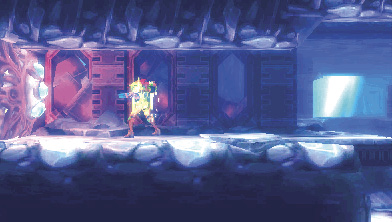
Go to the center and look up and to the left. A grapple point is in the ceiling. Before you grapple onto it, keep a few things in mind. First, note that the left side of the room is covered in lava. Second, you must grapple from this Block to another Block ahead before you can safely exit.


Proceed to grapple onto the grapple point above and transition to the one ahead.
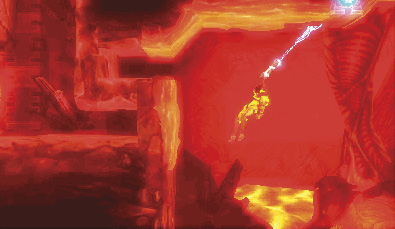
Swing to the left and grab on to the ledge ahead. The yellow goo surrounding the opening makes the jump look trickier than it is. Use your usual method, and you’ll be fine.
Once in the opening, roll slightly left to fall through a Pit Block. Take the door on the left.
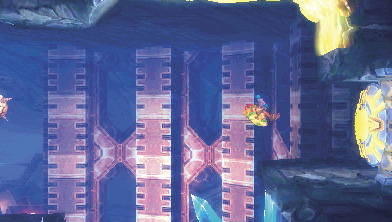
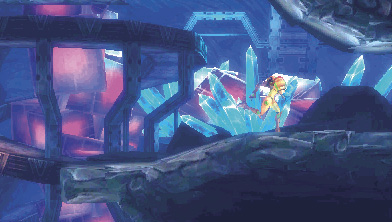
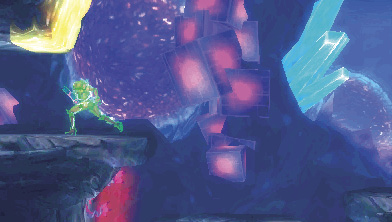
Venture to the left end of the next room. Use the grapple points along the way, or activate your Lightning Armor and run through the red plants below them. The rest of the room is a straight shot.
Climb to the top of the next corridor and enter the opening on the right.
Head to the door on the right side of the next room. There are grapple points in this room like the one below it, and as in that other room, you can ignore them altogether if you’re in a hurry.
The door on the right leads to the next Metroid.

24/40
Gamma Metroid (Runner)

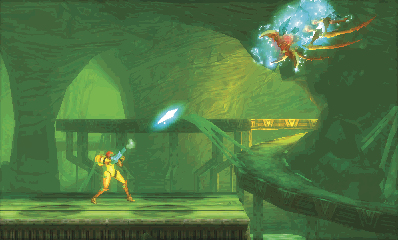
You face another Gamma runner-type Metroid in this fight, but it’s comparatively much simpler to find the rooms the Metroid escapes to. They’re all located along the way back down, ending with the high-temperature room, so you don’t have to worry about hunting destructible Blocks as much as in previous rooms.

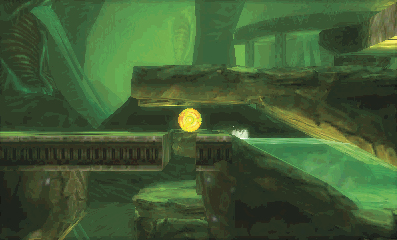
The best place to fight the Metroid in this first room is on the center platform. Since the room is quite spacious, the majority of it is pretty safe to fight in, but the center offers the most head room and stable ground.
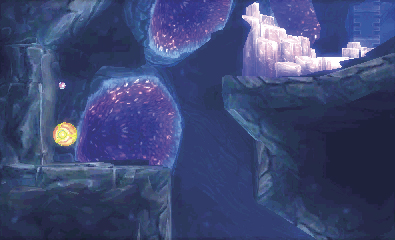
When the Gamma runs, head to the left side of the left-most platform and place a Bomb underneath, then take the door on the left. For an extra Missile Tank, read the “Missile Tank M-34 tip first.

The Metroid’s next potential room is just below the slope at the top-left corner. If your Metroid Radar flashes red, this is the place. If not, head all the way down to the high-temperature room you passed through earlier.
This room features slightly less favorable conditions, but you can still fight here with reasonable ease. The center is a good spot to challenge the Gamma, but be ready to jump onto one of the upper platforms on either side in case things get hairy.

Once the Gamma flees, backtrack out of the room the way you came in. At this point, the Metroid either returns to the first room, or makes its way down to the high-temperature room from earlier. Head back up near the first room. If your Metroid Radar flashes, this is your destination.
Otherwise, descend to the bottom of the next room and destroy the Pull Block, then drop from the passage. The high-temperature room is just ahead.

If you have to fight the Gamma in the high-temperature room, the safest place to do so is on the second of the three platforms. The center platform doesn’t offer a lot of head room and puts you at risk of getting knocked into the lava to the left. The ground level on the right side doesn’t allow for much maneuverability when dodging the Gamma’s tackle attack, so avoid fighting there if you can help it.
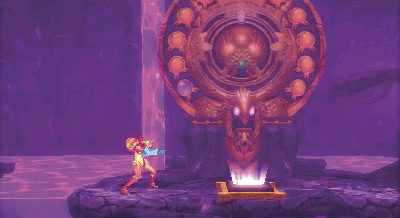
Once the Metroid is defeated, return to the Chozo Seal and insert its DNA to lower the purple liquid.
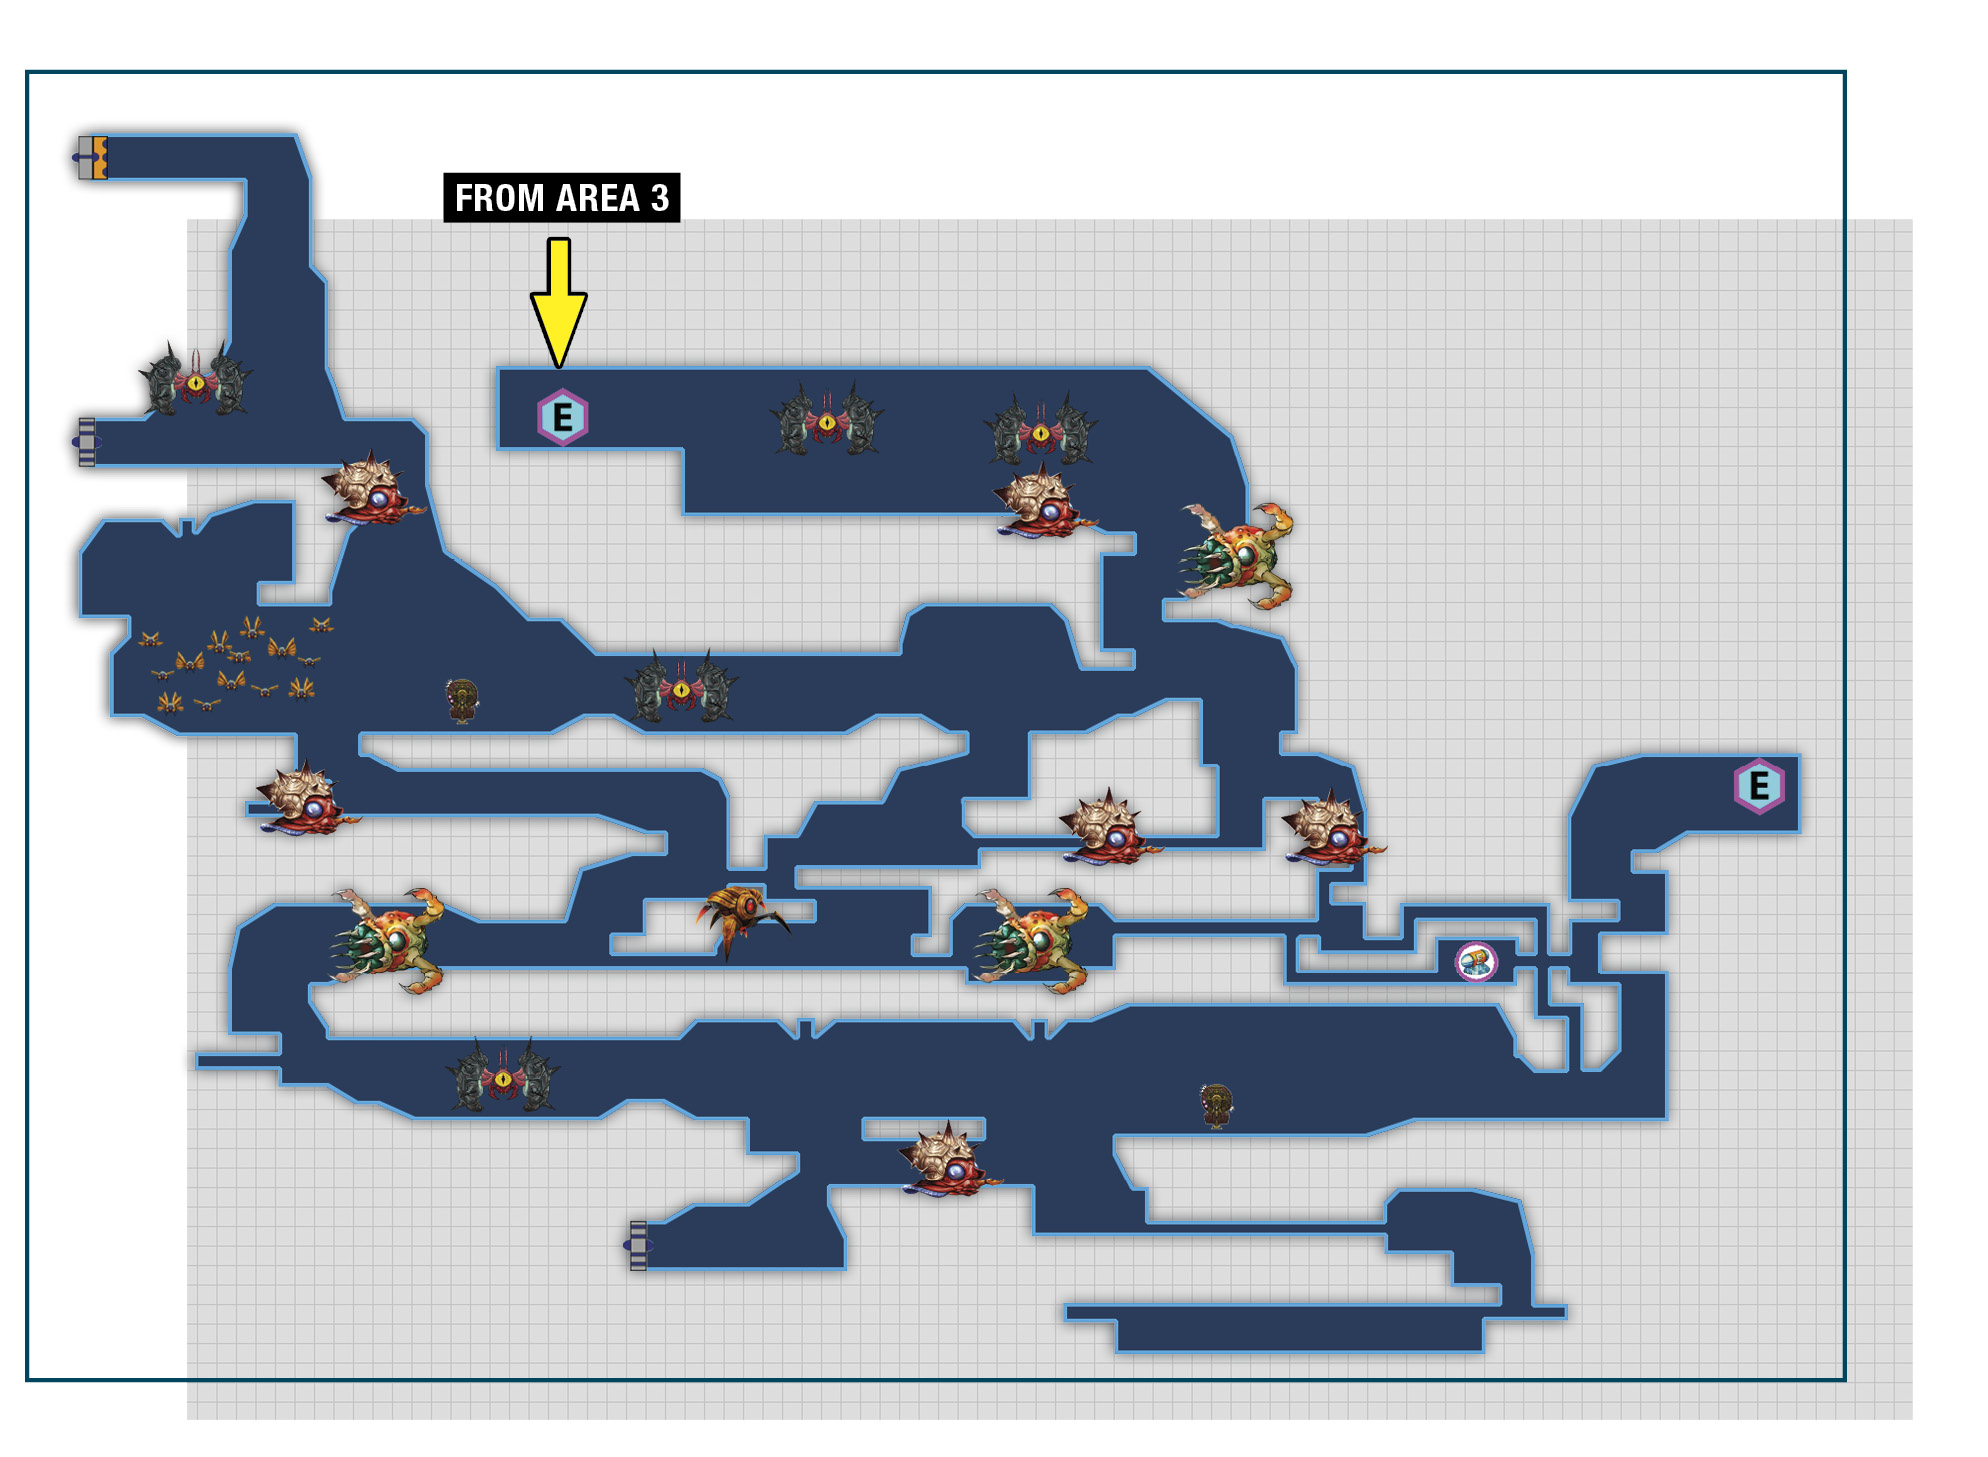
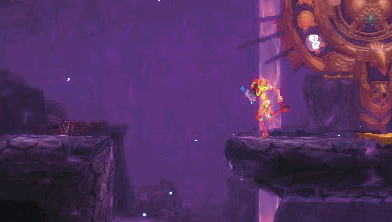
 Drop off the platform through the opening to the left of the Chozo Seal. Head right and pull the Pull Block through the small opening in the wall.
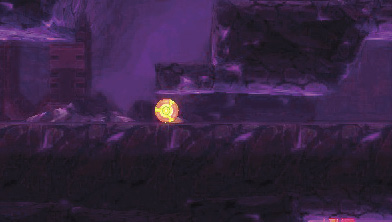
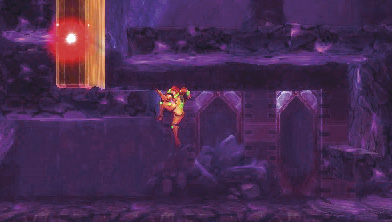
Drop down and roll through the Morph Ball passage on the right. As soon as you’re on the other side, jump up into the passage you just unblocked by pulling the Pull Block.
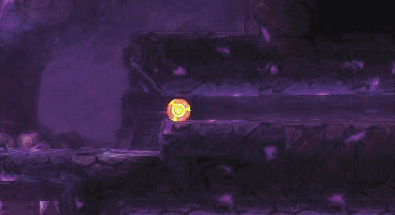
Traverse the Morph Ball passage on the right side of the path.
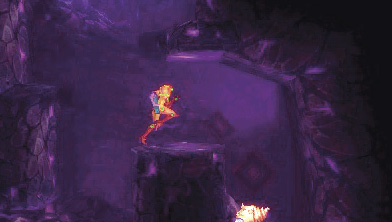
On the other side, jump over the landing ahead and drop down the right side of the area.

Drop to the bottom of the opening and destroy the Pull Block on the left, then double back down below the Pull Block you pulled earlier.
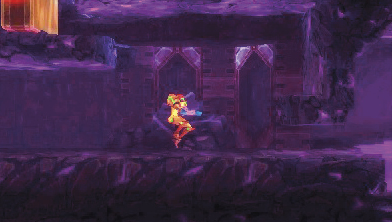

Once back below the Pull Block, go right. Spider Ball along the ceiling to avoid the purple liquid pooled ahead.

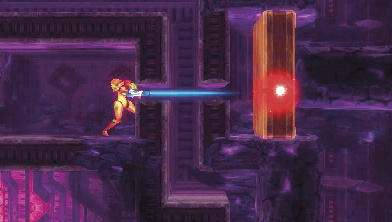
Continue to the right to bump into Energy Tank E-5 free of charge. Grab it, then pull the Pull Block through the opening in the right wall.
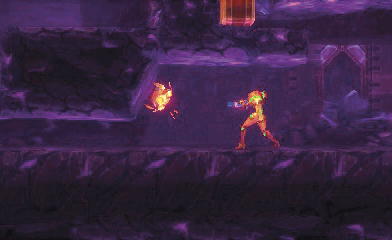

Double back once more, but this time go under the Pull Block from earlier and continue left until you reach the left wall.
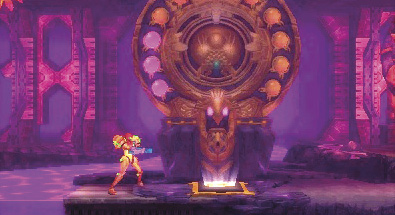
Drop down the opening ahead and make your way right. A second Chozo Seal?! This is surprising, but it explains why you’ve been seeing so much purple liquid despite already draining it. Powering this seal requires three DNA strands, so you’d better get going.
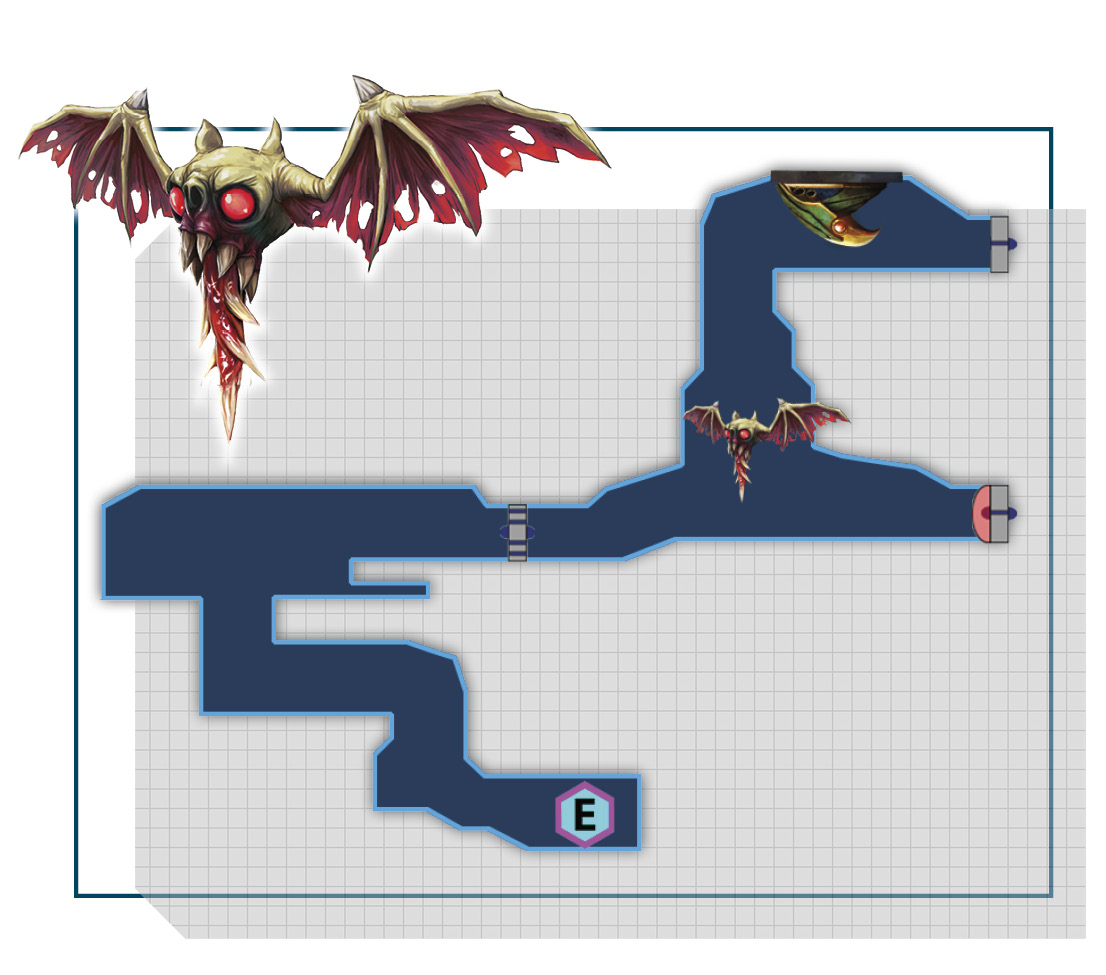
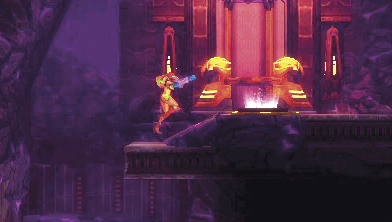
 Head right until you hit the right wall. Jump up the opening and climb past the Pull Block to find an elevator to the east side of Area 4.
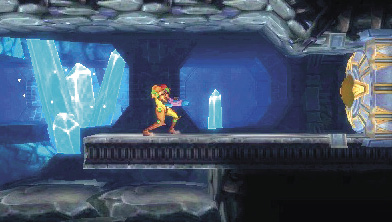
Ride the elevator, then get to the top of the corridor and take the Charge Door on the right.
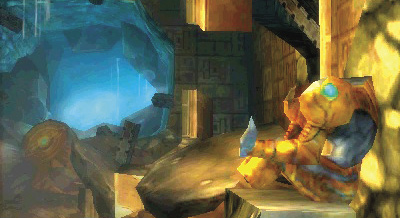
Cross the next room and through the Red Door on the right. A broken Chozo Statue sits on the right side of this next room. Why it’s broken is unknown, but there are signs of something very big having smashed its way in through the wall. Be on your guard.
 An Item Sphere is resting in the southeast corner of Area 4. This could be what was pulled from the broken Chozo Statue. Make your way in that direction.
Roll into the Morph Ball passage to the left of the Chozo Statue. You drop into a small room with a Save Station. From here, head through the Morph Ball passage in the upper-left corner.
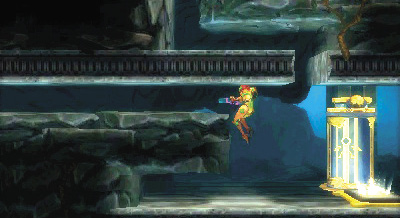
As soon as you drop out of the Morph Ball passage, the source of the destroyed Chozo Statue makes itself known: a giant mining robot by the name of Diggernaut. This monstrous machine has its single red eye set on grinding you into dust.
You need to avoid the Diggernaut’s grinder during the next section, but the area is laid out like an obstacle course. We break down a clear path to safety, so we suggest you read ahead to prepare for what’s coming.