
Battlefield 3: Back to Karkand DLC Guide Maps Rush
Wake Island (Rush)
The Imperial Japanese Navy conquered the coral atoll of Wake Island in 1941. The island remained in Japanese control until the end of the war in 1945.
(click here for interactive map)
Zone 1
US Deployment
Base Assets
| Vehicle | Image | Quantity | Respawn Time |
|---|---|---|---|
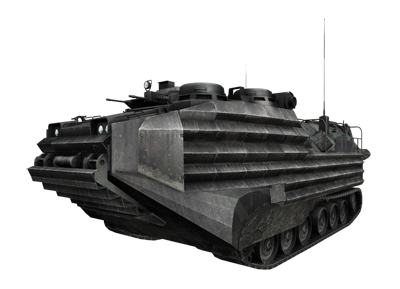
| AAV-7A1 AMTRAC |
|
1 | 60 sec. |
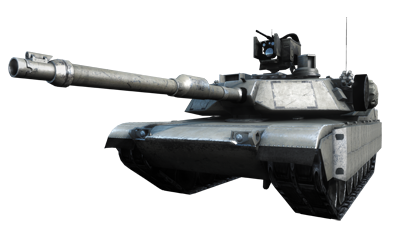
| M1 Abrams |
|
1 | 60 sec. |
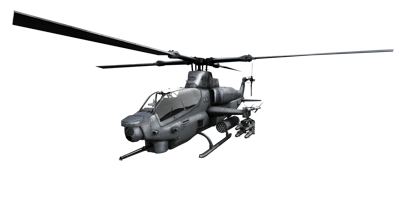
| AH-1Z Viper |
|
1 | 90 sec. |
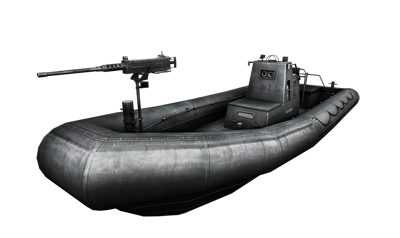
| RHIB |
|
1 | 30 sec. |
Now, 70 years later, the US Marines have returned to this small island in an attempt to secure the airfield, now occupied by Russian forces.
RU Deployment
Base Assets
| Vehicle | Image | Quantity | Respawn Time |
|---|---|---|---|
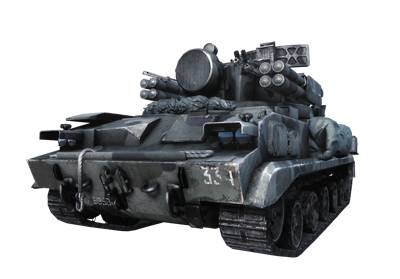
| 9K22 Tunguska |
|
1 | 90 sec. |
With air, ground, and sea units prepared for deployment, this small horseshoe-shaped island is once again the site of an intense battle between two superpowers.
Zone 2
US Deployment
Base Assets
| Vehicle | Image | Quantity | Respawn Time |
|---|---|---|---|
| AAV-7A1 AMTRAC |
|
1 | 60 sec. |
| M1 Abrams |
|
1 | 60 sec. |
| AH-1Z Viper |
|
1 | 90 sec. |
| RHIB |
|
1 | 30 sec. |
Conquest battles on Wake Island are nothing new, but this is the first time a Rush battle has been brought to these shores.
RU Deployment
Base Assets
| Vehicle | Image | Quantity | Respawn Time |
|---|---|---|---|
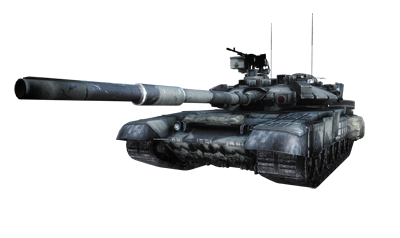
| T-90A |
|
1 | 90 sec. |
| 9K22 Tunguska |
|
1 | 90 sec. |
The battle begins near the North Village before moving to the North Base and Airfield. Although they occupy the Airfield, the RU team has no access to jets or helicopters during this battle.
Zone 3
US Deployment
Base Assets
| Vehicle | Image | Quantity | Respawn Time |
|---|---|---|---|
| DPV | 1 | 30 sec. | |
| M1 Abrams |
|
1 | 60 sec. |
| AH-1Z Viper |
|
1 | 90 sec. |
| AAV-7A1 AMTRAC |
|
1 | 60 sec. |
However, they do have a Tunguska-M they can use to defend against air attacks by the US team’s attack helicopter.
RU Deployment
Base Assets
| Vehicle | Image | Quantity | Respawn Time |
|---|---|---|---|
| T-90A |
|
1 | 90 sec. |
| 9K22 Tunguska-M |
|
1 | 90 sec. |
The narrow peninsula offers little room for ground troops to maneuver. But through the use of RHIBs and their AMTRAC, the US team can stage successful amphibious flanking attacks.
Because they are facing threats approaching from the land, air, and sea, the RU team must be very flexible and keep their heads on a swivel to avoid being surprised by the US attackers.