
Battlefield 3: Back to Karkand DLC Guide Maps Rush
Strike at Karkand (Rush)
Control of the industrial facility and harbor at Karkand motivates this assault by US forces, where they find Russian forces marshalling to defend the industrial city and determined to meet the attack with stiff resistance.
(click here for interactive map)
The terrain surrounding Karkand is sufficiently open to allow for sweeping fields of fire, but the open ground increases the danger posed by anti-vehicle missiles and sniping.
RU Deployment
Base Assets
| Vehicle | Image | Quantity | Respawn Time |
|---|---|---|---|
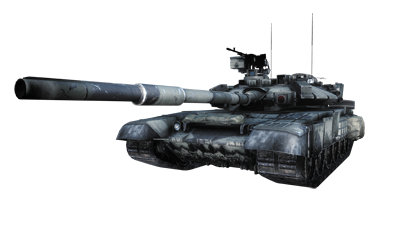
| T-90A |
|
1 | 90 sec. |
It is vital for both sides to secure firebases in Karkand’s sheltered city center.
Zone 2
US Deployment
Base Assets
| Vehicle | Image | Quantity | Respawn Time |
|---|---|---|---|
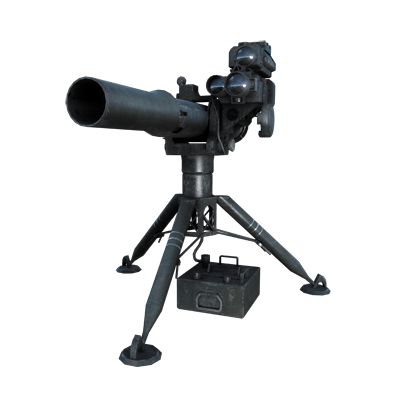
| M220 TOW Launcher |
|
1 | 30 sec. |
Strike at Karkand is a classic Conquest map, but this is the first time the industrial city has been setup for an epic Rush battle.
RU Deployment
Base Assets
| Vehicle | Image | Quantity | Respawn Time |
|---|---|---|---|
| T-90A |
|
1 | 90 sec. |
The conflict takes place over four separate zones. The action starts out on the north side of the city, around the Hotel, before moving south near the Square and Market.
Zone 3
US Deployment
Base Assets
| Vehicle | Image | Quantity | Respawn Time |
|---|---|---|---|
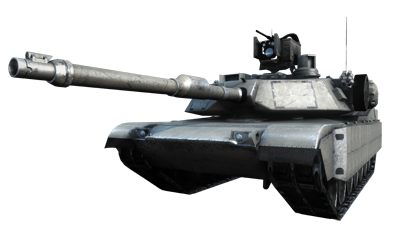
| M1 Abrams |
|
1 | 60 sec. |
In the final phase, the US attackers must push across the river to reach the final objectives located at the Warehouse and Gatehouse.
RU Deployment
Base Assets
| Vehicle | Image | Quantity | Respawn Time |
|---|---|---|---|
| T-90A |
|
1 | 90 sec. |
While tanks are available in each zone, infantry dominate this fight. So prepare for some gritty urban combat as you fight for control of this besieged city.
Zone 4
US Deployment
Base Assets
| Vehicle | Image | Quantity | Respawn Time |
|---|---|---|---|
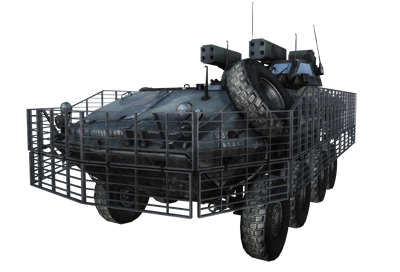
| LAV-25 |
|
1 | 60 sec. |
| M1 Abrams |
|
1 | 60 sec. |
RU Deployment
Base Assets
| Vehicle | Image | Quantity | Respawn Time |
|---|---|---|---|
| T-90A |
|
1 | 90 sec. |