
Battlefield 3: Back to Karkand DLC Guide Essentials Basics
Multiplayer Tactics
Tactics is the combining of maneuvers and firepower to achieve an objective. Both movement and weapons have already been covered, so this section focuses on using the two together.
Plan Ahead
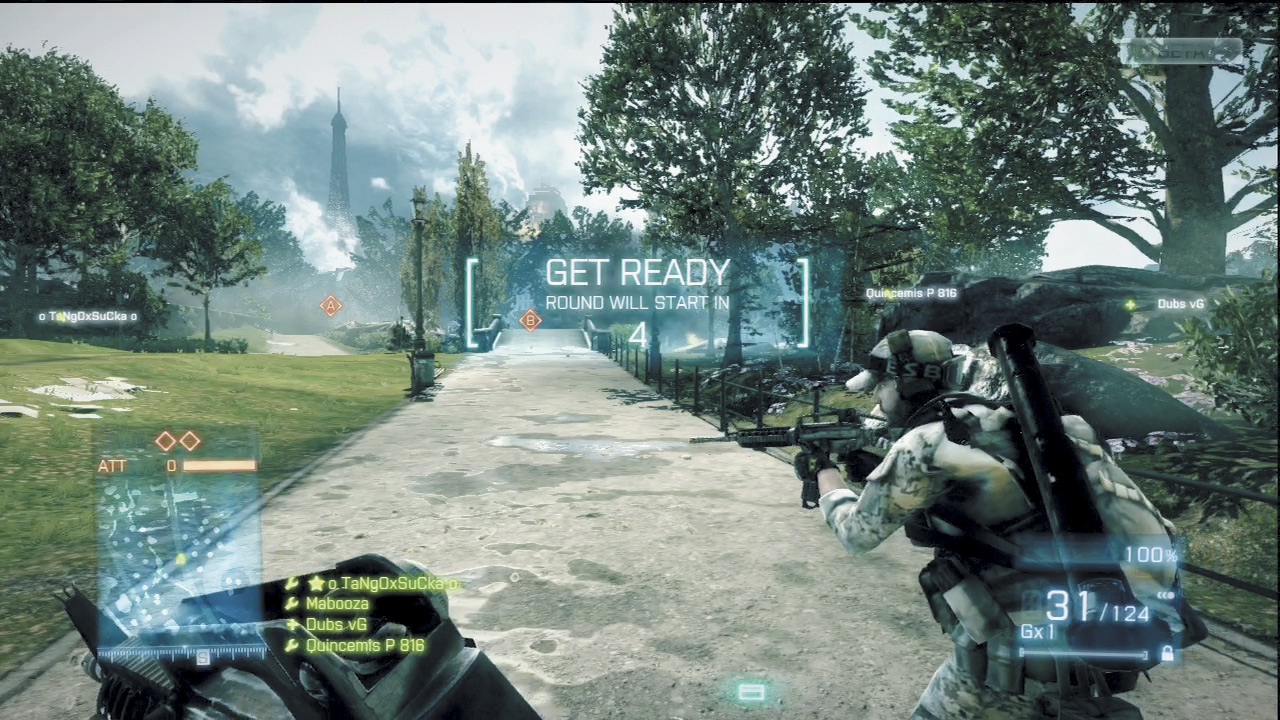
Before a round begins, take a few seconds to discuss tactics with your teammates. Any game plan is better than none.
There is an old saying that those who fail to plan, plan to fail. You need to come up with a plan before the bullets start flying.
The best place to start is to look at your game mode’s objectives, since those determine victory or defeat. While killing the enemy is always a goal, it is often a means to an end. Instead, focus on the objectives.
Do you have to destroy a target, defend a position, or just get to a certain point on the map?
Once you know what you must do, look at the map and examine the terrain. Where are you located? Where is the objective? How will you get there? Are there any vehicles you can use? These are all questions you need to ask yourself.
Once you have determined how to get to the target, you must then consider how to accomplish your orders. Will you need to get in close to plant an explosive charge on the target? If so, how will you secure the perimeter?
Finally, you need to take into account your opposition. What does the enemy have and where are they located? Usually you will not know that type of information until you get in close to the target and can see the enemy with your own eyes.
Therefore, planning continues on the fly as you learn new information about enemy positions and actions.
Cover
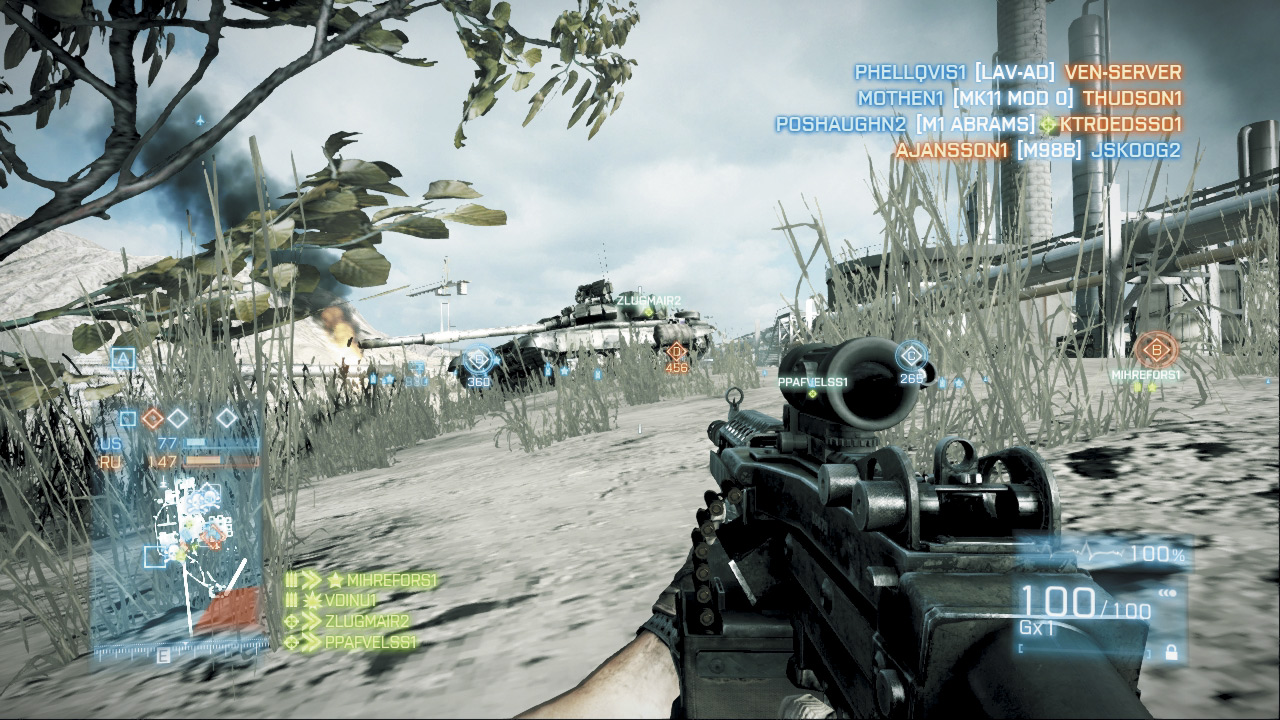
If you can’t find suitable cover nearby, drop prone in an attempt to avoid detection, and crawl to a piece of cover.
Combat is very dangerous. Bullets and other deadly projectiles fly through the air and can kill you outright if they make contact. The concept of cover is to place something solid between you and the enemy that will stop those projectiles and keep you safe.
The multiplayer maps are filled with objects that you can use as cover—buildings, walls, trees, rocks, earthen mounds, and so on. Some types of cover will stop small arms fire such as rifle bullets, but not stop the heavier machine gun fire.
Walls of buildings will stop machine gun fire, but not rockets or tank rounds. Therefore, pick cover that will protect you from the current threat—objects constructed from wood or flimsy sheet metal won’t stop a bullet.
Cover should become ingrained in your combat thinking. In addition to looking for enemies, you also need to be looking for cover. During a firefight, always stay behind cover.
The only reason you leave cover is to move to another position with cover. If the cover is low, you may need to crouch down or drop prone to get behind it, standing only to fire over it. When moving from cover to cover, sprint to get there quicker.
While you want to stay behind cover, you also want to try to deny the benefit of cover to your enemies. Destroying their cover is a way to do that. Another way is to reduce the effect of their cover by moving to hit them from a direction for which they have no cover.
This is called flanking. For example, if an enemy is taking cover behind a wall, move around to the side of the wall so that the wall is no longer between you and your target.
Or, if you have an explosive weapon, you can simply blow a hole in the wall, taking out your target in the process.
Destructible Environments
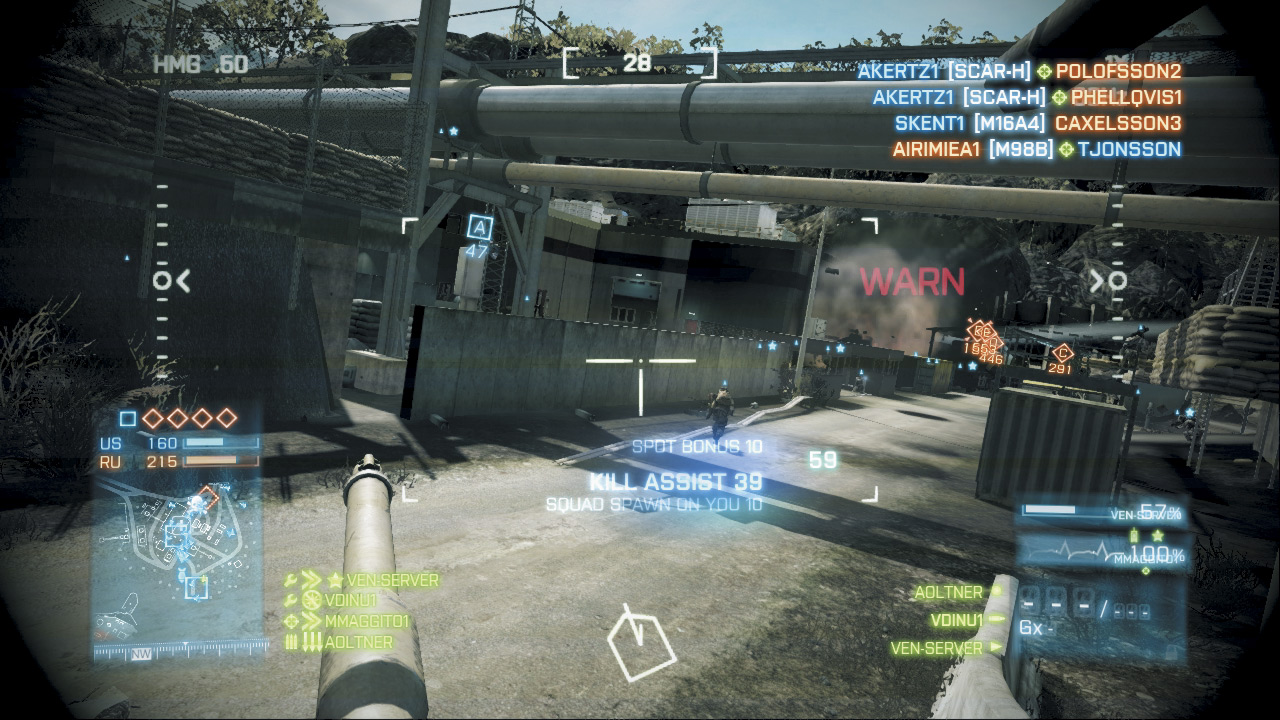
Tanks are great for dishing out destruction. Use their cannons to blow holes in walls and other pieces of cover.
One of the awesome features in Battlefield 3 is that many of the structures and objects can be damaged or outright destroyed. This presents a large range of possibilities and opportunities that will affect the tactics you use.
For example, if the enemy is holed up in a house and taking shots at you from the windows, you could try to throw a grenade through the window or rush into the house via the doorway and clear out the threat with close-range combat.
However, with destruction as an option, you can launch a rocket at a wall of the structure and blow a hole in it. If an enemy was on the other side of the wall, that threat might be killed.
Otherwise, you can then use direct fire to kill the enemy, since you destroyed the wall that was providing cover.
Often, structures can funnel you into a kill zone the enemy has set up. But you can blast your way through walls or other objects and come at the enemies from different directions that they might not expect.
While this may seem to favor the attacker, the defender can also use this as an advantage. Destroy potential cover the attacker may use to approach your position.
Call in mortar strikes on groves of trees or shoot out wooden fences to deny the enemy a place to hide. As a result, you can create your own kill zones of open land that the enemy must traverse—all the while under the fire of your weapons.
Long-Range Combat
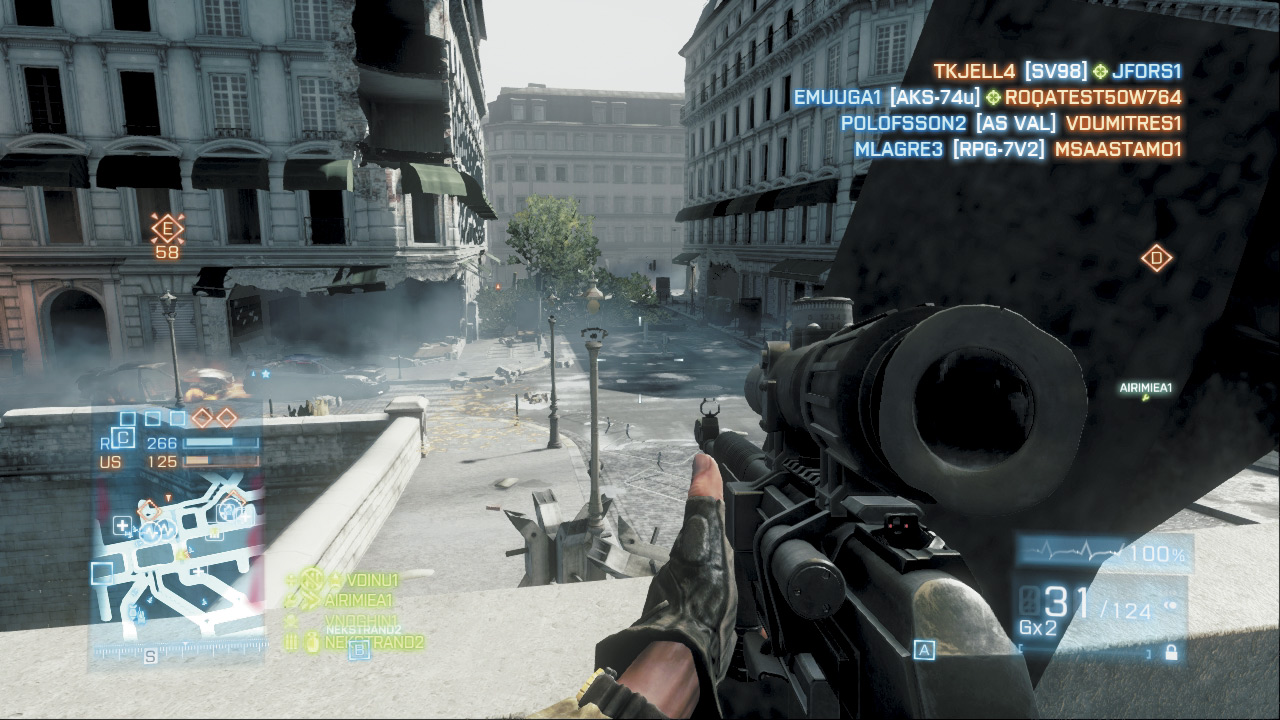
When sniping, try to focus your fire down narrow choke points like streets, alleys, and bridges.
If possible, it is best to try to attack the enemy at long range before they’re even aware of your presence. While sniper rifles work great for this type of combat, you can even use assault rifles, light machine guns, or rocket launchers to hit targets at long range.
The key to winning at long range is to take your time. Drop prone, stay still, and use ironsights or scopes to increase your magnification and accuracy.
As always, make sure you have some good cover in case the enemy decides to shoot back—if you can see them, they can see you. Also remember to fire in short bursts to ensure that more of your bullets hit the target.
Close-Quarters Combat
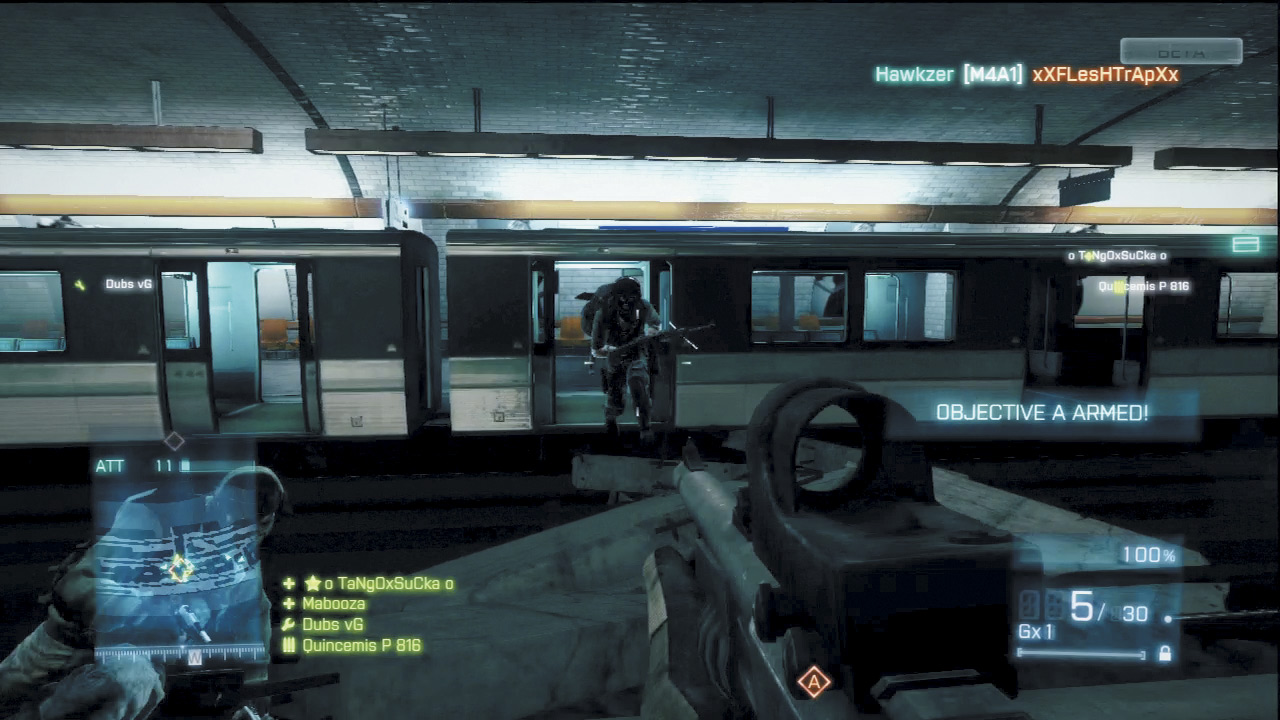
Quick reflexes trump accuracy in close-quarters gun battles like this. This is why shotguns are so effective.
This type of combat is the exact opposite of long-range combat. In close quarters, such as in a town or even within a building, you don’t have a lot of time to aim before shooting.
However, at such short ranges, accuracy is not really a factor. Instead, you need a weapon that puts out a lot of firepower with some spread so you are more likely to get a hit while moving. Shotguns and PDWs are great for close-quarters combat.
Your minimap is also an important tool, especially if teammates have spotted targets. Since you can see where enemies are located, use this info to set up shots while strafing around corners.
Your weapon will already be aimed at the target as it appears on the minimap, which saves you just enough time to have the advantage and make the kill rather than be killed.
Don’t forget to use grenades, which can be thrown around corners or over walls to hit enemies who think they are safe behind cover.
Engaging Vehicles
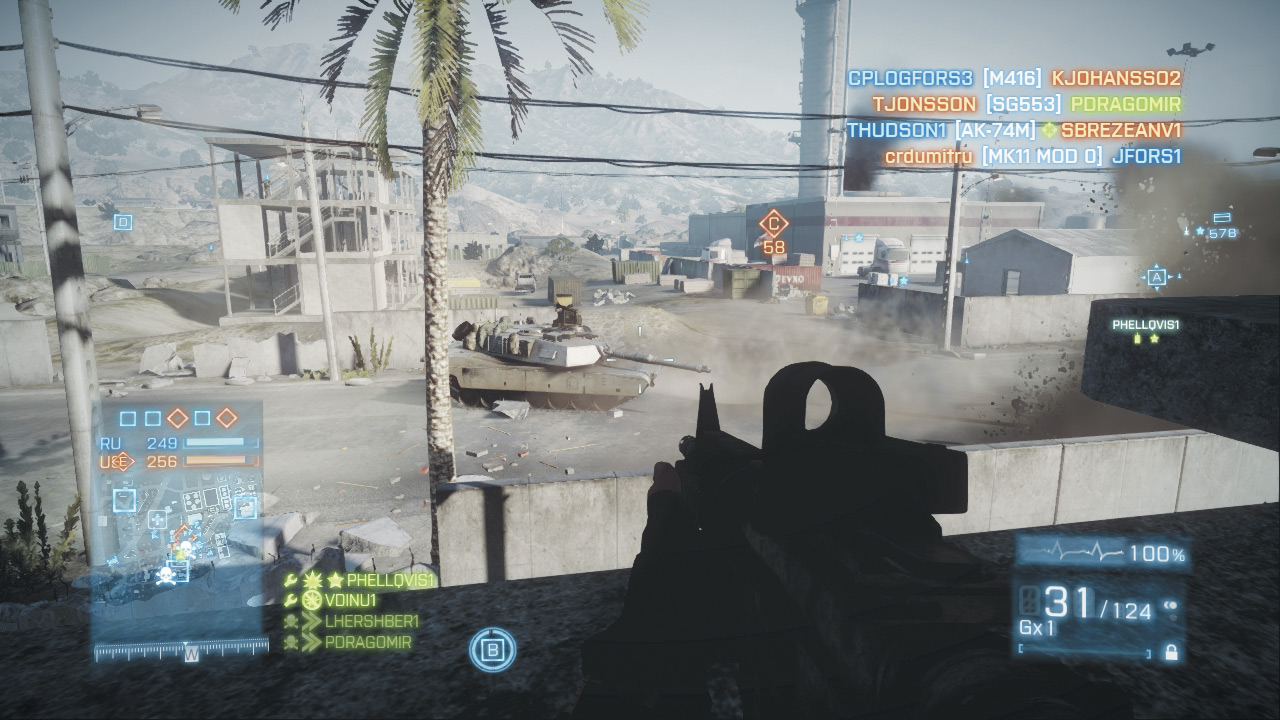
If you don’t have the firepower to kill a tank, don’t draw its attention. Instead, seek cover and spot the tank for teammates who are capable of taking it out.
Attacking vehicles is dangerous—especially when you are an infantryman on foot. However, modern soldiers have a lot of firepower they can use to disable and destroy vehicles. This role usually falls to the engineer, who carries anti-tank rocket launchers and mines.
It takes only a single rocket to disable most light vehicles. However, tanks and IFVs require at least two rocket hits to disable, and even more to destroy. Always try to attack tanks from the rear, where their armor is the weakest.
Rocket launchers are most effective, but grenade launchers can work in a pinch, too, assuming the vehicle is already heavily damaged. Of course, the best way to kill a tank is with another tank.
Even if you don’t have those powerful weapons or gadgets, you can still damage light vehicles with small arms fire. The gunners on the Growler ITV and VDV Buggy are completely exposed—shoot them and the vehicles lose their firepower.
For those who are really daring, engineers can place mines in the path of moving vehicles. C4 (now carried by the support kit) is also very effective against vehicles, but you have to get very close to slap on a charge.
[ Service Stars ]
As you advance through your multiplayer career you can earn service stars for every class, weapon, and vehicle type. For classes and vehicles, you must meet certain point thresholds to achieve a service star. Weapon service stars are awarded for every 100 kills.
A maximum of 100 service stars can be earned for every class, weapon, and vehicle type. A service star is also awarded when reaching the rank of Colonel.