
Battlefield 3: Back to Karkand DLC Guide Maps Conquest
Wake Island (Conquest)
The Imperial Japanese Navy conquered the coral atoll of Wake Island in 1941. The island remained in Japanese control until the end of the war in 1945.
(click here for interactive map)
Now, 70 years later, the US Marines have returned to this small island in an attempt to secure the airfield, now occupied by Russian forces.
With air, ground, and sea units prepared for deployment, this small horseshoe-shaped island is once again the site of an intense battle between two superpowers.
Conquest Assault (3 Flags)
Compared to the traditional Wake Island layout, this battle is very compact and the RU team can dig in and consolidate their forces around the three flags.
US Deployment
Base Assets
| Vehicle | Image | Quantity | Respawn Time |
|---|---|---|---|
| DPV |

|
4 | 5 sec. |
|
AAV-7A1 AMTRAC
|

|
1 | 60 sec. |
| AH-1z Viper |

|
1 | 40 sec. |
| F-35B Joint Strike Fighter |

|
2 | 30 sec. |
| RHIB |

|
1 | 5 sec. |
| Centurion C-RAM |

|
1 | N/A |
When playing as the RU team, make sure all three control points are well defended at the start of the battle. However, the bulk of the defending team should spawn at the Airfield (B) and take measures to secure the flag.
A: North Base
Control Point Assets
| US Control | RU Control | Respawn Time |
|---|---|---|
|
DPV (2)
|
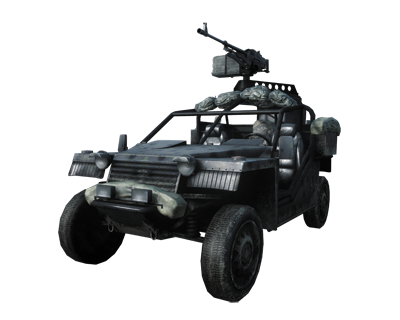 VDV Buggy (2) |
10 sec. |
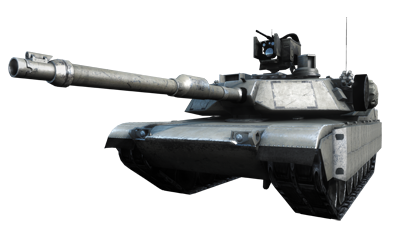 M1 Abrams (1) |
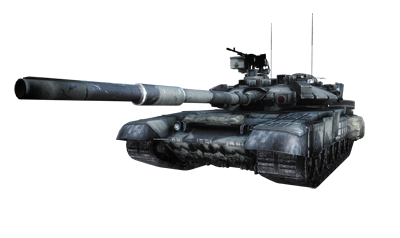 T-90A (1) |
40 sec. |
The Airfield (B) is the main prize in this fight and is likely to see heavy action throughout the match. However, both teams can still win even without holding the Airfield (B).
B: Airfield
Control Point Assets
| US Control | RU Control | Respawn Time |
|---|---|---|
|
DPV (2)
|
VDV Buggy (2)
|
10 sec. |
|
M1 Abrams (1)
|
T-90A (1)
|
40 sec. |
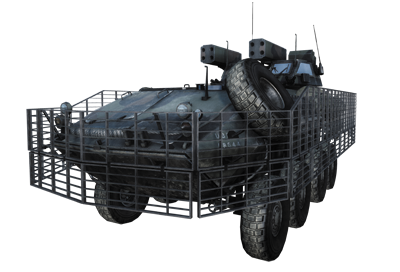 LAV-AD (1) |
 9K22 Tunguska-M (1) |
40 sec. |
 Skidloader (1) |
Skidloader(1)
|
40 sec. |
|
|
 Mi-28 Havoc (1) |
50 sec. |
|
|
Su-35BM Flanker-E (2)
|
35 sec. |
So if taking the Airfield (B) proves too costly, focus your efforts on securing the North Base (A) and South Base (B). With only three flags up for grabs, holding these two control points is more than sufficient for draining the opposing team’s ticket count.
C: South Base
Control Point Assets
| US Control | RU Control | Respawn Time |
|---|---|---|
|
DPV (1)
|
VDV Buggy (1)
|
10 sec. |
|
M1 Abrams (1)
|
T-90A (1)
|
40 sec. |
So don’t waste resources attempting to take the Airfield (B) if your team already holds two flags. Simply dig in, and outlast your opponents.
Conquest 64
Longtime veterans of the Battlefield series should be very familiar with the configuration of this classic map. While the weapons and vehicles have changed, the layout of Wake Island is almost identical to the variants available in previous installments.
(click here for interactive map)
US Deployment
Base Assets
| Vehicle | Image | Quantity | Respawn Time |
|---|---|---|---|
|
AAV-7A1 AMTRAC
|
|
1 | 60 sec. |
| AH-1Z Viper |
|
1 | 40 sec. |
| UH-1Y Venom |

|
1 | 20 sec. |
| F-35B Joint Strike Fighter |
|
2 | 30 sec. |
| RHIB |
|
6 | 5 sec. |
| Centurion C-RAM |
|
1 | N/A |
But this time it is the US team who is on the offensive while the RU team digs in around the five flags. As in all Wake Island variants, the Airfield (C) is the most contentious control point on the map.
A: North Village
Control Point Assets
| US Control | RU Control | Respawn Time |
|---|---|---|
|
DPV (1)
|
VDV Buggy (1)
|
10 sec. |
|
M1 Abrams (1)
|
T-90A (1)
|
40 sec. |
It supplies the RU team with their only air assets. Therefore, the US team should try to take the Airfield (C) as early as possible to establish air superiority.
B: North Base
Control Point Assets
| US Control | RU Control | Respawn Time |
|---|---|---|
|
DPV (1)
|
VDV Buggy (1)
|
10 sec. |
But the RU team won’t concede this central control point without a bloody fight. If the US faces stiff resistance at the Airfield (C), sometimes it’s best to focus on capturing and holding the surrounding control points.
C: Airfield
Control Point Assets
| US Control | RU Control | Respawn Time |
|---|---|---|
|
DPV (1)
|
VDV Buggy (1)
|
10 sec. |
|
M1 Abrams(1)
|
T-90A (1)
|
40 sec. |
|
LAV-AD (1)
|
9K22 Tunguska-M (1)
|
30 sec. |
|
Skidloader (1)
|
Skidloader (1)
|
40 sec. |
|
|
Mi-28 Havoc (1)
|
50 sec. |
|
|
SU-35BM Flanker-E (1)
|
35 sec. |
With five flags up for grabs, each team must try to hold at least three flags to initiate the drain on the opposing team’s ticket count.
E: South Base
Control Point Assets
| US Control | RU Control | Respawn Time |
|---|---|---|
|
DPV (1)
|
VDV Buggy (1)
|
10 sec. |
|
M1 Abrams (1)
|
T-90A (1)
|
40 sec. |
Of course, if the US team manages to secure all five flags, the RU team has nowhere to spawn and this leads to decisive US victory. So the RU team must defend each flag aggressively to avoid an embarrassing defeat.