
The Witcher 2: Assassins of Kings Guide Walkthrough
Prologue
This segment of the game serves to ease you into The Witcher 2, but it’s important not to confuse it with a tutorial. You can (and probably will) die a few times the first time you play through. You’ll do fine if you remember to make intelligent use of the many potions, traps, and bombs you have on hand. Don’t hoard these items—use them freely in conjunction with signs like Quen, Aard, and Yrden. Play around with the different signs during this segment of the game and get a feel for which ones you like using.
Note that this walkthrough is compatible with Easy, Normal, and Hard difficulties. Players who wish to play on Dark difficulty are advised to read the “Dark Mode Guide” section. Note that Dark difficulty is not intended for a player who is going through the game for the first time. It is recommended that a player interested in Dark mode first complete the game on Hard difficulty.
 The Dungeons of the La Valettes
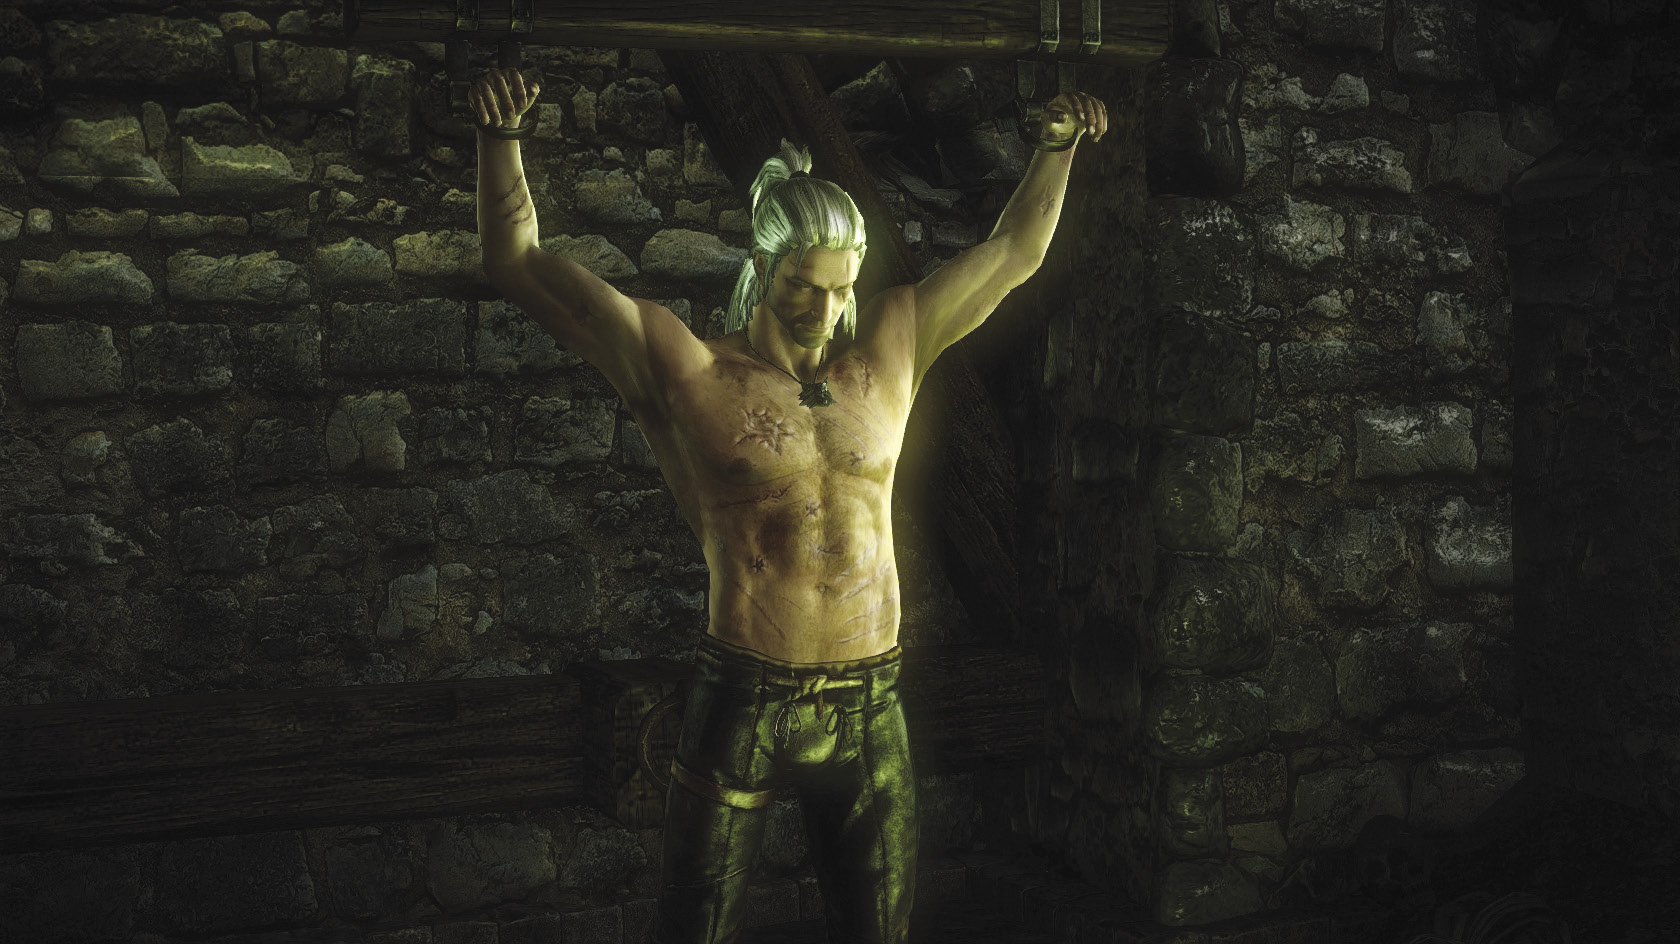
The game begins with Geralt in the dungeons of La Valette Castle, being interrogated by Blue Stripes commander Vernon Roche. Geralt tells the story of how he came to be in prison, which triggers the quests for this chapter. Geralt’s dialog responses trigger different parts of the prologue’s gameplay. You can play this section out of order, but this is not recommended. It’s best to select Geralt’s responses in order, from top to bottom, so you experience the story in a linear way.
Day of the Assault: Dawn
 The Assassins of Kings
Geralt begins his story with his last day of service to King Foltest of Temeria. He came into the king’s service one month ago, when he saved him from an assassin. That assassin may be another witcher, making Geralt’s position precarious. Geralt’s goal on his last day of service was to leave Foltest’s court as quickly as possible.
The Assassins of Kings is one of the two quests that represent the main plot of The Witcher 2. You will not complete this quest until Chapter 3, but certain decisions you make in this and other parts of the game can progress it in different ways. These decisions are noted when appropriate in the walkthrough.
By the King’s Will
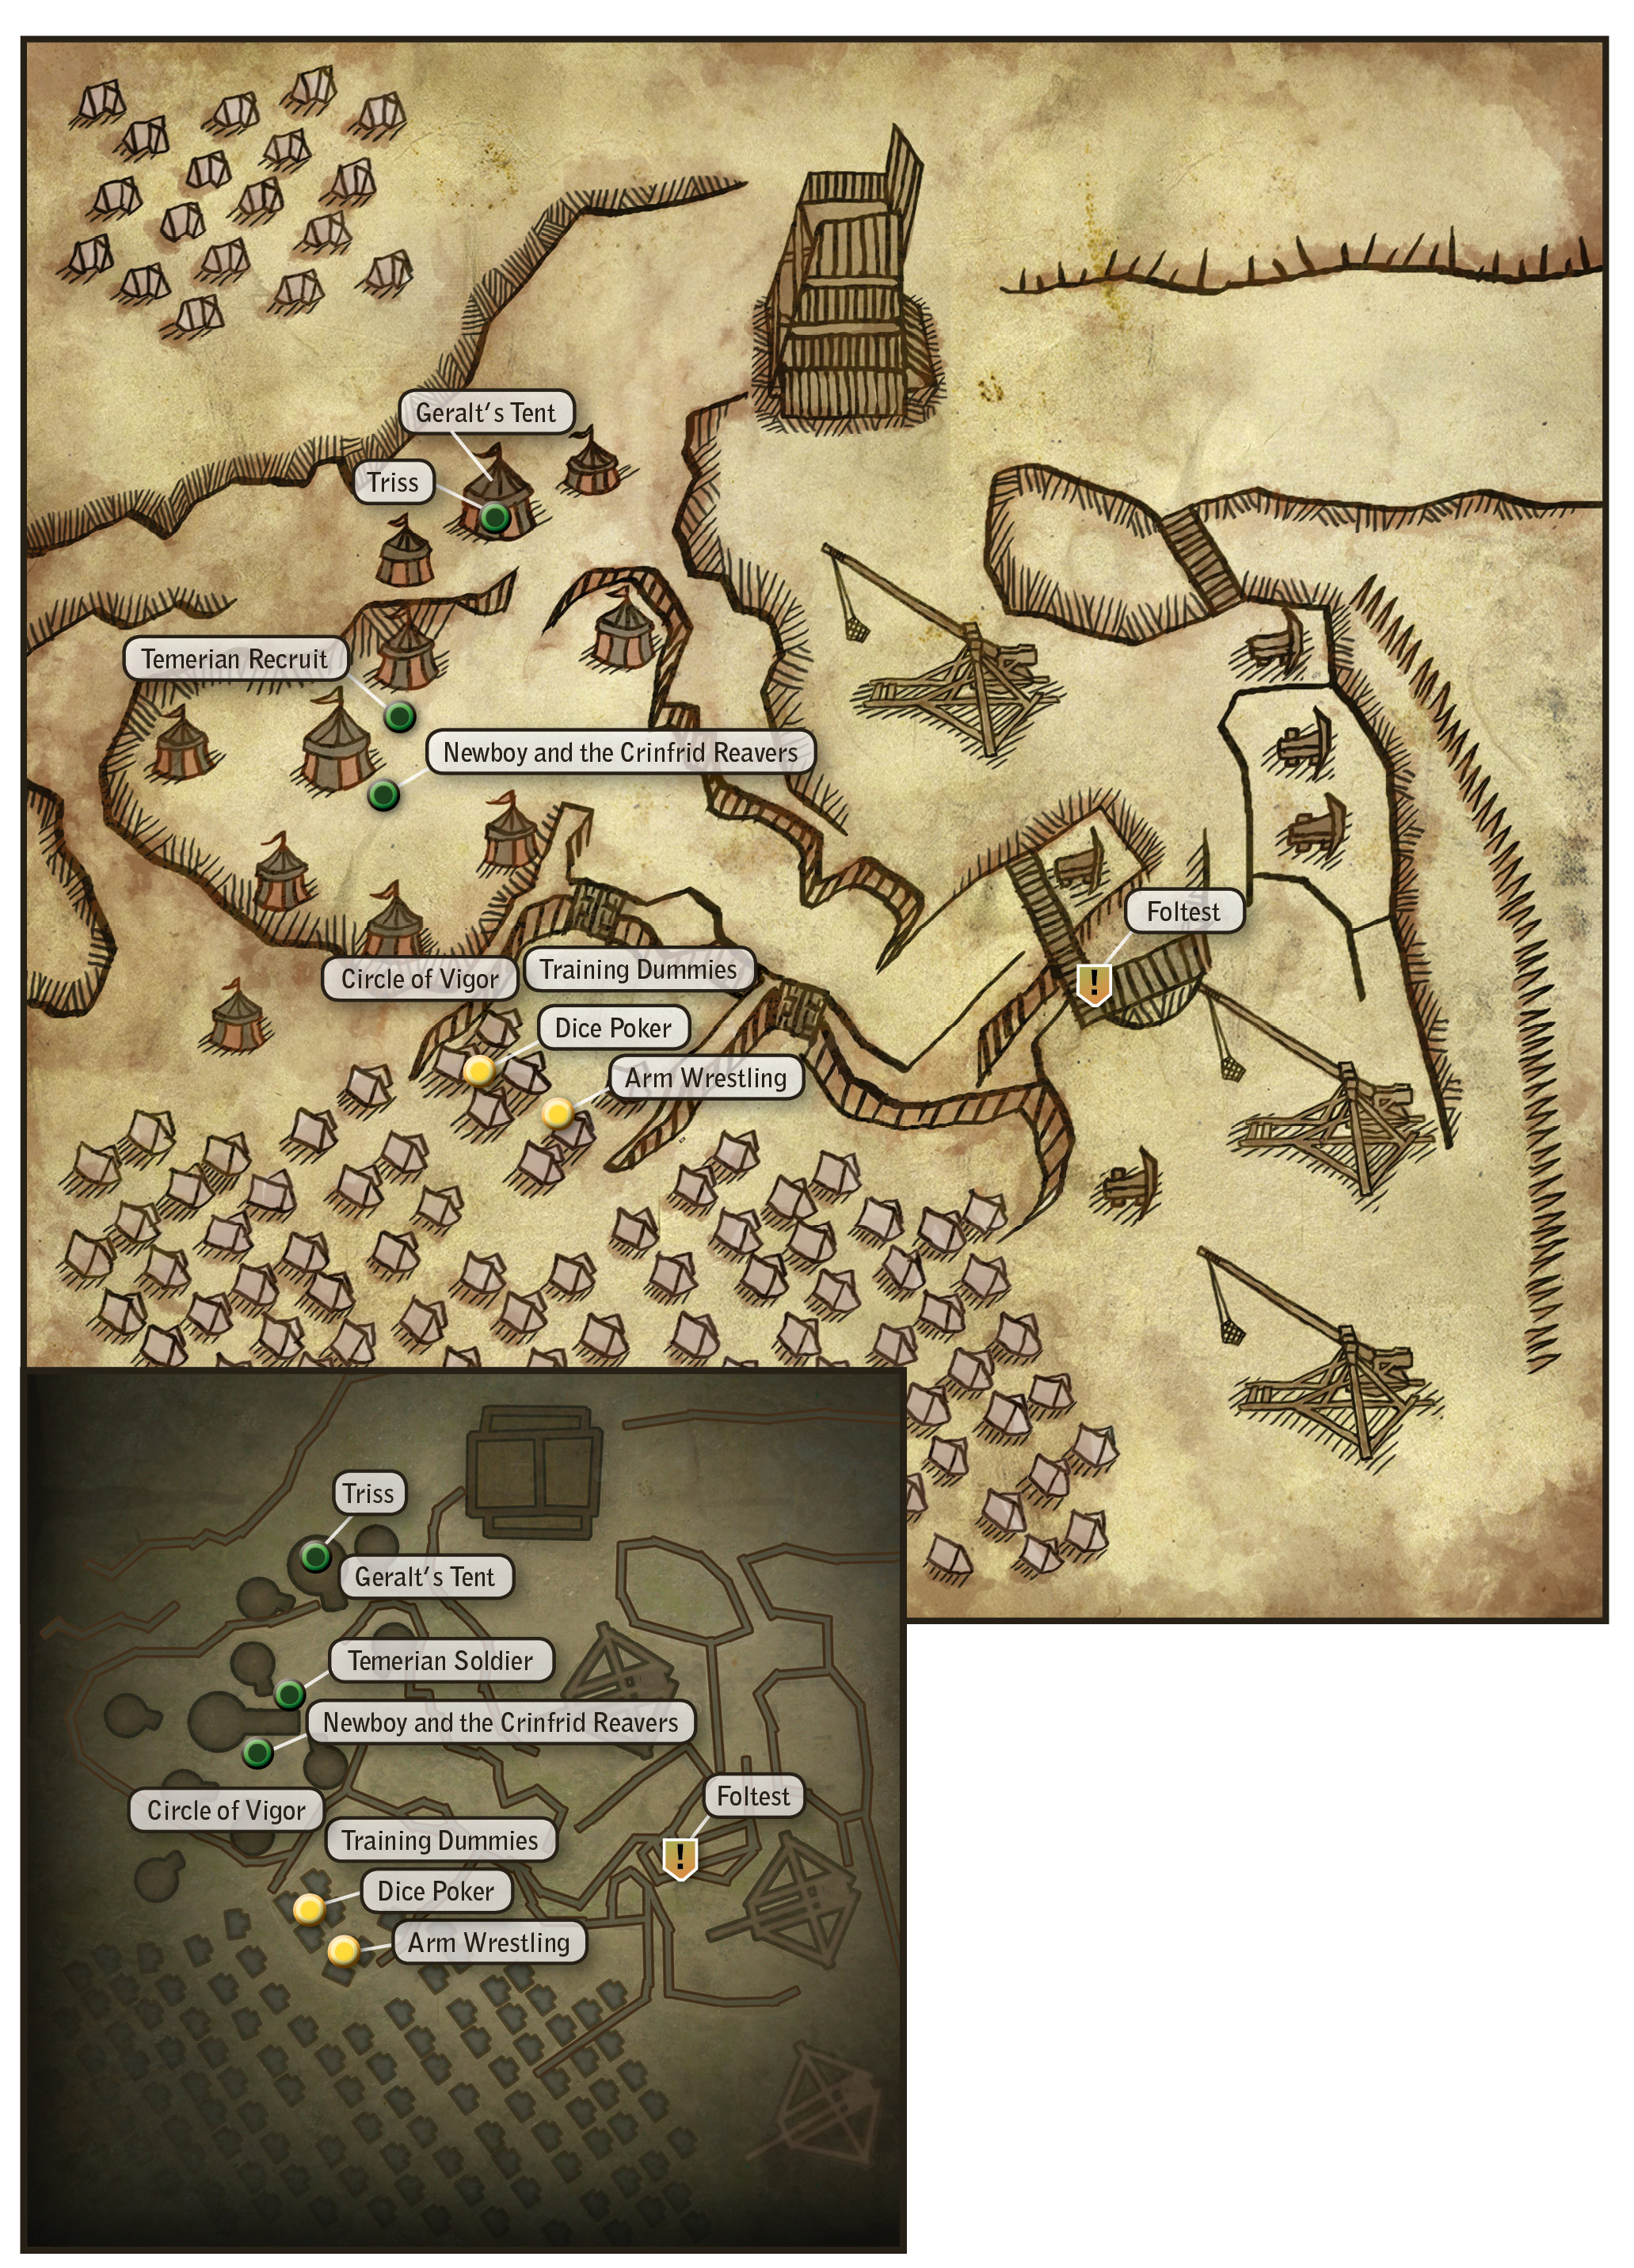
After the opening cutscene, this quest begins with a brief conversation with Triss in your tent. The dialogue options here are mostly for flavor, so you can say whatever you like. After your conversation with Triss ends, begin exploring the camp. You don’t need to rush toward the meeting with Foltest. Instead, explore the camp area thoroughly. You can find lots of herbs to pick and minor treasures to claim by scanning the area with your medallion.
Speak with the Temerian recruit at the bottom of the slope that leads into camp to learn a bit more information about the main storyline. Just beyond that, you can find a pair of burly, shirtless Crinfrid reavers discussing their apprentice, Newboy, who’s made a bet involving a magic amulet. Speak to them to trigger the beginning of the Melitele’s Heart side quest.
Side Quest: Melitele’s Heart
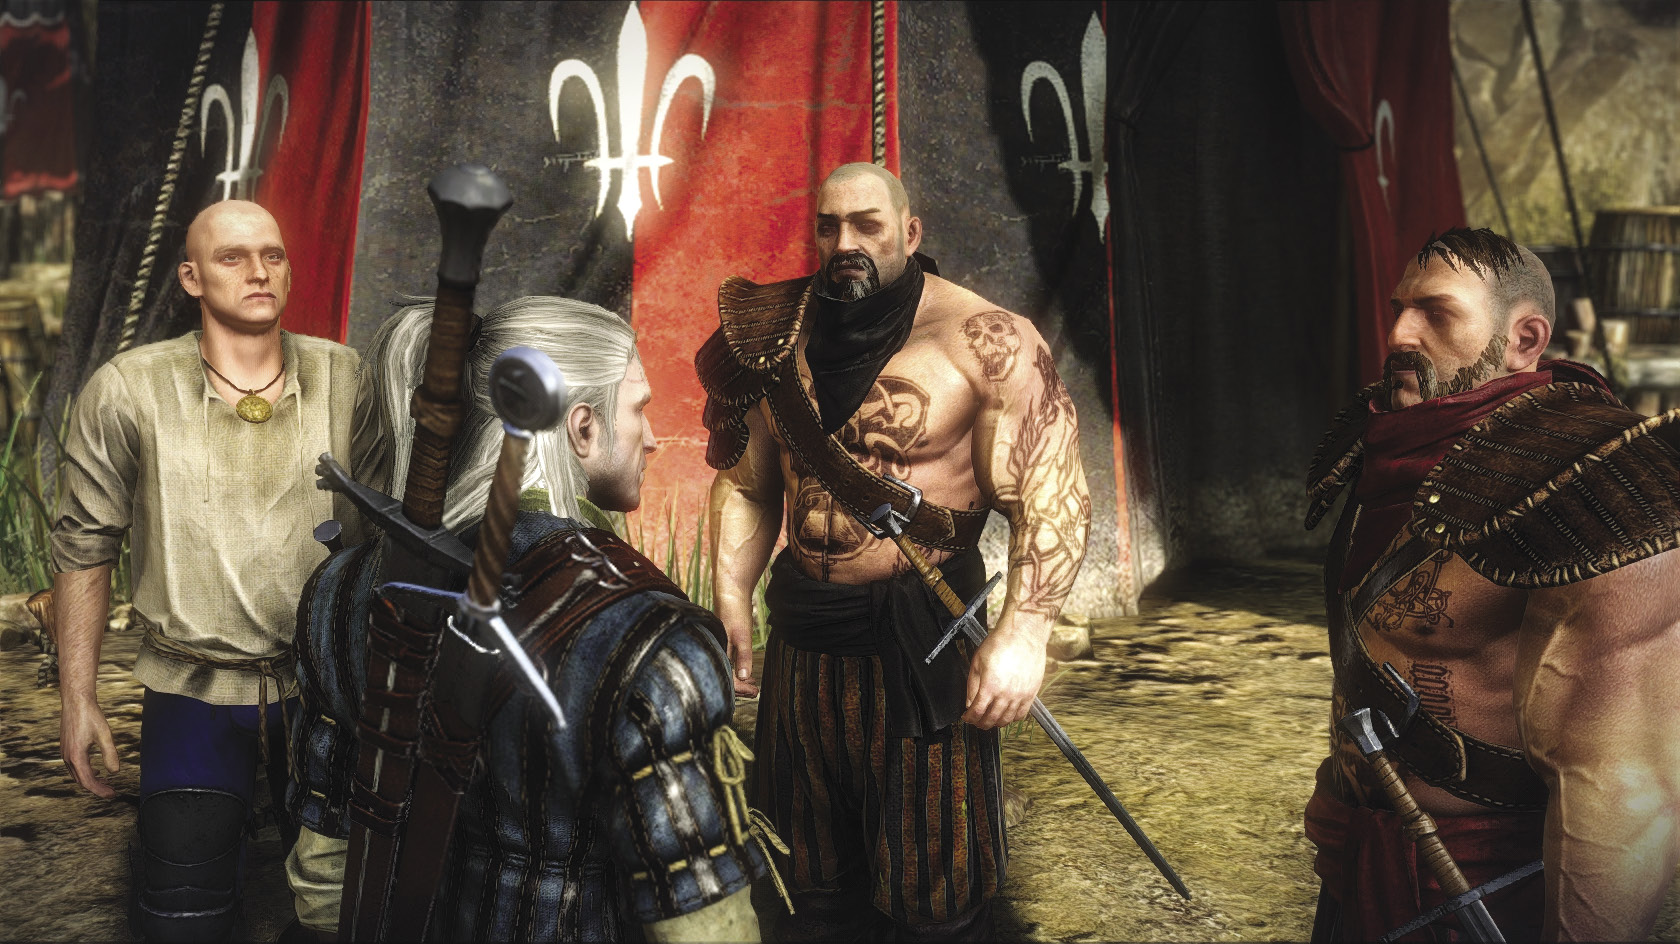
The conversation you have with Newboy and the Crinfrid reavers determines how the first part of this quest plays out. To trigger the quest, simply approach the reavers and press the interaction button to begin a dialogue scene.
After your wolf medallion accurately assesses that the amulet is magical, you are given conversation options. If you say “The amulet could help,” then Newboy goes into battle not wearing armor. He is fated to die in this situation and you’ll find his body later in the game. You will not be able to progress the quest any further.
If you say “I doubt it,” Geralt persuades Newboy that the amulet is magical but convinces him that he should still wear armor into battle. In this scenario, Newboy keeps the amulet but survives so that you can encounter him later in the game. If you take this route, it is possible to obtain the amulet, but you have to kill Newboy and loot his body to get it.
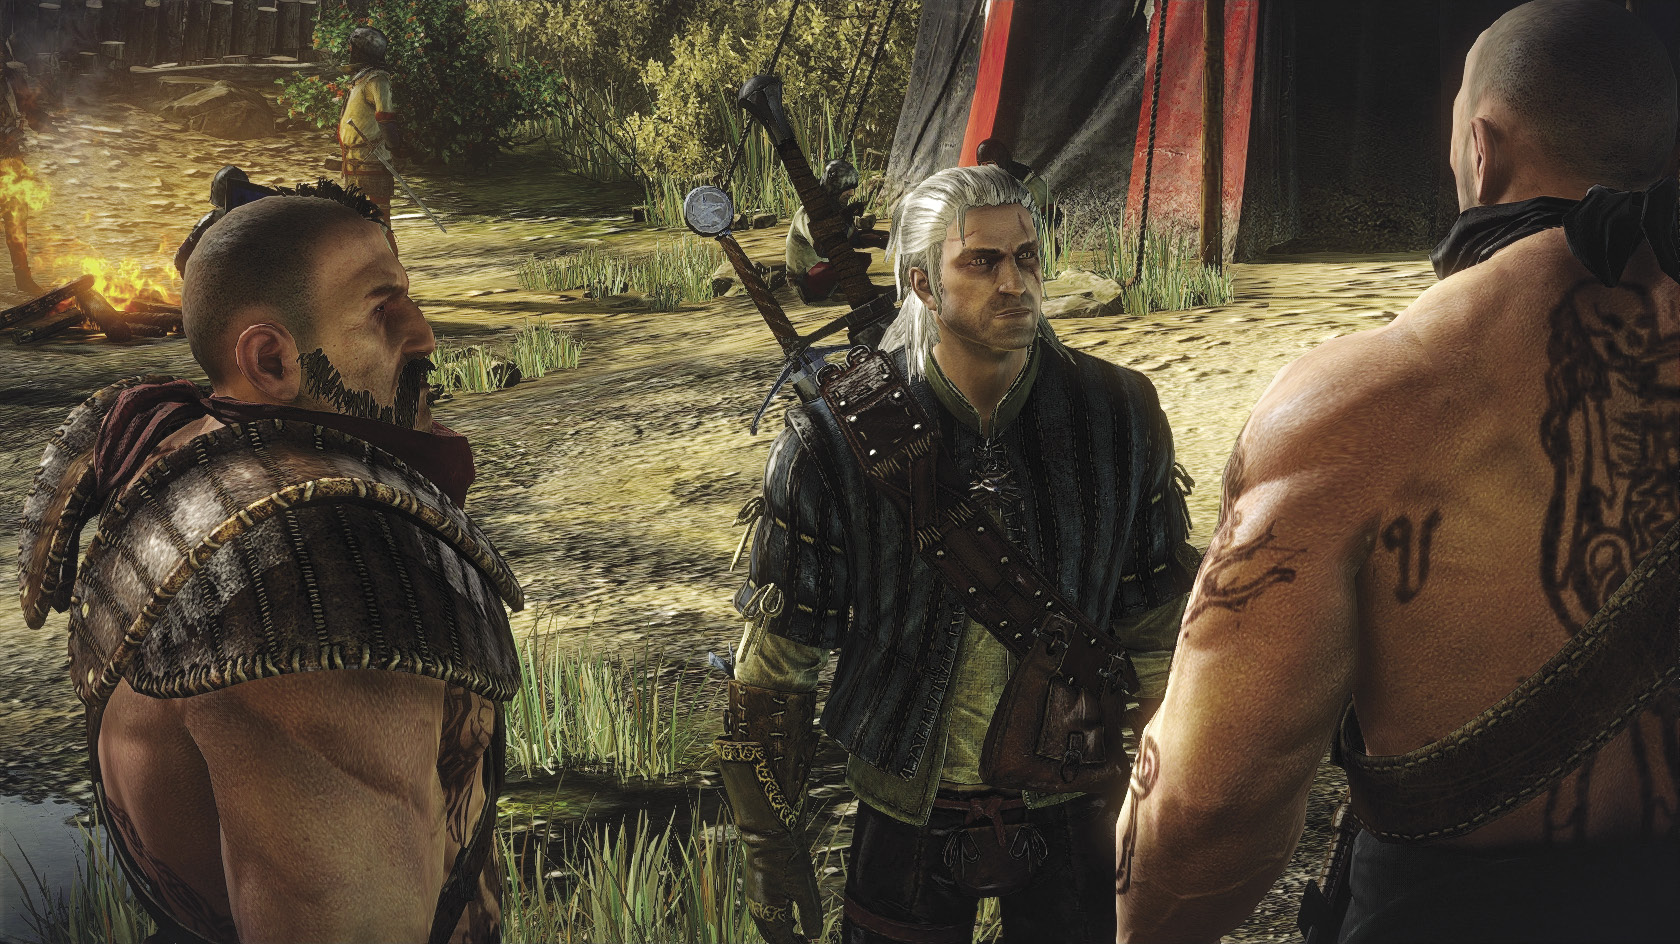
If you say “Where did you get this?” you find out about the amulet’s origins and then get another set of dialogue tree options. “I’d say the amulet could help you” results in the outcome where Newboy dies in battle. “It’s infused with magic, though what kind, I don’t know” results in the outcome where Newboy wears both the amulet and plate armor into battle, forcing you to kill him later if you want to continue the quest.
If you say “Seems to me the amulet brings trouble,” you can convince Newboy and the reavers that the amulet is magical but cursed. Newboy decides to get rid of the amulet and the reavers offer to give it to Geralt in payment for his advice. You must choose to accept the amulet, called Newboy’s talisman, to continue the quest. Newboy wears plate into battle in this case and survives to be encountered later in the game.
If you obtain the amulet this way, you will discover that it really is cursed. So long as you are carrying it, it reduces Geralt’s armor rating by 10 percent. At this point in the game that’s not a steep penalty, since chances are your armor isn’t very strong to begin with. Later in the game, this penalty can become crippling. So why do you want Geralt to get the amulet? Well, if he has it at the end of the Prologue, he can undertake a quest in Chapter 1 that uncurses it. Once you lift the curse, the talisman becomes a beneficial item that offers a vitality bonus.
 By the King’s Will
Continue to explore the camp. You can also attempt to obtain the useful Pyromaniac character attribute before moving on. As you should see by glancing at the map of Foltest’s camp, there is a circle of vigor you can activate there. It happens to be right next to a campfire. If you are very patient, you can activate the circle of vigor, then start walking through the campfire to set Geralt on fire. This is unlikely to kill you if the circle of vigor is boosting your vitality regeneration. You need to take a certain amount of damage from fire to get Pyromaniac, so you are going to have to set Geralt on fire about 15 times to get the attribute. Pyromaniac is extremely useful for alchemist Geralt builds or, really, any player who likes to use the Incineration critical effect. Pyromaniac boosts any base chance of incineration by an additional 20 percent (that is, if you have a +10 percent chance of incineration, Pyromaniac boosts it to 12 percent).
In an area to the southeast on your map, you find soldiers practicing with training dummies. Knock down five of them and this will count toward unlocking the Experienced attribute, which helps Geralt level up more quickly. In the very rear of this area, you can find a soldier who offers to arm-wrestle and a soldier who offers to play dice poker if you talk to them.
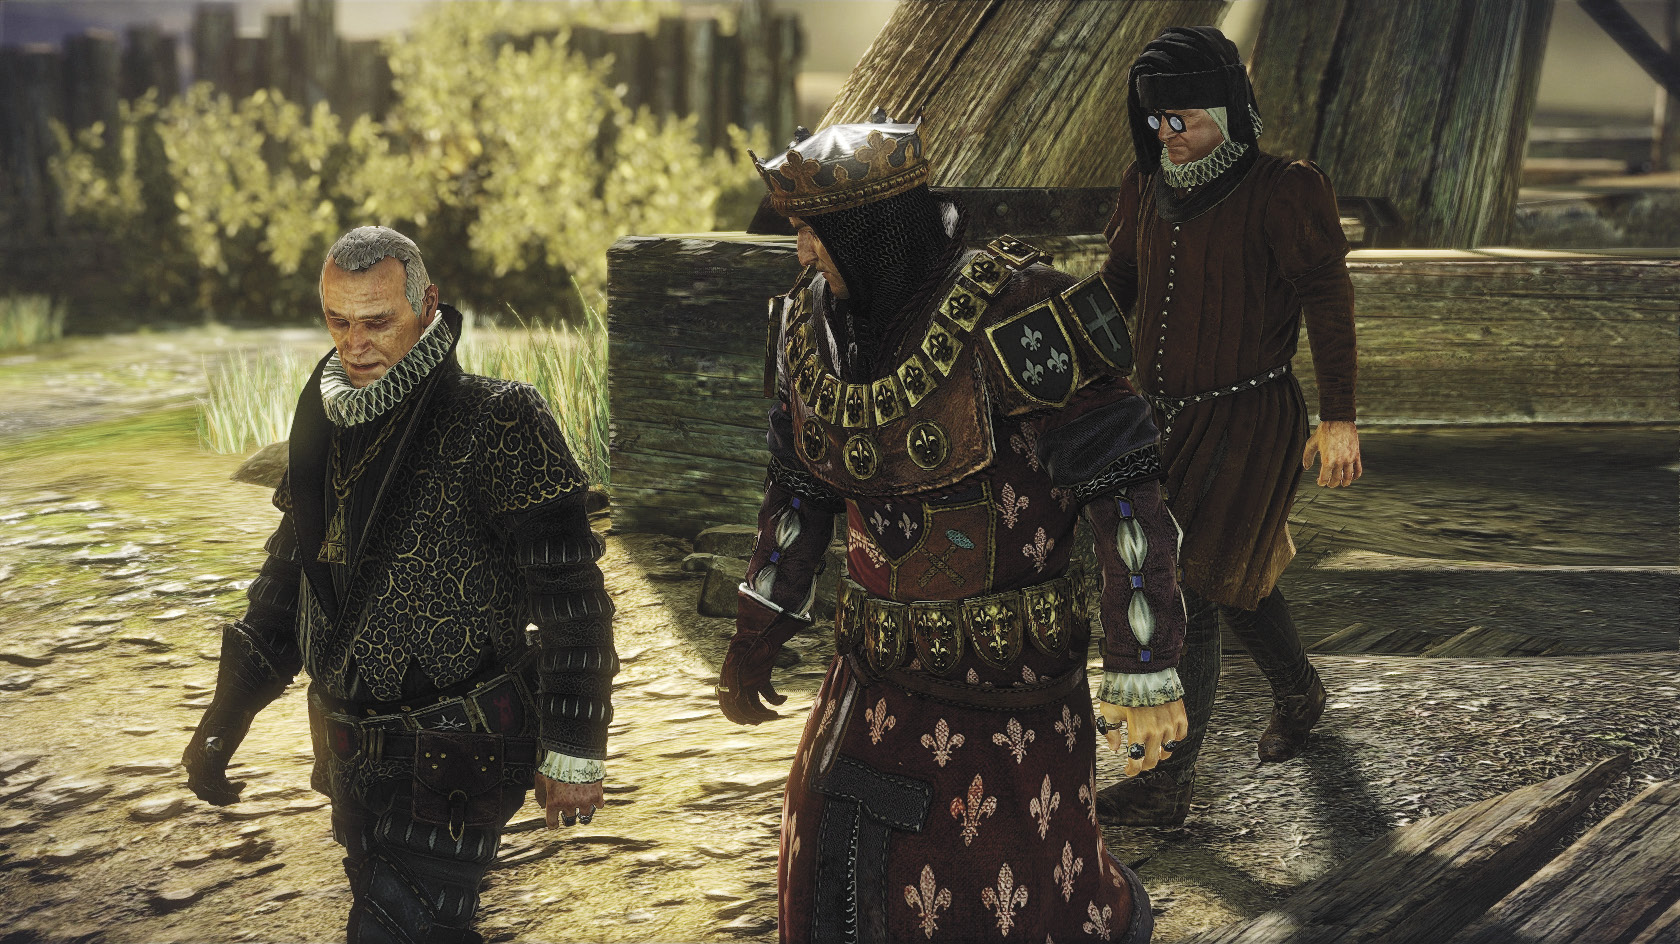
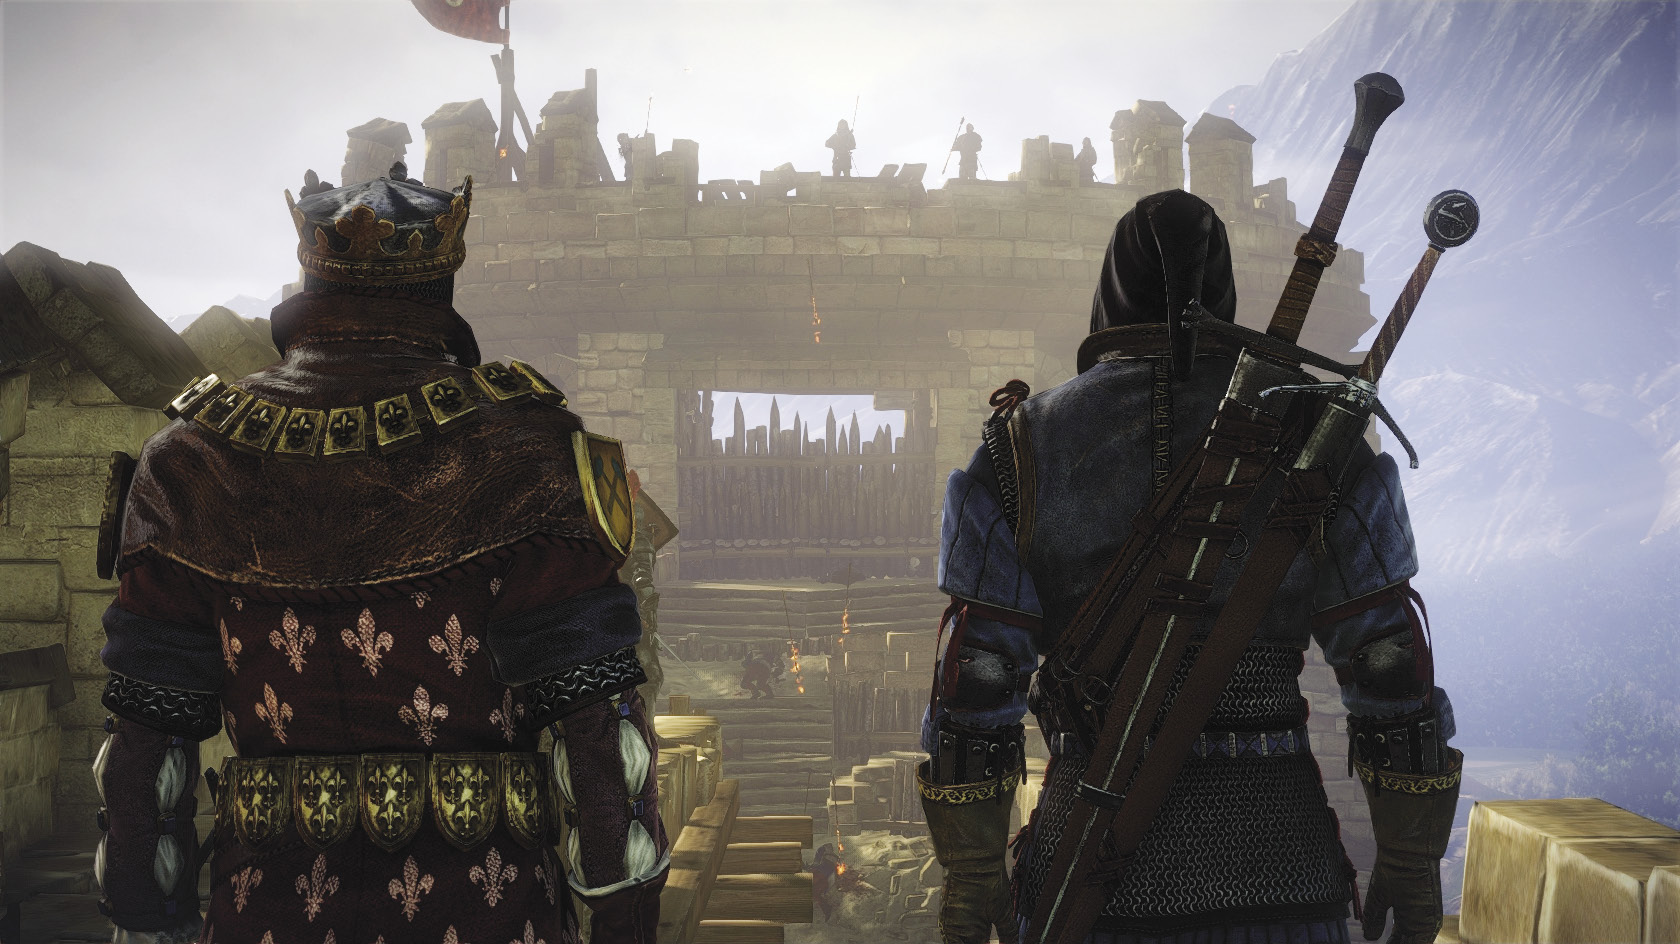
After you’re done exploring (and looting) the camp, head toward King Foltest’s location. Once you near the marker, you trigger a series of cutscenes. After the cutscenes, there’s a sequence where Foltest asks you to use a spyglass to help him aim his ballista at Count Etcheverry.
|
Pay careful attention to the dialogue between King Foltest and Shilard Fitz-Oesterlen at the beginning of this quest, particularly when wounded soldiers are mentioned. This is a direct reference to a similar famous conversation said to have been held by Napoleon Bonaparte and Tsar Alexander I, shortly after Napoleon’s victory at the Battle of Austerlitz. |
To hit Etcheverry, you need to aim just a little bit below him with the spyglass, so that you’re hitting the wall. You’re roughly trying to aim at where Etcheverry’s feet would be. If you do this correctly, Geralt gives King Foltest the correct instructions to hit Etcheverry and other soldiers on the battlement with the ballista. This unlocks the Eagle Eye achievement for you. If your aim is off, then the ballista’s bolt misses and you may face more enemies on foot later in the quest.
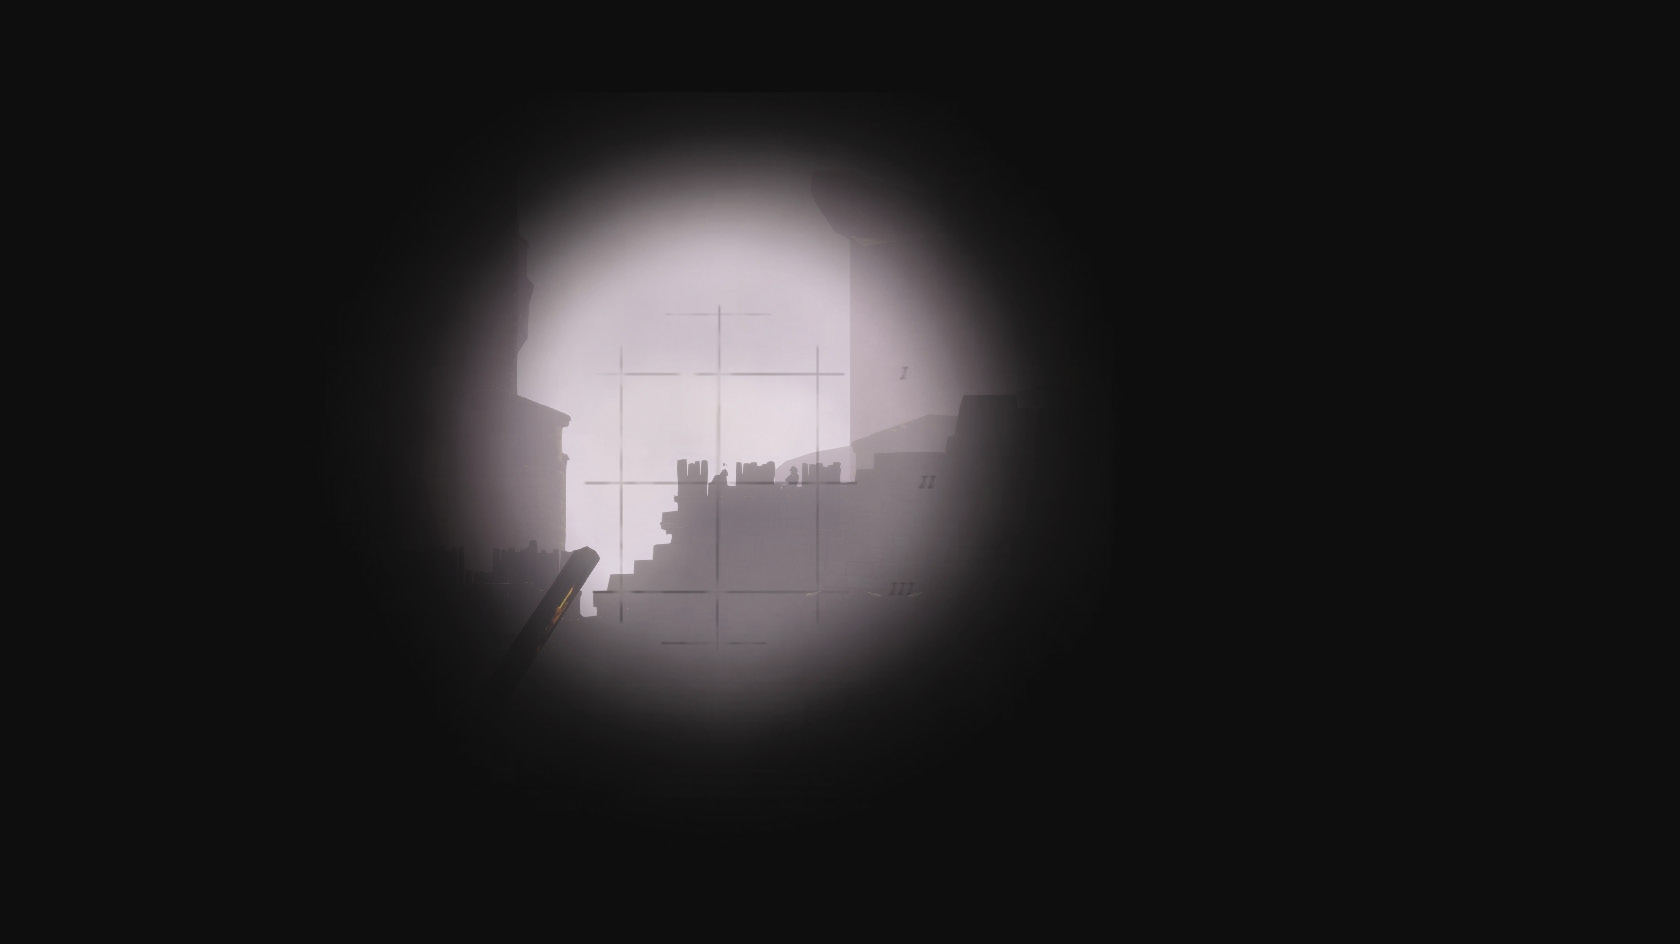
After the ballista fires, you follow King Foltest into his massive multistory siege tower. Once you reach the top of it, By the King’s Will concludes and you briefly return to Geralt’s conversation with Roche in the present. At this point, select “The assault” to trigger the next part of the Prologue’s series of main quests. Again, you can choose to skip ahead, but this isn’t recommended.
Day of the Assault: Morning
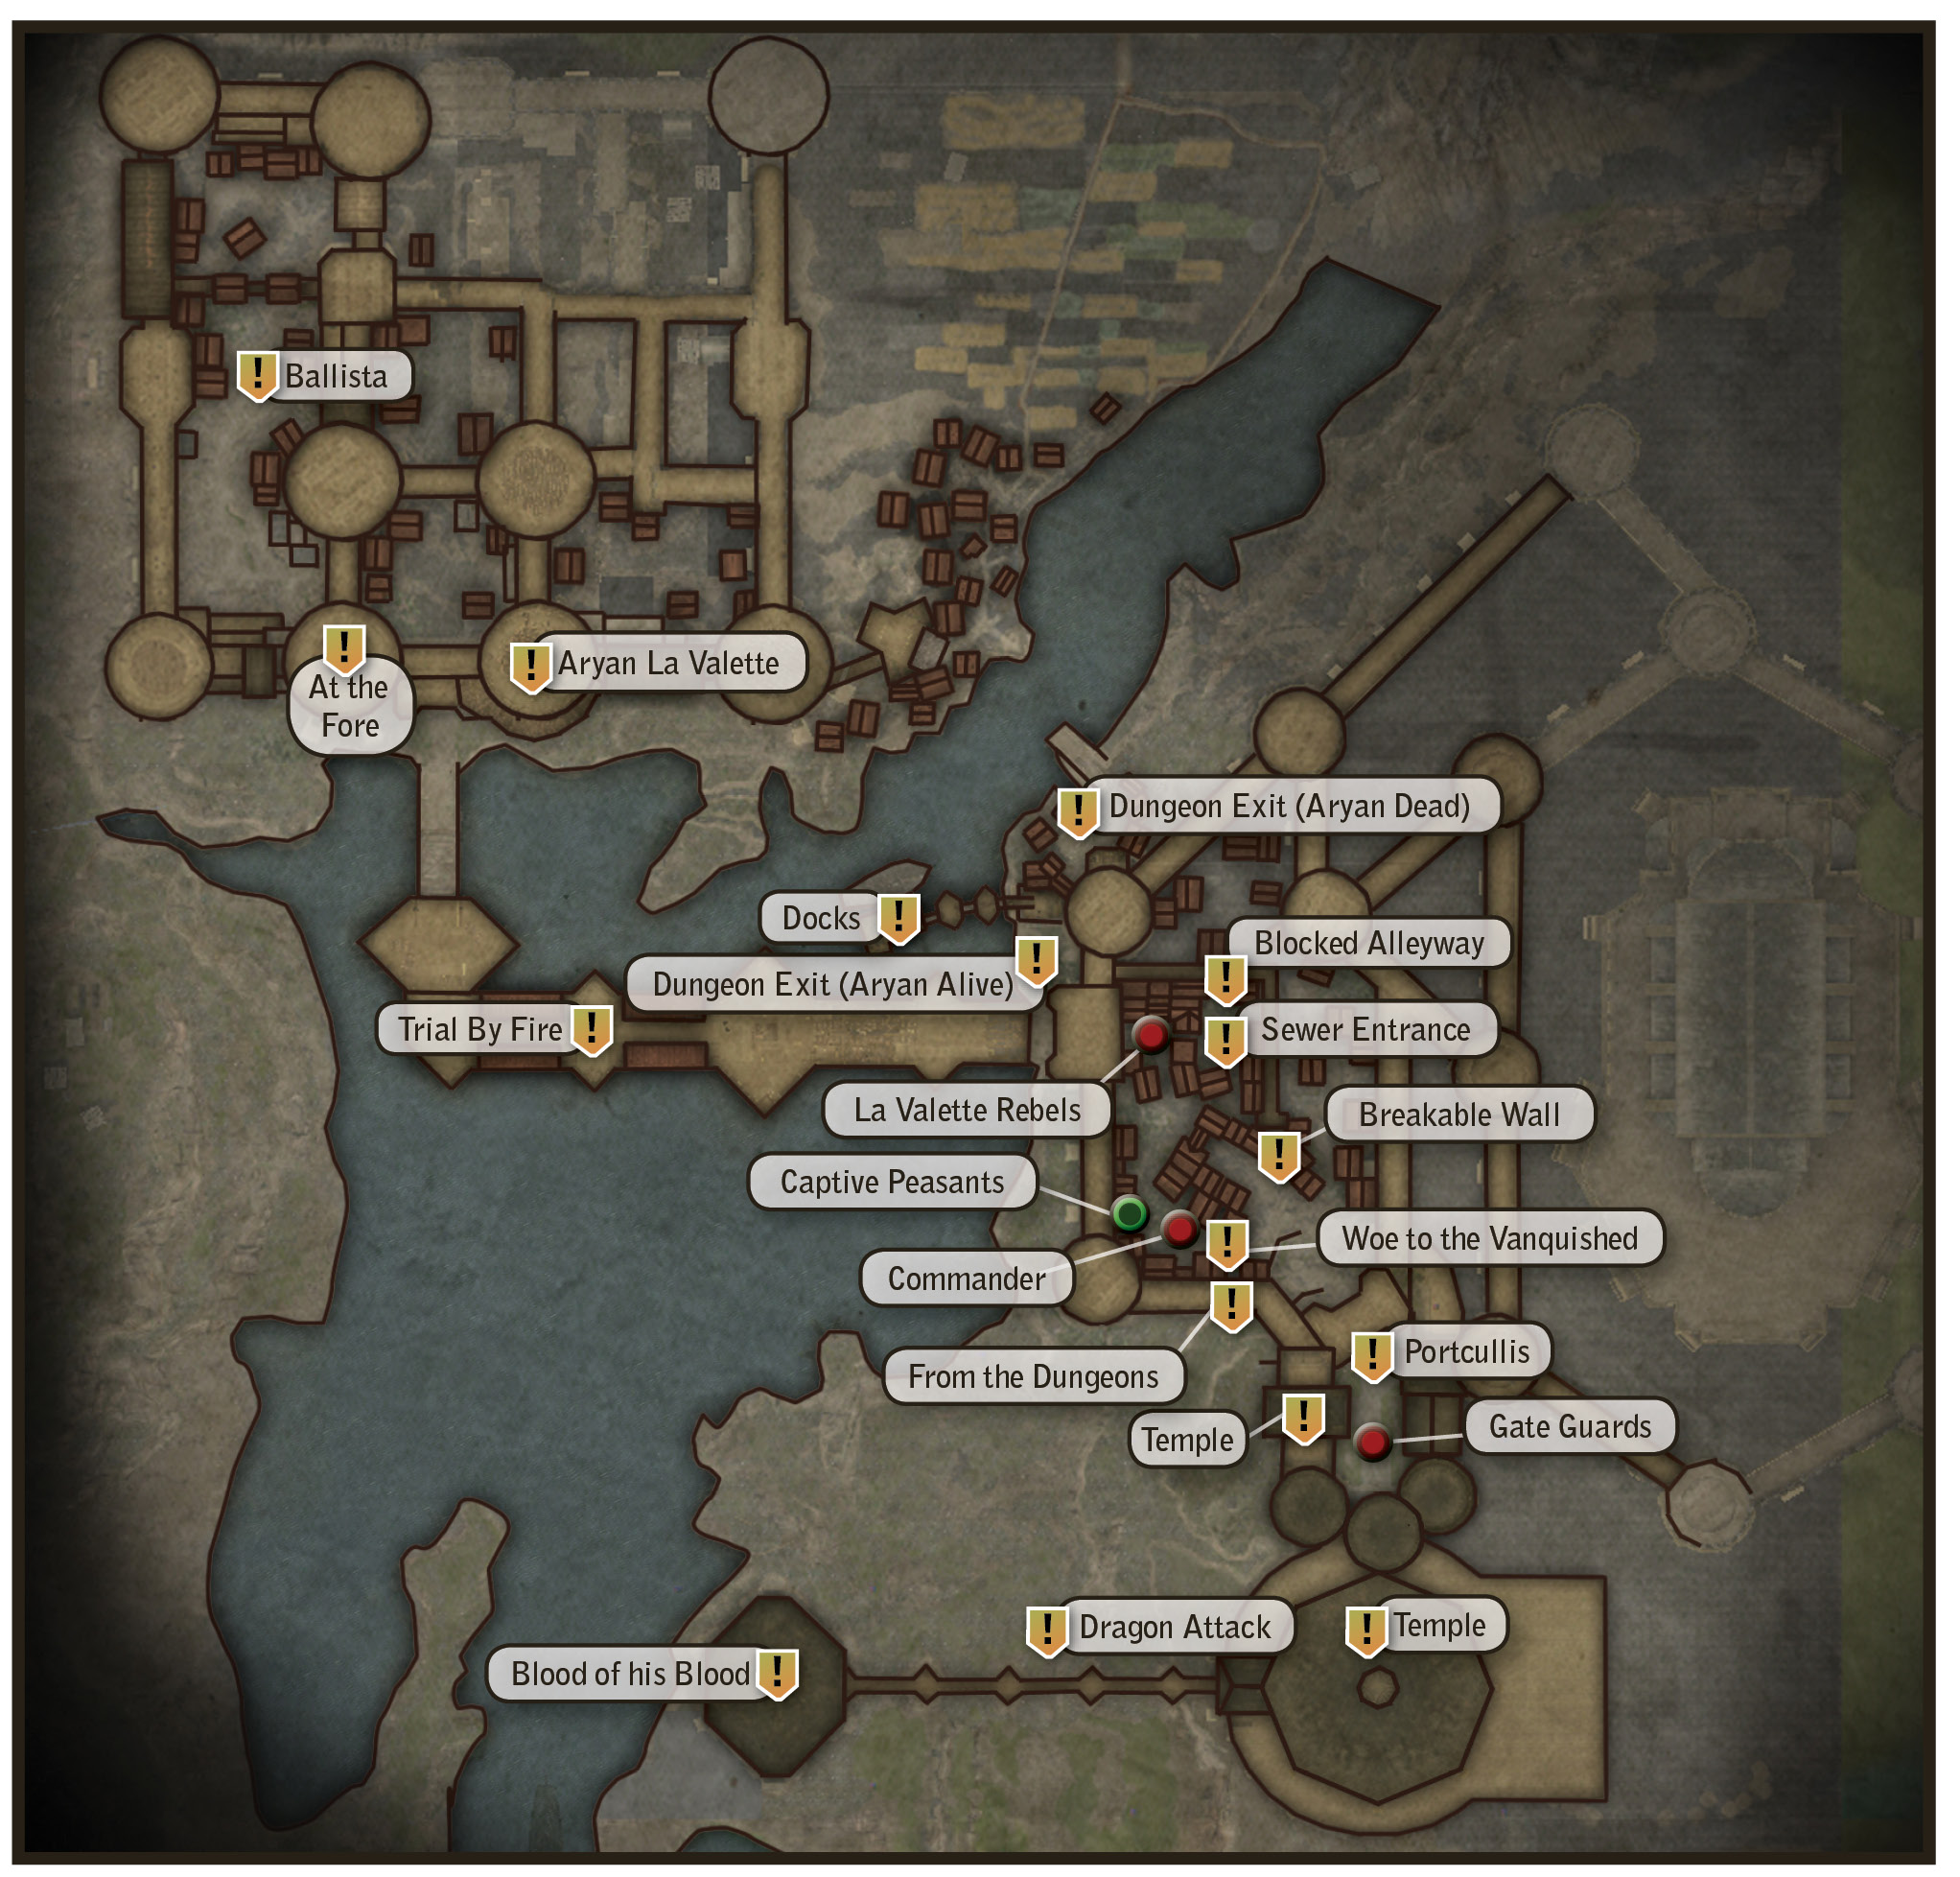
 At the Fore
When you exit the siege tower, you can get your first taste of combat. Foltest’s heavily armored men can easily win the day here, but you can join in to end things more quickly.
After this skirmish ends, you find the way ahead of Foltest’s men blocked by archers firing a wall of flaming arrows down from a tower. You’re tasked with seizing control of a ballista in the courtyard below and using it to eliminate the archers. This battle can serve as an excellent opportunity to improve your skills in combat.
 Barricade
This may sound a bit obvious, but once you have control of Geralt, do not walk directly forward after you descend the ramp. Your witcher powers cannot save you from flaming arrows. Instead, look carefully around the left-hand side of the battlement you’re standing on for a way to safely climb down into the courtyard. You should find an area where the battlement crumbles, with a series of wooden scaffolds below it.
Don’t immediately set foot in the courtyard. The moment you do, Geralt is going to be under attack. Instead, pause at some point during your climb and meditate. If you’ve been collecting herbs diligently, you should have enough to brew some Rook, Golden Oriole, and Petri’s Philtre potions in addition to the Lapwing and Swallow potions you should be already carrying. (You’ll also have some Cat potion, but this isn’t one you want to use in a fight.) You can also use alchemy to create extras of certain bombs, oils, and potions you’re already carrying.
At the very least, drink a Swallow potion before you step into the courtyard. At your Inventory menu, make sure you’ve equipped your bombs, traps, and throwing daggers to your pockets and selected one for immediate use. Bombs and traps are particularly useful here, since you can use them to affect multiple enemies at once. If you use the conflagration traps, be careful not to set yourself on fire. If you do, you can use the Quen sign to quickly put yourself out.
Make sure a sign you want to use is also set to your active slot. While you can switch signs in battle, time only slows down slightly while you’re in the menu that lets you do so. It’s generally easier to assign a sign you want to use to your active slot before a battle, then stick to using that before the fight ends. This guide recommends Quen for this fight (and most others), but you can try using whatever works for your personal play style. Axii can be particularly useful when fighting groups of enemies like the soldiers here.
Finally, you should be carrying some hanged man’s venom that you can use to oil your steel sword before the fight begins. Once you’ve applied all of your buffs, drop into the courtyard and be ready to start fighting. Three soldiers in mail are waiting for you. With all of your buffs up, you should be able to dispatch them rapidly with light attacks. If you get surrounded, use Geralt’s dodge roll to get clear. Even with buffs up, Geralt can be quickly killed if he gets trapped in a knot of enemies.
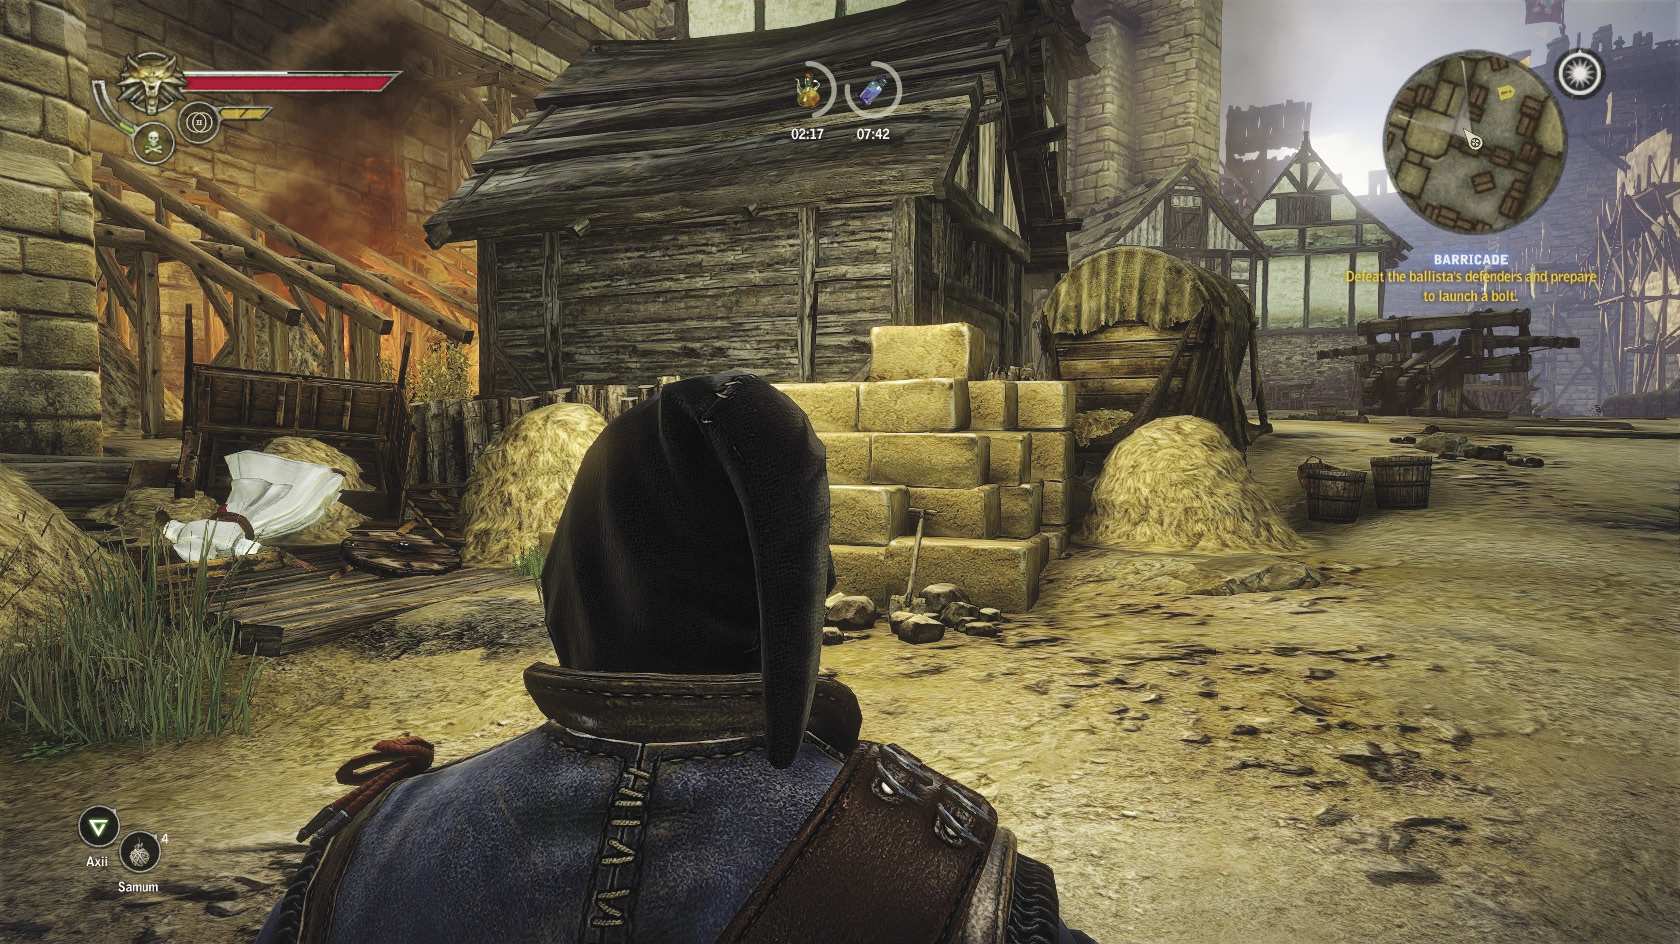
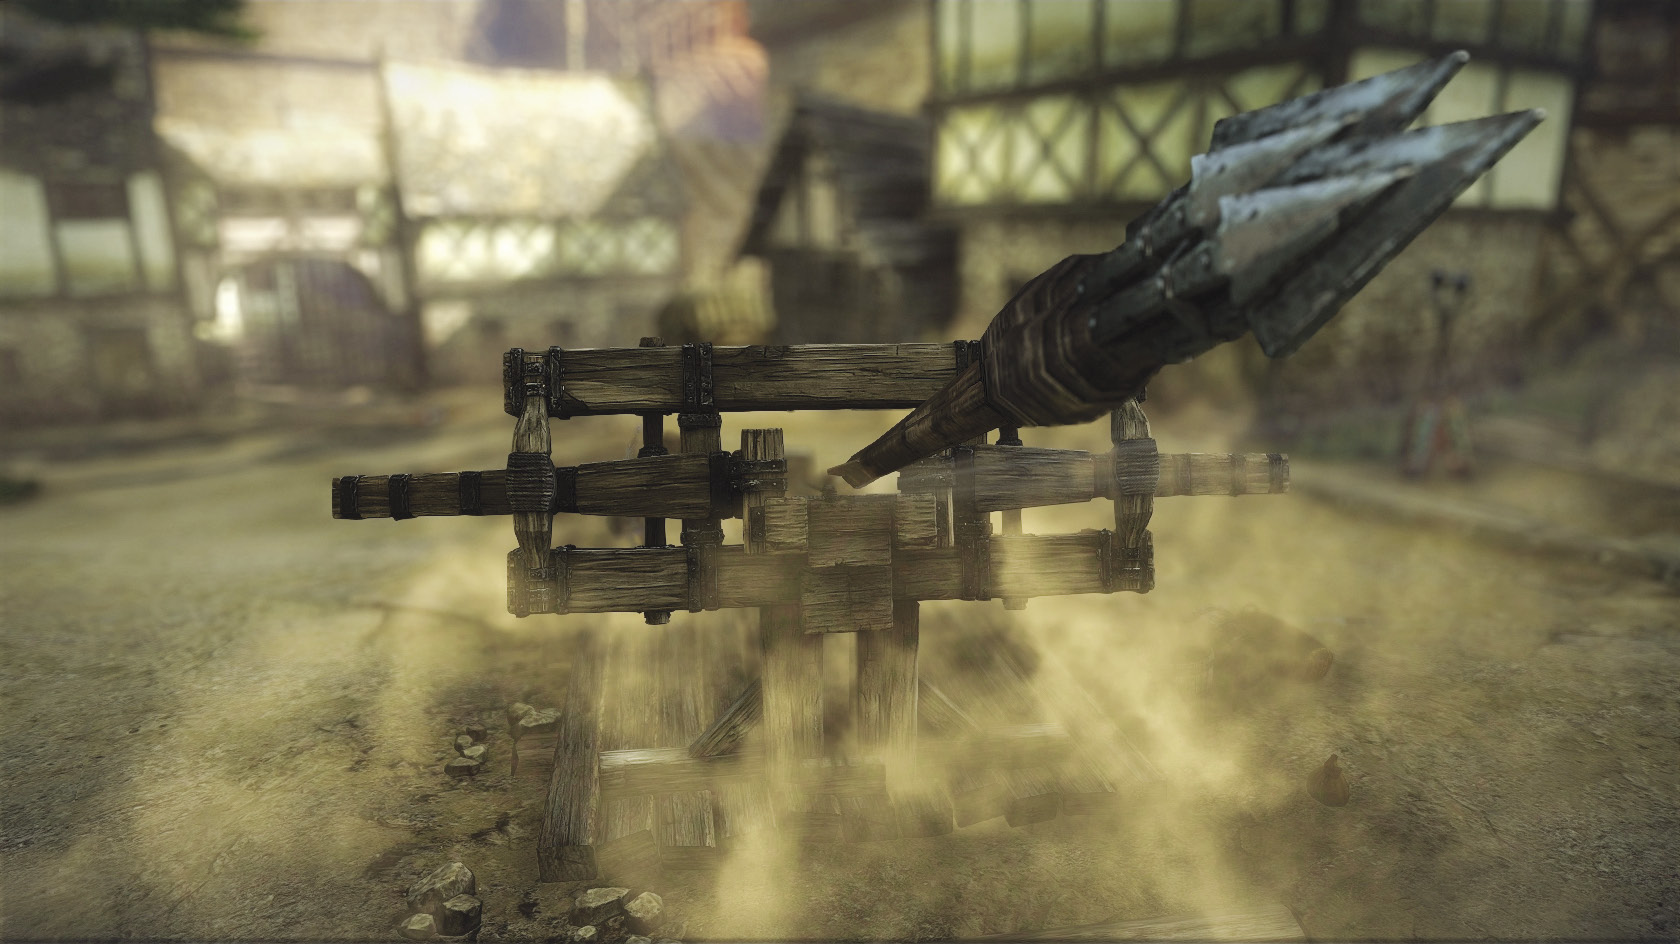
There’s a group of four soldiers in mail lurking behind a pile of lumber, but you can mop them up later. Instead, after you dispatch the first group of enemies, head toward the ballista. This triggers an attack by another group of enemies—one carries a tower shield and another wears plate. Pick off the lightly defended enemies first, then work on the heavier ones. If you can catch the whole group with a samum bomb, you can easily roll around to your foes’ backs and hit them with heavy blows. You can also defeat the heavy foes more methodically by blocking their blows, then counterattacking. If you’ve used hanged man’s venom, a handful of blows can take down even the most heavily armed foes in this part of the game.
Two archers remain between you and the ballista. Use your signs to help take them out, either directly with Aard or Axii, or by tossing on Quen and rapidly dodge-rolling toward them so you can take them out at melee range. Once the archers are cleared, you need to take out another knot of soldiers, one of whom has a shield, before you can crank the ballista. After you do, a few more soldiers attack. Take them out quickly, then aim the ballista. Two more soldiers, one in plate armor, attack.
After you’ve defeated them, you can fire the ballista—but first take a look around. Not too far from the ballista itself, you should find a white-clad would-be assassin who died trying to leap from an impossible height into a pile of hay. Finding him gains Geralt the surprisingly useful Assassin attribute.
|
Assassin’s Creed fans may notice that the dead assassin is modeled on Altair, the hero of the first game in the series. It’s worth noting that the first Assassin’s Creed game’s flashback sequences take place during roughly the same period of history that the world of The Witcher books is modeled on. |
When you hear King Foltest tell his men to charge, you’ve almost cleared the mission. Gather up any drops your defeated foes have left behind and then go to mop up the soldiers hiding behind the timber. Behind them is a stone stairway you can use to make your way to some scaffolding. Climb the scaffolding to reach the battlements again. Head toward the tower to rejoin King Foltest and complete the quest.
 At the Fore
Join Foltest and his knights in battle against the La Valette soldiers. You won’t be in much danger here, but one of the enemies does have a tower shield. Follow Foltest until his way is blocked by a wooden barricade. While his axemen chop it down, prepare yourself to fight in close quarters. Since Geralt’s dodging options are limited, this fight can be surprisingly dangerous to you. Prepare yourself to use Yrden or Quen to help you thin the number of enemies quickly. You can conserve your buffs for later battles. Once the battle’s done, follow Foltest’s men up the ladders.
After the cutscene ends, quickly get Geralt to cover. You might level up here, but you won’t have a safe place to meditate to spend your talents. Bring up the Quen sign and activate it, then dodge-roll across the bridge while the Temerian archers give you cover fire. Quickly defeat the La Valette archers stationed at the other side. In addition to the ones behind the wooden blinds, you need to take out the ones standing on a nearby section of scaffolding. You can use Aard here to get some quick kills, by using it to knock soldiers off the edges of the walls. Head toward the top of the tower, where Aryan La Valette and his men are waiting. You can meditate before you approach Aryan, so if you intend to fight him or his men, you should prepare yourself with potions.
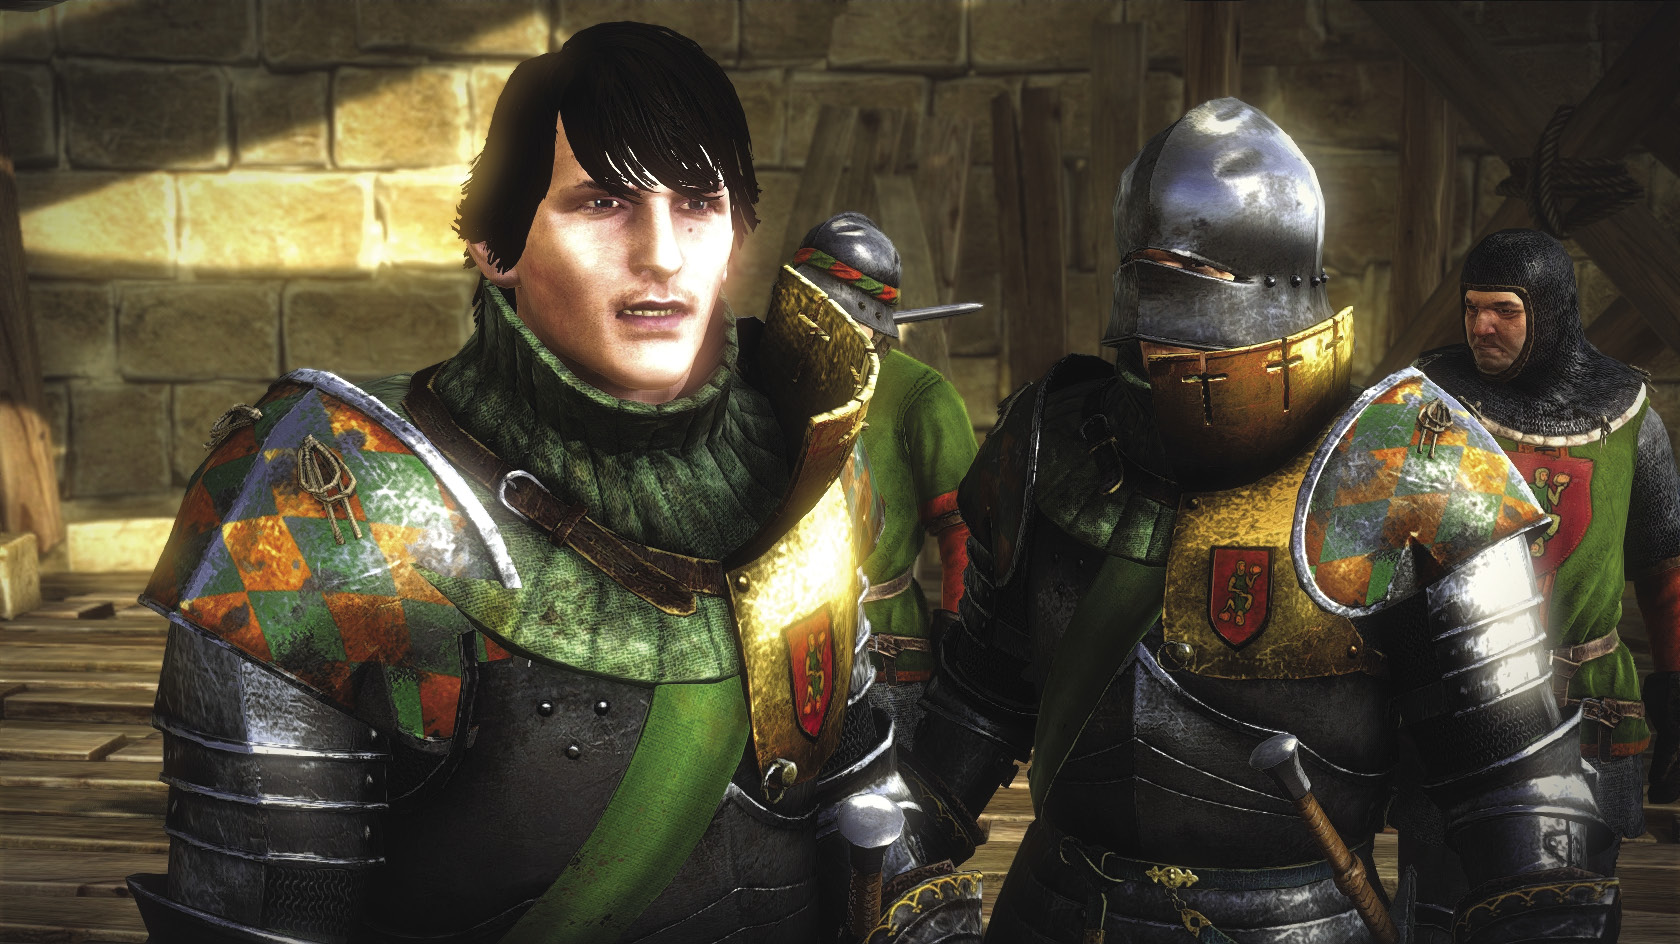
Once you enter dialogue with Aryan, he immediately challenges you to a duel and you receive dialogue options. If your response is “As you wish,” Geralt immediately enters a pitched battle with Aryan and all his men. This can be a very challenging fight, since this early in the game you have only basic skills at your disposal. If you intend to do this, you should make sure you enter the dialogue fully buffed.
When the fight begins, first focus your energy on taking out all of Aryan’s archers, who fire on you from the left edge of the tower. Quen is essential for this phase of the fight. Once the archers are down, focus on eliminating the lightly armored soldiers with Aryan (there are about four). Bombs and traps are invaluable here to act as crowd control and deal damage. Once you’ve whittled the numbers down to Aryan and his two knights, switch to the Yrden sign. Aryan’s knights are probably close to death, so you can finish them off when they set off Yrden or pick them off while Aryan is stunned. Once it’s just you and Aryan, you can finish him off with Yrden or simply by blocking and counterattacking.
If you say “Surrender and save your men,” you initiate a chain of dialogue options that can lead to a much simpler resolution. Aryan responds to you by giving a speech to his men. After that, if you say “Drop your weapon, fool,” Aryan relents and surrenders. This makes it possible for him to survive the Prologue, since you don’t fight him.
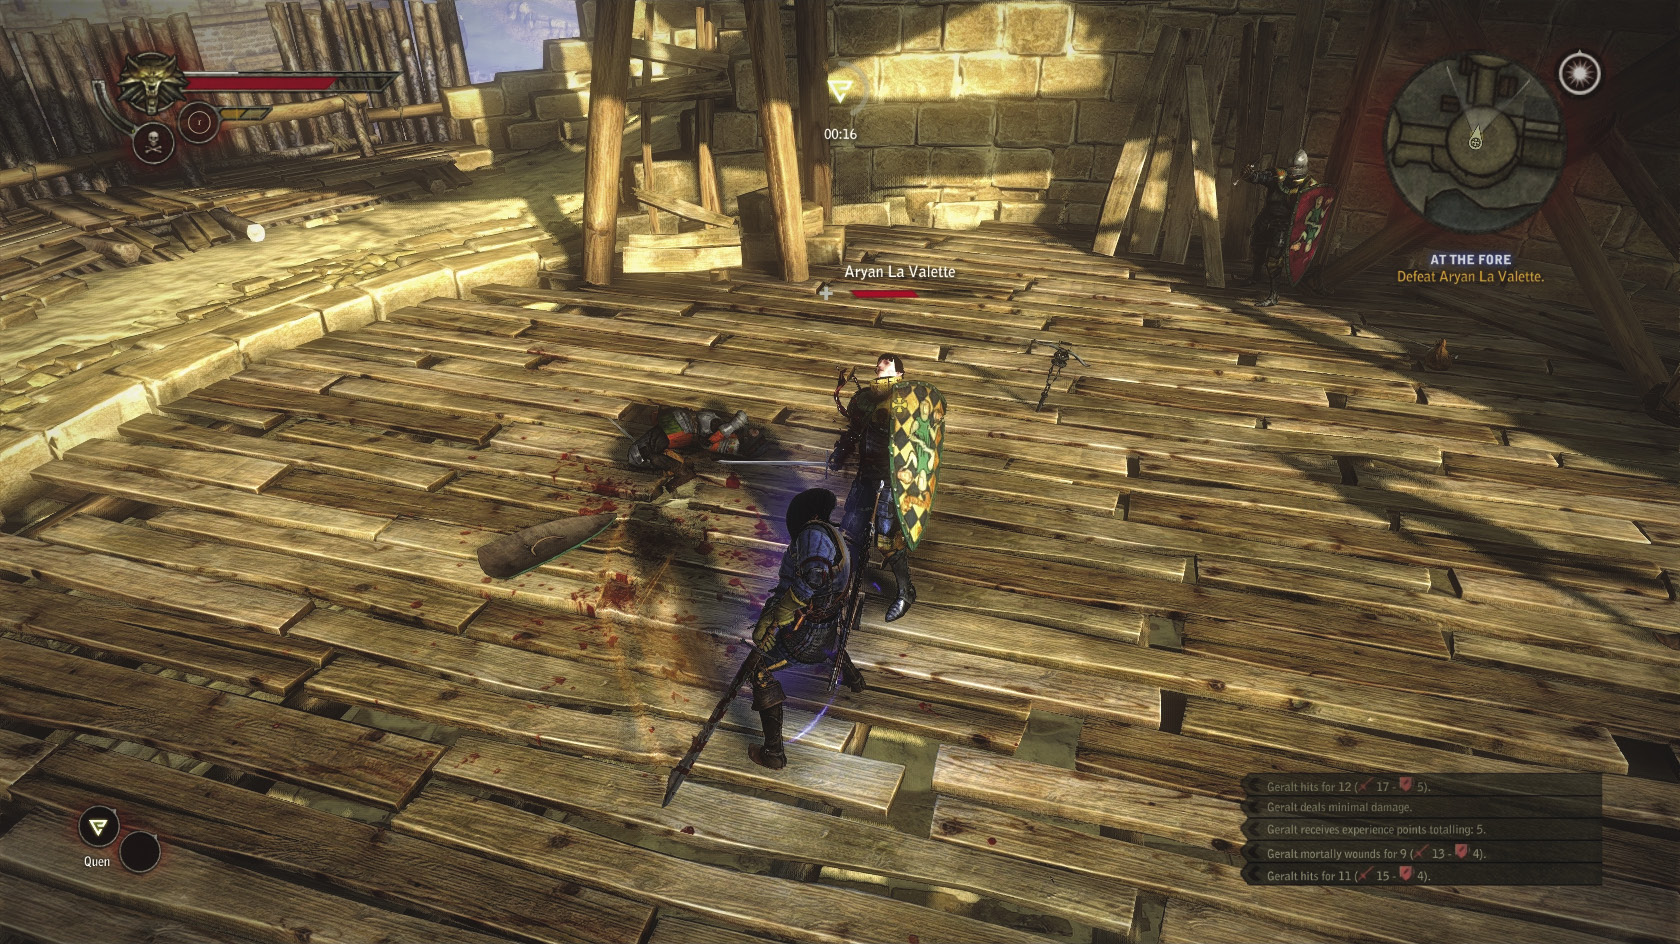
If you say “Let’s settle this between us,” Geralt fights Aryan in a one-on-one duel to the death. Aryan hits much harder than any enemy you’ve faced so far, but he’s not especially difficult to beat when you face him alone. You can stagger him with Yrden or simply block and counter his blows as you’ve done with other armored foes. If you want Aryan to remain dead in your game, but don’t want to spend time on the challenging battle against all of his men, take this option.
If you choose to save Aryan, then when Geralt’s flashback ends Roche comments that Aryan is also in the La Valette dungeons. If you kill Aryan, Roche comments on his death. At this point, you get another dialogue choice that determines what the next segment of action in flashback will be. You should continue to make your selections in order if you’re playing for the first time.
Note that Aryan La Valette being dead is one of the conditions required for Geralt to obtain the Executioner character attribute much later in the game. That said, you can only obtain Executioner if you side with Roche at the end of Chapter 1. If you side with Iorveth, you won’t be able to kill the other NPCs who must be dead for the attribute to unlock. If you think you may side with Iorveth, it’s best to save Aryan La Valette so you can obtain the Strong Back character attribute instead.
Day of the Assault: Noon
 Trial by Fire
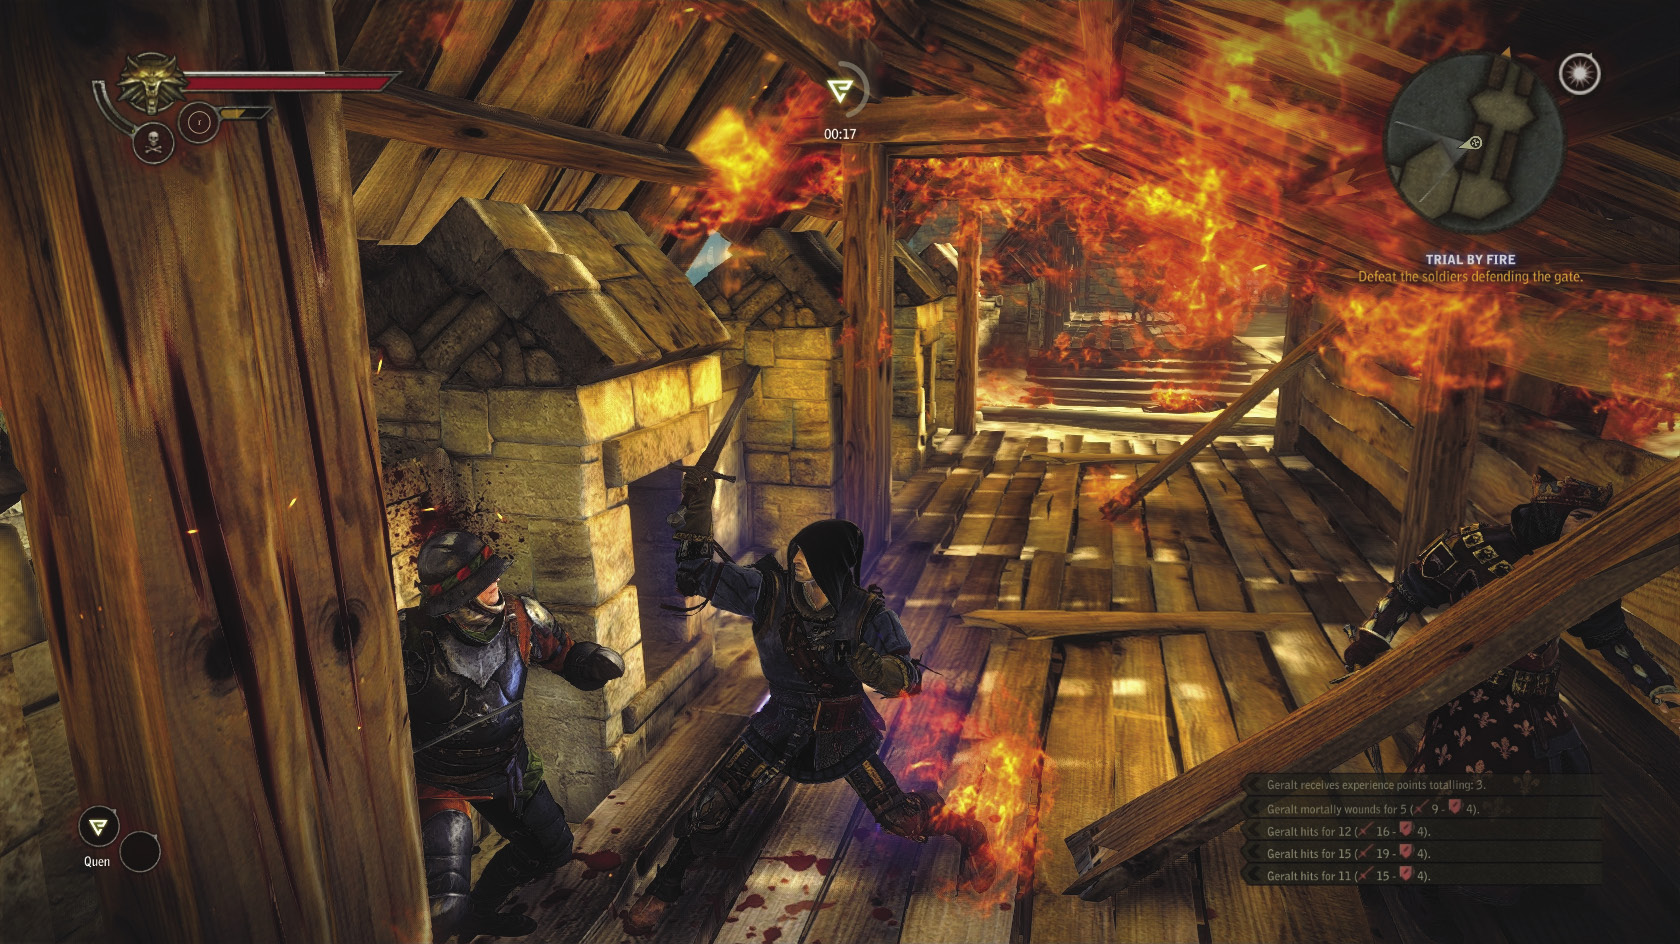
After the cutscene ends, quickly use Quen, which helps mitigate damage from the dragon’s fire. Wait for the dragon to fly off before you head forward. To pass through the area safely, make sure you stick by King Foltest and Triss as they enter the tunnel to the left side of the bridge. Don’t linger in the tunnel too long, as it can catch fire and begin damaging you. Stay as far to the left as you can, as the dragon’s fire can damage you through the right side of the tunnel wall when it sweeps over. There are La Valette soldiers to fight here and some may be heavily armored.
Running past them isn’t a good idea because they’ll follow you. Just keep Quen up and patiently take them out one by one. Foltest, Roche, and Triss will help you. Once you reach the end of one tunnel, pass into the second, then fight the handful of enemies beyond. When Triss freezes the collapsing arch above you, continue forward. Run as quickly as possible across the burning bridge. If you make it through all this without being killed, then you’ve cleared the quest.
Day of the Assault: Afternoon
 To the Temple
This quest lets you explore a large portion of the town around the castle. You can loot an astonishing number of crafting materials and loose orens here just by stepping inside abandoned houses and scanning with your medallion. There’s also a fairly lucrative side quest you can trigger. When you’re done with looting the town and ready to trigger the side quest, proceed down the left path at the fork at the bottom of the initial winding path that leads into town. A peasant woman flees from a house, just to be cut down by a crossbow bolt to the back. Head into the house to challenge the soldiers who killed her.
 Side Quest: Woe to the Vanquished
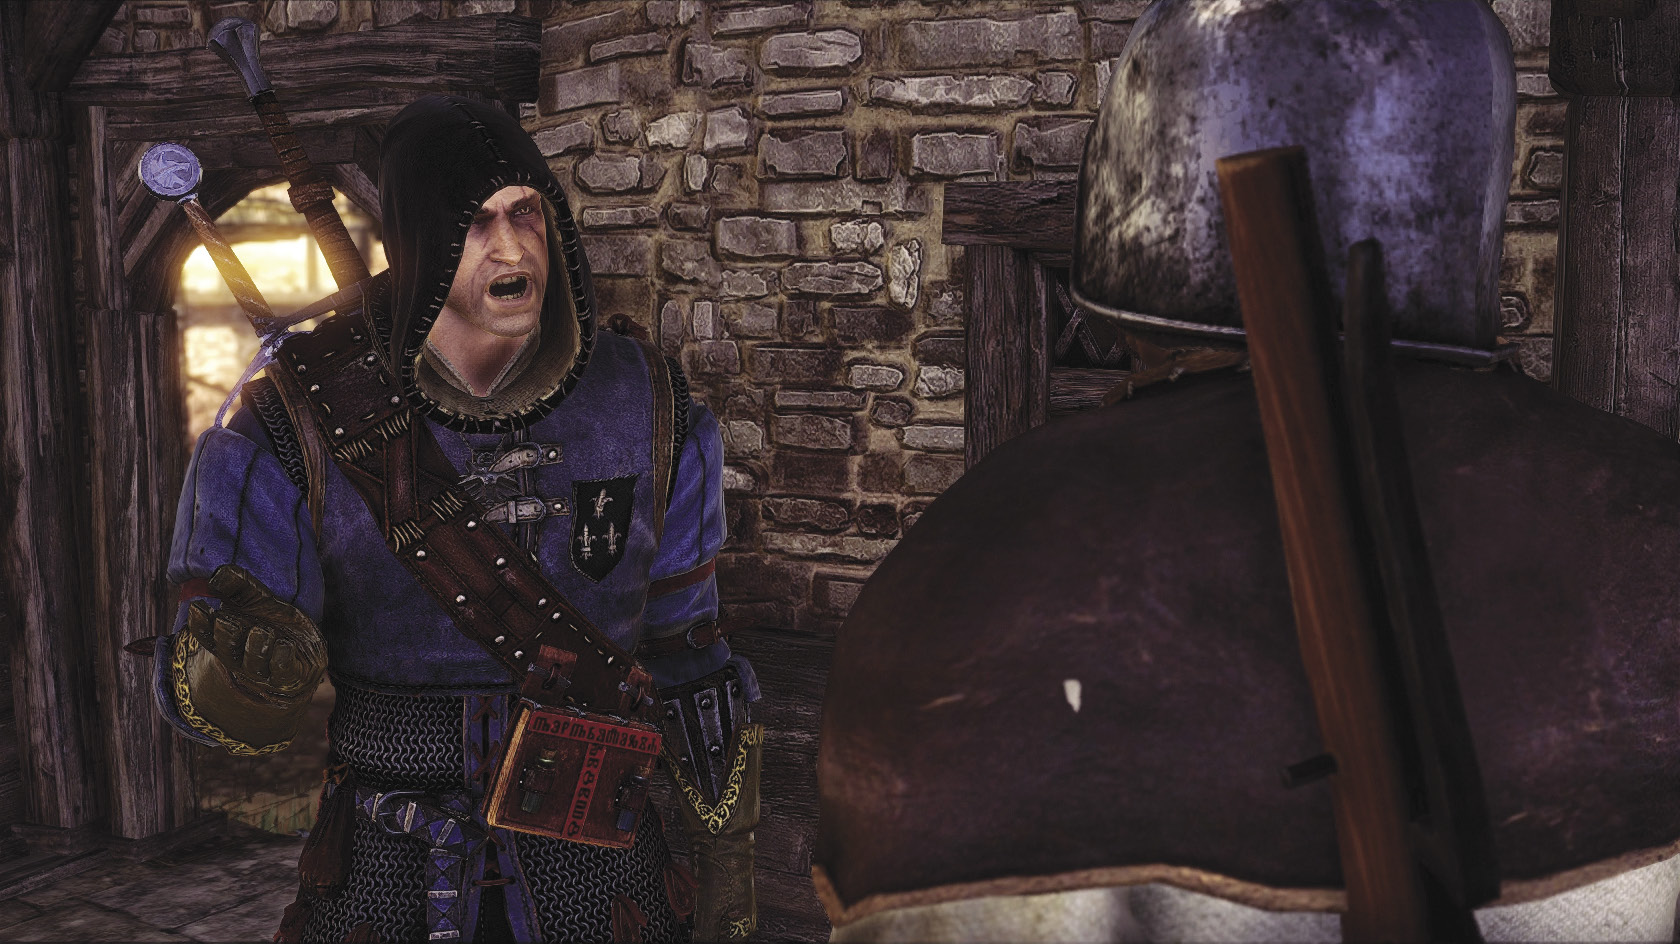
After you enter the house, speak to the soldiers who are threatening the remaining peasants. This triggers a conversation. As you can see, the dialogue options are all special decisions, so there is a chance of failure no matter what you pick. Since this is the first time you use any of these options (Persuasion, Axii, or Intimidation), none of them will be leveled up. That means the chance of failure you face with each option is basically random. It can be very difficult to progress the quest from this point without a lot of saving and reloading. In fact, you can try an option, fail, reload, then try the exact same option and succeed due to the strong influence randomization has at this point in the game.
Note that if you use Axii successfully here, you can unlock the Conjuror attribute at a usefully early point in the game. Using any of the special decisions successfully levels up the attribute, which levels up further (up to three levels) as you continue to be successful with it. With the attribute at higher levels, it’s more likely to work on NPCs, so you should try to succeed in this quest with a special decision type you plan to specialize in later in the game. Usually you can level up Persuasion in addition to Intimidation or Axii, but it’s relatively difficult to max out your levels in all three.
If the special decision option you pick succeeds, the soldiers leave peaceably under your influence. From here you can successfully complete the quest. If your special decision option fails, Geralt is forced to look on helplessly as the soldiers mow down the surviving peasants with crossbow bolts. If you attempt to complete the quest after this, the game still considers the quest failed no matter what you do. You can earn a small reward by continuing, but it’s not as worthwhile as the reward you get for completing the quest successfully.
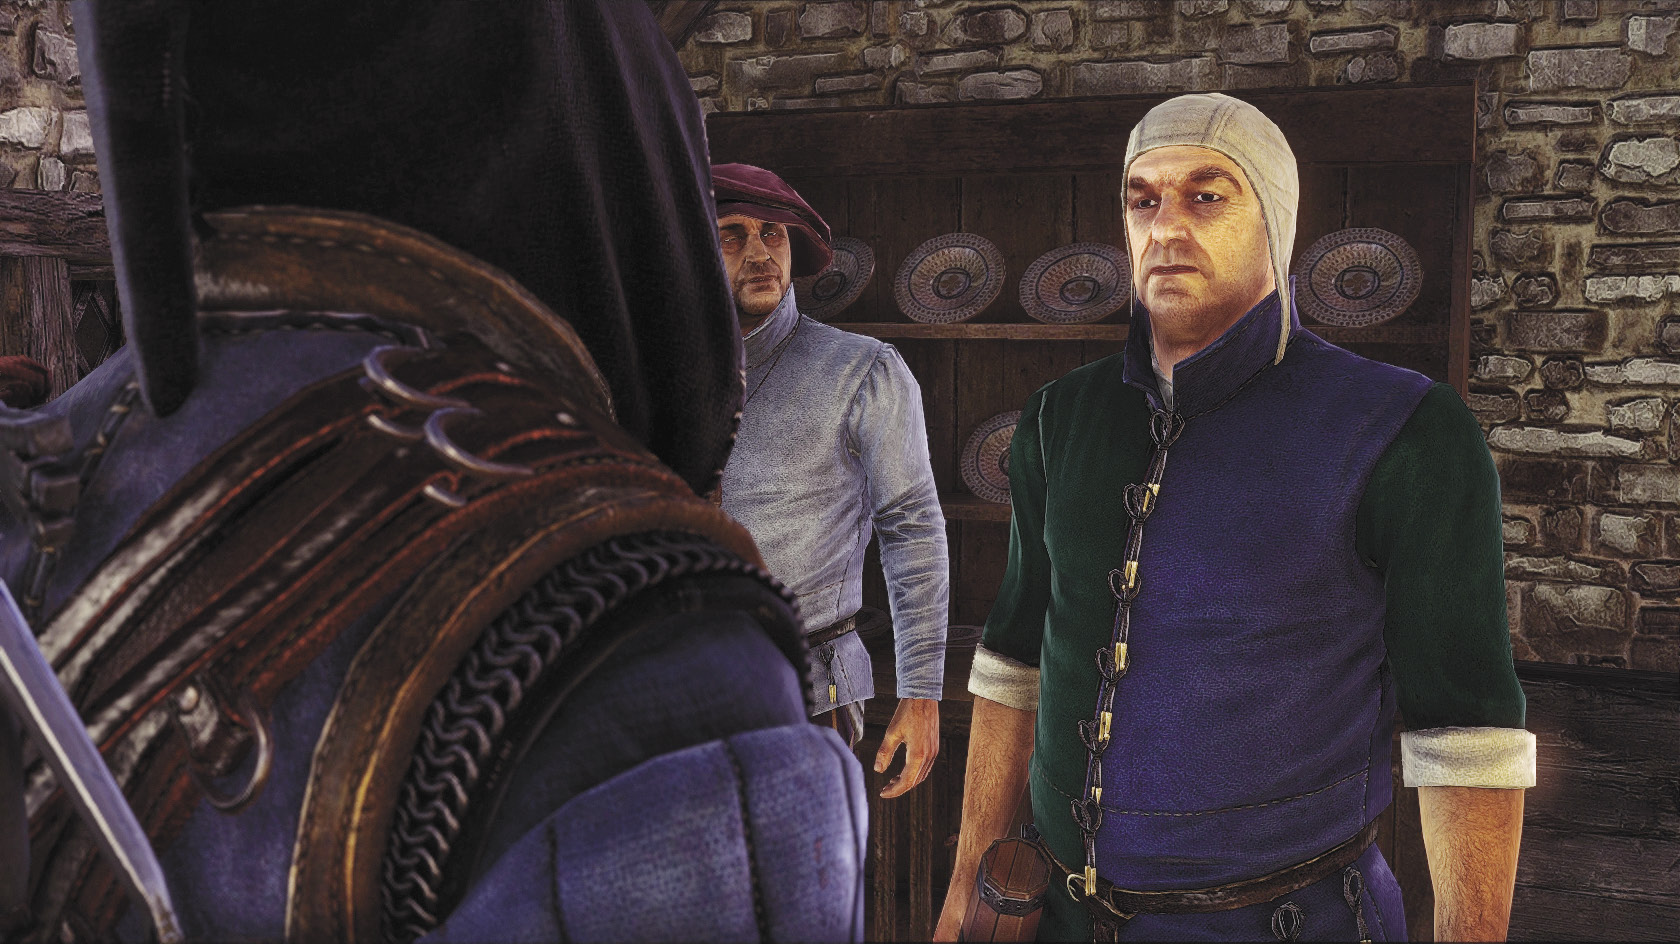
If you successfully save the peasants, you get a dialogue option. If you choose “Help comes at a price,” you take 10 orens from the peasant and gain 30 experience points. If you say “Take care of yourselves,” you gain 50 experience points. In situations like this, experience points are always more valuable than orens. Refusing also opens the door to gaining greater rewards down the line. You can have Geralt play the mercenary if you like, but there’s no story payoff for that. You just end up depriving yourself of easy early-game experience points for no reason.
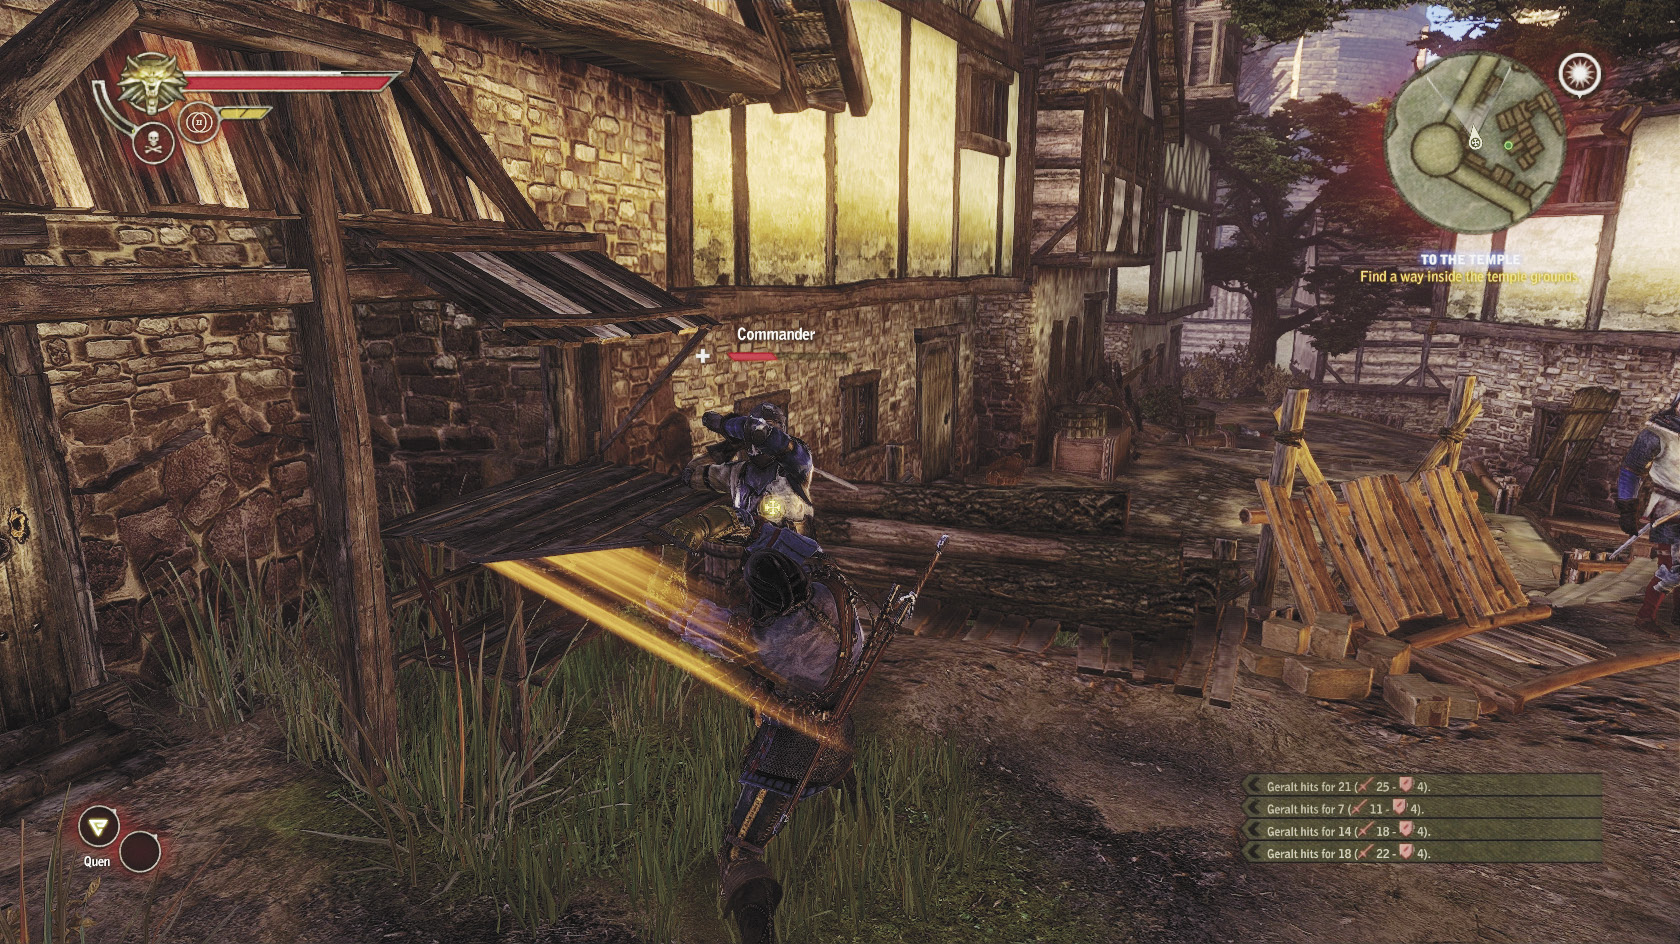
After the cutscene with the peasant, seek out the commander of the Temerian forces in the camp. He’s close by; just continue circling down the left-hand path fork you took to reach this particular house. Say “Leave them alone” when you get a dialogue option. At the second dialogue option, say “I won’t let you hurt these people.” If you take the other dialogue option at either opportunity, the quest abruptly ends.
Defying the commander initiates a brief one-on-one fight with him. He’s a heavily armored opponent but easy to defeat, by either blocking his strikes or lunging at him with a heavy attack after he whiffs a blow. When you’ve reduced him to around a quarter of his HP, the commander surrenders and agrees to leave. Go to the nearby door where the Temerian soldiers were piling wood and rubbish. Open it to free the peasants trapped inside.
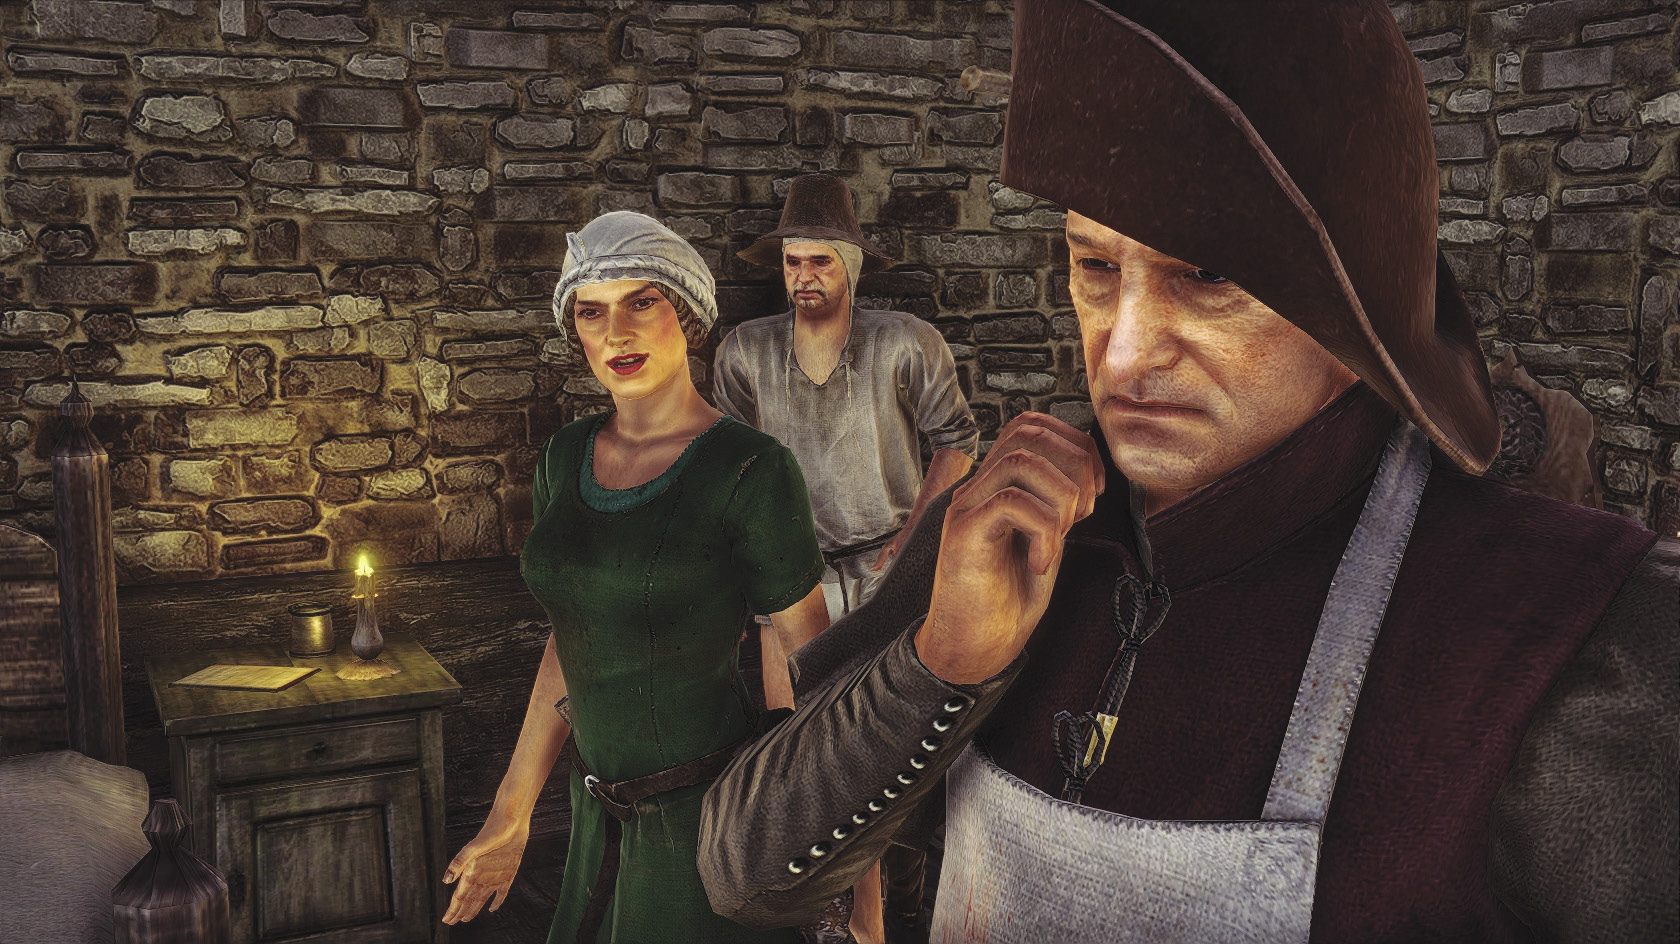
Once you’re inside, a dialogue begins with them. If you say “I need to be paid,” you receive 75 experience points and 20 orens. If you say “Be careful,” you receive 100 experience points. At this point, the game tells you the quest is complete, but there will be a lucrative coda to it later on (if you weren’t selfish, that is).
 To the Temple
Resume heading down the left fork in the road you’ve been following. Be sure to pick every herb and gather every bit of loot you can from the accessible houses. You can earn a lot of orens and find some very valuable drops if you get lucky on the loot spawns, while the herbs come in handy in a later chapter. As you loot your way down the path, you eventually come to a Temerian soldier fighting off a handful of La Valette soldiers. Help defeat the La Valette soldiers and the Temerian comments that he thought the area was secured.
Go down a little bit farther and suddenly a narrow alley is blocked by a cart. Finish looting the left fork, then circle back around to begin exploring and looting the right fork of town. Toward the end of the right fork, you come to a dead soldier propped up in a short passage. The end of the passage is boarded up, but you can destroy the obstacle with Aard. Pass through to find a new area of town.
Three La Valette soldiers attack you immediately after you emerge from the passage. They’re lightly armored, so defeating them should be trivial. Once they’re down, loot the area of herbs and items. Most of the doors are locked and you won’t be able to open them. When you’re through looting this area, walk toward the well that lights up whenever you scan with your medallion. To progress the main plot, climb down into the well. Do not climb down the well before your business in this area is completely finished, because you can never return to it.
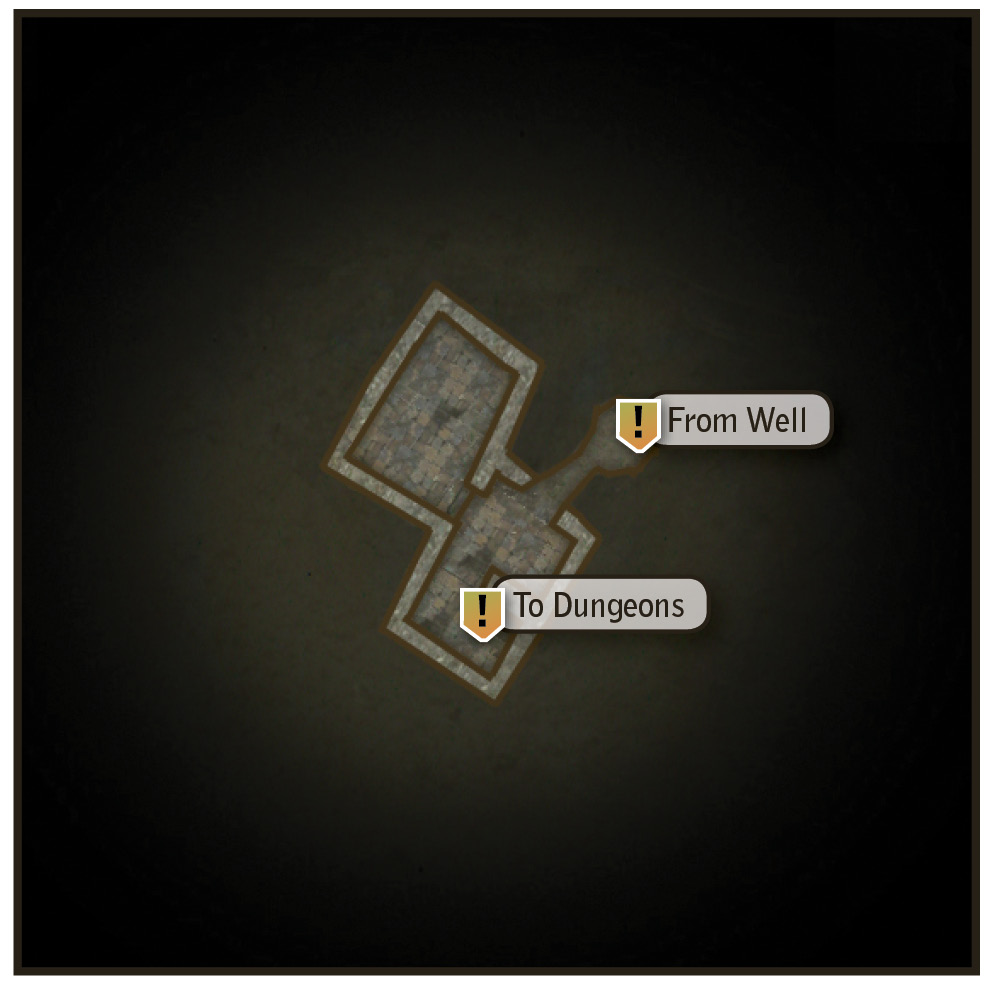
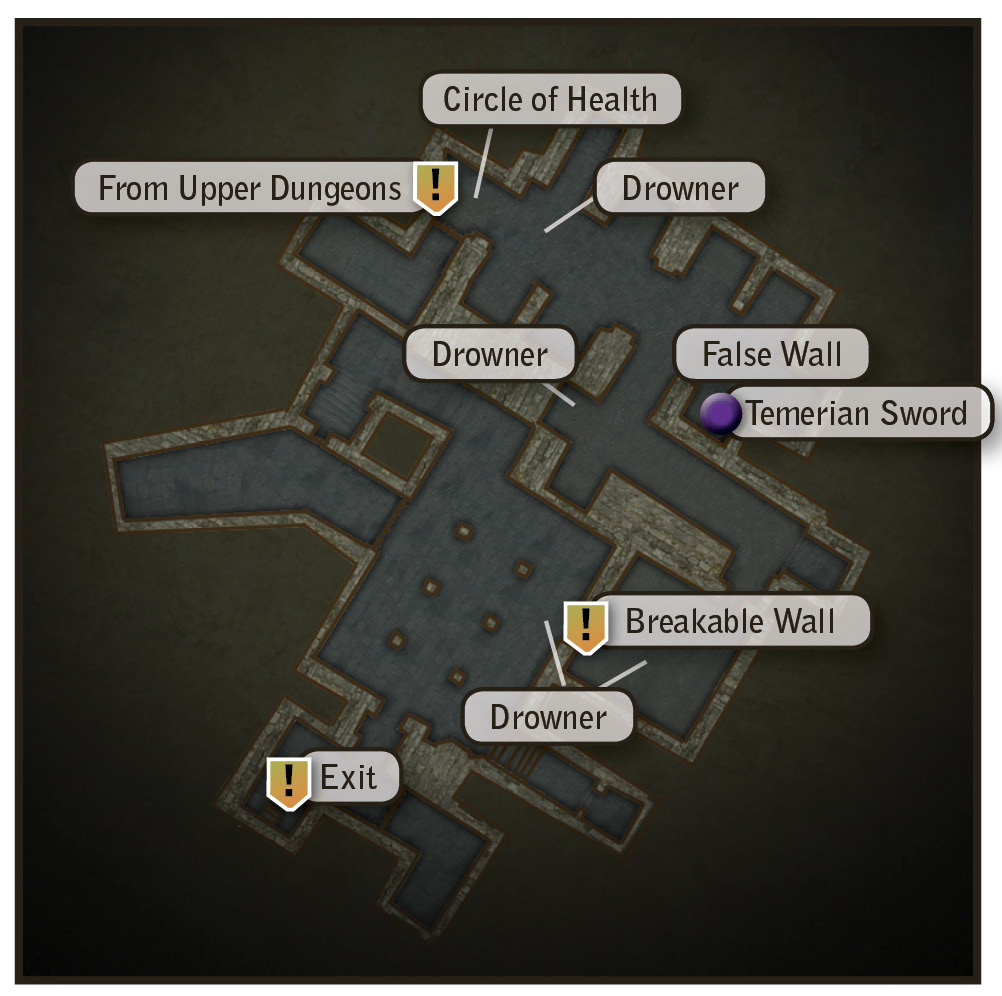
Once down in the dungeons, you have your first battles with drowners. These enemies aren’t especially difficult and can easily be dispatched without using any potions or sword buffs. If you duck into a room just to the right of where you enter, you can step into a circle of life. When you run across a stone wall that glows orange when scanned, use Aard on it to blast it apart. In the rubble, you find a Temerian sword that’s much better than the long sword Geralt is probably using now.
Proceed down the only real path open to you through the sewers. Eventually you come to a narrow passage blocked in by boards. Use Aard to blast a way clear. Be ready to be ambushed by a drowner on the other side. Eventually you reach a room full of torches you can light if you wish. Check all the other iron grates in this area; you can open the one that leads out of this area and toward the quest marker. Climb up the ladder at the end of this area to emerge into the outer temple. Note that you can’t come back to this area once you leave.
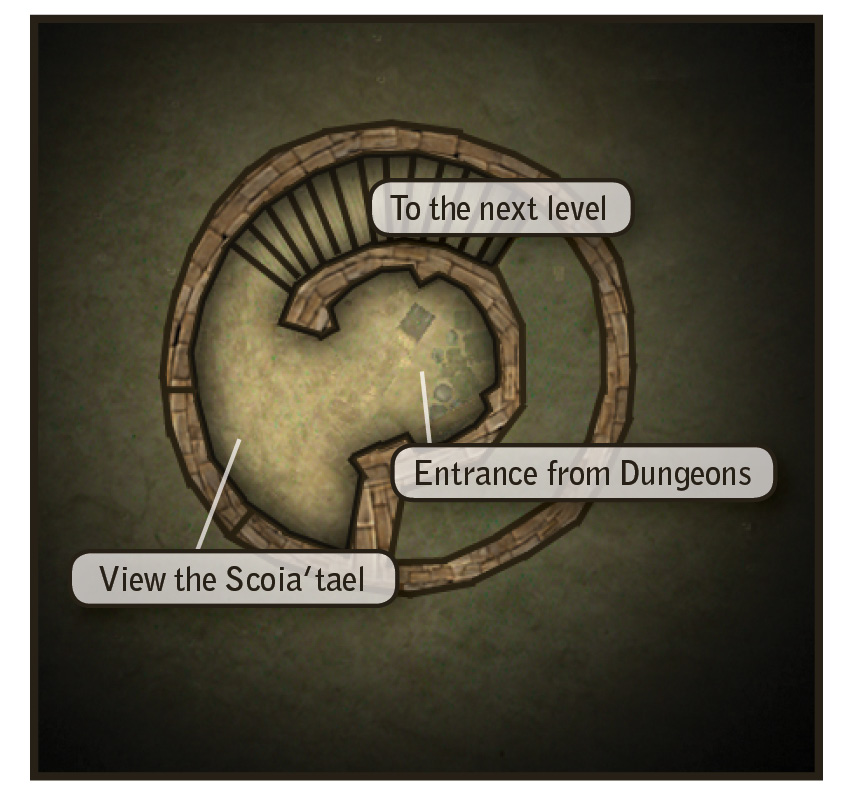
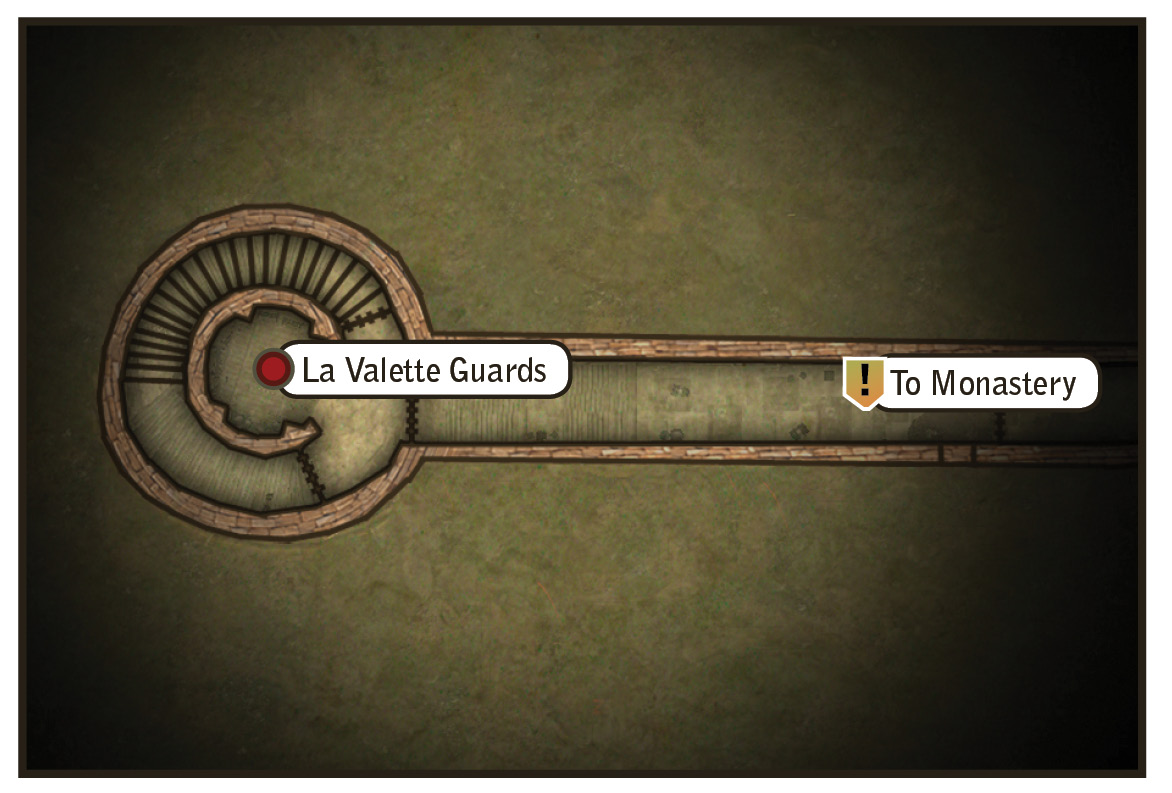
Once you climb up the ladder, there is a brief cutscene where Geralt spots some Scoia’tael on the distant river bank. You can’t do anything about them now, so instead start climbing up the stairs of the tower where you’ve emerged. When you pass into the next room, three La Valette soldiers ambush you in a very confined space. Even worse, one of them is in full plate. You can meditate and make sure you have potion buffs up before you enter here, or just make sure you’ve got Quen activated. As long as the ambush doesn’t catch you flat-footed, your survival chances are good. After you win the battle, loot the area as you work your way toward a crumbling, vine-covered wall. Climb up the vines to emerge into the monastery’s courtyard.
Once in the courtyard, you need to clear out a trio of La Valette soldiers, one carrying a shield. Be careful not to let them surround you on the winding path that leads up from the area entrance, as it can be hard to escape from them here. Try to get past them and into the wide open area at the top of the path. With room to move, you can easily take these three out with little more than Quen or Yrden. Once they’re defeated, scour the area for herbs. Before you enter the monastery, meditate, level up, craft some bombs if you need them, and drink some potions. You’re about to enter a pair of back-to-back fights that can be dangerous. If you apply potion buffs now, they should last through both battles.
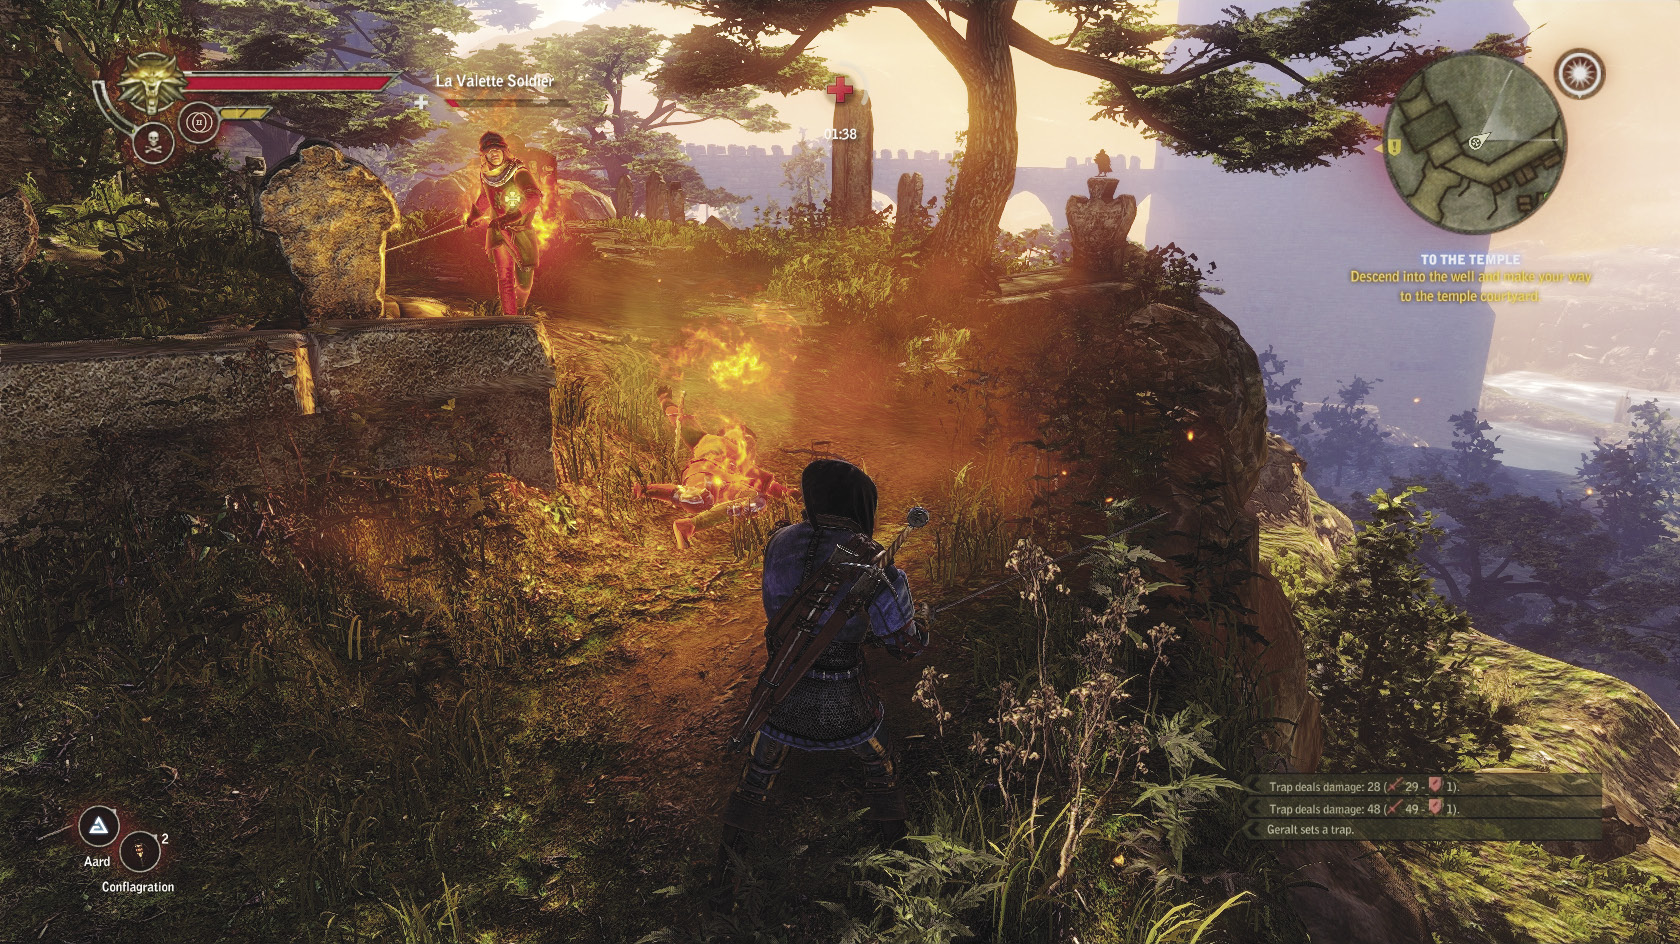
Defeat the two soldiers waiting inside the small room. Your buffs should help you do this quickly, despite the confined area. Apply hanged man’s venom to your sword, then pass through the next area. Here you find a group of La Valette soldiers waiting for you. This encounter serves as the final battle of this part of the Prologue and can be very dangerous. The courtyard is long and narrow, making it easy for the soldiers to gang up on you. Two of them are lightly armored and should be taken out first. After that, you have to deal with a shield-bearing soldier who tends to attack in tandem with the toughest of the soldiers, a knight in full plate and a huge horned helmet.
Use traps and bombs for crowd control. Keep Quen up to make sure you don’t take too much damage early on, when the fight is at its most dangerous. Once you’ve whittled the soldiers down to the one in the horned helmet, you can duel him using blocks and counterattacks. When you take out the knight in the horned helmet, he drops the gate guard’s key. Snag that, then head back into the monastery. You can use the key to open the iron gate. Loot the room beyond, then turn the wheel to lift the portcullis out in the courtyard. Return to the courtyard to greet Foltest and finish the quest.
Day of the Assault: Evening
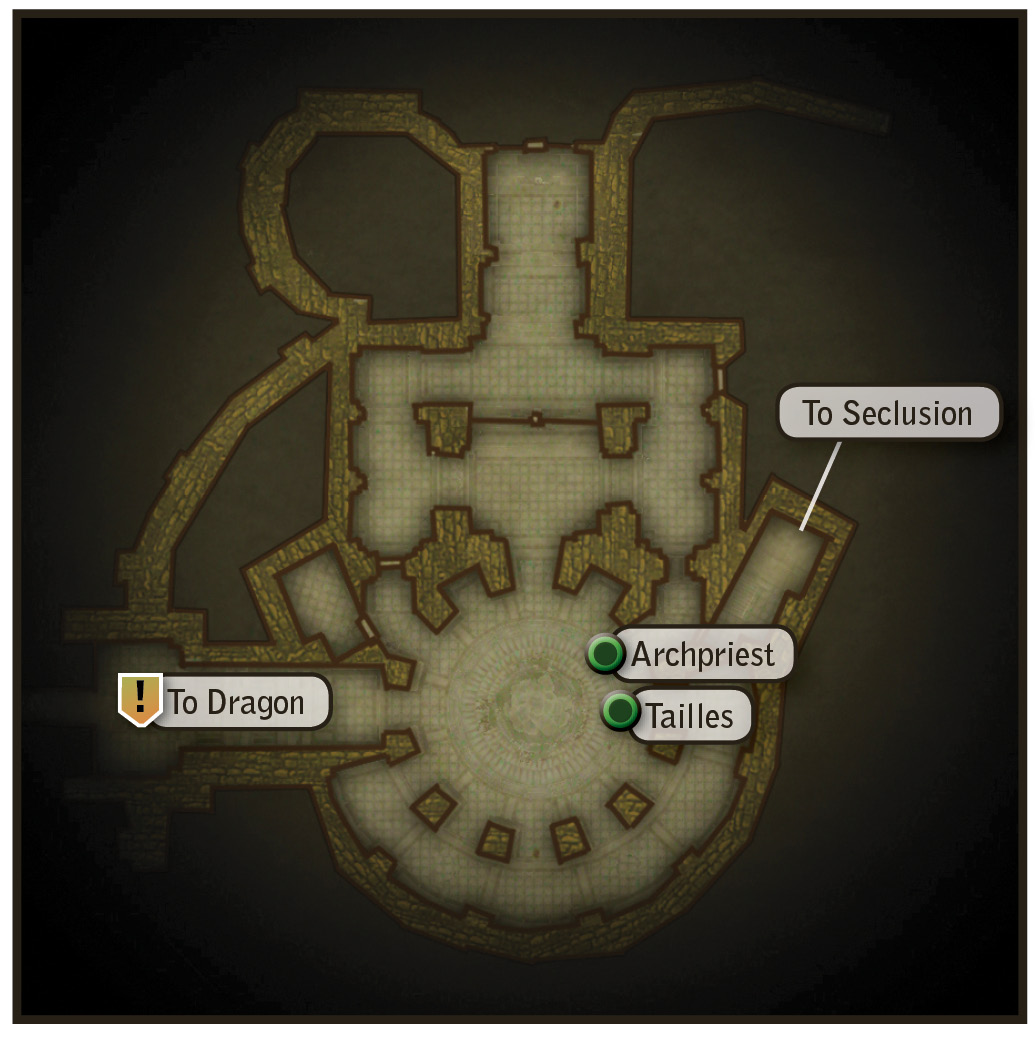
 Blood of His Blood
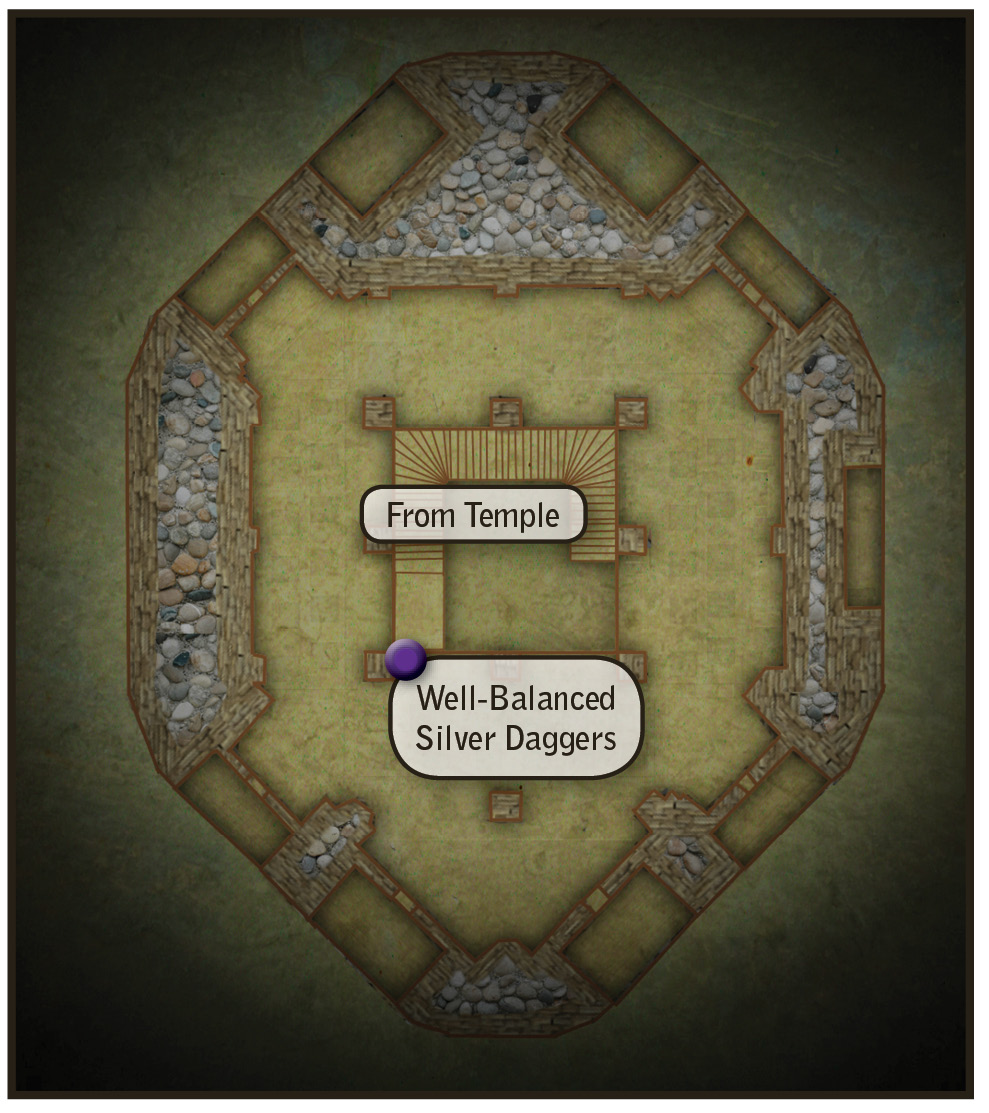
After the dialogue with Tailles and the archpriest concludes, take a detour before you follow Foltest out to the bridge that leads to the solar. Head toward the entrance to the seclusion labeled on your map. Search this small room for a bit of random loot, then head downstairs into the seclusion itself. In a chest by the bottom of the stairs, you can find some well-balanced silver daggers, a copy of Nekkers in the Mist, and the diagram for the superb leather trousers. Scan the rest of the room carefully for random loot and orens.
When you’re ready to move on with the storyline, head back up to the main temple level and find Foltest waiting for you at the exit that leads to the bridge. Be ready to hit the onscreen button prompts when directed in order to save Foltest from the dragon. It’s also essential that you move away from the dragon as rapidly as possible while staying in a straight line. If you start moving diagonally, the dragon is going to catch up to you and kill you.
 The Dungeons of the La Valettes
Now in the present, Geralt’s tale is told. The ensuing dialogue scenes can play out in two ways. If you tell Roche “None of your business” after he asks what Geralt would do if he escapes, you get a dialogue branch where you can either say something conciliatory to Roche or become even more hostile. If you select the response “Go fuck yourself,” this leads to another dialogue option where you can choose to attack Roche. If Geralt tries to attack Roche, he will die in a cutscene (before the game has technically even begun). This death counts as a Game Over as much as any death in combat, and you’ll be forced to reload your last save. If you tell Roche “I can help you get the kingslayer” instead of attacking him, then the rest of the scene plays out normally. Roche decides to leave a key with Geralt so he can “escape” after a quick meal.
 Returning Memories
After Geralt has eaten, Roche shows him a file about his death. This triggers some of Geralt’s missing memories and initiates the game’s other long-running main plot quest. Nothing further that advances the Returning Memories quest happens in the Prologue chapter, but there are choices you can make later in the game that can advance it. If you find this plot more interesting than the plot The Assassins of Kings follows, you will have opportunities to favor it in your game.
 The Dungeons of the La Valettes
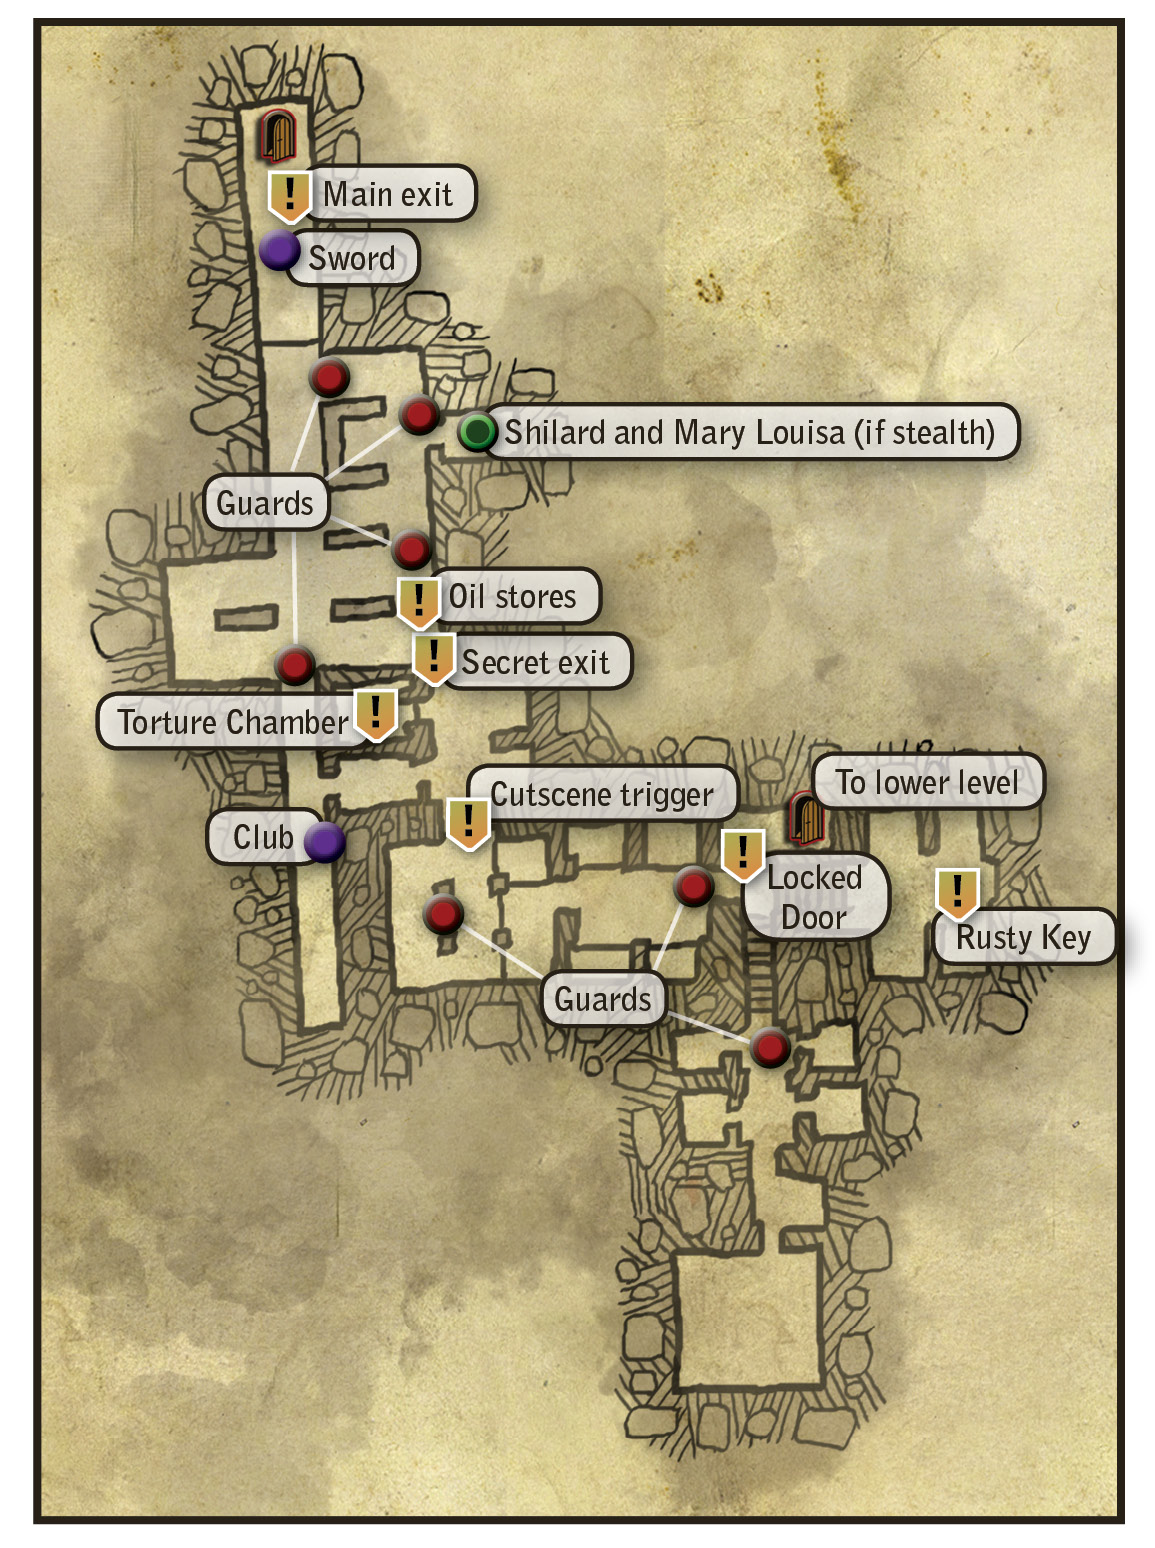
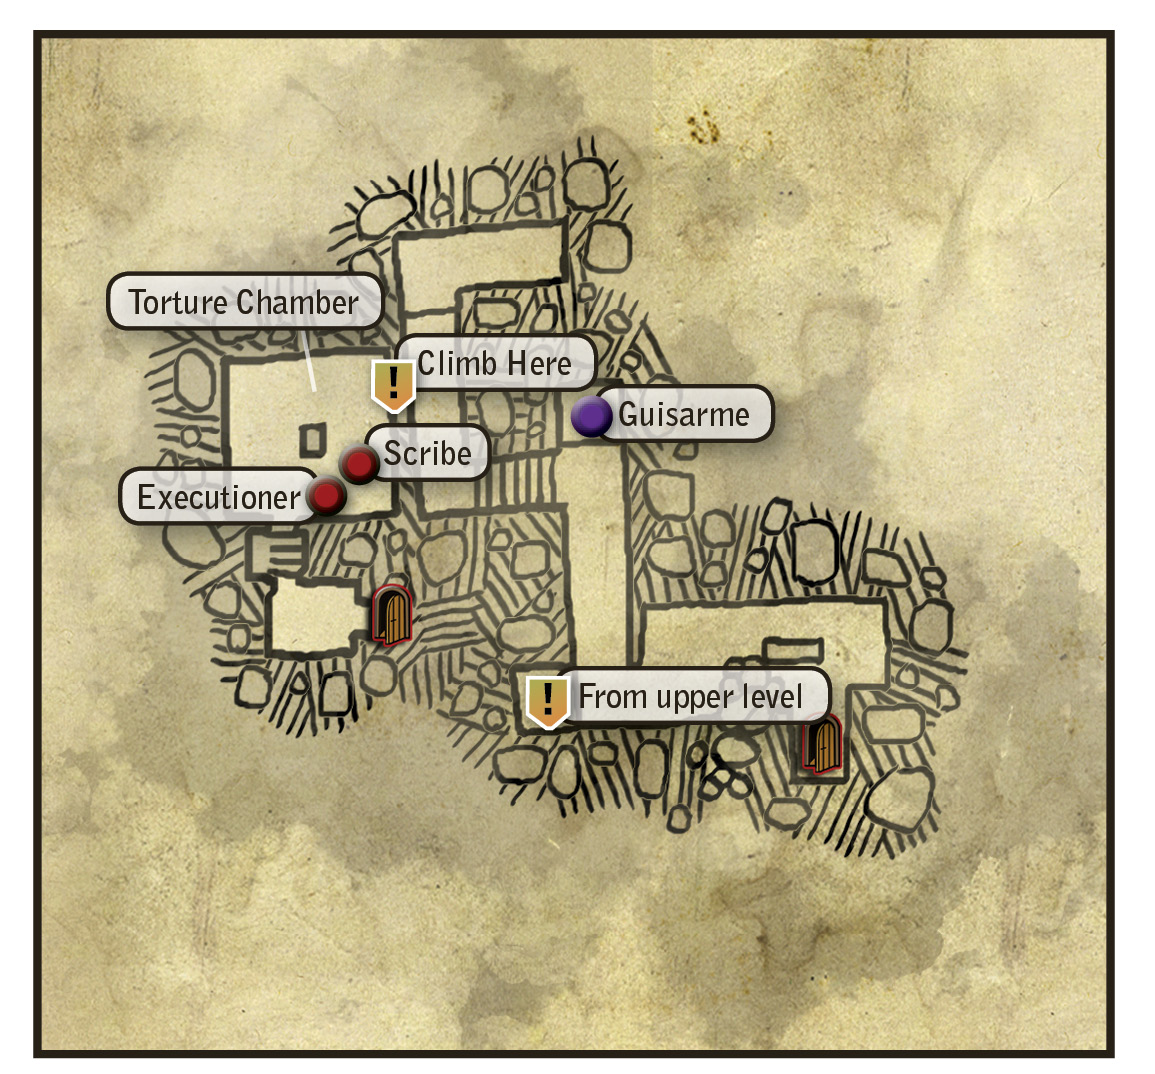
This is the final quest you must resolve before the Prologue is concluded. The adventure is pretty straightforward, but what it’s like in your game will vary depending on whether or not you killed Aryan La Valette earlier in the chapter and what you did with the Melitele’s Heart quest (if you initiated it at all).
First, Geralt needs to free himself. There are two ways you can do this. If you’re confident in your ability to win fights, you can just have Geralt take his hands out of the manacles. The guards come after him in his cell. You have to fight them both off bare-handed, with Geralt doing minimal damage. It is possible to win this way if you’re good at dodging. Upon defeat, one of the guards drops the prison key you need to escape.
If you’re not sure you want to fight two guys with no equipment, then try provoking the guards into entering the cell one at a time. This lets you knock one out in a cutscene and then finish off the other in the game’s fist-fighting mini-game. The upshot of handling things this way is basically the same; you can take the prison key off one of the defeated guards and then exit your cell.
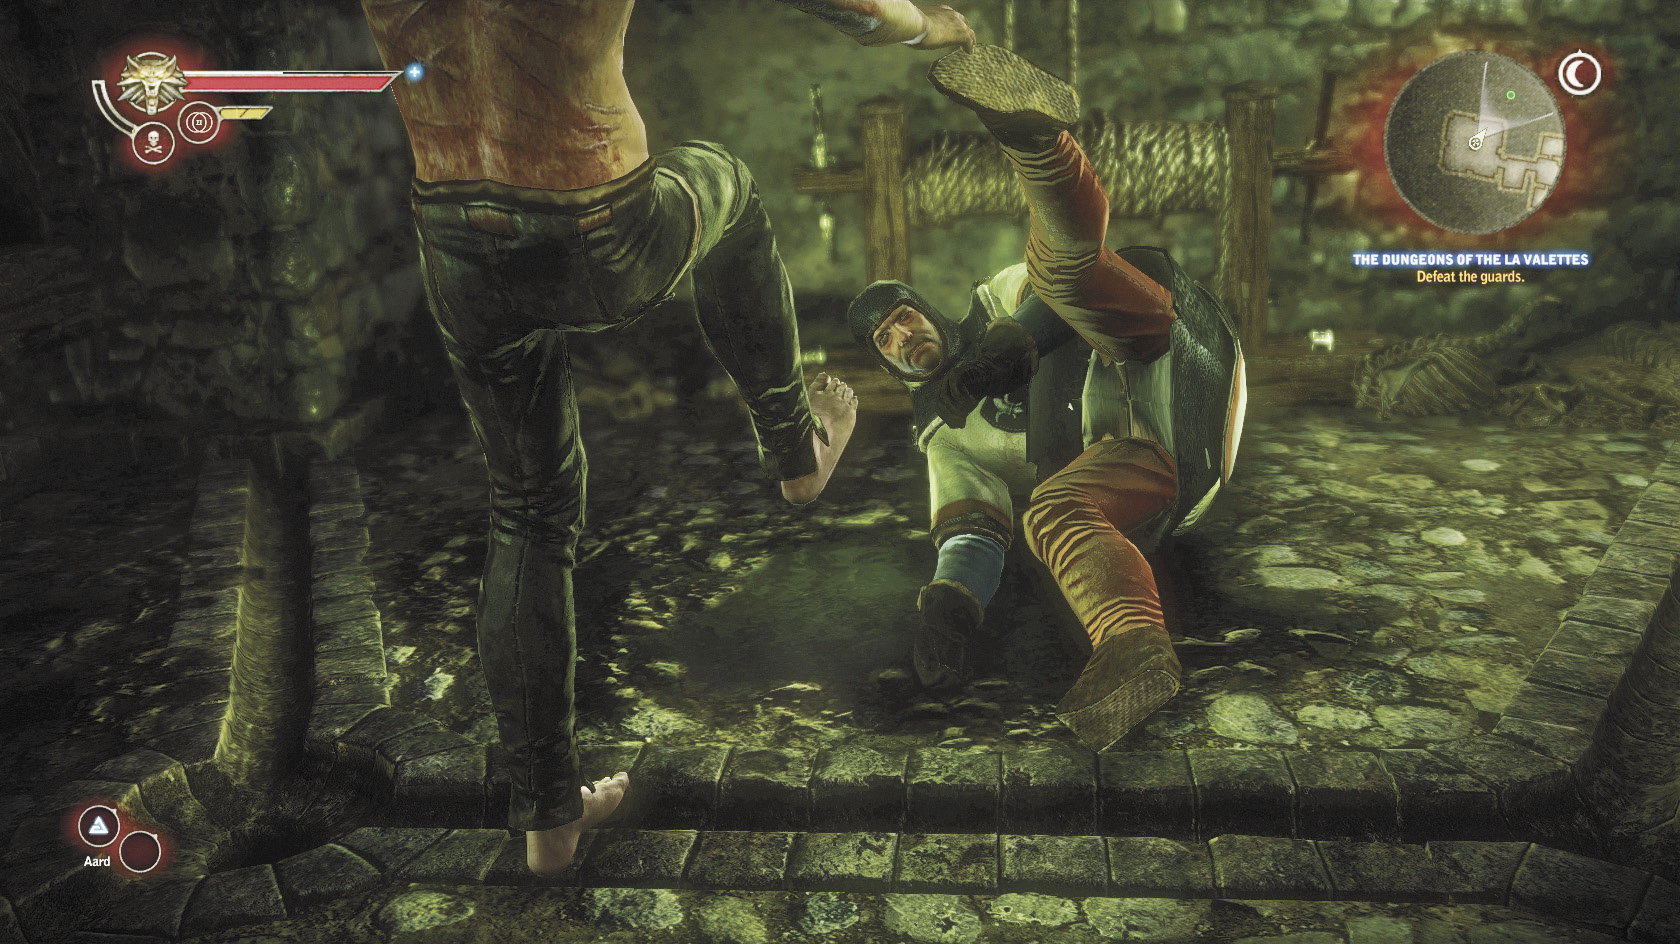
How you choose to take out this set of guards is unimportant, but after you leave Geralt’s cell you have an important decision to make. First, scan the area immediately around you. A nearby weapons rack should highlight orange. Loot it to obtain a small blackjack and some less noteworthy things. From here on out, you need to decide whether you want to play the next sequence stealthily or if you just want to beat all the guards to death.
This decision affects which of two possible cutscenes you trigger in the course of escaping from the dungeons. If you are stealthy, you trigger a cutscene that’s not far from the cell where Geralt was kept. If you fight guards openly, you need to descend into the very depths of the dungeon and fight a tense battle before triggering a different, but still necessary, cutscene. After the cutscene, on either route, Geralt encounters NPCs who are necessary for making his escape.
Which NPCs you encounter depends on whether or not you spared Aryan La Valette. If Aryan is alive, you can join up with him after he breaks free of his captors by playing stealthily or rescue him from a sadistic torturer by fighting openly. In both cases, after Aryan is rescued, you must escort him to the castle’s oil stores to finish the dungeon sequence and free Geralt.
If Geralt killed Aryan earlier, then you meet up with Baroness Mary Louisa La Valette and Nilfgaardian diplomat Shilard Fitz-Oesterlen in the cutscenes. If you play stealthily, the baroness convinces Shilard to help you sneak out of the dungeons. If you fight your way through the dungeons, you rescue the baroness from the torturer and Shilard chooses to help you escape.
It is possible to trigger the cutscenes involving the torturer by playing stealthily, though there is no particular reason to do this (the cutscenes will be no different than the ones you get by beating all of the guards to death, and your game gets flagged for fighting openly). Likewise, it is only necessary to remain stealthy through the entire dungeon if you wish to get a special line of dialogue from Roche in the cutscene that concludes the quest, and this is only possible if you encounter Mary Louisa and Shilard. After you’ve rescued Aryan La Valette in the stealth-triggered cutscene, you can begin beating the guards to death and nothing else about the sequence changes. It is not possible to get Roche’s stealth-only dialogue if you rescue Aryan, due to the way the quest concludes.
In terms of difficulty, it is much harder to remain stealthy throughout the entire dungeon escape sequence than it is to just kill all of the guards. If even a single guard notices you during the stealth sequence, that flags your game for fighting openly since you won’t be able to get past him without beating him to death. The best way to do it is to save every time you make it past a guard, then reload your last save immediately if a guard notices you.
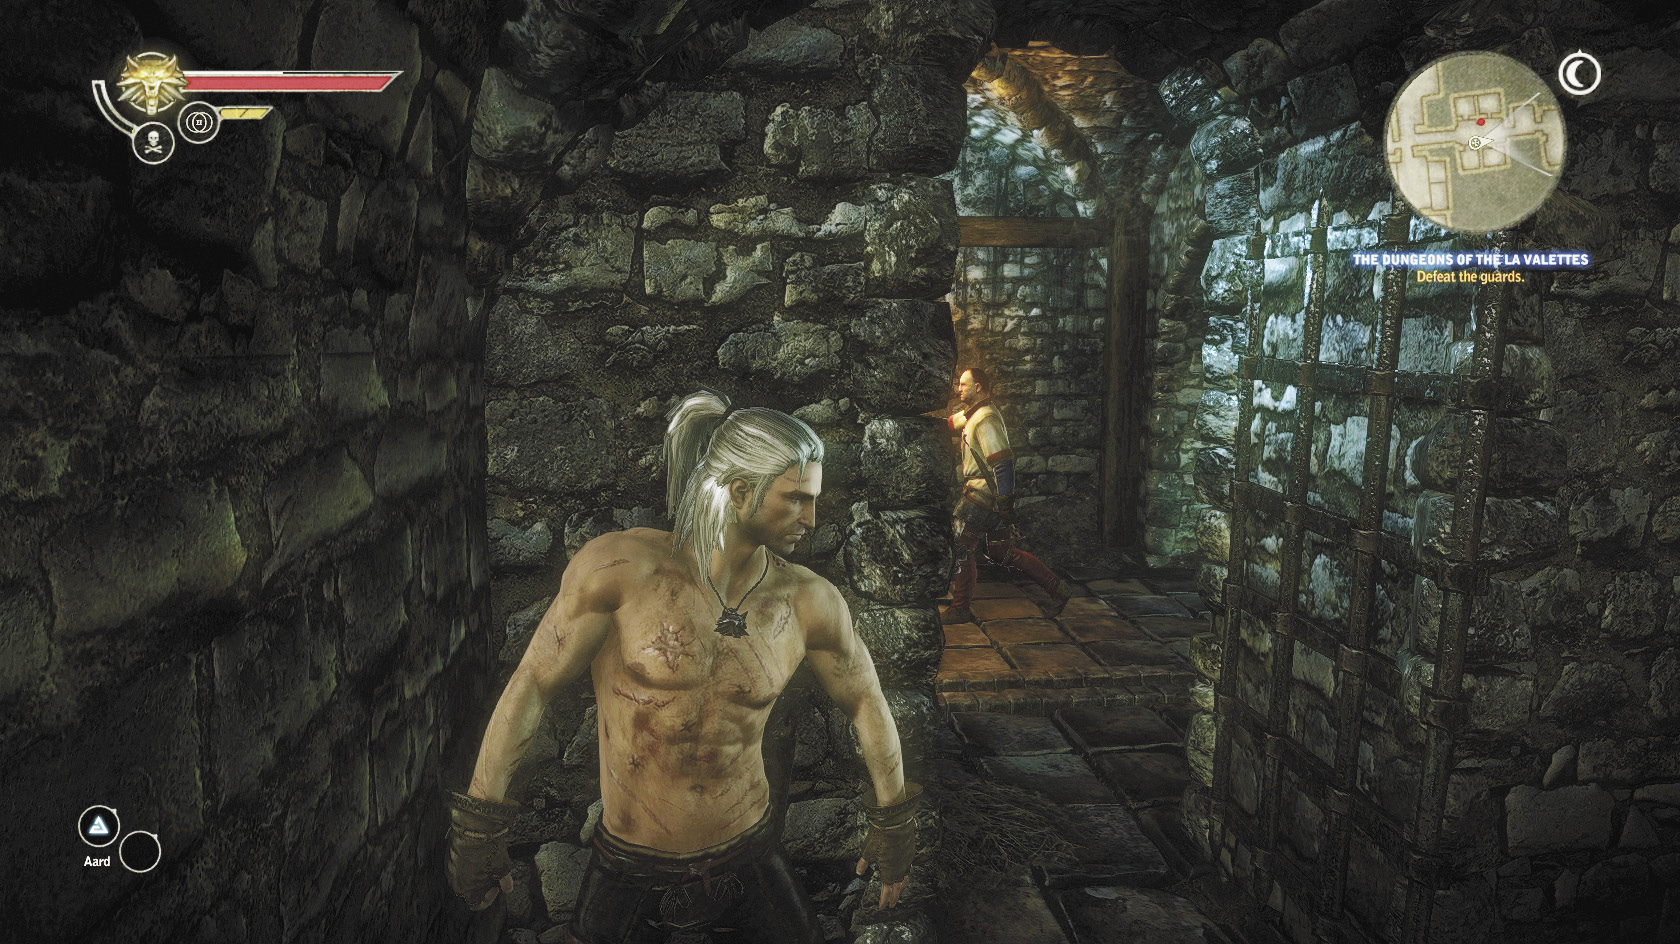
If you are a player obsessed with amassing huge piles of loot in RPGs, then you are going to find the open fighting route much preferable to the stealth route. When you fight openly, you can take your time looting the many areas of the dungeon, where orens, crafting materials, and other goodies spawn. The torturer also drops the diagram for a trap called the clawer.
Instructions for completing the dungeon escape both ways follow. The instructions for a stealthy escape include instructions for if you’ve rescued Aryan, as he finishes the sequence a bit differently than his mother does. Instructions for finding and fighting the torturer are included in the instructions for finishing the sequence through open combat. To repeat; you can trigger the torture room scene by defeating enemies stealthily, but there is nothing to be gained by doing things this way.
If You Choose Stealth
The only way to defeat the guards without killing them is to sneak behind them and stun them by tapping your strong attack button when the stun prompt appears onscreen. Once stunned, a guard remains unconscious for the rest of this sequence. You can loot a guard’s area once he is defeated, but be careful. If Geralt ever crosses any guard’s line of sight, he’s discovered and your game automatically sets the cutscene triggers relating to open combat. Always save after you successfully stun a guard, and reload immediately if you’re spotted.
If you’re focusing on stealth, it’s best not to loot an area until you’ve also stunned the guards that patrol its adjacent areas. If you’re uncertain whether it’s safe to loot an area yet, err on the side of caution and leave the loot behind. There’s nothing in the dungeon that you’ll absolutely need later in the game.
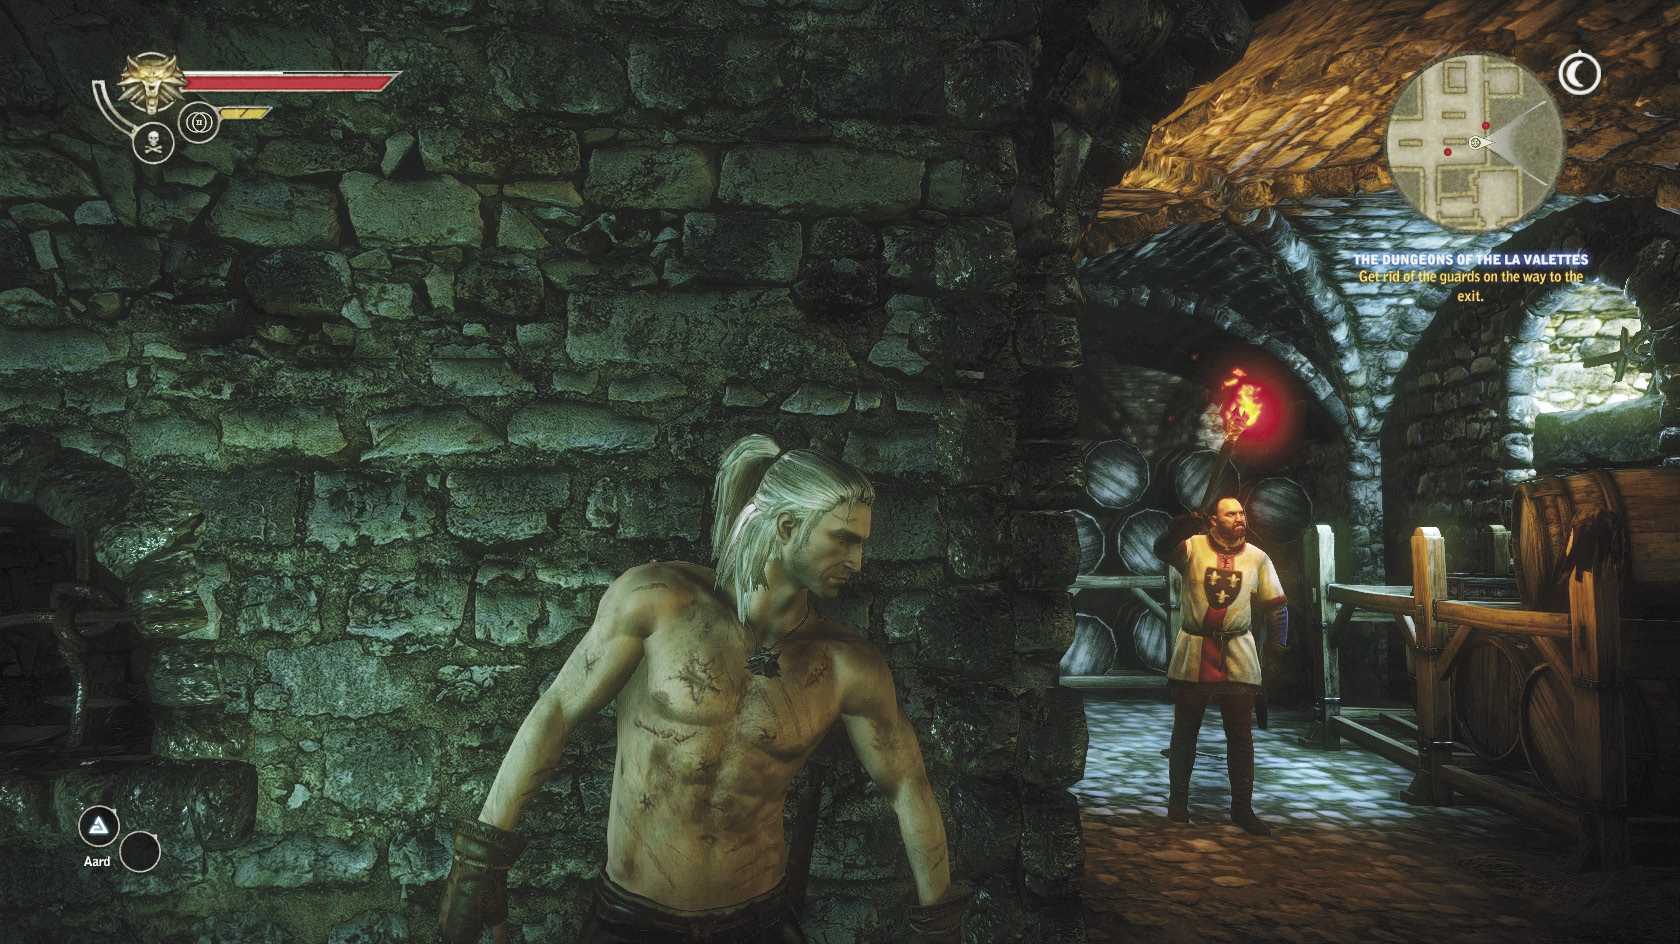
Getting through the stealth section is completely dependent on using Geralt’s ability to put out torches through use of his Igni sign. Just press the interaction button when you’re within range of a torch to put it out. Extinguishing torches reduces the guards’ line of sight and makes it possible for Geralt to sneak into safe places where he can ambush the guards. This is the basic method used for getting through the stealth sequence successfully. You simply need to learn the position you need to be in for stunning each guard. Consult the map whenever the written directions seem unclear.
Once Geralt says “Damn torches,” your game is flagged for stealth mode. Immediately put out the torch near your cell’s door. Creep forward up the stairs. Open the door and quickly duck into the cell immediately at your left. The guard will come to investigate, but won’t see you if you lean against the wall to the left of the door. You should be able to lure the guard toward you by moving slightly out of the cell, then leaning back up against the wall. When the guard comes back on his patrol, he should pause just in front of the entrance to the cell you’re in. Step behind him and stun him when the strong attack button prompt appears. After you’ve successfully stunned him, save your game.
The next segment is tricky. Proceed toward the stairs, putting out torches. You cannot stand openly in the stairwell, as eventually a guard is going to see you. Instead, you want to move up the stairs and duck behind a wall that’s just before a room that branches off to your left. A guard patrols here, talking to himself, moving from the entrance to an area farther down in the room. You can stun him when he turns around after examining the entranceway. He won’t stand still for long, so you may need to stun him while he’s moving.
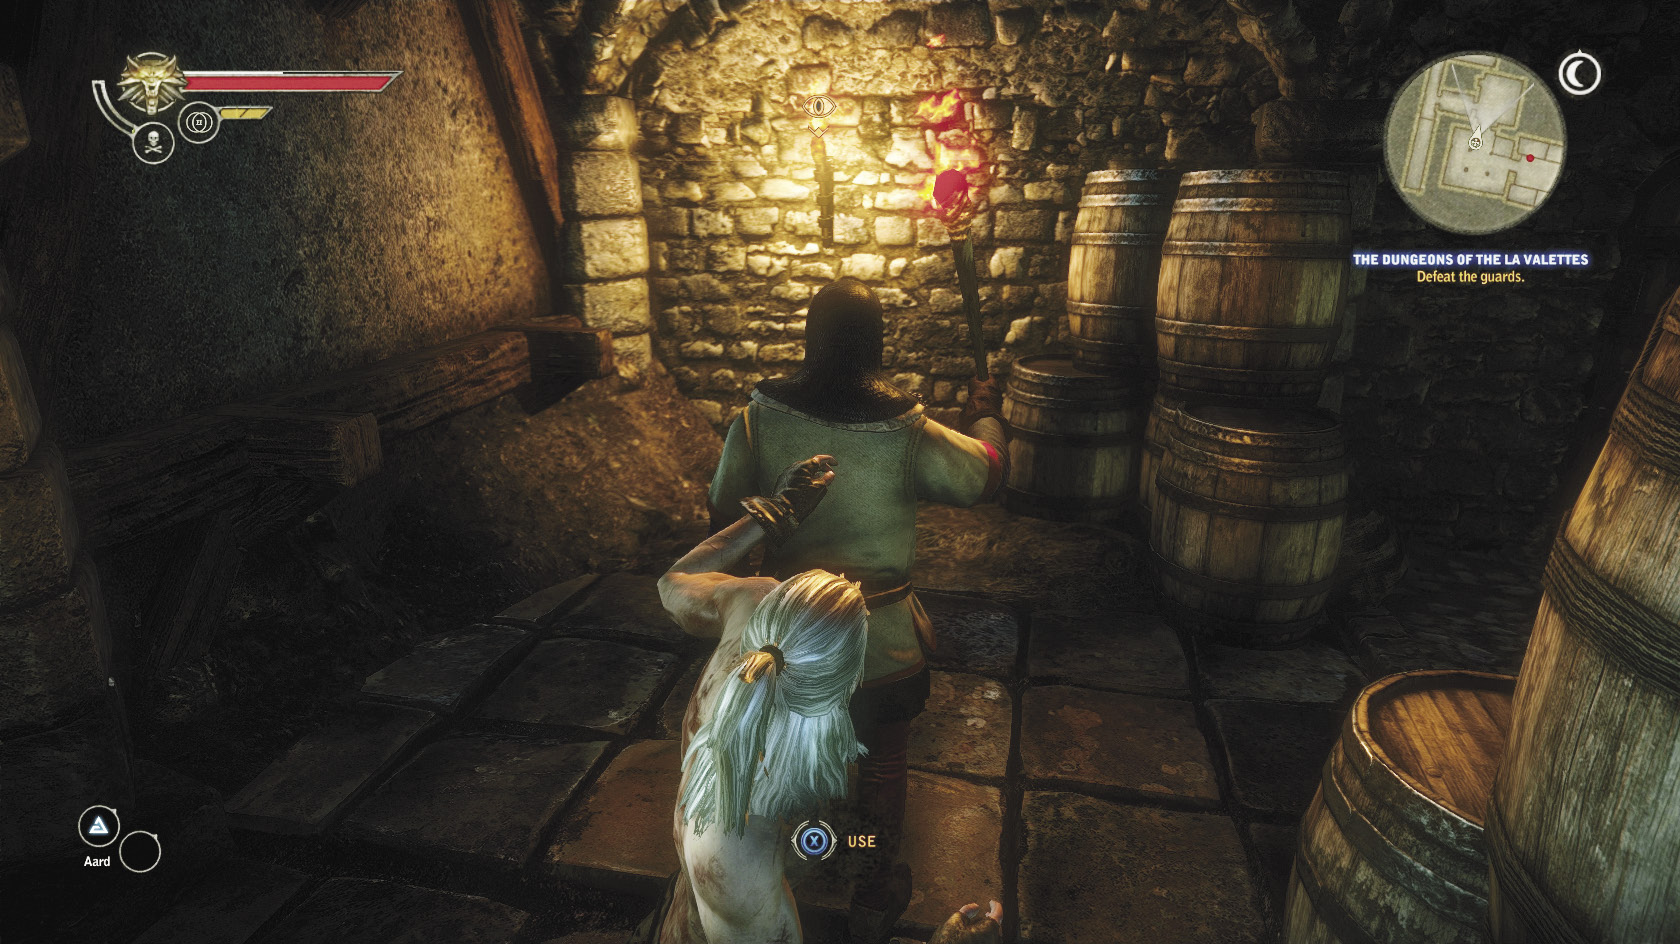
Part of what makes this tricky is that there is a second guard patrolling a chamber just beyond the next who can see you if you stun the first guard while he’s within line of sight. It can be difficult to know the second guard’s position before stunning the first guard. Try leaning up against the left side of the doorway and positioning the camera so you can see the hall that leads out of the next room. You should eventually be able to track the second guard’s movements by his torch when it passes back and forth.
If you can stun the first guard without being spotted, put out the torches and then duck into an empty cell on the left, just like the last one you hid in. From this hiding space, you can hear some amusing dialogue from the prisoners in the cell across from you. Keep peeking at the distant hallway to track the second guard’s patrol cycle. When he’s moving away from you, dash into the room and extinguish a torch at the end of the room, on the left. This causes the prisoner nearby to call for the guards, which is exactly what you want. Dash back into your hiding place in the left-hand cell and wait.
At the prisoner’s cries, the second guard returns to the room. Listen to their dialogue. The guard relights the torch you extinguished, then exits. Now you can extinguish that torch one more time, but the prisoner won’t call on the guard this time. Save your game and begin edging into the next room. Use the small group of barrels to the left for cover. During his patrol cycle, the guard pauses in the upper-left corner of the room. This is your chance to run up behind him and stun him. You can safely loot the next room, as all the guards in the area are out cold. When you approach the doorway, you trigger a cutscene.
If Aryan La Valette is alive, this is the only cutscene you can trigger through stealth, and for the rest of the dungeon you can fight openly if you prefer. Read on to proceed along this sequence of events. If Aryan La Valette is dead, then you get to see a cutscene involving Mary Louisa La Valette and Shilard Fitz-Oesterlen.
If Aryan Is Alive
Note that completing this sequence with Aryan La Valette alive gives Geralt the Strong Back attribute, which is obscenely useful later on in the game because it increases Geralt’s maximum encumbrance. It is arguable that saving Aryan is always the better choice simply because doing so gives you Strong Back. In addition to that, though, if you save Aryan you get to meet him again in Chapter 3.
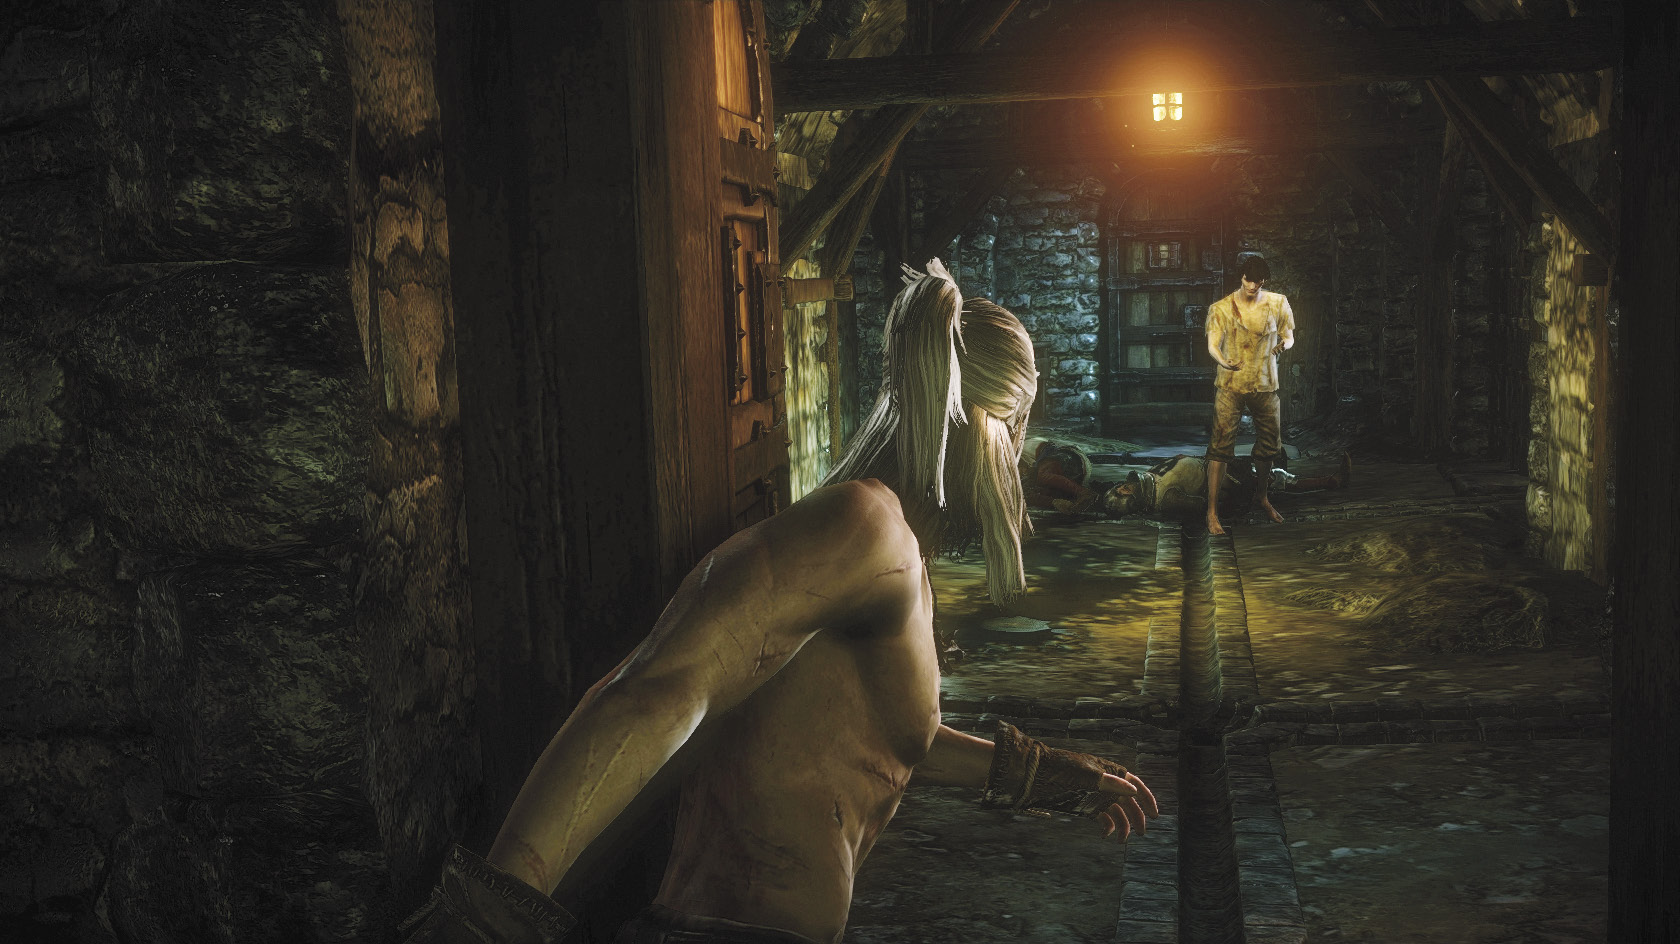
To end the sequence, you need to escort him toward the dungeon’s stores of oil. They won’t be far away from this location—just head up the stairway to the immediate left of the entrance. Aryan is recovering from torture and unable to walk without your aid, so he needs you to clear the way. Leave him resting in front of the door he bursts out of, and continue to explore until you find the oil stores. You can pass through the door Aryan burst out of to reach the lower dungeon area where the torture chamber lies, but there’s no need to go there.
If you go down there anyway, you find yourself in a battle with the executioner and the scribe. The scribe can be taken out with a few blows, but the executioner is fairly tough if you fight him with the small blackjack. If you want to do this battle, it’s best to make sure you pick up the club that you can get on the upper level before descending into the torture chamber. Keep Quen up and battle the executioner as you would other shield-bearing opponents, with blocks and counters. After a battle with the executioner, you can read Aryan’s “confession” in the lower chamber and pick up some (probably) great loot. You can also use this to get the diagram of the clawer trap.
If you really enjoy the stealth gameplay, you can use the basic techniques outlined above to stealthily take out the guards you encounter along the way out. Simply stand beneath the first guard’s line of sight, then stun him and put out the three torches nearby. Take the path to the right and try to lure the guard toward the unlit torch by making a bit of noise. When the guard stands before the torch to relight it, walk up behind him and stun him.
Peek through the barrels to view the second guard nearest you on the opposite side. There is also a third guard you can’t see from this vantage point. To observe him, move down the small hall to the doorway that leads into the area you were just observing. Once you have a solid idea of both guards’ positions, put out all of the torches nearby. Wait until the second guard’s back is turned, then put out the torch on the far side of the arch near the barrels. Creep into the small tunnel that’s just past the arch, putting out all of the torches around you. When the third guard comes to the end of his patrol, you can come up behind him and stun him. Head to the end of the hall the third guard patrolled and put out all of the torches. To get the fourth guard, creep toward the torch that burns in the hallway that branches off to your left. You can stun the final guard when he goes to relight it.
That said, you should find the club once you move forward, so you’re not really expected to handle the rest of the sequence stealthily. It’s also quite difficult, since the guards in the oil storeroom are packed closely together. Feel free to simply fight your way to the oil stores if you wish. Note that if you do, you fight a lot more than four guards before all’s said and done. You should have little trouble quickly beating down foes with the club equipped, provided you also use your signs.
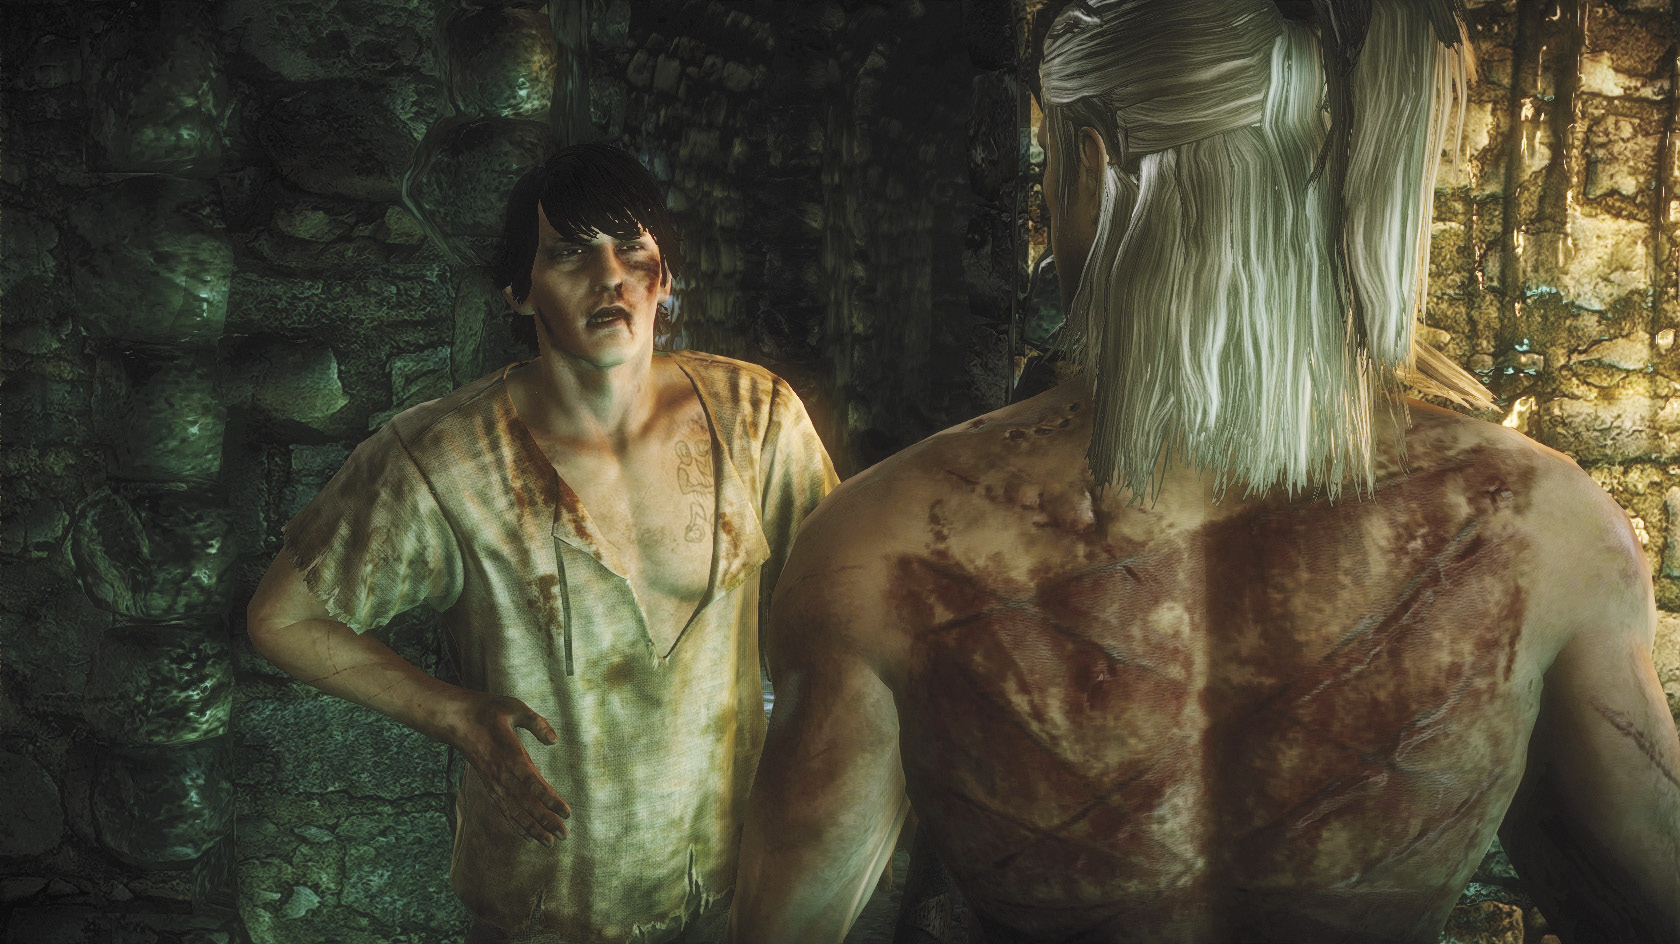
Once the way to the oil stores is cleared, backtrack and pick up Aryan. Make sure you’ve looted everything from the dungeon you want to obtain. Pick Aryan up using the interact button and slowly escort him toward the oil stores. Once you take him into the room a cutscene triggers. When the cutscene finishes, Geralt can proceed out of the dungeon through a secret tunnel. Pause by the exit to pick up the sword in the weapons rack and equip it.
If Aryan Is Dead
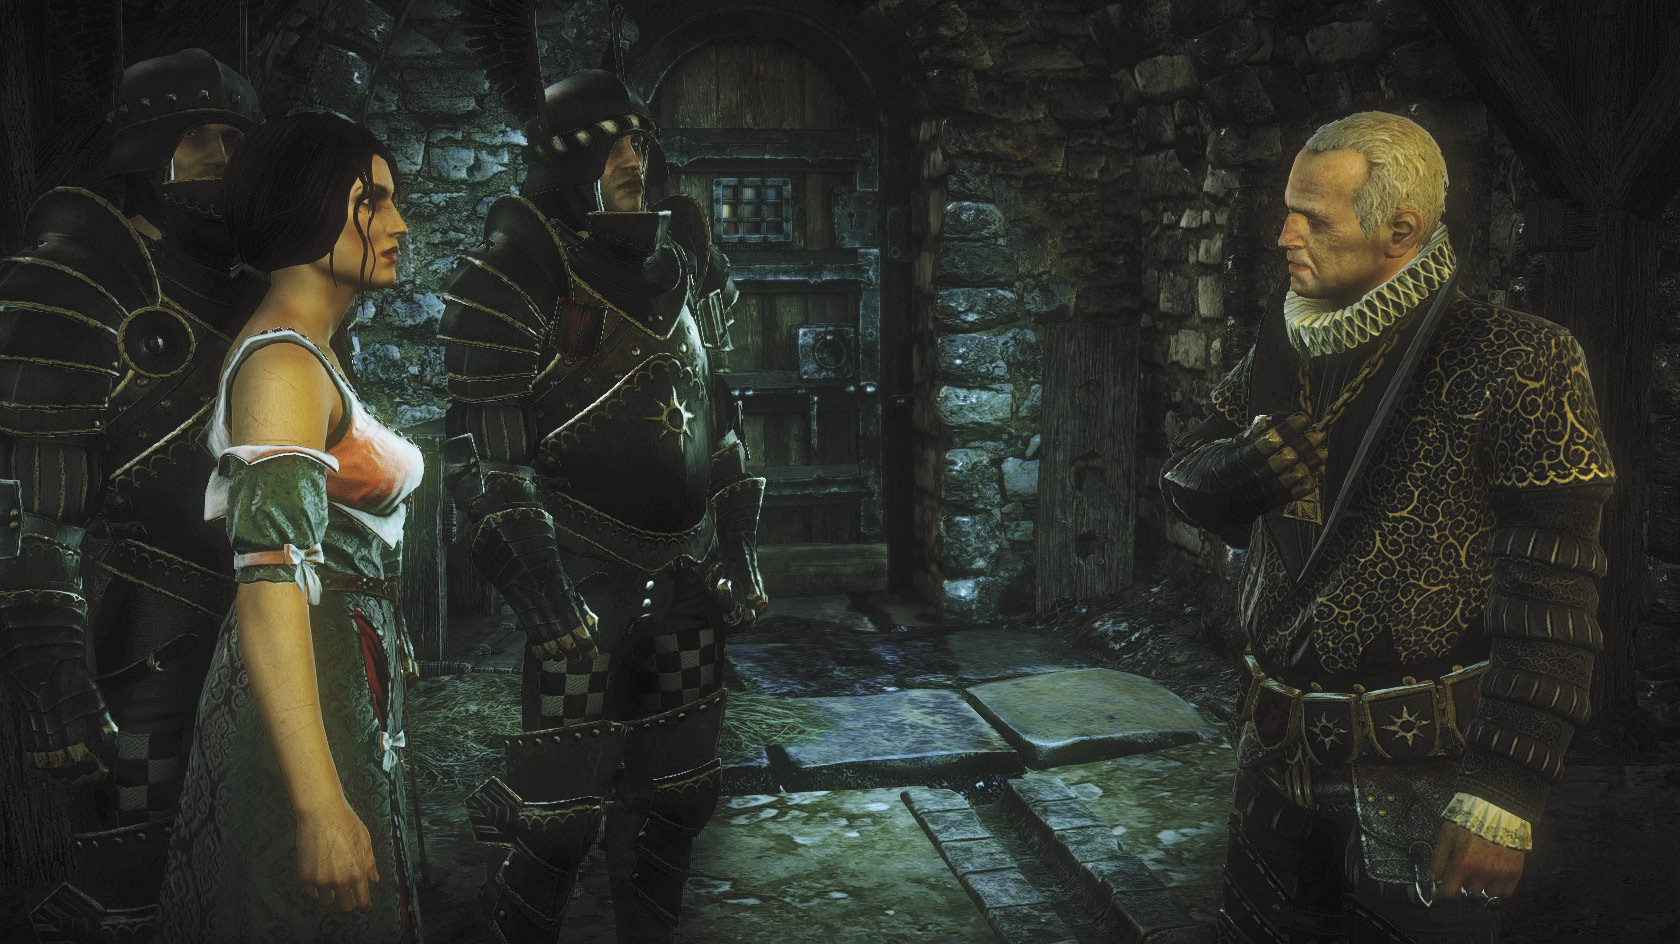
Enter the door that Shilard and the baroness passed through in the cutscene. If you want to stealthily defeat all of the guards, do not stray from this path. You want to work your way toward the dungeon’s exit, which is very nearby on this floor. First, duck into the passage to the left to obtain and equip the club. The first guard is at the top of the stairwell to your right. As long as you are below his line of sight, he won’t see you. Wait until he turns his back to the stairwell, then stun him. Save your game.
Put out the torch to your left, then the one to your right. Sneak down the right hallway and lean against the center wall. Position the camera so you can see around the corner. When the guard here completes his walk cycle and waves his torch slowly to examine the area, wait just out of sight. When he turns to begin walking down the opposite hallway, follow and stun him. You can try to lure this guard toward unlit torches to set up a less dangerous chance to stun him, but his behavior here is inconsistent. Sometimes he’ll show you his back while he relights a torch, while other times he will ignore the unlit torches.
Peek through the barrels to view the guard on the opposite side. Put out all of the torches nearby. Wait until the next guard’s back is turned, then put out the torch on the far side of the arch. Creep into the tunnel that lies beyond the arch, putting out all of the torches around you. Use the barrels for cover. When the third guard comes to the end of his patrol near the second set of barrels, you can come up behind him and stun him. Save your game.
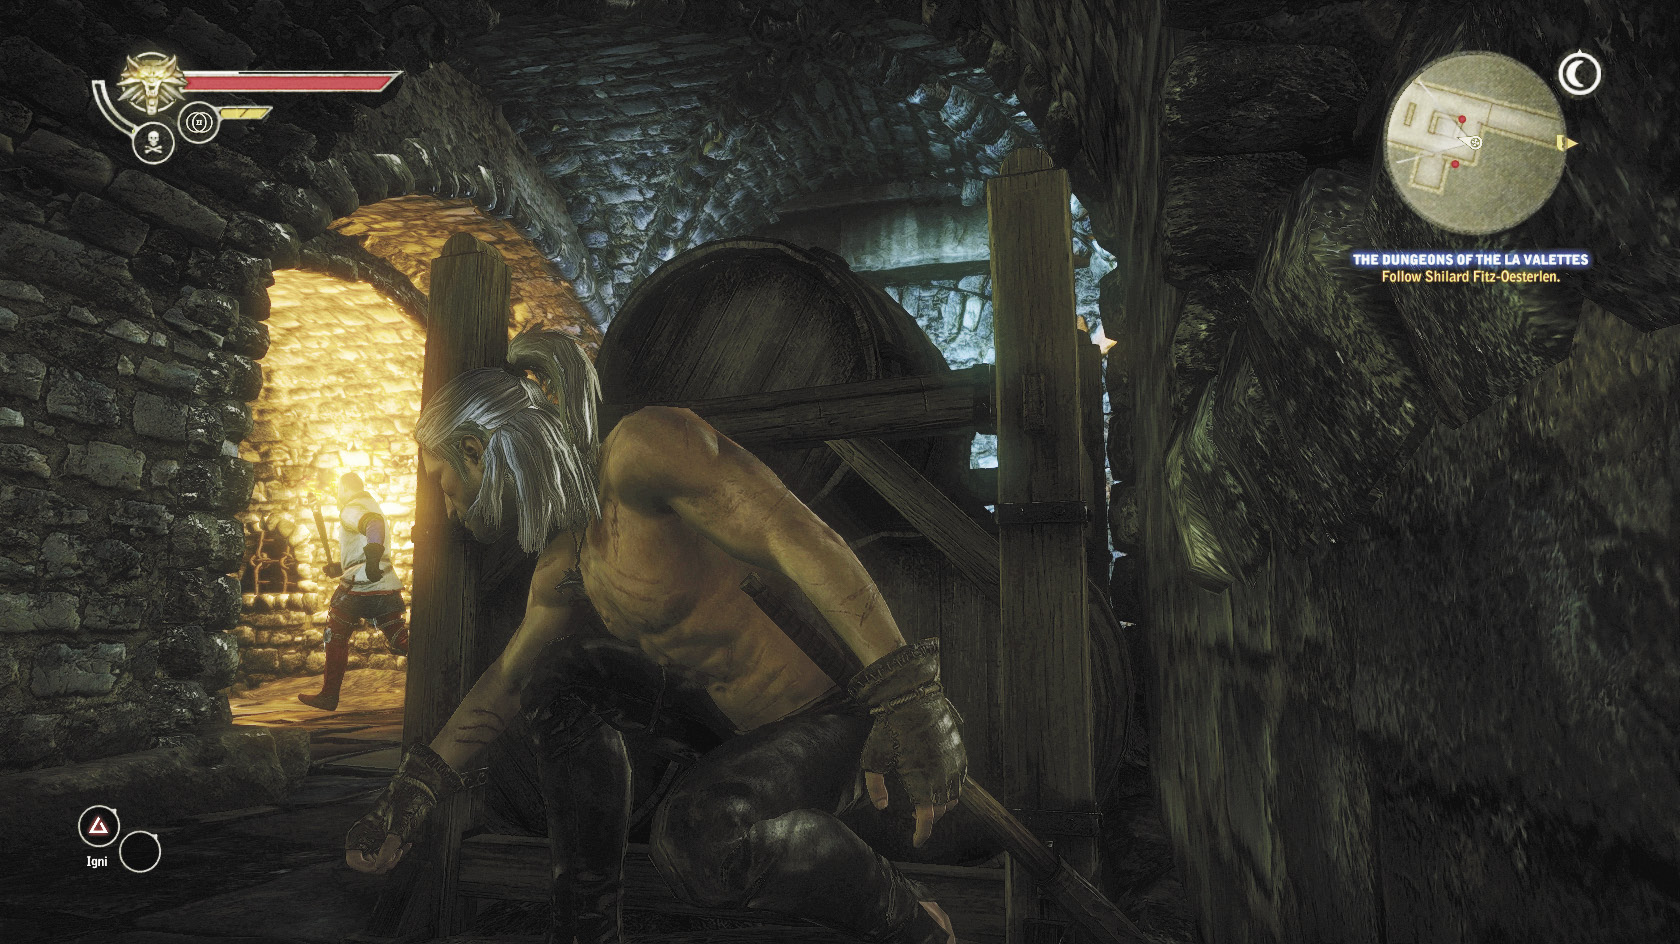
Head to the end of the hall the third guard patrolled and put out all of the torches. To get the fourth guard, creep toward the torch that burns in the hallway that branches off to your left. Extinguish it and then crouch by the barrels nearby. You can stun the final guard when he goes to relight it, which he’ll do fairly consistently. If you get lucky, you can get the stun prompt without even moving Geralt out of cover. Once the fourth guard is stunned, you can move toward the quest marker at your leisure.
To exit on this route, you must follow Shilard when he leaves the room and heads toward the main exit. Put out the torches and crouch by the barrels until the guard leaves, then pass through the opened gate. It swings shut behind you. In this route, you find the sword sitting on a weapons rack near the door.
If You Choose Combat
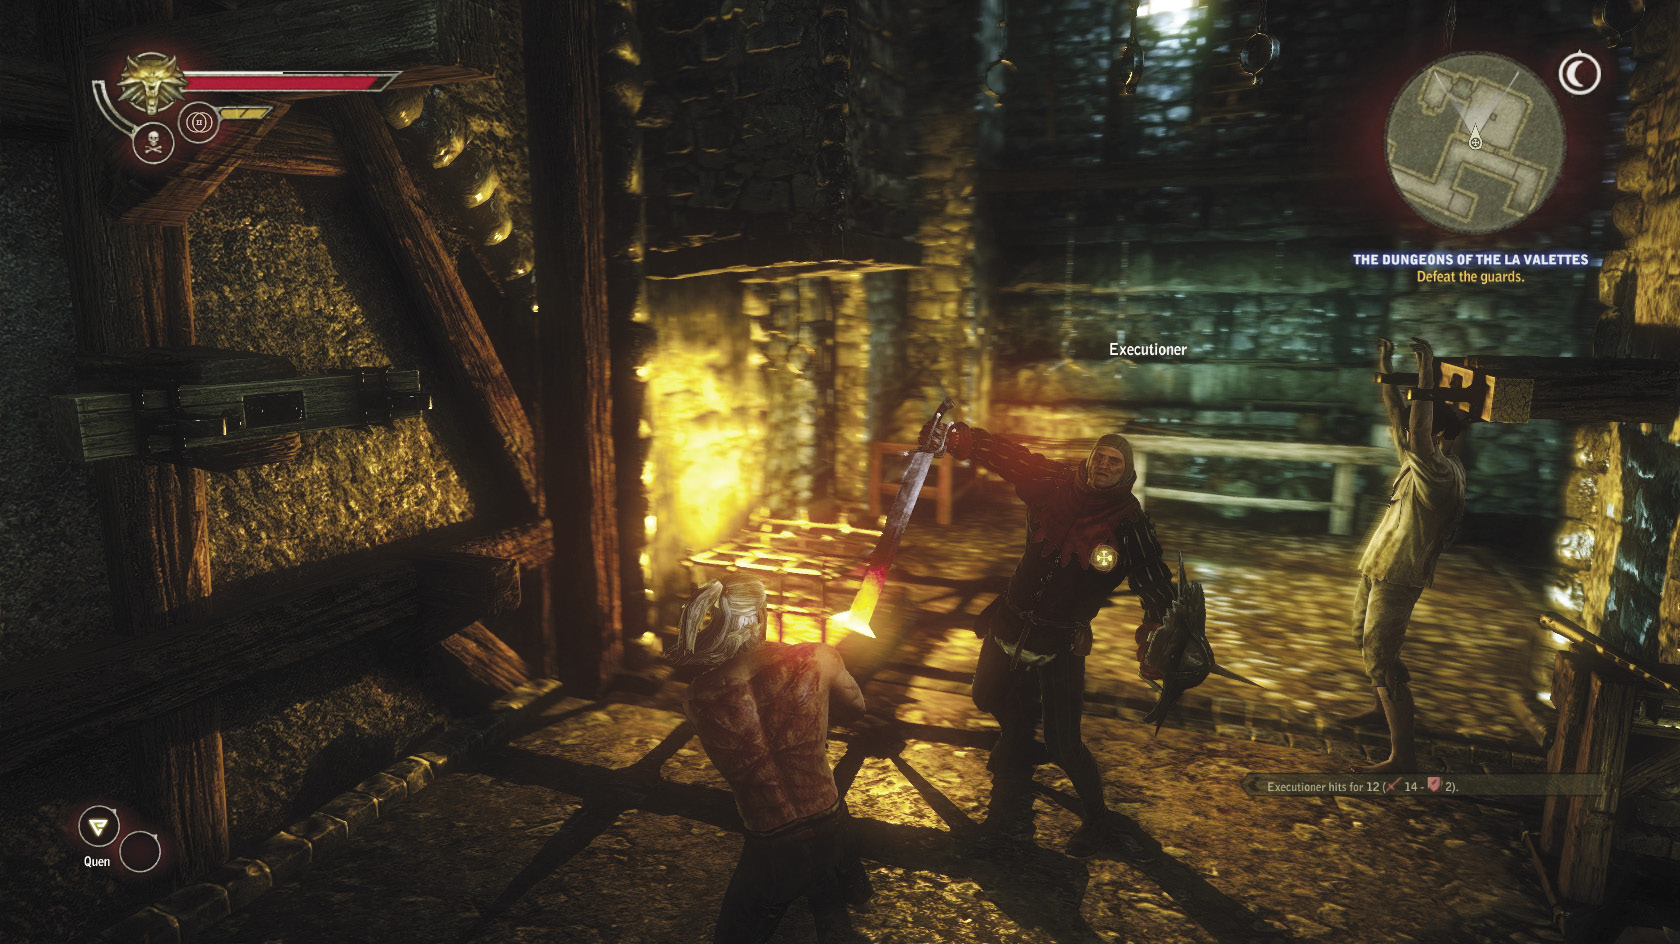
After you leave the dungeon, slowly begin sweeping it for guards and treasure. If you opt for the open combat route, you need to rely on your signs. Quen is particularly useful here, as sometimes you can fight three or four guards at once in close quarters. It takes more hits to defeat the guards when you’re armed with only the small blackjack, but you can take them out by using dodge rolls to escape when surrounded. Otherwise, pick off individual guards as you normally would. If you discover any armor while looting the dungeon, equip it.
After defeating a couple of guards, you reach the top of the stairs nearby. There should be a locked door in front of you. Work your way to the right, where you ascend a second set of stairs There’s a pair of guards in the chamber at the top you can defeat to obtain a rusty key. You can use the rusty key to unlock the locked door you found previously. Beyond the locked door is a trap door that lets you drop into a lower level of the dungeon. Search the area carefully once you’ve entered the dungeon’s lower level. Proceed down the passage, leaping over a short wall as you go. A room nearby contains the guisarme, the strongest weapon you can obtain in the dungeons. Equip it to prepare for the battle ahead of you. Proceed down the dungeon corridor until you come to a crack in the wall. Peek through it to watch a grisly cutscene of an NPC being tortured. You can stop watching once the cutscene begins to loop itself.
Head a little ways down the corridor and look for a gap in the wall, something like a window. You may need to tilt your camera up to see it. You can climb into this gap and get into the torture chamber. Beat down the scribe watching events to get the executioner’s attention. The executioner immediately grabs a shield and a heavy sword to duel you. You can defeat the executioner the way you defeat other foes with shields, by blocking his blows to stagger him and then counterattacking. You also need to stun or defeat the scribe here. Once you defeat the executioner, you can loot the room and pick up the diagram of the clawer trap that the executioner drops. When you’re finished, speak to the NPC. How you proceed from here depends on which NPC you rescued.
If Aryan Is Alive
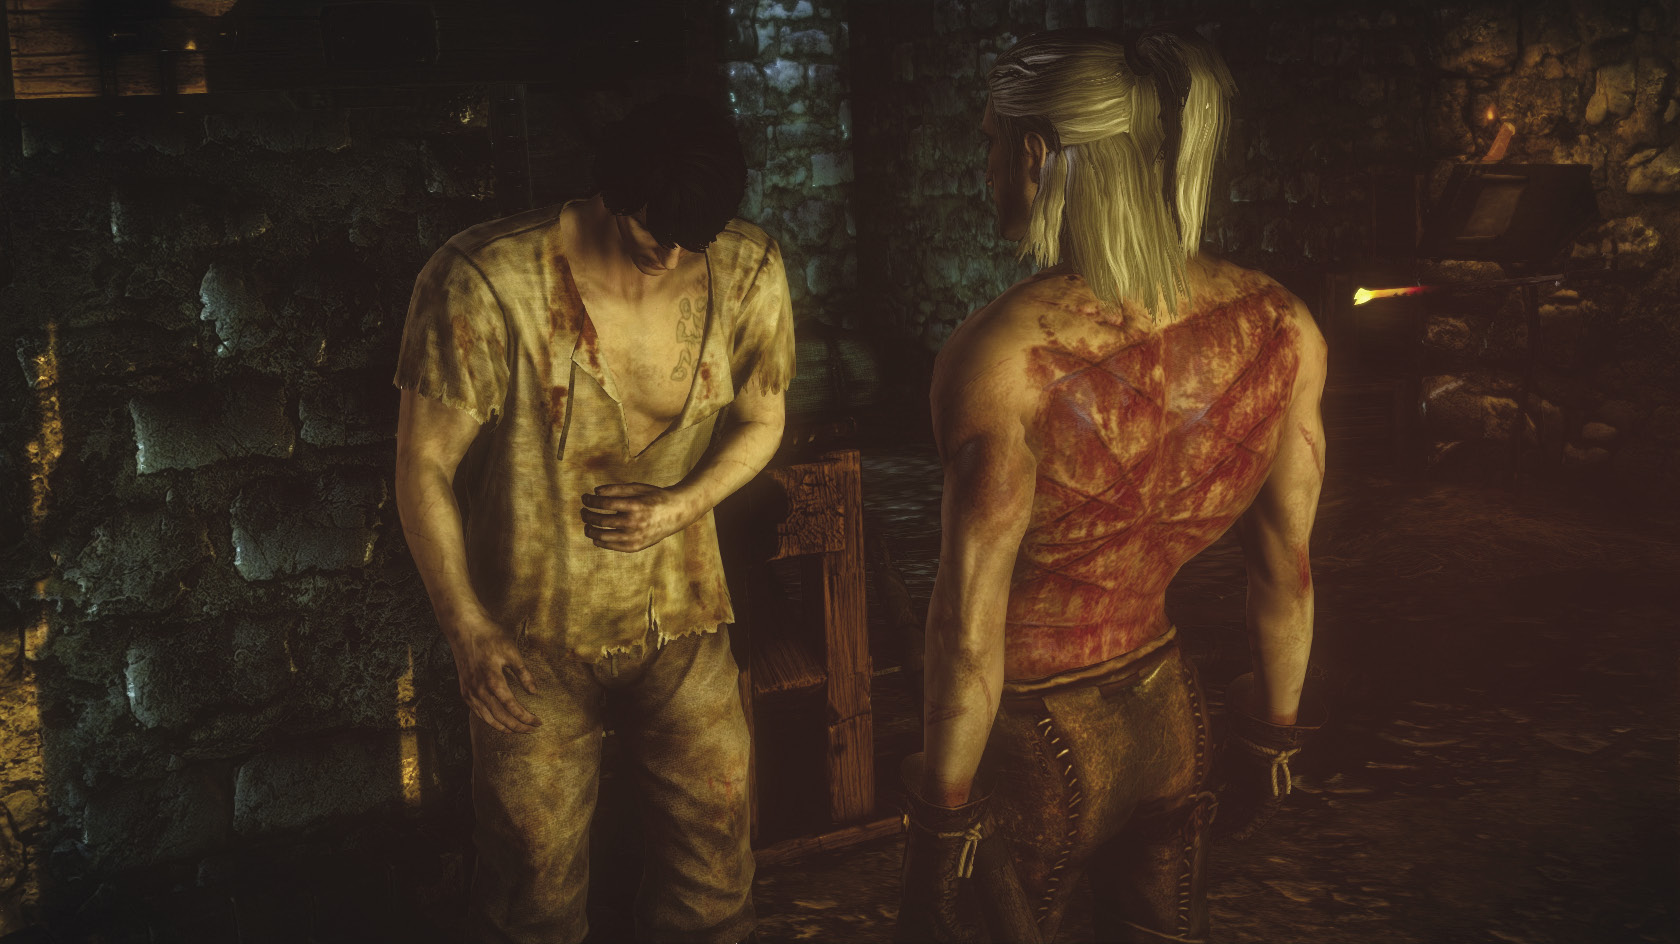
Aryan needs to be escorted to the dungeon’s oil stores to provide a way out for himself and Geralt. Due to how he’s been tortured, though, he can’t walk without your aid. What is generally easiest is to leave Aryan in the torture chamber, then go back to the first floor. You should use the door Geralt and Aryan are facing after the cutscene. Take the staircase that you find in the first door to the right of the torture chamber’s exit. Finish off the remaining guards. Loot the area thoroughly, then return to pick up Aryan and escort him carefully to the oil stored in the upper room’s barrels. Once you take him into the correct room a cutscene triggers. When the cutscene finishes, Geralt can proceed out of the dungeon through a secret tunnel. Pause by the exit to pick up the sword in the weapons rack.
If Aryan Is Dead
After you speak with Mary Louisa, Shilard Fitz-Oesterlen and a detachment of Nilfgaardian troops enter the torture chamber. He gives you instructions for leaving the prison that you should be careful to follow. Use the exit from the torture chamber that leads back to the upper level, then head up the stairwell to the right. Shilard takes guards and exits through the main exit.
Once he’s gone, have Geralt fight his way toward the main exit. After Shilard passes through, it’s unlocked and you can pass through freely once all the guards are defeated. Be careful to use your signs here, as you’re going to be fighting roughly seven guards at once. After you defeat them, open the iron grate. Be sure to pick up the sword waiting for you on the weapons rack in the next room.
After the Escape
 Side Quest: Melitele’s Heart
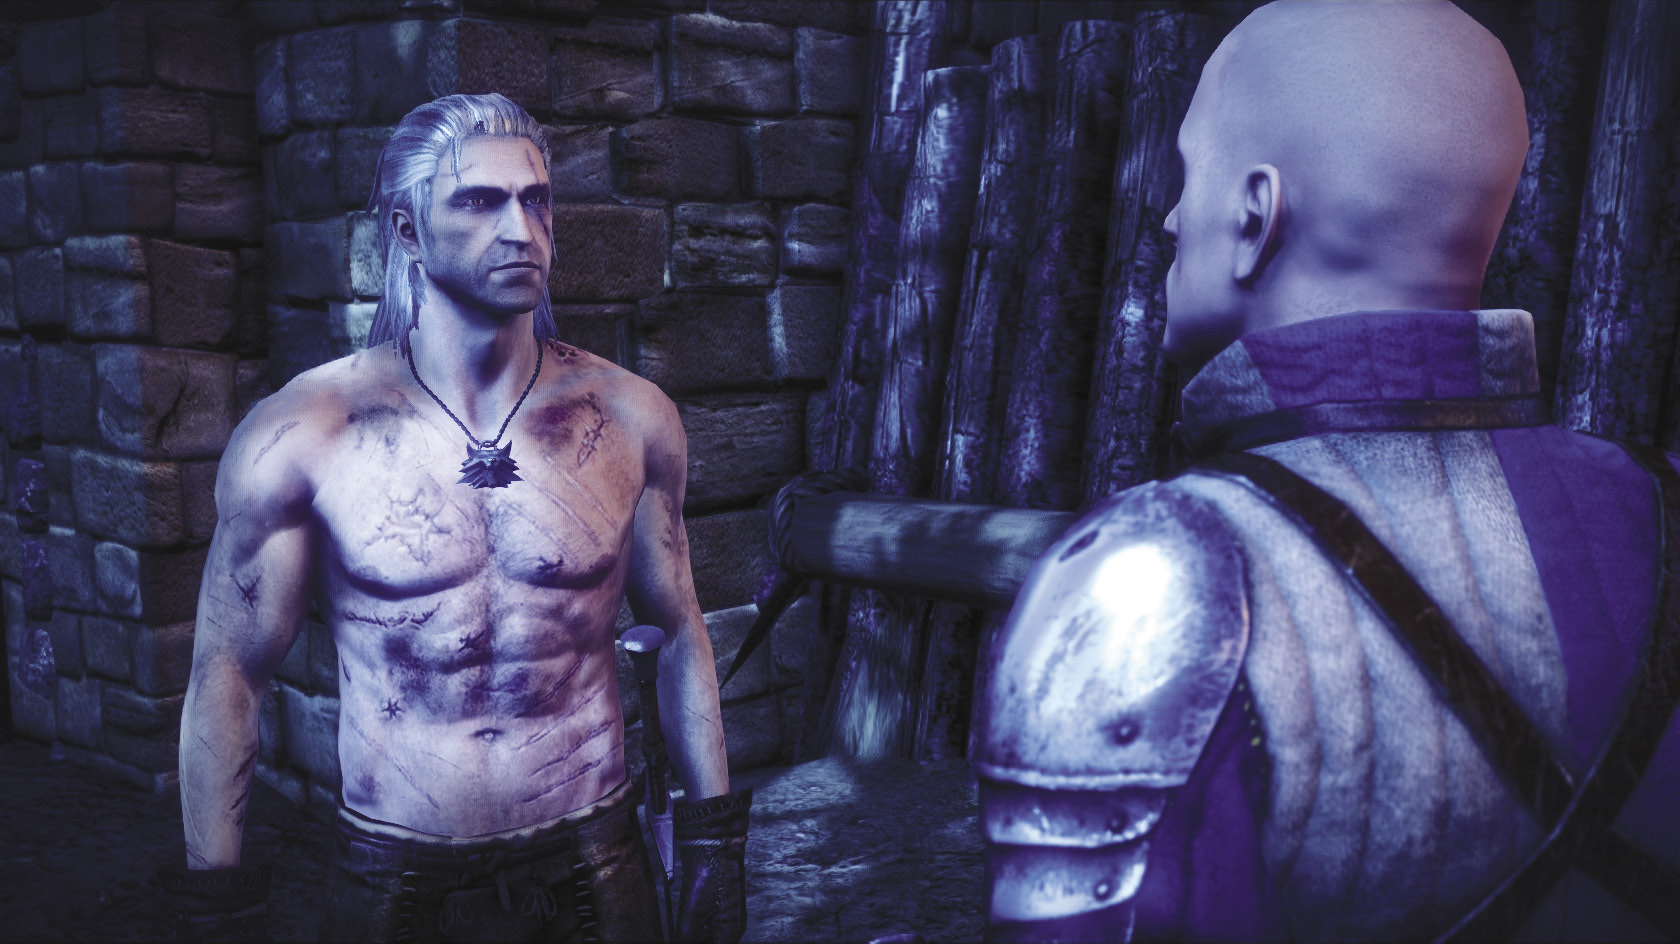
If you saved Newboy’s life earlier, then stepping out of the dungeon triggers a cutscene with him. If you ask him about the Scoia’tael ambush, he gives you the book About Dragons. When you need to move on, Newboy offers to distract the sentries. He goes up the stairs and leads them away from the docks. If you already have Newboy’s talisman, you can simply let him go and head down to the boat. If you saved Newboy’s life but didn’t take his amulet, you need to fight and kill Newboy before he departs, then loot Newboy’s talisman off his corpse in order to progress Melitele’s Heart in a later chapter. If you let Newboy die, you may stumble across his body somewhere on the docks.
If you didn’t trigger the Melitele’s Heart side quest earlier in the game (or if you let Newboy die), you’re going to have to fight your way from the dungeon’s exit to the boat, where Triss and Roche are waiting for you. Note that if you escaped with Aryan dead, you emerge to the left of the docks. If Aryan is alive, you emerge to the right. Equip the sword you found just before leaving the dungeon if you don’t have the guisarme. Head up the stairway near Geralt when you’re ready to proceed. Triss joins in the fight with you, so you may want to have Quen up to help prevent her from accidentally setting you on fire.
You should have little trouble taking out the guards, even as poorly equipped as you are in this battle. Focus on using light attacks and dodging, so you can get out of the way when Triss joins in. Once the guards are defeated, follow Triss down to the boat to sail away from La Valette castle and trigger the Prologue’s end-of-chapter cutscene. At the beginning of Chapter 1, the game gives back to you all the items you acquired earlier in addition to letting you keep all the loot you found in the dungeons.