
The Witcher 2: Assassins of Kings Guide Walkthrough
Chapter 2: Vergen (Iorveth)
 Prelude to War: Aedirn
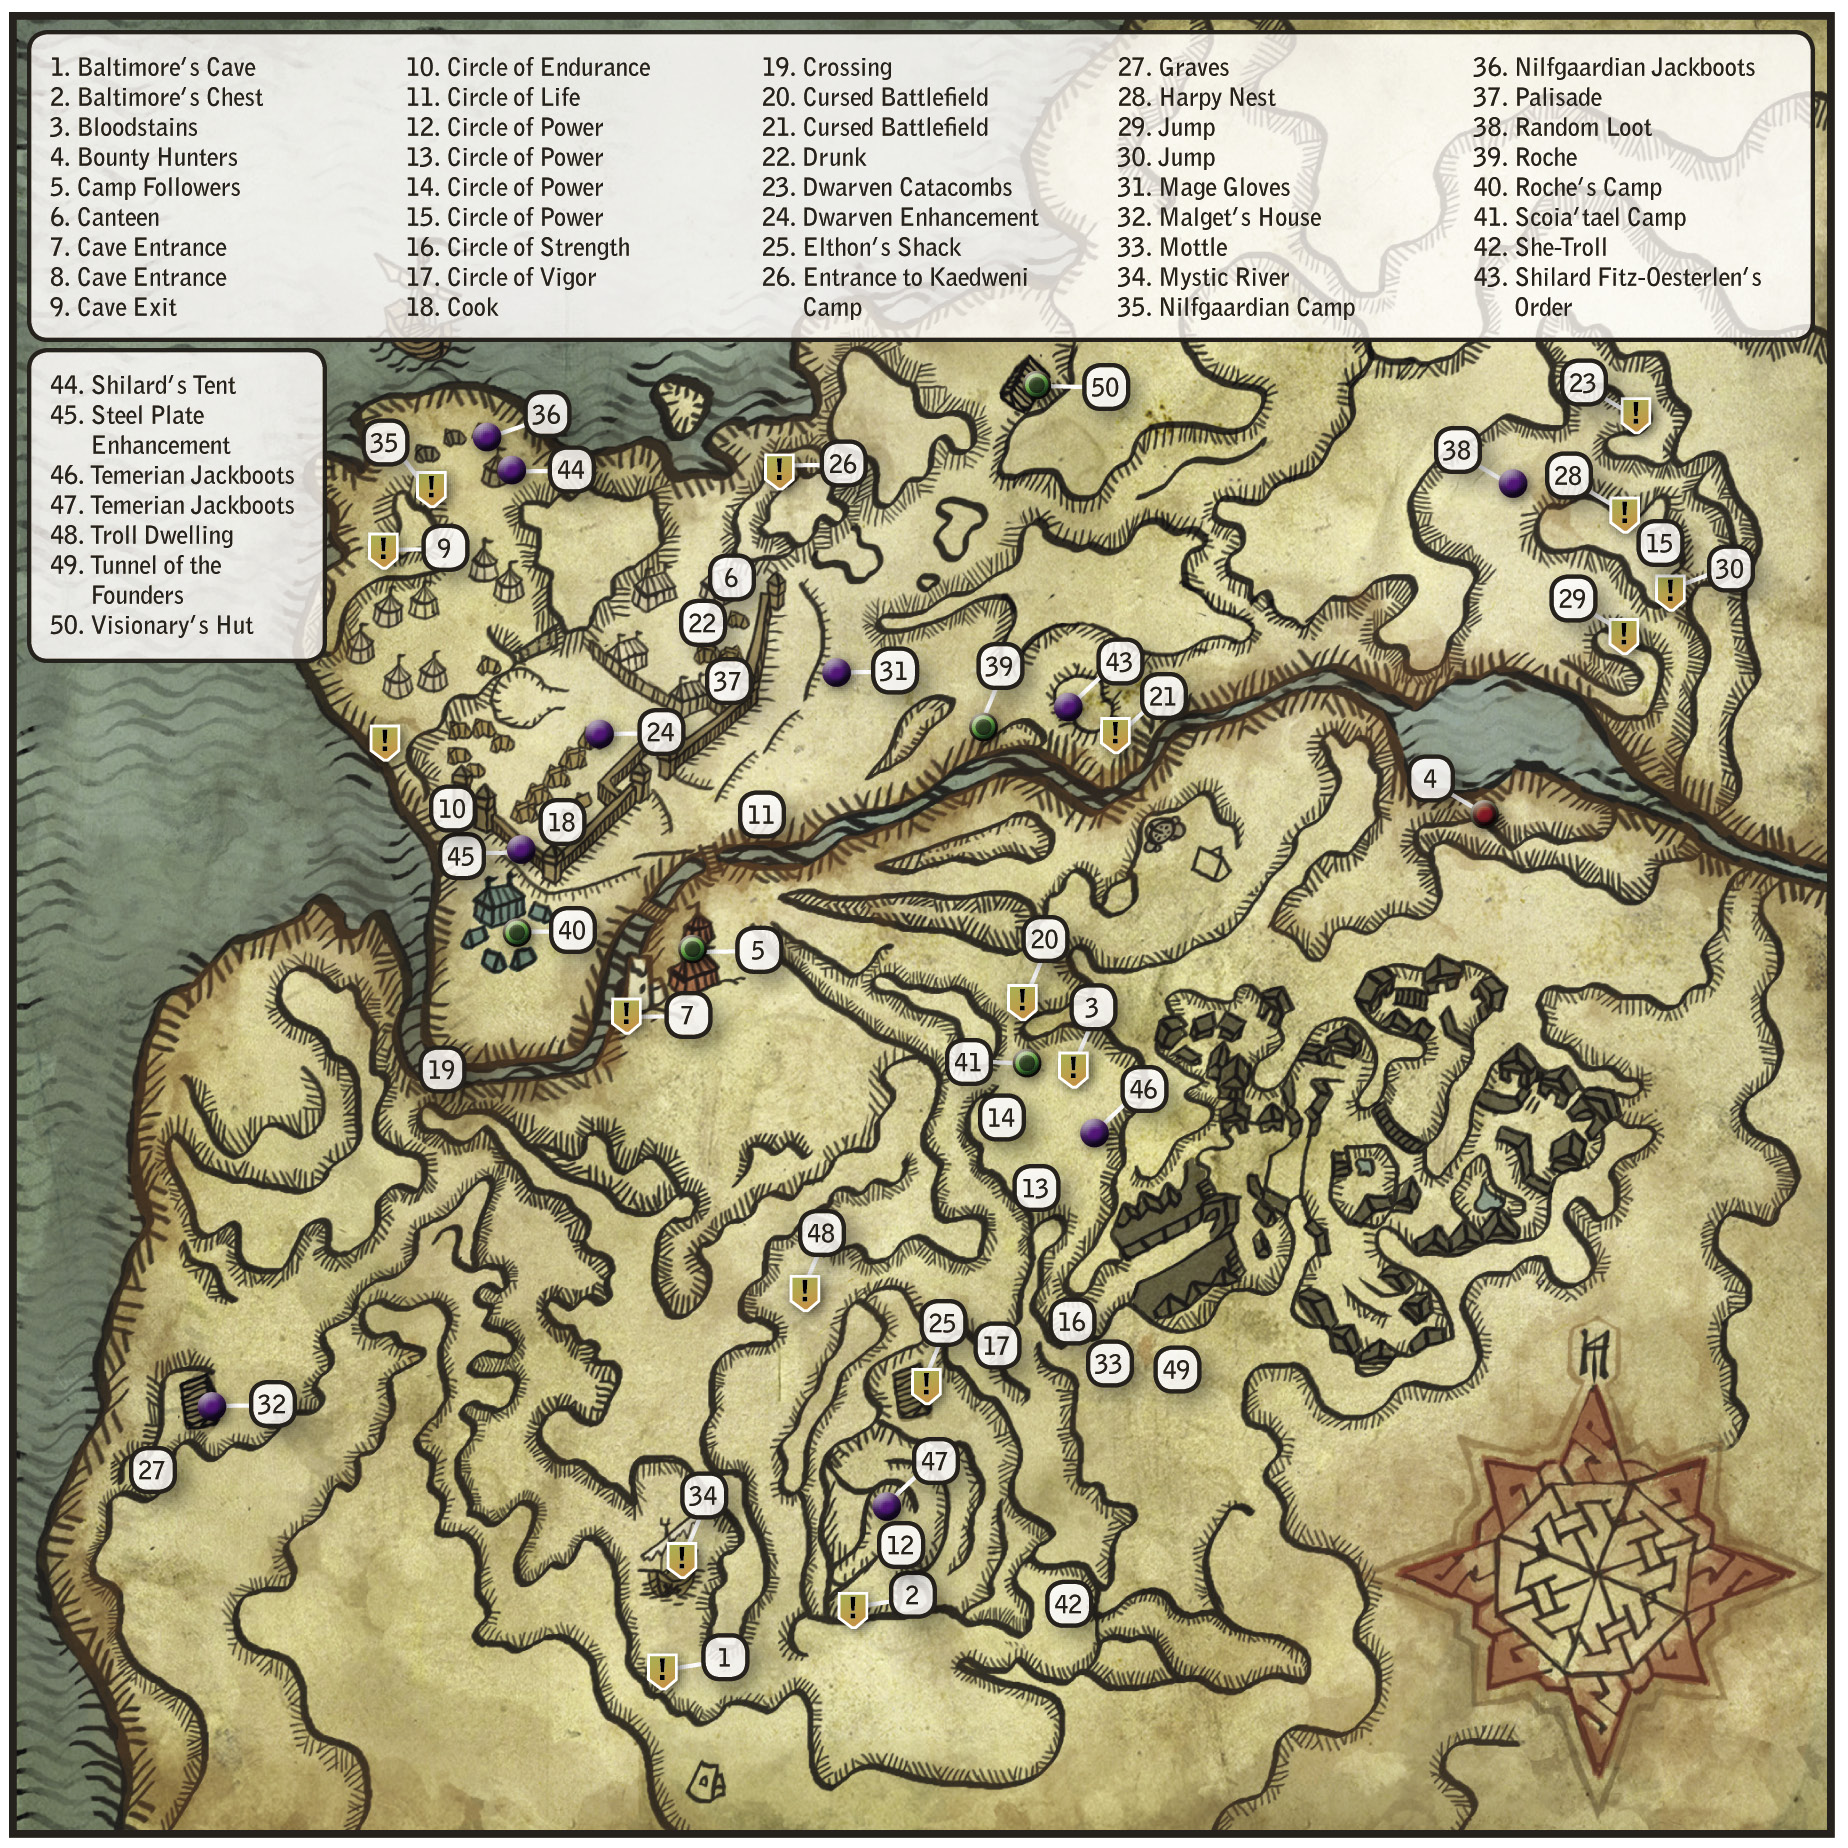
While the bulk of this chapter takes place south of the Pontar, in Vergen, we begin in a cutscene where we see Saskia and her forces going to a parley with King Henselt of Kaedwen. You control Prince Stennis of Vengerberg in this sequence. As Stennis, the conversation options you select determine how this sequence plays out.
Basically, you can either get into a free-for-all battle with the Kaedweni forces or end up dueling Henselt. Dueling Henselt is much easier and is only an option if Stennis’s dialogue replies are good enough to impress Henselt. If you fail to impress Henselt, then Saskia steps in to take over the negotiations. Henselt profoundly disrespects her, so the moment she opens her mouth you can expect the free-for-all battle version of events to unfold.
If you take the second option in the first dialogue branch, “You’ll break all the treaties,” you immediately lose Henselt’s favor and can shortly expect to fight all his men. To draw out the conversation, always pick the top option, “Greater forces have crumbled beneath Vergen’s walls.” At the next branch in the conversation, you may pick the first or second option to continue the conversation onto its third branch. The third option, “I am forced to accept your terms,“ leads to Saskia speaking and initiates the mass melee.
From the third branch, selecting the first option, “Withdraw your army and you’ll save them from being massacred,” insults Henselt and immediately triggers the free-for-all battle. Selecting “I’ll reimburse you for your military escapade” triggers the dialogue that makes Henselt offer Stennis a duel to settle matters. The third option, “I’ll give you the Dragonslayer,” once again triggers Saskia’s speech and leads immediately to the mass melee. To duel Henselt, say “I accept your challenge” after the duel is offered. If you say “I’m not prepared to fight,” then the mass melee begins.
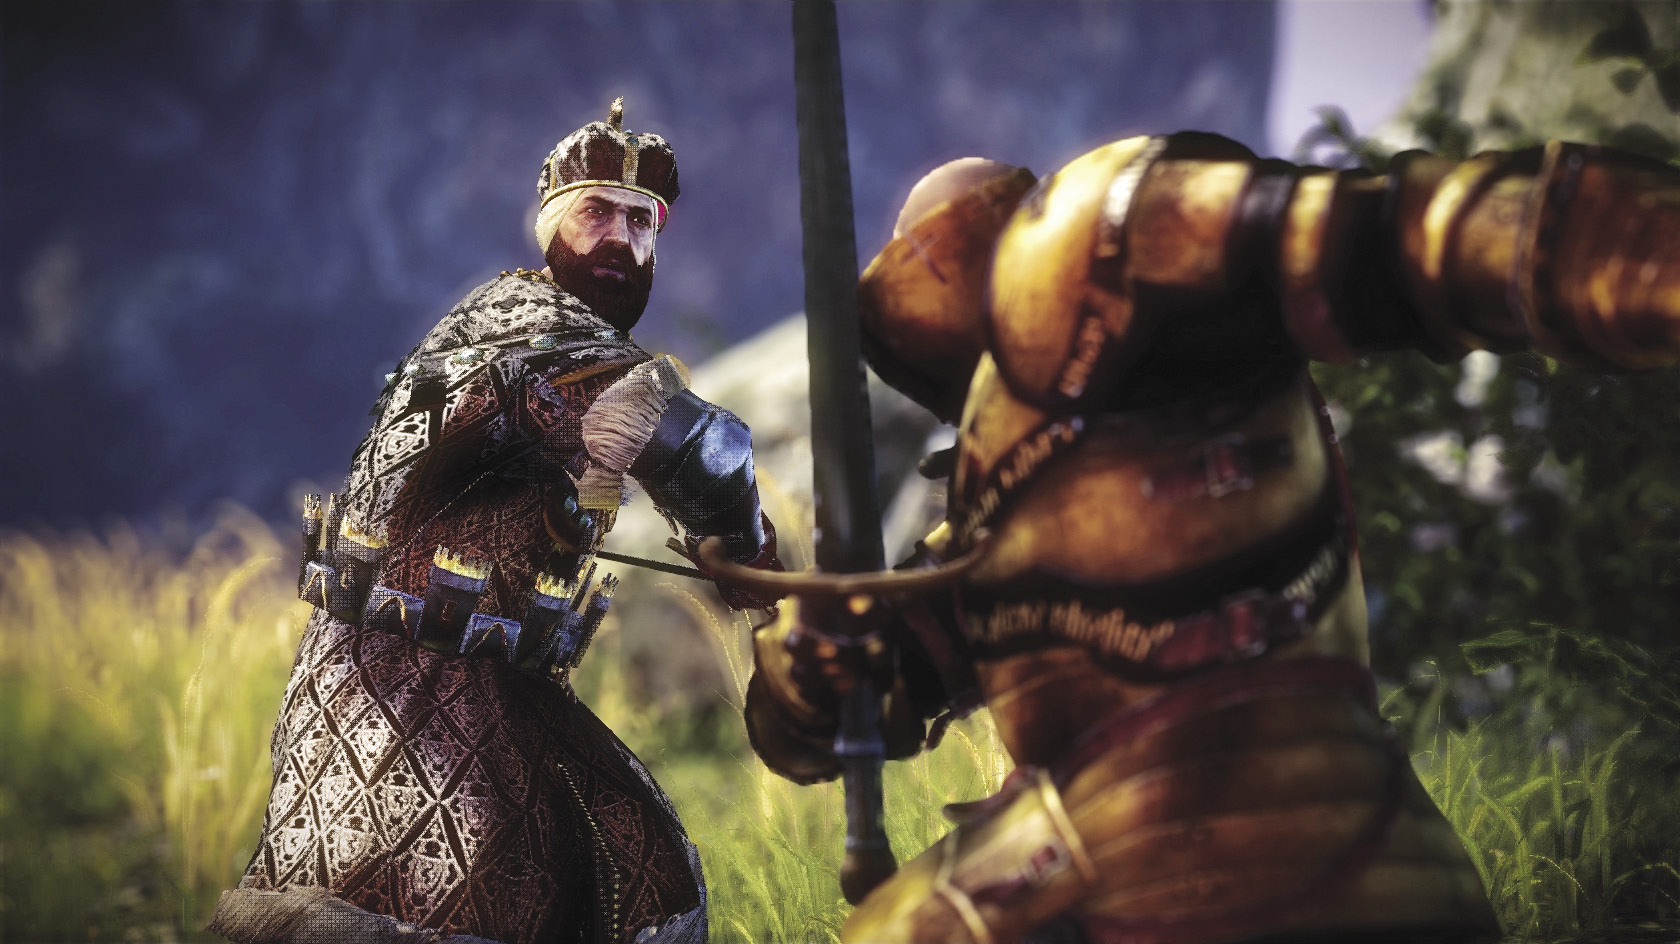
If You Duel Henselt
Stennis can’t throw up Quen, but he still has plenty of vitality. You can simply guard Henselt’s blows and then counter them while Henselt staggers. Stennis is also a little quicker than Henselt and can interrupt Henselt’s sword swings with light attacks. Finally, if your Geralt build includes Riposte, Stennis can use that to great effect to rapidly whittle down Henselt’s health at no risk to himself. Winning the duel is worth 200 XP.
If You Battle the Kaedweni Forces
It is possible to pick off the Kaedweni soldiers one by one while playing as Stennis, though this is quite dangerous due to his inability to dodge-roll. It’s also quite slow, since most of Henselt’s men are carrying heavy shields. You can end the battle much more quickly by standing at the edge of the mass melee and looking for a chance to go after Henselt directly. If you can defeat Henselt, you trigger a cutscene that ends the melee immediately. Getting through this phase of the quest is worth 200 XP.
|
Prince Stennis is the game’s main reference to George R.R. Martin’s A Song of Ice and Fire fantasy cycle. He’s named in homage to the character Stannis Baratheon. |
When You’re Not Geralt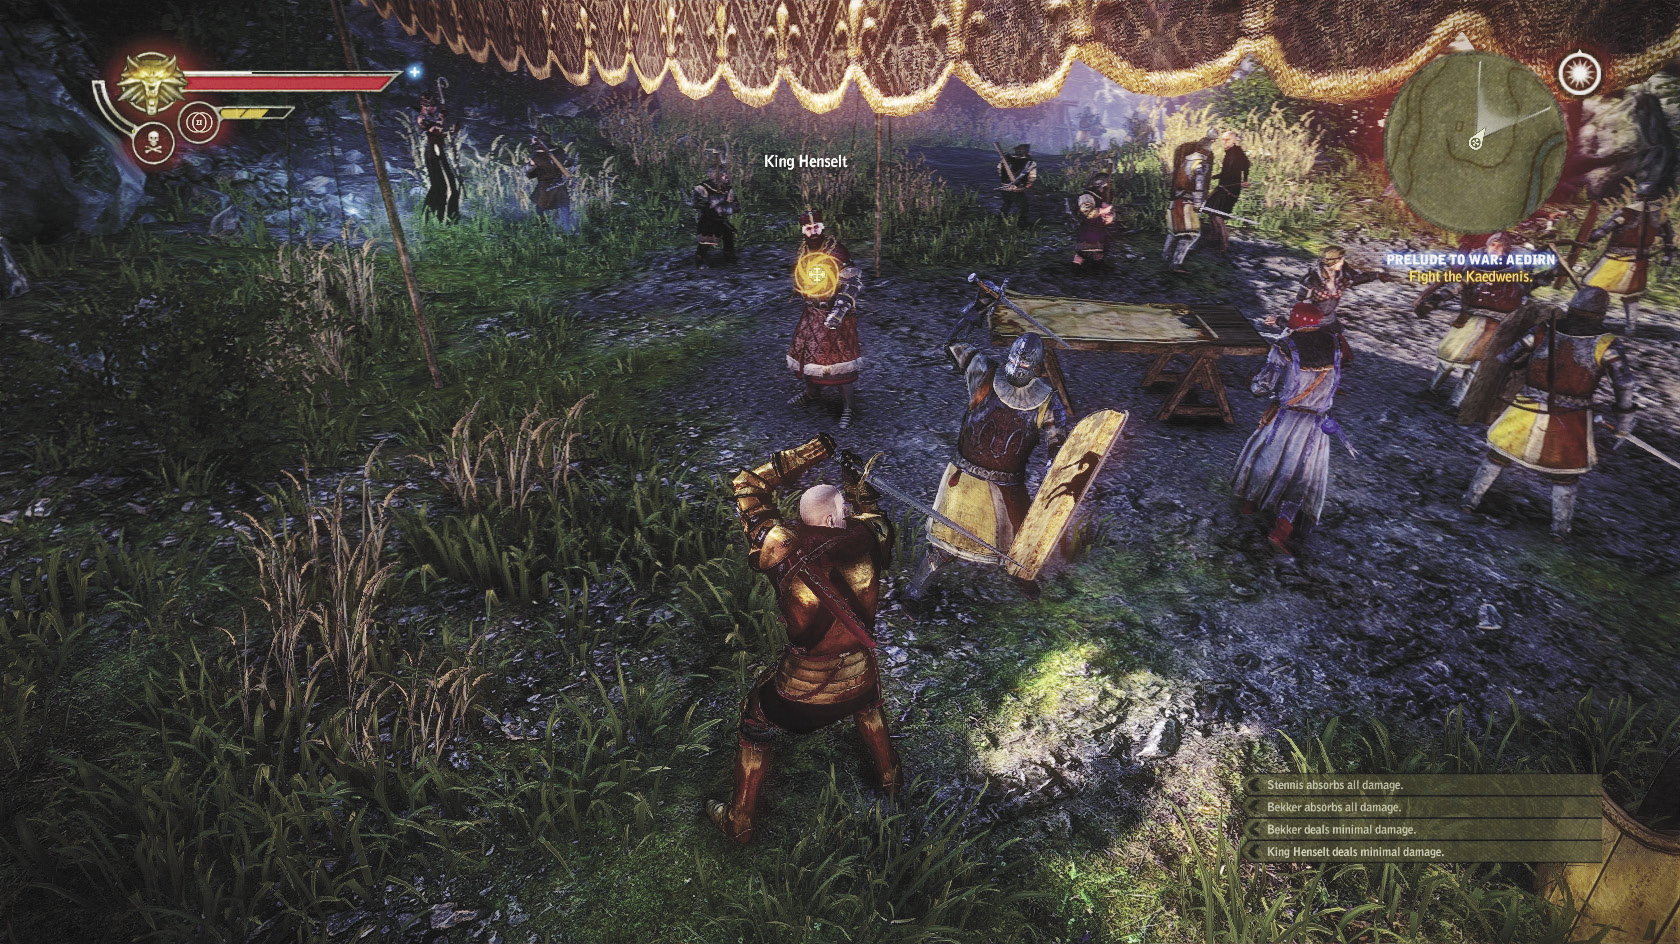 Your brief stint fighting as Prince Stennis in this part of Chapter 2 is one of many sequences this chapter where you control someone who is not Geralt and therefore does not have his full range of abilities. These sequences should be manageable regardless of build on Normal and Easy but may be frustrating on higher difficulties if your Geralt build is specialized for alchemy or magic. Those abilities do not carry over when you control a character who is not Geralt, for the logical reason that whoever you’re controlling isn’t a witcher. That said, it’s worth noting that some abilities from the swordsmanship skill tree carry over when you control someone who isn’t Geralt. Generally, you can’t dodge-roll when you’re controlling someone like Stennis, but passive abilities like Back Defense, Precision, and Violence are going to affect your performance in combat. Of the active abilities, the most notable one to carry over is Riposte. Keep this in mind if you start having serious problems completing a sequence where you aren’t Geralt. Going into an earlier save and investing in the swordsmanship skill tree can make a big difference. |
After some cutscenes, Geralt and his allies join up with Saskia and Stennis. Now you control Geralt and must help everyone battle a horde of Aedirnian knight wraiths. If you optimized your equipment last chapter, it really pays off here. You should be able to take out the wraiths rapidly with light attacks. Once you’ve defeated enough wraiths, two draugir appear. Draugir basically fight like knights with heavy shields, only their defense is even harder to get through.
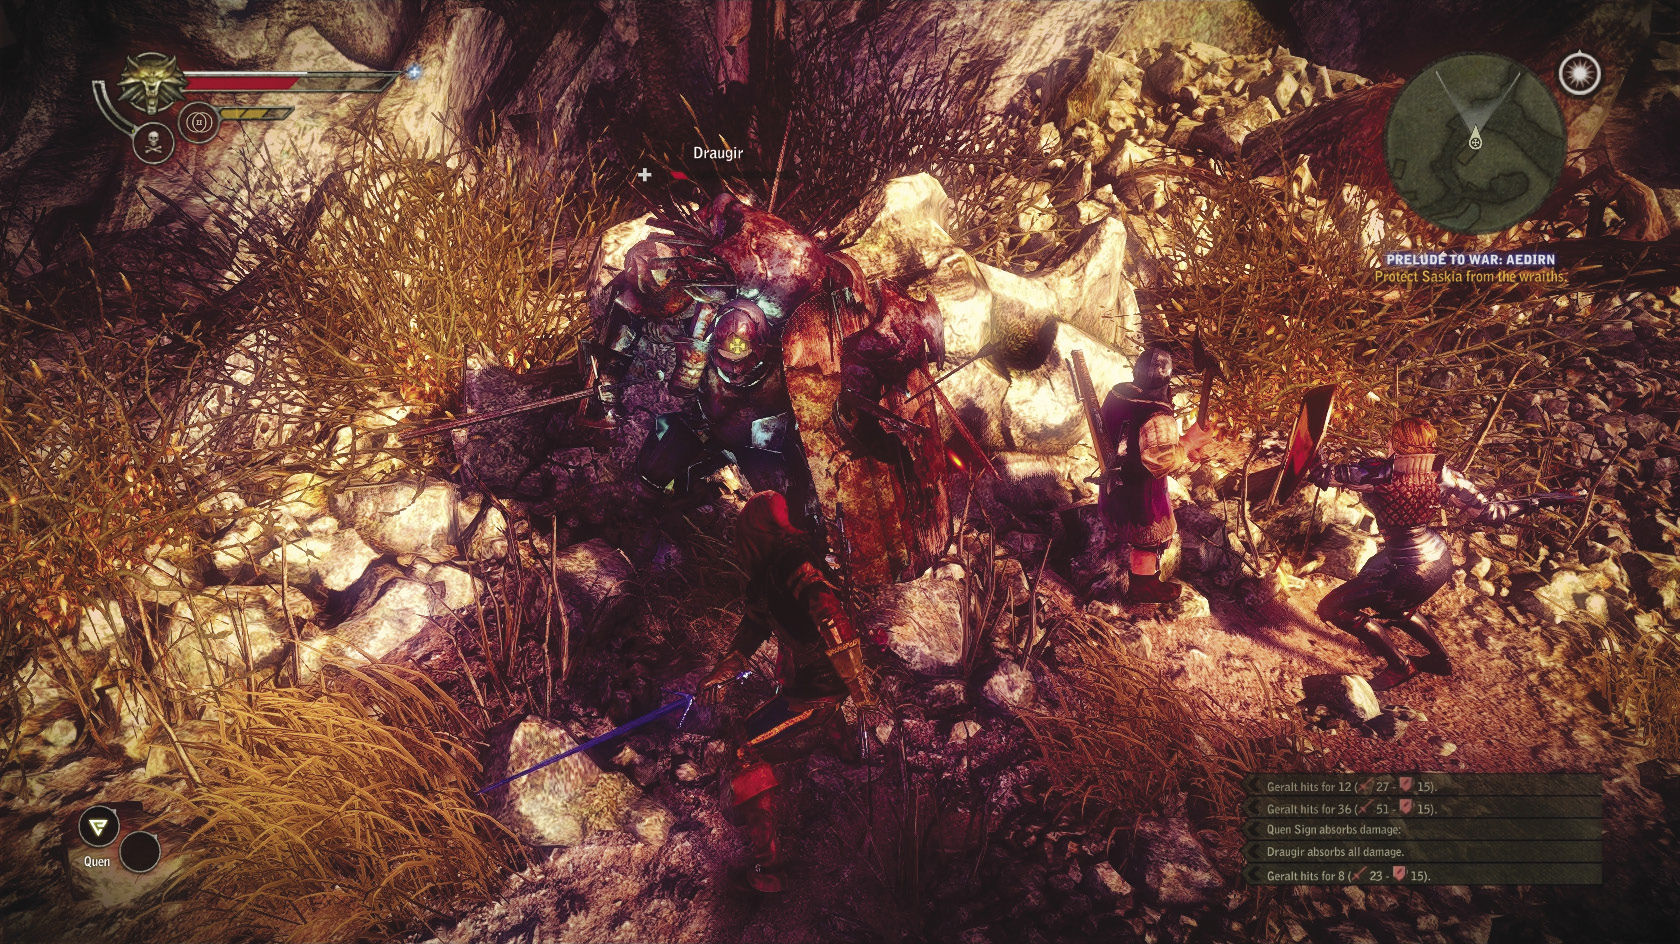
Mage and alchemist Geralt builds need to stun or stagger a draugir to create an opening for doing damage. Mages want Aard or Yrden here, alchemists want Zerrikanian suns and Talgar winters. A swordsman build can try to sneak around to the draugir’s back with dodge rolls, or try to simply tank through the draugir’s attacks, using Quen to damage it while it’s swinging its sword. Just like you, the draugir has to drop its guard before it attacks.
After you defeat the two draugir, you get some more cutscenes that make it clear the wraiths are never going to stop spawning. For the next sequence, you must stay within a cover of protective magic provided by a flying owl. It’s very similar to the sequence last chapter where Triss protected you from arrows, but staying within the cover’s field of protection is much easier. Occasionally Aedirnian knight wraiths may rush you, but by the time they get to you, they have so little vitality that a single light attack probably dispatches them.
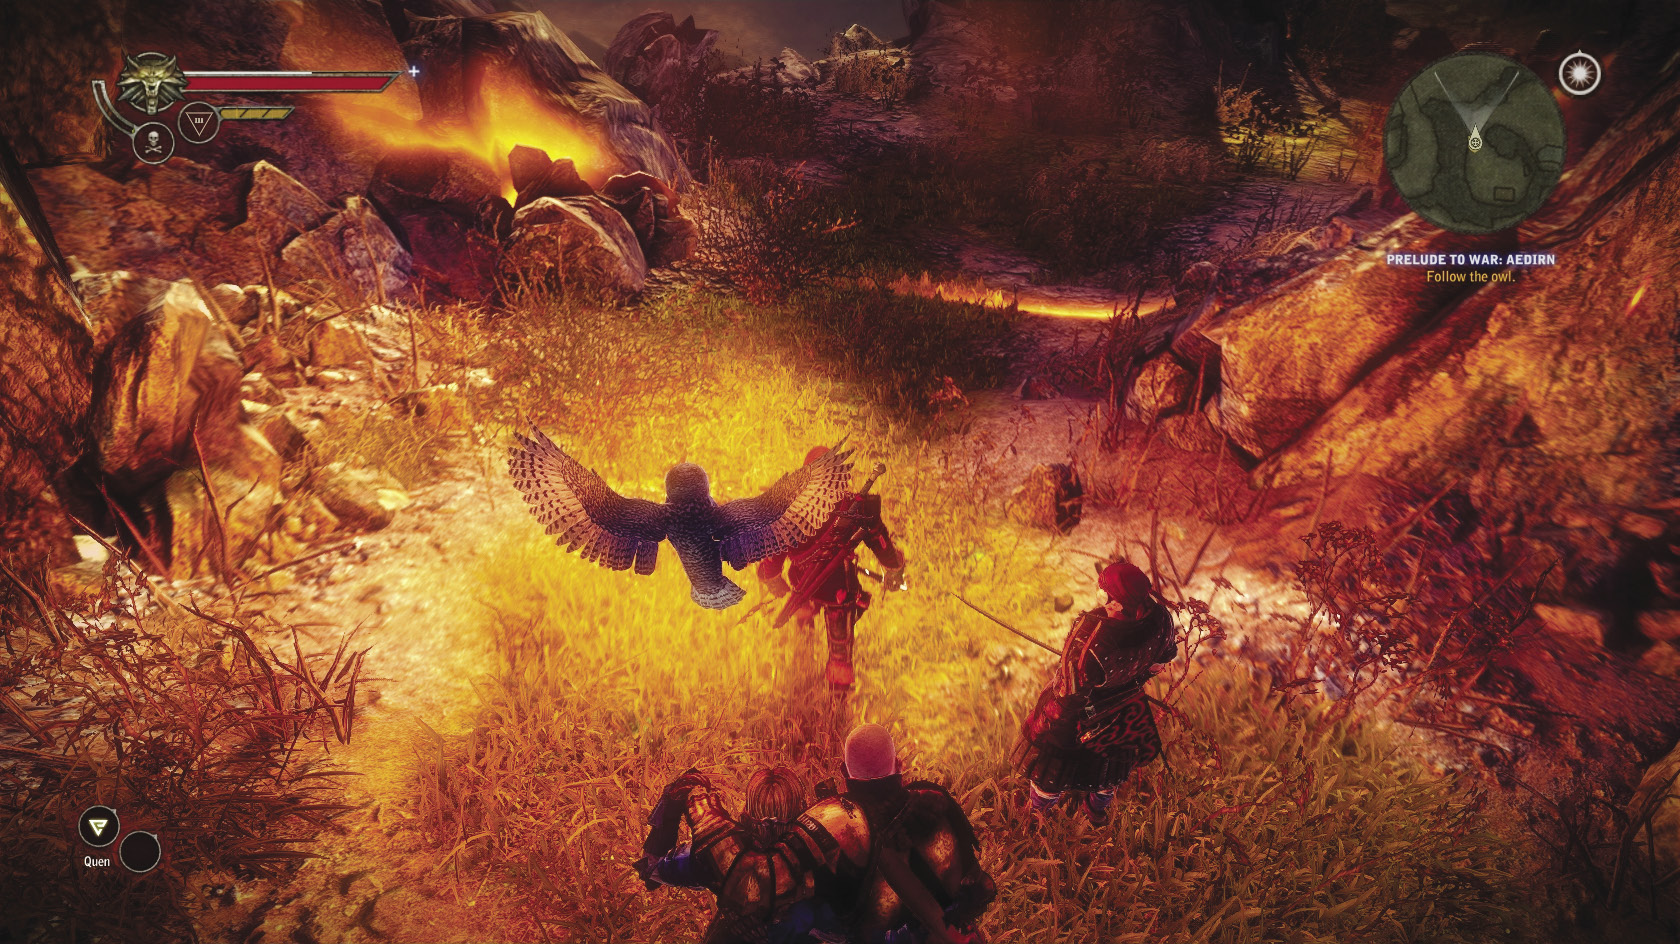
There should be two or three sequences where wraiths appear and trap the owl. The field of cover stops moving and a draugir forms within it. You have a few options for how to handle these sequences. One way is to kill the draugir using whatever method works best for your Geralt build. You can take your time with this fight, since you have Iorveth to help you. You can also take time to loot the draugir’s body before you start eliminating the wraiths. Try sheathing your sword if you’re not getting the interaction prompt to loot the draugir’s remains. Once the draugir is defeated, focus on attacking the wraiths. The wraiths respawn slowly over time, but you can take them out very quickly using light attacks. Once you clear out all the wraiths, the owl can move again. A second way to handle these situations is to simply ignore the draugir and go directly for the wraiths. Once you’ve defeated them all, the draugir begins taking damage from the owl’s protective field and won’t last long. The owl also eventually breaks free if you take too long slaying the draugir or wraiths.
Eventually, the owl leads you to Vergen, the dwarven city that serves as your home base for this chapter. You’re near your goal once you see fog swirling ahead of you. At this point you can make a mad dash toward the fog to end the sequence more quickly, if you wish. Finishing this sequence is worth 550 XP and resolves this quest.
 The War Council
This quest sets up a number of other main quests that take you through the plotline of this part of the game. Your first step is to follow Skalen Burdon into Geralt’s room in Vergen’s inn, the Cauldron. Vergen and its buildings make more use of vertical space than Flotsam did, which can make navigating a bit trickier. For now, just follow Skalen into the room, then immediately exit and head for the Castle of Three Fathers. Once inside, loot the inside areas. Be sure to pick up the dwarven enhancement in the foyer and all the random loot you can find in the two rooms to the left of the entrance to the main council chamber.
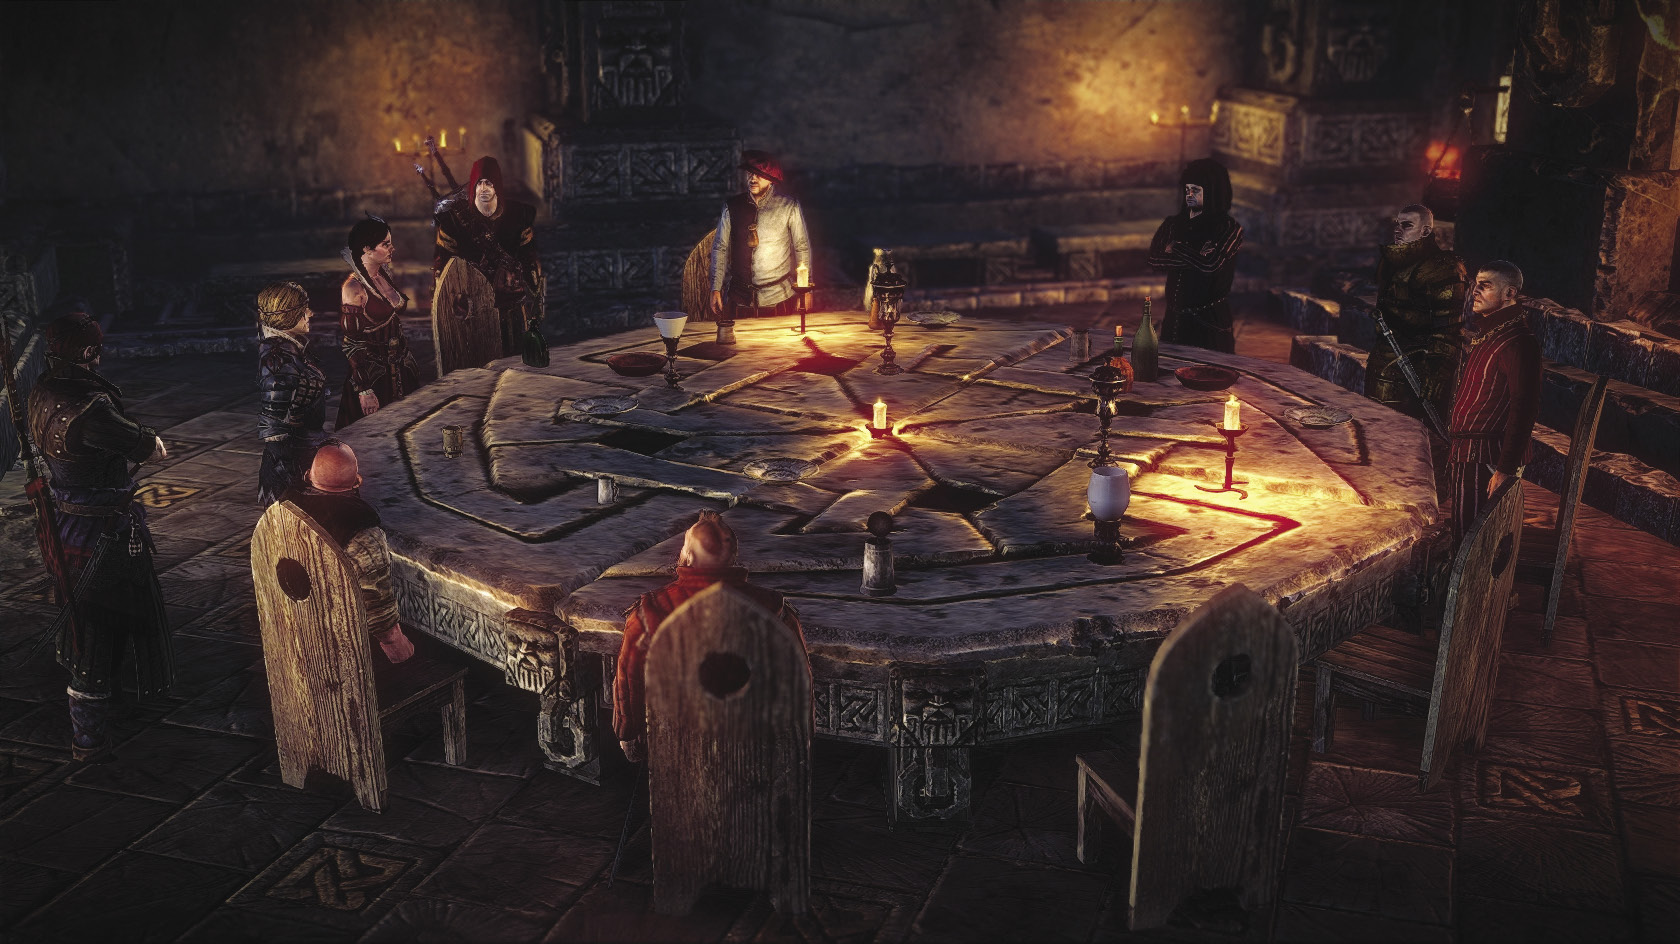
After you enter the main council chamber, cutscenes explain several of the quests you need to fulfill to finish this chapter. You need to break the curse filling the battlefield with wraiths and draugir, gather up all the components of a cure for Saskia, and then figure out some way to defeat Henselt’s army. After the cutscenes outside Saskia’s quarters end, head toward Vergen’s Mahakam Gate. This triggers a cutscene that opens the gate, which lets you fully explore the city. You trigger an absolute ton of quests at this point, but ignore them for now and focus on getting your bearings.
|
When Philippa is explaining the ingredients she needs for Saskia’s cure, see if you can get her to mention the “20 rings of power.” This leads to one of the longest Lord of the Rings riffs in the game. |
Vergen
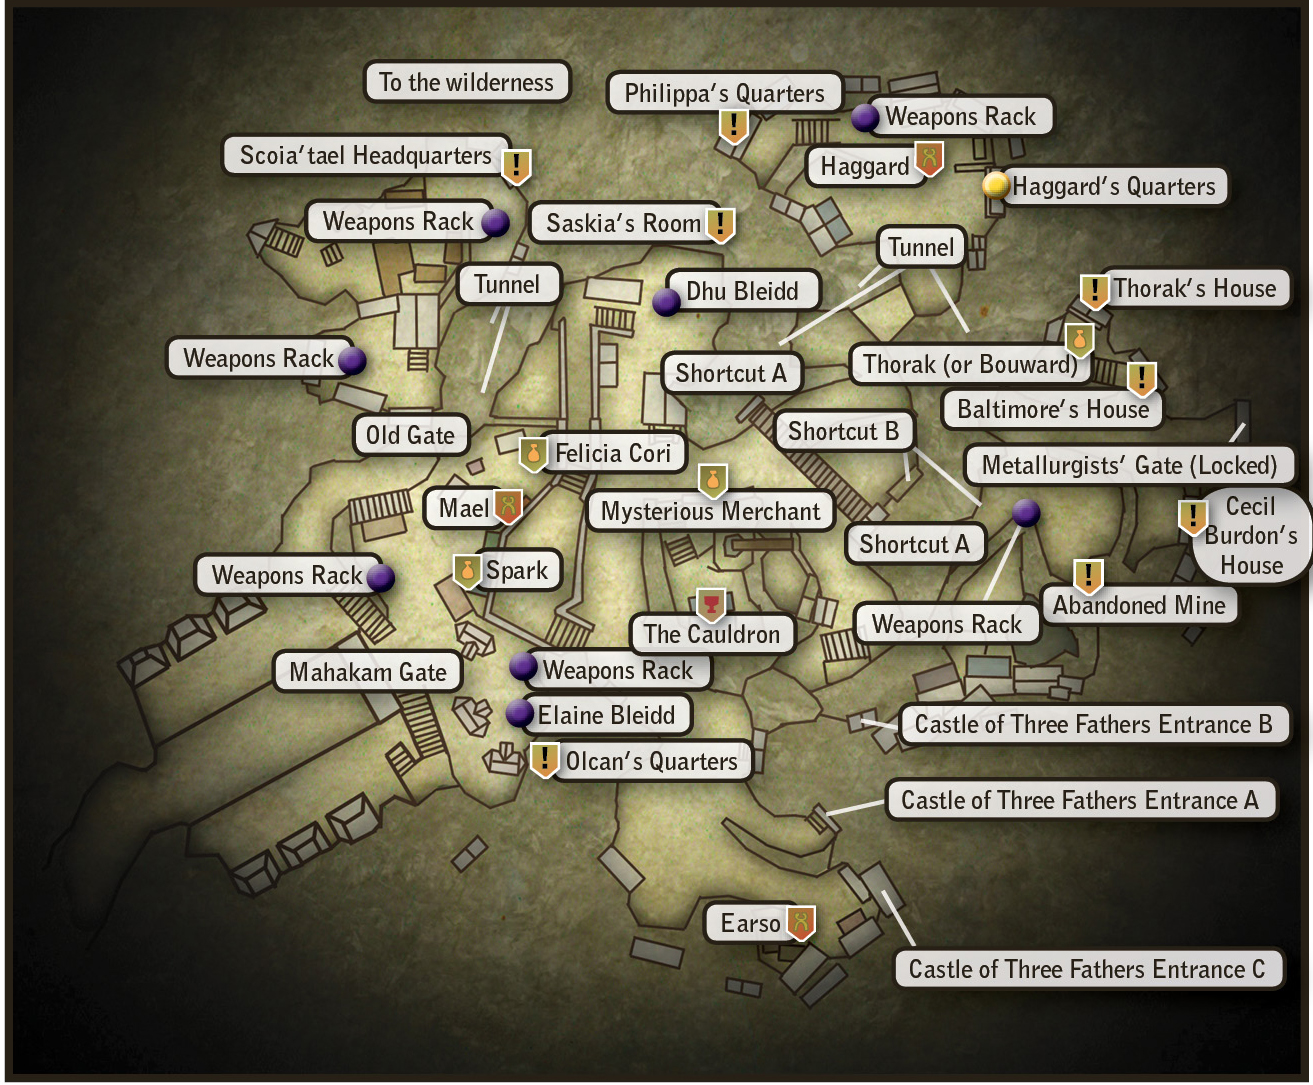
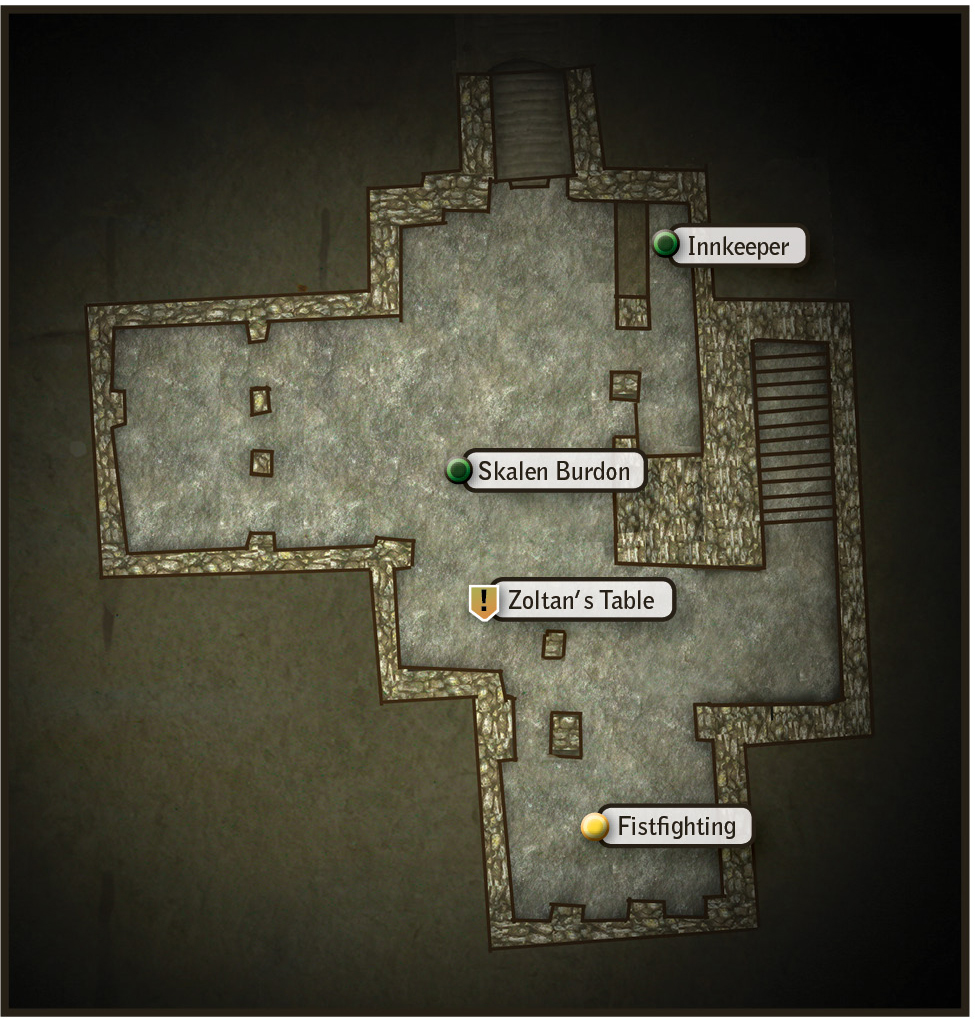
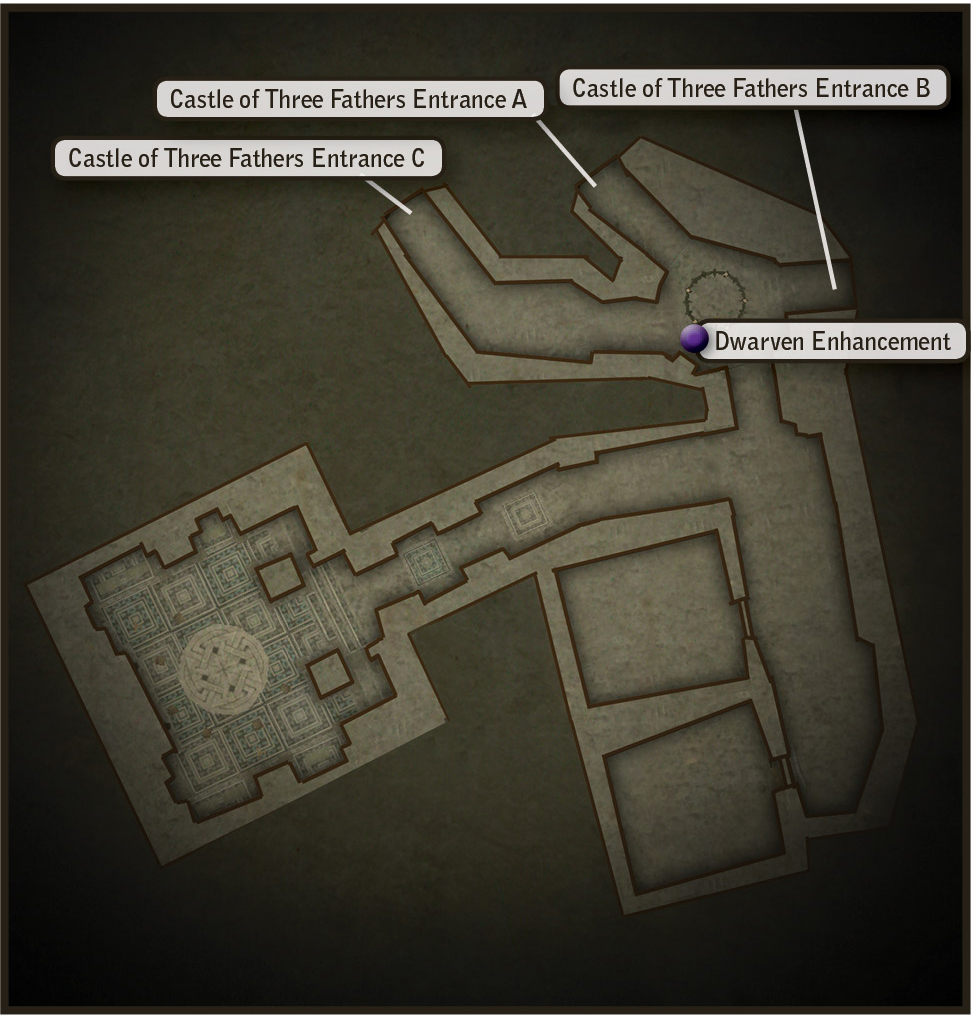
Now is a good time to explore Vergen. Where Flotsam was usefully broken up into districts, Vergen’s smaller and more vertical construction bunches everything of interest together a bit more. It can also make tracking quests using the in-game markers difficult, since markers may be pointing to locations above or below your current location. It’s important to invest a little bit of time in learning where the major locations are and where you tend to find certain essential NPCs. While there are some districts, like the Outskirts and Rhundurin Square, most of the town is a haphazard collection of buildings. You can use certain buildings to act as shortcuts, going from a low level of the town up to a much higher one. Consult the map for this chapter to see where they’re located and where they take you. These shortcut buildings are loaded with loot, while most of the houses in Vergen that aren’t occupied by major NPCs are relatively bare. Still, be sure to check thoroughly around the city for chests. You can pick up a Dhu Bleidd and an Elaine Bleidd simply by picking over these chests.
Points of Interest
Mottle’s Love Shack
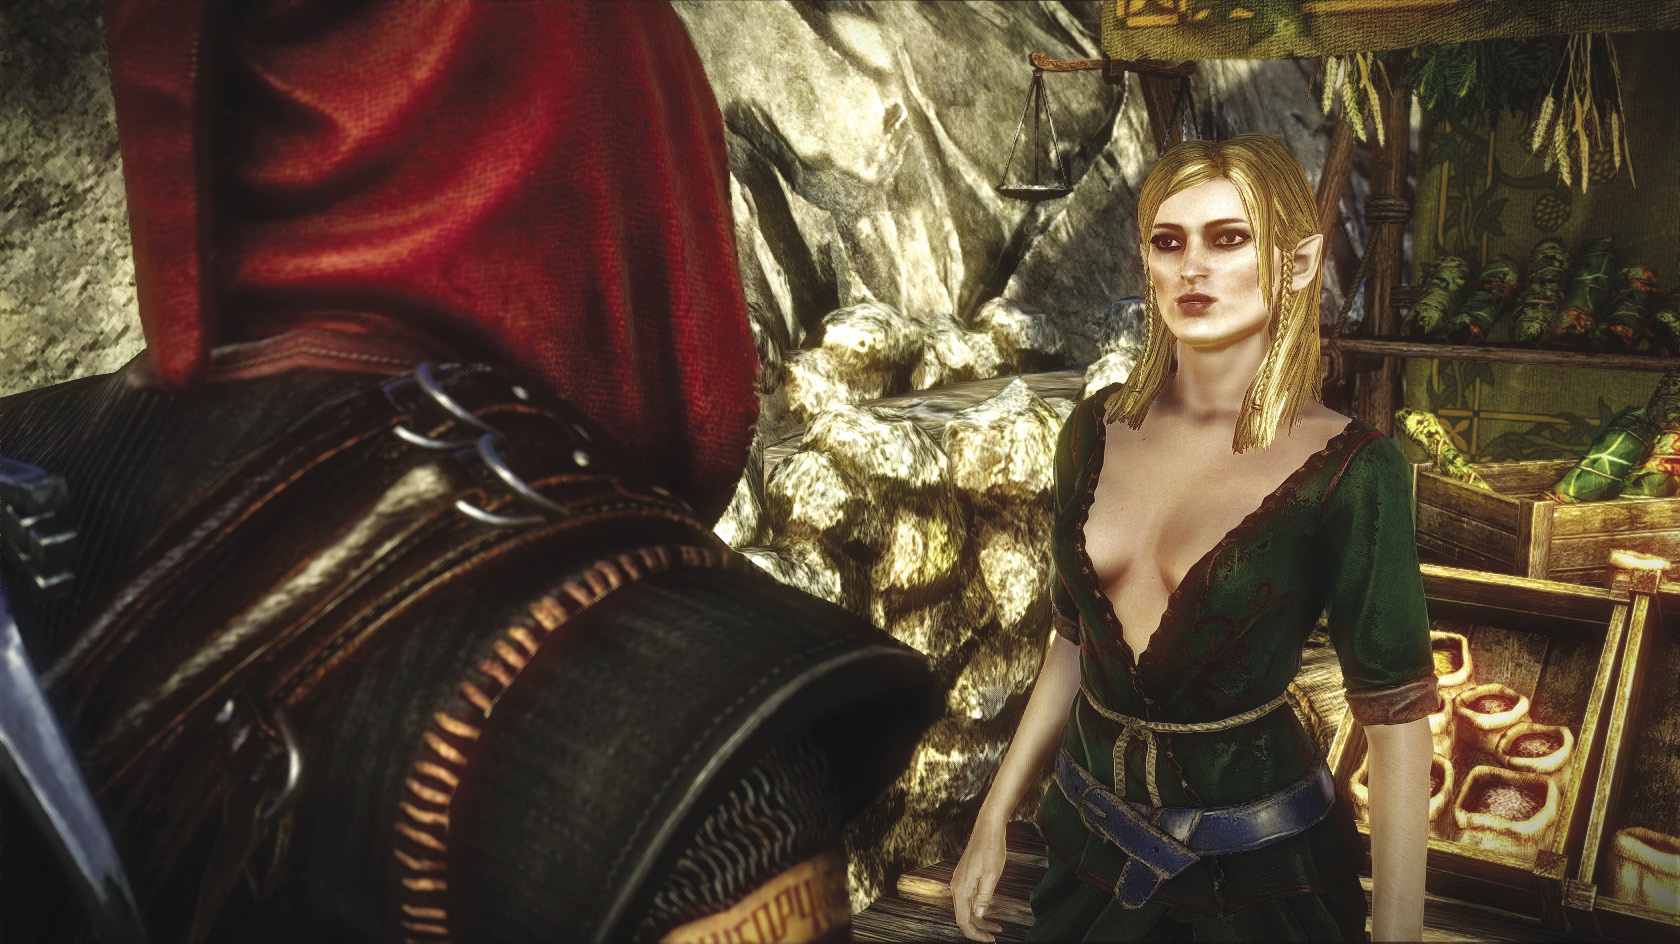
Go pay a visit to Mottle in her little house just outside of town. If you’re interested in starting the dialogue tree that leads to the romantic encounter, say “Tempt?” at the first branch. To take Mottle up on her offer, say “All right” at the next branch. If you say “That’s not necessary,” Mottle takes it well, but you don’t get the encounter and she never offers it again.
If you do take Mottle up on her offer, then talk to her after the scene plays out. She gives you the key to the Tunnel of the Founders. It opens the door just off to the right of her. Pass through it to reach an inaccessible area just beyond that overlooks the Old Quarry. In this small area you can activate a circle of vigor and pick some herbs. Off to the right, you can head down a small path that takes you quickly down to the area just before the entrances to the Old Quarry and the Dwarven Catacombs.
This is a very useful shortcut in terms of saving time this chapter, so it’s worth making Mottle happy for a night just to get access to it. Although you can’t open the locked door nearby, take note of it. It leads into the secret tunnels beneath Vergen, which you’ll visit later on.
The Old Gate
To get to the Old Gate, take the right-hand stairwell up above the Mahakam Gate, at the southwestern end of Rhundurin Square. The Old Gate leads to the Outskirts of Vergen, where the Scoia’tael have set up their headquarters. You can enter the headquarters to have interesting optional conversations with Iorveth at different points in the chapter, and to see what he looks like beneath that bandana of his. You can also have an interesting conversation with an elf named Gittan and listen to an elven storyteller spin tall tales about Saskia the Dragonslayer. You can get some good random loot out of the Scoia’tael headquarters and another building to the south. There are also a couple of weapons racks you can raid.
A tunnel at the north end of the Outskirts leads out into the wilderness. Finishing certain quests requires leaving Vergen through this tunnel rather than the main Mahakam Gate. If a quest description instructs you to leave through the Old Gate, it’s referring to this tunnel.
Weapons Racks
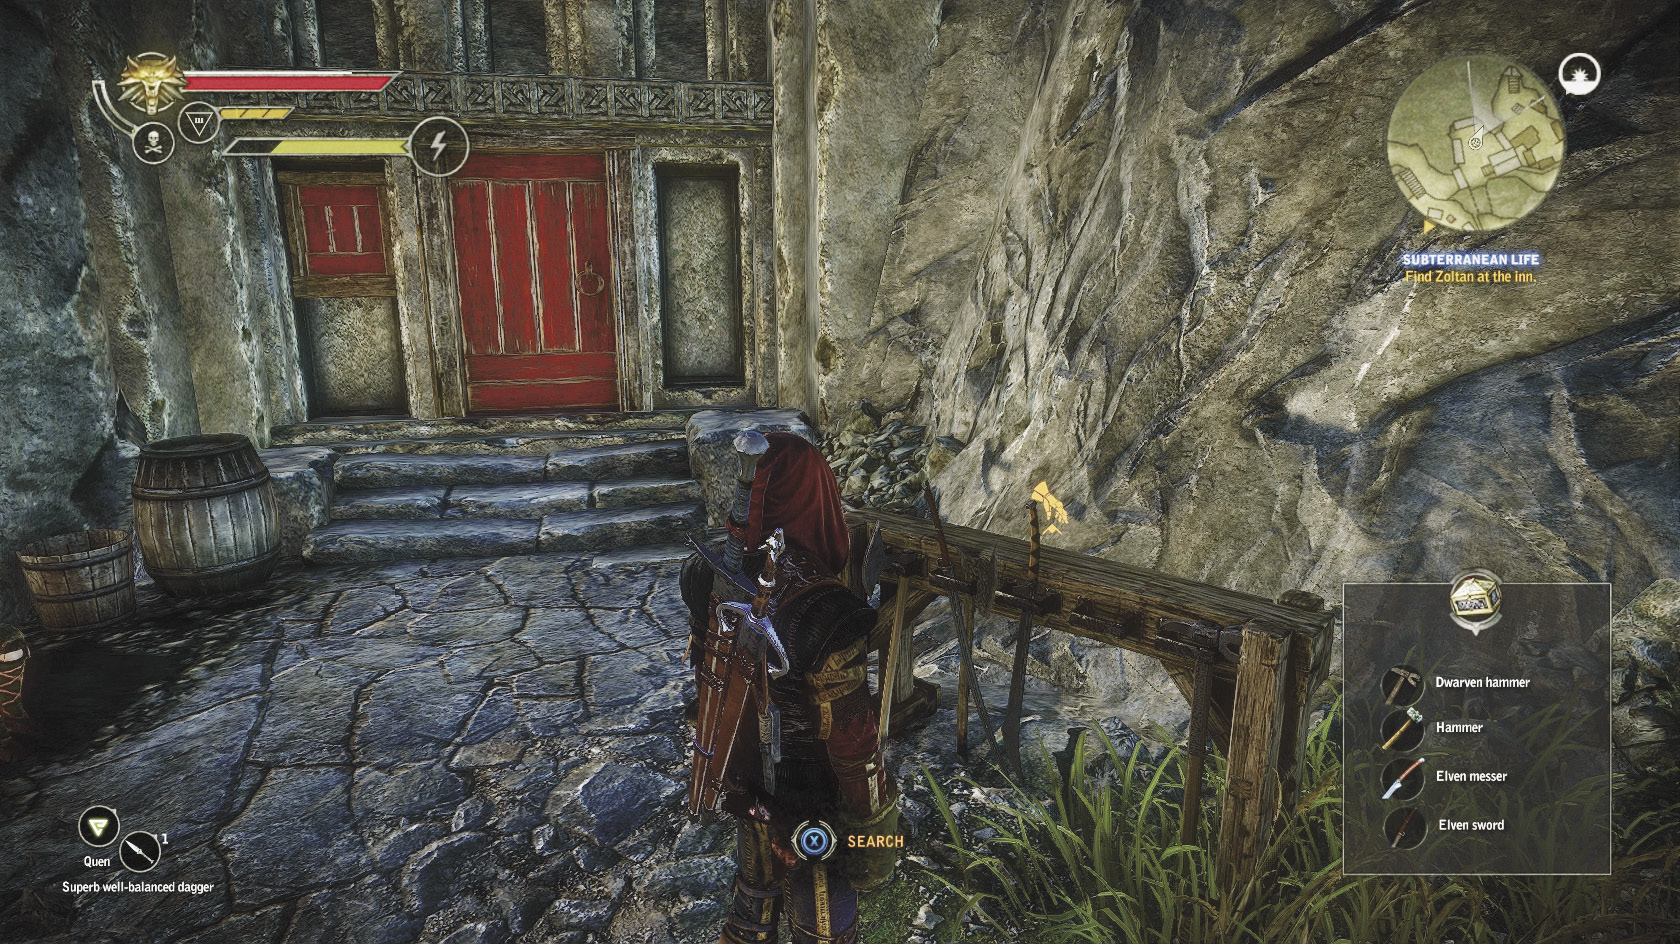
Vergen is absolutely stuffed with useful loot, most of which we’ve tried to label on the maps if it’s going to appear in every game. The weapons racks dotted throughout Vergen’s outdoor areas are not exactly useful, but you can use them to obtain big piles of additional weapons that you can immediately turn around and sell. Each weapons rack you find in Vergen contains a dwarven hammer, a hammer, an elven messer, an elven sword, a small blackjack, a dwarven axe, an axe, and a hatchet. That’s 38 pounds of loot you can sell for a quick 54 orens. Note that weapons racks you find indoors are going to behave more typically, offering a randomized selection of weapons as loot.
Felix Favela
This fellow sits in Rhundurin Square, usually near where Spark does business. If you opted to side with Iorveth before you fought Letho in Chapter 1, Felix remembers that you ran around saving nonhumans from the rioting humans. He insists on giving you an axe as thanks for your efforts.
The Town Guard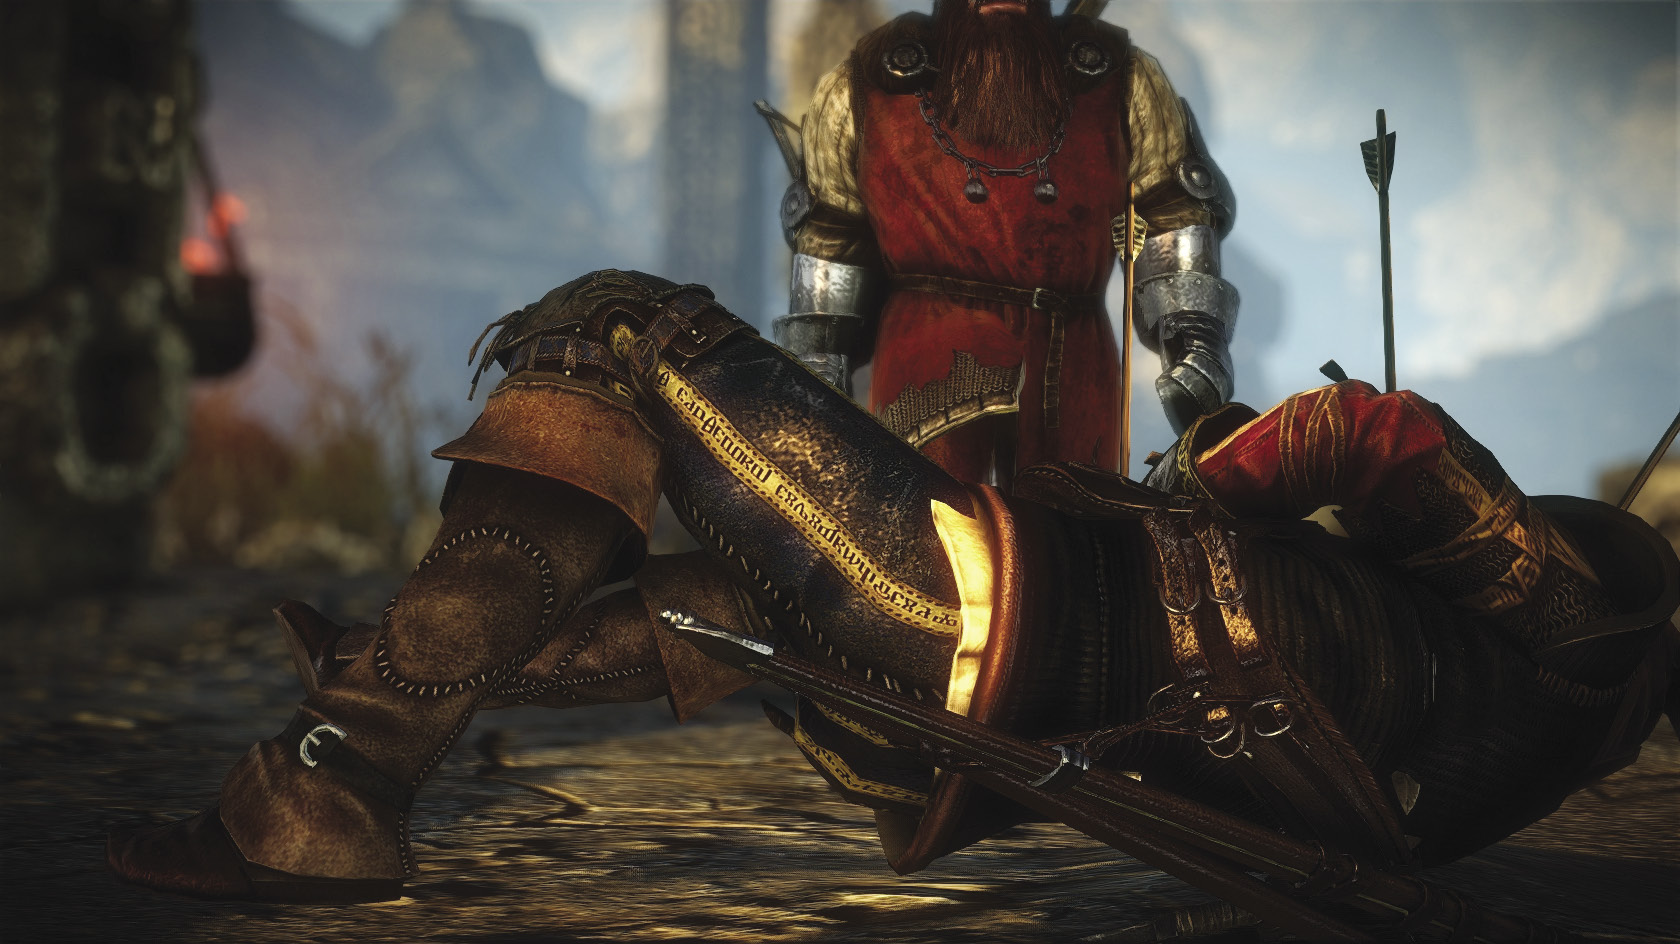 Just like Flotsam, Vergen has a town guard that gets pretty crotchety if you run around the areas near the Cauldron and Rhundurin Square with your sword drawn. As with the Flotsam town guard, it is perfectly possible to defeat them all. While you can’t use NPCs to cheese the town guards as easily as you can in Flotsam, your upgraded equipment and skills should make killing the guards even easier, especially on lower difficulty levels. The guards here carry crossbows, though, so don’t start killing guards without good cover available. Of course, as with the Flotsam town guard, it’s really not worth your while in any way to actually do this. If you kill all the guards, then sometime later a cutscene occurs where a 400 oren fine is demanded from you. If you refuse to pay, then you die automatically in a cutscene. |
|
As you travel around Vergen, you occasionally pass dwarves merrily singing “Heigh-Ho!” Yes, that’s a reference to the “Heigh-Ho” sung by the dwarfs in Disney’s Snow White and the Seven Dwarfs. |
Merchants
Innkeeper
| Item | Price | Item | Price |
|---|---|---|---|
| Fish | 14 | Potato | 14 |
| Apple | 14 | Cucumber | 14 |
| Old Cheese | 14 | Plum | 14 |
You never learn the name of the friendly dwarf who runs the Cauldron, but you should rapidly learn that he sells garbage. He’s mostly useful as someone who’s willing to buy up stuff that’s not worth keeping or storing. You can also talk to the innkeeper to access the Cauldron’s storage and need to talk to him to progress a few quests.
Mysterious Merchant
| Item | Price | Item | Price |
|---|---|---|---|
| Diagram: Solid Cloth | 176 | Armor of Ban Ard | 1,582 |
| Diagram: Hardened Leather | 176 | Robust Blue Meteorite Sword | 935 |
| Diagram: Studded Leather | 194 | Robust Yellow Meteorite Sword | 694 |
| Diagram: Elemental Stone | 150 | Poisoned Zerrikanian Saberra | 617 |
| Diagram: Oil | 89 | Sun Rune | 264 |
| Diagram: Leather | 124 | Ysgith Rune | 351 |
| Diagram: Essence of Water | 159 | Earth Rune | 176 |
| Diagram: Amethyst Dust | 185 | Moon Rune | 264 |
| Diagram: Diamond Dust | 220 | Fire Rune | 351 |
The Mysterious Merchant in Vergen lingers just to the right of the stairwell that leads down to the Cauldron’s entrance. His shop list is mostly similar to what it was in Chapter 1, so you can pick up discounted diagrams you might want from him. The main thing about his shop list that’s different is the armor and weapon selection, which is more suited to the power level of enemies you face in this chapter. None of it is really worth investing in, though.
Haggard
Craftsman
| Item | Price | Item | Price |
|---|---|---|---|
| Temerian Sword | 376 | Silver Ore | 45 |
| Necrophage Blood | 64 | Aedirnian Short Sword | 537 |
| Nekker Teeth | 64 | Aedirnian Light Sword | 534 |
| Nekker Claws | 32 | Aedirnian Red Sword | 596 |
| Blue Meteorite Ore | 26 | Diagram: Yellow Meteorite Silver Sword | 164 |
| Endrega Hide | 89 | Diagram: Blue Meteorite Silver Sword | 339 |
| Harpy Claws | 64 | Diagram: Red Meteorite Silver Sword | 151 |
| Essence of Water | 14 | Diagram: Robust Yellow Meteorite Sword | 264 |
| Diamond Dust | 29 | Diagram: Robust Blue Meteorite Silver Sword | 626 |
| Red Meteorite Ore | 26 | Diagram: Robust Red Meteorite Silver Sword | 226 |
| Amethyst Dust | 22 | Diagram: Sun Rune | 439 |
| Rusty Well-Balanced Dagger | 26 | Diagram: Ysgith Rune | 439 |
| Well-Balanced Dagger | 39 | Diagram: Earth Rune | 439 |
| Robust Well-Balanced Dagger | 51 | Diagram: Moon Rune | 439 |
| Superb Well-Balanced Dagger | 76 | Diagram: Fire Rune | 564 |
| Well-Balanced Silver Dagger | 51 | Sun Rune | 376 |
| Robust Well-Balanced Silver Dagger | 76 | Ysgith Rune | 501 |
| Superb Well-Balanced Silver Dagger | 101 | Earth Rune | 251 |
| Harpy Trap | 126 | Moon Rune | 376 |
| Diagram: Harpy Trap | 201 | Fire Rune | 501 |
| Iron Ore | 20 | ||
One of this chapter’s three craftsmen, as well as a merchant and dice player, Haggard sells the diagrams for the robust blue, red, and yellow meteorite swords. Depending on your Geralt build (see the sidebar “Meteorite Swords”), one of these three swords is going to be the best silver sword you can equip him with in the chapter. Buy the right diagram and manufacture the sword as early in the chapter as you can, so you can take advantage of it in the many monster-slaying quests you have to finish here. Haggard also sells diagrams for all of the game’s runes, which really opens up the game in terms of how you can take advantage of socketing your swords. Note that all of this chapter’s best steel swords are going to be looted rather than crafted, but really need to be fully socketed with runes to get the most out of them.
Meteorite SwordsThis chapter introduces the red, blue, and yellow meteorite sword lines. These swords come in normal and robust versions in this chapter, with superb variations becoming available in Chapter 3. These swords tend to be very similar in terms of damage potential, but each color offers a distinct type of bonus. Red swords always offer a bonus to instant kill chance, blue swords always offer a damage bonus on signs, and yellow swords always offer a bonus to adrenaline generation. Which type of sword is best for you, especially in this chapter, depends on both your Geralt build and your play style. Generally speaking, red meteorite swords are best for alchemist builds that have taken (or plan to take) the Berserker skill and swordsmanship builds that have taken (or plan to take) the Sudden Death skill. Blue meteorite swords are ideal for mage builds or any build that has invested in amping up the effectiveness of a particular sign (like Aard or Quen). Yellow meteorite swords are in theory useful to any build that gets an adrenaline ability, but in practical terms give more benefit to mages and swordsmen than they do to alchemists, who can generate lots of adrenaline passively just by having high toxicity. It is possible to get into Chapter 2 with a Geralt build that is not yet specialized. Since the robust meteorite swords are the best silver swords for this chapter, you should take a few moments to make a plan for Geralt’s development before you invest in one of them. You don’t want to buy a robust red meteorite sword and then discover the hard way that your build just isn’t very good at scoring instant kills. |
EarSO
Craftsman
| Item | Price | Item | Price |
|---|---|---|---|
| Harpy Trap | 126 | Phosphorescent Crystal | 20 |
| Conflagration | 76 | Thumper | 14 |
| Talgar Winter | 76 | Leather | 20 |
| Clawer | 51 | Timber | 7 |
| Biter | 51 | Endrega Hide | 89 |
| Diagram: Harpy Trap | 201 | Twine | 14 |
| Diagram: Conflagration | 251 | Grapeshot | 101 |
| Diagram: Clawer | 189 | Formula: Dancing Star | 84 |
| Diagram: Talgar Winter | 276 | Formula: Dragon’s Dream | 111 |
| Diagram: Rage | 251 | Formula: Devil’s Puffball | 77 |
| Diagram: Biter | 226 | Formula: Flare | 35 |
| Diagram: Well-Balanced Dagger | 89 | Formula: Stenchbulb | 63 |
| Diagram: Blue Meteorite Ore | 301 | Formula: Zerrikanian Sun | 97 |
| Rotten Meat | 7 | Formula: Grapeshot | 70 |
| Bauble | 14 | Formula: Red Haze | 84 |
| Endrega Gland Extract | 14 | ||
Earso fills a role similar to Cedric’s in Chapter 1, selling diagrams for all types of traps and various lures. Basically, anything you decide you want that you didn’t pick up from Cedric last chapter, you can pick up from Earso now. Earso is also a craftsman.
Felicia Cori
Barber
| Item | Price | Item | Price |
|---|---|---|---|
| Formula: Rook | 173 | The Rudiments of Pathomorphology | 1 |
| Formula: Golden Oriole | 63 | The Immortelle or the Dwarven Herb | 1 |
| Petri’s Philtre | 26 | Lure of the Temptress | 95 |
| Formula: Falka’s Blood | 139 | The Horrors of War: Rotfiends | 64 |
| Formula: Brown Oil | 125 | Harpies—Daughters of the Gale | 95 |
| Formula: Cat | 70 | The Arachas—A Study | 145 |
| Formula: Samum | 104 | Drowners: A Textbook for Initiates of the Order of the Flaming Rose | 32 |
| Formula: Swallow | 70 | Nekkers in the Mist | 32 |
| Formula: Gadwall | 139 | Three Years Among the Endregas | 64 |
| Formula: Thunderbolt | 125 | Wraiths: Fear and Trembling | 95 |
| Formula: White Raffard’s Decoction | 97 | Bruxae – Eulogists of Death | 101 |
| Formula: Hanged Man’s Venom | 90 | How to Kill a Bullvore | 126 |
| Formula: Arachnid Oil | 104 | Beings of the Element of Earth | 189 |
| Formula: Lapwing | 139 | Of Trolls and Trolling | 157 |
| Formula: Tiara | 84 | Formula: Tawny Owl | 207 |
| Formula: Wolf | 77 | Formula: Specter Oil | 104 |
| Formula: Whirl | 207 | Formula: Necrophage Oil | 125 |
| Formula: Brock | 104 | Formula: Blade Oil | 70 |
| Formula: Virga | 104 | Slaves of the Curse | 157 |
| Formula: Stammelford’s Philtre | 207 | The Legendary Accursed | 189 |
| Formula: Maribor Forest | 152 | Gargoyles, Gutters, Splutters—Maintenance and Repair | 126 |
| Diagram: Solid Cloth | 251 | The Temerian Royal Dynasty | 64 |
| Diagram: Hardened Leather | 251 | Magic and Power | 64 |
| Diagram: Studded Leather | 276 | The Feudal Society and Its Enemies | 64 |
| Diagram: Elemental Stone | 214 | The Viziman Uprising | 64 |
| Diagram: Oil | 126 | The Grand Triple | 64 |
| Diagram: Leather | 176 | Monstrum, or a Portrayal of Witchers | 64 |
| Diagram: Essence of Water | 226 | The Realms of the Nordlings | 64 |
| Diagram: Amethyst Dust | 264 | The Valley of the Flowers | 64 |
| Diagram: Diamond Dust | 314 | The Dun Banner | 64 |
| Balisse | 11 | Essence of Water | 14 |
| White Myrtle Petals | 12 | Diamond Dust | 29 |
| Celandine | 10 | Amethyst Dust | 22 |
| Wolfsbane | 15 | Cloth | 20 |
| Scleroderm | 14 | Leather | 20 |
| Cortinarius | 16 | Oil | 14 |
| Bryonia | 24 | Essence of Death | 189 |
| Mandrake Root | 20 | Arachas Eyes | 439 |
| Verbena | 24 | Troll Tongue | 439 |
| Surgical Tools | 164 | ||
Felicia sells a positively staggering array of items, including several that are quest-related. She is the only bookseller you encounter in this version of Chapter 2, as well as the only seller of potion formulas. Now’s your chance to pick up any potions or books you missed in Chapter 1, as well as some new books that describe monsters and other things you encounter in Chapter 2. Note that Felicia’s selection of books is quasi-random, much like Einar’s, so she may not sell a specific item on her possible shop list in your version of the game. Sometimes you can reset her shop list by meditating for a while between visits to her. You can also visit Felicia to change Geralt’s hairstyle if you like. This works the same way it did with Einar in Chapter 1.
Mael
Craftsman
| Item | Price | Item | Price |
|---|---|---|---|
| Studded Leather Reinforcement | 64 | Long Leather Gauntlets | 187 |
| Diagram: Amethyst Armor Reinforcements | 201 | Robust Leather Trousers | 137 |
| Diagram: Endrega Hide Armor Reinforcements | 201 | Heavy Leather Trousers | 153 |
| Diagram: Draug Armor | 1,626 | Iron Ore | 20 |
| Quilted Leather | 282 | Silver Ore | 45 |
| Leather Jacket | 206 | Diagram: Long Leather Gauntlets | 76 |
| Studded Leather Jacket | 285 | Diagram: Hardened Leather Boots | 101 |
| Heavy Leather Jacket | 394 | Diagram: Studded Leather Trousers | 76 |
| Fibre Enhancer | 33 | Diagram: Heavy Leather Trousers | 126 |
| Mail Enhancement | 158 | Diagram: Diamond Armor Reinforcements | 276 |
| Armor Enhancement | 32 | Quilted Armor | 781 |
| Leather Enhancement | 33 | Dragon Scale Armor | 3,617 |
| Hardened Leather Boots | 305 | Reinforced Leather Enhancement | 34 |
| Short Gauntlets | 137 | Aedirnian Leather Jacket | 1,022 |
Mael is the third of the chapter’s three craftsmen and otherwise is a merchant who specializes in armor. He sells several types of armor that are much better than what you’re wearing now, including the diagram for the draug armor. If you’ve pored over the item listings in the appendix, you’ve probably noticed that the draug armor is by far the strongest armor you can get in Chapter 2. The catch to this is that you cannot actually manufacture the draug armor in Chapter 2. The actions that allow you to obtain the armor’s final component also trigger a quest that automatically shuts down all merchants in Vergen for the rest of the Chapter.
It’s really Chapter 3 before you can use the draug armor. If you think that’s the armor set you want to use for Chapter 3 and the end of the game, make sure you buy the diagram from Mael before you resolve The Eternal Battle. The draug armor is actually the second-strongest set of armor in a standard (that is, non-Dark Mode) game, though. If you want to go for the strongest set, the vran armor that becomes available later on in Chapter 3, then you may want to skip the draug armor entirely and save your money.
The best armor you can obtain before the Vergen merchants close down is the armor of Loc Muinne, which you can loot after you defeat a specific enemy who appears as part of the game’s storyline. The second-best is the dragon scale armor you can purchase from Mael. If you want to hold on to your cash, it’s completely possible to make it to the end of the chapter using the kayran armor or hunter’s armor, provided you’ve fully socketed it with good enhancements.
Spark
| Item | Price | Item | Price |
|---|---|---|---|
| Fish | 14 | Potato | 14 |
| Apple | 14 | Cucumber | 14 |
| Old Cheese | 14 | Plum | 14 |
Spark is basically a “trash merchant.” She doesn’t sell anything you want. Her main use is in selling off loot that’s put you over the encumbrance limit when you’re adventuring beyond the Mahakam Gate. She is the merchant who stands farthest out from the city if Mottle isn’t in your game. If Mottle is in your game, of course, then Spark serves no purpose at all and you can safely ignore her.
Thorak
| Item | Price | Item | Price |
|---|---|---|---|
| Blue Meteorite Ore | 26 | Fire Rune | 501 |
| Red Meteorite Ore | 26 | Diagram: Robust Red Meteorite Silver Sword | 226 |
| Yellow Meteorite Ore | 26 | Diagram: Robust Yellow Meteorite Sword | 264 |
| Diagram: Sun Rune | 439 | Diagram: Robust Blue Meteorite Silver Sword | 626 |
| Diagram: Ysgith Rune | 439 | Harpy Trap | 126 |
| Diagram: Earth Rune | 439 | Diagram: Harpy Trap | 201 |
| Diagram: Moon Rune | 439 | Iron Ore | 20 |
| Diagram: Fire Rune | 564 | Silver Ore | 45 |
| Sun Rune | 376 | Aedirnian Short Sword | 537 |
| Ysgith Rune | 501 | Aedirnian Light Sword | 534 |
| Earth Rune | 251 | Aedirnian Red Sword | 596 |
| Moon Rune | 376 |
Thorak isn’t marked in-game as a merchant, but if you talk to him he offers to trade. His shop list is very similar to Haggard’s, but Thorak is noteworthy in that he sells all three types of meteorite ore. It is possible to get Thorak to discount his goods for you, which makes him a bit more useful. It is also possible to remove Thorak from the game completely, depending on what you do during a certain quest.
Bouward
| Item | Price | Item | Price |
|---|---|---|---|
| Rusty Well-Balanced Dagger | 26 | Diagram: Blue Meteorite Silver Sword | 339 |
| Well-Balanced Dagger | 39 | Diagram: Red Meteorite Silver Sword | 151 |
| Robust Well-Balanced Dagger | 51 | Diagram: Robust Yellow Meteorite Sword | 264 |
| Superb Well-Balanced Dagger | 76 | Diagram: Robust Blue Meteorite Silver Sword | 626 |
| Well-Balanced Silver Dagger | 51 | Diagram: Robust Red Meteorite Silver Sword | 226 |
| Robust Well-Balanced Silver Dagger | 76 | Diagram: Sun Rune | 439 |
| Superb Well-Balanced Silver Dagger | 101 | Diagram: Ysgith Rune | 439 |
| Harpy Trap | 126 | Diagram: Earth Rune | 439 |
| Diagram: Harpy Trap | 201 | Diagram: Moon Rune | 438 |
| Iron Ore | 20 | Diagram: Fire Rune | 564 |
| Silver Ore | 45 | Sun Rune | 376 |
| Aedirnian Short Sword | 537 | Ysgith Rune | 501 |
| Aedirnian Light Sword | 534 | Earth Rune | 251 |
| Aedirnian Red Sword | 596 | Moon Rune | 376 |
| Diagram: Yellow Meteorite Silver Sword | 164 | Fire Rune | 501 |
If Thorak is removed from your game, Bouward appears to conduct business in his place. His shop list is overall much better than Thorak’s, though you can’t get him to discount goods for you. It is particularly useful to get Bouward to appear if you really like using throwing daggers in combat, since otherwise you can only buy them in this chapter from Haggard.
Mottle
| Item | Price | Item | Price |
|---|---|---|---|
| Balisse | 11 | Mandrake Root | 20 |
| White Myrtle Petals | 12 | Verbena | 24 |
| Celandine | 10 | Diamond Dust | 29 |
| Wolfsbane | 15 | Amethyst Dust | 22 |
| Scleroderm | 14 | Cloth | 20 |
| Cortinarius | 16 | Leather | 20 |
| Bryonia | 24 | ||
Take a left as you’re exiting Vergen through the Mahakam Gate to find Mottle’s shop area tucked away around a bend. Mottle is only going to be there to buy and sell things if you saved her from the burning building at the end of Chapter 1. If you instead opted to kill Loredo, Mottle just won’t be there at all. Mottle doesn’t sell anything especially interesting, but she can be useful if you need to quickly sell off heavy loot after an adventure out in the wilderness. You can get to her more quickly than you can any of the merchants who operate in Rhundurin Square. You can also have a romantic encounter with her, which lets you obtain the useful key to the Tunnel of the Founders.
 Subterranean Life
 Hey, Work’s on in the Mines!
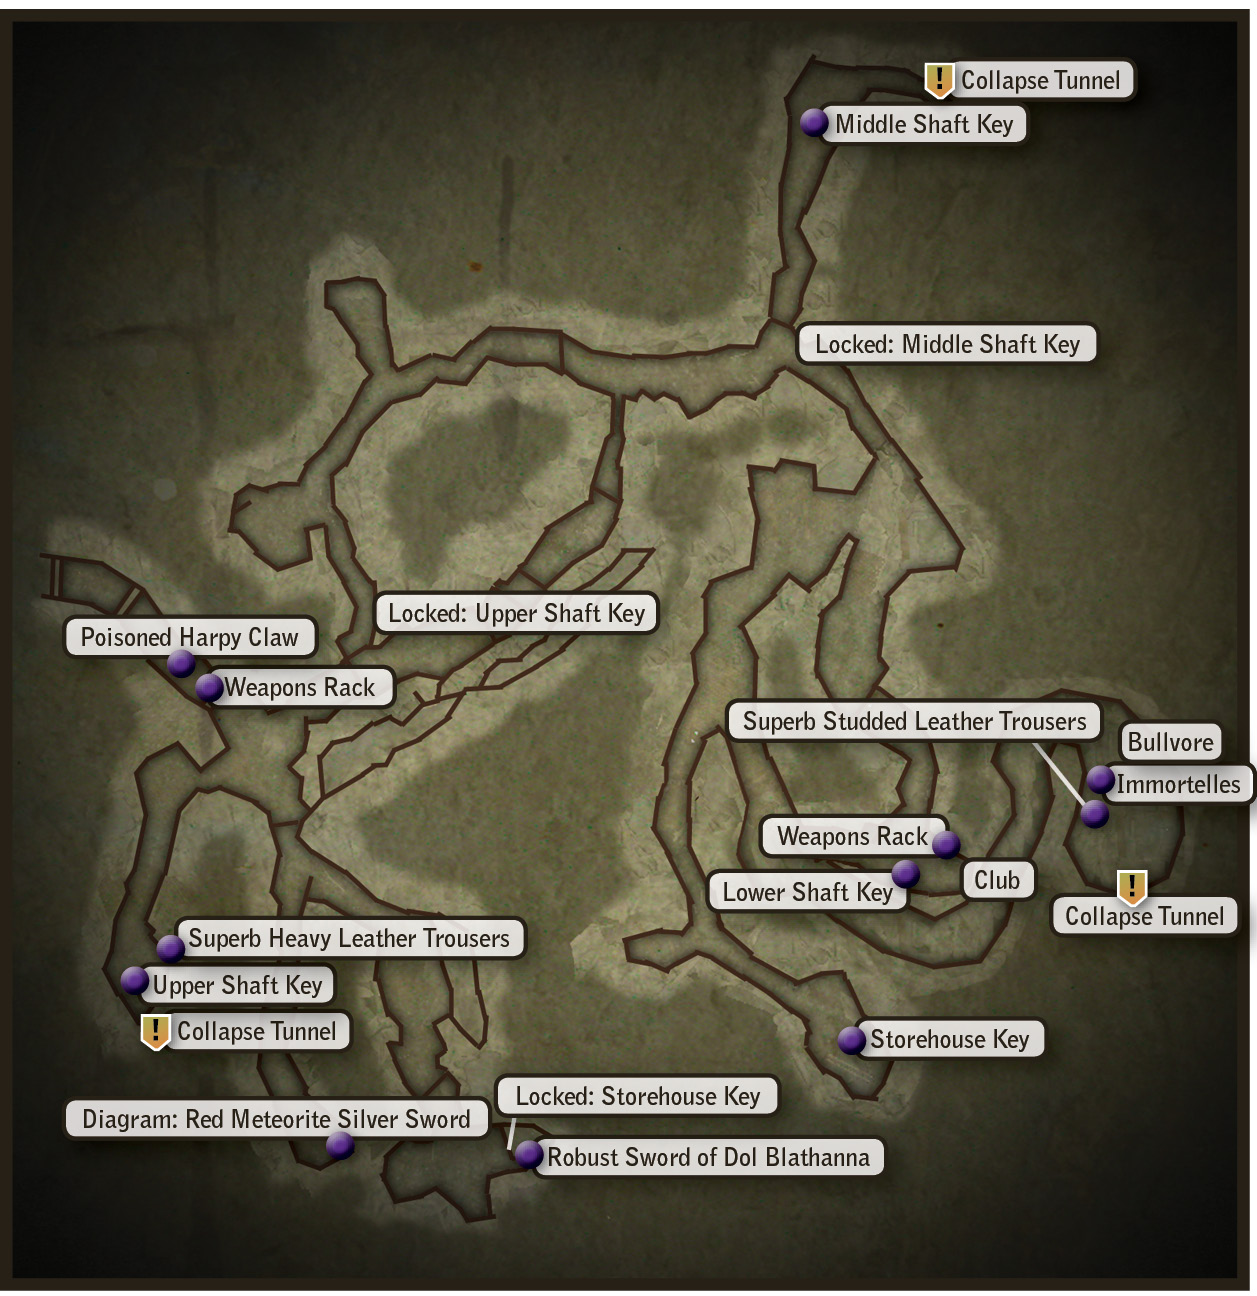
Something that makes Chapter 2 of this game very different from Chapter 1 is how the side quests work. Most of Chapter 1’s side quests are freestanding affairs you can do without affecting the main plot at all. In Chapter 2, especially on this route, most of the side quests are best done while you’re also completing a main quest, since the side quests tend to affect the same areas. This particular quest you want to do first thing after you get settled in Vergen, since you can’t really complete the mini-game quests here until it’s resolved.
First, go to the notice board just to the right of the Cauldron’s entrance. Take the “Proclamation of the Closure of the Mines.” Next, make sure you have some grapeshot bombs on hand, ideally at least three. If you don’t, go make some. Next, enter the Cauldron and talk to the innkeeper. Drop off everything you’re carrying with a substantial weight that you don’t expect to use in the mines. That especially includes heavy crafting materials, ranged weapons you don’t expect to use, even heavy alchemy reagents you don’t expect to use. You’re about to enter a dungeon-like area loaded with heavy loot, so lightening your load cuts down on trips you have to make to the surface to drop things off in storage. Finally, head into the Cauldron and approach Zoltan’s table. Yarpen, Sheldon, and Cecil are all gathered with him. Speak with Zoltan to trigger a cutscene.
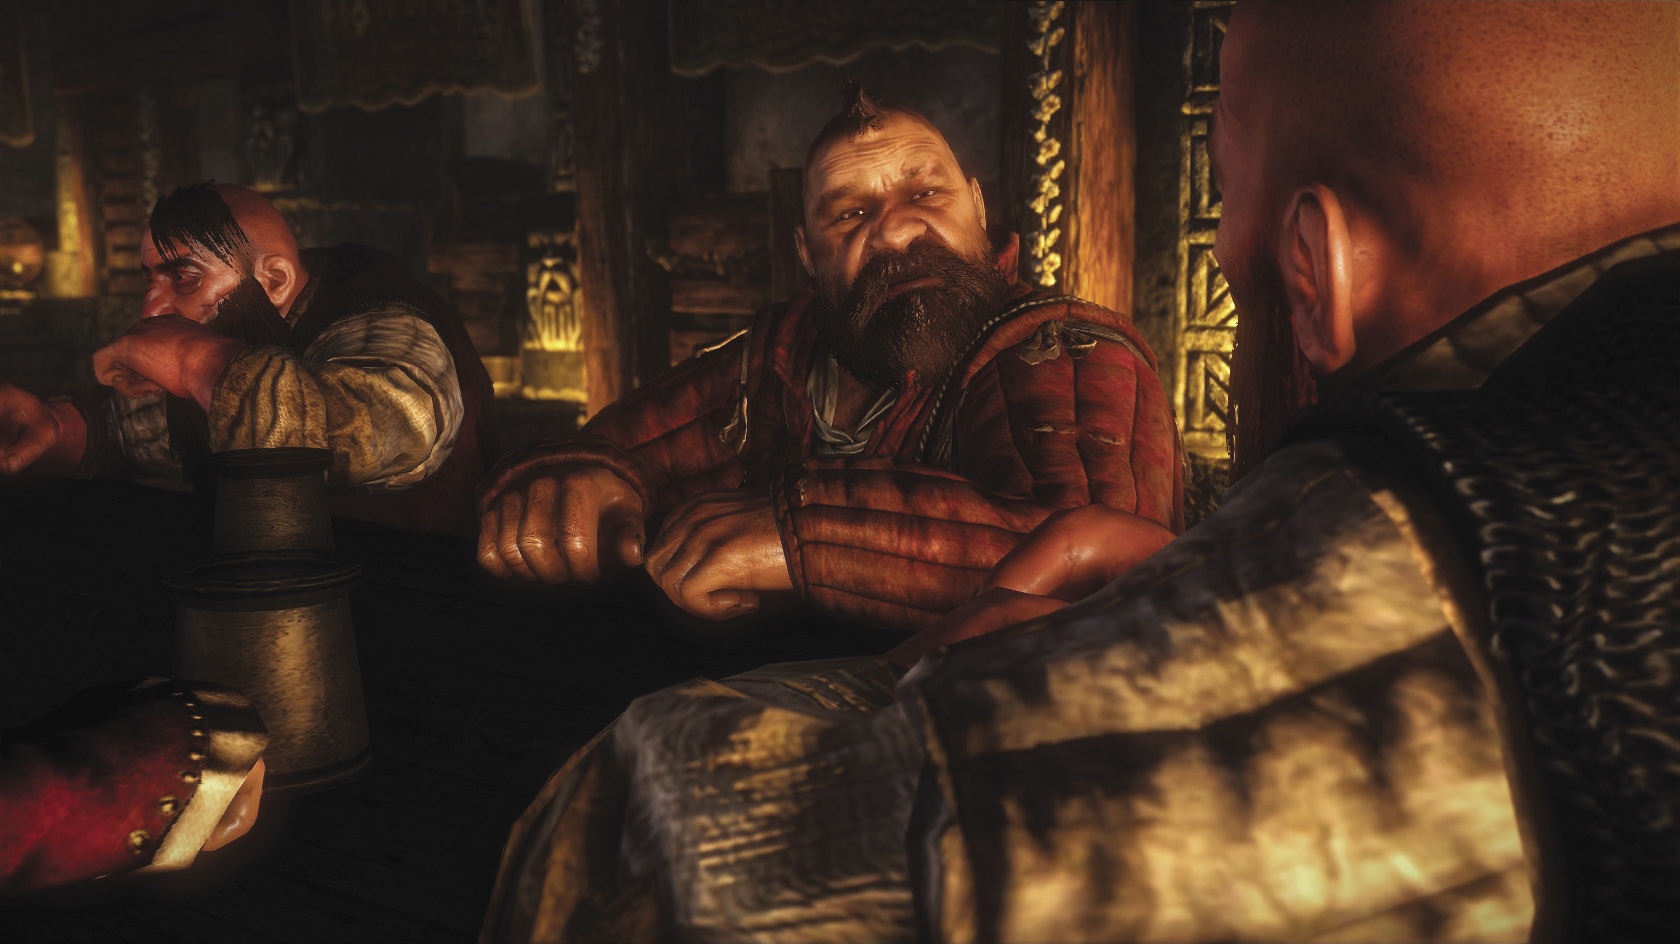
During the cutscene, you have chances to ask questions related to other quests, which you should be sure to do. Eventually, Geralt brings up the immortelle, and Sheldon talks about where you might find it. Eventually, all the dwarves agree that it’s probably growing in the old abandoned mine, and wouldn’t it be cool to go in there axes swinging and kill all the monsters? So after the cutscenes, the whole group of dwarves leads Geralt to the abandoned mine. Cecil authorizes them to open up the mine, and Zoltan, Yarpen, and Sheldon head in along with you. The three of them are very useful during this dungeon crawl, since they do a good job of keeping the larger groups of enemies from dogpiling you.
The enemies you’re about to face are necrophages: rotfiends, greater rotfiends, and a bullvore. If you’re carrying optimized equipment from Chapter 1, you should have no difficulties whatsoever defeating these enemies. Alchemist builds can get great mileage out of necrophage oil in this dungeon, while mages and swordsmen may want to save an application of it for the bullvore at the end. Rotfiends are flammable and emit flammable gases when they explode at death, so Igni and dancing stars can be highly effective in battle against them. The bullvore attacks with powerful poison, so be sure you’re carrying the right reagents to brew a Mongoose before you fight it. Geralts built around swordsmanship can just focus on hacking through the monsters with brute force. Investing a talent or two in Whirl’s group damage abilities can give Geralt a major edge.
Toxic BloodIf you want to pick up the Toxic Blood character attribute, now is a good time to do it. Even with resistances, you tend to get poisoned when a greater rotfiend explodes on you. If you get poisoned 15 times, you can pick up Toxic Blood and get a +30 percent chance to poison enemies when Geralt’s toxicity is high from potion use. Alchemists can get a lot of mileage out of this attribute, especially when fighting humanoids. It’s generally best to try and get a rotfiend to explode on you if you’ve whittled the group’s numbers down, or if you’ve lured one away from a group the dwarves are keeping busy. If you just stand in the middle of explosions while surrounded, the damage can pile up a bit more quickly than you can handle. It’s a good idea to cast Quen quickly after being poisoned, instead of soaking up all the poison damage each time it’s inflicted. |
The mine’s interior is very dark, so put some thought into how you explore it. There are two main options. One is to simply stick with the dwarves and scan repeatedly with your medallion as you inch forward. Alternatively, you can drink a Cat potion, which makes it a lot easier to keep track of enemy locations and clues like bloodstains on the ground. If you opt for the Cat method, you probably want to apply some sort of oil to your sword to compensate for the -10% damage penalty. For an alchemist build with Catalysis, the penalty is going to be neglible.
Loot the first body you find for a stash of poisoned harpy claws, which you want to hold onto for later in the chapter. When you pass through the door into the first big central section of the mine, about four rotfiends attack you. Make quick work of them with light attacks and any other tricks you want, and then a cutscene triggers. After the cutscene, begin exploring the chamber, which should be full of random loot. Use Igni on the fire pots to light them by standing nearby and pressing the interaction button. Once you light a fire pot it keeps burning and should help you keep track of where you’ve explored.
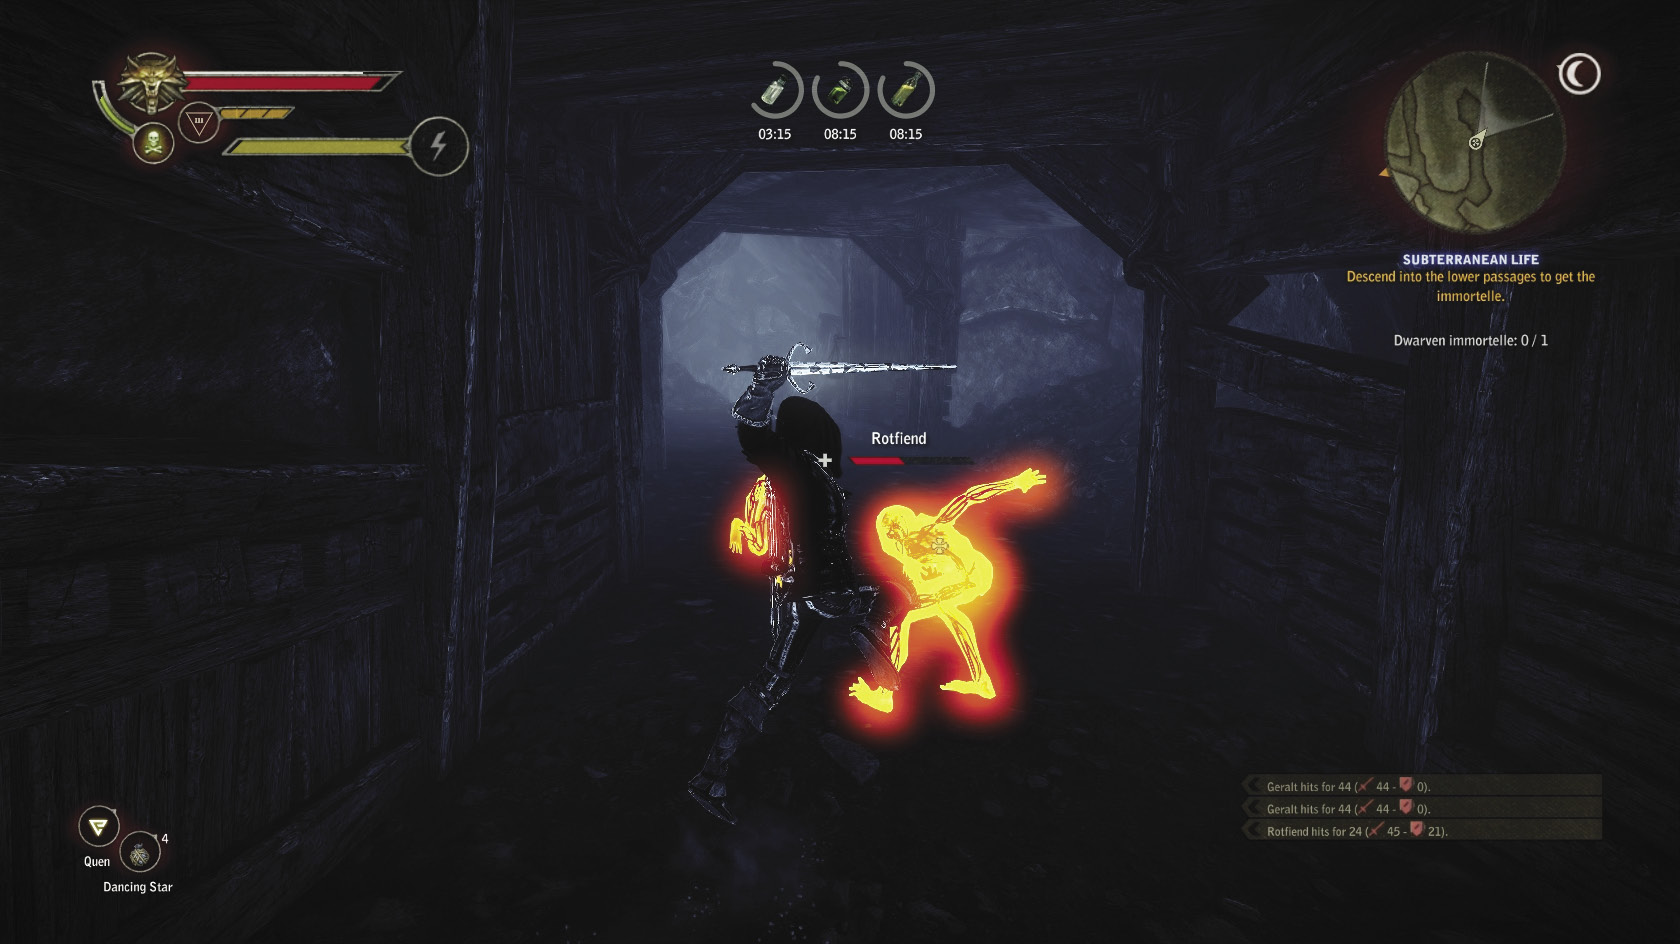
After you’ve cleaned out the central chamber, start exploring the passage just to the right of the entrance. You should find a couple of rotfiends there, along with some superb heavy leather trousers in a chest at the end of the dead-end passage. Loot the body you find there to pick up the upper shaft key, Balin’s journal (I), and Balin’s first map. Just beyond the body, a small tunnel leads away from the passage’s end. This is one of the locations you need to visit to complete Hey, Work’s On in the Mines! Although the quest text calls for beehive bombs, this is really just an oblique reference to grapeshot. If you’re carrying grapeshot, press the interaction button to collapse the tunnel. To clear Hey, Work’s on in the Mines!, you need to collapse two more tunnels like this. Be sure to roll away before the blast goes off.
Now that you have the upper shaft key, head into the tunnel to the left of the entrance tunnel. Once inside, fight your way through the rotfiends. There’s plenty of random loot to be had. Head toward the door at the end of this tunnel to get some more random loot and explore a passage that the miners collapsed. Head back toward the entrance chamber. Just before the door that leads back into it, you should find another door to your right. Scan with your medallion to highlight it if you’re having a hard time spotting it. This opens up a new mine passage, full of more random loot and rotfiends.
Don’t be surprised if you have to make trips back into Vergen to drop loot off into storage, even if you really lightened your load before entering. You can cut back on this by just dropping the iron ore you find in the mines, as it’s going to be far more than you’d ever use in completing the game and its resale value is quite poor. Make sure you keep all of the silver ore and any colored meteorite ores you find in the mines, as these substances are rare, useful, and valuable.
In time, you come to a locked door that requires a key you don’t have yet. Explore the passage that leads off to the left of the door instead. At the very end of this passage is the second of the three tunnels you must collapse. There’s also a body nearby. Loot it to receive the middle passage key, Balin’s second map, and Balin’s journal (II). Head back to the last locked door you stumbled across. Now you can pass through.
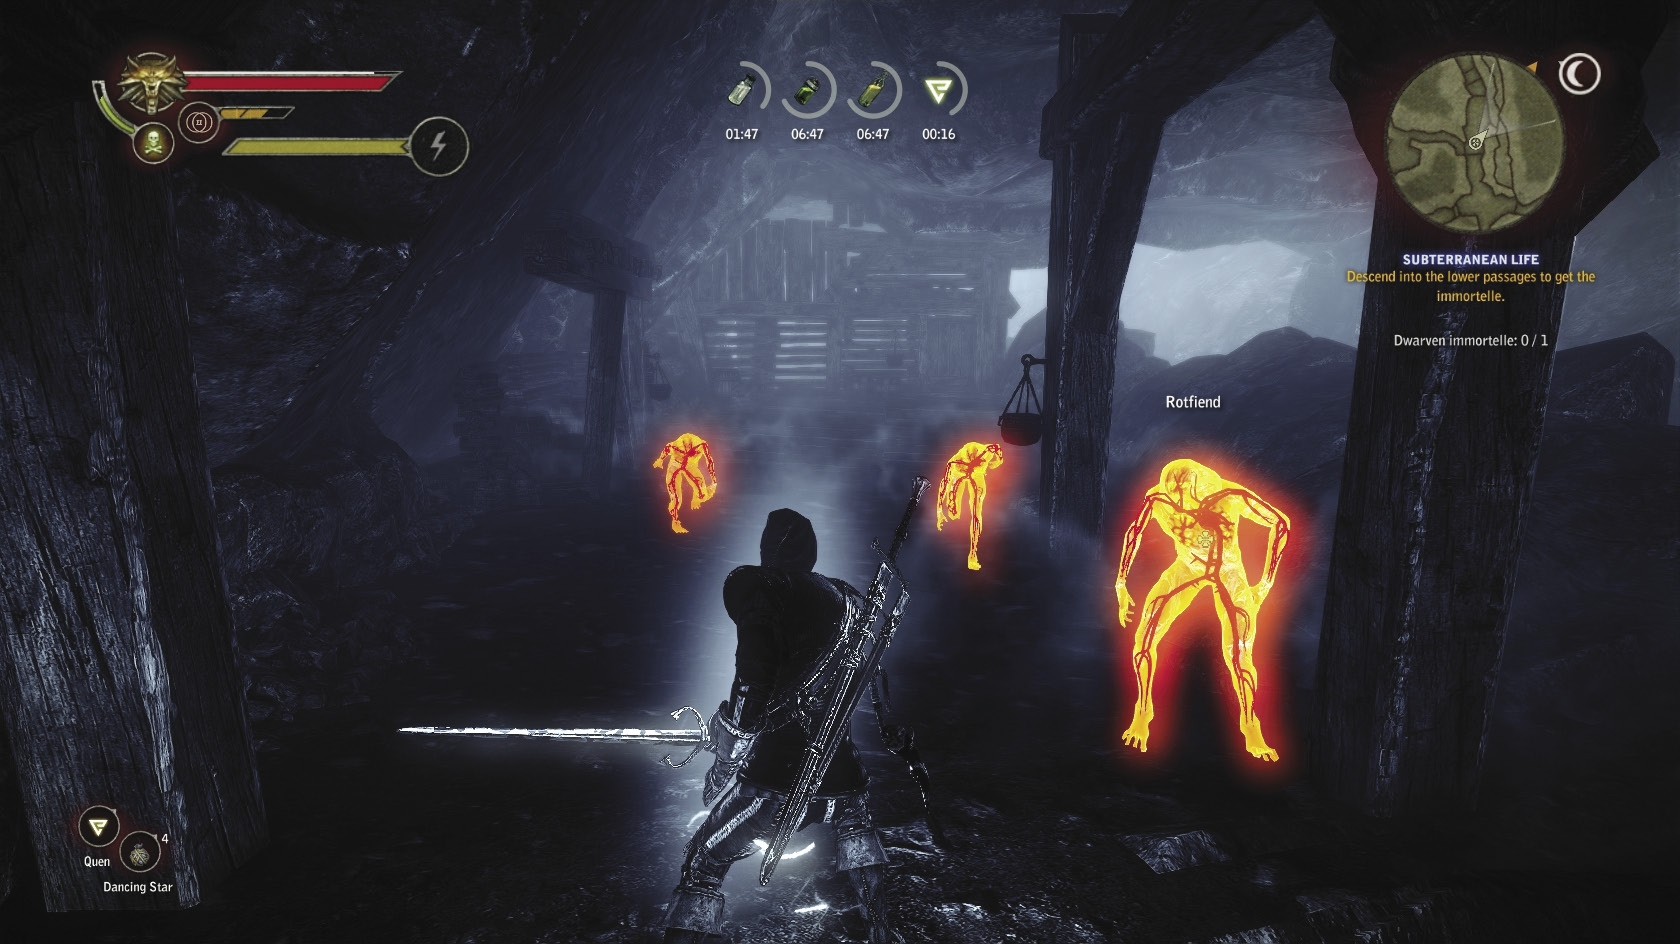
The middle shaft emerges into another major cave, this one actually open to the air and light a little. You still need to clear a pack of rotfiends out of it when you first enter, of course. Light the fire pots nearby and pass through the unlocked door directly ahead of you. This leads to a more recessed cavern stuffed with treasure. Loot the room, then loot the body at the center of it to get the lower shaft key, Balin’s third map, and Balin’s journal (III).
Head back to the open-air chamber and this time go down the broad wooden ramp that leads off to your left. When this tunnel forks, take the right-hand path. You reach a narrow tunnel lined with fire pots and snares. It can be useful to use your medallion to highlight the snares’ locations, as they’re rather hard to spot in the mine’s darkness. Disarm the snares one by one and gather them up. At the end of the tunnel is a small room, the entrance strewn with snares. Pick up the snares, then loot the body at the center of the room. This gives you the storehouse key and Balin’s journal (IV). The storehouse key lets you get into an optional area with really good loot, but it’s best to visit it on the way out rather than backtrack right now.
Doing stuff with the storehouse key is optional, but there’s no harm in doing it now. Head back up to the chamber just ahead of the main entrance and explore the middle set of tunnels. At the end of the left fork you should find the diagram of the red meteorite silver sword. At the end of the right fork you find a room thick with random loot and the door the storehouse key opens. Inside there’s a bunch of bags of random loot and a chest containing the robust sword of Dol Blathanna, some grapeshot, and some orens. Go ahead and equip the robust sword of Dol Blathanna, as it’s probably better than whatever you’re carrying now. You can use this steel sword comfortably until you obtain the chapter’s best steel sword in a later quest.
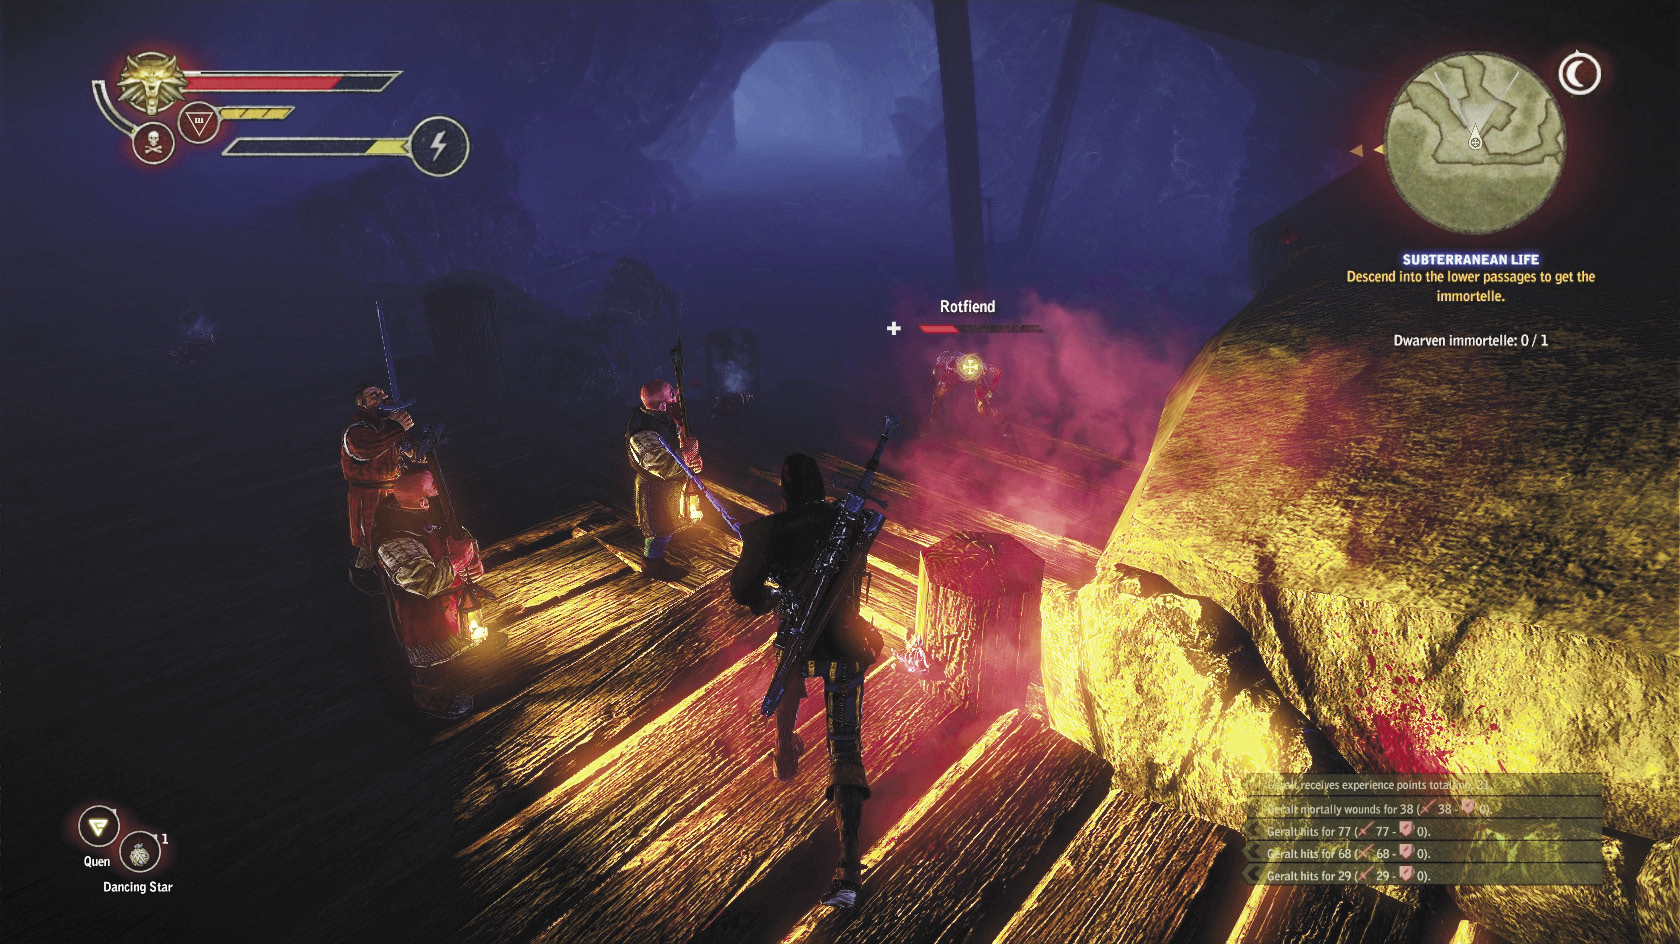
Now, go back to the open-air chamber and take the tunnel off to your right again. This time when the tunnel forks, go down the left tunnel. Use the lower shaft key to pass through the door. This finally lets you into the tunnel that leads to the bullvore. When you draw near and your dwarven allies begin commenting on the stench, stop and prepare any potions you’re going to drink. Your medallion also warns you of danger around the same time. Mongoose is very useful here, since it makes you immune to the bullvore’s strong poison attack. Treat your sword with necrophage oil, then wade into battle. Because of the bullvore’s large size, the dwarven NPCs tend to pin it in place, so it’s fairly easy for you to just hack at it with strong blows until it dies. Just be careful of its escort of rotfiends, which can be a little dangerous in such an enclosed space.
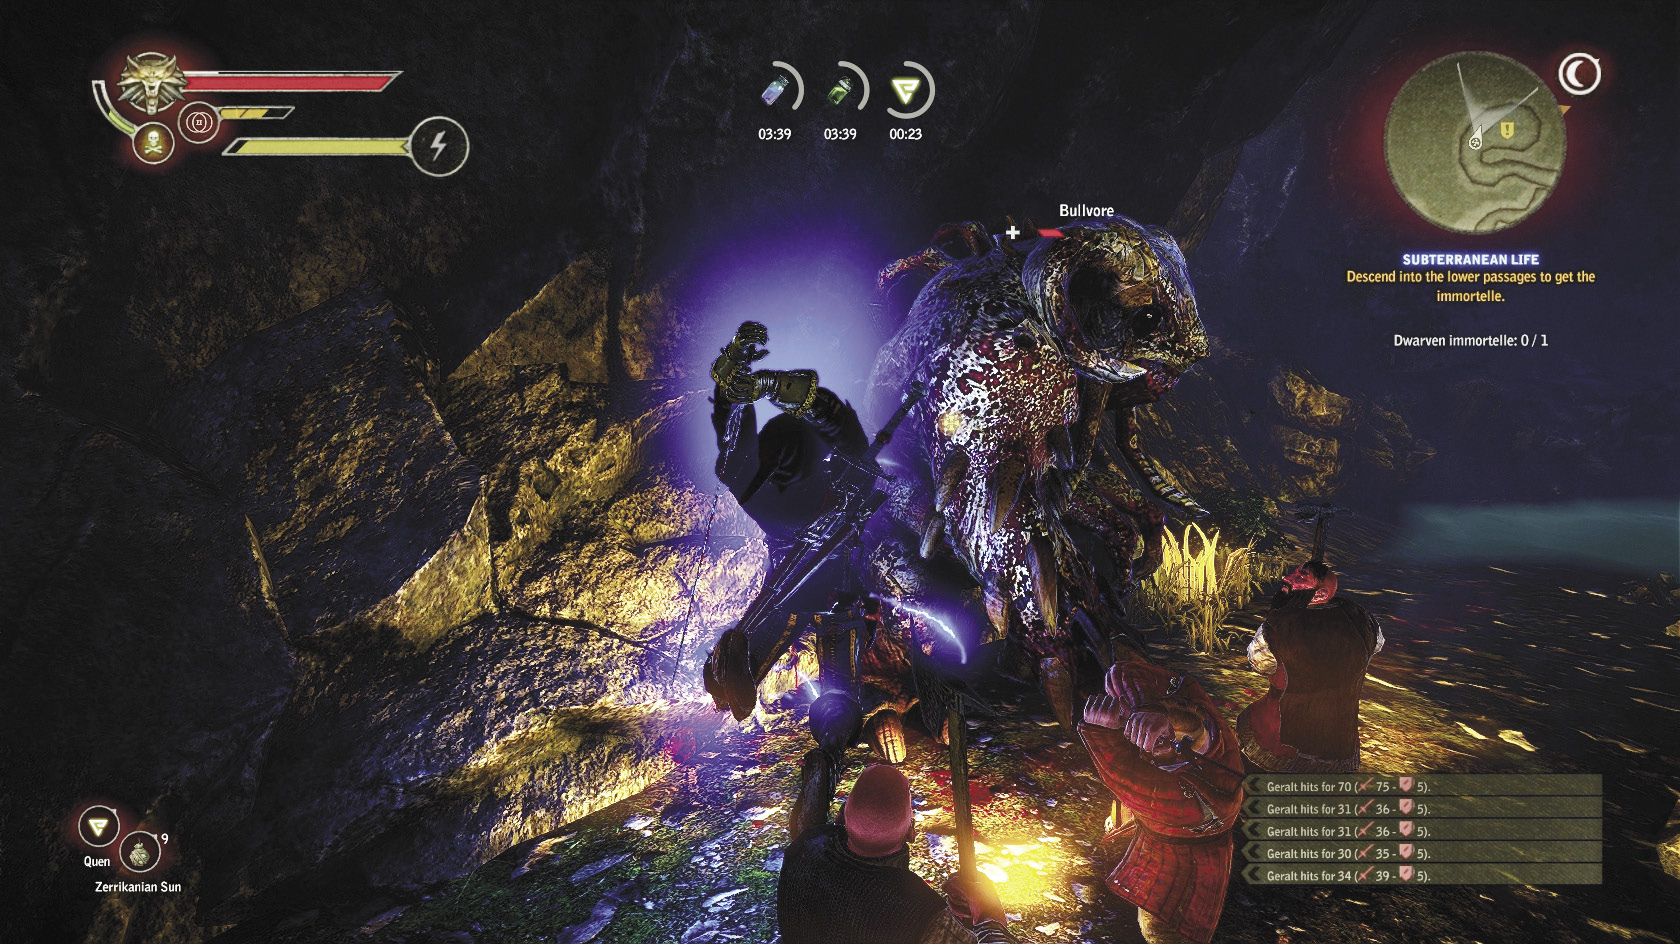
Loot the bullvore’s body and equip the bullvore trophy if you happen to obtain it as a drop. The bullvore brain you get here is useful in a later quest, so make sure you don’t sell it or use it up in alchemy. Then loot all the immortelles and bodies nearby. Once you’ve picked an immortelle, Subterranean Life resolves and you get 1,000 XP. Collapse the tunnel at the very rear of the bullvore’s area to finish Hey, Work’s on in the Mines! Completing this quest counts toward the Pest Control achievement.
Since you’re headed out anyway, now is a good time to visit the area you can access with the storehouse key. When you get to the chamber that’s just ahead of the main entrance, go explore the middle set of tunnels you haven’t visited yet. At the end of the left fork you should find the diagram of the red meteorite silver sword. At the end of the right fork you find a room thick with random loot and the door the storehouse key opens. Inside there’s a bunch of bags of random loot and a chest containing the robust sword of Dol Blathanna, some grapeshot, and some orens. Go ahead and equip the robust sword of Dol Blathanna, as it’s probably better than whatever you’re carrying now. You can use this steel sword comfortably until you obtain the chapter’s best steel sword in a later quest.
After you leave the mines, you trigger a cutscene. After that’s over, go find Cecil Burdon so you can get your reward money for finishing Hey, Work’s on in the Mines! Say “The necrophage nest” to get your payment. Your reward is 50 orens and the diagram of the hardened leather boots.
|
This is another of this game’s Lord of the Rings references, though it’s more homage than parody. It references the “Mines of Moria” sequence from the first book in the trilogy, The Fellowship of the Ring, where the Fellowship discovers that a balrog has taken over the dwarven mine at Moria and slaughtered the inhabitants. The bullvore plays the role of the balrog here, while the Balin of the various Balin’s journals plays the role of, well, Balin. One of the journals even includes the famous line “Fly, you fools!”—Gandalf’s last words before battling the balrog |
 Side Quest: Poker Face: Vergen
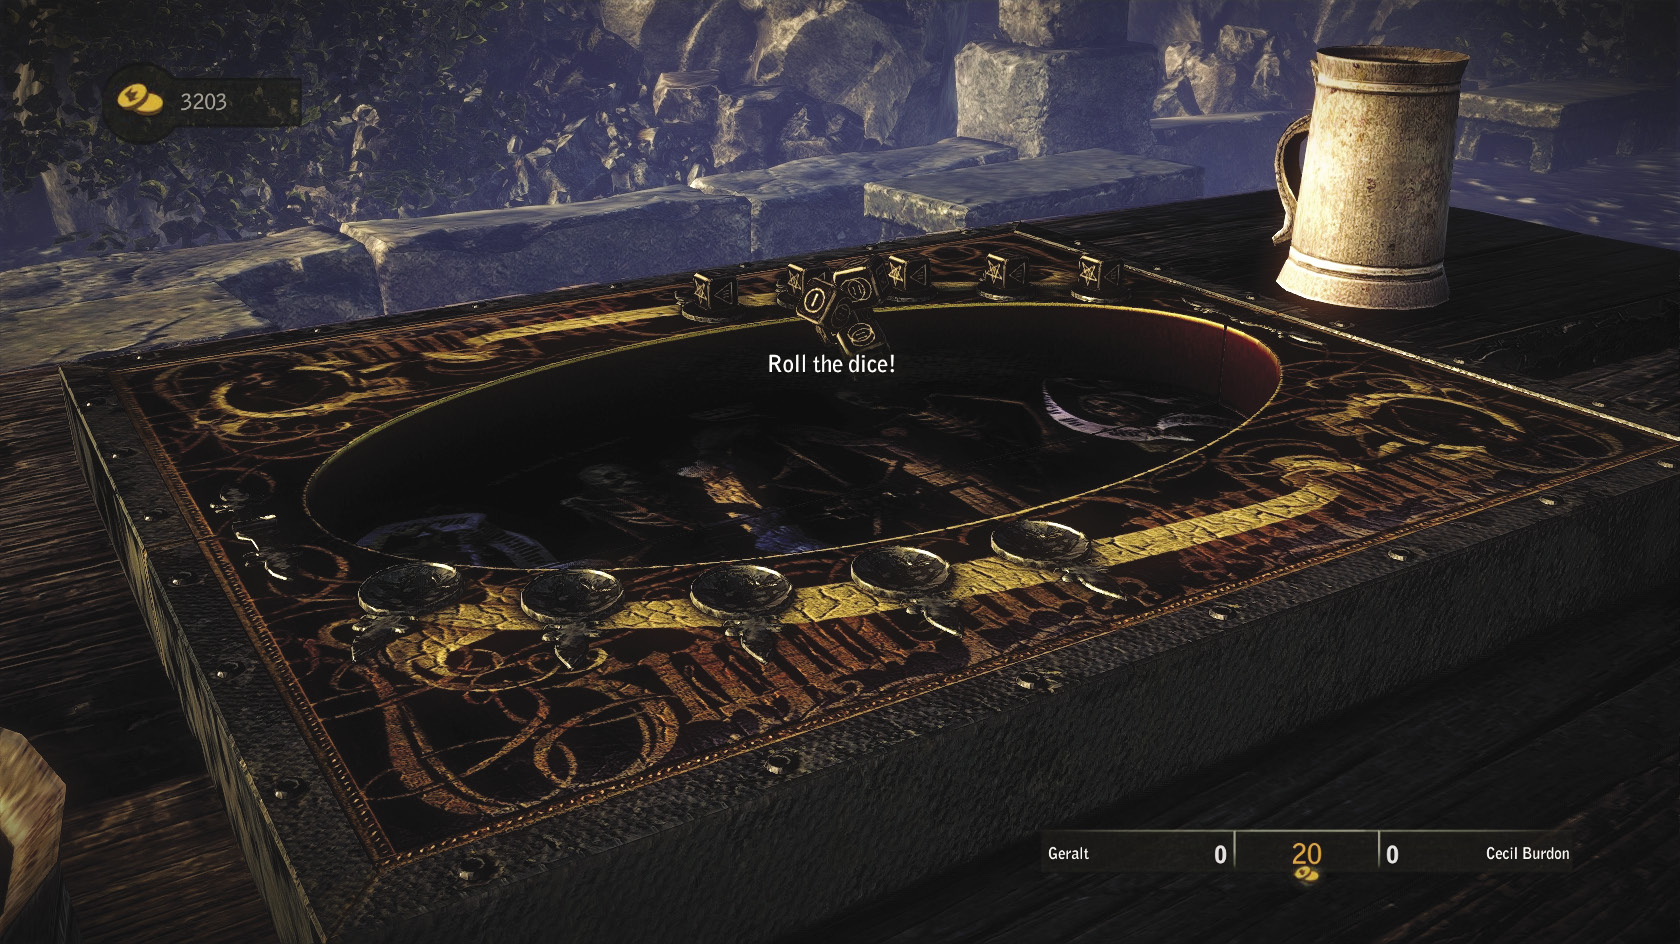
Begin by going to Haggard’s house. There you can find Bruno Biggs and Cornelius Meyer, the first two dice poker opponents you need to beat in this quest line. Speak to one of them to initiate the quest. After you’ve beaten the two of them, head over to the Cauldron and challenge the innkeeper. After he’s beaten, head back to Cecil Burdon’s and challenge him. Once you beat him, go challenge Haggard. You can take the orens you would’ve won from beating Haggard, or you can ask him for something more valuable by saying “I don’t want gold.” Haggard offers you a choice of the diagrams for blue, red, and yellow meteorite ore.
It is generally best to take the diagram that corresponds to the color of meteorite sword you’ve settled on as best for your Geralt build. Otherwise, you don’t make heavy use of meteorite ore later on in the game. Dark Mode players should always take the blue meteorite ore diagram. Be sure to ask about the meteorite ore when you have the chance in dialogue, as it leads to some interesting conversation concerning the mysterious vrans you begin learning about in Chapter 3.
 Side Quest: One on One: Vergen
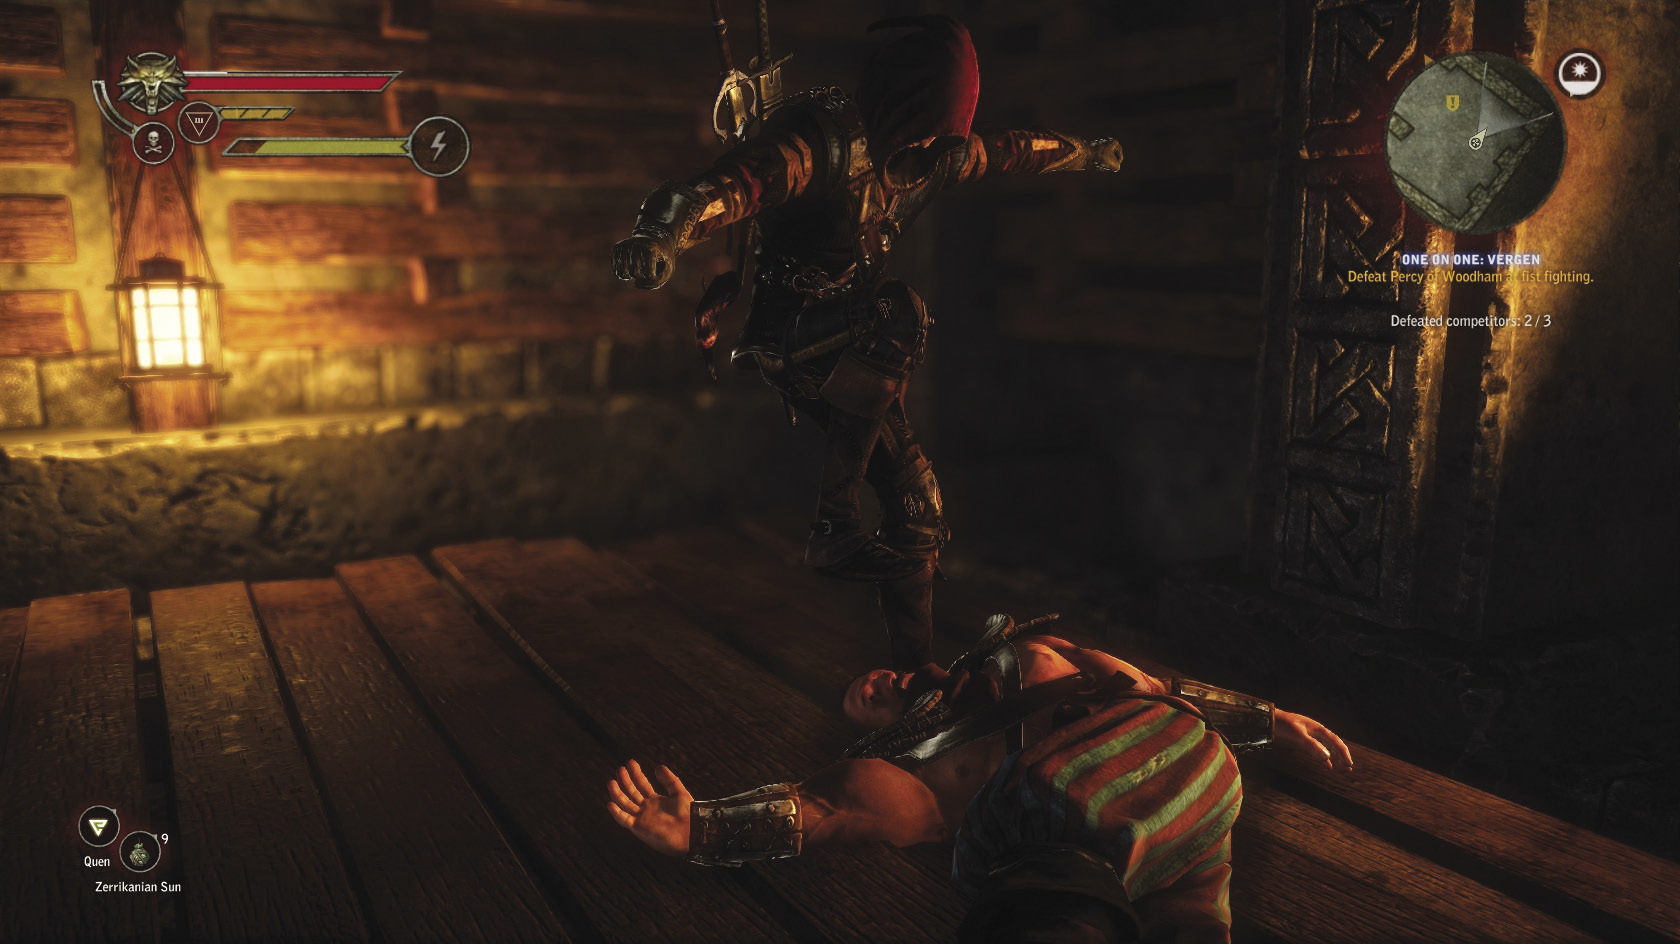
Now it’s time to go punch people in the face. Head into the Cauldron and speak to one of the men gathered around the fistfighting ring. Say “Yeah, I’ll fight” to start competing. You can wager up to 20 orens on the first bout with Young Zis, up to 50 orens in your second bout with Stel Placeholdern, and up to 60 orens in your third bout with Percy Boruk. Beating all three of these opponents at a maximum bet is worth 260 orens. You can opt to refight these opponents later, which makes this the best way to grind orens in this chapter.
After you defeat Boruk, Silgrat shows up and insists on challenging Geralt for the championship. You can turn Silgrat down if you like, but challenging him opens up a new side quest.
 Side Quest: A Score to Settle
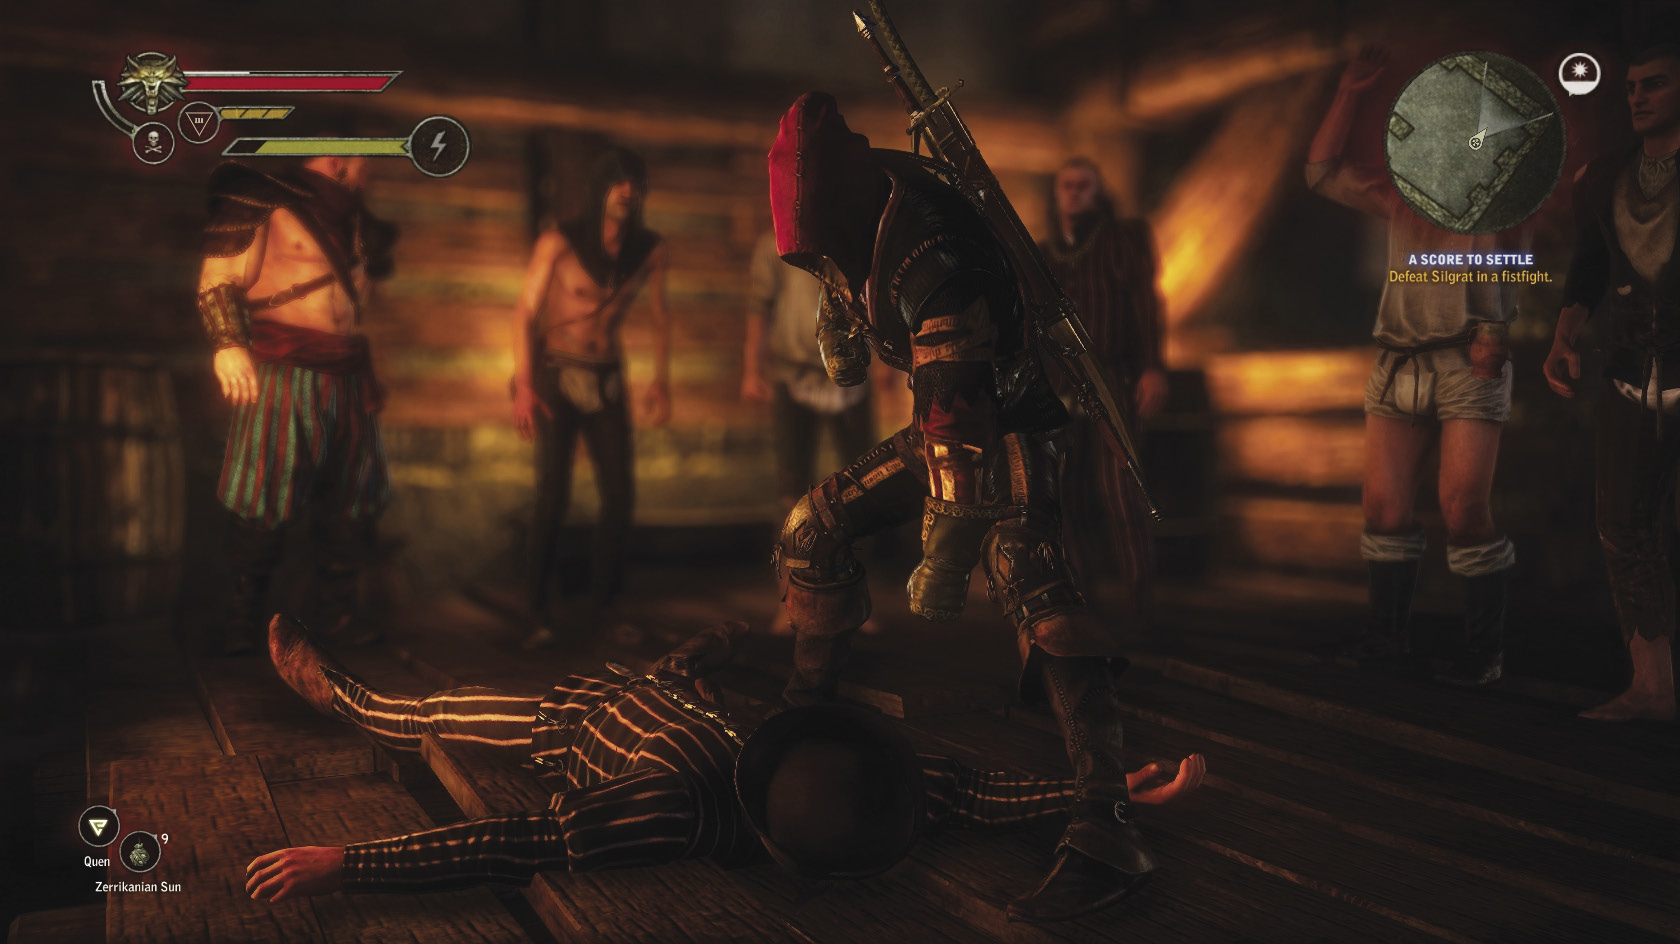
If you defeat Silgrat, he begs you to kill him because you’ve ruined his reputation. Geralt reasonably refuses, and Silgrat swears revenge. You win 100 orens, and…well, that’s all that happens for now, but you’ll see Silgrat later on in Chapter 3.
 Side Quest: Bring It On: Vergen
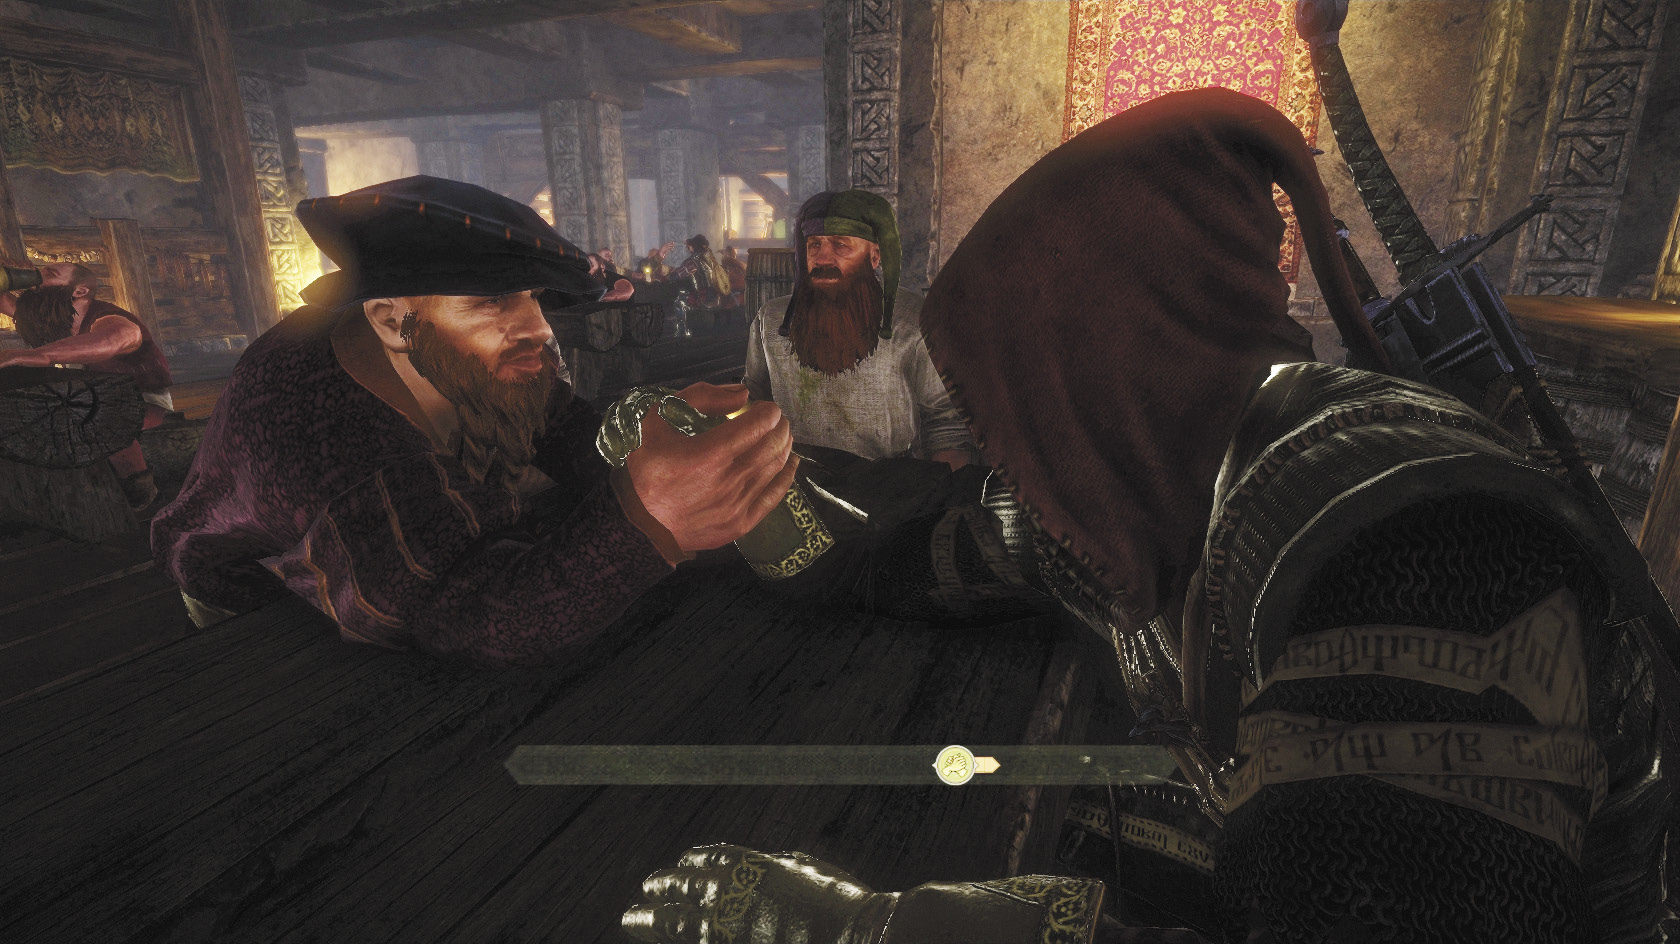
Arm-wrestling is tough in this chapter, but you can get some extraordinarily good rewards. That said, though, you can’t arm-wrestle for orens in this chapter, so if you want to grind orens, you need to stick to fistfighting. Anyway, begin by speaking with either Yarpen or Sheldon at Zoltan’s table. Challenge him to arm-wrestle you. You get 25 XP for beating Yarpen, who is a little more difficult than Sheldon. Now, go find Skalen Burdon, who is probably also in the Cauldron. Challenge him to an arm-wrestling match. Note that he is a more challenging opponent than anyone you’ve faced so far, so you may have to match him a few times to get a win. Beating Skalen is worth 50 XP.
Once you do get a win, go back and speak with Yarpen and Sheldon. Pick the dialogue option that means beating Skalen. Yarpen gives you a fire rune and Sheldon gives you an earth rune. These rewards are completely worth the effort of beating Skalen once.
 Death Symbolized
 With Flickering Heart
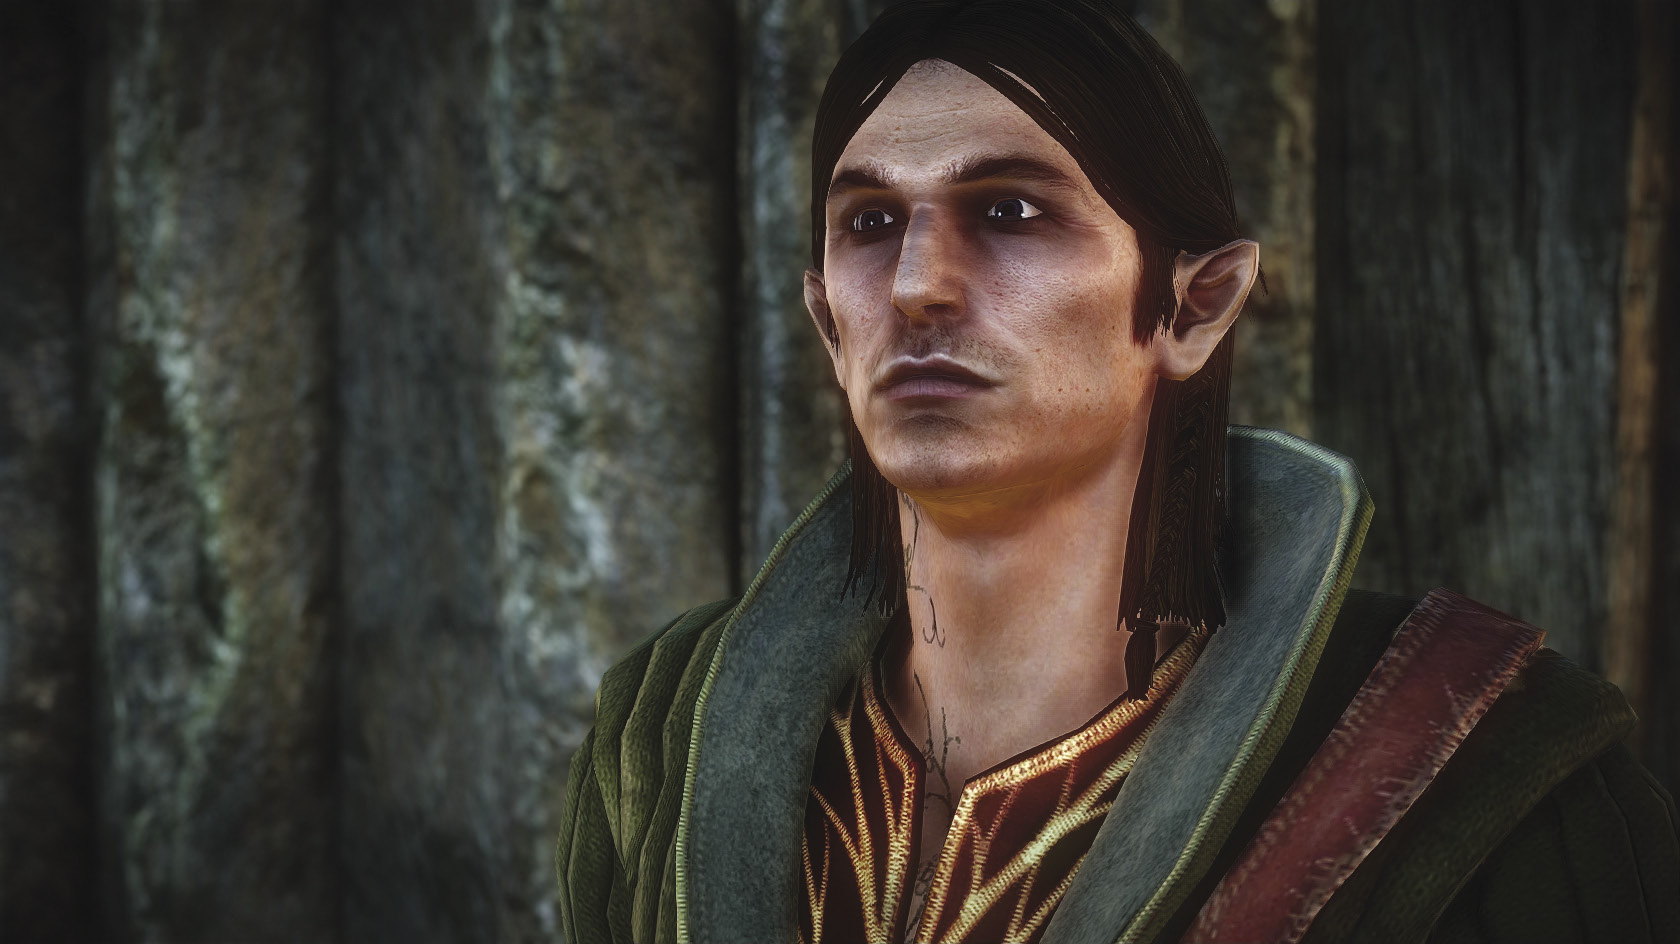
Doing these two quests simultaneously might seem strange, but it makes sense based on the locations you need to visit to resolve the quests. First, go speak to Ele’yas outside the Cauldron any time after The War Council is resolved, but don’t begin pursuing With Flickering Heart until you’re also ready to resolve Death Symbolized.
If you’ve been following this guide exactly, Geralt is probably located in the inn as you read this. So, begin by speaking to Yarpen Zigren. Ask Yarpen “Do you remember Brenna?” and you’ll get a lot of information about the Battle of Brenna, which is tied into the curse afflicting the battlefield.
Next, go outside and speak to Ele’yas, who stands right next to the Cauldron’s entrance. He says that some sort of monster is luring young men out to be murdered. He offers Geralt a bounty if he can slay the monster and stop the disappearances. Simple enough. Ask him some additional questions about what’s happening to gather extra information.
Go pay a visit to Felicia Cori. You want to purchase the surgical tools. It can also be helpful to purchase the book The Rudiments of Pathomorphology, if it happens to be in her inventory at the time, though only the surgical tools are strictly necessary for advancing With Flickering Heart. It can also be helpful to buy and read the book The Dun Banner, which she also sells.
Now you’re ready to leave town. Head out the Mahakam Gate. Follow the path and you eventually come to the remnants of a village that burned to the ground. Look around for bloodstains. Once you find them, Geralt speaks a line of dialogue that advances With Flickering Heart. Scan around the area to find a couple of circles and a corpse wearing Temerian jackboots and heavy leather trousers you can loot. If you’re traveling through this area at night, be ready to fight wraiths.
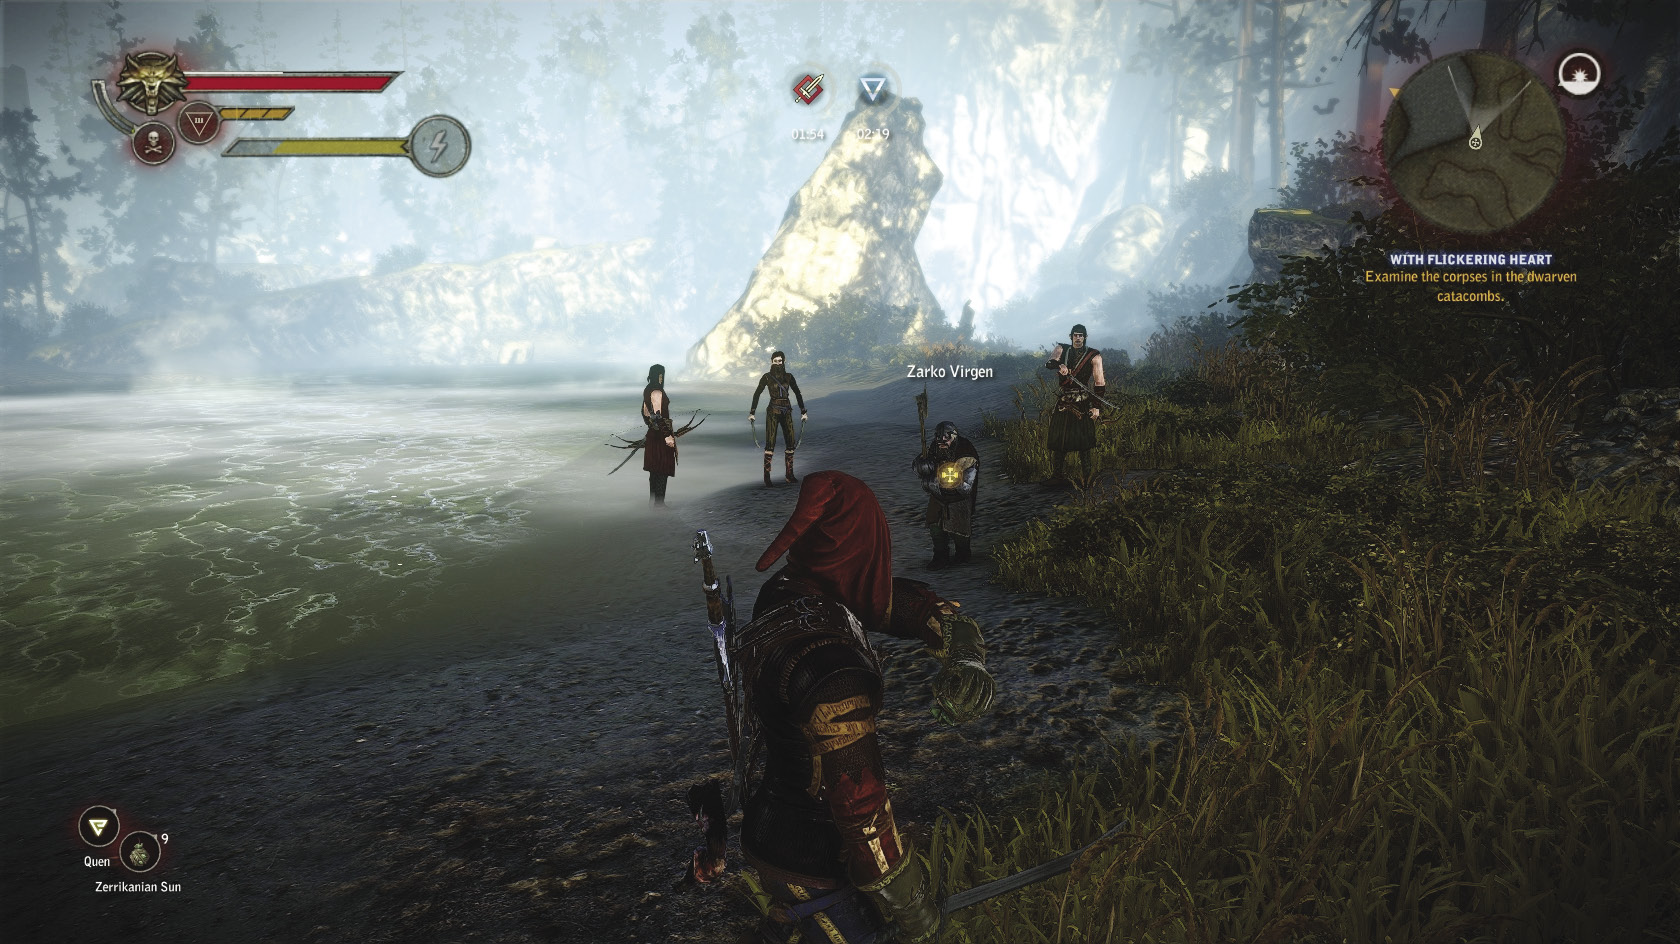
Head back to town, and this time exit through the Old Gate. Once you’re out of the tunnel and into the wilderness, you run afoul of some Scoia’tael turned bounty hunters at the creek north of town. Defeating them shouldn’t be difficult. Loot their bodies for some odds and ends, as well as another copy of the arrest warrant. If you’re in this area at night, or near the other bodies of water you cross along the way, you may encounter drowners.
After you cross the creek, you’re very likely to run into a pack of four or so harpies prowling the area. This encounter respawns, so you can end up fighting them about once a day. Another encounter you can run into in several different places on the north side of the creek is a troop of three Kaedweni soldiers who attack you on sight. If you can get the Kaedwenis to attack while other monsters are in the area, they try to fight the monsters instead and it becomes quite easy for you to pick everyone off. The Kaedwenis are notable because one of them drops the Kaedweni black sword, a unique steel sword that’s worth using if you didn’t get the robust sword of Dol Blathanna earlier (or happen to like the black sword’s critical effects better).
A bit farther on the way toward the catacombs, you usually run afoul of a group of nekkers that spawn near a small pond. Large numbers spawn at once, so they can be a threat if you’re not prepared for them. It’s fun to lead the Kaedwenis into a nekker ambush if they attack you around this area, though. Search the area around the pond very carefully to find a corpse carrying random loot. Once you find this, you aren’t far from the entrance to the Dwarven Catacombs.
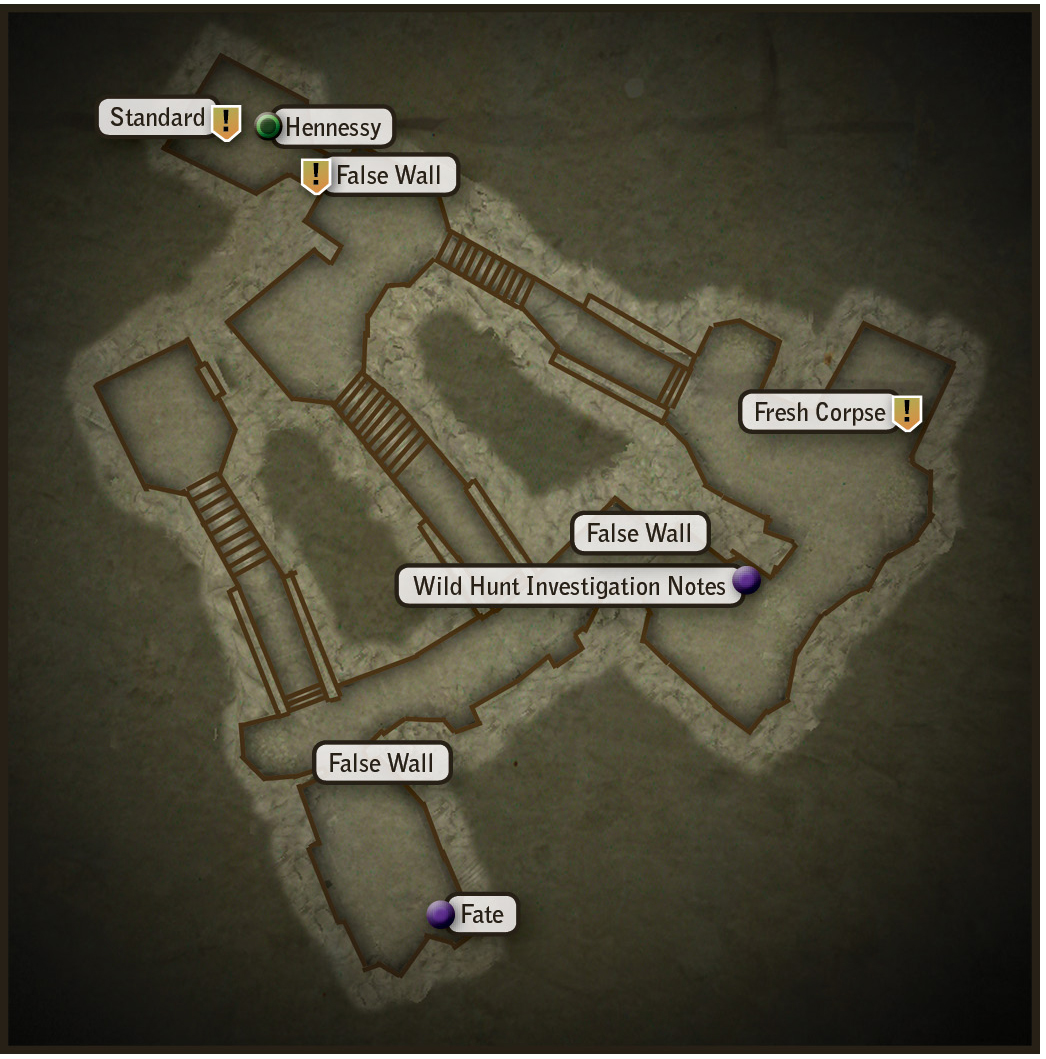
Once you’re inside the catacombs, move forward. An obvious false wall is in front of you, so blast it over with Aard. This opens up a crypt. Be ready to be attacked by a group of wraiths when you step inside. Just as during In the Claws of Madness, the close quarters make the wraiths more dangerous than they would be normally. Alchemist builds shouldn’t hesitate to use traps and bombs to get the group under control, while mages can make good use of Axii. Quen is essential for swordsman builds here—it’s very difficult to get through these battles without getting surrounded.
You can examine the corpses in the crypt by approaching them and pressing the interaction button to uncover them. Doing this sometimes summons a wraith. Many corpses yield nothing interesting when examined, but a few reveal some random loot, orens, or rather significant items. One of the bodies in this crypt, for instance, yields the unique silver sword Fate when examined. Equip it if you’re not already using something better.
Continue exploring the catacombs. The next two false walls you can blast away reveal nothing useful, but the third one should open up another large crypt chamber. Be sure to pick up the Wild Hunt investigator’s notes just before you come to the chamber where the fresh corpse awaits. When you come to the fresh corpse, pick the various options that appear in the dialogue tree to gain information about it. Be sure to examine the arms so you can use the surgical tools to extract the metal fragment. The metal fragment is not a quest item and does not appear in your inventory. If you examine the arms with the surgical tools in your possession, Geralt remarks upon the metal fragment. Once you’ve heard that bit of dialogue, then you’ve successfully retrieved it. Also make sure to examine the torso, then turn the body over so you can find Dandelion’s poetry sketchbook. Examining the body lets you obtain the Anatomy Lesson character attribute, which becomes very useful at the end of the chapter.
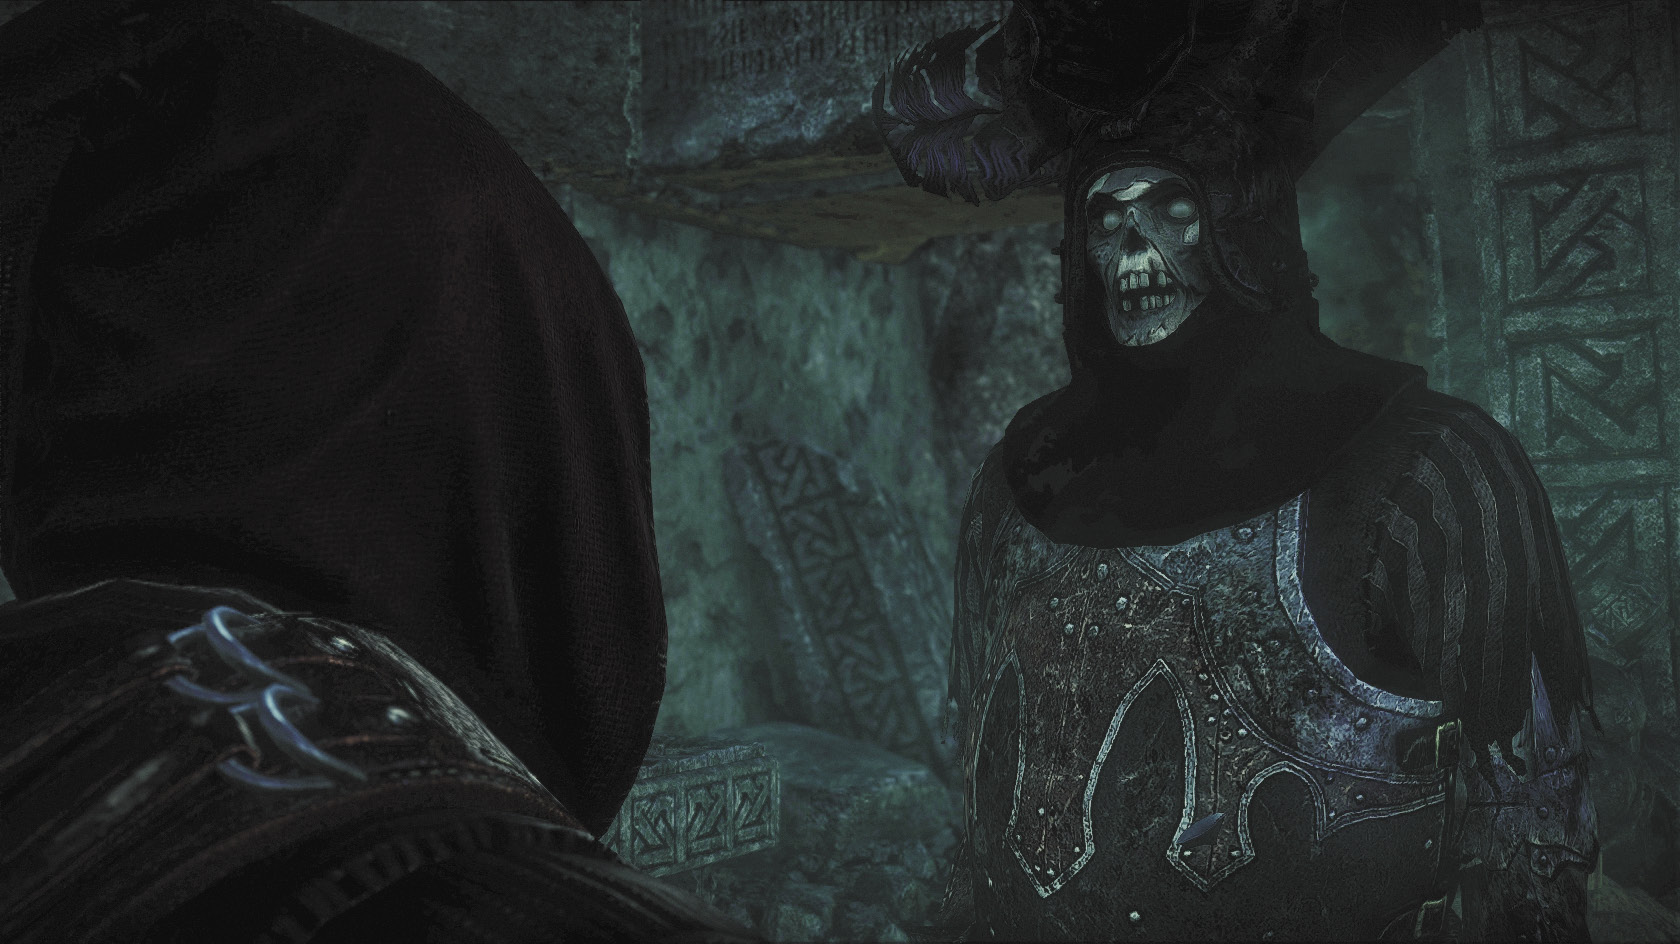
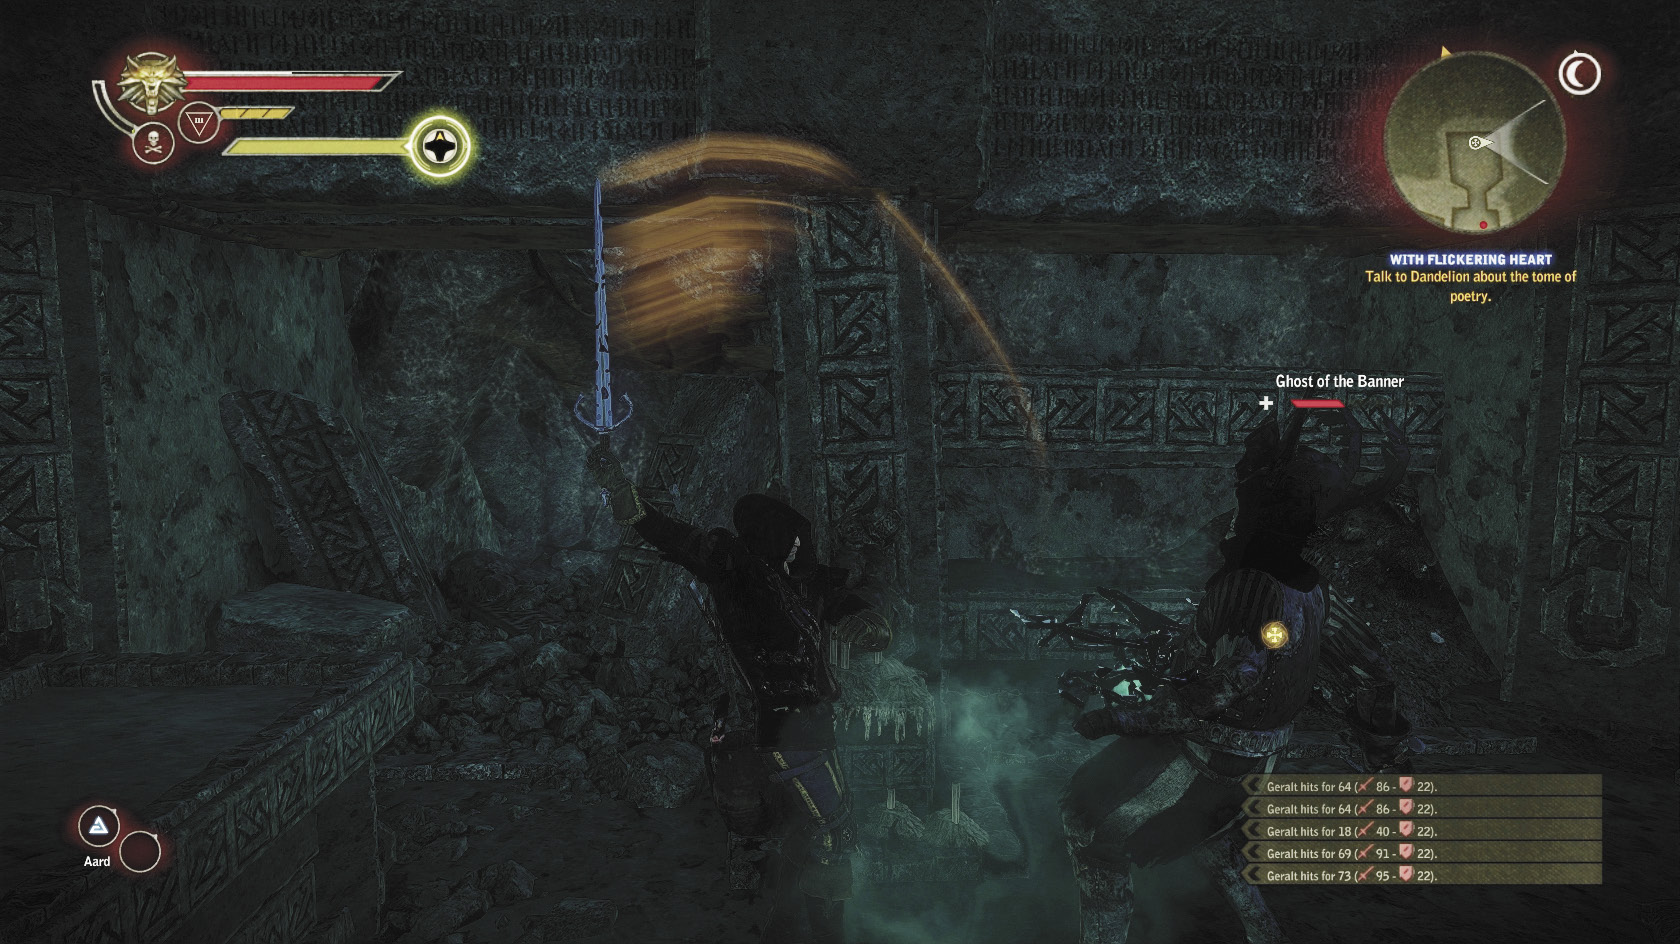
You’re done with With Flickering Heart in the catacombs, but stay around a bit longer to resolve Death Symbolized. Continue exploring and open up the final crypt in the catacombs by blasting down the false wall. This reveals the ghost of Ekhart Hennessy, color bearer of the Dun Banner. In death, he’s become the guardian of the Dun Banner itself, so Geralt can’t obtain it unless he deals with the ghost somehow. There are two different ways you can do this.
The most direct and easy way is to slay Ekhart Hennessy’s wraith. He is an incredibly weak opponent that swordsman builds can dispatch with little more than a chain of strong attacks. Alchemist and mage builds may opt to play around a little with potion buffs or signs, but they shouldn’t have any harder of a time defeating him. After Hennessy is slain, you can simply loot the Dun Banner itself, called the standard, from Hennessy’s sarcophagus.
There’s also a sneaky but slightly more challenging way to resolve the quest. You can attempt to convince Hennessy that you’re a surviving member of the Dun Banner who needs the corps’ standard for a worthy cause. If you can do this successfully, Hennessy gives you the standard and an extra item, the sword of the Dun Banner, willingly. To deceive Hennessy, you must answer all of his questions about the Battle of Brenna correctly. If you remember the details of your conversation with Yarpen and have read The Dun Banner, this is not difficult.
In case your memory fails you, the answers Hennessy wants at each branch of the conversation with him on this route are listed here. Note that you can do a version of this quest on Roche’s route, and on that route one of the answers is slightly different.
Answer List
I served in the Banner.
You got it wrong.
Menno Coehoorn.
Coehoorn is dead.
Vandergrift and Seltkirk.
Biggerhorn took me prisoner.
Note that if you answer one of Hennessy’s questions incorrectly, he sees through your deception and attacks you—unless you’re carrying a certain item (see “The Beaver Cap” sidebar). He also attacks you if you give him a violent response like “Die!” It’s still possible to complete the quest by killing him if he attacks you, it just won’t be possible to get the sword of the Dun Banner. The sword of the Dun Banner is decent but not the best steel sword for this chapter, so it’s no huge loss if you can’t get it. Regardless of how you resolve Death Symbolized, there are no XP rewards involved.
|
Here’s another Lord of the Rings reference. Hennessy’s wraith refers to the sword of the Dun Banner as the “sword of Colonel Gondor.” In the mythology of LotR, Gondor was the greatest kingdom of men at the end of the Third Age. |
The Beaver Cap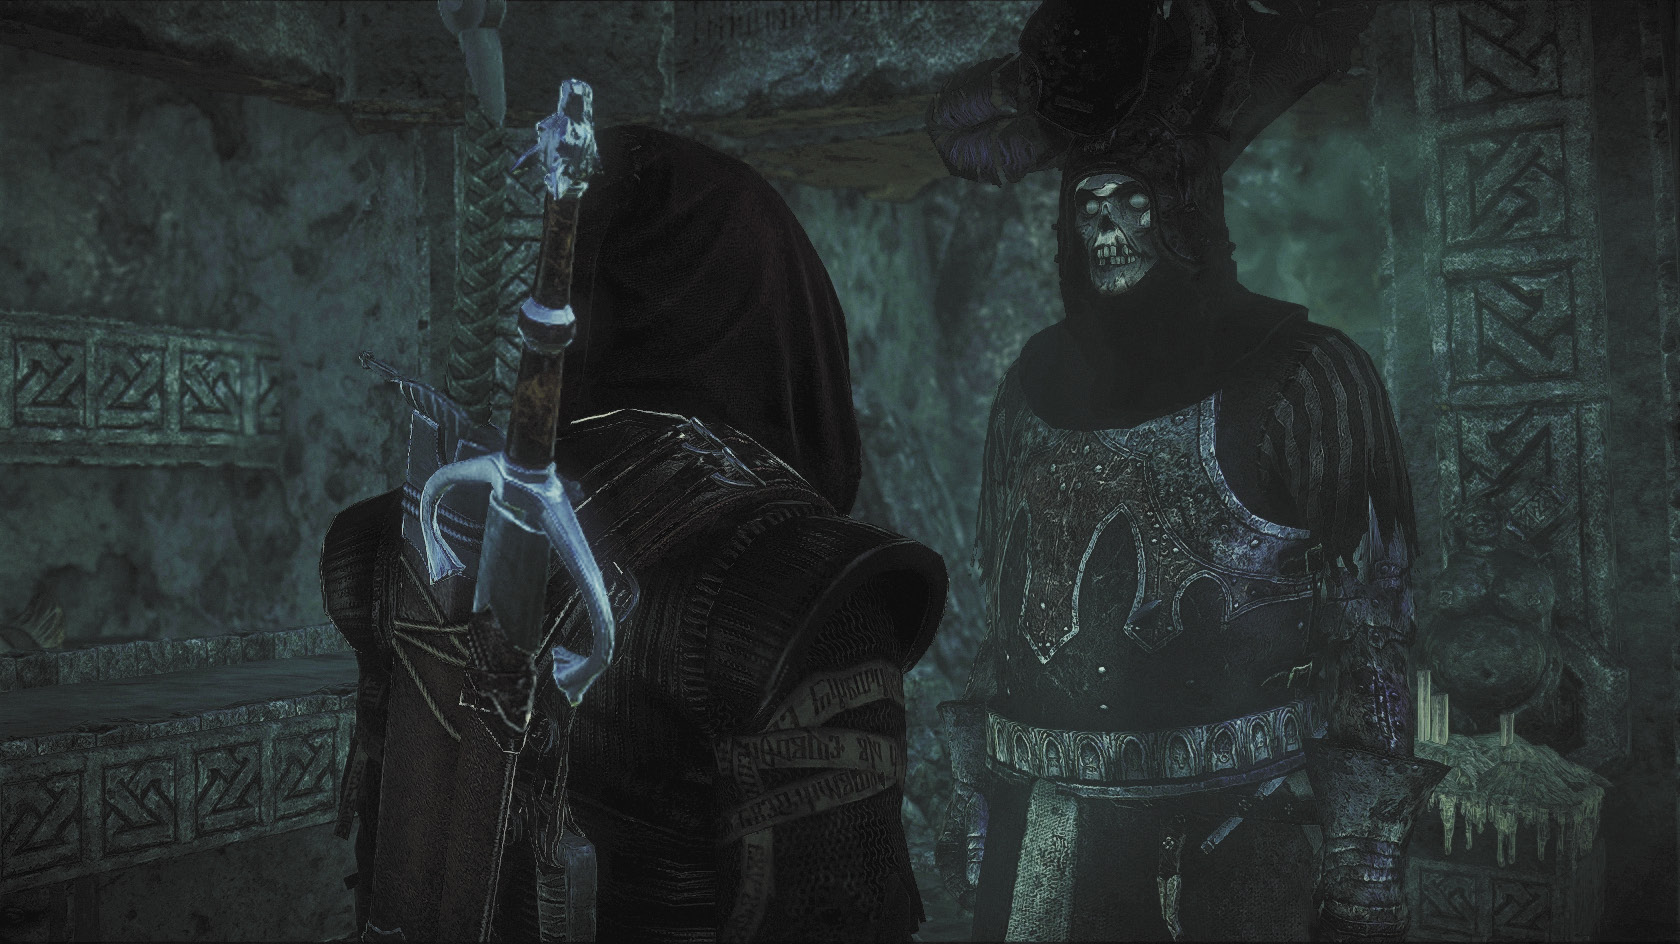 If you answer one of Hennessy’s questions incorrectly, he attacks you—unless you’re carrying the beaver cap, an item you can obtain by completing the quest Baltimore’s Nightmare. All of the members of the Dun Banner wore beaver caps, so if you have one in your inventory the wraith concludes you must be the genuine article. To complete Baltimore’s Nightmare, make sure you do particular things while completing this chapter’s very long harpy-related quest line. This walkthrough recommends waiting to do the harpy quests as late in the chapter as possible, for reasons that should become clearer as you read on. If you really want the beaver cap before doing Death Symbolized, then you should put off finishing these quests until after you’ve completed the harpy quest line. Just don’t complete the harpy quest line out of sequence, whatever you do. You really need to not do it until you’ve finished Where Is Triss Merigold? and begun Royal Blood. |
Loot the other bodies in Hennessy’s room of the catacombs, then head back to town. You should be entirely done with this location now, with no need to return to it. For the rest of this sequence, you’ll be resolving With Flickering Heart. First, go find Dandelion at the Cauldron and show him the poetry sketchbook by saying “I found some of your scribblings.” Eventually, you cajole Dandelion into meeting you at the burned village after midnight. Head out through the Mahakam Gate and, if necessary, meditate until the right time.
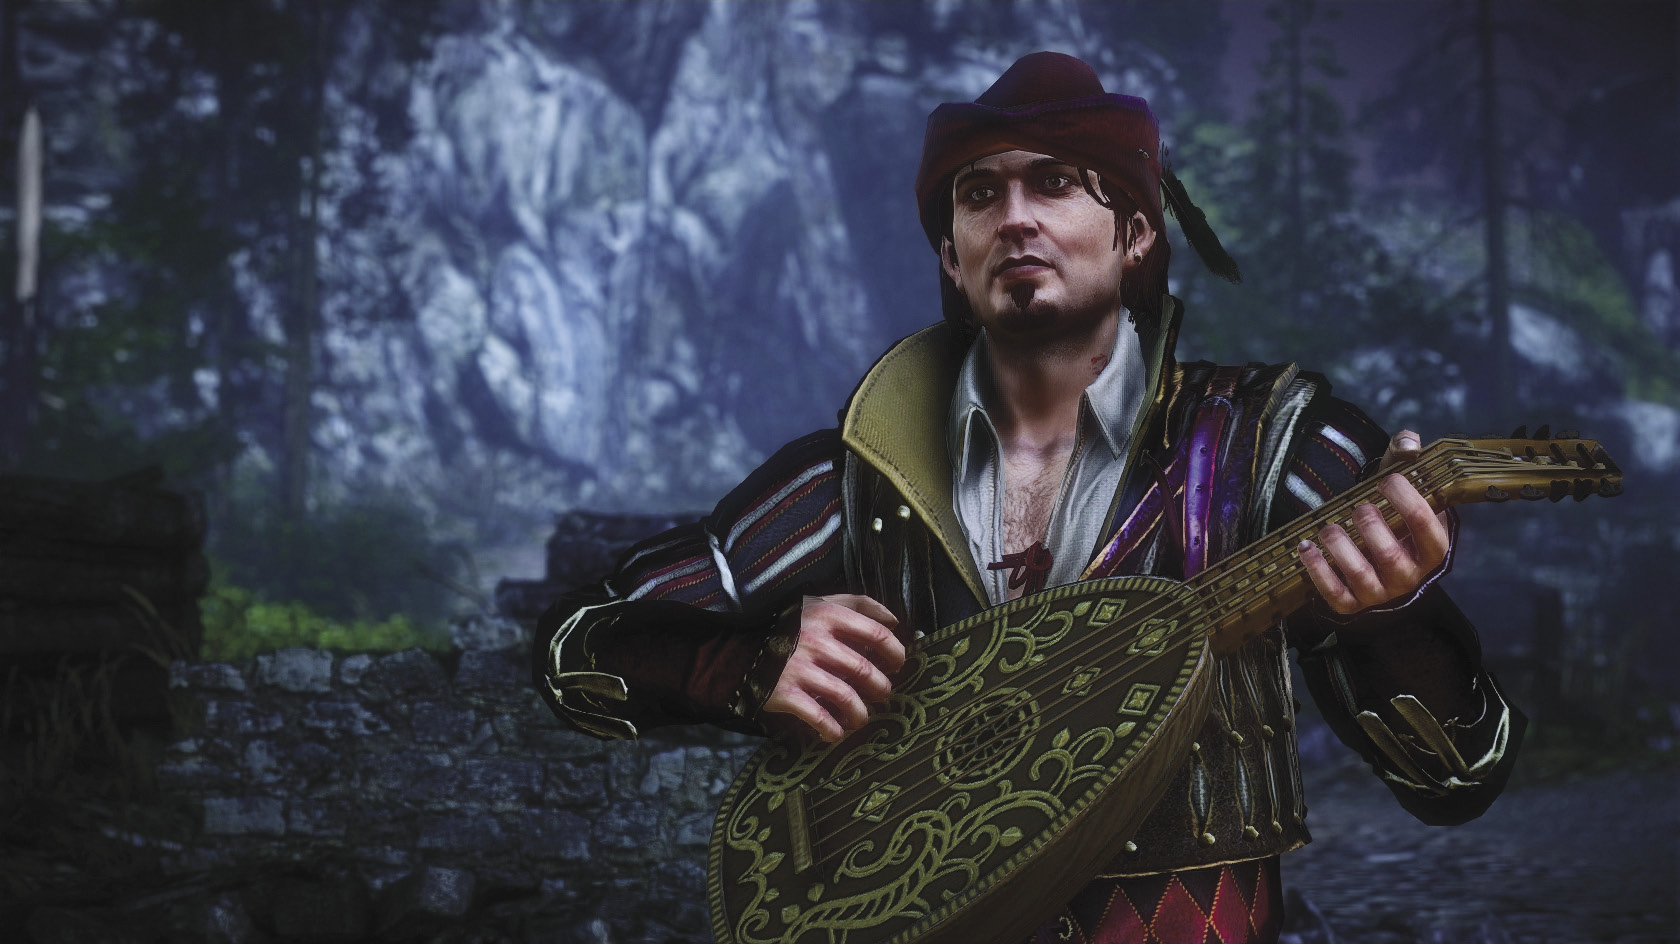
When you walk toward Dandelion, you trigger a cutscene that is then followed by the player taking control of Dandelion for a while. To successfully lure out the Succubus, you need to correctly sing the third set of lyrics Dandelion wrote in his poetry sketchbook, which you should read before starting this part of the quest. Each of these decisions is timed, too, so you must make the correct decision quickly. The correct responses to make at each of the timed decision points are written here, to help jog your memory.
Correct Lyrics
If our bodies…
My heart would inquire…
Or treat it as a morsel…
There is no penalty for singing the lyrics incorrectly, it just means that you failed to lure out the Succubus and have to try again. Once the Succubus responds to Dandelion in a cutscene, you have to make a decision as Dandelion. You can have him enter the Succubus’s lair alone or have him report back to Geralt once the way is open.
If you choose to send Dandelion into the Succubus’s lair, Geralt immediately curses Dandelion’s foolishness and goes in after him. Speak to the Succubus once you’re in her lair. At any branch in the dialogue, you can initiate a battle with her by saying “You’re lying, I won’t let you murder anyone else.”
The Succubus is not a strong combatant and most Geralt builds at this point in the game should have no trouble overwhelming her, though she does have a lot of vitality. She fights like a mage, so throwing daggers come in handy here to interrupt her spells. Once you defeat her, she drops the Succubus’ wand, an additional weapon that you otherwise can’t obtain, and some random loot that can be quite valuable. If you’ve killed the Succubus, then you need to go see Ele’yas back in town to complete the quest. He gives you the steel sword Angivare, which is otherwise unobtainable, and 100 orens. You also get 200 XP.
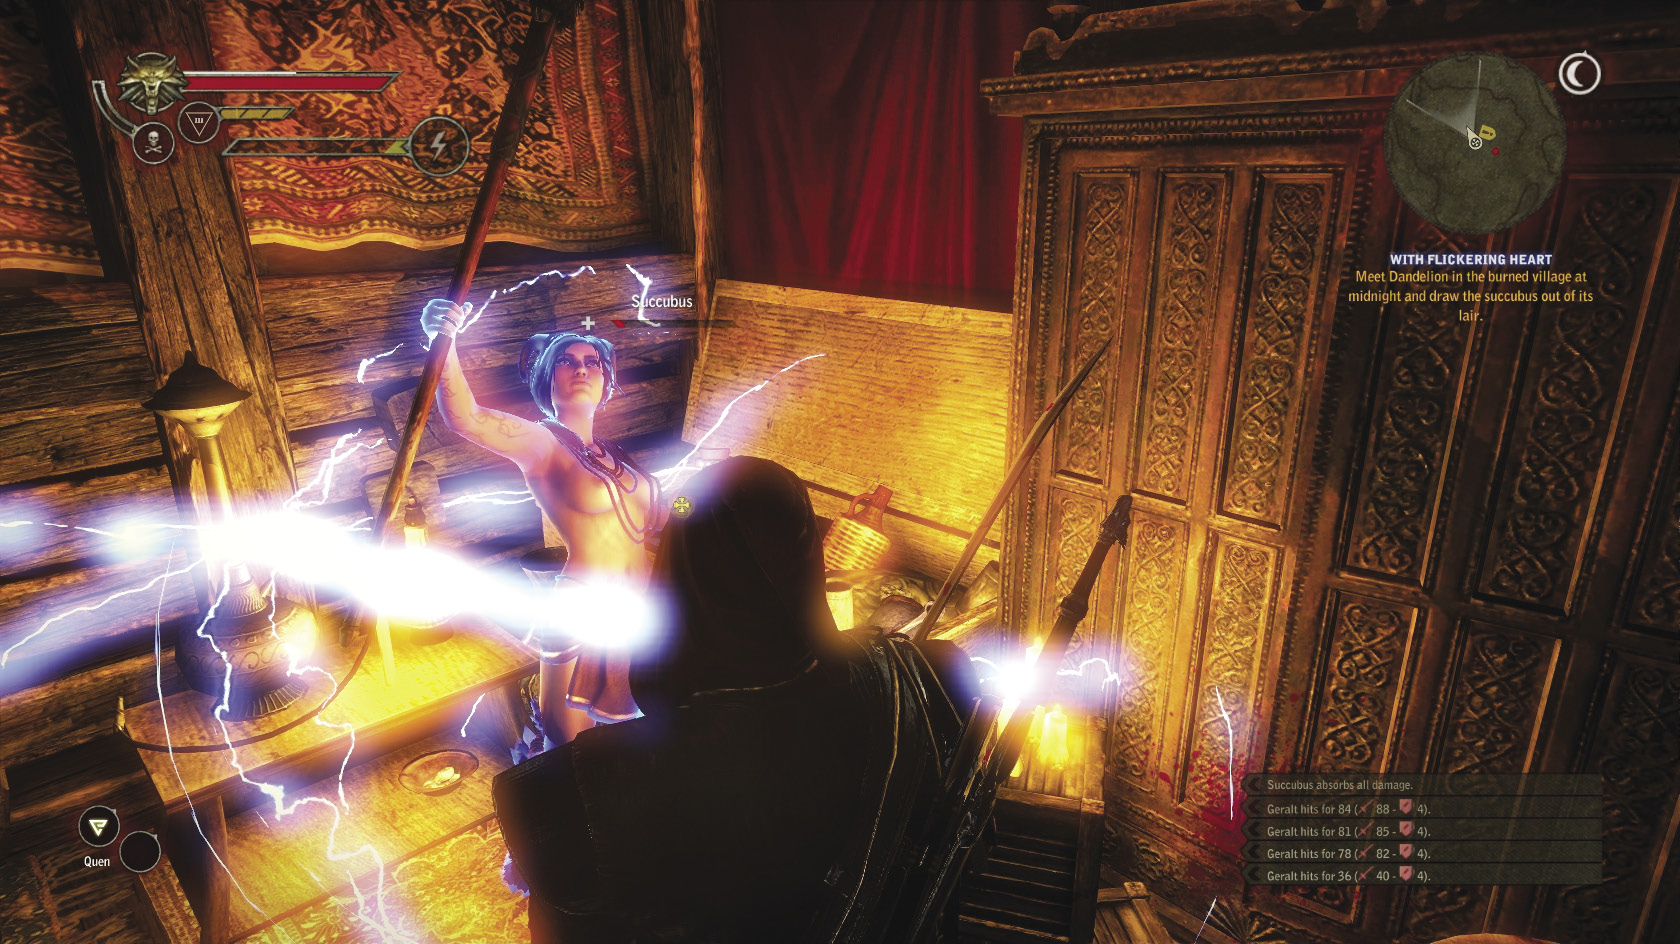
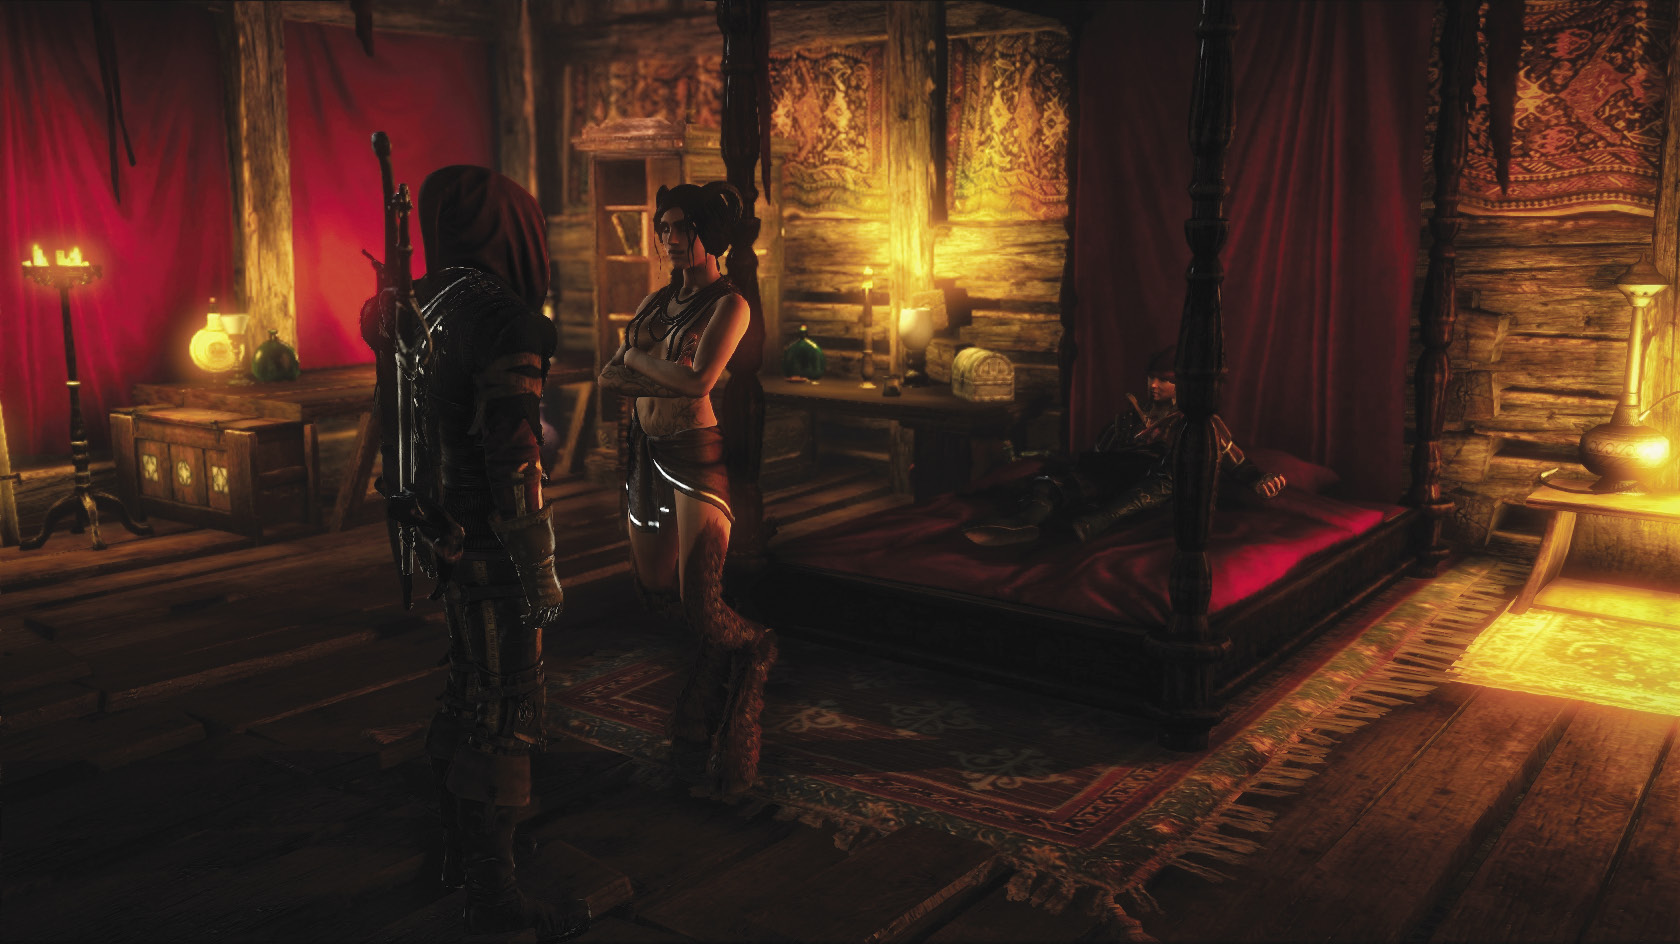
If you say “Like the others?” then the Succubus attempts to justify her actions. Say “Who’s the murderer?” to find out that the Succubus isn’t killing anyone, but rather one of her mad lovers is doing it instead. If you ask after the murderer’s identity, the Succubus claims it’s Ele’yas. At the final branch of the conversation, you can say “Why should I help you?” and the Succubus explains that she doesn’t want people to think she’s a murderer and also offers a reward. At this point, you can say “I’ll talk to Ele’yas” if you want to help the Succubus instead of killing her.
If you have Dandelion send Geralt in alone, then the entire conversation that leads up to “Who’s the murderer?” happens automatically. From that point on you can choose to fight the Succubus at any point by saying “You’re lying” or select “I’ll talk to Ele’yas” at the dialogue’s final branch if you want to side with the Succubus.
If you say you’ll speak to Ele’yas, then return to the Cauldron. You can accuse Ele’yas of lying to you or say that you’ll return to the Succubus. If you accuse him of lying, Ele’yas claims that he hasn’t killed anyone. At this point, you can choose to believe him or not believe him. What you say doesn’t actually matter; as soon as you talk to Ele’yas at all it sets up an alternative method of finishing the quest.
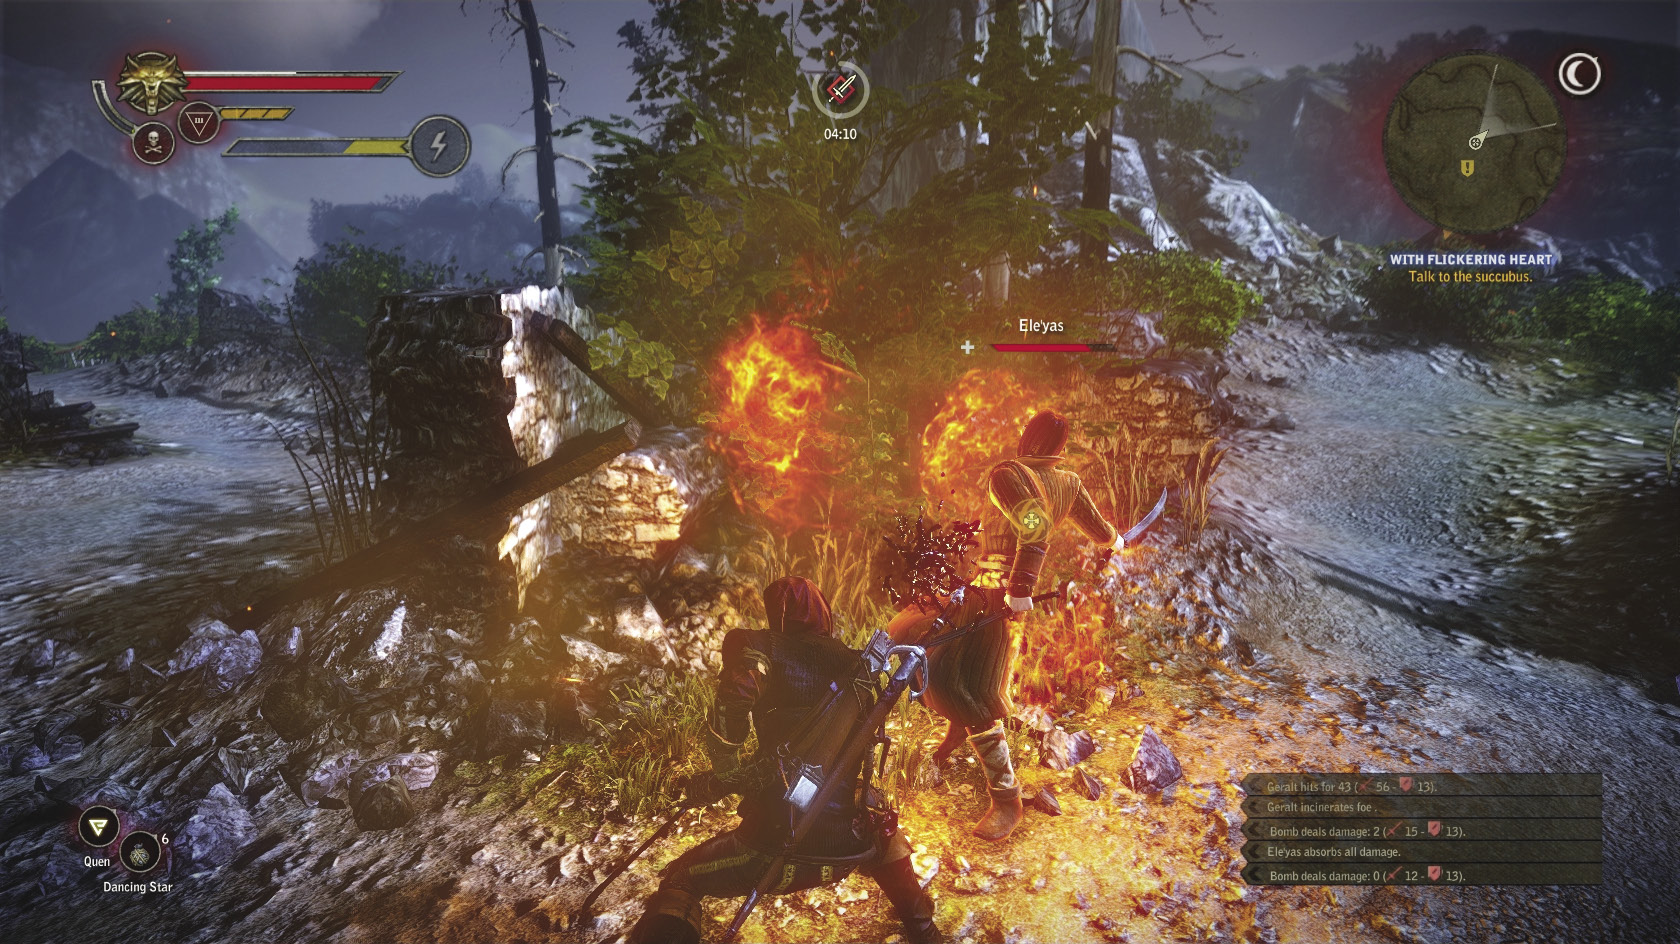
Go talk to Iorveth in the Vergen Outskirts. Say “Ele’yas is a murderer.” Iorveth asks for proof. This is where the metal fragment you extracted with the surgical tools earlier becomes important. Without the metal fragment, there’s no way to resolve the quest without killing the Succubus. If you have the metal fragment, you can offer it to Iorveth. He goes off to see Ele’yas, then quickly returns saying that Ele’yas has fled town. Return to the burned village.
When you step into the burned village, you find Ele’yas lying in wait for you. He’s not an especially tough opponent, since he uses the basic Scoia’tael fighting style, but he does have a lot of vitality to whittle down. Like most elves, he is highly flammable, so mages and alchemists can make good use of incineration here. Once Ele’yas is defeated, go see the Succubus. She tells you to disrobe and relax, which means that you’ve got a chance to get Geralt some action. You can turn her down, but you don’t gain anything from doing so.
Either way, after the Succubus is through with you, she says she left some gifts for you nearby. Loot a chest near the best to get Thyssen’s armor, which is otherwise unobtainable, along with a handful of orens and a Rook potion. You also gain 200 XP and get to stagger around drunk on monster sex for a while if you slept with her. While Thyssen’s armor is probably a little better than what you’re wearing now and can definitely see you through the chapter, it’s not as good as the armor of Loc Muinne you can obtain later—unless you’re playing an alchemist build. For an alchemist Geralt, the +50 percent bomb damage multiplier can be ridiculously potent, especially in the chapter’s climactic sequences.
So which way of resolving this quest is better? Mechanically, they’re about equal, unless you’re playing an alchemist build. Both outcomes offer a unique but not incredibly useful item, a handful of orens, and what is otherwise some very minor loot. Simply killing the Succubus is much faster, but if you don’t kill her then you get to trigger one of the game’s handful of love scenes. Of course, siding with the Succubus is inevitably the more heroic of the two options, since you can confirm that Ele’yas really is the murderer and the Succubus really is innocent.
 Where Is Triss Merigold?
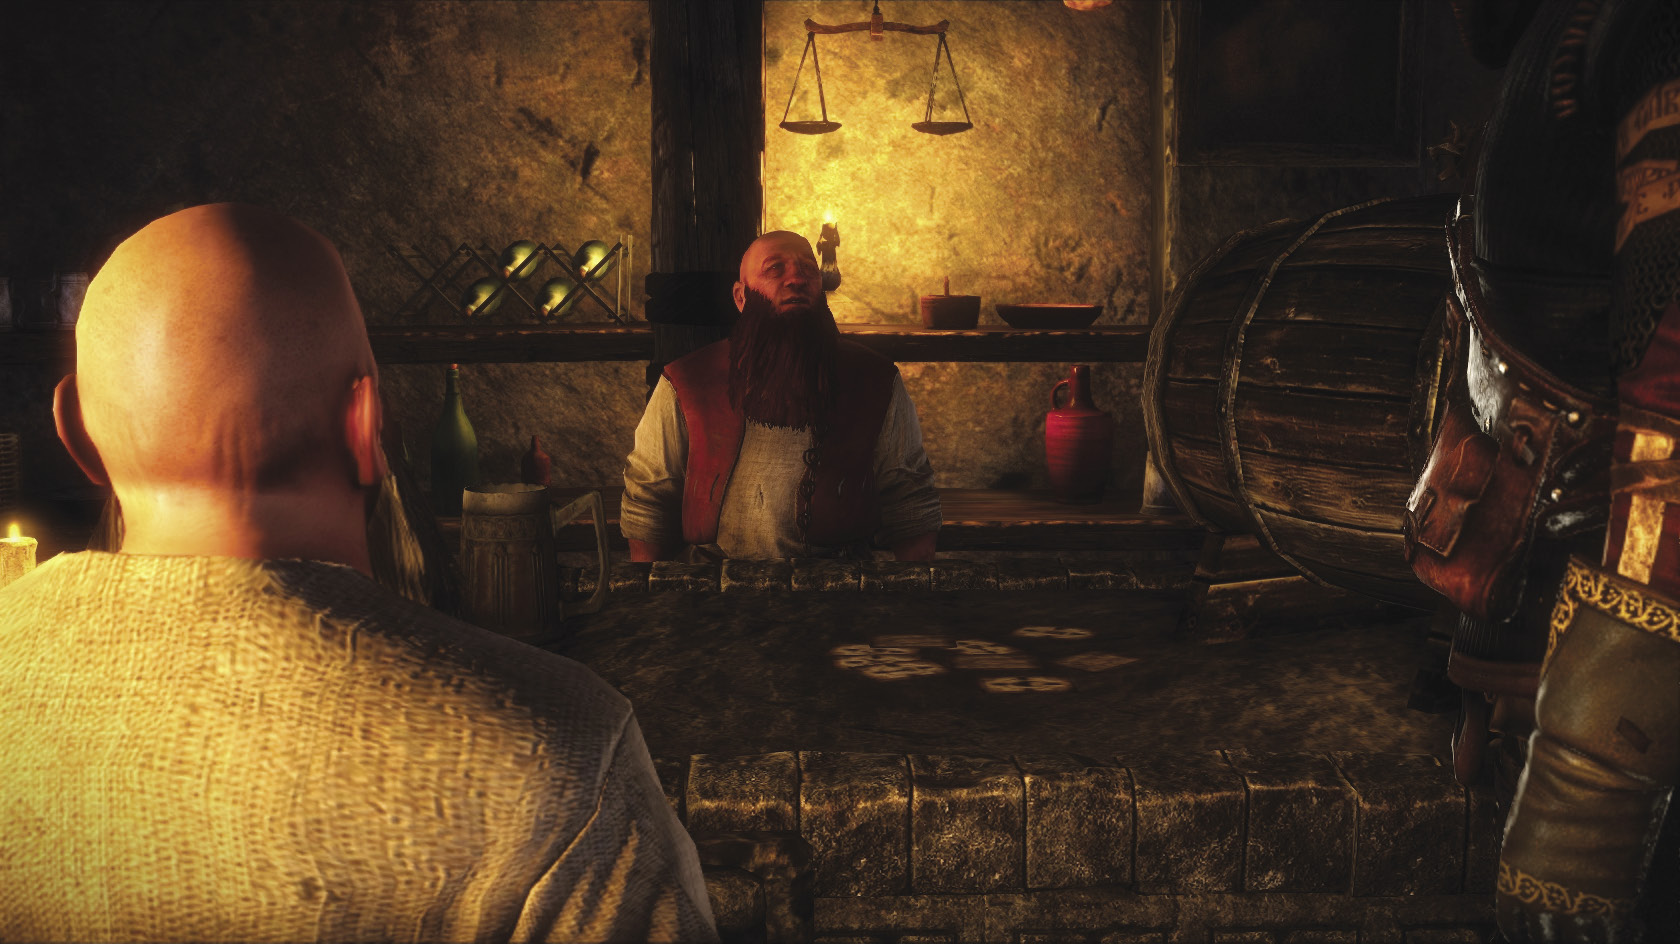
Now is a good time to try to figure out what happened to Triss. First, head to Philippa Eilhart’s house. Philippa says she could find Triss if she had one of her possessions. Geralt doesn’t have anything, but Philippa suggests Geralt speak with a local drunkard who claims he saw a woman fall from the sky. Head to the Cauldron and speak with Mantas Birut, who is going to be standing near the innkeeper’s bar just to the left of the entrance. Mantas offers to tell you his story in exchange for some mead. If you opt to buy him the mead, it opens up the interface you use for haggling. The maximum you can spend is randomly determined, but usually a very small amount of orens. Just spend the maximum bid to make sure you get Mantas talking.
If you want to spend fewer orens on mead, try to get the innkeeper to tell the story by saying “Not sure if it’s worth it.” He says he will if you pay for Mantas’s wine. The price is randomly determined, but usually at least a little lower than the price of Mantas’s mead. You get the information you need either way. The important thing is finding out that Triss and Letho dropped into the gullies southwest of Vergen. Exit through the Mahakam Gate and take a left at the group of Scoia’tael near the bonfire, or use the shortcut through the Tunnel of the Founders and go straight past the statue at the bottom of the path.
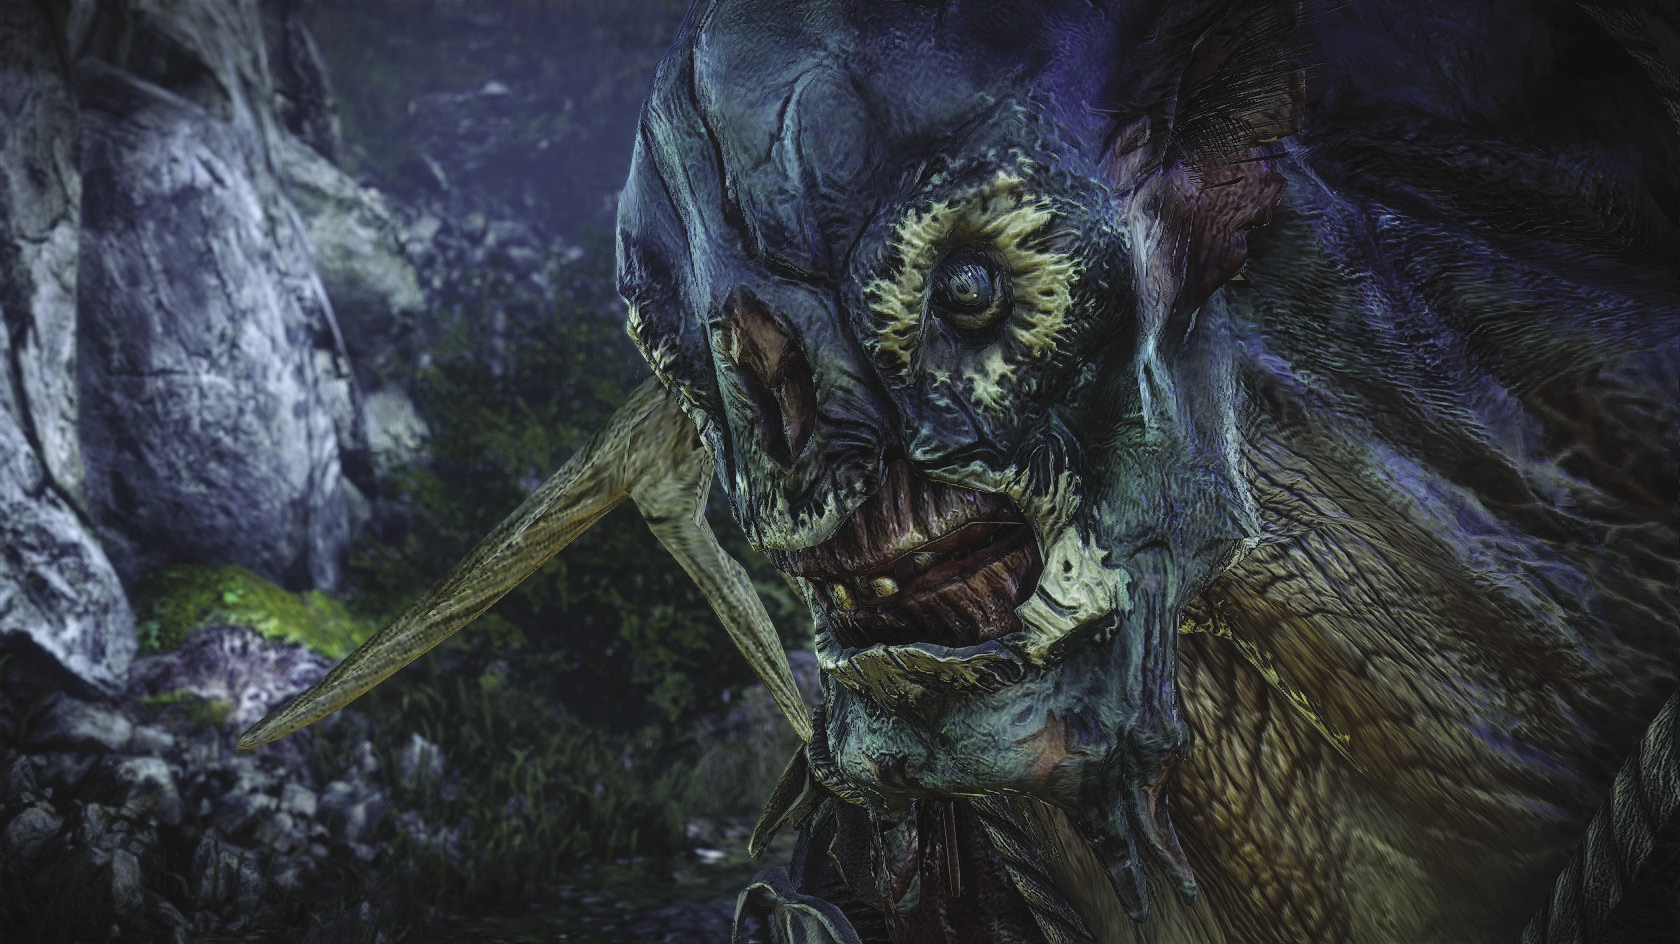
You come to a troll stirring a cauldron of soup. You can interrogate the troll, who is pretty docile initially. He tells you that he found Triss and had her bandana, but his wife got jealous and ran off with it. The troll happily tells you where his wife went but asks you to promise not to kill her. At this point, you can choose to resolve the quest in a kindly way or a merciless way. Doing things in a kindly fashion counts toward the Friend of Trolls achievement if you also spared the troll in Chapter 1. Doing things the merciless way counts toward a secret achievement if you also killed the troll in Chapter 1.
If you want to do things the kindly way, just promise not to kill his wife. If you want to do things the merciless way, say “We’ll see about that.” The troll gets hostile and you get another dialogue sequence. If you say “I don’t like to be threatened” at the branch after that, the troll tries to kill you. Fighting the troll isn’t very difficult, as he’s extremely slow. If you do kill him, be sure to loot the body.
Head into the gullies, following the quest marker. This area can be confusing, so don’t hesitate to consult both the in-game mini-map and the guide’s area map. You’ll fight a lot of harpies and maybe some nekkers along the way. At the top of winding path, you should meet Adam Pangratt and a group of mercenaries with him, fighting the she-troll. If you promised the troll to bring his wife back alive, say “She needs to live.” This pisses off Pangratt, who seems pretty determined to kill the she-troll. Eventually, if you want to save her, you’re forced to fight Pangratt. He gives up once you reduce his vitality to zero or defeat all of his allies. Pangratt is immune to Combat Acumen’s adrenaline ability and cannot be instant killed. After you’ve defeated Pangratt and/or his men, he surrenders and offers to give you some information about who hired him. Geralt then has a conversation with the mercenaries that confirms they’re looking for Letho. Tell them to surrender to Saskia, which they agree to since they think you’re an okay guy. Then you have cutscenes with the trolls. These are kind of useful in that they teleport you back down the mountain to the troll’s lair, which means a shorter trip back to town. Say whatever you wish to the she-troll—she goes back to her husband either way.
If you do things this way, then you can go find Adam Pangratt later in the game in Vergen’s prison. You can talk to him to find out some extra information about who ordered him to kill Letho and Triss. If you’ve put off doing Death Symbolized, then you can also get some extra information about the Dun Banner from Pangratt.
If you’re being merciless, then agree to help Pangratt at the first dialogue branch with him. She is even easier to beat than her husband, thanks to the help of Pangratt’s mercenaries. Be sure to loot her body to get Triss’s bandana. Note that if you agreed not to kill the she-troll and do so anyway, the troll attacks you when you pass back through his territory.
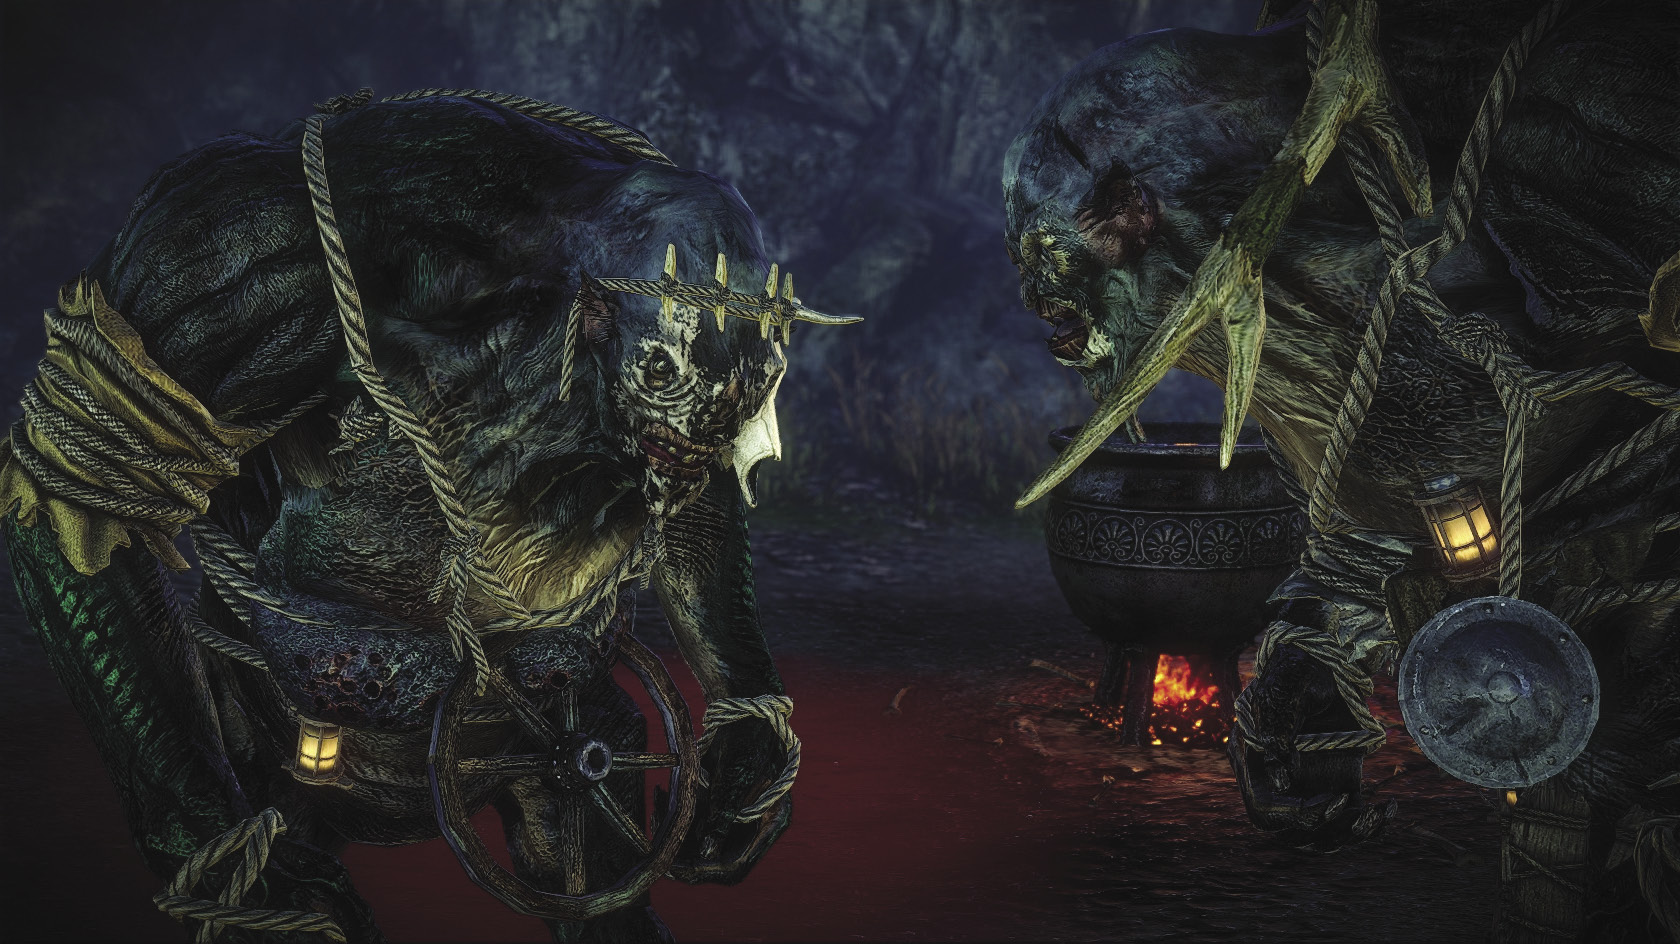
So is it better to kill the trolls or leave them be? Mechanically, saving the trolls is much more lucrative, even though this is the last chance in the game you have to kill trolls for a troll trophy and the troll-killing achievement. By saving the trolls you get the troll horn and a vran armor enhancement. You can use the vran armor enhancement as a component for making some pretty powerful equipment in Chapter 3. You also obtain the troll horn, which makes the two trolls appear later in the game during the Vergen Besieged quest to help fight Henselt’s army. While this doesn’t really make Vergen Besieged any easier for you, it triggers some extra dialogue and cutscenes.
Whether the trolls are alive or dead, this quest doesn’t actually resolve until you take the bandana back to Philippa and initiate a conversation with her. Say “I have Triss’s bandana” to initiate the dialogue cutscene that resolves the quest. At the end of the cutscene that ends Where Is Triss Merigold?, you get a visit from a messenger saying that the peasants believe Prince Stennis poisoned Saskia and are clamoring for his blood. This automatically triggers the Royal Blood quest and awards you 1,500 XP for completing this quest.
 Royal Blood
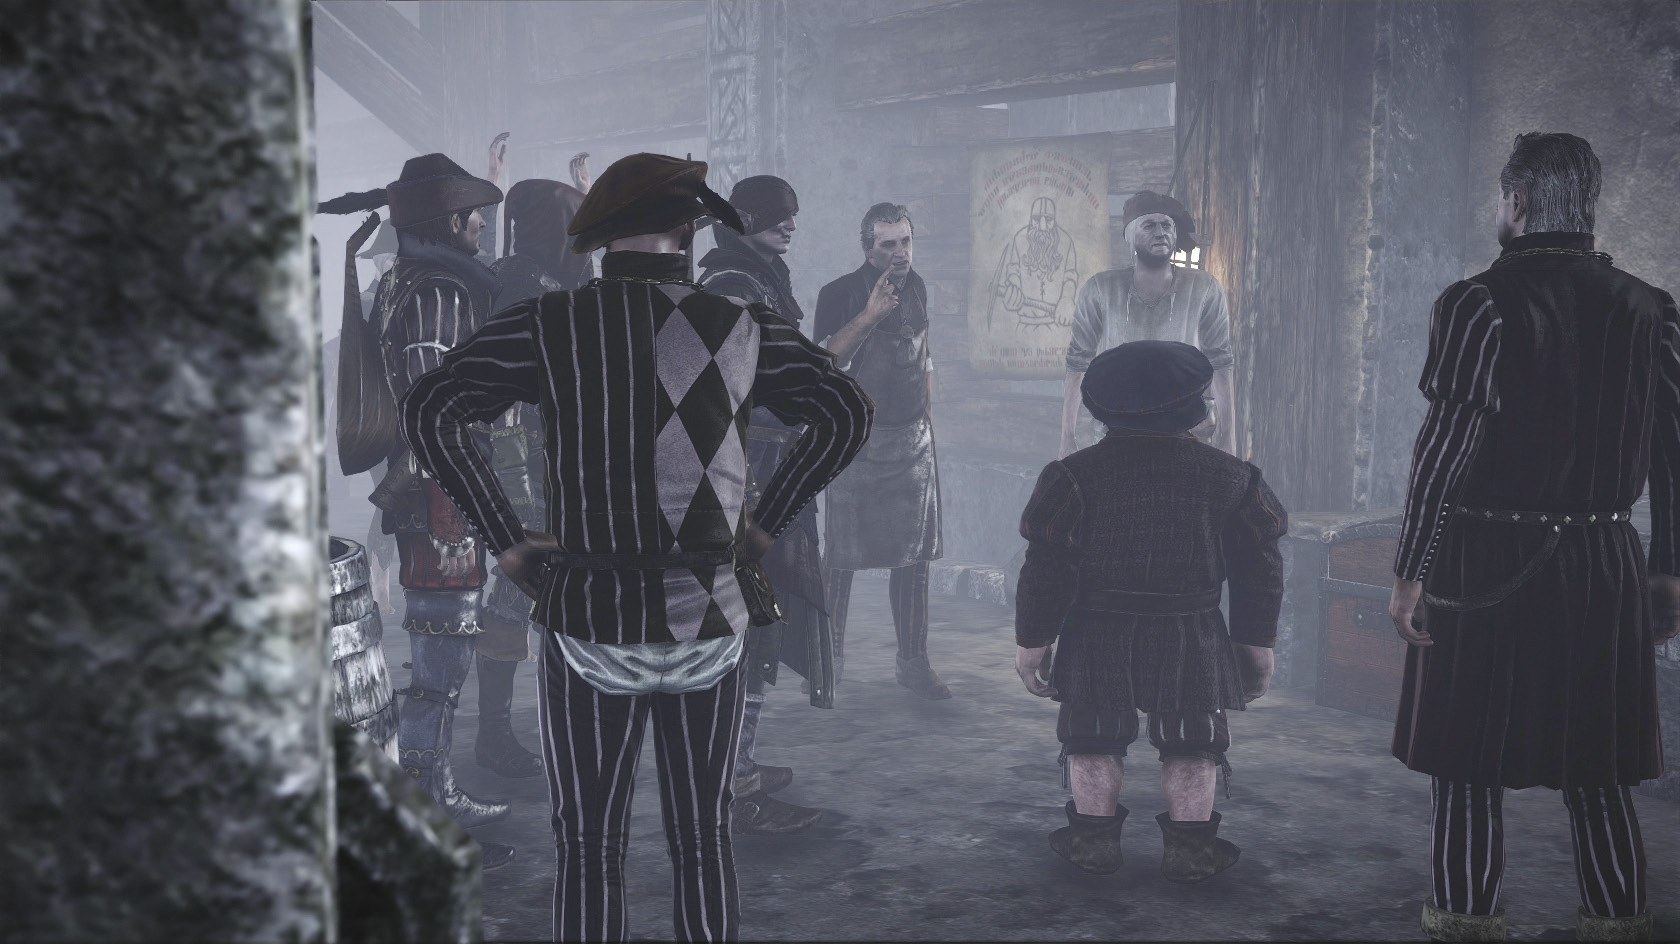
In this quest, Geralt plays detective and tries to uncover what really happened with Saskia’s poisoning. Begin it by heading toward the Castle of Three Fathers, where a mob has gathered. Head toward the quest marker to initiate some cutscenes. After the cutscenes, Geralt needs to decide how to spend the time he has investigating. He can speak to two parties from a master list of six before cutscenes trigger that force him to render judgment. Here’s the master list of all six parties you can speak with.
The nobles outside Stennis’s room
The peasants
A fellow leaning against the wall
Zoltan and Dandelion
The three dwarves
Prince Stennis himself, but only if you can successfully use Axii on his guards
This may not seem intuitive, but the two most important parties to speak with are the three dwarves and the peasants. Everyone else can be kind of interesting, but they don’t actually give you any worthwhile rewards or pertinent information about the murder. By speaking to the peasants and the three dwarves, you spawn two lucrative side quests that you can pursue to investigate the poisoning. Finishing them both can be very tricky. Go trigger these side quests, then make absolutely sure you don’t return to the Castle of Three Fathers.
 Side Quest: Suspect: Thorak
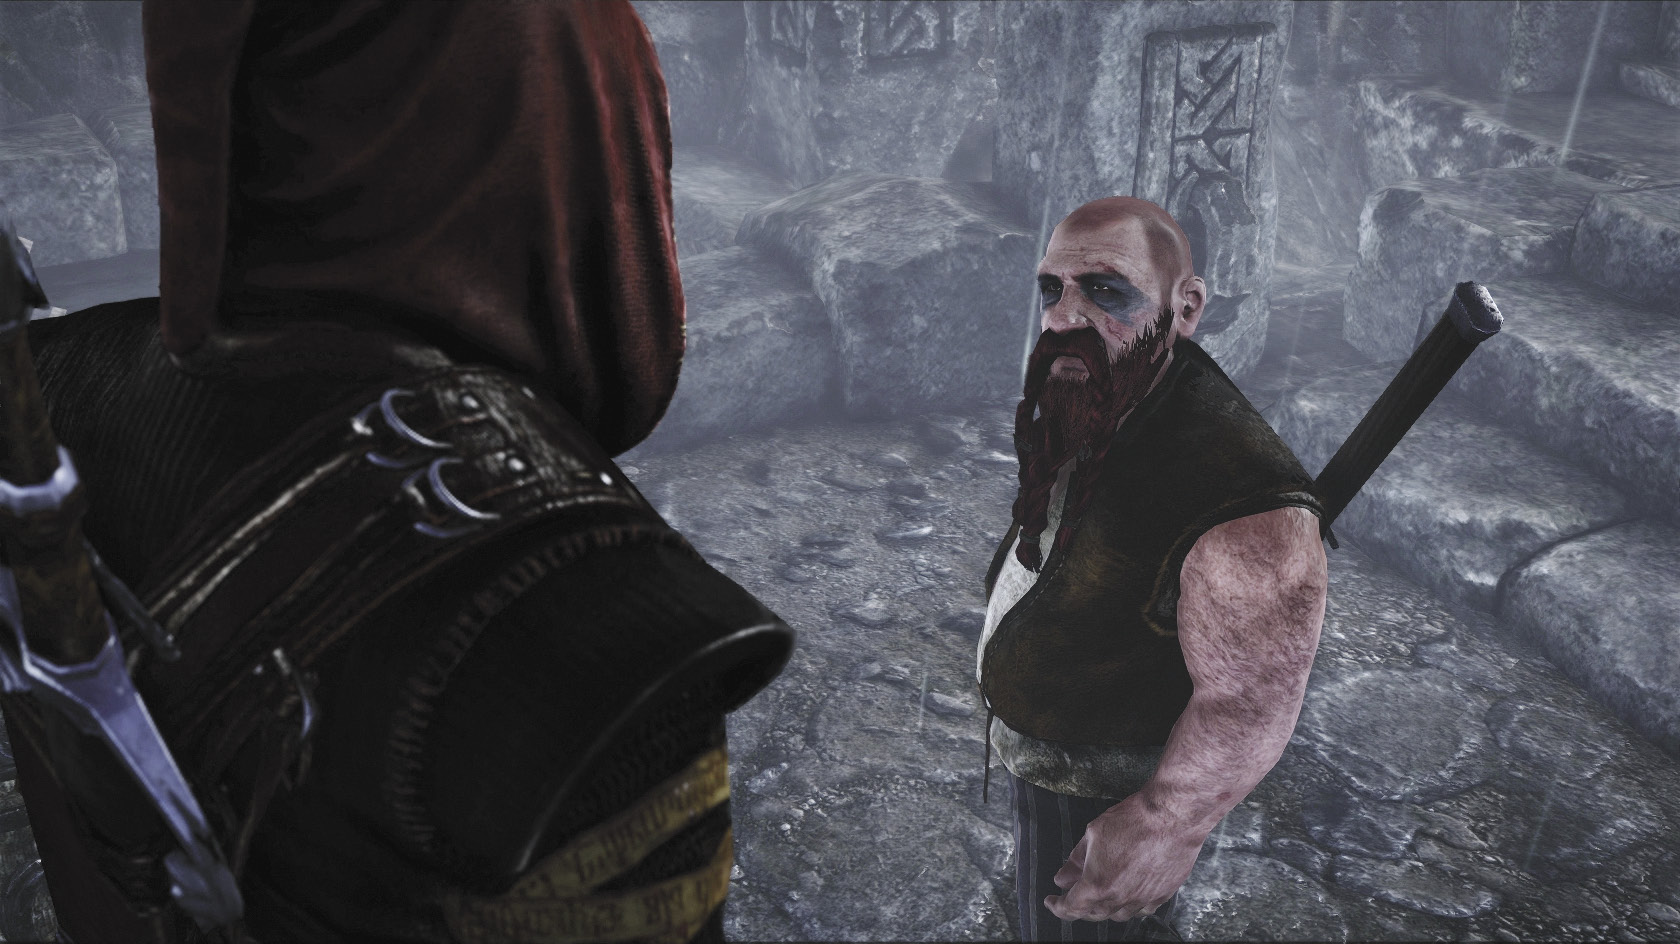
Go speak to the trio of dwarves standing in front of Iorveth in the castle. Among them is a founder, Ogden, who says he’s made all of the tableware used in the council hall. While most of the tableware was decades old, Saskia was drinking from a new goblet. Ask the founder about it. This flags up the possibility of someone having made a duplicate goblet that was used in the poisoning. The founder says that Thorak might have tried it. Finish the conversation and go investigate Thorak. Ask him if he made Saskia’s goblet. If Thorak is still alive, as he should be in your game, he says it was a wretched piece of work and he’d never turn out something like that. If you investigate Thorak’s house, you find a suspicious locked chest that could contain something interesting. Leave this quest alone for now.
 Side Quest: The Walls Have Ears
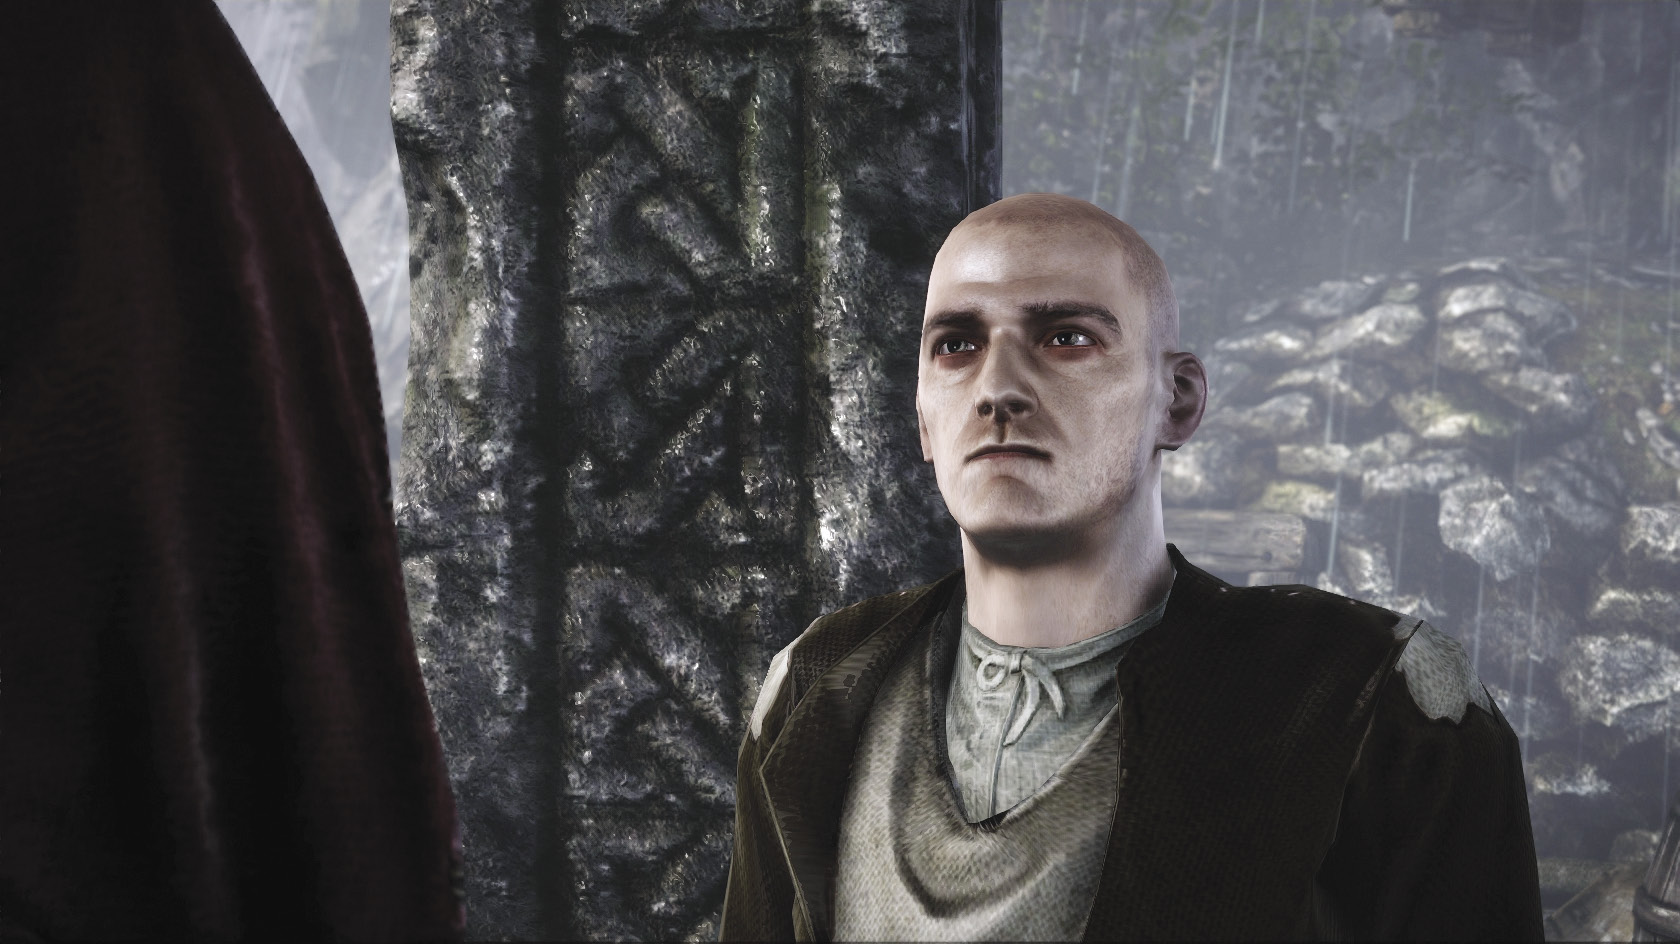
Go speak to the peasants gathered in the Castle of Three Fathers. They all but order Geralt to go find the servant who gave the poisoned wine to Saskia. Question them and you eventually find out the servant is under Scoia’tael guard at the Human Enclave (the one near the Castle of Three Fathers, not the one next to the Mahakam Gate). Go there and speak to one Willy Oblate. You have to use Axii or intimidation to get him to talk, but if he does then he gives up information that Priest Olcan (who’s dead now) told Stennis that Saskia was really a monster. Willy also heard Stennis and the priest saying suspicious things outside Saskia’s quarters. Since the priest is dead, you should go speak with Cecil Burdon. Ask him where Olcan was quartered. Once he marks your map, go search Olcan’s room. It’s at the Human Enclave next to the Mahakam Gate. You won’t find anything in the pile of books on the floor, but search the desk to find Olcan’s notes. So Olcan clearly commissioned a duplicate goblet, but you’re not yet sure where it came from.
If you’ve followed the walkthrough’s instructions exactly, you should now have both of the Royal Blood side quests triggered and at a point where tracking them in your journal says “Wait for events to unfold.” This means you can now…completely ignore the Royal Blood quest. Yes, really. You’re going to go do the last major quest line remaining in the chapter, which is going to give you the last piece of evidence you need to confirm whether or not Stennis is guilty of anything and where the duplicate goblet came from. Royal Blood won’t resolve until you speak to a third potential set of witnesses, so you should have no trouble moving on to do other things for a while.
 Hunting Magic
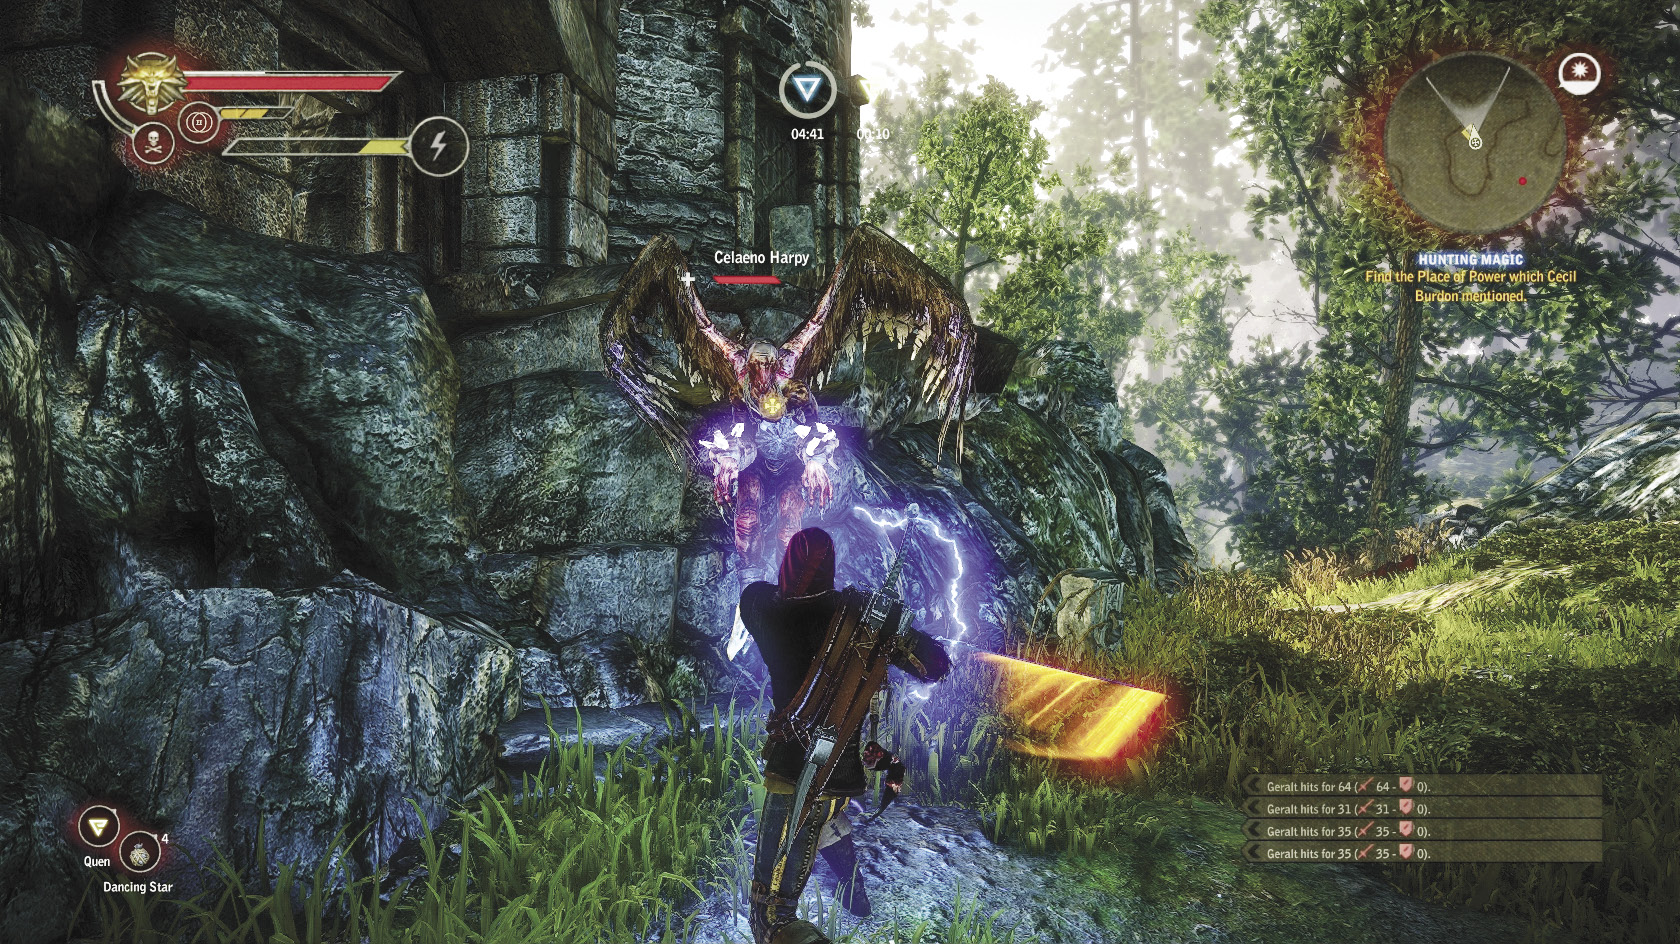
First, initiate this quest by going to Philippa Eilhart’s house and asking her about a magic artifact. She tells you to go talk to Cecil Burdon about potential candidates, so go do that. Say “Saskia needs medicine” to trigger the dialogue you need. He gives you Cecil’s map, which marks the location of a place that magicians are known to favor. After that, exit Vergen through the Old Gate and head north. Remember that area where you always get jumped by harpies? It should be around the base of an area on your mini-map that’s shaped like a hook. Go there, slay any harpies in the area, and then climb to the top of the hook-shaped ridge.
At the end of the ridge, you get the prompt to leap across onto a small butte. Once there, you are probably going to be attacked by more harpies. Slay them, loot the bodies, then leap across to the central plateau marked on Cecil’s map (and in the guide). Once on the plateau, expect to be attacked by about a half dozen harpies led by a celaeno harpy. Swordsman builds should have little trouble handling this many harpies through brute force. Mages want to use Igni and Axii, while alchemists equipped with Thyssen’s armor can do devastating damage with dancing stars and furies. After you’ve slain the harpies, loot the bodies and then climb up to where the harpies kept their nest. By searching it, you should find a magic crystal. Take the item back to Philippa and say “I have a magic crystal.”
Next, go talk to Cecil Burdon again. You want to get him to open a gate in the Old Quarry. Once the gate is open, you can progress this quest and clean out a bunch of side quests all in one shot. Go to Cecil and say “I need to reach the harpy lair.” By the end of the cutscene, Cecil agrees, but you have to bully him a little bit first. Next, go pick up a couple of side quests from the notice board outside the Cauldron (if you haven’t already gotten them all).
 Side Quest: The Harpy Contract
 The Queen Harpy Contract
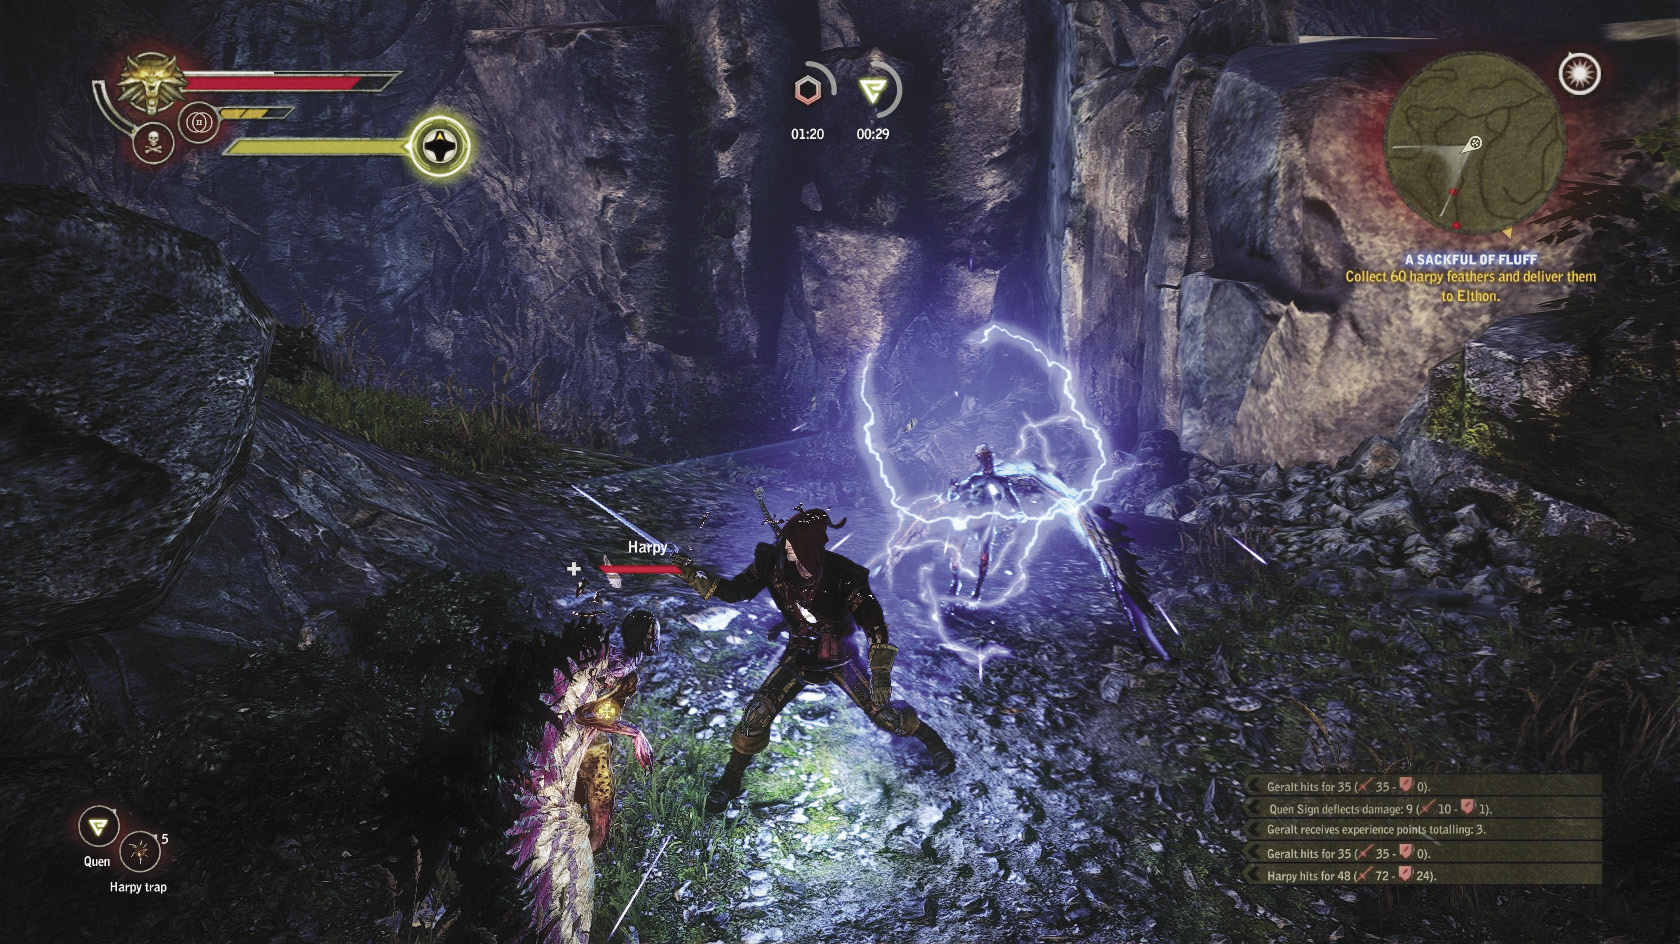
The Old Quarry is teeming with harpies and you can earn some extra orens by destroying their nests and slaying their queen, in addition to picking up the dream crystal you need to fulfill Hunting Magic. To destroy the harpy nests, you need to go manufacture some harpy traps. You can buy the diagram of the harpy trap from Haggard, Earso, or Thorak or acquire it by reading the book Harpies: Daughters of the Gale. You need to make exactly seven of them, no more and no less. Set out for the Old Quarry. Use the Tunnel of the Founders shortcut to get there quickly if you can. Before you enter the quarry itself, take a right to head into the cabin nearby.
 Side Quest: A Sackful of Fluff
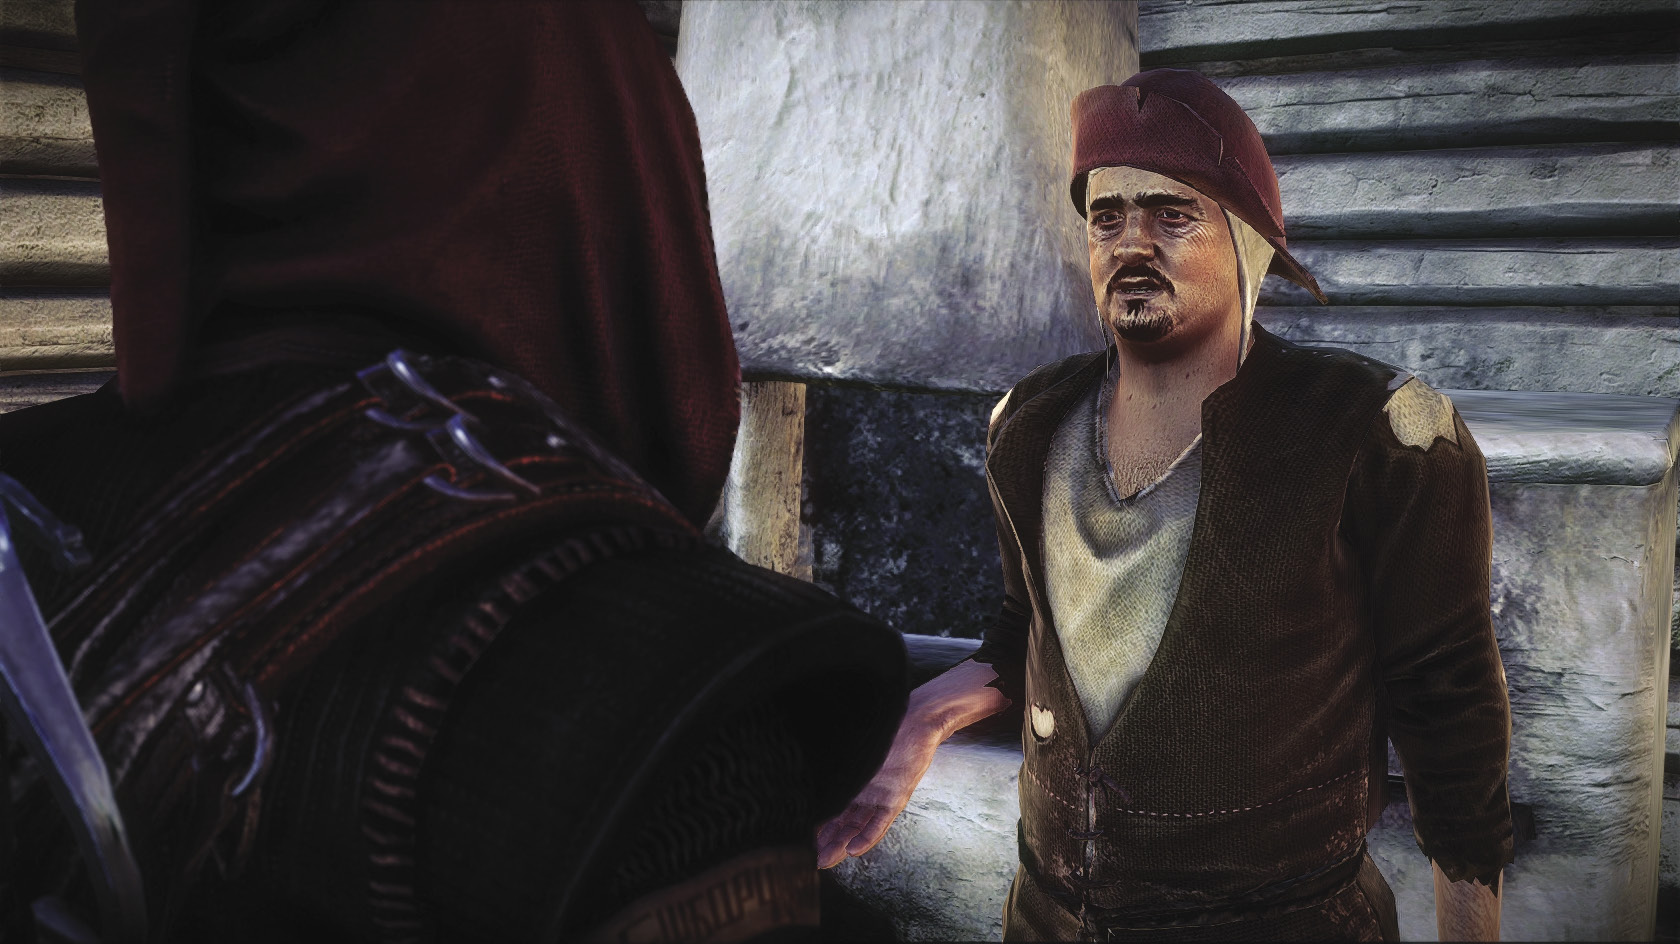
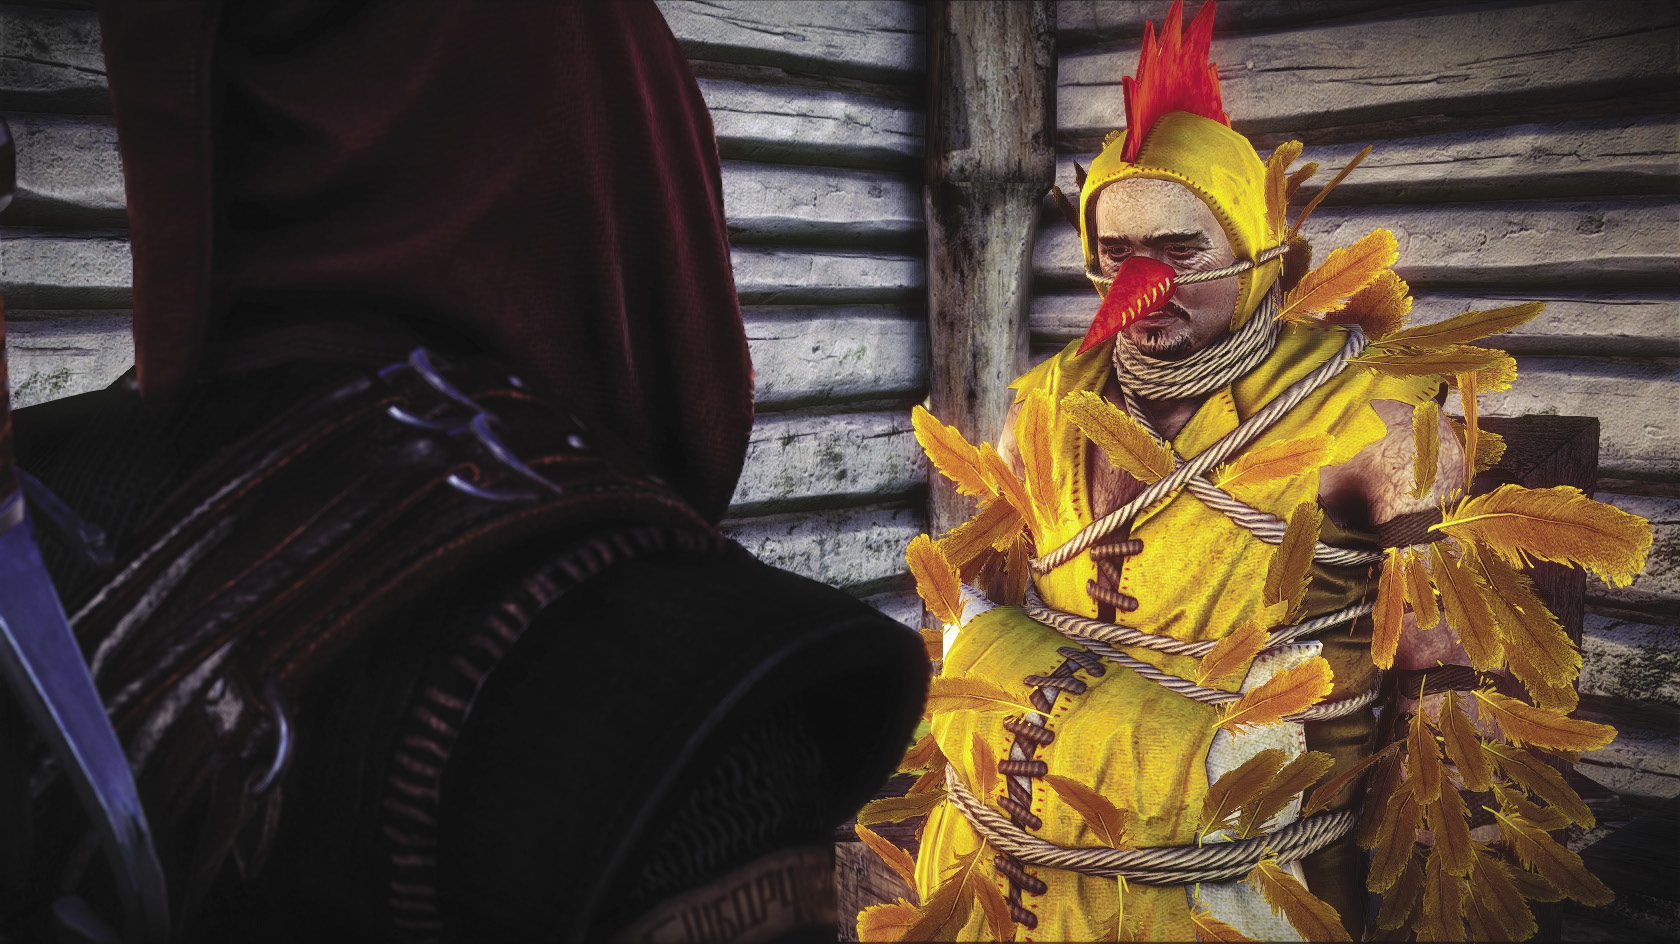
The cabin belongs to a fellow named Elthon, who offers Geralt work as he passes by. He says he knows a collector in Vengerberg who pays well for harpy feathers. He begins by asking you to bring him 12 if you agree to the quest (which you should). You may already have 12 harpy feathers on hand. Elthon pays three orens per feather for the first 12, which is considerably below the usual nine orens you’d get for selling harpy feathers. Sell them anyway, since what you’re really trying to get out of this quest is a unique item rather than orens. Try to argue up the price as high as you can when you have a chance.
After you give him 12, he asks for 60 more feathers. If you don’t already have the feathers on hand, go kill harpies for a while down in the quarry or in the area to the north of the pond. Remember that the harpies respawn roughly once every 12 hours. When you give Elthon the 60 feathers, how much you’re paid depends on how you argued earlier. The highest possible price is around 20 orens per feather, which is much higher than their market value. If you humor Elthon’s next request by saying “Let me hear it,” you get asked to bring by 8 more. Elthon gives you 100 orens for the last batch of feathers. Go do something else for a while—maybe kill a few more harpies.
Come back after some time has passed if you want to see why Elthon really wanted all of those feathers. After you pick your jaw up off the floor, engage in some small talk with Elthon. After the conversation finishes, A Sackful of Fluff resolves. You don’t get any XP for finishing this quest, but you do get Elthon’s trophy. While Elthon’s trophy is not mechanically super-good, you can wear it during major story cutscenes to transform The Witcher 2 into a delightful surrealist comedy.
|
Elthon is named in homage to flamboyant pop singer Elton John, who was famous for wearing brightly colored feather boas. |
 Side Quest: The Harpy Contract
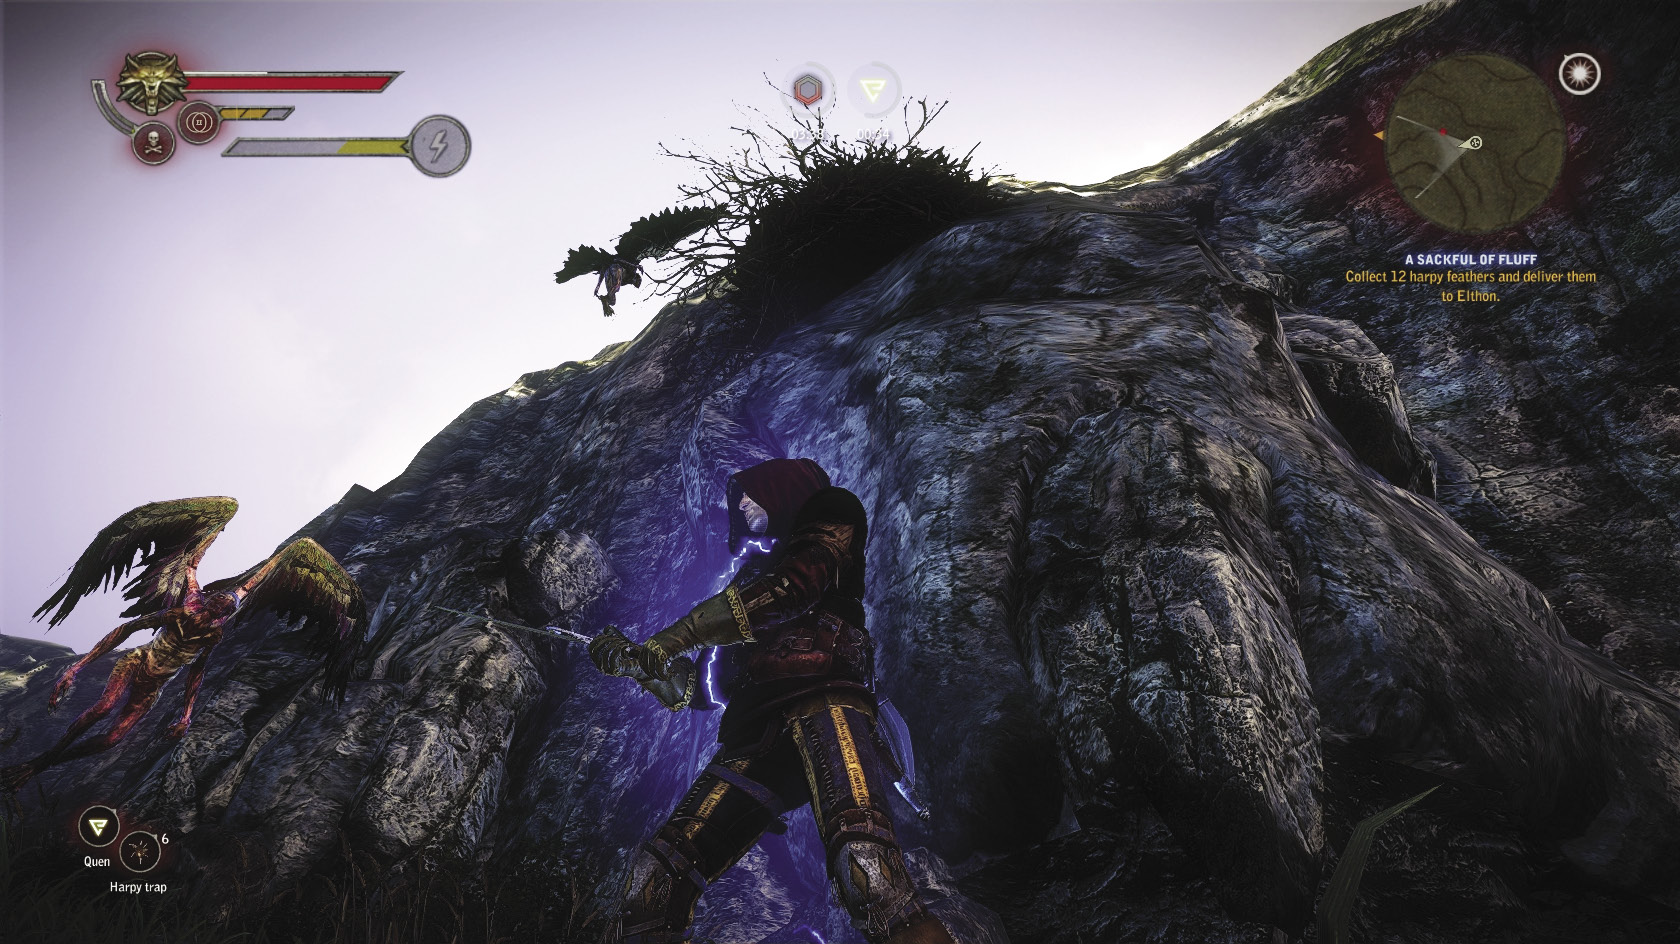
Once you enter the Old Quarry, you need to slowly work your way down to the quarry’s bottom, where the gate into the harpy lair is located. You will be attacked four times by large groups of harpies, usually right as you pass by a nest. It is possible, though rare, for all of the harpies in the quarry to spawn simultaneously and move to attack you at once. This creates serious problems for fulfilling The Harpy Contract. If this happens to you, retreat from the Old Quarry to some safe area and meditate for about a day. When you return, see if the harpy spawns work normally (i.e., harpies only attack you as you near a nest). You need the four harpy groups to come at you one at a time in order to easily complete The Harpy Contract.
To complete this quest, you need to destroy the four nests in the area. The nests are extremely difficult to see from the ground, and even when you can see them, you can’t reach them. You can only destroy a nest by getting a harpy to pick up and carry a harpy trap back into it.The easiest way to track the proximate location of the harpy nests is to move forward slowly down the quarry’s slope and stop when a group of harpies starts to attack you.
When harpies first approach you, quickly set down a harpy trap and back away. Note that you should only do this when a standard harpy approaches you, not a celaeno or an erynia, as they don’t have the AI to pick up a trap. If you accidentally misplace a harpy trap, you can pull it up and add it back to your stack, much like a snare. A normal harpy is immediately distracted by the harpy trap and picks it up, taking it back to the nest. You should hear an explosion a few moments later, signifying that the nest was destroyed. If you track The Harpy Contract quest, it will display exactly how many nests you’ve destroyed. This is the best way to keep track of when you’ve destroyed a nest; the moment a blast goes off the counter goes up. After you destroy a nest, stay in the area and defeat the waves of harpies as they attack you. Once there are no more harpies coming after you, loot the bodies, return to give feathers to Elthon if you’re doing A Sackful of Fluff, and then head farther down into the spiraling quarry pit.
Battling the harpies should be trivial for most Geralt builds, save when they throng around you in groups of five or six. Then you’re getting attacked so often that even a maxed-out Quen won’t last long. When battling large groups, mages can use any number of signs but particularly Axii or leveled-up Igni to keep the harpies from getting overwhelming. Alchemists should focus on trying to set the harpies on fire with dancing stars, laying fury traps, and keeping defensive potion buffs up. Swordsmen need to bull through using brute force, though Whirl and Combat Acumen skills can be extremely useful here.
After you’ve bombed all four harpy nests and reached the bottom of the quarry, look around to find a corpse carrying some Temerian jackboots and other loot. There’s also a circle of power you can activate. If you follow the ridge above the door, you find a locked chest. This is part of the Baltimore’s Nightmare quest line, so you’ll return to it later. The chest is locked, so you can’t do anything with it now. Proceed through the now-unlocked gate into the harpy lair. While in the harpy lair, you are occasionally attacked at certain set points by groups of celaeno harpies. You tend to fight in very close quarters in the lair, so be careful during the battle.
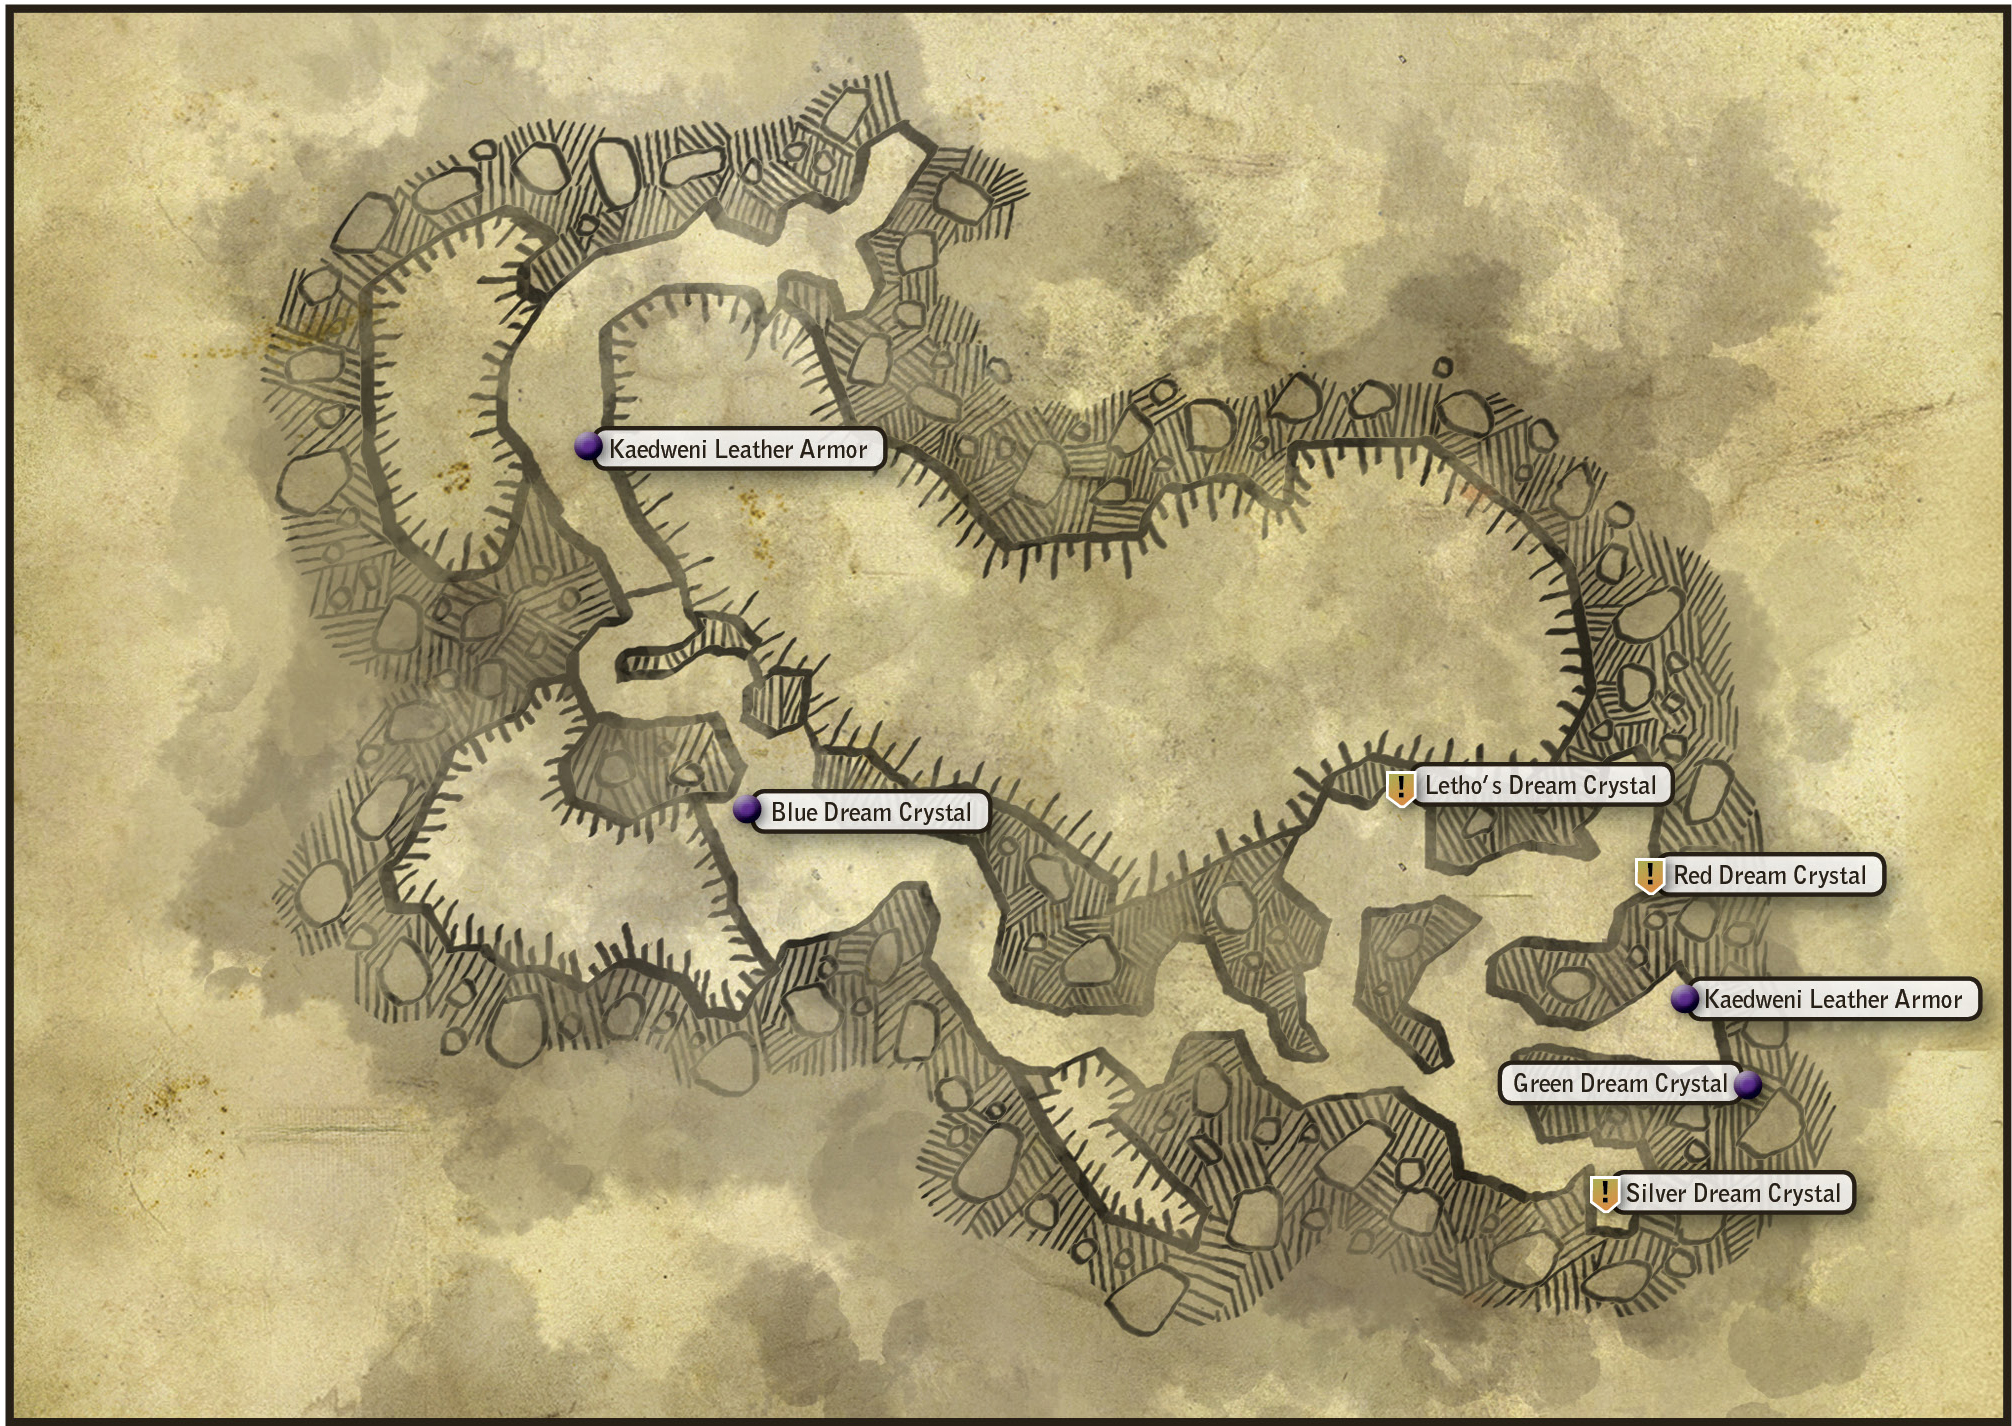
Explore the harpy lair, setting harpy traps whenever you enter a new area where ordinary harpies are spawning. That always indicates one of the nests is nearby. You can pick up the entirely decent Kaedweni leather armor off of a corpse you pass by. After you’ve destroyed the seventh harpy nest you get the Birdman character attribute, which is going to come in handy in the battle against the queen harpy. Note also that destroying all of the nests counts toward the Pest Control achievement.
When you reach a pale blue dream crystal stuck into a wall, be sure to take it. A group of celaeno harpies attacks you, but by now you should’ve worked out a method to dispatch them quickly. Just beyond is the area of branching pathways at the rear of the lair. Begin circling around counterclockwise. At the end of each of the dead-end branches of the path is a dream crystal you should pick up. Fight off the celaeno harpies that patrol this area and pick up any extra loot you find. None of it is especially good, but there’s no point in leaving anything behind. If you circle the area counterclockwise, then you come to the area that was initially on Geralt’s left last. As you approach it, you trigger a cutscene.
 The Assassins of Kings
This cutscene is the main thing that advances The Assassins of Kings on this branch of Chapter 2. You see a harpy stick one of the dream crystals into a projector, which lets you see that the dream is Letho’s. This reveals that Letho has an accomplice in his kingslaying and that he’s in the area, in addition to revealing the dream projector and how it works. You can take Letho’s pink dream crystal from the projector, but doing so triggers a battle that can be very difficult. Make some preparations first.
 Side Quest: The Queen Harpy Contract
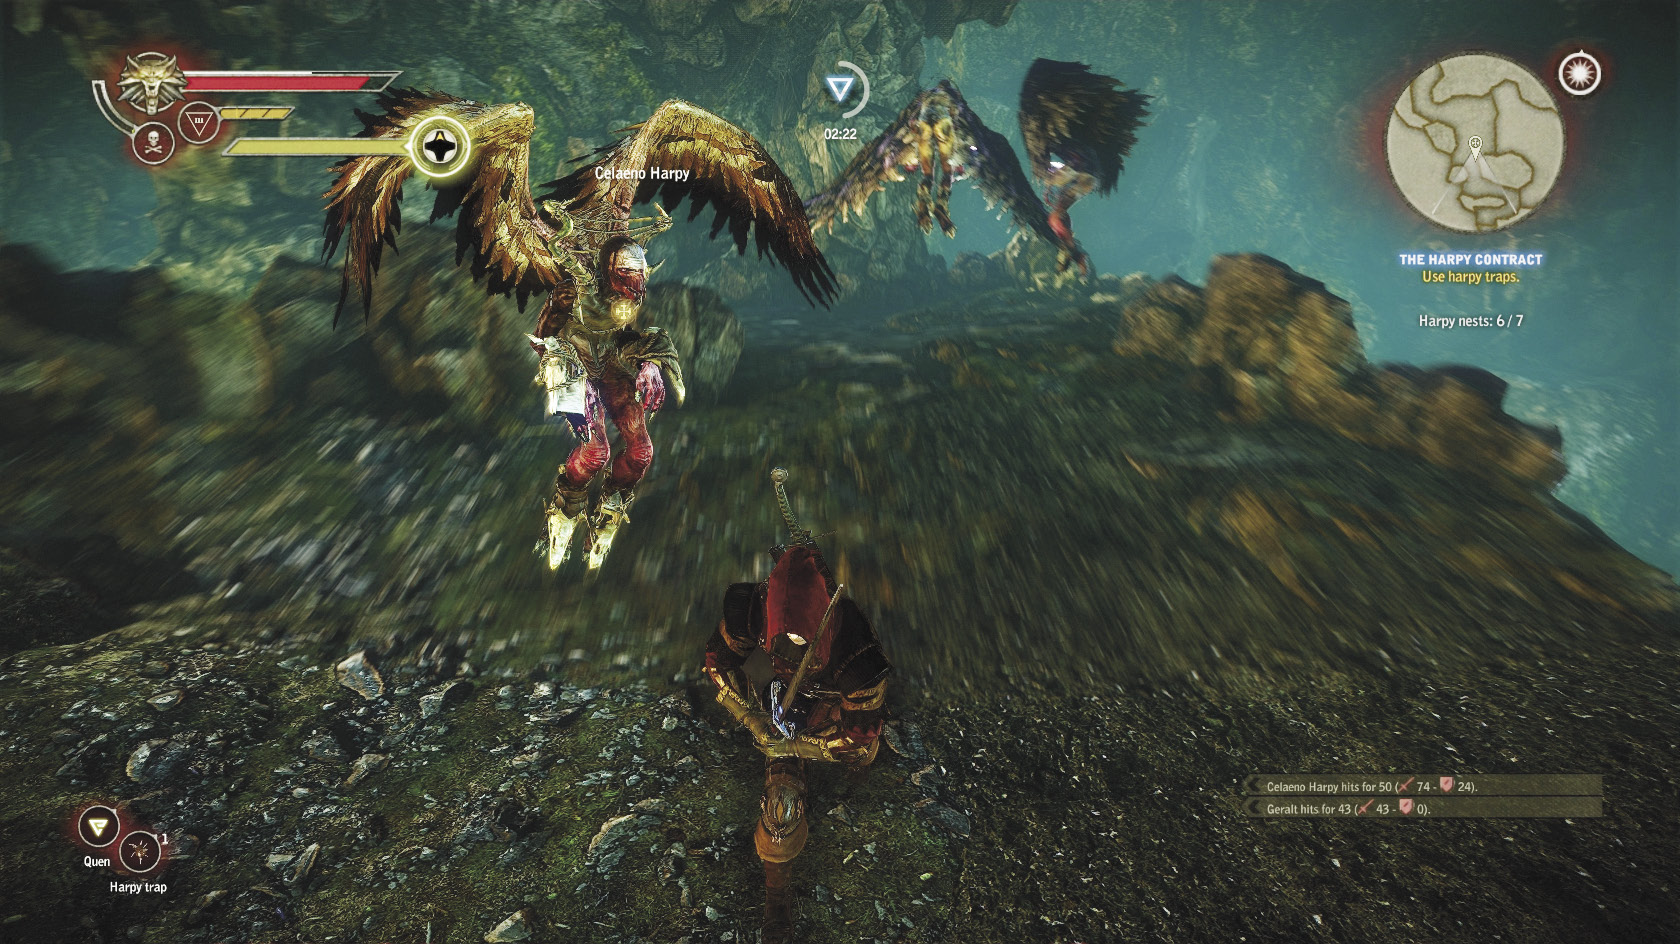
Removing the crystal from the projector summons the queen harpy and her absurdly large court of celaeno harpy followers, around eight in all. Prepare for this battle by first preparing potions appropriate to your build and combat strategies. Next, scatter traps around the room around the projector. Conflagrations and furies work particularly well here, but you can also do quite a bit of damage with plain old snares. Finally, brew up some dancing stars to use as emergency crowd control measures. If you’re playing an alchemist Geralt with a lot of bomb damage bonuses, make a ton of these and they can see you through the battle. Just don’t let the harpies gang up on you and you should be fine. After you kill the harpy queen, you can loot her body to receive the silver sword Harpy. It probably isn’t as good as what you’re using already, but it’s not bad.
Approach the projector and slot the dreams in, one by one, to figure out which one is the most powerful. The silver crystal turns out to be Baltimore’s final dream, which lets you pursue the side quest Baltimore’s Nightmare. The green crystal turns out to be a bawdy peasant dream about Saskia, which is kind of funny but not too useful. The red crystal is the dream of the dragon who attacked you at La Valette Castle, which probably contains a lot of power. The blue crystal is Iorveth dreaming about good food in elvish, which is sad but not entirely surprising.
Discovering the dragon’s dream completes Hunting Magic and awards you 1,000 XP. Now that the harpy hunt is over, head back to town to wrap up a few of these quest lines and begin Baltimore’s Nightmare. If you need to give Elthon feathers to complete a A Sackful of Fluff, you should be able to do so on the way back. First speak to Cecil Burdon and tell him you destroyed the harpy nests. This is worth 100 XP, 200 orens, a dwarven enhancement, and a fire rune. This is worth 100 XP, 200 orens, and a fire rune. Next, tell Cecil you killed the harpy queen, for an additional 50 orens. These conversations should resolve The Harpy Contract and The Queen Harpy Contract. Now, it’s time to do Baltimore’s Nightmare.
 Side Quest: Baltimore’s Nightmare
Begin by investigating Baltimore’s old house, which is conveniently right next door to Cecil’s. This triggers a cutscene and updates the quest, so that your next task is to discuss Baltimore with Thorak and his pals working the anvil nearby. After the conversation, you can enter Baltimore’s house. Loot the room, then use Aard to knock over the false wall toward the rear of the building. Behind the false wall is a small silver chest tucked into the wall. This gives you Baltimore’s directions and Baltimore’s key. The directions are a riddle meant to lead you somewhere. For now, take Baltimore’s key back to the Old Quarry so you can open the chest hidden there.
As you exit Baltimore’s house, Thorak stops you and asks you what you found. Tell him “Yeah” if you want more options for finishing the quest, though by lying to him you can still get the quest’s best possible outcome. Go back to the chest in the quarry to see what’s inside. Open it to receive the runic key, which opens…well, you don’t actually know yet. You need to explore.
Specifically, head to the shipwreck indicated on your map, far to the southwest. To get there, go to the trolls’ dwelling, then beyond into the gullies. Instead of heading left as you did when you were seeking the she-troll, go right. When you find the ship, examine the cliff faces to see if you can find a patch of the stone covered by vines. The ship should be on your right and the entrance to your left as you enter the area. When you step into the cave, quickly loot the room. Once you’ve looted the chest that contains Baltimore’s notes and the beaver cap, Thorak appears and a cutscene begins.
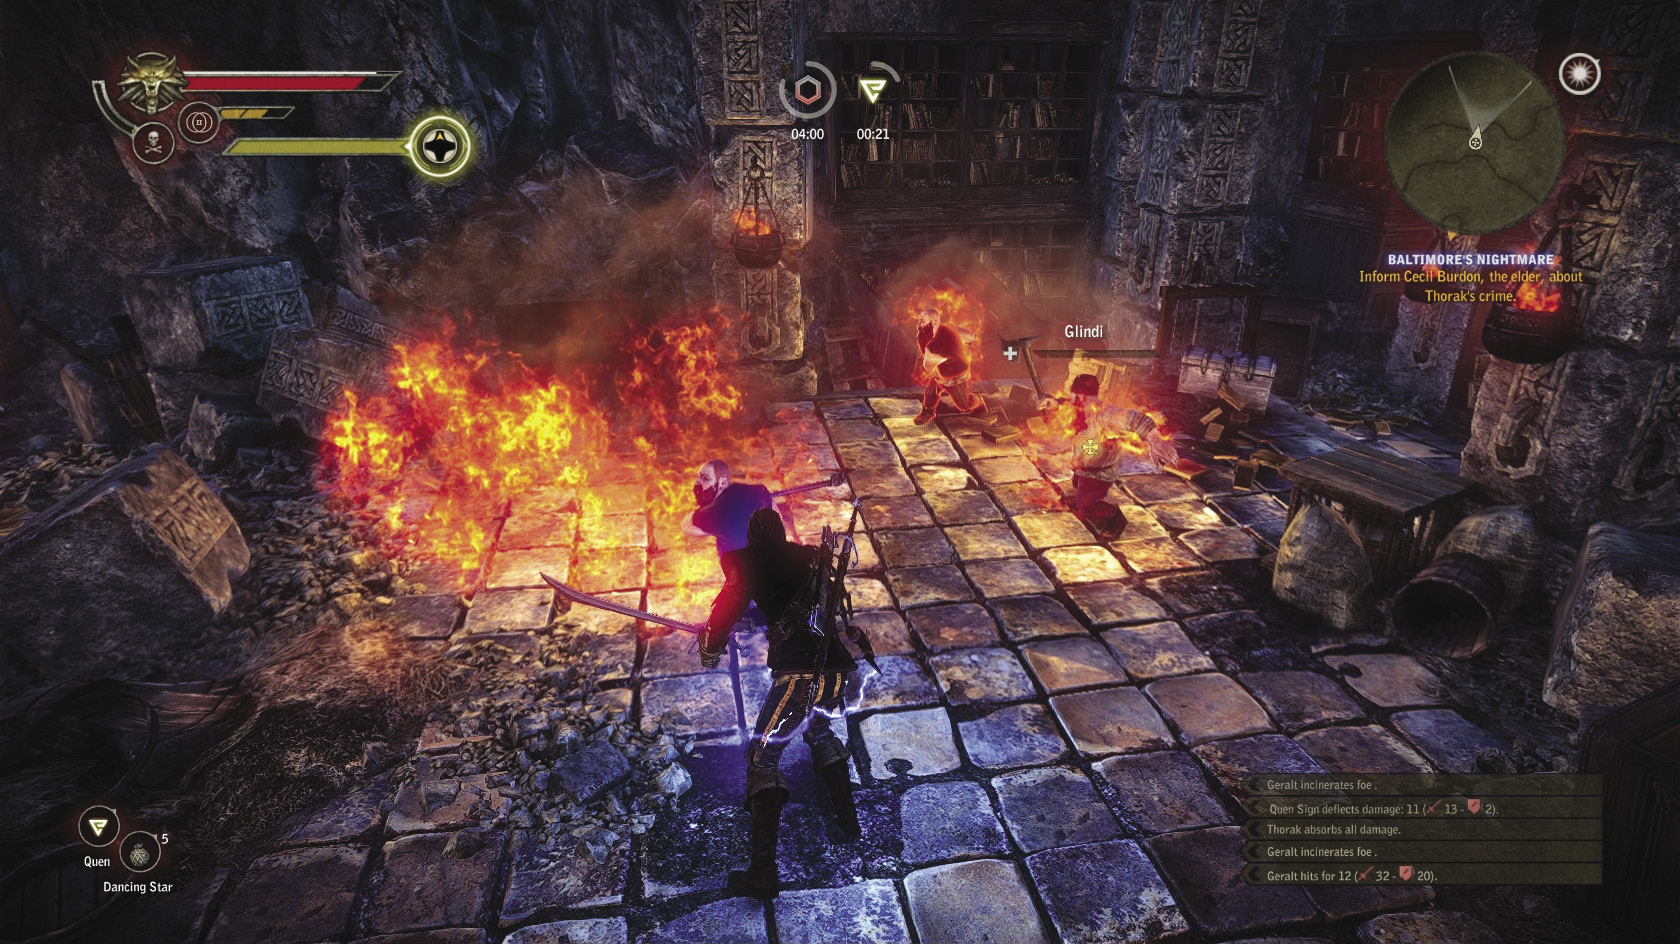
If you lied to Thorak earlier, then he goes straight to declaring that he’s going to kill you and take Baltimore’s notes. If you told him the truth, though, he offers to let you have everything in the chest except Baltimore’s notes. He even offers to throw in a lifetime discount at his shop, which would be nice if he didn’t have one of the crappiest shop selections in Vergen. You can take Thorak up on his offer, but if you do, then you can’t finish Suspect: Thorak, which means you can’t finish The Walls Have Ears.
If you want to finish these other two quests, you really need to kill him so you can loot Thorak’s key off his body. Say “I don’t like shady deals” to initiate a combat with him. Thorak and his men have a lot of vitality but pretty lousy reach, so you shouldn’t have any problems defeating them. If they begin to overwhelm you, toss some bombs or use Axii to turn one against his comrades. Be sure to loot Thorak’s key after the battle, and also loot the chest. You should get the beaver cap you can use as part of Death Symbolized, Baltimore’s notes (which make it clear that Thorak murdered him), and some runes.
 Side Quest: Mystic River
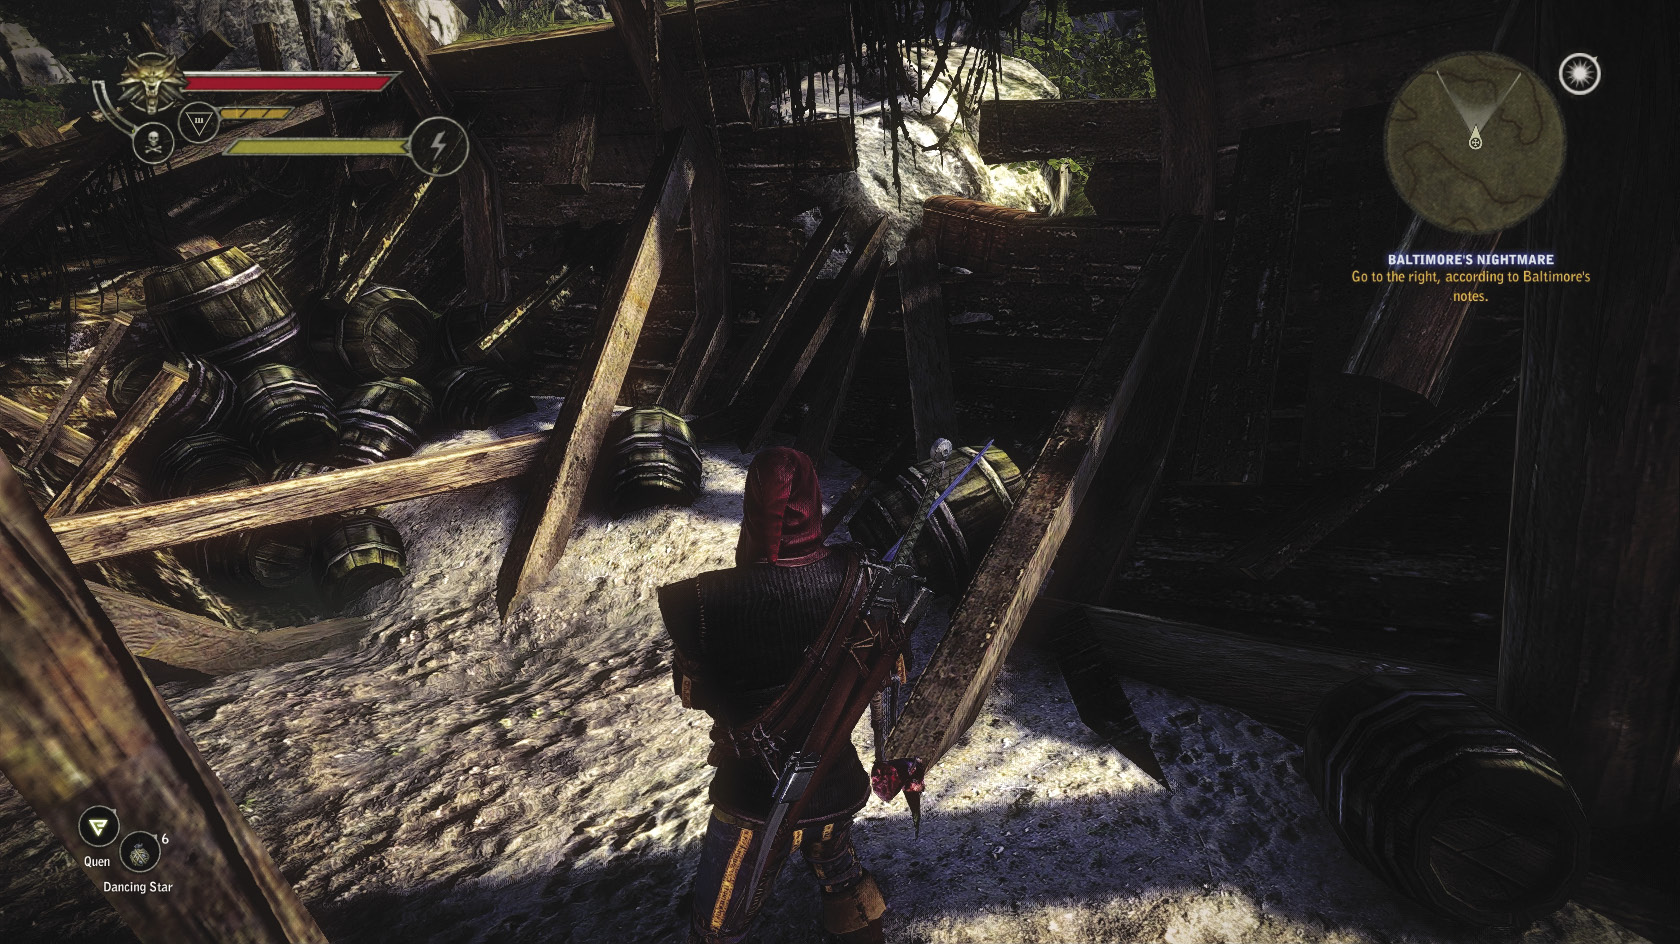
Before you head back to town, examine the shipwreck to progress this quest. You should find a chest that’s glittering orange. Loot it to get the journal of the Eyla Tarn, which discusses a treasure discovered beneath Loc Muinne. You’ll be able to search for it in the next chapter, but for now you’ve done all you can with this quest.
 Side Quest: Suspect: Thorak
 The Walls Have Ears
Head back to Thorak’s house so you can use Thorak’s key on the locked chest inside. Open it to obtain Olcan’s receipt, a diagram for the robust yellow meteorite sword, and 200 orens. You also automatically obtain 1,000 XP for successfully completing Suspect: Thorak and roughly the same amount over again for completing The Walls Have Ears. You may level up two or three times, just off of opening Thorak’s chest at exactly the right time.
Now that these two quests are complete, go talk to Cecil Burdon to resolve Baltimore’s Nightmare. It is essential that you absolutely do not do this before opening Thorak’s chest to finish Suspect: Thorak and The Walls Have Ears. The XP payoff for finishing these quests is huge, but doing anything in the quest chain out of order causes the quest chain to be impossible to complete.
For instance, if you complete Baltimore’s Nightmare before initiating Royal Blood, chances are Thorak is dead and so you can’t initiate Suspect: Thorak. If you can’t initiate Suspect: Thorak, you can’t finish The Walls Have Ears and it’s automatically failed at the end of the chapter, no matter what you do. Now that the quests are complete, you can show Baltimore’s notes to Cecil Burdon to get 300 XP, 60 orens, and Gwyhyr, the best steel sword available in this chapter. Slot it with runes and you’ll be well-prepared for the chapter’s final quests.
 Royal Blood
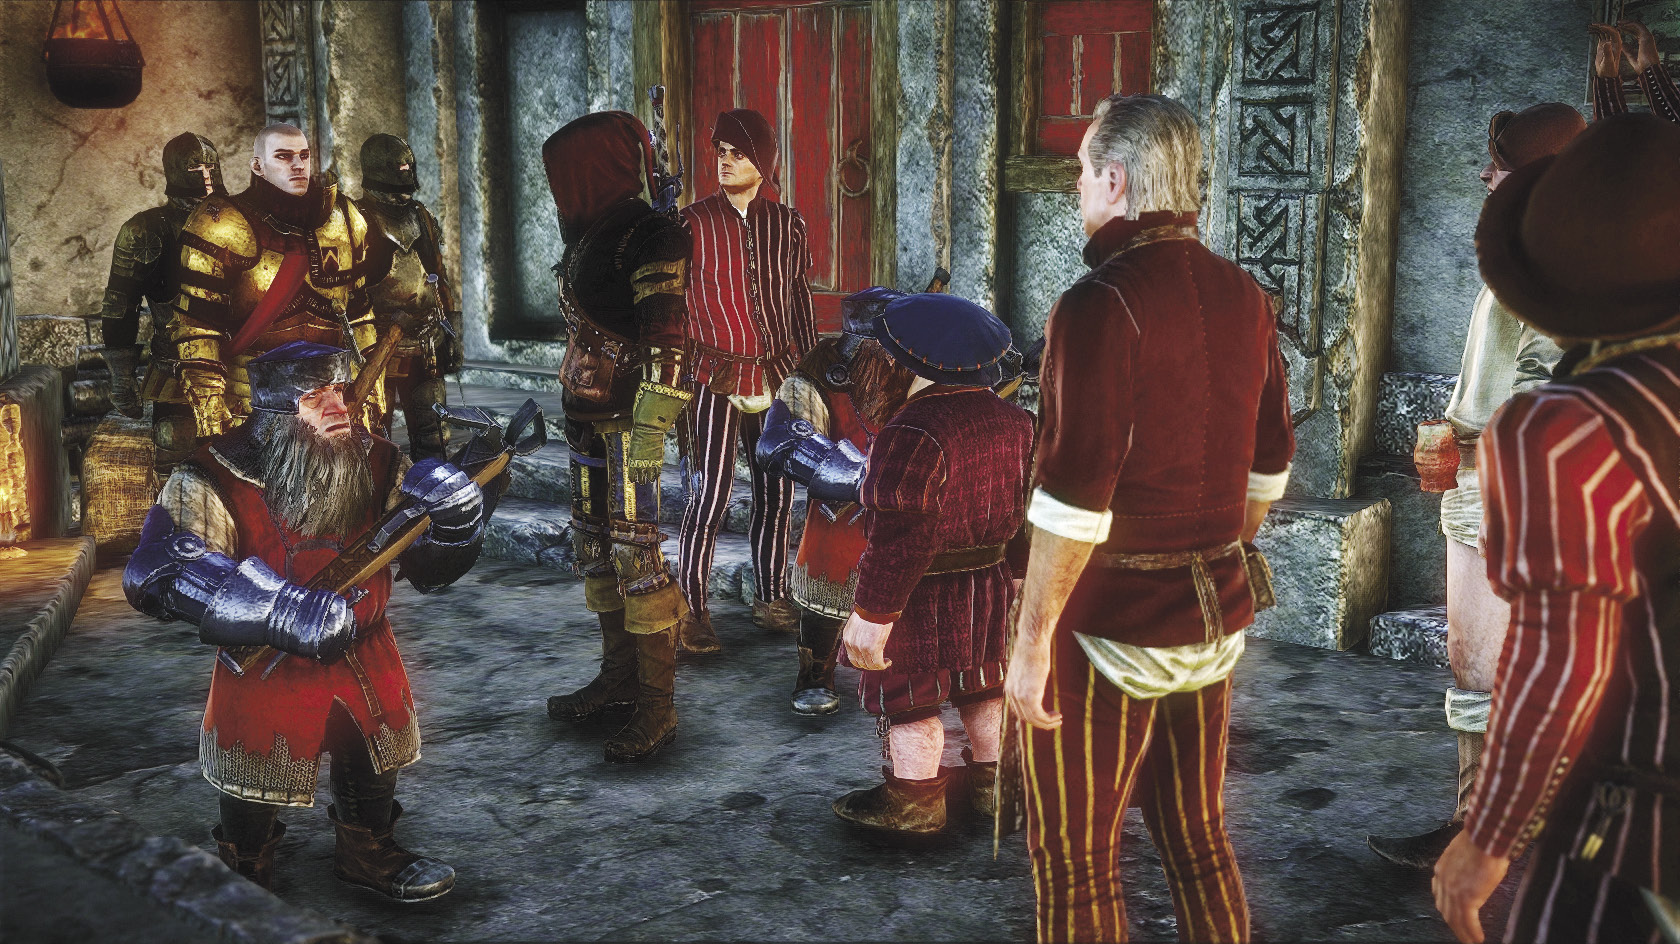
Now you need to resolve this quest by passing judgment. If you’ve done the Suspect: Thorak and The Walls Have Ears quests, it’s fairly obvious what happened: Olcan commissioned a duplicate goblet to carry poisoned wine from Thorak and made the switch just before the toast at the war council. Based on what you know from speaking with the peasants and Willy Oblate, you know that Olcan couldn’t possibly have pulled this off without Stennis’s help. Stennis is probably guilty, if not beyond the shadow of a doubt.
So you face a fairly major decision here. You can turn Stennis over to the mob’s justice by saying “The prince is guilty.” You can choose to spare his life by saying “A lynching would be a bad idea.” If you choose to let the mob execute Stennis, then you can discreetly gather some of his blood after he passes on and use that to cure Saskia. That resolves this quest very easily, if a bit cruelly. You are awarded 1,000 XP and the elven gauntlets, which all but alchemist Geralt builds should find a little bit better than the herbalist’s gloves. You can also loot Stennis’s body to get Stennis’s sword, which is not especially good but is otherwise unobtainable.
If you choose to let Stennis live, then you can’t get any of his blood. You get no XP and you don’t get the elven gauntlets right now. You instead obtain them later. If Stennis lives, then resolving Royal Blood means sneaking into the Kaedweni Camp and getting Henselt to give you some of his blood a bit later in the game. If you do things this way, then you get the 1,000 XP for resolving the quest and the elven gauntlets after you’ve successfully gotten Henselt’s blood. Getting into Henselt’s tent involves a stealth sequence that isn’t especially difficult, but it is something you can skip entirely if Stennis pays for his crime.
Neither decision is more lucrative than the other in the long run, nor is either decision treated as more heroic. Both outcomes raise some troubling ethical issues. If you pronounce the prince guilty he’s lynched, and if you spare him he later betrays Saskia in Chapter 3. If you dislike stealth missions, then you may want to let Stennis die just to avoid the one with Henselt. Otherwise, you should simply make the decision that you think makes sense for how you roleplay as Geralt in your game.
 Where Is Triss Merigold?
Regardless of whether Stennis lives or dies, go talk to Philippa Eilhart. This time you hear what Geralt thinks is the sound of another massage before he walks in, but he finds out he’s incredibly wrong. Eilhart says that she’s going to help Geralt cross the mist to find Triss. Before you depart, you should get the tattoo from Hung Over removed (if you want to do that and haven’t already), and be sure to ask Philippa about the Wild Hunt. These are strictly optional activities, but this will be your last chance to do them.

After you ask Philippa about the hunt and have the Wild Hunt investigator’s notes you acquired during Death Symbolized, you can mention them and she directs you to discuss the Wild Hunt with Cynthia. Speaking with Cynthia lets you find out a lot of truths about the hunt that you otherwise will not stumble over in the course of the game. Given the importance of the Wild Hunt to the Returning Memories quest, you probably want to do this so you understand a bit more about Geralt’s situation.
When you’re ready to begin the quest, exit through the Mahakam Gate Head past the burned village and enter the fog near the Scoia’tael bonfire. Be ready to fight a large number of wraiths and draugir as you pass back across the battlefield, guided by Philippa’s owl form. This time you don’t have any allies helping you, but you should be all-around much stronger, with more skills and better equipment. Alchemists should make sure they’ve applied appropriate potion buffs and created a store of specter oil for the journey. Mages and swordsmen can probably bull through with no special preparations. You should encounter two or three draugir with wraith escorts. Once you’re through the mist and across the Pontar, look around to find a dead body you can loot to obtain Shilard Fitz-Oesterlen’s order. Next, head toward the quest marker to trigger a cutscene where you obtain an interesting item and meet up with Roche. After Roche berates you a bit, he gives you instructions for how you can get into the Nilfgaardian camp, either by using a secret tunnel infested with monsters or by sneaking through the canteen. Before you select either, take a detour to do a quick side quest.
 Side Quest: From a Bygone Era
You’re only supposed to do this quest on Roche’s route, but there’s nothing from stopping you beginning it on Iorveth’s route if you know where to find Malget’s house. It’s marked on your map, along with the area just southwest of Roche’s Camp where you need to cross the river. You can only get to Malget’s house by approaching from this direction. Stop by Roche’s Camp to loot the place before you go.
When you get to Malget’s house, you find it’s a little hut that overlooks a beach infested by drowners. The inside of the hut is empty, but beside it you find some barrels you can interact with to blow them up using Aard. Before you do this, head down the little path southwest of the hut that leads to the graveyard. Make special note of the sigils etched on Malget’s grave marker: down arrow, diamond, up arrow. Now go blow up the barrels. Be sure to approach the barrels from the front side of the house, or the interaction prompt you need won’t appear. Beneath the barrels is a trap door. Enter it to find an area where three candles stand on three podiums.
One podium is marked with a wooden diamond, another with a down arrow, and another with an up arrow. You want to light candles by interacting with them in the order of the marks etched on Malget’s grave marker: first the down arrow candle, then the diamond candle, then the up arrow candle. If you light the candles in the incorrect sequence, you must battle a wraith. If you light them in the correct sequence, a hidden door set into a stone wall slides open. Enter it to find a desk and a bookshelf. If you scan with your medallion you won’t find anything, but approach the desk anyway. You should get a prompt to interact with the desk to pick up Malget’s notes.
Now that you have them, you can take them to someone who can decipher them in Chapter 3. You have more options for what to do with the notes on Roche’s route, but on Iorveth’s route this is really all you can do with them.
Hidden ArachasHead a bit north of the Camp Followers’ Encampment, toward the mountainous region. Don’t enter the mountains; instead head a bit to the east and investigate the gullies there. You may encounter nekkers along the way. As you’re poking around, you should come to a point where your medallion vibrates automatically. Nearby there’s an area where you can drop down into a deep ravine. Pause here to meditate and drink some potions, including Mongoose. Oil your silver blade with insectoid oil. When you drop into the ravine, you find that an arachas has made its lair there. This fight is quite dangerous, as it’s impossible to flank the arachas in this terrain. You have to approach it head-on. When it starts blocking, you can only roll backwards. On the other hand, Yrden is quite effective here because the arachas has no way to evade your sigils. Once you defeat this arachas, you can loot the mage gloves from its lair. As the name suggests, this item is very useful for mage builds. |
The VisionaryYou can also head north and investigate the Visionary’s cabin while you’re on this side of the river. In this case, talking to him won’t initiate any of the quests he’s involved in on Roche’s path. You can still ask him questions and pick up the Visionary’s notes (II and III) at his cabin, though. This provides a little bit of flavor for what happened involving Sabrina Glevissig that you otherwise don’t get on Iorveth’s route. |
 Where Is Triss Merigold?

Head back to the north side of the river to decide how you’re going to finish the quest. Basically, if you head to the quest marker far to the north of your map, you’re going to sneak through the Kaedweni Camp to reach the Nilfgaardian Camp. This is not a mutually exclusive decision. If you sneak through the Kaedweni Camp, you get to enter the same cave, fight all of the same monsters, and grab all the same loot. Sneaking through the camp gives you the Child of the Night character attribute while using the camp followers’ entrance is really expensive, so there’s absolutely no reason not to sneak through the camp. Still, here are both ways to get into the cave.
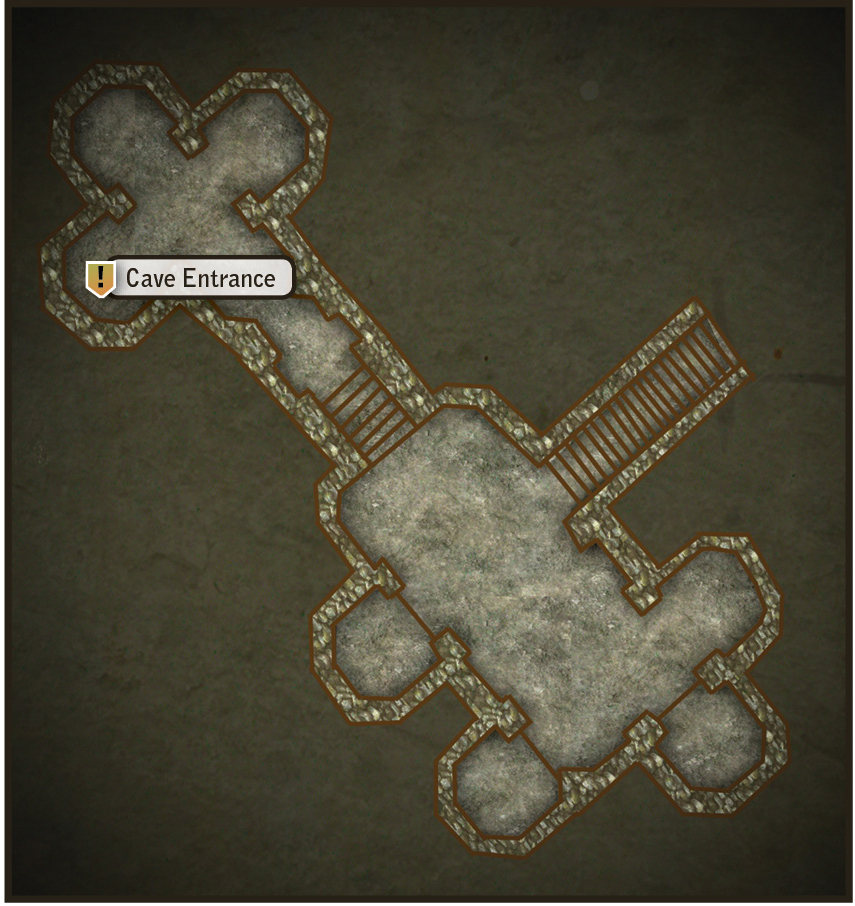
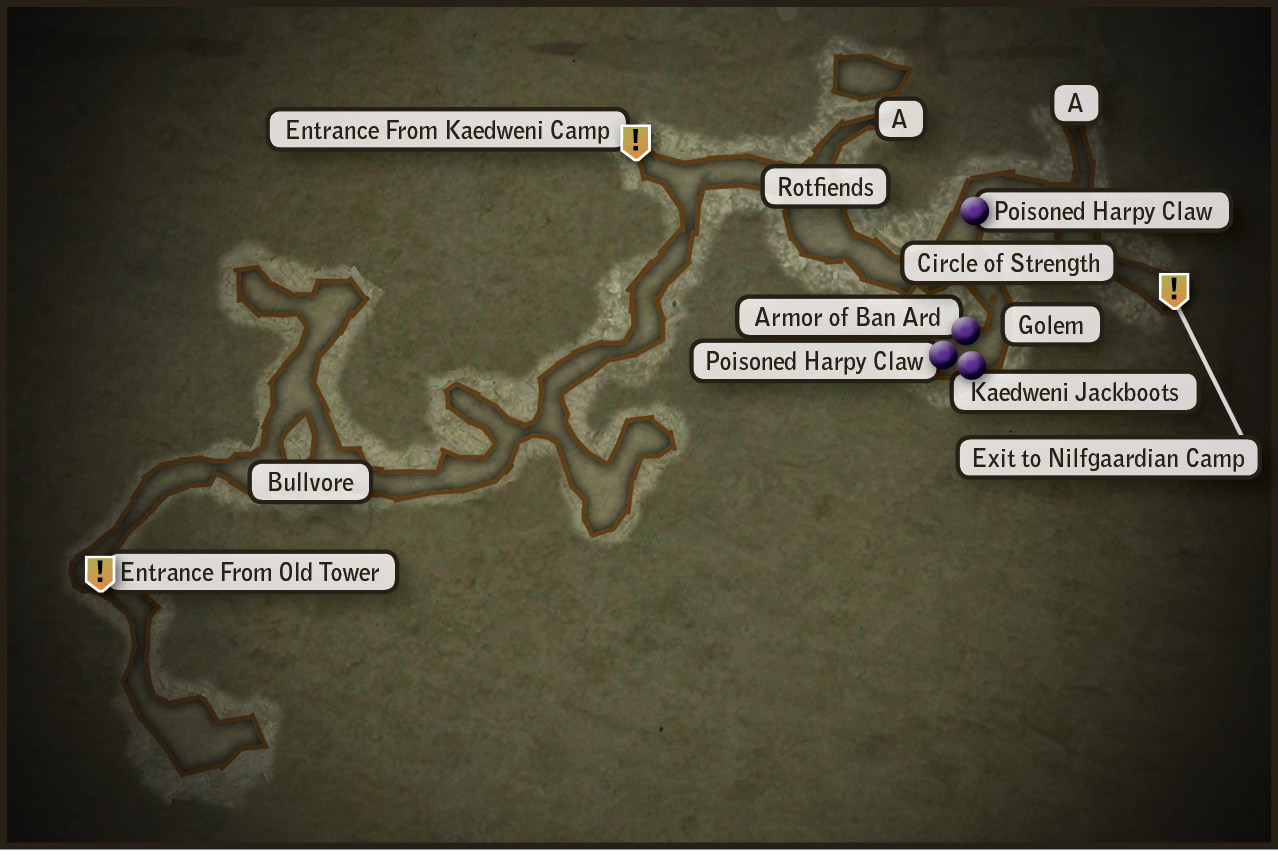
If You Bribe the Camp Followers
Go find the camp followers Roche mentioned. They’re also labeled on the guide map, and you should be able to easily follow an in-game quest marker there. Speak to a character named Madame Carole, who should be very easy to find in the small camp area. You can play dice with her if you like, offer to spend some money on a whore, or just talk to her about the cave entrance. The whores here are pretty much like the whores you encountered in Chapter 1, so the usual caveat about spending orens on whores applies.
Madame Carole only talks to you if you’re willing to pay up. If you agree to that, then you can ask her some questions. If you ask her “Know how I could get inside the camp?” she immediately says that will cost you. If you say “I’ll pay you,” then the usual bribery interface comes up. Her maximum rate is randomly determined, but she always lets you in with any bid of 500 orens or more.
When you successfully bribe Madame Carole, she gives you the old tower key. You can scan the brothel for random loot before you enter, but you probably won’t find a whole lot. Instead, head into the open prison cell at the rear of the old tower. Poke around the small area you enter to find another trap door that drops you down into the secret cave. Immediately prepare to fight a second bullvore, which means basically every build should drink a Mongoose potion. Otherwise, the bullvore should be fairly easy to kill at your current level of power, especially if you have an optimal silver sword. Loot the bullvore’s body and hope you get a bullvore trophy if you didn’t the first time.
Head deeper into the cave. You won’t find a whole lot except low-level random loot until you come to what’s marked on the map as “Rotfiends.” In the cave, it’s a ledge you must climb up. Beyond it is all of the cave’s best loot, guarded by rotfiends and a golem.
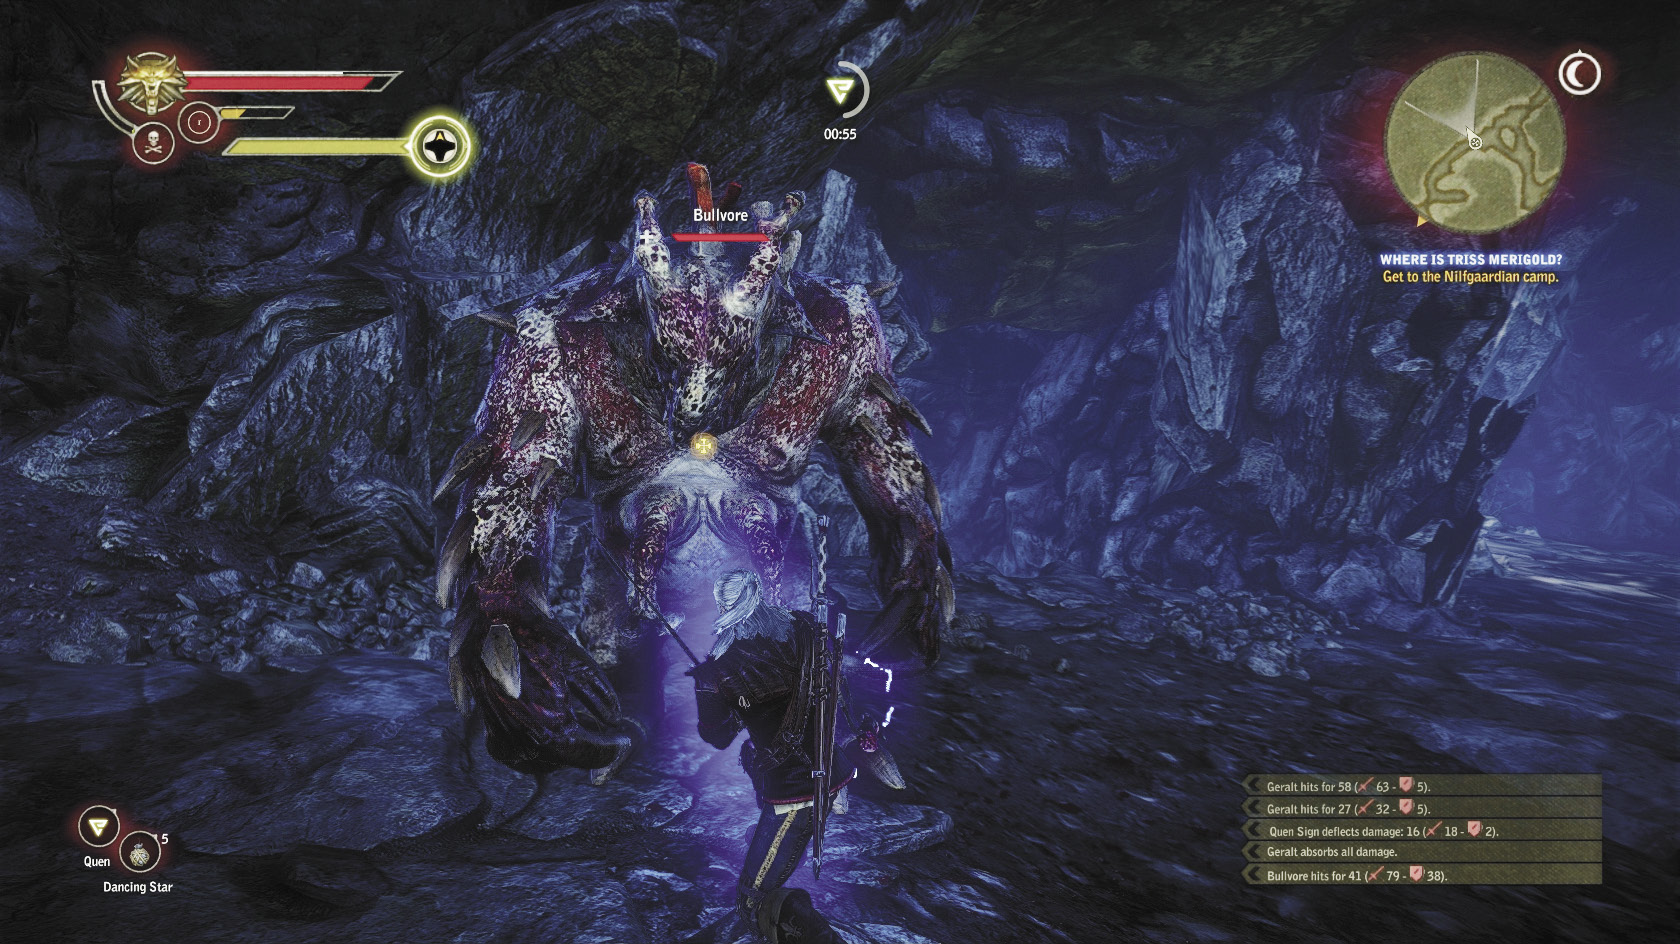
If You Sneak through the Kaedweni Camp
This stealth sequence is probably very different from what you’re expecting. It’s not like the initial scene in La Valette Castle, which is all about perfect positioning and knocking guards out. For this sequence, all you need to do is stick to the shadows and not get noticed by any of the guards wandering around the camp. This is surprisingly simple, and all the landmarks you need to pull it off are labeled on the guide’s map of this area.
Begin by crouching with the canteen within sight. Wait for a drunk to stumble out. This guy is so drunk he won’t notice you, so you can safely creep over to the fire burning next to the canteen door and extinguish it. Do the same to the fire burning in front of the tent opposite the canteen. From there, creep forward just a bit. If you draw near enough to the drunk while staying unobserved, he goes to join his two fellows by a nearby campfire. This causes the men to stand up and turn their backs to you. Now, spring across the camp’s main road to crouch by the large palisade. A man stands in front of it sharpening a sword, so you want to go around it from the back by going up a wooden ramp. A guard patrols here, but he’s easy to stun.
Pause on the palisade’s far side. This is a good point to save your game. Wait at least a few moments to see if a group of soldiers walks out of the building next to you. There should be five in all, if the group appears. When the five are well past you, you can sprint across to the two long lines of tents on the western side of the map. You want to be in between the two rows of tents as shown on the map, as this area is in shadow and will keep you mostly out of sight. Loot the dwarven enhancement out of the chest next to you. Creep slowly forward until you come up behind a soldier who is taking a piss. Wait for him to finish and walk away.
Now, dash down to the cook who’s stirring the pot near the camp’s west wall. When you draw near to him, you have a chance to interact to use Axii on him successfully. You need to hammer your interaction button repeatedly until a meter is full for the sign to be successful. This makes the cook decide to lie down and go to sleep. Loot the steel plate enhancement from the chest near him, then sprint toward the camp’s gates. You should get a prompt to interact in order to open the door and step out.
Outside, there’s a scout gazing through a spyglass with his back toward you. Sneak up on him and stun him with your strong attack button. From here, just move toward your in-game quest marker to find the cave’s entrance. You should get the Child of the Night attribute when you drop down into the cave and also unlock the Black Ops achievement. If you want to fight the bullvore, go right once you’re inside the cave. As you move toward the bullvore, you should find a Kaedweni soldier’s corpse you can loot for a steel plate enhancement. Before you fight it, pause to drink a Mongoose potion at the very least. Otherwise, the bullvore should be fairly easy to kill at your current level of power, especially if you have an optimal silver sword. Loot the bullvore’s body and hope you get a bullvore trophy if you didn’t the first time. After that, head toward the rotfiend pack marked on the cave map. Read on to finish the sequence.
Looting the Cave
This should be trivial, since if you buffed yourself with potions to fight the bullvore, your potion buffs should still apply. Quickly head toward the passage where the golem lurks. Activate the circle of strength near its entrance, then plunge through.
Fighting the golem is much like fighting the bullvore. This battle may be difficult for alchemist builds due to the close quarters, but swordsmen can easily bull through with strong attacks. Mages can get a lot of hits in by using signs to stun the monster, then counterattacking. Alchemists may want to focus on stunning bombs. Loot the golem’s body once it’s dead, then loot the room. You should find plenty of orens, lots of low-level loot, the Kaedweni jackboots, the armor of Ban Ard, and a massive stack of poisoned harpy claws.
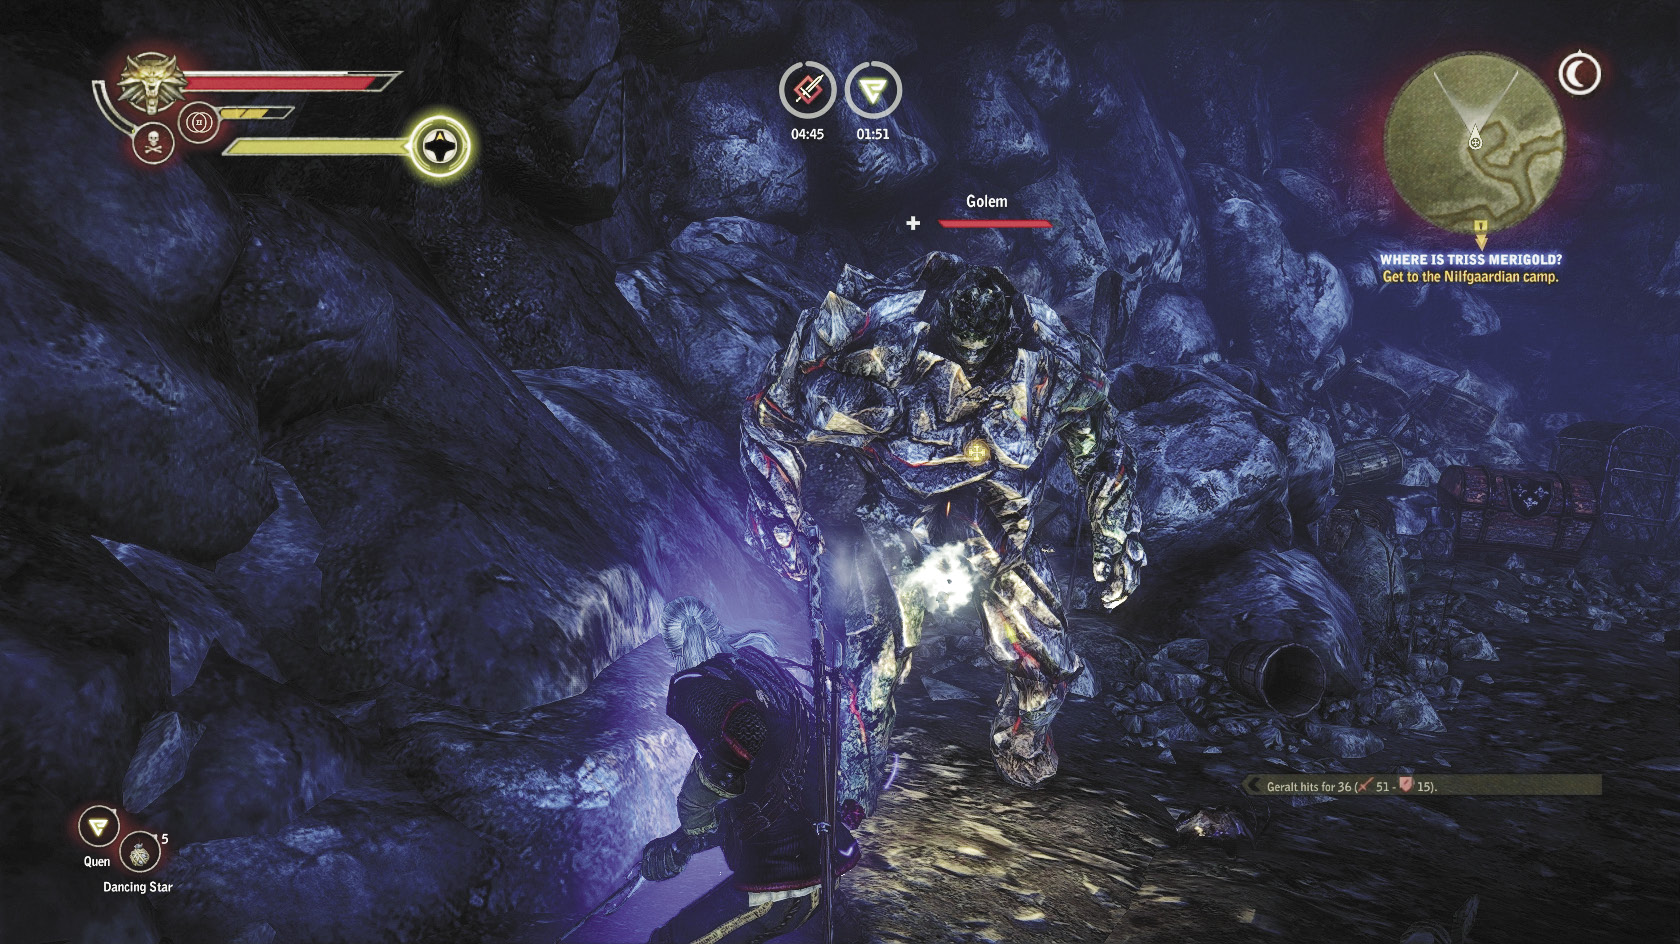
After the golem is dead, finish looting the point of no return, decide what you want to keep and what you need to drop, and then exit the cave. Round the bend after you exit to find a Nilfgaardian soldier. Approach him to initiate a dialogue scene. One way or another, you’re forced to give up your swords before you can see Shilard Fitz-Oesterlen.
During the dialogue with Shilard, you can say basically whatever you like. There are no deaths by cutscene lurking here, despite the danger, just chances to gather a little more information through the remarks you make. You should find out some information that advances both The Assassins of Kings (that Letho is the last surviving kingslayer) and Returning Memories (Geralt has a flashback to tracking the Wild Hunt). Eventually, it’s revealed in the cutscene that the figurine you found earlier actually contained Triss, who was transformed into a different, smaller figurine hidden inside it. You find out Cynthia is a traitor actually in the employ of a sorcerer named Vanhemar, who is going to kill you.
Or is he? It seems Roche was persuaded by your words earlier, because he and Ves arrive to start slaying the Nilfgaardian guards and help set you free. Once you’re freed, grab a sword and equip the poisoned harpy claws you picked up in the cave to your pockets. Now you get to battle Vanhemar. His tactics are very similar to Letho’s, only instead of attacking with a sword he occasionally teleports around the battlefield. Vanhemar protects himself with Quen and throws fireballs, similar to the Succubus (if you fought her earlier).
Since he doesn’t move around a lot, traps and Yrden aren’t very reliable here. Thrown daggers are excellent for trying to interrupt his spell animations, while an alchemist Geralt with hefty bomb damage bonuses can use strong bombs to try and knock Vanhemar’s Quen down rapidly. Mage and swordsman Geralts should keep their own Quen up. Mages can use Axii to control the Nilfgaardian guards, or try to use leveled-up Aard to knock Vanhemar’s Quen down. Swordsman builds may just want to beat down Vanhemar’s Quen with their own sword swings, though this does leave you vulnerable to being ganged up on by the guards. That said, if you focus on Vanhemar and have a bit of luck, you can defeat him well before you need to deal with the Nilfgaardian camp guards.
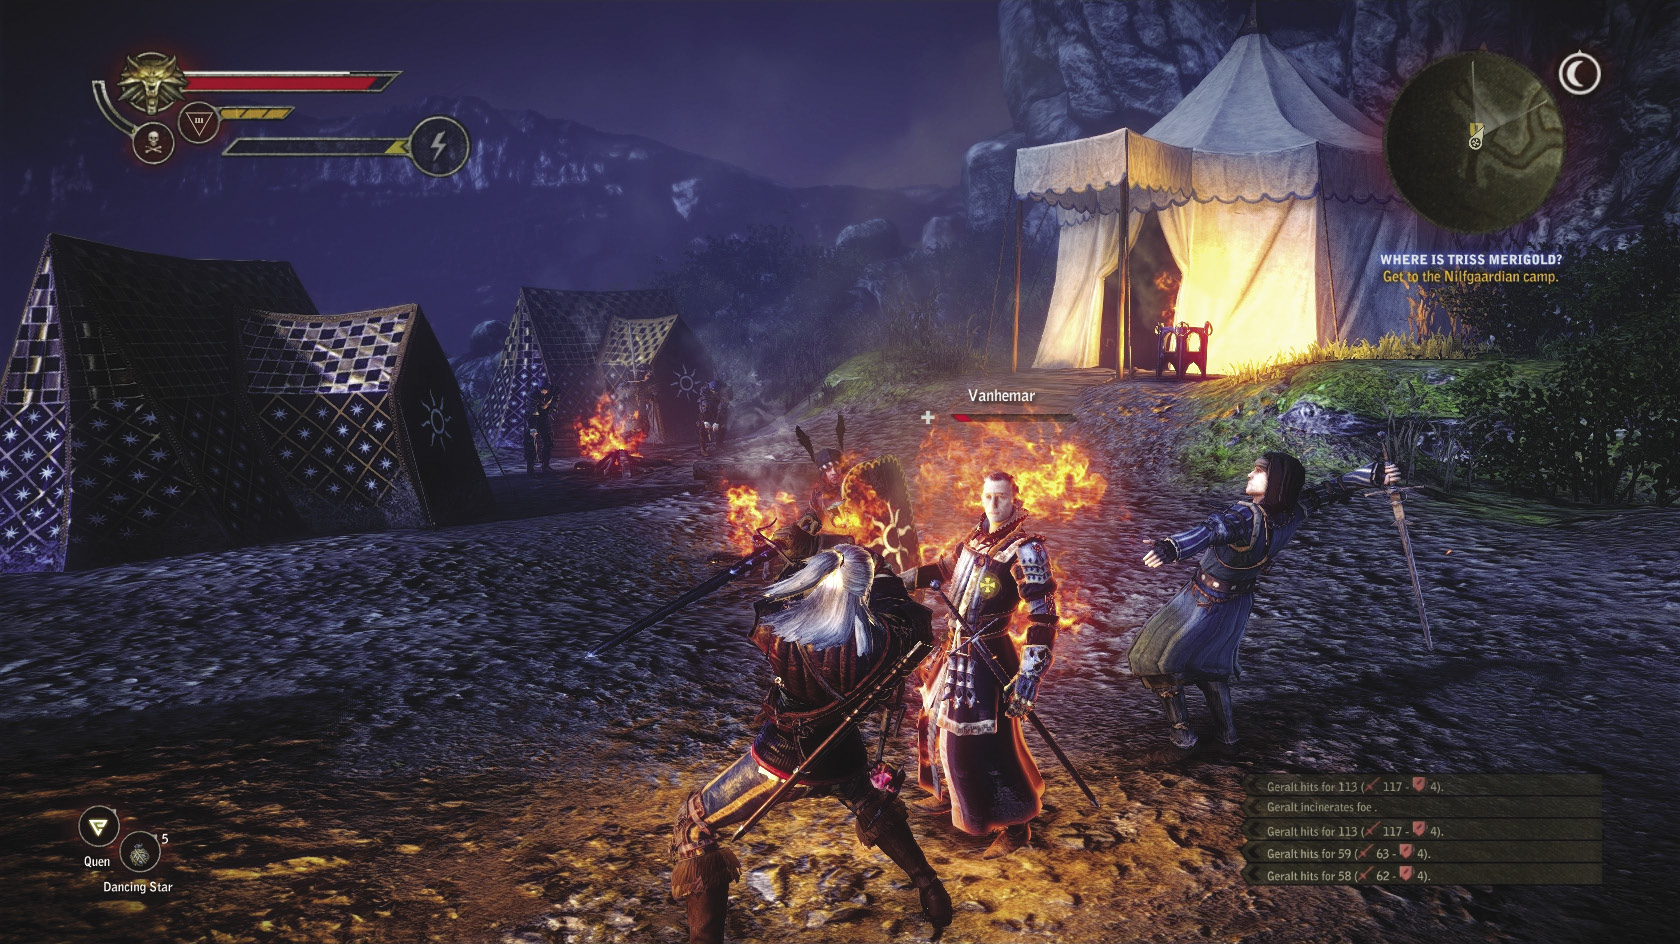
After Vanhemar and his guards are killed, a dialogue scene with Roche begins. This is another one where you can say whatever you like and get some interesting exposition in return. At the end of the dialogue, say “I want to look around the Nilfgaardian camp fire.” This lets you loot the bodies of the foes you just defeated, which you really want to do. Wherever Vanhemar’s body fell, you should be able to loot the armor of Loc Muinne, the chapter’s best armor for mages and swordsmen. Equip and fully slot it with the best enhancements you’ve got for your current build. If you’re playing an alchemist, you’re probably already using Thyssen’s armor. You can also snag the Nilfgaardian jackboots from a chest toward the rear of the camp and loot Shilard’s tent for the book The Song of the Hunt, Shilard Fitz-Oesterlen’s first letter to the emperor, and some random loot that tends to be mostly equipment. When you’re ready to escape the Kaedweni Camp, speak to Roche. Read on if Prince Stennis is dead in your game, if he is alive and you still need to finish Royal Blood.
If Prince Stennis Is Dead
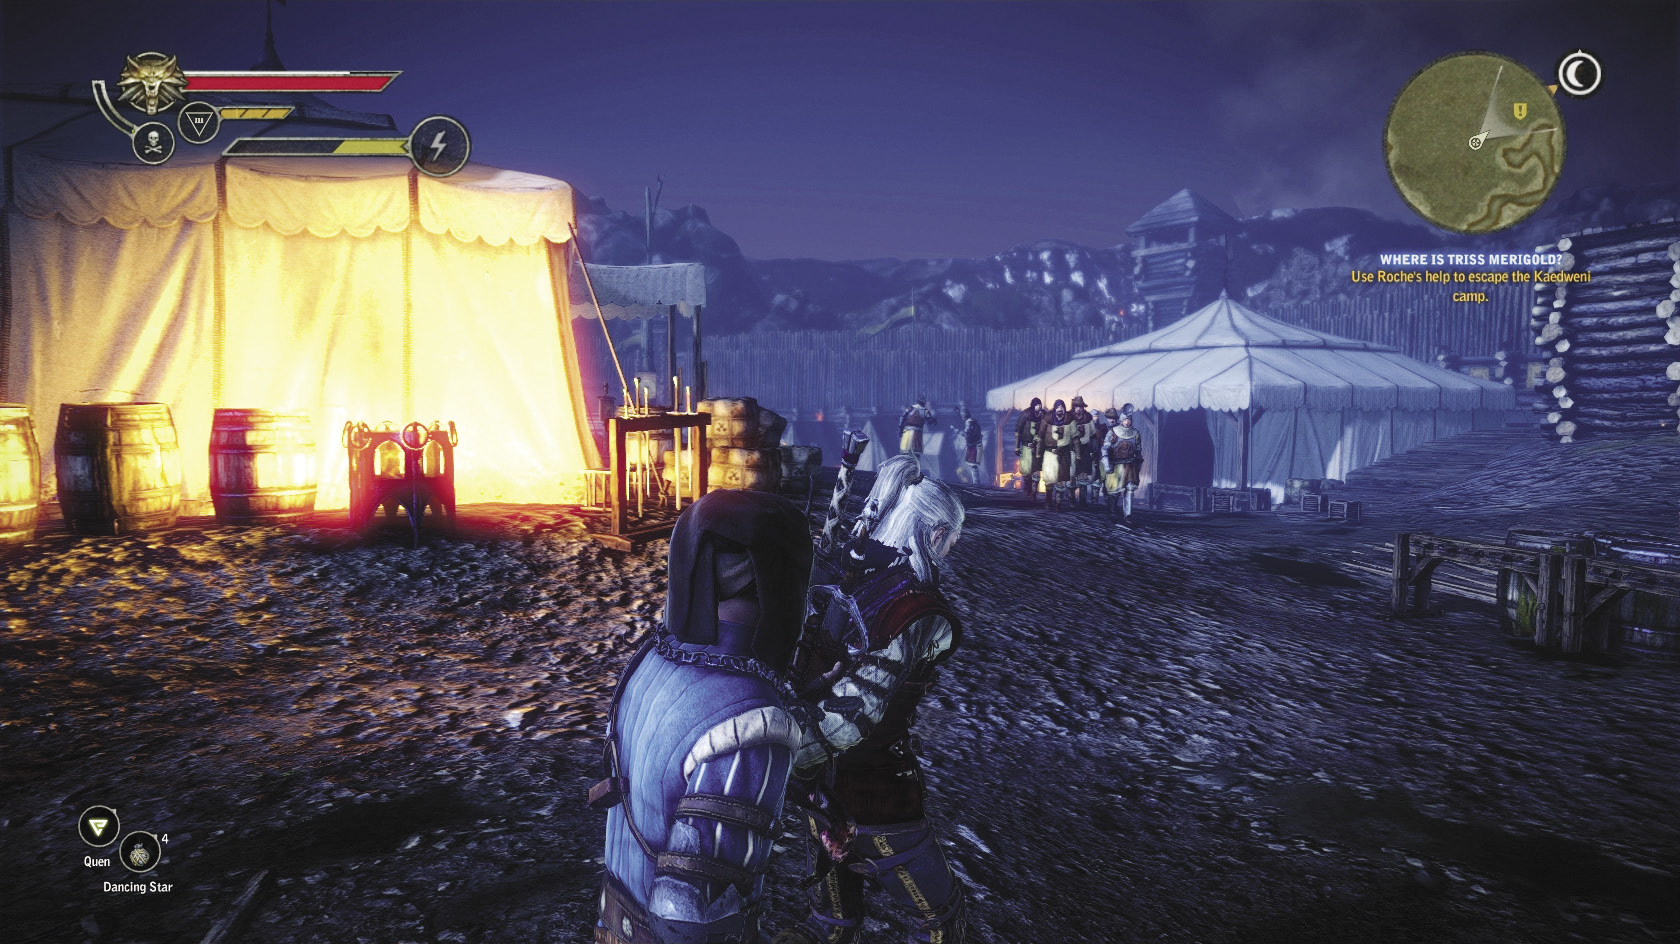
Roche has a plan that involves passing you off as his prisoner. You can get two different sequences here, depending on whether Stennis is alive or dead. If Stennis is dead, then the sequence is fairly simple. Let Roche march you through the camp and fast-talk the guard into letting the two of you out. Be careful not to draw near any of the officers. You can identify them by their helmets, which they wear with the faceplates flipped up. If you approach any of the three officers in the camp, you die instantly. One of the officers stands ahead of you near a fire, a second is to your right near a makeshift arena, and the third is walking toward you from the left. You can simply wait by the group of men on your left near the tent for the officer to pass by, then head toward the exit.
Once outside, you’re freed. Now you need to return to where Philippa is waiting for you and cross back over the cursed battlefield. When you emerge on the Vergen side of the mist, a group of wraiths and Aedirnian knight wraiths follow you out. You can run on to Vergen and ignore them, or fight them alongside the Scoia’tael that patrol the area. Go speak to Philippa in her home to resolve this quest. You receive 2,250 XP, the Aedirnian Special Forces cockade, and the silver sword Negotiator as your reward. Negotiator is noteworthy for its high chance of inflicting the rare freeze critical effect. Although it is inferior to other swords found in this chapter in terms of raw damage, it can be very potent (and entertaining) in the hands of a Geralt built for swordsmanship.
If Prince Stennis Is Alive
If Stennis is alive, then you can’t leave before getting some of Henselt’s blood. Roche reluctantly agrees to help you get some. To begin with, follow Roche into the camp. When Roche says “Geralt, hide!” go crouch behind the stack of boxes. Wait as Roche leads the Kaedwenis away. Creep toward the fire pit off to your right and interact to put it out, just for a little extra insurance. Make your way around the rear of the tents. Do not step into the center of the camp for any reason.
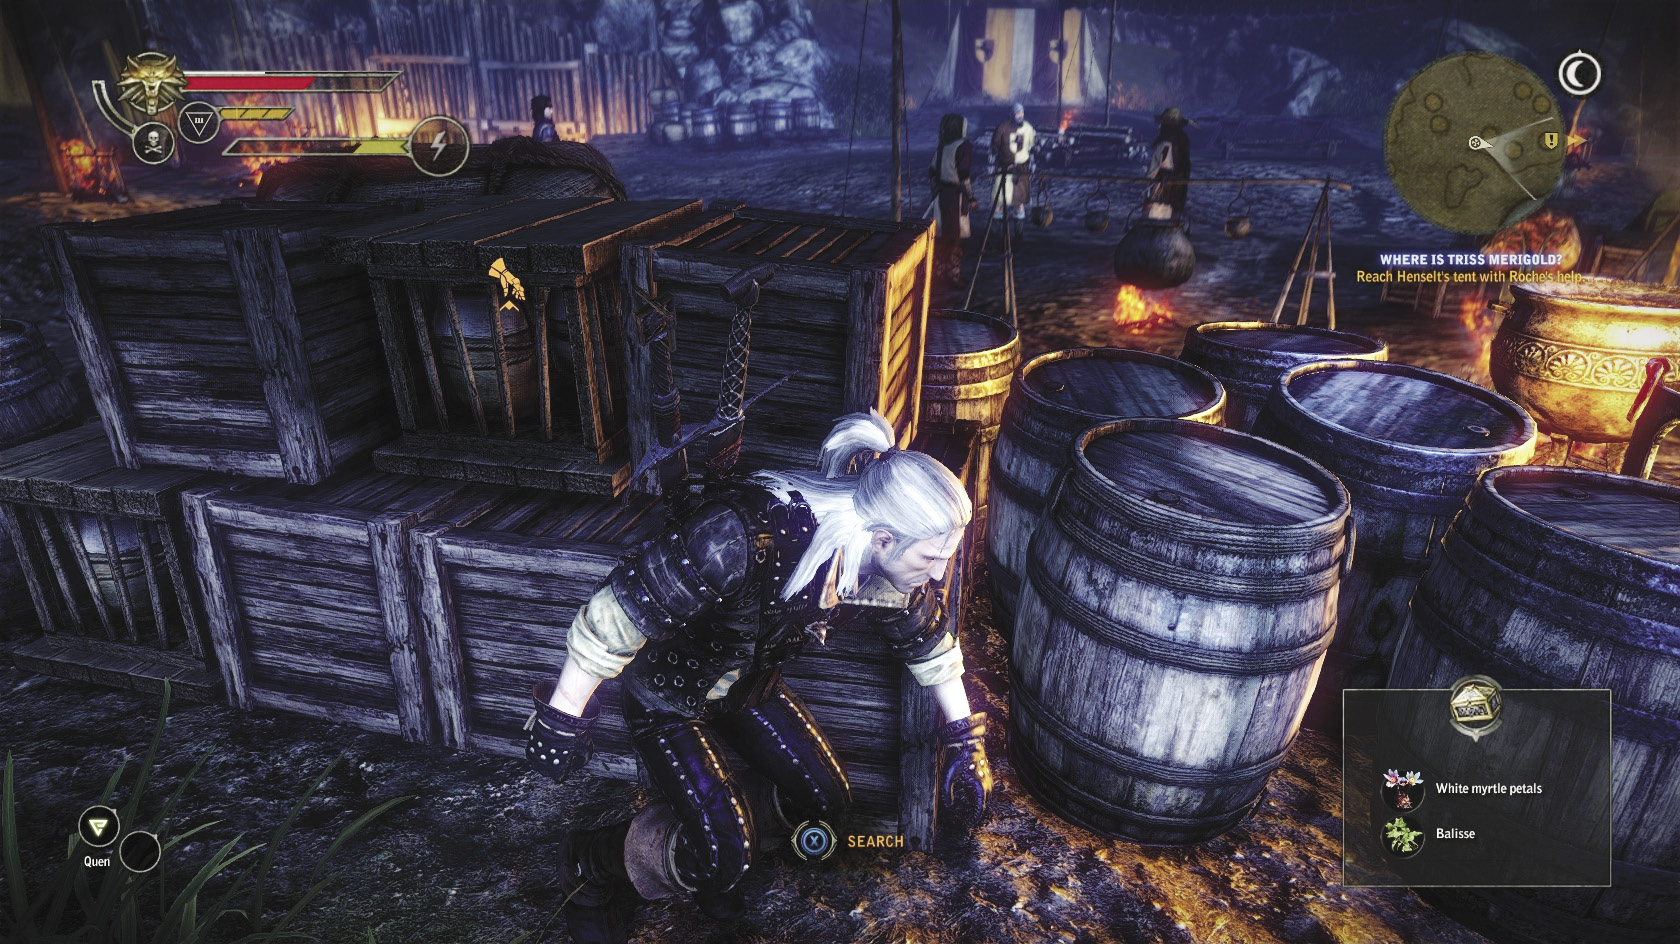
When you get to Henselt’s tent, creep around the rear of it. Be careful to say well away from the firelight. Use Aard on the conveniently located stack of barrels you find behind Henselt’s tent. This distracts the guards watching the entrance to his tent. Once you’re sure they’re gone, make a quick dash into Henselt’s tent. Once the cutscenes start up, you’re safe.
During the dialogue sequence, you can say pretty much whatever you like. Eventually Henselt agrees to give you his blood, and then his soldiers escort you to the camp followers’ encampment. You get 1,000 XP for resolving Royal Blood. Now you need to meet up with Philippa and pass back through to Vergen through the mist.
When you emerge on the Vergen side of the mist, wraiths and Aedirnian knight wraiths follow you out. You can run on to Vergen and ignore them, or fight them alongside the Scoia’tael that patrol the area. Go speak to Philippa in her home to resolve this quest. You receive 2,250 XP, the Aedirnian Special Forces cockade, and the silver sword Negotiator as your reward. Negotiator is noteworthy for its high chance of inflicting the rare freeze critical effect. Although it is inferior to other swords found in this chapter in terms of raw damage, it can be very potent (and entertaining) in the hands of a Geralt built for swordsmanship.
 A Matter of Life and Death
 Hatred Symbolized
It’s time to heal Saskia. Accomplishing that causes Hatred Symbolized to automatically resolve, since Saskia has Vandergrift’s sword, so you can kill two birds with one stone. Go talk to Philippa Eilhart in her house. Say “I have all the ingredients needed to heal Saskia.” This automatically starts a cutscene featuring one of the most hilarious lines of dialogue in the game. During the cutscene when you get to make a dialogue choice, you can just say whatever you want here. You gain no XP for resolving either quest.
 The Eternal Battle
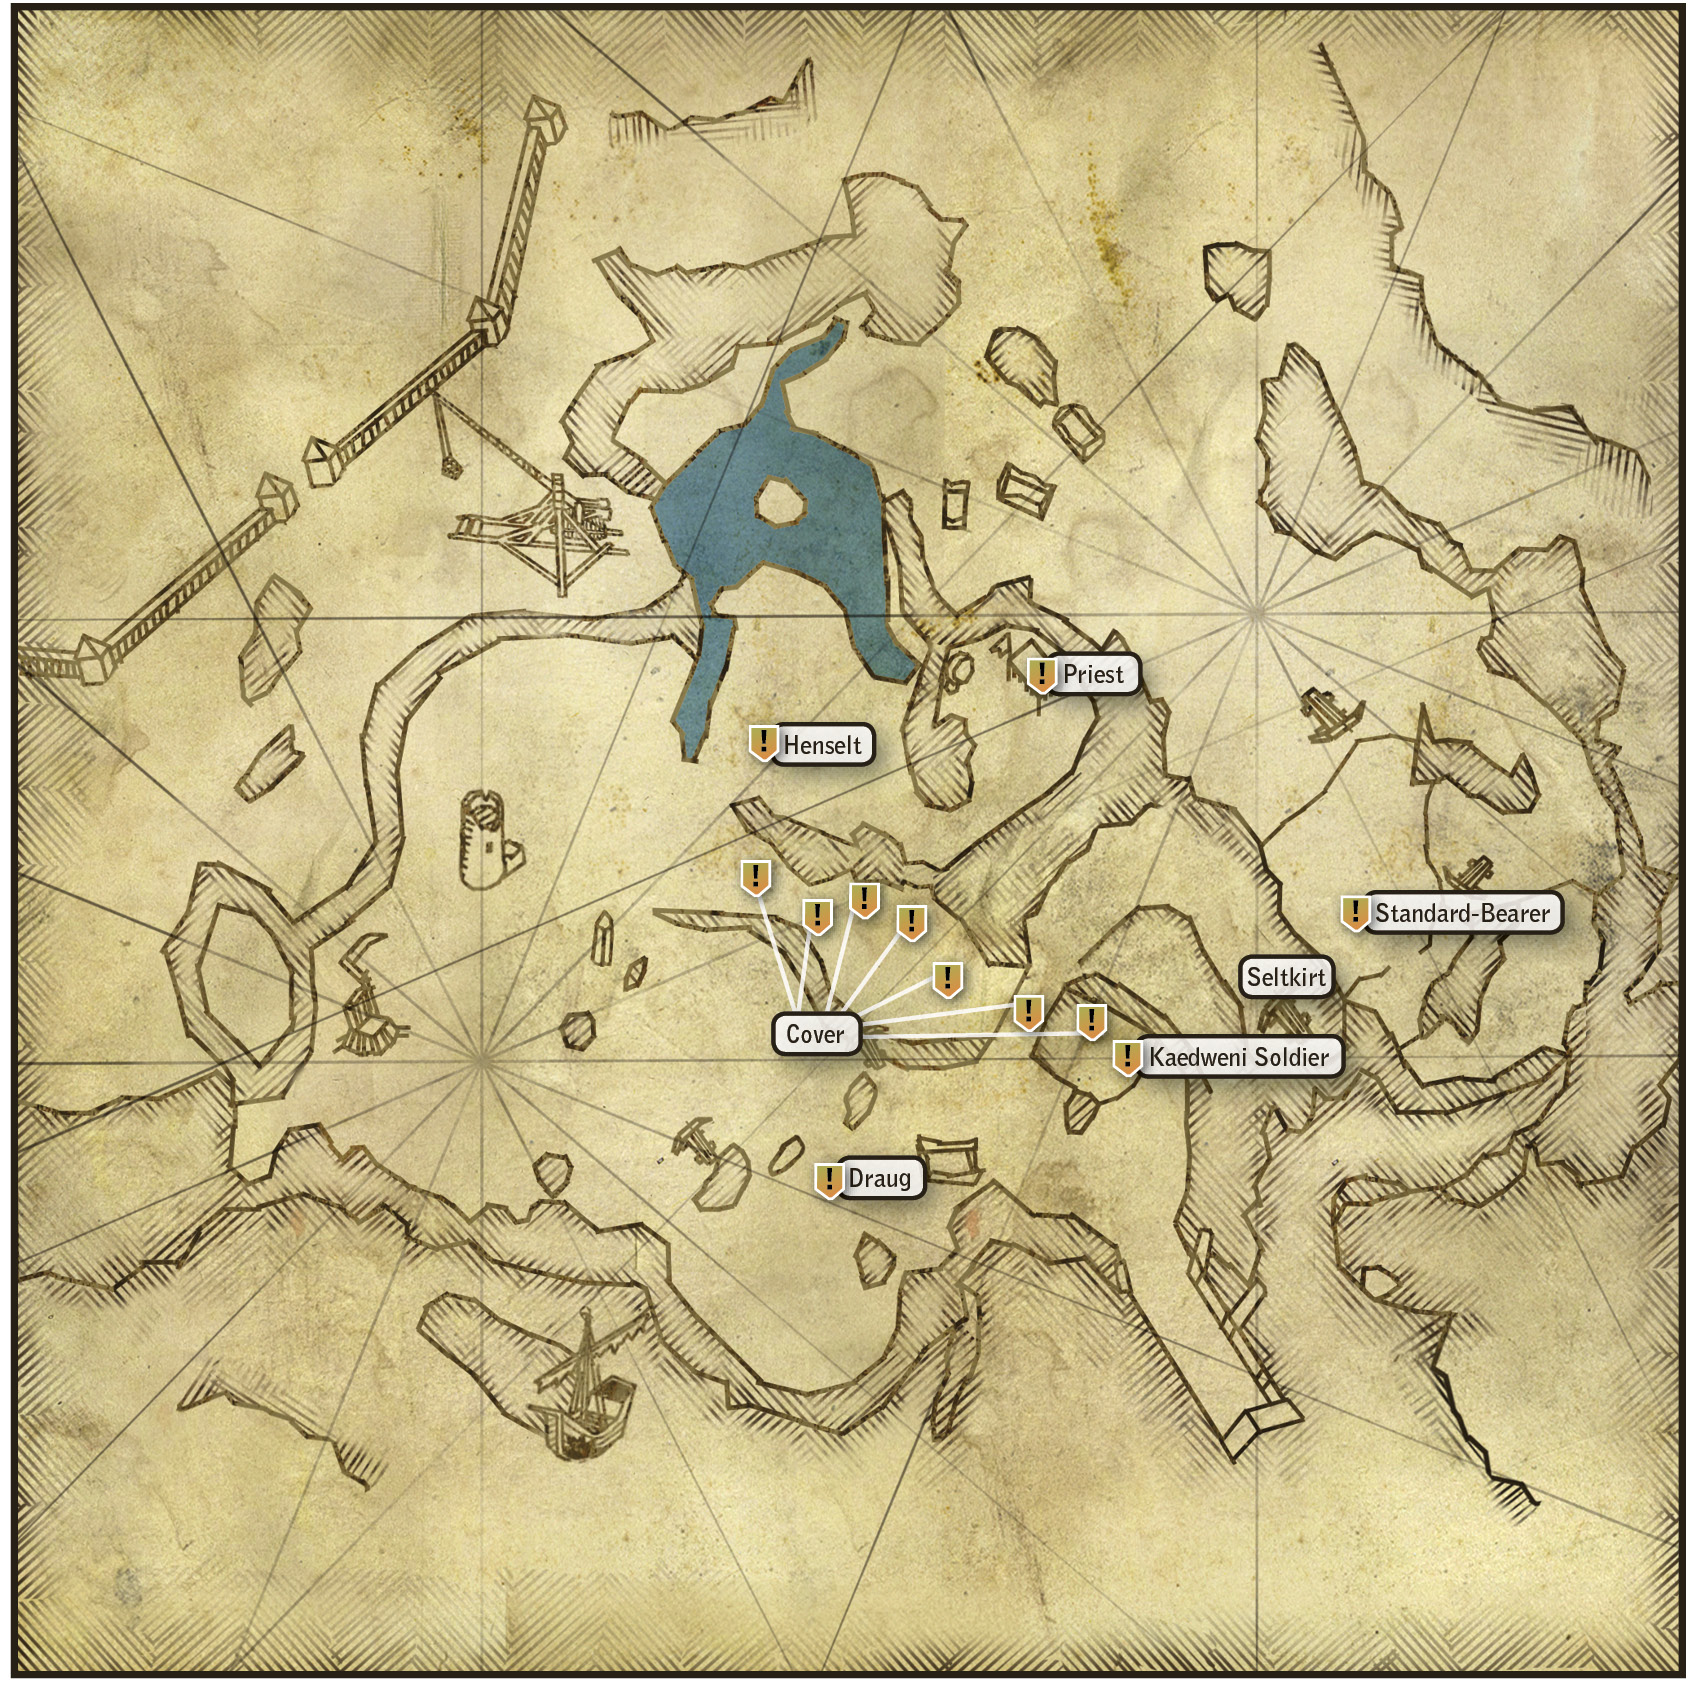
Make sure you’re prepared for a major battle with a unique enemy as part of this quest. Your equipment and how you’ve invested in Geralt’s skills make a major difference in this battle. This enemy is mostly immune to critical effects but very vulnerable to being stunned or staggered. Alchemists should make preparations accordingly. Note that you can’t use potions while battling this enemy, but you can make good use of traps.
Mages who haven’t leveled up Aard or Yrden are a bit boned here and should maybe get a stack of Zerrikanian suns or Talgar winters beforehand. Quen can be an effective defense in this battle, but you shouldn’t rely on it completely. A mage who has Aard III or Yrden III should have no trouble.
Swordsmen are going to end up relying on maneuverability and how specialized they are for hitting hard with every blow. Quen can help with defense, but not as much as levels of Feet Work. A swordsman build should be, by this point in the game, well-equipped for handling this quest’s challenges. If you’re a struggling swordsman, there’s no shame in prepping a pile of Zerrikanian suns or Talgar winters just in case.
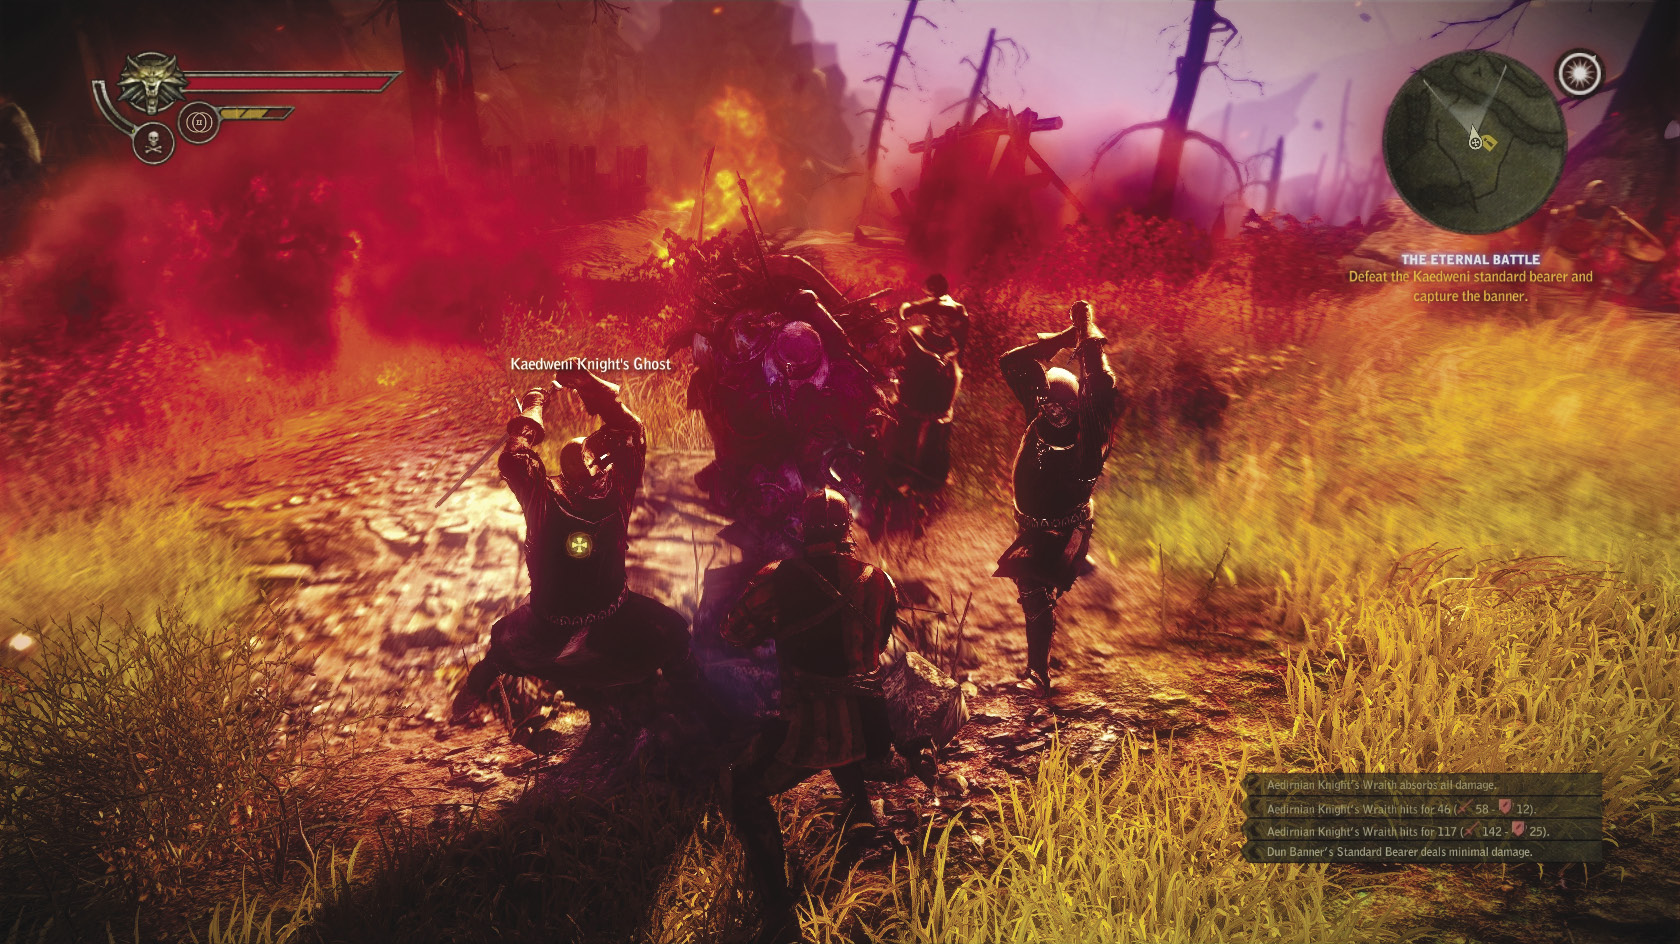
Note that after you do this quest, you set up a sequence where all of the merchants in Vergen shut down. If you want any items to carry with you into Chapter 3, particularly the diagram of draug armor, then you may want to buy them now. After you’ve made whatever preparations you think are necessary, go talk to Philippa Eilhart. Say “I’m ready to lift the curse.” Philippa gives you the medallion you need for this quest and Seltkirk’s armor. Take them into the cursed battlefield.
Once you trigger this quest, you go into a sequence where Geralt is possessed by the spirit of a soldier who must cut down the standard bearer of the Dun Banner. The standard bearer has taken the form of a draugir and you must defeat it without access to Quen or dodge rolls or any of your usual witcher tricks. You also have no NPCs to aid you, while the draugir is aided by three knights. You need to work on trying to eliminate the three knights without losing too much vitality. Focus on trying to flank or get behind your enemies. If your Geralt build has Riposte, that skill carries over and is useful here. Be careful while keeping your distance, as the edges of the battlefield around the draugir are wreathed in flames that absolutely will incinerate and kill you. On the other hand, you can drive enemies into the flames to do pretty serious damage.
The second part of the sequence requires you to play as a Kaedweni soldier who is tasked with telling his commander that his unit needs reinforcements. Sadly, he must do this while running a gauntlet of flaming arrows fired by archers from his own side. There are wooden structures on the field you can use for cover, but huddle behind them too long and the flaming arrows destroy them. You need to move quickly from cover point to cover point between volleys of the flaming arrows. Each of the volleys is heralded by the sound of a horn. Basically, if the volley heralded by a horn won’t hit you, then choose that moment to move to fresh cover. After you make it to the last cover point indicated on the map, you can simply walk forward to trigger cutscenes.
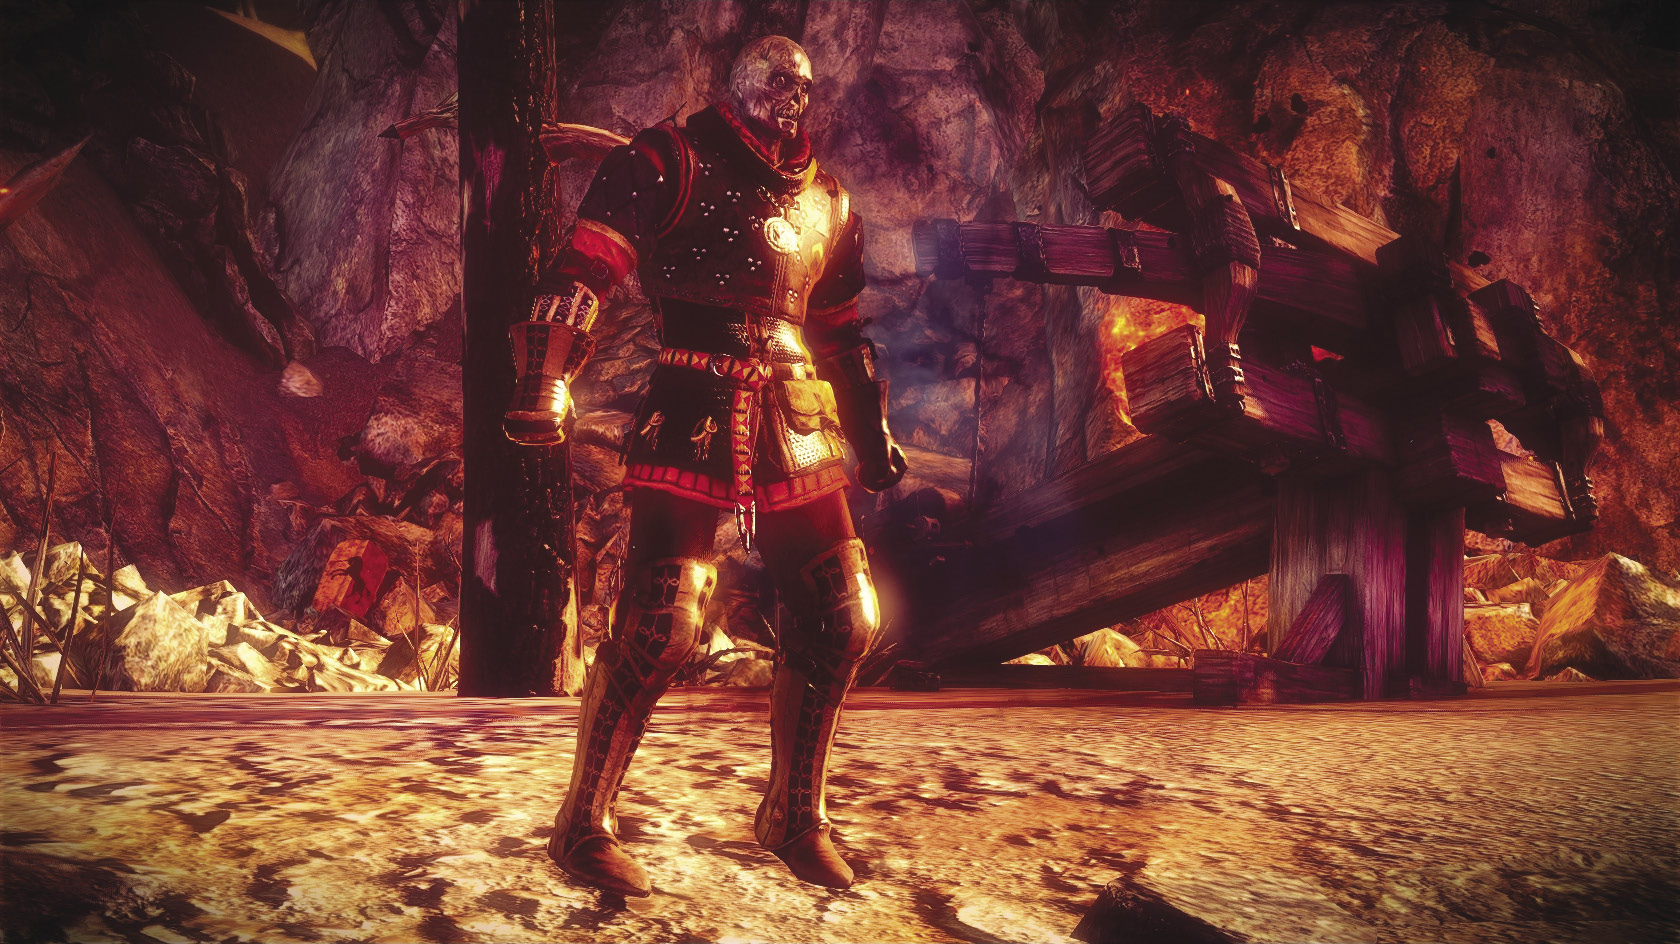
For the third part of the sequence, you are possessed by Seltkirk of Gulet. For this, you simply need to move near Vandergrift’s position. You must fight two groups of Kaedweni knights on the way in. Seltkirk has massive amounts of vitality, as part of modeling how he was the best Aedirnian knight ever, so you should have little trouble defeating the groups of Kaedweni. When approaching the second group, it is sometimes possible to lure one or two knights away from the main body by inching slowly down the path. As you draw near the draug’s position (for Vandergrift has become a draug after death), a draugir materializes that is his standard bearer. A cutscene ensues as you approach it, and before this battle, you get to control Geralt once more. Get the draugir down to about half vitality to trigger another cutscene.
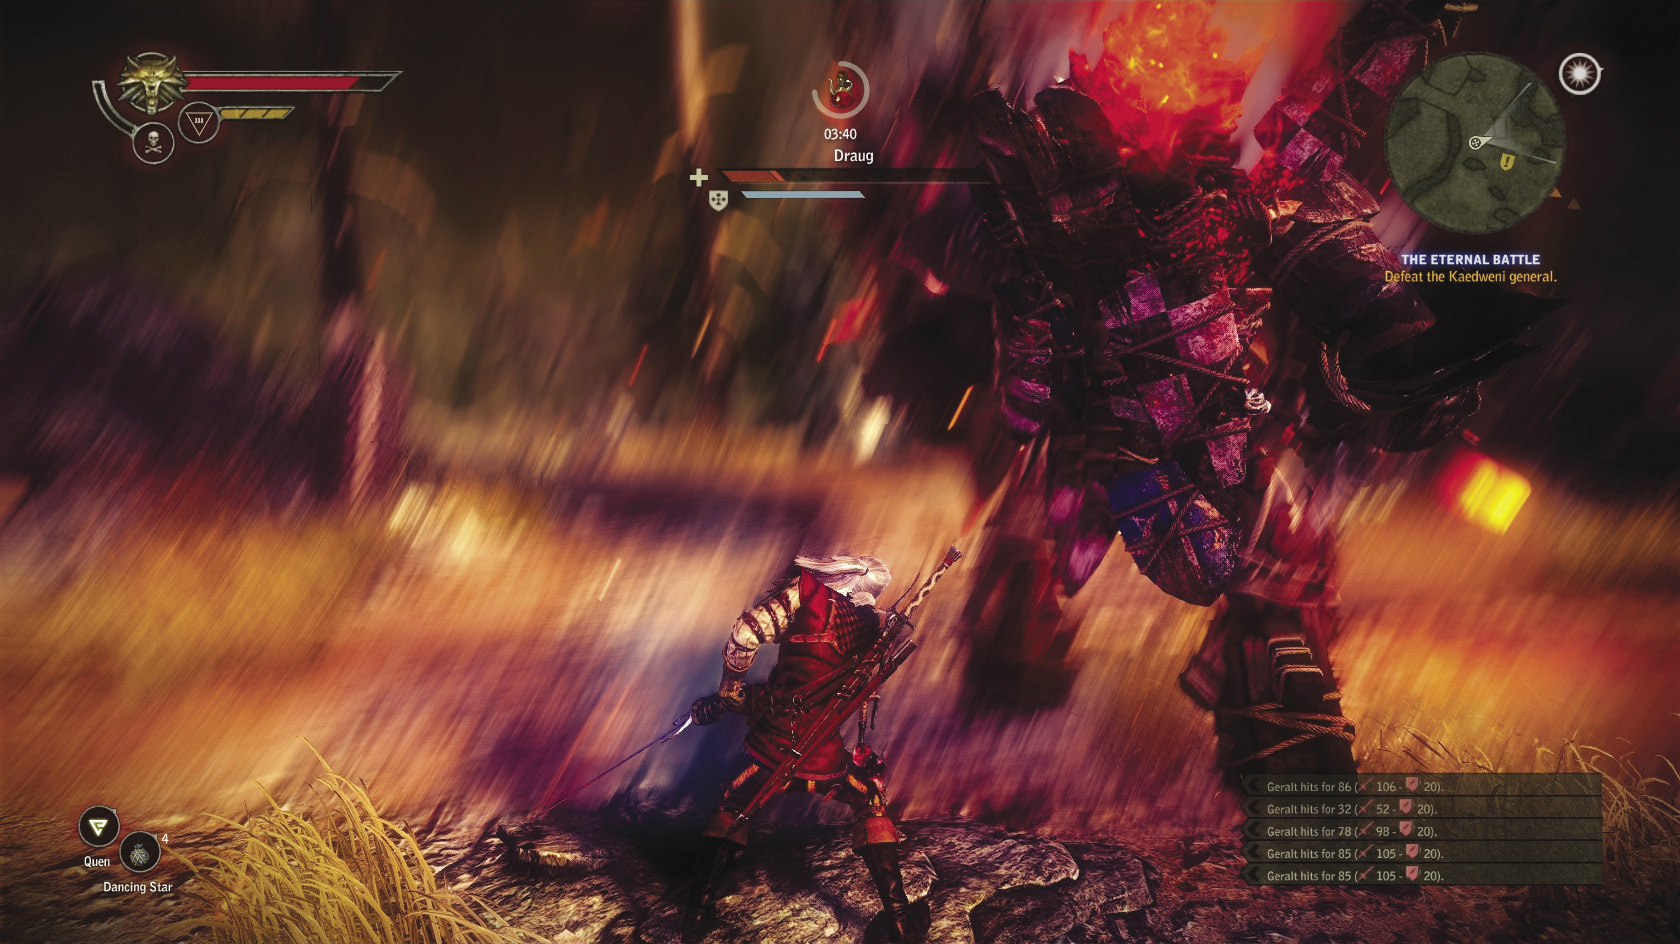
Now, for the climax of this quest: You must battle Vandergrift’s spirit, magnified by the curse into the form of a draug. A draug is basically a pile of fire and hatred, its body made of animated metal. As you might expect, it has both a massive pile of vitality and a separate meter of additional armor strength. There is nothing sneaky or tricky you have to do here to whittle that down, as in the kayran fight. You just have to survive long enough to beat the living hell out of it. Talgar winters do significant damage to it, while also cutting its charging attacks short. The draug is also subject to Negotiator’s freeze critical effect. Aard and Yrden at higher levels stagger it, as can an alchemist build’s Zerrikanian sun. The draug can shrug off weak stun effects. It is very vulnerable to being hit from behind due to its massive size, a weakness any build with levels of Feet Work can exploit.
Be sure to beat on the draug mercilessly whenever it’s staggered. Roll away when the draug turns into a whirlwind of armor fragments. Never let yourself get too far away from the draug, though. The draug punishes you for trying to play keep away by having its archers rain down hails of arrows, and its artillery uses trebuchets to rain fireballs on the field. You can evade the fireballs by dodge-rolling away from areas on the ground that turn red, and evade the arrows by simply dodge-rolling in any single direction to get clear. The danger of evading like this, of course, is that you’re so far away from the draug when its rain of arrows or fire stops that it decides to just do it again.
If you can manage to play the zone game correctly and evade the draug’s attacks without getting too far away from it, you should dish out enough damage to take it down. Once you get through its armor meter, it begins taking damage rapidly. You get a ton of loot for defeating it, including some materials necessary for creating the draug armor. You should also unlock the Fat Man achievement.
There’s one more phase to the quest. Now that the draug is defeated, Sabrina Glevissig’s terrible rain of fireballs has begun. You are possessed for a final time by a priest who must guide his unit to Henselt’s position, to inform him of the terror that has overtaken the battlefield. Don’t worry about this turning into an escort mission; all you really need to do is get yourself to Henselt to trigger the concluding barrage of cutscenes. You can’t dodge-roll as the priest, so just try to move away if the ground before you becomes red.
The concluding cutscenes lead to Geralt recovering a significant portion of his memory, as he expected, so resolving this quest also advances Returning Memories. During the ensuing dialogue with Philippa Eilhart, feel free to say whatever you want.
 Vergen Besieged
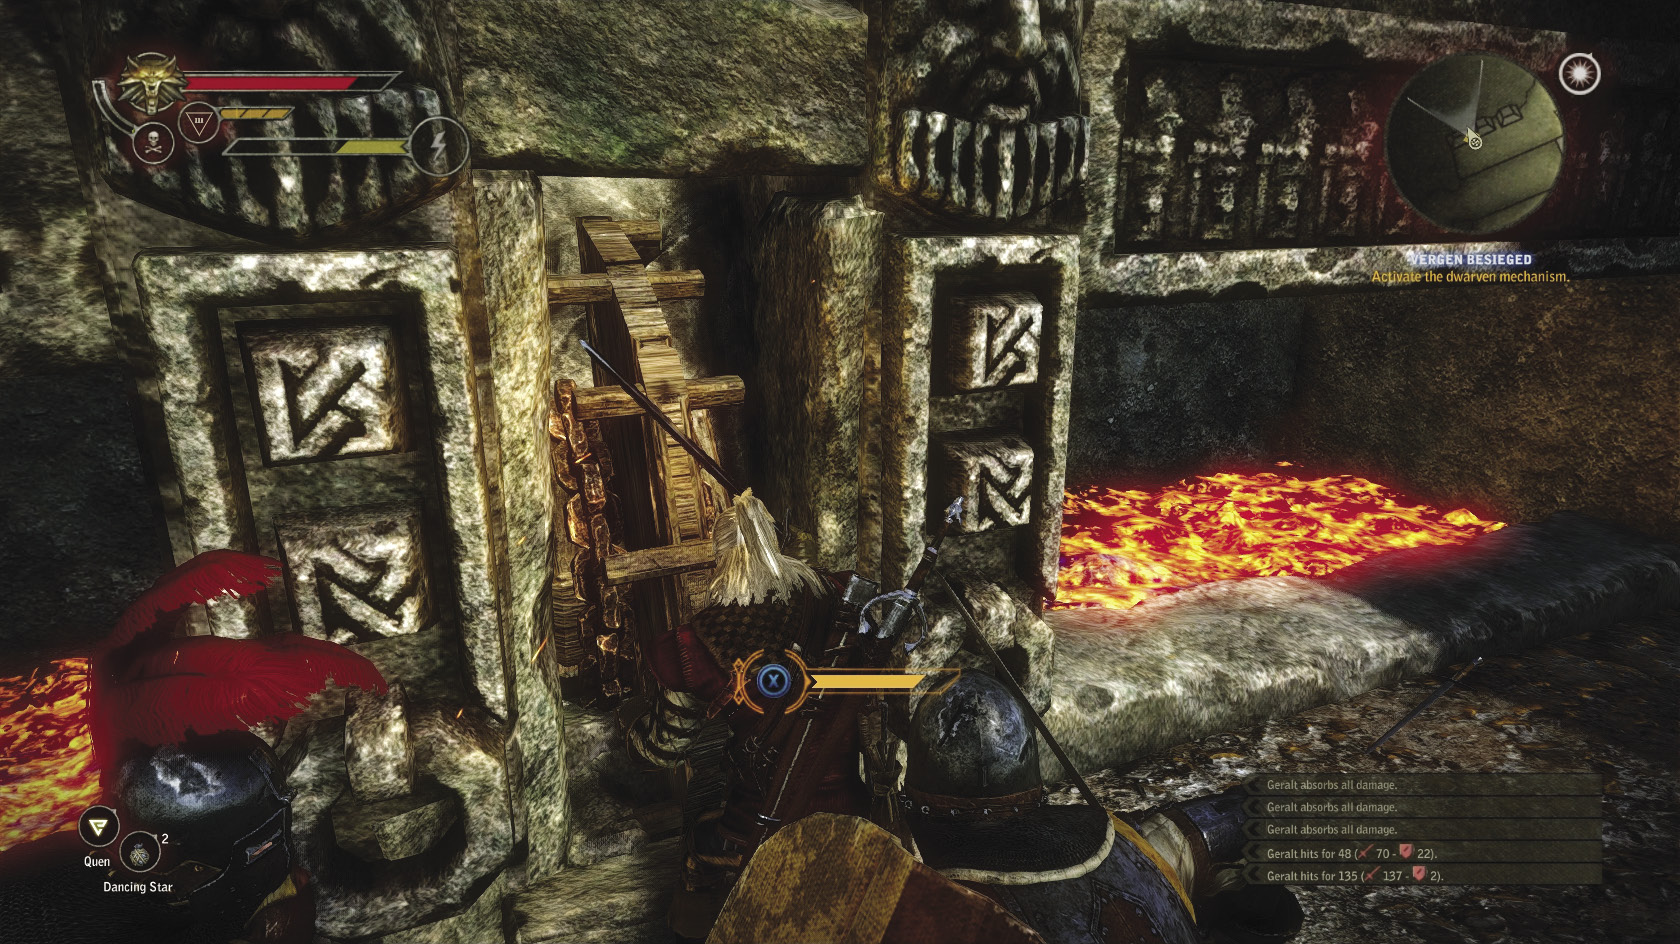
One more major battle sequence remains in this Chapter. Now that Henselt’s army is coming, all of Vergen’s merchants shut down. You can’t get anything crafted, but you can brew formulas if necessary. You shouldn’t need to make any particular preparations for the coming battle, so go directly to speak to Zoltan after you’re done talking to Philippa. You may want to replace the bullvore trophy with the draug trophy, now that you have it, but otherwise your equipment should already be optimal for this version of Chapter 2.
Watch Zoltan command troops for a bit, and then talk to him. After this, you get your first task in the battle—using the hot oil valve to burn up some of the Kaedweni invaders. The hot oil valve you’re responsible for is on the right side of the Mahakam Gate, on the upper level. To use it, press the interaction button repeatedly to fill up a meter. This sequence ends once you successfully do that. Meet up with Zoltan at the base of the Mahakam Gate. You receive 300 XP at this point and now need to retreat to the second gate.
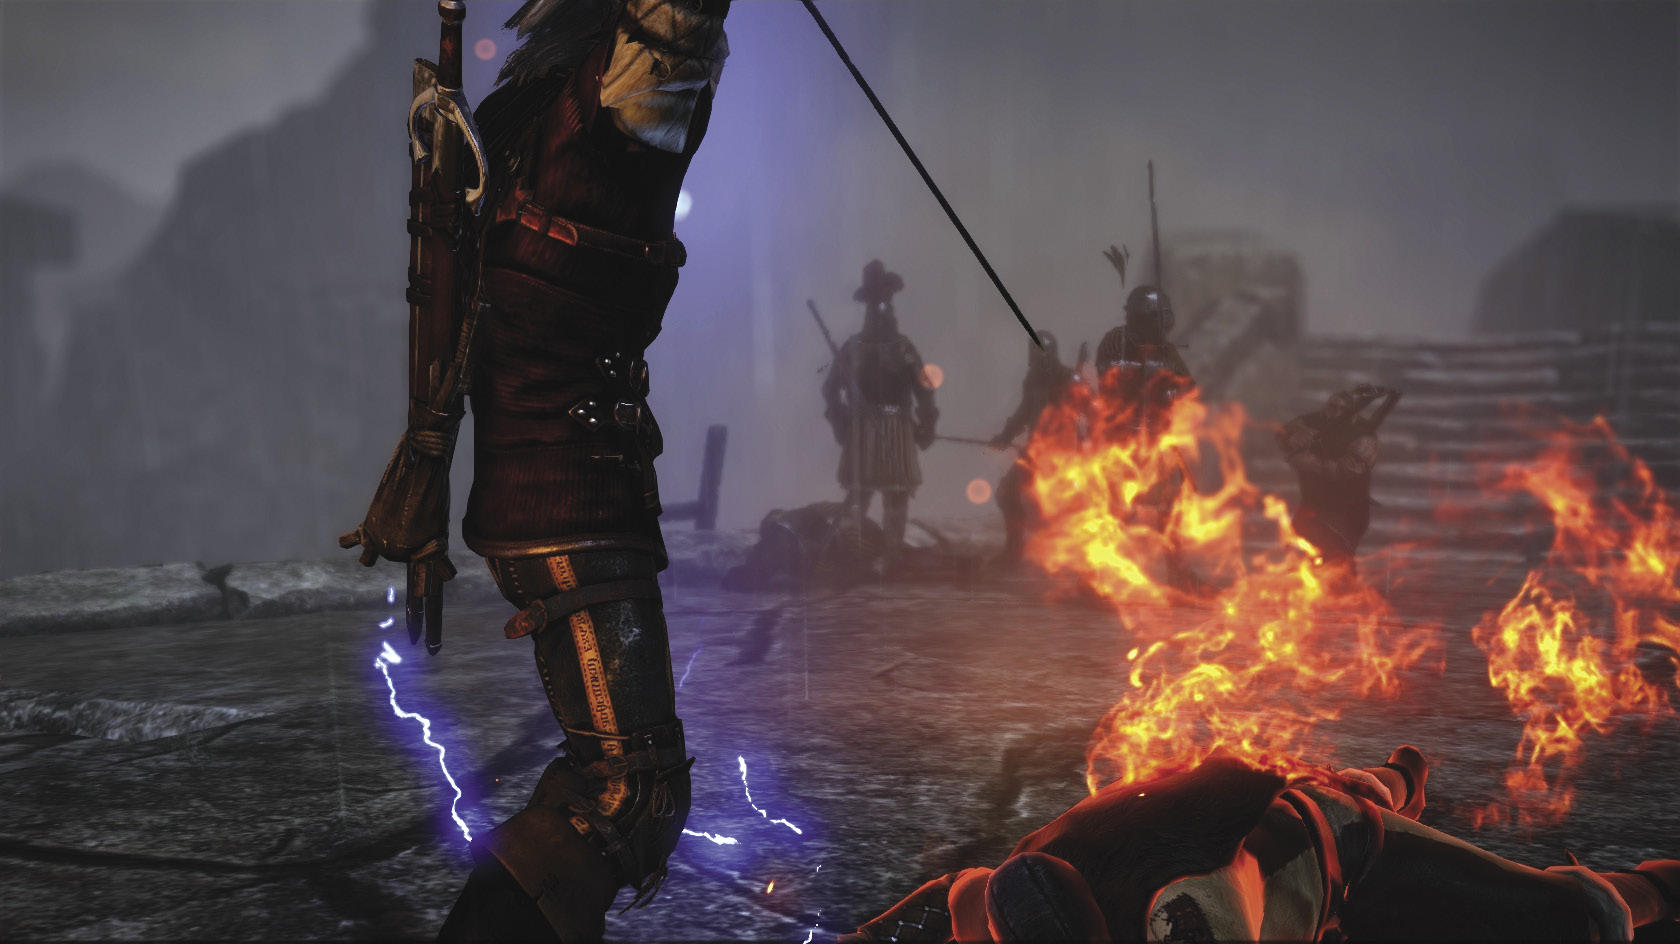
At this point Dethmold summons a storm over the battlefield, which causes it to rain. This strengthens Quen while reducing the frequency of the incineration critical effect. Head up to the walls with Zoltan to begin defending them from Kaedweni who try to climb in with siege ladders. Use whatever your build’s most effective remaining crowd control strategies are here. If you survive the first wave, you get 400 XP and get to brace to do the whole thing over again. Instant kills and group finishers can be hugely helpful for speeding this part of the quest along. You get another 400 XP for surviving the second wave.
After you survive the second wave, Saskia says that there are tunnels beneath the town that may have been infiltrated by Henselt’s troops. She wants you to go with her to clear them out. You can’t really back out of this, so prepare to do some more precision-oriented fighting. When you enter the previously locked portion of the Tunnel of the Founders, you find four mercenaries there. Wipe them out. Follow Saskia to find another group. Beyond the door they guarded is a group of rotfiends, still lurking in the mines. Once you dispatch the rotfiends, continue following Saskia until Dethmold and another troop of Kaedwenis appear. You get 300 XP for making it this far and now have another battle to get through.
Let Saskia handle Dethmold’s escort and focus on the sorcerer himself. You should know the drill for fighting sorcerers by now: use thrown daggers to interrupt spells when possible and to do damage from afar. Dethmold casts Quen on himself and shoots energy projectiles, but is otherwise not too different from fighting Vanhemar earlier in the chapter. Hit him with daggers after he teleports. Fortunately Dethmold is fragile, and one solid string of strong attack combos should take him below 50 percent HP. This triggers a cutscene where you learn Saskia’s secret. You get 300 XP once this battle is over.
Follow Saskia back to the walls. During the cutscenes, if the trolls are still alive, they arrive to help with the final push to defeat Henselt’s men. You get another 400 XP before you repulse the third wave. After you repulse the third wave, Iorveth arrives with the archers he promised. This turns the tables on Henselt, so now you have a chance to capture him. Get 200 XP for repulsing the third wave and then go to help Zoltan close the main gate. When you reach Iorveth’s archer placement, you get 300 XP. Escort Zoltan to the gate lever and make sure no one attacks him. Once the gate is closed, Henselt surrenders, but this isn’t the happy ending you might expect.
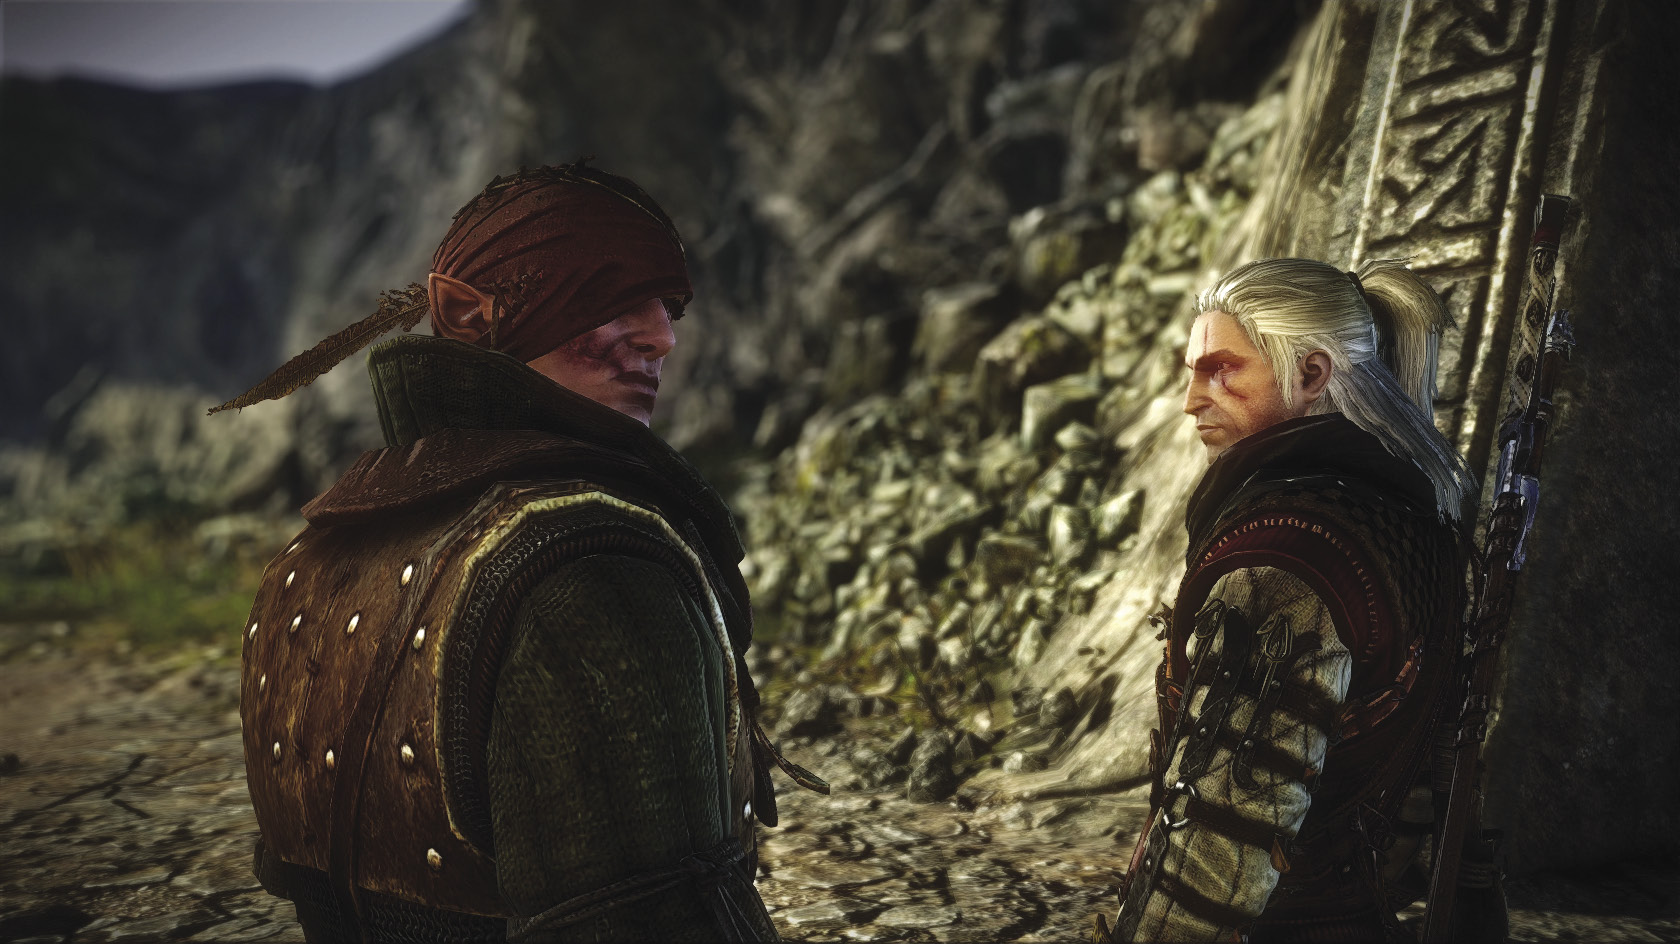
After the cutscenes, follow Philippa and Saskia with Iorveth at your side. Philippa teleports Saskia away, so you’re reduced to searching Philippa’s house instead. Go into the chamber where Cynthia used to sit and you should see a glittering book at the far end of the room. It’s a book called…Venoms and Poisons? Oh, shit.
Follow Iorveth out of the house and speak with Dandelion and Zoltan outside. From there, you depart Vergen and set out for Loc Muinne and the events of Chapter 3. You should unlock the Alea Iacta Est achievement, too.