
The Witcher 2: Assassins of Kings Guide Advanced
Arena Mode
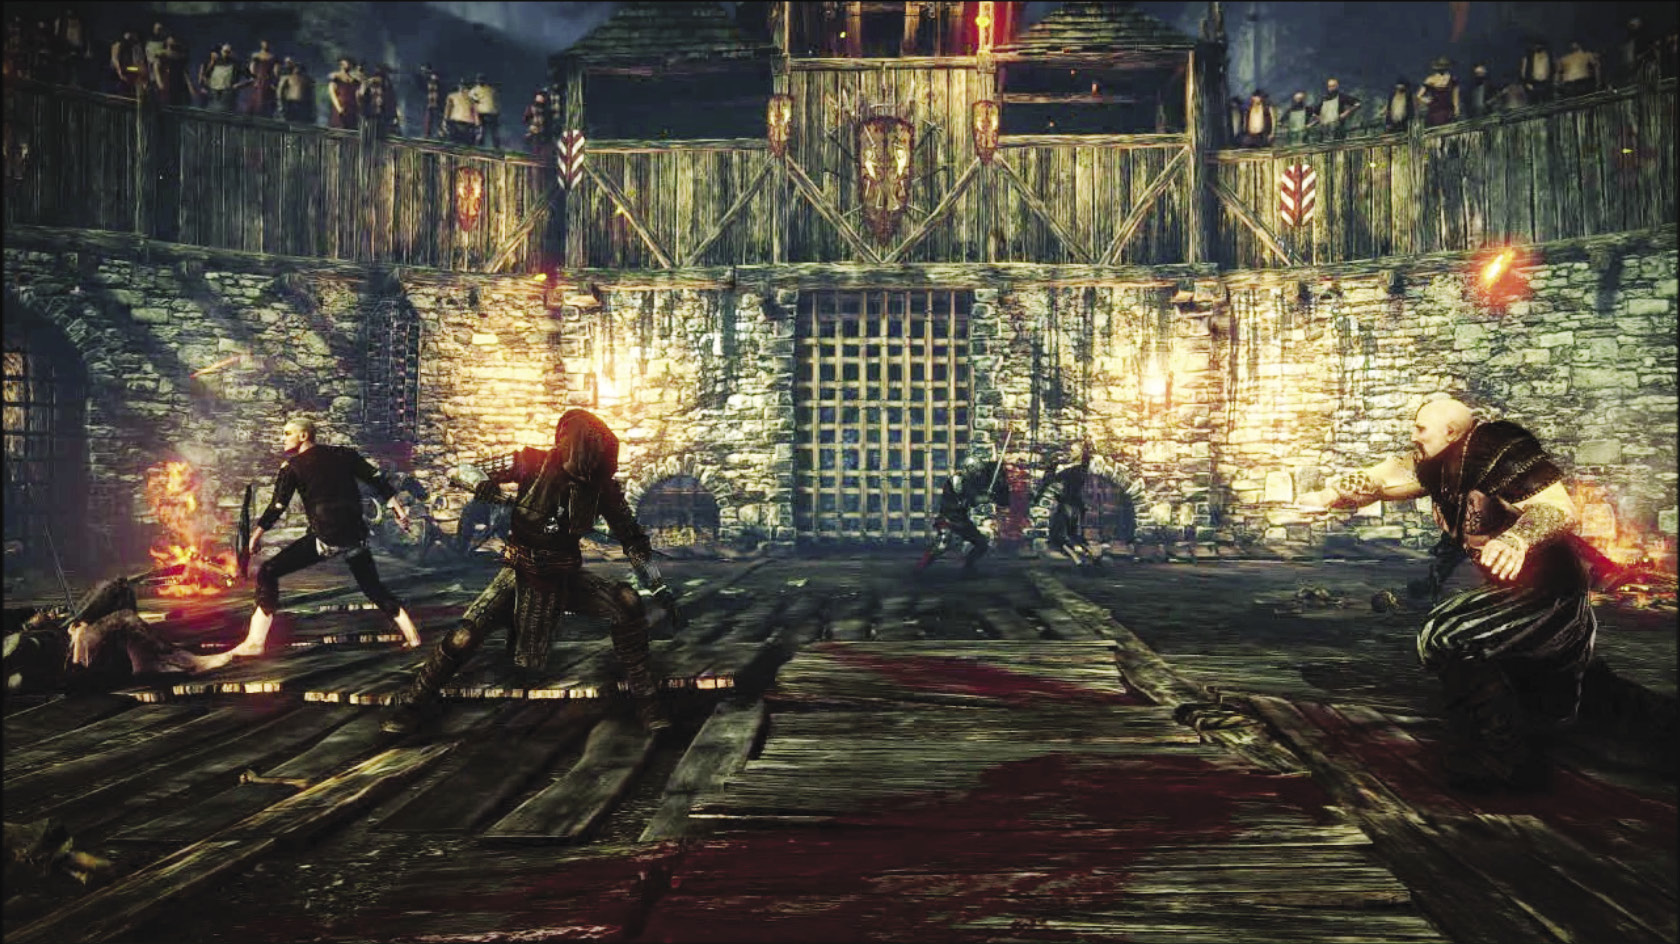
Arena mode is a special bonus gameplay mode of The Witcher 2 that is for players who really, really like combat. In Arena mode, you are tasked with surviving 30 rounds of battles against preset groups of opponents. You are rewarded with gear at the end of each round. Between rounds, you can hire companions and purchase oils, potions, traps, bombs, daggers, enhancements, and books from Dragan to prepare you for the next challenge. The selection of equipment rewards you can choose from after each round is randomized. Your companions can be killed and may leave if you begin losing. If by some miracle you survive more than 30 rounds in Arena mode the battles begin repeating. You can safely consider the mode beaten once you’ve cleared 30 rounds and/or have obtained the Operator’s staff. You can also consider the mode beaten if you hit level 35.
Arena mode is a lot of fun to tackle after you’ve beaten the game once, since it lets you battle enemies that you would never encounter together in the wild. Figuring out how to deal with these mixed encounters while using your favorite skills and tricks is much of the challenge of Arena mode. As mentioned, this mode is generally meant for players who really enjoy combat in The Witcher 2. If you’re mostly into story, you won’t find much of that here (though there are some new NPCs you can meet). For the most part, Arena mode lets you boot up the game and quickly get into some action, or lets you find more fights to enjoy after beating all of the major battles offered by the main game.
There are many ways to beat Arena mode on many different difficulties, so this guide is simply going to outline which enemies you must deal with in each round and offer some general tips.
General Facts
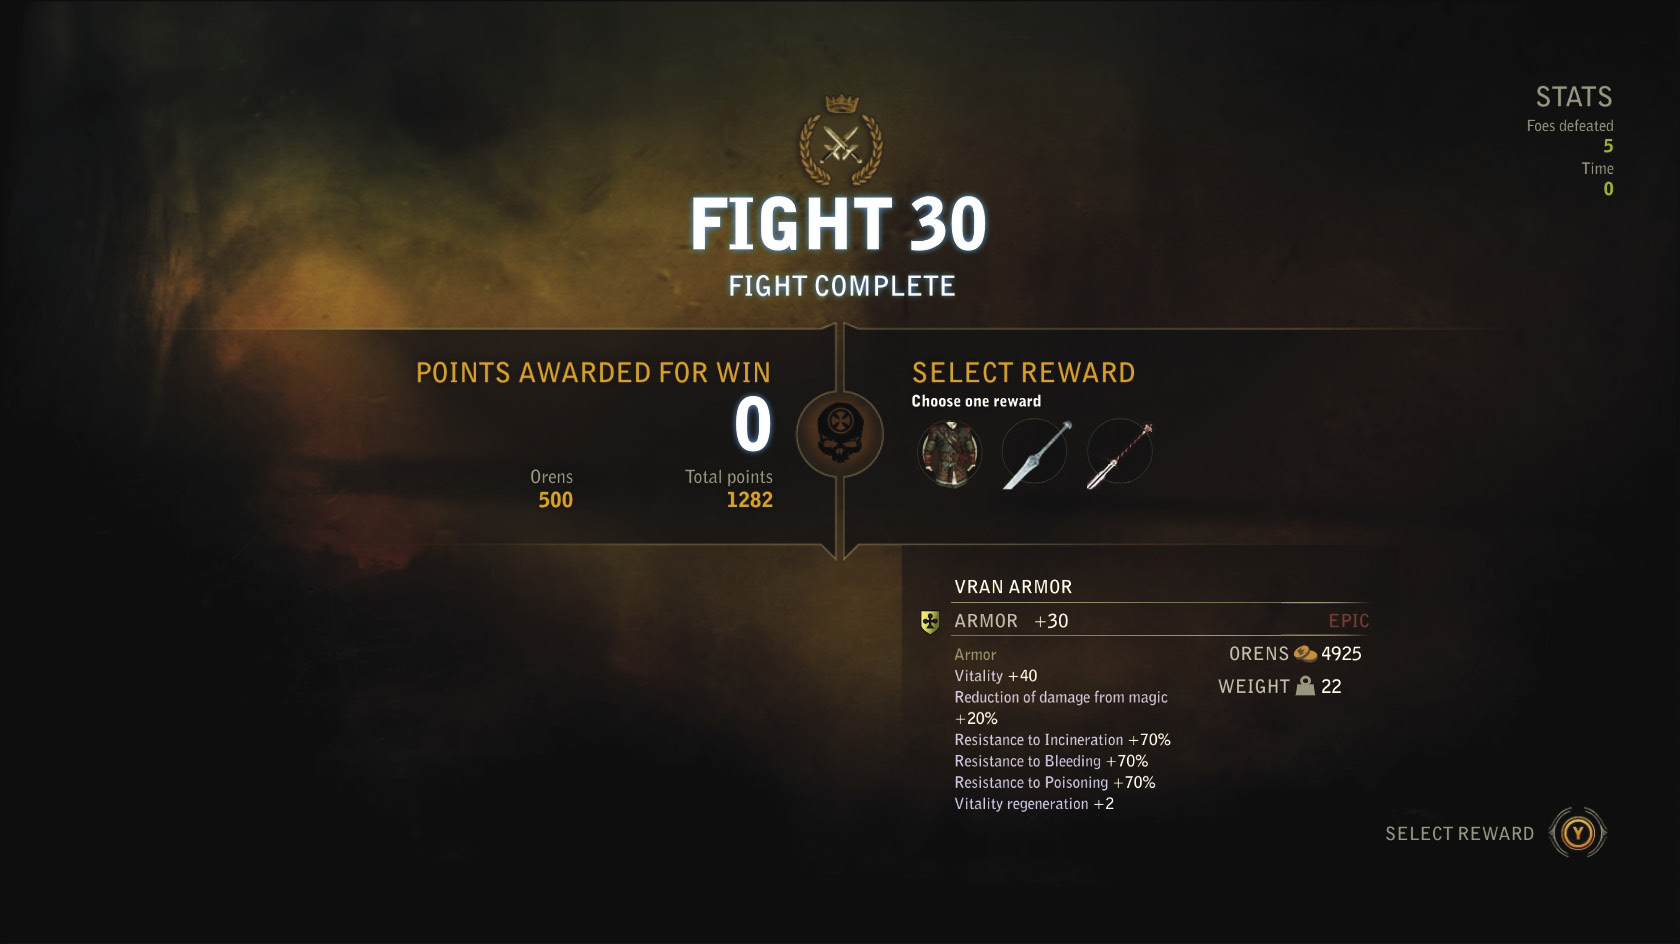
After each round, you can select one piece of equipment to take from a list of three randomly-selected potential rewards. Due to the randomness, you may find yourself improvising around an unusual selection of gear. Generally the most important pieces of gear to upgrade regularly are your swords. If you can’t get or don’t need a sword upgrade, you should select a piece of armor, or try to upgrade what’s in one of your less-important slots (boots, trousers, gauntlets, and trophy). Between rounds, you can check with the vendor to purchase potions, oils, and other enhancements for use in the next round. It’s a good idea to keep armor fully-slotted with cheap enhancements, though slotting your swords with runes is going to be prohibitively expensive early on.Potions and oils in Arena mode work the same way they do in the main game. They last until the real-time timers for them run out. Skills that affect potion and oil duration work the same way in this mode that they do in the main game, too.
Experience does not work the same way in Arena mode. In Arena mode, Geralt gains one character level at the end of each round. If you want, think of each round of combat you clear as being worth 1,000 XP.
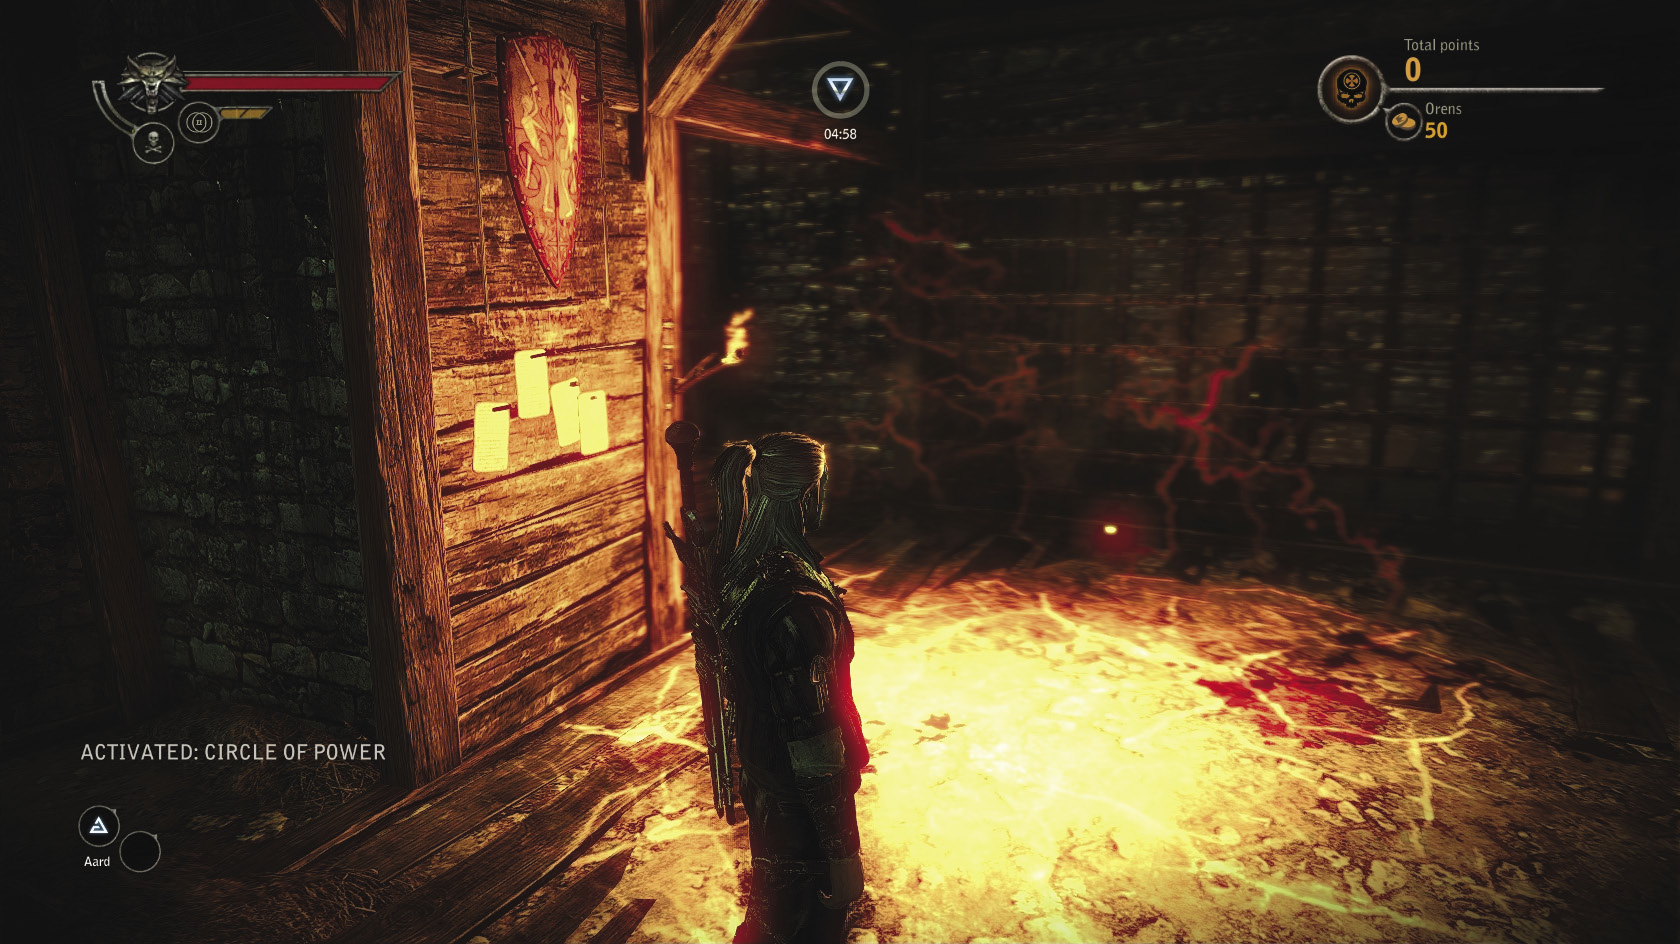
The arena holds some circles that you can take advantage of if you like. Downstairs, you can find a circle of power. Near the boxes you use to arm-wrestle, in a corner next to a rack of barrels, is a circle of strength. The circles do not reset until you’ve survived round 30 of combat and the waves begin to repeat, so think carefully about when you want to use them.
There is no increase in difficulty when the fights begin repeating after level 30. You receive the exact same oren rewards, although your item rewards will naturally vary. Your rewards at this point are primarily enhancements and mutagens, and occasionally armor. Weapon rewards are relatively rare.
Just as in the main game, level 35 is the game’s level cap. Geralt cannot level up any farther. Once you’ve gotten a Geralt to level 35 in Arena mode, you’ve effectively beaten it. You can have fun starting over from the beginning and trying to level Geralt up differently, though.
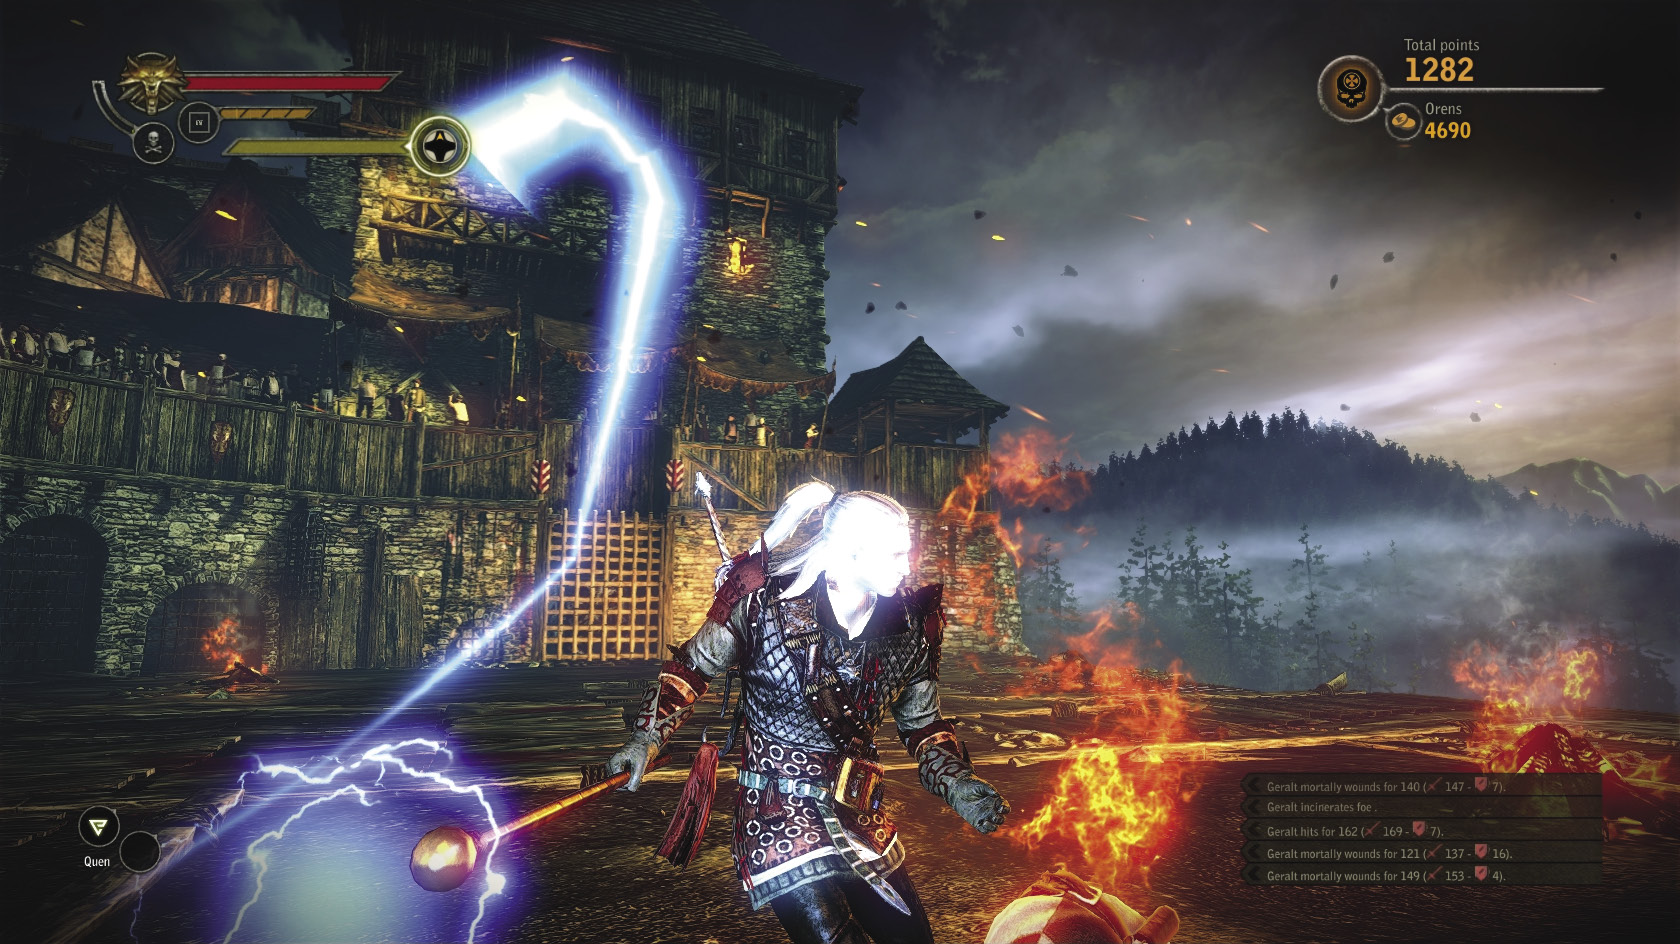
Sometime near round 30, you might have the opportunity to take the Operator’s staff. This weapon’s high freezing and incineration values make fighting human opponents completely hilarious. Seriously, it’s loads of fun and we highly recommend trying it out.
Fights and Rewards
| FIGHT | MOBS | REWARD (ORENS) | TIME (SECONDS) | SCORE (MAX BONUS) | |||
|---|---|---|---|---|---|---|---|
| EASY | NORMAL | HARD | DARK | ||||
| 1 | 3 La Valette Swordsmen, 1 La Valette Armored Footman, 1 La Valette Arbalist | 100 | 90 | 25 (100) | 50 (200) | 100 (400) | 150 (600) |
| 2 | 2 Bandit Halberdiers, 2 Bandit Shield Bearers, 1 Bandit Swordsman | 125 | 90 | 50 (200) | 100 (400) | 200 (800) | 300 (1,200) |
| 3 | 5 Nekkers, 2 Nekker Warriors | 150 | 90 | 75 (300) | 150 (600) | 300 (1,200) | 450 (1,800) |
| 4 | 2 Scoia’ tael Swordmasters, 2 Scoia’tael Archers | 150 | 90 | 100 (400) | 200 (800) | 400 (1,600) | 600 (2,400) |
| 5 | 2 Endrega Warriors, 3 Endregas | 175 | 90 | 125 (500) | 250 (1,000) | 500 (2,000) | 750 (3,000) |
| 6 | 1 Sorcerer, 2 Kingslayers | 175 | 90 | 150 (600) | 300 (1,200) | 600 (2,400) | 900 (3,600) |
| 7 | 1 Werewolf | 175 | 90 | 175 (700) | 350 (1,400) | 700 (2,800) | 1,050 (4,200) |
| 8 | 2 Guardsman Halberdiers, 2 Armored Guardsmen, 2 Guardsman Arbalists | 200 | 90 | 200 (800) | 400 (1,600) | 800 (3,200) | 1,200 (4,800) |
| 9 | 1 Bruxa, 2 Wraiths, 2 Zombie Swordsmen | 225 | 90 | 225 (900) | 450 (1,800) | 900 (3,600) | 1,350 (5,400) |
| 10 | 1 Elite Kingslayer, 1 Kingslayer | 225 | 90 | 250 (1,000) | 500 (2,000) | 1,000 (4,000) | 1,500 (6,000) |
| 11 | 14 Nekkers, 5 Nekker Warriors | 250 | 90 | 275 (1,100) | 550 (2,200) | 1,100 (4,400) | 1,650 (6,600) |
| 12 | 5 Drowners, 2 Drowned Dead | 250 | 90 | 300 (1,200) | 600 (2,400) | 1,200 (4,800) | 1,800 (7,200) |
| 13 | 1 Sorcerer, 2 Kaedweni Armored Footmen, 1 Kaedweni Arbalist | 275 | 90 | 325 (1,300) | 650 (2,600) | 1,300 (5,200) | 1,950 (7,800) |
| 14 | 6 Harpies, 4 Erynias | 275 | 90 | 350 (1,400) | 700 (2,800) | 1,400 (5,600) | 2,100 (8,400) |
| 15 | 3 Armored Dwarf, 2 Dwarf Arbalists | 300 | 90 | 375 (1,500) | 750 (3,000) | 1,500 (6,000) | 2,250 (9,000) |
| 16 | 5 Rotfiends, 2 Greater Rotfiends | 300 | 90 | 400 (1,600) | 800 (3,200) | 1,600 (6,400) | 2,400 (9,600) |
| 17 | 2 Sorcerers, 4 Kaedweni Swordsmen, 1 Kaedweni Shield Bearer | 325 | 90 | 425 (1,700) | 850 (3,400) | 1,700 (6,800) | 2,550 (10,200) |
| 18 | 12 Nekkers, 2 Trolls, 4 Nekker Warriors | 325 | 90 | 450 (1,800) | 900 (3,600) | 1,800 (7,200) | 2,700 (10,800) |
| 19 | 3 Kingslayers, 2 Sorcerers | 350 | 90 | 475 (1,900) | 950 (3,800) | 1,900 (7,600) | 2,850 (11,400) |
| 20 | 4 Werewolves | 350 | 120 | 500 (2,000) | 1,000 (4,000) | 2,000 (8,000) | 3,000 (12,000) |
| 21 | 2 Elite Kingslayers | 375 | 90 | 525 (2,100) | 1050 (4,200) | 2,100 (8,400) | 3,150 (12,600) |
| 22 | 2 Arachasae, 5 Endrega Warriors, 2 Queen Endregas | 375 | 90 | 550 (2,200) | 1100 (4,400) | 2,200 (8,800) | 3,300 (13,200) |
| 23 | 3 Bullvores, 4 Rotfiends, 2 Greater Rotfiends* | 400 | 90 | 575 (2,300) | 1150 (4,600) | 2,300 (9,200) | 3,450 (13,800) |
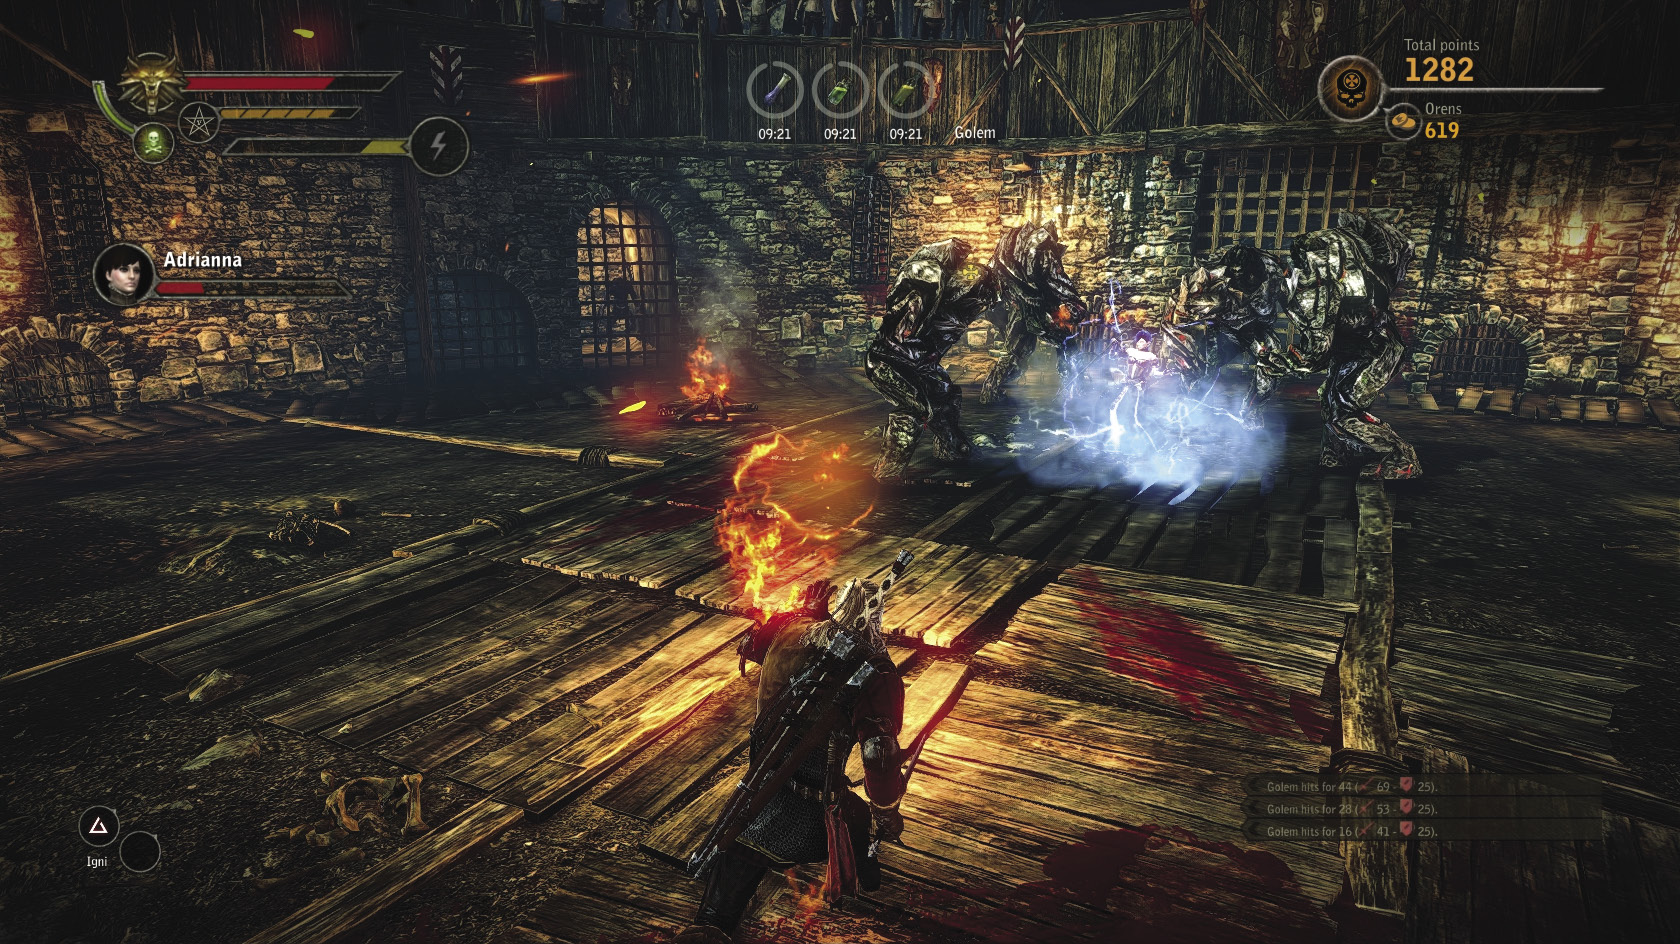
| 24 | 5 Golems (Earth Elementals)* | 400 | 90 | 600 (2,400) | 1,200 (4,800) | 2,400 (9,600) | 3,600 (14,400) |
| 25 | 8 Wraiths, 2 Zombie Arbalists, 3 Zombie Swordsmen | 425 | 90 | 625 (2,500) | 1250 (5,000) | 2,500 (10,000) | 3,750 (15,000) |
| 26 | 7 Gargoyles | 425 | 120 | 650 (2,600) | 1,300 (5,200) | 2,600 (10,400) | 3,900 (15,600) |
| 27 | 4 Werewolves, 8 Nekker Warriors | 450 | 120 | 675 (2,700) | 1350 (5,400) | 2,700 (10,800) | 4,050 (16,200) |
| 28 | 6 Draugir | 450 | 120 | 700 (2,800) | 1,400 (5,600) | 2,800 (11,200) | 4,200 (16,800) |
| 29 | 3 Golems (Fire Elementals), 7 Gargoyles* | 500 | 120 | 725 (2,900) | 1450 (5,800) | 2,900 (11,600) | 4,350 (17,400) |
| 30 | 1 Draug, 6 Draugir | 500 | 120 | 750 (3,000) | 1,500 (6,000) | 3,000 (12,000) | 4,500 (18,000) |
| * In these battles, the movements of the large enemies you battle cause the camera to shake. This significantly increases the difficulty of the fight. In rounds 23 and 29, focus on eliminating the large enemies first to end the camera-shaking effect. | |||||||
Points are awarded in Arena mode based on two criteria. First, you get points simply for completing each round. How many points you get depends on the difficulty setting you played on. You can play Arena mode on Easy, Normal, Hard, or Dark difficulty. Naturally, the higher the difficulty, the more default points per round you get for clearing the battle.
On top of your default points score, you are awarded bonus points based on how many cool stunts you pulled off during the fight and how quickly you finished. How many points you get as a bonus depends on a variety of factors, including the difficulty level you’re playing on and how far into the battle circuit you are. There is a hard cap on how many bonus points you can earn per round, which increases as you play on higher difficulties. Since the values of bonus point stunts change according to difficulty, the specific value of a given stunt will be unique to your game and where you are in it.
We can confirm that bonus points are awarded primarily for pulling off these feats in combat, though:
- Knocking an enemy off the edge of the arena with Aard.
- Performing a finishing move on a stunned opponent.
- Performing an instant kill.
- Successfully using Riposte to counter an enemy’s attack.
- Finishing before the time limit runs out. The quicker you finish, the higher the bonus.
Companions
| COMPANION | ROLE | PRICE | NOTES |
|---|---|---|---|
| Harald Gord | Archer | 250 | After hiring him, you can speak to him again to play dice. |
| Vincent Molnar | Melee Fighter | 500 | After hiring him, you can speak to him again to arm-wrestle. |
| Lady Adrianna | Sorceress | 1,000 | After hiring her, you can speak to her again to reset your skills. |
If you have orens burning a hole in your pocket and the vendor has no equipment you want to buy, consider hiring a companion. You can choose the dwarven mercenary Harald Gord, the human knight Vincent Molnar, or the sorceress Lady Adrianna. Generally, the more powerful a companion is, the more effective he or she is in combat.
Harald, for instance, is useful largely as a way to draw mobs away from you, while Lady Adrianna can take down enemies on her own. The main downside to hiring Lady Adrianna is that despite her expense, she has the lowest overall vitality of the three possible companions. You must take measures to keep mobs from swarming and overwhelming her, or you lose her quickly. Vincent is sort of a midpoint between the two extremes, able to dish out decent damage and stay alive a fairly long time.
Note that all of your companions can be overwhelmed and defeated in the arena, though, so don’t necessarily count on a companion surviving dozens of rounds of combat with you. Generally, companions stay with you until they’re overwhelmed by enemies, until you hire a new companion, or until you’ve lost too many rounds of combat. Sometimes if you lose and choose to keep going, your companion opts to stay with you.
Note that you get a bonus for hiring each companion at least once. After hiring Harald, you can speak with him again to play dice. After hiring Vincent, you can speak with him again to arm-wrestle. After hiring Lady Adrianna once, you can speak to her in order to reset your skills. This works the way it does when you speak to the Operator in the main game, and she will only let you do it once.
Build Advice
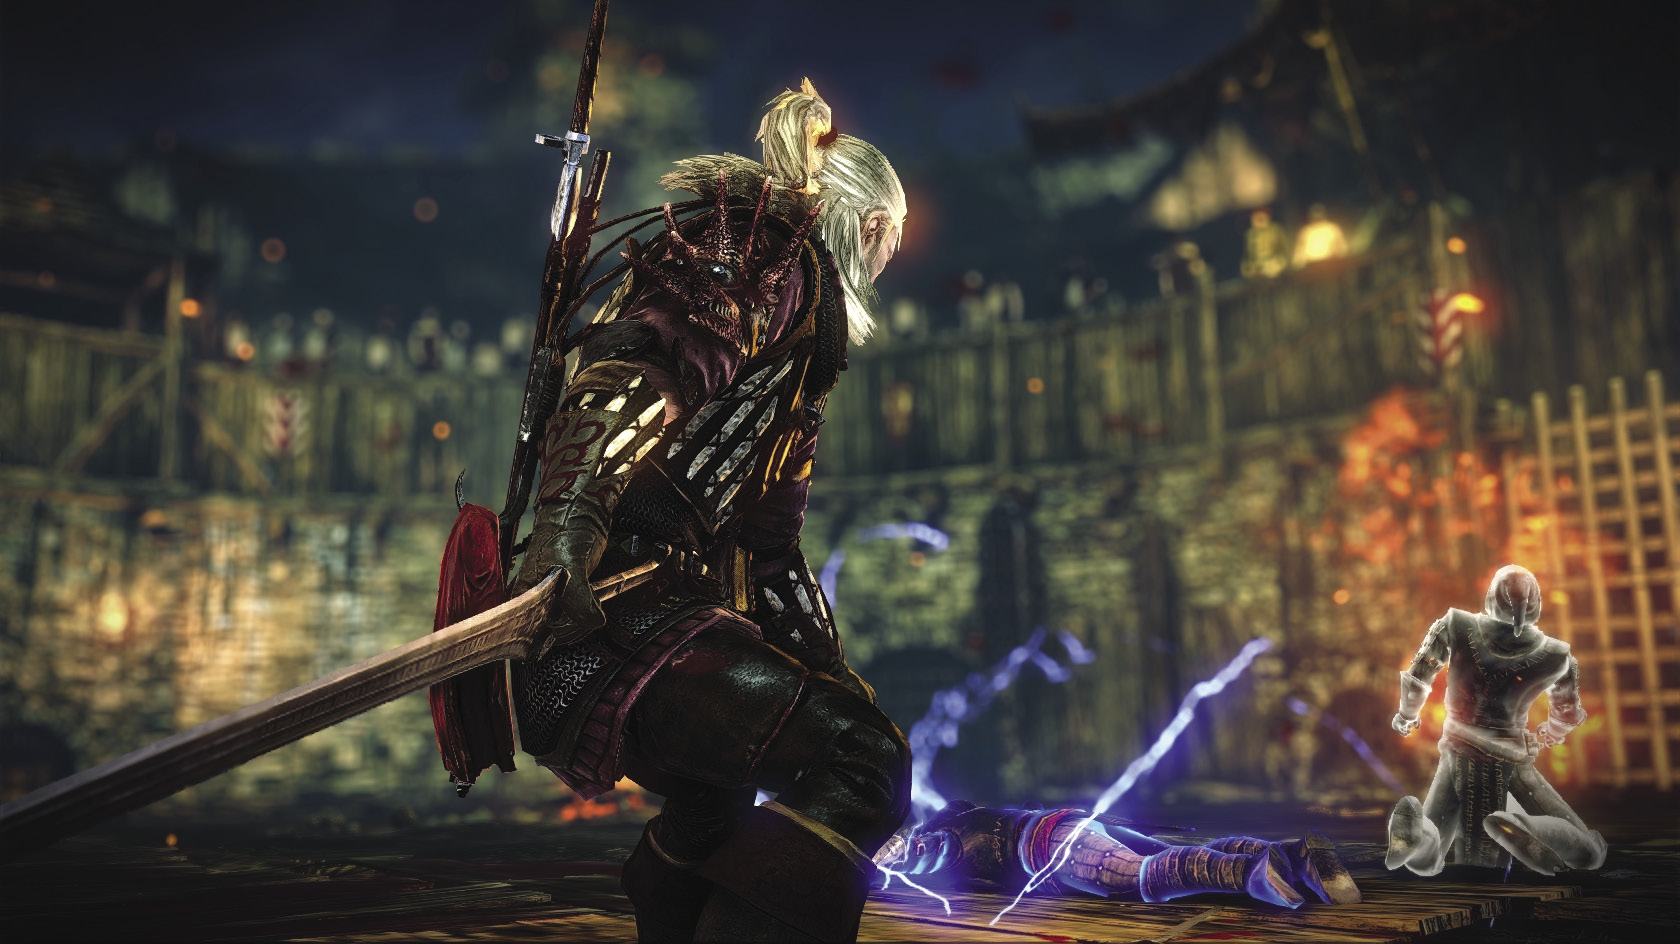
There are a lot of ways to build Geralt to get through Arena mode on the difficulty setting of your choice, but a strong build is going to follow certain basic rules of thumb.
Generally, the best Dark mode builds are going to be well-rounded builds. You can’t afford to specialize purely in any one skill tree, because of the way battles mix different types of enemies. You are likely to find yourself dealing with enemies that resist magic one minute, then enemies that are resistant to sword damage the next. If you want to make it to round 30, don’t put all of your eggs in one basket.
Try to invest your talents in skills that are always going to be useful. Anything that increases vitality, reduces damage, boosts vigor, or accelerates vitality regeneration in combat is going to prove useful. Stay away from talents that give bonuses out of combat, since they’re basically useless in this game mode. If you’re not in combat, nothing is going to be threatening you.
Finally, be very conservative about investing in the alchemy tree. Getting to any of the useful skills involves spending talents on skills like Harvester that are basically useless in this mode. Impregnation is also not worthwhile in the arena, since rewards are not guaranteed. You don’t know when you’re going to get a worthwhile mutagen, so the points you invest in Impregnation may never be put to good use. Take more immediately useful talents from the mage and swordsmanship trees instead.
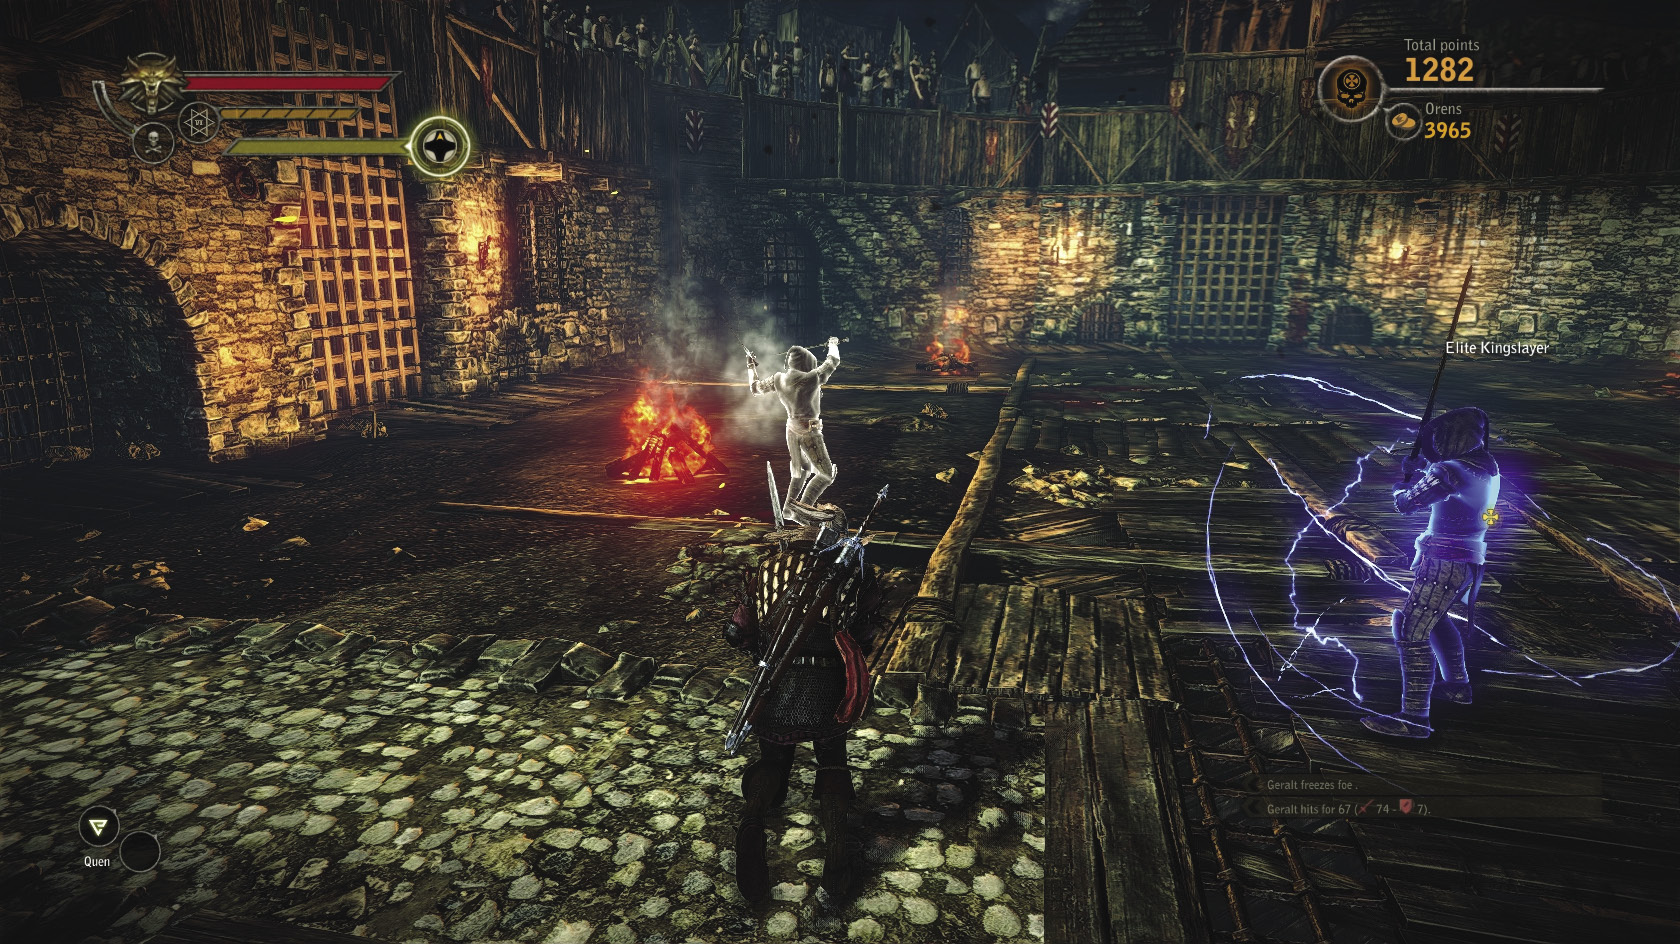
Once you unlock your adrenaline abilities, you may find you can save adrenaline between matches. Your adrenaline degrades over time as it does in a standard game, but not significantly. It’s still possible to enter a tough battle with an almost-full adrenaline meter and take a large threat out of the fight very quickly.
If you want some more ideas for how to build Geralt for the arena, then check out the sample build included here. This is the “Prima build” used in the Prima offices to clear Arena mode. Other builds that can clear Arena mode are certainly possible, and you can probably think of ways to improve this build as you play with Arena mode yourself. What you should pay attention to here is how this build fits the rules of thumb we’ve outlined.
| LEVEL | TALENT | LEVEL | TALENT |
|---|---|---|---|
| 1 | — | 19 | Invincible |
| 2 | Hardiness | 20 | Combat Acumen |
| 3 | Parrying | 21 | Whirlwind |
| 4 | Fortitude | 22 | Invincible |
| 5 | Hardiness | 23 | Combat Acumen |
| 6 | Fortitude | 24 | Tough Guy |
| 7 | Parrying | 25 | Feet Work |
| 8 | Feet Work | 26 | Magical Vigor |
| 9 | Schemer | 27 | Whirlwind |
| 10 | Tough Guy | 28 | Hardy |
| 11 | Hardy | 29 | Whirl |
| 12 | Whirl | 30 | Finesse |
| 13 | Schemer | 31 | Magical Vigor |
| 14 | Enhanced Axii Sign | 32 | Fatal Attraction |
| 15 | Enhanced Quen Sign | 33 | Fatal Attraction |
| 16 | Enhanced Quen Sign | 34 | Synthesis |
| 17 | Venting | 35 | Synthesis |
| 18 | Finesse | ||
This build takes the steps necessary to keep Geralt alive and mobile. This build invests heavily in skills to increase vitality and resistances while reducing the damage Geralt takes. Feet Work is essential in the arena to improve Geralt’s mobility and dodging ability, while Quen III and both levels of Venting act both as a strong defense and a passive offense. Axii III and both levels of Fatal Attraction help you turn foes into pawns that distract other enemies.
Finally, this build invests talents in causing critical effects. Being able to freeze, stun, and instantly kill opponents gives you a huge advantage, especially when you’re into the final rounds. Note that none of these talents boost effectiveness of specific critical effects. Since your weapons change frequently and are chosen from basically random selections, you need to be ready to take advantage of the strengths of any weapon you lay hands on.
Final Tips
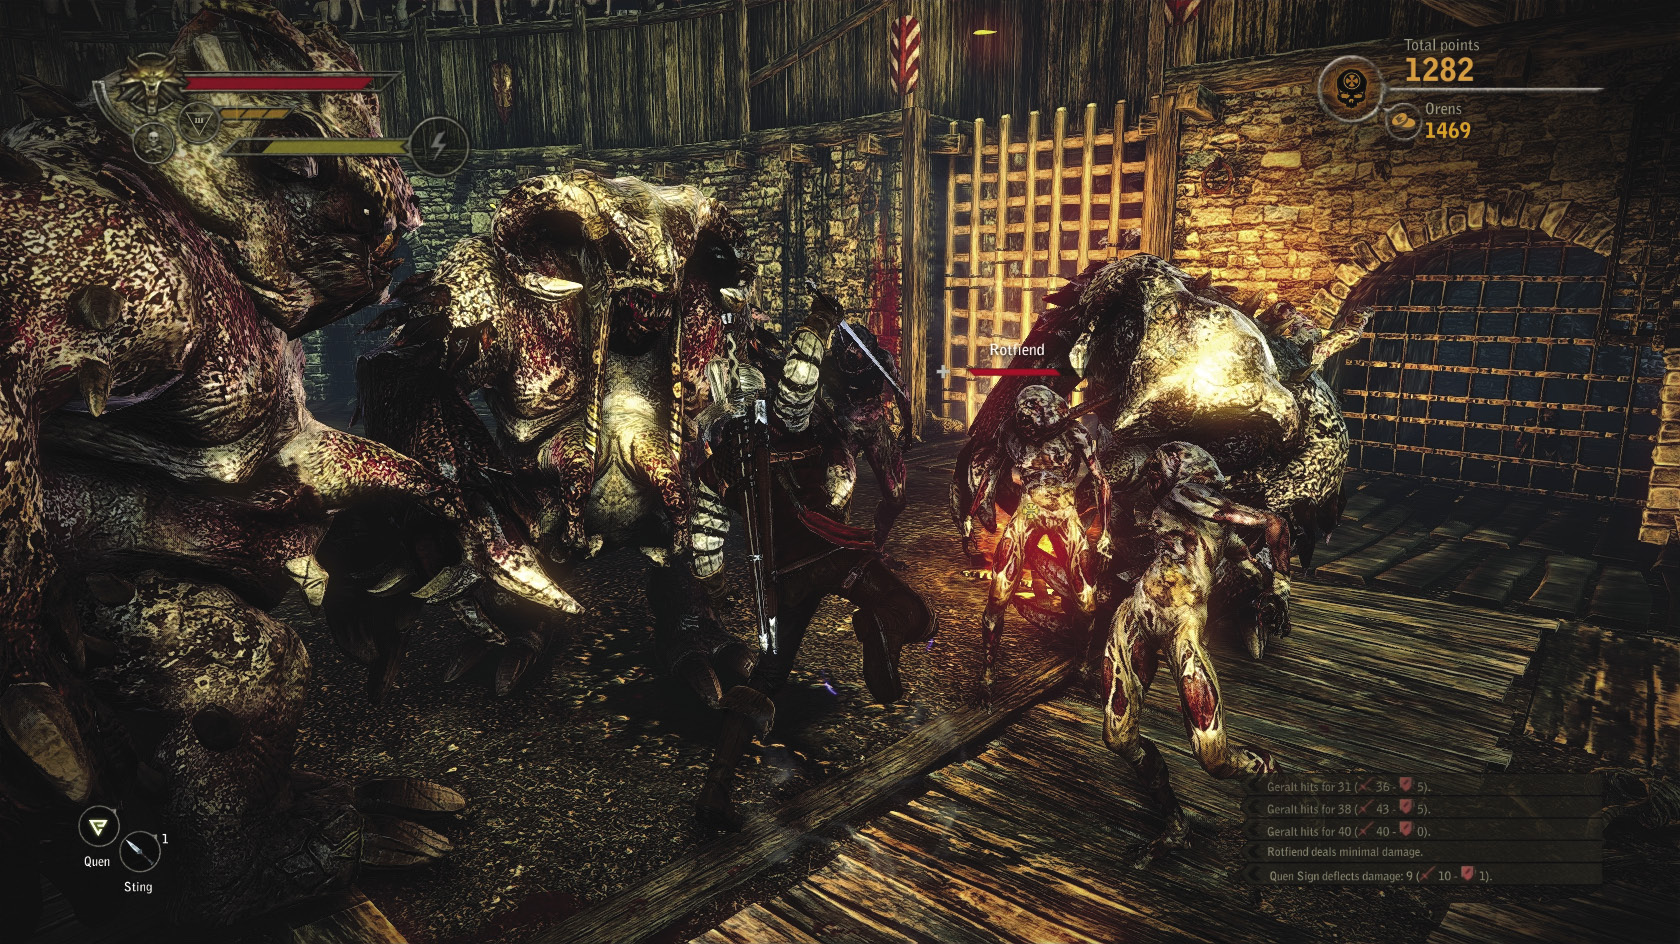
If you have a strong build and get good equipment, you should have no trouble handling Arena mode on the difficulty of your choice. The only way you can really fail is if you employ bad tactics or let the enemies overwhelm you. The final bits of advice we can offer you for getting through Arena mode are these tips. If you start struggling in Arena mode and you can’t figure out why you’re losing, read these and see if they help you figure out what you should be doing differently.
Combat Tips
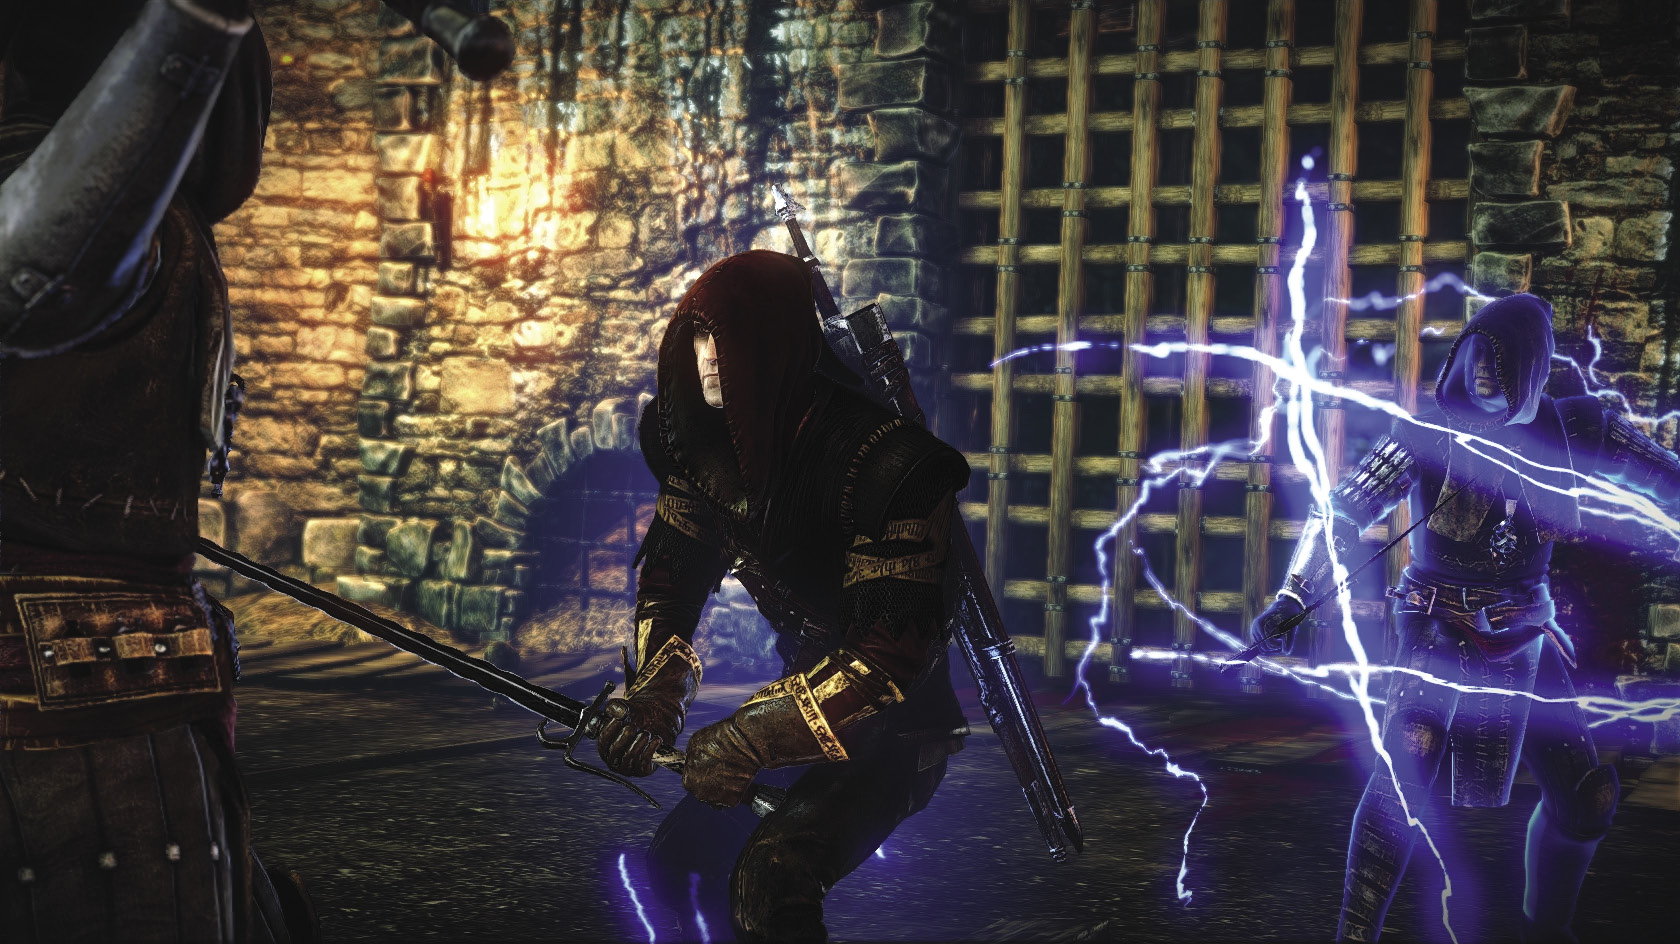
When battling monsters like werewolves or trolls, use tactics that fit how many enemies are on the field. If there’s only one enemy left on the field or if you’re trying to put a single big monster down quickly, focus on staying on top of it. Keep bashing away at it with your sword. These enemies suffer a certain amount of hit-stun after they’ve taken a blow, so you can use repeated quick blows to keep them locked up in staggering animations. This lets you finish off a potentially deadly opponent with relative ease.
Although this isn’t included in the Prima sample build, it can be extremely worthwhile to invest in Aard while in the arena. You can use Aard to blow enemies off the edge of the arena, which lets you get a point bonus and eliminate an enemy very quickly. If you find this approach suits you, invest in Aard instead of the Axii-related abilities.
Using Axii to dominate an enemy removes it as a threat for a short time, while also giving you another ally. This is not a good tactic if you want to get a lot of time-based bonuses, but if you’re just trying to survive it works wonderfully.
Before each fight, you can check to see what you’re fighting in the next round and, more importantly, what your specific rewards will be. Simply click on the arena door, see what you will be facing and the possible rewards, and then back out. This way you can better plan which reward to take when you succeed.
The potions you use early on in Arena mode aren’t necessarily the ones you want for later battles. Some potions that are useless early on become extremely useful during later rounds, when you gain access to boosted stats and strong gear. A good potion combination to use early on is Rook, Swallow, and Golden Oriole. Good potion combinations later on will include stronger brews like Virga, Thunderbolt, or White Raffard’s Decoction.
The arena merchant doesn’t work quite like the merchants in the main game. He never restocks if you, say, meditate to pass the time. The stock of items he has after you finish one round is all you can attempt to take into the next round. The store does not restock until you complete another round, whether you win or lose it. The arena merchant slowly restocks over time. For some items, the available quantity only increases by one after each fight.
Dodge, dodge, dodge. You still take damage when blocking, so keep moving! Keep rolling until the opportunity to strike presents itself.
If you must block, then invest in Riposte. Not only is using Riposte successfully worth bonus points, but it prevents you from taking damage and deals heavy damage to the enemy who has to soak up your counterattack.
Gear Tips
Know your equipment. Make sure you upgrade important equipment like armor and swords regularly. It’s hard to plan an upgrade path for your gear since the selection is random, so focus instead on just not falling behind the game’s power curve. If you haven’t upgraded your steel sword for a while, then focus on finding a replacement for it.
Make sure to check the stats of a new piece of gear you’re interested in against what you’re using already. ou need to make gear choices that have the greatest overall impact on your stats. Choices that give only incremental upgrades like a few more points of damage or a mere +1 to armor are less valuable than choices that might, say, use your trophy slot to give you a much bigger boost.
When it comes to selecting armor, focus on high armor value, vitality and vigor bonuses, and higher critical effects resistances. Resistances to incineration, poison, and bleeding are most useful since these are the effects enemies are most likely to try to inflict on you.
While you should try to slot out equipment if you can, how many rune slots a blade has is far less important in the first 30 waves of Arena mode than it is in the main game. Runes are too expensive to buy a full set for each sword you use, and you don’t get a lot of runes as loot until you’re into the second 30 waves. Judge swords by their base stats only. If a new sword has better stats than your current sword, but fewer slots, it’s still an upgrade.
Be sure to read the entire stat block of a piece of equipment before making a choice. You may see that a piece of equipment is “epic” or has a high resell value and assume it’s really powerful, only to find out that it boosts something like maximum load that’s useless in Arena mode.
Dragan
| Default Items | Prices | Default Items | Prices |
|---|---|---|---|
| Necrophage Oil | 126 | Well-Balanced Silver Dagger | 51 |
| Hanged Man’s Venom | 126 | Robust Well-Balanced Silver Dagger | 76 |
| Insectoid Oil | 126 | Superb Well-Balanced Silver Dagger | 101 |
| Specter Oil | 126 | Sting | 126 |
| Brown Oil | 126 | Poisoned Harpy Claw | 126 |
| Falka’s Blood | 126 | Sun Rune | 376 |
| Whirl | 126 | Ysgith Rune | 501 |
| Arachnid Oil | 126 | Earth Rune | 251 |
| Grapeshot | 101 | Moon Rune | 376 |
| Devil’s Puffball | 126 | Fire Rune | 501 |
| Samum | 101 | Fibre Enhancer | 33 |
| Dancing Star | 126 | Mail Enhancement | 158 |
| Dragon’s Dream | 101 | Runic Armor Enhancement | 104 |
| Zerrikanian Sun | 101 | Armor Enhancement | 32 |
| Conflagration | 76 | Leather Enhancement | 33 |
| Clawer | 51 | Hardened Leather Reinforcement | 33 |
| Talgar Winter | 76 | Reinforced Leather Enhancement | 34 |
| Gadwall | 26 | Robust Leather Reinforcement | 33 |
| Tawny Owl | 26 | Studded Leather Reinforcement | 64 |
| Wolf | 26 | Steel Plate Enhancement | 65 |
| Rook | 26 | Amethyst Armor Enhancement | 104 |
| Swallow | 26 | Diamond Armor Reinforcement | 207 |
| Golden Oriole | 26 | Endrega Hide Reinforcements | 40 |
| Tiara | 26 | The Arachas – A Study | 145 |
| Stammelford’s Philtre | 26 | Bruxae – Eulogists of Death | 101 |
| Maribor Forest | 26 | How to Kill a Bullvore | 126 |
| Lapwing | 26 | Drowners: A Textbook for Initiates of the Order of the Flaming Rose | 32 |
| Virga | 26 | Nekkers in the Mist | 32 |
| White Raffard’s Decoction | 26 | The Horrors of War: Rotfiends | 64 |
| Petri’s Philter | 26 | Beings of the Element of Fire | 126 |
| Brock | 26 | Three Years Among the Engredgas | 64 |
| Thunderbolt | 26 | Gargoyles, Gutters, Splutters – Maintenance and Repair | 126 |
| Rusty Well-Balanced Dagger | 26 | Harpies – Daughters of the Gale | 95 |
| Robust Well-Balanced Dagger | 51 | Wraiths: Fear and Trembling | 95 |
| Superb Well-Balanced Dagger | 76 | ||