
The Witcher 2: Assassins of Kings Guide Walkthrough
Chapter 2: The Kaedweni Camp (Roche)
 Prelude to War: Kaedwen
We begin the chapter in a cutscene where we see Henselt and his two mages going to a parley with Saskia the Dragonslayer and Prince Stennis of Vengerberg. You control Henselt in this sequence. As Henselt, the conversation options you select determine how this sequence plays out.

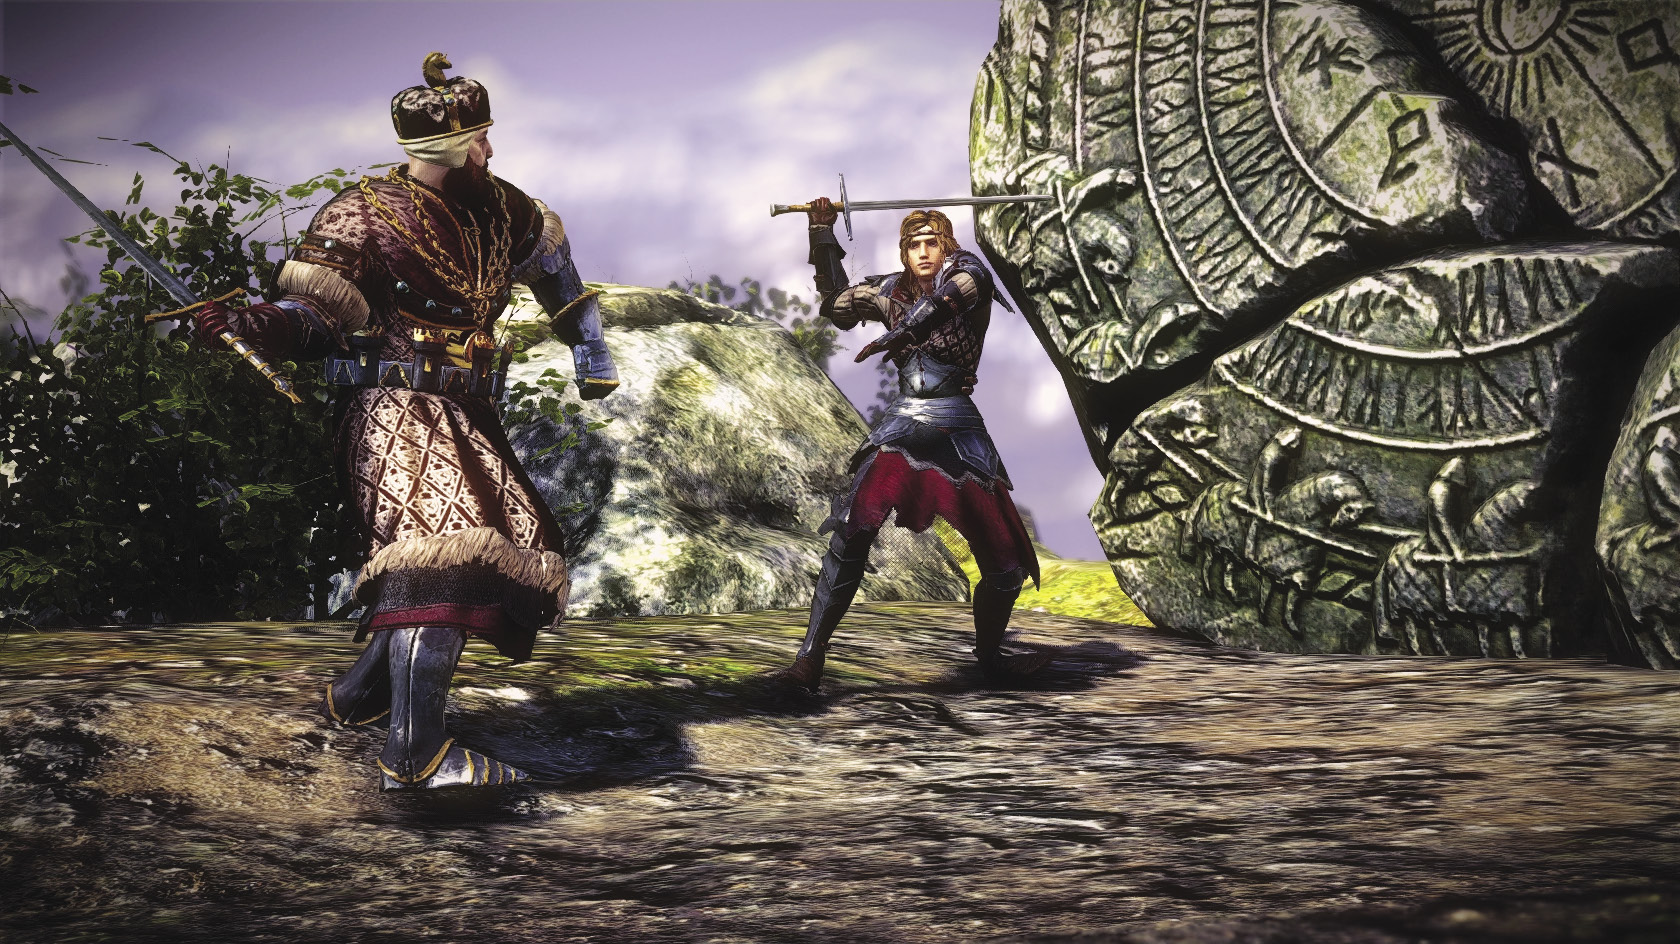
Your dialogue sequence here determines whether you fight Saskia the Dragonslayer one on one in a duel, or whether you fight her forces in a pitched battle. The initial negotiation with the Aedirnian nobles is only for flavor and does not affect this outcome. Once Saskia appears, your conversation choices begin to influence things.
If you say “Silence, Dethmold” after Saskia’s cutting opening remark, you open up the option to simply duel her. Say “I’ll fight” to initiate the duel. This battle is exceptionally easy if Riposte is available to counter Saskia’s blows. If not, you can still do a basic block-counter pattern to defeat her easily. This is the simplest and quickest way to resolve this sequence.
If instead you say “My plans for you are altogether different,” you trigger a mass melee battle that pits all of Henselt and Saskia’s forces against each other. Síle is frankly more dangerous to you in this fight than any of Saskia’s followers, as Síle’s fire bolts incinerate you if you get hit by accident. You can attempt to pick off each of Saskia’s followers one by one, but this process is very slow and can be a bit dangerous. Henselt can’t dodge-roll and becomes vulnerable if surrounded. To end the mass melee quickly, go directly after Saskia.
If you say “Will you threaten me as well?” a short dialogue ensues, then the next branch of the dialogue simply presents the two options you didn’t pick the first time. “Silence, Deathmold” unlocks the options outlined above.
If you say “You risk much, Saskia,” you come to a new dialogue branch. Saying “I’ve heard enough” triggers the mass melee battle. If you say “I will hear you out,” Saskia offers the duel. At this point you can accept by saying “I’ll fight,” or refuse by saying “My plans for you are altogether different.”
When You’re Not Geralt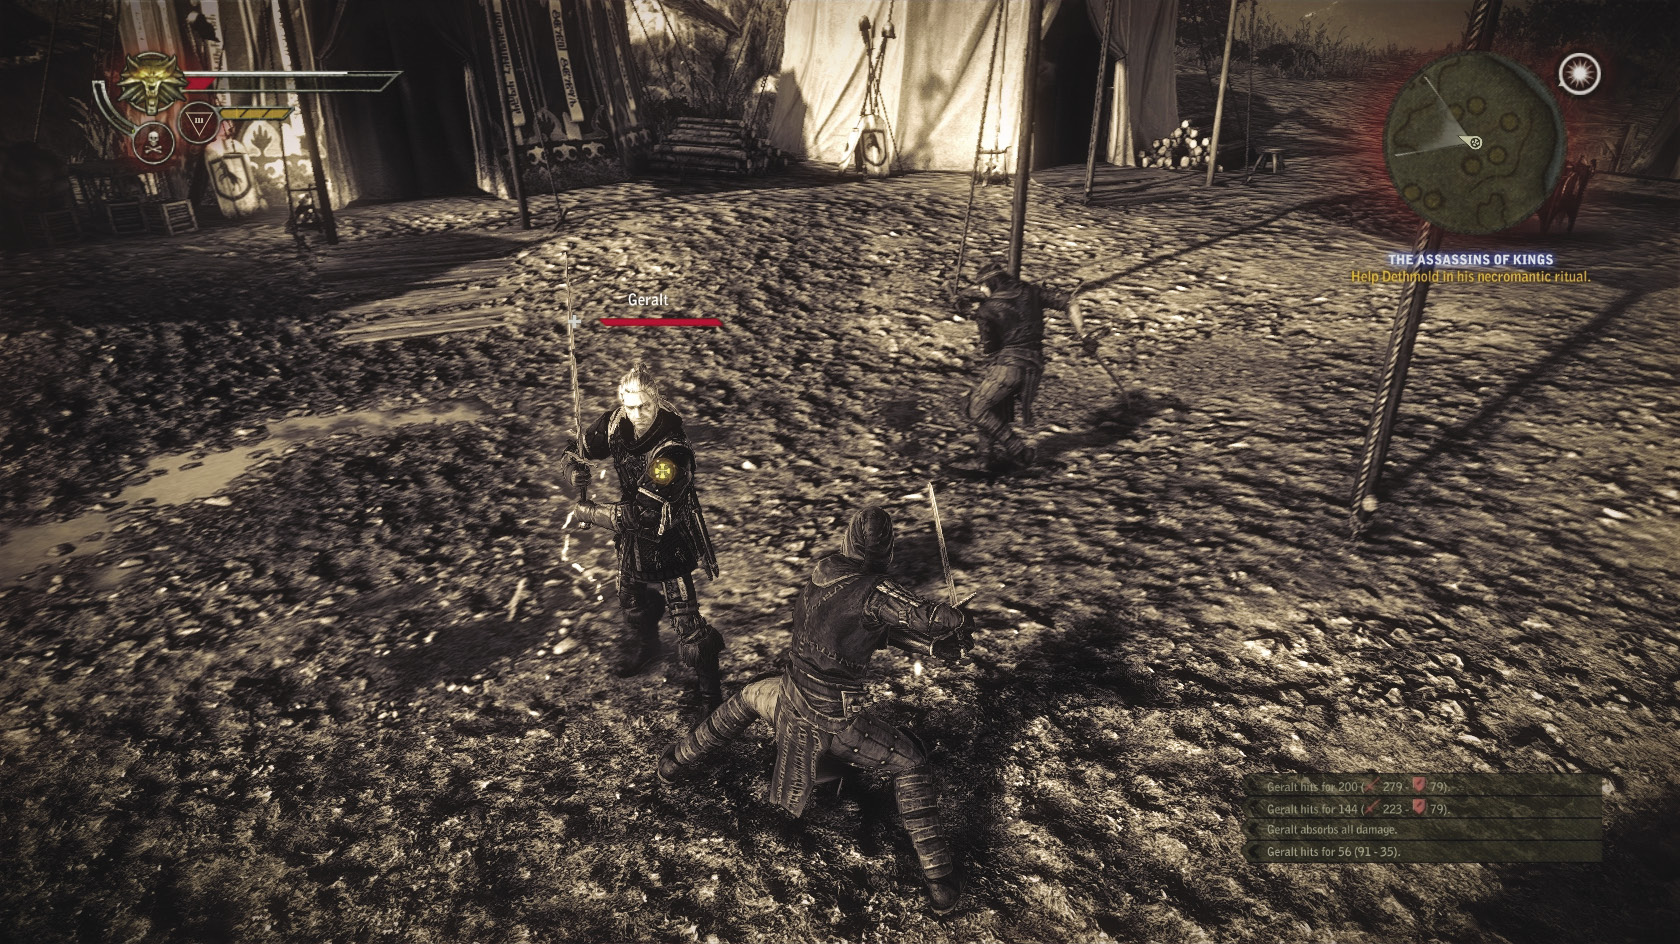 Your brief stint fighting as Henselt in this part of Chapter 2 is one of many sequences this chapter where you control someone who is not Geralt and therefore does not have his full range of abilities. These sequences should be manageable regardless of build on Normal and Easy but may be frustrating on higher difficulties if your Geralt build is specialized for alchemy or magic. Those abilities do not carry over when you control a character who is not Geralt. That said, it’s worth noting that some abilities from the swordsmanship skill tree carry over when you control someone who isn’t Geralt. Generally, you can’t dodge-roll when you’re controlling someone like Henselt, but passive abilities like Back Defense, Precision, and Violence are going to affect your performance in combat. Of the active abilities, the most notable one to carry over is Riposte. Keep this in mind if you start having serious problems completing a sequence where you aren’t Geralt. Going into an earlier save and investing even just a couple of points in the swordsmanship skill tree can make a big difference. |
After some cutscenes, Geralt and Roche arrive. Now you control Geralt and must help everyone battle a horde of Kaedweni knight wraiths. If you optimized your equipment last chapter, it really pays off here. You should be able to take out the wraiths rapidly with light attacks. Once you’ve defeated enough wraiths, two draugirs appear. Draugirs basically fight like knights with heavy shields, only their defense is even harder to get through.
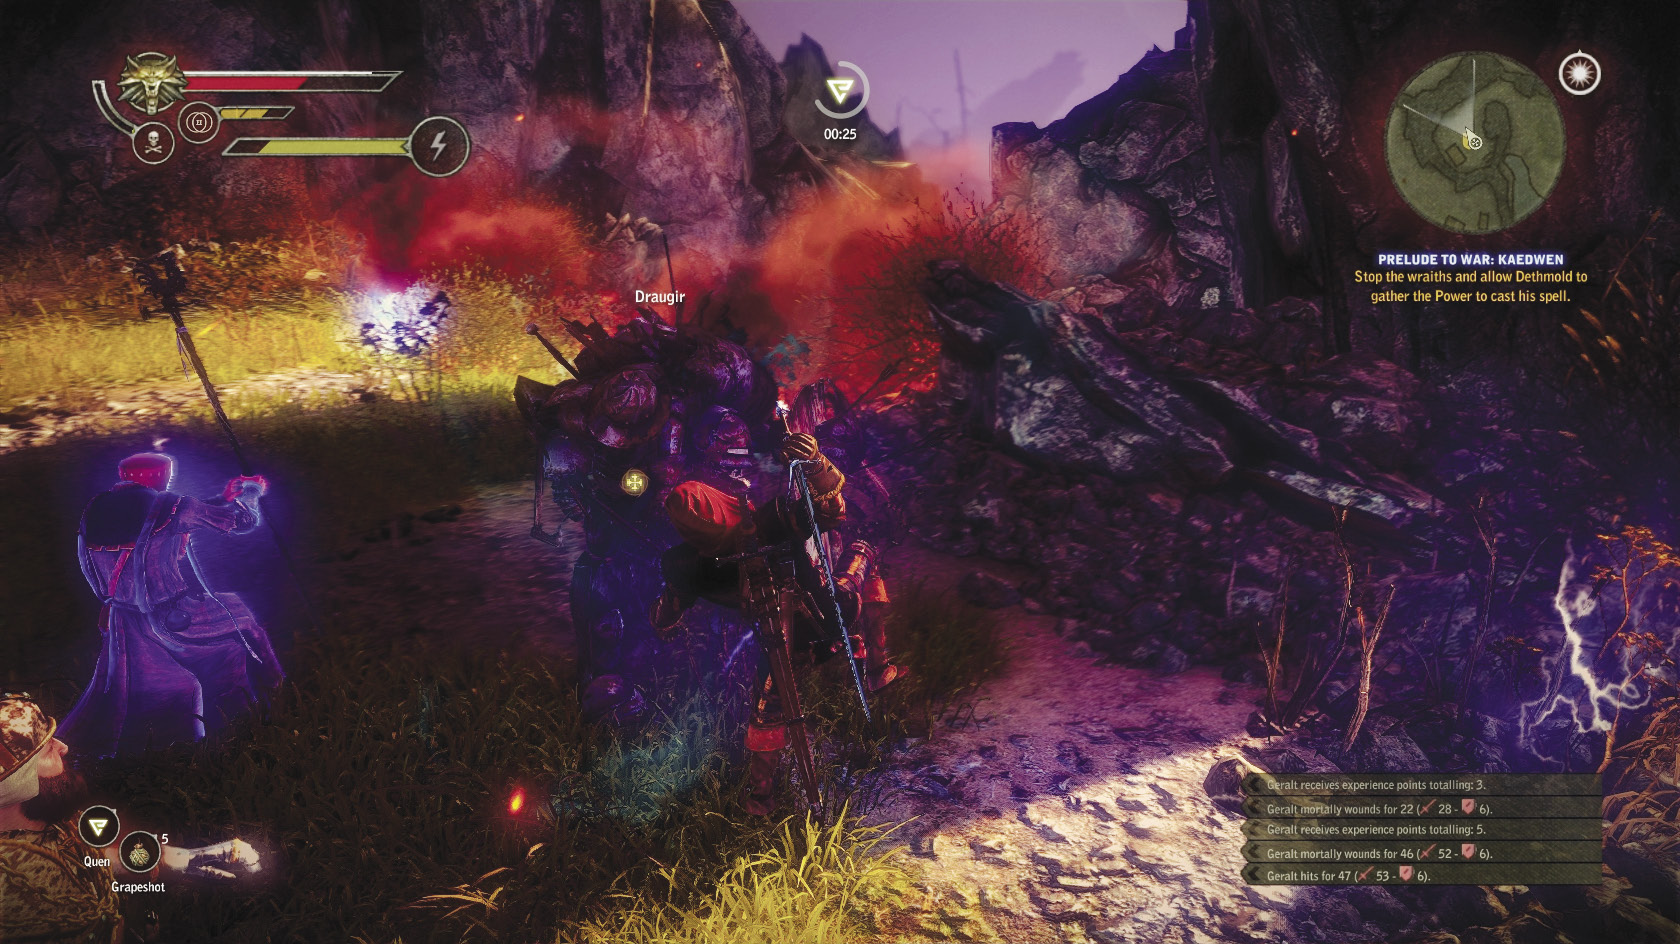
Mage and alchemist Geralt builds need to stun or stagger a draugir to create an opening for doing damage. Mages want Aard or Yrden here, alchemists want Zerrikanian suns and Talgar winters. A swordsman build can try to sneak around to the draugir’s back with dodge rolls, or try to simply tank through the draugir’s attacks, using Quen to damage it while it’s swinging its sword. Just like you, the draugir has to drop its guard before it attacks. In any case, keep Quen up during this battle. Just as in the mass melee, Síle tends to be more dangerous to you here than the actual enemies.
After you defeat the two draugirs, you get some more cutscenes that make it clear the wraiths are never going to stop spawning. For the next sequence, you need to stay within a cover of protective magic provided by Dethmold. It’s very similar to the sequence last chapter where Triss protected you from arrows, but staying within the cover’s field of protection is much easier. Occasionally Aedirnian knight wraiths rush you, but by the time they get to you, they have so little vitality that a single light attack probably dispatches them.
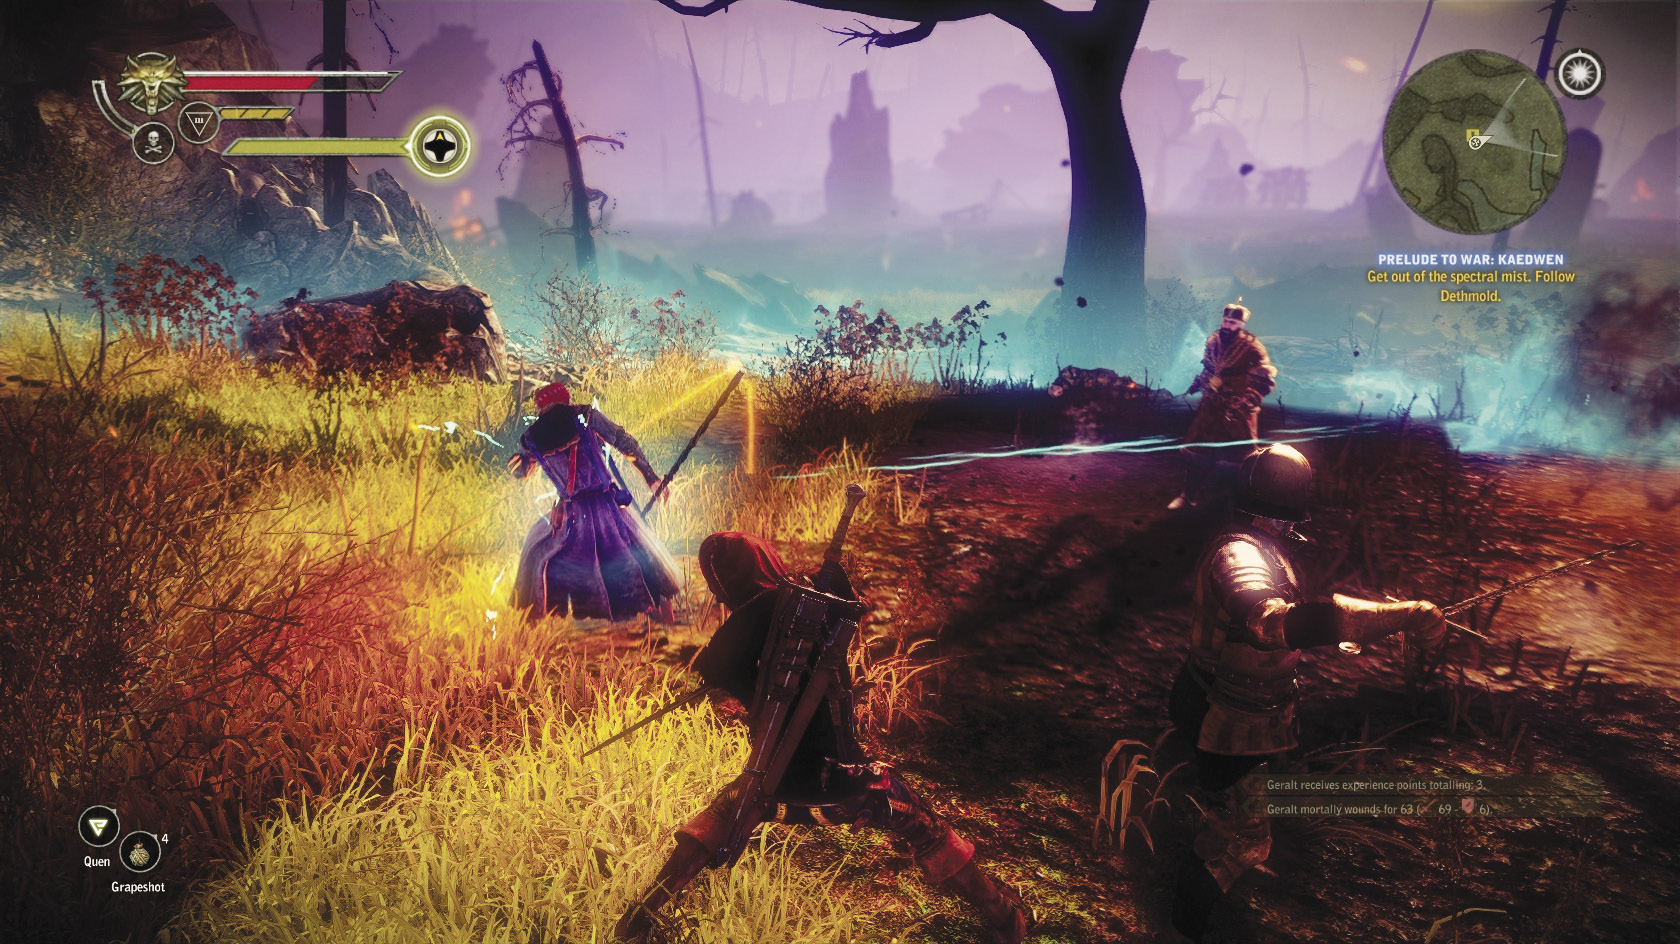
There should be two or three sequences where wraiths appear and trap Dethmold with beams of energy. The field of cover stops moving and Aedirnian and Kaedweni knight wraiths flood into it. To proceed, you need to pick off the wraiths holding back Dethmold. They respawn rather quickly, so avoid getting bogged down fighting the various knight wraiths. Usually freeing Dethmold requires killing at least four of them, most often around six. Keep Quen up, as Síle’s very likely to end up firing fireballs at your back in a crowded, close-quarters fight like this one. Once you clear out all the wraiths, Dethmold can move again. Dethmold also eventually breaks free if you take too long slaying the various wraiths.
After the first of the battles against the entrapping wraiths, you pass by Prince Stennis’s body lying beneath a tree. If you move quickly enough to loot him, you can get Stennis’s sword, a unique (if mediocre) steel sword.
Eventually, Dethmold leads you to the Kaedweni Camp, pitched north of the Pontar. Once within its walls, follow Zyvik as he takes you on a tour of the major points of interest in the camp. You can try to hurry him, but if you do you’re screwing yourself out of the Tourist achievement. Once the tour is done, Zyvik takes you to the entrance to the upper camp, where Henselt’s tent is located.
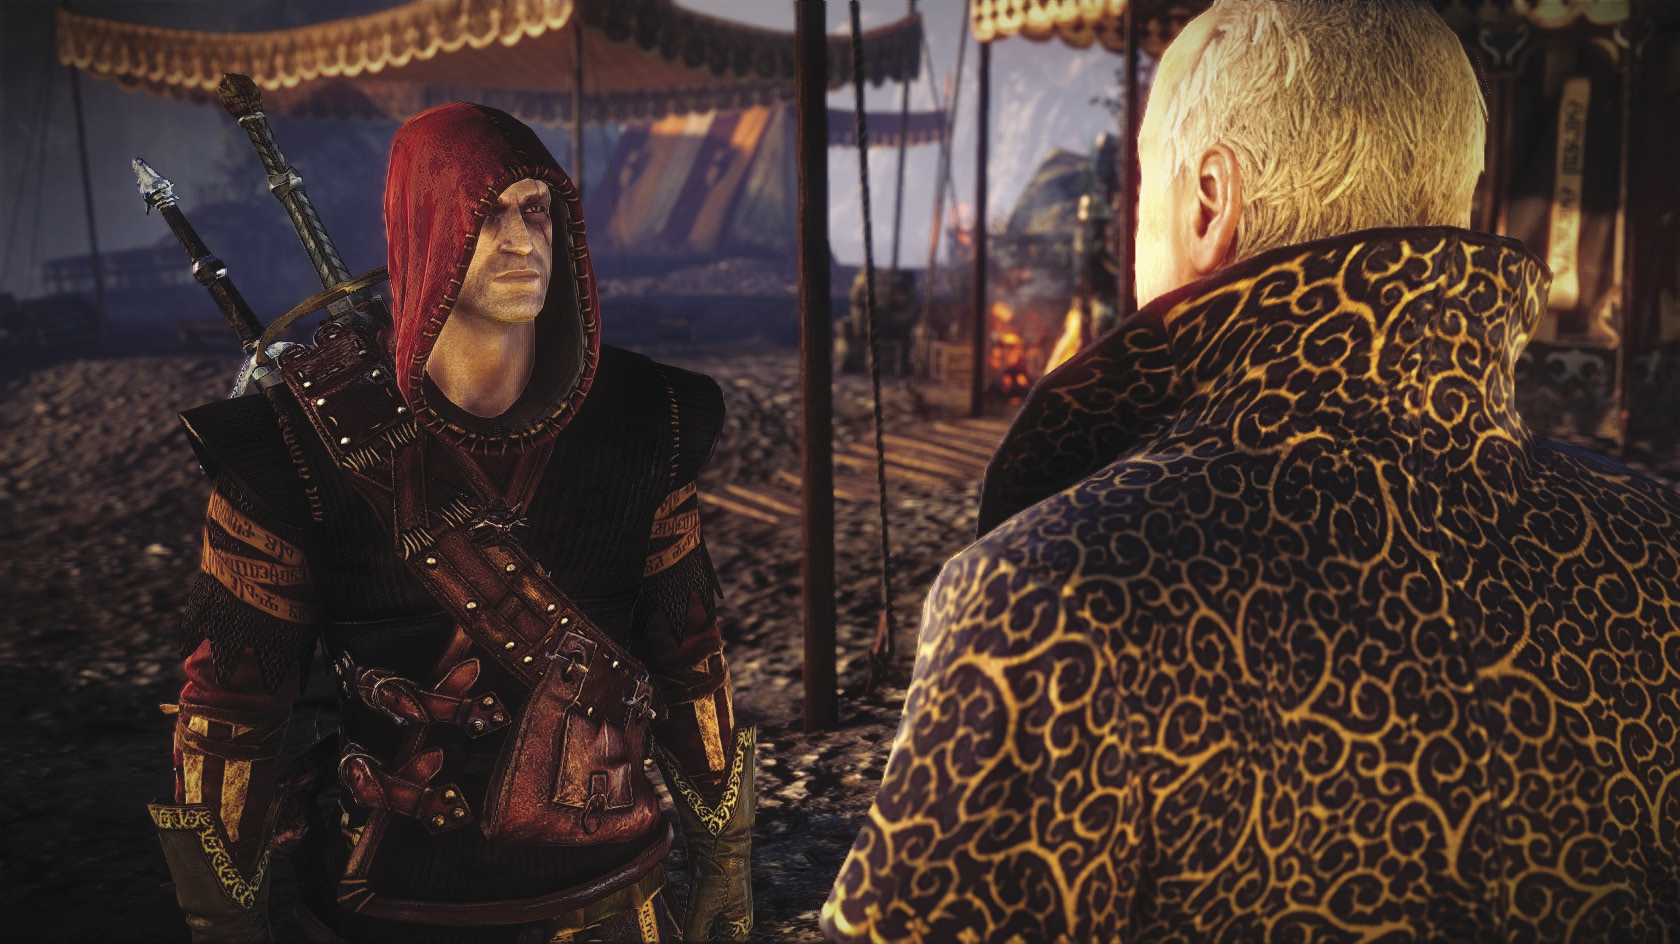
Outside Henselt’s tent, you encounter Shilard Fitz-Oesterlen again. You can mostly say what you wish during this conversation, which serves primarily to let you gather extra information about the storyline. An important thing to keep in mind, though, is that Axii does not work on Shilard. If you come to the branch of the dialogue where you have the chance to use special dialogue options, try the persuasion option instead.
After the discussion with Shilard, enter Henselt’s tent and talk to him. You can say whatever you like here. No matter what you say, you end up tasked with finding a way to break the curse that has consumed the battlefield. Finishing the dialogue with Henselt resolves this quest, which is worth 1,000 XP.
At this point, there are plenty of active storyline quests that you can pursue. It’s best to do all of the available side quests first, since the storyline quests tend to have a fairly dramatic effect on what you can and can’t do. Right now you’re free to do whatever you want, so begin by getting your bearings. In addition to the Kaedweni Camp, you can travel to Roche’s Camp and the Camp Followers’ Encampment nearby. The Nilfgaardian Camp is to the north, but you can only access it briefly as part of a particular quest. You travel to Roche’s Camp for a few side quests but otherwise won’t be using it regularly. All of the chapter’s major shopkeepers are divided between the Kaedweni Camp and the Camp Followers’ Encampment, so it’s best to examine the two locations separately.
Kaedweni Camp
Points of Interest
Canteen
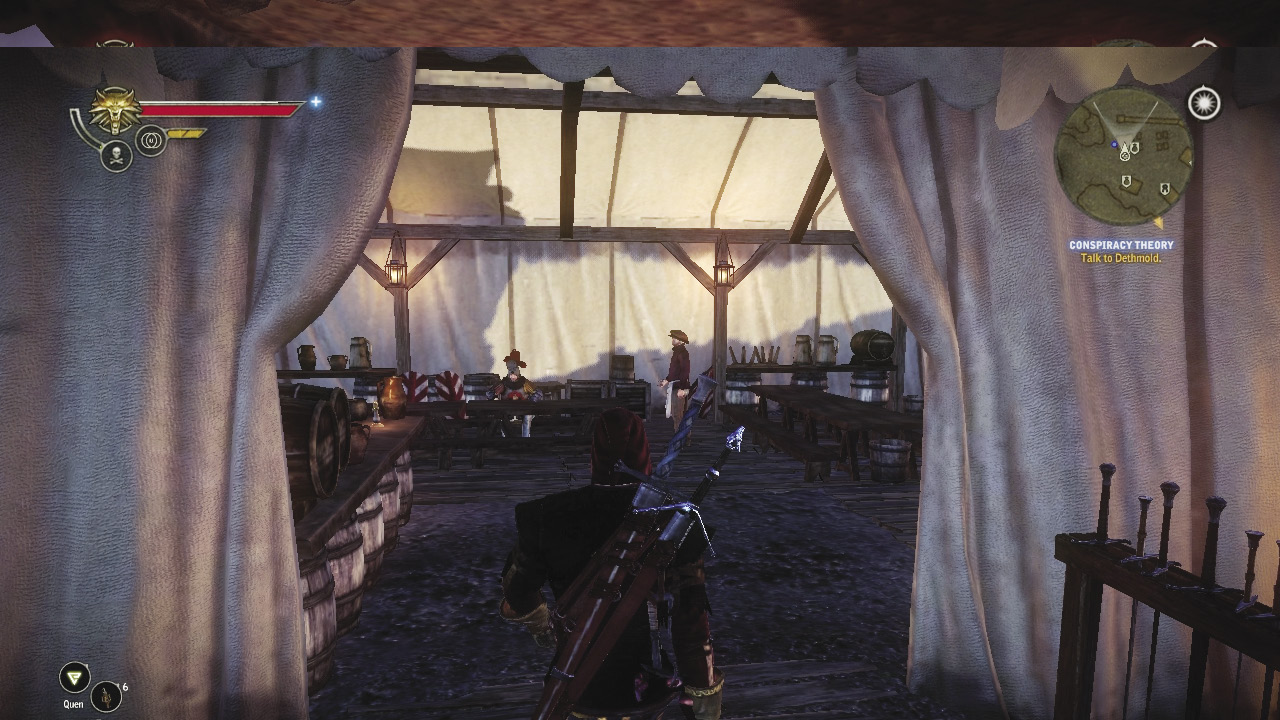
The canteen is marked on your in-game mini-map as an inn, but many of the usual amenities of an inn are missing. In particular, you can’t access your storage from the Kaedweni Camp’s canteen and instead must head to the Camp Followers’ Encampment to access storage. You visit the canteen mainly to get side quests off of the notice board that stands outside. You can also initiate the chapter’s dice poker quest with a couple of fellows who play outside, as well as progress a few other side quests here by talking to NPCs.
Upper Kaedweni Camp
The upper Kaedweni Camp is where you can find nobles and the mercenaries that work directly for them. Major NPCs of note in this area include King Henselt, Síle de Tansarville, Dethmold, and Adam Pangratt. You need Pangratt in particular for this chapter’s arm-wrestling quest line, and you must visit Dethmold and Henselt several times as part of the game’s main story quests. Most of your interactions with Síle in this chapter are optional, but she can remove the Hung Over tattoo if you buy the right ingredients. A gate from the upper Kaedweni Camp leads to the Nilfgaardian Camp, but it usually remains shut. As you might expect, this part of the camp yields a lot of valuable random loot.
Roche’s Camp
Just south of the Kaedweni Camp stands the area where the Blue Stripes have camped out. You need to go here for the chapter’s fistfighting side quest and as part of the Ave Henselt! side quest. You can listen to some amusing dialogue from the Blue Stripes and have optional conversations with Roche and Ves here, too. Be sure to loot the area, as it’s stuffed with more orens and random goods than you might expect.
Weapons Racks
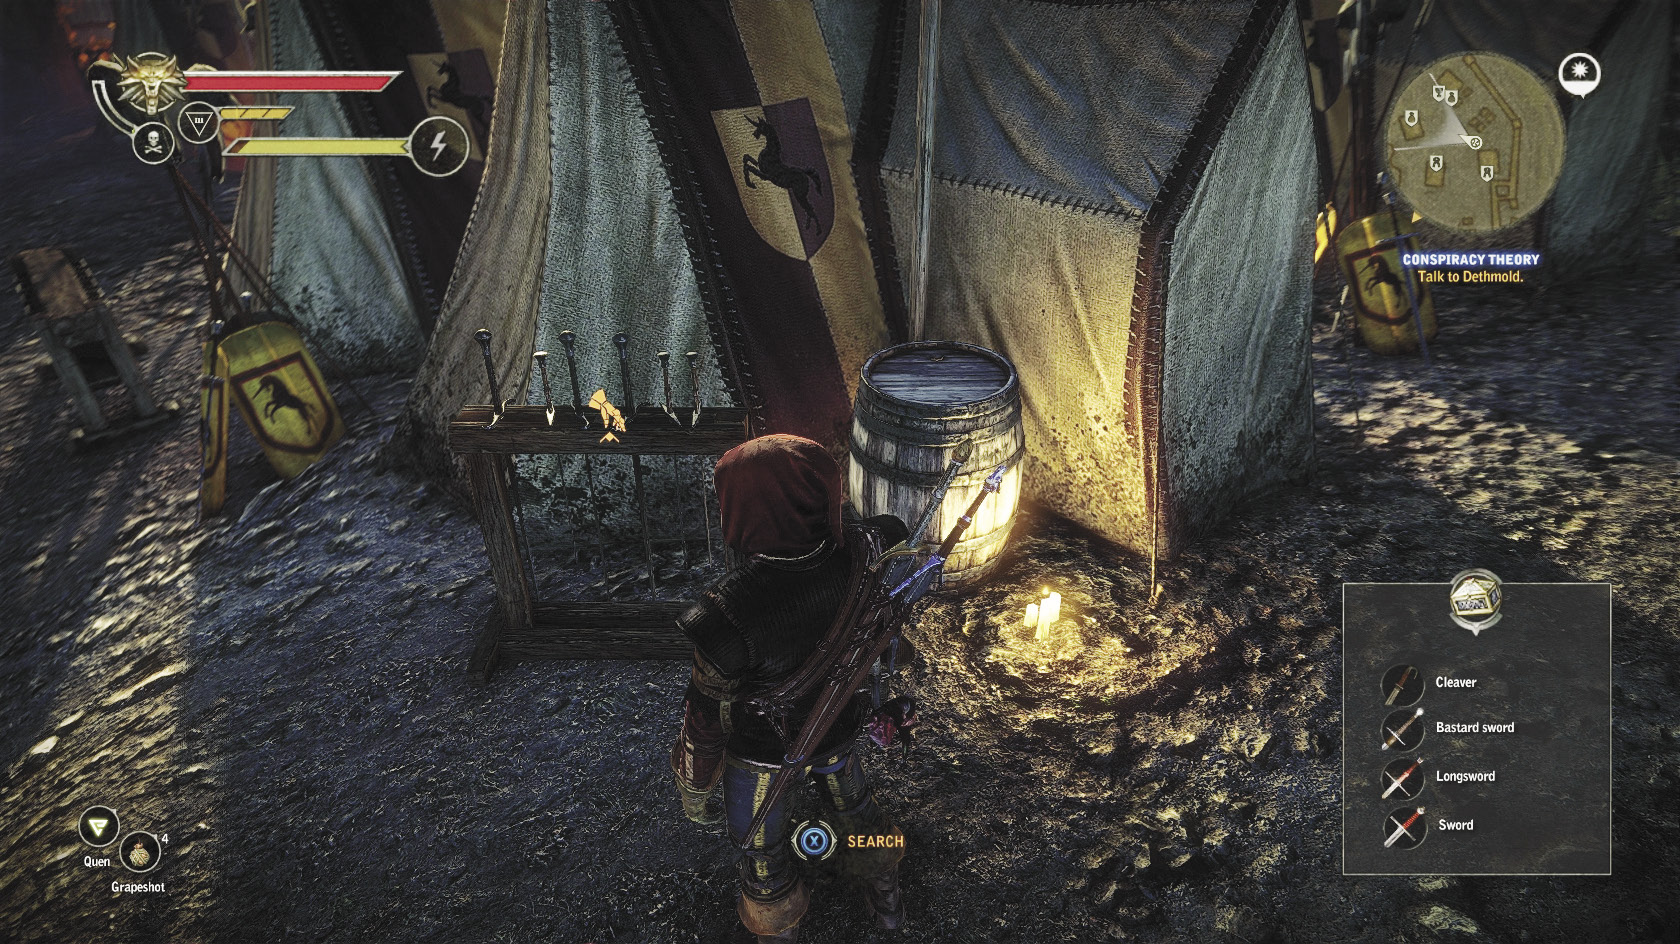
The Kaedweni Camp is stuffed to the brim with useful loot, both random goods and some armor enhancements marked on your guide map. The weapons racks dotted throughout the camp are not exactly useful, but you can use them to obtain big piles of additional weapons that you can immediately turn around and sell. Each weapons rack you find in the Kaedweni Camp contains a cleaver, a bastard sword, a long sword, and a sword. That’s 26 pounds of loot you can sell for a quick 29 orens. Note that any weapons rack you find in an indoor area is going to offer a random selection of weapons instead of the pre-set selection the ones outside offer.
The Right to Bear ArmsYou might expect terrible consequences for running around an armed camp with your sword drawn, but, actually, no one cares. This is one of the few settled areas in the game where you can keep your sword drawn without guards pouring down on you. You can even run around the upper camp with your sword drawn and not have to worry about reprisals. Enjoy this while it lasts, though remember that running around with your sword drawn tends to make NPCs panic. |
Merchants
Isidor
| Item | Price | Item | Price |
|---|---|---|---|
| Harpy Trap | 126 | Phosphorescent Crystal | 20 |
| Conflagration | 76 | Leather | 20 |
| Grapeshot | 101 | Timber | 7 |
| Clawer | 51 | Twine | 14 |
| Diagram: Conflagration | 251 | Formula: Dancing Star | 84 |
| Diagram: Clawer | 189 | Formula: Dragon’s Dream | 111 |
| Diagram: Talgar Winter | 276 | Formula: Devil’s Puffball | 77 |
| Diagram: Rage | 251 | Formula: Flare | 35 |
| Diagram: Biter | 226 | Formula: Stenchbulb | 63 |
| Diagram: Well-Balanced Dagger | 89 | Formula: Zerrikanian Sun | 97 |
| Rotten Meat | 7 | Formula: Grapeshot | 70 |
| Bauble | 14 | Formula: Red Haze | 84 |
| Endrega Gland Extract | 14 | Biter | 51 |
Isidor Kay is a dwarven sapper working for the Kaedweni forces as a mercenary. He doesn’t care for the way the Kaedwenis treat dwarves, but the pay is good and opportunities are plentiful. Isidor is one of the two craftsmen you can work with in this chapter. He sells diagrams for all the major types of traps, monster lures, and formulas for bombs. Basically, anything you decide you need that you didn’t get from Cedric in the last chapter, you can pick up from Isidor during Chapter 2. He operates roughly from noon to dusk.
Lasota
| Item | Price | Item | Price |
|---|---|---|---|
| Leather | 20 | Reinforced Leather Enhancement | 34 |
| Cloth | 20 | Iron Ore | 20 |
| Robust Cloth | 32 | Silver Ore | 45 |
| Hardened Leather | 26 | Quilted Armor | 781 |
| Studded Leather | 39 | Kaedweni Leather Jacket | 941 |
| Blue Meteorite Ore | 26 | Kaedweni Sword | 714 |
| Diamond Dust | 29 | Diagram: Robust Kaedweni Sword | 189 |
| Red Meteorite Ore | 26 | Diagram: Endrega Hide Armor Reinforcements | 201 |
| Amethyst Dust | 22 | Diagram: Solid Cloth | 251 |
| Heavy Leather Trousers | 153 | Diagram: Hardened Leather | 251 |
| Rusty Well-Balanced Dagger | 26 | Diagram: Studded Leather | 276 |
| Well-Balanced Dagger | 39 | Diagram: Leather | 176 |
| Robust Well-Balanced Dagger | 51 | Diagram: Elemental Stone | 214 |
| Superb Well-Balanced Dagger | 76 | Diagram: Oil | 126 |
| Well-Balanced Silver Dagger | 51 | Diagram: Essence of Water | 226 |
| Robust Well-Balanced Silver Dagger | 76 | Diagram: Amethyst Dust | 264 |
| Superb Well-Balanced Silver Dagger | 101 | Diagram: Diamond Dust | 314 |
| Diagram: Draug Armor | 1626 | Diagram: Yellow Meteorite Silver Sword | 164 |
| Mail Enhancement | 158 | Diagram: Blue Meteorite Silver Sword | 339 |
| Armor Enhancement | 32 | Diagram: Red Meteorite Silver Sword | 151 |
| Leather Enhancement | 33 | Diagram: Robust Yellow Meteorite Sword | 264 |
| Diagram: Amethyst Armor Enhancement | 201 | Diagram: Robust Blue Meteorite Silver Sword | 626 |
| Diagram: Diamond Armor Reinforcements | 276 | Diagram: Robust Red Meteorite Silver Sword | 226 |
| Studded Leather Reinforcement | 64 | Robust Leather Reinforcement | 33 |
| Fibre Enhancer | 33 | ||
Lasota is the camp armorer, a friendly enough fellow if also a man of few words. He sells a lot of components and diagrams for crafting various types of armor and swords. Most notably, he sells the diagram for the draug armor. If you’ve pored over the item listings in the back of the book, you’ve probably noticed that the draug armor is by far the strongest armor you can get in Chapter 2. The catch to this is that you cannot actually manufacture the draug armor in Chapter 2. The actions that allow you to obtain the armor’s final component also trigger a quest that automatically shuts down all merchants in the Kaedweni Camp for the rest of the Chapter.
It’s really Chapter 3 before you can use the draug armor. If you think that’s the armor set you want to use for Chapter 3 and the end of the game, make sure you buy the diagram from Lasota before you resolve The Eternal Battle. The draug armor is actually the second-strongest set of armor in a standard (that is, non–Dark mode) game, though. If you want to go for the strongest set, the vran armor that becomes available later on in Chapter 3 as part of the quest Mystic River, then you may want to skip the draug armor entirely and save your money.
The best armor you can obtain before the Kaedweni Camp merchants close down is the Zireael’s armor, which is given to you automatically at the chapter’s midpoint as part of The Blood Curse. The second best is the armor of Ban Ard, which you can loot from an optional area that you can visit very early in the chapter. Either armor can comfortably get you to the end of Chapter 2, and your fully slotted kayran carapace armor or hunter’s armor can see you through the chapter until then.
Lasota also sells the diagrams for the three robust meteorite swords, each of which offers a slightly different bonus determined by color. Each color type’s bonus is particularly advantageous for certain types of build and play styles. If you wish to complete Chapter 2 using a robust meteorite sword, you should buy a diagram from Lasota and craft the sword you want as early as possible. While you can find an (arguably) slightly stronger silver sword as loot later in the chapter, it offers a much poorer critical effect than any of the robust meteorite swords. It’s also worth noting that you may turn up all of the materials you need for crafting a robust meteorite sword simply by grabbing random loot in the Kaedweni Camp, which can make a robust meteorite sword a very cheap investment.
Meteorite SwordsThis chapter introduces the red, blue, and yellow meteorite sword lines. These swords come in normal and robust versions in this chapter, with superb variations becoming available in Chapter 3. These swords tend to be very similar in terms of damage potential, but each color offers a distinct type of bonus. Red swords always offer a bonus to instant kill chance, blue swords always offer a damage bonus on signs, and yellow swords always offer a bonus to adrenaline generation. Which type of sword is best for you, especially in this chapter, depends on both your Geralt build and your play style. Generally speaking, red meteorite swords are best for alchemist builds that have taken (or plan to take) the Berserker skill and swordsmanship builds that have taken (or plan to take) the Sudden Death skill. Blue meteorite swords are ideal for mage builds or any build that has invested in amping up the effectiveness of a particular sign (like Aard or Quen). Yellow meteorite swords are in theory useful to any build that gets an adrenaline ability, but in practical terms give more benefit to mages and swordsmen than they do to alchemists, who can generate lots of adrenaline passively just by having high toxicity. It is possible to get into Chapter 2 with a Geralt build that is not yet specialized. If you want to use a robust meteorite sword this chapter instead of waiting to obtain the blood sword later on, you should take a few moments to make a plan for Geralt’s development before you invest in one of them. You don’t want to buy a robust red meteorite sword and then discover the hard way that your build just isn’t very good at scoring instant kills. |
Myron
| Item | Price | Item | Price |
|---|---|---|---|
| Formula: Rook | 173 | Leather | 20 |
| Formula: Golden Oriole | 63 | Studded Leather | 39 |
| Petri’s Philtre | 26 | Oil | 14 |
| Formula: Falka’s Blood | 139 | Essence of Water | 14 |
| Formula: Brown Oil | 125 | Balisse | 11 |
| Formula: Cat | 70 | White Myrtle Petals | 12 |
| Formula: Samum | 104 | Celandine | 10 |
| Formula: Swallow | 70 | Wolfsbane | 15 |
| Formula: Gadwall | 139 | Scleroderm | 14 |
| Formula: Thunderbolt | 125 | Cortinarius | 16 |
| Formula: White Raffard’s Decoction | 97 | Bryonia | 24 |
| Formula: Hanged Man’s Venom | 90 | Mandrake Root | 20 |
| Formula: Arachnid Oil | 104 | Verbena | 24 |
| Formula: Lapwing | 139 | Twine | 14 |
| Formula: Tiara | 84 | Wolf’s Aloe Leaves | 126 |
| Formula: Wolf | 77 | Green Mold | 126 |
| Formula: Whirl | 207 | Diagram: Solid Cloth | 251 |
| Formula: Brock | 104 | Diagram: Hardened Leather | 251 |
| Formula: Virga | 104 | Diagram: Studded Leather | 276 |
| Formula: Stammelford’s Philtre | 207 | Diagram: Elemental Stone | 214 |
| Formula: Maribor Forest | 152 | Diagram: Oil | 126 |
| Formula: Tawny Owl | 207 | Diagram: Leather | 176 |
| Formula: Specter Oil | 104 | Diagram: Essence of Water | 226 |
| Formula: Necrophage Oil | 125 | Diagram: Amethyst Dust | 264 |
| Formula: Blade Oil | 70 | Diagram: Diamond Dust | 314 |
| Formula: Insectoid Oil | 111 | Essence of Death | 189 |
| Diamond Dust | 29 | Arachas Eyes | 439 |
| Amethyst Dust | 22 | Troll Tongue | 439 |
| Cloth | 20 | ||
Myron is the camp’s apothecary, so he sells various potion and oil formulas, herbs, monster drops, and some basic diagrams. If you missed any potions you wanted in Chapter 1, chances are you can buy them from Myron now. In particular, he sells the formula for Gadwall, which you need as part of a quest later in the chapter. Myron also sells the green mold and wolf’s aloe leaves that you need to remove the tattoo you got during Hung Over, if you decide you want to do that. In this chapter, Síle de Tansarville can remove it for you once you have the right ingredients. Myron operates roughly from noon to dusk.
Relic Seller
| Item | Price | Item | Price |
|---|---|---|---|
| Balisse | 11 | Mandrake Root | 20 |
| White Myrtle Petals | 12 | Verbena | 24 |
| Celandine | 10 | Diamond Dust | 29 |
| Wolfsbane | 15 | Amethyst Dust | 22 |
| Scleroderm | 14 | Cloth | 20 |
| Cortinarius | 16 | Leather | 20 |
| Bryonia | 24 | ||
The Relic Seller is just one step above being a trash merchant, as he sells nothing but minor herbs and crafting items you probably have stacks of already. His main role is in advancing a particular storyline quest for the game. He operates out of the canteen from noon to dusk, so seek him out there when you need him.
Camp Followers’ Encampment
Points of Interest
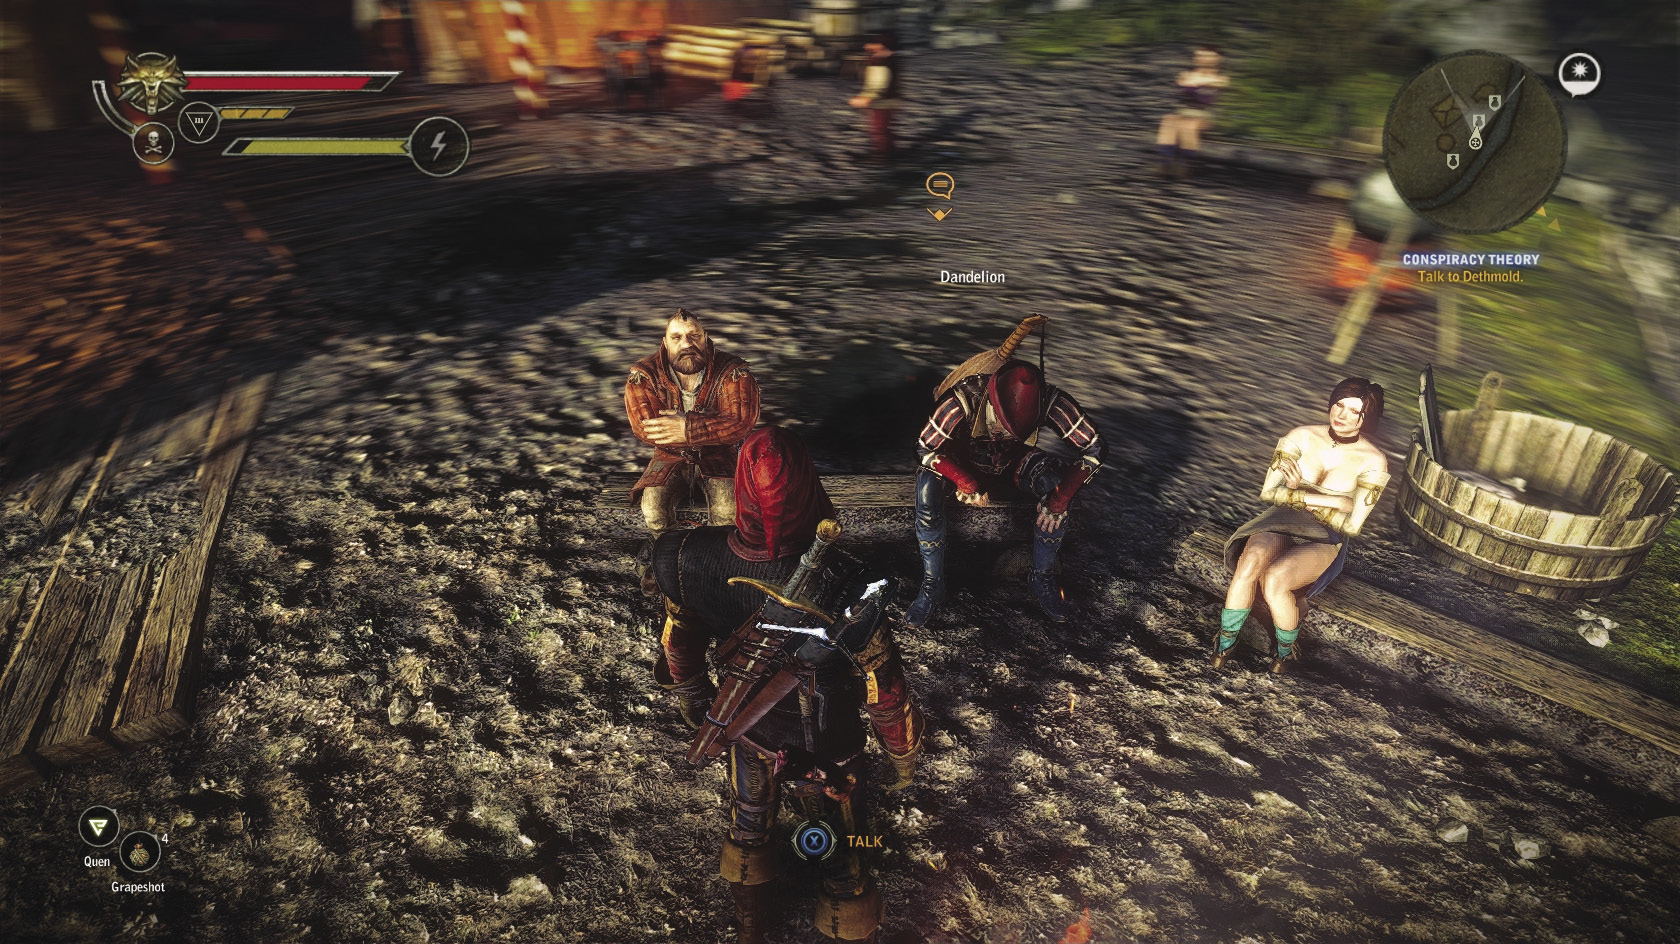
Dandelion and Zoltan
Your bard pal Dandelion and your dwarf buddy Zoltan hang out at the Camp Followers’ Encampment for the first half or so of the chapter. Sometimes Zoltan wanders over to the Blue Stripes camp, too. Toward the end of Chapter 2, they both move on. In the meantime, you can speak with Dandelion to have some interesting optional discussions about what’s going on in the game’s plot and a hint or two about how to trigger a romantic scene with Ves. You can’t speak much to Zoltan until the midpoint of the chapter, when he participates in The Blood Curse and a few other associated quests.
The Brothel
The camp followers are led by a woman named Madame Carole. Speak with her if you’d like to spend some orens on one of her girls. All the usual caveats to spending orens on whores in this game apply here: The whores are expensive and offer you no in-game benefit for the money you’ve lost. You can also play dice with Madame Carole as part of this chapter’s dice poker quest and visit the brothel to progress one of the chapter’s main quests.
Merchants
Raymond
| Item | Price | Item | Price |
|---|---|---|---|
| Fish | 14 | Potato | 14 |
| Apple | 14 | Cucumber | 14 |
| Old Cheese | 14 | Plum | 14 |
To access storage in this chapter, you must visit this sad-eyed dwarf. You can also have an amusing conversation with him about religion, though this is completely optional. Raymond does sell goods, but they’re all trash. You mainly visit Raymond when you’re out adventuring and need to quickly sell off some stuff that’s not worth keeping or storing. This makes his location outside the Kaedweni Camp’s walls fairly convenient later on in the chapter.
It is possible to pick up the Haggling attribute from Raymond if you missed it in Chapter 1. To get Haggling from him, pick the conversation choices that relate to lowering his prices, and be sure to quote the Good Book at him. If you do this correctly, then you have Haggling after the conversation ends. It is recommended to pick it up in Chapter 1, but if for some reason you didn’t then go ahead and get it here. You can’t obtain rune diagrams in this version of Chapter 2 and may end up having to purchase any runes you want for socketing your swords. Getting Haggling knocks down the prices of runes substantially.
Sambor
| Item | Price | Item | Price |
|---|---|---|---|
| Diagram: Robust Cutlass | 164 | The Valley of the Flowers | 64 |
| Grapeshot | 101 | From the Annals of Mahakaman History | 64 |
| Diamond Dust | 29 | The Conjunction of the Spheres | 64 |
| The Horror of War: Rotfiends | 64 | The Dun Banner | 64 |
| Harpies: Daughters of the Gale | 95 | Diagram: Solid Cloth | 251 |
| The Arachas—A Study | 145 | Diagram: Hardened Leather | 251 |
| Drowners: A Textbook for Initiates of the Order of the Flaming Rose | 32 | Diagram: Studded Leather | 276 |
| Nekkers in the Mist | 32 | Diagram: Elemental Stone | 214 |
| Three Years Among the Endregas | 64 | Diagram: Oil | 126 |
| Wraiths: Fear and Trembling | 95 | Diagram: Leather | 176 |
| Bruxae: Eulogists of Death | 101 | Diagram: Essence of Water | 226 |
| How to Kill a Bullvore | 126 | Diagram: Amethyst of Dust | 264 |
| Beings of the Element of Earth | 189 | Diagram: Diamond Dust | 314 |
| Of Trolls and Trolling | 157 | Balisse | 11 |
| Slaves of the Curse | 157 | White Myrtle Petals | 12 |
| The Legendary Accursed | 189 | Celandine | 10 |
| Gargoyles, Gutters, Splutters—Maintenance and Repair | 126 | Wolfsbane | 15 |
| The Temerian Royal Dynasty | 64 | Scleroderm | 14 |
| Magic and Power | 64 | Cortinarius | 16 |
| The Feudal Society and Its Enemies | 64 | Bryonia | 24 |
| The Temerian Special Forces | 64 | Mandrake Root | 20 |
| The Grand Triple | 64 | Verbena | 24 |
| The Realms of the Nordlings | 64 | ||
Sambor is the chapter’s bookseller and speaks only in proverbs due to a bet. He sells all of the monster books you might want for this chapter and also sells The Dun Banner, a book that can be useful for resolving a particular quest. Aside from his books, he doesn’t sell a whole lot that’s interesting—mostly basic diagrams, herbs, and an assortment of miscellany. He’s also this chapter’s hairstylist.
Mysterious Merchant
| Item | Price | Item | Price |
|---|---|---|---|
| Diagram: Solid Cloth | 176 | Armor of Ban Ard | 1,582 |
| Diagram: Hardened Leather | 176 | Robust Blue Meteorite Sword | 935 |
| Diagram: Studded Leather | 194 | Robust Yellow Meteorite Sword | 694 |
| Diagram: Elemental Stone | 150 | Poisoned Zerrikanian Saberra | 617 |
| Diagram: Oil | 89 | Sun Rune | 264 |
| Diagram: Leather | 124 | Ysgith Rune | 351 |
| Diagram: Essence of Water | 159 | Earth Rune | 176 |
| Diagram: Amethyst Dust | 185 | Moon Rune | 264 |
| Diagram: Diamond Dust | 220 | Fire Rune | 351 |
At the rear of the encampment, leaning up against the old tower, you can find the Mysterious Merchant. In this chapter, he sells some fairly good (but not optimal) armor and swords, as well as some nicely discounted basic diagrams. The most important thing he carries this chapter, though, is runes. As you may notice from scanning the other shop lists, none of the other merchants in this chapter sell basic runes or rune-making diagrams. If you want to fully slot your swords with good runes, you are probably going to spend quite a bit of money on the Mysterious Merchant’s inventory.
 Conspiracy Theory
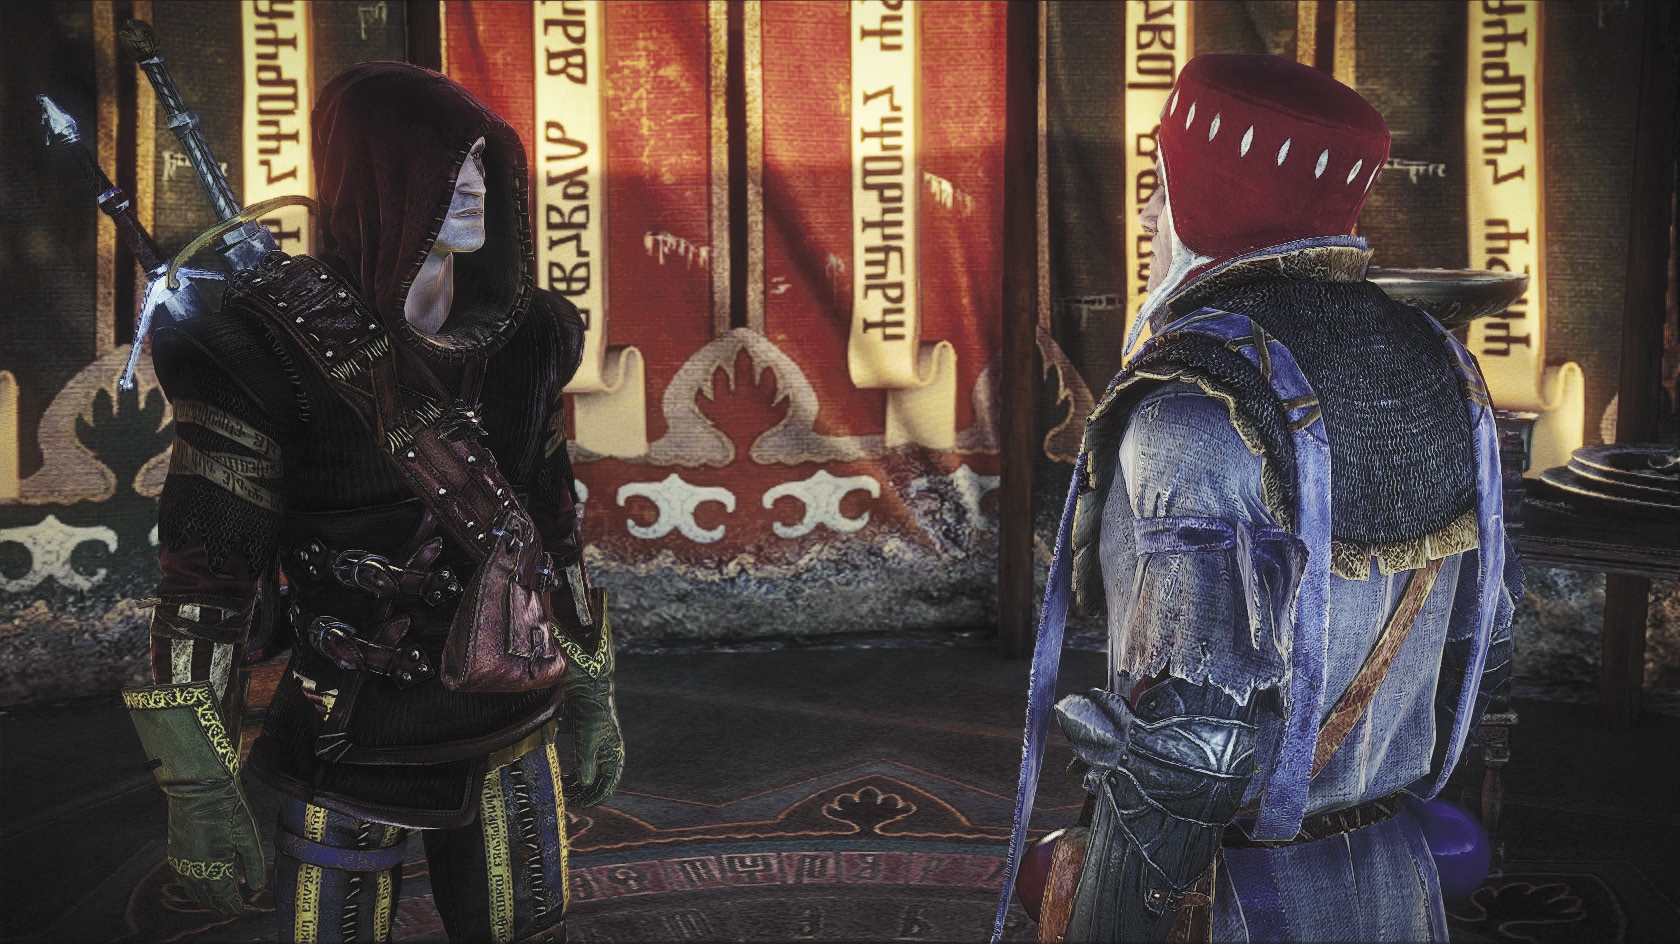
After you’ve gotten your bearings in the Kaedweni Camp, go back and have that talk Dethmold requested from you earlier. This conversation advances several quests, but for your purposes right now, it’s mainly helpful because it advances this main quest, Conspiracy Theory. Make sure you say “What’s with the coins?” to Dethmold before you finish the conversation. Everything else relates to a different quest line. If you want a fuller understanding of the story, be sure to ask Dethmold all of the optional questions. Your responses don’t change anything.
Once you advance Conspiracy Theory, you can question many of the soldiers in the camp. You can speak to soldiers about the elements of this quest only once each. Most of these conversations are fairly pointless (if sometimes entertaining) and won’t give you anything useful, but you can use this ability to complete some side quests that actually do give you insight into the origins and purposes of the square coins. We’re going to do one right away.
 Side Quest: In Cervisia Veritas
You have probably noticed the three drunks staggering around the camp, shouting their pal Odrin’s name over and over again. While their concern is touching, listening to a screaming drunk gets old pretty quick. For your first good deed in the Kaedweni Camp, you’re going to find their pal for them, so they can stop worrying about him and you can enjoy some peace and quiet while you go about your business.
First, go talk to each of the three drunks. You get to ask each of them one question. Which one you ask doesn’t really matter, but it’s most useful if you directly ask about Odrin and what happened to him. One way or another, you should find out that he staggered off drunk last night and nobody knows where he is, which is an inconvenience since they want to get back to drinking. So, go find Odrin. You get no clues to his location, so you end up having to stumble over him. His location is marked on your map. He’s one of only two points of interest you can access through the camp’s west exit. It makes sense that a drunk wouldn’t get far.
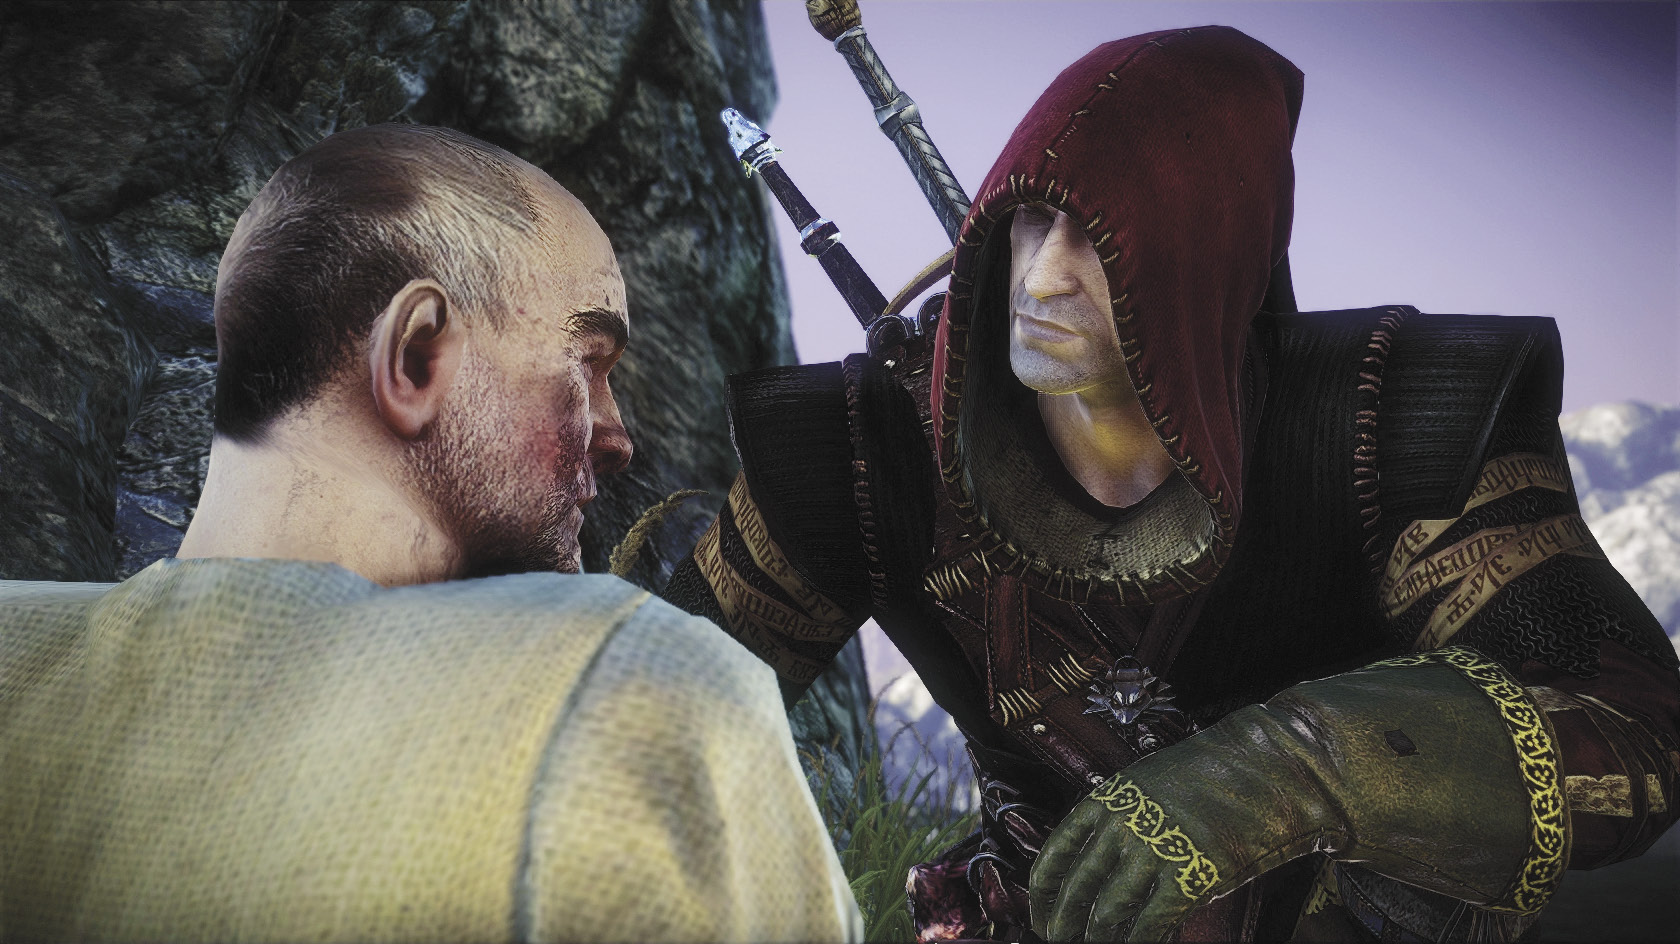
After you find Odrin, help him up and then try to get him back into camp. There are two ways to get him past the guard successfully. You can bribe the guard at least 30 orens or simply say “He’s my prisoner. I need to question him.” The latter is completely free, which makes it a bit preferable. If you say the second dialogue option—“He’s an important witness. He has to get in”—then you put yourself in a position of either having to bribe the guard or fail the quest. If you say “Report it wherever you need to,” Odrin gets offended with you and stomps off in a huff, forcing you to fail the quest. Saying “How much to get him in?” lets you know exactly how much the guard accepts as a bribe, though.
Once Odrin is inside the camp, you need to reunite him with his friends. Odrin can’t walk on his own, so pick him up and slowly walk him toward his drunk friends stumbling around the center of camp. As you pass them, they recognize Odrin and fall in behind you, singing bawdy songs loudly. Shortly after you get all three, Odrin is probably going to start screaming about bats and fall from your grip. Just pick him back up and continue on from there. You want to get Odrin and his friends into the canteen.
Inside the canteen, a dialogue sequence begins. During this dialogue sequence, it is possible to fail the quest if you say the wrong thing. Absolutely do not say “I want to help you” or “Something’s awry” if they come up in conversation. This causes Odrin’s friends to believe you to be dangerous, so they won’t drink with you.
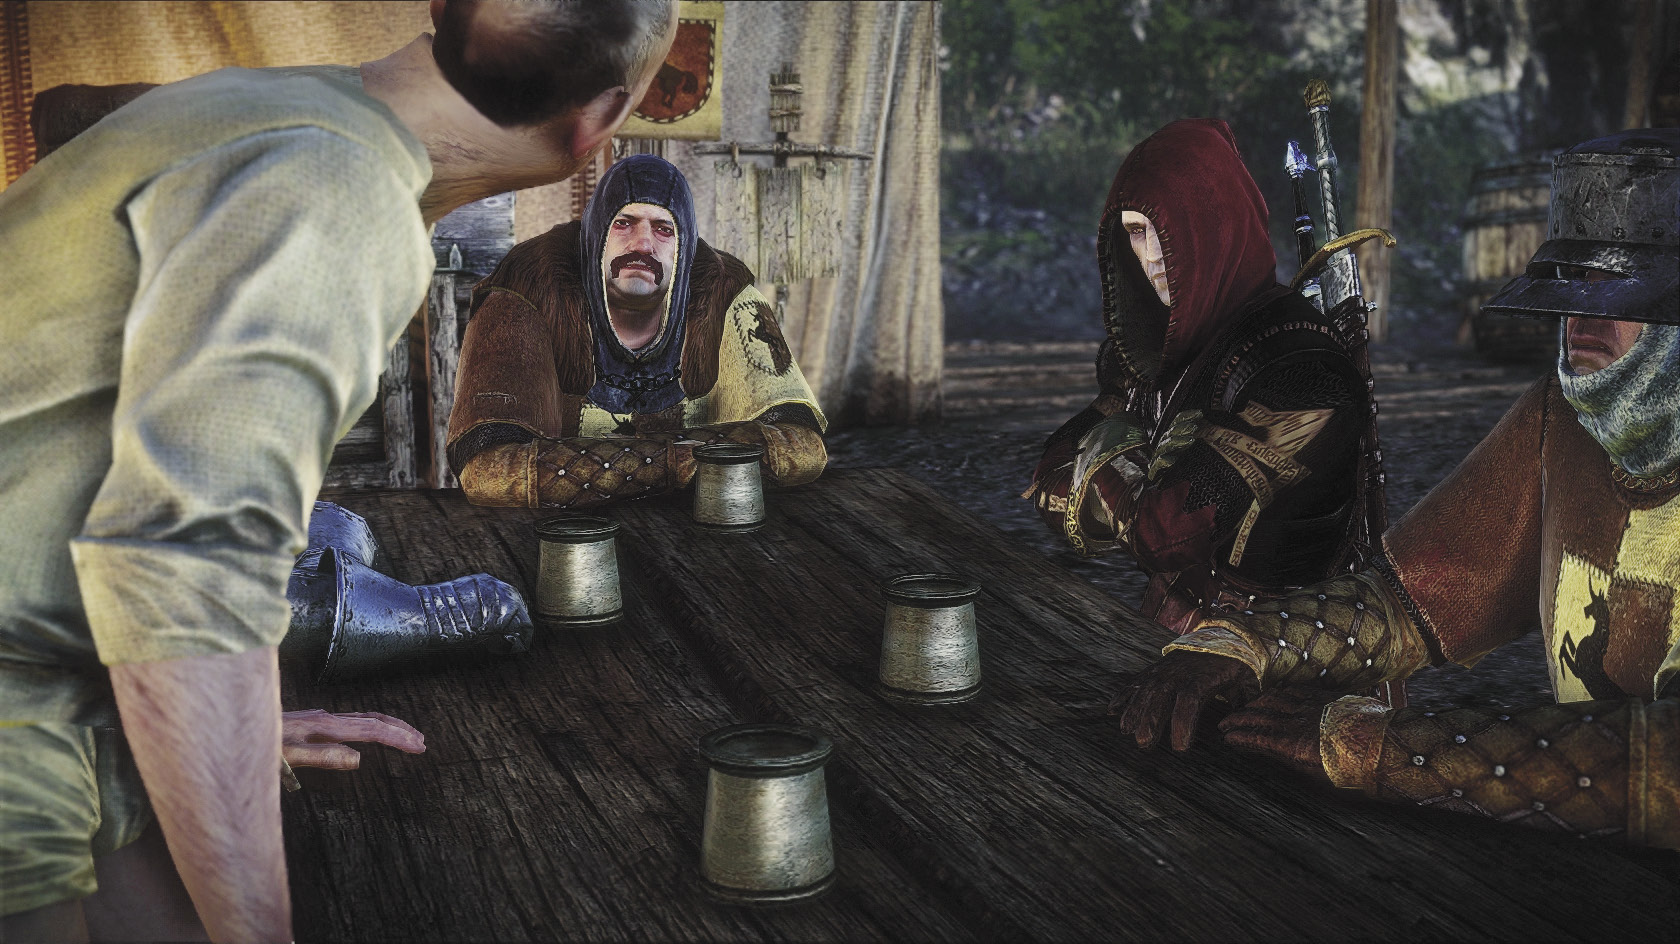
If you say anything else, Odrin unexpectedly sobers up a little and gives you a lot of information about the conspirators and the square coins they use. He even gives Geralt a square coin one of the conspirators passed to him. Odrin also tells Geralt that he should give the coin to Whistling Wendy at Madame Carole’s and ask her to open the gates to paradise if he wants to know more about the conspiracy. After that, the quest ends. You get no XP reward for resolving the quest, but you do get a pleasant buzz.
You can go straight to Madame Carole’s at this point, but hold off for now. With Odrin’s loud friends calmed down, now is a good time to tackle some other side quests. You may also want to go back and re-examine the area where you found Odrin.
The Camp Cave
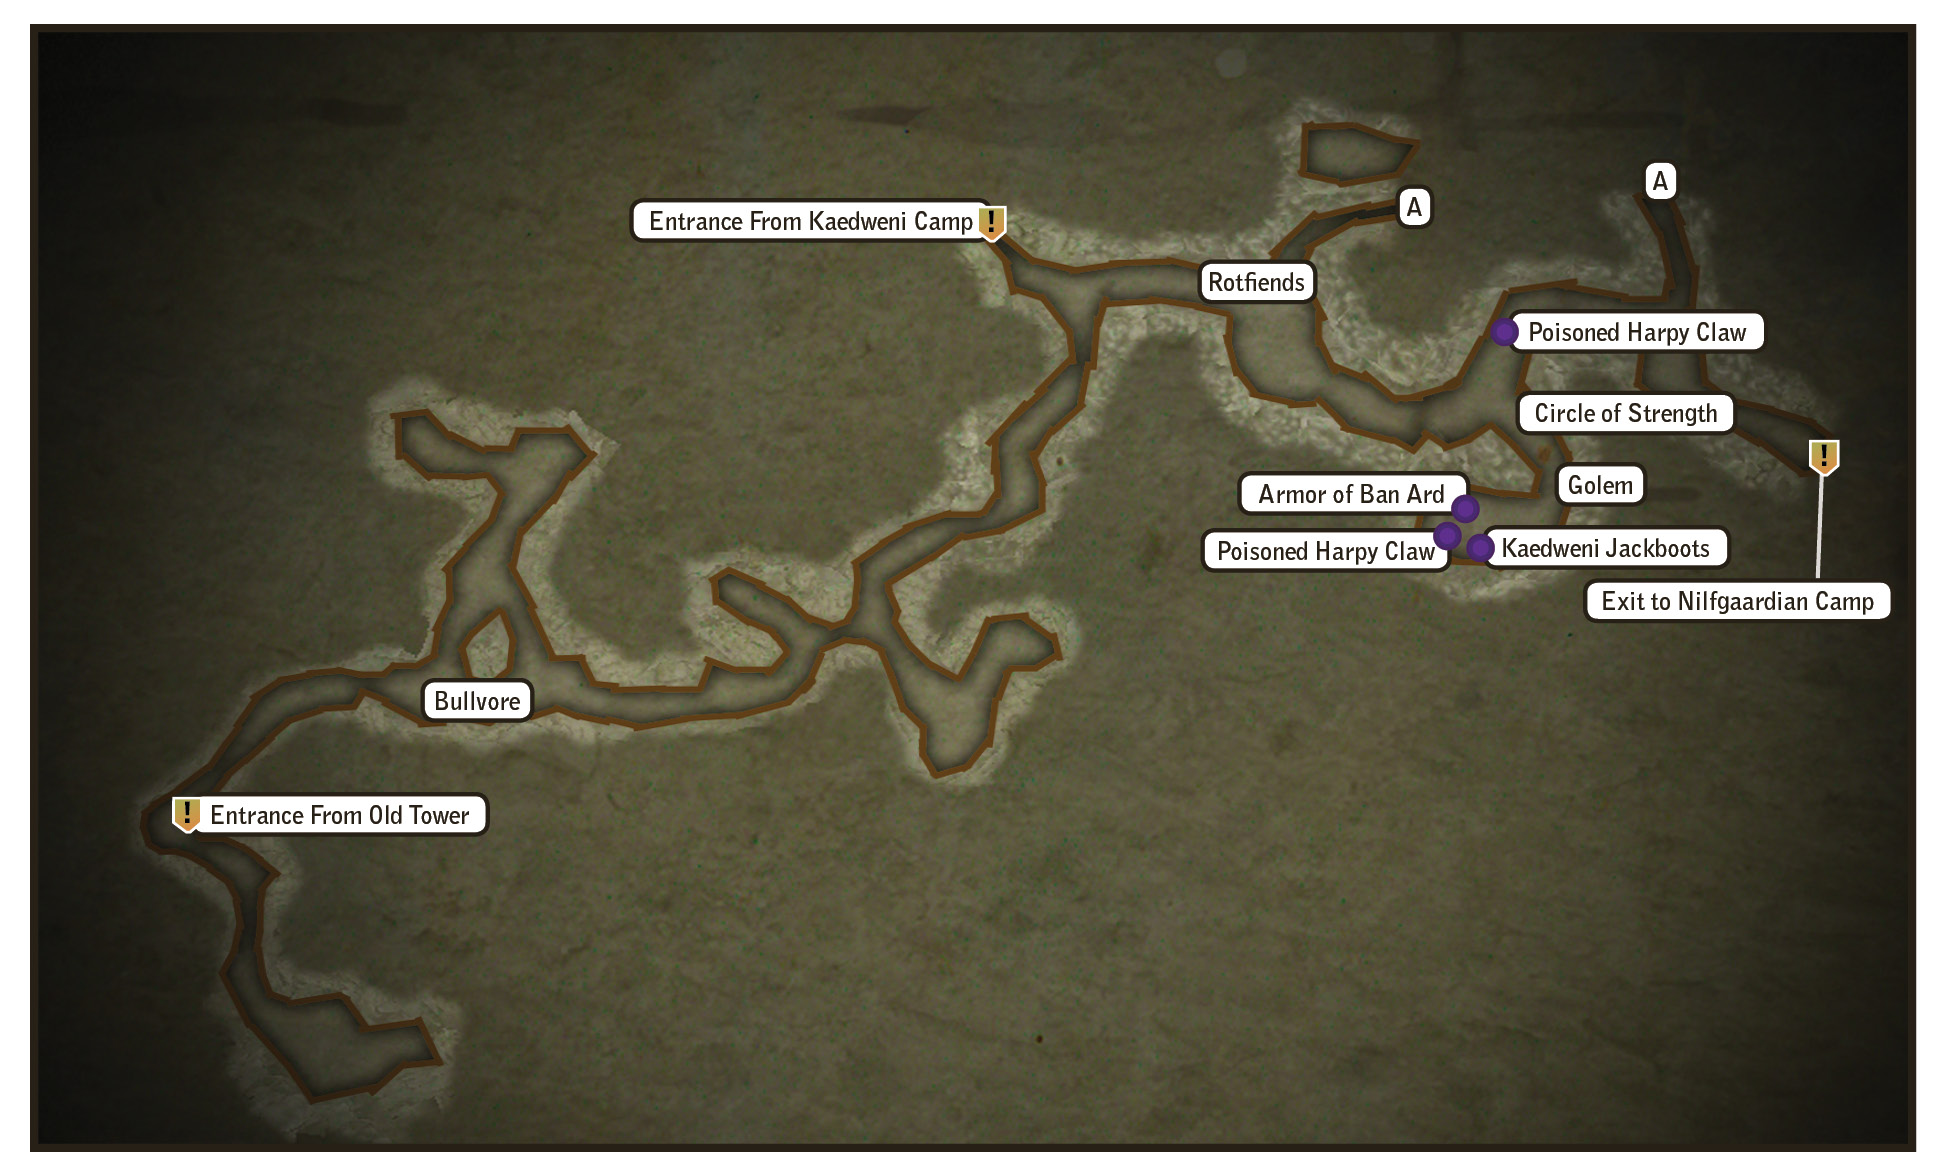
You may recall seeing what looked like the entrance to a cave behind Odrin. That’s exactly what it is, and it’s a cave you can explore. Go back to that area and drop down to enter the cave. The cave is infested with rotfiends, so if necessary bring some necrophage oil with you so you can tear through them quickly. They shouldn’t be too dangerous if your equipment is the optimal set from the end of Chapter 1.
If you head to the right from the entrance, you can explore passages that lead to two major finds. One is a dead body carrying amazing loot: a steel plate enhancement, a set of Kaedweni leather armor, and a stack of superb well-balanced silver daggers. There’s also a lot of random loot and orens stuffed into the chests and bags you find at the cave’s dead ends.
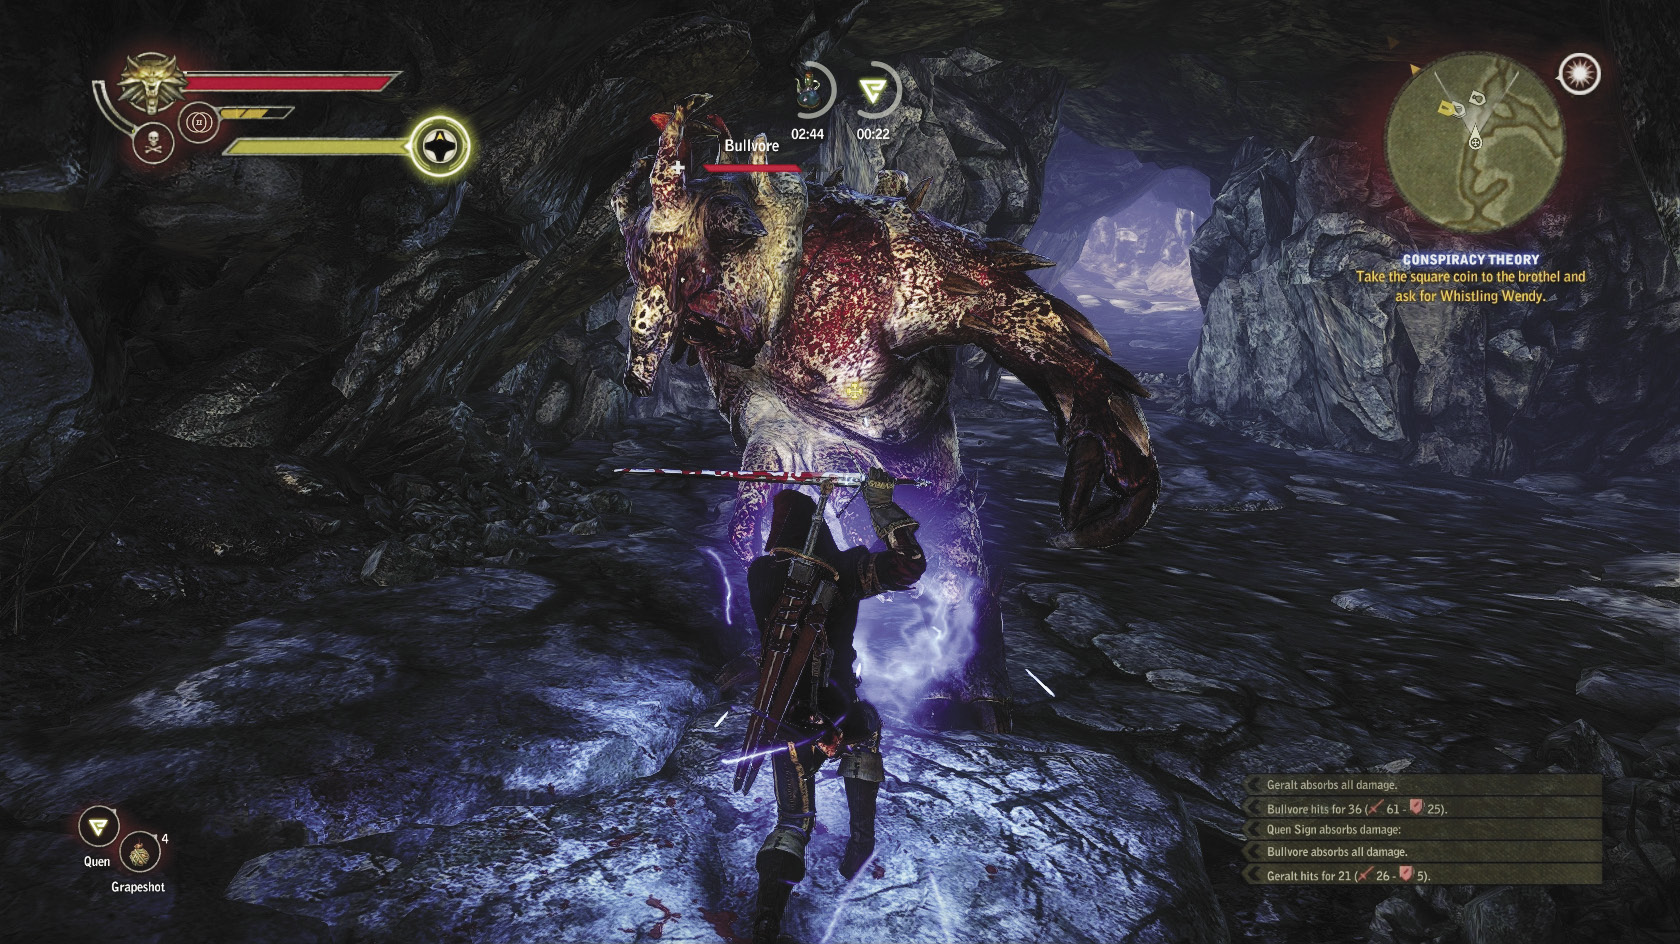
The other major find is a massive monster called a bullvore. It can probably kill you in just a handful of hits, so prepare potions before you battle it. Fighting the bullvore isn’t tricky—you can basically keep Quen up and whale away at it with strong attacks when it’s not blocking. If you’ve got leveled-up Quen you can take it head on, while other builds may want to get behind it or try to find ways to stun it. Try not to run from it a lot, or it uses a potent poison spray attack. If you can defeat the bullvore, there’s a chance its drops will include a bullvore trophy, which is amazingly powerful at this point in the game.
After looting the tunnel alcoves near the bullvore’s territory, go back to the cave’s entrance and then begin exploring to the left. You should find a great deal of random treasure, weapons racks, and rotfiends. Scan diligently with your medallion to eventually discover a circle of strength. Pause here to prepare for a battle. Apply potions that buff your build’s basic attack and defense, assign Quen or Aard to your sign slot, and perhaps craft some bombs of an appropriate type. You’re about to fight a golem.
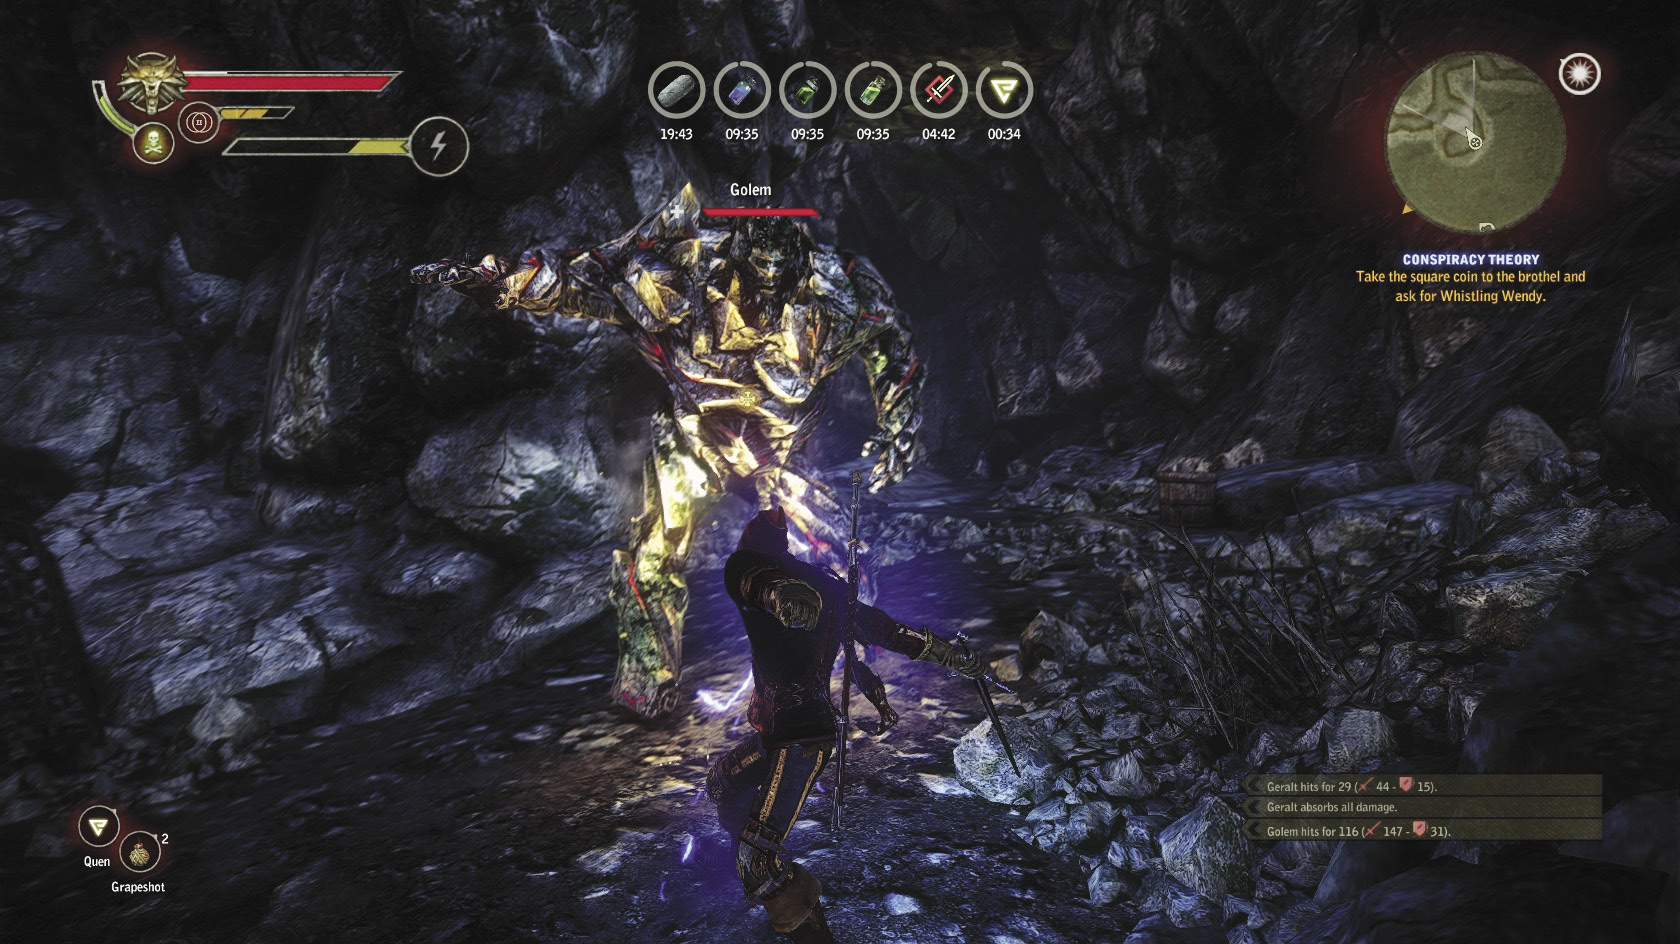
The golem is a big slow creature, similar to a bullvore. It’s a bit tougher, which is why most Geralt builds at this point in the game are going to want to have full potion buffs and maybe an oiled blade at their disposal when fighting it. You’re in very tight quarters, so you can’t do too much with traps. If you have maxed-out Quen, you can just wade into it with blows. Otherwise, try to dodge-roll behind it or interrupt it with your own sword blows while attacking. Aard can be useful here to stun it and give you a chance to get some blows in. After you defeat the golem, there’s a chance that it drops an elemental trophy, which is extremely useful to any build that uses signs regularly. Defeating this golem counts toward obtaining the David character attribute.
Loot the area the golem was protecting to find some truly amazing loot drops. The best of them is the armor of Ban Ard, which swordsman and alchemist builds may want to begin using right away. It’s stat-wise roughly the second-best armor in this chapter, but if you slot it out now then it can easily carry you into Chapter 3. The other potent armor you can acquire later in the chapter is only really significantly better for mage builds, and waiting for it forces you to make do with your Chapter 1 armor for quite a bit longer. Besides the armor, you can also find a stack of rare throwing daggers called poisoned harpy claws.
After you defeat the golem, scour the cave for the last treasures. Go all the way to the rear exits of the cave to make sure you find the corpse carrying a second stack of poisoned harpy claws. When you’re done, head back to the Kaedweni Camp. The cave’s rear exit puts you tantalizingly close to the Nilfgaardian Camp, but if you try to go there the entrance is blocked off. You’ll just have to content yourself with your massive haul of treasure and monster drops.
Toxic Blood
If you want to pick up the Toxic Blood character attribute, now is a good time to do it. Even with resistances, you tend to get poisoned when a rotfiend or greater rotfiend explodes on you. If you get poisoned 15 times, you can pick up Toxic Blood and get a +30 percent chance to poison enemies when Geralt’s toxicity is high from potion use. Alchemists can get a lot of mileage out of this attribute, especially when fighting humanoids.
It’s generally best to try and get a rotfiend to explode on you only after you’ve whittled the group’s numbers down. If you just stand in the middle of explosions while surrounded, the damage can pile up a bit more quickly than you can handle. It’s a good idea to cast Quen quickly after being poisoned, instead of soaking up all the poison damage each time it’s inflicted. You may need to exit the camp cave a few times and meditate to reset the rotfiend spawns to unlock Toxic Blood.
 Side Quest: Poker Face: Kaedweni Camp
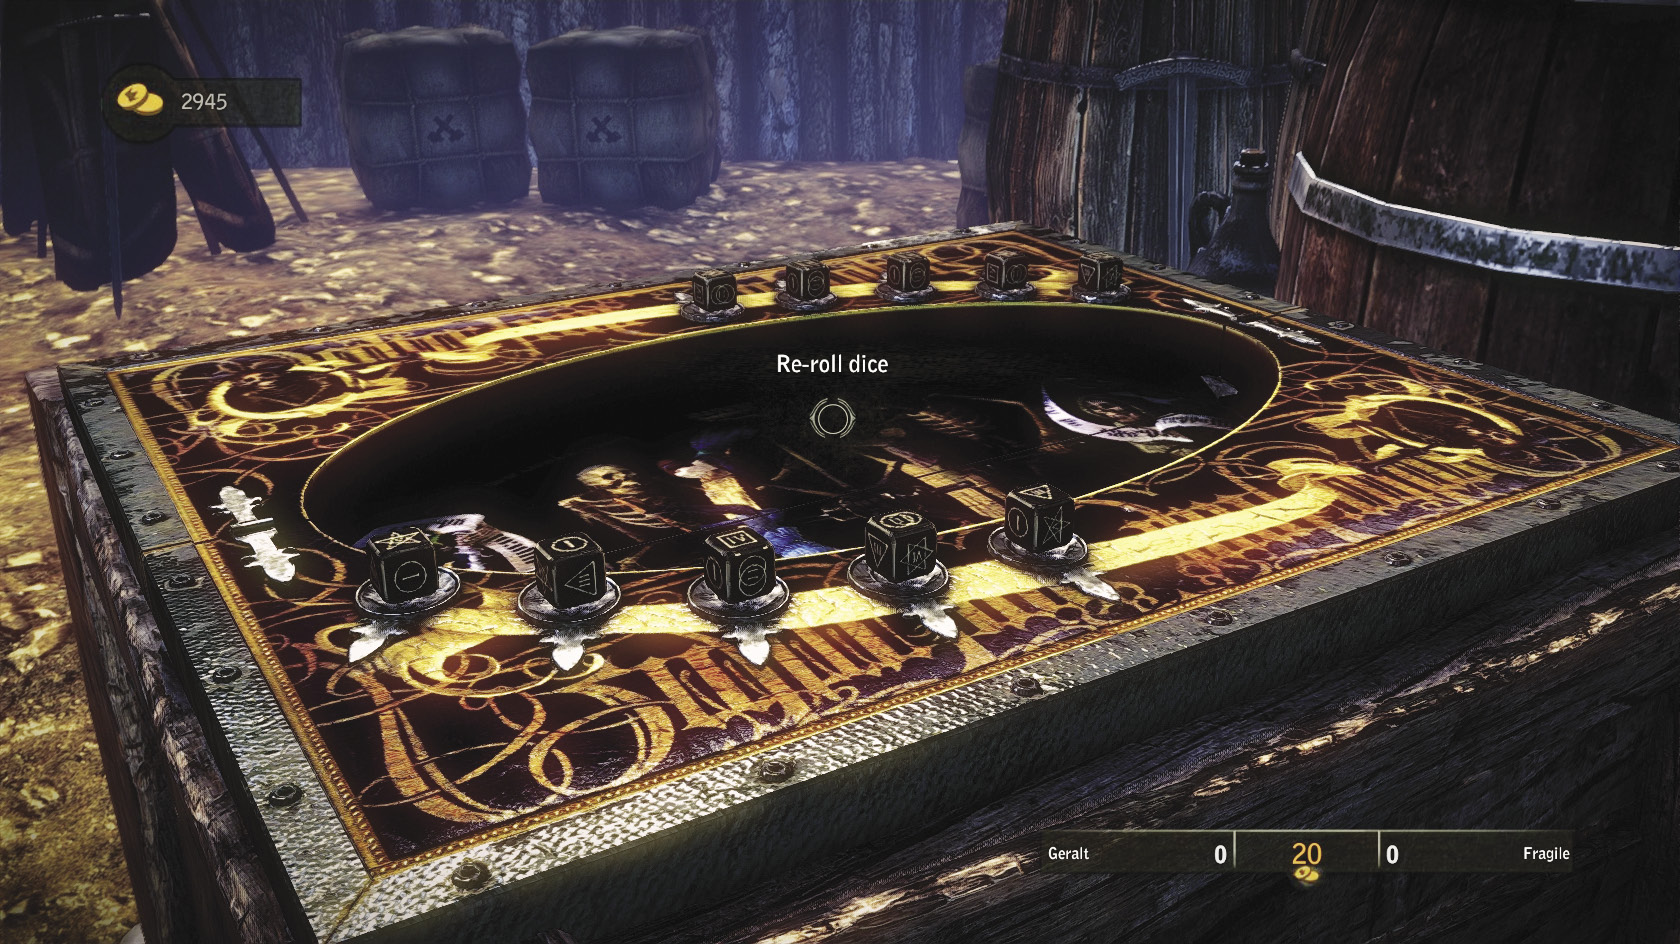
Begin by speaking to the two dice players in front of the canteen, Gondor and Fragile. Speak to one of them to initiate the quest. After you’ve beaten the two of them, go find Zyvik wherever he is (possibly outside) and challenge him. After he’s beaten, head to the Camp Followers’ Encampment and challenge Madame Carole. Once she’s beaten, you can go challenge the local champion, Lasota.
You can take 200 orens for beating Lasota, or you can pick from one of three diagrams: leather, hardened leather (called tempered leather in dialogue), or studded leather. The dialogue makes it sound like you’re getting armor, but no, it’s just a diagram for the crafting material. Take the diagram for hardened leather or studded leather, as they both cost a lot more than 200 orens from merchants if you don’t have Haggling.
 Side Quest: Against the Blue Stripes
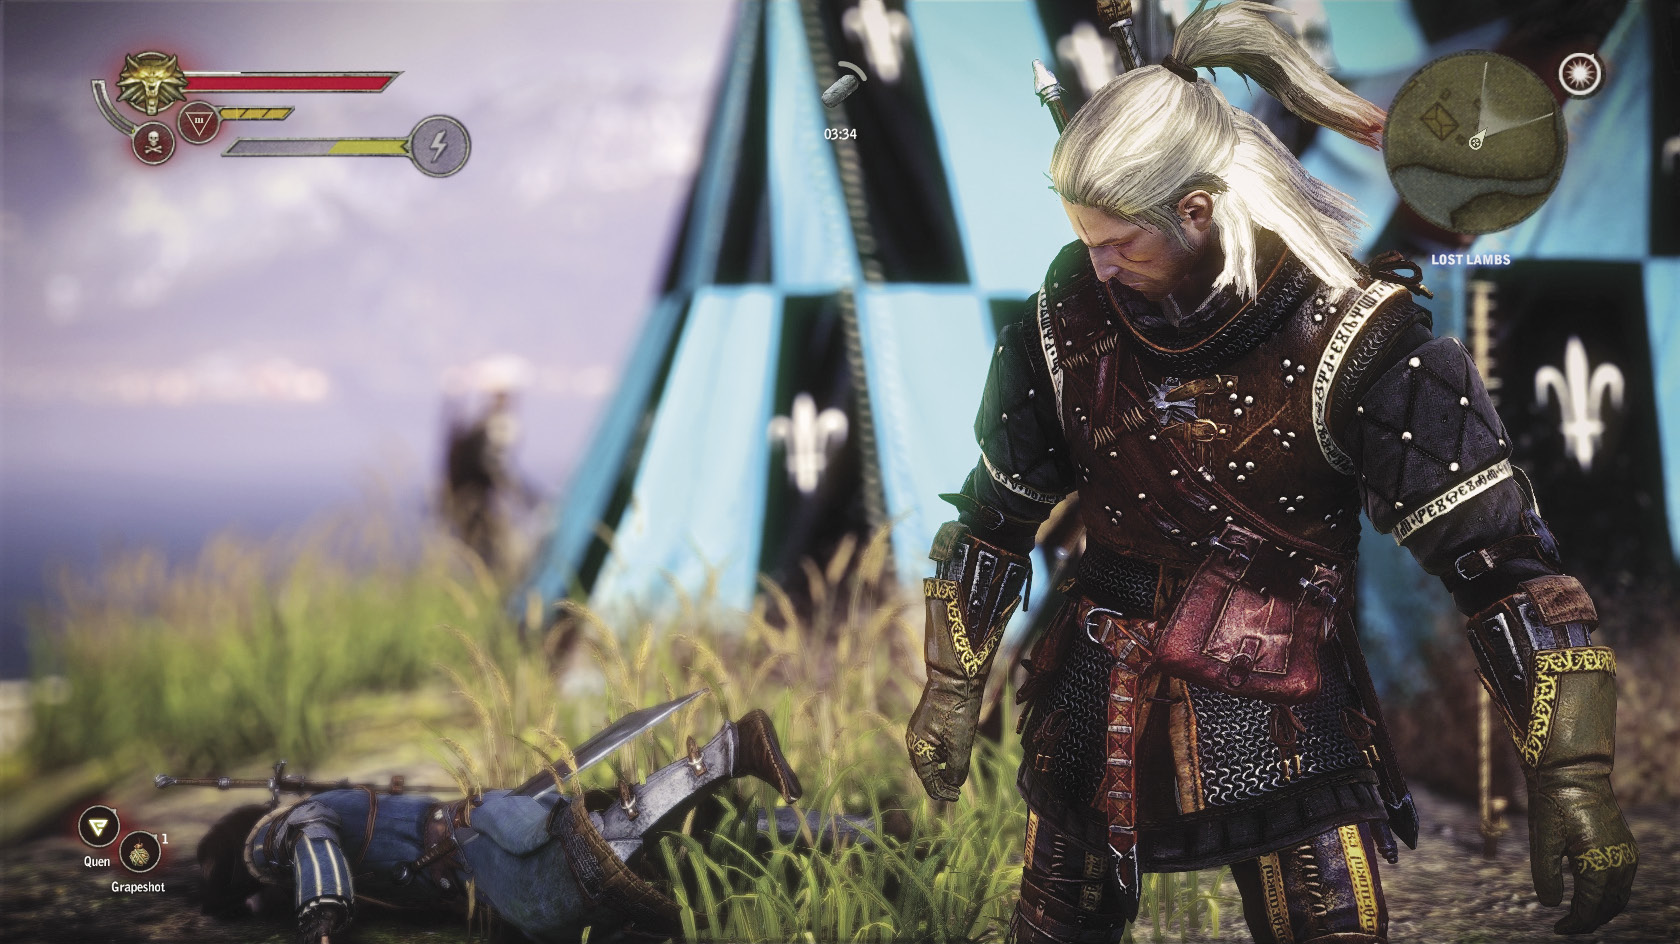
Go pay a visit to Roche at his camp. You should see some fistfighting going on at the rear of the encampment as Roche’s men practice. Offer to challenge them. No money is wagered in this fistfighting contest, since it’s all friendly sparring. After you defeat two of Roche’s men, Roche himself appears to fight you in the third round. If you defeat him, you get a steel plate enhancement as a reward.
After you defeat Roche, some men from the Kaedweni Camp show up. One of them really wants to challenge Geralt. You can turn him down if you like, but accepting opens up a new side quest.
 Side Quest: A Score to Settle
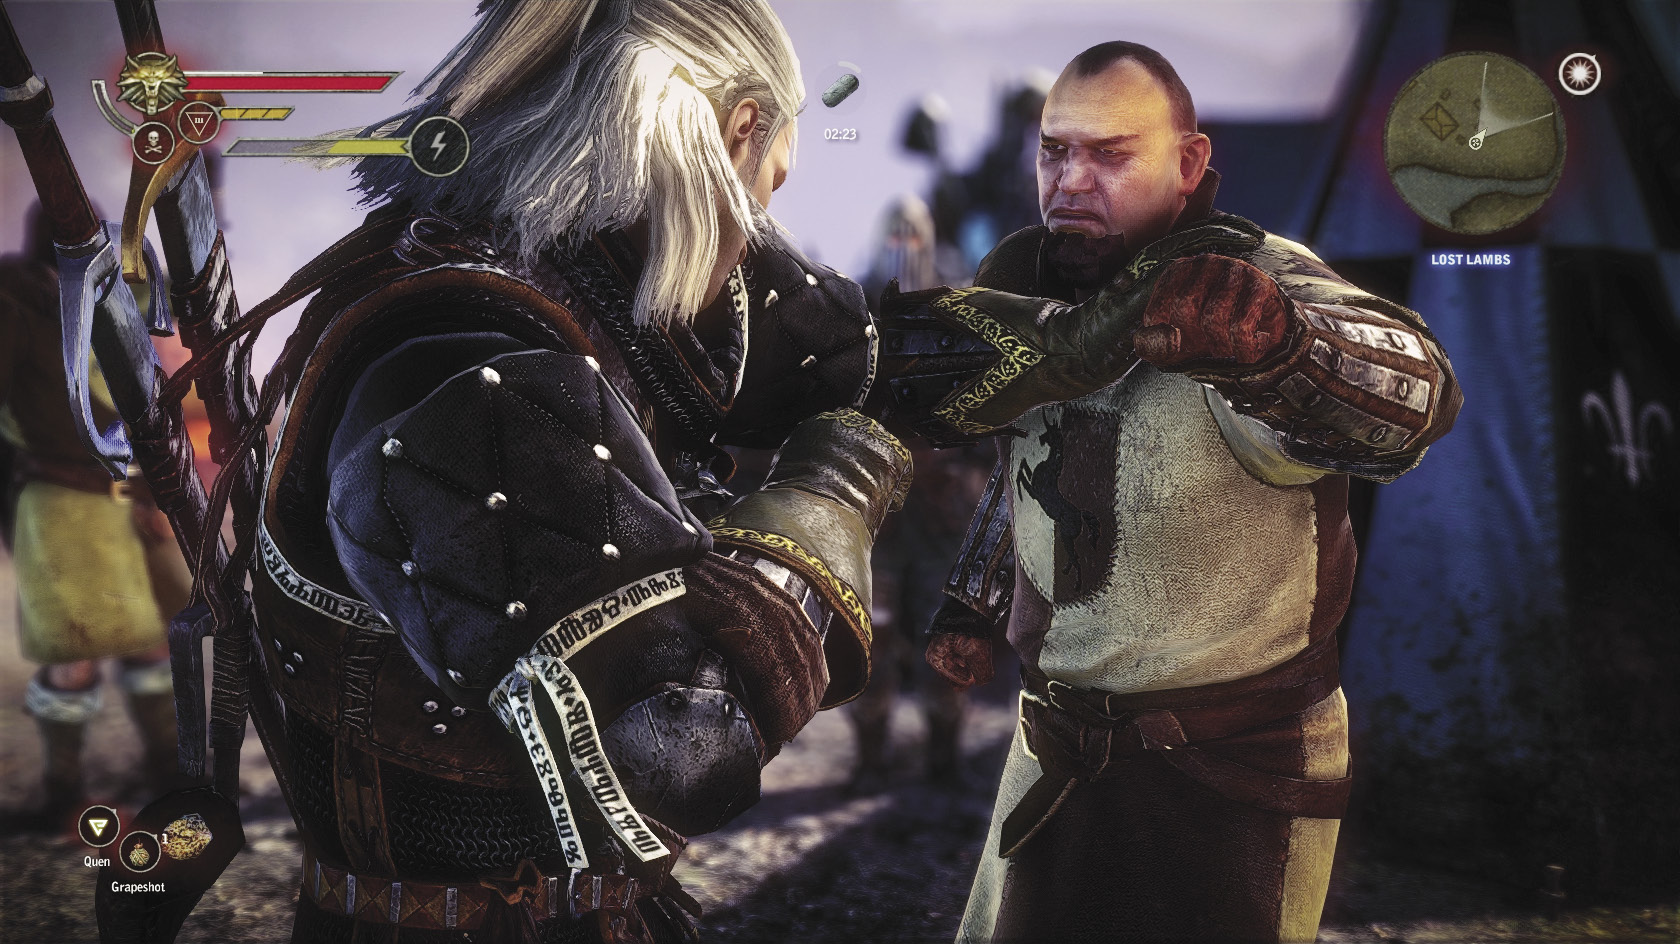
If you defeat Burton, the irate Kaedweni soldier, he leaves but swears this isn’t over yet with you. He’s also mentioned those square coins you’ve been investigating… For now, the quest is finished. Since you fought Burton, though, you have a chance to meet him again in Chapter 3 for a rematch.
 Side Quest: Bring It On: Kaedweni Camp
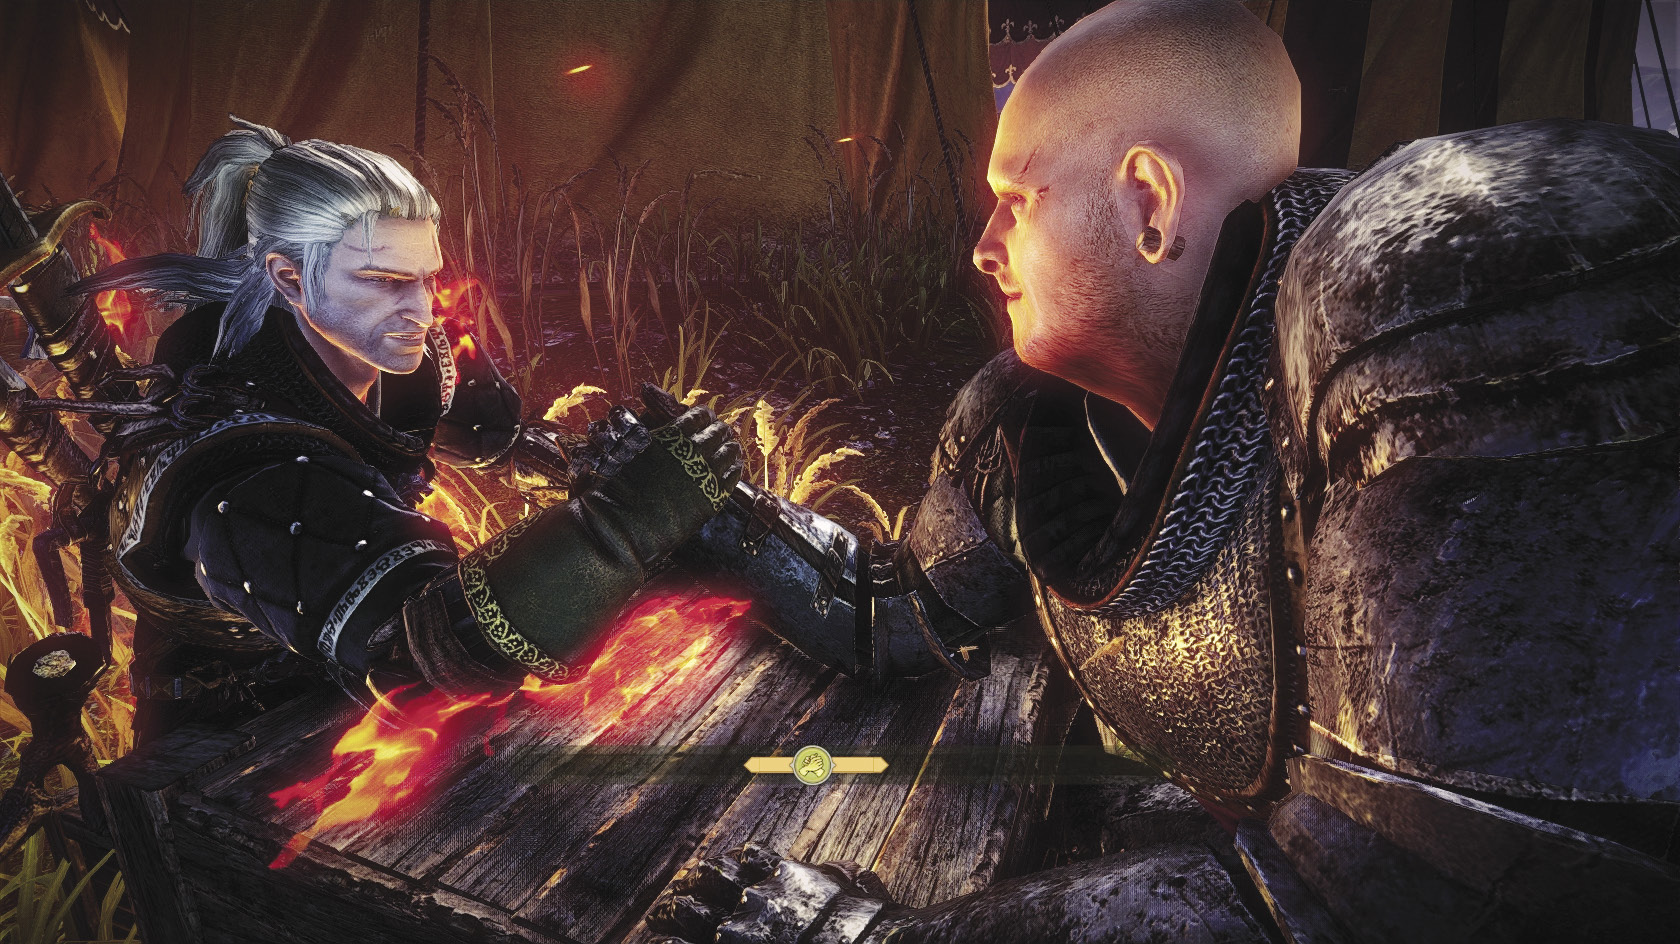
Initiate this quest by speaking with Adam Pangratt in the upper Kaedweni Camp. After telling you an interesting story about why he cares so much about arm-wrestling, Pangratt says he’ll accept your challenge if you can defeat his men, Martin and Randal, and also the camp’s blacksmith, Magnus. You can get up to 40 orens and 25 XP each for defeating Martin and Randal, and up to 60 orens and 25 XP for defeating Magnus. They shouldn’t be especially difficult opponents.
Now go challenge Pangratt. This is very similar to arm-wrestling Bartholomew Bargee in Chapter 1, but just a bit more challenging. As with Bargee, you can wager up to 100 orens on this match, for a payoff of up to 200 orens. So as in Chapter 1, you can arm-wrestle Pangratt repeatedly to quickly grind orens, though chances are you’re not as strapped for cash now as you were back then. The first time you beat Pangratt, you clear the quest and get 50 XP.
 The Butcher of Cidaris
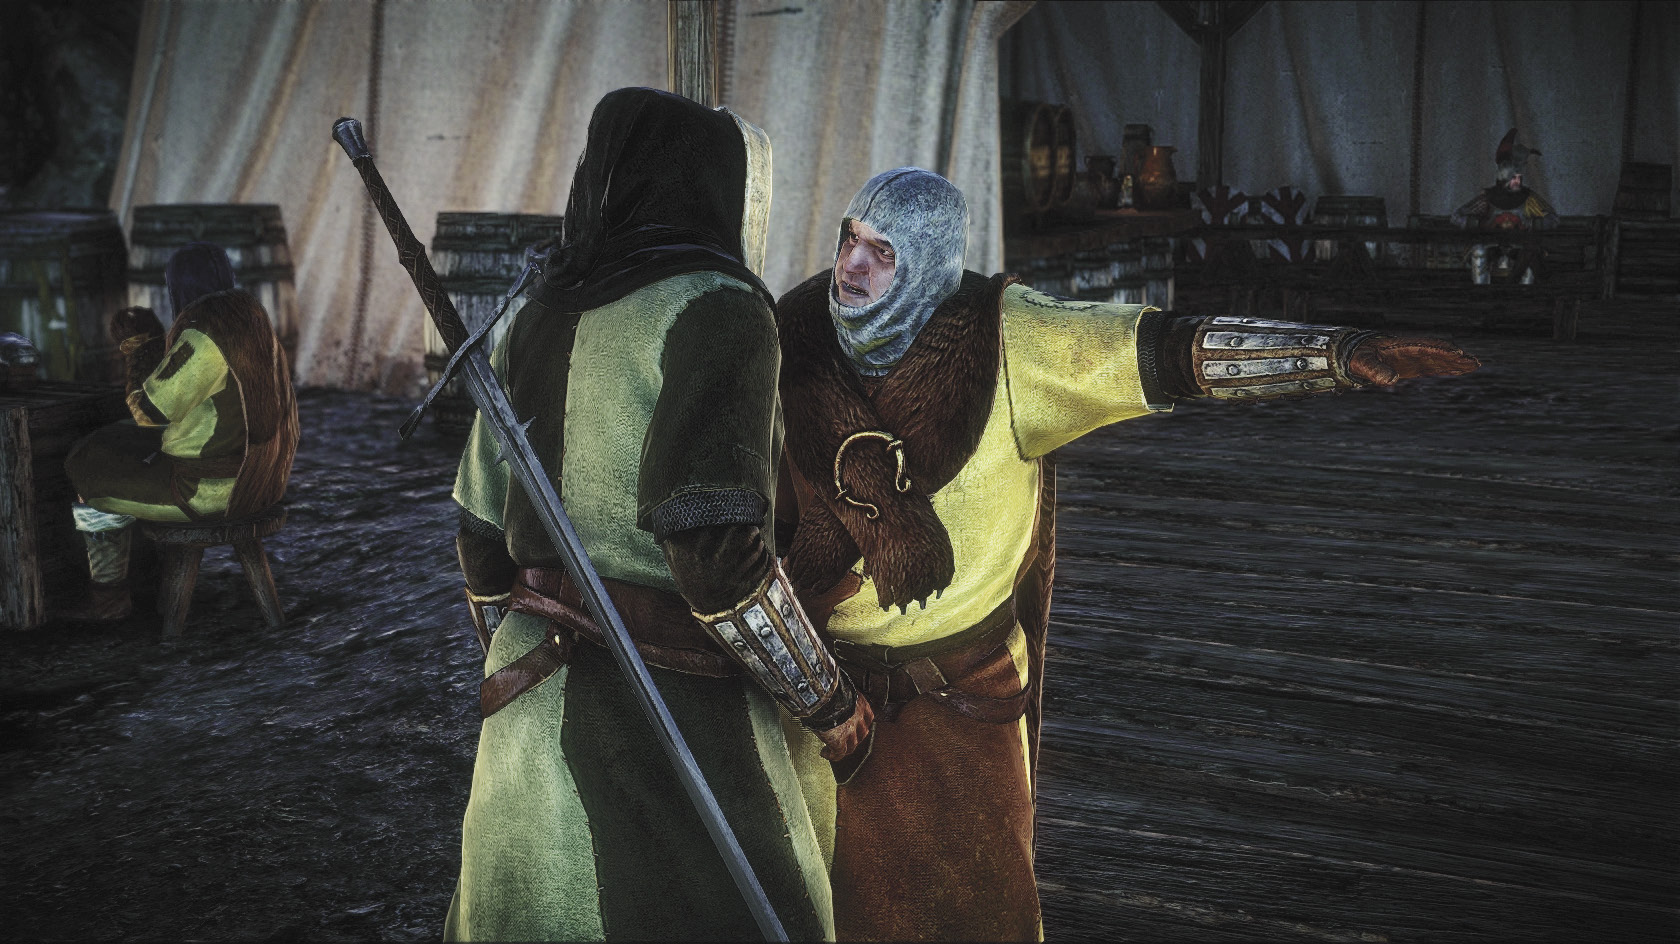
You may have initiated the very beginning of this quest while trying to lug Odrin into the canteen. To start the quest, approach the pair of men arguing just outside the canteen’s entrance. It becomes clear that it’s an older man trying to talk his son out of doing something, his effort futile. After the argument, the kid goes to “practice” with his sword outside the canteen. Go inside and speak to the kid’s father, Manfred.
You find out the kid’s name is Sven and he’s going to have to fight Letande Avet, the “Butcher of Cidaris,” to the death. Sven is barely 18 and is pretty much going to die if he fights Avet.
Geralt offers to help save Sven’s life, in return for “help” from his father. Now, go talk to Sven outside. He mouths off to you no matter what, but accepts your proposal that he duel alongside you against Avet and someone else. Now, go find Avet in his tent. You can challenge him or just insult him, but either way he accepts your offer of a duel in pairs. Go speak to Sven again to initiate the fight in the arena.
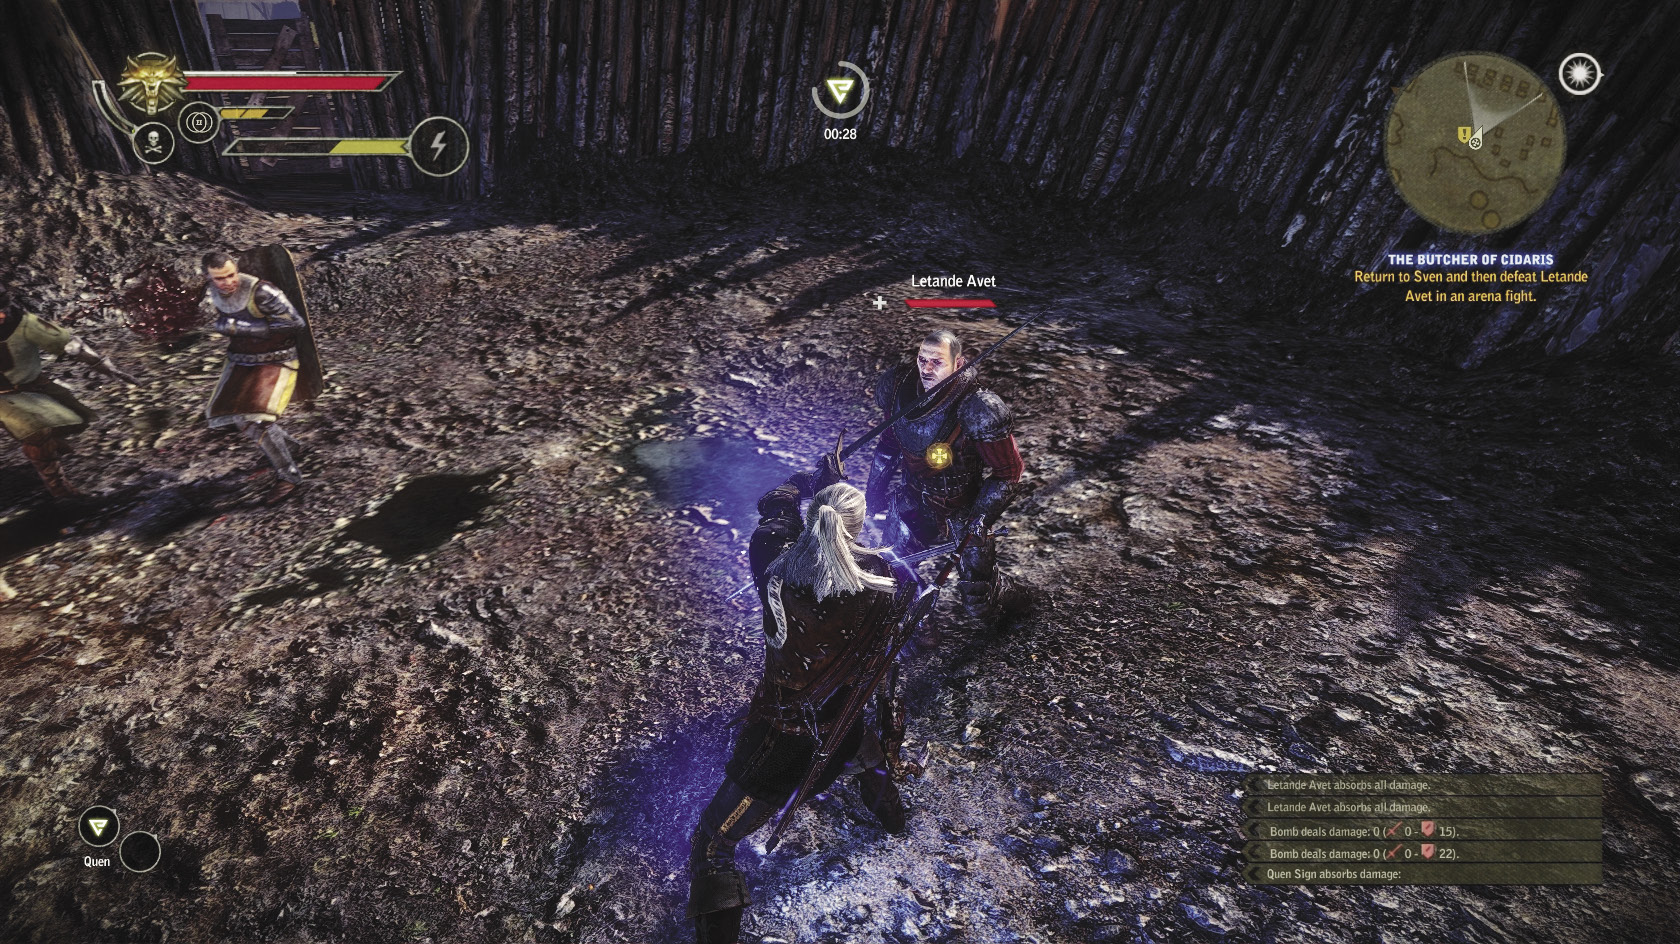
The actual fight against Avet and his second, Edward “The Petal” Leistham, shouldn’t be too difficult for you. Avet does much heavier damage than Leistham, but he’s vulnerable to all sorts of witcher’s tricks except Axii. You can render the fight hilarious by using Axii on Leistham and ganging up on Avet.
You don’t get any major reward in the form of orens or items, but after you leave the arena Sven’s father gives you information on the square coin conspiracy. It’s exactly what happens if you finish In Cervisia Veritas successfully; you get a square coin and are told how to get Whistling Wendy to open up the gate to where the conspirators gather. You also get some more information about Vinson Traut, whom you should expect to fight once you’re in the hideout.
Again, you could go and do this right away, but instead you should do a few other quests first. They can put your battle with Traut into a more interesting context.
 Side Quest: Ave Henselt!
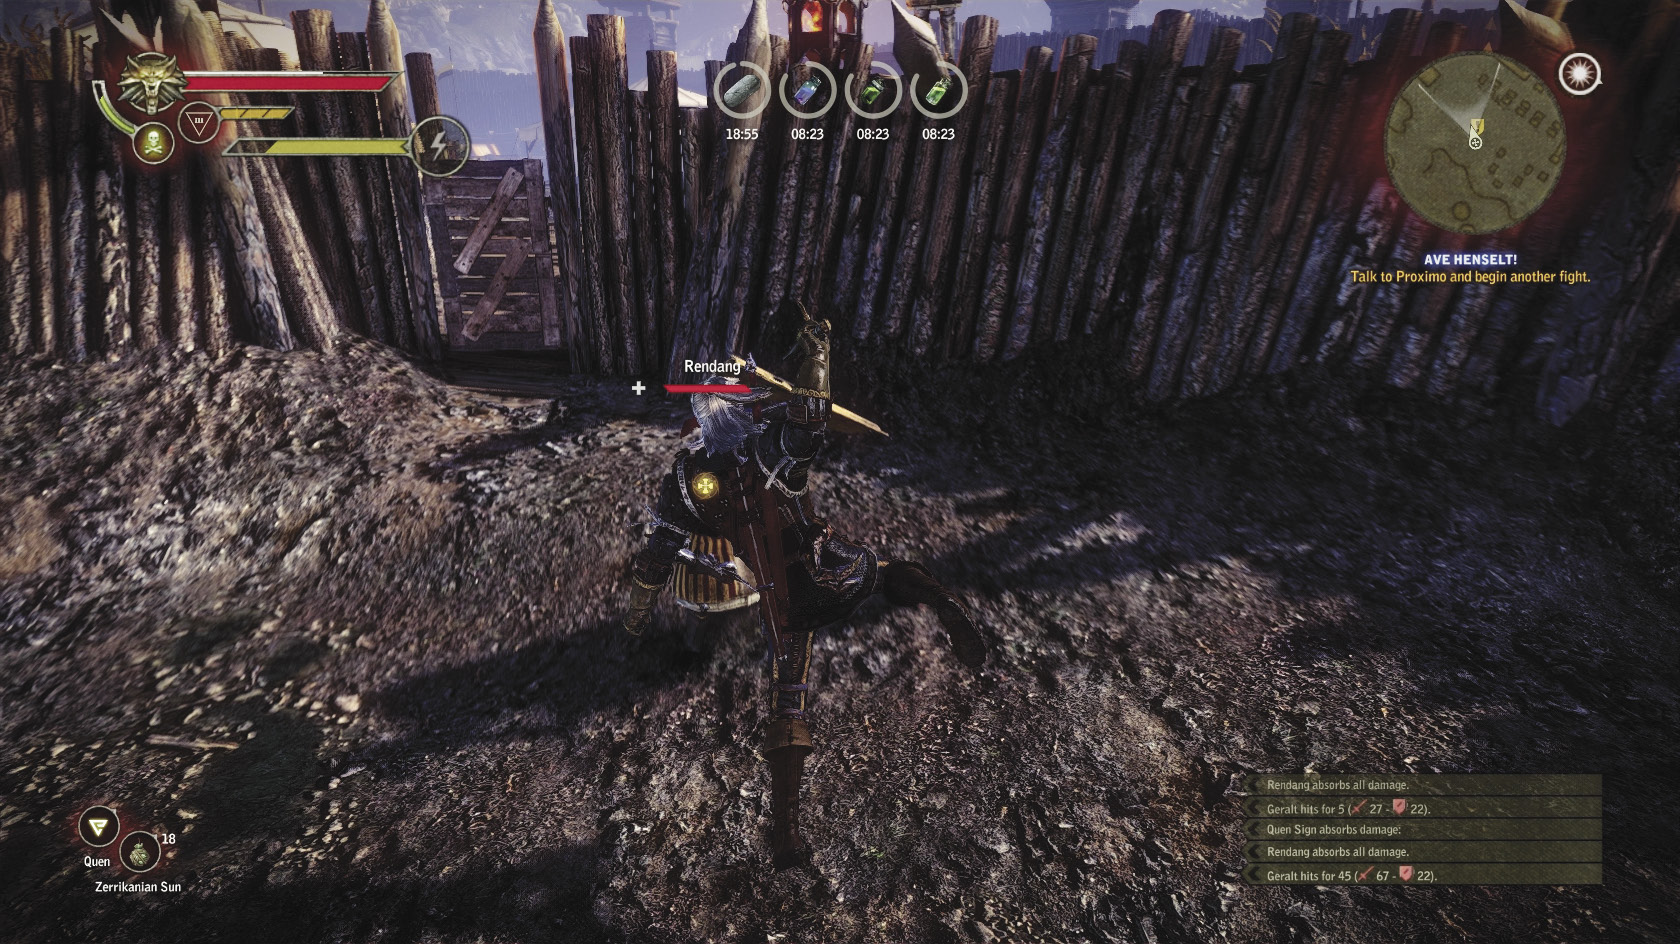
Immediately after you finish The Butcher of Cidaris, you are approached by Proximo, who organizes knightly tournaments for Henselt. Now that you’ve proven yourself in the arena, Henselt wants you to see you in combat against more skilled opponents. These battles aren’t to the death, but instead you battle until your opponent yields (or you yield). It’s worth noting that no matter who you fight during Henselt’s tournament, at no point do you ever want to yield to the enemy. There is one fight where it may seem like you should yield, but this is not the case.
Proximo is named after the character of the same name from the film The Gladiator.
First, speak to Proximo to enter yourself in the tournament. You can only begin a round of the tournament between noon and dusk. You have a chance to save immediately after the first two rounds of the tournament, but not the third. The tournament battles are one-on-one fights against progressively more dangerous opponents. Generally, the first two opponents should pose no real threat to you, the third should be quasi-dangerous, and the fourth must be treated as a legitimately dangerous foe. In any of the fights you can get killed pretty quickly by doing something stupid or making a serious mistake, though. Use tactics that play to your build’s strengths and you should be fine. After each of the first three fights, you earn 50 XP.
Your first opponent is Gwydion, who’s nothing special. Any swordsman build with Riposte should dismantle him easily, and Quen can shut down his ability to do damage. Rendag is similar, but damaging him is a more meticulous process since he carries a shield. Bombs and throwing daggers can come in handy here. The third opponent, Borin, uses the fighting style Letho and Dmitri favor. Getting caught in one of his multi-hit moves can be devastating. You can block his moves easily, but should counter with light attacks instead of slower strong attacks. Fighting him from a distance or focusing on stunning him can be very wise.
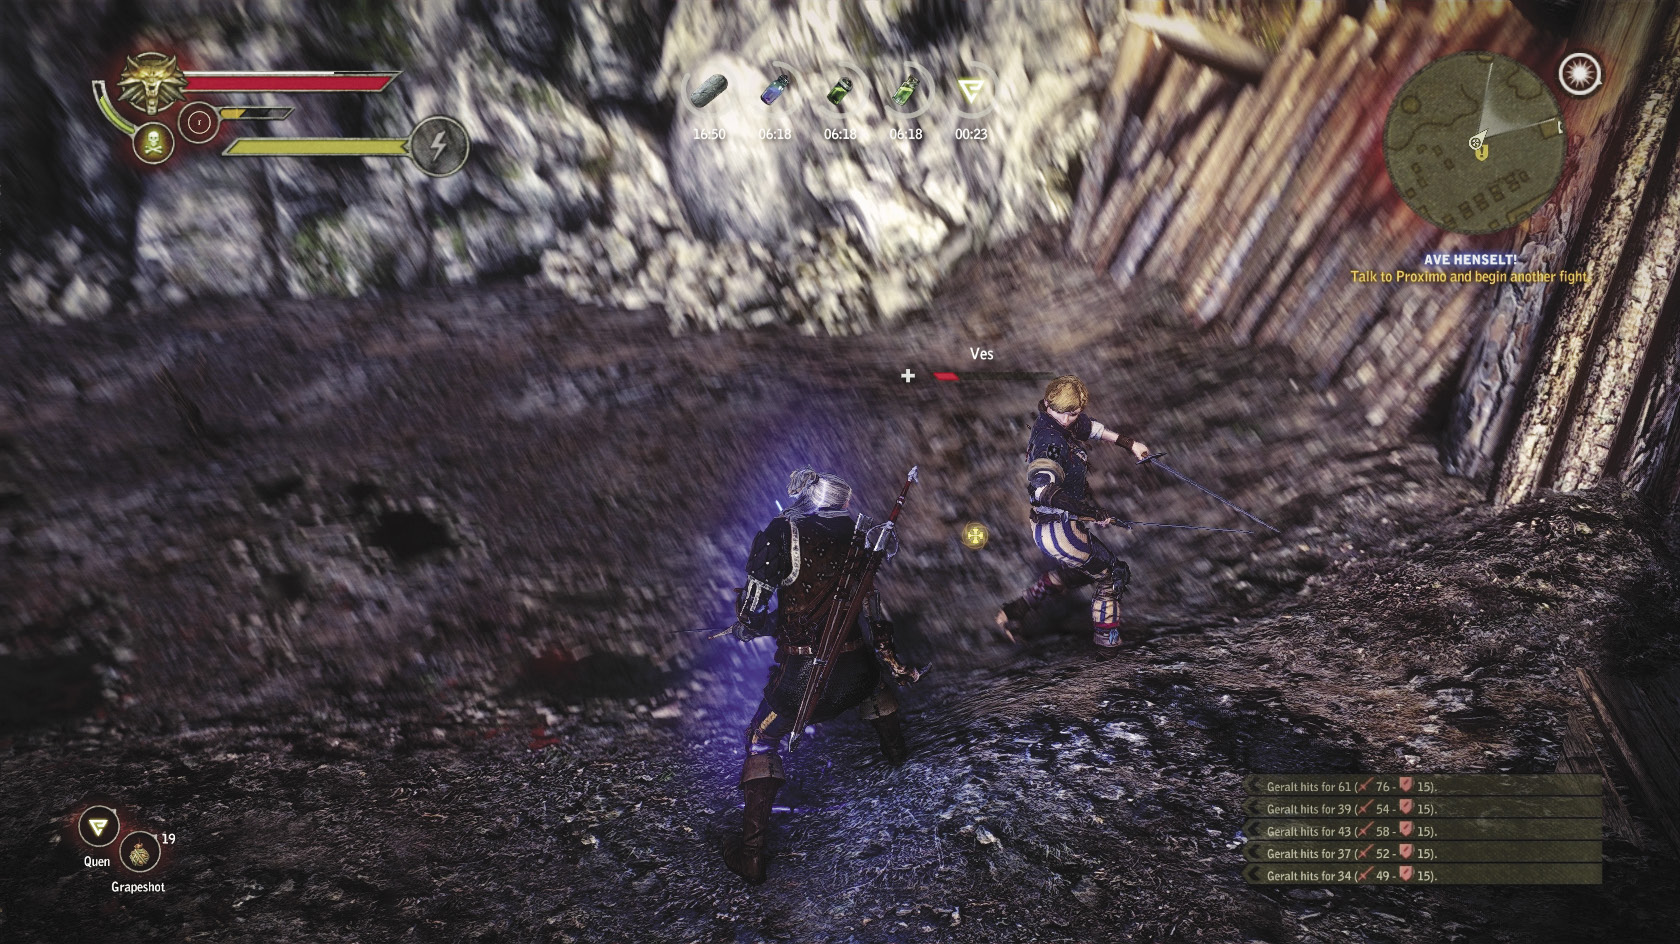
After you defeat Borin, Ves appears to be your fourth and final challenger. Ves is easier to damage than Rendag or Borin but does absolutely obscene damage when her blows connect. Getting stuck in one of her multi-hit combos can one-shot you very easily. Keep Quen up, fight from a distance if that’s what your build is good at, and stick to using Riposte and light attacks for countermoves. Whittle down Ves’s vitality very carefully, waiting until you can strike without being punished.
If you choose to yield to Ves, you get no XP (since you lost) and you piss her off, since she says you just threw the fight. After she storms out, try to go talk to her at the Blue Stripes encampment. She gives you a tongue-lashing and tells you to go away. Enduring Ves’s ire is worth another 50 XP and resolves the quest, if in a way that makes you look foolish.

If you defeat Ves, she’s pleased that you took her seriously as an opponent and invites you to speak with her later. You get 250 orens for winning the tournament and 50 XP for beating her. You should also unlock the Gladiator achievement. When you go speak to Ves, you get 50 XP no matter what you say, and then automatically get another 50 XP for resolving the quest successfully.
If you play your cards right with Ves in conversation, you can trigger a love scene with her. Use the following responses as you move through the dialogue tree with her. Saying anything else amounts to offending her or refusing her. While this won’t keep you from getting all of the quest’s rewards, it will keep you from getting to sleep with Ves. Sleeping with her successfully unlocks the Heartbreaker achievement.
Correct Dialogue to Sleep with Ves
- That was a great duel.
- I also feel like using this opportunity.
- She’s both brave and beautiful.
- I like that idea.
 The Blood Curse
 Lost Lambs
At some point when you stepped outside the Kaedweni Camp, probably after triggering The Blood Curse main quest, you likely triggered a cutscene with Zyvik. He complains of two men who’ve turned up missing and asks you to go look for them. If you haven’t triggered this cutscene yet, go do so now. Agree to go look for them to accept the quest. After you’ve spoken to Zyvik, head to the upper stretch of beach. You need to move through the gullies to get there. When you reach the upper stretch of beach, you find two Kaedweni soldiers and the apparent site of Sabrina Glevissig’s execution. First, talk to the soldiers. Tell them you’ll help them, since otherwise the quest stalls at no real benefit to you. Have them wait until you examine the site of the execution, which is a necessary step for advancing The Blood Curse.
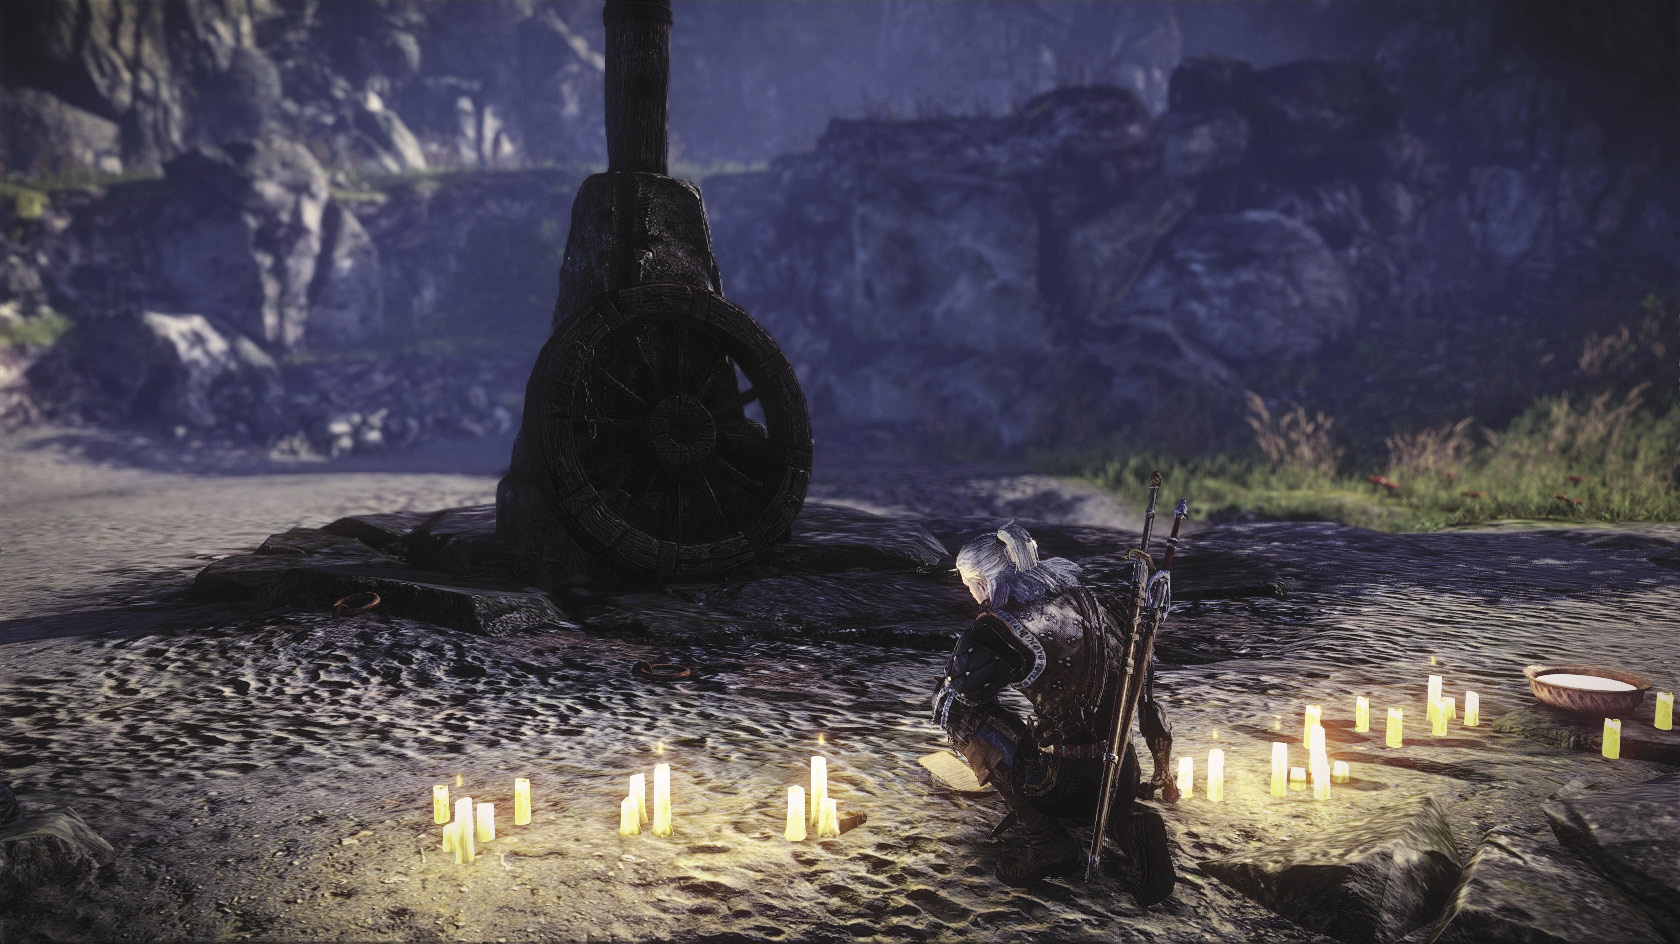
To do the examination, move toward the stone at the center of the circle until you get an interaction prompt. Select all of the examination options, one by one, so you can glean as much information as possible about what happened. Do not stop the examination until you’ve gone through every option. Be sure to take the square coin, the letter, and the rusty nail. Do not give the rusty nail to the soldiers, if one of them asks for it.
After you tell the soldiers “Let’s go,” lead them back to the area marked as the crossing on your guide map. Drowners immediately spawn on the beach, regardless of what time of day it is. The soldiers can defend themselves well enough, so just focus on taking out the drowners quickly. Use whatever standard tactics work best for your build. After you defeat the drowners and loot the bodies, lead the Kaedweni soldiers back to the crossing. Once they reach the crossing, the Lost Lambs quest automatically resolves and you get 100 XP.
Go talk to Zyvik at the Kaedweni Camp. To get him to give you a reward for completing Lost Lambs, say “I found those missing soldiers.” Zyvik hands over 110 orens as your reward. After that, you may notice that there are a bunch of orange-highlighted dialogue options with Zyvik. These all optional, but advance various quests and give you lots of additional information about the game’s storyline. If you ask Zyvik about his service in the Dun Banner, he gives you the Beaver Cap item, which is useful while resolving the quest Death Symbolized.
 Side Quest: Little Sisters
 From a Bygone Era
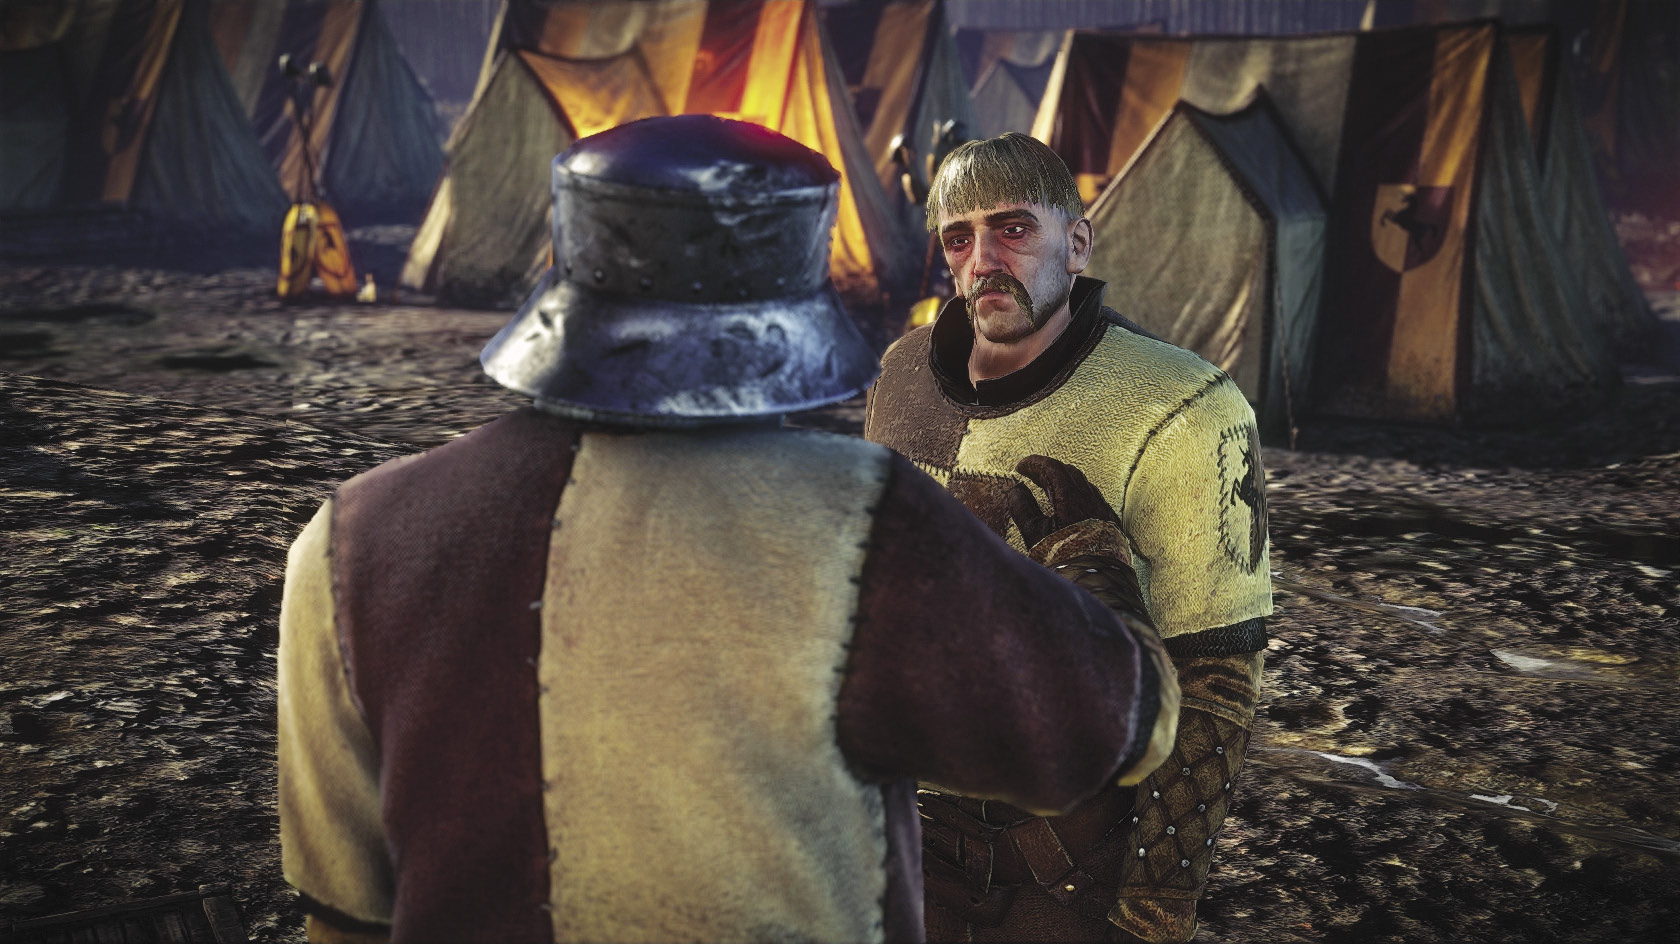
You may have met Mavrick in the Kaedweni Camp, who’s hated by the other troops. Go talk to him. He’s usually not far from the camp’s west exit. He claims to be haunted and, after a little prodding, tells you of a horrifying experience he had with specters on the beach. If at any point you insult Mavrick, it interrupts the dialogue. The quest doesn’t end, but you have to talk to Mavrick again and make different choices to proceed. Eventually, ask Mavrick “Why did you go to the riverside?” and “Around what time did all this happen?” After that, you open up the option to say “I could get rid of that specter. For a price.” This lets Geralt accept the quest, provided you say “I guess I’ll have to.” If you say “I can’t,” it works like insulting Mavrick. You can go back to get the quest later, but otherwise it doesn’t advance.
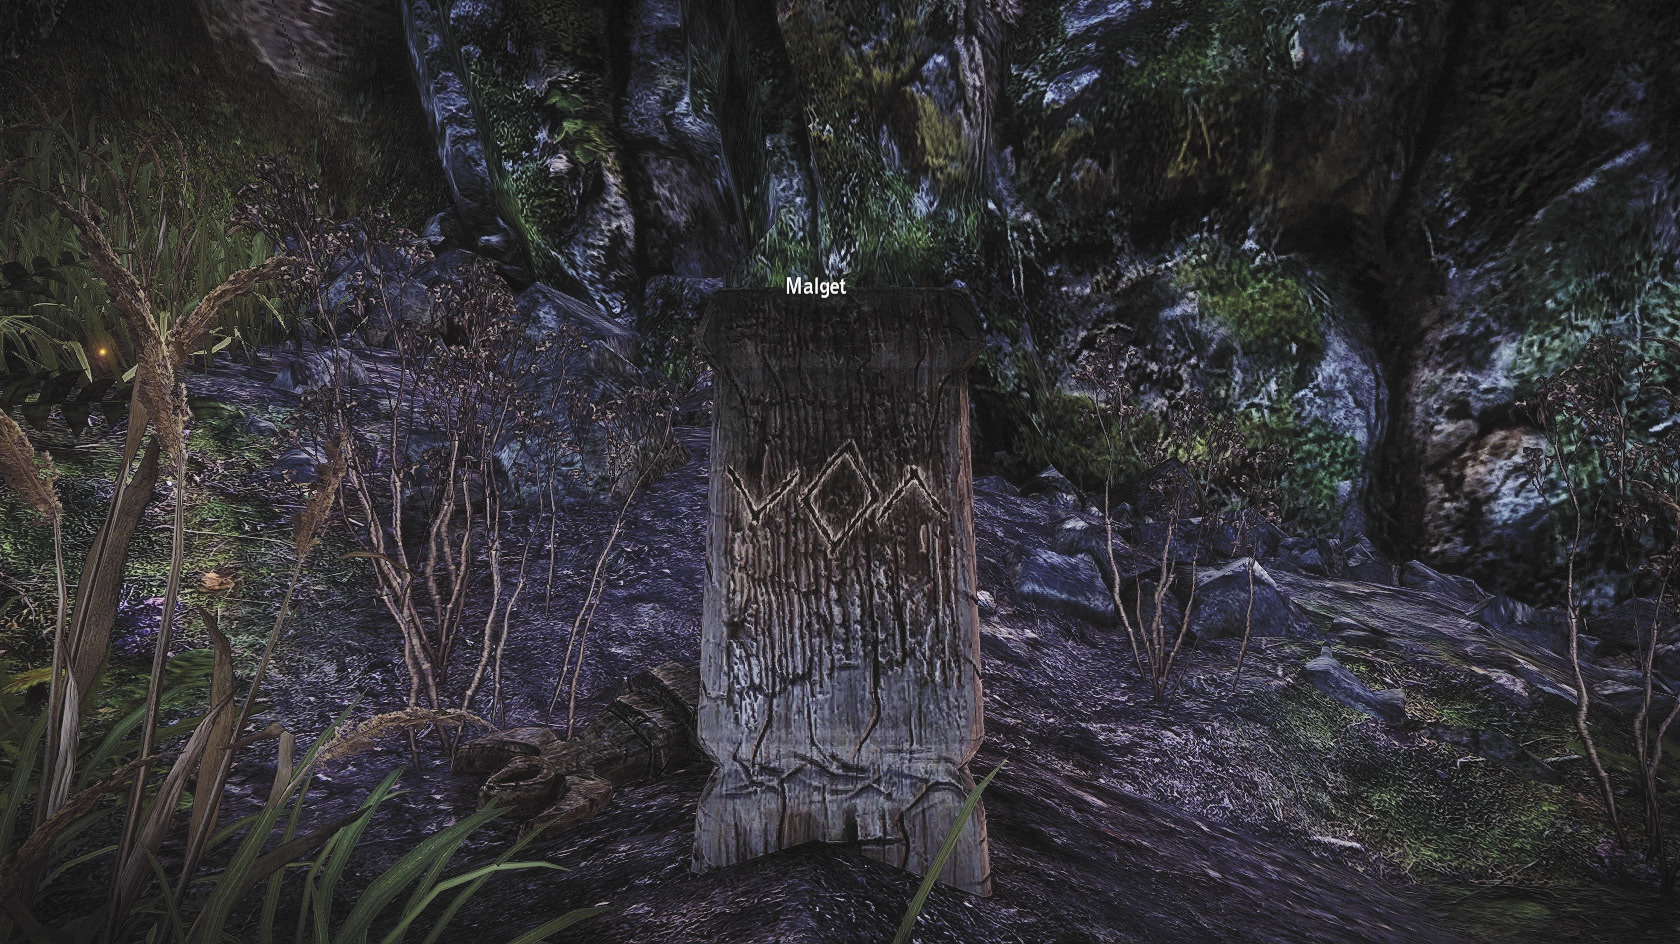
Before you go far, step into the Camp Followers’ Encampment and talk to Liva, whom Mavrick mentioned earlier. You can ask her some questions about what happened in the hut on the cliff three years ago. Ask every question, since there’s no reason why you can’t. When you’re done speaking with Liva, head to the crossing point marked on the guide map and proceed to the lower stretch of beach. First, investigate the hut itself. If you scan it with your medallion, you won’t find anything. Go investigate the gravesite behind the house that Liva mentioned. Carefully examine all four grave markers. In particular, examine the one marked as Malget’s. It is inscribed with a down arrow, a diamond, and an up arrow series of sigils. Keep these in mind.
Head back to the hut. By now you have probably noticed that there are some conspicuous barrels sitting by the house’s left-hand side (while facing the entrance). Approach them and you get an interaction prompt to use Aard to blow them up. This reveals a trap door that leads into the house’s hidden cellar. Climb down.
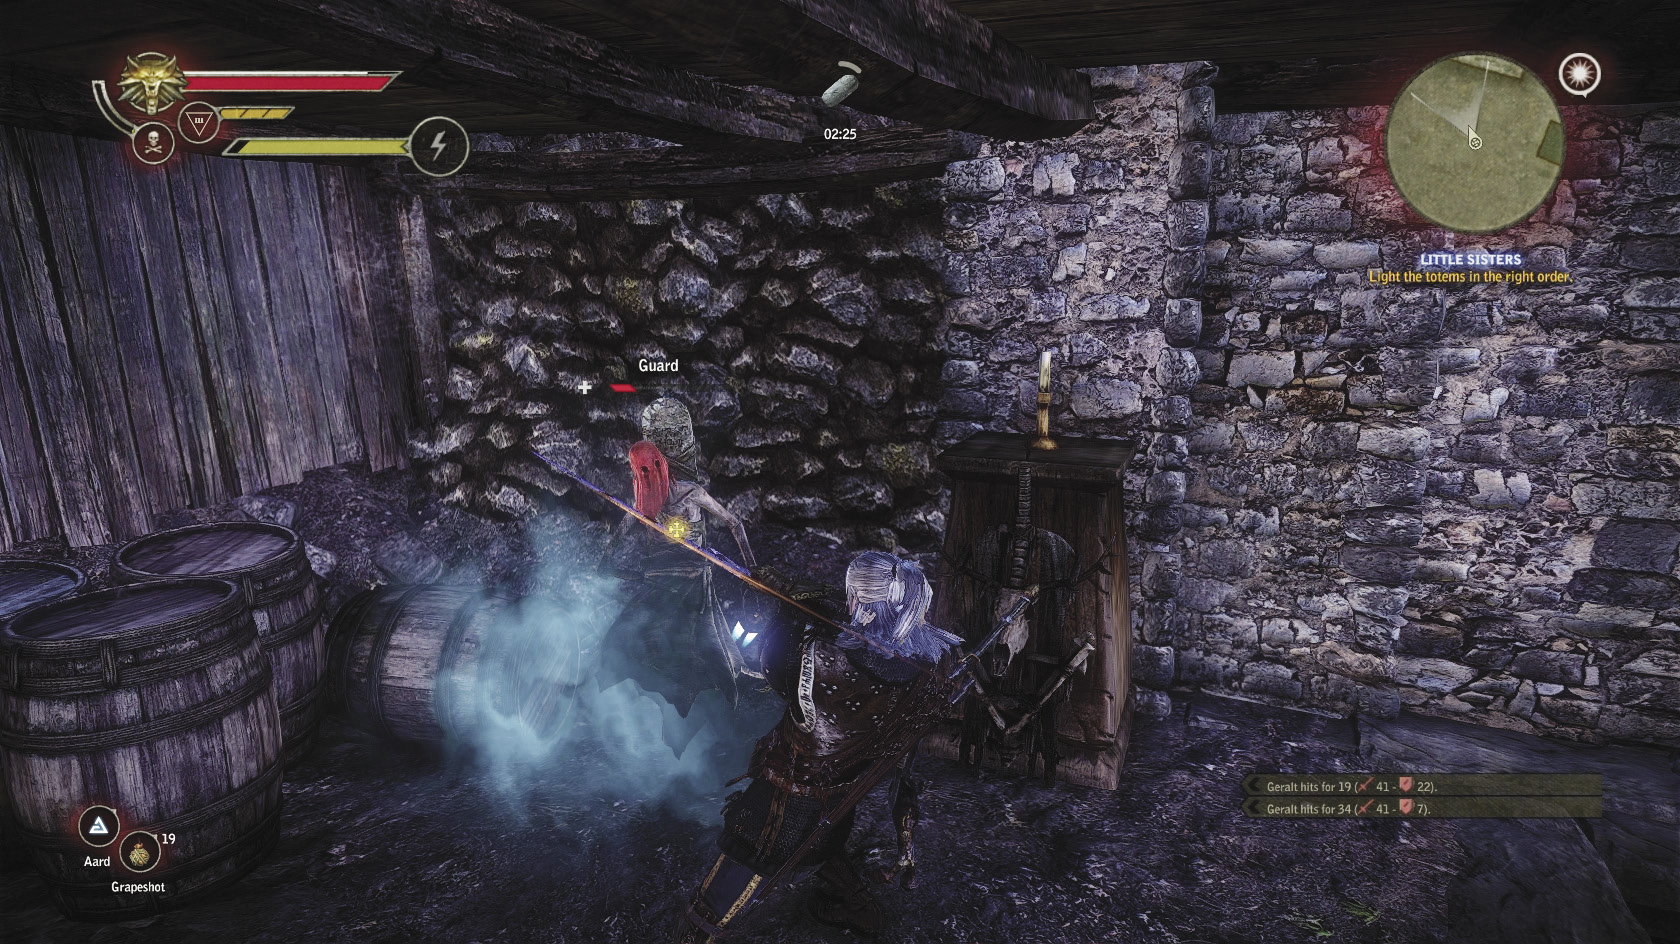
Inside the cellar there’s a bunch of random loot you can acquire and three curious podium-like altars, each with a candle atop it. Each altar is marked at the front with some sticks that, bound together, form a shape. There’s a down arrow altar, an up arrow altar, and a diamond altar. If you approach the altars, you get an interaction prompt to light the candles with Igni. If you light the altars in the order specified on Malget’s grave marker (down arrow, diamond, up arrow), you reveal a hidden room. If you light the candles in any other order, you just summon a wraith that tries to kill you.
Inside the hidden room you find a desk and a bookshelf. If you scan for loot, there won’t be any, but you can pick up Malget’s notes on the desk. This triggers the quest From a Bygone Era. There are two things you can do with the notes. You can sell them to Dethmold for 150 orens or keep them and have someone decipher them in Chapter 3. It is recommended that you keep them for Chapter 3, since progressing the quest there lets you obtain loot that’s worth a lot more than 150 orens. For now, you’ve done all you can with From a Bygone Era. Climb out of the cellar and head down to the beach the cabin overlooks.
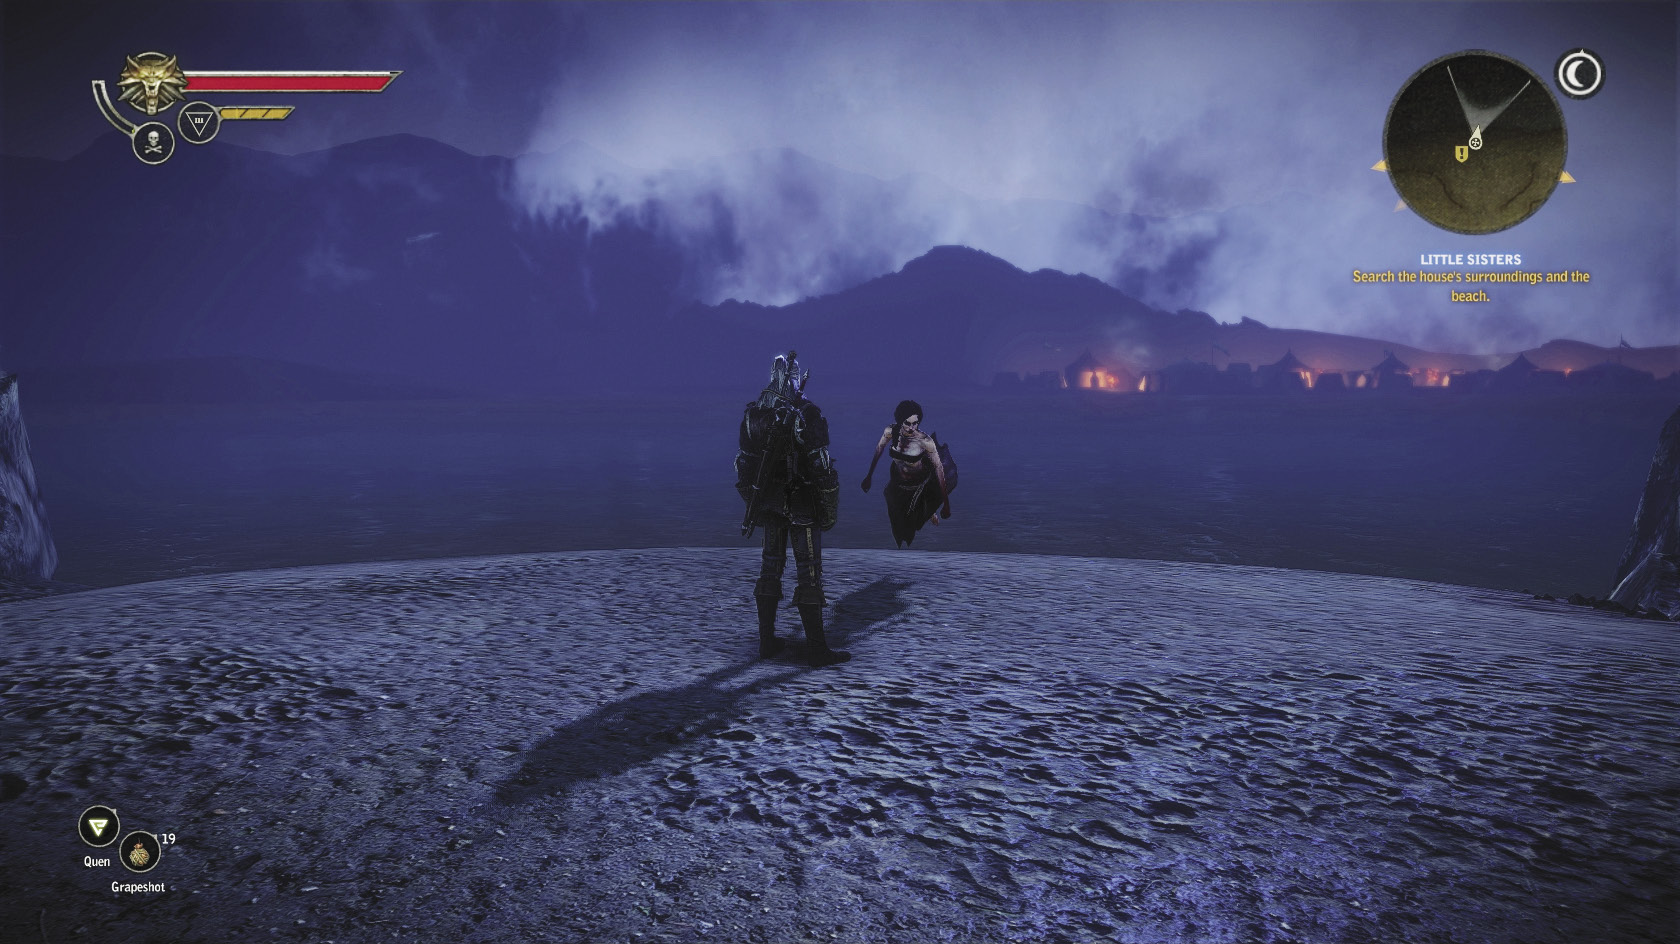
Head to the area marked “Little Sisters” on the guide map and meditate until midnight. When you come out of meditation, a wraith-like female spirit NPC should be waiting for you on the beach. Move toward her to initiate a dialogue sequence. The Little Sisters quest can have three outcomes depending on what you say and do during this dialogue and another one that can follow it.
The simplest outcome is to say “I kill wraiths” at the first dialogue branch. You can also get a similar outcome by saying “I’m a witcher,” followed by “You lie. Die.” In this scenario, Geralt doesn’t listen to a word the female specter says and takes Mavrick’s word that she’s evil. The dialogue immediately ends and combat begins. You must defeat the female specter and her two “little sisters” quickly. While they have more vitality than the average wraith, they use the same attack patterns and aren’t especially damaging. Use specter oil if you need it and basically fight them the way you would a pack of wraiths with your current build. You should defeat them without too much trouble. If you resolve things this way, return to the Kaedweni Camp and speak with Mavrick. He hands over 50 orens and you get 50 XP for resolving the quest.
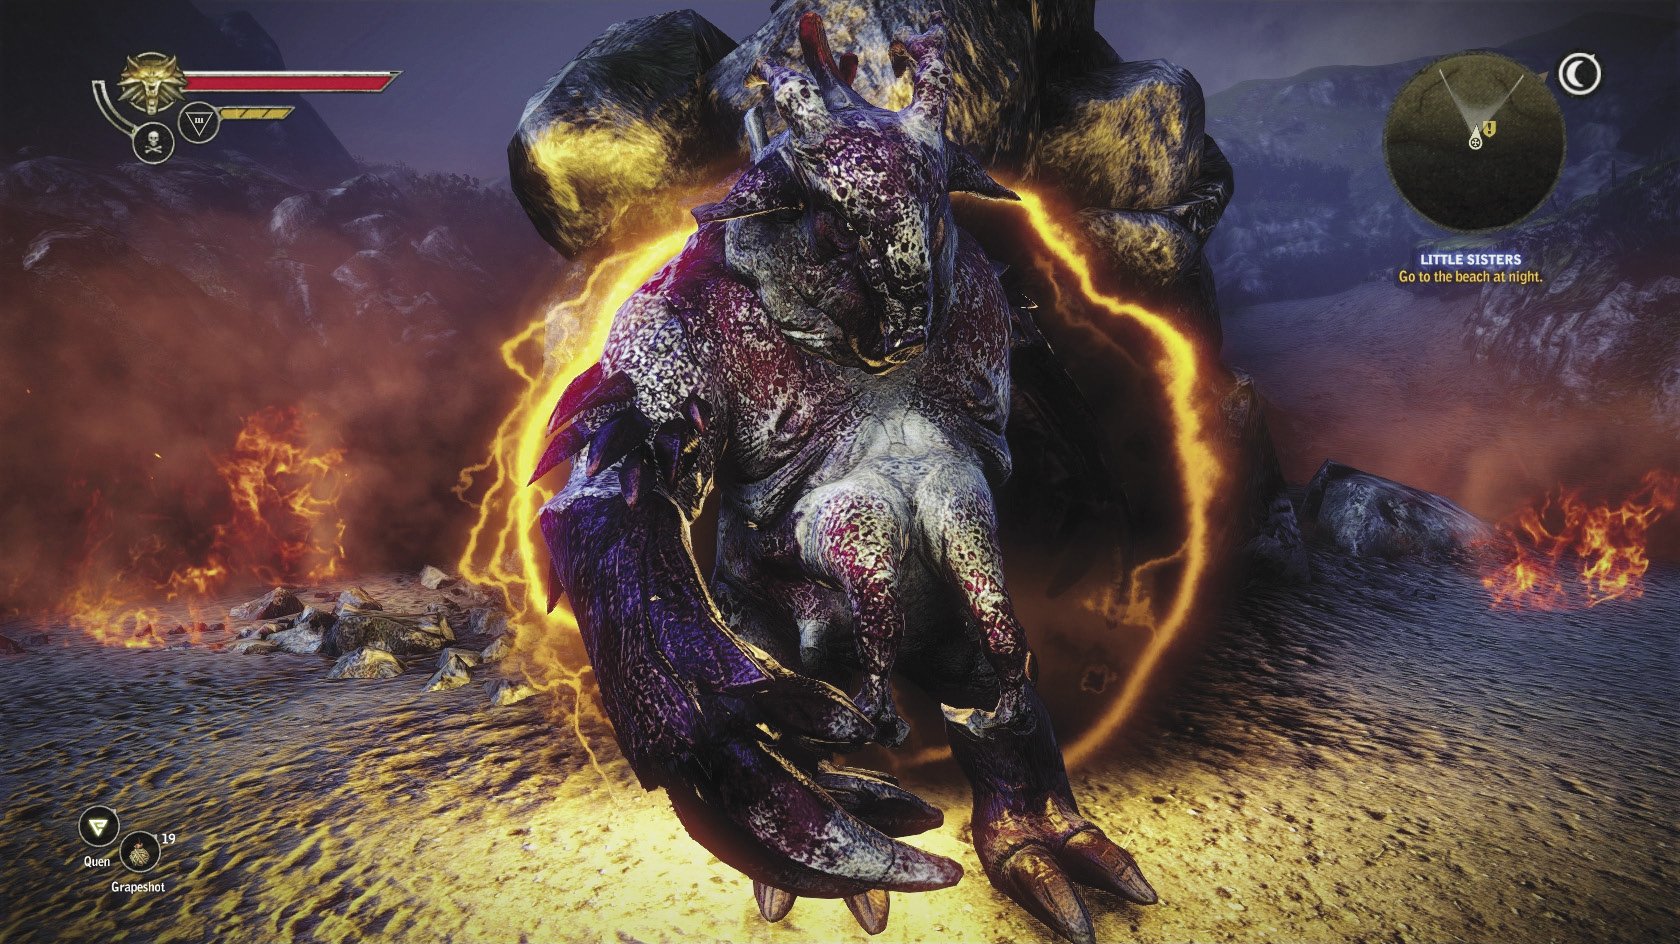
A more complex outcome is to say “I’m a witcher” and then “I’ll need to check that” at the second dialogue branch. In this case, Geralt is willing to believe that the spirit might not be lying. Go back to the Kaedweni Camp and speak with Mavrick. When the dialogue begins, say “The specters claim you’re a murderer.” Mavrick panics at this, insults you, and then runs away. Head back to the lower beach. Once there you find Mavrick’s half-eaten, grisly remains and the female specter, who mocks you and then summons what she calls a demon to eat your soul.
The enemy, though called a demon, is in all respects basically just a bullvore, and you can fight it using the same tactics. It should be a bit easier to beat than the one in the camp cave, since you’ve got a wide-open area to fight it in and plenty of room for dodging. When you defeat the demon, it drops some necrophage body parts, a bullvore trophy, and the diagram of the Mahakaman sihil. The quest fails in your journal and you get no additional XP or orens. The catch, though, is that the sword you can make using the diagram you just obtained is by far the best steel sword you can obtain in Chapter 2. Failing the Little Sisters quest and fighting this particular enemy is the only way to obtain this diagram, which is the only way to obtain the sword.
The third way to resolve the quest gives Mavrick a much happier outcome. For this resolution, you say “I’m a witcher” and then “I’ll need to check that first,” when you first speak with the female specter. When you visit Mavrick in town, you say, “I need your help to drive the specters off.” You can mention having investigated the hut first, but Mavrick won’t really tell you anything useful in response.
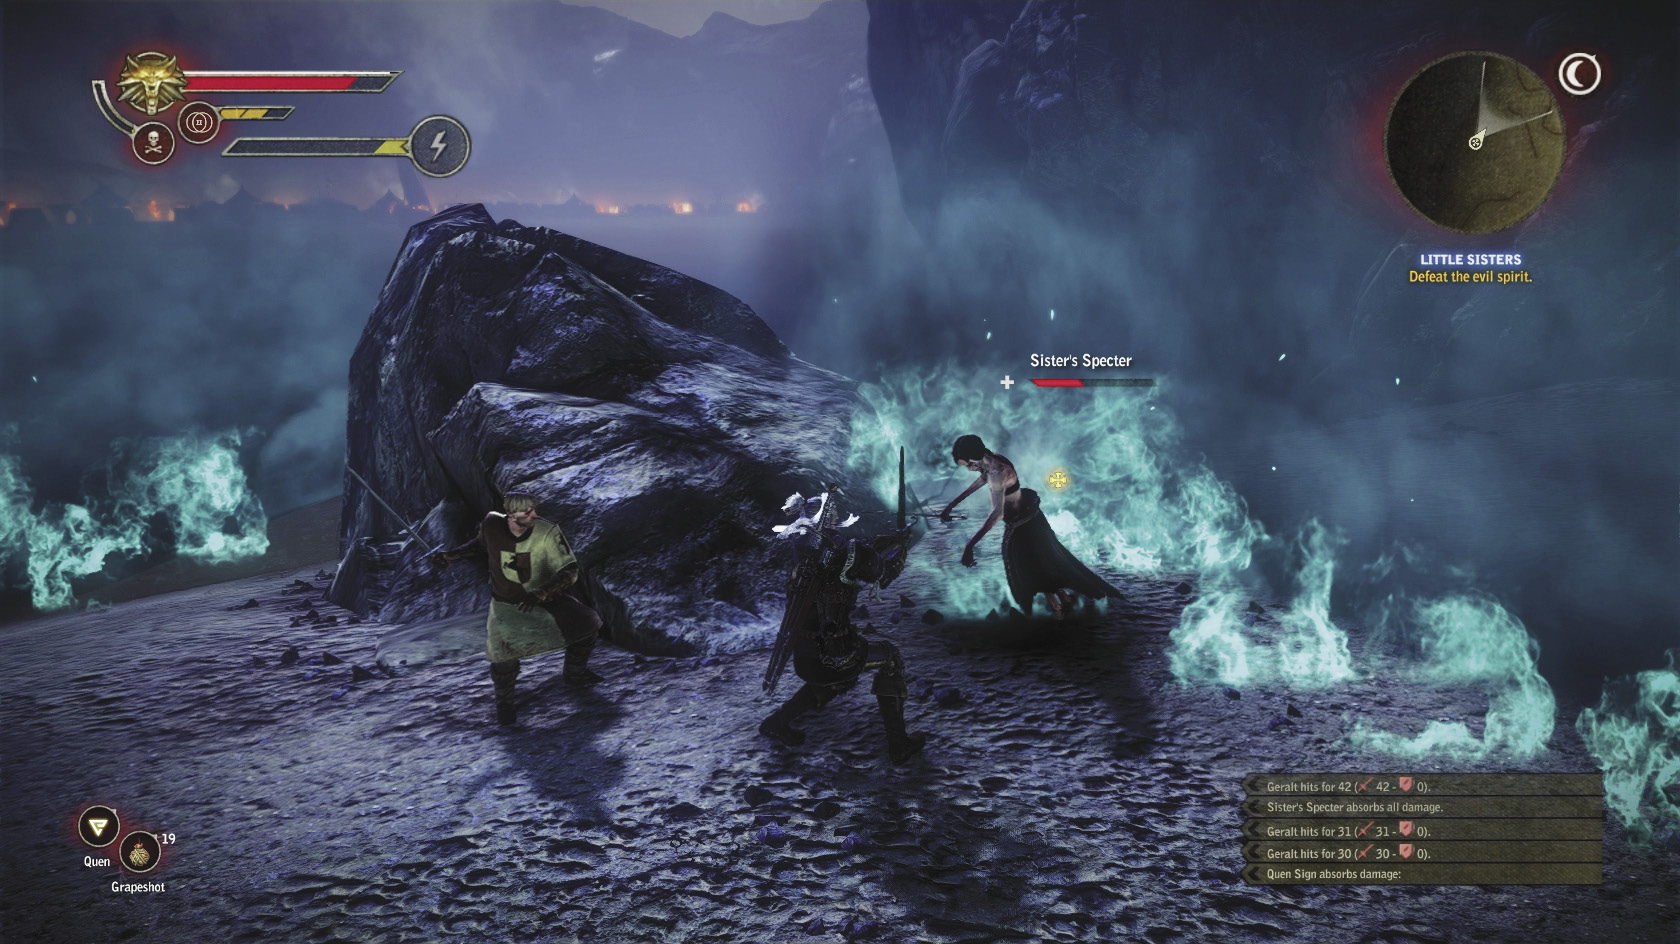
Mavrick agrees to help you and goes to wait for you in the clearing near Malget’s house. Simply return to the lower beach and you can pick up Mavrick along the way. Take Mavrick to the beach, so you’re with him when the female specter and her two little sisters materialize. They repeat their accusations. You can try to get more information about what really happened from Mavrick, by saying “I need to ask you something,” followed by “Tell the truth.” After those two options, you have to decide whether to support Mavrick (“I believe you”) or say you think he’s lying (“You need to answer for your deeds”). You can also side with Mavrick at the first dialogue branch by saying “Don’t listen to them,” or turn against Mavrick by saying “He’s yours.” If you turn against Mavrick here, there’s a brief combat where you have to fight him with the three specters as allies. Once Mavrick is killed in battle, then the sequence with the bullvore happens.
If you want the happier ending, you must side with Mavrick. The female specter (whom you can recognize is a bruxa if you’ve read the book about them) is outraged that you’ve seen through her plot to devour Mavrick and turns on you with her two little sisters. Mavrick fights alongside you as an ally against them. As when you fight them alone, the female specters amount to being wraiths with high vitality and shouldn’t be hard to beat using standard tactics. After you defeat them, you get 300 XP. Although Mavrick seems to hand you a money pouch in a cutscene, you get no orens for resolving this quest. Loot the bodies to get some wraith drops and, if you’re lucky, maybe a good mutagen or two.
Mechanically, the most beneficial outcome to Little Sisters is whatever lets you make the Mahakaman sihil. Once it’s made you can socket it with runes and then have a significant advantage in the chapter’s remaining fights against humans. Of course, Mavrick really didn’t kill his sisters, so to get this sword you basically have to let a demon eat an innocent man. If that doesn’t sit well with you, there are some lesser steel swords you can make do with and you can resolve the quest with its happy 300 XP resolution instead.
 Side Quest: The Rotfiend Contract
 The Path to Vision
Now you can wrap up the chapter’s last major side quest and get started on part of the main quest line. These quests are simple and straightforward. First, go take the quest notice for The Rotfiend Contract off of the canteen’s notice board if you haven’t already. Just beyond the canteen, you may see or overhear a group of men speaking about a relic one of them purchased, a nail that supposedly protects against Scoia’tael arrows. If you have the rusty nail relic from Sabrina Glevissig’s execution site, you can approach them and prove that the relic they’re discussing is fake (because it looks too new). This counts toward helping the camp’s soldiers, which in turn counts toward getting to question the Scoia’tael prisoner.
Next, step inside the canteen and speak with the Relic Seller (again, if you haven’t already). You should’ve already had the conversation with Zyvik that relates to this quest, too. Tell the Relic Seller you found footprints at the site of Sabrina Glevissig’s execution, and make it very clear that you know the footprints are his. The Relic Seller agrees to answer whatever questions you ask and you should ask all of them.
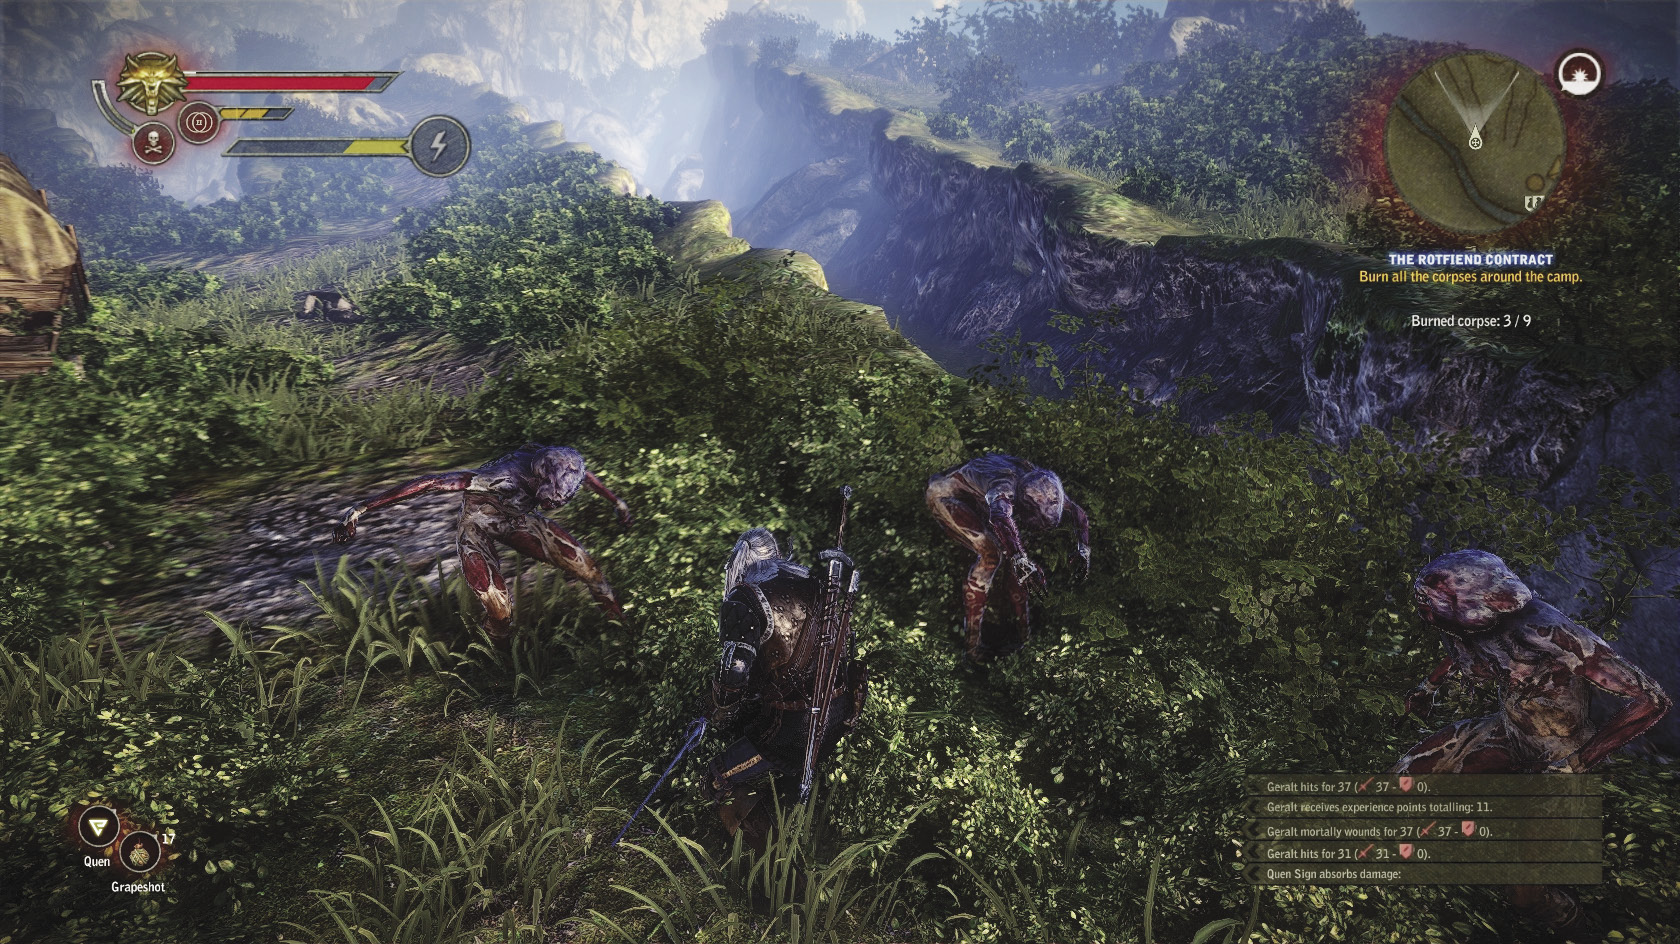
With that taken care of, you need to acquire knowledge of rotfiends before setting out for the Kaedweni Camp. You can buy the book about rotfiends that Sambor sells or go check your character menu to see if you acquired knowledge of rotfiends while cleaning out the camp cave earlier. It is also possible you have already obtained the rotfiend book as random loot at some earlier point in the game.
Once you have acquired rotfiend knowledge somehow, leave the camp and go looking for unburied corpses to burn. There are nine in the area around the Kaedweni Camp, which you encounter in three groups of three corpses each. Once you’ve burned them all, the quest is done. The corpse locations are all marked on the map. To burn a corpse, simply approach and interact with it. Once you’ve burned the corpses, the respawn rate of rotfiends in the area slows down a bit. Generally, the easiest way to do things is to start with the corpses farthest south, behind the Camp Followers’ Encampment, which you can find alongside some Kaedweni soldiers. Once the southern corpses are dealt with, work your way north. You may end up fighting some nekkers while you burn the corpses along the creek bed. The rotfiends themselves should pose no real threat to you by this point in the game.
Hidden ArachasAfter you burn the corpses near the wrecked wagon just outside the Kaedweni Camp’s gates, head a bit to the east and investigate the gullies there. You may encounter nekkers along the way. As you’re poking around, you should come to a point where your medallion vibrates automatically. Nearby there’s an area where you can drop down into a deep ravine. Pause here to meditate and drink some potions, including Mongoose. Oil your silver blade with insectoid oil. When you drop into the ravine, you find that an arachas has made its lair there. This fight is quite dangerous, as it’s impossible to flank the arachas in this terrain. You have to approach it head-on. When it starts blocking, you can only roll backwards. On the other hand, Yrden is quite effective here because the arachas has no way to evade your sigils. Once you defeat this arachas, you can loot the mage gloves from its lair. As the name suggests, this item is very useful for mage builds. |
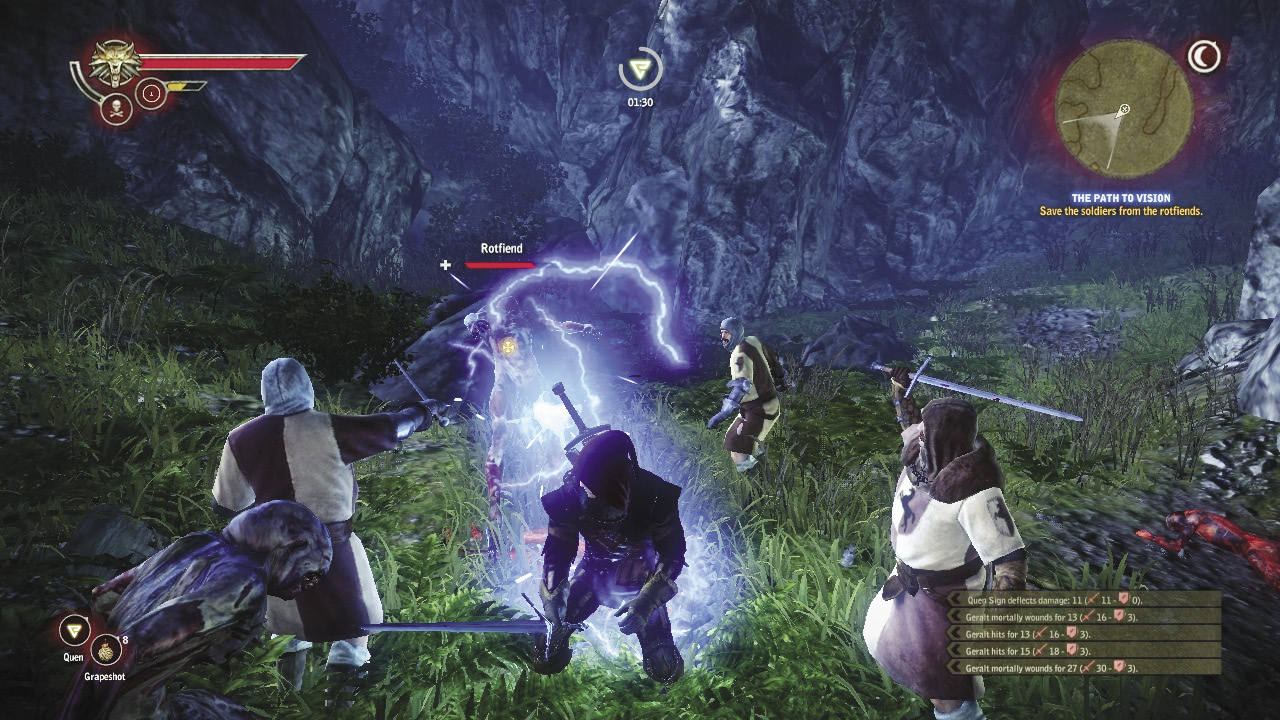
When you head to the northernmost set of corpses, you trigger a cutscene that advances The Path to Vision. You come upon some rotfiends attacking a group of Kaedweni soldiers. Get out your silver sword and help the Kaedwenis out. When you defeat the rotfiends, the Kaedwenis mention that they were going to see the Visionary but are fed up with fighting monsters. They give you 46 orens to pass on to him, along with the soldiers’ note to the Visionary. Burn the corpses nearby. You could return to the Kaedweni Camp now to turn in The Rotfiend Contract, but you can cut back on backtracking by waiting. Instead, head on to the Visionary’s cabin.
When you get there, a flock of harpies fly in. The Visionary tells you to run over to the candles. While you can usually beat harpies very easily, listen to him this time. The harpies in this area can spawn infinitely if you trigger them correctly (see the “Infinite Harpies” sidebar), so you can come back to fight them whenever you like. For now, speak with the Visionary.
Infinite HarpiesGenerally, if you want to fight a given group of enemies over and over again in this game, you need to meditate awhile so the group has time to respawn. The harpies outside the Visionary’s hut are a unique exception you can take advantage of if you need to make orens on the quick. This harpy group is designed to spawn again every time you leave the Visionary’s house. If you want to amass a big pile of valuable harpy feathers to sell, then kill the harpies, run into the Visionary’s house, and then run back out. The harpies should be back and ready to be killed all over again. If you don’t encounter harpies for some reason, then just run in and out of the Visionary’s house a few times to trigger the spawn. You can repeat this process until you have all of the harpy drops you want. |
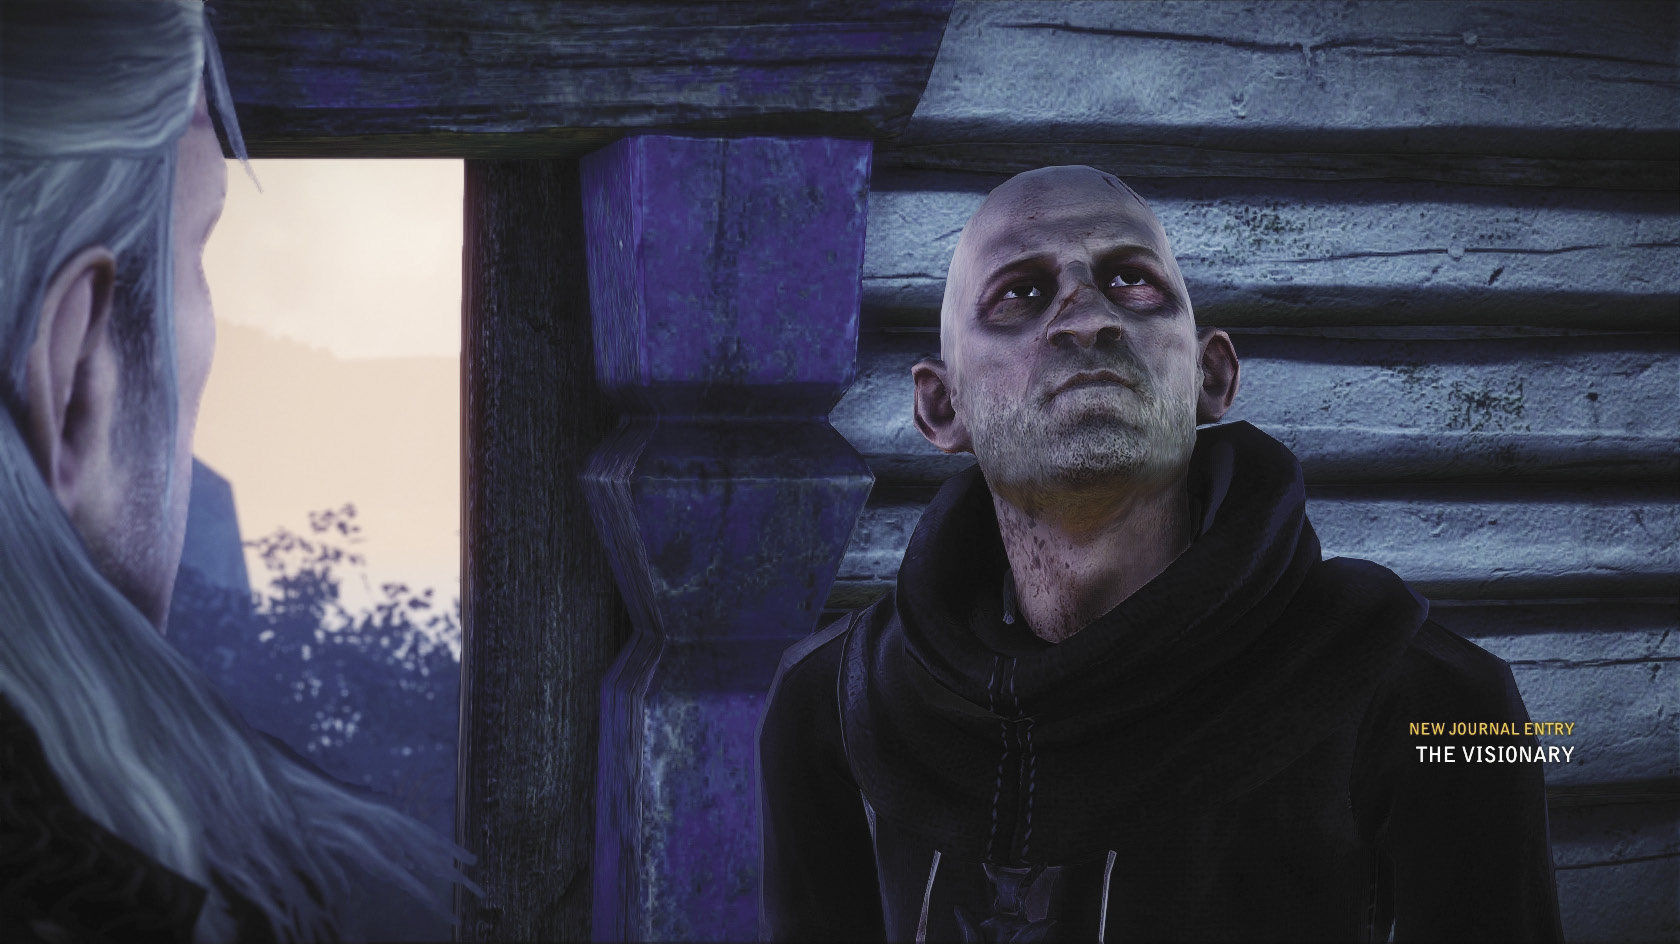
There are a few different ways to resolve this one. First, you can either give the Visionary the orens the soldiers gave you or keep them. The main thing this affects is how much money the Visionary asks for if you attempt to bribe him to get through the quest. If you keep the money the soldiers gave you, his max bid on a bribe is 381 orens. If you give him the money, his max bid is 592 orens. In short, it is to your advantage to keep the money.
Once you’re done discussing the money, you ask the Visionary about Sabrina. He says he won’t answer your questions unless you convert to his faith or give his church a “sizable donation.” The sizable donation option is basically just bribing him for the information. You can do this, but it’s not really recommended. Instead, say you’ll join the Visionary’s religion. This unlocks something that is pretty fun.
The Visionary gives you a Visionary’s potion and says you have to pass an initiation ritual. You need to go to a shrine to Sabrina he’s constructed in the woods, drink the potion, and perform a ritual. The ritual should give you a vision, which you should describe to the Visionary upon your return. Loot the Visionary’s hut for the Visionary’s notes (II and III), then set off toward the shrine area, as marked on the guide map. Be ready to encounter some endregas and an arachas along the way. This arachas won’t be as difficult to beat as the first one, but it can easily kill you if you’re not ready for it.
Once you reach the shrine, meditate and drink the potion. The vision that unfolds before you is…
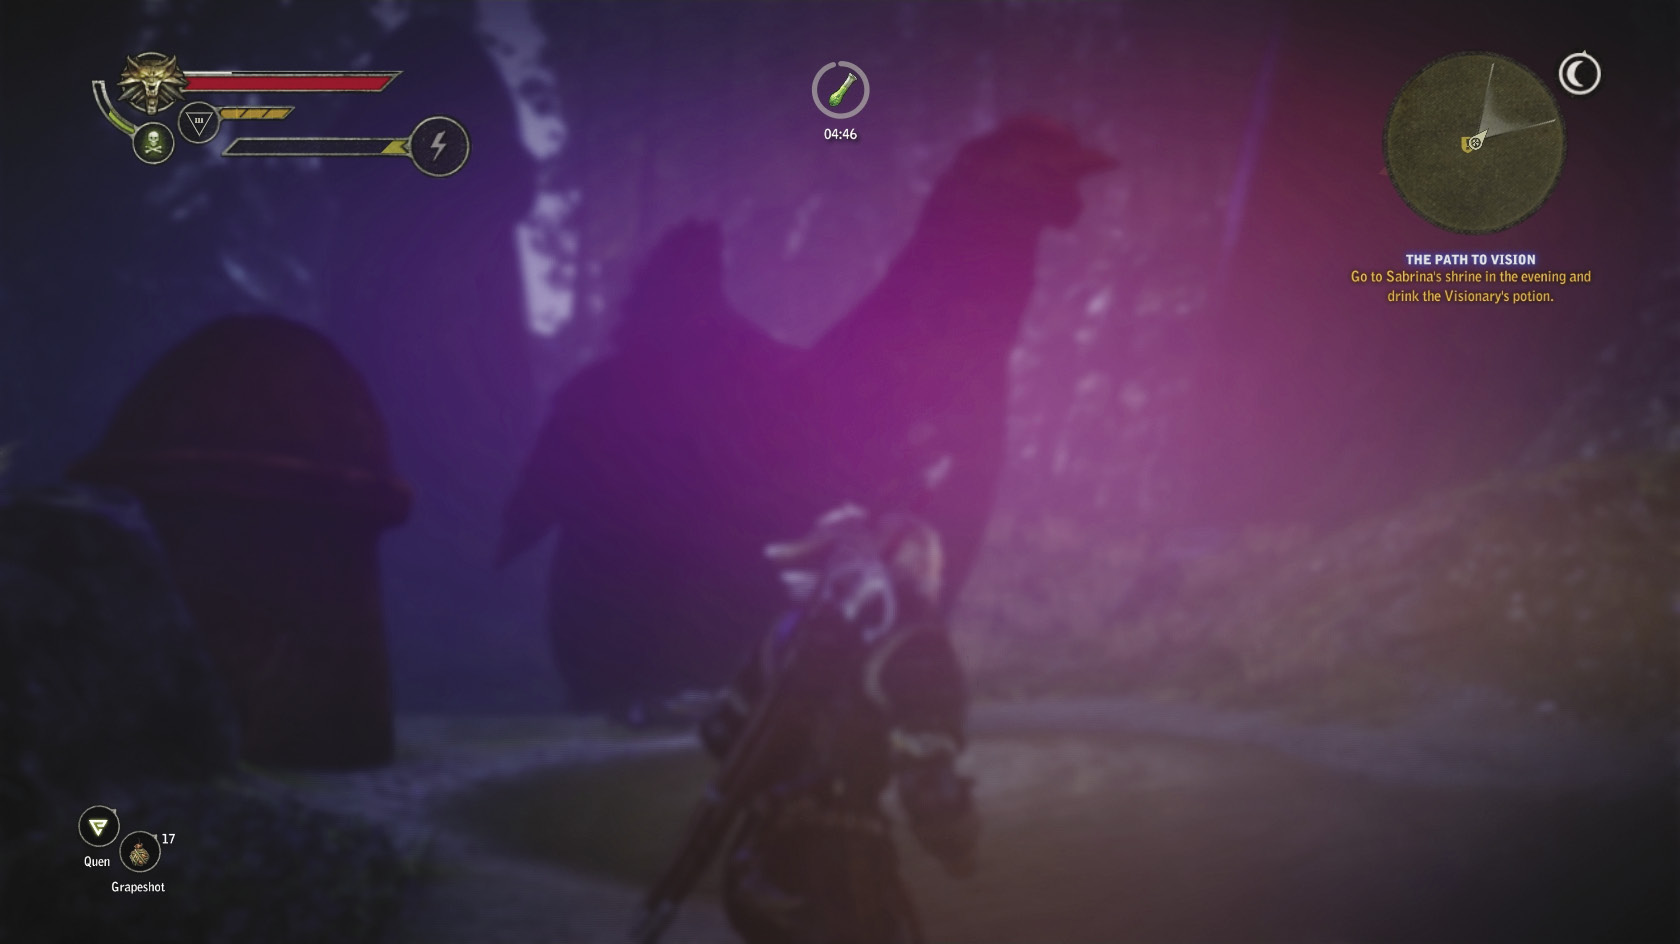
…huh.
You awaken after your trippy freakout atop a cliff over the shrine. Here you can pick up the last of the Visionary’s notes (I) to complete your set. Climb down, then make a point of scanning the pool of water to the right of the shrine. You should find a unique steel sword called Arbitrator there that’s probably not as good as what you’re carrying now, but it’s still interesting to have.
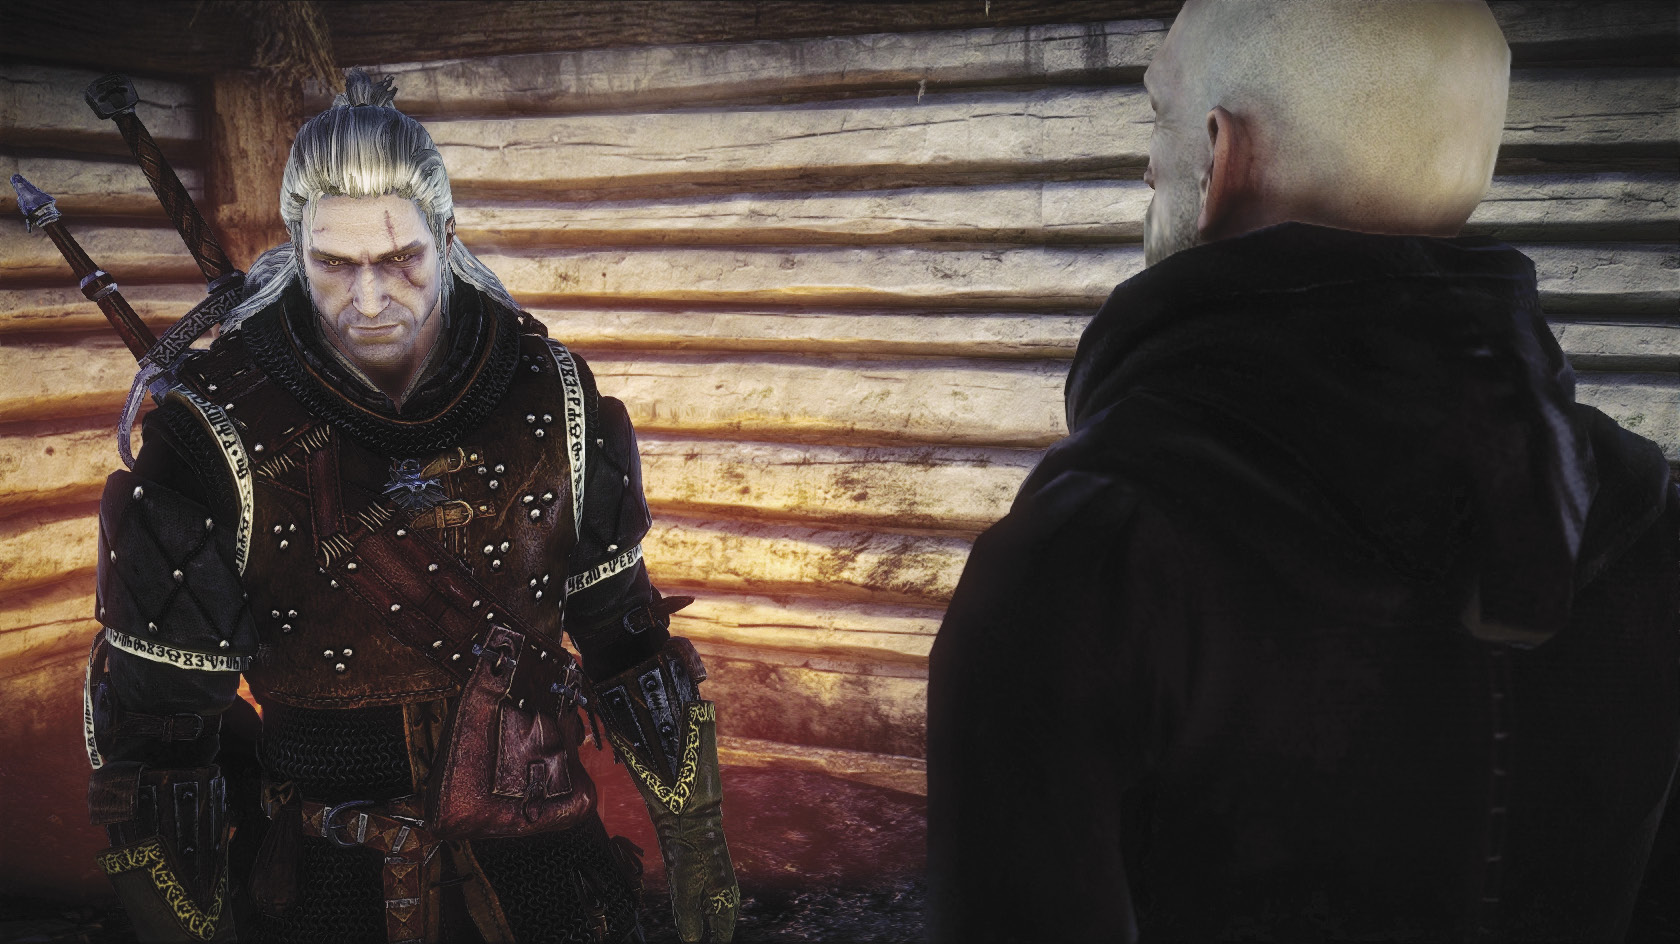
Head back to the Visionary’s hut. When you talk to him, you should see a new dialogue option. This lets you tell the Visionary what you saw in your vision. You have some options to lie if you’re too embarrassed to say what you really saw, but don’t bother with them. The Visionary will know you’re lying and the lies won’t advance the quest. Just tell him the truth about the giant chicken and the mushrooms. It turns out this is exactly what he wanted to hear. After that, you can ask him questions about Sabrina. Just keep asking questions until you get the chance to ask him about what happened to the spear. The Visionary gives you an answer that points you back at the Relic Seller in the Kaedweni Camp.
Now it’s time to go back to camp and turn in The Rotfiend Contract. Once you’re at the camp, go speak to Proximo and report that you’ve finished by picking the dialogue option that references rotfiends. As payment for completing the quest you get a dwarven enhancement, a fire rune, 200 orens, and 100 XP. Resolving this also counts toward unlocking the Pest Control achievement. Next, go speak with the Relic Seller at the canteen. You should have a new question you can ask him as part of your dialogue options with him. His response resolves The Path to Vision. You get no XP for resolving The Path to Vision, but now you can advance The Blood Curse a bit more. Instead of getting right to work on that quest, though, we’re going to tie off some loose ends and prepare for the chapter’s endgame.
 Conspiracy Theory
 Courage Symbolized
First, let’s go pay Vinson Traut a visit. Before you go see Madame Carole to offer a square coin, prepare yourself to take on a very tough human opponent and his five lackeys all at once. The area where you fight Traut is basically a single small room, with tables and pillars acting to further restrict movement. The pillars can make using bombs and throwing daggers annoying, but the tables create narrow areas that are ideal for luring enemies onto traps. Generally, you don’t have enough time to set out a ton of snares or biters, so make traps that cause disabling effects and act as crowd control. Furies, conflagrations, Talgar winters, and clawers all have a place in this fight. Furies can be especially effective if you can lure the bulk of Traut’s men onto one all at once.
Once you’re geared up, go speak with Madame Carole. Initially the dialogue is fairly standard, but after you ask for a whore you have a chance to present Madame Carole with “square money.” Take that option to initiate the sequence of events that’s necessary for this quest. After that, ask for Whistling Wendy. None of the other women at the brothel are interested in your square coins.
Go into the brothel tent and speak with Wendy. Say “I want you to open the gates of paradise with your smile.” She opens a trap door that leads into the old tower. Drop into it to find a small room with a single door leading out of it. Take advantage of this room to drink some potions before entering this battle and oil your blade with hanged man’s venom.
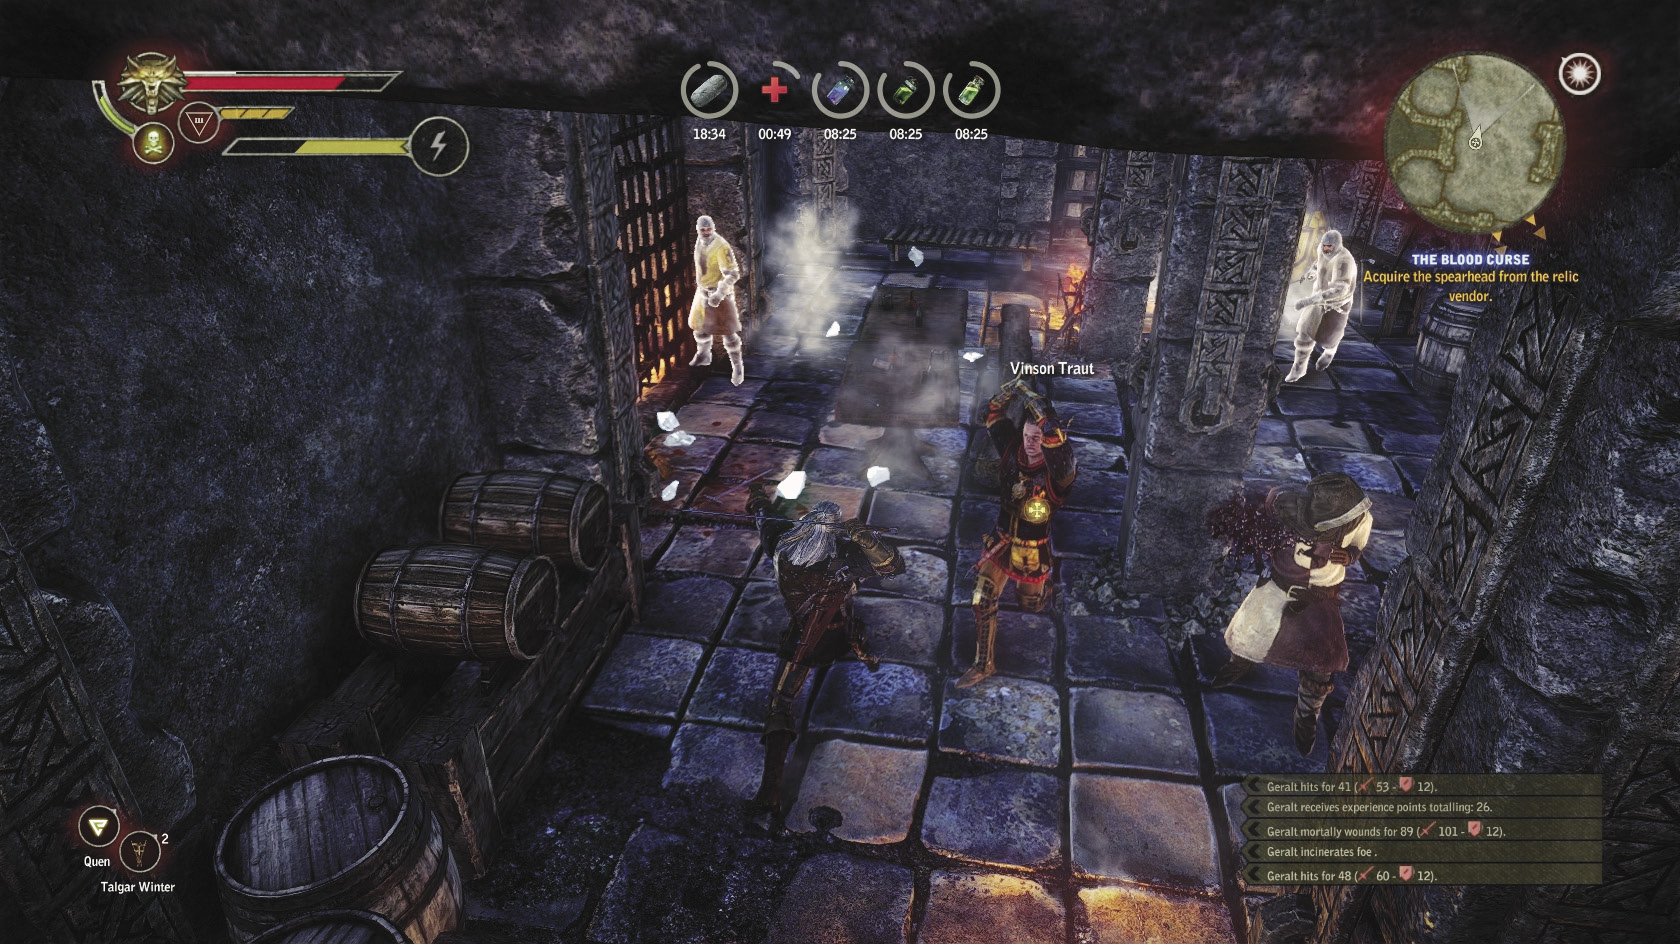
Once you open the door, a dialogue sequence begins with Traut. No matter what you say, he attacks you immediately when the sequence is over, so be ready to dodge-roll away from him. If you try to immediately put up Quen or draw your sword, Traut successfully attacks you. He hits like a freight train and on higher difficulties this is a very lethal situation. If you’re going to pursue the trap strategy, then continue dodge-rolling into one of the choke points and quickly lay a trap, then wait for Traut’s men to stumble into it. Keep rolling and laying traps until you’re out of your trap stack or you’ve whittled away Traut’s five helpers.
Mages can also make good use of Yrden in the choke points and Axii as a distraction if the trap method doesn’t work out. You need some way of managing the crowd of enemies, though, as having six guys in a space this small makes it very difficult to put up any traditional offense without getting surrounded. Swordsmen really need Whirl (or even better, Combat Acumen) to do well here, even with Quen and the liberal use of traps. While battling things out with Traut once his men are all defeated, stick to Quen or use Aard heavily to stun him. Riposte can come in handy for swordsmen. Once you isolate Traut, he’s much less dangerous and you can whittle his vitality down given time and patience.
Traut drops some amazing loot once you defeat him. The most useful for your game is Seltkirk’s armor, which you can choose to equip. This is not recommended as you lose the armor later in the game as part of a quest, but it’s nice to have options. Getting Seltkirk’s armor automatically resolves the quest Courage Symbolized. You also get the conspirator’s key you need to get out of the old tower, the otherwise unobtainable superior Kaedweni jackboots, the first-rate Temerian sword, and an anti-Henselt satirical pamphlet called A Hog Named Henselt. Geralt immediately recognizes the writing style as that of none other than his pal Dandelion. If you examine the rest of the old tower for loot, you’re unlikely to find anything. You’re done with this location for this chapter, so head out. The stairwell behind the door you unlock emerges from the old tower near the Mysterious Merchant.
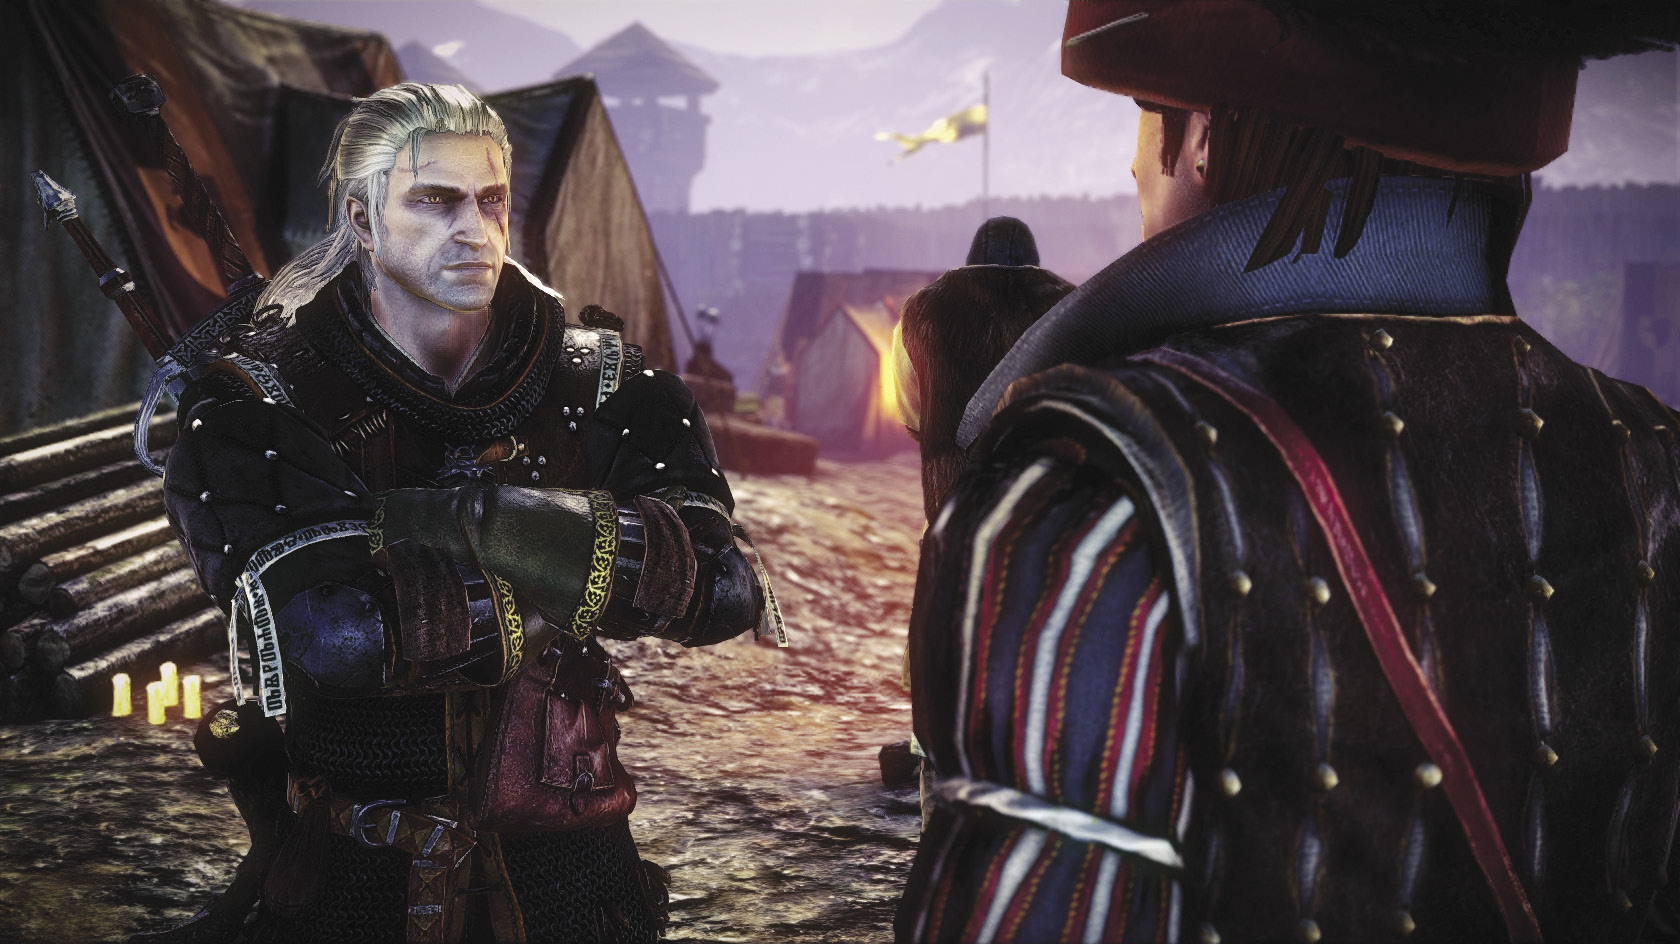
Return to the Kaedweni Camp. Dandelion is hanging out near the camp’s west gate, near the guards who were picking on Mavrick earlier. Talk to him about the pamphlet. Nothing you say here makes a difference, but it’s necessary to advance the quest. Next, go speak with Dethmold to advance things a little bit farther. If you say the right things, you can get a 300-oren reward for defeating Traut and his men. Yeah, Dethmold’s a jerk and nobody likes Henselt, but his pay is as good as anyone’s. To get the reward, you must say exactly the following things in your dialogue with Dethmold:
- I found the conspirators and Traut.
- Any reward on the conspirators’ heads?
- One can never have too much coin…
 The Assassins of Kings
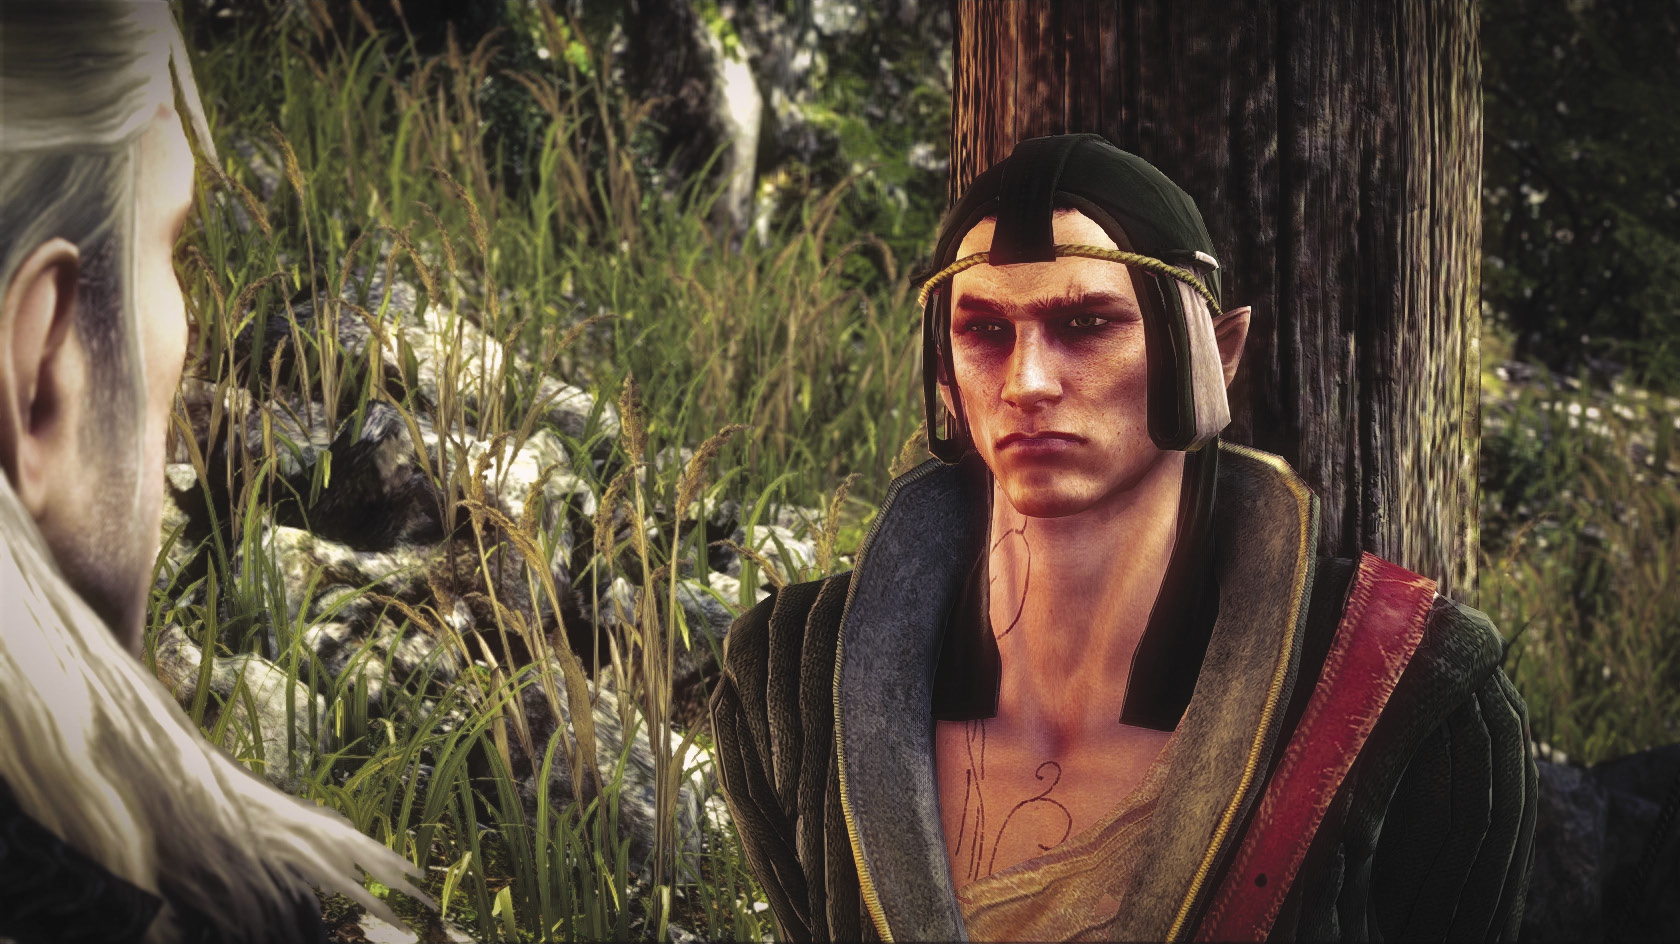
Here’s something else you want to get out of the way before you move on to messing with The Blood Curse. You know that captured Scoia’tael? If you asked to speak with him immediately after you arrived at the Kaedweni Camp, the guards probably refused you. Try again now that you’ve finished so many side quests. Now the guards think you’re an okay guy and agree.
The Scoia’tael also agrees to speak with you about the witchers you’re looking for, though he insists on doing so in Elder. You get to ask a series of questions here, in whichever order you like. Ask them all to finish the sequence and progress this quest. You come back to it later in this chapter.
 The Blood Curse
Two conversations are required to advance this quest. The first is with the Relic Seller, who now has a dialogue option that directly references Yahon’s spear. When you ask about it, the Relic Seller refuses to give you any information unless you pay him. This opens up a series of dialogue branches that don’t quite work the way you might expect. All of the special options put in an appearance, so you can use Axii sign hex, persuasion, or intimidation successfully to get the information you want for free. If you agree to simply pay the Relic Seller, though, no money changes hands. This also leads to you effectively getting the information for free. If you try to get the Relic Seller to lower his price using the “too much” dialogue option, this opens a bribery interface that is the only way to actually spend orens on this case. His maximum bribe is usually a randomized number that’s a little over 100 orens, but with so many free options you really shouldn’t use this one. Once you get the Relic Seller to tell you his story, it becomes apparent that the spear you need is currently on the other side of the mist, in Vergen.
Go talk to Dethmold again. This time, you want to pick two of the three options highlighted in orange. The top one is the option that lets you sell Malget’s notes to him, if you want to do that. Remember that doing so prevents you from finishing From a Bygone Era’s activities in Chapter 3 and is not recommended.
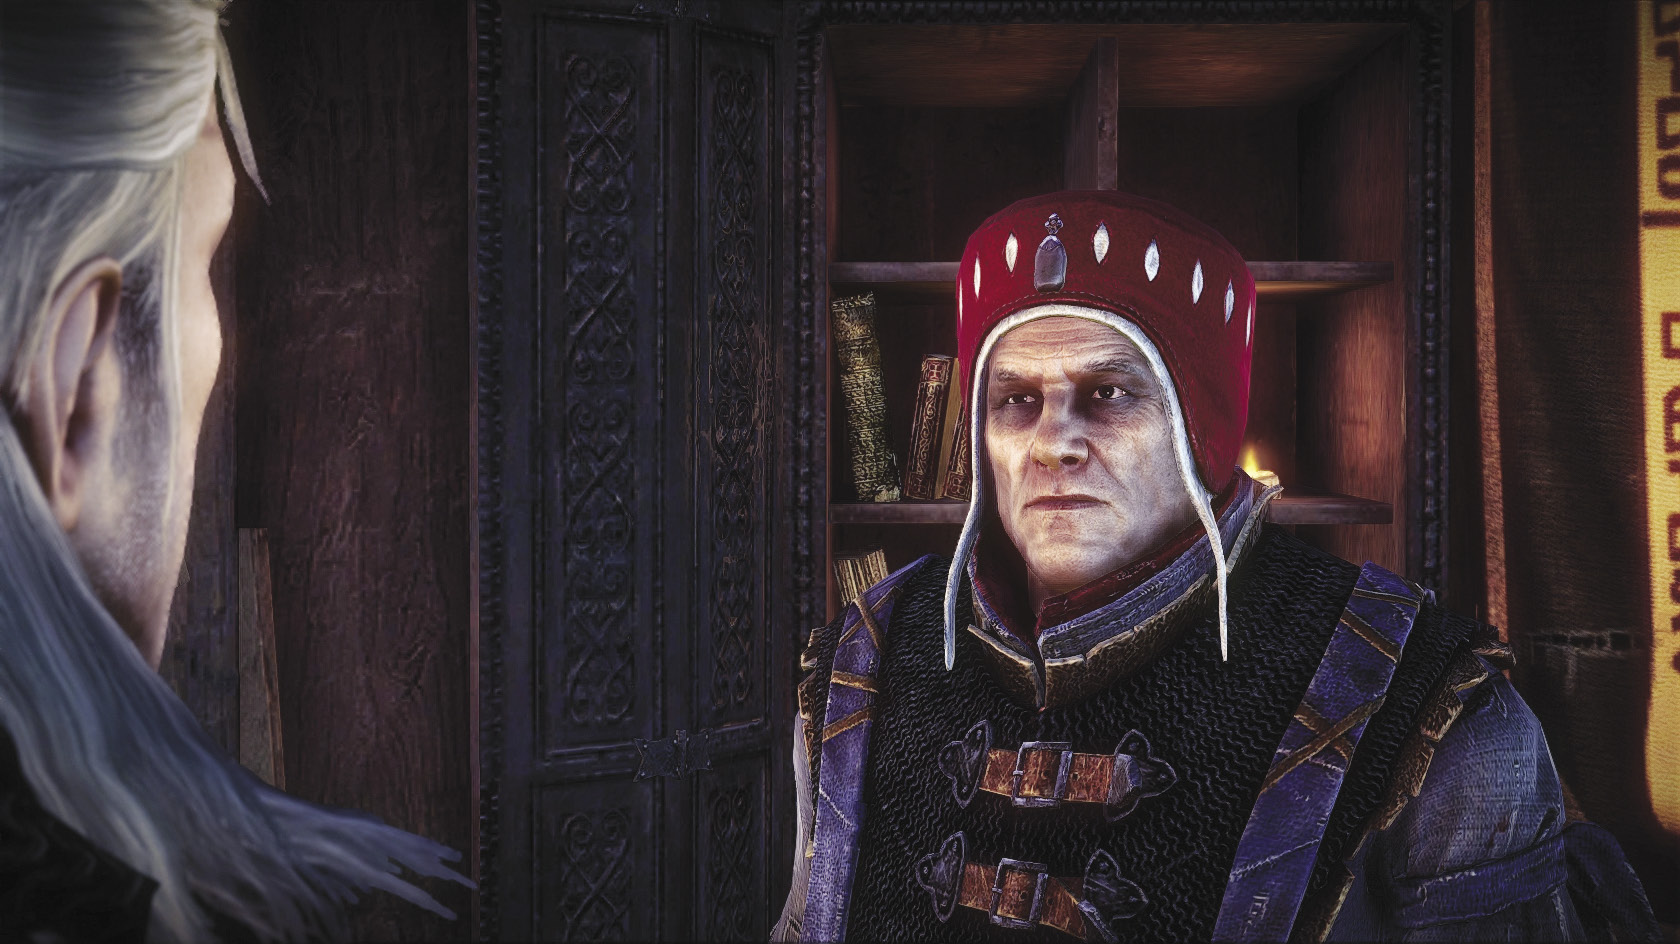
Instead, say the second and third options in orange: “I could use some magic dust” and “I need to cross to the other side for the spear.” These two sets of dialogue advance this quest and net you quest items, including Dethmold’s grimoire, the magical powder, an emissary’s flag, and Síle de Tansarville’s protective amulet. You also get a new and very useful piece of equipment, Zireael’s armor, which is probably the best overall armor in the chapter for mages or any other build that makes regular use of signs. Remember that bonuses to sign intensity also strengthen Quen, effectively giving you more defense. Finally, advancing this quest to the point where you can actually cross the cursed battlefield is worth about 2,000 XP.
After the dialogue with Dethmold, exit his tent and return to the lower part of the camp. Along the way you run into an extremely depressed Zoltan, who wants to cross the mist with you and enlist with the dwarven forces at Vergen. One way or another, you end up agreeing to let him go with you. Follow Zoltan to the entrance to the cursed battlefield, but first conclude your business at the Kaedweni Camp. You won’t have access to storage in Vergen, so drop off anything heavy you don’t want to lug around. Anything you want crafted to use on the other side you should make now, since you won’t be able to access craftsmen on that side. Given that, you should also leave any crafting materials with significant weight behind in storage. Basically, take with you only your equipment and enough alchemical ingredients to make potions.
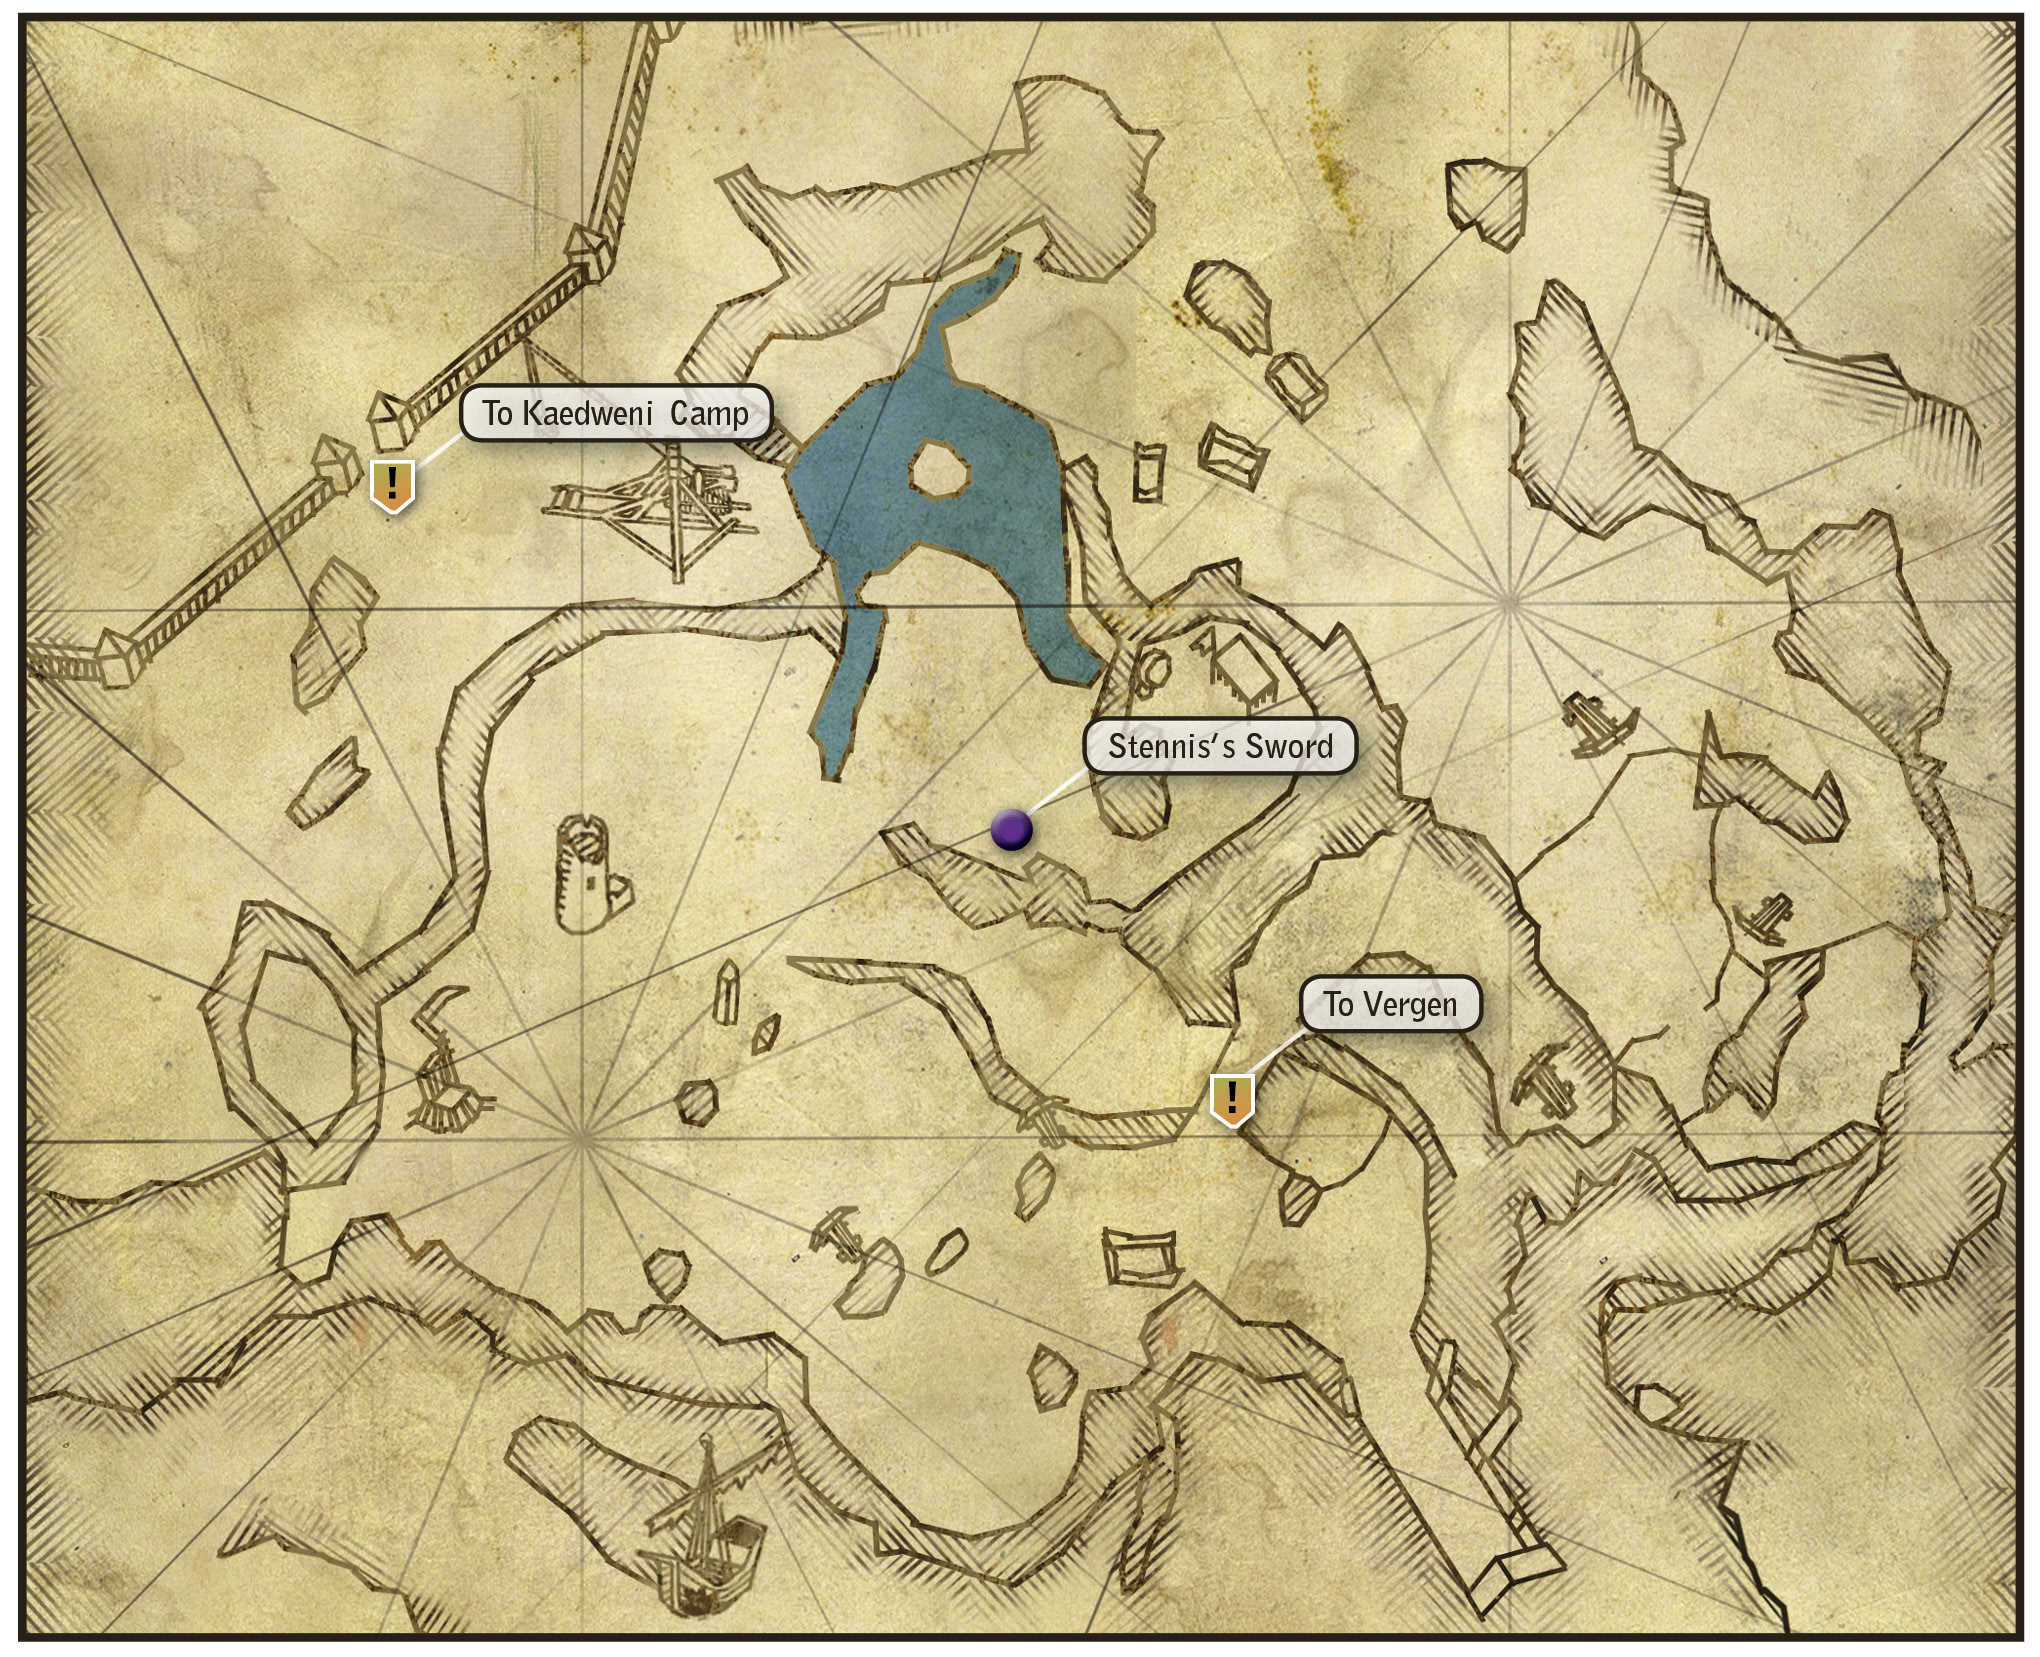
Crossing the cursed battlefield is a simple matter of finding your way from your starting point at the Kaedweni Camp side of the map to the exit that leads to Vergen. As you can see on the map, the correct exit to Vergen isn’t quite where you think it is. If you go directly across the map to what looks like the city’s gates, you reach a dead end. The area you want to be at, if you do this, is just to your left if you are facing the dead end. You should make the crossing with no trouble provided you don’t get lost and you don’t try to fight the wraiths. The wraiths spawn infinitely, and if you take a swing at one, suddenly droves of them are spawning to attack you. Instead, just run past all the wraiths and get to the exit as quickly as possible.
When you emerge on the Vergen side of the map, head forward and take a left at the campfire. You run into Scoia’tael, but instead of an attack a cutscene triggers when you meet them. Move onward past them to the Mahakam Gate into Vergen. Once you arrive, a cutscene begins with Yarpen Zigren. Zoltan enlists and promises to meet you in the tunnels beneath Vergen to hand you Vandergrift’s sword, which would resolve Hatred Symbolized. You get the Vergen key, which you can use to enter the tunnels. You can also head out into the woods to finish Death Symbolized, but first take a moment to get your bearings.
Vergen
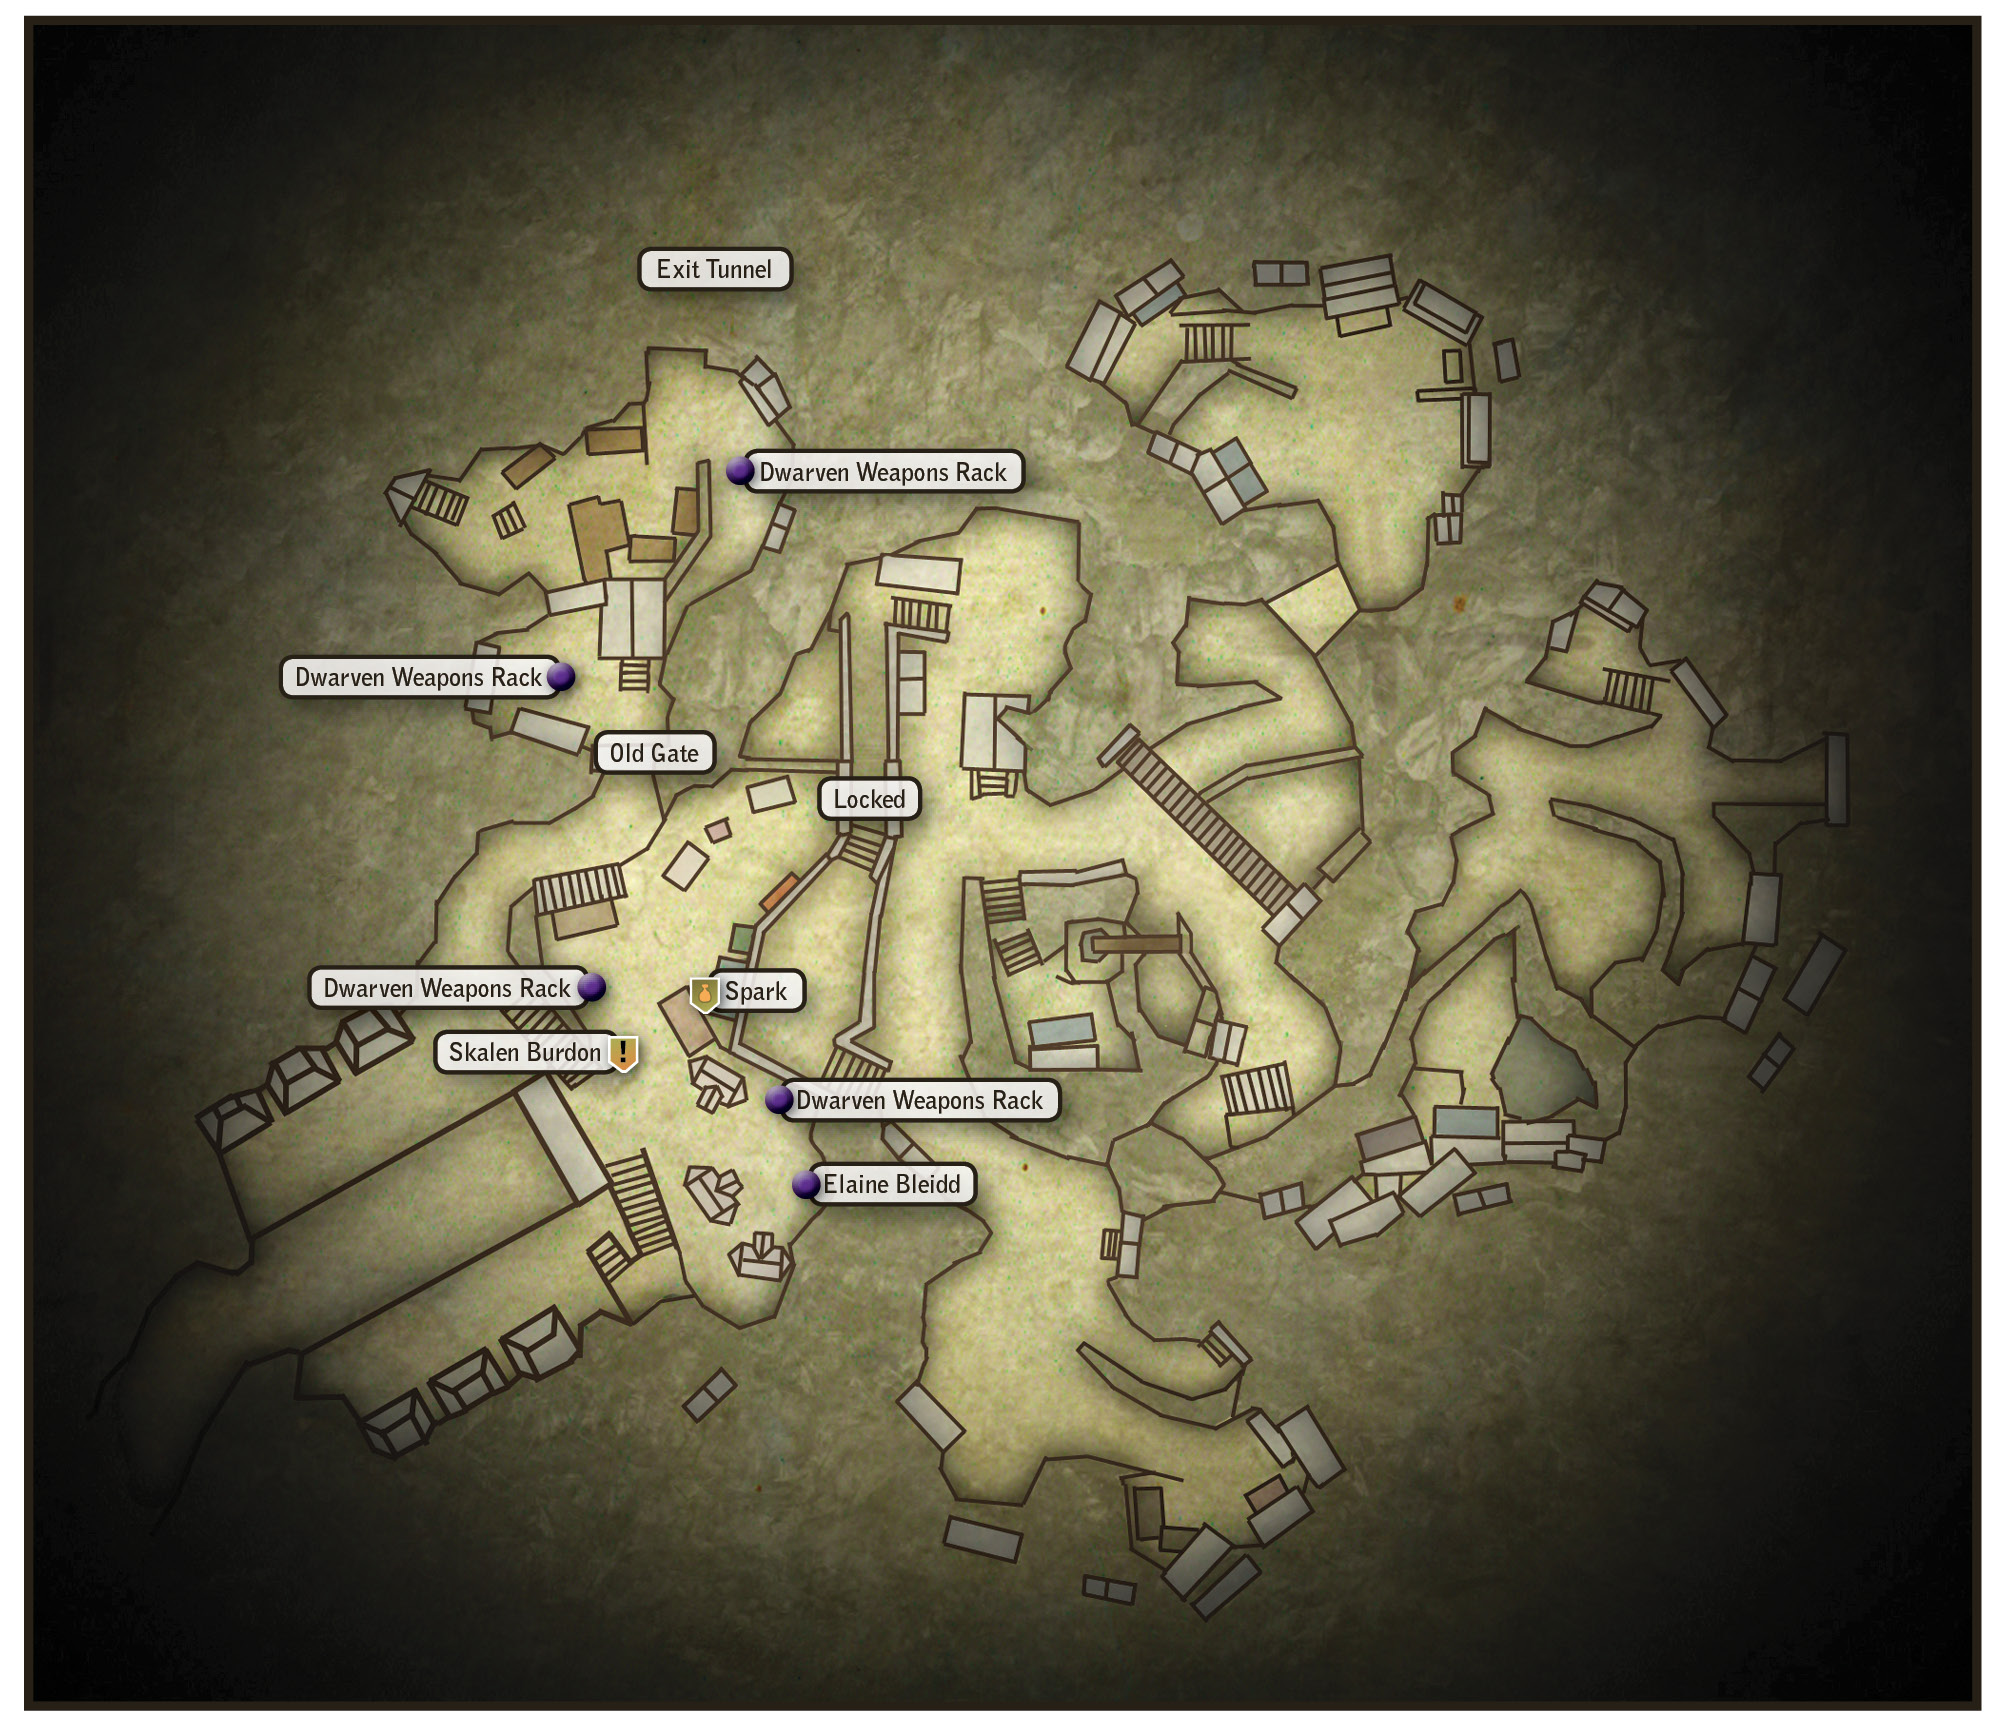
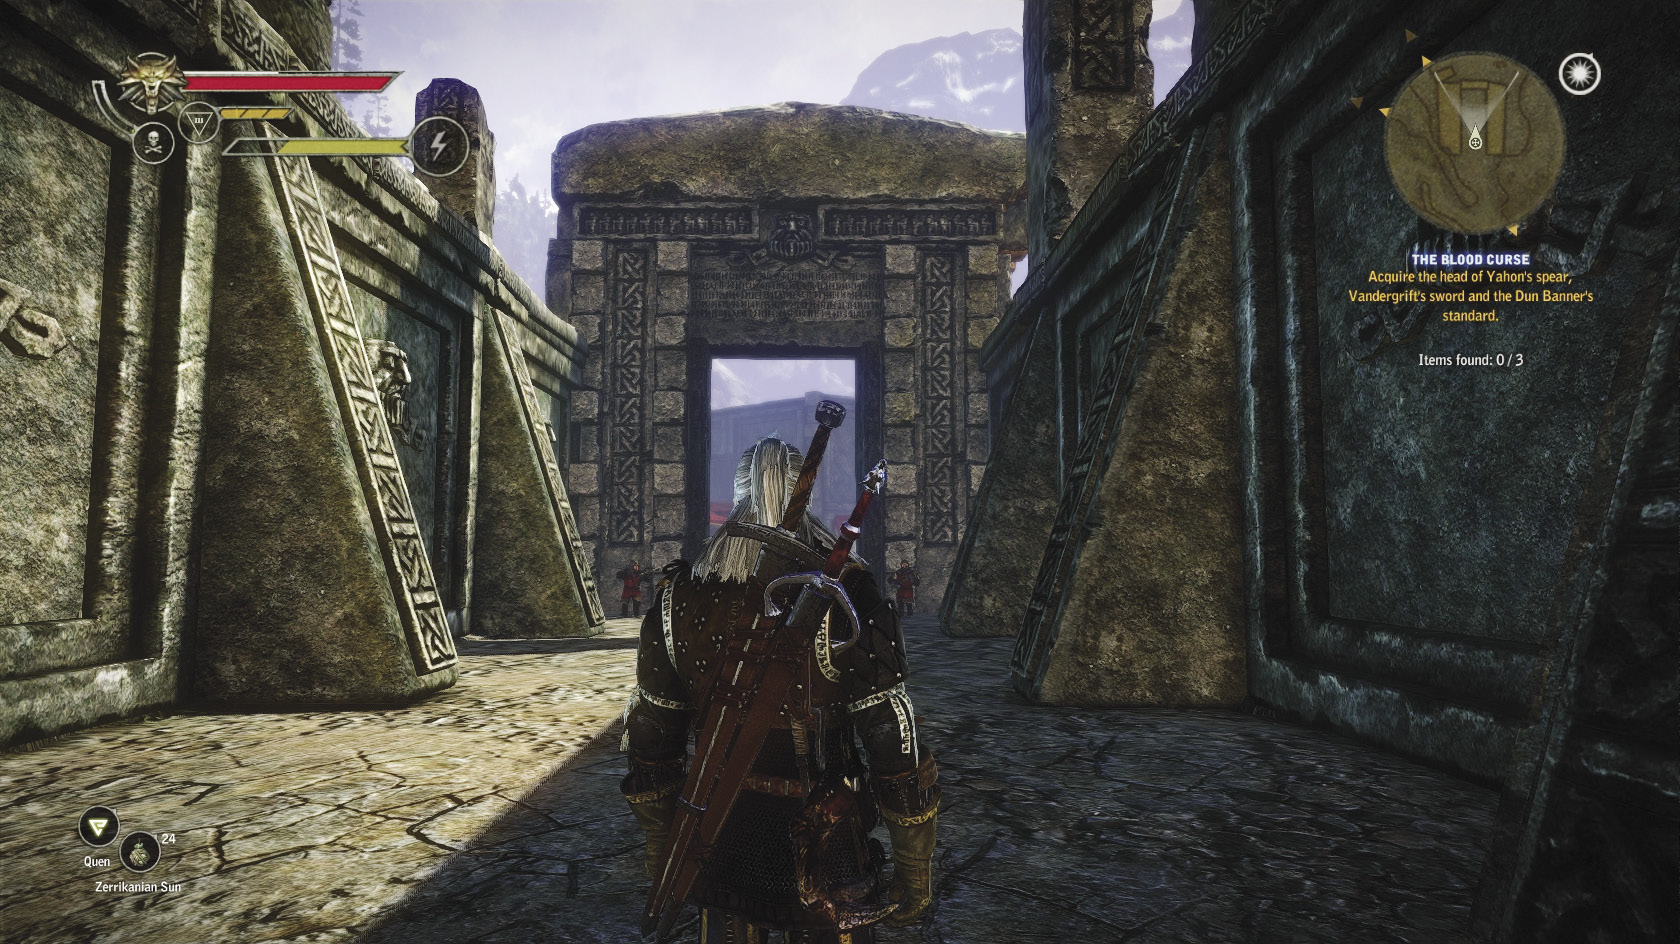
You’re only in this area for a short time and you’re only allowed to explore a small portion of the city, mainly what lies outside the main walls. That’s going to be the Rhundurin Square area, the Human Enclave, and the Old Gate. Explore each area thoroughly for loot, though don’t be surprised if you end up having to sell most of it off. Still, you can check around the Human Enclave to pick up an Elaine Bleidd from a chest and usually some books from one of the two residences you can enter.
Points of Interest
Spark
| Item | Price | Item | Price |
|---|---|---|---|
| Fish | 14 | Potato | 14 |
| Apple | 14 | Cucumber | 14 |
| Old Cheese | 14 | Plum | 14 |
Spark is the only merchant you can access when visiting Vergen on this route, and she’s basically a trash merchant. She doesn’t sell anything you want. Her main use is in selling off loot that’s put you over the encumbrance limit while you’re adventuring. This is quite useful, since you get to pick up a ton of loot while you’re active in this area and you have no access to storage. If you lightened your load sufficiently before you crossed the mist, you shouldn’t end up in a position where you are constantly having to backtrack to Spark’s to sell things off.
Dwarven Weapons Racks
Even though you can’t explore but a small slice of Vergen, you can get a surprisingly large amount of loot by exploring. Most of it you want to sell, since orens are easier to carry than crafting materials. You can access quite a few weapons racks in the areas of Vergen you can reach, which work similarly to their Kaedweni counterparts. The selection of weapons you get from them is different, though. Each weapons rack you find in Vergen contains a dwarven hammer, a hammer, an elven messer, an elven sword, a small blackjack, a dwarven axe, an axe, and a hatchet. That’s 38 pounds of loot you can sell for a quick 54 orens.
 Hatred Symbolized
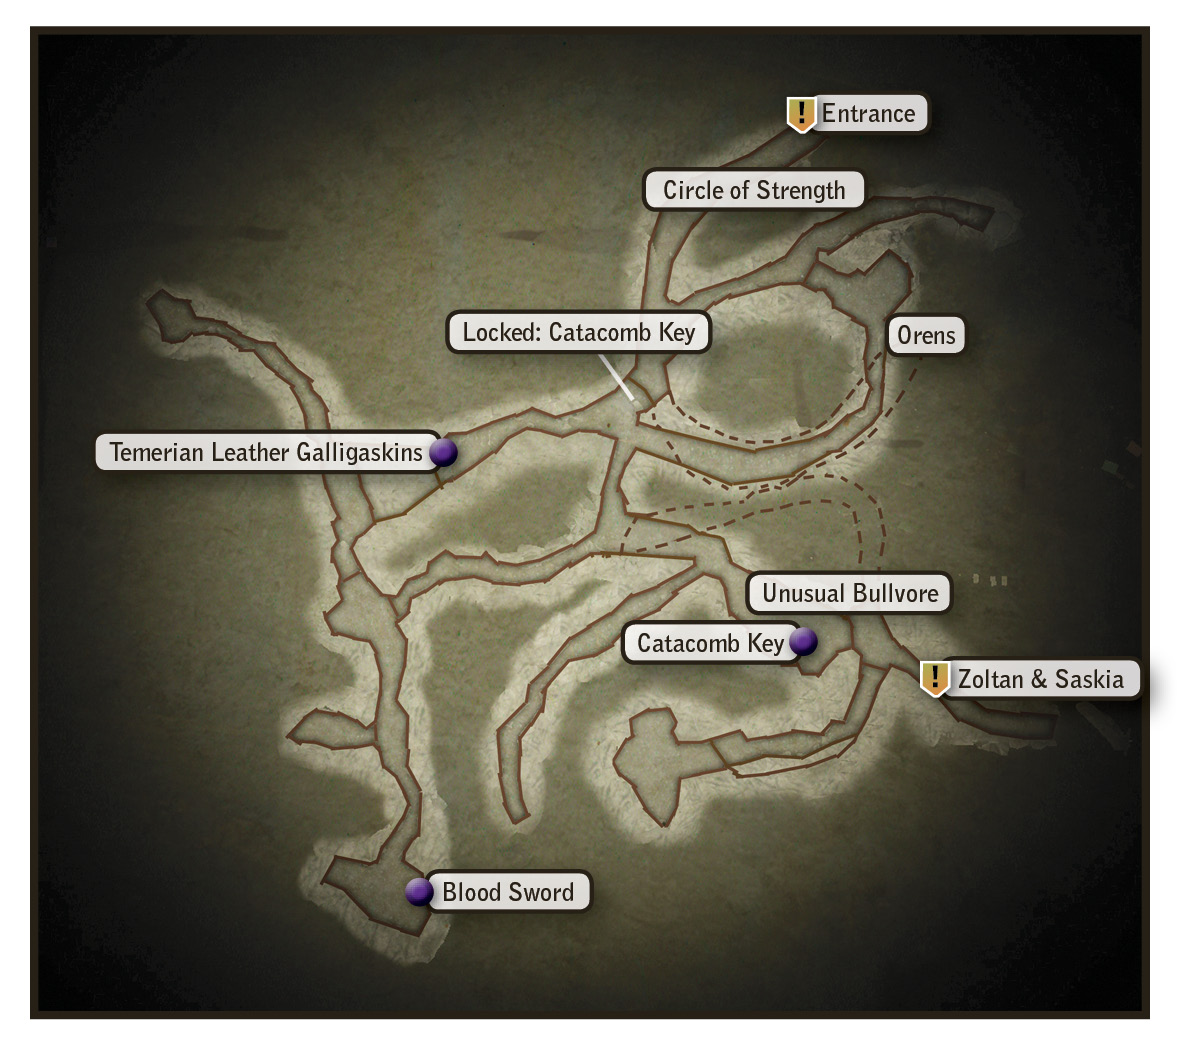
Let’s start with this quest, which calls for you to meet up with Zoltan in the tunnels beneath Vergen to get Vandergrift’s sword. You need to get into the Tunnel of the Founders area marked on the guide map, via a roundabout path. Basically, head out the Mahakam Gate, take a left at the campfire just beyond the burned village, and proceed until you reach what looks like some sort of dwarven idol to your right. At that point, take a very hard left up a path that doesn’t look like it exists, if you judge by either the guide map or your mini-map. It takes you up a small hill surrounded by high cliffs, where you can find two wooden doors. The one that you can open leads into the Vergen tunnels.
This is one of the most confusing dungeon-like areas in the game. It is extremely dark inside. If you’re having difficulties navigating, try drinking a Cat potion. The dotted areas you see on the guide map and your in-game mini-map represent tunnels that run directly beneath or above the tunnels marked in solid lines. This area is truly massive and you gain surprisingly little loot from exploring it thoroughly. Many dead-end areas are simply empty and there’s very little random loot.
The main enemies you face in the tunnels are various types of necrophages: nekkers, rotfiends, and a bullvore if you explore deeply enough into the tunnels. It’s worth noting that the nekkers and rotfiends are hostile to each other and fight if they spawn in similar areas. In general, these are all monsters you’ve fought before, so the only danger to you will be because of the relatively close quarters of the tunnels. Just make the combat preparations appropriate to your build and you shouldn’t have any issues fighting your way through the tunnels.
Your first task in the tunnels should be finding Zoltan and Saskia. To do this, proceed down the tunnel from the entrance. Activate the circle of strength when you have the chance. When you reach the chamber at the end of the tunnel, take a very hard left. Follow this tunnel until it forks, then take a right. You’re essentially taking a circular route that lets you emerge into an upper chamber. You may see a doorway ahead of you, but you can’t pass through until you find a key. Instead, take another hard right and follow the narrow passage. When it forks, enter the broad passage that leads off to your left. Ignore the passage that branches off to the right and keep going until you reach a very large chamber where a bit of natural light filters in.
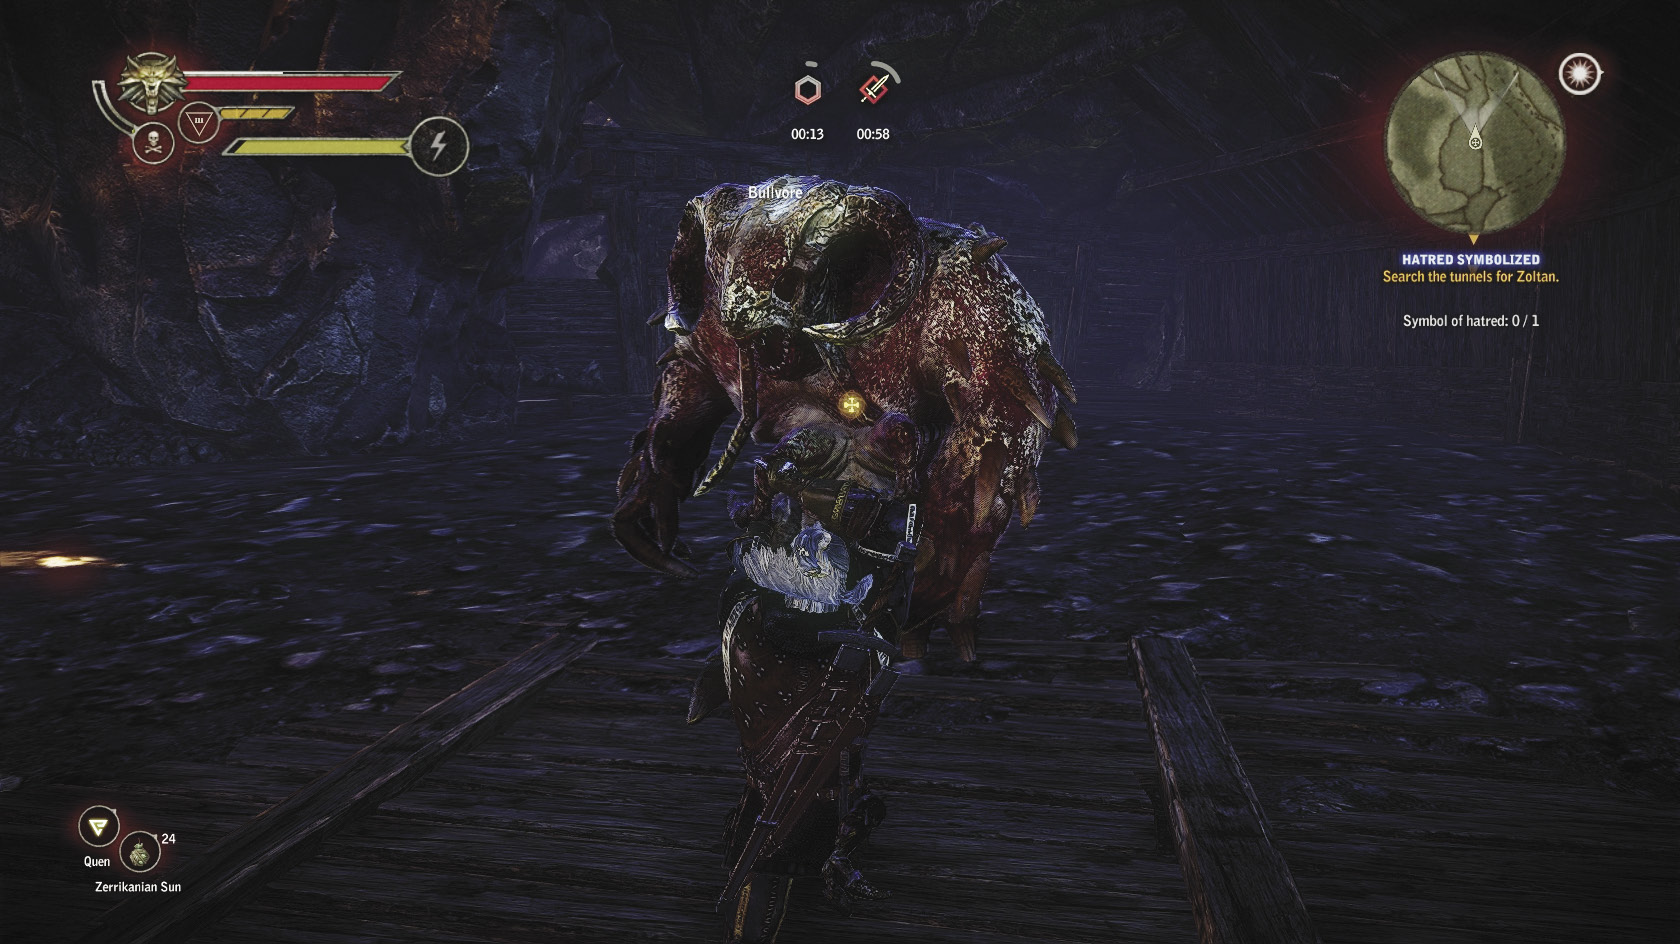
This chamber is patrolled by what we call the “unusual bullvore,” because it is a seemingly normal bullvore that can yield really unusual drops. When you kill it, you may get a draugir claw and a draugir armor fragment in addition to any bullvore drops you get, like the bullvore brain. Since relatively few draugirs can be fought on Roche’s route, this bullvore can be very helpful for picking up these items. This bullvore is of particular interest to Dark mode players, who really need some draugir drops for completing the Oathbreaker’s set in Chapter 2.
Once the unusual bullvore is defeated, loot the body that contains the catacombs key. Hold onto it so you can explore beyond the locked door on your way out of the caves. Exit the chamber to the north and you emerge into a smaller chamber. You should find Saskia and Zoltan waiting for you at the far end of it. Ignore the passage that branches off to the right and head toward them. After you finish the cutscenes with Zoltan and Saskia, which should automatically resolve the quest Hatred Symbolized, you can finish exploring the immediate area and then head back to the locked door. Opening it reveals a short passageway leading to a chest containing the Temerian leather galligaskins.
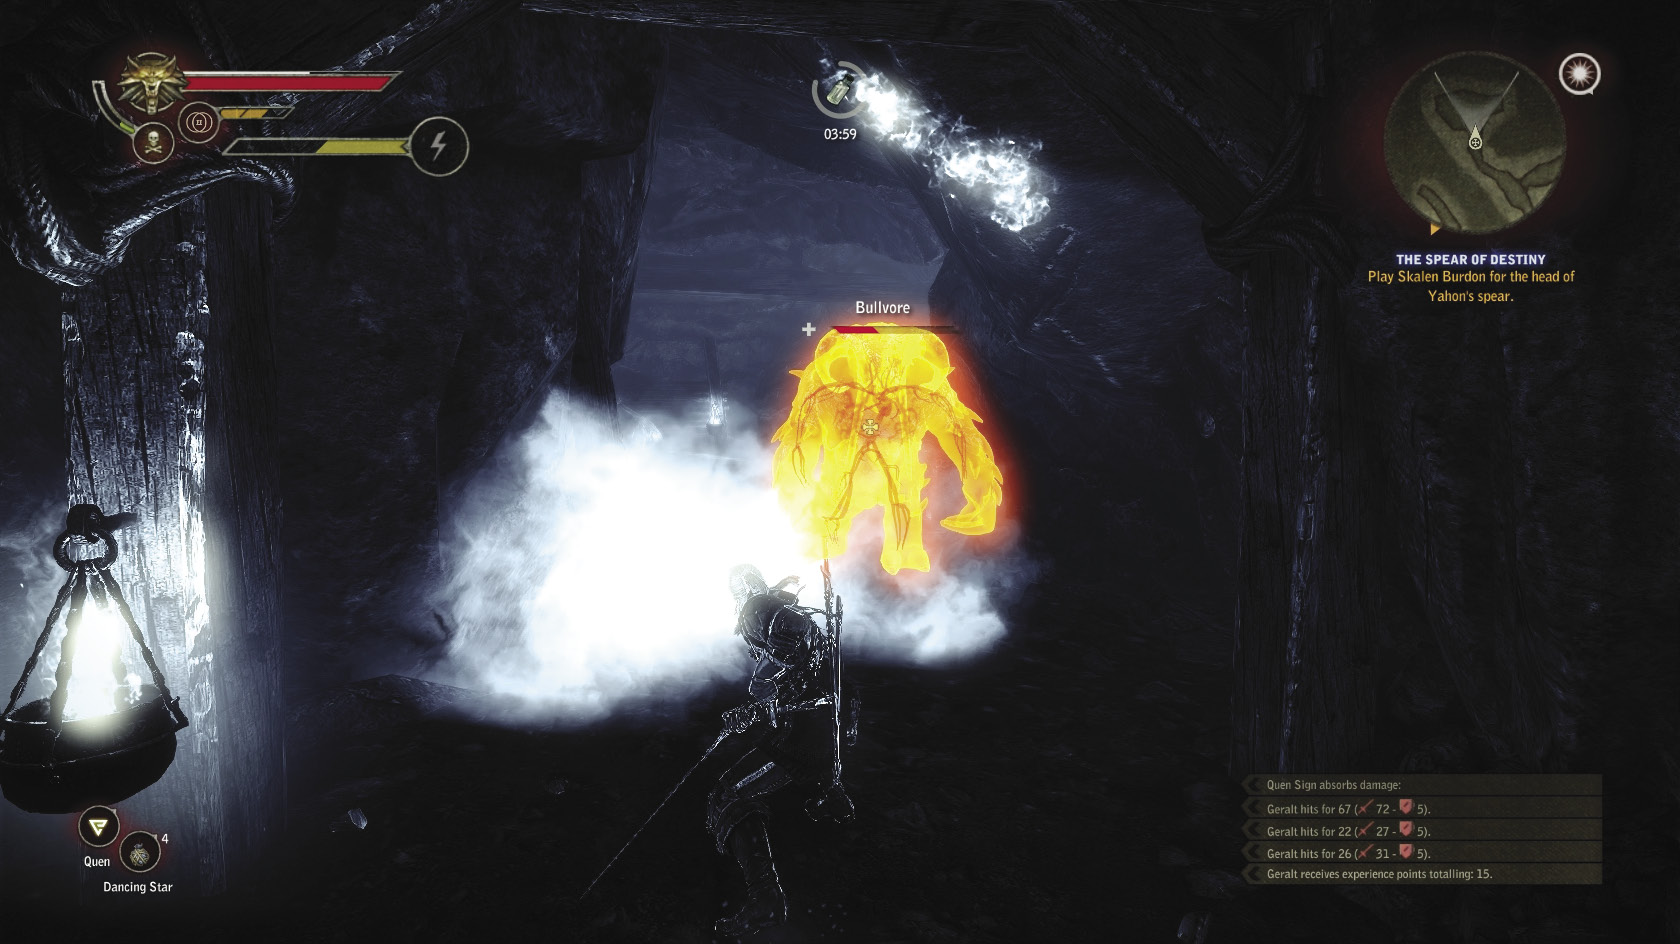
Now there’s one last area of the Vergen tunnels you want to explore. Head back to the fork where you went down the broad tunnel to your left previously. This time, head down the long, long, narrow passage that leads off to your right. At its end, you should emerge into a chamber where long passages lead off to your right and left. Go right first. You’re approaching an area patrolled by some rotfiends and a bullvore. The rotfiends aren’t dangerous by themselves, but they can be a real annoyance if you end up fighting them at the same time as the bullvore. Maneuverability is key here. If you can get past the bullvore and its rotfiend escort, you should find the blood sword waiting in a chest beyond. This is the best silver sword you can obtain in this chapter in terms of pure damage, and its chances of inflicting bleeding are insanely high. It can be quite useful if slotted with the right runes, though you’ll find that many types of monsters resist its bleeding critical effect. Once you have the blood sword, you’ve pulled all of the loot out the tunnels that’s worth your time. You can explore some more if you want, or just head back to Vergen and start looking for Skalen Burdon.
 The Spear of Destiny
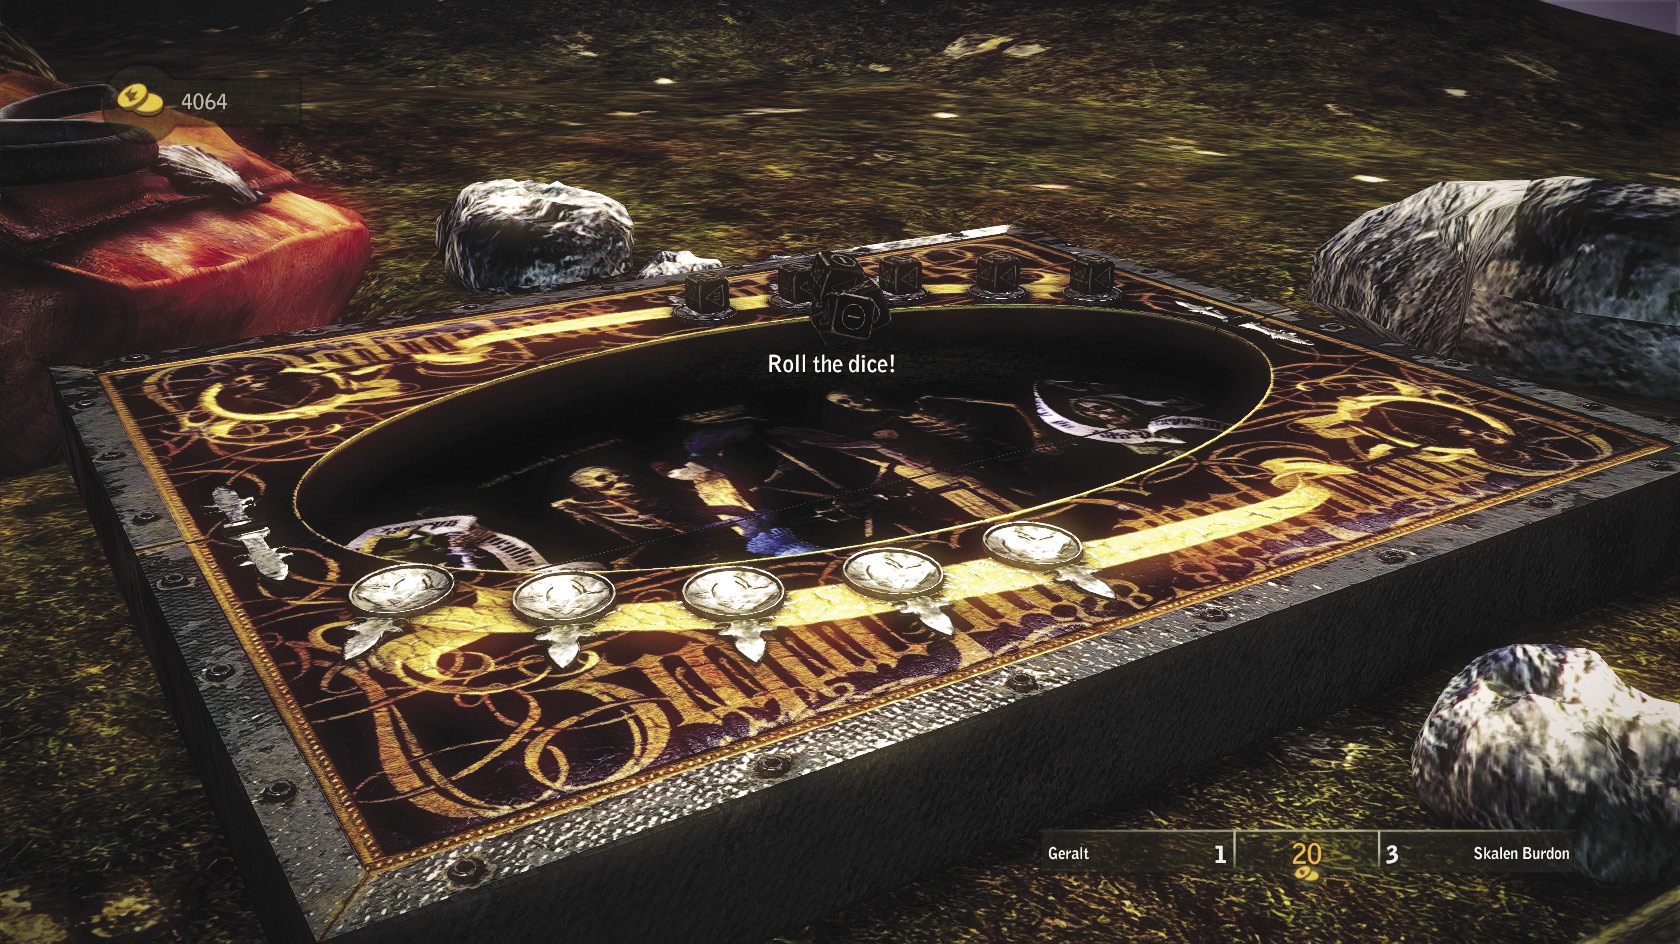
This quest is extremely simple. Simply go find Skalen Burdon and challenge him to a game of dice poker. Once you beat him, he hands over the head to Yahon’s spear happily. Once you have the spear’s head in hand, TheSpear of Destiny automatically resolves. You get no XP for resolving it, but there is a way to get extra loot out of this quest. Skalen offers to wager another unique item if you’re willing to rematch him. If you beat him a second time, you can obtain a unique steel sword called Princess Xenthia’s sword. It has nice damage stats but only one rune slot, which makes it a bit underpowered at this point in the game. If you can beat Skalen a third time, you gain the Dun Banner cloak, a quest item that comes in handy for Death Symbolized.
|
This quest is named after the spear that was thrust into Jesus’ side during the crucifixion in Christian folklore. You may notice many other parallels in the situation surrounding Sabrina Glevissig to the Passion as it is portrayed in popular culture. |
 Side Quest: A Sackful of Fluff
Head past the area where you’d usually take a left to reach the Tunnel of the Founders area. This time, go straight past the dwarven idol nearby. You should instead find yourself at the Old Quarry, where a small cabin stands to your right. The cabin belongs to a fellow named Elthon, who offers Geralt work as he passes by. He says he knows a collector in Vengerberg who pays well for harpy feathers. He begins by asking you to bring him 12 if you agree to the quest (which you should). You may already have 12 harpy feathers on hand. Elthon pays three orens per feather for the first 12, which is considerably below the usual nine orens you’d get for selling harpy feathers. Sell them anyway, since what you’re really trying to get out of this quest is a unique item rather than orens. Try to argue up the price as high as you can when you have a chance.
After you give him 12, he asks for 60 more feathers. If you don’t already have the feathers on hand, go kill harpies for a while down in the quarry or in the area to the north of the pond. Remember that the harpies respawn roughly once every 12 hours. When you give Elthon the 60 feathers, how much you’re paid depends on how you argued earlier. The highest possible price is around 20 orens per feather, which is much higher than their market value. If you humor Elthon’s next request by saying “Let me hear it,” you get asked to bring by 8 more. Elthon gives you 100 orens for the last batch of feathers. Go do something else for a while—maybe kill a few more harpies.
Come back after some time has passed if you want to see why Elthon really wanted all of those feathers. It can be a good idea to go complete your next quest, Death Symbolized, then return to speak with Elthon. You can also meditate for a day or two. Engage in some small talk with Elthon when you visit him. After the conversation finishes, A Sackful of Fluff resolves. You don’t get any XP for finishing this quest, but you do get Elthon’s trophy. While Elthon’s trophy is not super-good, you can wear it during major story cutscenes to transform The Witcher 2 into a delightful surrealist comedy.
|
Elthon is named in homage to flamboyant pop singer Elton John, who was famous for wearing brightly colored feather boas. |
 Side Quest: Death Symbolized
Prepare yourself for an expedition into the forest, then exit town through the Old Gate. It’s labeled on the map of Vergen. Just head up the stairs near Skalen Burdon’s location, through the slum-like area, and then through the tunnel at the rear of the Vergen slums. Once you’re out of the tunnel and into the wilderness, you come to a pool in a creek that you must cross. After you cross the creek, you’re very likely to run into a pack of four or so harpies prowling the area. This encounter respawns, so you can end up fighting them about once a day. In the same area, you’re likely to run afoul of a group of six or seven bandits. Usually two of them have crossbows and can be quite dangerous if you don’t have both levels of Arrow Redirection. If you do, then just deflect arrows until they die and you get closer to unlocking the Batter attribute. The other bandits try to rush you while under cover of the crossbow fire, but you can easily manage these crowds by using Axii on somebody or throwing a dancing star.
A bit farther on the way toward the catacombs, you sometimes run afoul of a group of nekkers near a small pond. Sometimes the nekkers are all steaming heaps by the time you get here, because they got into a fight with the bandits and lost. Search the area around the pond very carefully to find a corpse that carries some random loot. Once you find this, you aren’t far from the entrance to the Dwarven Catacombs.
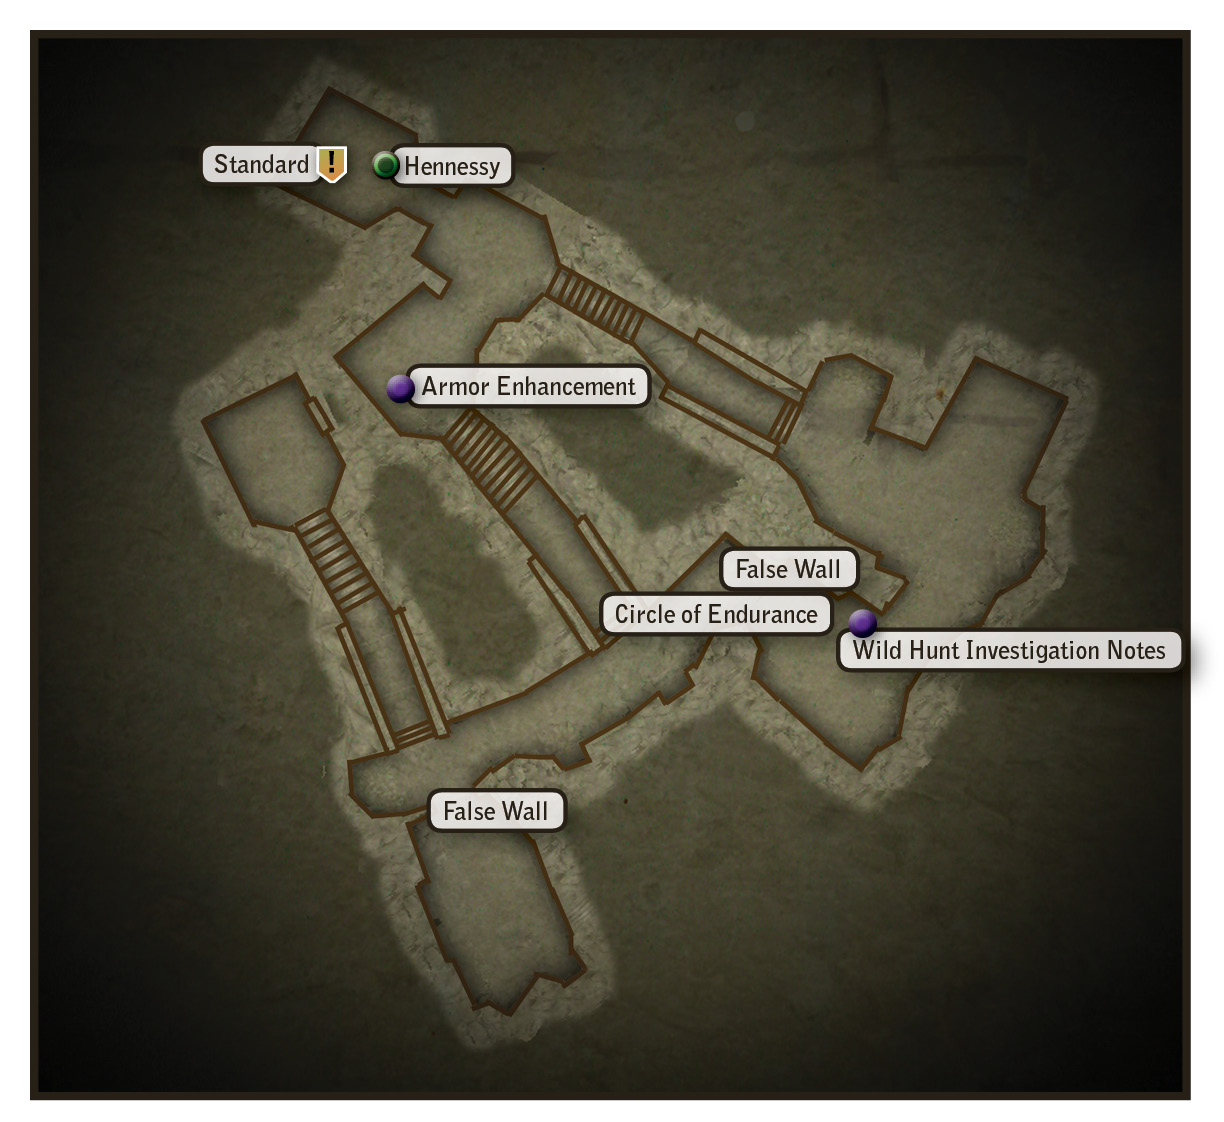
Once you’re inside the catacombs, move forward. An obvious false wall is in front of you, so blast it over with Aard. This opens up a crypt. Be ready to be attacked by a group of wraiths when you step inside. Just as In the Claws of Madness, the close quarters make the wraiths more dangerous than they would be normally. Alchemist builds shouldn’t hesitate to use traps and bombs to get the group under control, while mages can make good use of Axii. Quen is essential for swordsman builds here; it’s very difficult to get through these battles without getting surrounded.
You can examine the corpses in the crypt by approaching them and pressing the interaction button to uncover them. Doing this sometimes summons a wraith. Many corpses yield nothing interesting when examined, but a few reveal some random loot and orens.
Continue exploring the catacombs. The next two false walls you can blast away reveal nothing useful, but the third one opens up another large crypt chamber. Be sure to pick up the Wild Hunt investigator’s notes from the corpse on your left. Follow this chamber as it winds in a U-shape around to another false wall. Blast this down and head straight across the bridge.
Continue exploring and open up the final crypt in the catacombs by blasting down the false wall. This reveals the ghost of Ekhart Hennessy, color bearer of the Dun Banner. In death, he’s become the guardian of the Dun Banner itself, so Geralt can’t obtain it unless he deals with the ghost somehow. There are two ways to do this.
The most direct and easy way is to slay Ekhart Hennessy’s wraith. He is an incredibly weak opponent that swordsman builds can dispatch with little more than a chain of strong attacks. Alchemist and mage builds may opt to play around a little with potion buffs or signs, but they shouldn’t have any harder of a time defeating him. After Hennessy is slain, you can simply loot the Dun Banner itself, called the standard, from Hennessy’s sarcophagus.
There’s also a sneaky but slightly more challenging way to resolve the quest. You can attempt to convince Hennessy that you’re a surviving member of the Dun Banner who needs the corps’ standard for a worthy cause. If you can do this successfully, Hennessy gives you the standard and an extra item, the sword of the Dun Banner, willingly. To deceive Hennessy, you must answer all of his questions about the Battle of Brenna correctly. If you remember the details of your conversations with Zyvik and the other veterans of that conflict in the Kaedweni Camp, this should be no trouble. It can also help to read that copy of The Dun Banner you looted earlier.
In case your memory fails you, the answers Hennessy wants at each branch of the conversation with him on this route are listed here. Note that you can do a version of this quest on Iorveth’s route, and on that route one of the answers is slightly different.
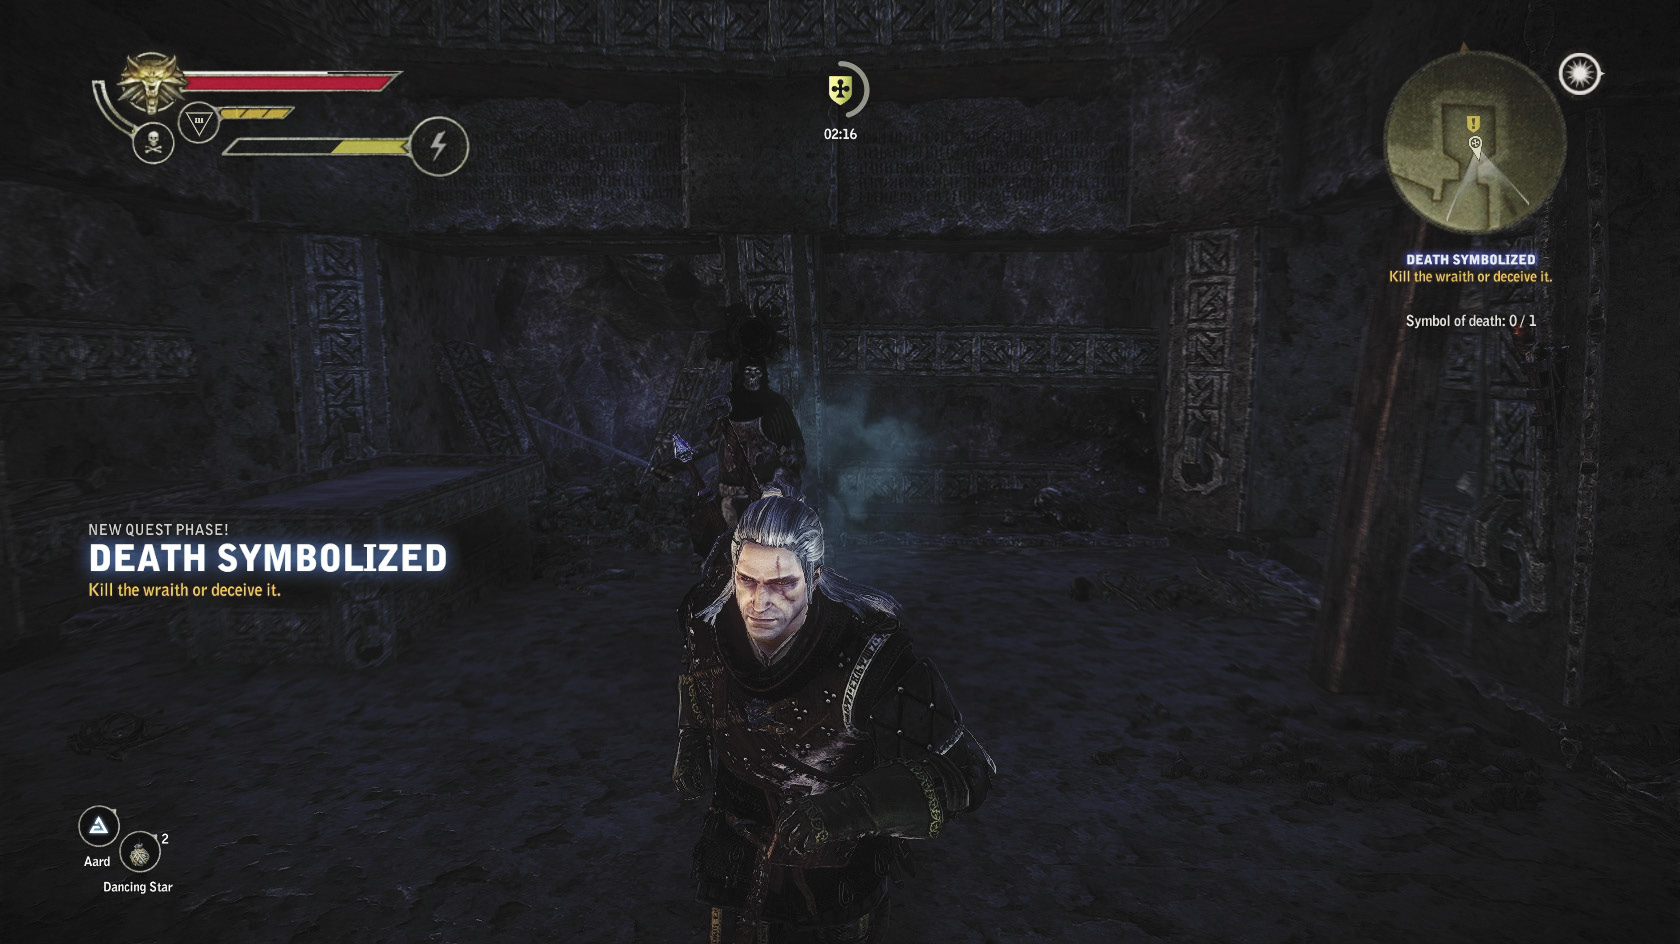
Answer List
- I served in the Banner.
- You got it wrong.
- Menno Coehoorn.
- Coehoorn is dead.
- Vandergrift and Seltkirk.
- I was led out by a priest.
Note that if you answer one of Hennessy’s questions incorrectly, he sees through your deception and attacks you—unless you’re carrying the Dun Banner cloak you won from Skalen earlier. You also could’ve obtained the beaver cap by talking to Zyvik earlier in the game. In these cases, he is convinced by the physical evidence you bear and excuses your error as a lapse of memory. This only excuses two incorrect answers, though, so three errors and Hennessy will attack you as usual.
Hennessy also attacks you if you give him a violent response like “Die!” It’s still possible to complete the quest by killing him if he attacks you, it just won’t be possible to get the sword of the Dun Banner. If you passed on the Mahakaman sihil earlier, you really want to make sure you get the sword of the Dun Banner here, so be careful when answering the questions. Regardless of how you resolve Death Symbolized, there are no XP rewards involved.
|
Here’s another Lord of the Rings reference. Hennessy’s wraith refers to the sword of the Dun Banner as the “sword of Colonel Gondor.” In the mythology of LotR, Gondor was the greatest kingdom of men at the end of the Third Age. |
If you have the beaver cap, leave it on the sarcophagus when prompted. Loot the other bodies in Hennessy’s room of the catacombs, then head back to town.
 Where Is Triss Merigold?
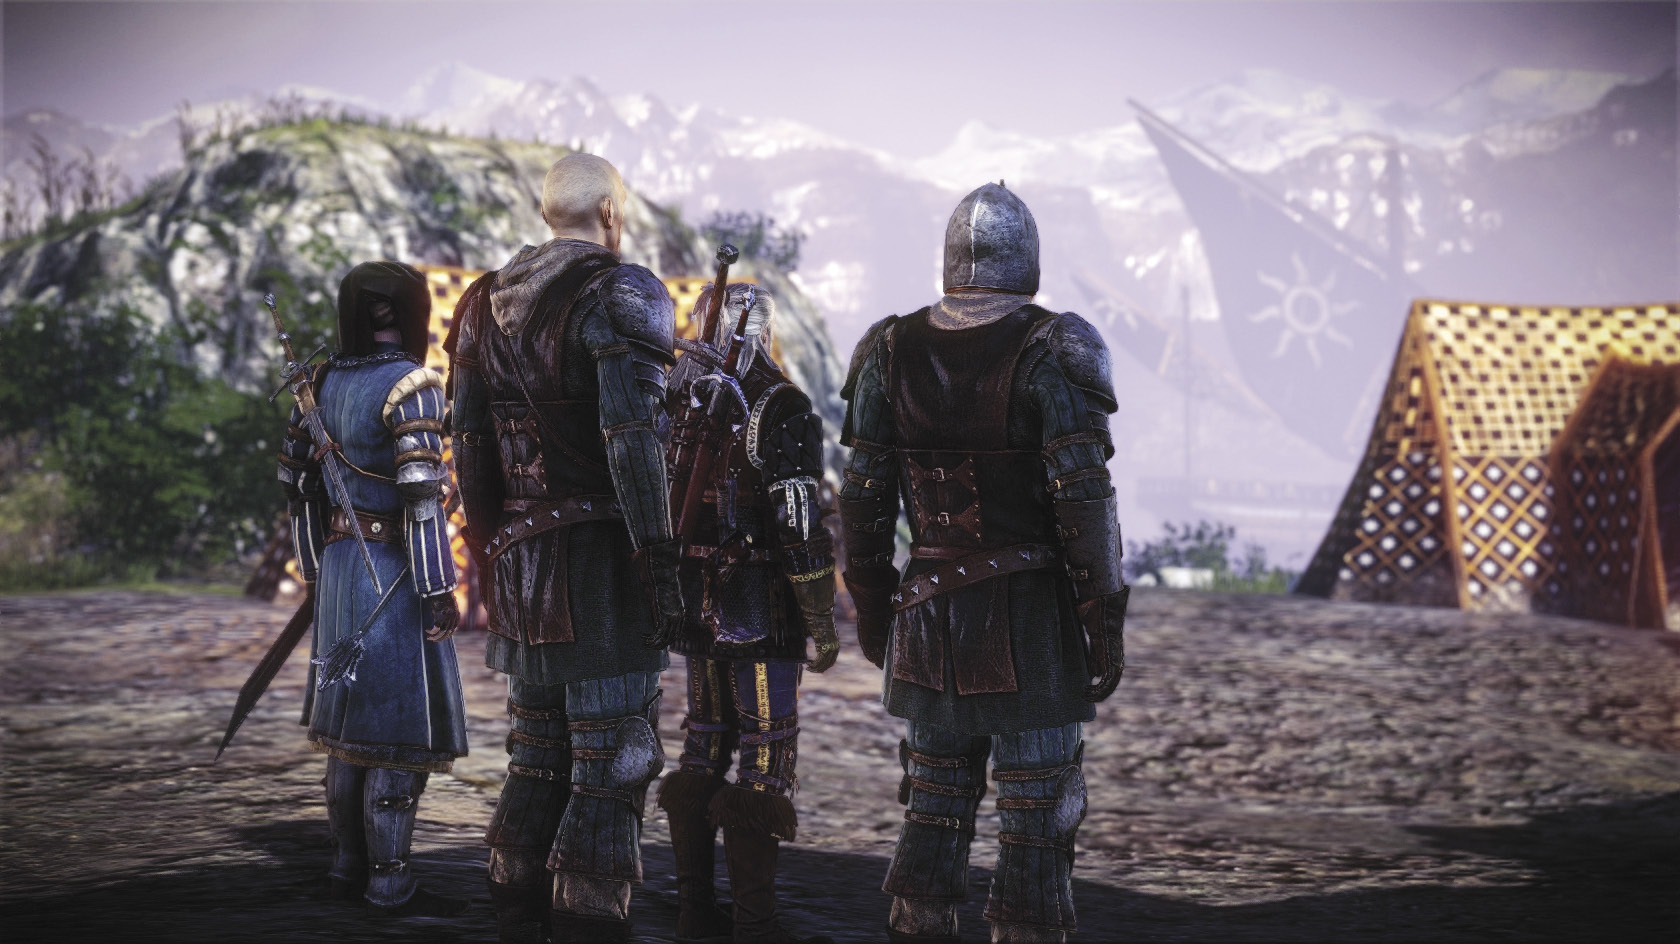
This should conclude all of the business you can conduct in Vergen, so prepare to cross back through the mists now. Use the same approach as when making your first crossing and you should be fine. In this case, simply moving toward the gates of the Kaedweni Camp in the distance gets you where you need to go. You automatically trigger a cutscene involving Roche’s men when you emerge from the other side of the fog. Roche claims that Nilfgaardians attacked while you were gone. You go with him to storm the Nilfgaardian Camp.
Unfortunately, you’re too late. When you pass through the gates, the Nilfgaardians are already sailing away. All this really establishes is that the Nilfgaardians probably have Triss and have probably taken her to Loc Muinne, where you’ll spend Chapter 3. You’ll pursue in due time, but for now you’ve got business to wrap up. Before you leave the Nilfgaardian Camp, make sure you loot Shilard Fitz-Oesterlen’s tent. You should find some minor equipment, the book Song of the Hunt, and Shilard Fitz-Oesterlen’s first letter to the emperor inside.
Before you move on to the next quest, speak with Síle de Tansarville about the Wild Hunt. Mention the Wild Hunt investigator’s notes you picked up while resolving Death Symbolized. She refuses to speak about it but directs you to Myron, who has an interest in the topic. Go speak with him to find out a lot of information about the hunt that you otherwise don’t run across in the game, but which can give you a much greater understanding of what’s going on with the Returning Memories quest. You can also discuss the Song of the Hunt book you pick up in Shilard’s tent with him. This sets up some optional conversations you can have about the Wild Hunt with the various town square merchants in Chapter 3. Do this now because after you resolve The Blood Curse, Síle leaves the camp and the sequence of events can no longer be initiated. So if you want Síle to remove your tattoo, you should knock that out now, too.
 The Blood Curse
You automatically initiate the final stage of this quest by speaking with King Henselt after you’re back on the Kaedweni side of the mist. You teleport immediately to the site of Sabrina Glevissig’s execution. Head up the ridge that overlooks the stone pedestal in the center of the clearing, then speak to Henselt. You enter a part of the game where a list of locations displays onscreen. You need to direct Henselt to move from place to place, sprinkling magic powder behind him.
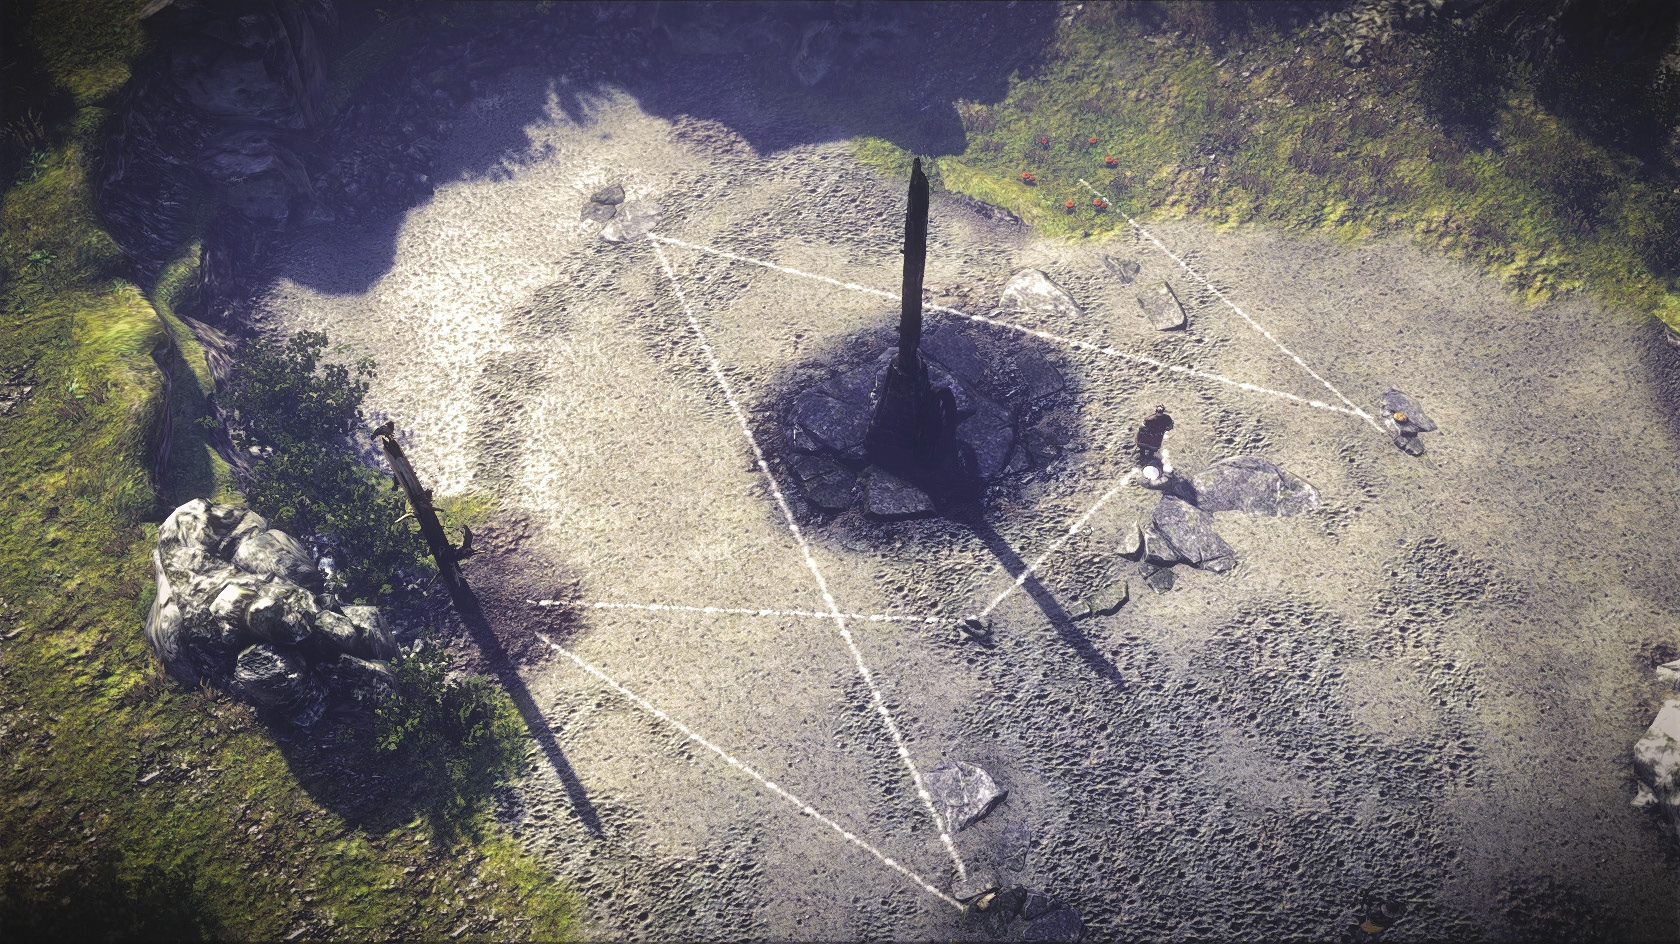
You want to send him to a series of points such that the magic powder draws the simplified magic rune you see when you open Dethmold’s grimoire. The game gives you some tools for figuring this out yourself, but if you just want an easy way to get through this sequence, send Henselt to the various locations from the list in the order given here. If you want to figure things out for yourself, note that he begins near the pixie circle.
- Petrified bread
- Black candles
- Goat skull
- Scorched tree
- Raven corpse
- Stone bowl
- Pixie circle
If you make any incorrect selections while you do this sequence, you have to start over from the beginning. There’s another way to draw the rune correctly, but exactly how you do it doesn’t matter so long as you get the shape right. Once the rune is complete, head down the slope and approach an area to your left. You should get an interaction prompt to set the magic powder aflame with Igni.
Next begins a sequence that should be very reminiscent of Melitele’s Heart, if you did that quest in Chapter 1. Wraiths begin to spawn around the circle and your job is to keep them from attacking King Henselt. The wraiths spawn infinitely until the sequence ends. If you successfully keep the wraiths from getting too near Henselt, he stabs Sabrina and you announce your success. If you fail at doing this, then the ritual fails dramatically, Geralt dies, and you must reload your last save to try again. The wraiths themselves are nothing special, you just want to focus on keeping them under control. Specter oil can help a lot, as can a good array of potions.
If you successfully complete the ritual, then the quest resolves. You gain 2,250 XP and unlock the Exorcist character attribute. Go see King Henselt in his tent to trigger a cutscene and the next quest you need to focus on awhile.
 The Assassins of Kings
 Returning Memories
Now you find yourself battling two would-be assassins outside of King Henselt’s tent. You don’t need to defeat both of them completely; getting either one’s vitality low enough triggers a cutscene that ends the battle. Since you’re dealing with two enemies, bombs can be very useful to damage them both at once. You can also make good use of a leveled-up Quen or of Aard and Yrden to stun one of the assassins so you can begin an attack. Hanged man’s venom can help you pile on damage more quickly. Potions can also be very helpful—just make sure you apply them before you go in to talk to King Henselt. While the potion meters will tick down during the cutscene, the cutscenes aren’t very long and you should be able to keep potions up during the entire fight. Finishing the battle is worth 500 XP and unlocks the Swordsman character attribute.
After the battle ends, you’re sent to talk to Dethmold. He’s not in his usual location at the tent—instead he’s in the tent where Myron usually hangs out. The corpse of the assassin you managed to defeat is laid out on the table. Talk to Dethmold and he explains the ritual you’re going to use to find more information about the kingslayers. Before you initiate the ritual, you should craft and drink a Gadwall potion. The game really won’t let you begin this sequence without drinking a Gadwall. If you need to obtain the Gadwall formula, remember that Myron sells it.
The ritual projects your mind into that of the dead assassin, Auckes, in a sequence where you have to carefully retrace his steps leading up to the murder. You only need to relive enough of Auckes’s memory to find out where the kingslayers’ hideout is, but it is possible to retrace Auckes’s steps all the way up to the beginning of his battle with Geralt.
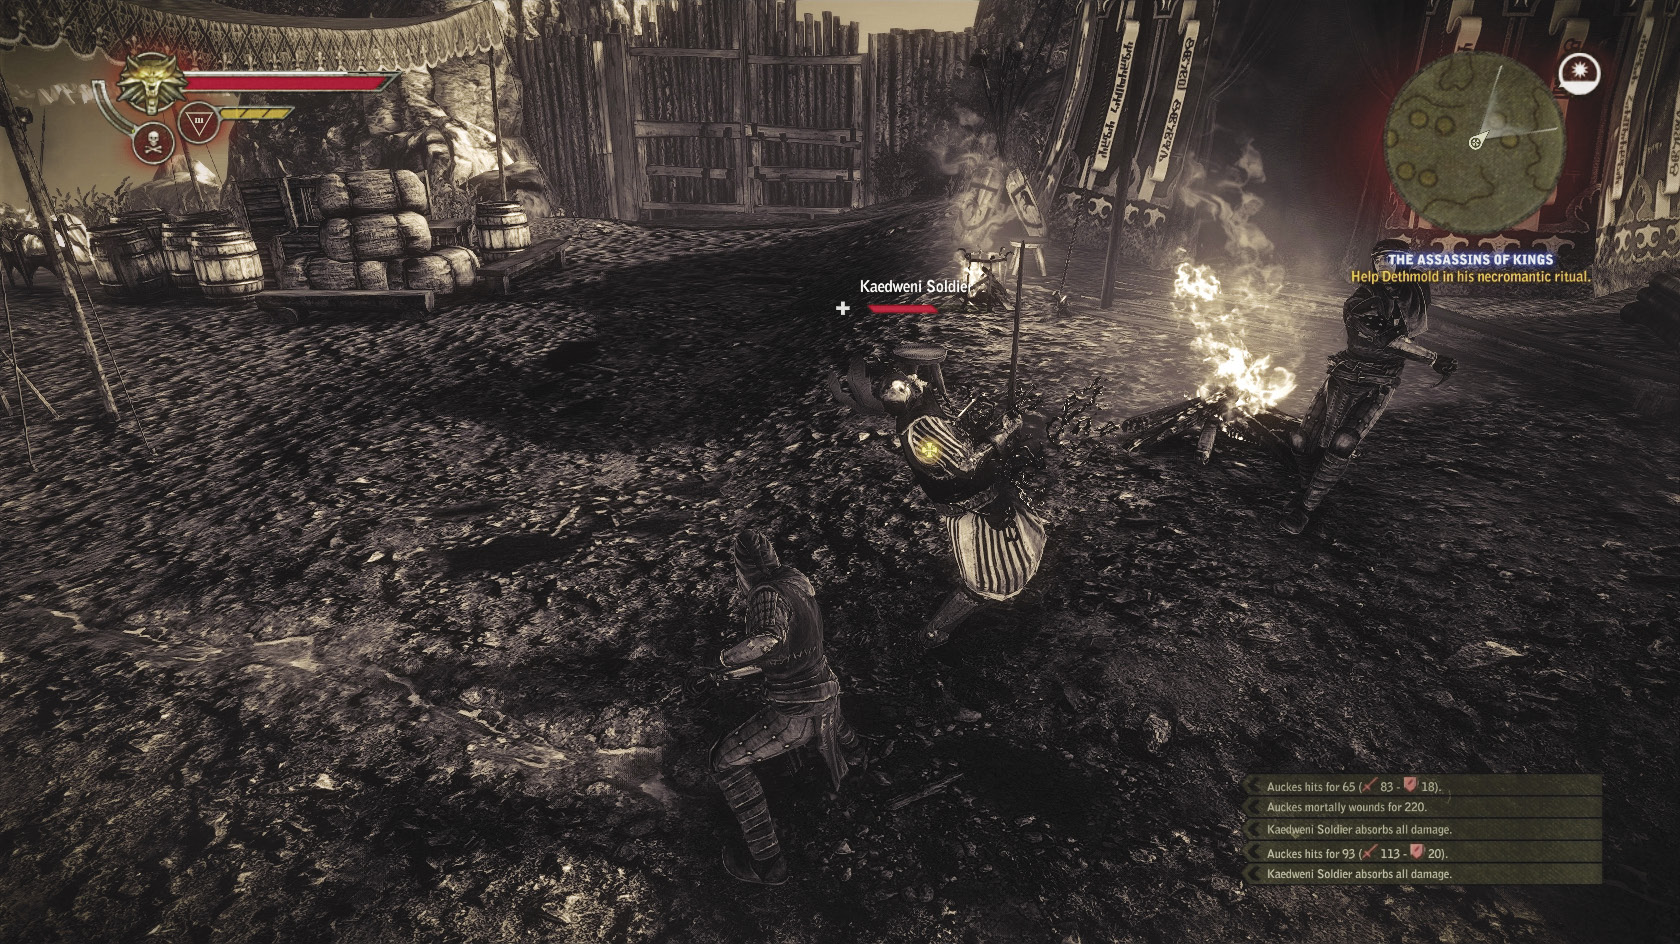
In the first part of the sequence, Auckes and Serrit converse with each other while battling harpies in a ravine. They come to the entrance of a cave, which leads to the most finicky part of the sequence. Carefully follow Serrit through a narrow passageway littered with snares. Save just before you start. If you accidentally trip any of the snares, the ritual fails and you must start over from the beginning. It’s much quicker to just reload from a save taken right before the sequence with the snares begins. The easiest way to evade the snares is to point the camera at the ground, so you can see the snares clearly, and to move very slowly between them. Once you’re clear of the snares, follow Serrit to trigger a cutscene with Letho.
After the cutscene with Letho you can trigger an optional portion of this sequence. It begins with a scene where Auckes infiltrates the Kaedweni Camp. In this sequence, wait until the guards finish their conversation and split up. One heads away, while the other you should follow. When he pauses with his back to you, creep up behind him and kill him using the interaction button. From this you go immediately to a short sequence where Serrit and Auckes walk briefly through the camp cave. Finally, you fight off Henselt’s guard outside his tent. The sequence ends when you confront Geralt, who will use the abilities you used when you fought the two assassins earlier. At this point, you either battle Geralt until he kills you or until you’ve reduced Geralt’s hit points to about 60 percent. At that point the vision automatically ends. If you successfully make it to Geralt in Auckes’s memories, though, you unlock the Necromancer achievement.
When you’ve either done something in the sequence incorrectly after getting to the Letho cutscene or gotten killed by Geralt, this sequence is over. You get to discuss what you saw with Dethmold and end up telling him that you know where the kingslayers are hiding. Your next goal in this quest is to go find the cave Letho was hiding in during Auckes’s final memories, where you’re pretty sure Serrit awaits.
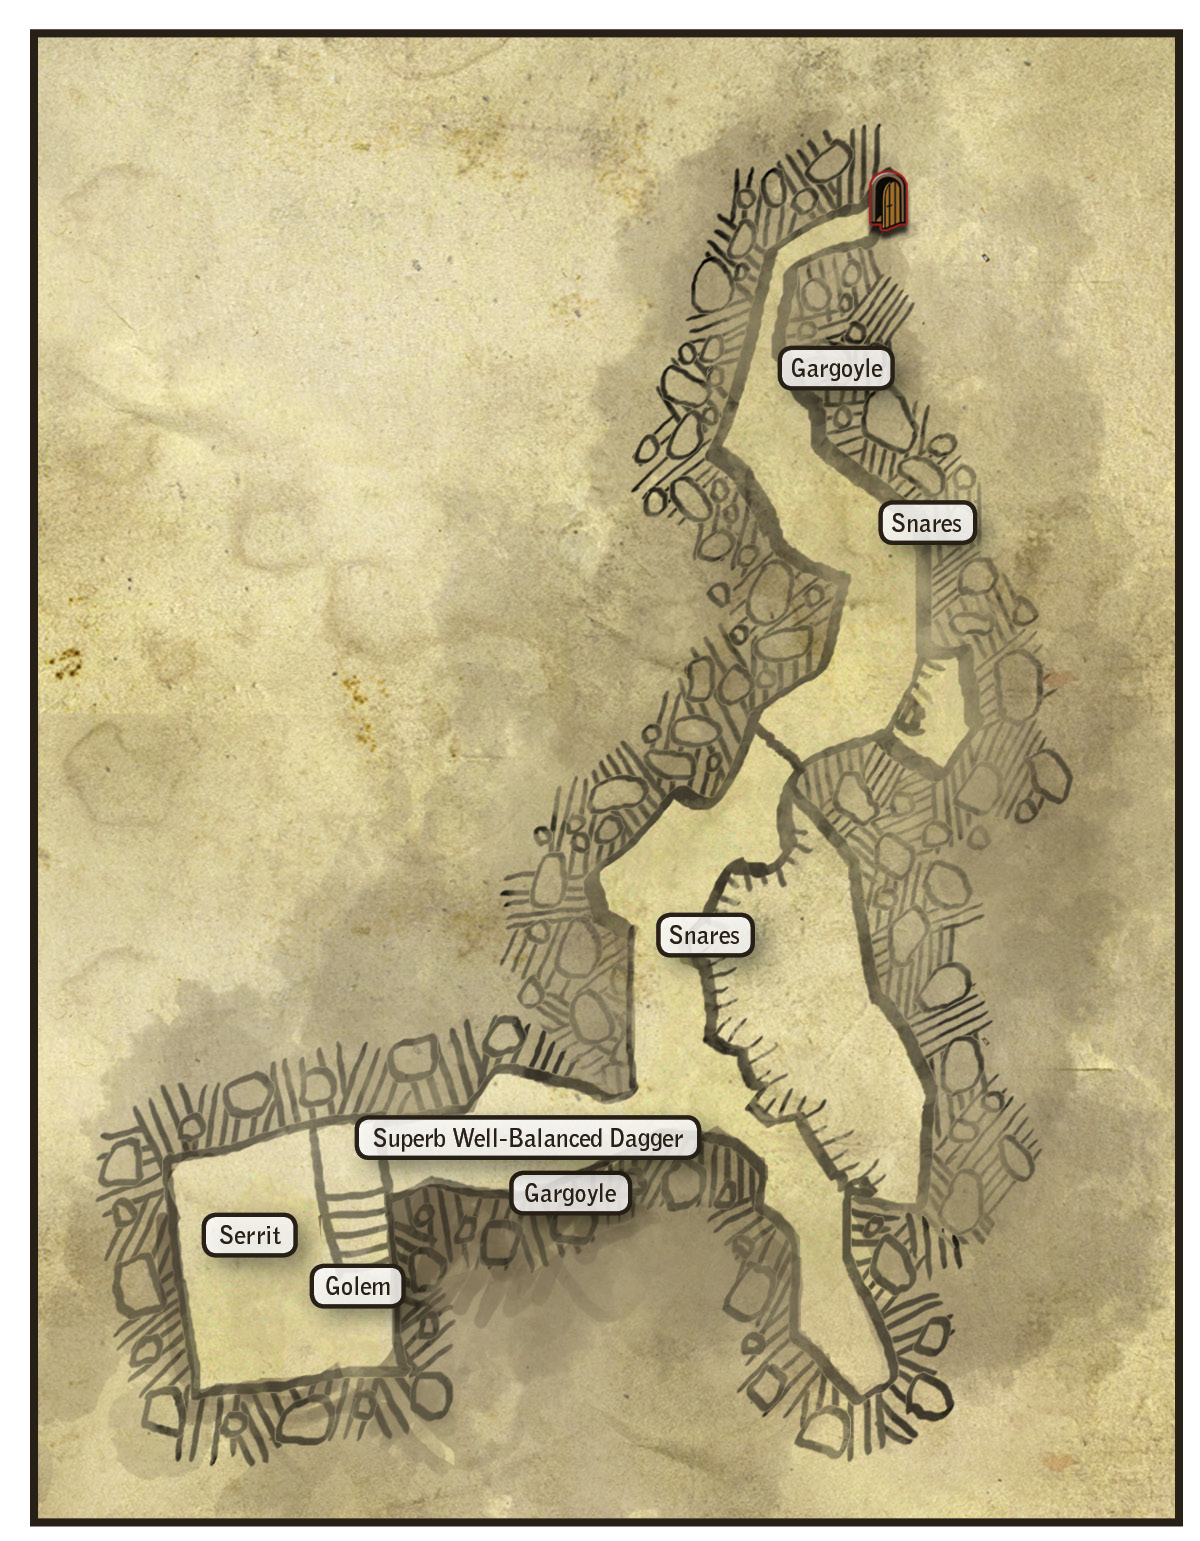
To get to the kingslayers’ hideout, cross at the river as if you were going to visit Malget’s house, but take a left instead of the usual right. You quickly come to an entrance to the cursed battlefield. Avoid it and instead turn right. This takes you into the ravine where Serrit and Auckes fought harpies earlier. You may actually find the drops from that battle waiting for you on the ground. Defeat the harpies and the group of human bandits you run across on the way there. The entrance to the cave is pretty difficult to miss, since it’s at the end of the ravine. Be ready to fight a handful of imposing enemies once you’re in the cave.
You face your first gargoyle once you’re inside. Gargoyles are something of a cross between a golem and a rotfiend, a small stone creature that explodes in a rain of fire and shrapnel when you defeat it. Stat-wise it’s nothing special and you can probably approach fighting it the way you’d approach a greater rotfiend. You get to fight it as a solitary creature, which makes it easy to manage for mages and swordsmen. You fight one in the immediate area, then another later on in the cave. You will come to the area of snares from Auckes’s memories. Now you can simply pick them up, disarm them, or move past them.
At the end of the small cave you come to the area where Letho was in Auckes’s memories. Now when you enter it, you face a golem. If you’ve already faced a golem in the camp cave, you know exactly how to handle it. Just play to your build’s strengths and do a lot of dodge-rolling. You get the David character attribute for defeating this golem.
Once the golem is defeated, loot its body and then loot a chest for some superb well-balanced daggers. At the rear of the room is Serrit. Speak with him briefly, which triggers a cutscene that advances the Returning Memories quest. Next, loot Serrit’s body after he passes on. He carries the Negotiator, a silver sword that is not impressive in terms of damage or rune slots but does have a fairly high chance of inflicting the rare freeze critical effect. After Serrit passes on, leave the cave and return to the Kaedweni Camp.
 Faith Symbolized
Now you have all four of the symbolic objects you need to resolve The Eternal Battle, the climax of this chapter. Before you attempt this, make all suitable preparations, as you can’t backtrack. Make any bombs or traps you wish to use now. Also buy anything else you want to carry into Chapter 3 from the merchants, in particular the diagram of the draug armor, because all of the merchants inside the Kaedweni Camp are going to be shut down when you return.
When you’re ready to begin, speak to Dethmold. You immediately get 1,500 XP for your previous adventures. King Henselt is now willing to part with the medallion you need to resolve this quest, which happens automatically. Speak with Dethmold again and say “I’m ready to lift the curse.” After that, you must head into the entrance to the cursed battlefield next to the Camp Followers’ Encampment to begin the next quest.
 The Eternal Battle
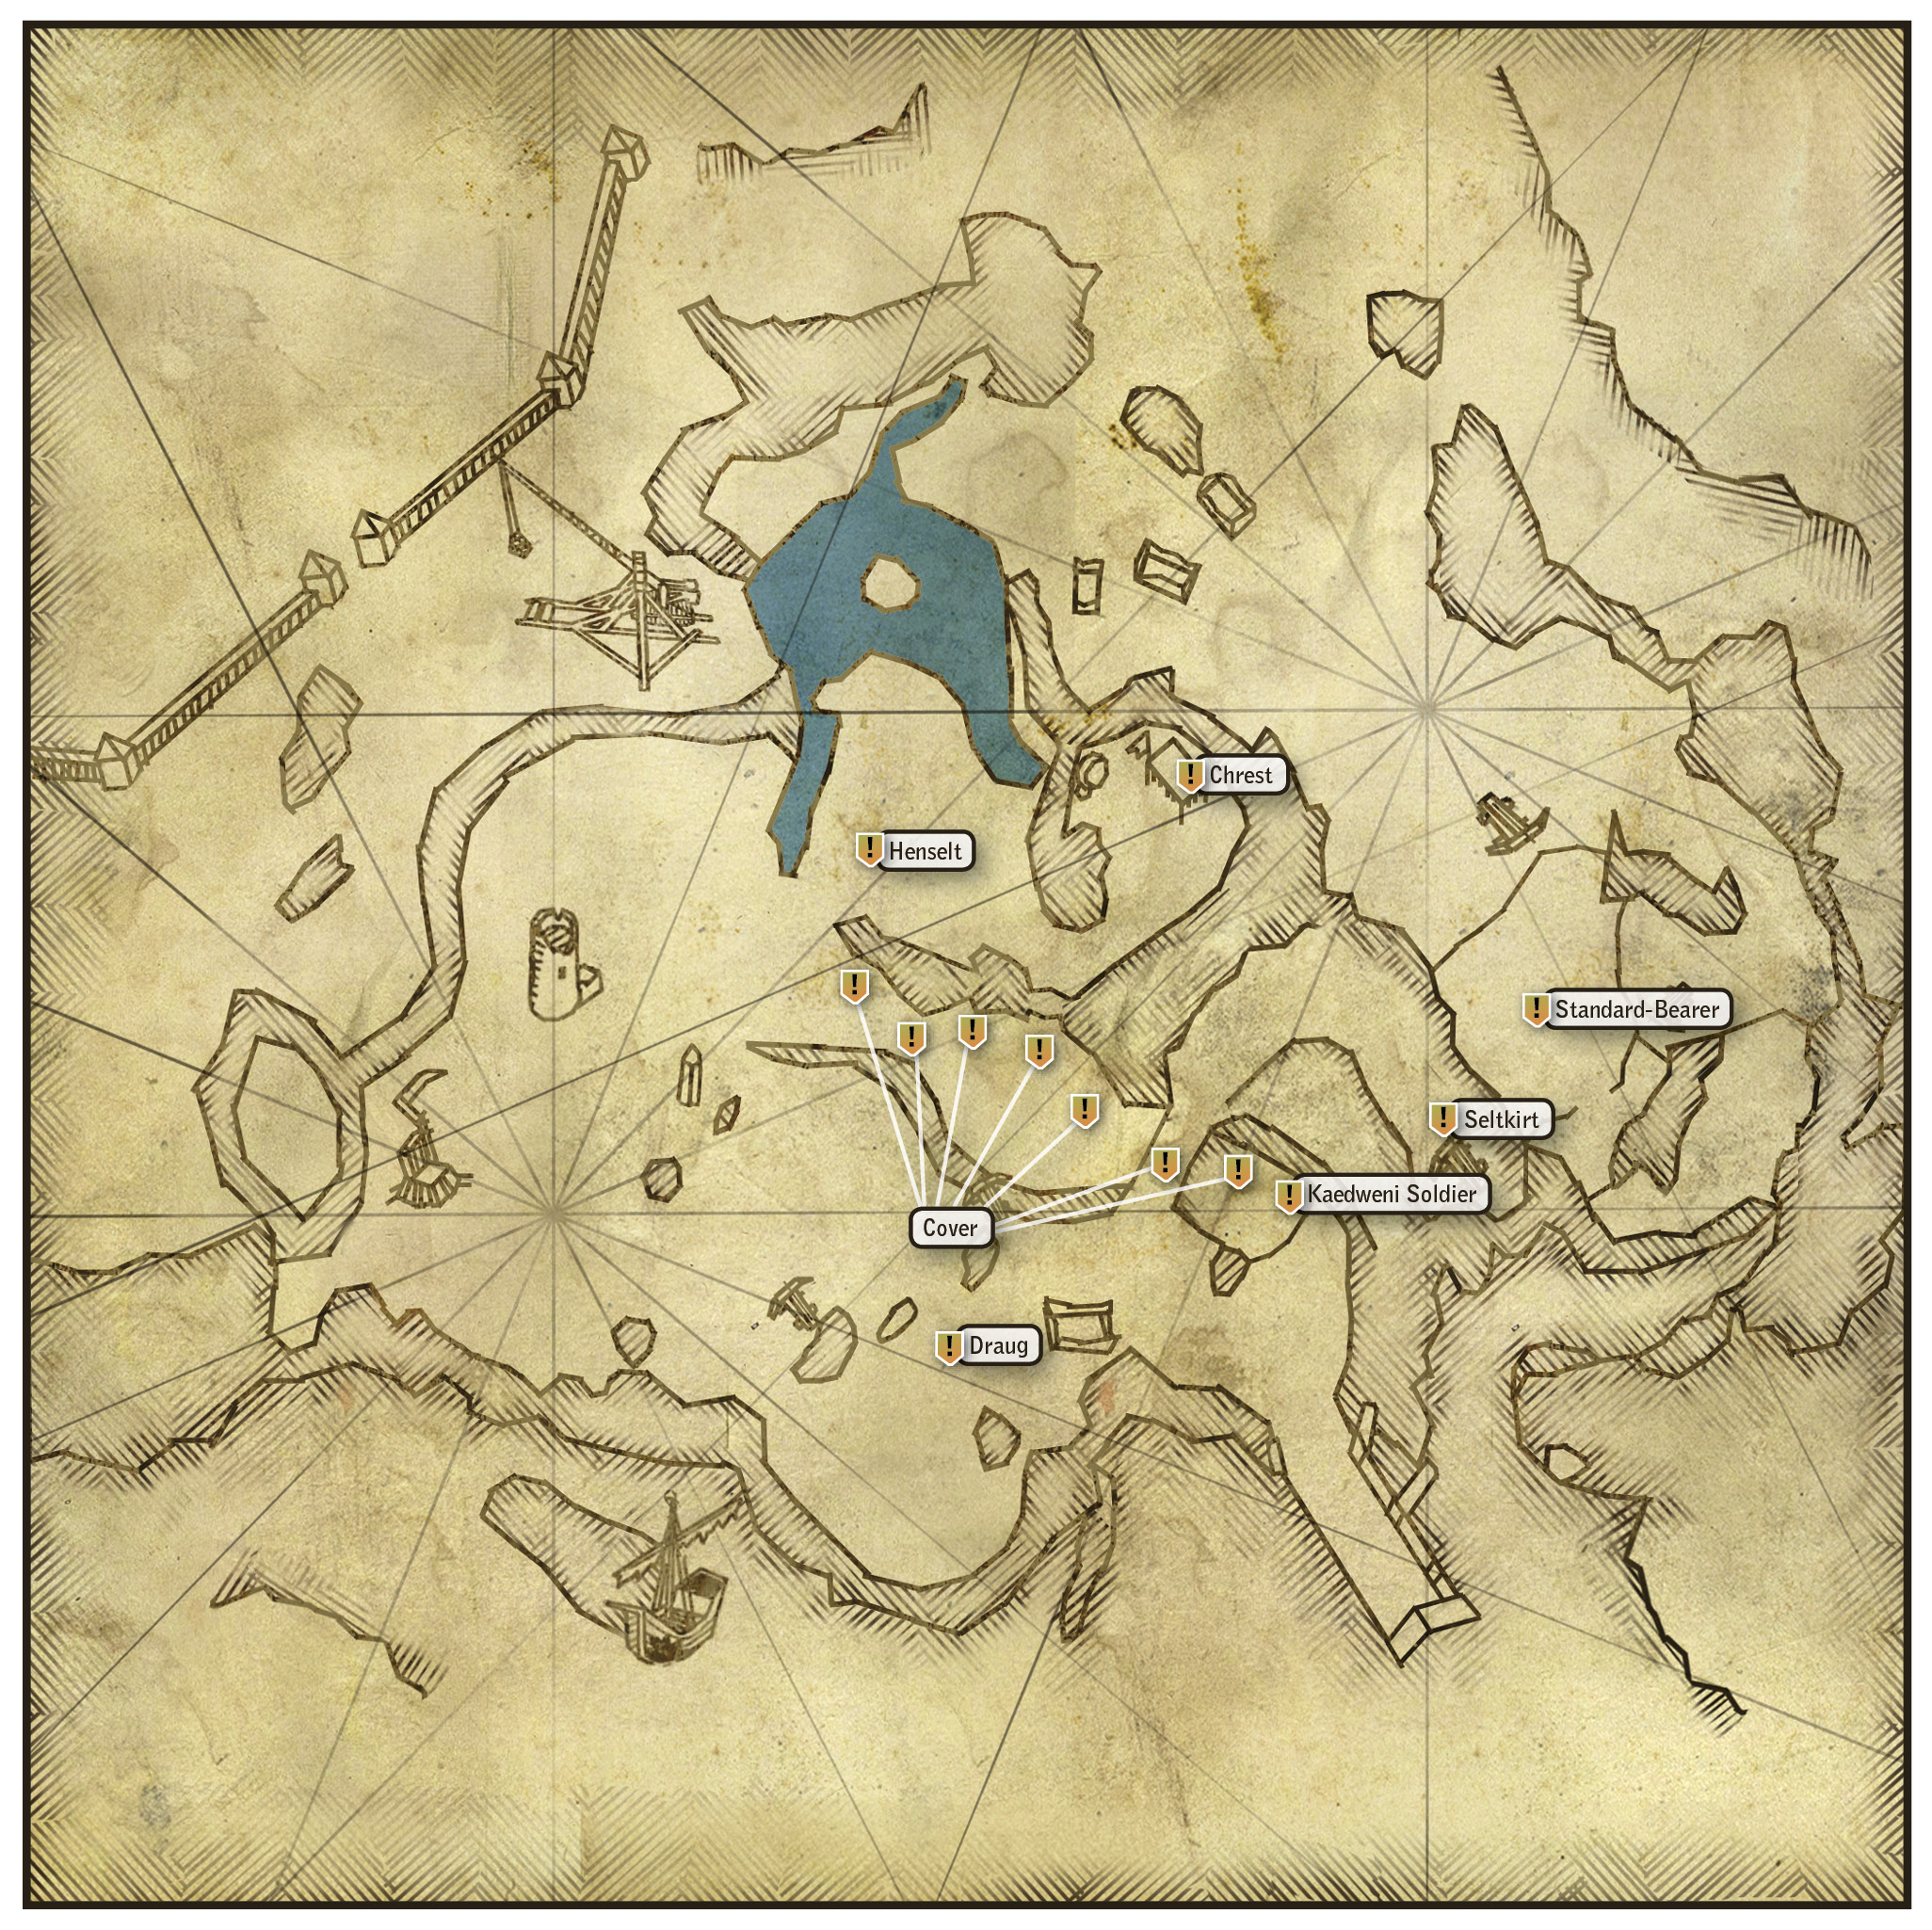
Make sure you’re prepared for a major battle with a unique enemy as part of this quest. Your equipment and how you’ve invested in Geralt’s skills make a major difference in this battle. This enemy is mostly immune to critical effects but very vulnerable to being stunned or staggered. Alchemists should make preparations accordingly. Note that you can’t use potions during this battle, but you can make good use of traps.
Mages who haven’t leveled up Aard or Yrden are a bit boned here and should maybe get a stack of Zerrikanian suns or Talgar winters beforehand. Quen can be an effective defense in this battle, but you shouldn’t rely on it completely. A mage who has Aard III or Yrden III should have no trouble.
Swordsmen are going to end up relying on maneuverability and how specialized they are for hitting hard with every blow. Quen can help with defense, but not as much as levels of Feet Work. A swordsman build should be, by this point in the game, well-equipped for handling this quest’s challenges. If you’re a struggling swordsman, there’s no shame in prepping a pile of Zerrikanian suns or Talgar winters just in case.
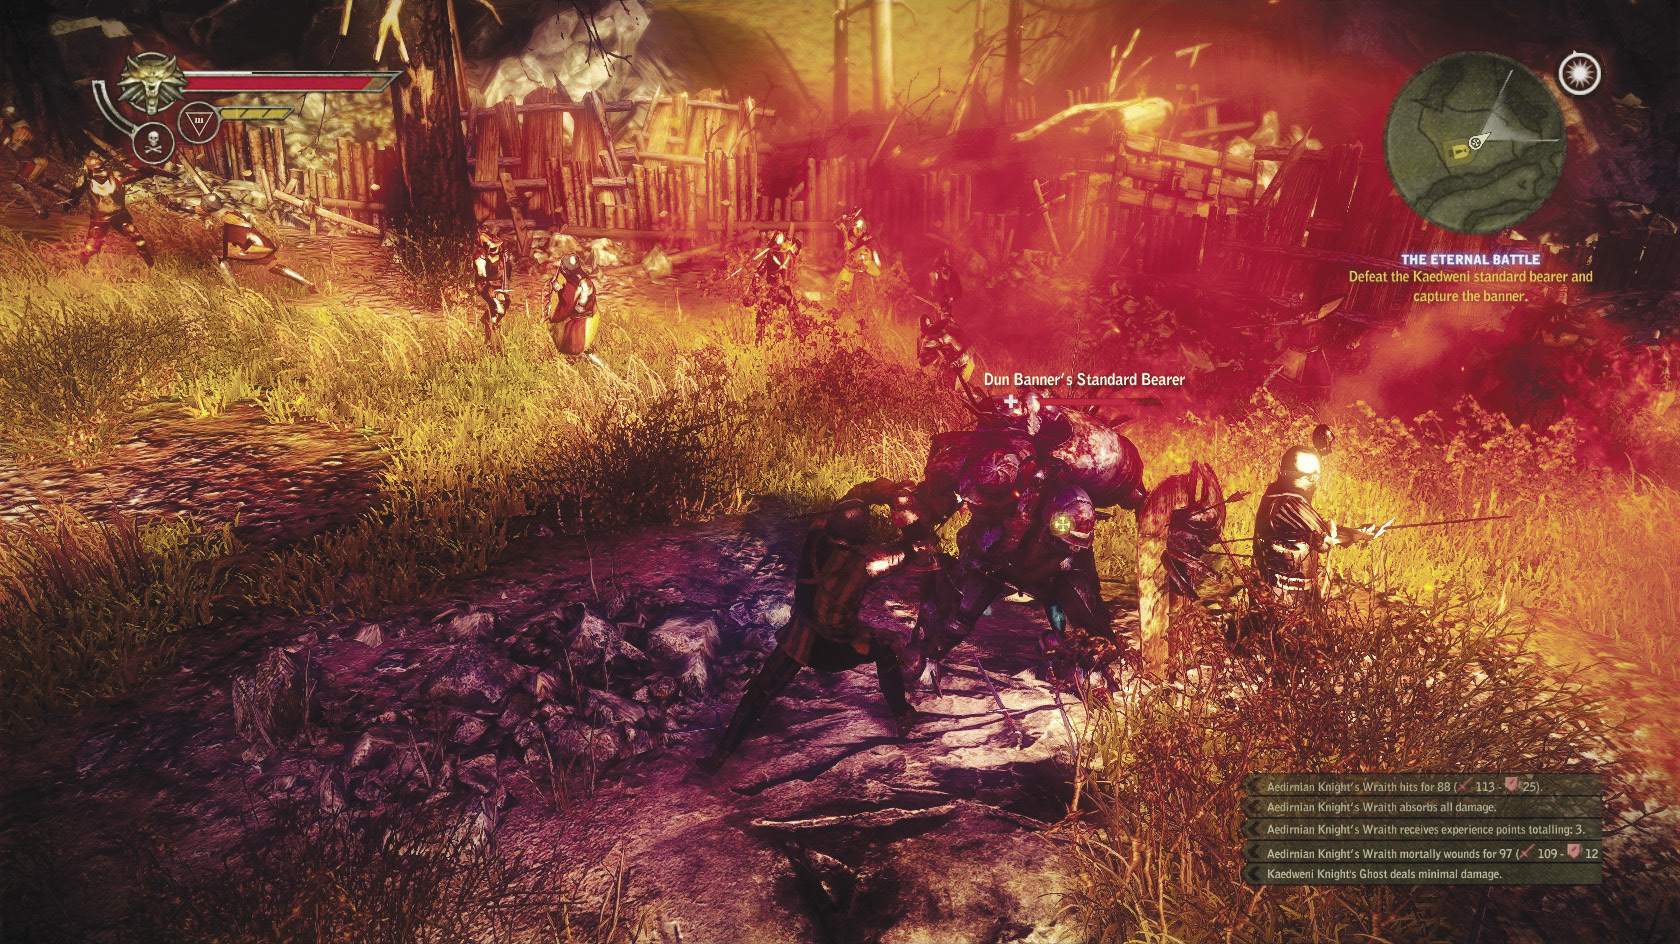
Once you trigger this quest, you go into a sequence where Geralt is possessed by the spirit of a soldier who must cut down the standard bearer of the Dun Banner. The standard bearer has taken the form of a draugir and you must defeat it without access to Quen or dodge rolls or any of your usual witcher tricks. You also have no NPCs to aid you, while the draugir is aided by three knights. Work on trying to eliminate the three knights without losing too much vitality. Focus on trying to get behind your enemies. If your Geralt build has Riposte, that skill carries over and is useful here. Be careful while keeping your distance, as the edges of the battlefield around the draugir are wreathed in flames that absolutely will incinerate and kill you. On the other hand, you can drive enemies into the flames to do pretty serious damage.
The second part of the sequence requires you to play as a Kaedweni soldier who is tasked with telling his commander that his unit needs reinforcements. Sadly, he must do this while running a gauntlet of flaming arrows fired by archers from his own side. There are wooden structures on the field you can use for cover, but huddle behind them too long and the flaming arrows destroy them. Move quickly from cover point to cover point between volleys of the flaming arrows. Each of the volleys is heralded by the sound of a horn. Basically, if the volley heralded by a horn won’t hit you, then choose that moment to move to fresh cover. After you make it to the last cover point indicated on the map, you can simply walk forward to trigger cutscenes.
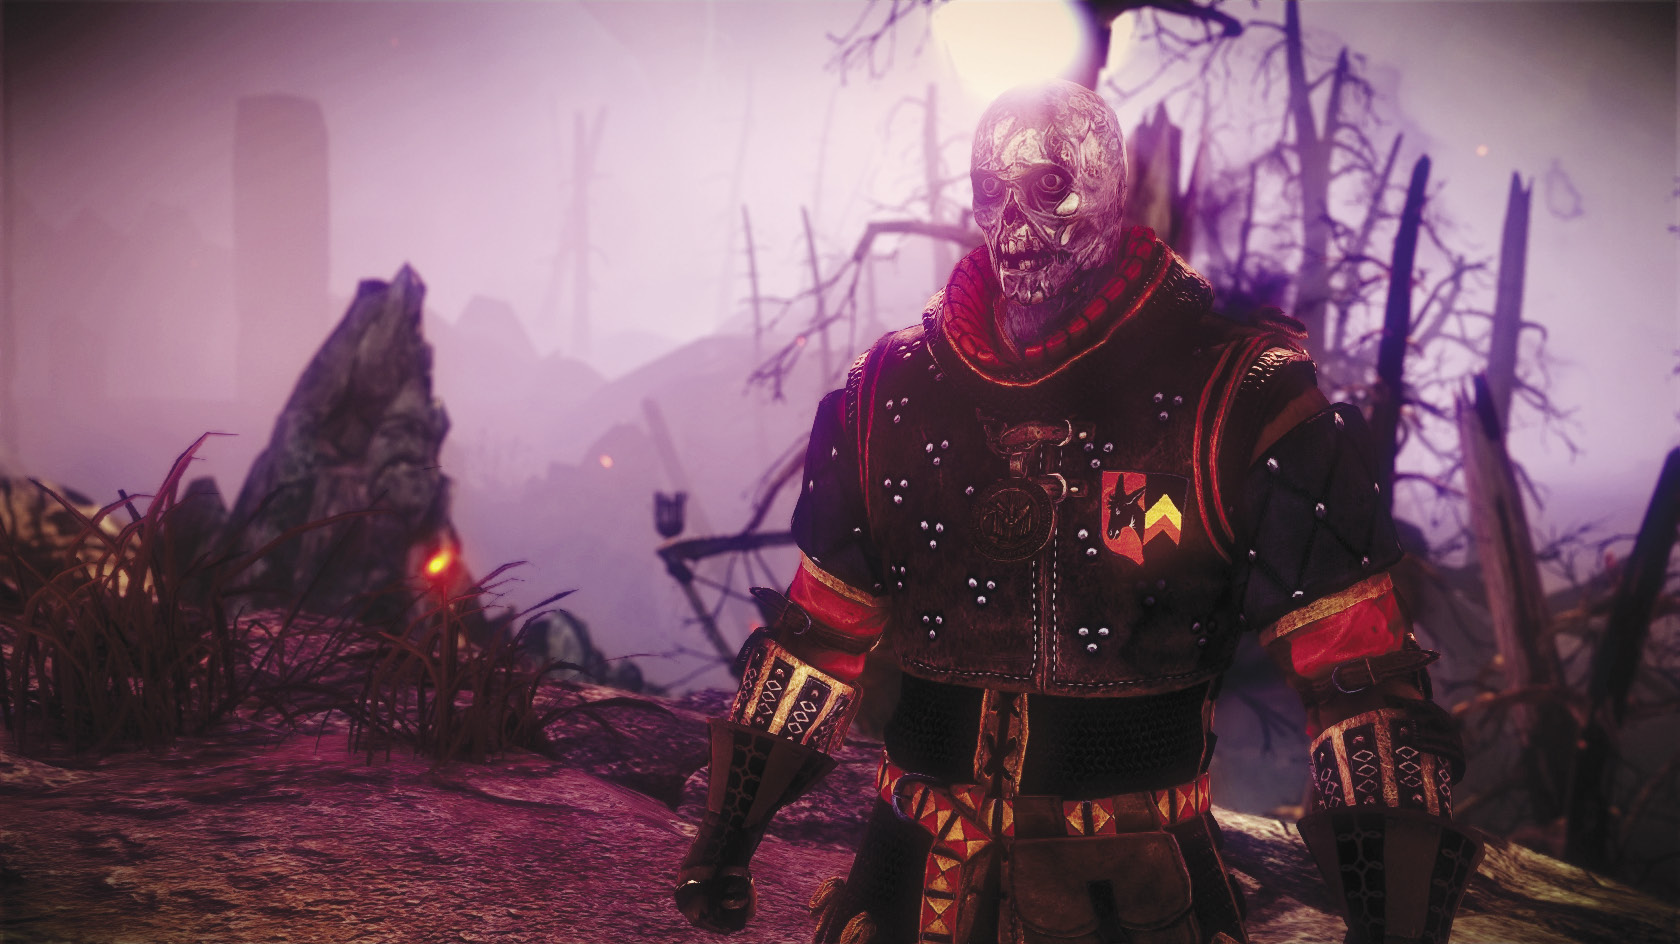
For the third part of the sequence, you are possessed by Seltkirk of Gulet. For this, you simply need to move near Vandergrift’s position. You must fight two groups of Kaedweni knights on the way in. Seltkirk has massive amounts of vitality, as part of modeling how he was the best Aedirnian knight ever, so you should have little trouble defeating the groups of Kaedweni. If you’re having a hard time with them (or playing on a high difficulty level), slowly inch forward down the slope. It’s tricky, but possible, to attract attention from only one or two enemies in the second group, instead of triggering the entire group at once. As you draw near the draug’s position (for Vandergrift has become a draug after death), a draugir materializes that is his standard bearer. A cutscene ensues as you approach it, and before this battle you get to control Geralt once more. Get the draugir down to about half vitality to trigger another cutscene.
Now for the climax of this quest: You must battle Vandergrift’s spirit, magnified by the curse into the form of a draug. A draug is basically a pile of fire and hate, its body made of animated metal. As you might expect, it has both a massive pile of vitality and a separate meter of additional armor strength. There is nothing sneaky or tricky you have to do here to whittle that down. You just have to survive long enough to beat the living hell out of it. Talgar winters do significant damage to it, while also cutting its charging attacks short. Zerrikanian suns can have a similar effect. Aard and Yrden at higher levels stagger it, while at lower levels the draug can shrug them off.
Be sure to beat on the draug mercilessly whenever it’s staggered. Roll away when the draug turns into a whirlwind of armor fragments. Never let yourself get too far away from the draug, though. The draug punishes you for trying to play keep away too aggressively by having its archers rain down hails of arrows, and its artillery uses trebuchets to rain fireballs on the field. You can evade the fireballs by dodge-rolling away from areas on the ground that turn red, and evade the arrows by dodge-rolling in any single direction to get clear. The danger of evading like this, of course, is that you’re so far away from the draug when its rain of arrow or fire stops that it decides to just do it again.
The best way to damage the draug is to wait for him to charge, dodge-roll aside, then get in behind him. The damage penalty the draug takes from back attacks is enormous and can let you whittle down his armor and vitality meters much faster than attacks from the front. This method is especially useful for swordsmen who’ve taken levels of Feet Work. Mages and alchemists can also make use of it but may need to stun the draug to make sure he doesn’t move out of position before you can attack.
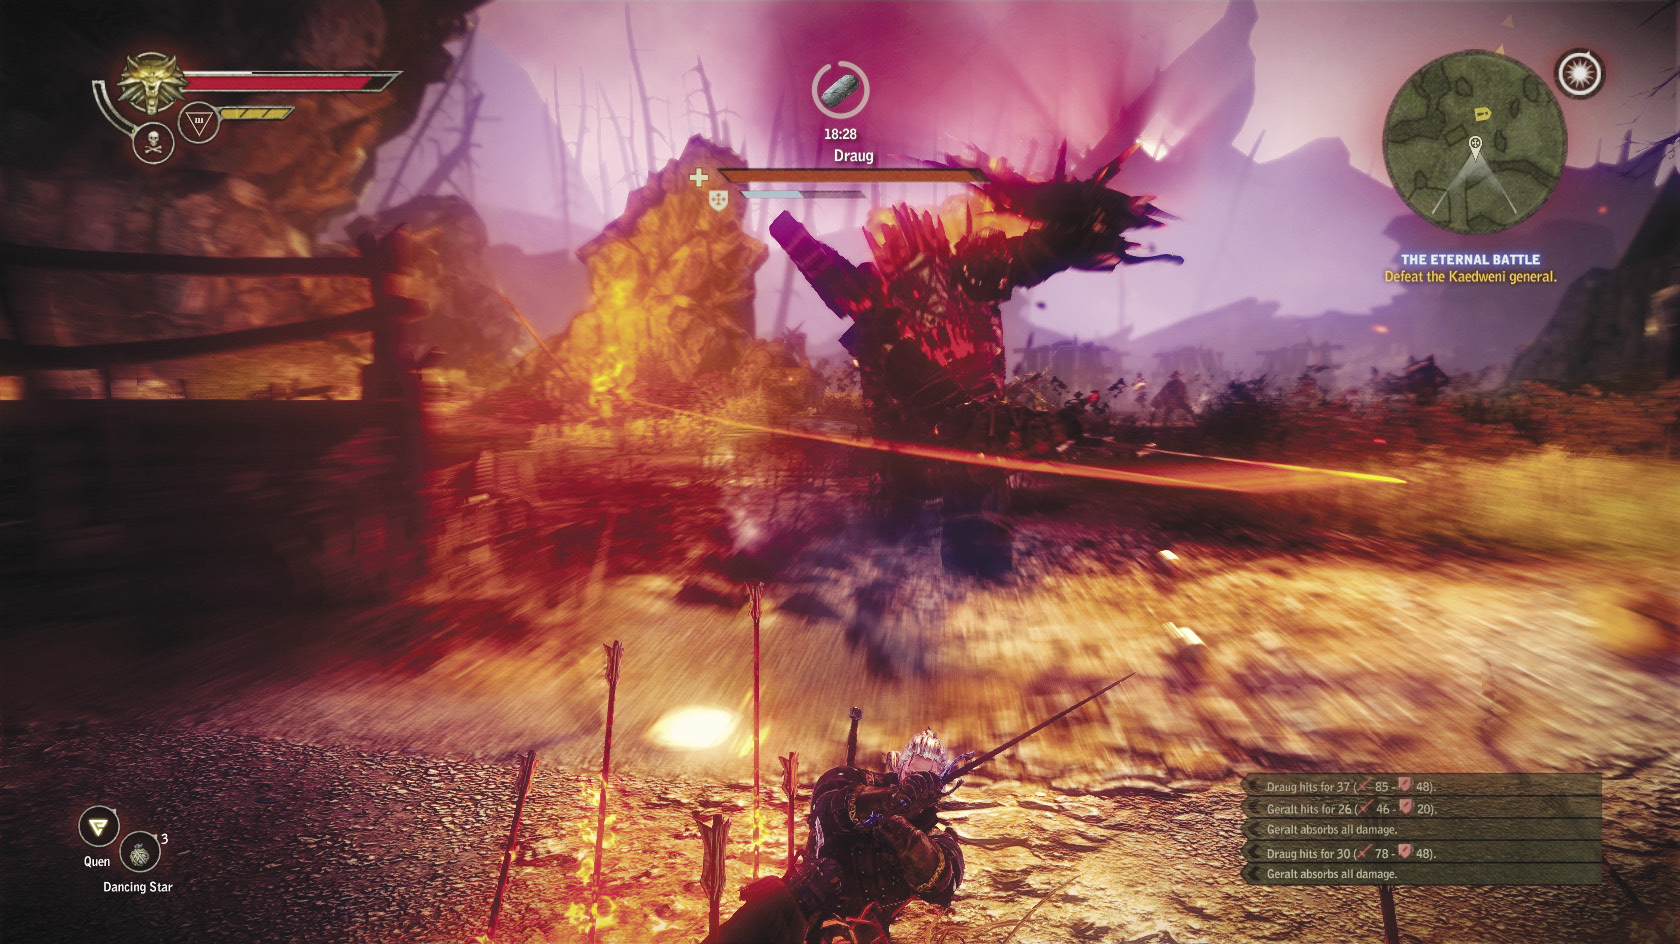
If you manage to play the zone game correctly and evade the draug’s attacks without getting too far away from it, you should dish out enough damage to take it down. Once you get through its armor meter, it begins taking damage rapidly. You get a ton of loot for defeating it, including some materials necessary for creating the draug armor. You also unlock the Fat Man achievement.
There’s one more phase to the quest. Now that the draug is defeated, Sabrina Glevissig’s terrible rain of fireballs has begun. You are possessed for a final time by a priest who must guide his unit to Henselt’s position, to inform him of the terror that has overtaken the battlefield. Don’t worry about this turning into an escort mission; all you really need to do is get yourself to Henselt to trigger the concluding barrage of cutscenes. You can’t dodge-roll as the priest, so just try to move away if the ground before you becomes red.
The concluding cutscenes lead to Geralt recovering a significant portion of his memory, as he expected, so resolving this quest also advances Returning Memories. During the ensuing dialogue with Dandelion, feel free to say whatever you want.
 Conspiracy Theory
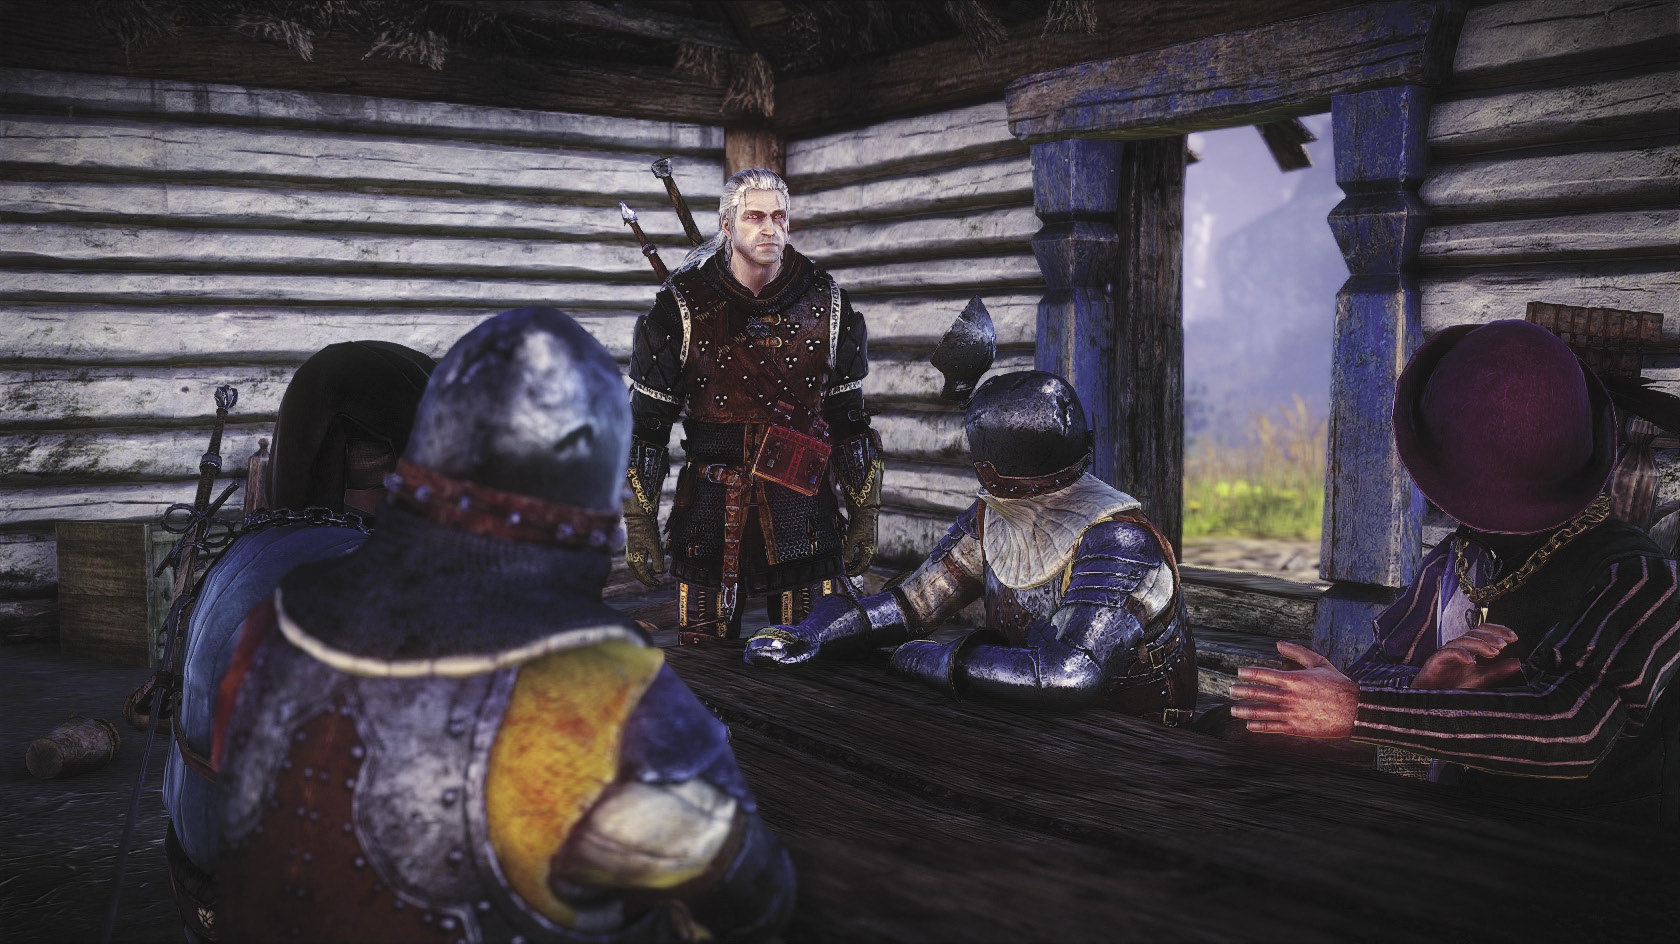
After you finish speaking with Dandelion, you find that you aren’t allowed to enter the Kaedweni Camp and that Roche’s Camp is abandoned. Head to Malget’s house, where Roche is waiting. Give him some news, then head back to the camp. When you enter the camp, Kaedweni soldiers attack you. Defeating them shouldn’t be difficult, but this is a bad sign of things to come.
When you return to the gates of the Kaedweni Camp, they are unguarded. When you enter, you’re attacked by 8–12 Kaedweni soldiers. This fight requires a crowd control approach to be manageable, since you’re fighting a ton of enemies at once and Roche is little more than a distraction. Use whatever tricks best suit your build. Be conservative with traps from this point forward, since you can’t get any more until Chapter 3.
After you defeat the soldiers, head for the canteen, where something horrible awaits you. The cutscenes you trigger here resolve the quest, which is worth 500 XP. From here, you and Roche need to head to Vergen to try and catch up with Síle de Tansarville and the kingslayers. Pay a final visit to Raymond and try to lighten your load as much as possible.
 The Siege of Vergen
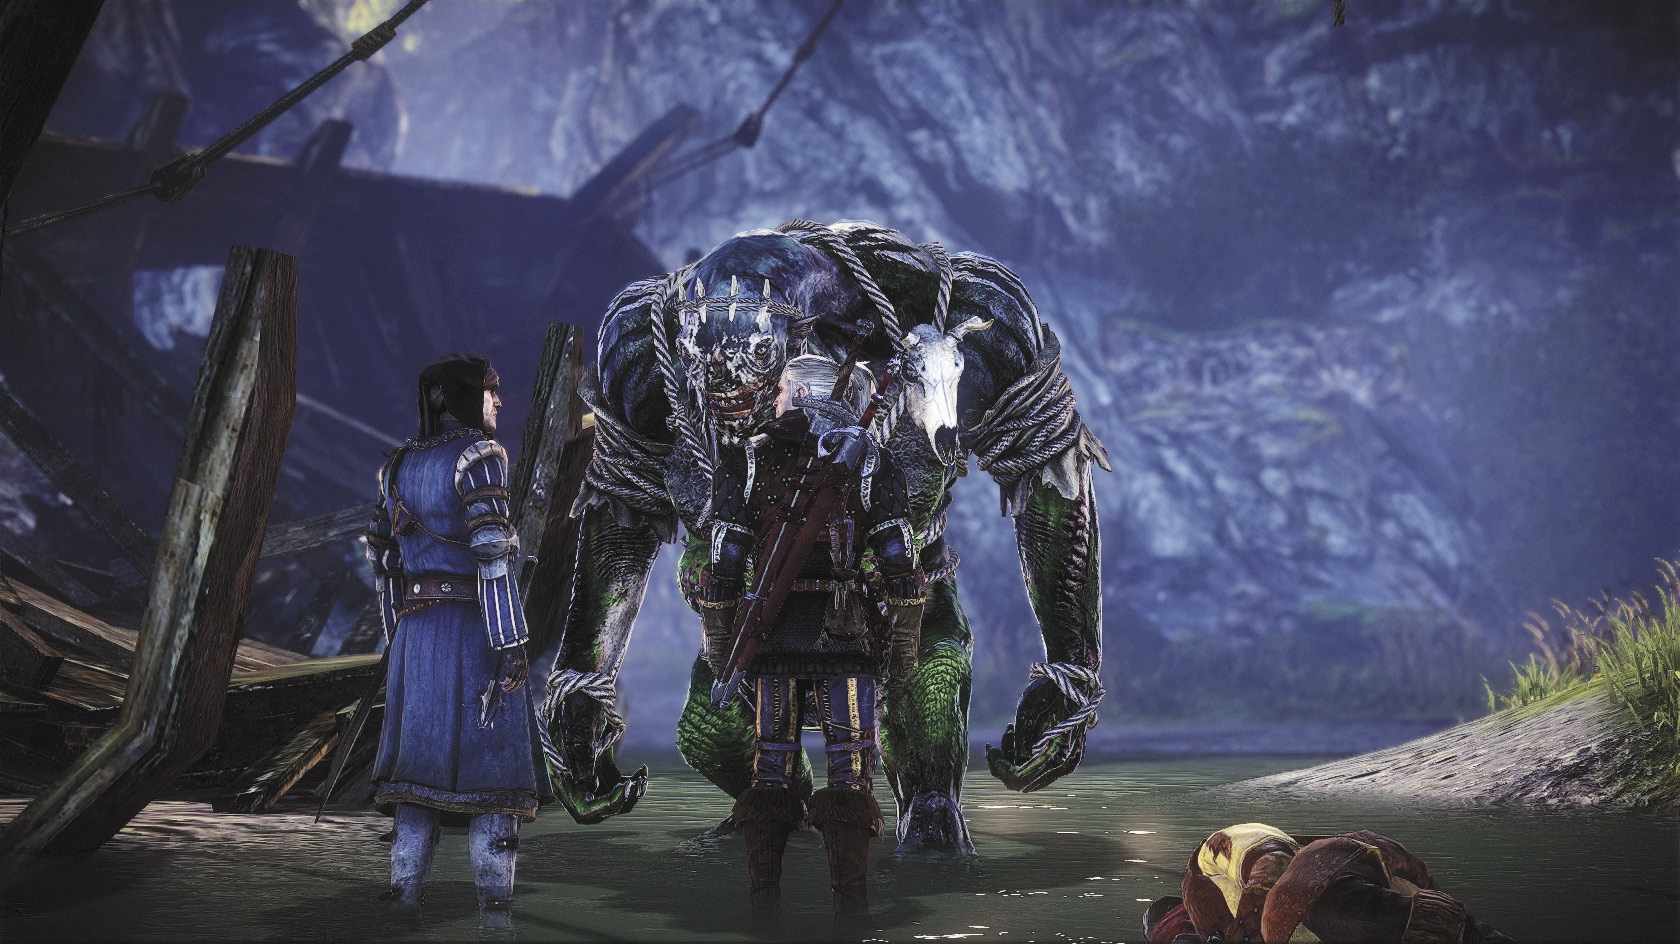
To get to Vergen, pass through the tangle of ravines on the southern portion of the map. Take the same route you used to find the kingslayers’ hideout. Now you should be able to pass beyond the cave to reach the area depicting a wrecked boat. You also run into a she-troll here. You can opt to fight the troll or try to talk to her calmly. By talking to her, you can find out a bit about what’s going on in Vergen. After the she-troll is dealt with, give a little attention to the shipwreck beside her.
 Side Quest: Mystic River
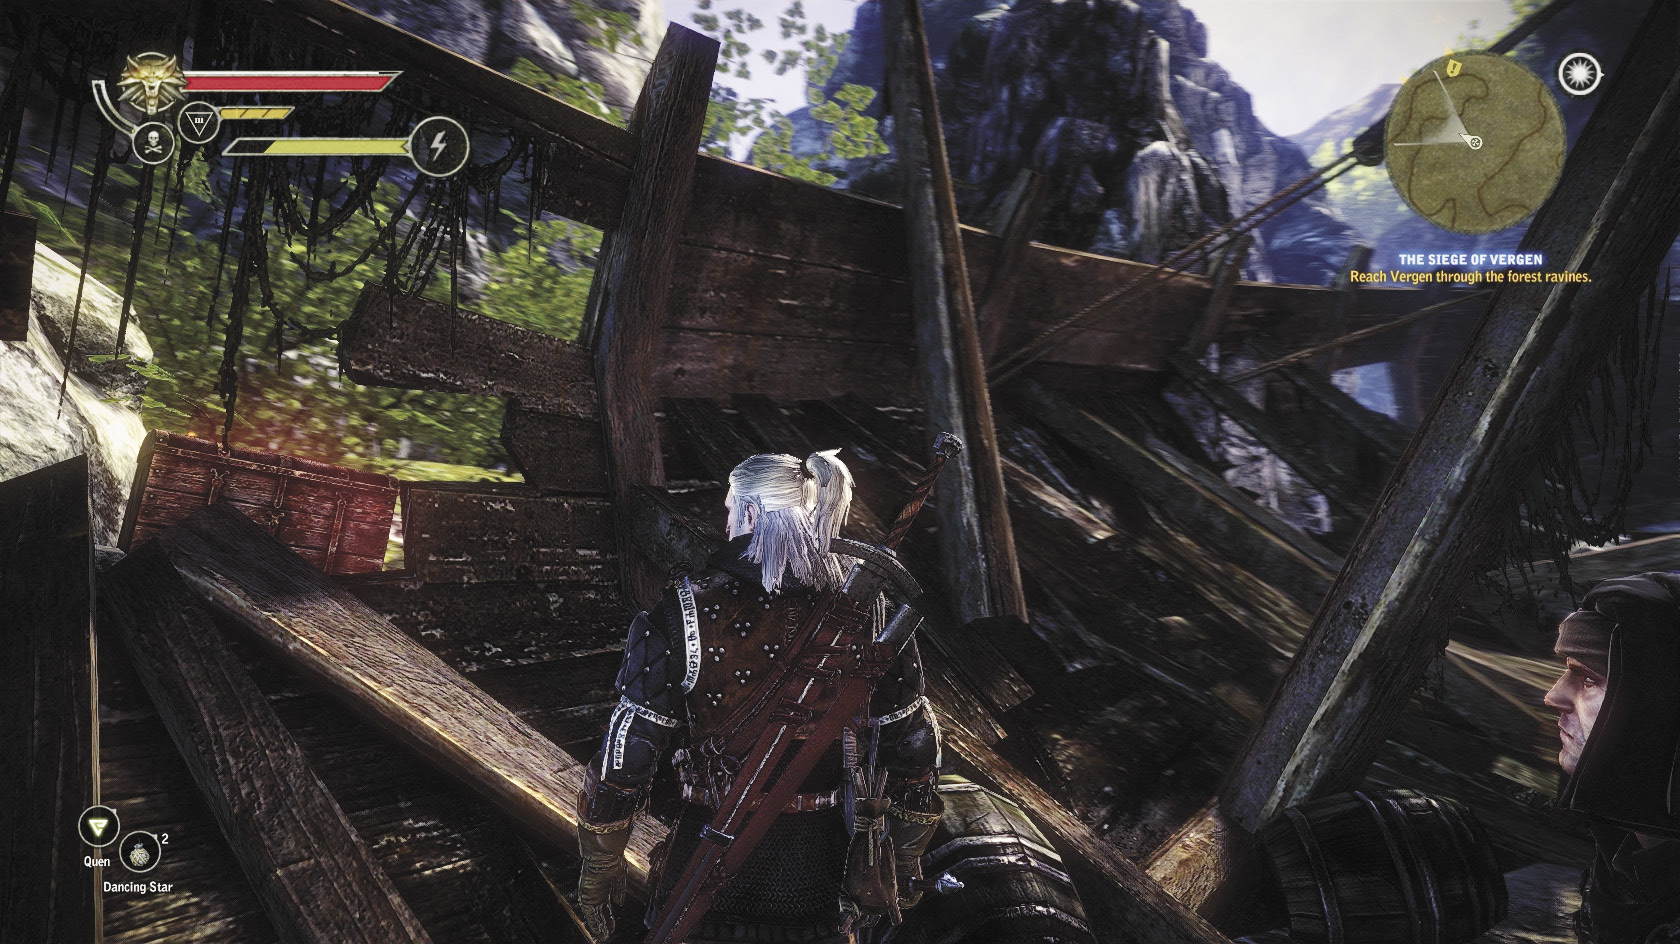
Scan the wrecked ship to find a chest that contains the journal of the Eyla Tarn as well as some loot. Simply take the journal and you’ve advanced Mystic River as far as you can in Chapter 2. By fulfilling this step, though, you can now finish the quest off in Chapter 3.
 The Siege of Vergen
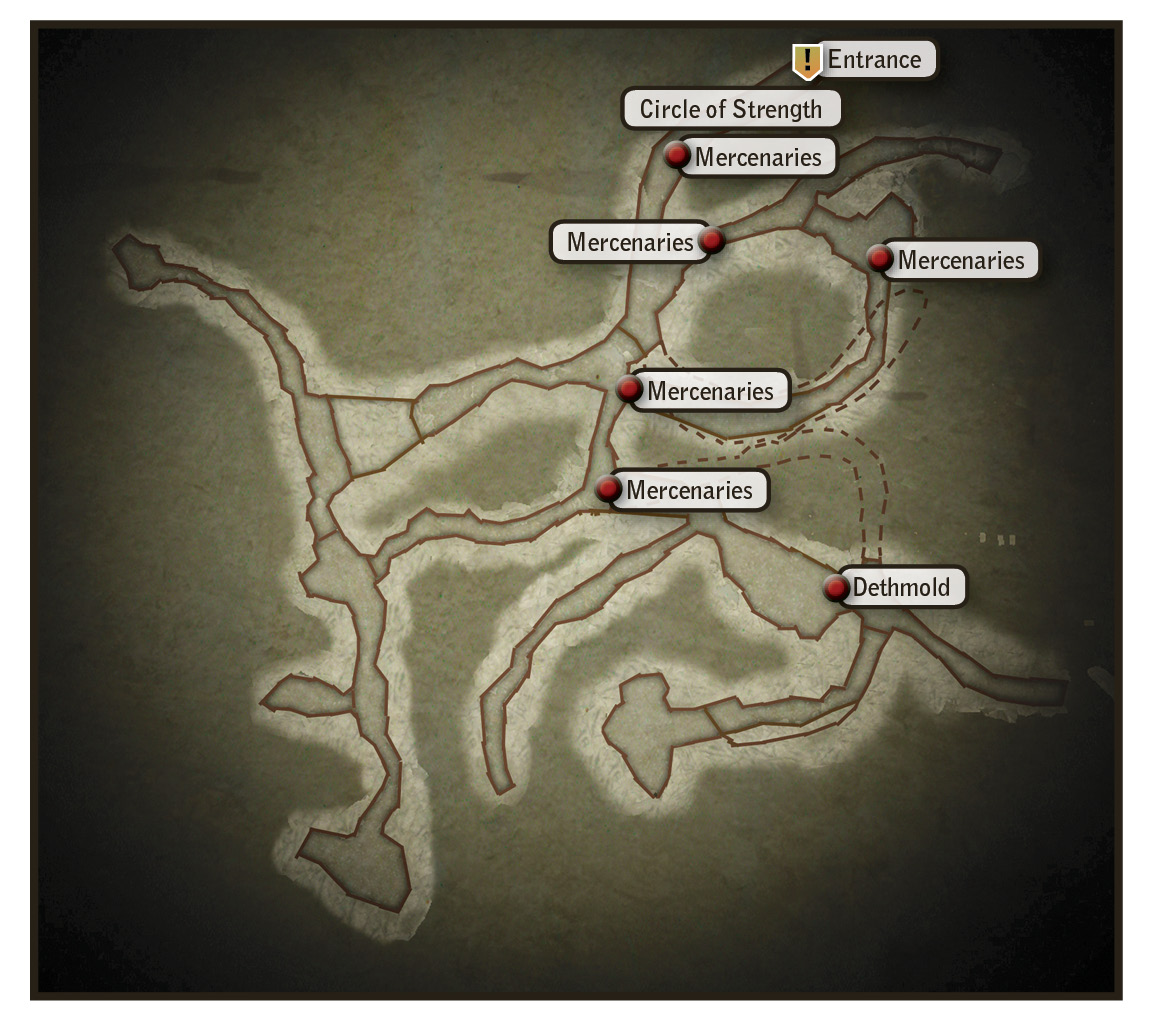
Head past the she-troll. Expect to battle a great number of harpies and some Kaedweni soldiers along the way, but nothing too dangerous. The path eventually leads you to the troll, who is fighting a group of Kaedwenis. If you want to kill the troll, get out your silver sword and do so before you defeat the Kaedwenis. If you kill the Kaedwenis and the troll is still alive, he automatically becomes friendly. Tell the troll that his wife might’ve crossed paths with Kaedwenis and he flies into a rage, actually helping you defeat the next group of soldiers you run across.
After that’s done, you should be near the Vergen tunnels. Enter and you find that in addition to the usual rotfiends, mercenaries are infesting the place. The mercenaries aren’t dangerous when you encounter them in small groups but can be a threat when fighting five or six at a time. You often find them being attacked by rotfiends, a situation where it’s to your advantage to just stand back and let the two sides weaken each other before wading in.
Once you’re inside the tunnels, follow the packs of mercenaries like a trail of murderous bread crumbs toward the entrance to Vergen. When you reach the large chamber where you battled the unusual bullvore earlier, you now find Dethmold, Adam Pangratt, and over half a dozen mercenaries waiting for you. Pause before entering this room to drink potions, prepare your pockets with bombs and throwing knives, and oil your blade with hanged man’s venom. The battle that’s upcoming can be incredibly tough.
What makes the fight hard is that you can’t use the most obvious tactic here—taking out Dethmold first and then whittling away at the mercenaries. You cannot reduce Dethmold’s vitality below 50 percent and it’s a waste of time to try. Instead, you have to defeat all of the mercenaries and Pangratt while Dethmold is teleporting around the room shooting lightning at you. It is absolutely imperative that you buff yourself defensively as much as possible before you start this battle. Keep Quen up at all times to try and mitigate the heavy damage Dethmold’s lightning bolts deal. Use every bomb and trap at your disposal to try to whittle the crowd’s numbers down faster. If you’ve unlocked the final ability of a skill tree (Combat Acumen, Heliotrope, or Mutant), it should really come in handy here for helping you quickly defeat the soldiers.
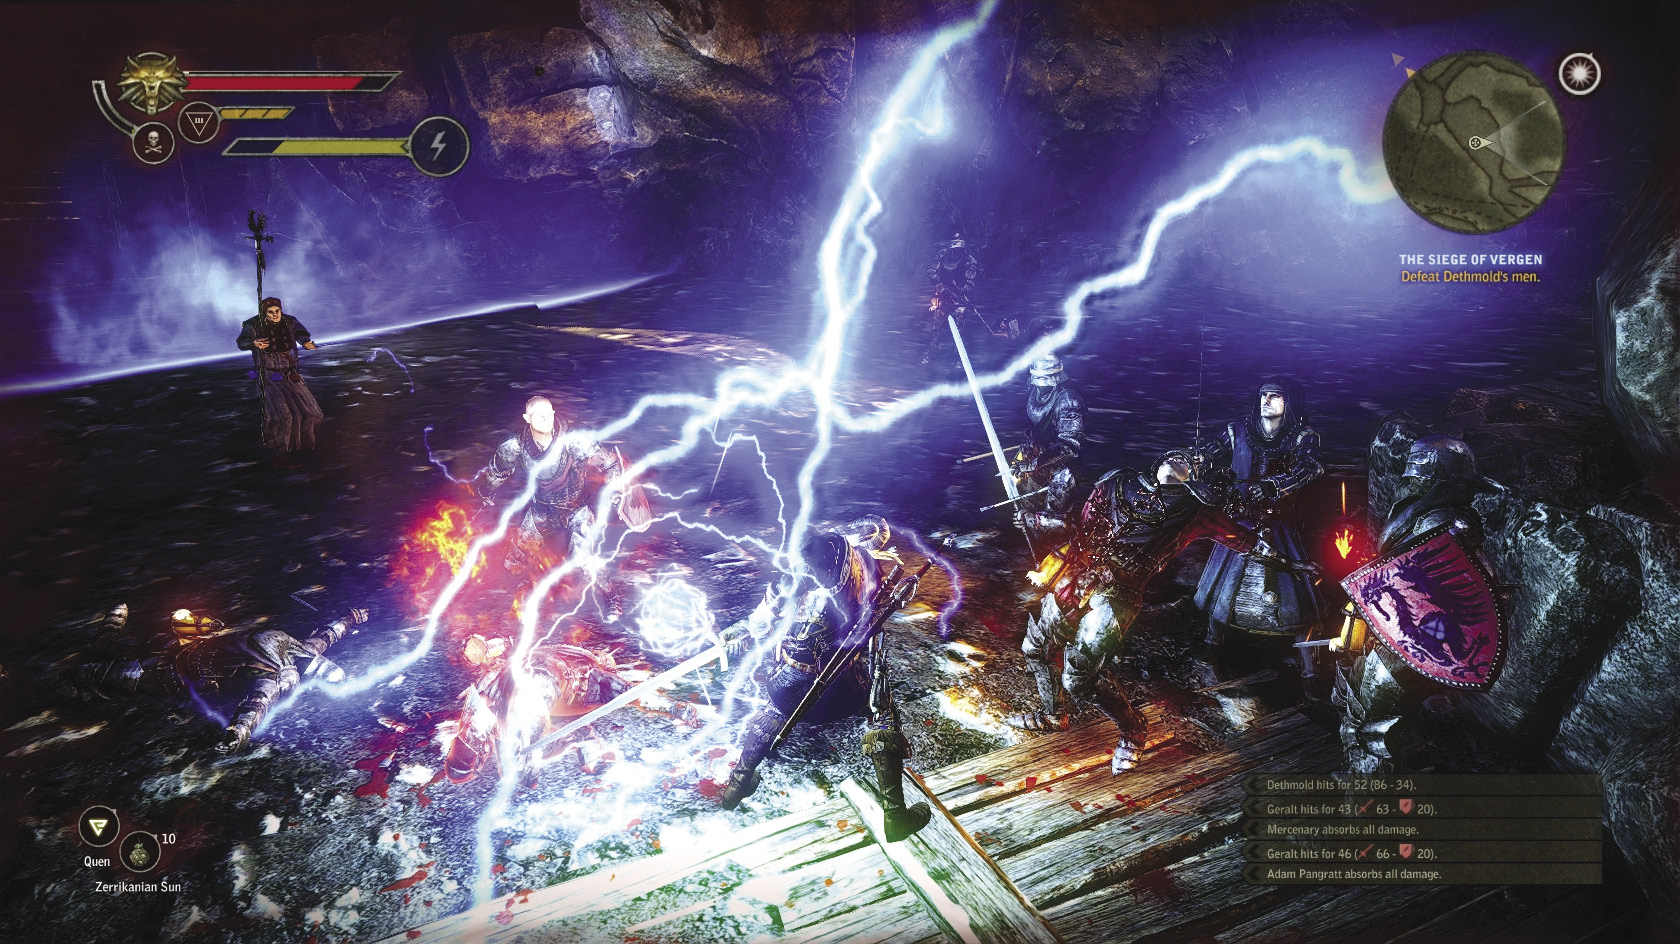
Once all of the mercenaries are defeated, you can engage Dethmold. He’s very quick and it’s hard to interrupt his Quen or lightning spells with thrown daggers. The best time to attack him is right after he’s thrown a lightning ball. He has to lower his defense for this, so you can use a light attack if he’s marked to hit him from even a good distance away. If you’re too far away to attack, throw a dagger at him. Dodge-roll constantly if you’re not sure where he is, and keep Quen up, especially if your vitality is already low. If you can get Dethmold’s vitality below 50 percent, he retreats.
Now you get a cutscene where you can decide whether to spare or kill Adam Pangratt. It has no effect on your game unless you killed Aryan La Valette earlier. If you did, then slaying Adam Pangratt counts toward unlocking the Executioner character attribute. Otherwise, it’s a decision where you should just do whatever you’re most comfortable with.
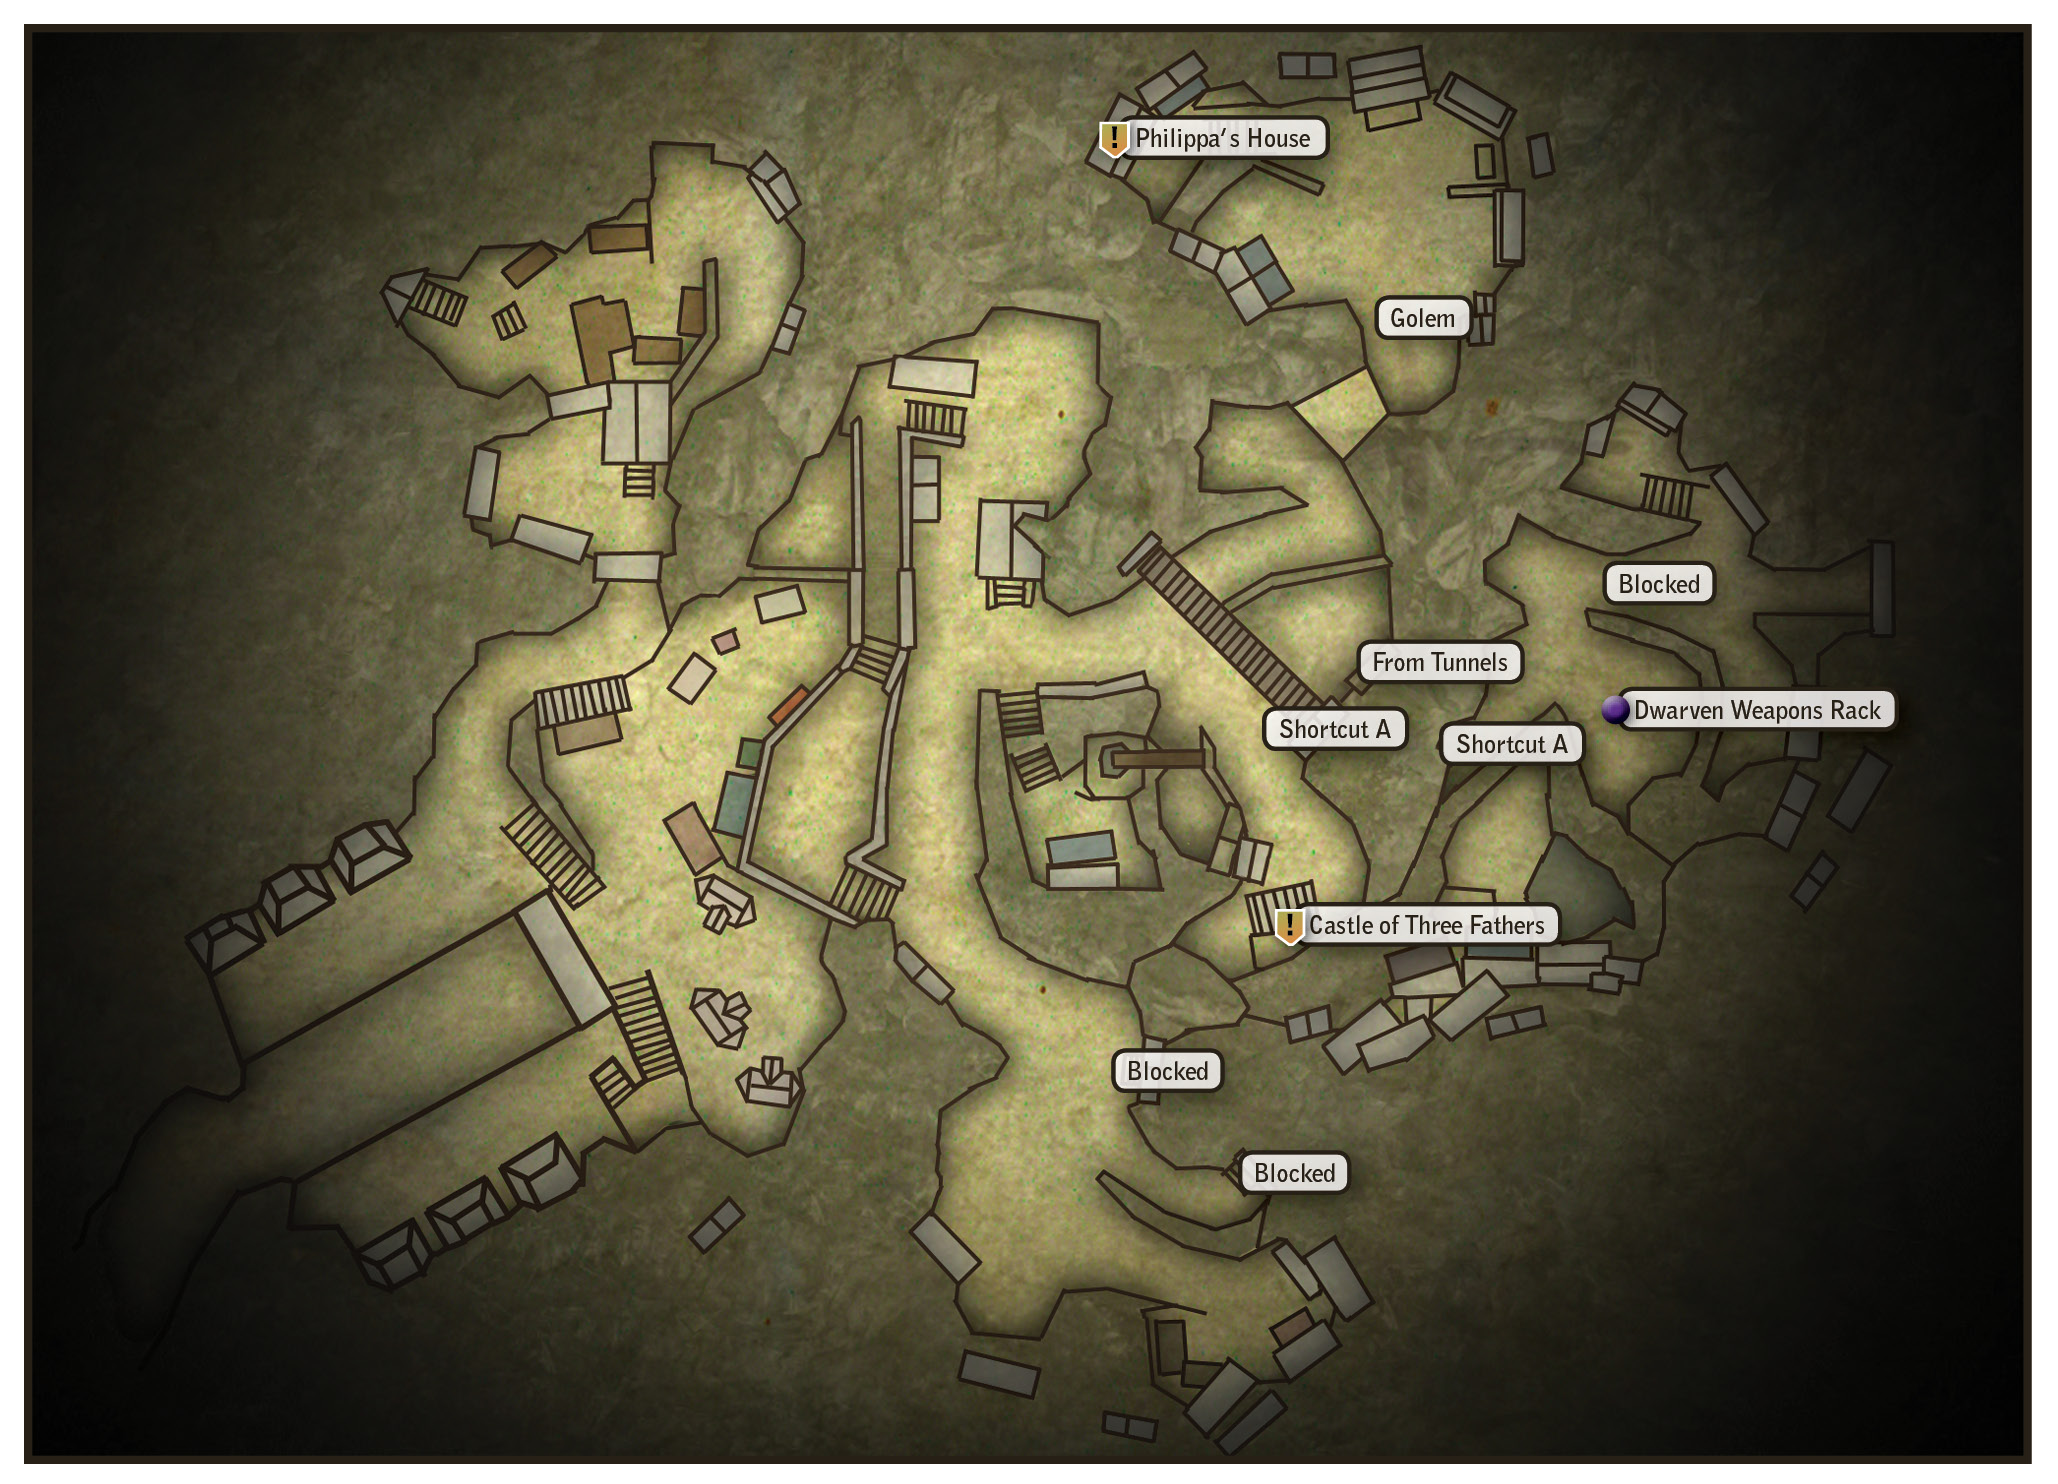
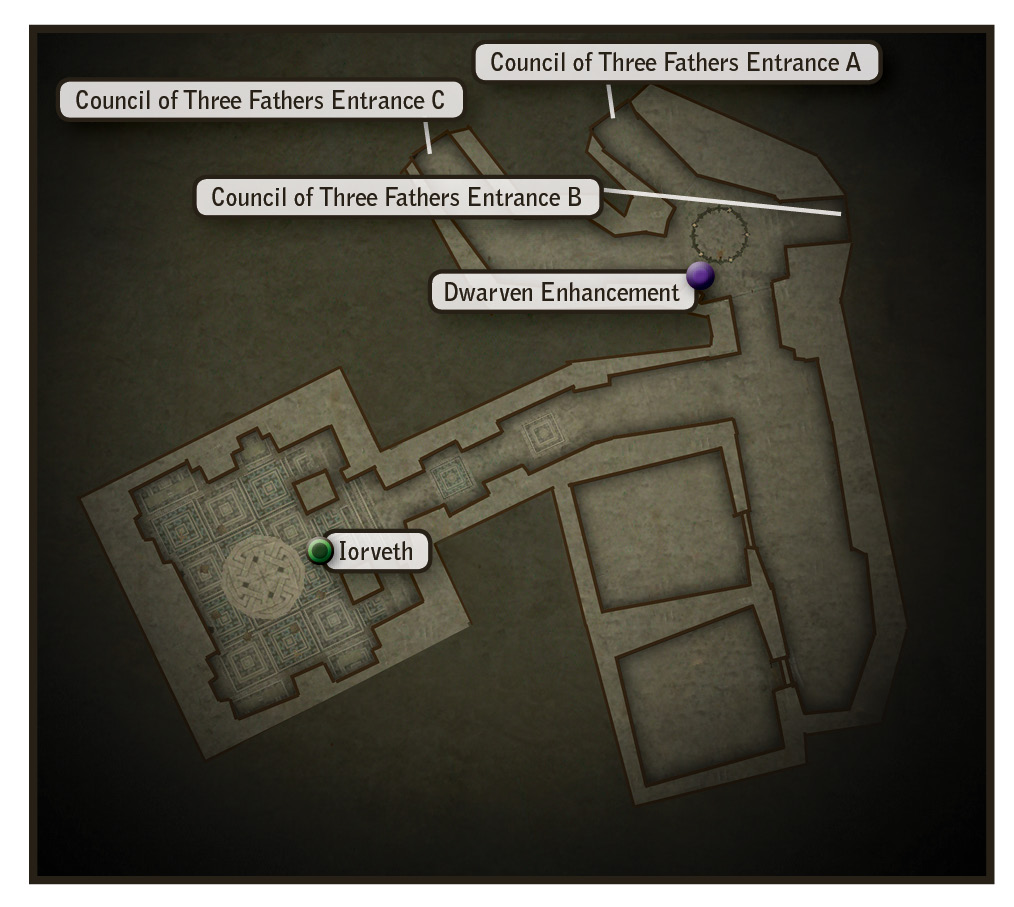
The battle in Vergen has gone badly and most of the town is blocked off. There’s very little treasure to pick up here once you get past the shortcut building you must enter first thing. When you try to cross the wooden bridge, Roche smashes part of it in a cutscene. This forces you to use the game’s top exit, which drops you out near a trio of Kaedwenis.
This battle can be surprisingly tough, since you’re fighting them in close quarters. It may be worth your while to oil your blade and prepare potions before you step outside the shortcut building. Bombs and traps are highly effective on the soldiers, as are basic signs. That said, using almost any sign but Quen here can be life-threatening. These soldiers hit extremely hard, and on higher difficulties just a few blows can end it for you. The group combat skills on the swordsmanship tree come in handy here.
Once the soldiers are defeated, pay a quick visit to the Castle of Three Fathers to see how Iorveth is doing. Help the Scoia’tael near the entryway defeat the knot of Kaedweni soldiers they’re battling. Once they’re defeated, you can loot the dwarven enhancement from the chest near the entrance. Head down the main hallway to find Iorveth. Defeat the Kaedwenis he’s battling to initiate a short, ominous cutscene. Your business done, leave and head for Philippa’s house.
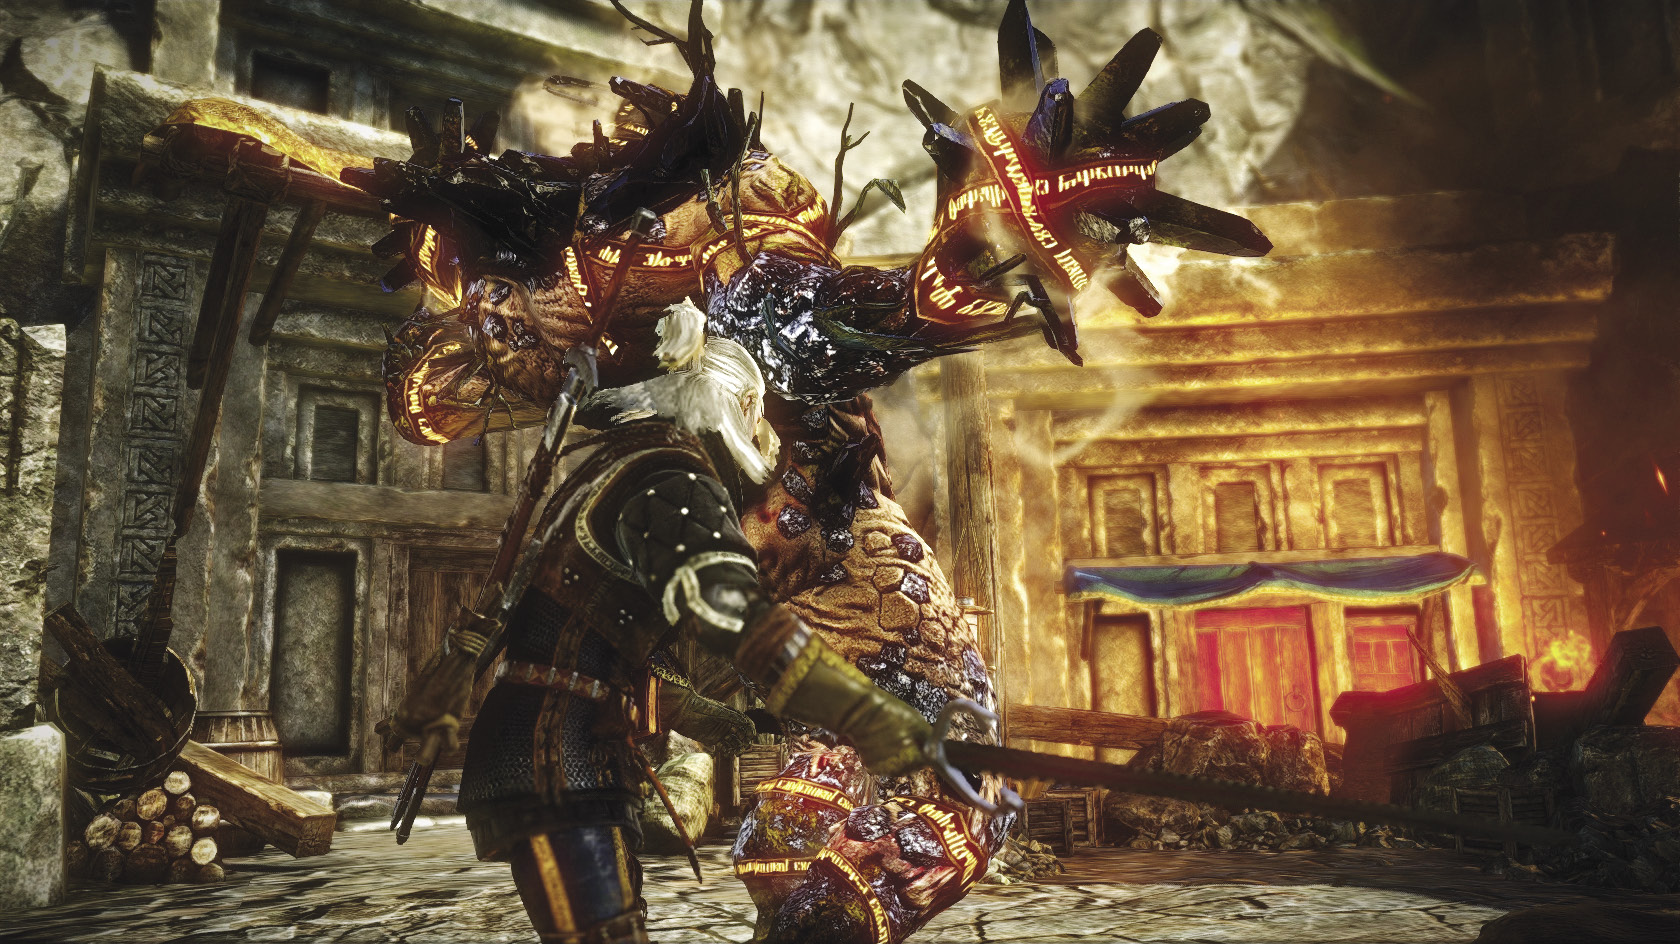
On the way, you come across a golem rampaging just outside Philippa’s house. This is another challenging foe that you need to approach with your potion buffs up and your sword oiled appropriately. The golem does greater damage than the ones you battled before and can easily kill you with only a couple of blows, even on lower difficulties. On higher difficulties, it’s a one-shot machine. Keep Quen up and dodge-roll away from it whenever it rushes you. Hit it with strong attacks after it whiffs an attack, then quickly dodge-roll away when it starts blocking. If you can keep from getting hit too often, the golem should go down quickly enough.
Next, head into Philippa’s house. You arrive just in time to see Síle teleport away, then Henselt and his men barge in after you. Henselt bars the door and orders his men to kill you. First two rush you, then two more aided by Henselt himself. The first wave is very manageable, provided you stay clear of Henselt’s shield-bearers. They push you away if you draw too near, which can inflict knockdown. You can get killed in the second wave pretty easily if you get surrounded. If your potion buffs are still up after fighting the golem, you should have an easier time beating them. Keep Quen up and try to take advantage of the close quarters with traps. It also helps to take Henselt out early, then pick off his two knights more carefully.
After you defeat them, you face a final major decision in this chapter. In the ensuing dialogue with Henselt, you can choose to allow Roche to kill Henselt, or you can try to convince Roche to spare Henselt. Whatever decision you make here has repercussions in Chapter 3 and affects the ending of your game. If you’ve already killed Aryan La Valette and Adam Pangratt, letting Roche kill Henselt allows you to unlock the Executioner character attribute. If you prevent Roche from killing Henselt, you unlock a secret achievement. Think carefully and make the decision you think you’ll be happiest with in the long run. This concludes Chapter 2 and should unlock the achievement Alea Iacta Est.