
The Witcher 2: Assassins of Kings Guide Walkthrough
Chapter 1: Flotsam
 A Rough Landing
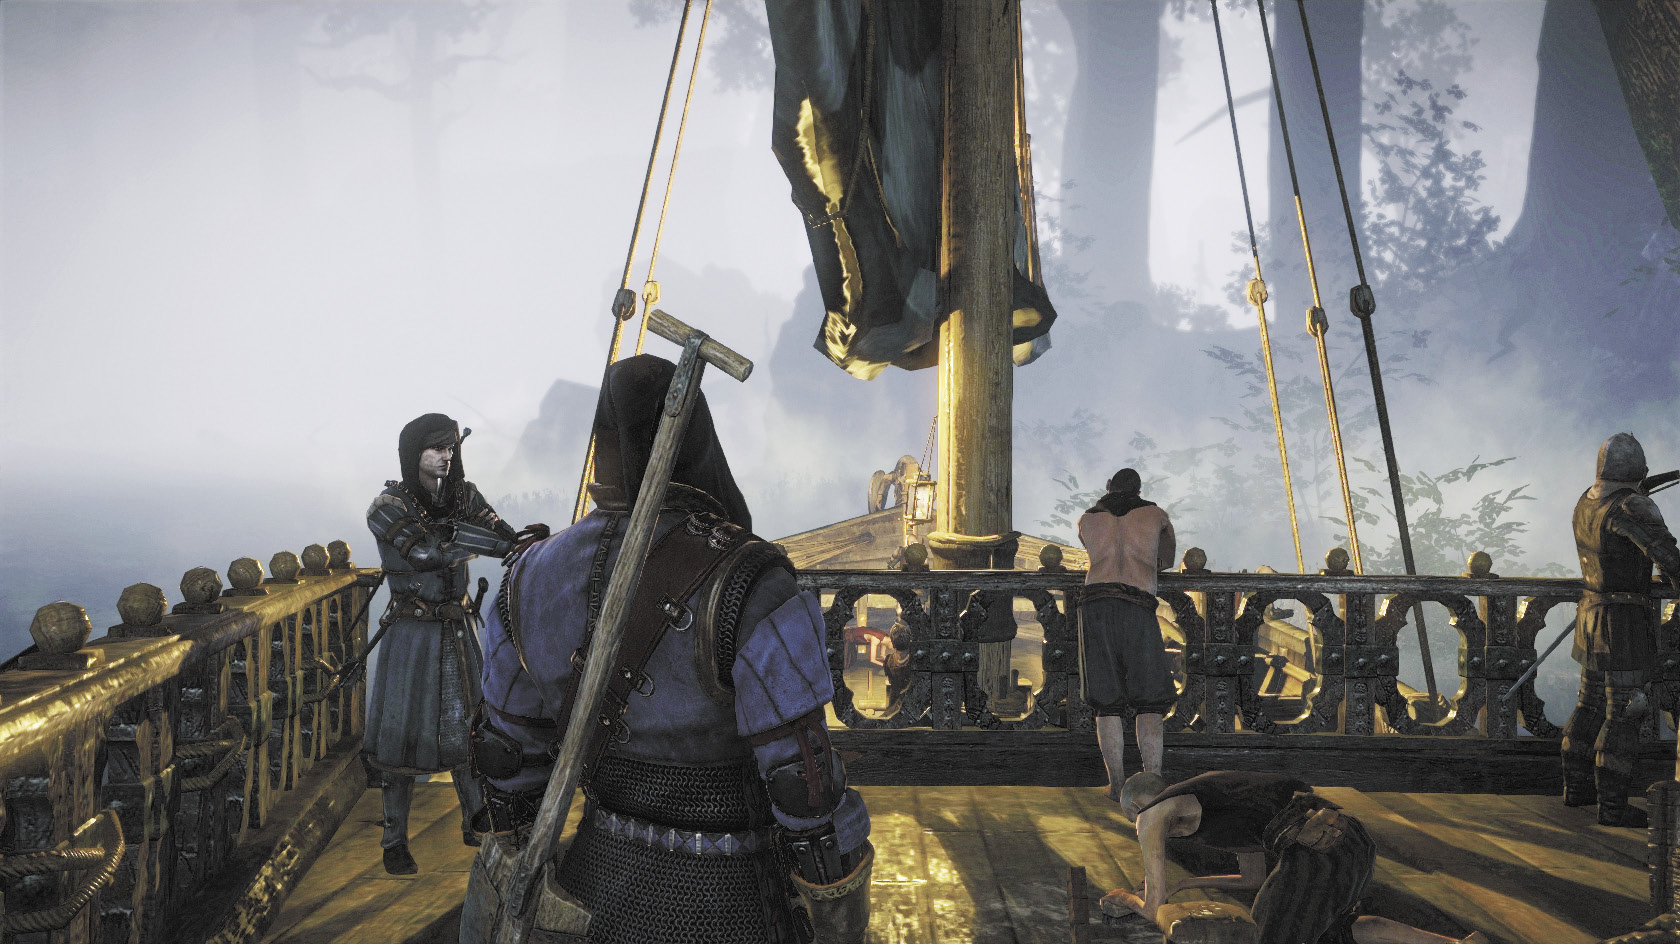
After the cutscenes end, you begin the chapter on Vernon Roche’s boat. Search the boat before you leave (ignore the NPC complaints) to turn up a quilted leather. Leap onto shore and search immediately nearby to find a circle of life. Search the area near the boat to find the diagram of the witcher’s silver sword in a chest. There’s also going to be random loot in the various crates and barrels nearby. Follow Triss and Roche and listen to their dialogue. You can take time to loot herbs from the sides of the path as you go. When you hear the sound of a flute, you meet Iorveth and trigger the next plot point.
During the cutscene, you can make a timed decision while in conversation with Iorveth. None of the decisions you make here can really change the way the quest plays out. Eventually, Geralt announces that he knows Iorveth has archers hidden in the bushes and Iorveth orders them to attack. During a cutscene, Triss casts a shielding spell. After the cutscene ends, Roche begins carrying her down the forest path. Follow Roche and be sure to stay within Triss’s orange energy shield. If you step outside of the shield, you’re vulnerable to attack by archers. After this sequence, you get the useful Cover attribute.
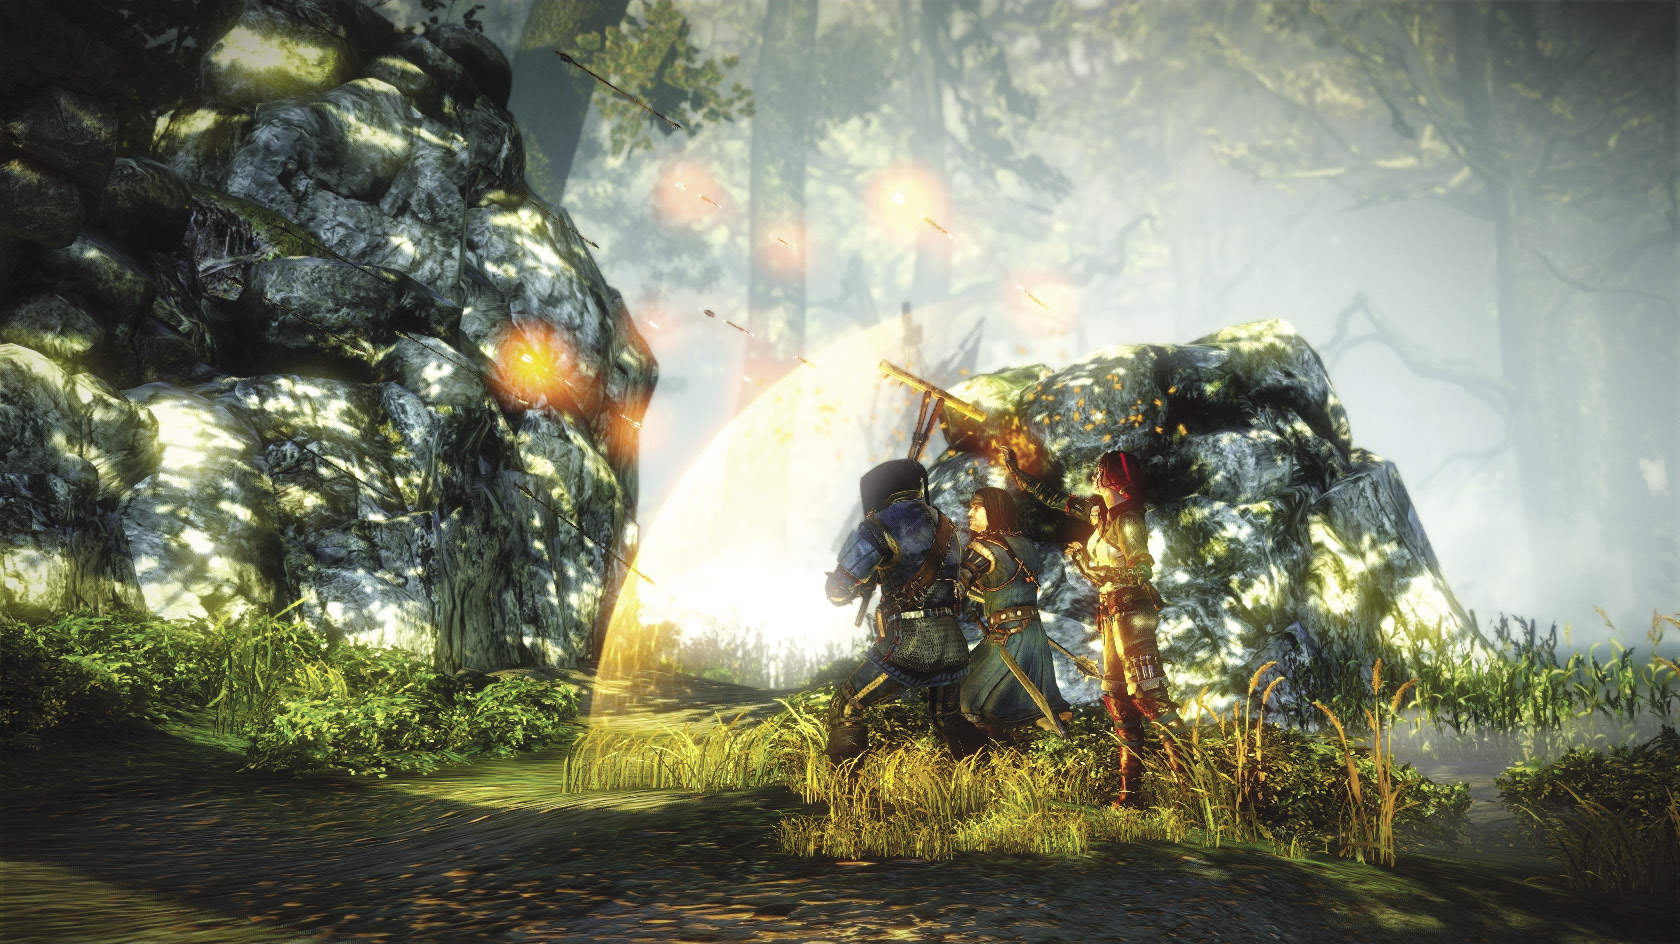
To finish this quest, you just need to protect Roche and Triss from Scoia’tael attackers while they slowly move toward the town. You shouldn’t find this difficult provided you don’t step outside of the shield. The Scoia’tael have to draw their swords and fight at melee range if they come inside the energy shield. They’re lightly armored and you can easily defeat them with simple light attack combos. If you found a rake or shovel during the Prologue, its knockdown and stun effects can be very useful here. You’ll pass by an area where a circle of strength is located, but it’s not worth your time to try and activate it. Once you draw close enough to Flotsam that you hear guards shouting about Scoia’tael attacks, you’ve essentially finished the quest. After one more cutscene at the town gates, you’ll be ready to move on.
Before you begin the next main quest, though, you may want to backtrack instead of following Triss and Roche into town. If you go back, you can pick up the loot dropped from the various Scoia’tael you defeated. Note that it’s not worth doing this if you’re getting close to your encumbrance limit, since Scoia’tael consistently drop swords of the Blue Mountains upon defeat. A half dozen of those can easily overload Geralt if you went nuts gathering loot in the previous chapter or if you don’t have Strong Back.
 By the Gods—Stringing Up Sods
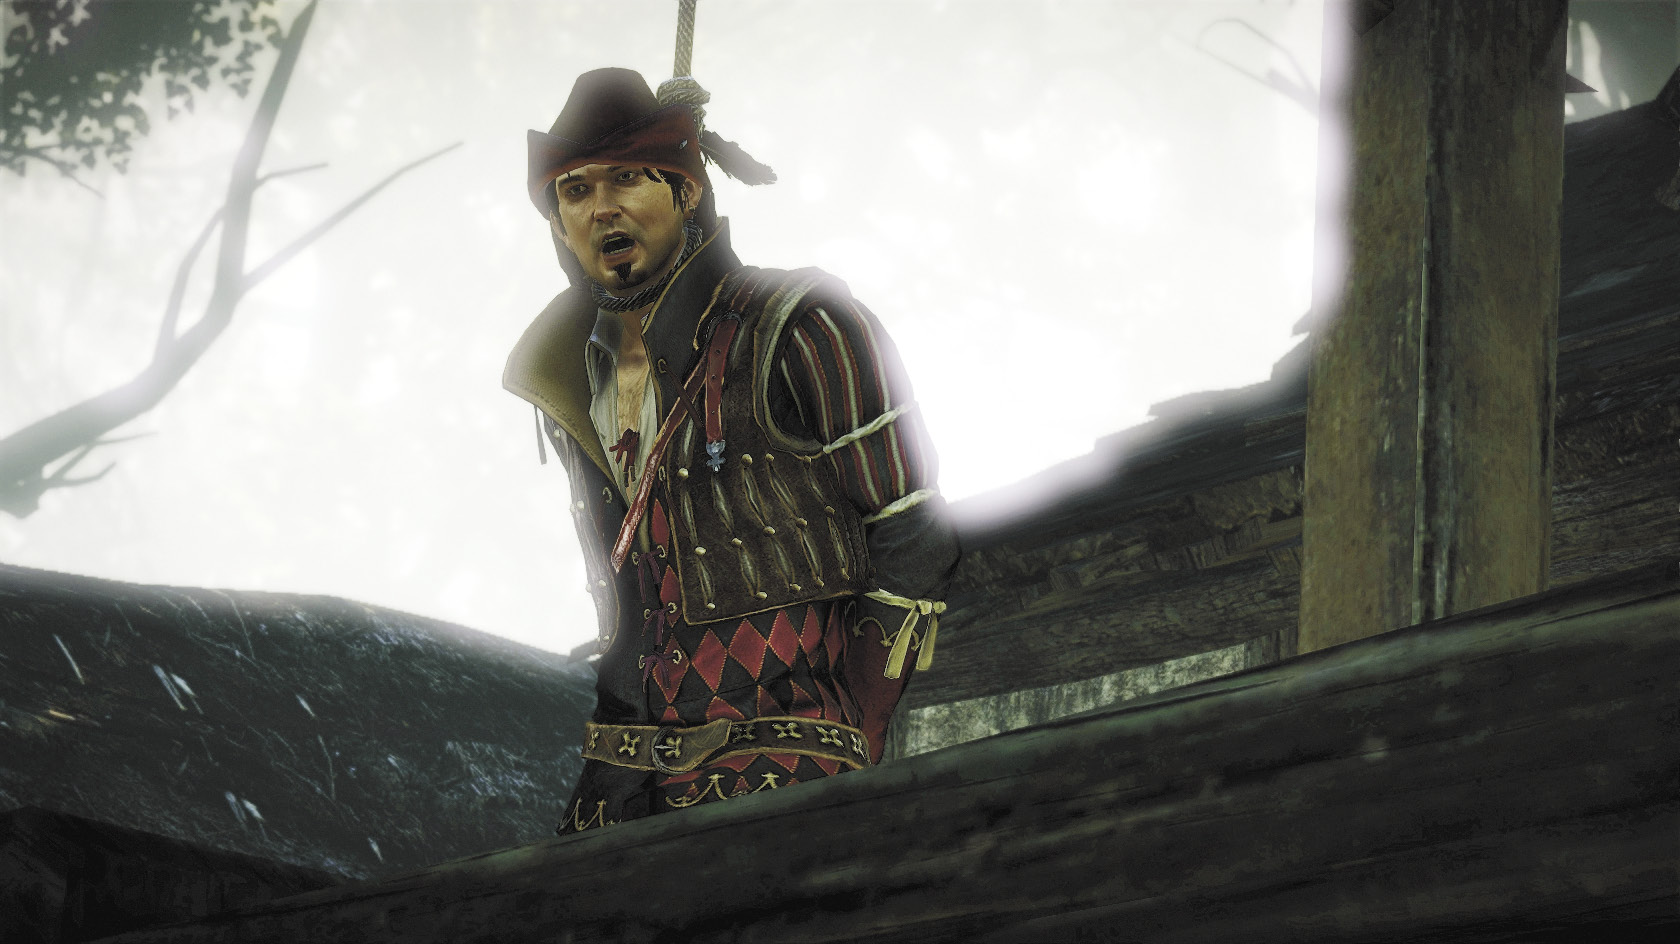
It’s possible to begin exploring Flotsam at this point, but you can’t really do anything in the town square until you take care of this quest. So for now, just head directly toward the town square. The townsfolk are psyched up about a public hanging that’s about to take place.
Once you arrive, Geralt discovers that his old friends Zoltan and Dandelion are on the platform. As a further complication, Dandelion turns out to be the agent that Roche sailed to the Flotsam area to meet in the first place. Your goal is to find a way to save them. There’s no real way to do that save by taking out the executioner in a fistfight. There are two ways to approach that goal.
The first and most straightforward way is to have Geralt approach the scaffold and begin a conversation with one of the guards. If you pick the lower option at any point in the dialogue tree, Geralt decides to just wade in and beat the living hell out of the two guards. You enter the fistfighting mini-game and will have to defeat both of the guards at the base of the scaffold, followed by the executioner. Roche may soften up the second guard for you before that fight begins.
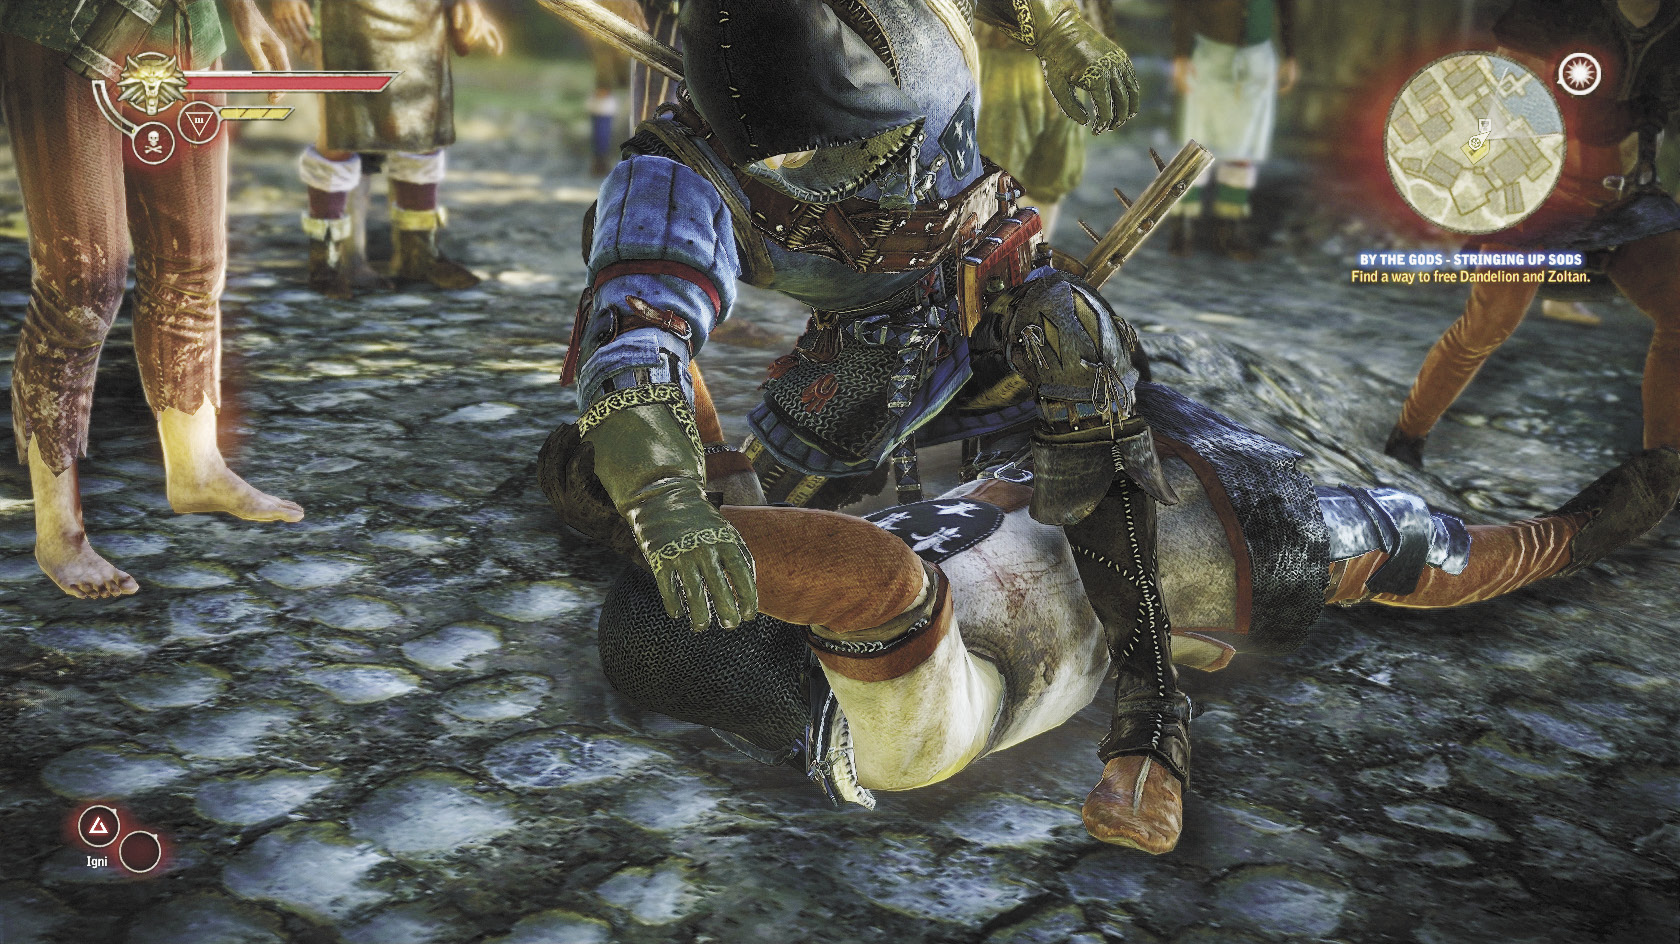
If you pick the upper options in the dialogue tree consistently, you can rally the crowd behind Geralt. Margot the prostitute begins insulting the guard, eventually enraging him so much that he attacks Geralt. If you defeat this guard in a fistfight, the second guard is defeated automatically by the angry mob. Geralt can then scale the scaffold automatically to begin battling the executioner.
There’s also a sneakier way to complete this mission. After the first cutscene in the sequence, head toward the inn instead of approaching the guard. To the left of the inn, a door leads to the harbor area. Pass through this door. On the other side, a guard stands off to Geralt’s right. You want to distract him.
Head down to a dock that’s just below the one the guard stands on. Approach some barrels off to Geralt’s right. Drawing near to them should give you a prompt to use Aard on the barrels by tapping the interaction button. Do this. The noise created by the barrels exploding distracts the guard on the upper dock. Head up to the upper dock yourself and wait for the guard to descend to the lower dock.
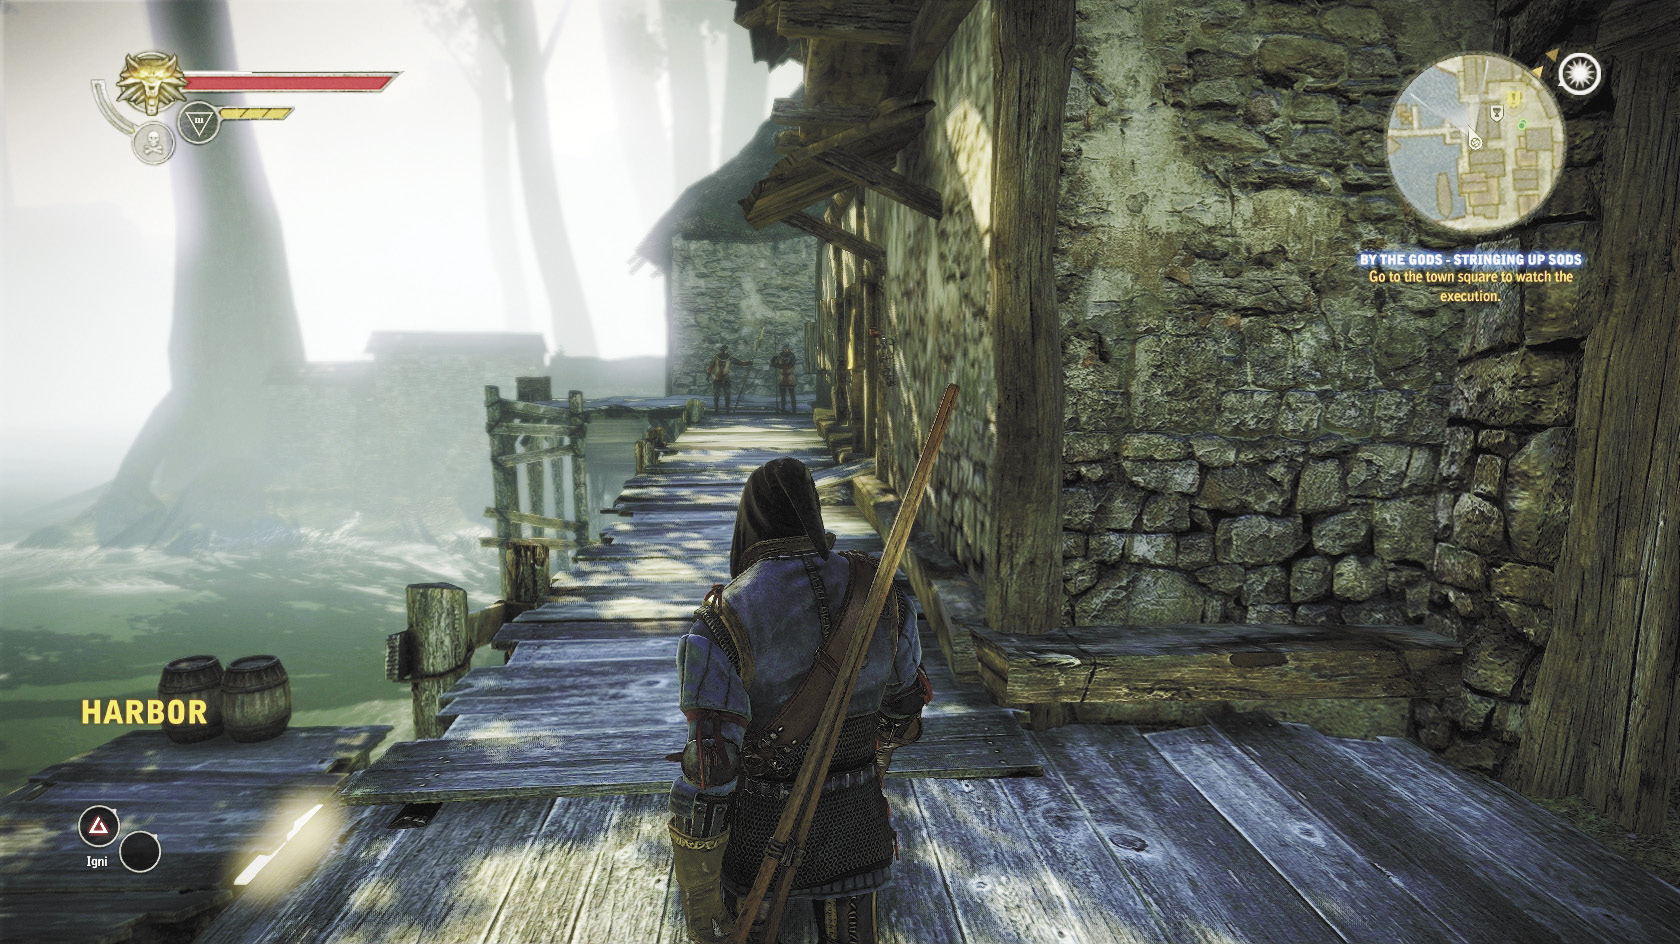
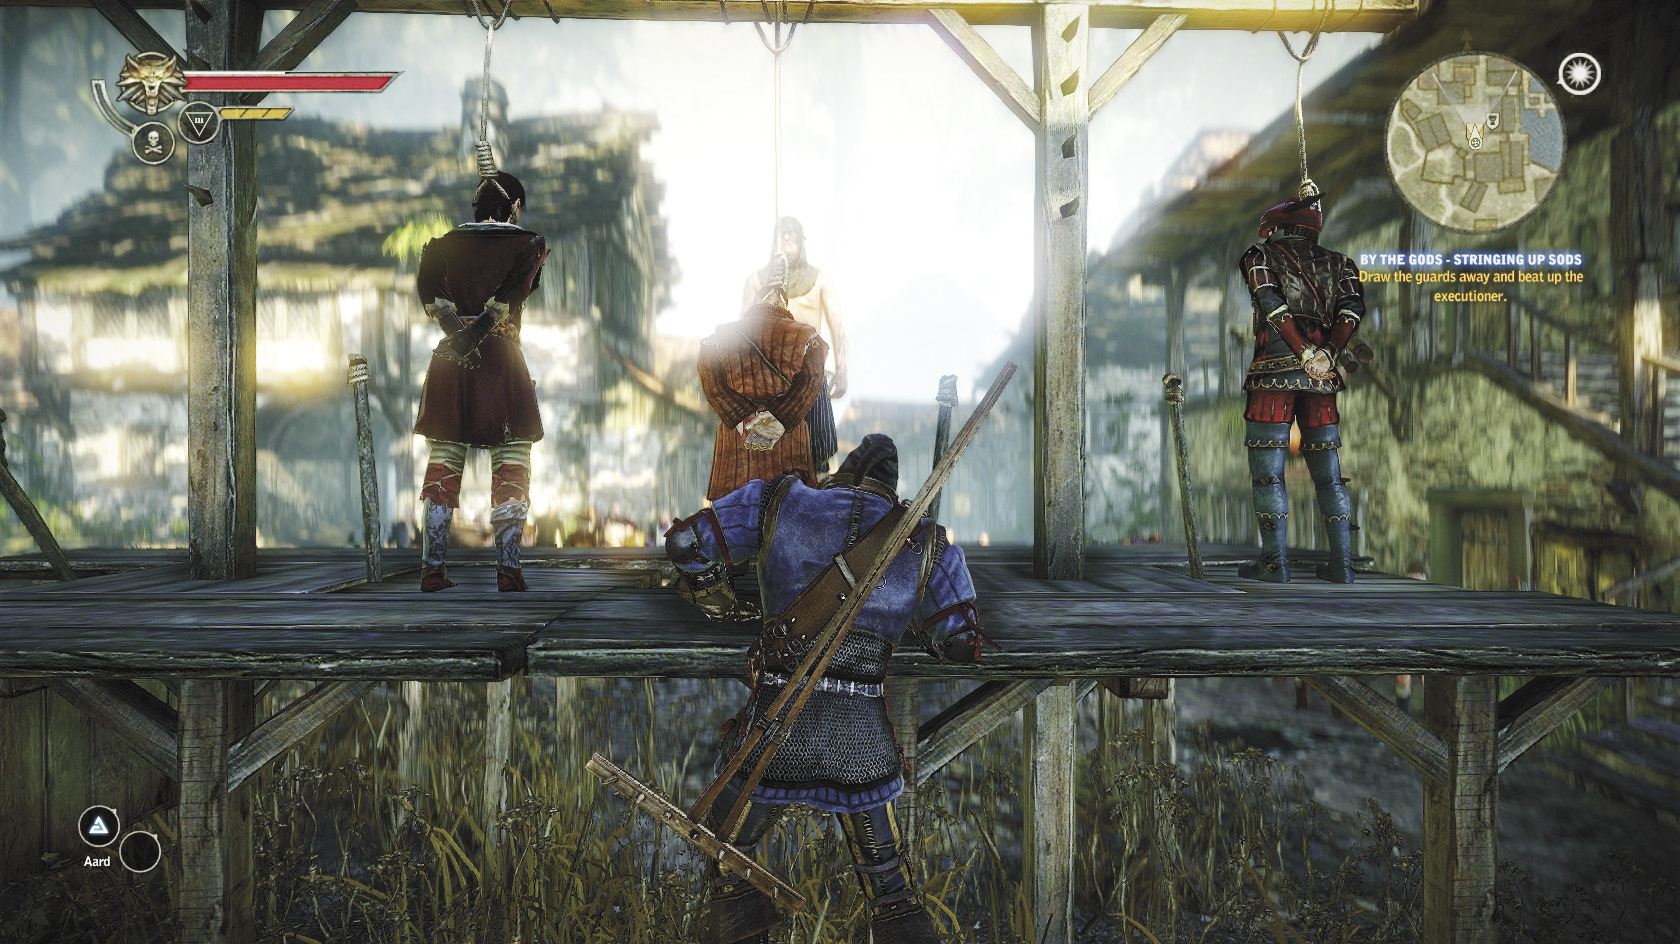
Now you can walk down the section of the upper dock that the guard was blocking previously. This leads to a door that opens onto the town square, on the right side of the inn. From this door approach the scaffold from behind. Once you’re close enough, you get a prompt to climb up onto the scaffold. This automatically triggers a fistfight with the executioner but lets you bypass fistfighting the two guards entirely.
Note that you usually can’t get behind the scaffold without distracting the guard on the docks. If you try, you will probably trigger the same conversation that happens when you approach the guards directly. Even if you somehow manage it, climbing up onto the scaffold without distracting the guard on the docks causes the fistfight sequence with the two guards to begin automatically.
So is there any advantage to taking out the executioner in a particular way? Well, successfully distracting the guard on the docks is worth 150 bonus XP, while just beating up the guards doesn’t reward you with anything in particular. It also takes longer than just beating up the executioner, who is a poorer fighter than either of the two guards. Finally, fighting all three guards increases your chances of losing one of the fistfights, which causes Geralt and his friends to die automatically in a cutscene. Overall, it’s best to resolve this quest the sneaky way.
After you’ve rescued Zoltan and Dandelion, follow them into the local inn. You should find them sitting on the upper level with Triss. Strike up a conversation with the three of them and ask whatever questions interest you. At the end of the conversation, you complete the quest. Another main quest triggers automatically, and Triss heads out into the Flotsam harbor.
The Town GuardWhen Geralt uses a sign, he automatically draws his sword. At this point in the game, that’s basically harmless. You won’t be able to resolve this quest through combat, so any attempts to attack NPCs will be unsuccessful anyway. After you’ve completed this quest, though, you probably want to sheathe Geralt’s sword as quickly as you can if you have to draw it while in Flotsam’s town square. 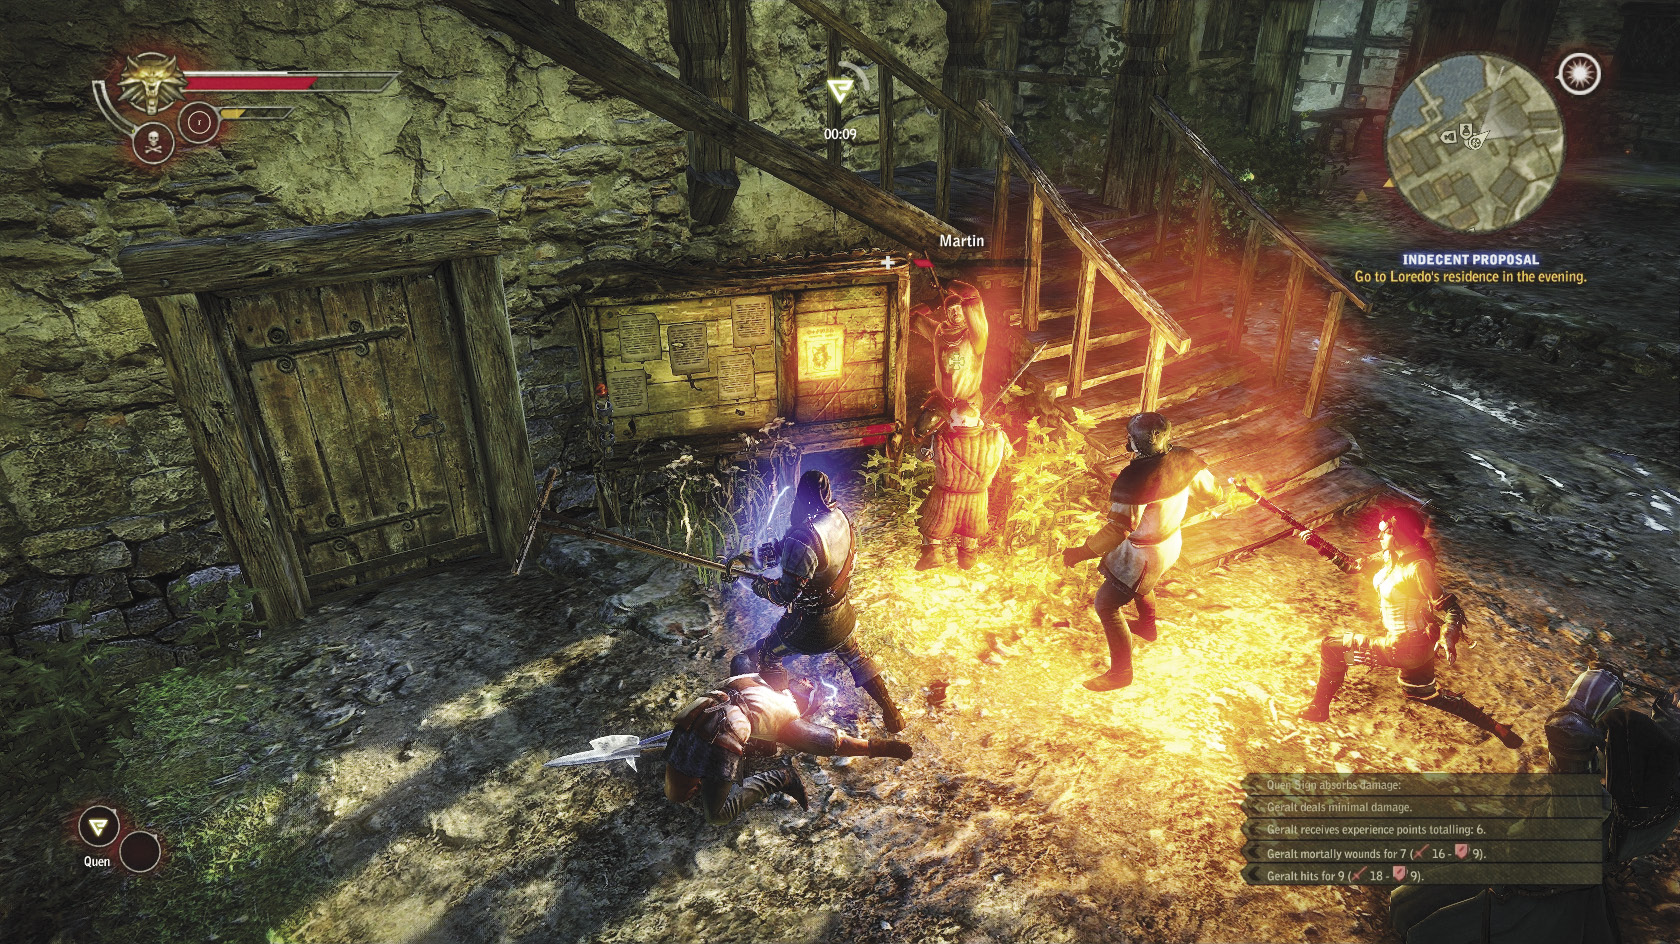 Usually, if you linger in the town square too long with your sword drawn, you attract hostile attention from the guards. If you keep your sword out long enough, around seven of them swarm in to attack you. It’s actually possible to win a battle with the massed guards, and if you do, you can then walk around the Flotsam town square with your sword out as much as you like. It may seem impossible to defeat the town guard at first, but there’s actually a very easy way to do it: Just make sure you pick the fight while Triss or Roche is nearby. Triss and Roche always fight on Geralt’s side if they’re in the area when combat starts. They’re also very powerful compared to a typical enemy at this point in the game. If you can get Triss or Roche to join Geralt in the fight, then you can simply take out the lightly armored town guards by rolling around, using light attacks, and keeping Quen up for defense. The NPCs will divert the guards’ attention but shouldn’t be in any danger of dying. It’s even possible to defeat the guards without getting one of your NPC allies to join you, even if you’re still using Geralt’s starting equipment. Just keep Quen up, roll around to make sure you don’t get surrounded, and use light attacks to keep isolated guards locked up in hit-stun. Make sure you don’t let the guards carrying pikes get within striking range of you while you’re attacking someone else. Basically, if you could beat Aryan La Valette and his men in the Prologue, you can probably waste the Flotsam town guard. 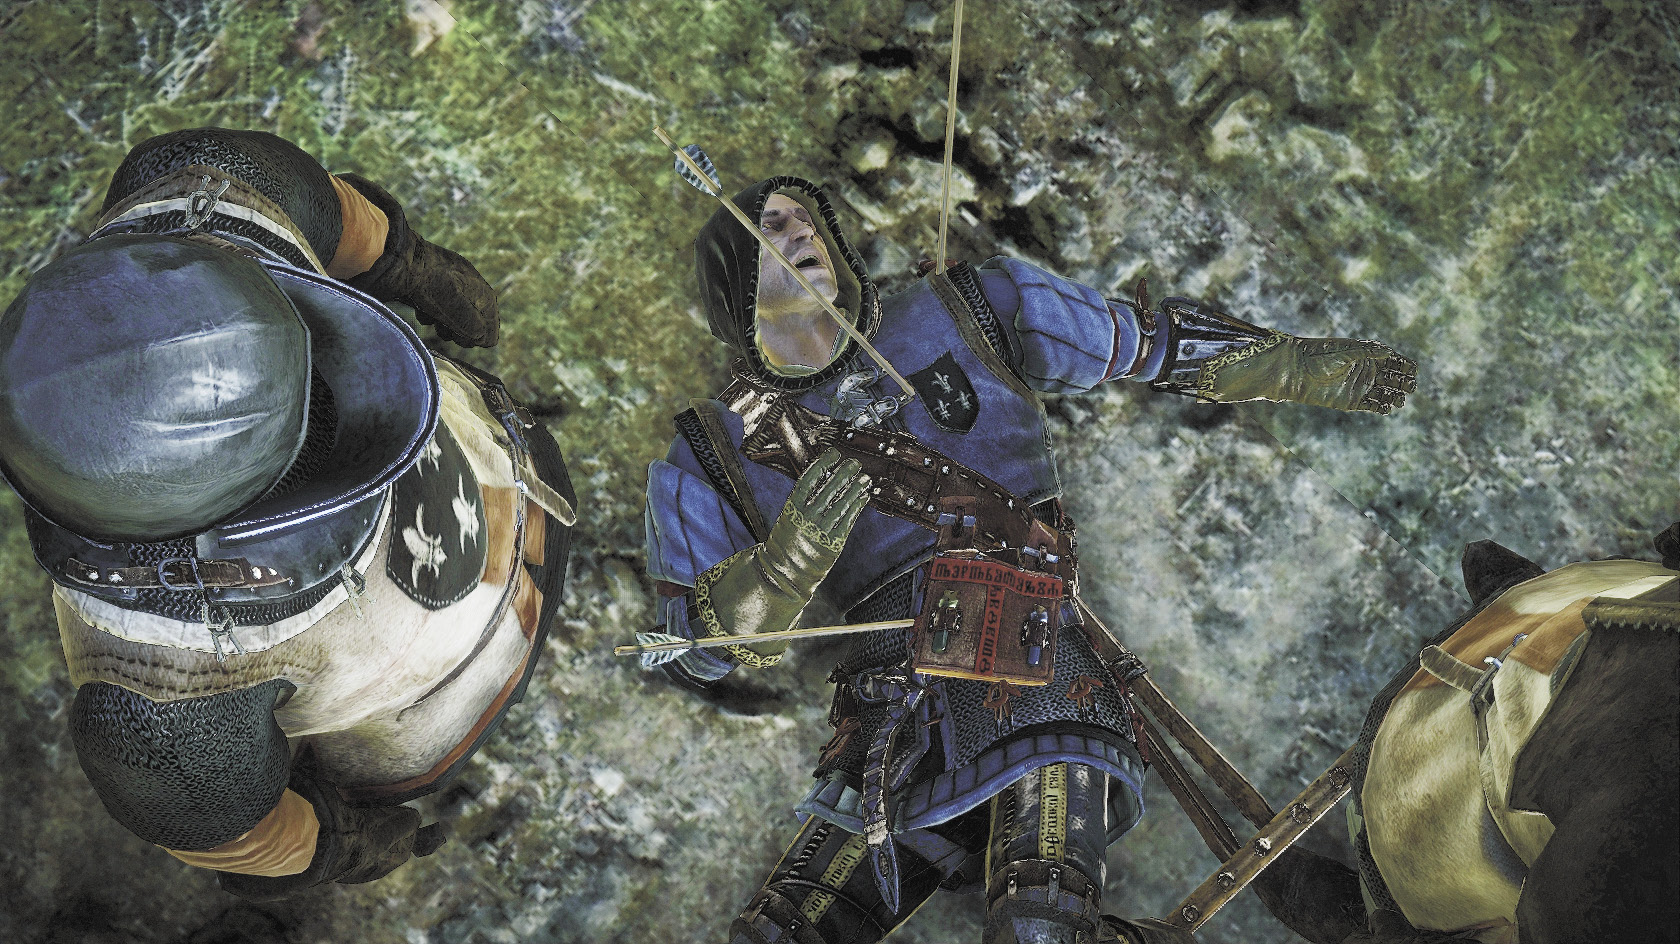 There’s no reason to actually do this, though. You get very little experience for defeating the town guards (only about 5 XP per guard) despite how long it takes to kill them. You don’t get any cool item drops. The only in-game acknowledgment you get is a cutscene where the guards demand a fine of 200 orens. If you refuse to pay, you automatically die in the ensuing cutscene. Really, it’s easier for everyone if you just remember to sheathe your sword when you’re in town. Even when traveling through areas outside the town square, walking around with your sword drawn upsets NPCs. This doesn’t make it impossible to progress through the game, but the screaming gets a bit annoying after a while. |
 The Kayran
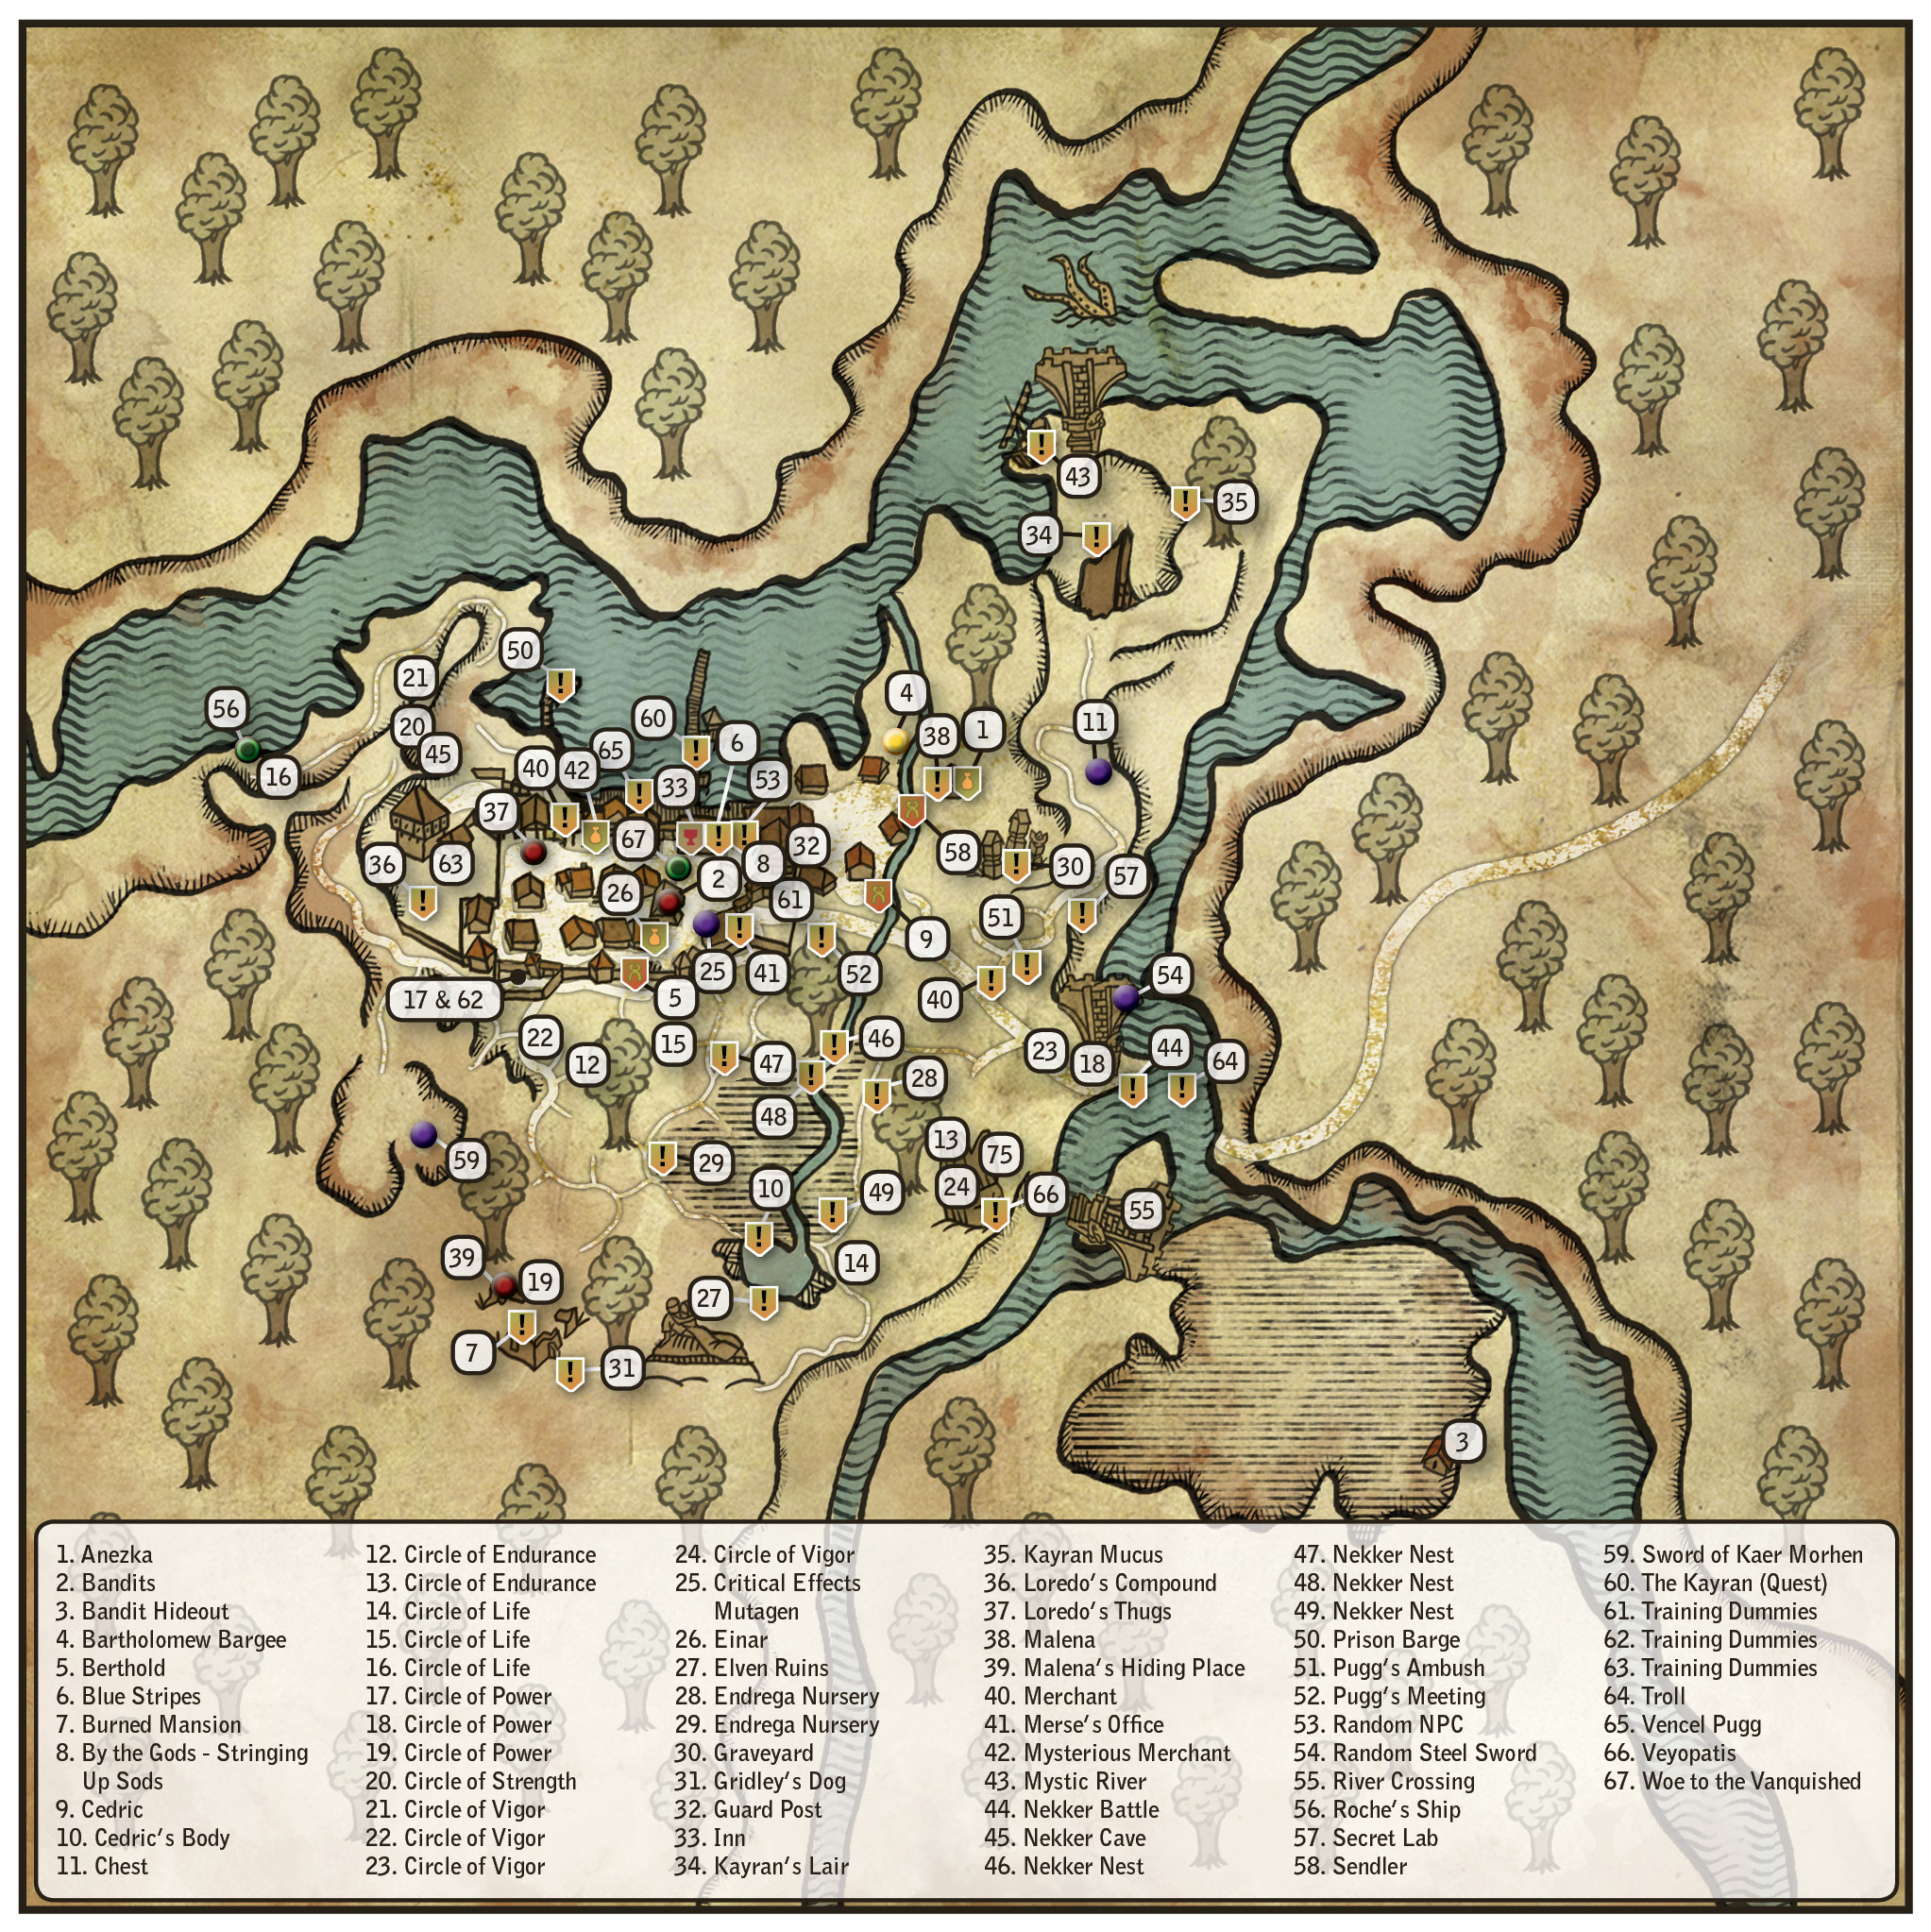
It’s time to go join Triss on the docks. You can proceed directly from the inn to the Flotsam harbor area by exiting through the rear door. Head toward point 60, The Kayran (Quest), on the Flotsam map in the guide. It shouldn’t be far out on the main dock. Walk past Triss when you get there and strike up a conversation with the gathered peasants. This is your introduction to the sorceress Síle de Tansarville.
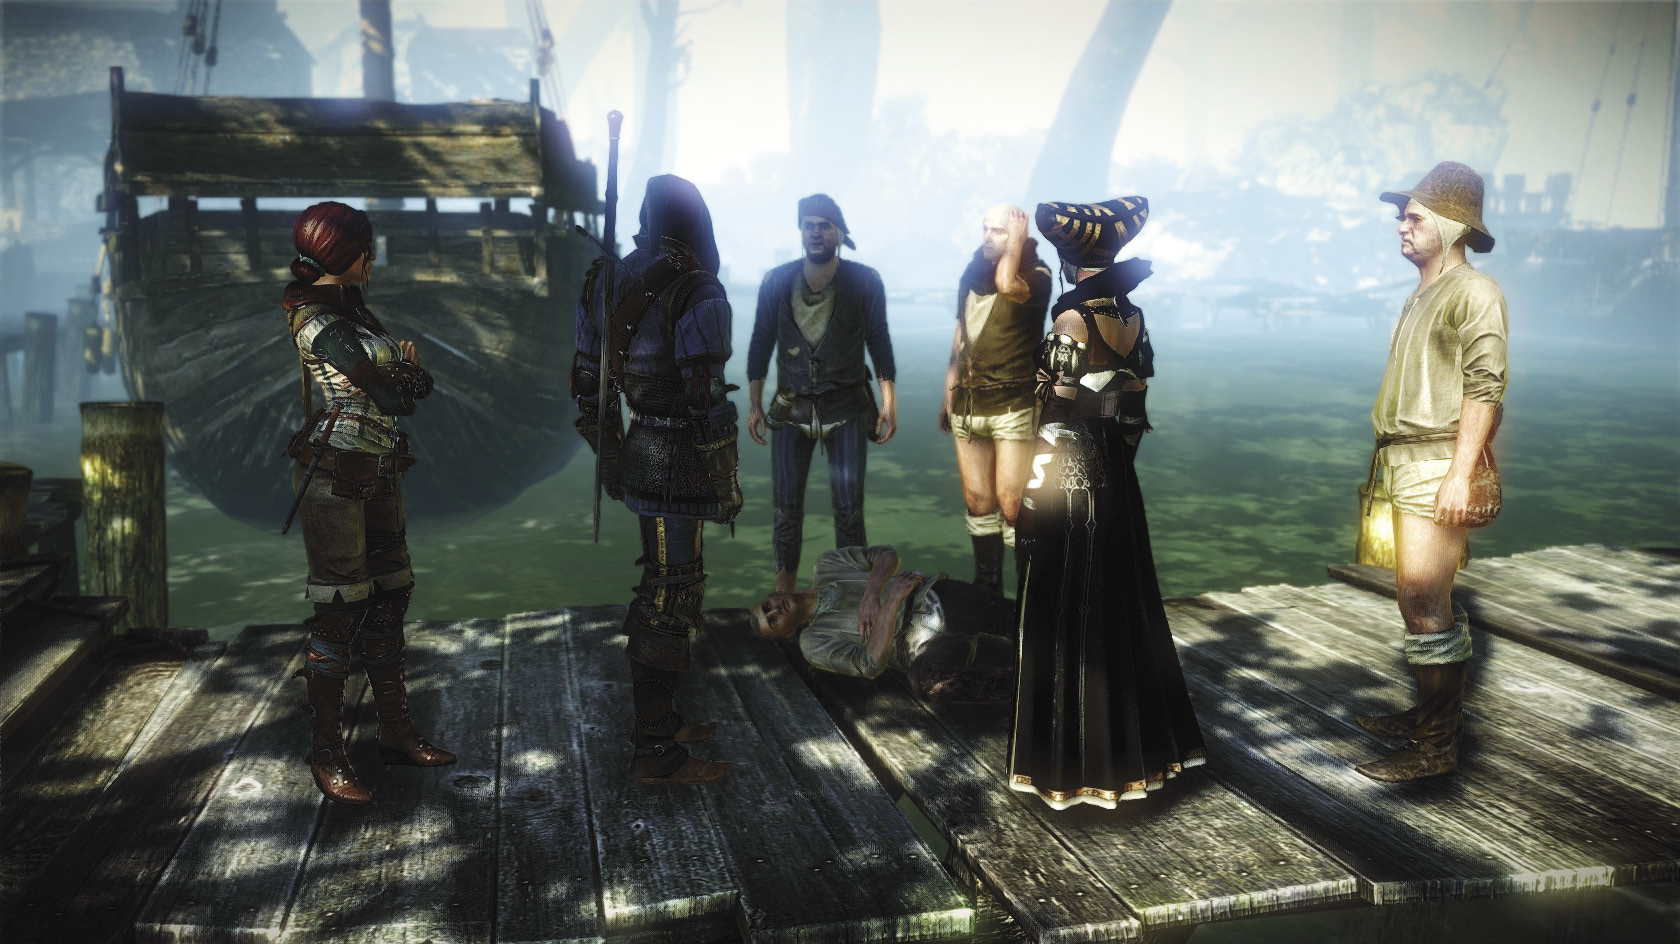
The belligerent peasant is going to try to pick a fight with you if you ignore him or if you attempt to intimidate him and fail. The fight is basically a fistfighting mini-game and you should have absolutely no problems winning these by now. Once the peasant goes down, Louis Merse appears to offer Geralt a chance at killing the big tentacled monster menacing Flotsam’s waterfront, the kayran. Síle agrees to make it a joint effort and mentions that Cedric the elf might know more about how to pick off the kayran. We’ll come back to the task of killing the kayran later.
For now, it’s enough that we know Geralt has to kill one. Head to Lobinden now, so you can talk to Cedric and make him available as both merchant and craftsman. After the cutscene at the town gate ends, follow Triss up to Cedric’s observation tower. Talk to Cedric. All of the conversation options are at least interesting, but you want to make sure you ask about the kayran and witchers’ work, and tell him that you hunt monsters. If you’re interested in lore, be sure to ask him about Moril.
After you’re finished talking to Cedric, Triss teleports away. You’ll meet up with her again later. For now, head back into town. You’ve got a few other things to do before you’re ready to start adventuring in the woods.
Flotsam
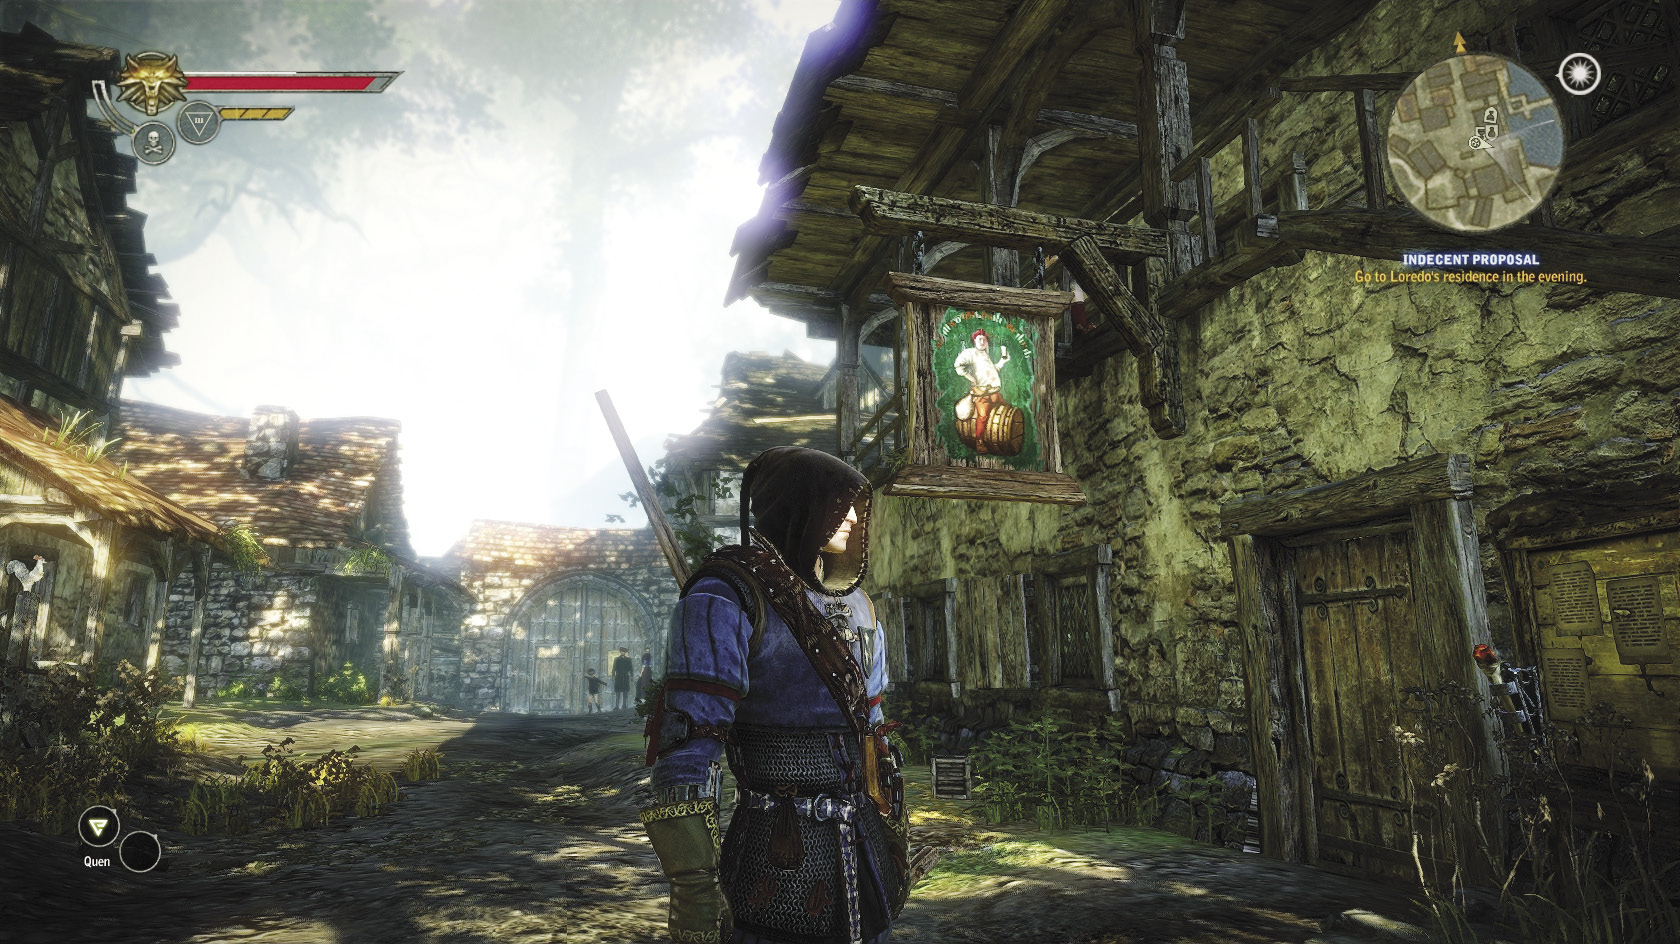
Once you’ve completed the initial part of The Kayran, you can begin exploring Flotsam, the game’s first town. Although finishing By the Gods triggers another main quest, Indecent Proposal, this guide recommends taking a break from questing right now so you can get your bearings. Flotsam is not meant to be an especially large city, but it’s the first really enormous explorable environment you see in this game.
You can score tons of random loot, including some very rare items, by exploring each building you can enter and scanning everywhere with your medallion. You can also stock up on many herbs that grow wild within the city’s walls. Flotsam is broken up into districts, just as real medieval towns were, so we’ll go over the various interesting things you can see and do in Flotsam by going through the town district by district. Note that while you explore, you may trigger some quests or advance some of the chapter’s major quests a little automatically. Don’t worry about this for now; you won’t be able to do anything to screw yourself out of something you might want to do later on.
Town Square
The Inn
The most important feature of the Flotsam town square is the inn, mainly for reasons having to do with the game’s encumbrance system. Everything Geralt has equipped counts toward his maximum encumbrance, as well as things that are just sitting in his inventory, like crafting materials, traps, and junk. When Geralt is overly encumbered, he can’t fight well and walks slowly. Once he’s over his encumbrance limit, you want to either go find a merchant and sell off any junk you’re carrying or put anything useful and particularly heavy into storage until you need it.
As it happens, Geralt’s storage is always going to be located at a town’s inn. Items placed in storage can be accessed in later chapters, even though you’re visiting different inns in other parts of the world. This makes storage a good way to set aside items you don’t need now but plan to use in later chapters. In the Flotsam town inn, you access storage by descending to the second level and either speaking to Dyson Beaver or standing near the chest near the right side of Dyson’s counter. It’s best to keep crafting materials that tend to be heavy in storage, like iron ore, timber, and cloth. In addition to storing your extra stuff, Dyson Beaver is one of four merchants who do business in the inn at all hours.
Inn Merchants
Lyudmila
| Item | Price | Item | Price |
|---|---|---|---|
| Fish | 14 | Potato | 14 |
| Apple | 14 | Cucumber | 14 |
| Old Cheese | 14 | Plum | 14 |
Sunshine
| Item | Price | Item | Price |
|---|---|---|---|
| Fish | 14 | Potato | 14 |
| Apple | 14 | Cucumber | 14 |
| Old Cheese | 14 | Plum | 14 |
Dyson Beaver
| Item | Price | Item | Price |
|---|---|---|---|
| Fish | 14 | Potato | 14 |
| Apple | 14 | Cucumber | 14 |
| Old Cheese | 14 | Plum | 14 |
Marty Beaver
| Item | Price | Item | Price |
|---|---|---|---|
| Fish | 14 | Potato | 14 |
| Apple | 14 | Cucumber | 14 |
| Old Cheese | 14 | Plum | 14 |
As you can see, the merchants who operate at the inn all sell junk, and overpriced junk at that. You’re never going to be in a position where you want to buy something from them. You will find them useful for quickly selling off heavy items like looted equipment that’s not worth keeping around. Something you’ll notice when you sell things to these merchants (and others in the game) is that the sold item immediately appears in their inventory. This means that you can buy it back, provided you don’t let too much time pass.
You will also notice that Geralt’s sell prices are a small fraction of the price most merchants will charge for an item once it’s in their inventory. In general, merchant items in The Witcher 2 are sold at extremely high markup. This means that anything you need that you can acquire for free, whether as quest loot or through exploration, is well worth your time to obtain. While all merchants buy Geralt’s used items for the same amount of orens for items, they tend to sell things at rates that can vary. You can further manipulate merchant rates by obtaining the Haggling attribute later in this chapter. .
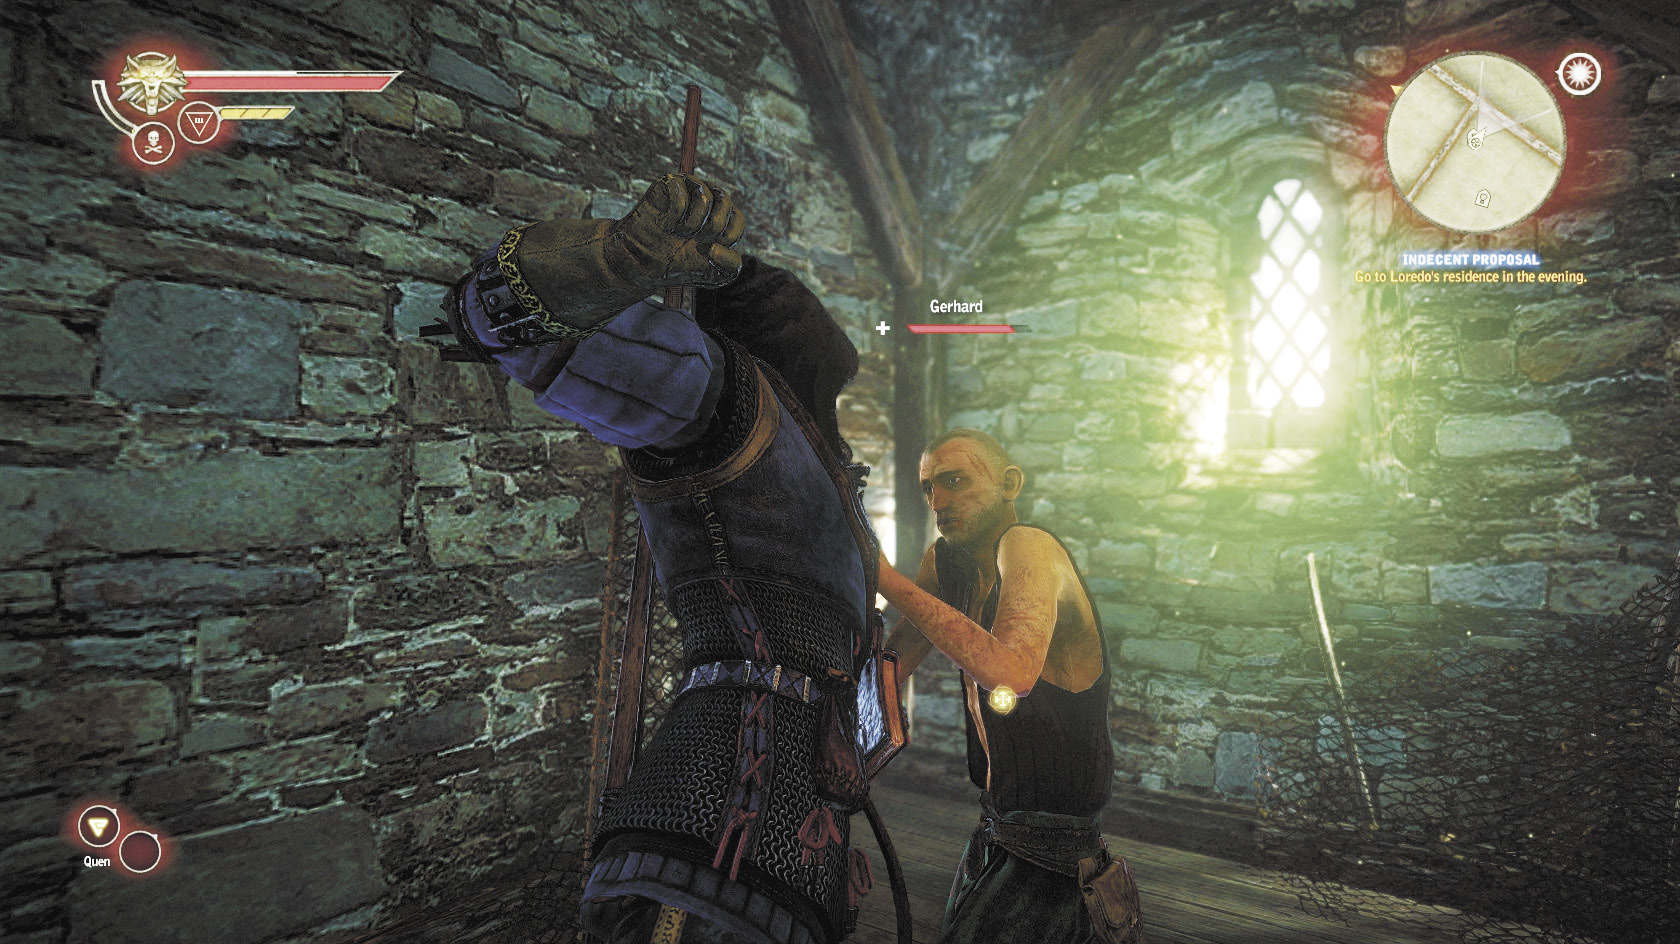
Most of the merchants in Flotsam happen to charge the same markup, but there’s one merchant who doesn’t. It’s a good idea to go see what a town’s merchants have in stock and how their prices compare first thing when you come to a new town area. There are relatively few ways to acquire lots of orens in The Witcher 2, so be as frugal as you can when it comes to managing your money.
When you aren’t using the inn for item management, you can also use it to play mini-games and to visit the brothel. You can find arm-wrestlers on the inn’s upper level. On the lower level, you can find fistfighting and dice poker. There are side quests associated with playing these mini-games that we’ll cover later.
The Brothel
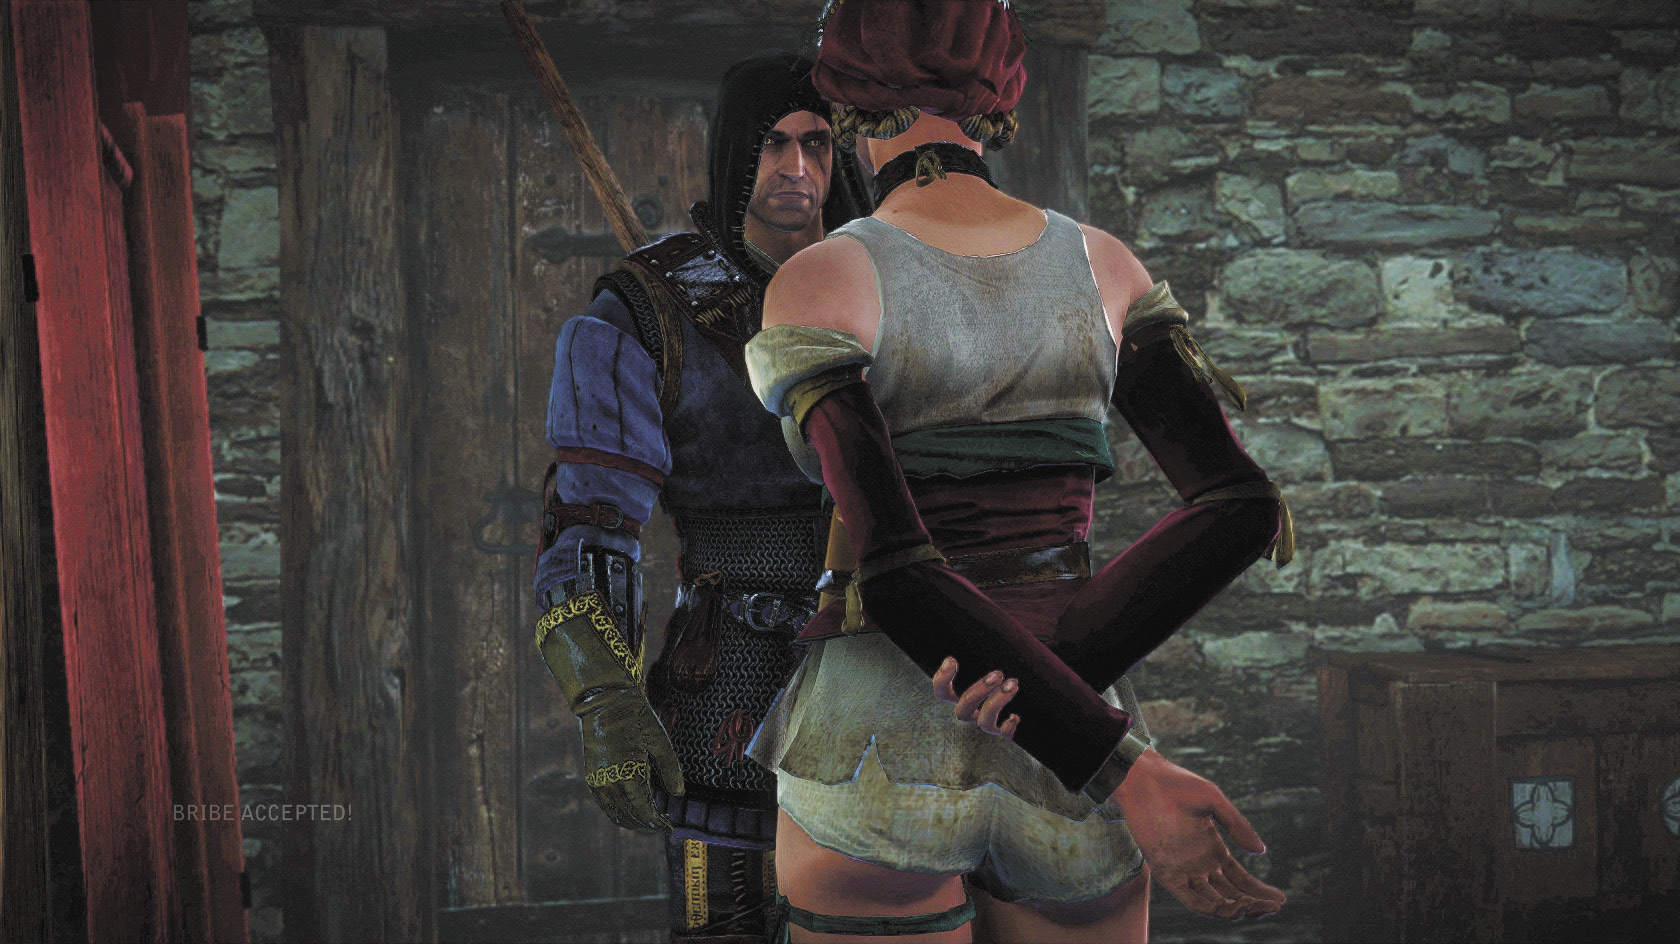
If you descend to the inn’s lower level and exit through the door opposite the stairwell, you can enter the brothel. At the brothel, Geralt can offer one of the prostitutes a certain sum of orens in exchange for a night of passion. Each of the prostitutes has an offer range, and Geralt must offer above her minimum or she’ll refuse him. The amount you must offer a given prostitute at any given time is determined semi-randomly, much like the success chances of influencing an NPC by using a sign or intimidation. Generally, you need to offer at least 50 percent of a prostitute’s maximum value to get her to accept Geralt’s offer.
While you do get to see a love scene depicting Geralt’s sexy funtimes with his lady of choice once you make a successful offer, there is no other benefit to sleeping with a prostitute. She won’t restore your health or offer you any other benefit later on in the game. The brothel is basically just a way of making Geralt’s orens disappear (much like real-world escort services). It’s worth noting that almost any offer high enough to be accepted by a prostitute would buy you something far more useful from one of the town’s merchants.
|
When you visit the lower level of the inn in Flotsam, you sometimes overhear a drunken town guard singing by the stairwell. The guard is actually singing a bawdy old song called “As Oyster Nan Stood by Her Tub.” You can look up the lyrics online. |
Above the inn is the residence of the visiting sorceress, Síle de Tansarville, and a few of the brothel’s other employees. Inside the inn is usually where you’ll find NPCs friendly to Geralt during this chapter of the game: Triss, Roche, Dandelion, and Zoltan. The only times they won’t be in the inn is when progressing a quest causes them to travel to another location.
Guard House
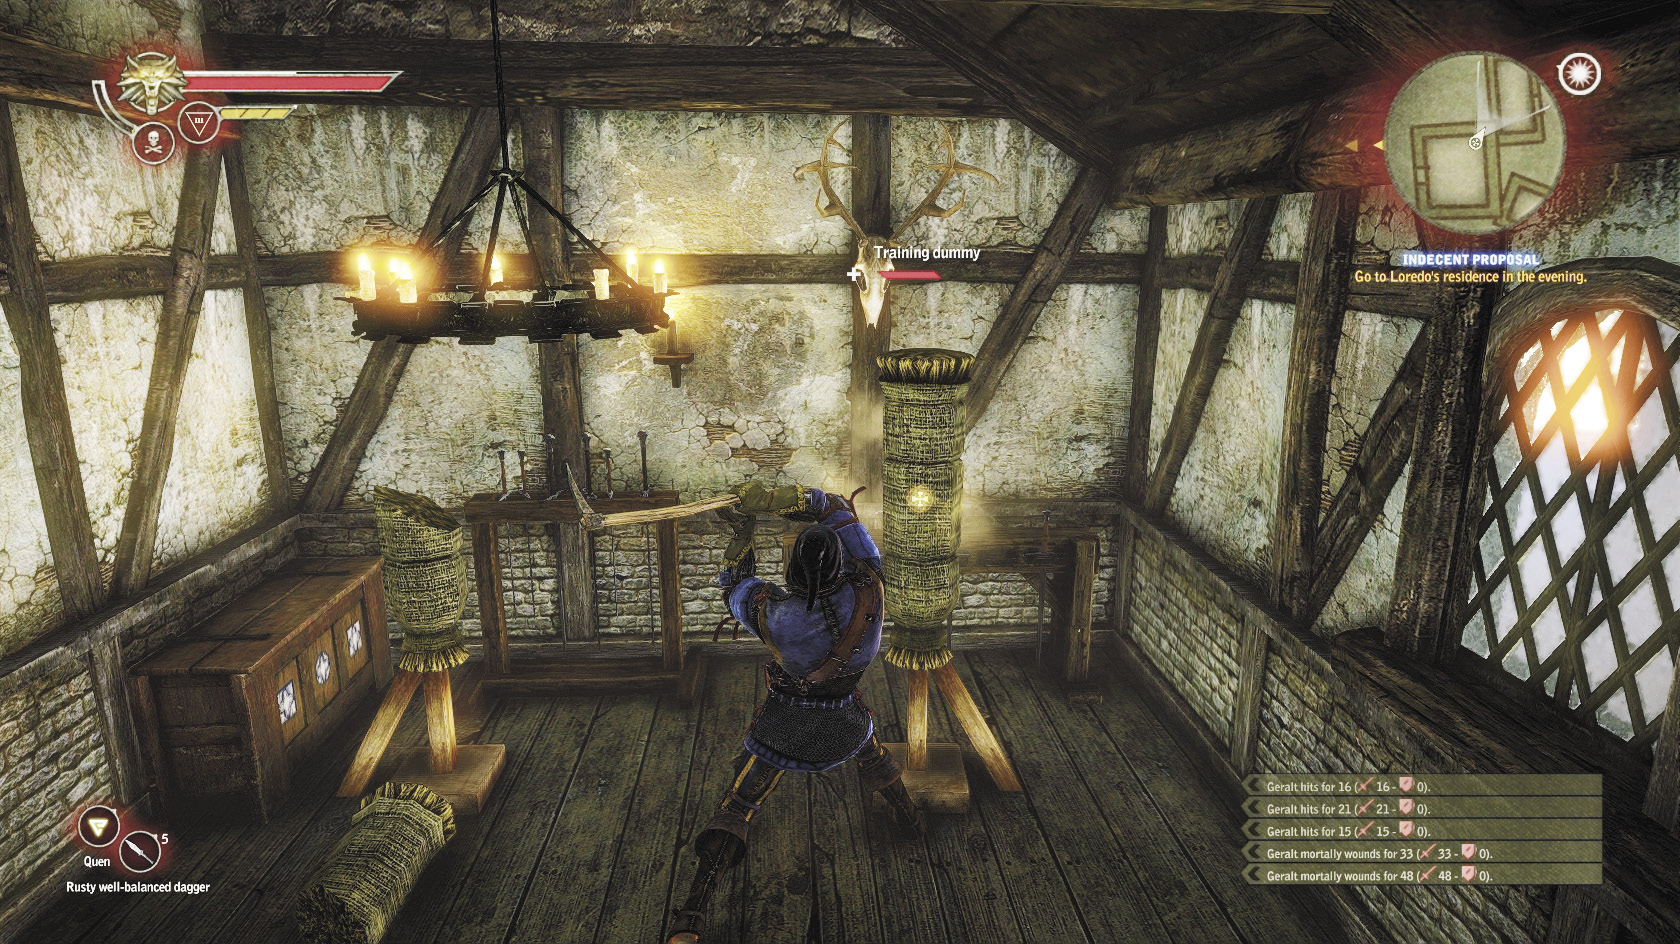
To the right of the inn is the Flotsam guard house. The main point of interest here, besides vast amounts of loot, is a couple of training dummies upstairs. You can knock these down to help qualify Geralt for the Experienced attribute. You need to be quick about knocking these over, though, as seeing you with your sword out is going to make the guards nearby hostile. You can reset their hostility by taking a few swings, sheathing your sword, and then taking a few more.
Louis Merse
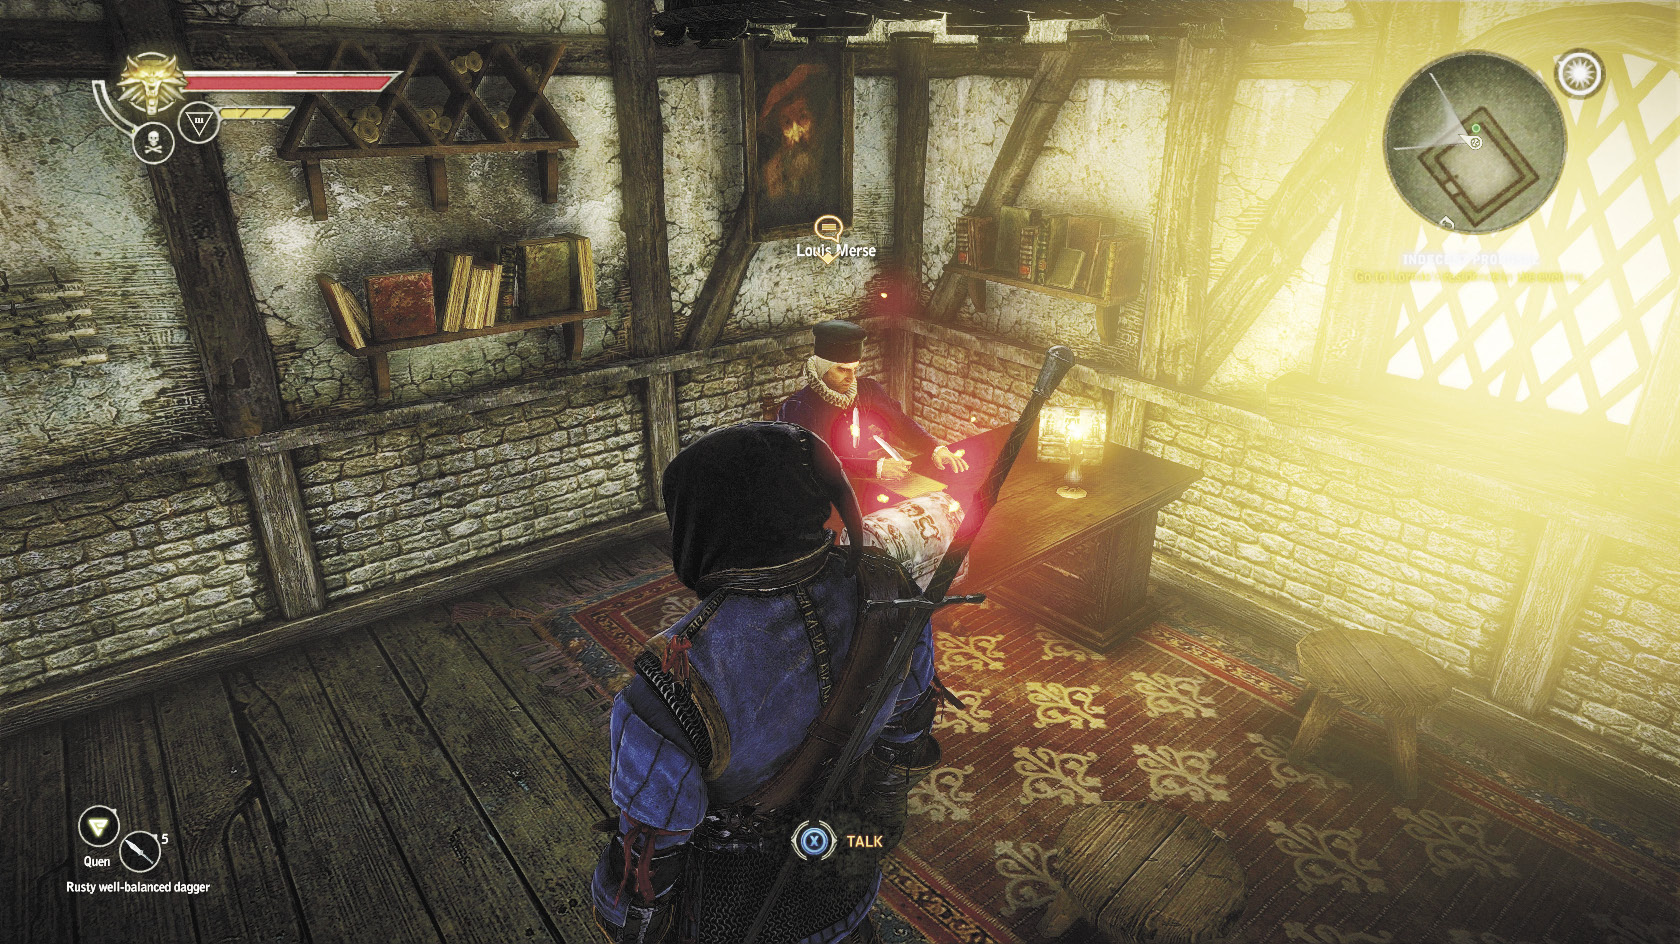
Across from the inn is the office of Louis Merse, Flotsam’s royal burgomaster. He pays Geralt for completing certain side quests and also controls the Royal Mail in Flotsam (which is relevant to yet another quest). You can also drag an astonishingly high quantity of loot out of his house and office.
Between the guard post and Merse’s office is one of the exits leading out of town. This particular one passes through a small walled area and another door to emerge in the village of Lobinden. There are two training dummies in this area that you can knock over with impunity (since the guards here are always asleep).
Blue Stripes Headquarters
Finally, to the left of the inn, up a staircase, is the entrance to the Blue Stripes headquarters. For now, you can simply loot the place, but after you finish Indecent Exposure, you can come back here to find Roche’s assistant, Ves, and begin a minor but hilarious side quest.
Town Square Merchants
Fioravanti
| Item | Price | Item | Price |
|---|---|---|---|
| Diagram: Solid Cloth | 251 | Formula: Maribor Forest | 152 |
| Diagram: Hardened Leather | 251 | Formula: Red Haze | 84 |
| Diagram: Studded Leather | 276 | Diamond Dust | 29 |
| Diagram: Elemental Stone | 214 | Amethyst Dust | 22 |
| Diagram: Oil | 126 | Cloth | 20 |
| Diagram: Essence of Water | 226 | Robust Cloth | 32 |
| Diagram: Diamond Dust | 314 | Leather | 20 |
| Formula: Tiara | 84 | Hardened Leather | 26 |
| Formula: Gadwall | 139 | Studded Leather | 39 |
| Formula: Thunderbolt | 125 | Diagram: Leather | 176 |
| Formula: White Raffard’s Decoction | 97 | Diagram: Amethyst Dust | 264 |
| Formula: Hanged Man’s Venom | 90 | Oil | 14 |
| Formula: Arachnid Oil | 104 | Essence of Water | 14 |
| Formula: Lapwing | 139 | ||
Fioravanti conducts business in front of Louis Merse’s office during daylight hours. Many of the diagrams he sells can be bought from the Mysterious Merchant at a much more reasonable price. You can also find most of the crafting components he sells as random loot if you scour Flotsam carefully, or simply craft them yourself at a more economical rate. The main things of interest among Fioravanti’s wares are his formulas. Buying all of them can be prohibitively expensive, so stick to buying things that you’re pretty sure you’ll use regularly.
Vilmos Bartok
| Item | Price | Item | Price |
|---|---|---|---|
| Formula: Whirl | 207 | Diagram: Leather | 176 |
| Formula: Brock | 104 | Diagram: Amethyst Dust | 264 |
| Formula: Virga | 104 | Oil | 14 |
| Formula: Stammelford’s Philtre | 207 | Balisse | 11 |
| Formula: Maribor Forest | 152 | White Myrtle Petals | 12 |
| Diamond Dust | 29 | Celandine | 10 |
| Amethyst Dust | 22 | Wolfsbane | 15 |
| Cloth | 20 | Scleroderm | 14 |
| Robust Cloth | 32 | Cortinarius | 16 |
| Leather | 20 | Bryonia | 24 |
| Hardened Leather | 26 | Mandrake Root | 20 |
| Studded Leather | 39 | Verbena | 24 |
Vilmos Bartok’s shop is tucked between the inn and the guard post. It’s open during daylight hours. He sells a variety of herbs and crafting components that you’re best off getting in other ways. That said, he does sell some formulas that otherwise can’t be obtained in this chapter. Again, just buying them all is prohibitively expensive, so look up what the formulas let you make and try to pick up ones that you’re certain you’ll want to use in the future.
Points of Interest
If you completed the quest Woe to the Vanquished in the Prologue and refused to take any payment from the peasants, you can encounter the peasant family you saved here in the Flotsam town square. Approach the building directly across from the entrance to the Blue Stripes headquarters, near the wooden door that leads to the Craftsman’s District. This automatically triggers a cutscene where the peasant family approaches Geralt and offers him 50 orens, a reinforced leather enhancement, and the diagram of the heavy leather jacket in a display of gratitude. Whether you accept this offer or refuse it results in slightly different text in Geralt’s in-game journal. There’s no XP bonus for refusing the reward this time, so it’s more lucrative to accept.
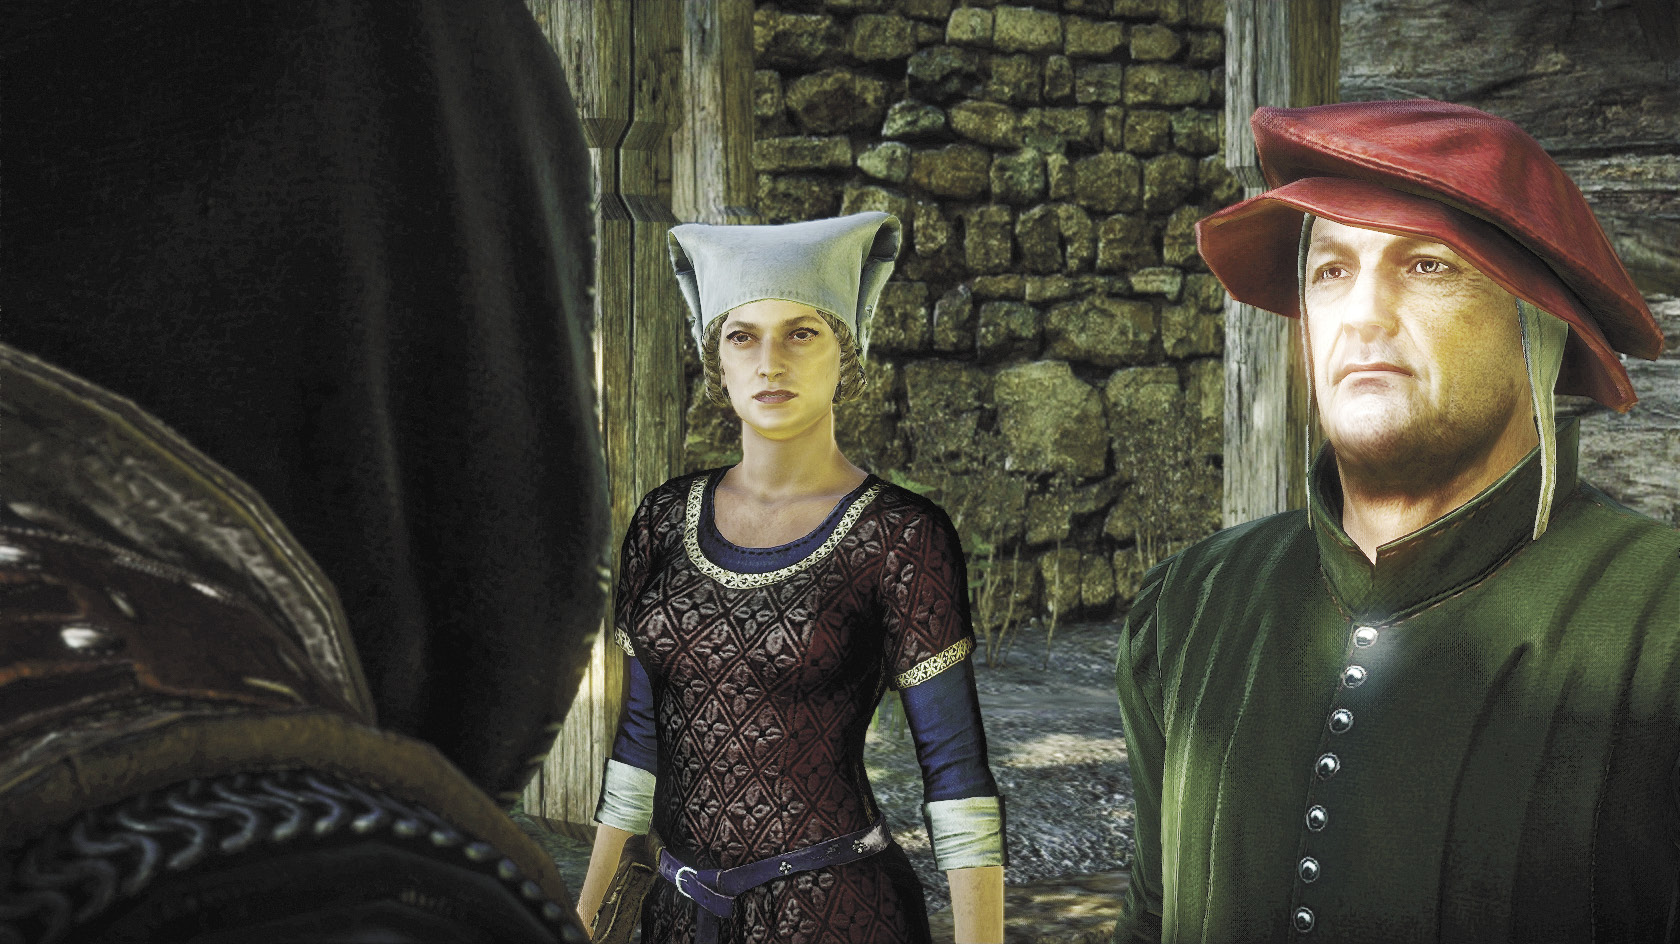
Just beneath the staircase to the entrance to the Blue Stripes headquarters is a randomly named NPC. Have Geralt approach the NPC and strike up a conversation. Listen to the message, then accept the package you’re offered. It contains the book The Arachas—A Study and formulas for dancing star and dragon’s dream bombs. All of these items can be very useful to you in resolving future quests.
Near the entrance to the Nonhuman District (just to the right of Merse’s office), there’s a pair of NPCs speaking together in hushed tones about you. Approach them and begin a conversation to trigger a cutscene. The NPCs say that they’re scientists testing the long-term effects of a new substance and want to know if you’re interested. You can turn them down, but if you accept their offer they give you a free critical effects mutagen.
The first time you try to exit the town square through the archway into the Craftsman’s District, you’re going to be attacked by three bandits. You can attack them freely, but just make sure you don’t accidentally set foot back in the town square during the fight. The bandits aren’t heavily armored, so you should be able to put two of them down with light attacks and maybe Quen for extra defense. The lead bandit carries a shield, so you can handle him by blocking and countering. The lead bandit drops an arrest warrant upon defeat.
Harbor
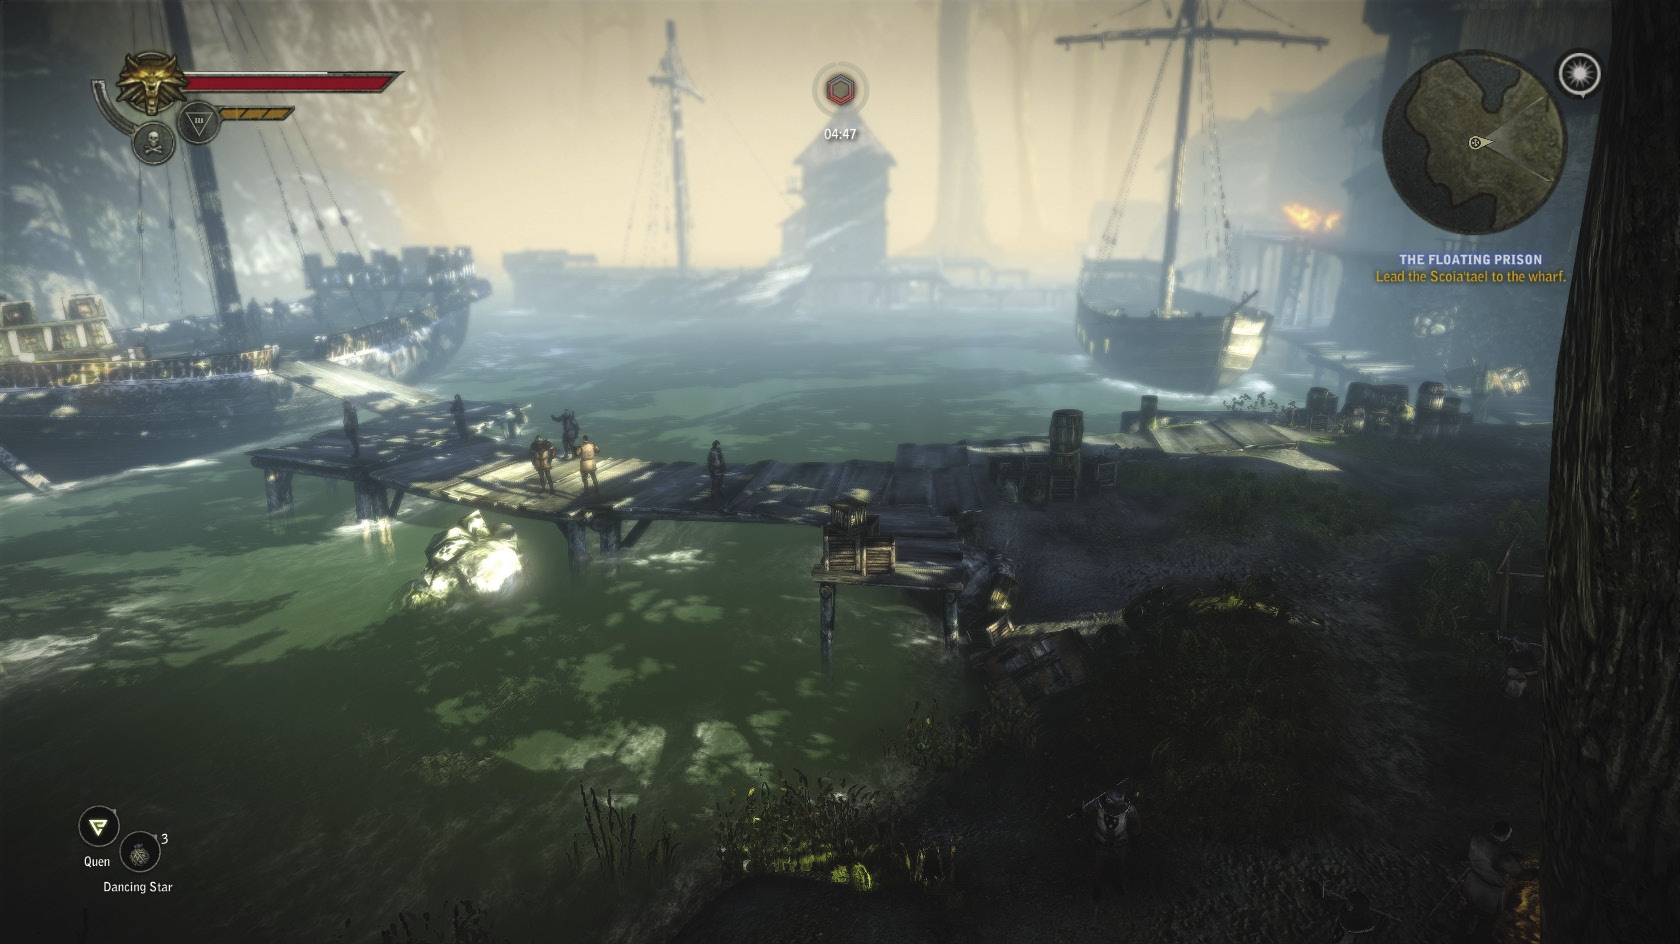
The Flotsam harbor area begins to the north of the inn and extends along the entire north side of the town, adjacent to the Craftsman’s District. The main thing you can do here is, well, pull lots of random loot off of cargo. You visit this area a few times as part of certain main quests later in the game. The dock farthest to the west leads to the prison barge.
Past the dock area, in a wooded area just beyond, is a bloodstained cave entrance. This cave is infested with nekkers, so you don’t want to visit just yet. You’ll come to this area at least once later in the game, though.
Craftsman’s District
Mysterious Merchant
| Item | Price | Item | Price |
|---|---|---|---|
| Diagram: Solid Cloth | 176 | Robust Cutlass | 313 |
| Diagram: Hardened Leather | 176 | Robust Witcher’s Silver Sword | 267 |
| Diagram: Studded Leather | 194 | Shiadhal’s Armor | 673 |
| Diagram: Elemental Stone | 150 | Sun Rune | 264 |
| Diagram: Oil | 89 | Ysgith Rune | 351 |
| Diagram: Leather | 124 | Earth Rune | 176 |
| Diagram: Essence of Water | 159 | Moon Rune | 264 |
| Diagram: Amethyst Dust | 185 | Fire Rune | 351 |
| Diagram: Diamond Dust | 220 | ||
The main feature of note in the Craftsman’s District, besides areas to loot, is the Mysterious Merchant. He sells items at a rate that’s about 30 percent cheaper than the other Flotsam merchants, including some very powerful (if not optimal) weapons and armor. He also does business at all hours. If you want to invest money in getting diagrams for crafting materials, you’ll get the best buy from him. It’s worth noting that he’s the only merchant in this chapter who sells runes, though you don’t want to buy any from him until you have better swords.
Nonhuman District
The Nonhuman District runs along Flotsam’s south wall. Its main point of interest, besides a pair of important merchants, is an exit that leads into the forest. There are two training dummies to knock over here, in a courtyard just before the main exit. This exit isn’t as well-guarded as the one that leads to Lobinden, so you’re very likely to encounter nekkers and endregas roaming the area only a few paces from the city’s walls. At night, you often encounter Scoia’tael enemies lurking in the area, too.
Being ExperiencedIf you’ve knocked down the five training dummies at Foltest’s camp during the Prologue, the two at the guard house, and the two at the gate near the guard house, then you should get the Experienced attribute here by knocking one of the dummies down. If you’ve missed some training dummies, don’t worry about it. It’s possible to miss every training dummy up to this point and still find enough later in the game to get Experienced. That said, if you’re trying to unlock this attribute, it’s more useful the earlier in the game you get it. |
Deflecting ArrowsFighting Scoia’tael in this chapter is an ideal way to try to earn the Batter character attribute, which gives you a 20 percent chance of an instant kill with a deflected arrow. The best way to do this is to invest two talents in the Arrow Redirection skill in the Training talent tree, then go out at night to see if there are any Scoia’tael around. When you find a group, try to pick their numbers down to one or two. Keep your distance from the survivor and begin deflecting arrows by guarding. You earn Batter once you’ve successfully deflected around 10 arrows. Once you have Batter, try getting an instant kill with a deflected arrow to get the Ricochet achievement. |
|
While you roam the Nonhuman District, keep your eyes peeled for a pair of elven women named Miranda and Carrie who seem to talk about shoes and fashion an awful lot. Yes, they’re named after the Miranda and Carrie from Sex and the City. You can even go into their house and find an astonishing number of pairs of shoes. |
Berthold Candeleria
Craftsman
| Item | Price | Item | Price |
|---|---|---|---|
| Temerian Sword | 376 | Iron Ore | 20 |
| Diagram: Sun Rune | 439 | Silver Ore | 45 |
| Diagram: Ysgith Rune | 439 | Superb Well-Balanced Dagger | 76 |
| Diagram: Earth Rune | 439 | Well-Balanced Dagger | 39 |
| Diagram: Moon Rune | 439 | Rusty Well-Balanced Dagger | 26 |
| Diagram: Fire Rune | 564 | Long Sword | 284 |
| Diagram: Sword of Caingorn | 89 | Diagram: Robust Cutlass | 164 |
| Diagram: Temerian Steel Sword | 89 | Diagram: Blue Meteorite Ore | 301 |
| Diagram: Short Sword | 101 | Diagram: Red Meteorite Ore | 239 |
| Diagram: Jagged Blade | 339 | Diagram: Yellow Meteorite Ore | 239 |
| Diagram: Well-Balanced Dagger | 89 | Silver-Plated Sword | 304 |
| Short Sword | 226 | Robust Leather Reinforcement | 33 |
Berthold is probably the most important of the three merchants/craftsmen you can deal with in this chapter. He does business from noon to dusk, so don’t show up looking for him at dawn. Berthold sells diagrams that let you make runes and manufacture the three types of meteorite ore. He also sells silver ore you’ll probably need to purchase whenever you want to make a new silver sword. Perhaps most important of all, Berthold sells the diagram for the jagged blade, which is the most powerful steel sword you can obtain in this chapter.
Whenever you approach Berthold’s smithy, you may see a conversation play out between him and a human representative from the Blacksmiths’ Guild. This looks an awful lot like it should trigger some sort of quest, but it doesn’t. Geralt can interrupt the conversation by speaking with Berthold, but can’t really interfere in the situation at all. It’s mostly meant as flavor to help establish the lowly position nonhumans are forced into in Flotsam.
Einar Gausel
Barber
| Item | Price | Item | Price |
|---|---|---|---|
| Three Years Among the Endregas | 64 | The Temerian Royal Dynasty | 64 |
| Nekkers in the Mist | 32 | Magic and Power | 64 |
| The Horrors of War: Rotfiends | 64 | The Feudal Society and Its Enemies | 64 |
| Wraiths: Fear and Trembling | 95 | The Viziman Uprising | 64 |
| Drowners: A Textbook for Initiates of the Order of the Flaming Rose | 32 | The Temerian Special Forces | 64 |
| The Kayran—A Monograph | 251 | Minor Books (Random Selection) | 64 |
Einar Gausel is the other important merchant in the Nonhuman District. He sells only books, most of which have no effect on quests but let you learn more about the game’s lore. Do note, though, that any book he sells that pertains to monsters can be read to give Geralt knowledge of that monster’s strengths and weaknesses. A few quests require that you acquire this knowledge in-game, either by slaying tons of the appropriate monster or buying the right book from Einar. It’s worth picking up his books about various monster types if you have cash to spare.
Einar is also a barber. That is, you can visit him and pay a few orens to change Geralt’s hairstyle into something else. Looting Einar’s shop lets you find a rare armor enhancement called the dwarven enhancement. It’s one of the few +2 enhancements easily available in the game, so stockpile it for later use. As a final note, you can get services from Einar at all hours, even if you have to wake him up in bed.
|
When you initially speak to Einar Gausel, he mentions that Síle de Tansarville purchased a book from him called De Vermis Mysteriis. This is a reference to an nonexistent book whose title would translate roughly as The Mysteries of the Worm. Early horror author H.P. Lovecraft incorporated it into his Cthulhu mythos tales, which has led to it being widely referenced in other works of fiction. Einar Gausel himself is also an homage, named after the real-life Norwegian chess master Einar Johan Gausel. |
Lobinden
Lobinden is the last safe area you can linger in before setting out into the forests and swamps around Flotsam. You primarily visit this area to interact with some important NPCs as part of quest lines. There are also three noteworthy merchants who do business primarily in the Lobinden area. Note that events that affect Flotsam don’t necessarily affect Lobinden to the same degree.
Cedric
Craftsman
| Item | Price | Item | Price |
|---|---|---|---|
| Formula: Dancing Star | 84 | Diagram: Biter | 226 |
| Formula: Dragon’s Dream | 111 | Diagram: Kayran Trap | 276 |
| Formula: Devil’s Puffball | 77 | Diagram: Well-Balanced Dagger | 89 |
| Formula: Flare | 35 | Diagram: Kayran Carapace Armor Reinforcements | 376 |
| Formula: Stenchbulb | 63 | Rotten Meat | 7 |
| Formula: Zerrikanian Sun | 97 | Bauble | 14 |
| Formula: Grapeshot | 70 | Endrega Gland Extract | 14 |
| Formula: Red Haze | 84 | Phosphorescent Crystal | 20 |
| Talgar Winter | 76 | Thumper | 14 |
| Clawer | 51 | Leather | 20 |
| Conflagration | 76 | Timber | 7 |
| Grapeshot | 101 | Endrega Hide | 89 |
| Rusty Well-Balanced Dagger | 26 | Twine | 14 |
| Robust Well-Balanced Dagger | 51 | Oil | 14 |
| Diagram: Conflagration | 251 | Essence of Death | 189 |
| Diagram: Clawer | 189 | Arachas Eyes | 439 |
| Diagram: Talgar Winter | 276 | Troll Tongue | 439 |
| Diagram: Rage | 251 | ||
Cedric can act both as a merchant and a craftsman after you have an initial conversation with him. He operates during daylight hours and sells some extremely useful stuff. Among his wares are diagrams for every type of trap that can be crafted in the game, as well as several useful bomb formulas and a diagram for the only type of throwing dagger that can be crafted. He also sells a few ingredient items that you otherwise have to obtain as monster drops, which can come in handy during certain side quests in this chapter.
Sendler
Craftsman
| Item | Price | Item | Price |
|---|---|---|---|
| Hardened Leather Jacket | 465 | Hardened Leather | 26 |
| Light Leather Jacket | 194 | Diagram: Amethyst Dust | 264 |
| Quilted Jacket | 282 | Diagram: Diamond Dust | 314 |
| Fibre Enhancer | 33 | Diagram: Amethyst Armor Enhancement | 201 |
| Mail Enhancement | 158 | Diagram: Diamond Armor Reinforcements | 276 |
| Armor Enhancement | 32 | Diagram: Studded Leather Trousers | 76 |
| Leather Enhancement | 33 | Diagram: Leather Jacket | 126 |
| Reinforced Leather Enhancement | 34 | Diagram: Heavy Leather Jacket | 276 |
| Short Gauntlets | 137 | Diagram: Light Leather Armor | 251 |
| Robust Leather Trousers | 137 | Diagram: Hardened Leather Boots | 101 |
| Twine | 14 | Diagram: Long, Robust Gauntlets | 151 |
| Cloth | 20 | Diagram: Superb Leather Trousers | 126 |
| Robust Cloth | 32 | Robust Leather Reinforcement | 33 |
| Leather | 20 | ||
There’s not a lot in Sendler’s shop that’s going to be worth buying at this point in the game, but he still serves a very useful function. He’s the only craftsman in this part of the game that operates around the clock. As with Einar, just wake him up when he’s asleep at night and he’ll be quite willing to do business.
Rainy SeasonBefore setting off into the forest from Lobinden (or anywhere else in Flotsam), pay a little attention to the weather. It rains periodically during the game. This is a basically random occurrence and the duration is also random. During a rainy period, NPCs may change their locations as they move to shelter themselves from the weather. You can hear special lines of dialogue as the townsfolk complain about the weather as you move by. You may also find that one of your signs works a little differently. During rainy weather, the Quen sign’s effects are heightened. You can absorb more damage with it relative to its upgrade level. If you’ve purchased the Venting skill, then you should find that a single cast of Quen can dish out more punishment to enemies, too. If you happen to head out for a battle during the rain, then take advantage of it and use Quen even if it’s not a sign you ordinarily use. Also bear in mind that when it’s raining, the incineration critical effect goes off less frequently. It’s not impossible to incinerate enemies while it’s raining, just a lot less likely. So if you’ve invested in the Enhanced Igni Sign skill or made a lot of dancing stars or conflagrations, well, don’t bother using them against enemies while it’s raining. |
Anezka
| Item | Price | Item | Price |
|---|---|---|---|
| Formula: Rook | 173 | Formula: Wolf | 77 |
| Formula: Golden Oriole | 63 | Balisse | 11 |
| Formula: Petri’s Philtre | 26 | White Myrtle Petals | 12 |
| Formula: Falka’s Blood | 139 | Celandine | 10 |
| Formula: Brown Oil | 125 | Wolfsbane | 15 |
| Formula: Cat | 70 | Scleroderm | 14 |
| Formula: Samum | 104 | Cortinarius | 16 |
| Formula: Swallow | 70 | Bryonia | 24 |
| Formula: Tawny Owl | 207 | Mandrake Root | 20 |
| Formula: Specter Oil | 104 | Verbena | 24 |
| Formula: Necrophage Oil | 125 | Wolf’s Aloe Leaves | 126 |
| Formula: Blade Oil | 70 | Green Mold | 126 |
| Formula: Insectoid Oil | 111 | Endrega Teeth | 64 |
Anezka sells a lot of extremely useful alchemy formulas, as well as a few very rare alchemy items. In particular, she sells the endrega teeth that you need to amass 15 of in order to craft the jagged blade. While it’s possible to grind endregas until you get 15 teeth, this demands a lot of patience. If you get tired of grinding, you can just buy endrega teeth from Anezka every time she restocks.
|
There’s an easter egg in Lobinden that only players of the original PC game The Witcher will get. Talk to the various NPCs and you should find one who asks you about “8,000 orens,” a reward King Foltest promised Geralt at the end of the first game. |
 Side Quest: Poker Face: Flotsam
Once you’ve gotten a feel for Flotsam, looted to your heart’s content, and maybe done some shopping, you can get back to questing. You can do many of the side quests for this chapter in any order, so if you want to skip around, feel free. The main thing is that you have to do these side quests while you’re in Flotsam. At the end of the chapter, events cause you to leave the city, and you will never return. Likewise, certain story decisions in main quests may cause quest-necessary NPCs to become unavailable. The walkthrough will try to point this out whenever possible.
For our purposes, we’ll begin the side quests by doing the mini-game related ones. This should let Geralt begin building up a store of cash he can spend on the diagram for the jagged blade and any other formulas and diagrams that seem useful to you. The easiest of the mini-game side quests is the one for dice poker, so we’ll do this one first.
To initiate this quest, head to the bottom floor of the Flotsam inn. Look for a trio of men named Casimir, Bendeck, and Zindrab. You must first defeat Casimir and Bendeck, which gains you the right to play Zindrab. After you defeat Zindrab, head to Einar Gausel’s shop in the Nonhuman District. Einar will agree to play you there only after you’ve defeated Zindrab. Once you’ve defeated Einar, go to Sendler’s shop in Lobinden and challenge him.
Once you’ve defeated Sendler, you’ve cleared the quest (and probably earned a couple hundred orens). You automatically get the orens you won in your last bet. After that, a dialogue begins where you can take either an extra 150 orens from Sendler or ask him for a diagram for one of three types of traps. You can ask him for the diagram for making conflagration (“an explosive trap”), clawer (“steel jaws”), or Talgar winter (“freezing trap”). Take the Talgar winter.
Because you are fundamentally playing a dice game, there is a strong element of luck to how this quest resolves. You can play any dice poker opponent as many times as you like, but you have to wager orens each time. A losing streak in dice poker can end up costing you quite a bit of money. You may want to save before challenging each of the quest’s opponents, so you can simply reload if you happen to lose.
How to Win in Dice PokerThe rules of dice poker in The Witcher 2 are modeled off the real world game of dice poker, which is very similar to the poker card game. They will be very intuitive if you’ve ever played poker or real world dice poker before. If you haven’t, here’s a quick explanation of how the game works. 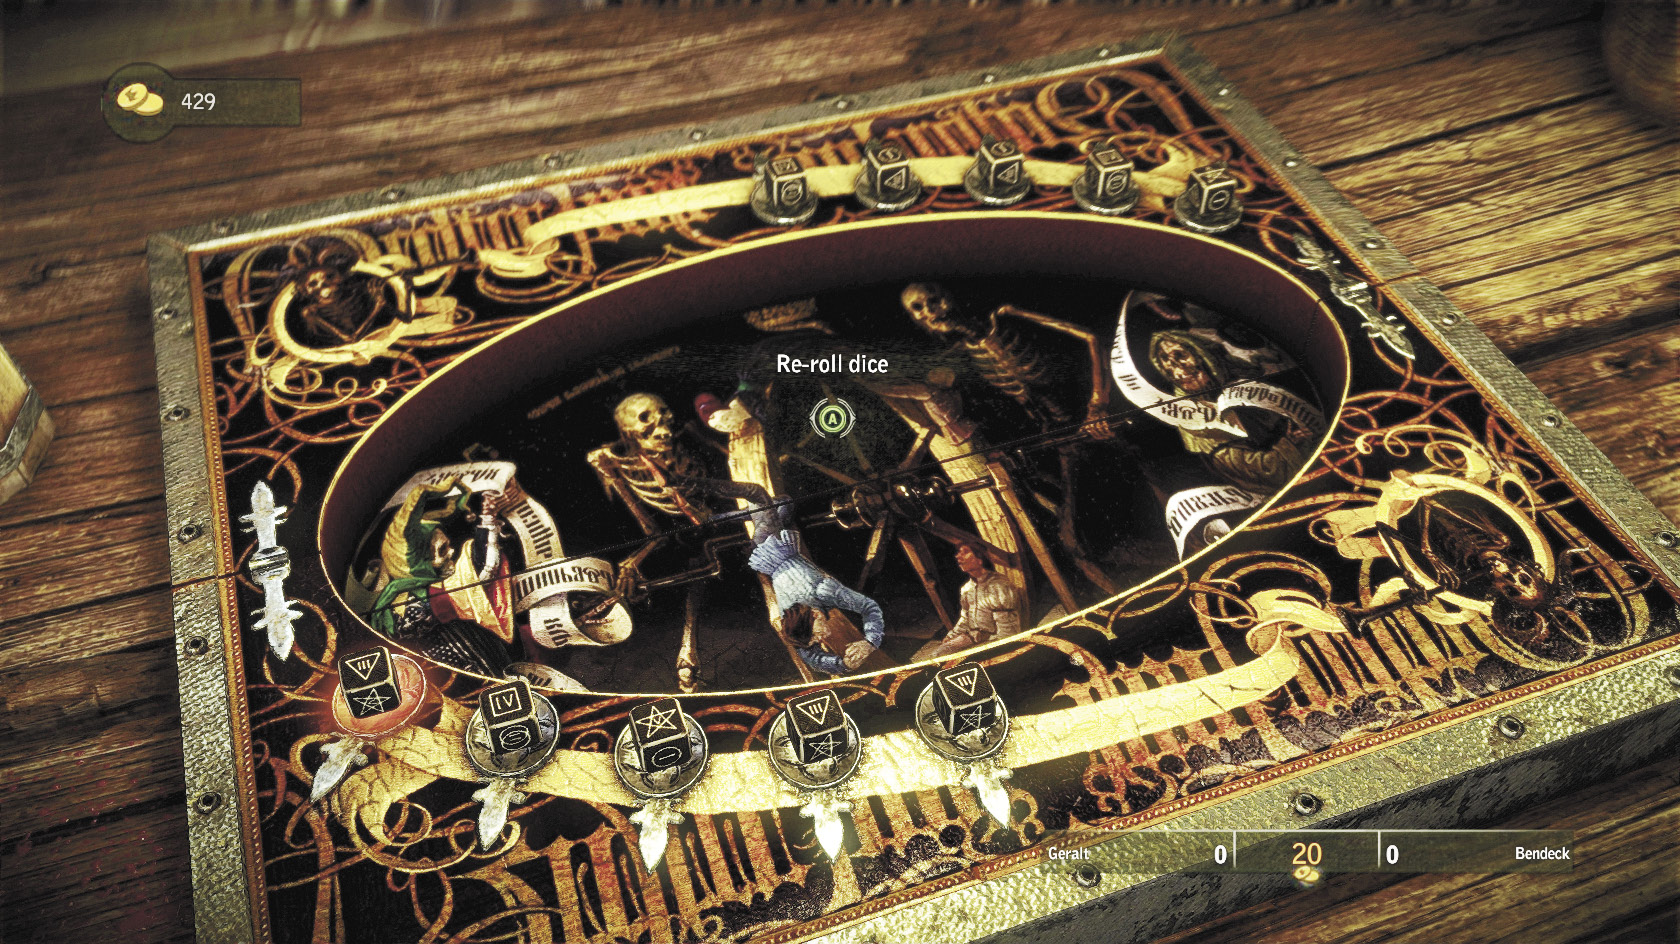 To defeat your opponent, you need to roll a better “hand” with the game’s five dice. You roll the dice by flicking your right control stick. Be sure to do it gently. If you roll hard and knock a die out of the playing field, then you have to finish the round with the four dice you have left. You get to roll your dice twice. After the first roll, you tap the interaction button to highlight dice you’d like to roll again. The first time you roll, you can choose to bet orens on the outcome of your roll. Your opponent does the same. Before you roll the second time, you can choose to raise or lower your bet, and so can your opponent. Use this list of dice poker hands to determine how strong your hand currently is, and which dice you’d like to reroll on your second roll. The hands are listed from the strongest to the weakest hands. |
| Dice Poker Hands | |
|---|---|
| Five of a Kind | Five of any number |
| Royal Straight Flush | 1-2-3-4-5 or 2-3-4-5-6 |
| Four of a Kind | Four of any number |
| Full House | Three of one number and two of another |
| Three of a Kind | Three of any number |
| Two Pair | Two matched sets of numbers (e.g., 2-2-3-3-6) |
| One Pair | One pair of any number |
The values of the dice involved are used to break ties. For instance, if you have a 5-5-5-5-5 hand and your opponent has a 6-6-6-6-6 hand, you lose the round. When you lose, you lose any orens you bet on your performance. If you tie, then you replay the round from the beginning with no orens lost or gained. When you win, you get back the orens you wagered and take your opponent’s orens, too. Dice poker combines both skill and luck, so sometimes you just won’t be able to roll a better hand than the opponent. Just keep trying until the dice fall your way.
|
Think the “Poker Face” quest name is a reference to the idea of a poker player having an unreadable face? Well, you’re wrong. It’s a reference to the Lady Gaga pop song “Poker Face.” |
 Side Quest: One on One: Flotsam
Head into the lower level of the Flotsam inn and speak with Sheridan, a man in red who’s hanging around the perimeter of the fistfighting circle. He invites you to participate in a tournament. If you accept, you basically fight three opponents in sequence, wagering on the outcome. If you’ve made it to this point in the game, you’ve already played the fistfighting mini-game successfully. Just hit the quick time events (QTE) button prompts when they appear onscreen. Remember that each prompt appears roughly in the button’s position on whatever you’re using as your input device. If you’re playing on a PC and using a keyboard, W prompts appear at the top center of the screen. If you’re using an Xbox 360 controller, the 4 prompts would appear at the top center. You don’t have to do the fights back-to-back and can opt to go save or pursue another quest between bouts.
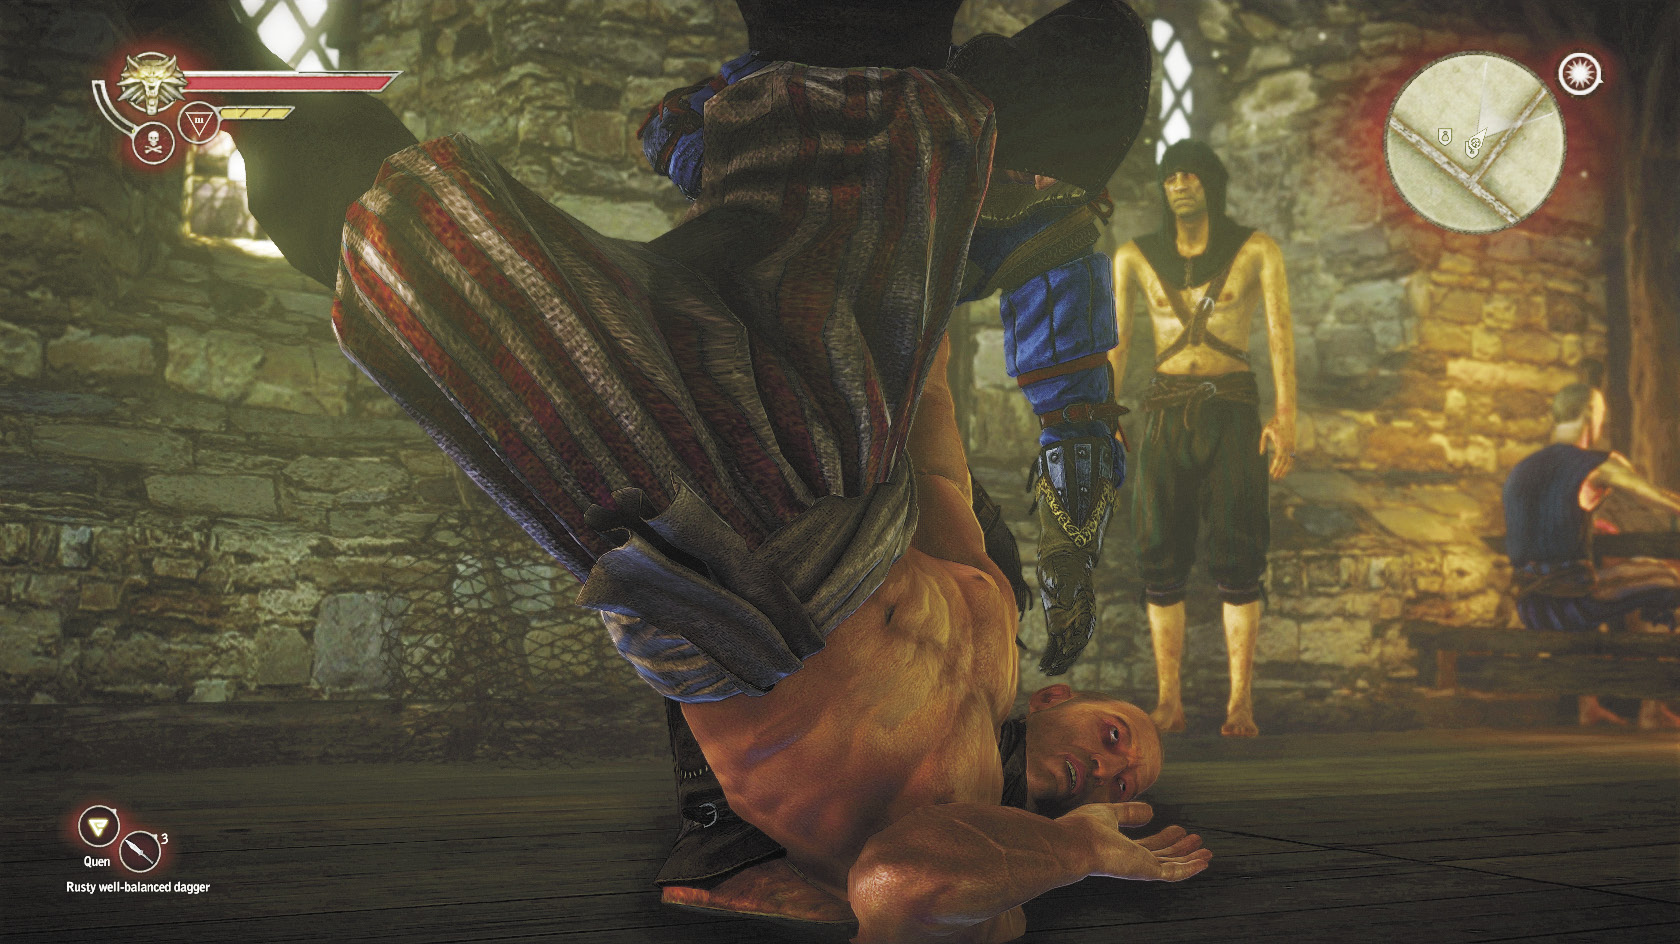
Your opponents for One on One: Flotsam are a random opponent for the first round, Fliparse, and then Tidy Tib. Note that no matter who you actually fight for your first round, your journal says you fought someone named Stycho the Sot. After you defeat Fliparse you meet King Ziggy, who invites you to meet him outside the Flotsam inn after sundown. This unlocks the Fight Club quest, which lets you fistfight tougher opponents to earn even more money.
 Side Quest: Fight Club
At midnight or later, head to the Flotsam inn’s town square entrance. King Ziggy will be standing off to its left as you approach, where you usually pass three men chatting idly. Make sure you’re carrying as little weight as possible, especially if you didn’t get the Strong Back trait in the first chapter. If you haven’t already done Indecent Proposal, you’re about to stumble on a golden opportunity for looting a difficult-to-access area of the game.
King Ziggy takes you to Loredo’s compound. To enter, you have to agree to surrender your weapons to the guard. They go into a chest where you can retrieve them later. Once inside, take your time and don’t follow King Ziggy too closely. Scan the area repeatedly and take everything that isn’t nailed down. You can’t get the iron frame by looting Loredo’s compound during this quest, but you can take basically everything else of interest you would otherwise have to obtain during Indecent Proposal.
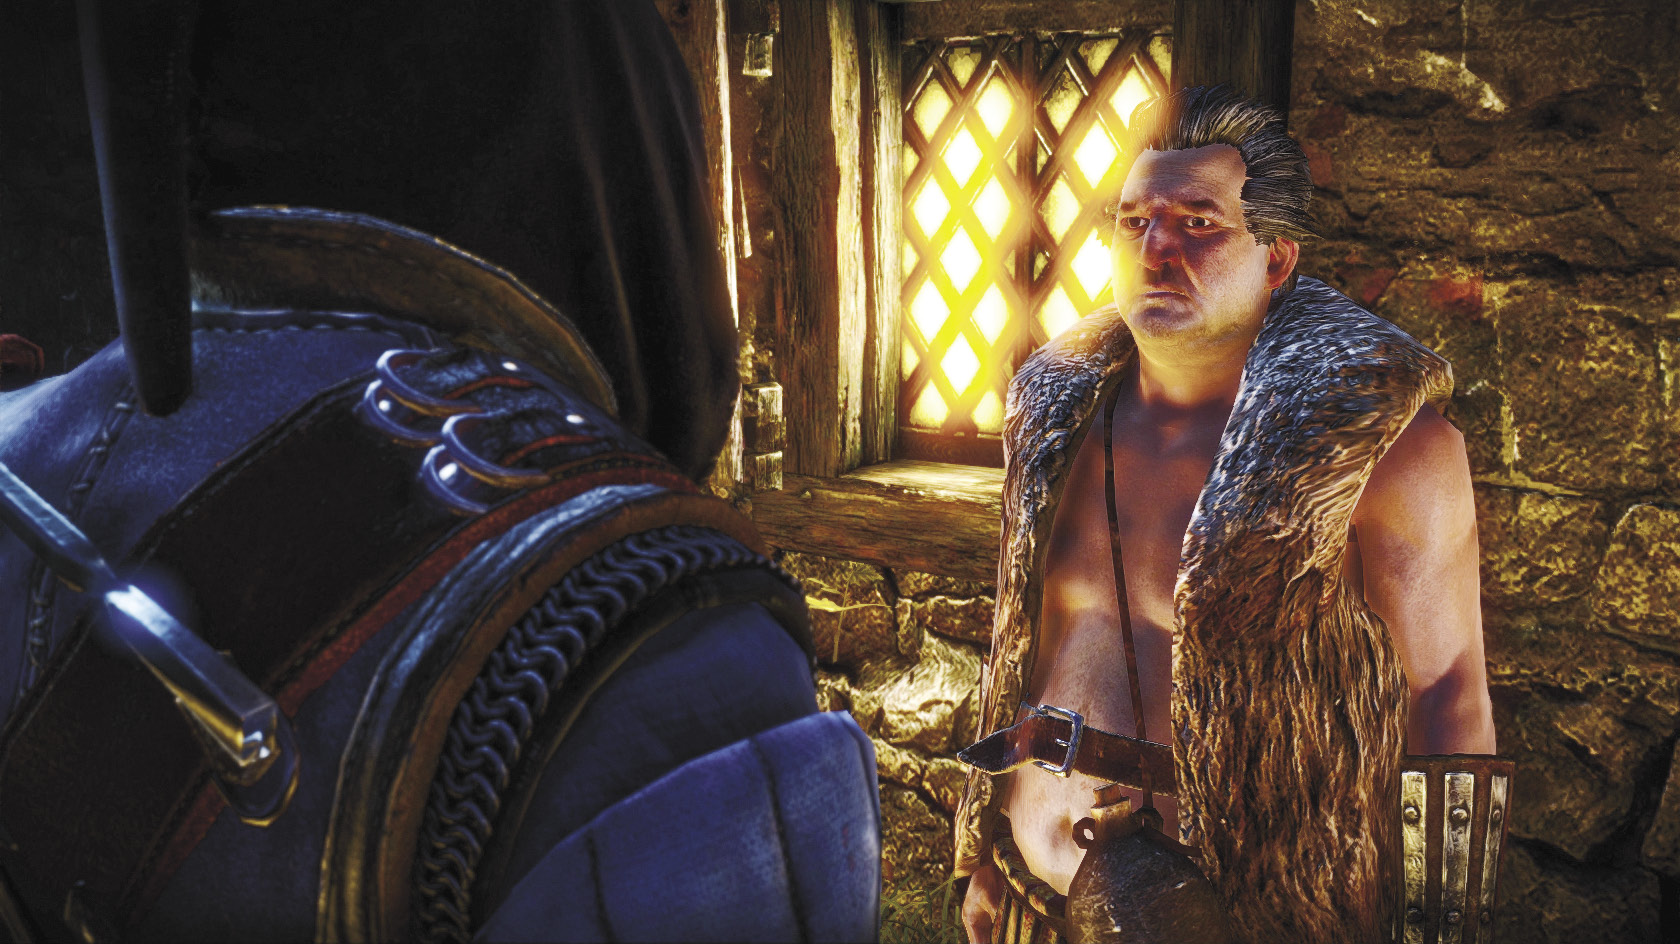
King Ziggy waits patiently for you to finish your looting spree and only moves ahead once you approach him from behind. As he opens up new areas for you, keep scanning and looting. Eventually he leads you into an underground cavern area that you can enter only during this quest. Once you’re there, the game auto-saves.
Now the quest proper begins. It’s just like One on One: Flotsam, only the opponents you face are a bit tougher. After you agree to fight, you face Twigs, One-Punch Matho, Smugface, and Zdenek. You have to do these fights directly back-to-back with no chance to save your progress. If you ever give the “I’ve had enough of this malarkey” response, you simply fail the quest and won’t get any winnings or experience. You get to keep whatever you looted from Loredo’s compound, though.
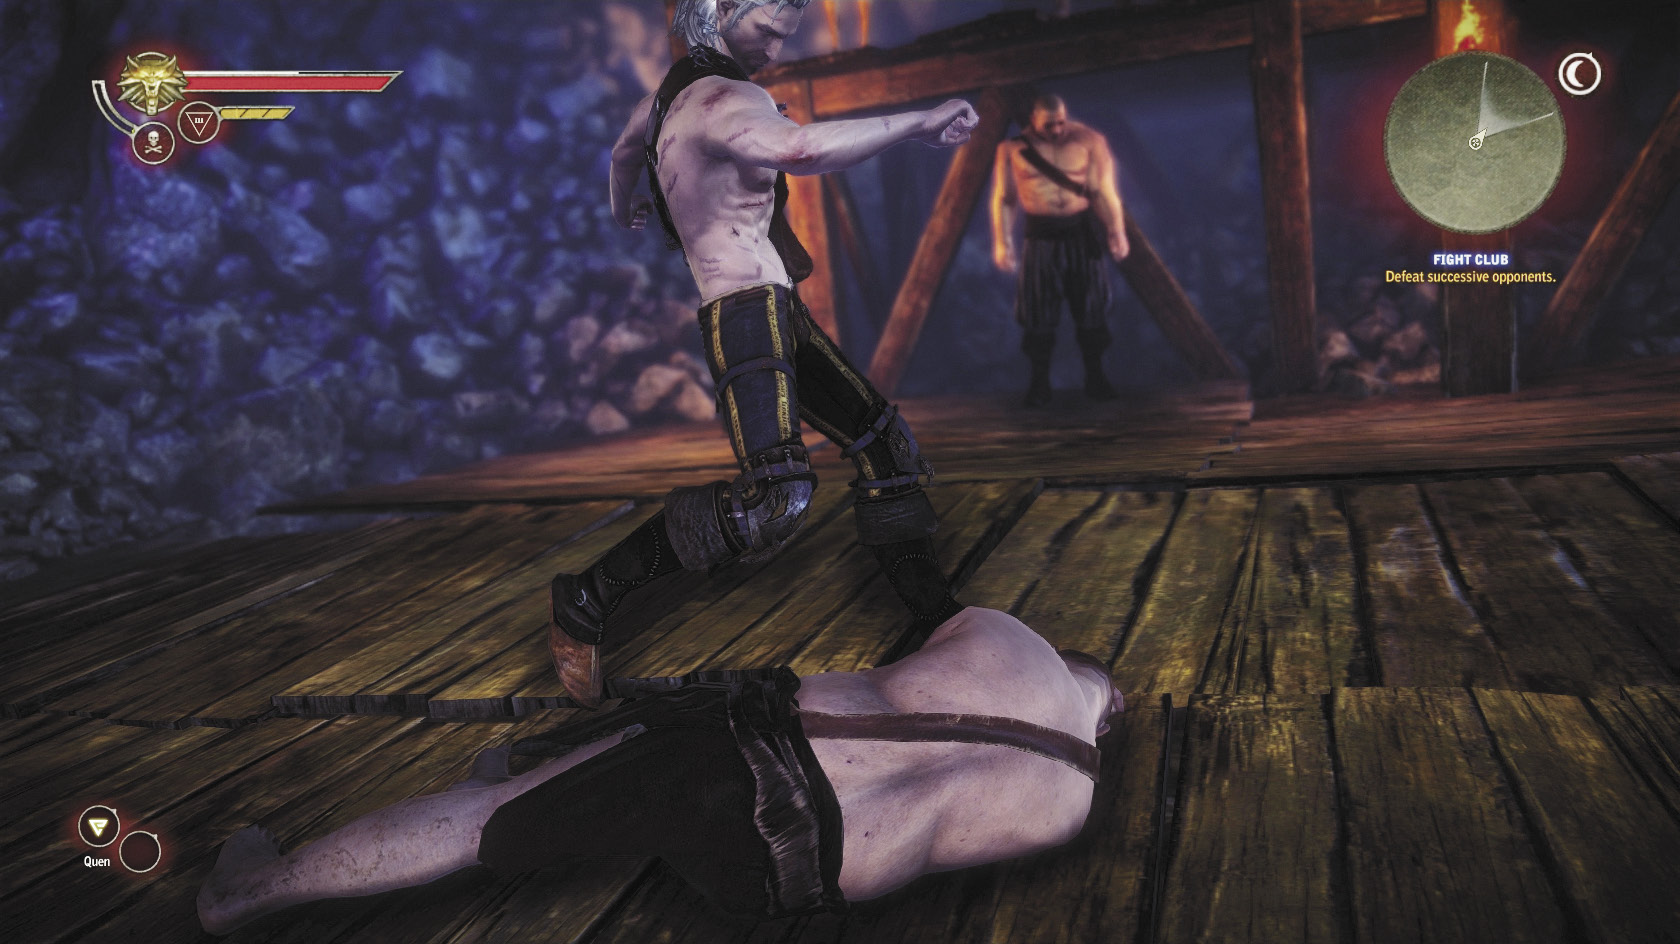
Before you fight Zdenek, you have a conversation with Loredo where he orders you to throw the fight. If you agree and make sure not to defeat Zdenek, Loredo throws you out of the compound. You get 60 XP and 250 orens. The quest will be marked failed and you find out you caused Dandelion to lose all of his money (again).
If you say “And I’m not a conman,” then the quest proceeds normally. After you beat Zdenek, you get 200 orens and 100 XP. Loredo threatens you on the way out and you should take this threat seriously. After you get the quest XP, immediately go to the gate guard and get your swords back. Make a point of re-equipping all of your armor.
A couple of thugs working for Loredo are going to hang around the door that connects the Craftsman’s District to the town square. They attack you as soon as you draw near to them. They’re unarmored, so they won’t be any threat if you’ve re-equipped all of your gear. It is possible to avoid the thugs by simply going around them, since there are other ways to move from the Craftsman’s District to the town square. They remain inconveniently in that location until you kill them, though. You might as well take care of it now.
|
The most obvious reference here is the name of the quest, which is an homage to the film Fight Club. A more subtle one is the final opponent you fight, Zdenek. In the original PC game The Witcher, Zdenek was an “ultimate fistfighter” who lived in the swamps near Vizima. |
|
Another easter egg is the NPC, King Ziggy. He’s named in homage to two different real people, the boxing promoters Don King and Ziggy Rosalski. Also, if you throw the fight as Loredo asks, Dandelion makes reference to a “little kayran” in the subsequent cutscenes. This is a reference to Paul the Octopus, the mascot of the 2010 FIFA World Cup. |
 Side Quest: Bring It On: Flotsam
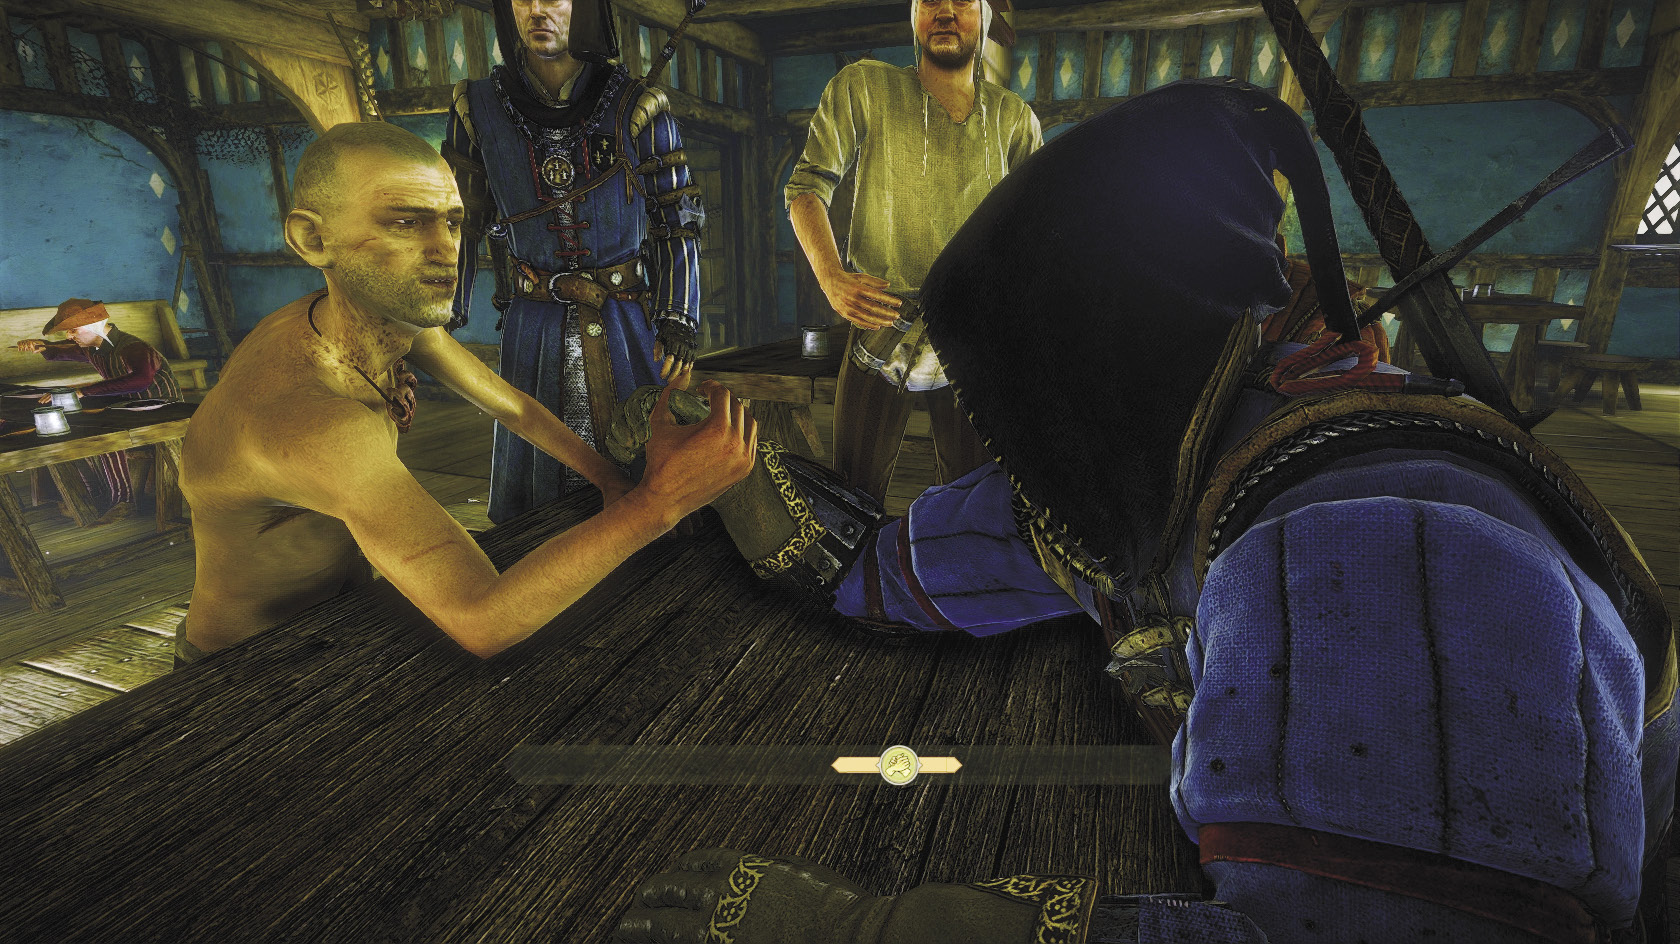
This is the arm-wrestling quest for Flotsam, and probably the most lucrative of the mini-game side quests for this chapter. To initiate it, go talk to Zoltan at the inn and pick the dialogue option that has the arm-wrestling icon next to it (“Managed to stay in shape, Zoltan?”). The match with Zoltan is something of a tutorial that you can’t wager on, so you can just repeat it until you get the hang of arm-wrestling well enough to beat him.
After you beat Zoltan, go talk to a fellow named Skinny Sten who sits at the wooden table to the right of the inn’s harbor entrance. You may want to save your game before you face him, since you have to wager orens in this bout. Once you beat Skinny Sten, you get 10 XP and double whatever amount of orens you bet on that round. Skinny Sten’s maximum wager is 15, so you can earn up to 30 orens by beating him. The penalty for losing an arm-wrestling bout is losing twice your bet, which is why it’s a good idea to save before a match. You can hold onto your money by reloading your game after a loss.
Skinny Sten suggests you challenge Wiry Wilks, who is conveniently sitting at the same table. He’s also worth 10 XP to beat and double your bet, up to a max of 50 orens. After you beat Wiry Wilks, you’re urged to take on Big Max. Beating Big Max is worth another 10 XP and up to 60 orens, depending on your bet. Big Max tells you to go look for Bartholomew Bargee in Lobinden, who has never been beaten. He’s your final opponent for this side quest.
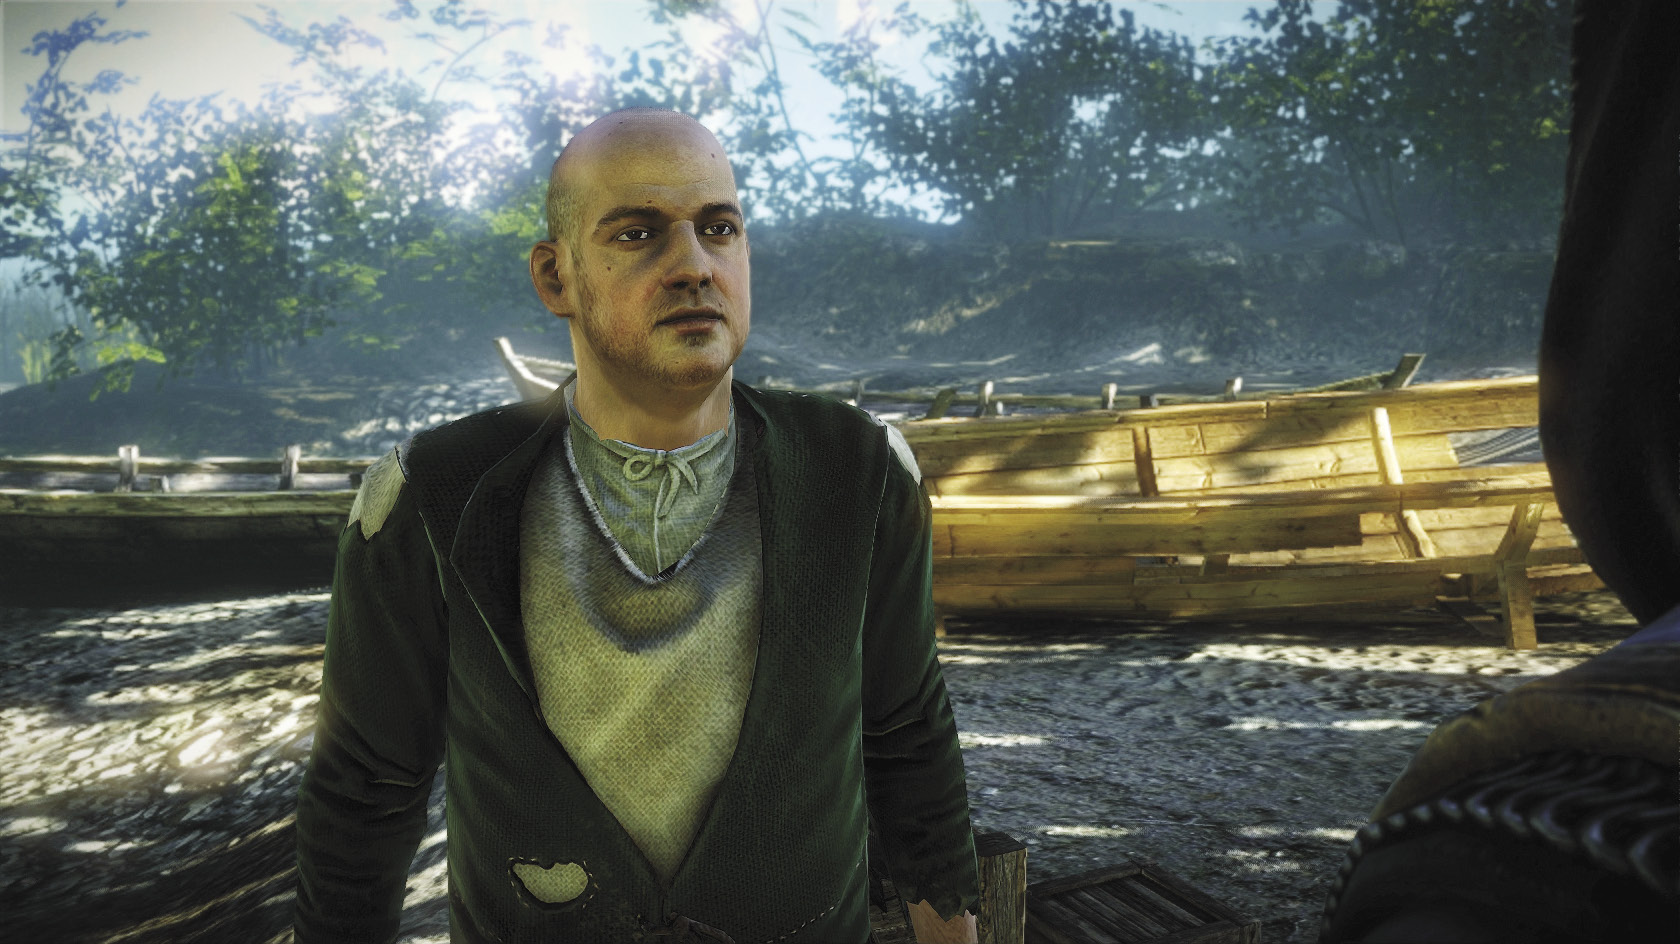
You should set out to find Bargee during the day. He’s at the far northeast end of Lobinden, building boats. If you head out at night, Bargee is in his home and will not wrestle you. His minimum bet is 50 orens and his maximum is 100, so you can earn up to 200 orens for beating him. You definitely want to save before facing him, because he’s a far more challenging opponent than anyone you’ve faced before. Once he’s defeated, you get 20 XP and clear the quest. If you beat every prior opponent after making a maximum bet, you’re also 340 orens richer.
All of the other arm-wrestling opponents let you challenge them again freely after you’ve beaten them once, but you can only challenge Bargee once. If you’ve completed this quest, the dice poker quest, and a fistfighting quest, you should unlock the Gambler achievement. By the way, the characters that Zoltan and Bargee mention after you defeat them can be encountered in Chapter 2.
How to Win at Arm-Wrestling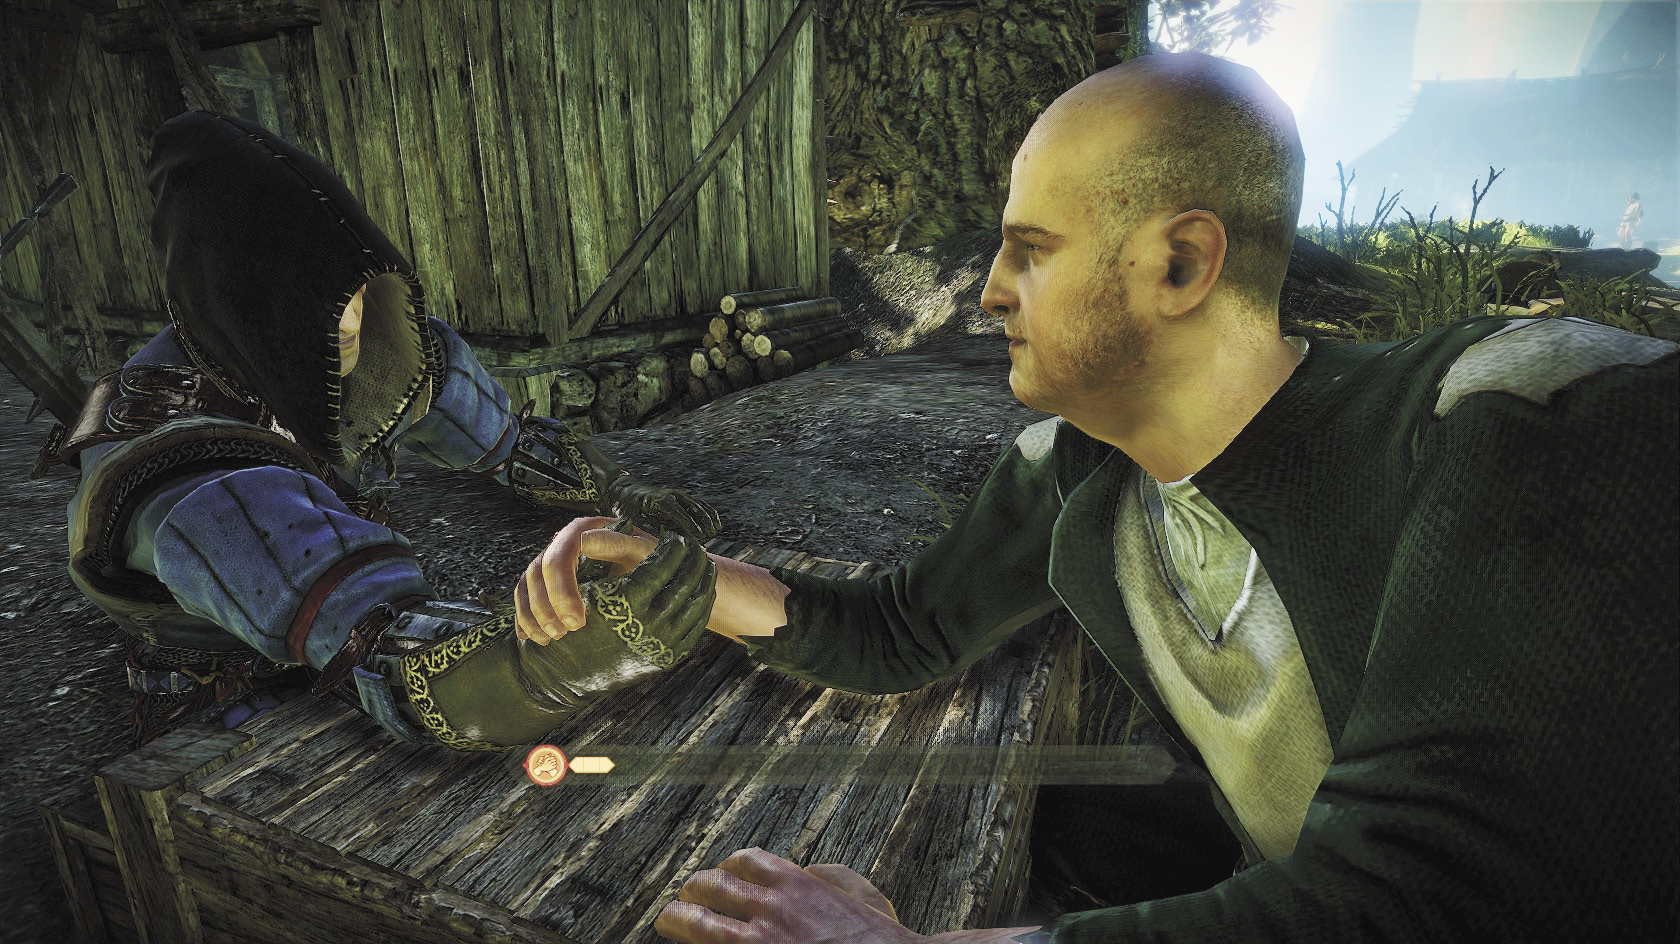 Wrestling is not an especially difficult mini-game, but it can be very counterintuitive and difficult to learn. The goal of an arm-wrestling match is to keep the reticle with the arm-wrestling icon in the center of the brown bar. If Geralt has momentum, the bar moves toward the right-hand side of the screen. If he’s losing momentum, it moves toward the left. The trick to arm-wrestling is that the pressure you must apply to the control stick is usually very gentle, similar to the very light taps you use for rolling dice. Only occasionally, when fighting more difficult opponents like Bargee, will you want to apply any sort of significant pressure. Most of the time, moving the control stick the way you would to make Geralt walk around is almost guaranteed to make the reticle fly out of the bar and make you lose momentum. Instead use very light taps and constantly judge the jitter that’s affecting the reticle. Sometimes the reticle is inclined to stay in the center of the bar once you have momentum, and applying any pressure would be to your detriment. 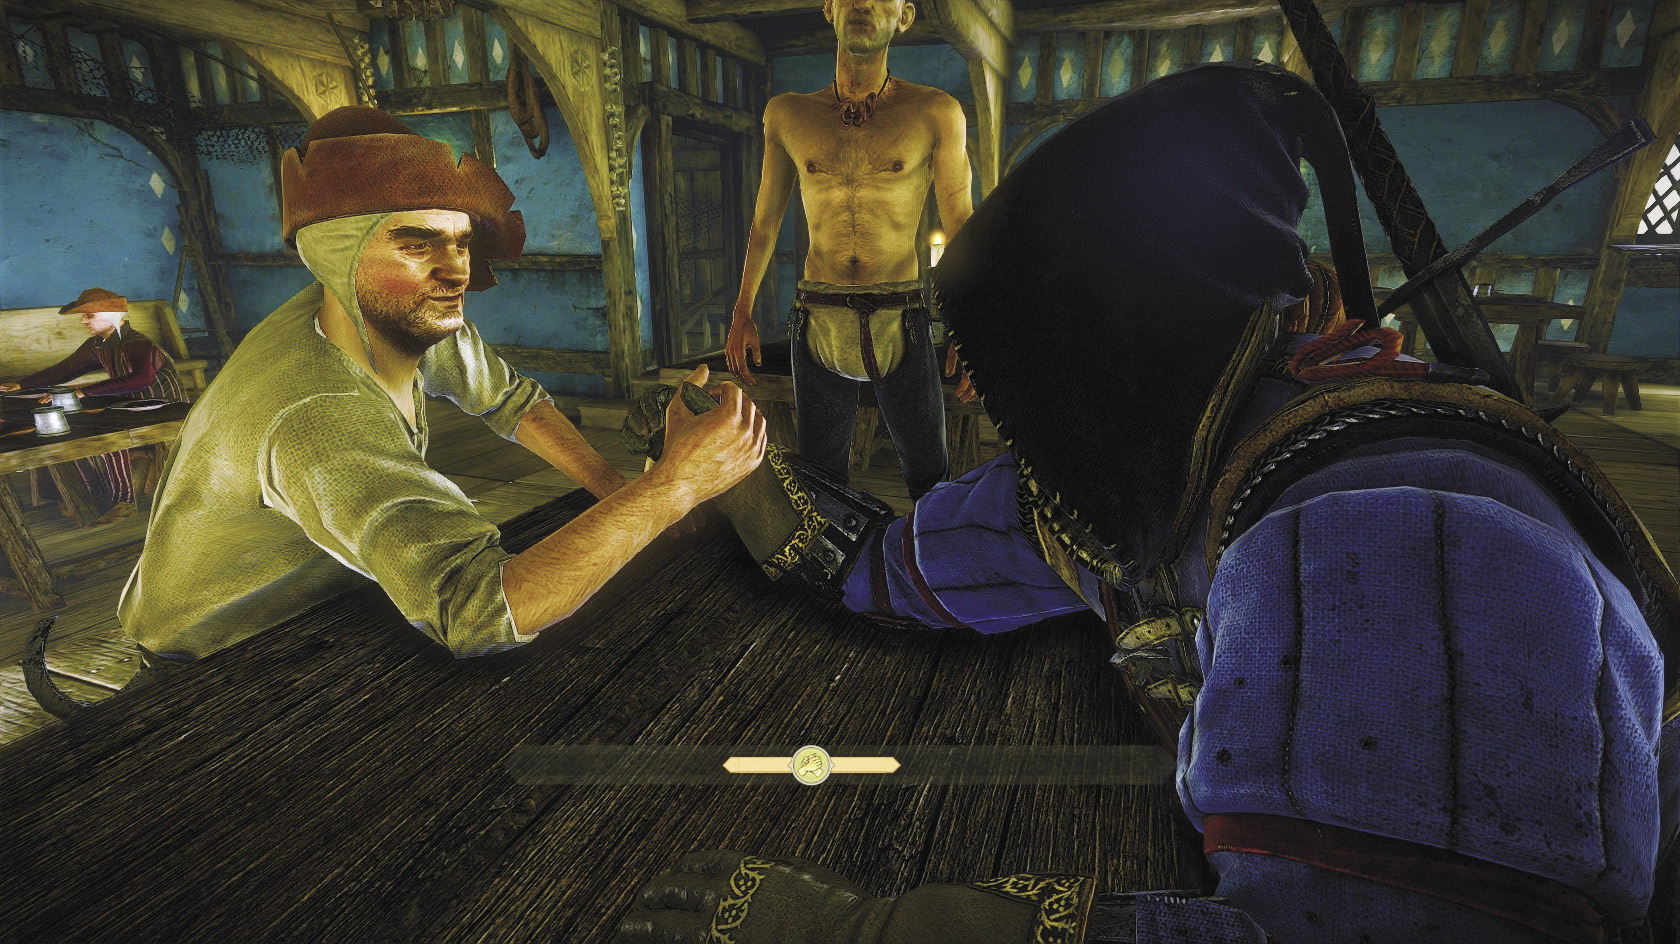 The bar gets narrower as it approaches either end of the screen, which makes screwing up your own momentum easier and trying to gain momentum from an opponent more difficult. Once you’ve done a lot of arm-wrestling, you’ll develop an intuitive sense for the bar’s size, the reticle’s momentum, and how much pressure to apply to the control stick to get desired results. In the meantime, just make sure you save before facing challenging opponents that require high bets, like Bartholomew Bargee. One thing to remember is that the longer a bout lasts, the harder it becomes for either side to reverse momentum. |
Now that the mini-game quests are done, it’s time to attempt more dangerous quests like monster hunts. To get Geralt ready for that, we’re going to focus on the main plot for just a little while.
 Indecent Proposal
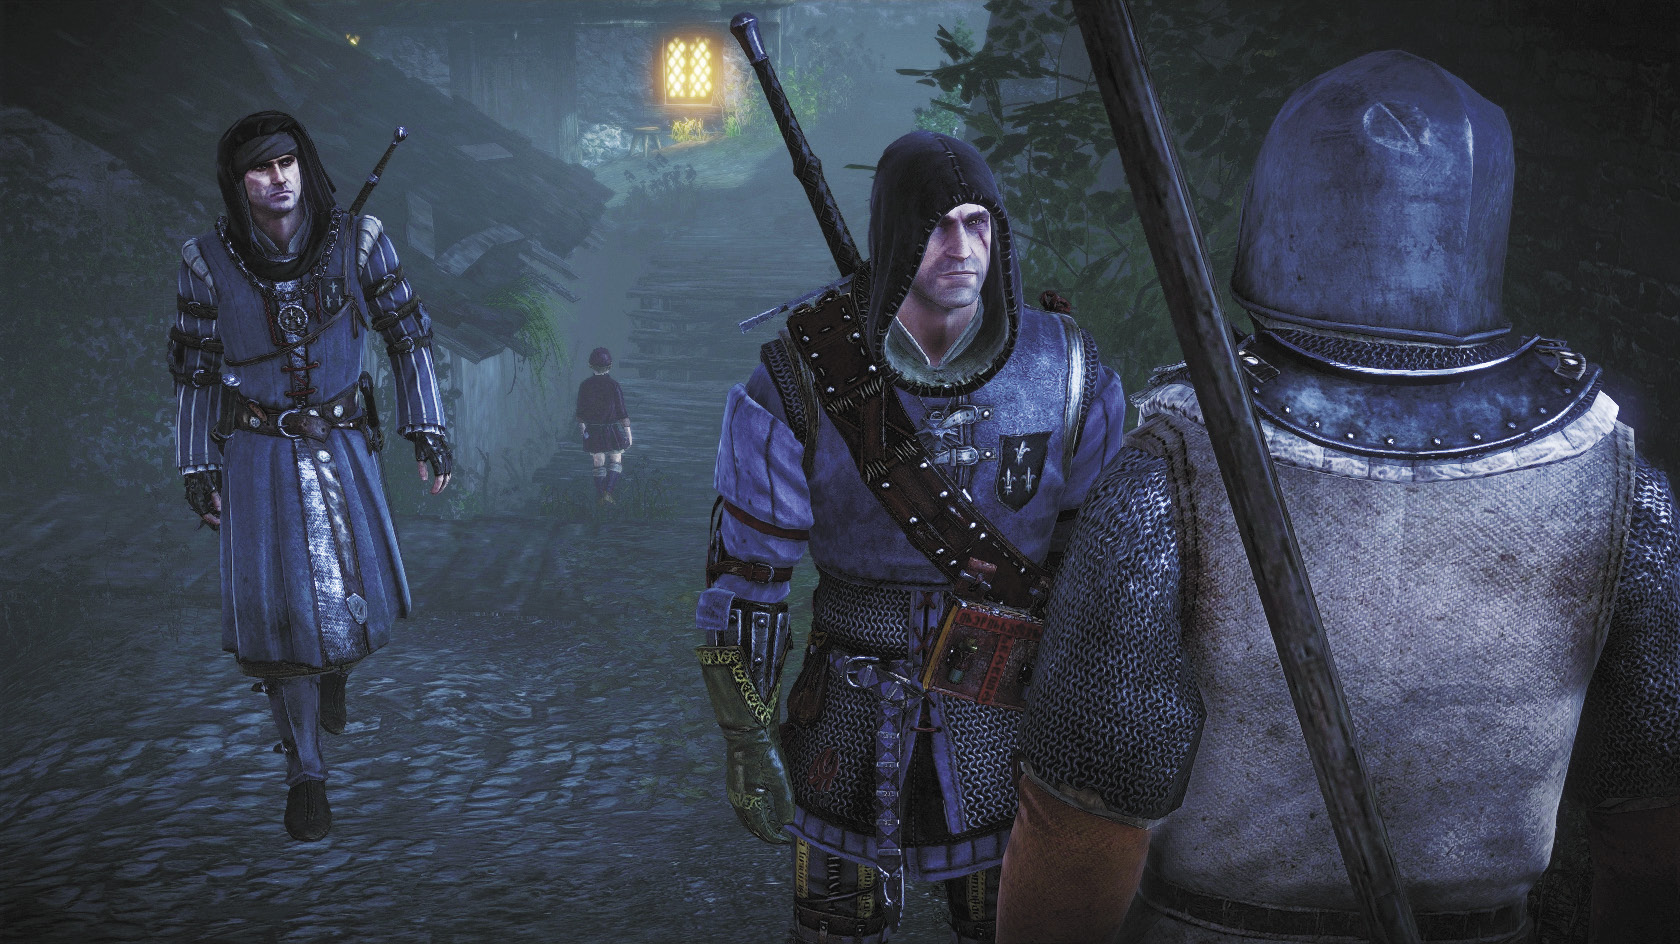
Time to pay Loredo a visit. Meditate until midnight, then go to the entrance into his compound. Roche appears to enter the area with you. You can follow Roche or scan the area and look for opportunities to find loot (if you didn’t come here earlier as part of Fight Club). Roche immediately notices that Loredo has a ballista in his compound, which triggers a sub-quest you need to resolve before you can proceed any further.
 The Ballista
Roche wants Geralt to find a way to disable Loredo’s ballista. It’s being guarded, so you can’t just walk up to it. Instead, look around the courtyard for a potential distraction, like perhaps Margarita the prostitute. Once you spot her, go have a chat. She’s willing to go distract the guard, but only for the right price. The amount she charges is random, but should be trifling (less than 100 orens). You can always just buy her off by offering her maximum bid.
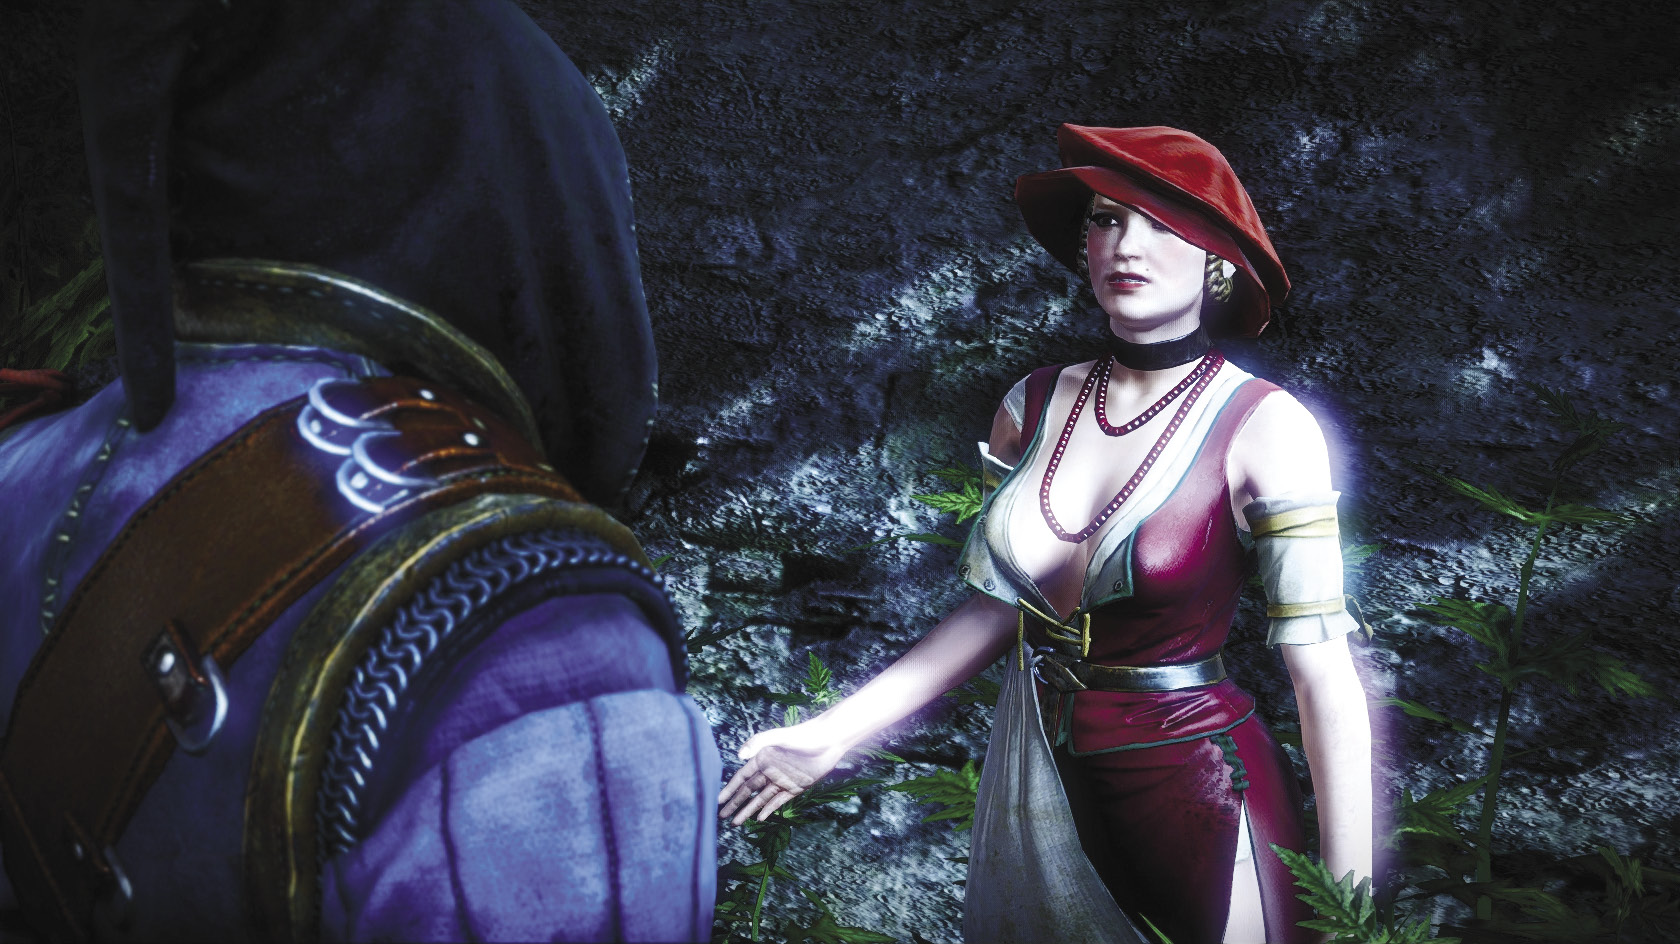
Of course, there’s also a cheapskate way to get Margarita’s services. Ask her if there’s any other way you can convince her and she says that she’ll distract the guard if you sufficiently humiliate a couple of big lugs named Myron and Alphonse she doesn’t especially like. Humiliating them means beating them in arm-wrestling, which should be a snap if you’ve already beaten Bartholomew Bargee. You don’t have to wager anything in these bouts and you get 50 additional XP for beating them both.
Go talk to Margarita once you’ve won. Follow her and wait until she’s led the guard all the way off of the ballista’s platform, then head up and sabotage it by pressing the interaction button. This finishes off the quest and gives you 100 XP.
 Indecent Proposal
Now go talk to Roche, who is at the top of the stairway that leads into Loredo’s headquarters. You’re told that Loredo is meeting with Síle, so he won’t see you right now. Follow Roche down the stairway and speak to him at the bottom. Ask him “What now?” and Roche says that all the guards around make him suspicious, so he wants Geralt to sneak around a bit after he’s distracted them.
A merchant then heads over and says that he has an offer for Geralt. Hear him out. The merchant confirms that the guards are watching something that would be very useful to Geralt, a part that’s necessary for making the kayran trap. This is the only way to obtain the part, so you might as well do it. Get ready for a stealth mission. Drinking a Cat potion right now can be very useful, as it lets you effectively see through walls to track the guards’ movements. The only downside to using Cat here is that it’s going to make a couple of cutscenes you trigger look rather disturbing.
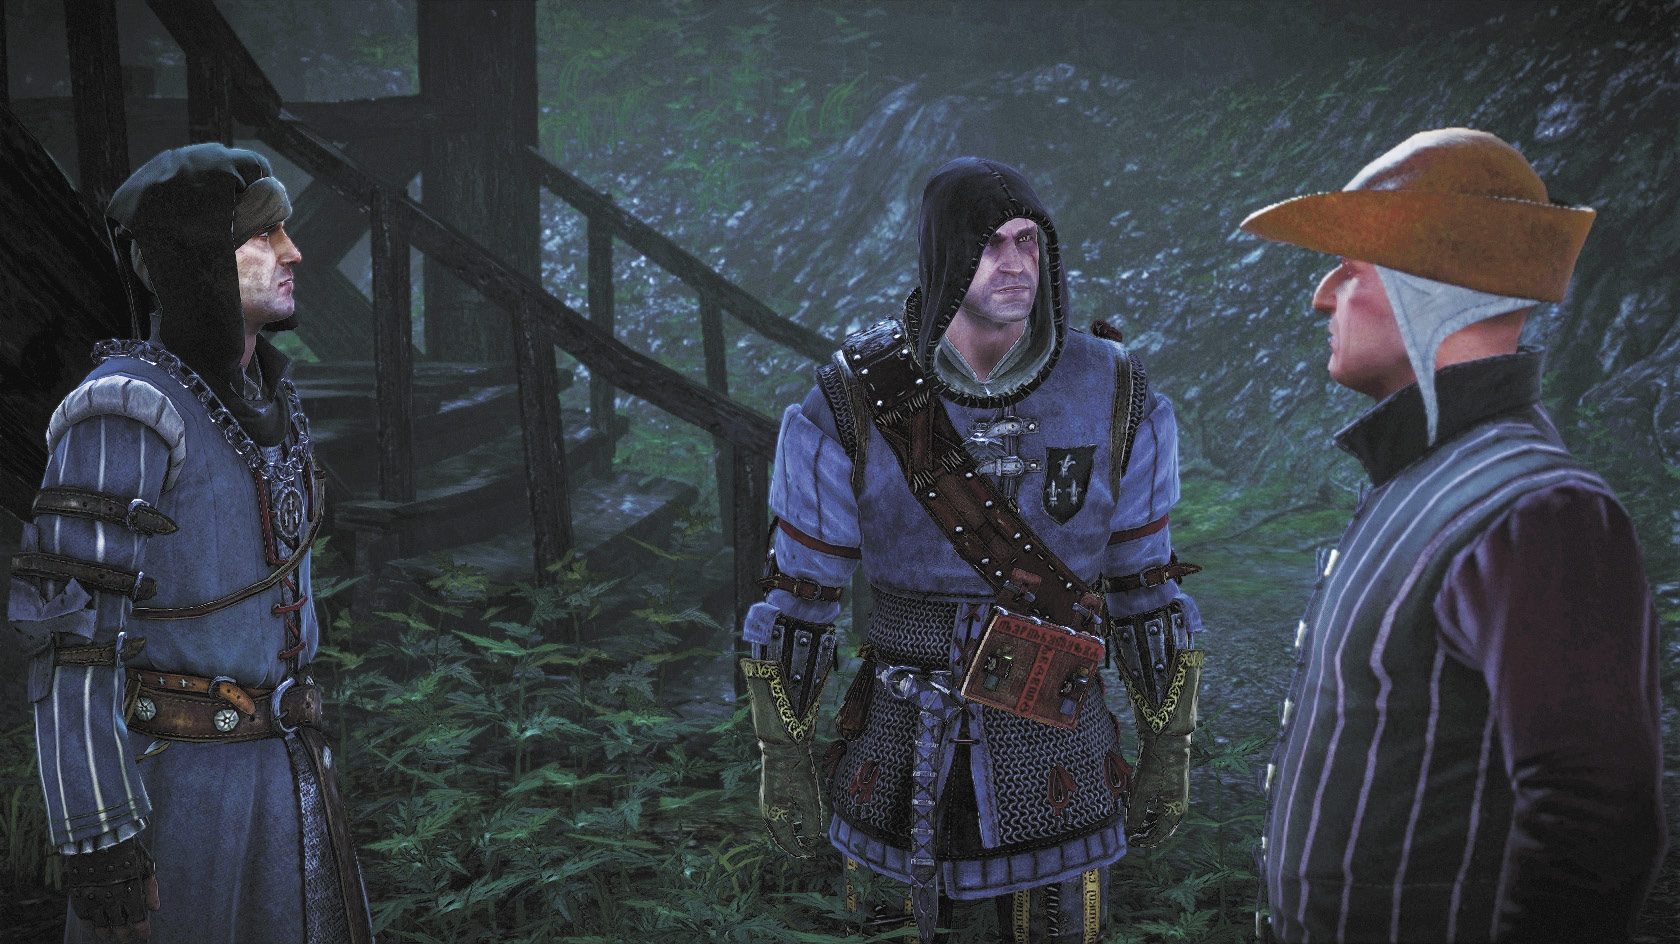
Roche gives you an opening by ordering the arbalist guarding the path that leads behind Loredo’s headquarters away. At the big rock just beyond that, take the right fork. A guard patrols the left fork. Make sure you aren’t seen and you can simply slip around him. Round the corner, being careful not to make noise by bumping into any of the buckets lying on the ground. There should be a guard taking a quick piss just beyond the corner, with his back to you. Move up to him quickly and stun him. If you try to just climb the rock while his back is turned, you’re going to get caught.
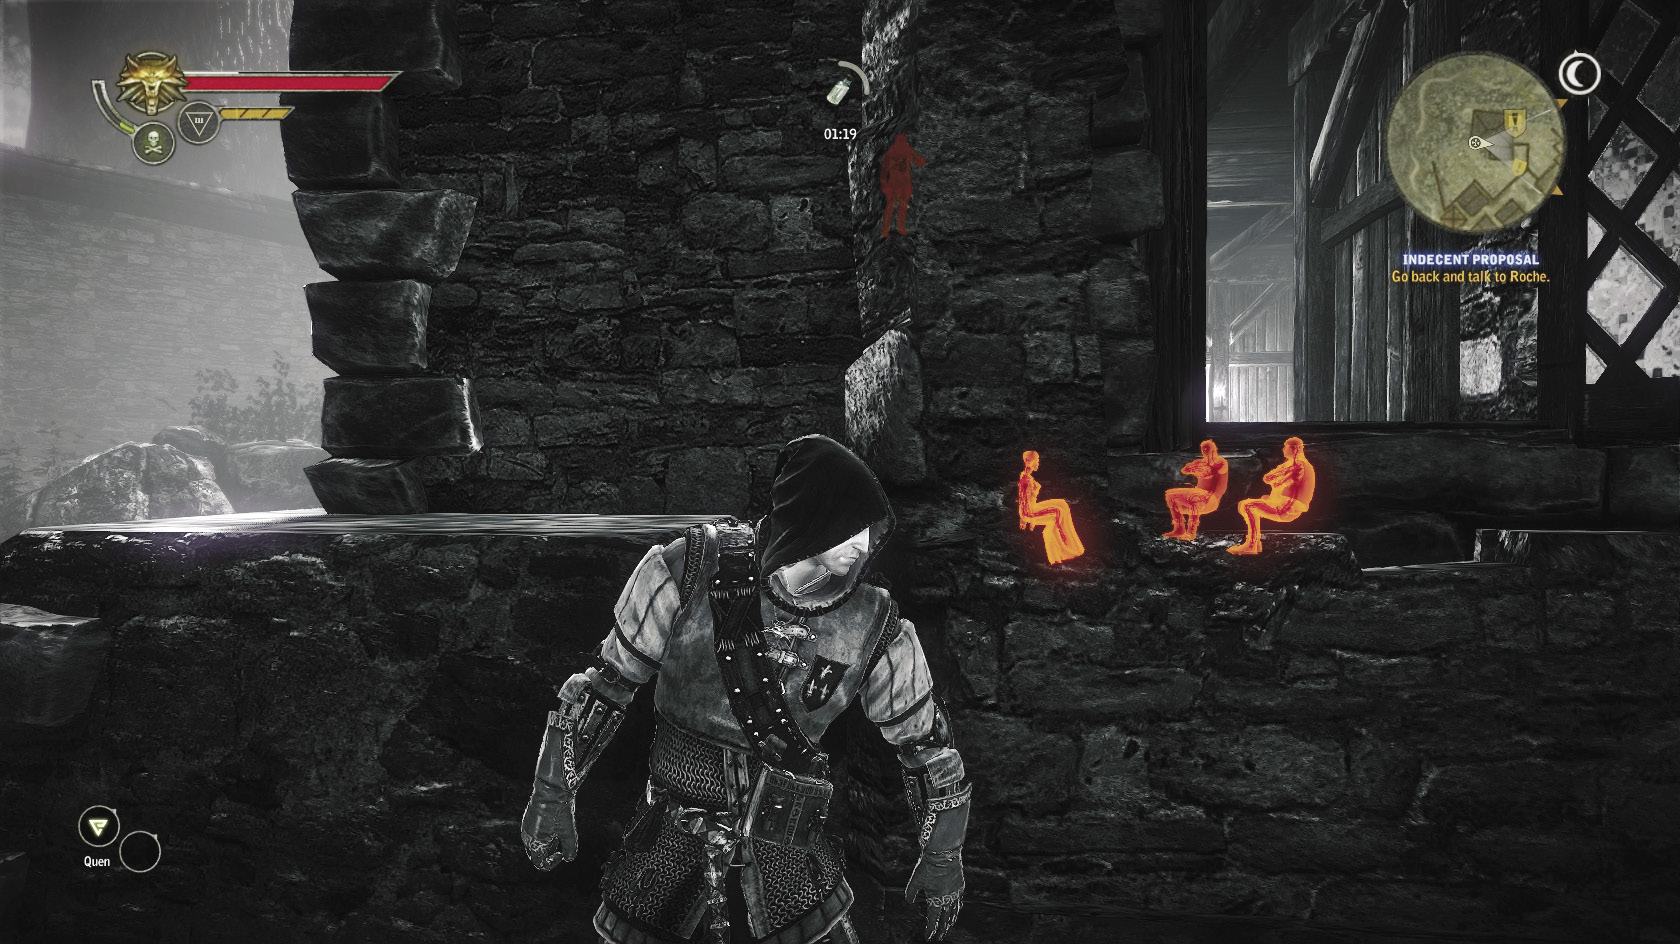
You can’t get through the locked door, but there’s a series of walls you can climb over just a few paces away. Use that to cross into the inner courtyard of Loredo’s compound. The game auto-saves once you’ve dropped into the inner courtyard and moved against the wall on the opposite side. A cutscene shows you a glimpse of Síle in a window. It’s time to drop some eaves.
Wait for the guard on the other side of the wall you’re hugging to walk forward from it. Move up behind him and stun him, then head back to the other side of the wall and climb up the platforms beneath the window where you saw Síle earlier. Press yourself against the wall and press the interaction button to listen in on Loredo and Síle’s conversation. Doing this awards you 150 XP.
At this point you can backtrack and go talk to Roche, but that means you don’t get the part for the kayran trap. Instead, snoop around the courtyard a bit more. From the platforms you’re standing on, you should be able to see the walking patterns of the remaining guards. One is over by the entrance to the underground arena used in Fight Club, patrolling a series of low walls behind some piles of lumber. If you’ve done Fight Club already, you’ve already looted everything of interest in that area and can safely ignore it.
The other guard is patrolling an area near the compound’s far wall. This is the guy you need to take out to get the part for the kayran trap. Head over the wall near the guard’s path and wait for him to begin moving to the right. Quickly get behind him and stun him when he stops. The timing for this can be tricky, since this guard tends to turn his side to you. It’s easy for Geralt to accidentally end up in his field of vision. Just keep trying until you manage to get behind him and knock him over.
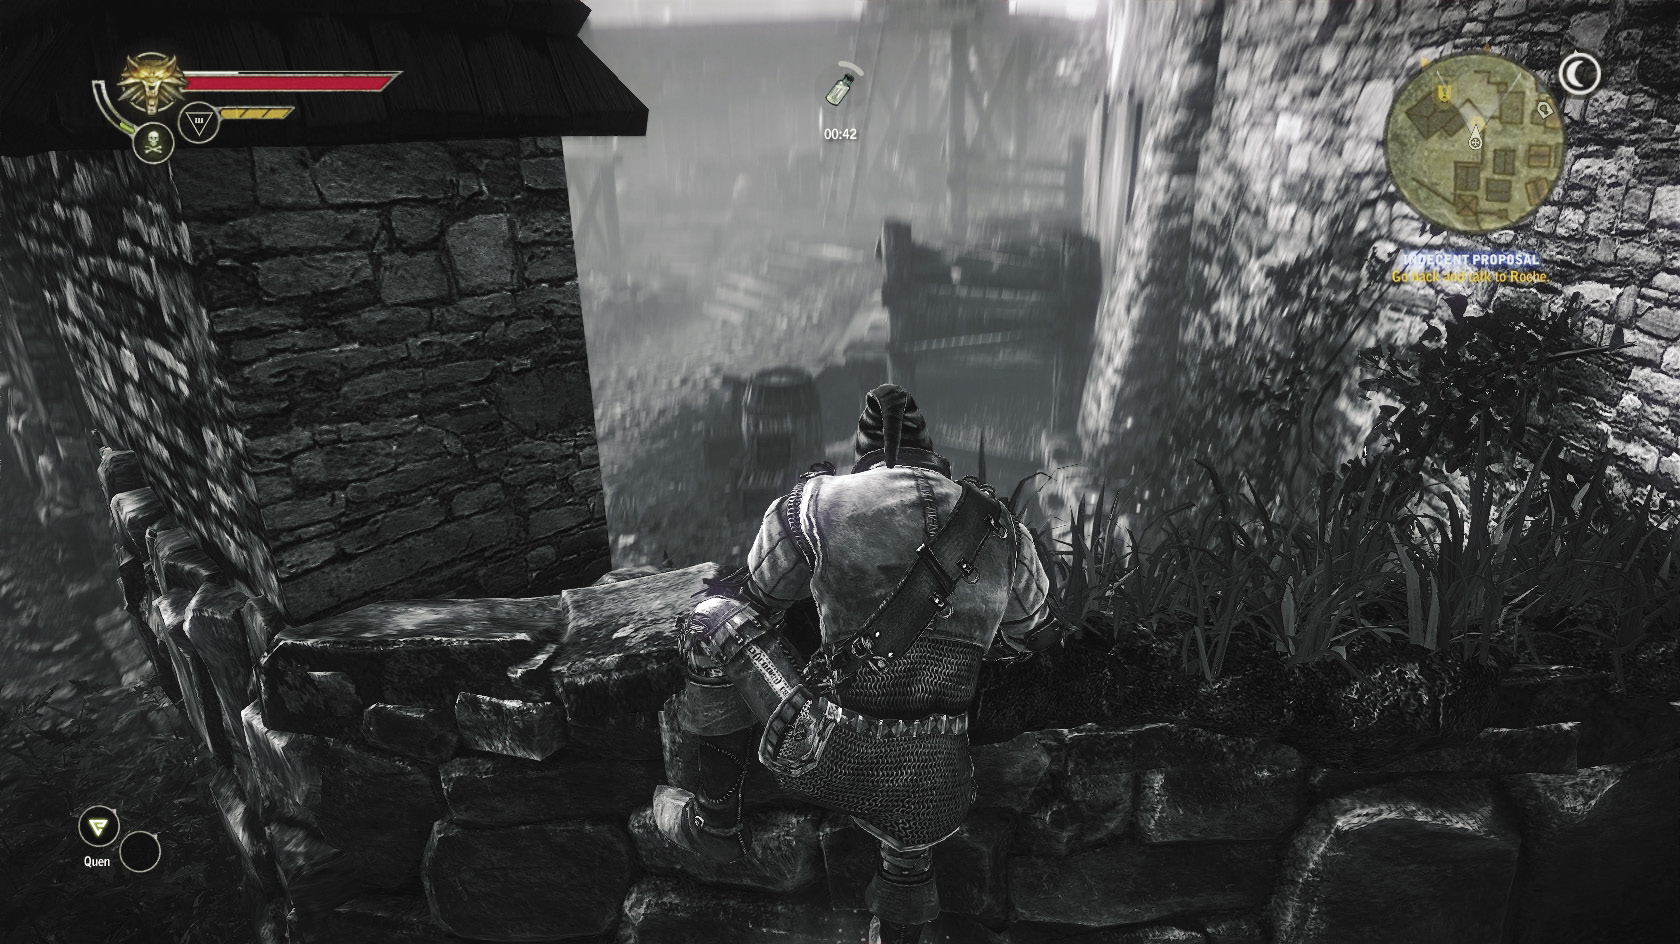
Leap over the low wall near the door this guard was watching. Inside is an area where a trunk shimmers orange. Loot that trunk to obtain the iron frame, the diagram for the robust witcher’s silver sword, Astrogarus’s armor, and a fibre enhancer. You should also unlock the Man of the Shadows achievement. Once you’ve got these treasures, climb up one of the ladders and to the end of one of the wooden planks. Interact to drop down into the courtyard where you left Roche waiting for you. Now you can casually walk up to him and tell him about what you saw through Loredo’s window. At this point in the quest you get another 150 XP.
Follow Roche up the stairs. When you ask to see Loredo this time, you’re allowed to go in (but Roche is forced to wait outside). Regardless of how you make choices in this conversation, eventually it becomes clear that in addition to wanting you to kill the kayran, Loredo would also like you to work with him to capture or kill Iorveth. Whether you agree to take Loredo’s deal or refuse has no effect on your game, but it does affect your journal text. After the conversation ends, loot Loredo’s room and then exit the compound. This completes the quest and gives you a 300 XP reward.
|
Like many quests in this game, Indecent Proposal is named in homage to a film that goes by the same name. |
 Side Quest: Hung Over
Wondering where Roche went? Head over to the Blue Stripes headquarters in the town square. You can talk to him there and also find his assistant, Ves, hanging out with a few of her Blue Stripes drinking buddies. Talk to her to initiate this quest. When she asks you if you care to try her in knife-throwing, say yes.
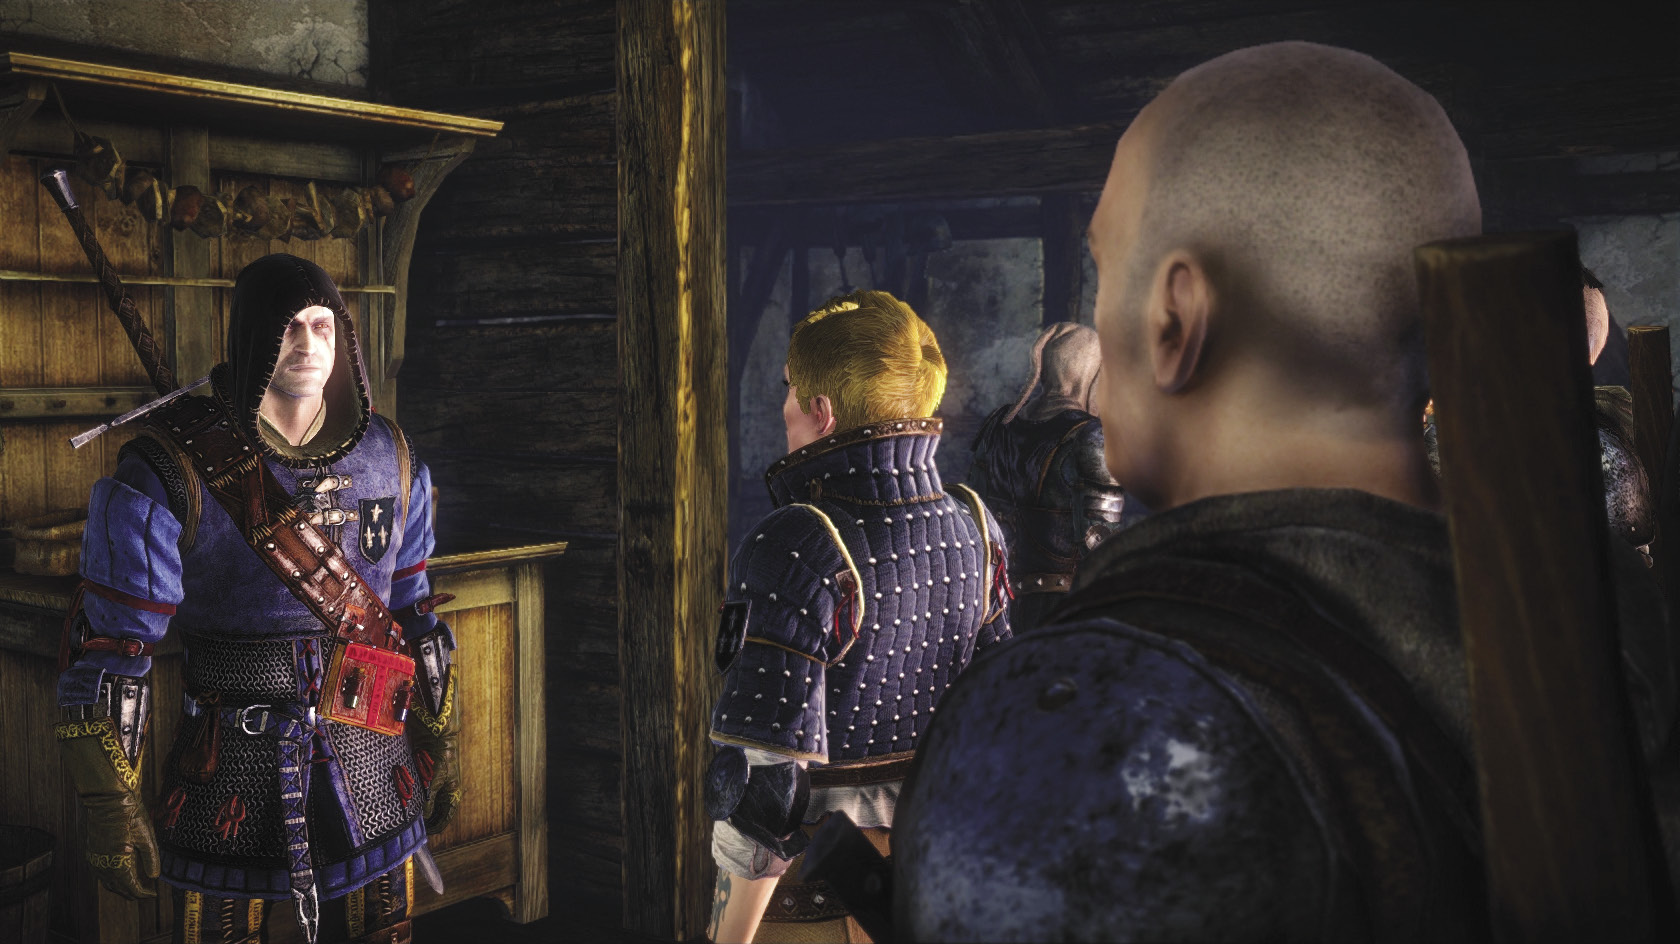
You enter a mini-game where you need to hit targets in the room as the soldiers call them out. Typically, Geralt is asked to hit first the map on the wall, then the cured ham dangling from the ceiling, and then the oar hanging in the corner. If you hit all three targets without missing or spending too long aiming, Geralt wins. Beating Ves lets you gain the Thrower attribute and win the diagram of the well-balanced dagger. Both are very worthwhile to have.
After the incident with Roche and the peasant, agree to have a drink to keep the quest going. A few beers later, Geralt gets a chance to arm-wrestle Fenn and Thirteen. If you beat them both, you get the sword of Creyden. This isn’t an especially good steel sword, but it’s the only chance you have to obtain it.
The next day, after copious amounts of alcohol, Geralt wakes up mostly naked on the beach with all his stuff gone and a crazy tattoo on his neck. A local offers to tell Geralt what happened in return for a bribe. You can either bribe the fisherman or attempt to get him to tell you what happened for free with a special intimidation decision. The fisherman’s maximum bribe is only a pittance, 33 orens, so pay up.
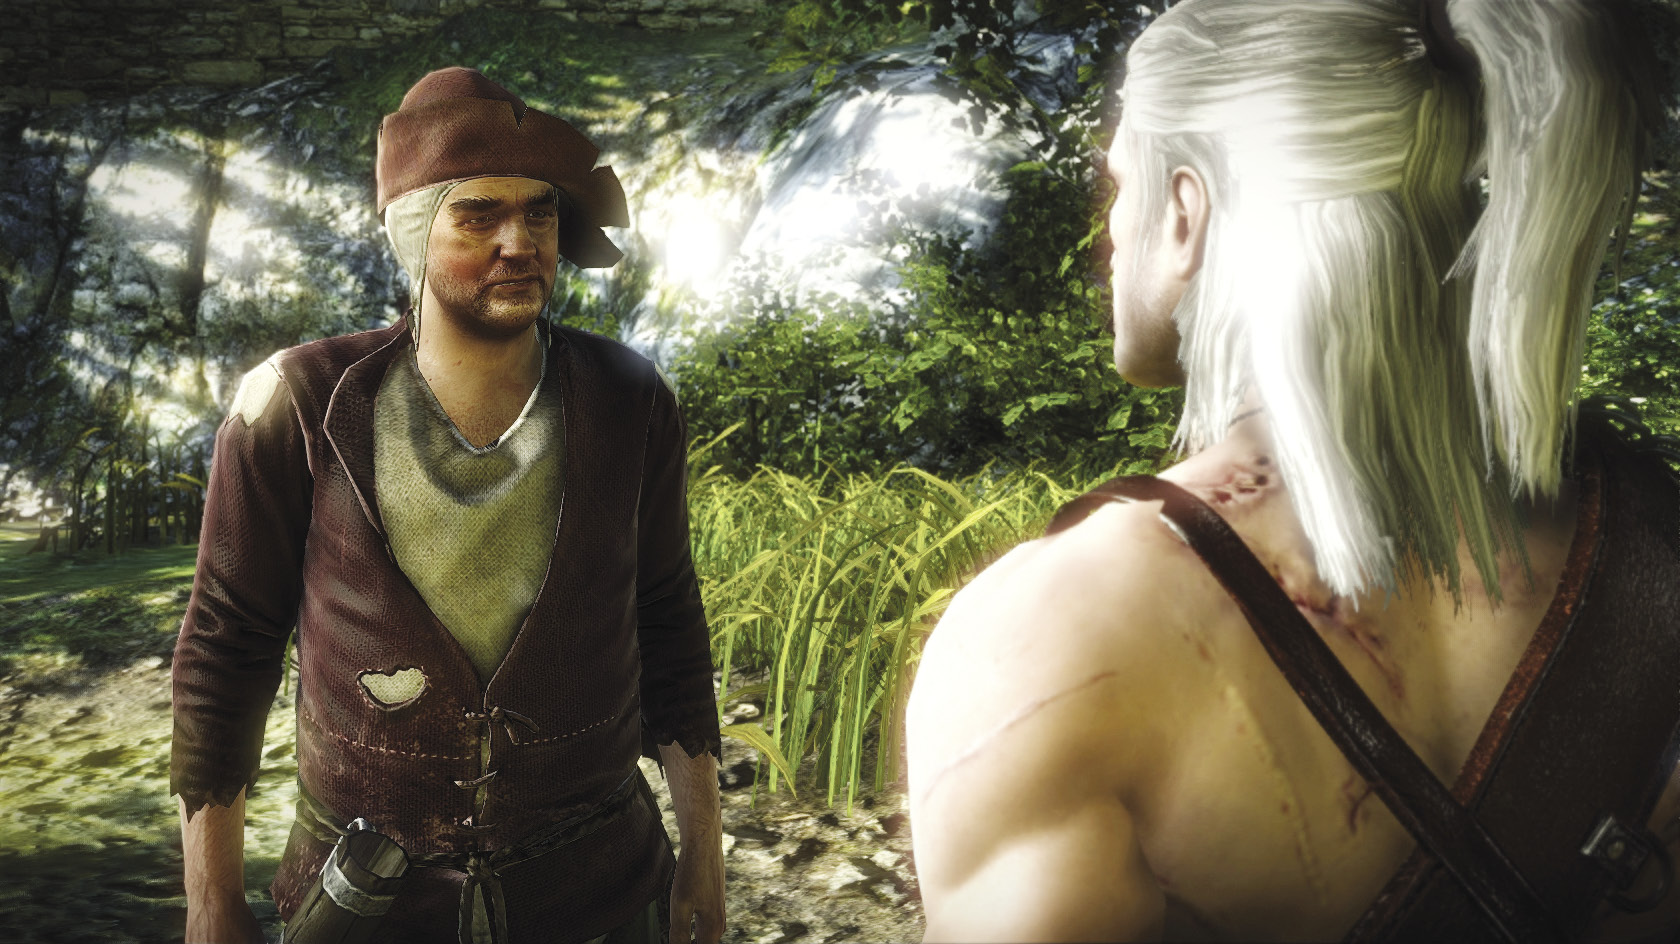
The fisherman tells you to go talk to Madame Margot at the brothel, so head for the Flotsam inn. She won’t tell you what happened to you last night unless you bribe her, and this time, there’s no alternative option. Her max is fortunately also a pittance, a mere 31 orens, so pay up again. After you hear Margot’s story about your ill-advised whore-based watercraft adventure, go talk to Ves at the Blue Stripes headquarters. She gives you a key, which lets you open the locked box by the window. It contains your gear and a deep sense of shame. You gain 50 XP.
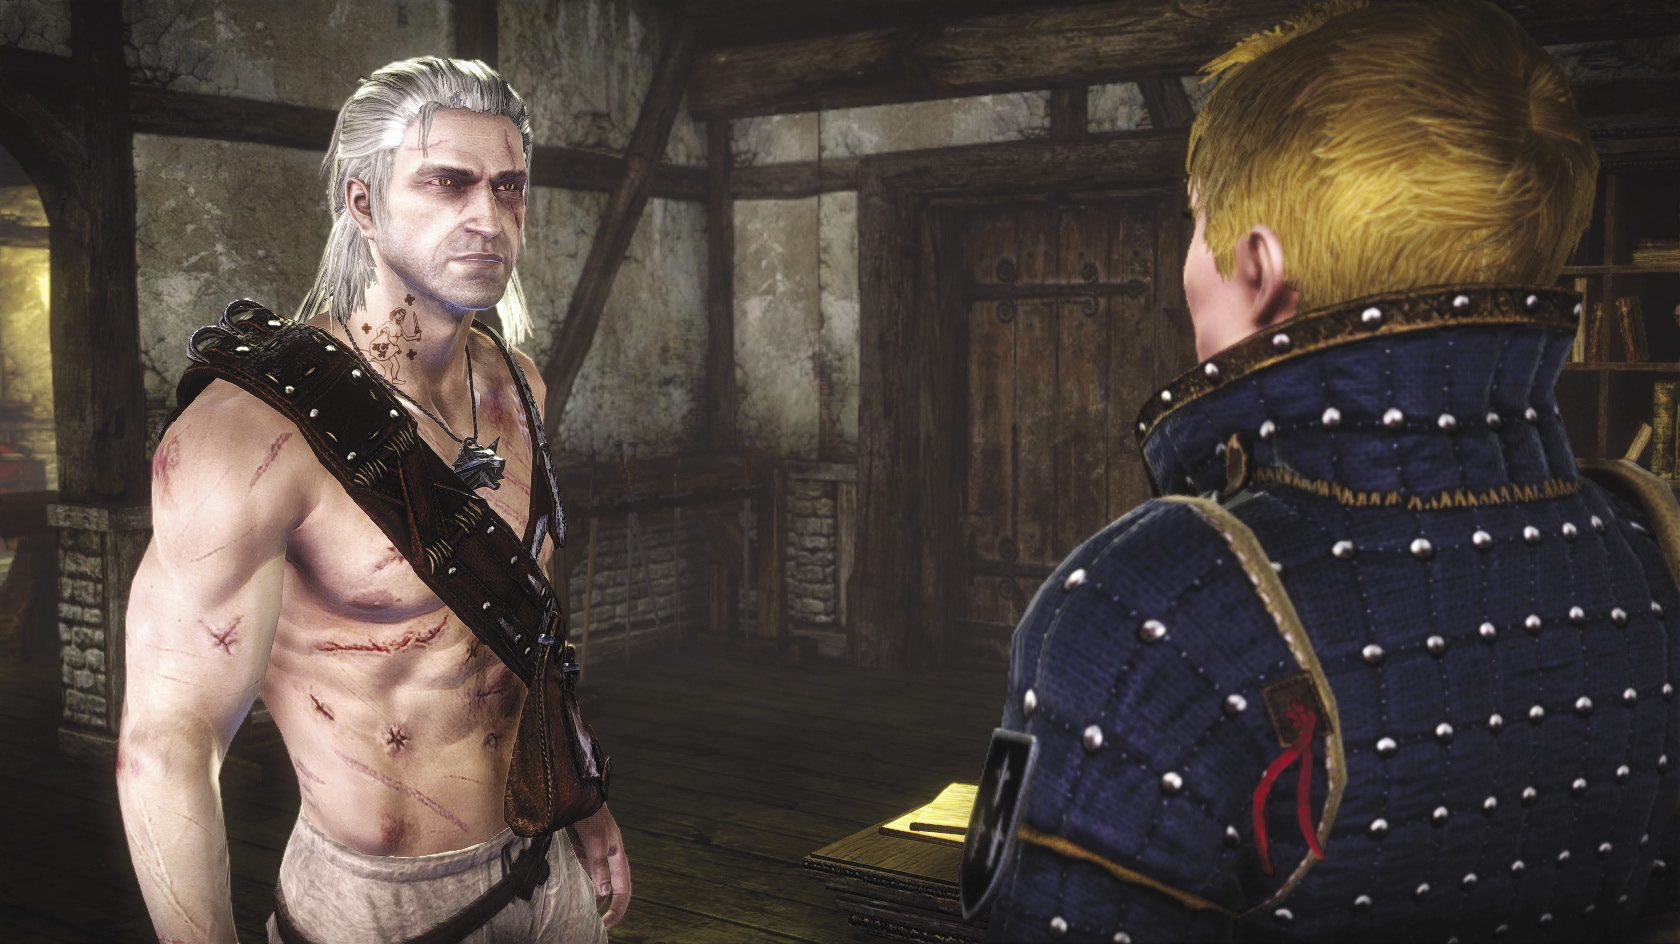
Go talk to Triss at the Flotsam inn now. Ask her if she knows how to remove a tattoo. When she gets done laughing at you, she says she can remove the tattoo with green mold, white myrtle petals, and wolf’s aloe leaves. You’re probably swimming in white myrtle petals if you’ve been picking herbs diligently, but you’ll have to buy the wolf’s aloe leaves and green mold from Anezka. Of course, you can also opt to keep the tattoo if you like the way it looks.
|
Geralt’s drunk adventure and the ensuing tattoo, just like the title of this quest, are a reference to the film The Hangover. As an extra easter egg, the soldier Thirteen is named in homage to a character from the television show House, M.D. (Yeah, we know the Thirteen in the TV show is a woman. That’s still who he’s named after.) |
 A Sword for Monsters
Now sober and (hopefully) awash in orens from loot and winnings, it should be trivial to get Geralt a new silver sword so he can go kill some monsters. You can buy one or forge one, but as soon as some sort of silver sword is in Geralt’s inventory this quest is over. You’ve got four basic options that don’t involve setting foot in the forest or other monster-infested areas.
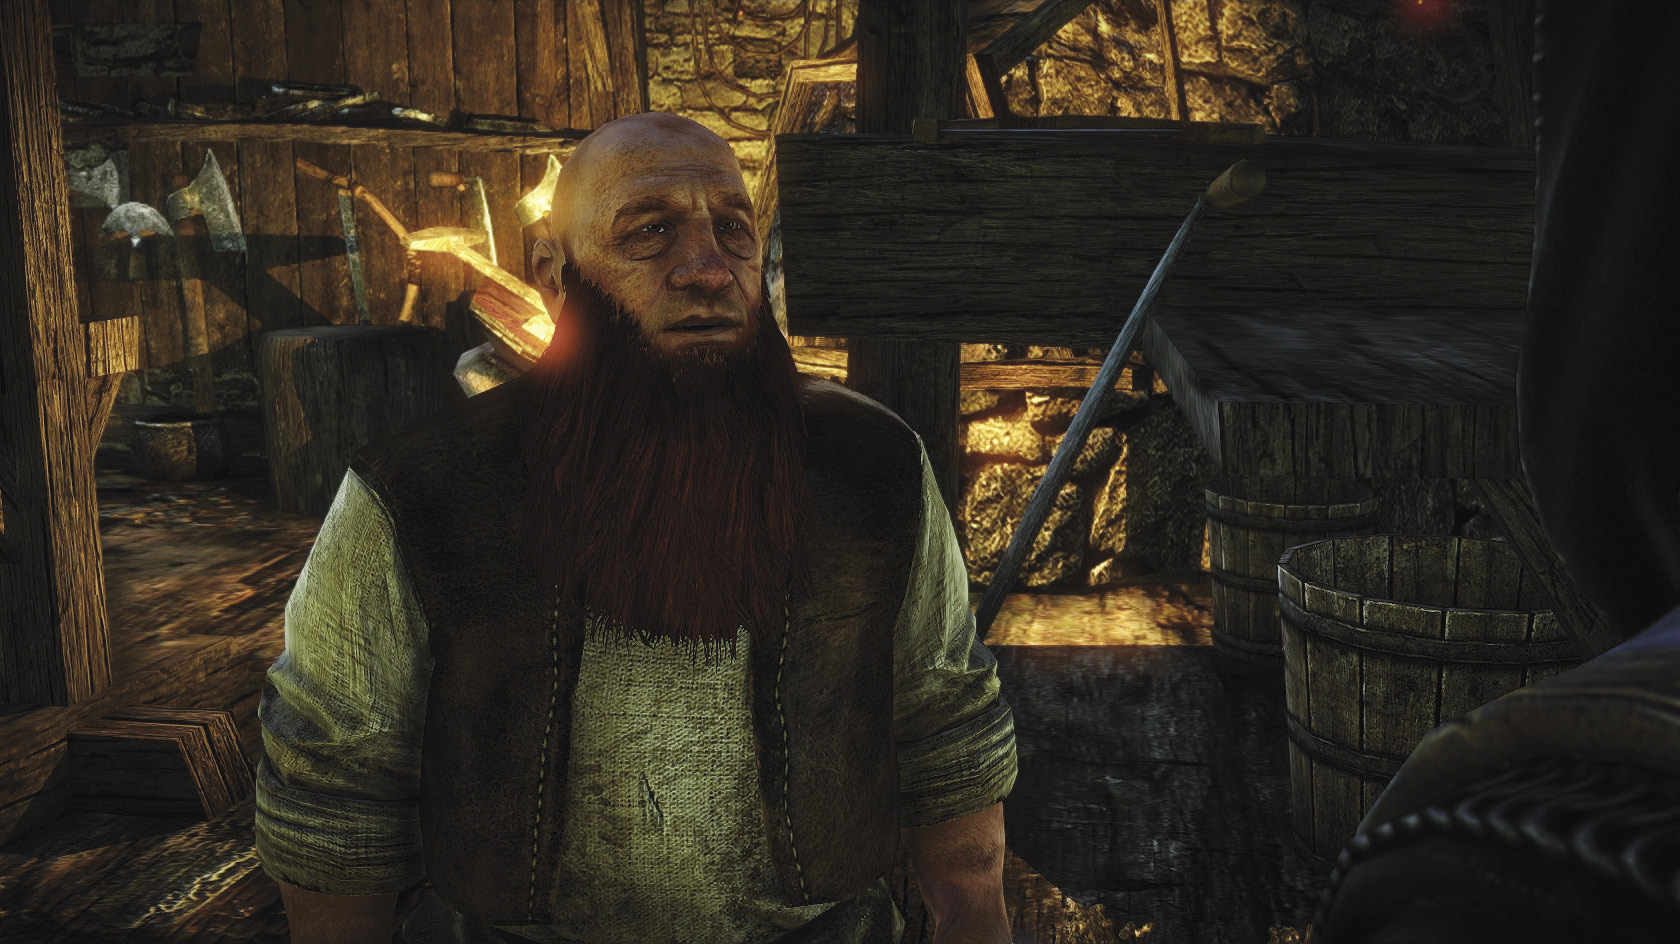
If you picked up the diagram of the witcher’s silver sword earlier, you can take it to Berthold or one of the other craftsmen to be forged. You’ll have to buy two silver ore and expend one diamond dust, one iron ore, one timber, and 35 orens on this task. That said, the silver sword this diagram produces is the second-weakest in the game.
You can just buy the silver-plated sword from Berthold for 304 orens. Of course, this is more expensive than forging the witcher’s silver sword and results in Geralt having to carry around the worst silver sword in the game.
To buy a better sword, you can go to the Mysterious Merchant and buy the robust witcher’s silver sword for 267 orens. This really isn’t a bad deal, but if you’ve done the guide’s quests in order, you already have the diagram for the witcher’s robust silver sword. That means you can just make one.
For PC PlayersIf you’re playing on the PC and imported save data from the original Witcher game, then you have another option for completing the quest. Importing save data from the original Witcher also imports toned-down versions of whatever end-game weapons Geralt had in the previous game. So if you have one of the original Witcher silver swords still in your inventory when Chapter 1 begins, this quest is effectively resolved the moment it spawns. |
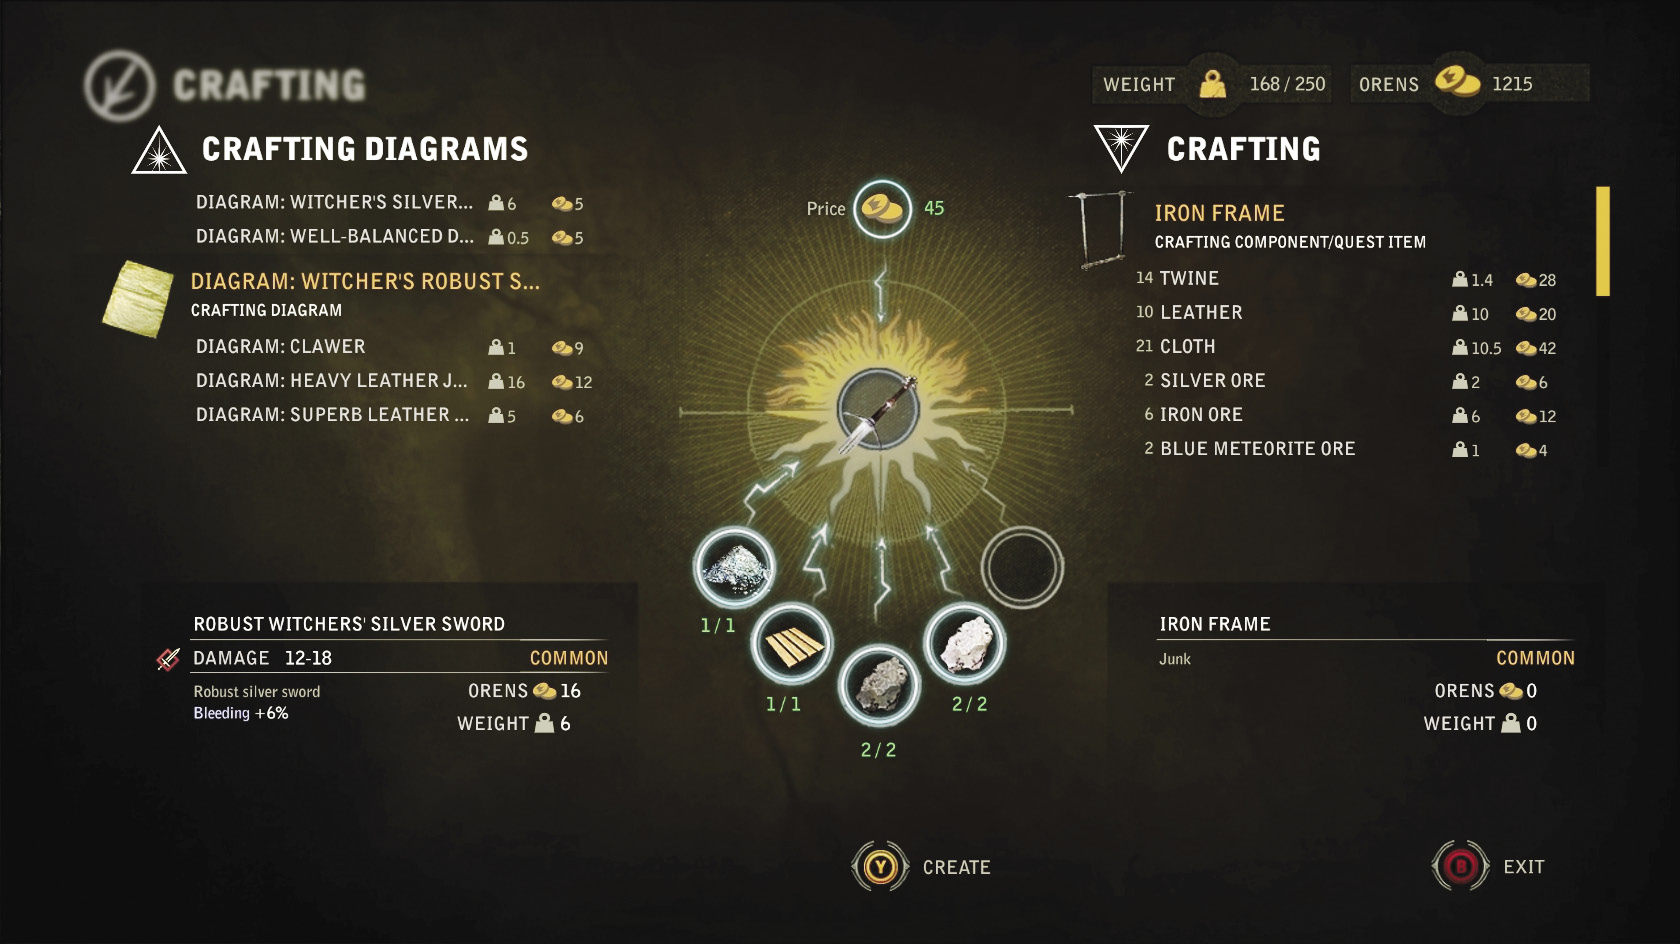
What’s amazing about doing things this way is how similar making the robust witcher’s silver sword is to making the much weaker witcher’s silver sword. The robust version only requires one extra iron ore and the slightly higher crafting fee of 45 orens. Equip it immediately once you’ve made it and the quest is complete. You can keep using this sword comfortably until you’ve got a chance to get the diagram for the chapter’s best silver sword.
 Side Quest: The Scent of Incense
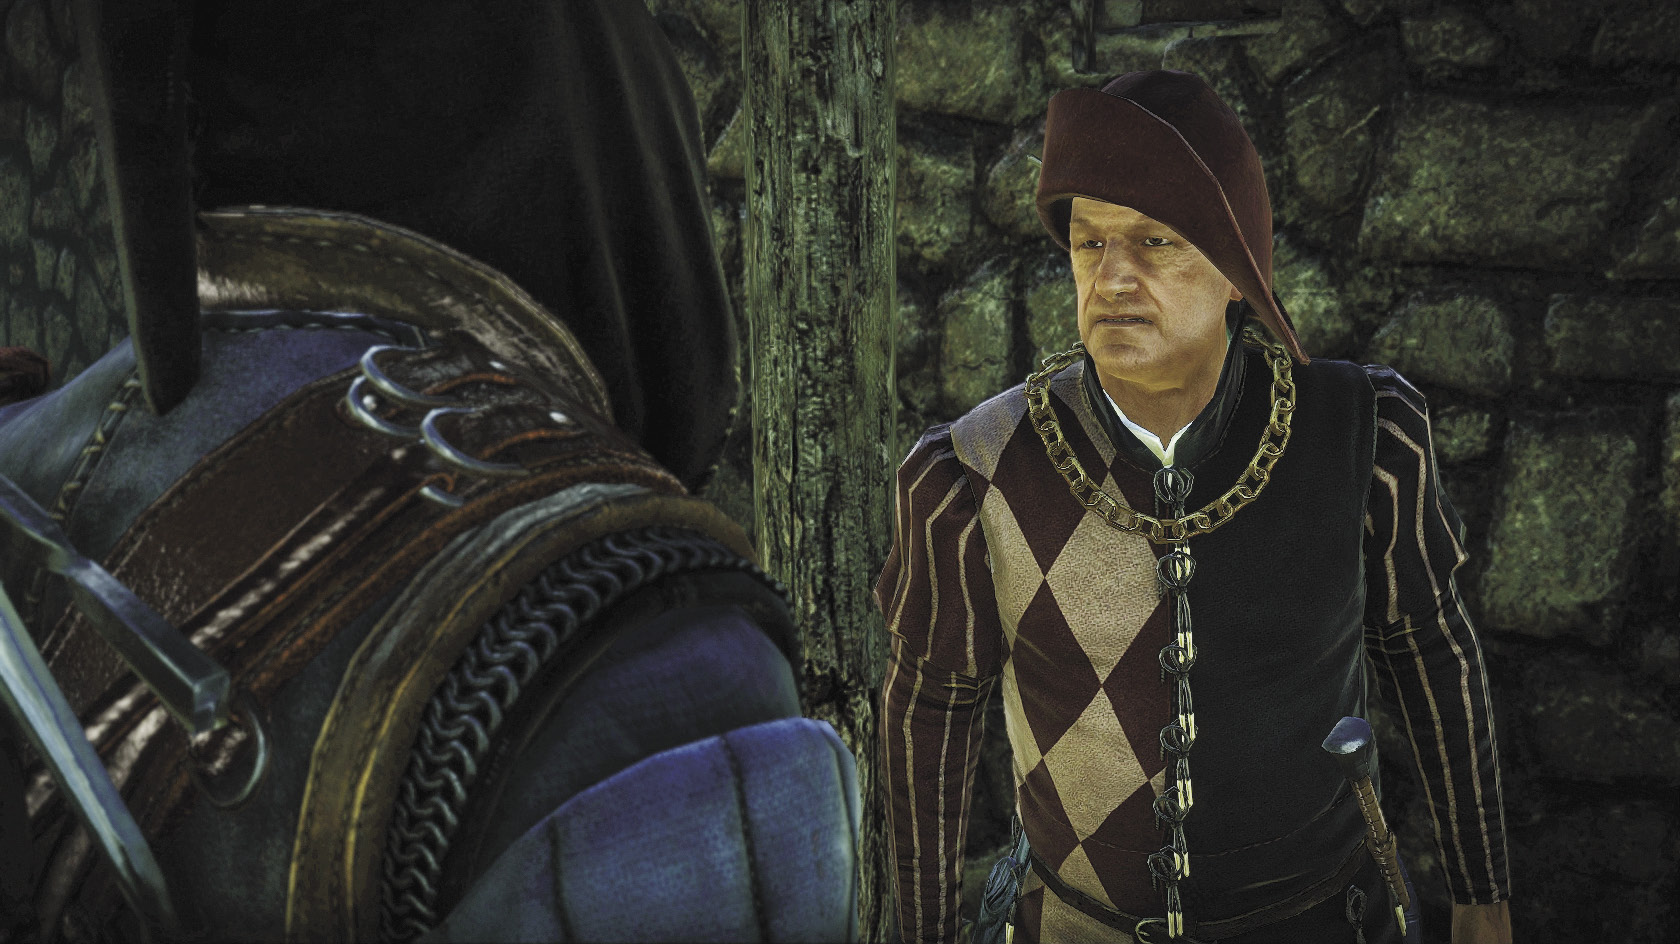
Now that we’ve got a silver monster-killing sword, it’s time to get into some mischief. Head for Flotsam’s harbor area. On the lower pier, you should find an NPC named Vencel Pugg. He wants the formula to a special incense being sold at Vilmos Bartok’s shop. Agree to his request (otherwise the quest simply doesn’t start), then head to Vilmos Bartok’s shop in the town square. Only now there’s an angry mob gathered in front of it…
 Side Quest: Little Shop of Dreams
This is a sub-quest. Basically, a bunch of peasants think Vilmos Bartok’s incense shop is actually selling some sort of addictive drug. They offer to reward Geralt if he can confirm this and help them get the shop closed down. It is entirely possible for Geralt to do this, but be advised that the “handsome reward” the peasant woman mentions is only 20 orens.
Anyway, when you’re ready, go talk to Vilmos Bartok. If you plan to try to shut his shop down, first select his trading dialogue option and buy any formulas you want from him. Next, ask Bartok if he’s selling drugs. After he replies, you have four potential responses. If you say “I see,” the quest basically hangs and you can leave to do something else, then come back later. The other three options let you try to gather more information about the incense before deciding either way. It is highly recommended that you try using the Axii special decision (third on the list of four), as it reveals something about how Bartok got the formula that the other two options won’t.
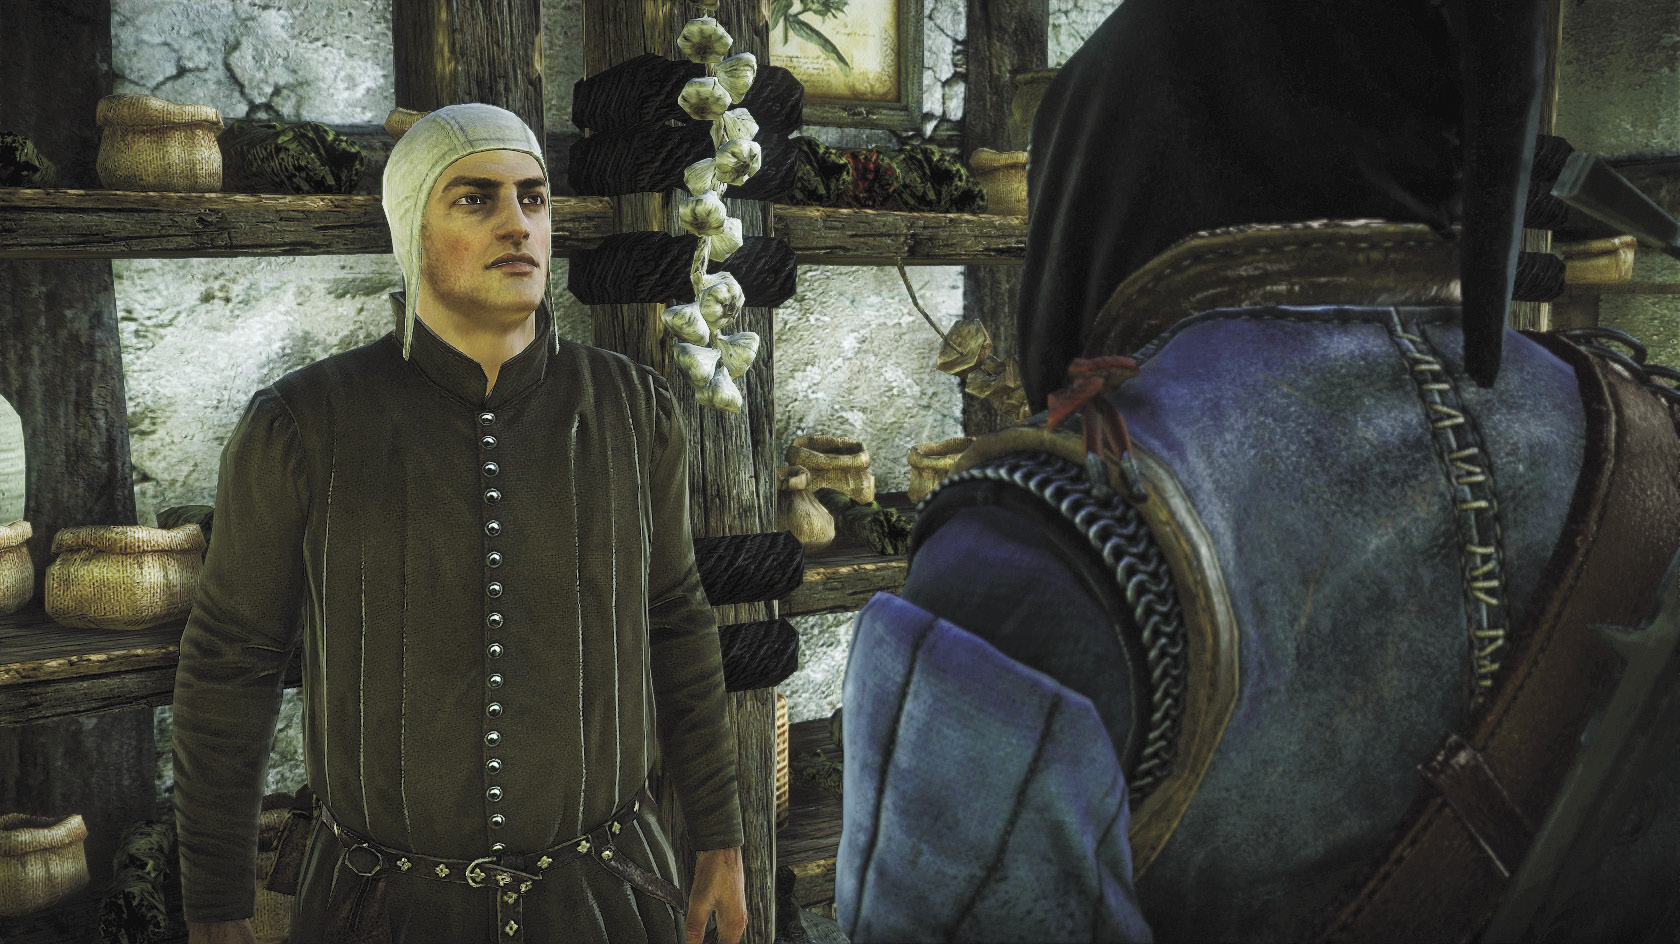
After you try one of the three information options, then you get to make the decision that either leaves the shop open (the top option) or closes it down. The second option lets you persuade Bartok into closing his shop, while the third lets you intimidate him into doing it. Sometimes you get an “I’ll decide later” option, which means you can try one of the other information options on Bartok or go do something else for a while before making a final decision. If you close down Bartok’s shop while he still has the special incense formula, he automatically gives the real formula to Geralt before he disappears.
You can also get the real formula from Bartok by initiating the dialogue tree that begins with, “I need a certain formula.” Bartok balks at giving you his actual secret formula and instead offers to give you a similar one. You can accept the fake by saying “I agree,” or use a special intimidation decision to try to force Bartok to give you the genuine article. You can complete The Scent of Incense by taking either the fake or the real formula, but note that Pugg won’t give you a reward for the fake. If your intimidation attempt fails, you have no choice but to complete the quest using the fake formula or reload your last save. Overall, it’s more lucrative to immediately close Bartok’s shop so he gives you the real formula automatically.
If you use any method to close him down, you get the 20 orens from the peasants and you can no longer buy from Bartok. If you leave the shop open, you get no orens but you can keep buying things from Bartok. If you’ve already bought everything from Bartok you might want, you might as well close his shop down and get the extra orens.
 Side Quest: The Scent of Incense
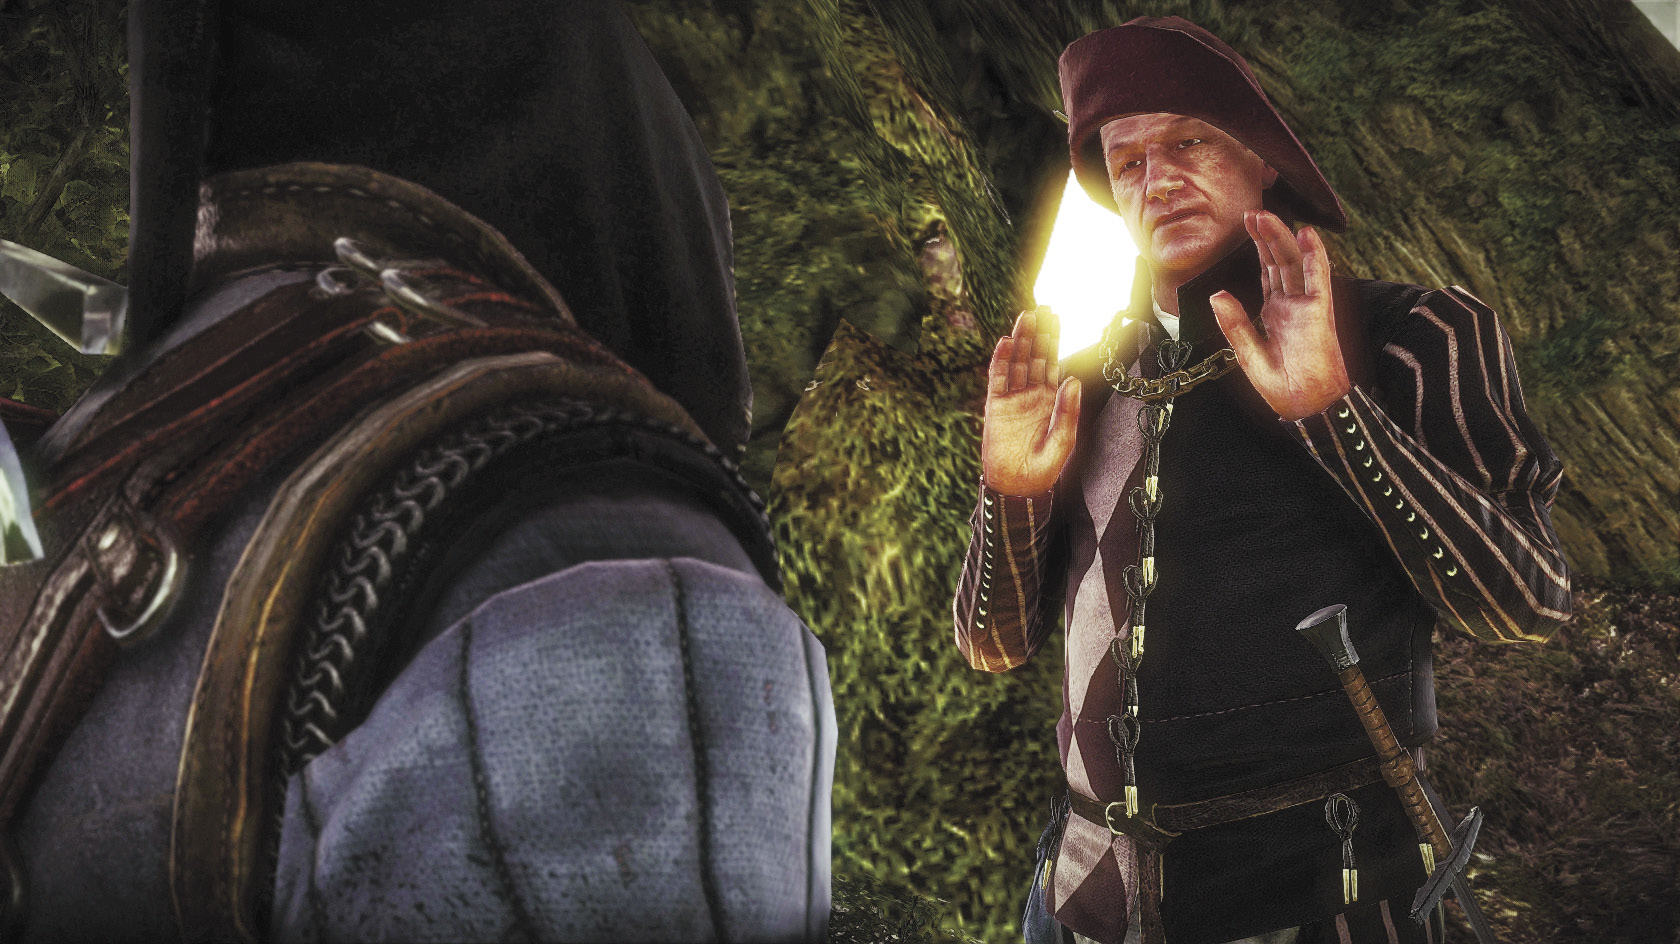
Return to the harbor. When you talk to Vencel Pugg, you can take the “Not yet” option if you want to go do something else instead. If you say “I’m not about to give it to you,” Pugg threatens you and then leaves. If you head toward point 51 on the Flotsam map, Pugg’s Ambush, Pugg appears there with four bandits who attack you all at once. While the bandits are lightly armored, they have a lot of vitality and soak a fair bit of damage before they go down. You can make this battle go a lot quicker if you’ve made some bombs or drunk some potions beforehand. After you defeat the bandits, you finish the quest and gain 85 XP.
If you hand Pugg the formula, he says he wants to check its authenticity in a lab before he pays you. Go to point 52 on the Flotsam map, Pugg’s Meeting. Talk to him and Pugg says that before taking you to his secret lab, he has to blindfold you. If you refuse to be blindfolded, Pugg insists on it and you get another option to accept or refuse. If you refuse a second time, Pugg relents and marks his secret lab on your map so you can meet up with him there. Refusing to be blindfolded is worth 20 XP.
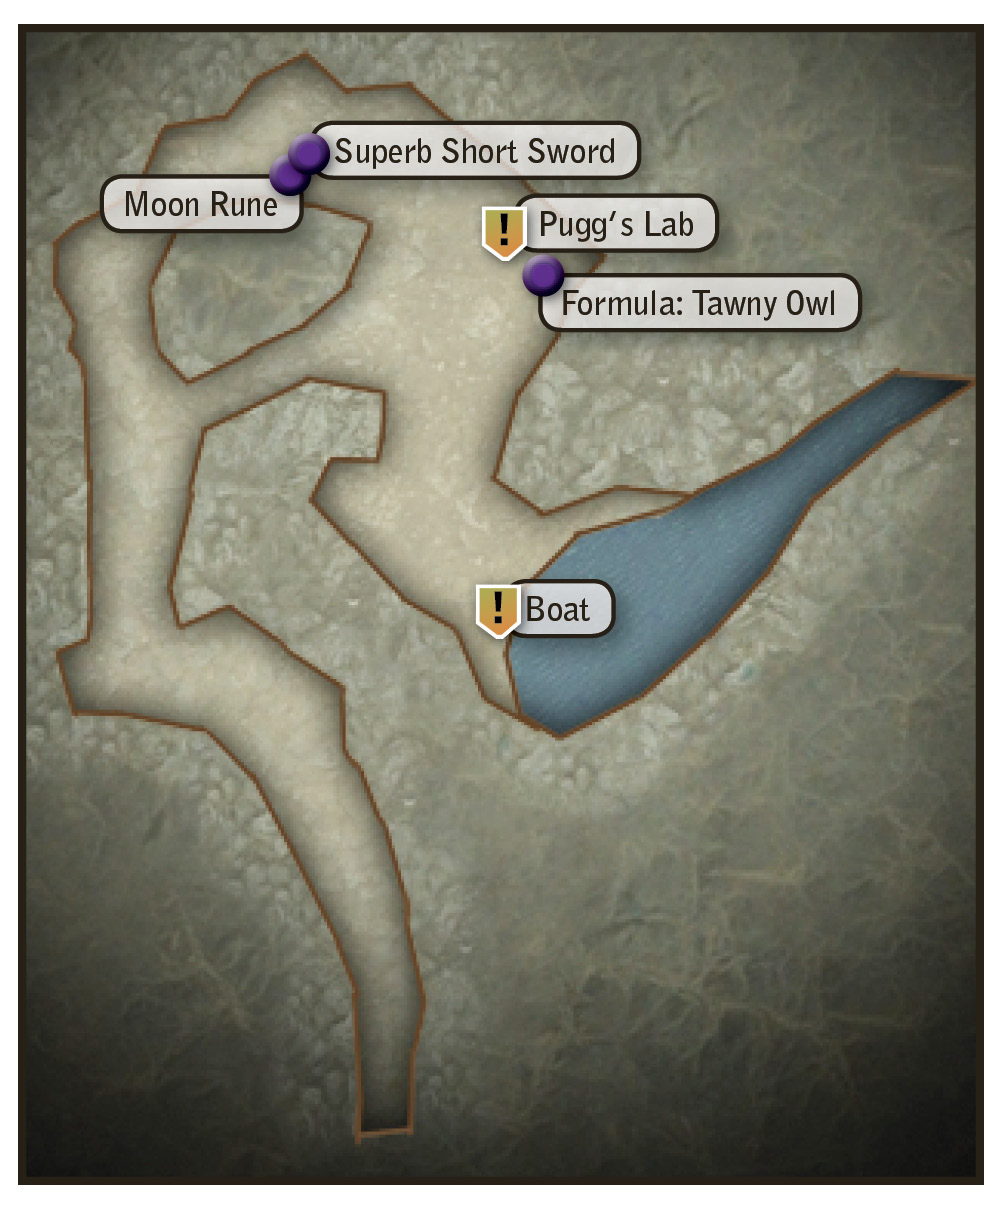
Walk to the secret lab and speak with Vencel Pugg there. If you gave him the real formula, he proclaims it an authentic, legal form of fisstech. You gain 85 XP, 200 orens, and the formula for the Tawny Owl potion for resolving the quest this way. After you’ve spoken with Pugg, loot his lab to make yourself feel better. You should be able to find the otherwise unobtainable superb short sword and a moon rune. You can then walk back to Flotsam.
If you walked to the secret lab but gave Pugg the false formula, he grows angry and orders his men to attack you. Defeating them all should be fairly easy. You receive 85 XP after you’ve defeated them, but you won’t receive any orens. You get to loot the secret lab after the battle, though. You can return to Flotsam by simply walking or by using the boat moored on the right side of the cave. Using the boat is best if looting the lab has taken you over your encumbrance limit.
Now let’s say you allowed Pugg to blindfold you. Pugg’s men jump you on the way to the lab and take your weapons. You’re held prisoner while Pugg does the tests to determine if the formula is real or a fake. If the formula is real, then after the tests Pugg says he will blindfold you again while his men escort you out. If you agree to be blindfolded on the way out, then you obtain 200 orens, your weapons are returned to you, and you get the formula for the Tawny Owl potion for your troubles. You do not receive any XP for resolving the quest and you won’t be able to return to the secret lab to loot it.
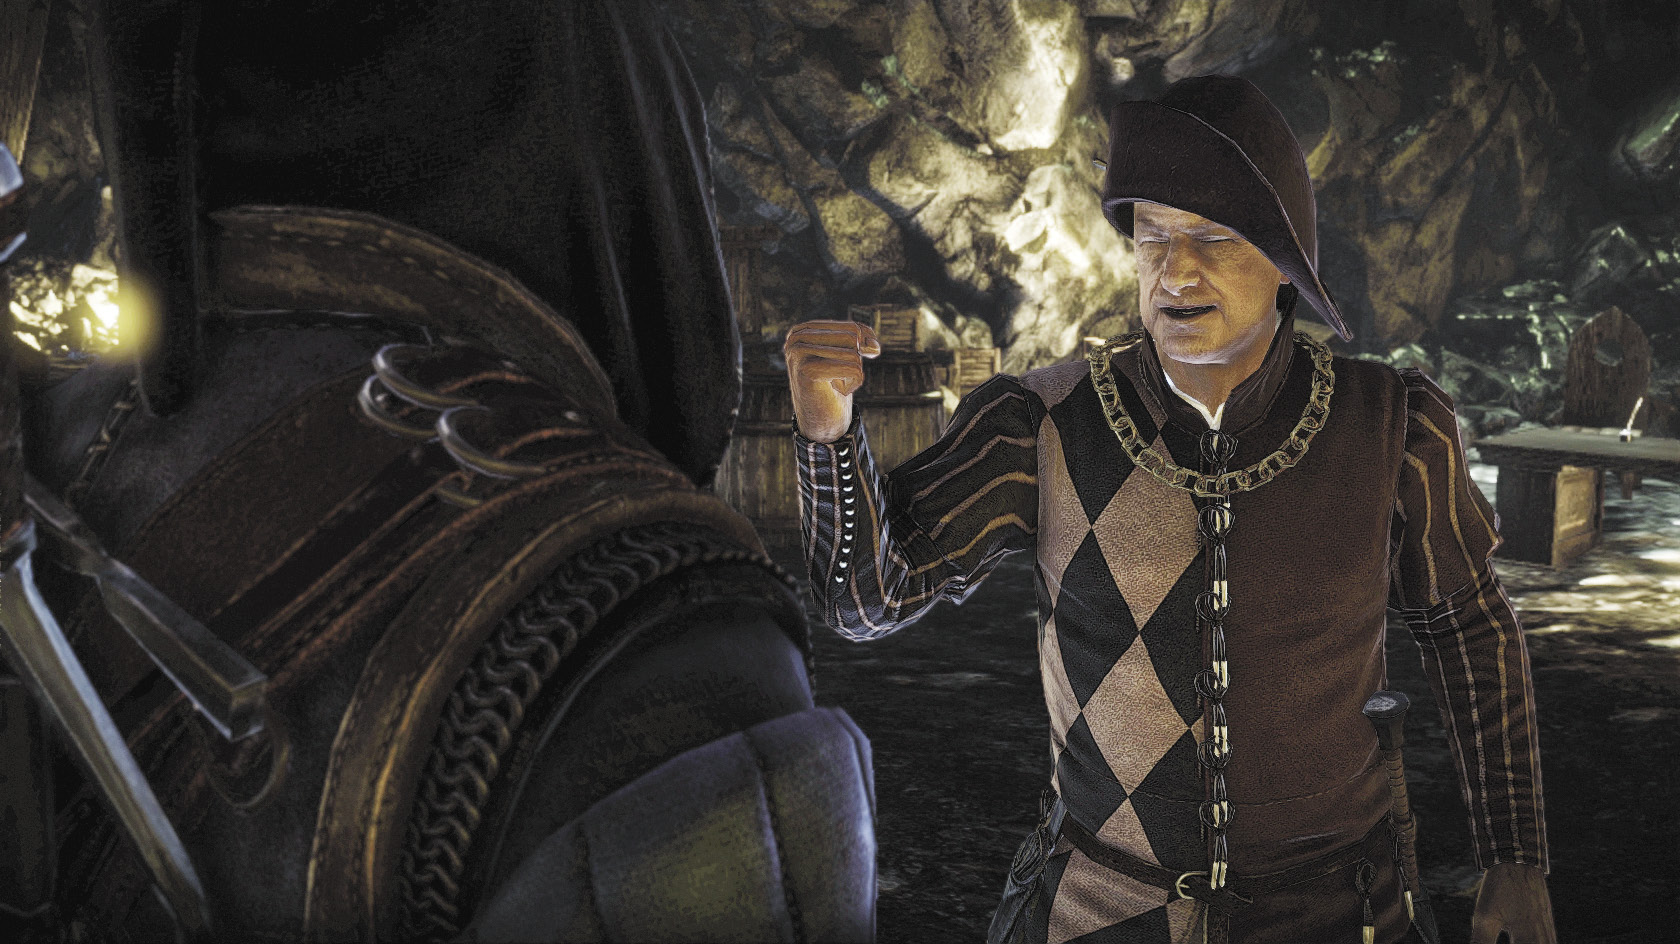
If you refuse to be blindfolded again, Pugg makes it clear that he intends to keep holding you hostage. This is also his reaction if you allowed yourself to be blindfolded on the way to the lab but gave him a fake formula. Now you’re going to have to fight your way out of the secret lab. The easiest way to do this is to blow the door open with Aard, roll rapidly across the cave, grab the superb short sword off the weapons stand, and then hack up the four bandits guarding you with it. Switch from Aard to Quen and you should have no problems. You can make the battle even easier by drinking some potions and preparing bombs before you bust your way out of the cell. After you’ve beaten the four bandits and Pugg, you get 85 XP. You don’t get the 200 orens, but you do get to loot the secret lab and recover your weapons. From here you can simply walk out of the cave or use the boat to sail back to Flotsam.
The overall most lucrative way to resolve this quest is to refuse to be blindfolded, then give Pugg the real formula. Of course, this makes Geralt part of a drug-trafficking scheme and that may not sit well with you. If you want to keep a clean conscience, then any outcome where you get access to the secret lab and then kill Pugg and his men there lets you get all of the unique loot associated with this quest without having to accept dirty orens.
 Side Quest: The Nekker Contract
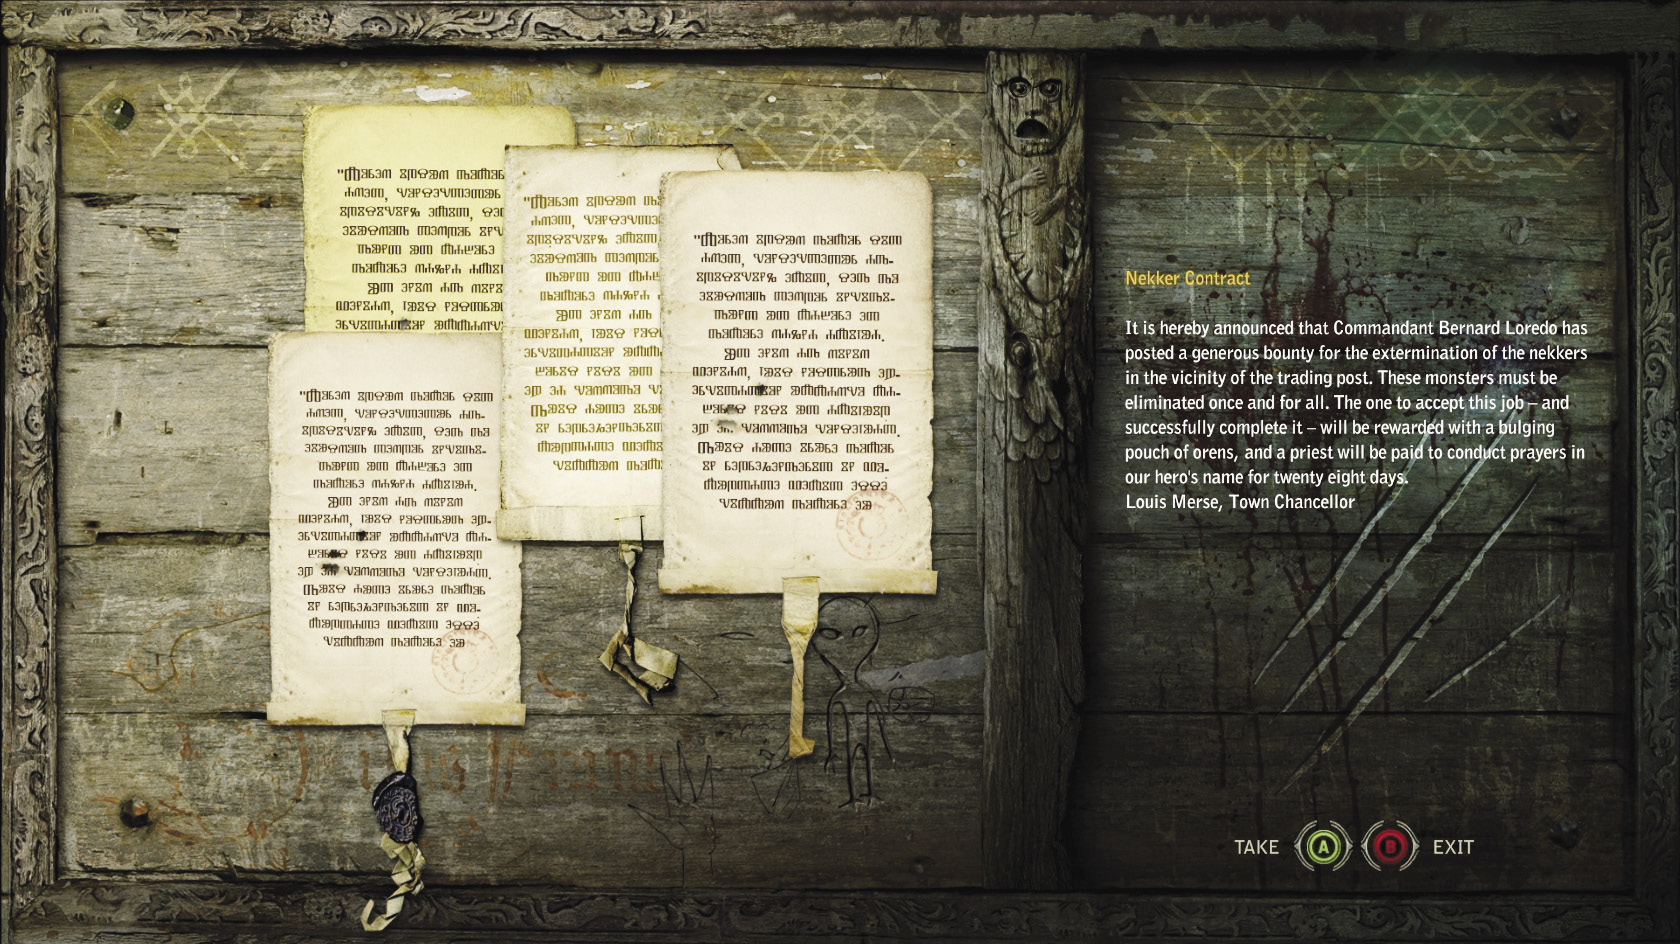
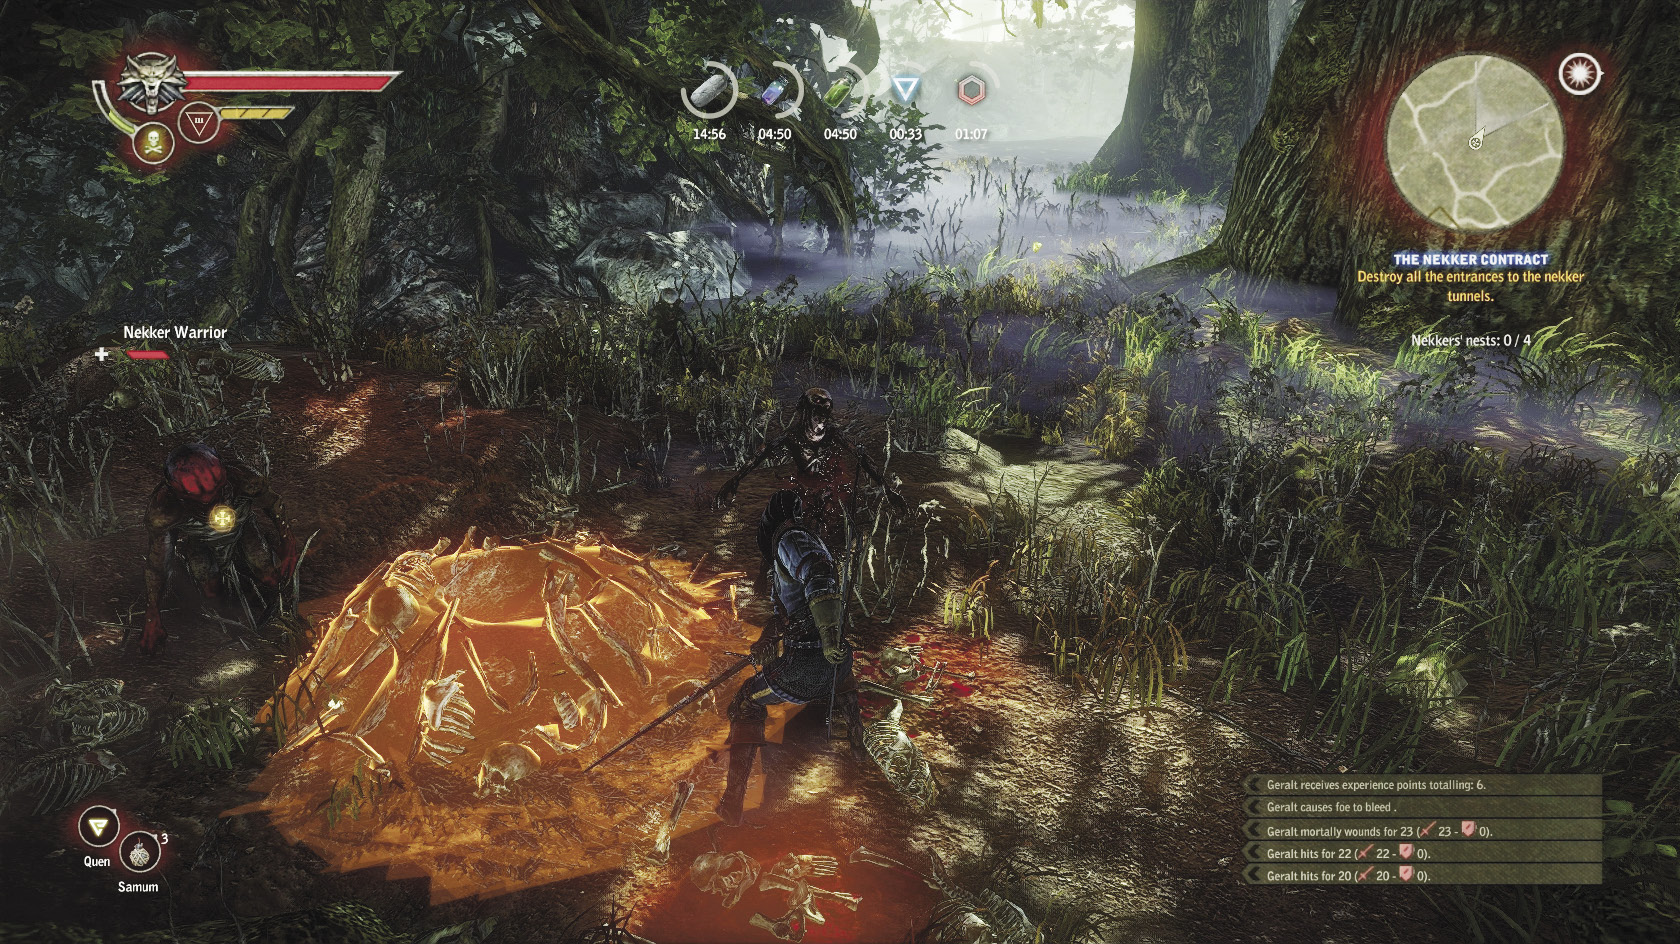
Enough of these morally ambiguous shenanigans—let’s go kill some monsters. To initiate this quest, go to the notice board outside the Flotsam inn and take the notice marked “Nekker Contract.” Your next quest goal is to learn more about nekkers. You can just wander out into the woods and kill nekkers awhile to fulfill this requirement, but it’s much easier to just go buy a book on the subject. If you got lucky, you may have found a copy of the right book during the Prologue while looting. If not, then go pay Einar Gausel a visit and purchase the book Nekkers in the Mist. Read this book to gain knowledge of nekkers. You can look at Geralt’s knowledge on the second tab of his character screen.
The book mentions that nekkers are best destroyed by grapeshot bombs. This is a hint that you need grapeshot to complete this particular quest. Go visit Cedric and purchase the formula for grapeshot. You want to manufacture at least four before setting out on this quest. You’re going to use the grapeshot when prompted to destroy the tunnels leading into nekker nests. To do this, just stand by a nest out in the forest and you should get an interaction prompt to place a bomb.
|
If you read the journal’s description of grapeshot, you can uncover an easter egg. It makes reference to a gnome named Alfred Nabel, also mentioned in flavor text that appeared in the original PC game The Witcher. In the world of The Witcher, Nabel is a gnome who invented explosives. His name is a play on the name of the real-life inventor of dynamite, Alfred Nobel. |
Be careful when you first venture out into the forests. The area around Flotsam is loaded with snares (traps) placed by Cedric. They’re intended to damage monsters, so you can lure enemies over them to damage them a bit. If you step onto one while running through the area, however, it’s going to damage you. You can detect snares in an area by scanning with your medallion. Once you’ve found a trap, you can disarm it and (if you like) pick it up to take with you. Take things slow while you’re getting used to the forest and scan frequently.
|
During this quest is an excellent time to try to earn the Sapper attribute. If you interrupt Geralt’s actions five times while he’s in the animation for disarming a trap or snare, he gains the Sapper character attribute. A good way to interrupt the animation is by scanning with your medallion. Sapper gives Geralt a 50 percent chance of avoiding all damage dealt by traps and bombs, which makes it particularly useful for alchemist builds. |
You can find the nekker nests by looking at the map or tracking the quest in-game. Nekkers aren’t too strong and you can probably just hack and slash your way through them as you plant the bombs. If you want some extra insurance, drink Brock, Golden Oriole, and Rook or Swallow. Coat your silver blade in brown oil before you set out. You can also prepare some Zerrikanian sun or samum bombs to help slow down any big packs you run into while you’re trying to plant the bombs. Prioritize planting the bombs as soon as possible, since the nekkers respawn at a fairly high rate until you do. Keep Quen up when monsters are around, or if you hear a monster’s snarl but can’t see it.
Note that endregas can spawn around some of the nekker nests and are much tougher opponents at this point in the game. On the other hand, endregas and nekkers don’t care for each other and, provided you leave them alone, will actually fight each other. You may need to be ready to battle drowners when you go after the nest that’s farthest to the southeast, since they can occur around the edges of the pond at night. While the drowners aren’t too dangerous, they tend to spawn in packs of around five. This is another good time to use bombs for crowd control.
After you finish this quest, you can opt to go see Louis Merse in Flotsam to receive your reward. You should get 75 XP and 150 orens if you do. You can also wait until later in the game to turn this quest in if you like. Note that completing this quest counts toward unlocking the Pest Control achievement.
If you complete both The Nekker Contract and the The Endrega Contract, you get an additional reward. If you wish, you can simply start The Endrega Contract now instead of turning the quest in to Louis Merse. This walkthrough does not recommend this, as The Endrega Contract can be fairly challenging. This walkthrough recommends doing some other quests and toughening up a bit before you attempt it.
 Side Quest: In the Claws of Madness
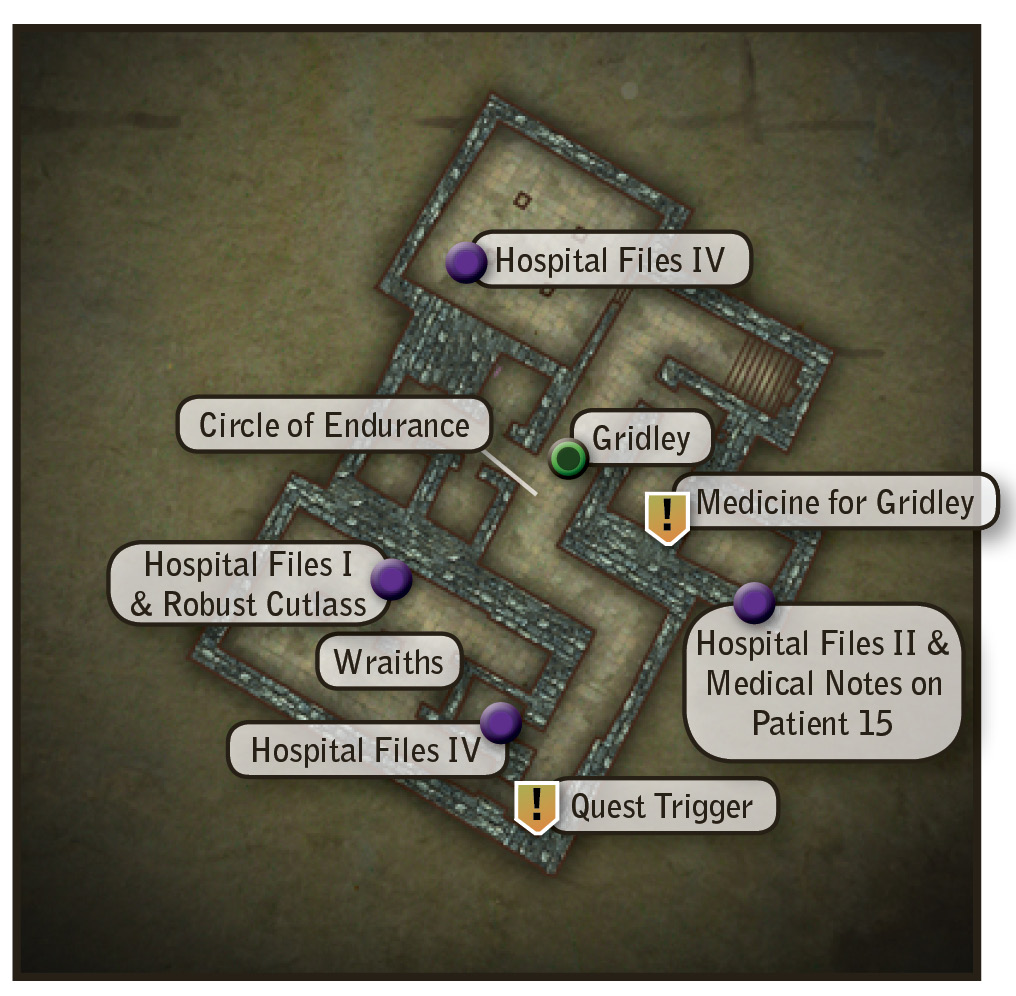
You can beat nekkers, so now it’s time to try your skills at handling wraiths. Head to the burned mansion in the southwest corner of the map after you’ve spoken to Cedric to initiate the quest. You meet Rupert standing on the winding path that leads up to the mansion area. After you speak with him, crazed nekkers swarm into the area. They won’t come down the path at you very quickly, so stand just below them and take them all out with a grapeshot or similarly damaging bomb. Once you move into the area of the burned mansion looking for Gridley’s dog, some more nekker stragglers attack. The entrance that leads into the burned mansion’s underground levels should be nearby. Head in. Note that there are some circles in this area that can be useful to trigger beforehand, though.
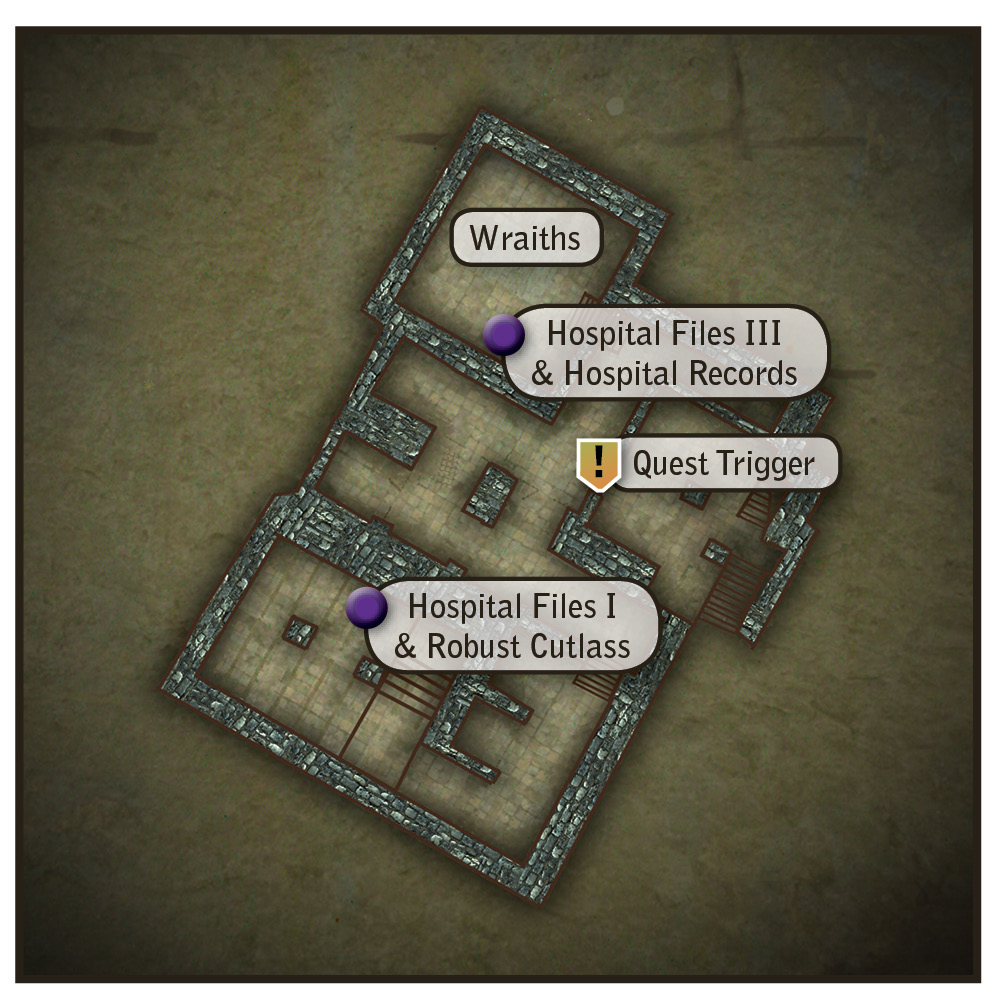
Head to the quest marker to trigger a cutscene. Once the cells are aflame, you can only head to the end of the hallway and then jump into what appears to be an empty room. If you walk to the quest marker, wraiths appear and jump you. Depending on your level and equipment, this could be a fairly lethal encounter. A savvier way to do the battle is to avoid the center of the room and go directly to the chest, which contains hospital files (III) and hospital records. Prepare some basic potions if you like; Petri’s Philtre can be quite useful here, if you use it to buff up Quen’s strength. Oil your silver sword with specter oil. When you’re prepared for a fight, take the chest’s contents. That auto-spawns the wraiths.
Wraiths attack with a combination of weak sword strikes and a one-two combo where the second blow is very strong. You can think you’re doing all right fighting wraiths, then get hit in the back a couple of times and be dead before you know it. Focus on keeping Quen up, and use bombs whenever the wraiths cluster together. When you can lead one away from the pack, then use a combination of light and strong attacks while you’ve got an opening. Strong attacks enhanced by specter oil can really chew through a wraith’s vitality and drop it quickly. If you keep Quen up, the wraith’s one-two combination is much less damaging. Be sure to loot the wraiths’ bodies, as they drop rare essence of death. Make sure you obtain and hold onto at least one essence of death for use in a quest later in the chapter.
Once the wraiths are gone, the flames blocking the only way out die down. Continue to follow the Nilfgaardian ghost. This involves going through an area where fire hems you in from both sides. Use Quen to protect yourself from the flames. You eventually come to another large, empty room that’s about to be inhabited by a pair of wraiths. Make any preparations for battle you deem necessary before hopping in. These wraiths spawn in random locations in the room, so be prepared to dodge-roll once you enter the area. Once you’ve got the wraiths clustered together, put up Quen and start bombing them or using hit-and-run tactics.
Once the wraiths are defeated, loot the chest to get hospital files (I), some random loot and orens, and the excellent robust cutlass. In the next hallway, use Aard on the false wall to your left to reveal the hiding place of a random armor enhancement. Continue exploring until you find Gridley. If you duck down the hallway just before you reach him, you can trigger a circle of endurance hidden in one of the cells.
Take a right just before the wall of fire at the end of the hall to reach the room where the tranquilizers you need to calm down Gridley are located. Note that when you draw near to the tranquilizers, a wraith spawns. As soon as you defeat it, a second wraith spawns. This is a very cramped area and it’s easy for you to end up pinned against a wall by the second wraith. Before you enter this room, make any necessary combat preparations. In particular, make sure your sword’s specter oil is still in effect.
Loot the room for the medicine and for some interesting papers, including hospital files (II), in a nearby chest. Among the documents is a paper pertaining to the Wild Hunt that can be brought up later if you’ve obtained it. Once you give the medicine to Gridley, he calms down and tells you the real reason why he and Rupert returned to the madhouse. Let Gridley flee while you go speak to the Nilfgaardian ghost to find out how to break the curse that lies heavily on the ruined mansion as well as Rupert and Gridley. After you speak to the ghost, you can decide to resolve the quest in one of several ways. First, find Gridley in a nearby hallway and speak with him to be taken instantly back outside.
If you think the Nilfgaardian ghost’s thirst for vengeance is justified, you can easily trick Gridley and Rupert into following you back into the mansion. Say “You need to see something. Come with me.” Simply leave them in the Nilfgaardian ghost’s clutches and their fate is sealed. They’ll burst into flames, satisfying the ghost and lifting the curse. If you do things this way, you can loot Gridley and Rupert’s bodies for 60 orens each and a diagram for the robust witcher’s silver sword (but honestly, you should already have one of these if you’re trying to do this quest). You get 100 XP for resolving the quest this way.
If you don’t think Rupert and Gridley deserve that, tell them “The ghost wants you dead.” You automatically get two nekker eyes and two nekker hearts that you could use to try to trick the Nilfgaardian ghost. At this point, you can also go back to Flotsam and purchase two pigs’ hearts and two sets of pigs’ eyes from the butcher in the Craftsman’s District. Mechanically, whether you use the pig body parts or the nekker body parts is immaterial, but you do get slightly different journal text depending on what you use to deceive the Nilfgaardian ghost.
The ghost knows you’ve tricked it as soon as it sees the hearts and eyes. It immediately attacks you. Fortunately, it’s not even half so dangerous as the wraiths you’ve fought already. If you oil your silver sword with specter oil before you speak to the ghost, then your blows do very heavy damage to it. Just block the ghost’s sword attacks, then counter with strong blows when it’s staggered. The ghost is slow and you can hit it up to three times before it blocks. Keep Quen up, more to keep from setting yourself on fire at the edges of the room than for defense. After you defeat the ghost, you can get a little random loot and more hospital files (IV) from its body.
After you’ve defeated the ghost, go speak to Rupert and Gridley again. Now you get to decide what to do with them. If you say “You have to be punished,” then Geralt takes them to Loredo. This reveals something rather interesting about Loredo’s mother that you otherwise can’t find out. Resolving the quest this way is worth 100 XP.
You can also opt to set Rupert and Gridley free after you’ve defeated the ghost, but this isn’t recommended. The game considers this a poor decision and resolving the quest this way isn’t worth any XP at all. Overall, the most lucrative way to resolve this quest is to let the ghost kill Gridley and Rupert, since that gives you the full 100 XP and lets you loot 120 orens off of their bodies. Also note that if you find all of the quest documents stashed away in the burned mansion during In the Claws of Madness, you unlock the Librarian achievement.
 Side Quest: Malena
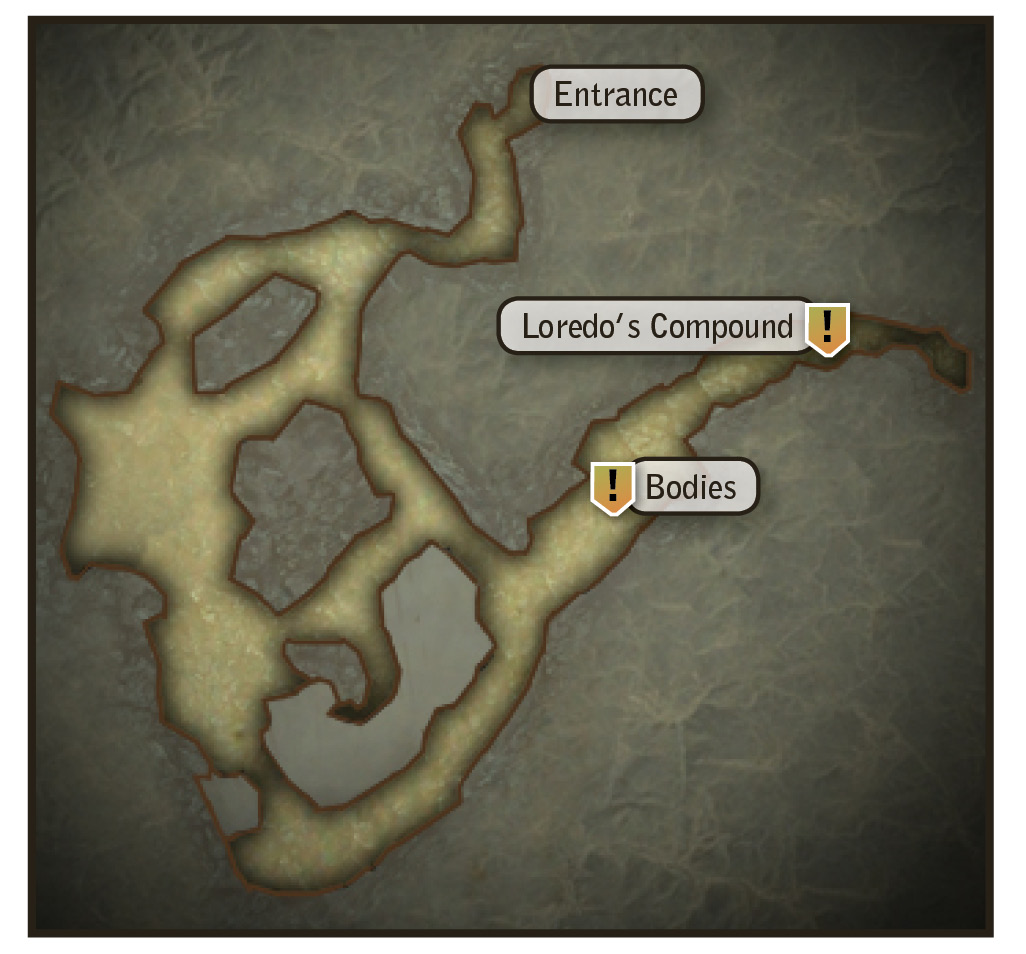
To begin this quest, just walk toward the group of guards standing near the entrance to Anezka’s house in Lobinden. (In fact, it’s possible that you’ve already triggered it while exploring the town.) Talk to Malena after you hear the guards begin accusing her. This initiates a cutscene. You can turn the quest down by saying “Sounds like a local squabble to me,” but note that the game considers this a failure.
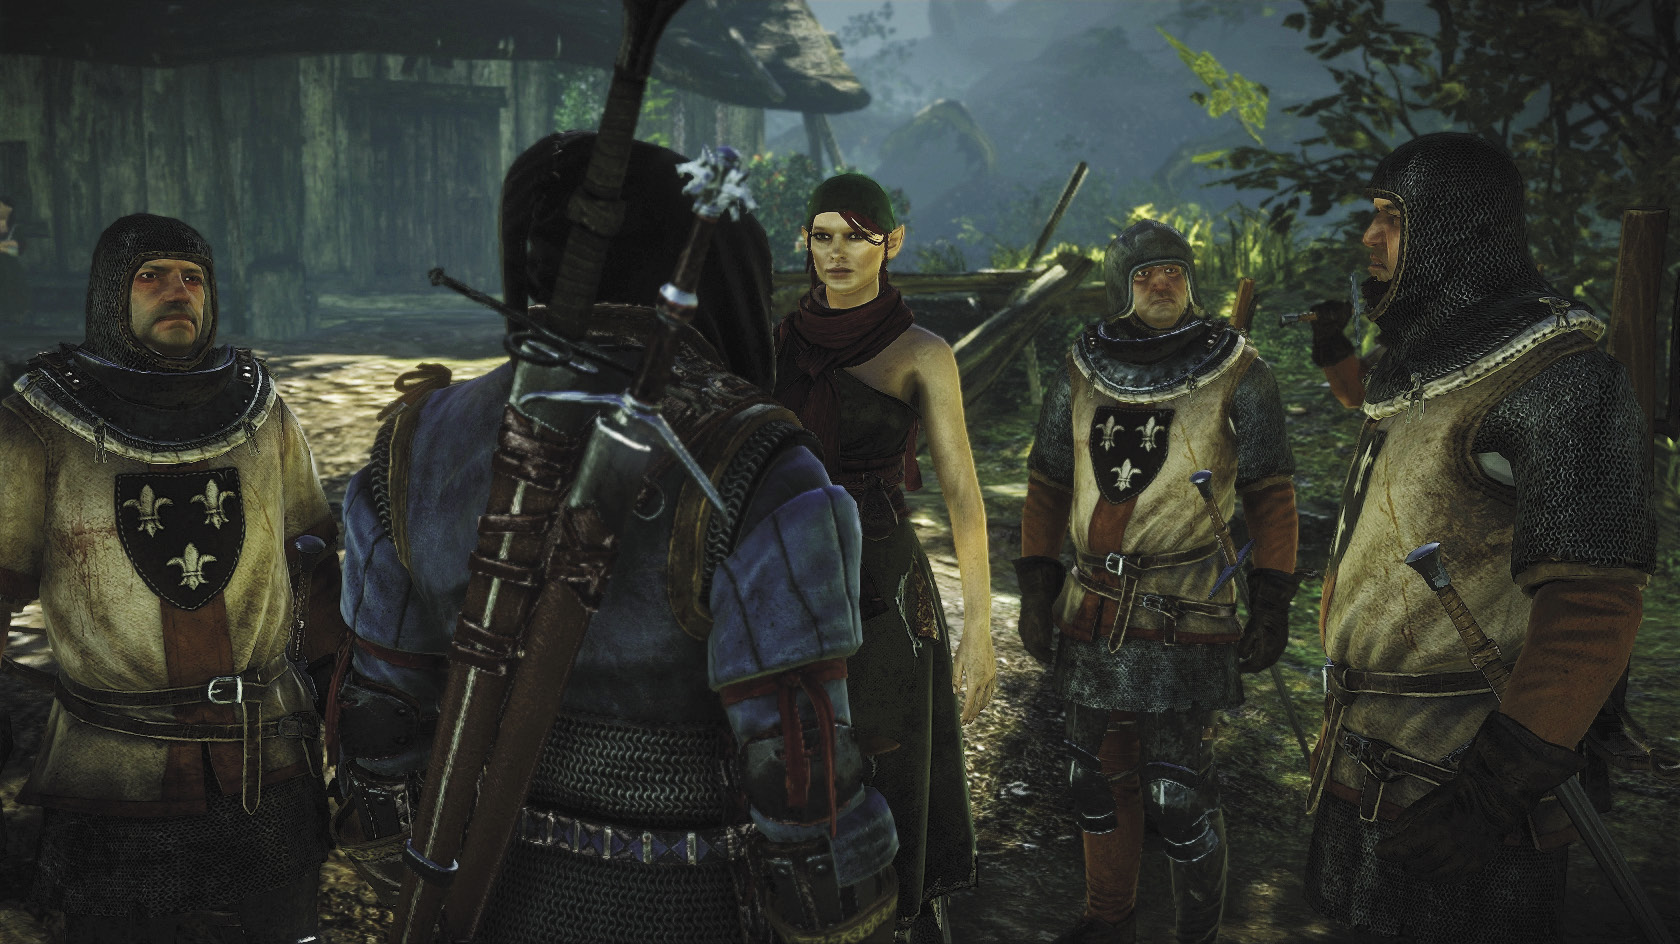
To accept the quest, say “Leave it to me,” then head to the far east side of the Flotsam harbor. Take advantage of the circle of strength outside and apply the same potions you used when you cleared The Nekker Contract. Immediately upon entering the cave you should spot bloodstains on the ground. As you proceed a bit farther in, you encounter an enormous group of nekkers that can kill you quickly if you’re ill-prepared or let yourself be surrounded. Keep Quen up and use bombs to help with crowd control. You can also make very efficient use of Axii here, since what tends to kill you is getting surrounded and backstabbed by warrior nekkers. If you mind-control one of them, the nekkers tend to surround your thrall instead, which leaves you free to pick off attackers at the edge of the group.
Once the initial pack of nekkers is taken care of, loot the bodies and the chest that’s just past the entrance. Loot it and the corpse nearby. From here, keep exploring the cave. Be ready for more nekker attacks, but after you’ve taken out the first group the nekkers should be much easier to manage.
Continue to follow the bloodstains. Loot the bags you find up against the walls of the cave, as they contain silver ore. On the upper level of the cave, you should discover two guards whose bodies are peppered with Scoia’tael arrows. Be sure to examine one. From here, go all the way to the rear of the cave to find a ladder that leads up to a trap door. You can’t use this trap door right now, but keep it in mind for later in the game. Now you can head back toward the cave’s entrance. You may want to save before you exit.
Now that you know Malena is some sort of Scoia’tael agent, there are a few different ways you can opt to influence her situation. If you want, you can lie to the guards when they ask you what you found in the cave and say that monsters killed the two missing men. Although the guard is shown giving Geralt a pouch in the cutscene, you don’t actually get any orens this way. Malena expresses her gratitude after Geralt sticks up for her and makes a tantalizing offer to meet him at the waterfall in the forest.
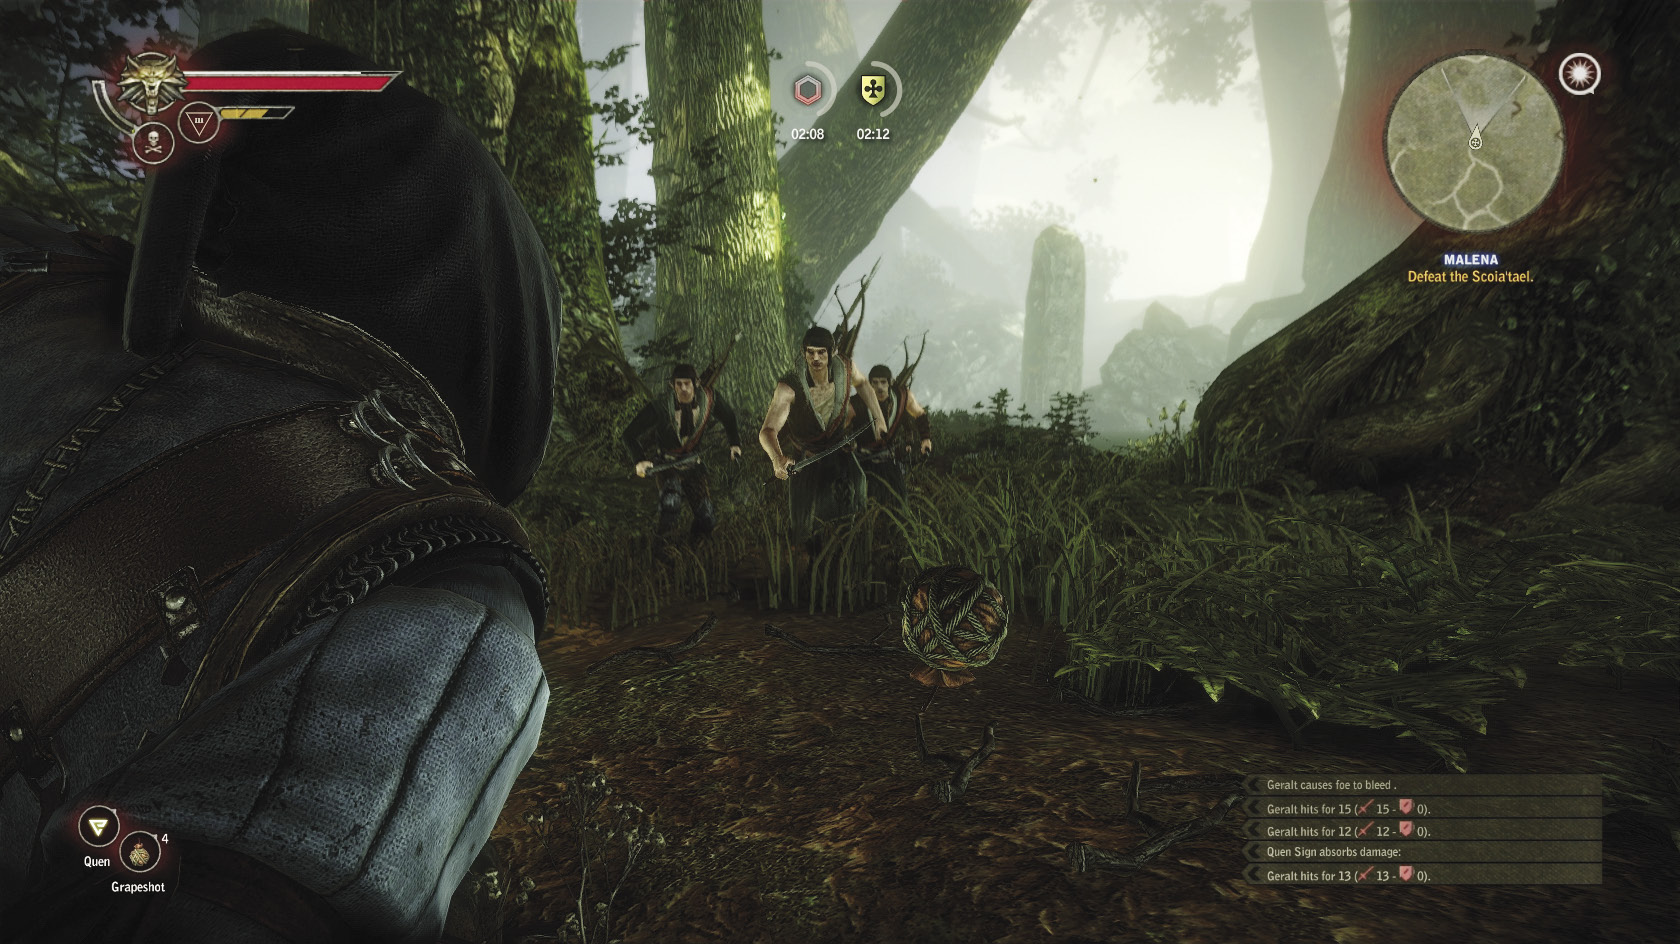
Of course, Malena really did lure those two guards into a Scoia’tael trap. You know it and she knows it. When you meet her at the waterfall, she says that you know too much to live. Roughly six Scoia’tael immediately attack Geralt. This fight can be extremely difficult if you get caught flat-footed, but there are a few ways to prepare for it. Make sure you make these preparations before you speak to Malena, as the game auto-saves at the end of the conversation.
Bombs are useful for crowd control, particularly dancing star bombs, but only try to use them from a safe distance. The Scoia’tael soldiers are quick enough to interrupt your throwing animations. It can be very wise to run far away from the waterfall in the course of this fight, with two or three Scoia’tael pursuing. This makes their numbers easier to manage.
If you prepare potions, anything that enhances Geralt’s defensive abilities can give you an edge. If you’re using more of a mage build for Geralt, Axii can be very useful here, especially if you can get two or three of the Scoia’tael to split away from the main group and follow you. If you like to play with traps, try peppering the waterfall pool with snares or furies before you speak with Malena, or create a big mess of traps in the forest and lead some Scoia’tael into it. Use Quen to help mitigate damage once the Scoia’tael numbers are manageable.
Whatever you do, don’t try to fight these Scoia’tael the way you would nekkers or groups of dopey humans. The Scoia’tael are extremely fast and their group mixes archers and sword fighters. Sword-using Scoia’tael tend to parry your moves if you don’t catch them in an attack animation, letting the archers shoot you in the back while you’re occupied. Try to use bombs or signs to thin the Scoia’tael’s numbers before you start closing to melee. Be sure to loot the Scoia’tael bodies if you do this battle, since one of them may carry the rare and very potent Dhu Bleidd armor enhancement.
After you defeat the Scoia’tael, you need to find Malena, who has disappeared. She’s gone into the burned mansion from the In the Claws of Madness quest. If you’ve already finished the quest, she’s very easy to find and waits in a pile of rubble that appears just to the north of the main house on your in-game map. You don’t actually have to go inside the burned mansion. If you haven’t done In the Claws of Madness yet, then going near the burned mansion triggers it. Malena may appear there or she might not. Overall, it’s best simply to make sure you clear In the Claws of Madness before attempting this quest.
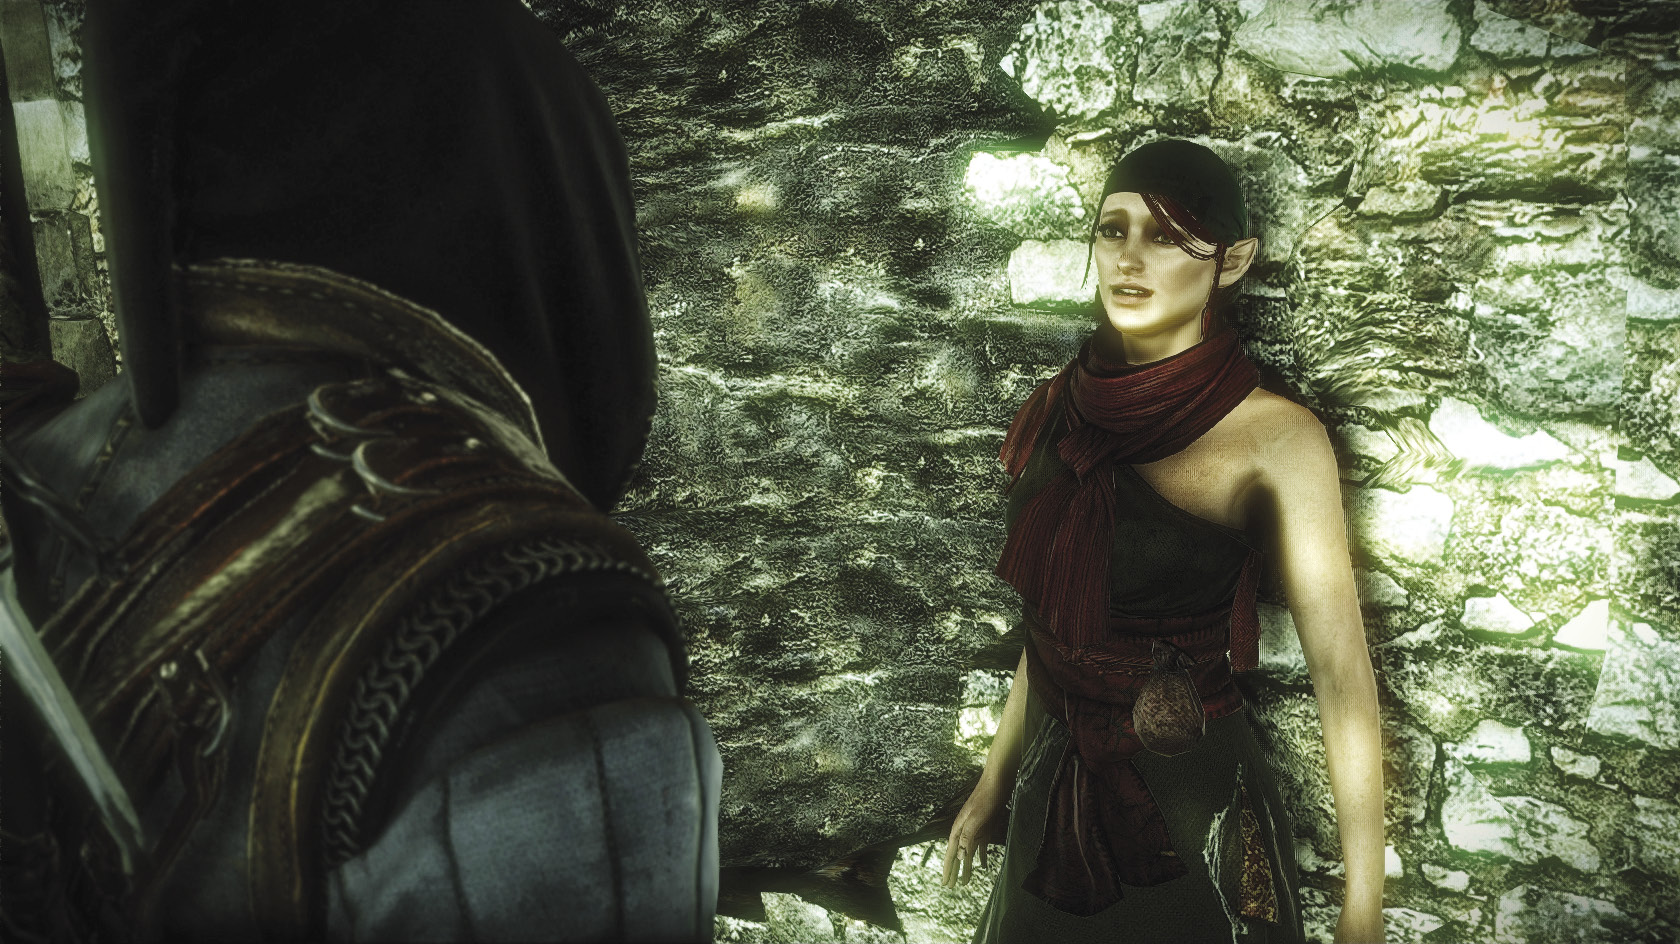
When you speak to Malena, you have a few dialogue options. If you say “You don’t deserve any,” then you can’t speak to her anymore. To conclude the quest, Geralt must cut her down himself. You receive 125 XP for resolving the quest this way.
If you say “Loredo will judge you,” you take her automatically back to Flotsam and hand her over to Loredo’s men. You don’t get any bonus XP for resolving the quest this way, so it’s not recommended. After all, taking her back means admitting to Loredo’s men that you fed them a line of bullshit earlier.
If you say “Away with you,” Malena swears never to be seen again in Flotsam. You get 125 bonus XP for resolving the quest this way. So really, if you’ve taken the route that gets you into a fight with the Scoia’tael, either killing or exiling Malena is equally good. Just don’t give her to Loredo.
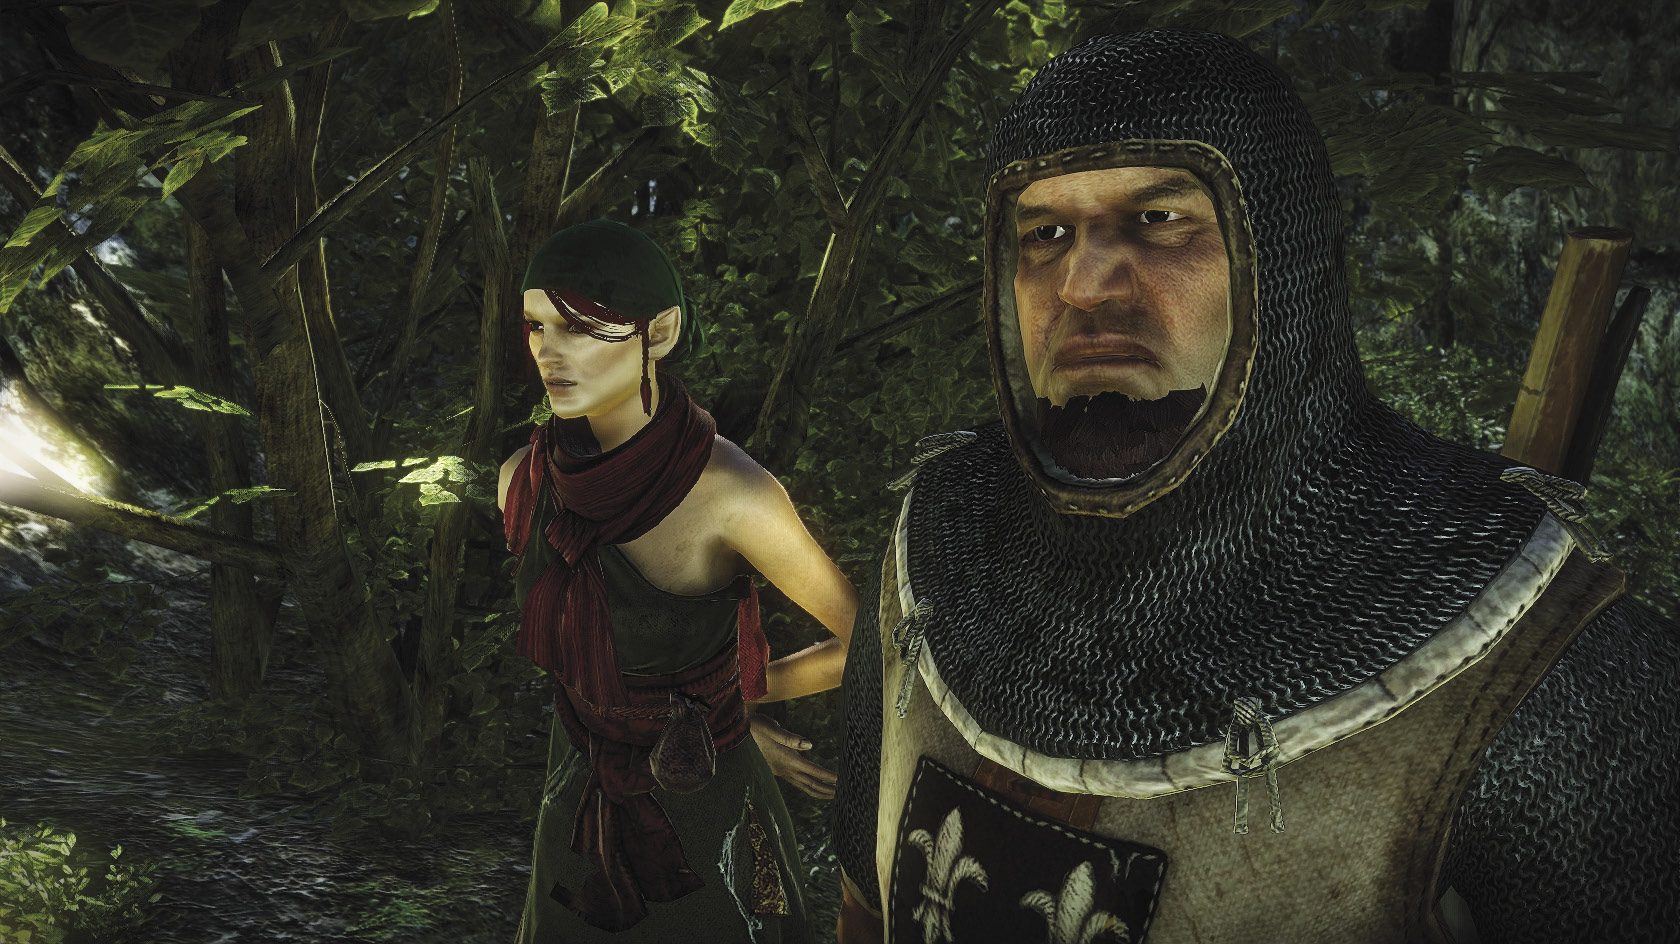
Another option for Geralt is to tell the guards the truth about what he found in the cave but give Malena a chance to defend her actions. Say “They were shot,” when the guard asks Geralt what happened to their missing men. Next, say “Let’s hear it” when Malena swears that she’ll tell them everything. Finally, say “Lead on” when she swears that there’s something you need to see. If you’ve read the description of what happens if you meet Malena in the woods, you probably know where this is going. Malena leads Geralt and the guards back to the tree branch where Iorveth ambushed you earlier in the game.
Naturally, it’s a Scoia’tael ambush! This battle is much easier than the one in the woods, since you have a bunch of guards to help keep the Scoia’tael from clustering around you. You don’t need to prepare potions for this battle, just use Axii to turn the Scoia’tael into walking targets for the Flotsam town guard. As in the forest ambush, one of the Scoia’tael may be carrying a Dhu Bleidd you can pick up as loot.
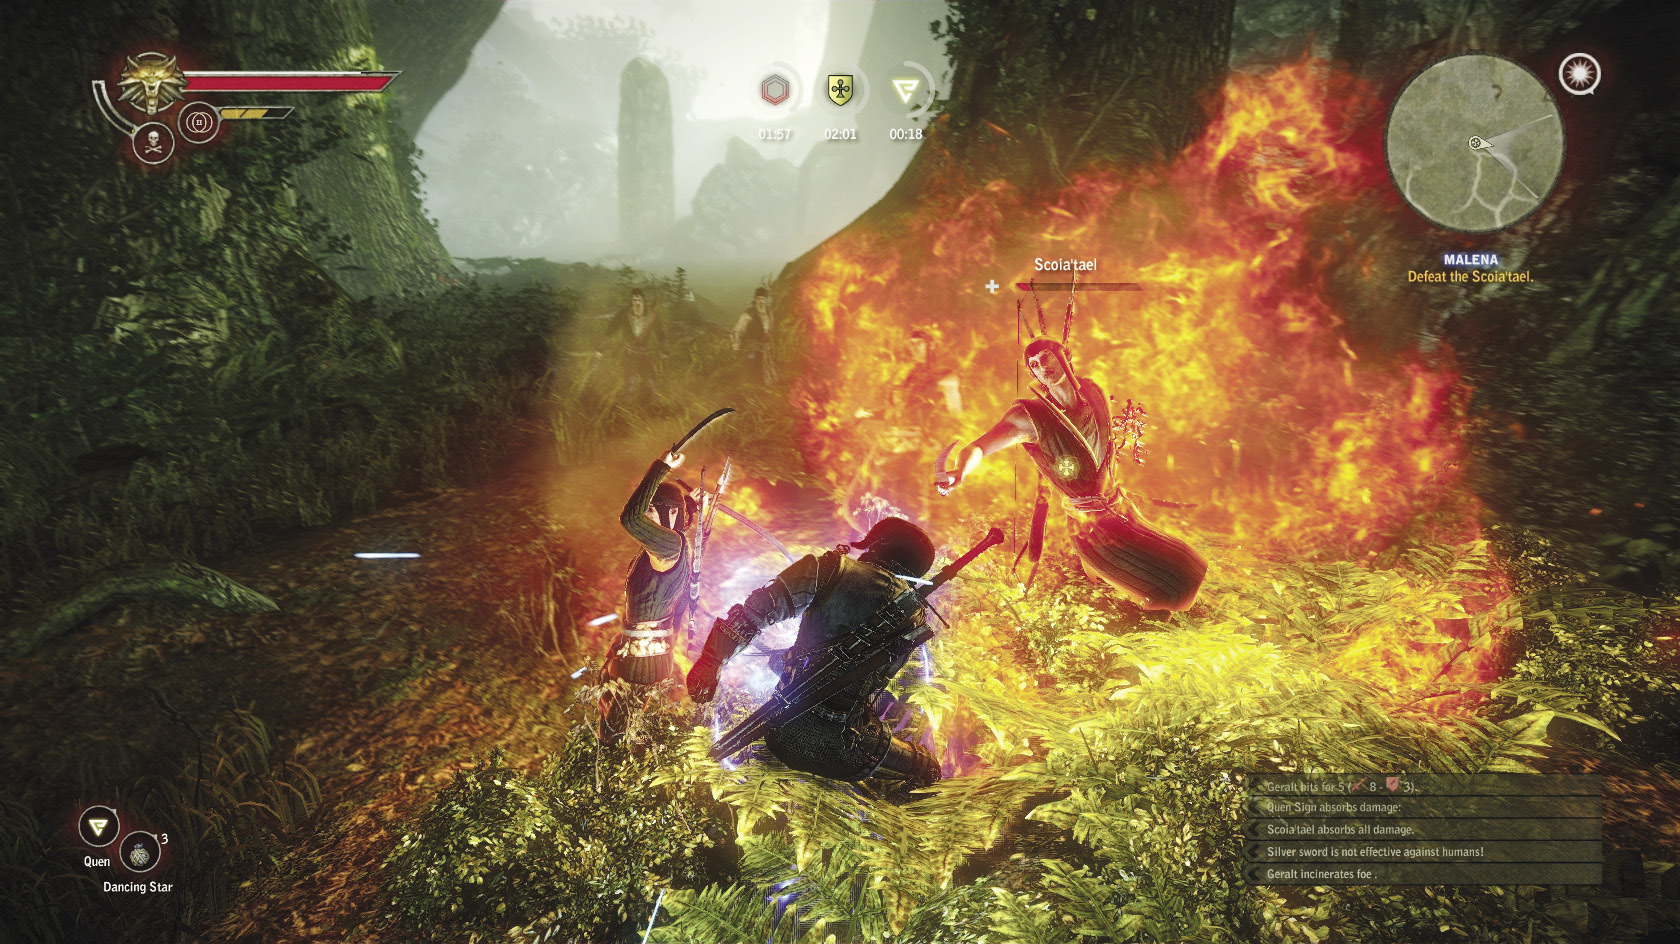
If you choose to say “I don’t believe you” after Malena tells her story, or simply say “Enough of your lies” earlier in the conversation, then the guards decide to take Malena to Loredo. Malena leaves cursing you, but you get 125 XP for being canny enough not to fall for her tricks.
So what’s the best way to resolve this quest? Overall, it’s probably to let Malena lead you and the town guards into an ambush. You get the 125 XP for any outcome where Malena pays for her crimes in some way. If you fight Scoia’tael during this quest, you always have a chance to pick up Dhu Bleidd as loot, but fighting alongside the town guard is a cakewalk compared to doing the fight solo in the woods.
Dhu Bleidd is so desirable as an armor enhancement because it grants a persistent +5 bonus to sign intensity, which is a bit like having the effects of a Petri’s Philtre activated all the time. Any Geralt build that uses signs at all benefits from this bonus.
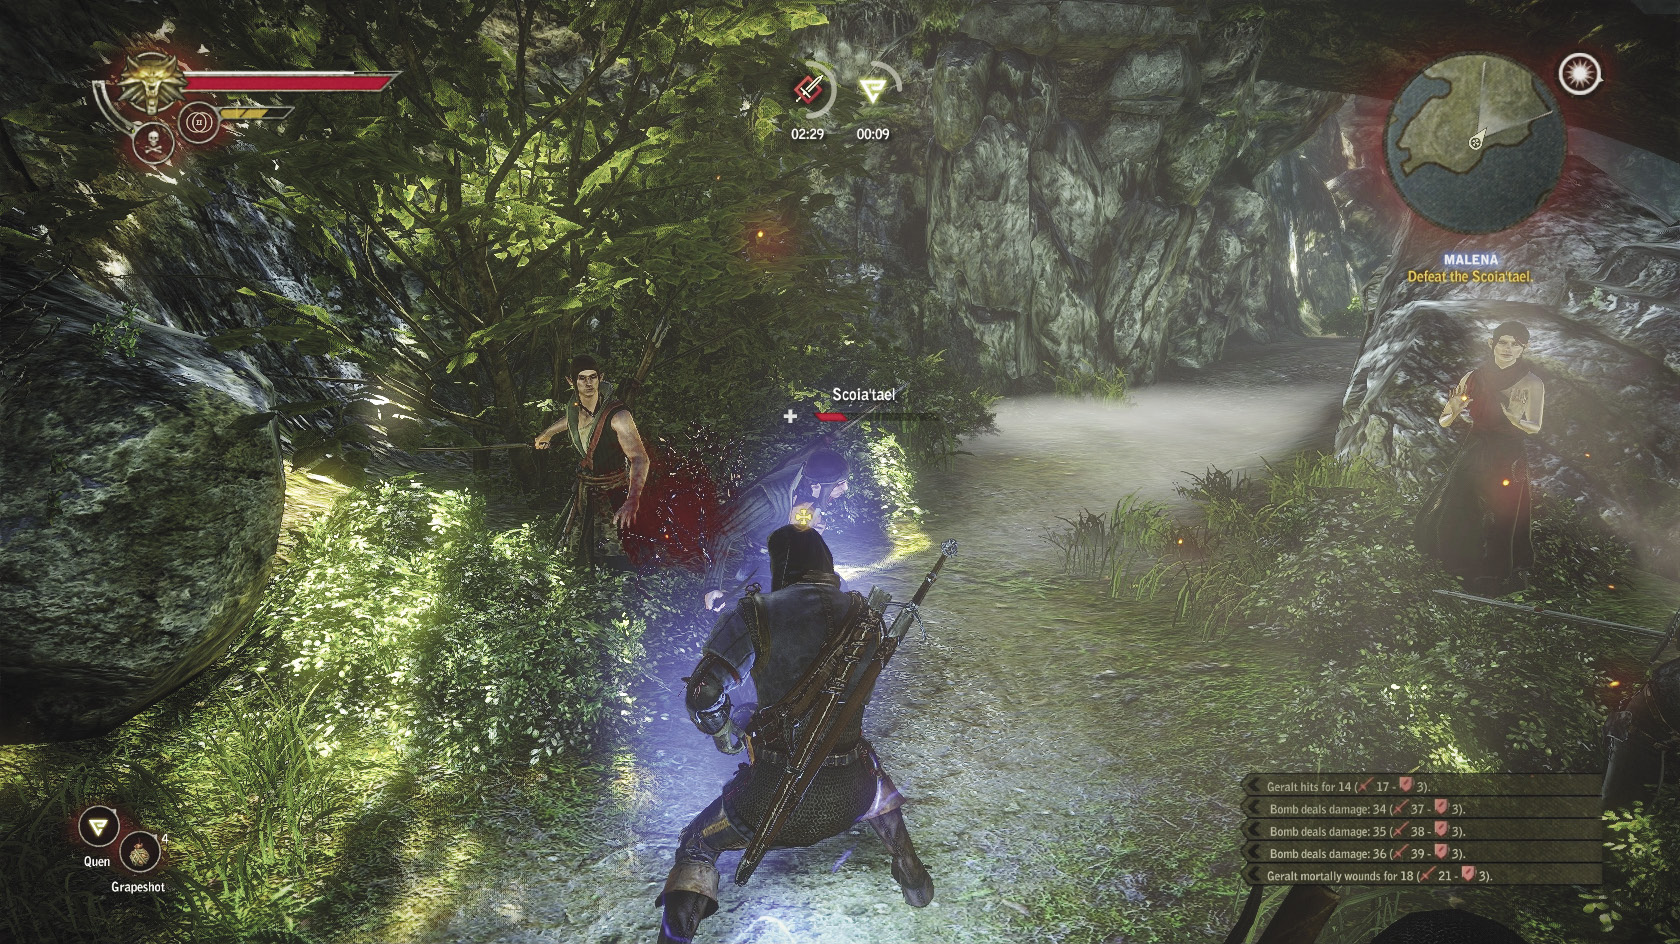
Note that Dhu Bleidd appears semi-randomly on the Scoia’tael in this quest, so you may not actually get to loot it from one of the Scoia’tael. It shows up a bit more regularly in the forest battle than in the battle with the guards but can be obtained in both fights. If you complete a battle and can’t loot Dhu Bleidd from one of the bodies, then it’s honestly worth repeating the quest until you get the drop. It’s much easier to quickly repeat the battle with the town guards a few times than the battle in the woods.
|
You might think this quest is just named after the character, but this is actually an easter egg. Both the quest and the character are named in homage to the Italian film Malena, which is about the life of a character by the same name. |
 Side Quest: Troll Trouble
Take this quest off of the notice board outside the Flotsam inn. After you read the description, follow the quest marker to the collapsed bridge (also labeled in the guide map). Be ready for a fight as you travel, since the route takes you right through the edge of endrega territory. When you draw near the banks of the river, you should hear the sounds of a fight. A man armed with nothing but an oar is fighting off a small group of nekkers. Finish off the nekkers and then talk to him.
After you rescue him, the NPC fills you in on what’s been going on with the troll. He suggests that the ruined bridge has something to do with a scheme by Loredo to keep the merchants from leaving Flotsam by land, since it’s Loredo who’s put a price on the troll’s head. The NPC advises you to talk to Chorab in Lobinden before you make any rash moves against the troll, who has started drinking heavily. Head back to Lobinden.
When you find Chorab (who can be in several different places in the village depending on the time of day), talk to him. You can gather information about the troll or the kayran quest, but this is optional. To progress this quest, click the top option. Chorab explains that the troll maintains the bridge more cheaply than a craftsman would and just needs to be persuaded to stop drinking. He offers Geralt 200 orens not to kill the troll.
Head back to the ruined bridge and climb down into the riverside. Talk to the troll. What you say in this first conversation doesn’t really matter. One way or another you piss off the troll and he begins attacking you. The troll is a very big and slow target. The easiest way to defeat him is to craft a big stack of well-balanced daggers, get behind him after the fight starts, and begin pelting him with them. You can also damage him with bombs, but the daggers whittle away his HP faster. This is much safer than trying to close to melee range with the troll, though you can do hefty damage if you get behind him.
Once the troll’s vitality is down to 50 percent, he begs Geralt to stop the fight and promises to be good. Now you need to decide whether to kill or help the troll.
If you decide to kill the troll, then resolving the quest is relatively simple. Say “Not good enough.” The fight continues. You should finish the troll off without any further trouble. Be sure to loot his body to pick up a bunch of useful crafting drops and a troll trophy. You can head north of the troll’s lair to loot a random sword that’s stuck into the tree roots. Head back into Flotsam and go into Louis Merse’s office. Begin a conversation and tell him the troll is dead. Merse pays you 50 orens and you get 125 XP for resolving the quest this way. Note that killing the troll counts toward one of the game’s secret achievements.
If you decide to help the troll, this quest is much more lucrative but takes a lot longer to resolve. Say “What’s with the heavy drinking?” The troll tells you about his mate, who was murdered and beheaded while he was out watching the bridge. Your response after that doesn’t matter; either way Geralt promises to find out who murdered the she-troll to help put the troll’s mind at ease. Before you head back to Flotsam, look in the tree roots just north of the troll’s location for some loot.
First, go into town and speak to Síle and Zoltan, who can give you some extra information about who might want a troll’s head and why. Your next stop is Lobinden. If you’ve had any dealings with Sendler, you may remember that he has a big huge head on his wall. Go talk to him about it and he says that he got the head from Dmitri. You need to go harass one of his men at the Flotsam inn after dark for more details. For now, offer to take the she-troll’s head off Sendler’s hands. Sendler doesn’t want to part with it for any amount of orens. Instead, you have to beat him at dice poker.
Next, meditate until midnight and head into the Flotsam inn. The guy you want to speak with is drinking alone at a barrel at the center of the lower level. When you ask him about the troll, he balks at telling you anything. You can try to intimidate him into telling you, but if that fails you end up fistfighting him. Fortunately, this guy isn’t difficult to beat at all. After you win, he tells you that you can find Dmitri at the graveyard above Lobinden.
Be prepared for a fairly challenging fight in tight quarters when you meet up with Dmitri. Dmitri’s lackeys are nothing special, but Dmitri hits hard and has a ton of vitality. You can’t really focus on damaging him until you’ve cleared out the four bandits that fight with him, but Dmitri keeps trying to attack you relentlessly.
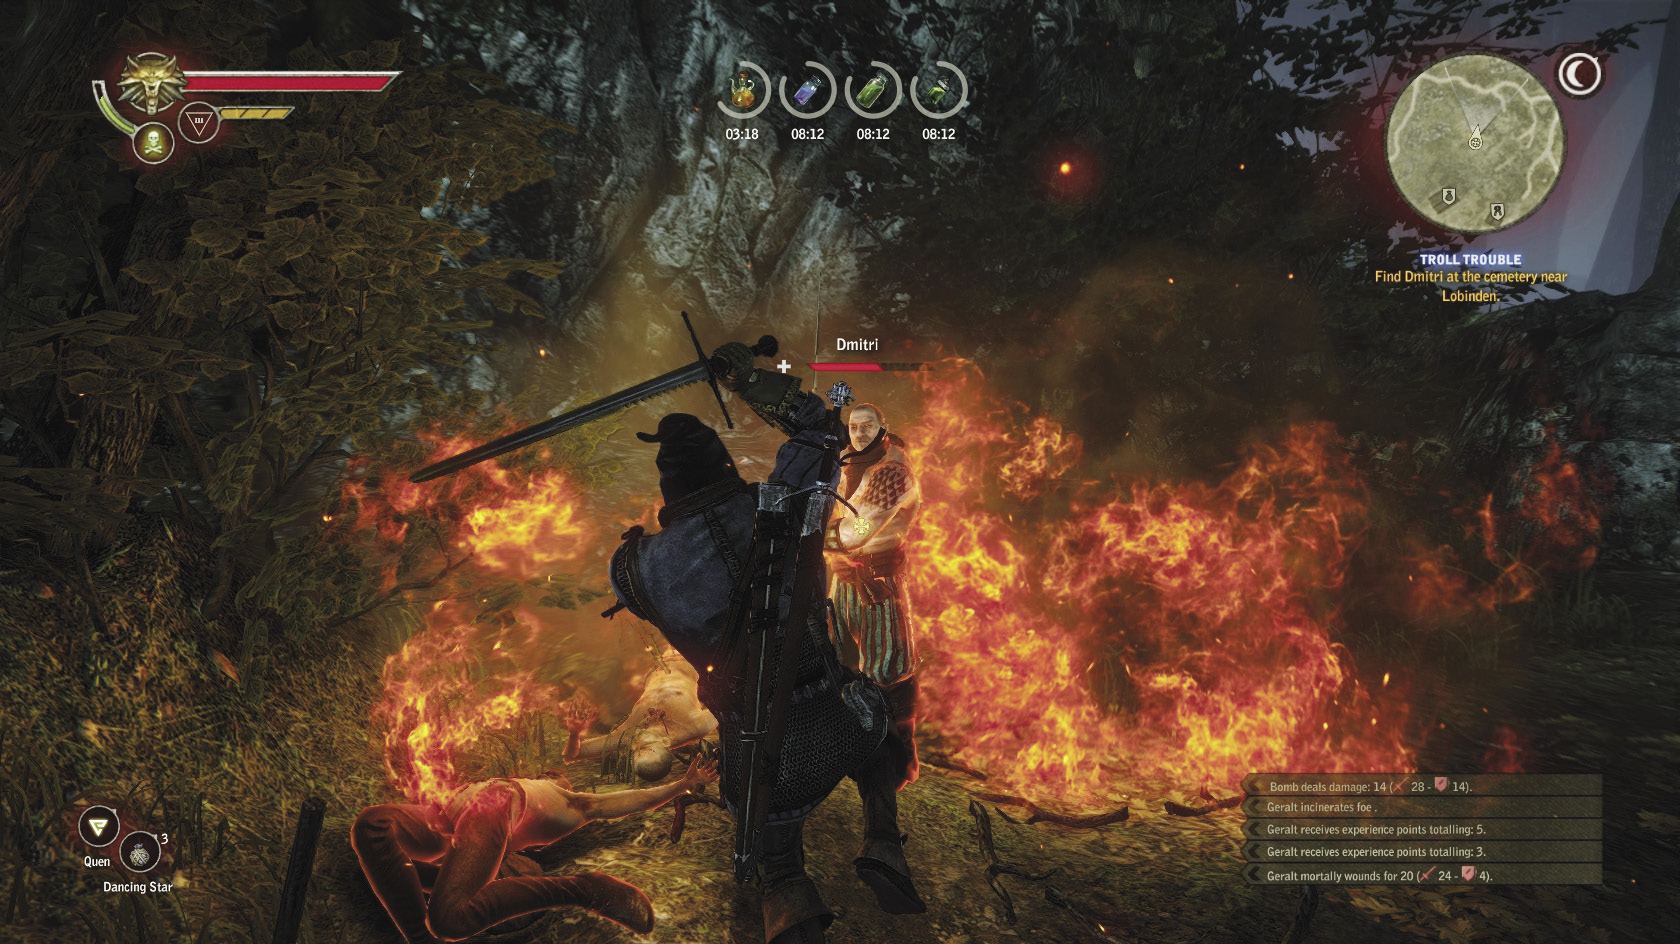
At this point in the game you probably have enough levels that you can begin investing talents in specializing Geralt’s abilities, so take advantage of whatever you’ve spent. In general, stunning bombs like Zerrikanian sun can be excellent here for crowd control. If you use Quen, then you can throw around dancing stars to take advantage of incineration’s powerful effects on human enemies. Potions that intensify critical effects and sign strength are also quite good, particularly so you can use Axii to turn the bandits against each other early on. You’re fighting human opponents, so oil your steel blade with hanged man’s venom. Once you’ve defeated Dmitri and the bandits, be sure to loot the bodies and the body of the “elven spy” they did in. Dmitri in particular drops the bandit’s hideout key, which you can use to access an interesting location.
Now that Dmitri’s dead, go tell the troll the good news. Tell him that you’ve defeated his wife’s murderers. The troll promises to stop drinking and fix the bridge. Give him back his wife’s stuffed head and the troll rewards you with the diagram for hunter’s armor. Sparing this troll also counts toward unlocking the Friend of Trolls achievement. The hunter’s armor is an excellent set that you can make right away. While you acquire the slightly better kayran skin armor diagram just a little bit later in the chapter, it’s very affordable to upgrade twice in this chapter if you’ve been looting everything diligently.
Now, go see Chorab to resolve the quest. Chorab backs down from his original offer and tries to give you only 100 orens. You can accept this if you want, but there’s no reason to do so. Instead, try one of the special decision options to make him give you the full 200 orens you’re owed. You can intimidate him (first option) or persuade him (second option). After Chorab pays you, you get the 125 XP reward for resolving the quest.
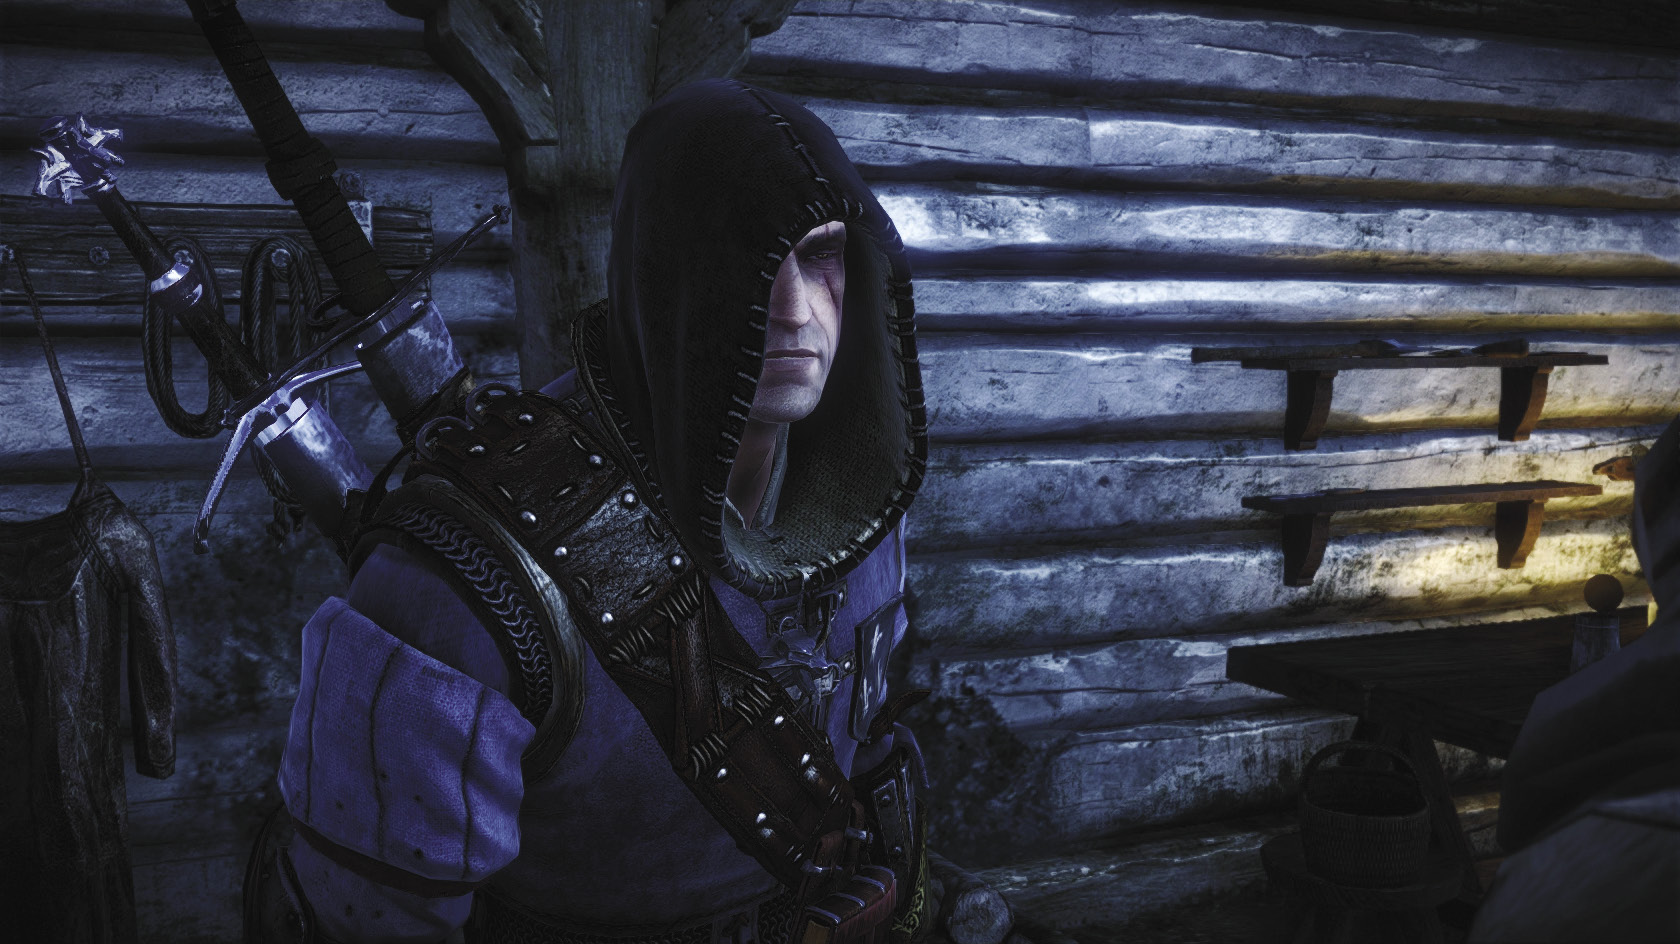
Note that either way you resolve this quest, you should get an alchemy item called a troll tongue. Hold on to this item and make sure you don’t sell it or brew it into a potion by accident. You want to use it in a quest later on in this chapter.
Bandit’s Hideout KeyIf you resolved this quest by helping the troll, you’re probably wondering exactly what you do with the key you looted from Dmitri’s body. Well, you can use it to get into the bandit’s hideout, a location you’d never stumble over by accident in the game. No quests ever take you there, so you might as well go pay a visit now and loot the place. The bandit hideout is the little house you see in the far southwest corner of the blacked-in swampy area on the Chapter 1 area map. The trek there by itself isn’t too dangerous. First head to the troll’s broken bridge and climb down into the riverbank. Next, head upstream a little ways. You should find a ruined bridge that slopes gently down into the water. Climb up it to cross over the river and get into the swamps on the other side. 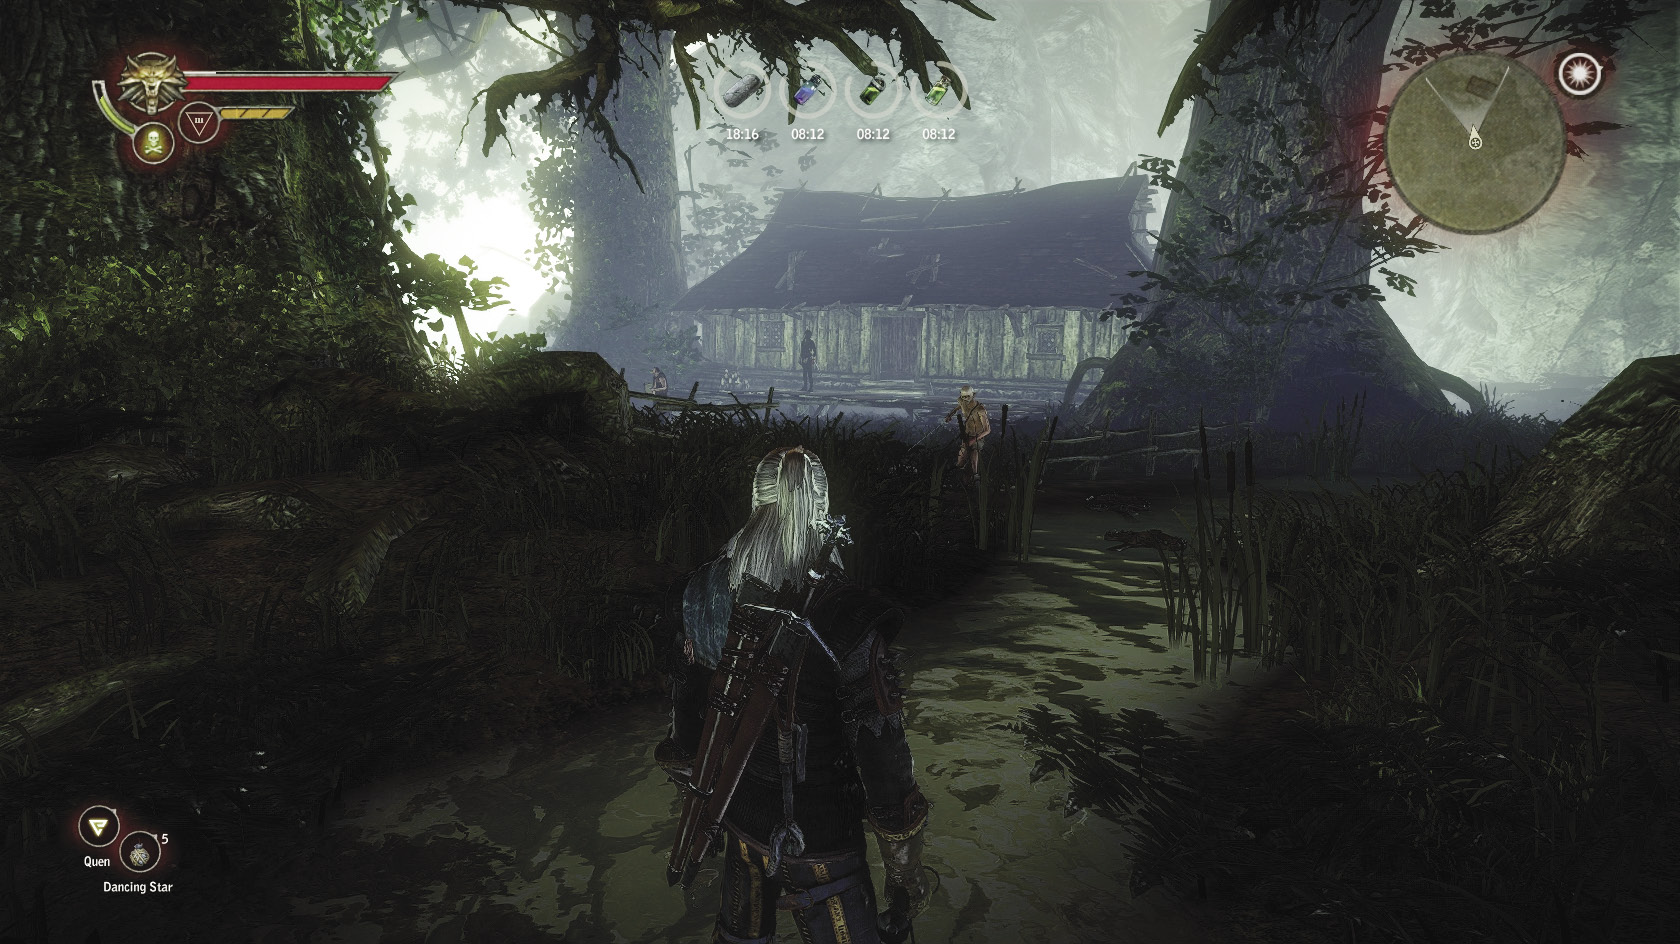 If you head into the swamps at night, expect to run into a lot of drowners. You may even run into groups of drowners led by their much more powerful cousins, the drowned dead. Drowners are very susceptible to stunning effects, so keep some samums or Zerrikanian suns at the ready. Also carry some necrophage oil. Drowned dead have a lot more vitality than the average drowner and hit very hard, so the damage bonus comes in handy if you stumble over some. You may want to pause just before crossing the river to drink some potions to boost your defense and make you more resistant to poisoning. As you draw near the bandit hideout, you stumble on a dead body dangling from a tree limb. Be sure to check for loot underneath it, as you can find some superb well-balanced daggers that come in handy later on in the chapter. Once you’re within sight of the hideout, you should see bandits patrolling the area. Bombs of all sorts are quite useful here, and you have ample opportunity to lay down traps. You can use Axii to turn the bandits against each other, too. Sometimes during the battle drowners crash the party. If so, the bandits may actually focus on fighting the drowners instead of you. Once you’ve picked off all the bandits, loot the bodies and then head to the actual hideout, a wooden shack. Use the bandit’s hideout key to enter. Inside is a chest stuffed with goodies, most notably a sun rune and the superb cutlass. The superb cutlass is probably better than what you’re carrying now, so go ahead and equip it. You can loot some orens from another chest and pick up some random loot, too. Once you’re done, head back to Flotsam. |
 The Kayran
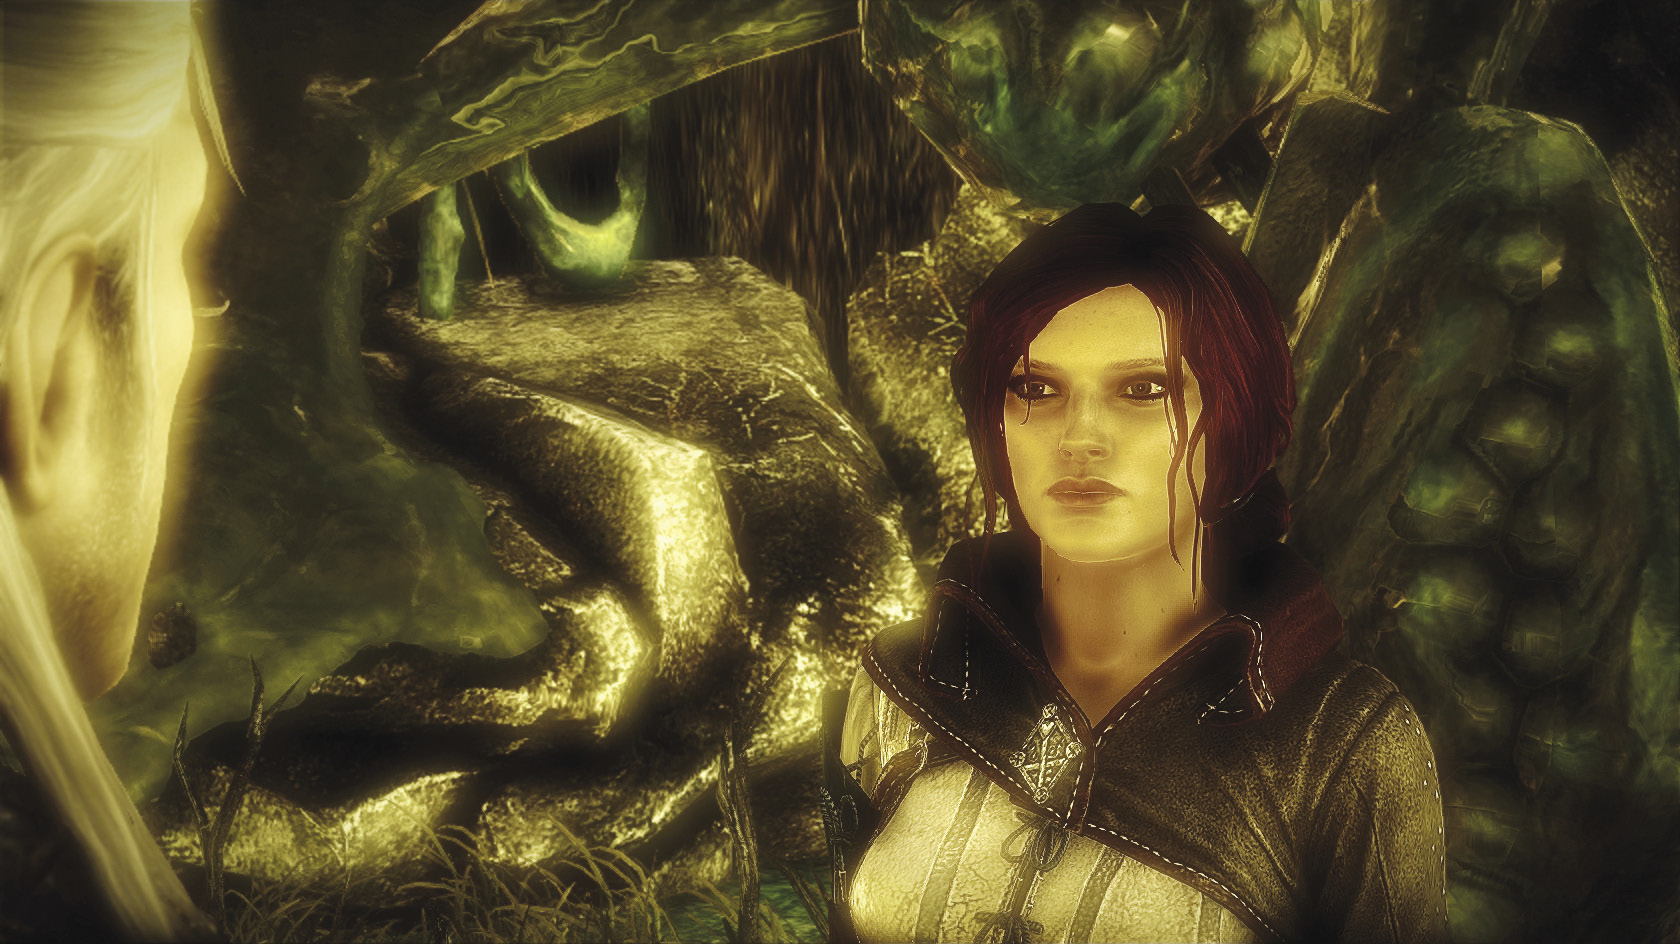
There are more side quests to be done before we finish up with this chapter, but now it makes sense to go revisit the main plot for a bit. As you recall, Triss teleported off to go investigate the kayran’s lair. Go catch up with her now. Have your steel sword at the ready, since the road to the kayran’s lair is infested with bandits. Be sure to loot the chest of orens the second group of bandits is guarding.
Triss is waiting for you at the end of the footpath. Follow her down into the kayran’s lair proper. Get your silver sword ready, as you’re going to be ambushed by drowners. Five drowners may seem like a trivial battle with an assistant, but you can be killed here fairly easily. Oiling your blade with necrophage oil and keeping Quen up should see you through the fight. Zerrikanian suns are also useful here.
After the drowners are taken care of, head toward the enormous pile of green snot by the quest marker. Once you’re close enough, you get a prompt to interact in order to collect mucus. This leads to a cutscene that opens up the side quest The Kayran: Ostmurk and gives you the mongoose formula. It’s worth doing the Ostmurk side quest now, since the potion formula you get for completing it is very useful for things besides fighting the kayran. First, there’s a side quest to trigger in this area, though.
|
When you examine the kayran’s lair, you come across the grisly scene of a dead cobbler alongside an equally dead ram stuffed with sulfur. Geralt comments that this is “straight out of eastern legends.” Actually, this is an easter egg. It references the Polish fairy tale Dratewka the Cobbler, by Janina Porazinska. |
 Side Quest: Mystic River
Head toward the wrecked ship at the far side of the pit that is the kayran’s lair. Scan it with your medallion. You should find a skeleton you can examine and two chests. From the skeleton, you can loot the key of the Petra Sile’s captain. Next to it is a chest holding a modest sum of orens. Head farther up the boat to find a locked chest that you need the captain’s key to open. Loot it for some modest crafting loot and a couple of interesting documents. Be sure to read both the captain’s log and captain’s report.
You can forward the documents, but you would need to find a drop box for the Royal Mail in Flotsam. Remember that locked chest on Louis Merse’s desk? Go there. Stand next to the box and interact to insert the captain’s report. Then talk to Merse and use Axii to convince him to let you open the box. Take Merse’s report from the box and look it over. This is all you can do with the quest in this chapter, but you’ll be able to continue it in the next chapter.
 Side Quest: The Kayran: Ostmurk
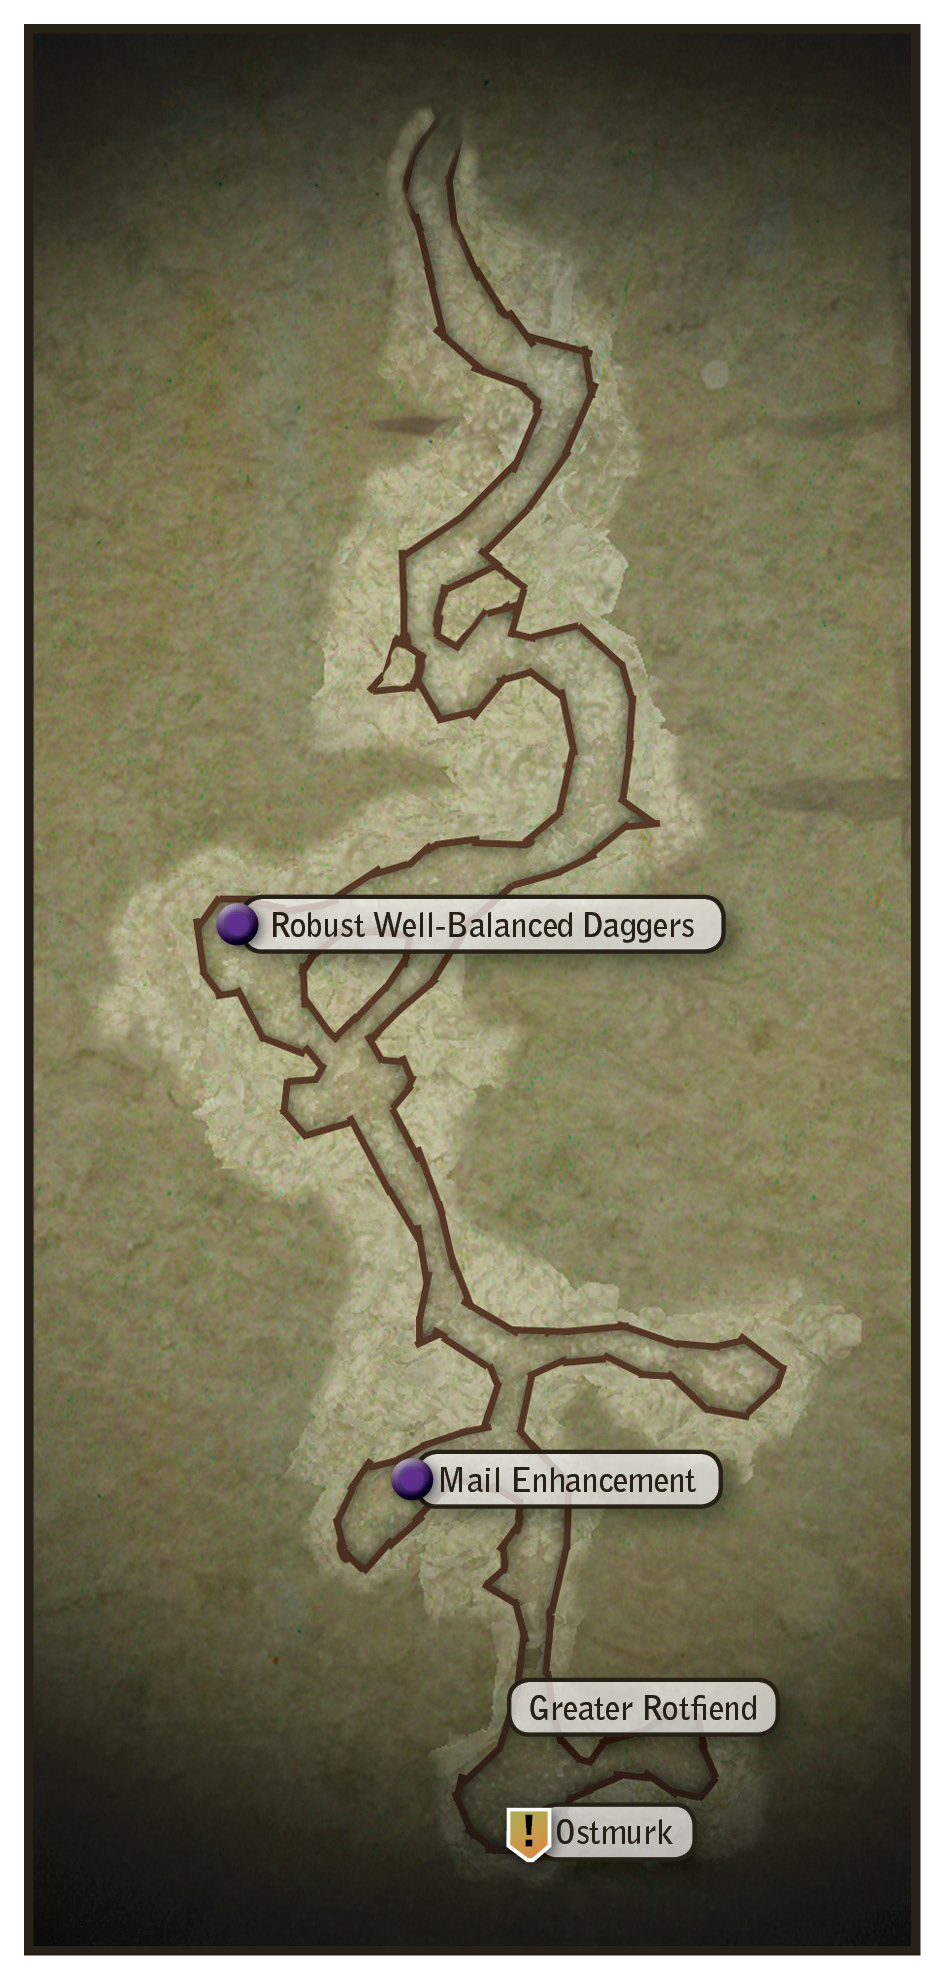
Now to deal with more pressing matters. Head back to Lobinden and talk to Cedric. Ask him where you can find some ostmurk. He directs you to explore some caves to the south, beneath the elven ruins. Make any necessary preparations, then travel across the forest. Depending on luck and time of day, you can encounter nekkers, drowners, or Scoia’tael in the area around the cave. An encounter that’s rare but very lucrative is Scoia’tael fighting a whole horde of nekkers, which lets you pick up all sorts of loot after you finish off the winning side.
Once you enter the cave, you are probably going to find yourself fighting a steady stream of nekkers and nekker warriors. There shouldn’t be too many for you to deal with at once, but you may be halfway through the cave before you’ve picked them all off. Head right at the first fork so you can loot some robust well-balanced daggers off of a corpse. Prepare yourself for a fight before you climb up to the slightly elevated part of the cave.
A greater rotfiend waits beyond. While this enemy becomes trivial for you to fight later in the game, right now it may be overwhelming. Since there’s only one, you can toss Quen up to mitigate damage and oil your silver sword with necrophage oil. Use strong attacks against it. After you reduce the rotfiend’s vitality to 0, you see it tremble in place and scream. Quickly roll away from it before it explodes into a poisonous mess.
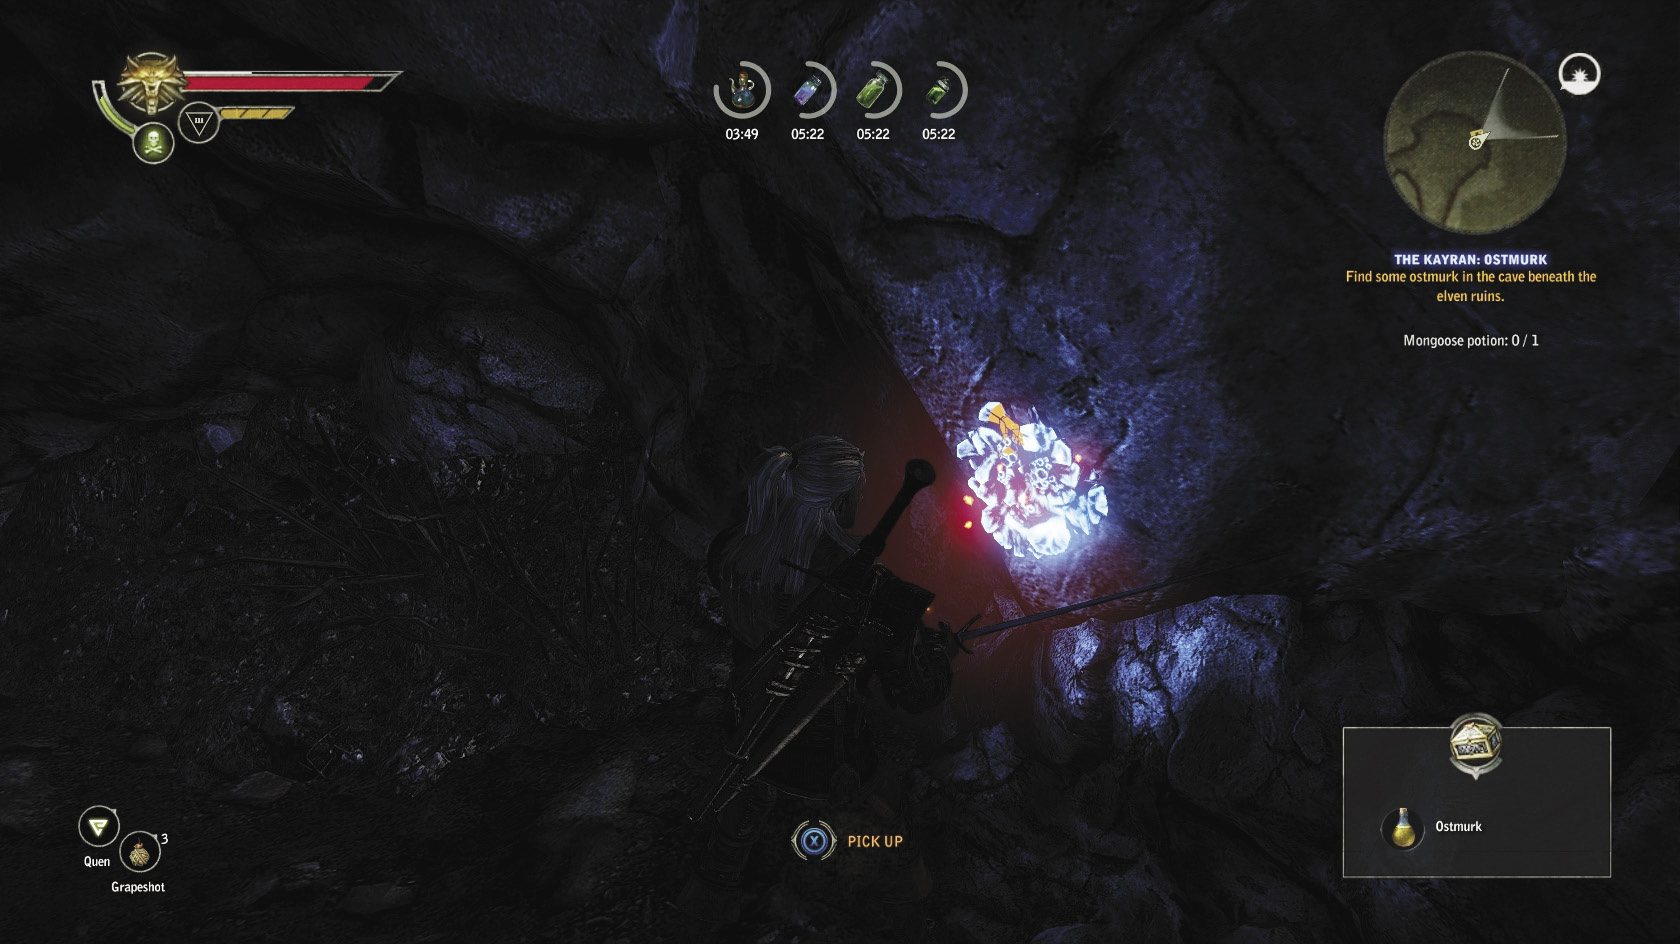
Just beyond the rotfiend, you find the ostmurk growing on a wall. Once you collect it, you can head out of the cave. On the way out, check the other fork in the upper area to find a mail enhancement on a corpse. For the last part of the quest you can do right now, head back to Flotsam and brew at least one Mongoose potion once you’re there. You actually don’t need ostmurk to make the potion; you can substitute any fulgur alchemy component for it. Mongoose comes in handy in the next side quest and, really, when fighting any enemy that uses poison. For the quest coming up, you’ll want two Mongoose potions.
 Side Quest: The Endrega Contract
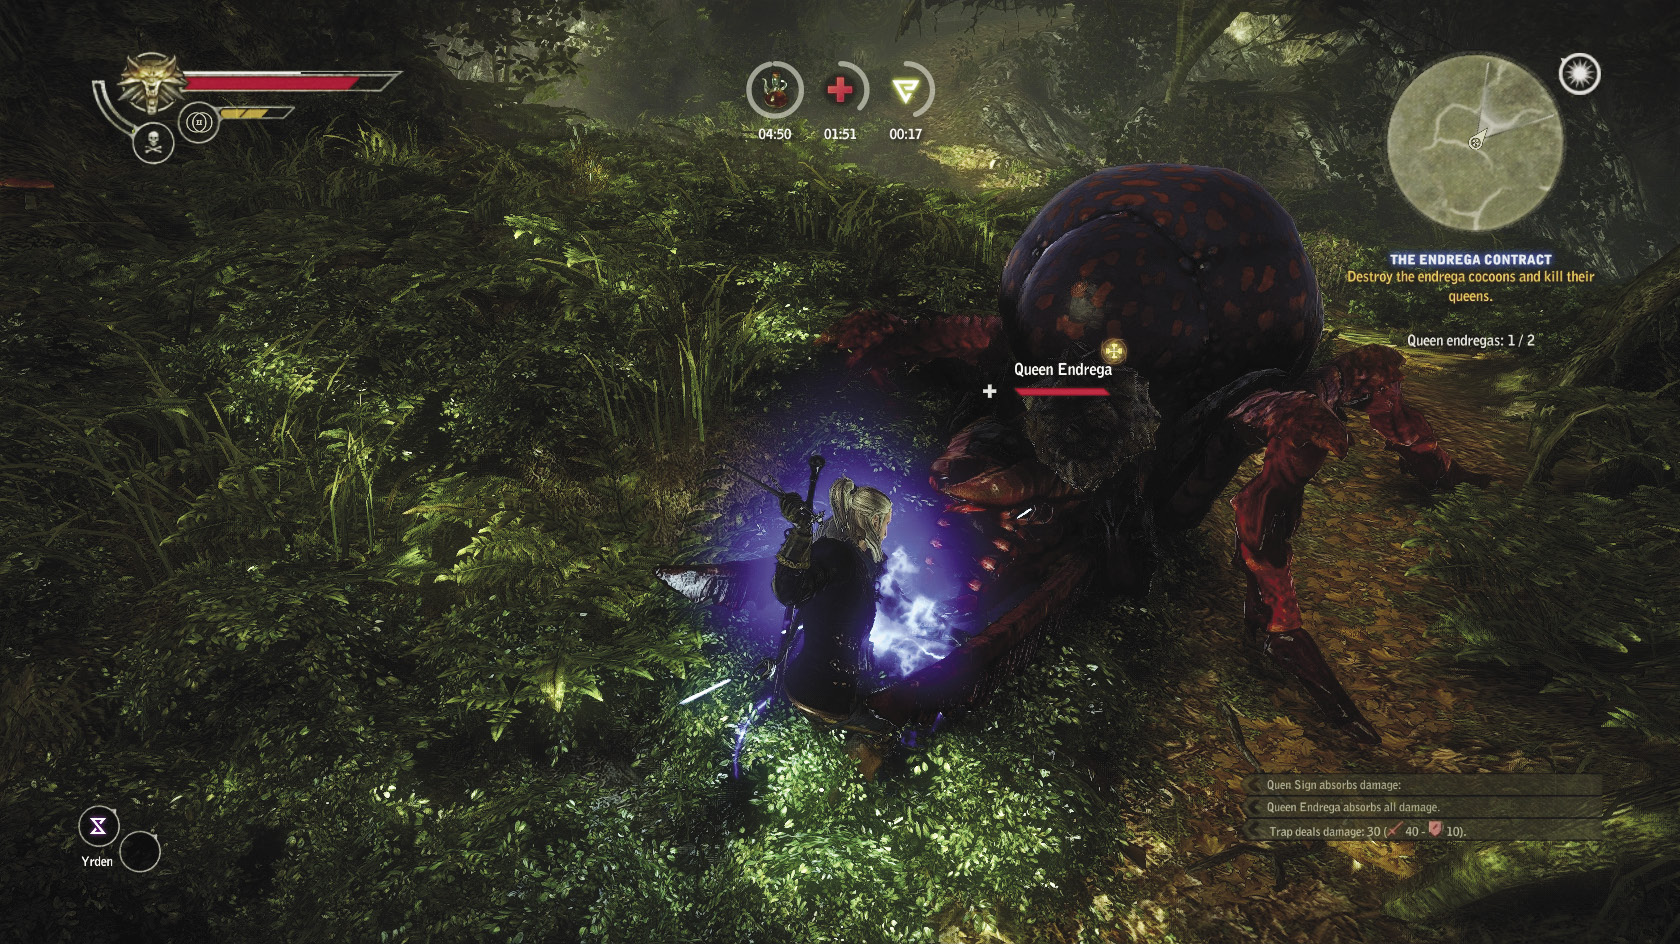
Now that you’ve got Mongoose, you’re finally ready to take on The Endrega Contract. To initiate the quest, go pick it up from the notice board outside the Flotsam inn. As with The Nekker Contract, go buy the relevant book about them from Einar Gausel and read it to learn about an endrega’s weaknesses. Of course, you might have killed enough endregas already to have full knowledge of them. If so, then you can advance the quest by just reading the info on your character attributes screen. Next, gear up for the hunt. Fighting actual endregas should be simple for you by now, but to complete the quest you must kill two dangerous endrega queens. They are huge and have tons of vitality, so you can’t just attack them relentlessly the way you do regular endregas. You need to be a bit sneakier.
First, make sure you’re carrying a good complement of traps. Virtually any trap aside from fury traps works well here. If you’ve been picking snares up in the forest, they are both highly useful and completely free. Have a couple of applications of insectoid oil on hand. For potions, go with options that increase Geralt’s defense. Mongoose, Swallow, and Brock can be a good combination, but plenty of others can work. You can also try using a Petri’s Philtre to strengthen signs, if you play a more mage-oriented build. Finally, have an emergency supply of damaging bombs like grapeshot and throwing daggers on hand. Be sure to make enough stuff for two battles, because you have to kill two endrega queens to finish the quest.
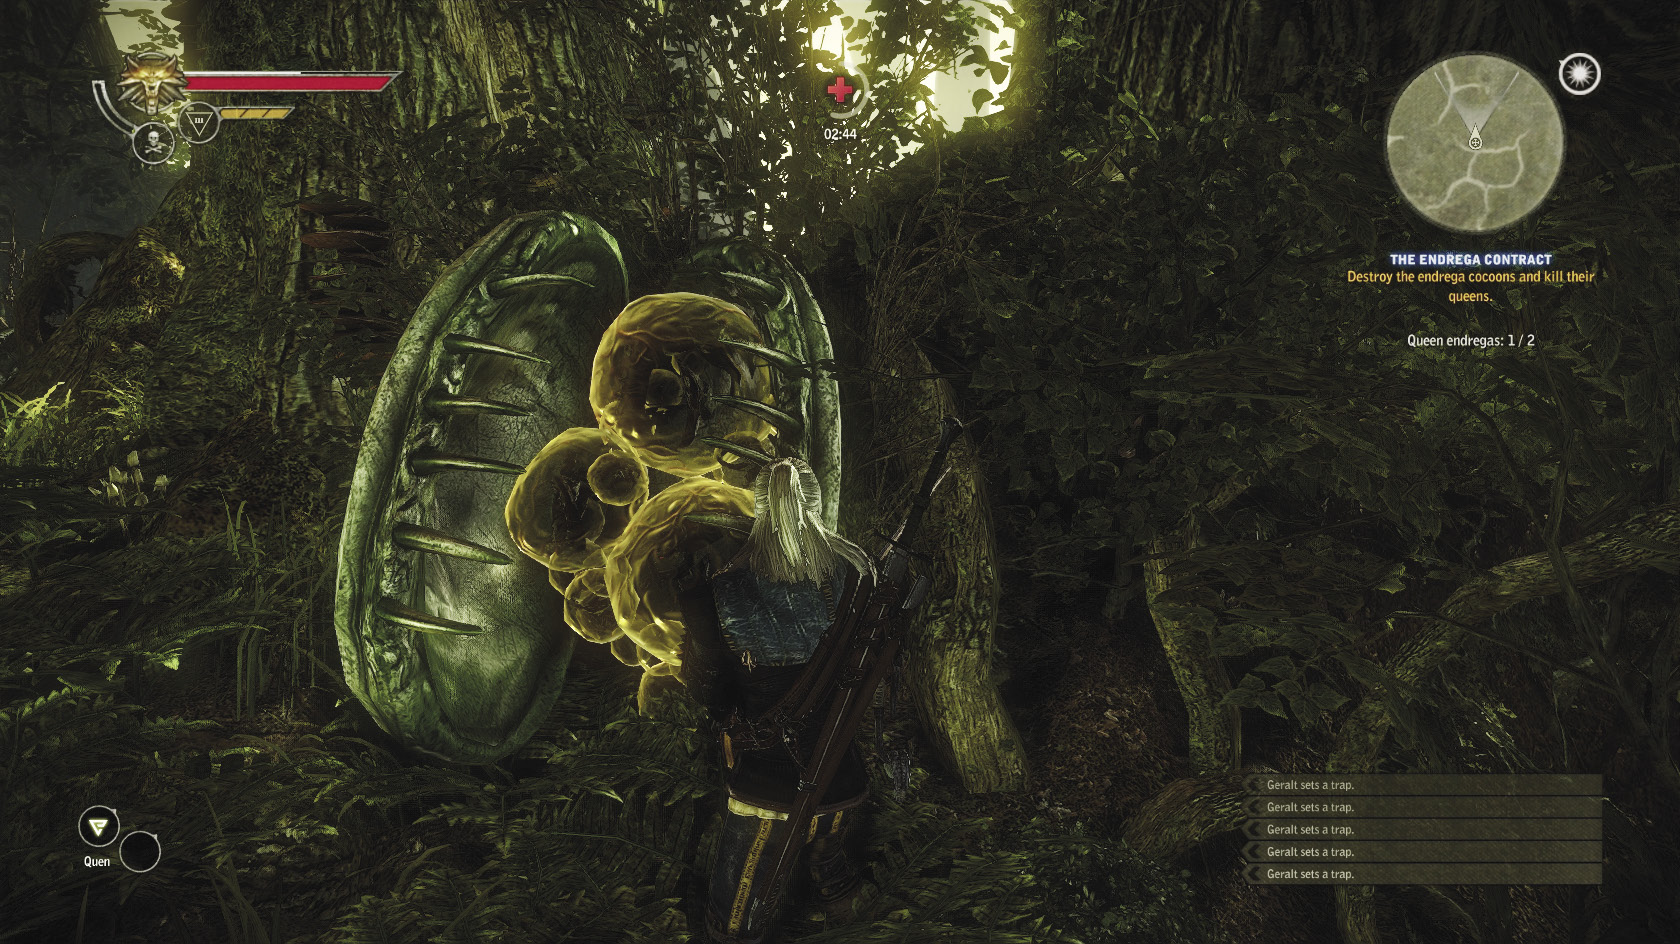
Endrega queens only appear when endrega nurseries are threatened. There are two nurseries and you’ve probably passed by them before—they’ve got weird cocoon pods sitting around the trunk of an enormous tree. The locations of the two endrega nurseries are marked on the guide map, just in case you don’t remember where they’re located offhand. Expect to be attacked by endregas of all sorts as you draw nearer to the nurseries. Pick off every endrega in the area before summoning the queen. To summon the queen, open each of the three cocoon pods in the nursery and destroy them with sword blows. Be sure to loot them for endrega embryo drops. After you destroy the third cocoon pod, the endrega queen emerges.
When you’ve got a good supply of traps, use Quen as your default sign for extra defense. Don’t engage the endrega queen, just make her chase you over the traps you’ve laid. You may be able to kill her without using your sword at all. She moves very quickly, so it can help to lay your traps in the nursery area before she appears. Once you have a feel for which direction she tends to approach you from, you can actually set your traps up so she has to walk over all of them before she can reach you.
If you run out of traps and she’s still not dead, then switch your active sign to Yrden and coat your silver blade with insectoid oil. Start luring her over your Yrdens, then quickly roll up to her and hit her with a few strong strikes while she’s stunned. After two or three blows, roll away before she can counterattack. A few volleys like this should finish her off if she’s already limping from trap damage.
A final tactic you can try is kiting the endrega queen to the edge of her territory, standing just outside her reach, and pelting her with bombs or knives until she dies. It takes a ton of thrown weapons to pull this off, though, and if you misjudge the edge of her territory you may get Geralt killed.
Save after you defeat the first endrega queen. Be sure to loot her body, as she produces some very rare alchemy items and produces extremely useful mutagens. Return to town and craft more traps if you’ve run out of them. If you’re using snares, you can just pick them up again to reuse later. Head out to the second endrega nursery. Repeat the tactics you used the first time. Now that you’ve had a little practice, you should find the second endrega queen a bit easier to defeat than the first one. Check the map and take advantage of any circles that happen to be near a nursery before you invade it.
Once both queens are dead, head back to Flotsam and see Louis Merse. Turn in The Endrega Contract by selecting the dialogue option about endregas. The quest should be worth 200 orens and 75 XP. When you turn in The Endrega Contract, you should get the diagram of the superb witcher’s silver sword in addition to the promised orens if you also turned in The Nekker Contract. This sword is easy to make and is the best silver sword you can obtain in Chapter 1. It is recommended that you go ahead and make it, although it won’t actually make a huge difference in any of the upcoming battles. It serves you very well early on in Chapter 2, though.
|
Since this is the final side quest you can get from the inn’s notice board this chapter, you should be able to spot a hidden easter egg. Etched into the wood is a carving of a grey—an alien from urban legends that appeared in the Area 51 video game. |
 The Kayran: A Matter of Price
Head down to the harbor and look for a merchant who’s marked with a quest marker. You enter dialogue. The entirety of this quest comes down to negotiating to try and get a better price for your services. If you ask the merchant for an advance, he gives you 200 orens up front, no questions asked. This won’t increase the reward after you kill the kayran, though.
If you ask the merchant to double the fee, he balks at your request. This opens up a set of four dialogue options you can use. The one you really want to try here is the Axii special option “You’ll double the reward,” which rewards you with the Haggling attribute after you’ve slain the kayran in addition to a doubled reward. You can also successfully get the merchant to double the reward by using the intimidation option, “Nuh-uh,” but you can’t get Haggling this way.
If you say “I’ll tell Síle you’re looking to cheat her,” the merchant increases the reward but will not double it. At this point, you get another dialogue option that says “Gimme an advance” or “Fine.” Regardless of what you say, it works like asking for an advance immediately. You get 200 orens up front.
If you say “Get back to me when you get tired of Flotsam,” either in the second dialogue or up front, it works like accusing the merchant of cheating Síle. The merchant agrees to increase the reward but won’t double it, then you get a dialogue option that lets you demand the 200 oren advance.
 The Kayran
Now it’s time to go advance the plot a little by actually killing the kayran. This battle is more of an action-oriented challenge than one where your gear or skill makes a huge difference (though spending talents on Feet Work can make a difference). The only real preparations you’ll want to make are crafting the kayran trap with the part you got from Indecent Proposal and brewing a Mongoose potion to drink just before you start the battle. To craft the kayran trap, you need to purchase the diagram from Cedric at Lobinden.
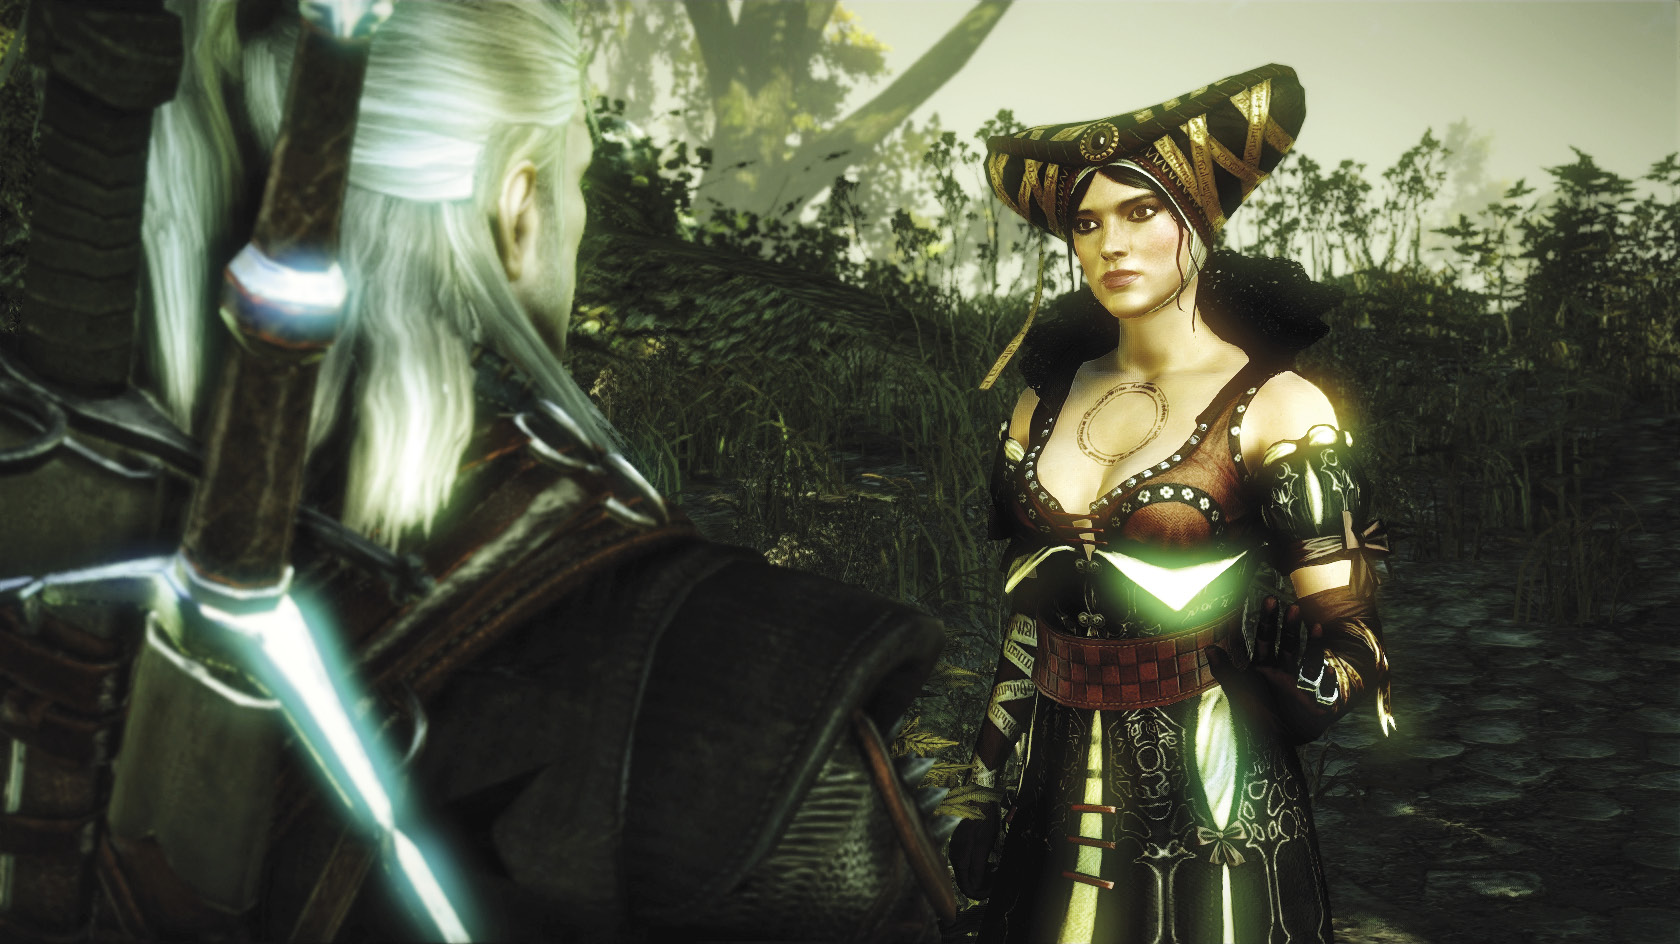
When you’re ready to set out and do the deed, go talk to Síle in her room above the inn. She teleports you automatically to the ruined bridge above the kayran’s lair. After the dialogue, begin down the sloping path. Stop when you can see the bottom, meditate, and drink the Mongoose. When you approach the final drop-off, the game auto-saves and you’re automatically taken down into the basin.
Right now, you’re probably around level 10. No matter how you’ve invested your talents or what sort of armor you’re wearing, you can probably only take about three hits from the kayran before dying. Focus on learning the kayran’s movement patterns so you can evade it while luring it into doing the things you want it to do.
This also means there are a few things you absolutely don’t want to do. If you move too far around to the kayran’s left or right, as if trying to go behind it, the kayran counterattacks with a powerful horizontal sweep of its tentacle that knocks you away. This can set up a ghastly combo where you take a ton of damage from the horizontal sweep, then take extra damage from follow-up blows while you’re trying to get up. Likewise, if you move too far back from the kayran, you get tangled up in swamp weeds and have to press your interaction button rapidly to get free. You also get poisoned while doing this if you haven’t drunk Mongoose.
Here’s the ideal way to handle the battle: When the fight starts, you’re located at roughly six o’clock from the kayran. There are two tentacles in front of you, tentacles at five and four o’clock to your right, and tentacles at seven and eight o’clock to your left. We’re going to start working on eliminating the tentacles at seven and eight o’clock, but you can start with the four and five o’clock tentacles if that’s easier for you. Just follow the general strategy outlined here.
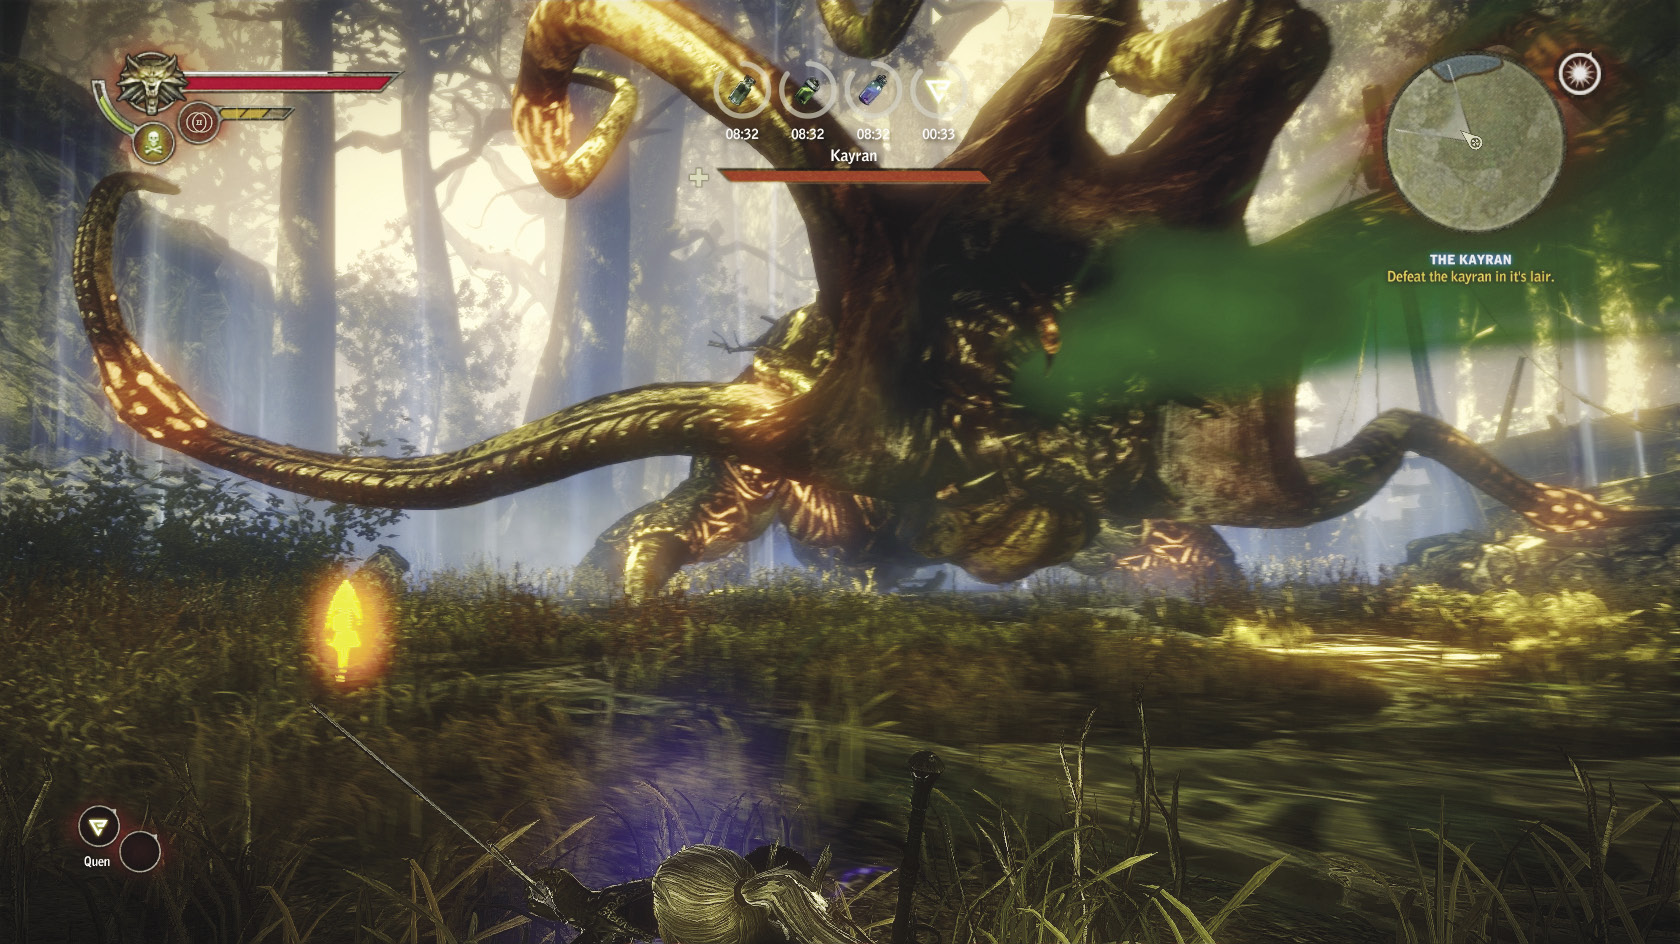
First, eliminate the seven o’clock tentacle. When the battle begins, one of the kayran’s six o’clock tentacles rises up. If you stand there stupidly, it will smash down on you, taking off over a third of your vitality. The best way to evade it is to dodge-roll as soon as you see the kayran telegraph its move. Try dodge-rolling once or twice to the right. The tentacle misses you.
When you move directly in front of the kayran, getting between the six o’clock tentacles, it begins to rear up and spit poison. The poison can’t hurt you because of the Mongoose potion you drank. Take this opportunity to run toward the glowing yellow indicator in front of the seven o’clock tentacle. That’s where you place the kayran trap. Just draw close to it and tap your interaction button to place it. What should happen next is that after the kayran finishes its poison spray, the seven o’clock tentacle rises up to try and smash you. Dodge-roll once or twice to the right.
If you placed the trap successfully, the kayran’s tentacle gets severed by it when it smashes down. Doing this successfully unlocks the Artful Dodger achievement.This takes about one-third off of the kayran’s vitality bar immediately. Quickly position Geralt so he’s standing in front of the severed tentacle stump. After you sever one of the kayran’s tentacles, it begins smashing everything around it in a frenzy of pain. If you’re standing in front of a severed tentacle, well, the kayran has nothing to smash you with.
After the kayran’s pain frenzy ends, move just a little bit to the left and place an Yrden. Ideally, what happens next is that the kayran raises its eight o’clock tentacle to prepare to smash you. Once again, dodge-roll to the right once or twice. When the kayran’s tentacle hits an Yrden, the tentacle gets stuck to it. When this happens, make your way over to the trapped tentacle as quickly as possible. Begin striking at the bulging, cancerous growth in the tentacle’s center with light attacks. After you hit it enough times, Geralt severs the tentacle. Have him remain where he’s standing as the kayran enters another frenzy of pain. He should be safe from the flailing tentacles.
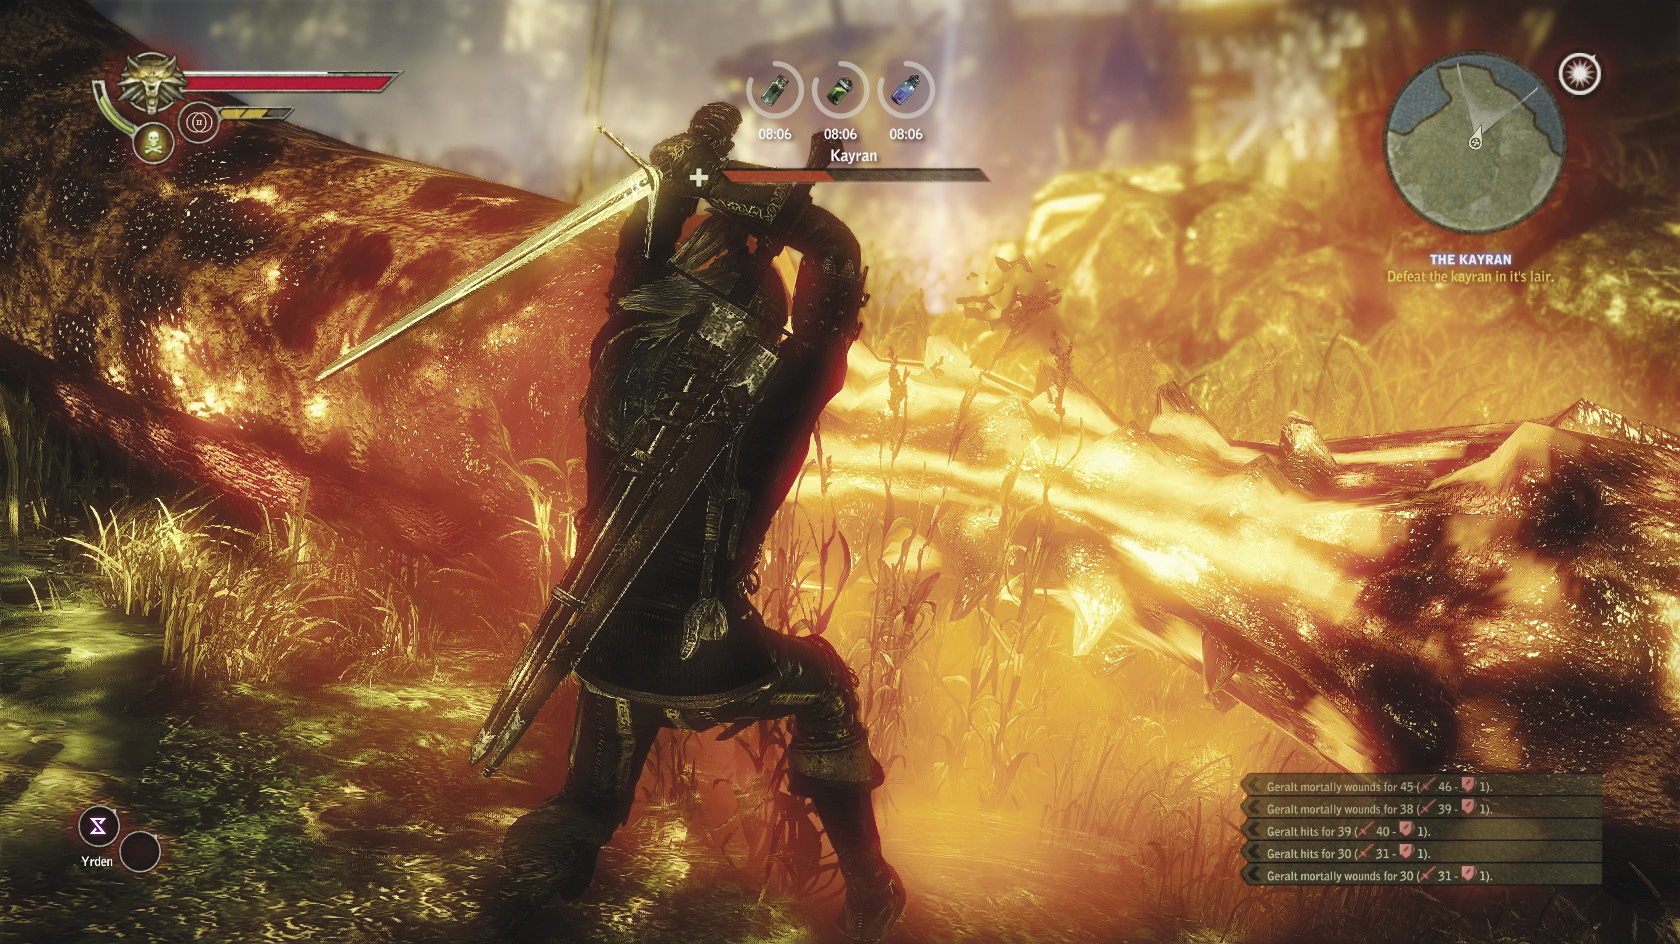
After the kayran’s second frenzy ends, you enter a very tricky part of the battle. Basically, you need to switch sides so you can sever one of the tentacles opposite you (in this case, we want the five o’clock tentacle). The easiest way to do this is to dodge-roll to get quickly past the six o’clock tentacles. Once on the other side, try to orient yourself quickly. It is very easy to get smashed by a tentacle while you try to figure out where the kayran is in its attack animation cycle. Ideally, you get into position in the area the five o’clock tentacle guards and put down an Yrden without getting smashed. When the five o’clock tentacle goes up, dodge-roll to the left once or twice. Go sever this tentacle the same way you did the last one. The kayran enters another frenzy of pain you can avoid in the usual way.
Now you enter a series of QTEs that are what a tabletop gamer might call save-or-die situations. The kayran is going to sweep its remaining non-center tentacle, in this case the four o’clock tentacle, horizontally over the basin where you’re fighting. Quickly press the strong attack button when prompted to make Geralt avoid damage by grabbing onto it. If you are not successful, Geralt is probably going to die instantly.
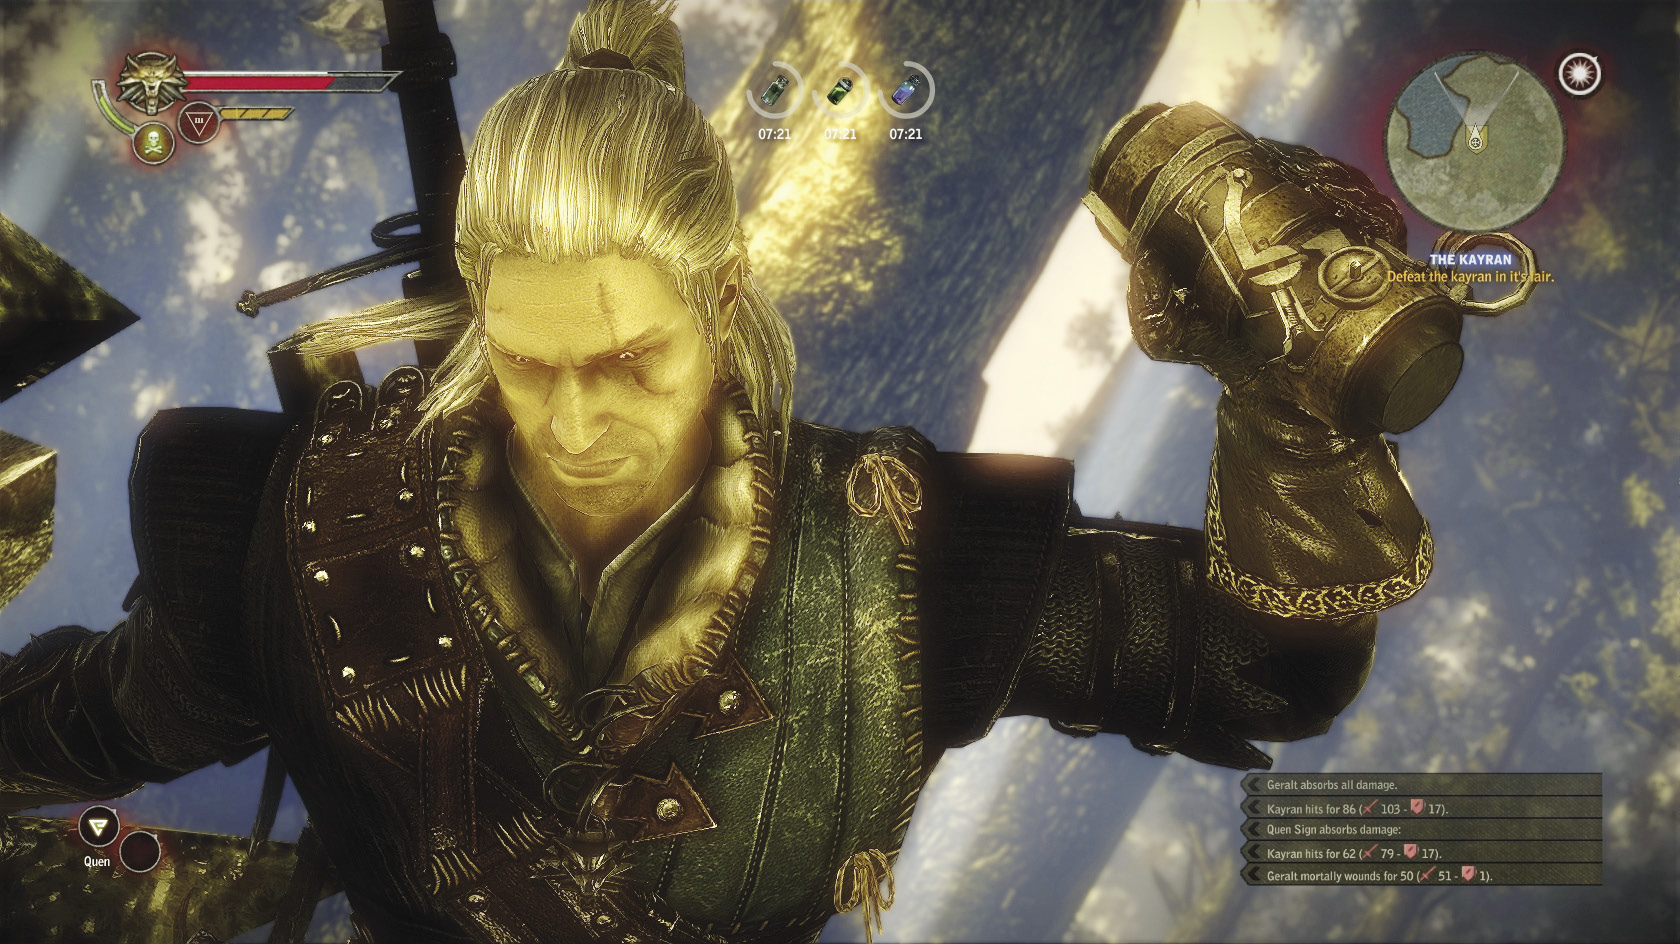
Once you’re on the tentacle, you get another prompt, this time with the interaction button. You need to press it rapidly to fill up a meter, while the kayran waves you around. This shouldn’t be difficult. The next button prompt has a tendency to be a killer, though. After you finish filling up the meter with the interaction button, be ready to hit the dodge button as soon as the prompt appears. If you hit it in time, then Geralt leaps off the tentacle before the kayran smashes down half the ruined bridge on itself. If you miss this prompt, Geralt gets smashed into the ruined bridge and dies instantly.
The rubble falls on the kayran such that it can no longer move, while also creating a giant stone ramp that leads up to its head. The kayran is going to defend the ramp with a pair of smashing tentacles, so you can’t walk up it. You can, however, dodge-roll up it safely. Just make sure you don’t get stuck on any of the terrain, and never stop dodge-rolling until you reach the top of the ramp. Generally the left side of the ramp is the easiest to roll up. When you reach the top of the ramp, Geralt crams a bomb into the kayran in a cutscene. The battle is over.
You get a whopping 1,750 XP for defeating the kayran and unlock the achievement Oh My God! You Killed The Kayran! You Bastards! You should level up at least once after that. The Kayran: Ostmurk automatically concludes after this battle if you drank Mongoose before the fight. Your reward for drinking the Mongoose first is the Strong Stomach attribute. Be sure to approach and loot the kayran’s body for drops before you leave the area, too.
 The Kayran: A Matter of Price
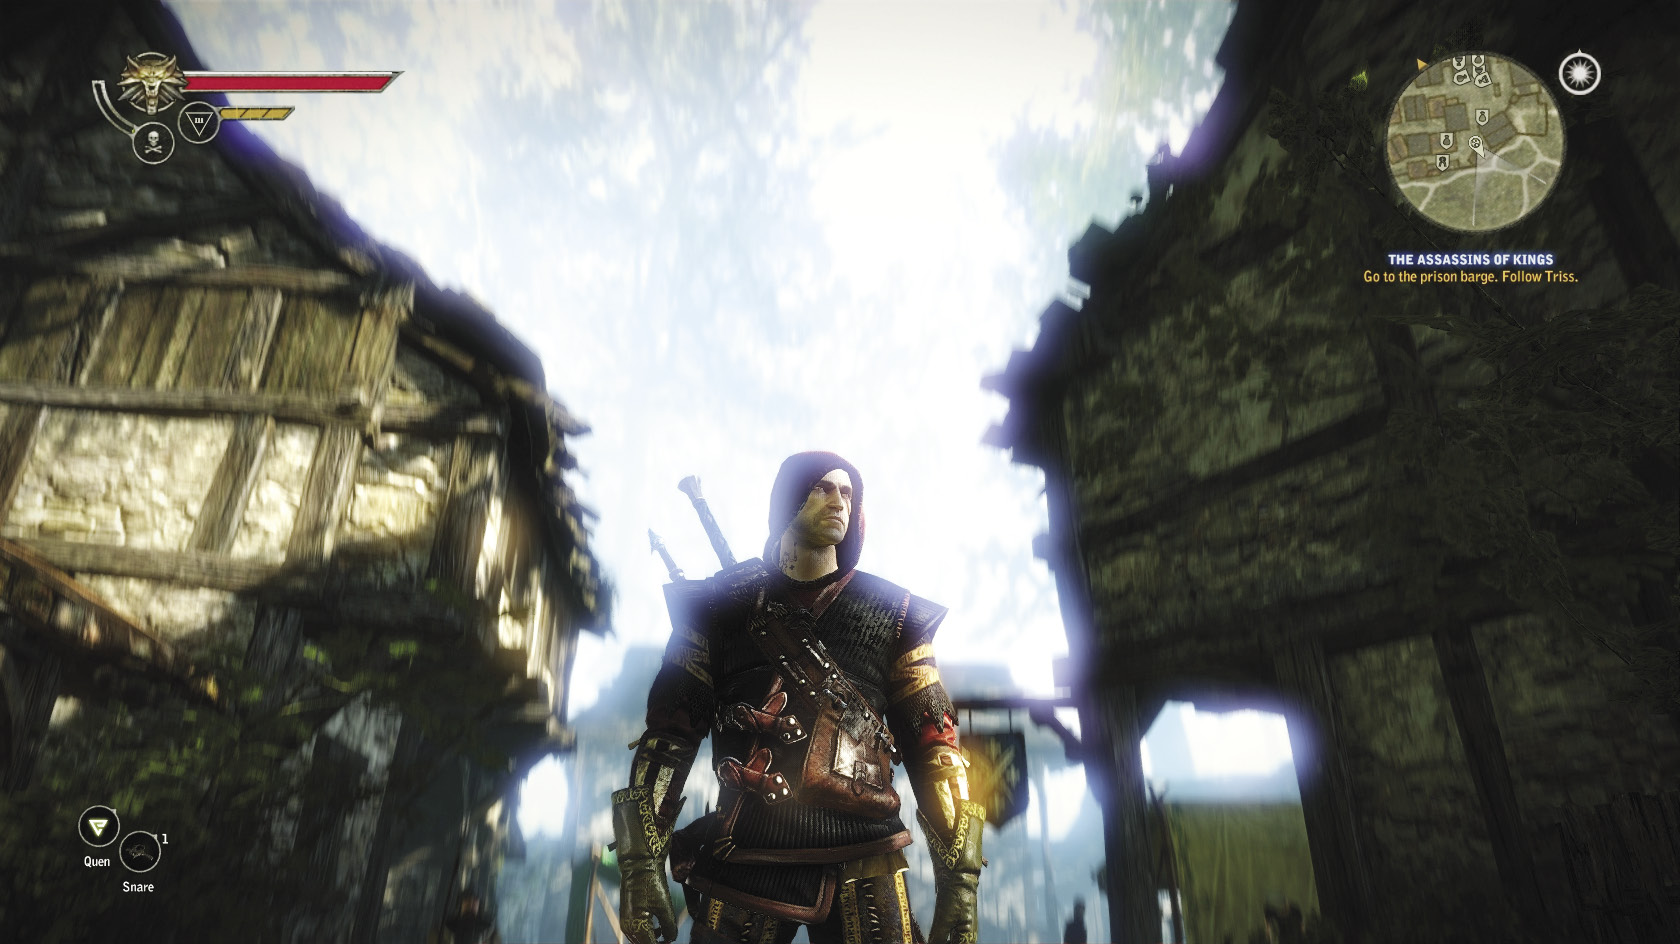
This quest technically doesn’t conclude until you return to the merchant you negotiated with earlier. If you had the reward doubled, you get 1,000 orens. If you accepted the default reward, you get 500 orens. If you took one of the options that increased the reward but didn’t double it, the number should be around 750 orens. So if you take the increase and an advance, you can get up to around 950 orens in total for killing the kayran, which only falls a little short of what you get for doubling the reward. That said, doubling the reward is overall the most lucrative way to go here, and it’s very easy to do. Haggling reduces shop prices by 20 percent, making your store of orens go farther for the rest of the game.
In addition to the money, the diagram for kayran carapace armor should appear in your inventory after this. If you looted the kayran’s body, you can now go make the best armor available in Chapter 1. Now is generally a good time to begin optimizing Geralt’s equipment, since you should be able to afford the diagram of the jagged blade and should also have the 15 endrega teeth required to craft it. If you don’t, you can buy them from Anezka or go grind endregas in the forest. You should also equip the kayran trophy, which gives you a far better bonus than any other trophy you can acquire at this point in the game. You can’t improve your boots, gloves, or trousers much at this point, so don’t worry about that for now. You should already have an optimal silver sword.
 The Assassins of Kings
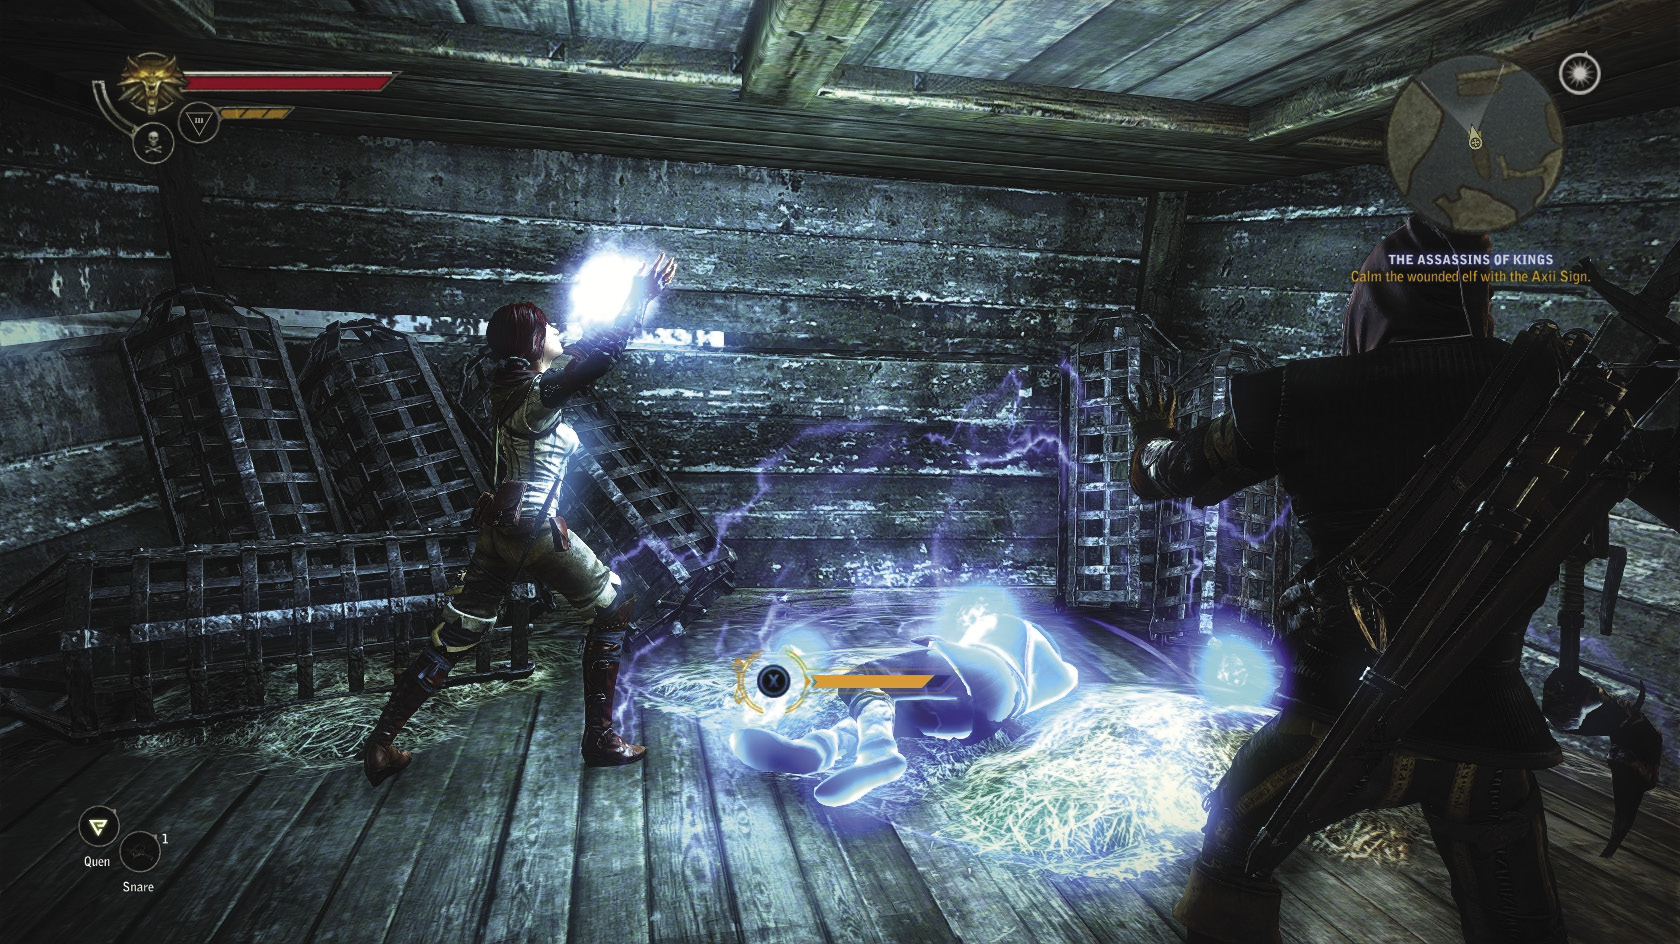
As soon as you walk away from the merchant, Triss appears. She says that Iorveth’s right-hand elf is being held on the prison barge and that he may know something about the kingslayer. After you’ve finished upgrading your gear, meet up with her in the harbor. Talk to the guards to gain entrance to the barge. The elf you want to speak with is in the hold. Before you can speak with him, you need to use Axii on him while Triss casts a healing spell. Press the interaction button to initiate this mini-game. Just press it repeatedly to fill up the meter.
Once he’s awake, you can have a conversation with him. Regardless of the conversation options you pick, you’re going to discover that Letho has turned against Iorveth’s Scoia’tael unit, but Iorveth doesn’t know it yet. You also find out that roses of remembrance grow nearby.
 Returning Memories
After the conversation with Ciaran ends, Geralt recovers a bit more of his lost memory. Triss says that with a rose of remembrance, she could restore his memory completely. At this point, you can decide whether you take Triss on the next quest with you or not. If Triss goes with you, she can have a love scene with Geralt during the quest. If Geralt goes alone, this obviously is not going to happen, but he can still complete the quest normally. It’s worth noting that there’s an attribute you can obtain specifically by taking Triss with you on the next quest but then not making love to her.
 The Rose of Remembrance
If you take Triss with you on the quest, you can simply follow her. If you insist on doing the quest without her, then you need to go to Lobinden before you set out for the elven ruins where the roses of remembrance grow. Cedric’s an elf, so go ask him about the roses of remembrance.
When you do, you are prompted at one point in the conversation to give him vodka. If you do this, Geralt drinks with him and the screen goes all wobbly to indicate that hammering down vodka before a trek through a monster-infested forest is not actually a good idea. If you don’t give Cedric vodka, he asks for orens to go buy some instead. You can give him up to 82 orens and should probably give him the maximum amount to make sure he tells you directions to the roses of remembrance. All told, it’s cheaper and funnier to give him vodka instead.
Head south toward the waterfall, then look for the marker next to the path that leads up to the gardens. The roses of remembrance grow at the very top of the path, blooming violet on a bush in front of a giant statue. Pick one, then take it back to Triss at the Flotsam inn. After this you have a story conversation. You can say whatever you want in this one—it won’t affect the outcome of the quest. You also won’t get any XP for doing things this way.
Really, you’re supposed to take Triss with you to the elven ruins. If you do things that way, then you get to the elven ruins by simply following her. After you pick a rose, you can choose to give it to Triss or not, which has no mechanical affect on the outcome of the quest. While you’re in the garden, some bandits who intend to hack up part of the statues and haul them back to town appear. As usual, when you fight the bandits, Triss setting you on fire is a greater hazard than your actual enemies. Keep Quen up and it should be easy.
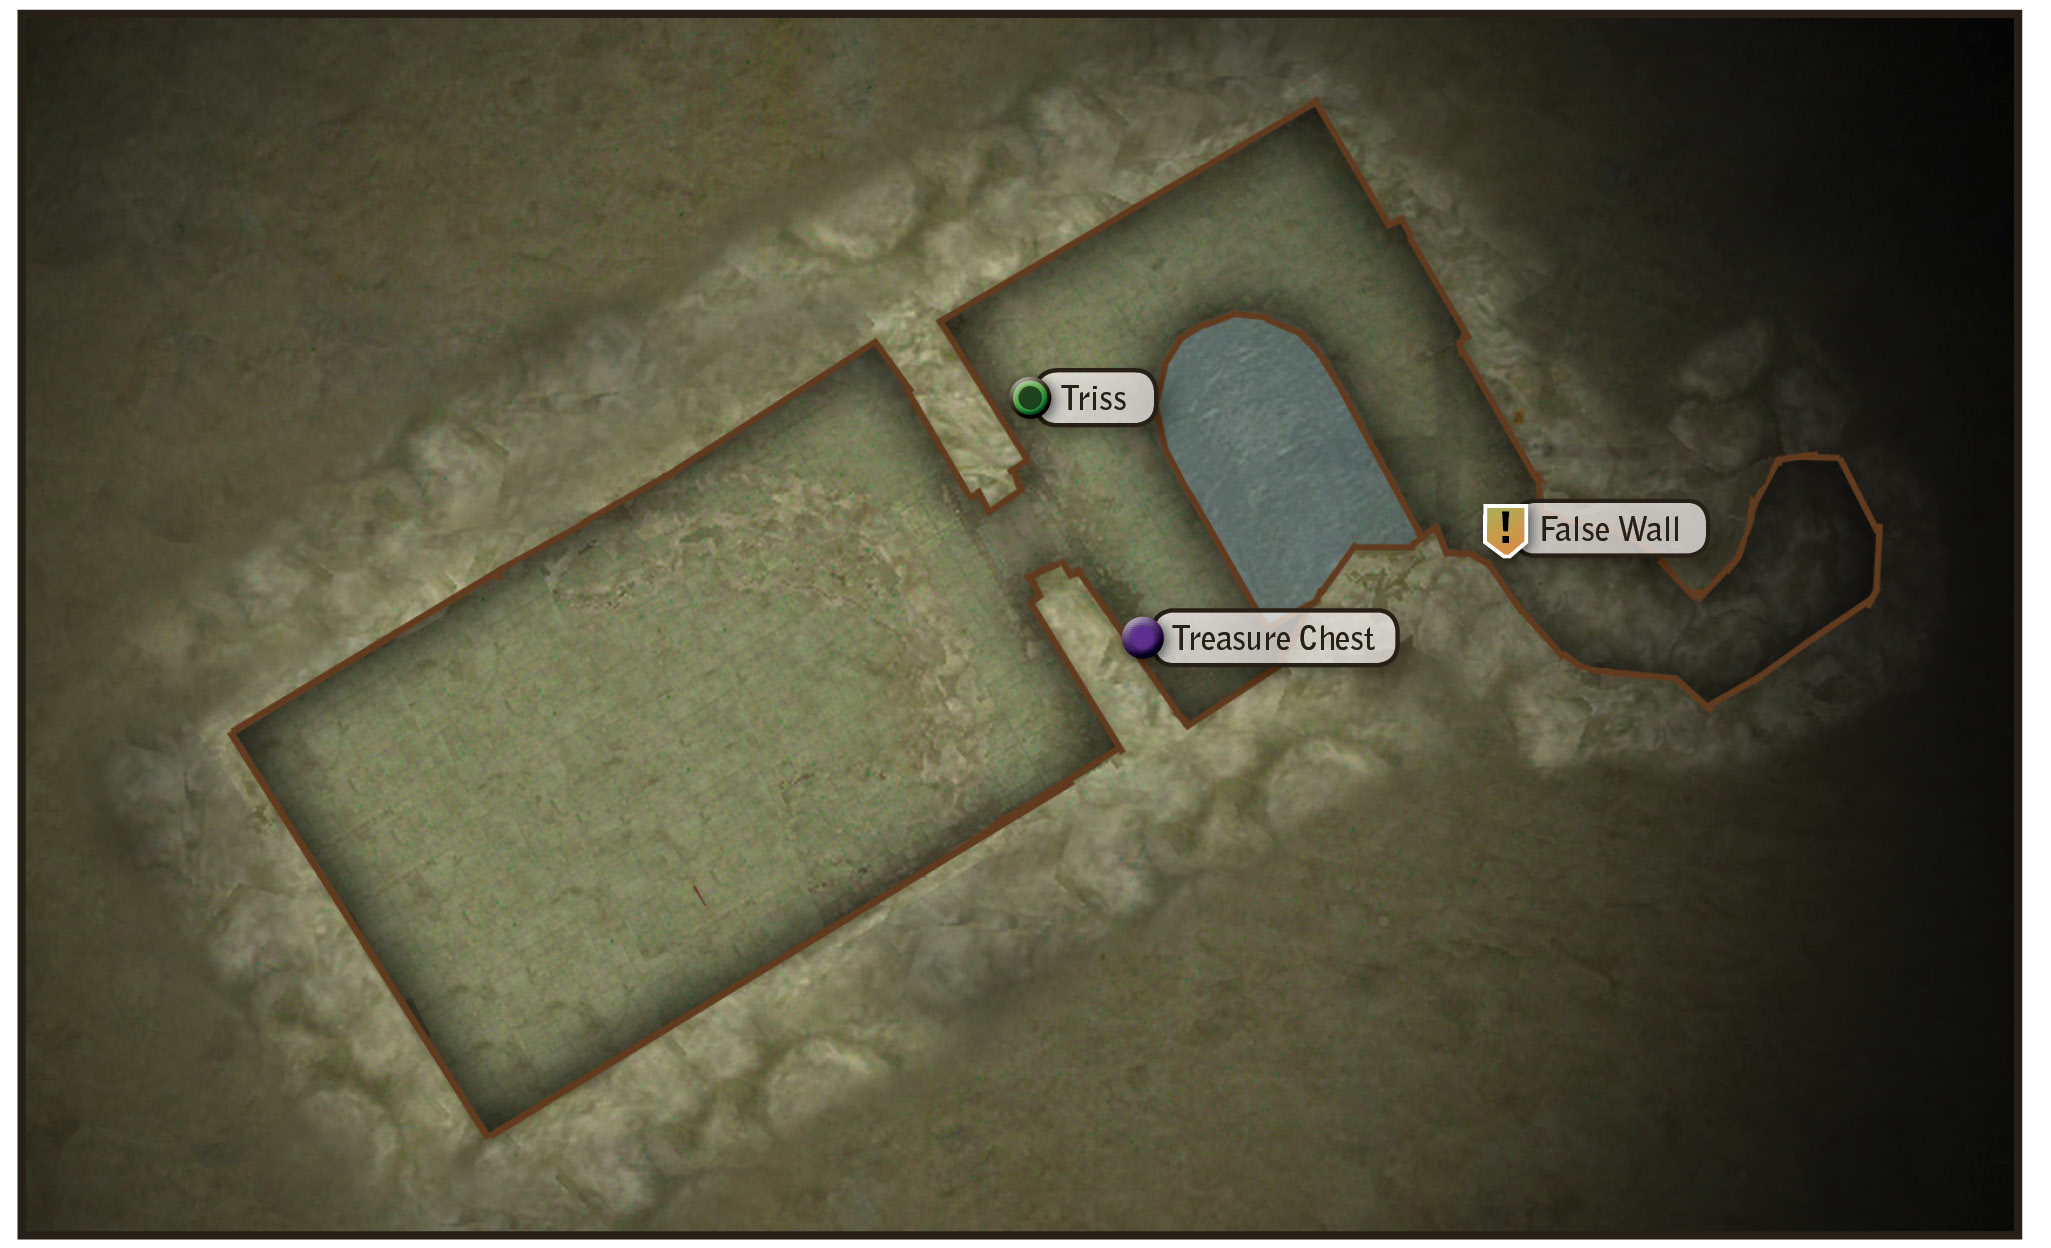
After you defeat the bandits, a cutscene drops you into the baths beneath the elven ruins. Begin by looking around for loot. A chest in a corner contains some random loot and a book about the Wild Hunt. Next, talk to Triss. If you say “Nothing. Let’s get out of here,” a dialogue ensues. For most of the dialogue you can say whatever you want, but agreeing with Triss in the very last dialogue tree, by saying “I guess so,” results in you getting no XP for the quest. So when you get to the end of the dialogue with Triss, be sure to say whatever appears as the top option, usually “I can’t” or “You know I can’t.” After the dialogue ends you get 250 XP. To get out of the elven baths, cast Aard on a false wall to the left of the pool. You don’t do this the usual way; instead you get to cast it via an interaction prompt when you draw near it. After the wall is blasted, you get the rather potent Resistance to Magic attribute.
After you climb out of the tunnel, you run across a pair of Scoia’tael elves and a dwarf. If you say “Let us leave in peace,” you get another dialogue option after the elf asks you to identify the corpses. There are four options, including three special ones. If you try a special option and fail it, you find yourself in a battle with the three Scoia’tael, who…really don’t stand a chance. Use Quen and break out your new jagged blade. When you loot the bodies, you can pick an armor enhancement off the dwarf.
If you try a special option and succeed, the leader of the Scoia’tael decides to let you go in peace. If you say “Show me what you’ve got,” you go directly to a battle. Sometimes you can’t loot the dwarf’s body at all if you go directly to the main fight. After you win, you can just walk back to Flotsam.
Let’s go back to the conversation in the elven bath. If you say “You could use a bath,” then you trigger an elaborate love scene involving Triss and Geralt. The love scene makes the rest of the quest play out very differently. The Scoia’tael unit never encounters Geralt and Triss, since they’re *cough* busy down in the bath level. Geralt doesn’t get the Resistance to Magic attribute. When Triss and Geralt have their conversation later, you still need to make sure that your last decision is either “I can’t” or “You know I can’t,” to get XP for finishing the quest.
After the conversation, in this chain of events, Roche arrives to break down the wall to the left of the bath. Once you’re outside, you can return directly to Flotsam.
The most lucrative way to resolve this quest, by far, is to refuse Triss, make sure you get the quest XP at the end of their conversation, and kill the Scoia’tael waiting for you outside. Resistance to Magic is a very powerful attribute and really comes in handy later in the game. The chain of events you follow to obtain it, though, tends to leave Triss feeling pretty depressed. If you like Triss and want to see her in a good mood instead, trigger the love scene and just make sure to get the quest XP.
 The Assassins of Kings
Now go see Iorveth. This next sequence is crucial, so be sure you play through it carefully. First, be ready to fight an arachas. If you got the care package earlier in the game, you should already have a book about arachasae you can read to get knowledge of them. Make sure you have insectoid oil on hand. When you’re ready to set out, speak with Zoltan at the Flotsam inn. He begins leading you to an area where you can meet Iorveth.
|
The passwords the Scoia’tael are using might sound familiar. Kierkegaard and Heidegger are references to the famous philosophers, Soren Kierkegaard and Martin Heidegger. |
As you follow Zoltan through the forest, you have an opportunity to pass through a circle of vigor, circle of endurance, and a circle of life. Do this and you shouldn’t need to prepare any potions for the arachas battle—just use some insectoid oil and make sure you keep Quen up at all times. If you invested in Feet Work for the kayran battle, that trait comes in handy here, too.
Just dodge-roll to get to the arachas’s back or sides and lay into it with strong blows. The arachas tends not to block but will try to angle its front at you so it can counterattack. When Quen goes down, roll away from the arachas, refresh it, and wade back into the battle. Zoltan helps distract it during the fight so you should have no trouble getting blows in. After the arachas dies, if you’re lucky you can loot it quickly before the cutscenes start.
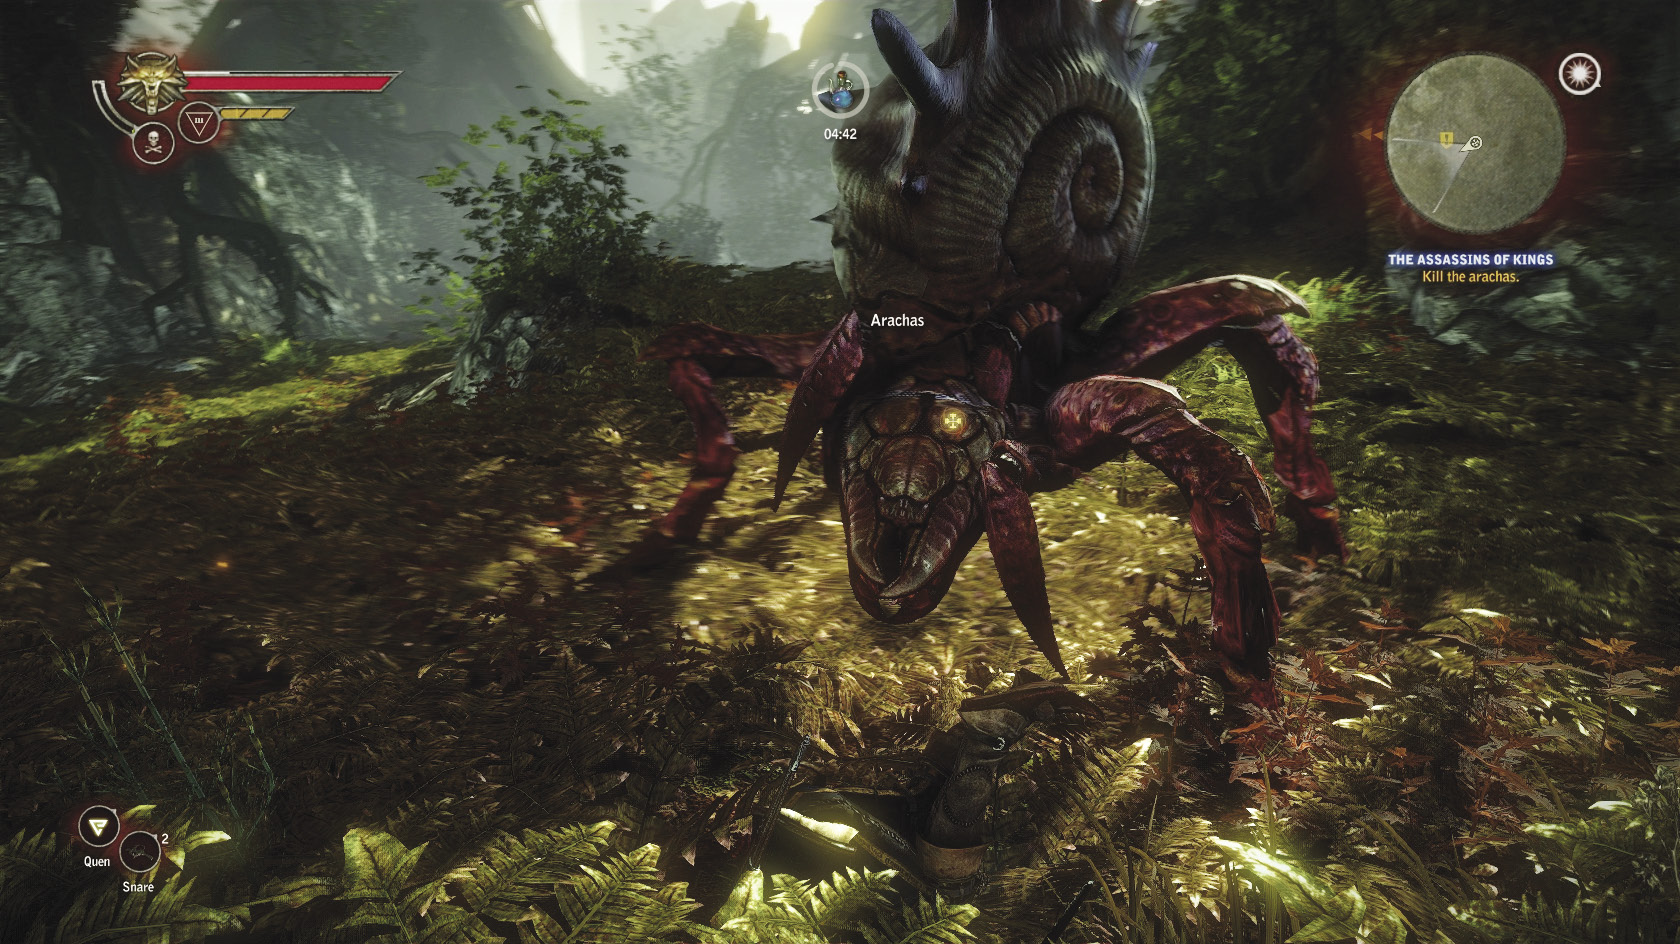
After the arachas dies, the Scoia’tael emerge and you enter a dialogue scene. Throughout this dialogue scene, you can say whatever you want—provided you don’t say something that pisses Iorveth off. If you do, then his men decide to fill you full of arrows. Geralt and Zoltan die in a cutscene. Time to reload!
So here’s a guide to what not to say to Iorveth, since as long as he’s not pissed off what you say will inevitably progress the plot. At the first dialogue option, do not say “You’re a murderer.” If you choose “Let Zoltan go,” then do not say “Loredo was right about you” at the next branch of the conversation.
Once you say “Letho wants you dead” at any dialogue branch, you trigger a cutscene that leads to Iorveth’s men lowering their bows. After that you can say what you like. When you get to the final branch in the conversation, though, be sure to say “I need to do something first.” Do not say “Let’s go,” as that takes you directly into a dangerous battle.
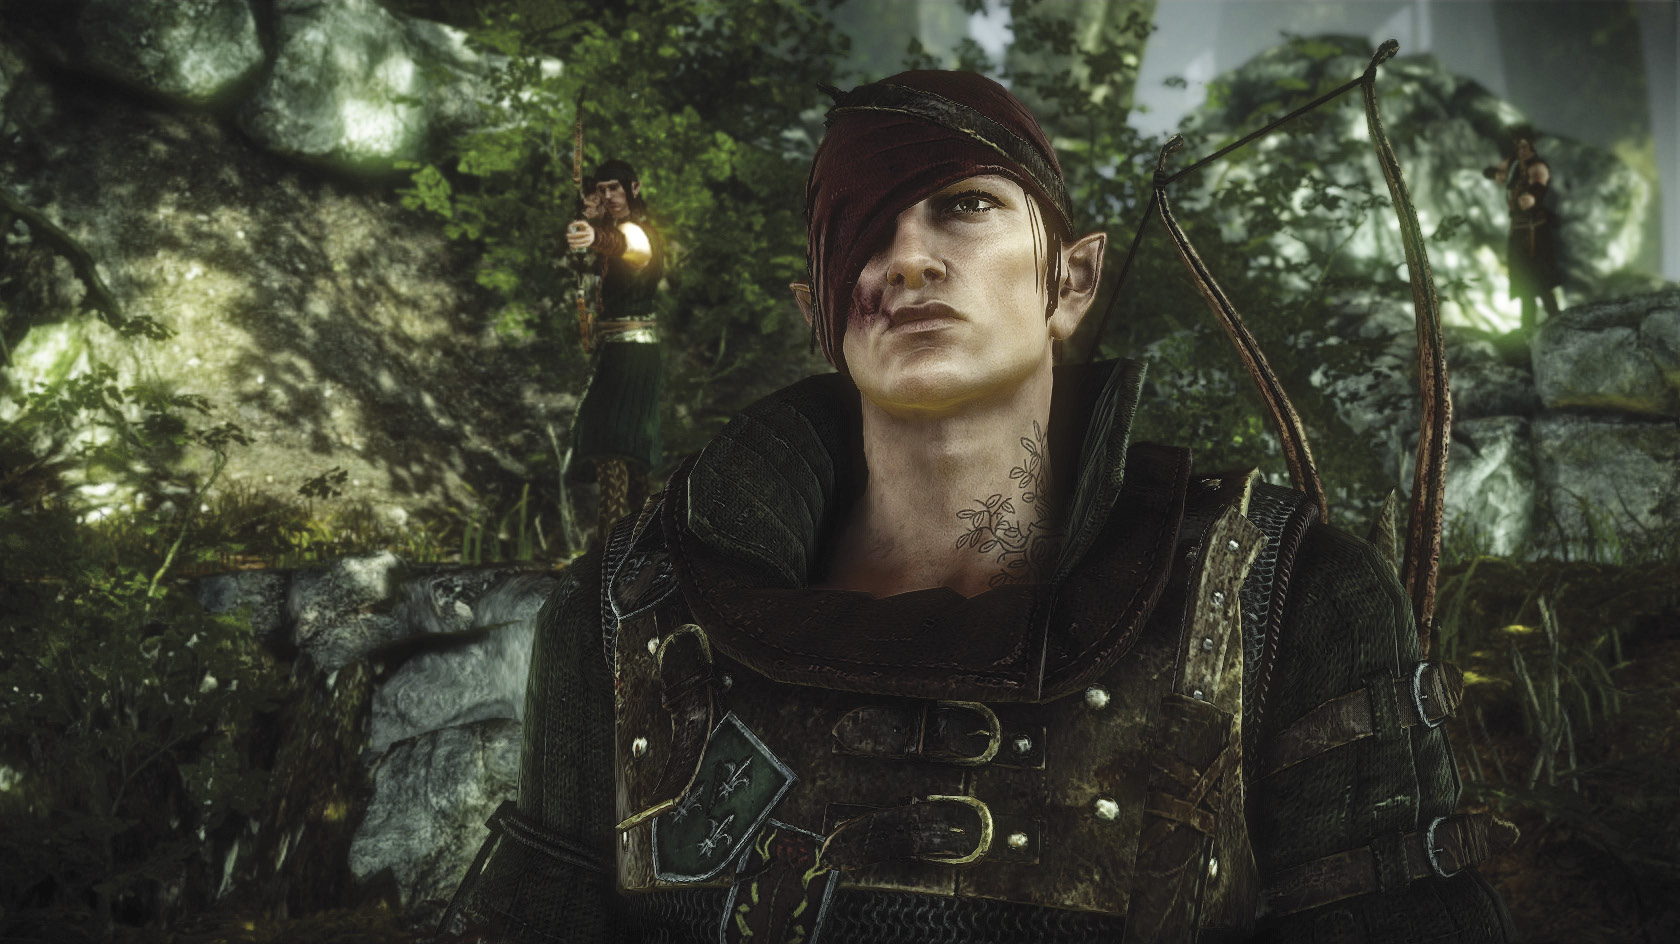
If you say “I need to do something first,” Iorveth goes to wait for you at the elven ruins. Now, be sure to scan the meeting place very carefully for loot. If you failed to loot the arachas’s body before the cutscene, be sure to do it now. Among the loot should be a pair of arachas eyes you should hold onto for use in a later quest. Also, search the clearing carefully for the sword of Kaer Morhen. Its location is marked on the map to make it a bit easier to find. It is the second-best silver sword available in Chapter 1 and essential if you missed getting the diagram of the superb witcher’s silver sword earlier. Note that you can’t obtain it before you do this quest as part of The Assassins of Kings. If you try to head to this area earlier in the game, rocks block all of the available paths.
After you’re done looting the clearing, head back to Flotsam. There’s one last side quest you want to clear before moving the storyline forward. You should also focus on buying anything from the vendors at this point that you might want. After the battle, you have to make a decision that branches the main plot a little and causes certain vendors in Flotsam to shut down. So it’s best to have everything you might want to obtain in your inventory before you go off to face Letho.
 Side Quest: Melitele’s Heart
Remember that amulet you got from Newboy in the Prologue? Go see Anezka at Lobinden about it. Say “Tell me what you know about this amulet” to initiate the quest. She says there’s real magic in it and offers to buy it from you. If you say “I wouldn’t mind selling it,” a cutscene ensues where Geralt and Anezka haggle on price. Generally she settles on a final offer of 200 orens for it. If you say “I want to get rid of it,” Geralt accepts the sale and trades away Newboy’s talisman for 200 orens. This resolves the quest and nets you 50 XP. “What’s your final offer?” in the final dialogue branch makes Anezka restate her price, while “I’ve changed my mind” stops the sale sequence.
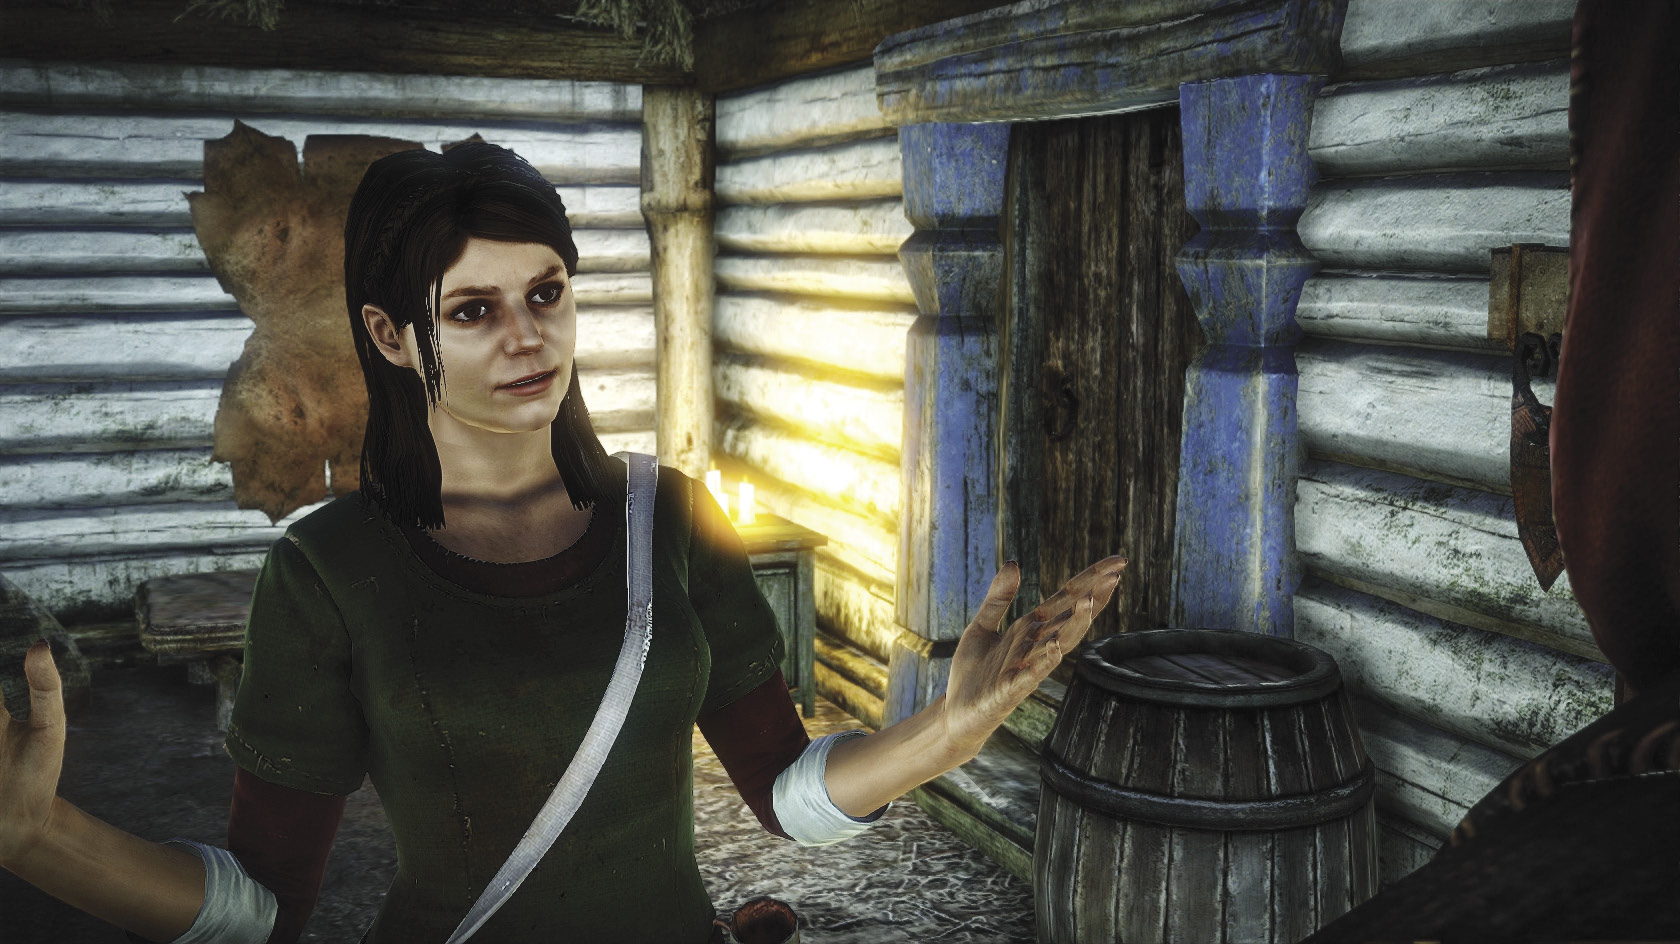
If you say “It must be precious to you,” you trigger a cutscene that leads to another dialogue branch. At the branch, if you say “I need to ask you something else,” you terminate this entire sequence. What you want to do instead is use the persuasion special option above it: “A customer like me doesn’t come along often…”
If your persuasion is successful (and it probably will be), Anezka reveals that the talisman is actually Melitele’s Heart, a potent protective amulet that was cursed. The curse distorts its effect, so it actually brings misfortune upon those who carry it. Anezka wants it because she thinks she could undo the curse, provided she had the right alchemical ingredients. She needs a troll tongue, a pair of arachas eyes, essence of death, and an endrega embryo. Although Anezka refers to an endrega fetus in her dialogue, it’s the endrega embryo alchemy item that she requires.
If you’ve side-quested diligently up to this point, you should have all of these items. You get the troll tongue resolving Troll Trouble, the arachas eyes from The Assassins of Kings sequence earlier, essence of death from the wraiths you battle during In the Claws of Madness, and endrega embryos while you’re raiding the endrega nurseries during The Endrega Contract. If you did something foolish like wasting your troll tongue to brew a potion, you can go buy replacements from Cedric. You can’t buy a replacement for the endrega embryo, though. If you somehow wasted all of them, go farm endregas for a while.
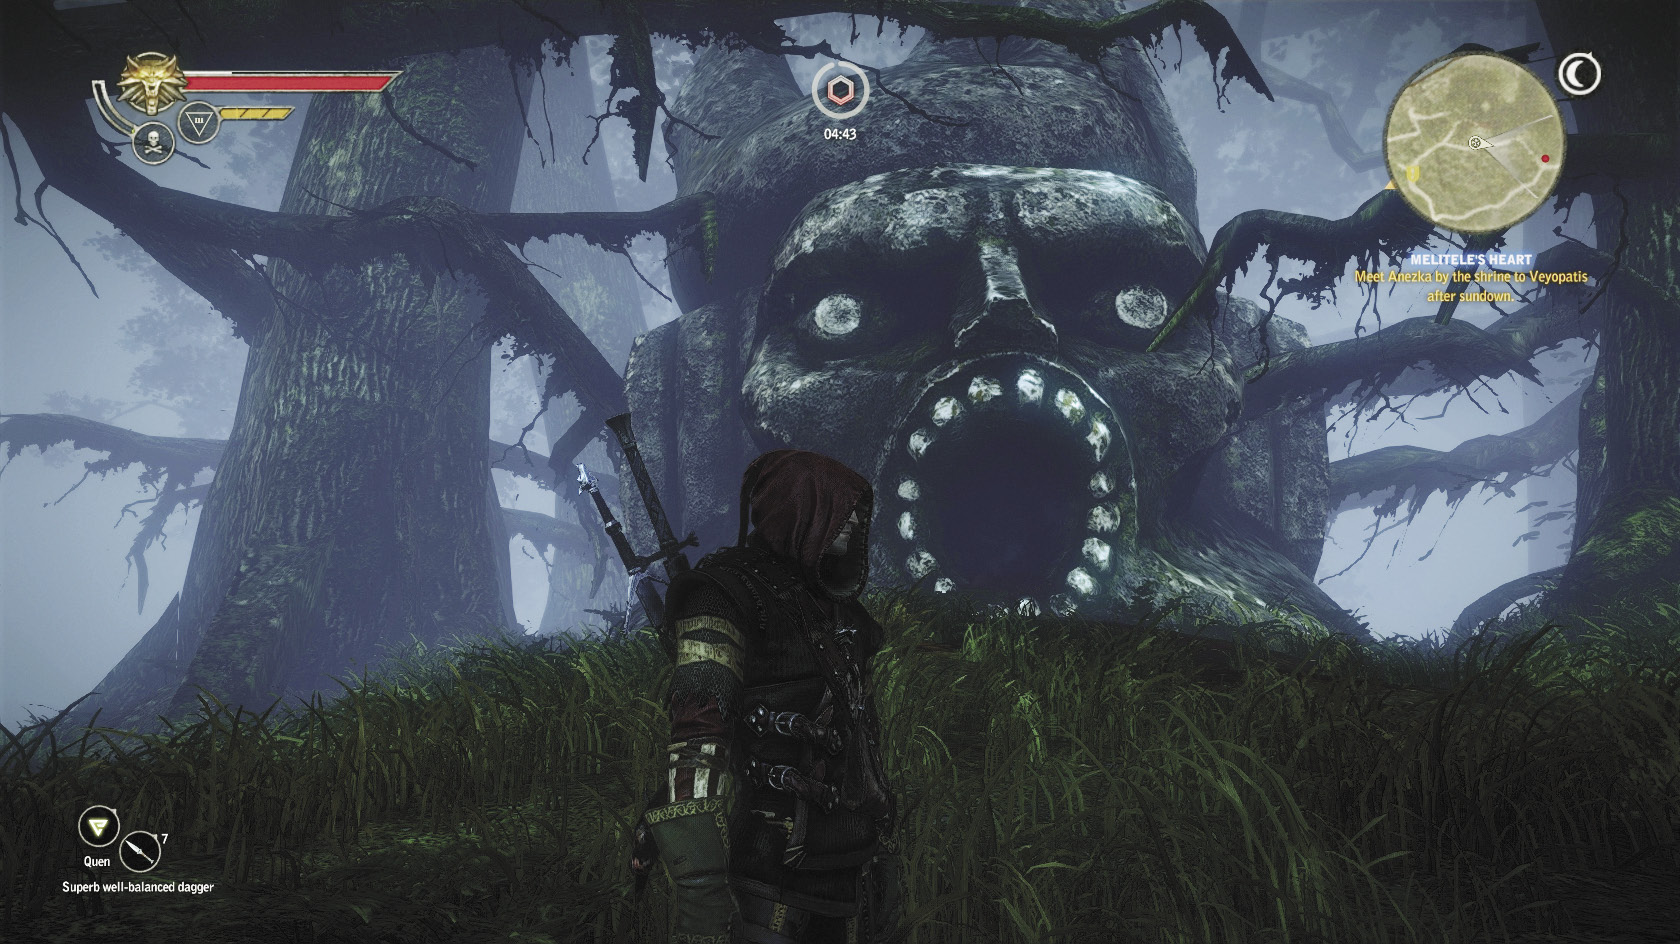
When you’re ready to lift the curse on the talisman, visit Anezka and say “I’m interested in that ritual” after you ask about the talisman. Next, ask her if she can conduct the ritual. Anezka tells you to go to the statue of Veyopatis at midnight. Say “I’ve made up my mind” to initiate this part of the quest. If you are speaking to Anezka after sundown, you can follow her to the statue. When she asks you if you’re ready, don’t say “I am” unless you’re genuinely ready for a pretty fearsome battle.
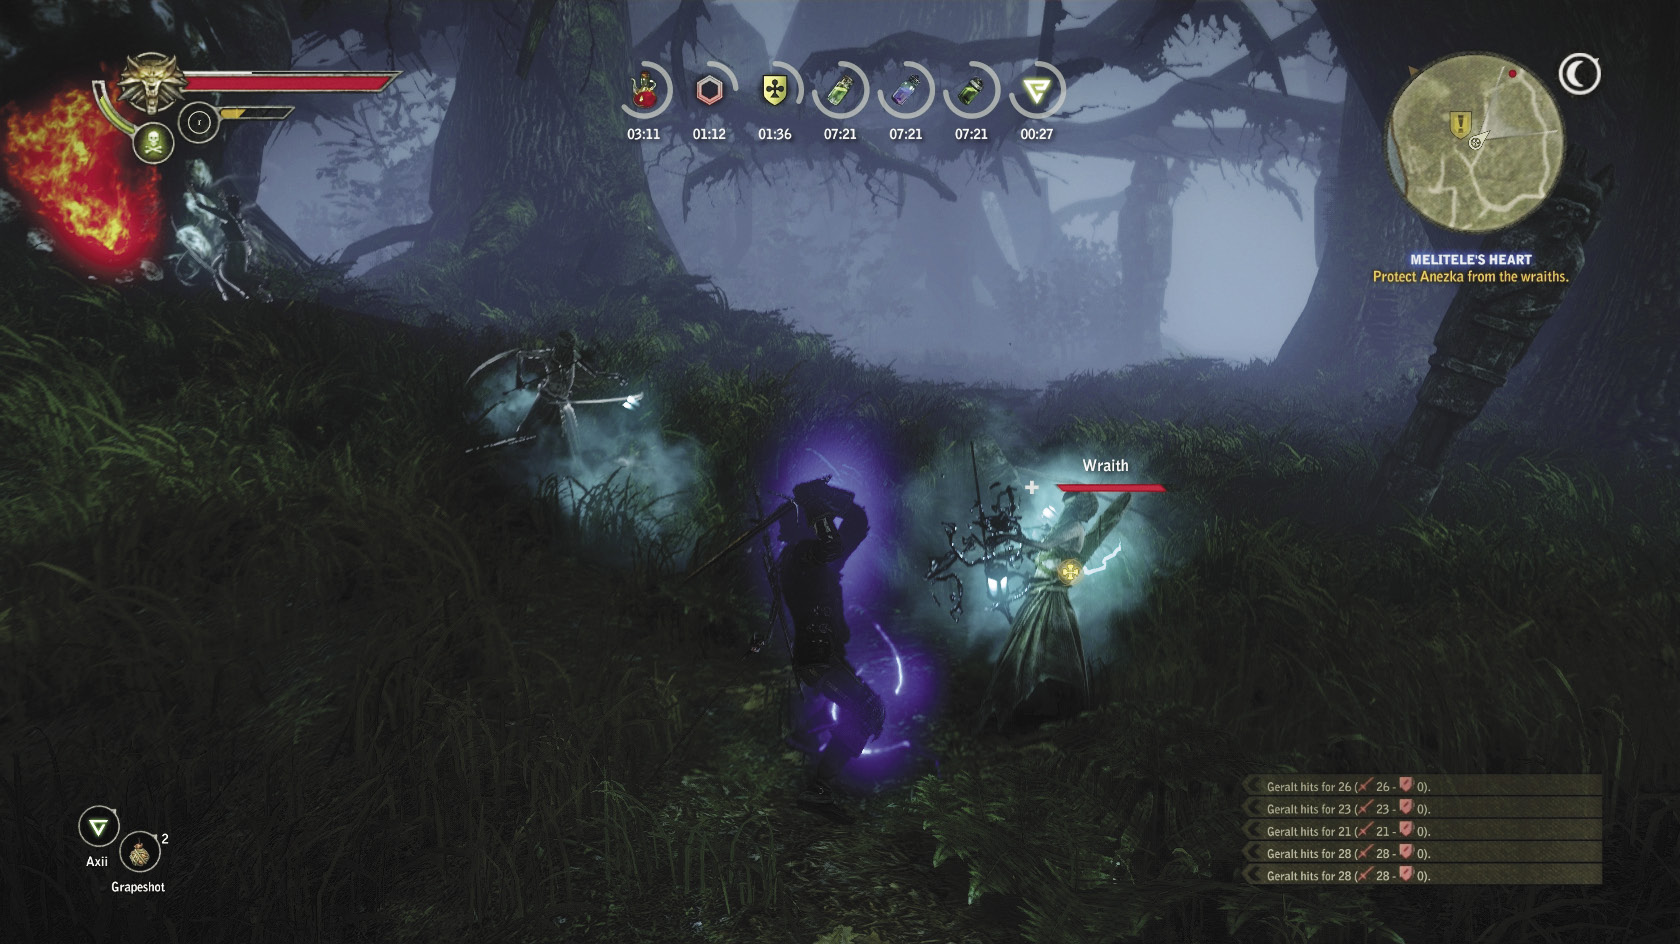
When Anezka begins performing the ritual, she summons a series of wraiths around her. The wraiths spawn infinitely, but you only have to fight three at a time. You need to hold off the wraiths while she performs the ritual. If she stops performing the ritual, then it’s possible for you to be stuck fighting infinitely respawning wraiths until dawn. To prepare for this fight, you definitely want some specter oil on hand. Both Quen and Axii are useful here, Axii to turn the wraiths against each other and Quen for defense. A very prudent approach can be to use Quen and lay fury traps around the area, which can affect a whole group of wraiths at once.
Make sure you have the chapter’s optimal equipment and all of your talents invested. If you have any mutagens worth slotting, go ahead and spend them. You may want to socket +2 enhancements into your armor and socket your silver sword with runes. The best rune overall for socketing is the fire rune, which exploits wraiths’ weakness to incineration while increasing overall damage. You probably only have one fire rune, though, and they’re difficult to acquire at this point in the game. If you decide you want to save your fire rune for later in the game or for use in a steel sword, a sun rune or moon rune can also be very useful.
If you focus on using Axii on the wraiths, you may want to create some dancing stars to help with crowd control when your vigor is low. For potions, you’ll probably want a combination along the lines of Petri’s Philtre, Swallow, and Tawny Owl. It’s actually worth spending some fulgur to make a Tawny Owl for this, if you’ve got the alchemy components to spare. This battle is a candidate for the toughest in the chapter, and how you prepare makes a big difference in how it turns out. Also take advantage of the circle of endurance and circle of power near where the fight is to take place.
How many wraiths you kill is immaterial to success or failure here. You just need to keep the fight from getting anywhere near Anezka, which is why it’s useful to have optimized equipment going into the battle. The tougher your stats are, the more trivial the wraiths are as opponents.
Killing wraiths is helpful, since that means they have to spend time respawning far from the ritual rather than stabbing you or Anezka. Run around, keep Quen up, and do what you can to manage the crowd of wraiths. Bombs, fury traps, Axii—whatever happens to work best for your build. This is the first major fight in the game where how you handle it will depend more on how you’ve built Geralt than the basic characteristics of the enemies. Expect a lot more fights like this in Chapter 2.
When Anezka says “I’ve done it!” the battle is over. Ask her if the ritual was successful. If it wasn’t, you can try again. If it was, then she gives you the restored Melitele’s Heart to reward you for helping her lift the curse. Now Melitele’s Heart gives Geralt perpetual +1 vitality regeneration, without even needing to be equipped. You also get 125 XP for resolving the quest this way. Go loot the wraith remains and prepare yourself for another tough battle.
 The Assassins of Kings
It’s time to go have a talk with Letho. There’s a dialogue before you fight him. For most of it you can say whatever you want. One way or another, Iorveth is going to order the Scoia’tael into action and you’re going to end up battling Letho.
Just before you battle Letho, you have a timed decision to either give Iorveth his sword or help Roche. What you decide here forks the plot for a little bit in Chapter 1, affecting the way the beginning of Where Is Triss Merigold? plays out. It is not the chapter’s most important decision, but it can have consequences in Chapter 2.
If you give Iorveth his sword, you’ve sided with him and should read the Where Is Triss Merigold? (Iorveth) description after the Letho battle. If you help Roche, you’ve sided with him and should read the Where Is Triss Merigold? (Roche) description.
It’s worth noting up front that siding with Roche here offers slightly more XP. That is otherwise the only substantial difference between the two branches. The main differences are all pure matters of how the story unfolds. It’s also worth noting that on both branches, regardless of your choice, you lose access to Berthold, Einar, Fioravanti, and Cedric’s shops.
Finally, after you finish Where Is Triss Merigold?, the game auto-tracks quests based on the decision you make here. If you sided with Iorveth, then At a Crossroads: Scoia’tael is auto-tracked. If you side with Roche, then At a Crossroads: Vernon Roche is auto-tracked. You can still choose to track the other At a Crossroads quest if you wish, so you can make a final decision to side with Iorveth or Roche that’s totally the opposite of what you pick here.
Anyway, back to Letho. His vulnerability is Yrden and traps, somewhat similar to the endrega queens, so your snares can come in handy here. The problem with fighting Letho is that he’s also a witcher, so he has all of your abilities. He uses Quen on himself, uses Aard to knock you over, and throws bombs if you get too far away from him. You can use thrown daggers to interrupt his casting and throwing animations if you’ve got quick reflexes, which can make taking a bunch of well-balanced throwing daggers into this fight worthwhile.
Again, the better your equipment here is, and the more you’ve built up Geralt with talents, the easier Letho is going to be to defeat. Make sure you’ve socketed runes into your steel sword before the battle. The jagged blade has two rune slots, so the optimal runes to slot would be your fire rune and earth rune. That said, these runes are rare and difficult to obtain, so you may want to save them for later in the game. If so, then any combination of Ysgith, sun, and moon runes can help give you an edge here.
Complicating matters is that your potion meters are ticking down during the dialogue before the Letho fight. Even if you prepare your potions and drink them at the last possible moment before triggering the fight, chances are you only have about three minutes left on them before the battle begins (unless you’ve taken the alchemy skill Specialization: Potions). If you’ve somehow made a build that is super-reliant on potions, you will have problems. Geralt builds that are heavy on alchemy should be sticking to bombs and traps here.
It’s still worth drinking some potions—just make good use of those three minutes. Also try to use easier-to-brew potions like Rook here, rather than ones that use rare ingredients, like Tawny Owl. It’s not worth sacrificing rare ingredients for only three minutes or so of actual use. Also, don’t oil your steel sword with hanged man’s venom until after the fight with Letho begins. You can do that from the inventory screen, fortunately.
When Letho puts up Quen, keep a little distance away from him. Don’t waste attacks on battering it down, just let it run out. Plant traps or Yrdens instead. Don’t get too far away, or he punishes you with a bomb, Aard, or Igni. Wait for his Quen to run out before you get serious about attacking him, or rush him after the damage from a snare knocks it down. If you’re using daggers, try to interrupt him when he begins the animation for casting it, Aard, or Igni.
Don’t rush in and attack him with your sword blindly. Instead, wait to catch him in a situation where he can’t block. That means hitting him during casting or throwing animations, getting behind him, or going after him when he’s staggered. You can stagger Letho by blocking his sword blows, like other humanoid opponents, or luring him onto an Yrden. Once you land a few blows on Letho, it’s easy to stay on top of him and keep him trying to attack you rather than putting up Quen. Letho isn’t all that fast compared to you, so heavy blows work well here.
You only have to take Letho down to about 50 percent vitality to count as having won the battle, so don’t be alarmed if it looks like the damage you do is puny. If you exploit Geralt’s strengths and Letho’s weaknesses, chances are you’ll prevail. After the battle, you immediately see the results of the choice you made earlier.
 Where Is Triss Merigold? (Iorveth)
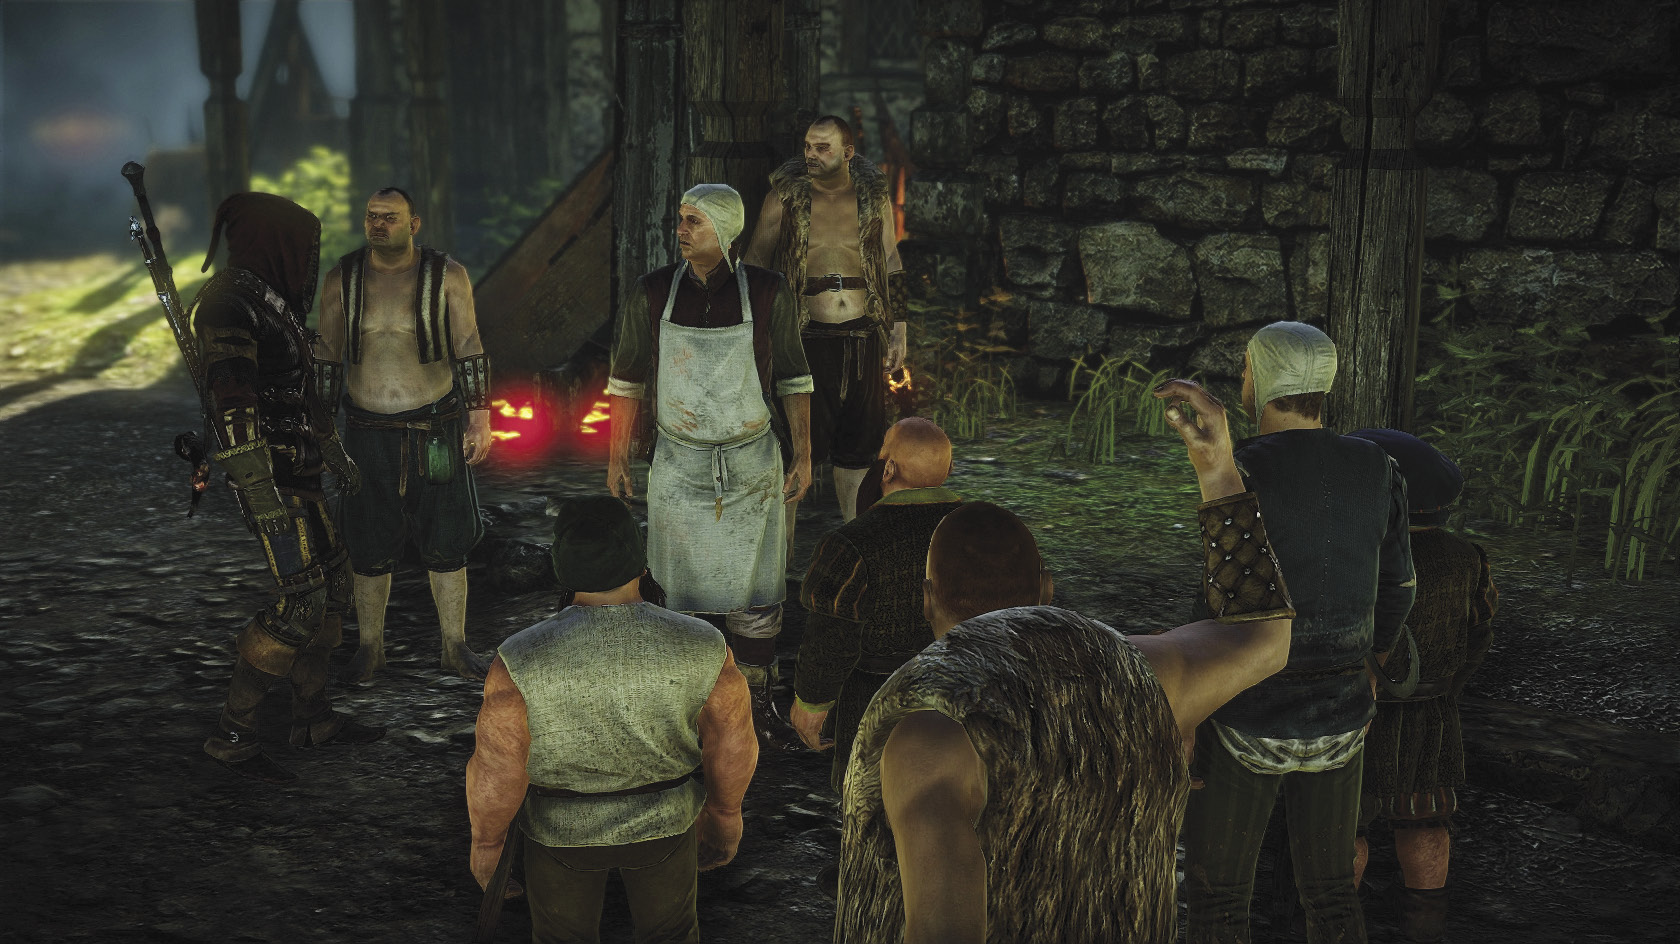
Iorveth appears in the cutscene after Letho leaves, asking what happened to him. Letho is headed to Flotsam to get Triss, and Iorveth implores you to kill him before he gets there. Geralt asks Iorveth to set out with him, but Iorveth reminds Geralt that he can’t do anything given the garrison stationed there. You’re on your own for finding Triss.
Before you leave the elven baths, make sure you loot the area. Pick up your snares if you used them and make sure to retrieve the sword you lost in the final cutscene with Letho. You can also find a little bag of loot Letho leaves behind. It contains grapeshot, dancing stars, and a robust long sword. There’s also a chest containing random loot nearby. Outside, loot the bodies of the fallen.
If you’re overburdened with loot, stop in Lobinden to trade with Anezka or Sendler. When you get into Flotsam, madness has erupted. The battle between the Scoia’tael and the Blue Stripes has become Loredo’s long-desired catalyst for inciting the humans into open violence against the Flotsam nonhumans. Angry mobs are assaulting nonhumans.
Your first goal here is to get to the inn, but you can stop to interrupt the various beatings and other acts of mob violence you see around them. You can usually try to quell them with special decisions in a dialogue, or by just getting your sword out and killing the mob. Once you’re in the inn, you have to save Dandelion from a similar situation.
You can use Axii or intimidation to convince the innkeeper not to kill Dandelion, or you can kill him and his allies. You don’t get any noteworthy loot for killing the townsfolk, so it’s quicker to bypass the fights if you can. By this point in the game you should be particularly good at using either Axii or intimidation in conversations. Just stick with whatever you’re best at when you’re trying to quell fights.
Talk to Dandelion about what’s going on. Ask him “Have you seen Triss?” when you want to advance the plot. Head to Síle’s room to find out what happened next. The room is a wreck, so examine it for clues. Eventually, you should find the peephole that leads into the brothel. Go next door to see if the madam knows anything.
Once you’re there, talk to Margot. One of her elven girls, Derae, was murdered by the mob. Margot lets you know what happened to Triss in the room and you get a cutscene of Triss’s conversation with Philippa. During the cutscene you can make conversation choices, but none of them affect the plot. They just give you a little more information about what’s going on. After the scene with Triss and Philippa, Margot mentions that she saw Cedric stagger out toward the forest. Margot also gives you a letter for Iorveth naming Derae’s killers. You can take it by asking her if she’s spying for Iorveth. The other two conversation options lead to her keeping the letter. The letter doesn’t affect the plot in any way but is interesting reading.
Head out into the forest to find Cedric. If you want, you can drink a Cat potion and follow a blood trail from Lobinden to where Cedric lies in the forest. If you’d rather not use Cat, just head toward the elven ruins and you can easily find him nearby just by scanning with your medallion. When you find him, a cutscene begins where Cedric tells you what happened with Triss and Letho. Following that, there’s a brief dialogue with Dandelion and Zoltan. After that dialogue, you get 900 XP and the quest resolves for now.
At this point, the mutually exclusive quests At a Crossroads: Scoia’tael and At a Crossroads: Vernon Roche open up. If you do the Scoia’tael version of the quest, you side with Iorveth in Chapter 2 and get a set of quests and locations specific to that. If you do the Vernon Roche version of the quest, you get a largely different set of quests and locations. If you want to side with Iorveth, see the walkthrough for At a Crossroads: Scoia’tael. If you want to side with Roche, see the walkthrough for At a Crossroads: Vernon Roche. Whether you do Iorveth or Roche’s quest is the most important decision you make this chapter.
Before you decide either way, linger near Cedric long enough to loot his body. (C’mon, he’d want you to have his stuff.) You can pick up elven armor and reinforced boots. Neither is particularly useful, but the elven armor is otherwise fairly difficult to obtain.
 Where Is Triss Merigold? (Roche)
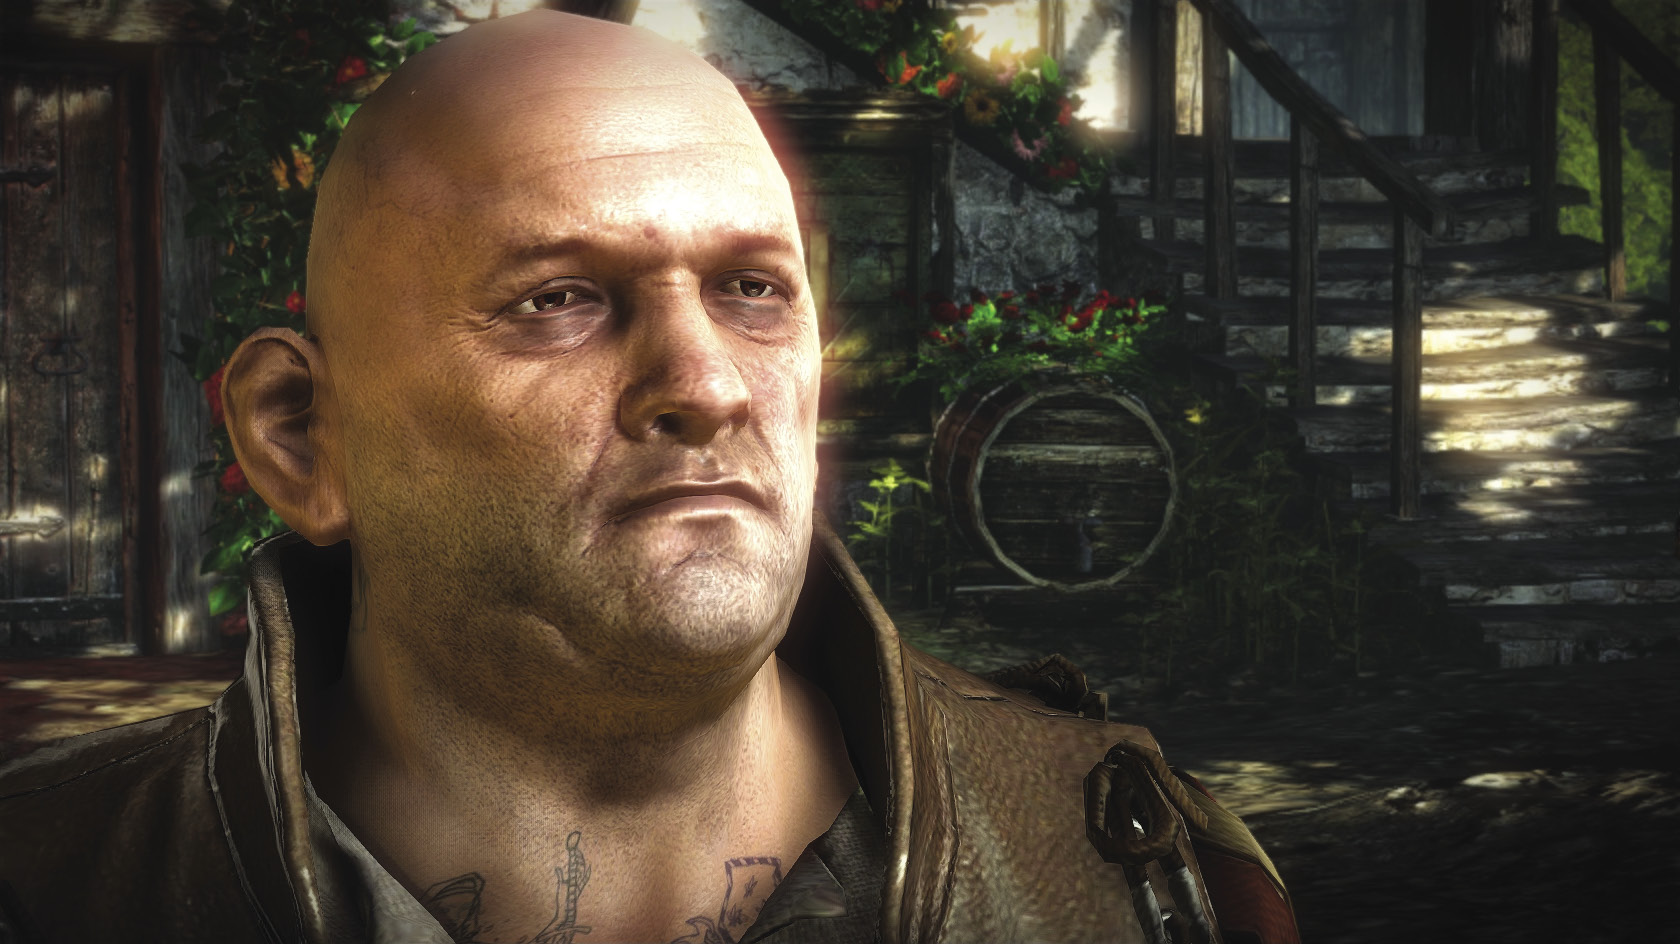
Roche appears in the cutscene after Letho leaves, asking what happened to him. Letho is headed to Flotsam to get Triss, and Roche agrees to help you try to get to her first. In the conversation, Roche reveals that the Blue Stripes were able to take Iorveth prisoner.
Before you leave the elven baths, make sure you loot the area. Pick up your snares if you used them and make sure to retrieve the sword you lost in the final cutscene with Letho. You can also find a little bag of loot Letho leaves behind. It contains grapeshot, dancing stars, and a robust long sword. There’s also a chest containing random loot. Outside, loot the bodies of the fallen.
This time, Roche and Geralt return to a hero’s welcome in Flotsam, since they captured the hated Iorveth. At one point Loredo offers you a drink. If you take it, you can get the screen wobble effect that indicates drunkenness in The Witcher 2. There’s no penalty for turning it down, but you don’t have a lot of chances to get Geralt drunk in this game. After the encounter with Loredo, head into the inn and meet Dandelion. You have another chance to have a drink or turn it down.
Next, go to investigate Síle’s room. The room is a wreck, so examine it for clues. Eventually, you should find the peephole that leads into the brothel. Go next door to see if the prostitute waiting there knows what happened. At this point you should receive 100 XP for successfully investigating the room.
Have a talk with the woman who’s waiting there, Derae. She confirms that Triss and Cedric were next door in Síle’s room earlier. This triggers a cutscene of Triss’s conversation with Dethmold. During the cutscene you can make conversation choices, but none of them affect the plot. They just give you a little more information about what’s going on. Note that when you get to either persuade or intimidate Dethmold with a special conversation option, Triss uses Geralt’s levels in those skills. So for that conversation option, pick whatever Geralt is currently best at if you want to get extra information.
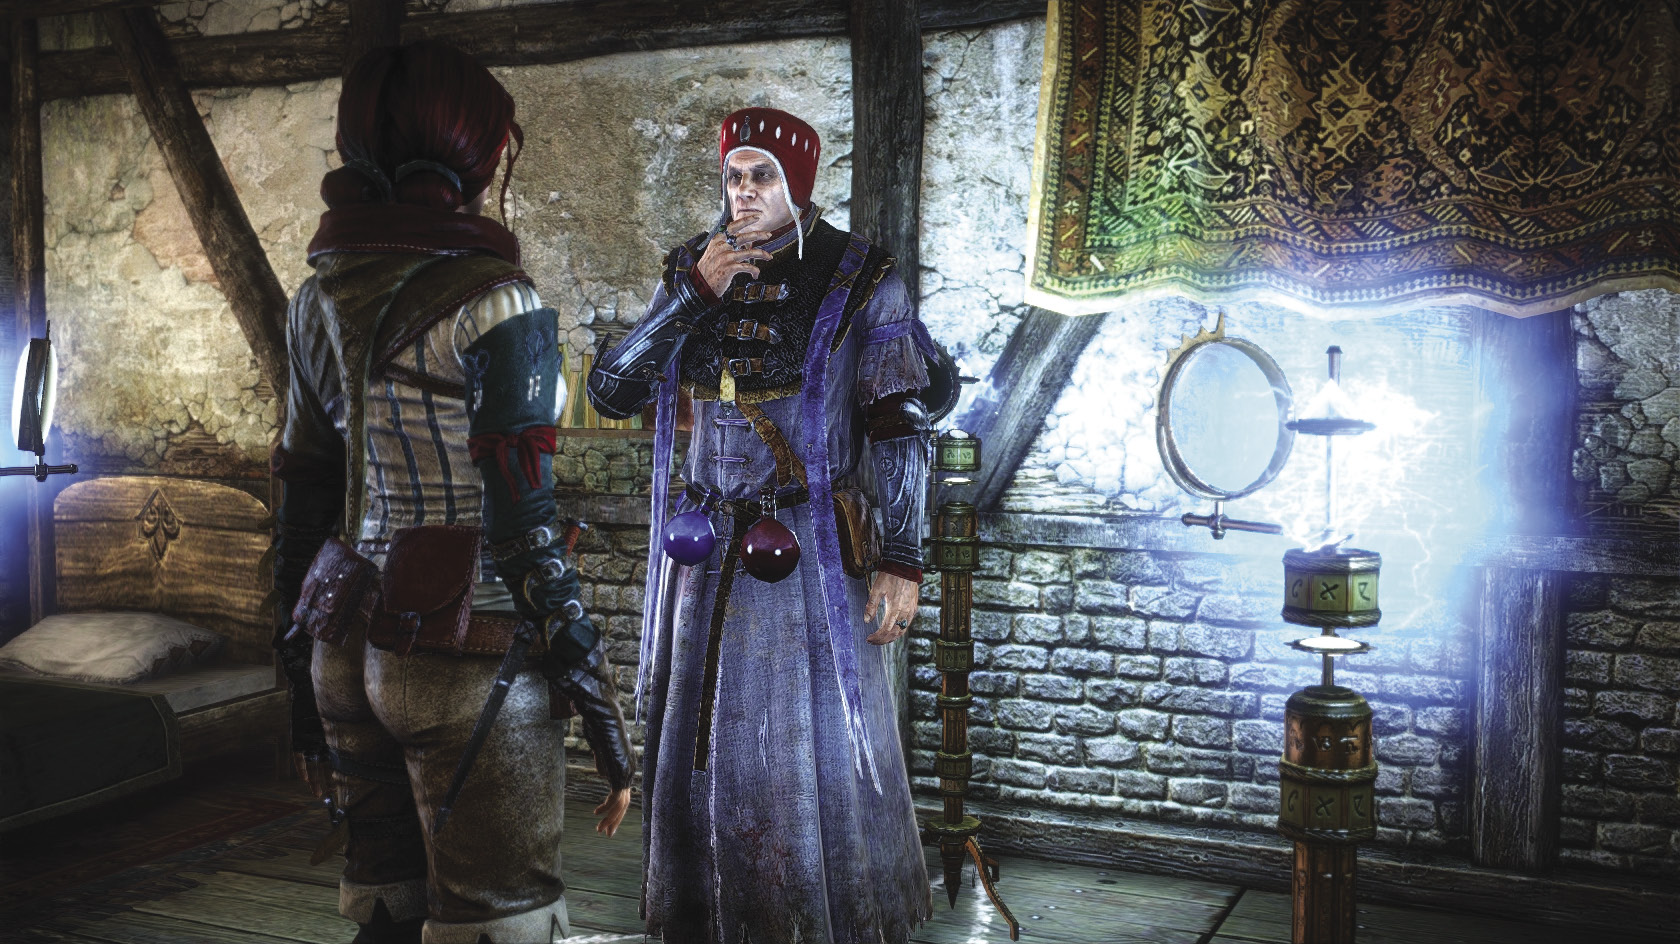
After the scene with Triss and Dethmold, Derae mentions that Margot went missing and also that she saw Cedric stagger out toward the forest. While you’ll need to find Cedric to complete this quest, go finish the sub-quest with Margot first. Note that it is skippable and therefore technically a side quest.
 Side Quest: Margot’s Disappearance
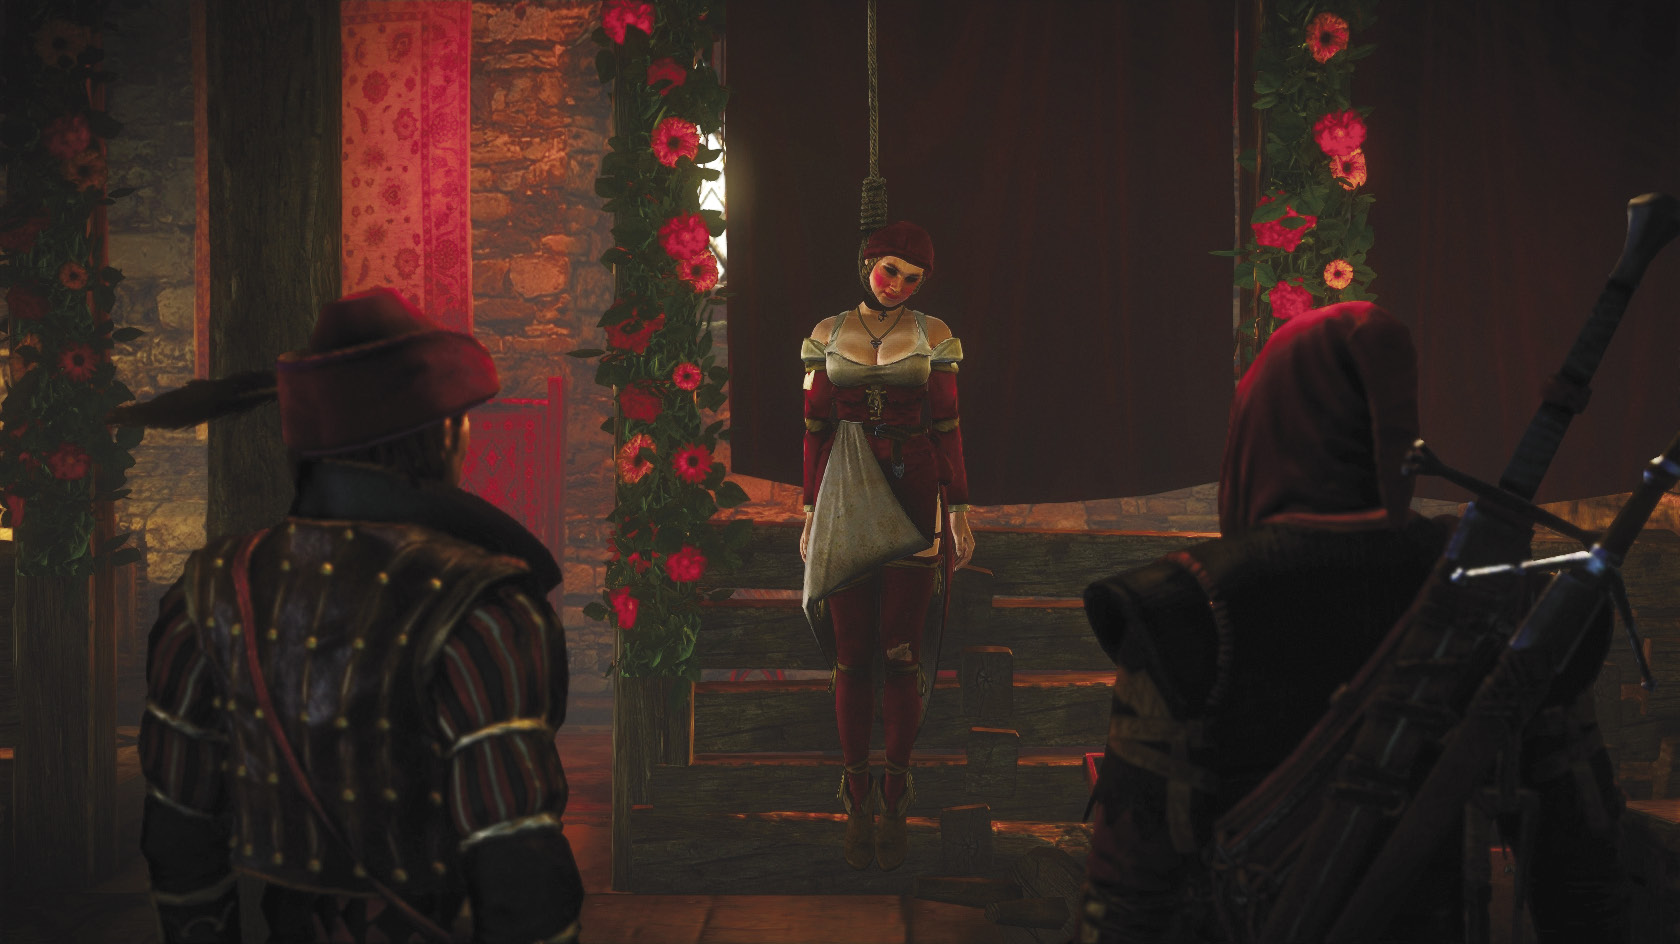
Basically, just go downstairs into Margot’s usual room in the brothel wing of the inn. You discover Dandelion there, staring at Margot’s body hanging from a rafter. On the ground beneath her is Margot’s farewell letter, which you can pick up and read to understand why she killed herself. Margot was spying for Iorveth and figured that her goose was cooked once Iorveth was captured. You can also loot Margot’s room to find her notes. They usually appear in the end table next to her bed. You get no XP for resolving this quest, just extra information about the plot.
 Where Is Triss Merigold? (Roche)
Head out into the forest to find Cedric. You can find him by using a Cat potion and following a blood trail from Lobinden to where Cedric lies in the forest, but you may not want to do that on this branch of the plot. The minute you set foot into the forest, you’ll be attacked by an angry unit of about five Scoia’tael. They shouldn’t be hard to beat at Geralt’s current level, but if you’ve already drunk Cat the fight becomes very annoying due to the damage penalty and Geralt’s altered vision. Remember that Axii and similar effects are very useful when dealing with large groups of enemies.
To find Cedric without using Cat, just head toward the elven ruins. You can easily find him nearby just by scanning with your medallion, which reveals Cedric’s bloodstains. When you find him, a cutscene begins where Cedric tells you what happened with Triss and Letho. Following that, there’s a brief dialogue with Dandelion and Zoltan. After that dialogue, you get 900 XP and the quest resolves for now.
At this point, the mutually exclusive quests At a Crossroads: Scoia’tael and At a Crossroads: Vernon Roche open up. If you do the Scoia’tael version of the quest, you side with Iorveth in Chapter 2 and get a set of quests and locations specific to that. If you do the Vernon Roche version of the quest, you get a largely different set of quests and locations. If you want to side with Iorveth, read on for the walkthrough for At a Crossroads: Scoia’tael. If you want to side with Roche, see the walkthrough for At a Crossroads: Vernon Roche.
Before you decide either way, linger near Cedric long enough to loot his body. (C’mon, he’d want you to have his stuff.) You can pick up elven armor and reinforced boots. Neither is particularly useful, but the elven armor is otherwise fairly difficult to obtain.
|
The title of this quest is actually one of the game’s easter eggs. It’s meant as a reference to the Carmen Sandiego series of educational PC games, which always had titles along the lines of “Where in the World Is Carmen Sandiego?” |
 At a Crossroads: Scoia’tael
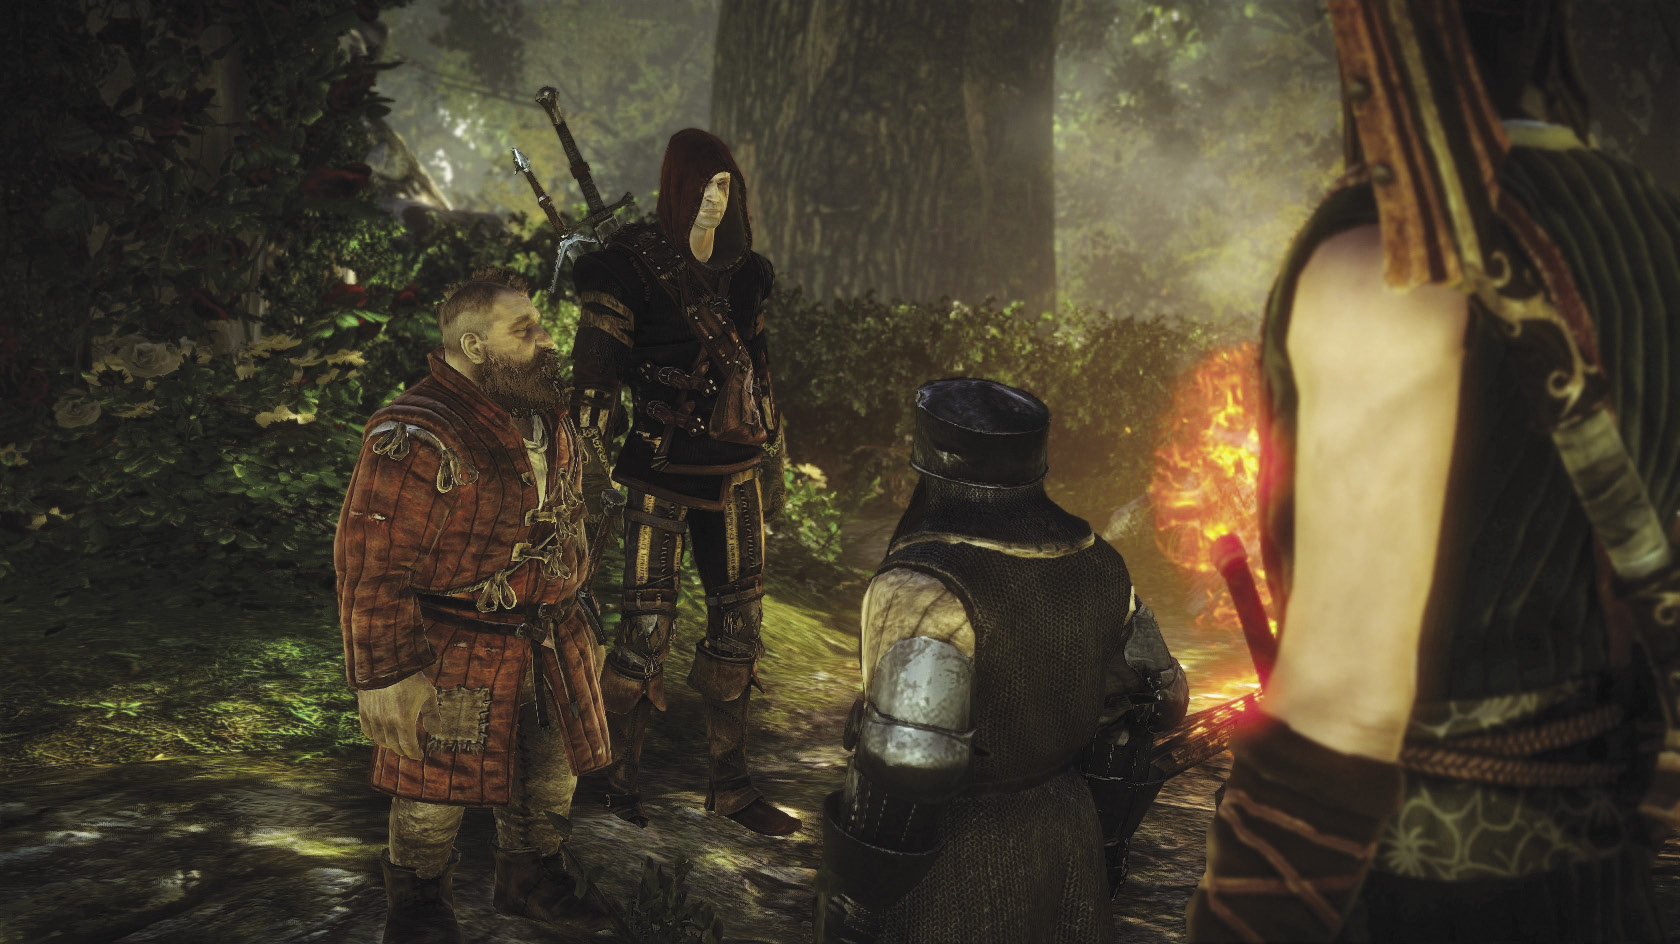
This quest can be very different depending on if you sided with Iorveth or Roche just before the fight with Letho. If you sided with Roche, you meet with Zoltan in the elven ruins and a small detachment of Scoia’tael NPCs. They’re harsh to Geralt, but after you say “I want to help the Scoia’tael,” don’t worry about saying something to put yourself on bad terms with the Scoia’tael again. Ultimately, they decide that if you help them free Iorveth from the prison barge you’ve proved that you’re on their side. You get 50 XP for resolving the quest.
If you sided with Iorveth before your fight with Letho, then it’s him you meet in the elven ruins. You get different options during the dialogue, mainly ones that let you acquire a little bit more information. Once you give Iorveth the “Count me in” dialogue option, the quest resolves. You get 50 XP. On this branch, your next quest is The Floating Prison, which ends Chapter 1.
 The Floating Prison
The first half of this mission is only slightly different, depending on whether Iorveth is with you or if you’re rescuing Iorveth. If you’re rescuing Iorveth, then a dwarf leads your party as you begin climbing the cliffs around the city so you can get to the harbor in secret. If Iorveth is with you, then he leads the party instead.
|
If you do the version of this quest where Iorveth leads the party, you can uncover one of the game’s many easter eggs referencing Lord of the Rings. One of your dialogue choices here can cause Iorveth to mention the phrase “a piece of lembas,” much to Geralt’s befuddlement. |
As you make your way around Flotsam, you encounter small groups of guards. You should be able to overpower them easily with the help of the Scoia’tael NPCs with you; just keep Quen up for defense. The guards all drop short swords and sometimes a few orens. You should fight about three groups of them as you make your way up the cliffs, and you have a chance to activate a circle of vigor.
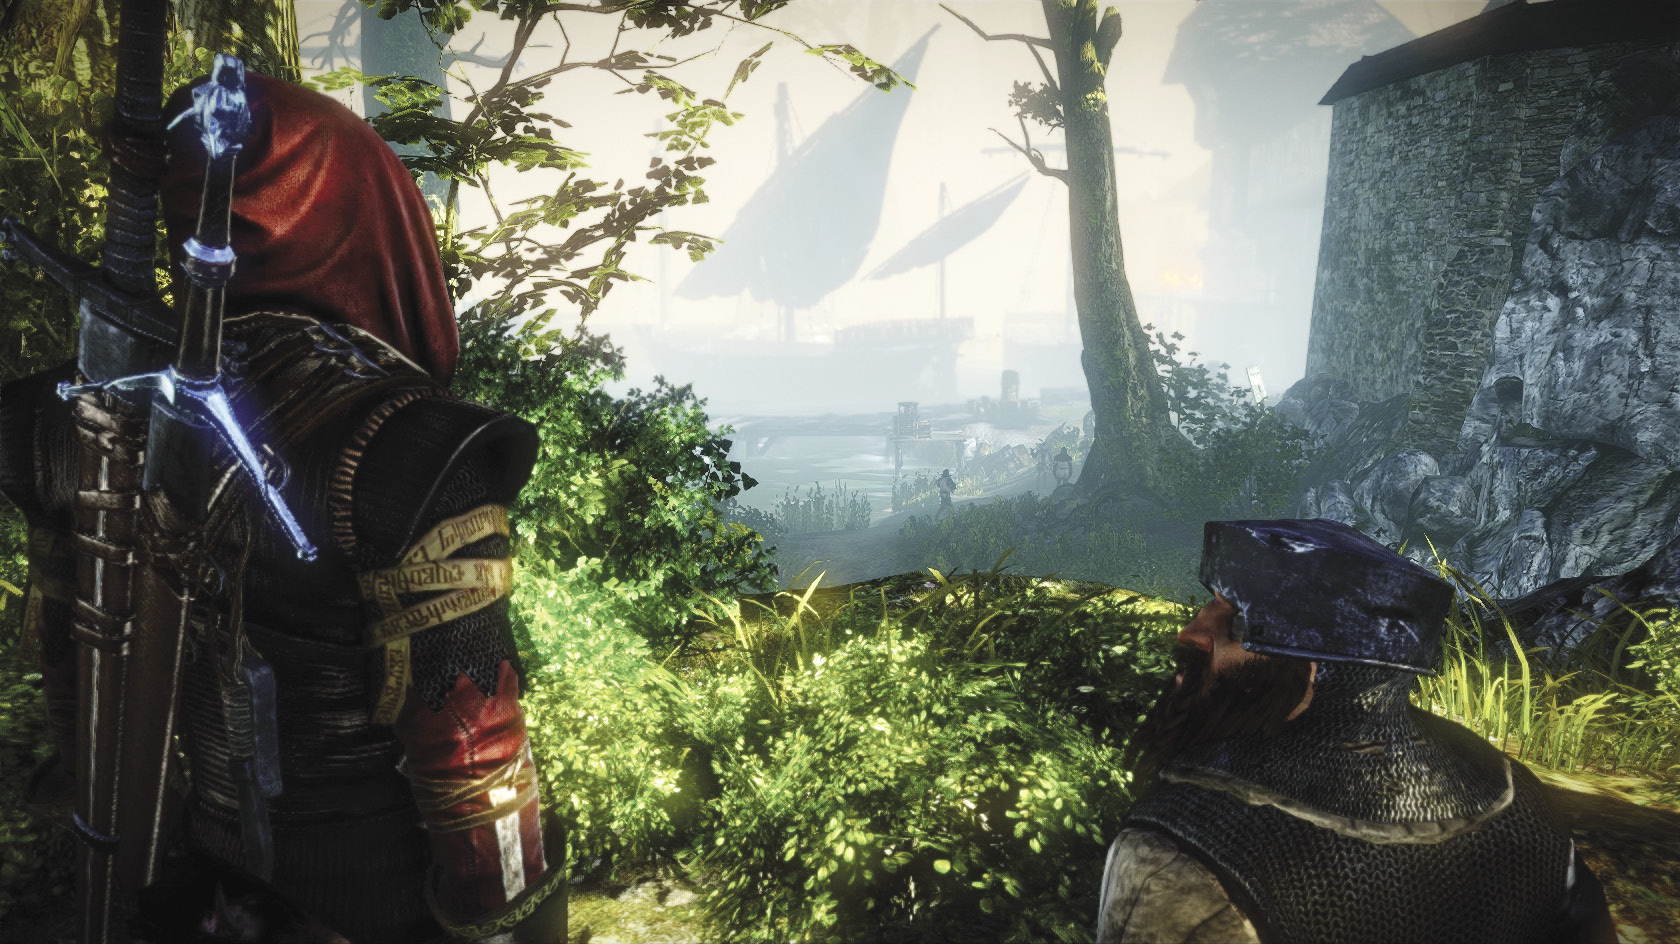
Once you reach the top of the cliffs, you see that the other group of Scoia’tael has flooded the harbor and is battling the guards en masse. Rush down with your group and start cutting up the guards near you. When they cluster together, you can make good use of bombs like dancing star, but be careful not to set your own allies on fire. When you run into the burly guards in Loredo’s livery, you need to take a more methodical approach to fighting. A block-and-counter approach works, with the Riposte skill being quite powerful if you’ve invested in it and gotten the hang of its timing.
Once you get onto the boat, you need to slay all of the guards aboard. If Iorveth is with you, you seize control of it automatically after the guards are wasted. If you’re rescuing him, then you need to rescue him before you have control of the ship. Iorveth stands at the aft of the ship. Approach him to get an interaction prompt that releases him.
Once the ship is in motion, Loredo threatens to burn down a building with some elven women trapped inside if the boat doesn’t stop. Instead of the boat stopping, Geralt hops out to mete out some justice, which sends Loredo running. At this point, you can do one of the two things: rescue the elven hostages or kill Loredo.
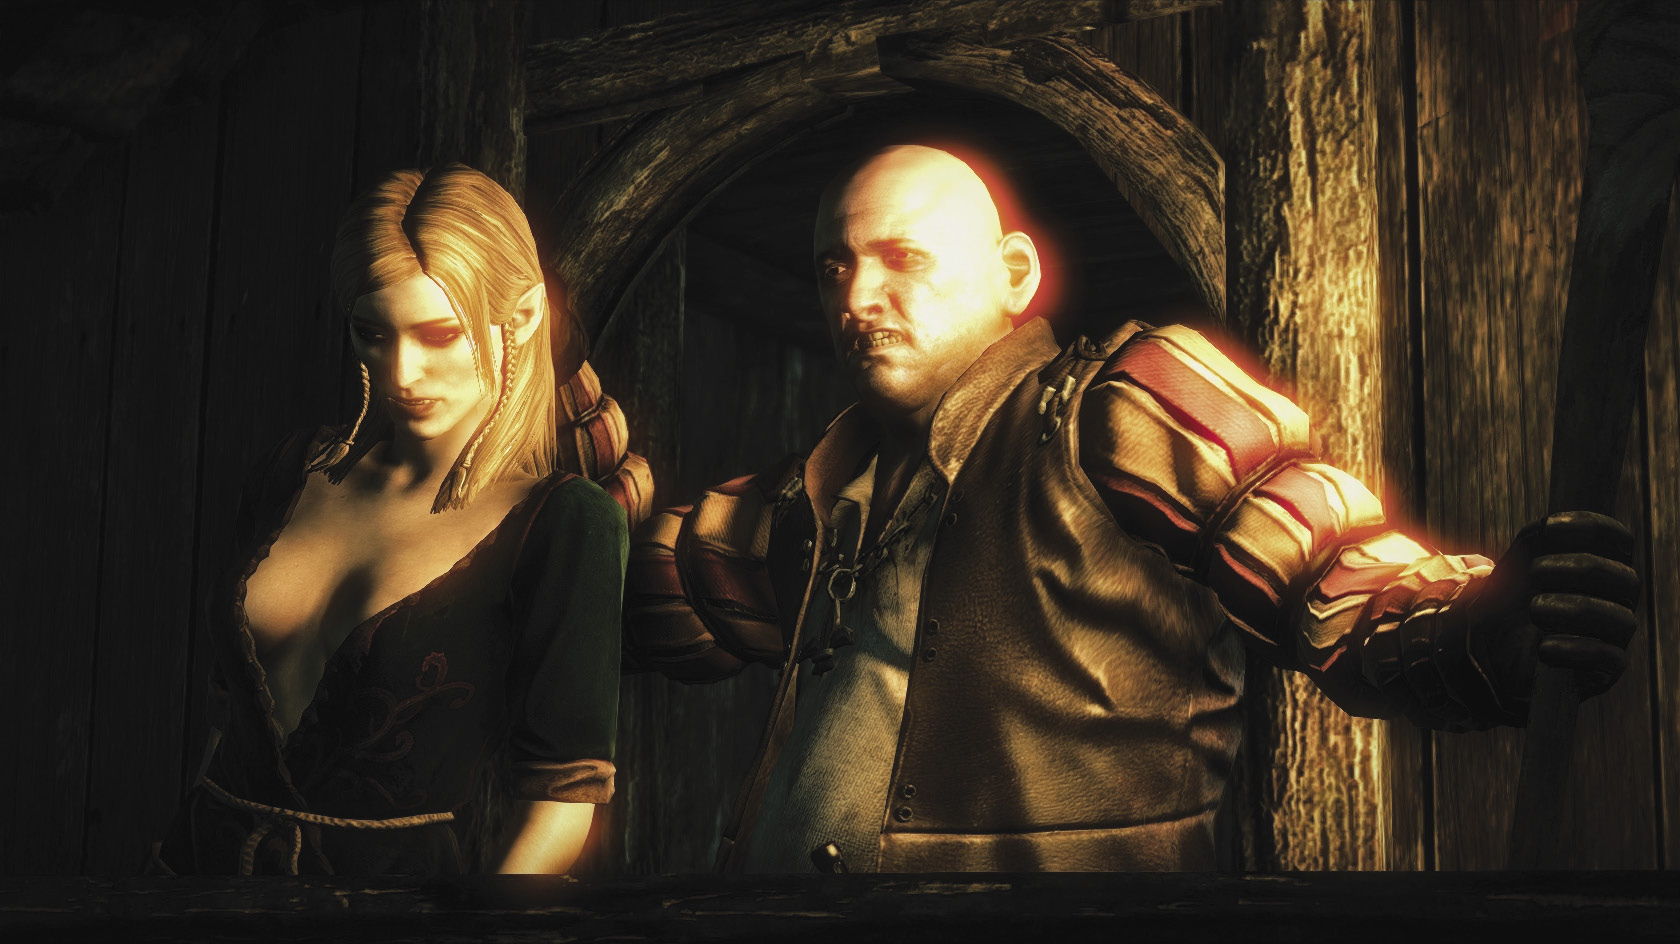
If you choose to rescue the elven hostages, you need to fight your way around to the entrance to the building where they’re being held. There are two guards you have to take out, and you may end up fighting a handful of peasants, too. If you have optimal equipment, these fights should be trivial.
Quickly get inside the building. Put up Quen to protect Geralt from the fire and start climbing the ladders. Once you’re inside you’re on a timer to finish this part of the quest, and if you take too long, the building collapses in a fiery mess, killing Geralt and everyone else inside. When you get to the top, move near the three hostages. Stand near them and begin hammering your interaction button to fill up the meter that lets you release each of them. Once you’ve released all three, you automatically get a cutscene where you leap out of the tower to safety. Be sure to get well away from the top of the ladder before you start trying to release the hostage nearest it.
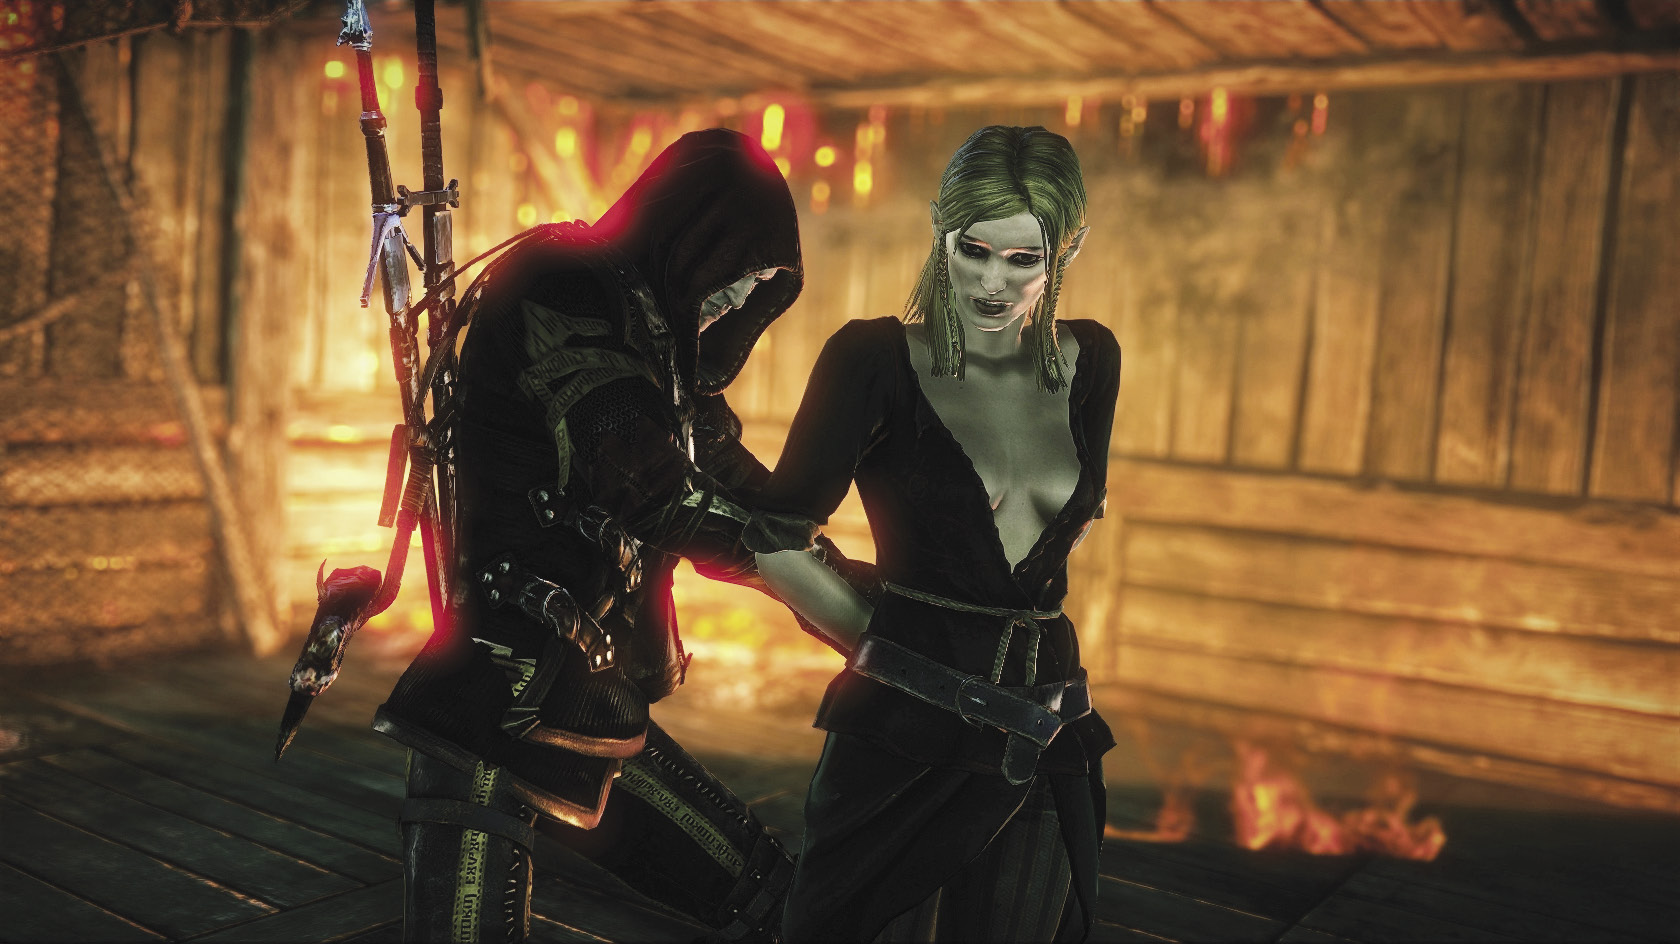
If you choose to hunt down Loredo, chase him down the docks and into Flotsam’s town square. You have to fight all the way, both peasants and ordinary town guards. These fights should be trivial for you with your current equipment. Take the door that leads from the harbor into the town square. Loredo waits for you there with five of his personal guards and a town guard armed with a sword and heavy shield. You have to contend with Loredo’s personal guards before he comes down from the gallows to fight you himself.
Loredo’s personal guards are the main challenge here, because they all have the sort of AI that tends to block a lot. If you have dancing stars, then tossing one or two into a group of them can rapidly whittle down their vitality. You can also use typical crowd control techniques like Axii and fury traps. Once you’ve thinned the guards’ numbers down a little, you can finish them off with some old-fashioned sword-fighting. You can take the town guard out with a block-and-counter approach, since he doesn’t enter the fray until Loredo’s personal guards are gone. Loredo himself should be trivial to defeat. Once Loredo is dead, you can loot his body for a ton of items, including a studded leather reinforcement and the Royal Mail key.
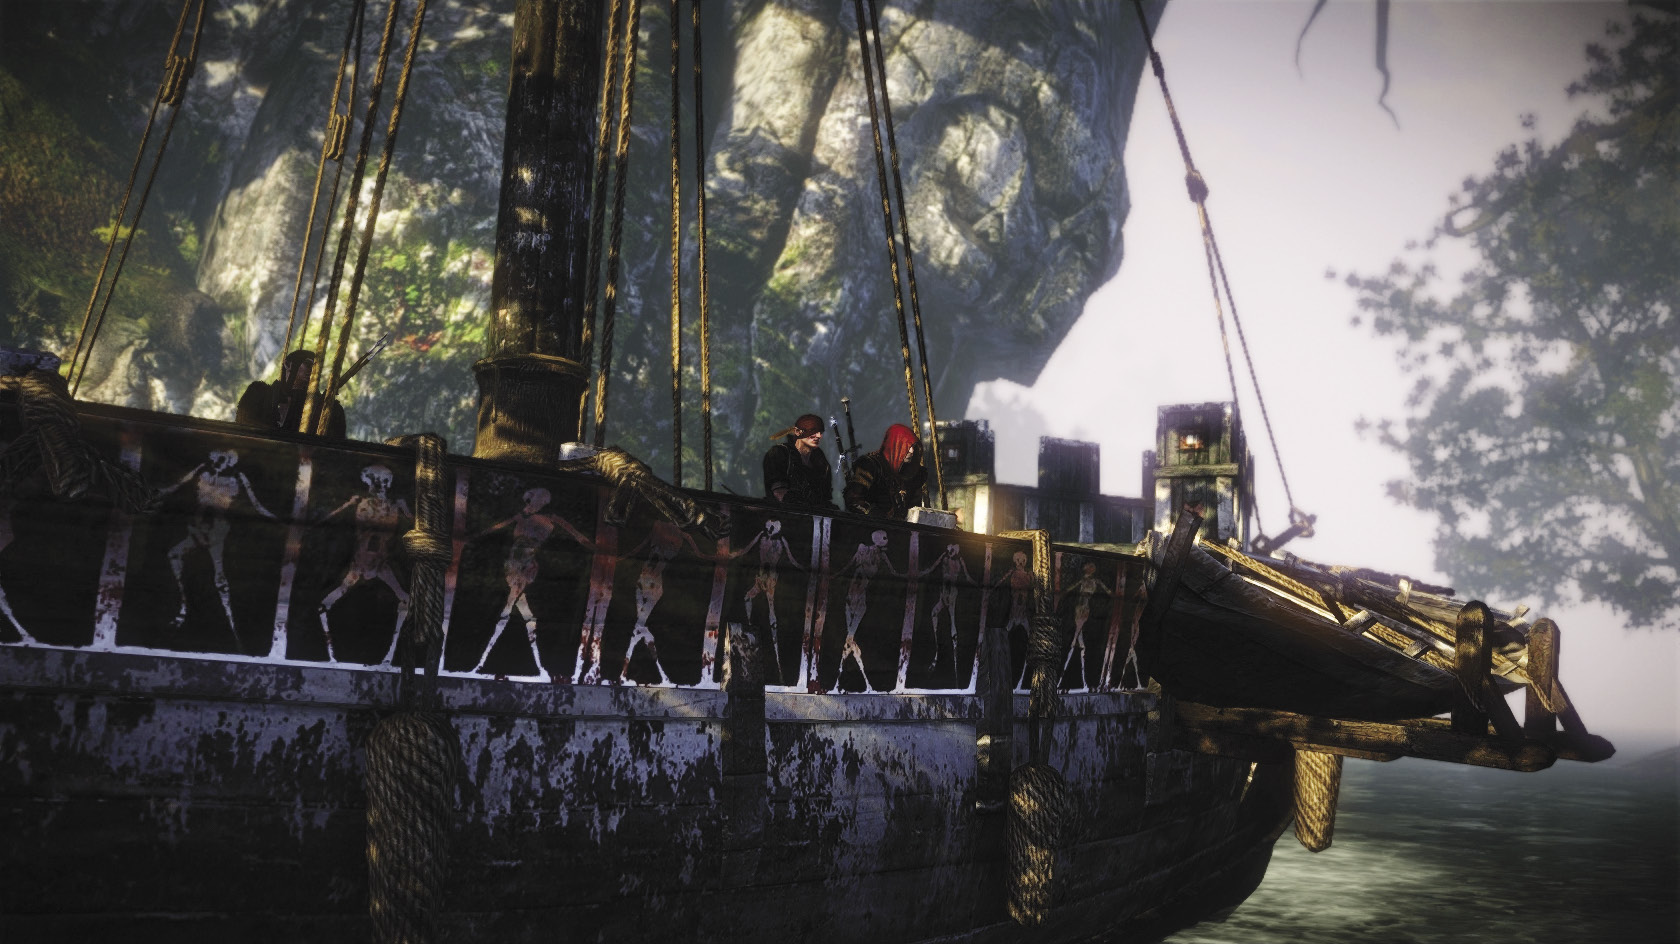
Now you need to head back to the harbor to get back on the prison barge. Head to the very end of the dock, then stand toward the right side of it. You should get an interaction prompt to use the rowboat beneath you. This triggers a cutscene that places Geralt automatically back on the prison barge.
At the very end of this quest, if you ask about Roche right before Iorveth says it’s time to set sail, you can see a special cutscene depicting Iorveth’s encounter with him. Then you briefly take control of Iorveth and get to fight Roche in a brief battle, which leads into another cutscene. Note that you can get this cutscene whether Iorveth was imprisoned or not.
So which way is best for resolving the quest? Well, the best loot you get from slaying Loredo is a studded leather reinforcement, which you can buy freely in Chapter 2. If you rescue the elven hostages, then among them is Mottle, who becomes a shopkeeper in Chapter 2. She can also have a romantic encounter with Geralt if she survives and gives him a useful item. If you opt to kill Loredo, she’s not available in Chapter 2 at all. So overall, it’s best to try rescuing the elven hostages. That said, it’s also worth killing Loredo just once to hear Iorveth’s amazing rant in the cutscene that follows. At the chapter’s end, you should get the To Aedirn! achievement. After this, begin the walkthrough for Chapter 2 with Iorveth as Geralt’s ally.
 At a Crossroads: Vernon Roche
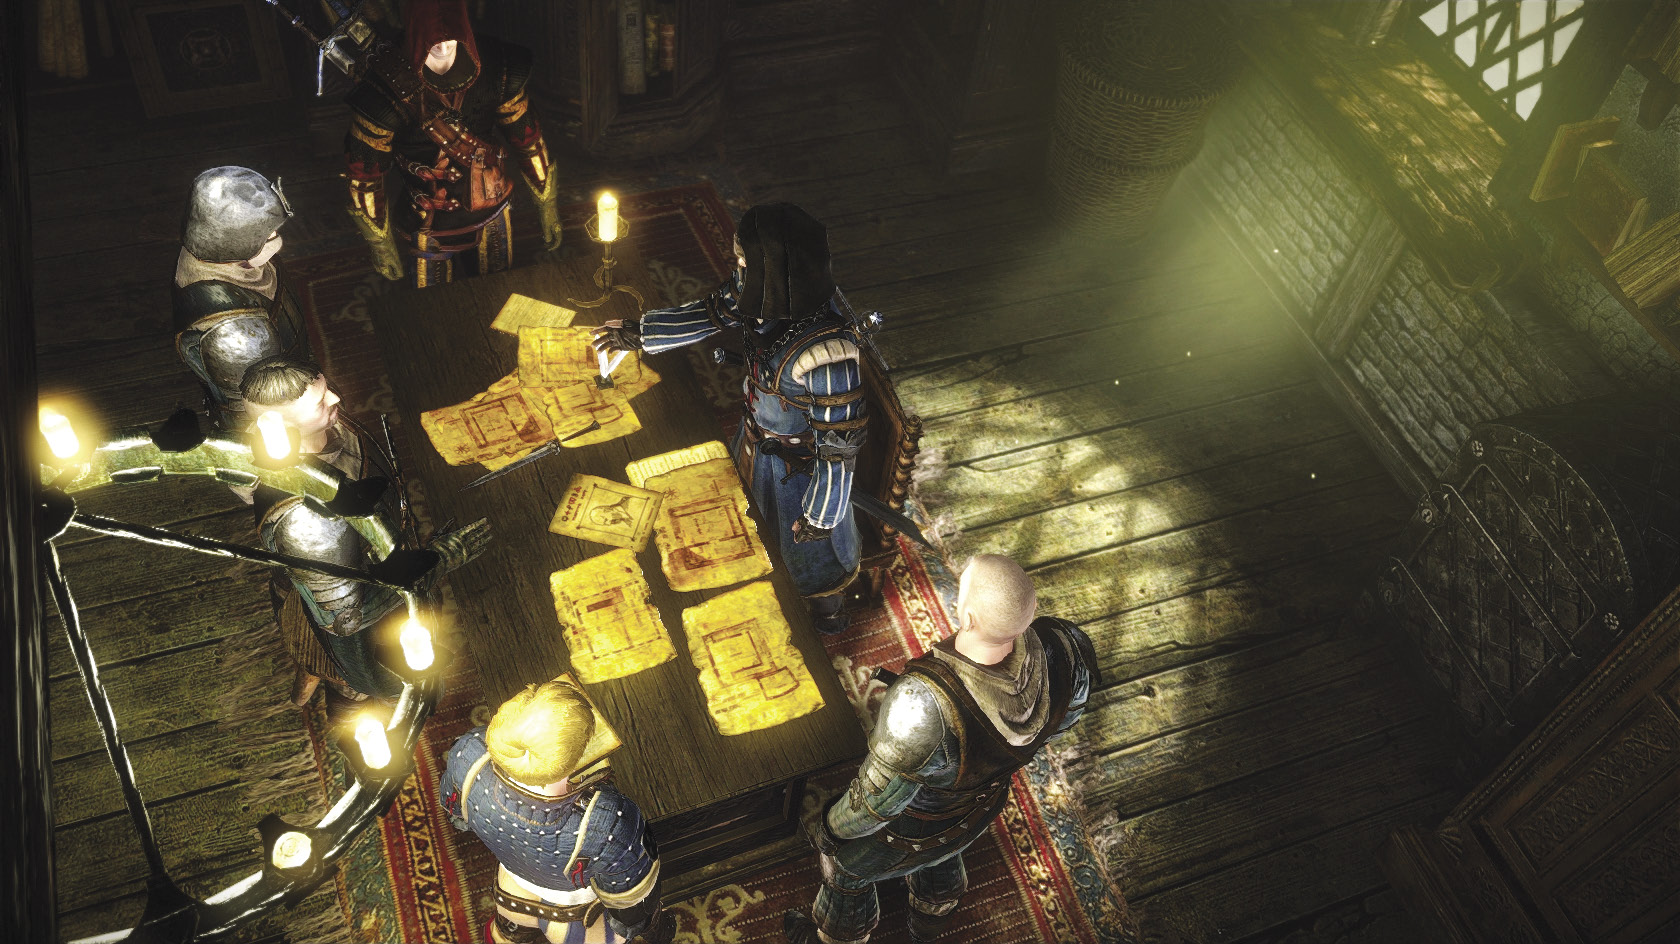
This is very straightforward. Meet with Roche at the Blue Stripes headquarters in Flotsam. He reveals that Loredo is in bed with spies from the rival nation of Kaedwen. Roche plans to execute Loredo as a traitor and insists that Geralt help him assault Loredo’s compound before they sail for Aedirn. Say “All right, let’s do it your way” and you’ve sided with Roche. Note that you get no XP for resolving this quest.
If you side with Iorveth just before the battle with Loredo and then do this quest, the only real difference is some extra dialogue that happens before Roche divulges his intentions for Loredo. Roche chews out Geralt for giving Iorveth a sword and will answer a few questions about how the riot in Flotsam got started. You don’t get any XP for resolving this version of the quest.
 Death to the Traitor!
It’s time for Loredo to pay for his crimes. Note that who you sided with earlier before you fought Letho doesn’t really affect the way this quest plays out. Roche orders everyone to meet in an alley after dark to do this quest, so you may want to take advantage of the break to lighten Geralt’s load by selling stuff off or putting it into storage. Loredo’s house is absolutely stuffed with loot you’ll want to carry out.
What the game tells you to do is basically a stealth mission. In the alley where you meet Roche’s man, there’s a ladder. You need to go to this location at night to use the ladder. If you arrive during the day, you’re told to come back later. Climb it to get onto a plank you can use to drop down into Loredo’s compound. A merchant is walking nearby, looking for a girl named Helen. Wait until his back is toward you. You can choose to sneak by him or to knock him out. He’s very easy to knock out, so you might as well. Now you need to find Helen. Sneak toward the center of the map. Wait until the guard patrolling the center of the courtyard has his back turned. Run and hide behind the woodpile.
Move around it, then head for the guard off to your right. Stun him when his back is turned. This lets you climb the ladder that lets you drop down into the courtyard where you snagged the part for the kayran trap earlier. You can have a talk with Helen here. She fills you in on what’s happened with Ves and tells you that to get farther into the compound, you need to get a key from Loredo’s mother.
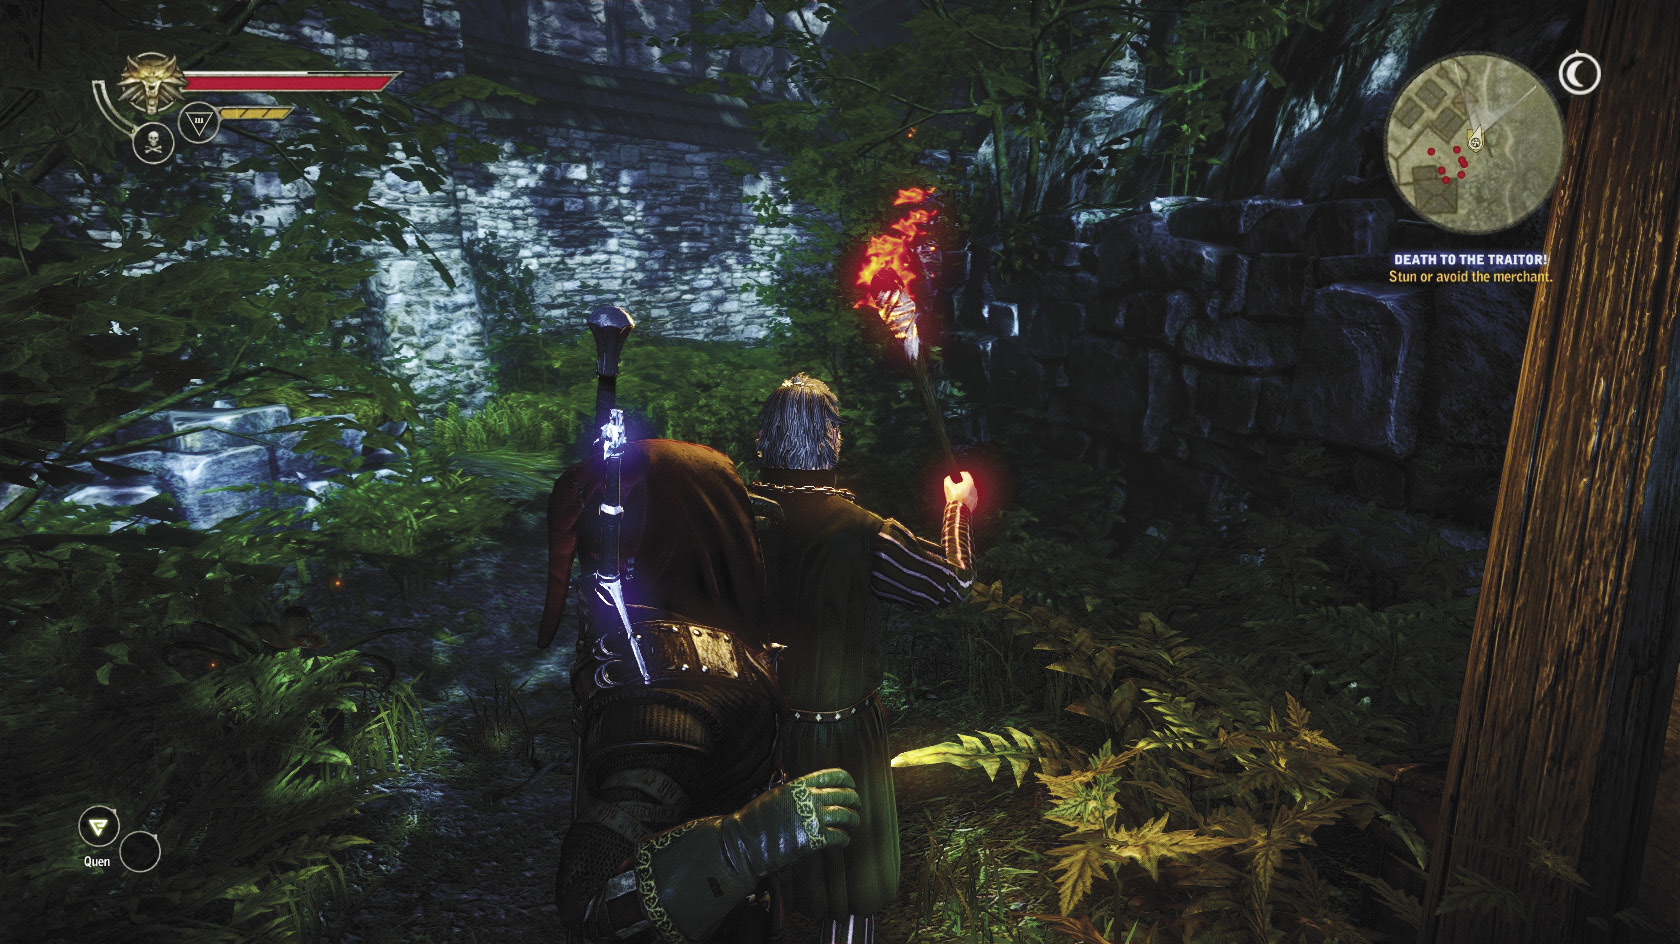
If you’re not a fan of stealth, there’s another way to get into Loredo’s mansion. Remember the trap door at the end of the nekker cave you investigated during the Malena side quest? Try going back in there. Fight your way through the nekkers, which should be much easier now that you’ve begun to invest some talents in Geralt’s specialized abilities. While the trap door was locked earlier, this time you can pass through it easily. You may encounter a guard on his way down the ladder. Passing through the trap door puts you in the little walled courtyard where Helen waits, so you can talk to her to proceed with the quest normally from here. You’re awarded an additional 400 XP for entering the compound through the nekker cave, so this is really the best way to do the beginning of this quest.
Climb up the low wooden platform and then into Loredo’s compound through an open window. This puts you in the kitchen. Scan the area, not so much for loot but for objects that make noise if you bump into them. There’s a guard in the hallway that leads out of the kitchen you probably want to knock out. Wait until he’s standing at the bottom of the stairs with your back toward you, then sneak up on him and crack him on the back of the head. Open the door with the quest marker behind it—the other one leads outside, where you really don’t want to be right now.
Loredo’s mother waits in this room, distilling fisstech. Be ready for a QTE when the cutscene begins. Loredo’s mother tries to attack you with a knife, so you must press the interaction button to successfully counter her attack. This is one of the game’s more forgiving QTEs, fortunately. Loot the room once Loredo’s mother is dead, so the drunkenness effect from the fisstech she threw at you can wear off. Be sure to loot her body to get Marietta’s key, which you need for sneaking your way up the main tower.
Now that you have Marietta’s key, you don’t really need to worry about sneaking around anymore. The next floor takes you to Loredo’s office. You can try knocking all the guards out stealthily, but chances are you’re going to be seen here. Go ahead and kill them so you can loot this room. Unlock the glittering box near the door to get Bernard Loredo’s letter, which contains information confirming everything Roche alleged about Loredo. Obtaining this document also advances Mystic River but isn’t required to finish that side quest.
The next level is a room full of sleeping guards. You can try to sneak through it to get the tower key in the chest in the next room, or you can just wake the guards up and fight them all. Winning this battle shouldn’t be difficult, even given the tight quarters, provided you’re starting to specialize your Geralt build for combat. Even if you aren’t, some bombs can do terrible things to enemies in a tightly packed area like this. Head on up to the next level of the tower.
Here is where Loredo is lying in wait for you, with a trap. Hit the interaction button when the prompt appears in the middle of the screen to deflect Loredo’s spear charge. After that, you begin a proper fight with him. Loredo’s huge spear actually makes him very easy to defeat, because his blows are so slow. It’s easy to use the Riposte skill on him, or just use Quen to make staggering him easy. If you use light attacks on him, it’s also very easy to back him into a corner and catch him in perpetual hit-stun until he dies. Free Ves after Loredo dies (use the strong attack button prompt), then loot Loredo’s body to pick up some nice armor enhancements and the Royal Mail key. Be sure to loot the room before you head next door to find Moril.
Lead Moril down a couple of flights of steps. Her water breaks, which means she has to go back to the tower to deliver her baby. In the meantime, Geralt needs to kill the guards on the ground floor of the compound, then head out into the courtyard to help Roche’s men mop up the rest of Loredo’s forces. These fights should be fairly trivial. When Geralt asks Roche what kept him, you get a cutscene where Roche briefly encounters Iorveth, followed by a battle where you get to control Roche as he duels Iorveth. From here, cutscenes take you into the beginning of Chapter 2 and you should unlock the To Aedirn! achievement.