
The Witcher 2: Assassins of Kings Guide Advanced
Dark Mode
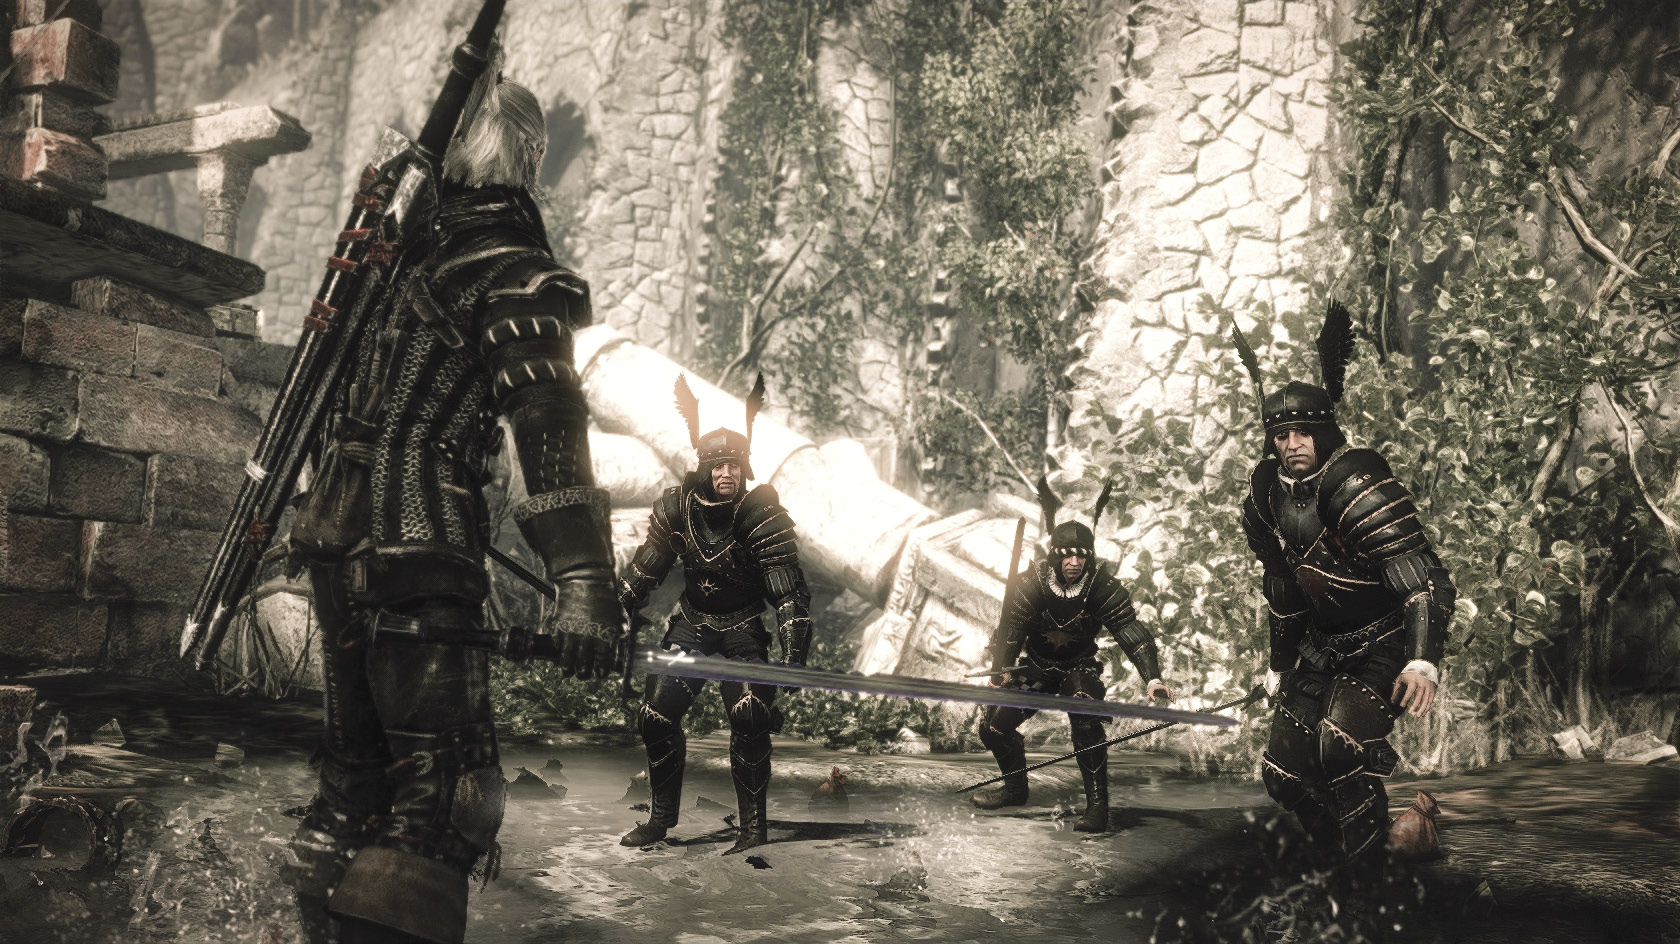
Dark mode is a difficulty setting that takes hard and then kicks it up a notch. Every encounter is a challenge that requires forethought, patience, and awareness. You should save frequently and be prepared to die often. Geralt gets one extra tool to help survive this brutally dangerous version of his world: In each chapter, there is an extremely powerful set of cursed equipment that can be obtained if you’re willing to invest time and effort into crafting it.
The key to surviving Dark mode is to obtain each chapter’s set of equipment and to make sure you’re completely prepared for every encounter. Making these preparations is easiest if you have foreknowledge of the game’s challenges, so playing on Dark mode is not recommended for a player who is new to the game. Before tackling Dark mode, try beating the game on Hard difficulty at least once.
Surviving Dark Mode
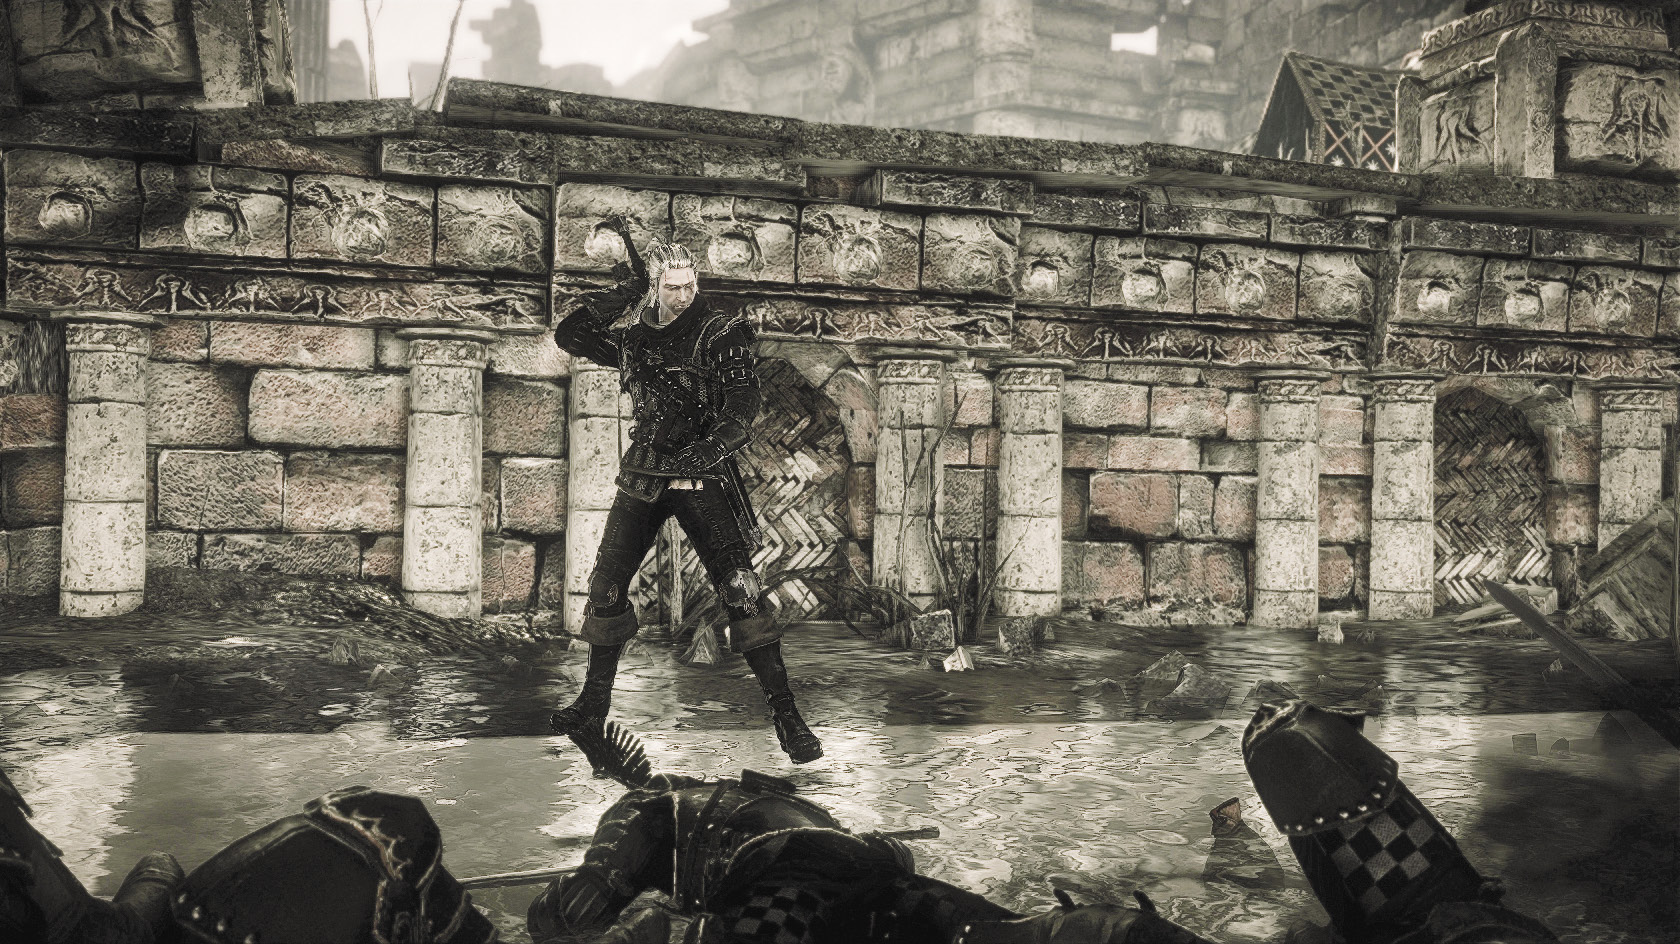
Dark mode is difficult, but with the right skills, preparations, and patience, it can be overcome. Keep the following tips in mind as you play through the game. While the story events are the same as they are on lower difficulty levels, all opponents have wildly inflated stats. Essentially, every monster in the game can easily one-shot you until you’ve assembled a chapter’s dark equipment set. Use these tips to survive longer in Dark mode:
Save. Save constantly. Save after every fight, before you begin a quest, after you finish a quest, after you do anything you don’t especially want to do again. You cannot rely on the game’s autosave function on Dark mode—it simply won’t save your progress often enough. Danger lurks everywhere. Losing precious XP, orens, and progress because a random nekker you couldn’t see hit you from behind is agony. Avoid situations like this by saving frequently.
Be prepared. Never leave towns or other safe areas without a full complement of potion buffs and appropriate sword oils applied. This is especially true during Chapter 1, before you’ve gotten your first dark set.
Quen is your best friend. Upgrade it early and always keep it up. While the other signs have their uses, they all pale in comparison to Quen.
Situational awareness is key. Never let yourself get surrounded or backed into a corner. All the potions and Quens in the world won’t save you from an angry mob that you can’t roll away from.
Walking is for chumps. In Dark mode, we roll. We roll all the time. They can’t hit you if they can’t catch you.
Don’t block. The problem with blocking is that when everything kills you in a single blow, blocking just makes it so you die in two blows. Don’t even bother with Parrying or related abilities. Hit once, then roll away. Roll back in. Hit once. Repeat. Only block when you have no other choice (and ideally, you always have another choice).
If it isn’t nailed down, pick it up. If you are carrying too much weight and you get attacked, drop some things, kill the enemies, then loot it all again. Seriously. In this mode, you desperately need cash to afford the super-expensive dark sets. Every single oren you can scrape up by selling lousy swords, crafting materials you don’t need, or spare monster guts brings you one step closer to completing a chapter’s dark set.
Adapt to the dark sets.Once you have a chapter’s dark set, you aren’t as reliant on potions and oils (but they don’t hurt). You may wish to use Cat potions to help offset the visual effects you experience when wearing a full dark set, which can make enemies difficult to see. While Cat does inflict a -10 percent damage penalty while in effect, you can offset this with the absurdly high stats of dark equipment and by oiling your blades with Falka’s blood. You may also wish to complement Cat with potions that increase your vitality regeneration, like Swallow, and that increase vigor regeneration, like Tawny Owl. Sell any alchemy ingredients you know you won’t use regularly for extra cash.
Keep in mind that merchant lists are semi-randomized. Sometimes if you approach a merchant who usually sells a given crafting material, it may not be in stock. Just revisit the merchant again later to see if the material is back in stock.
Chapter by Chapter
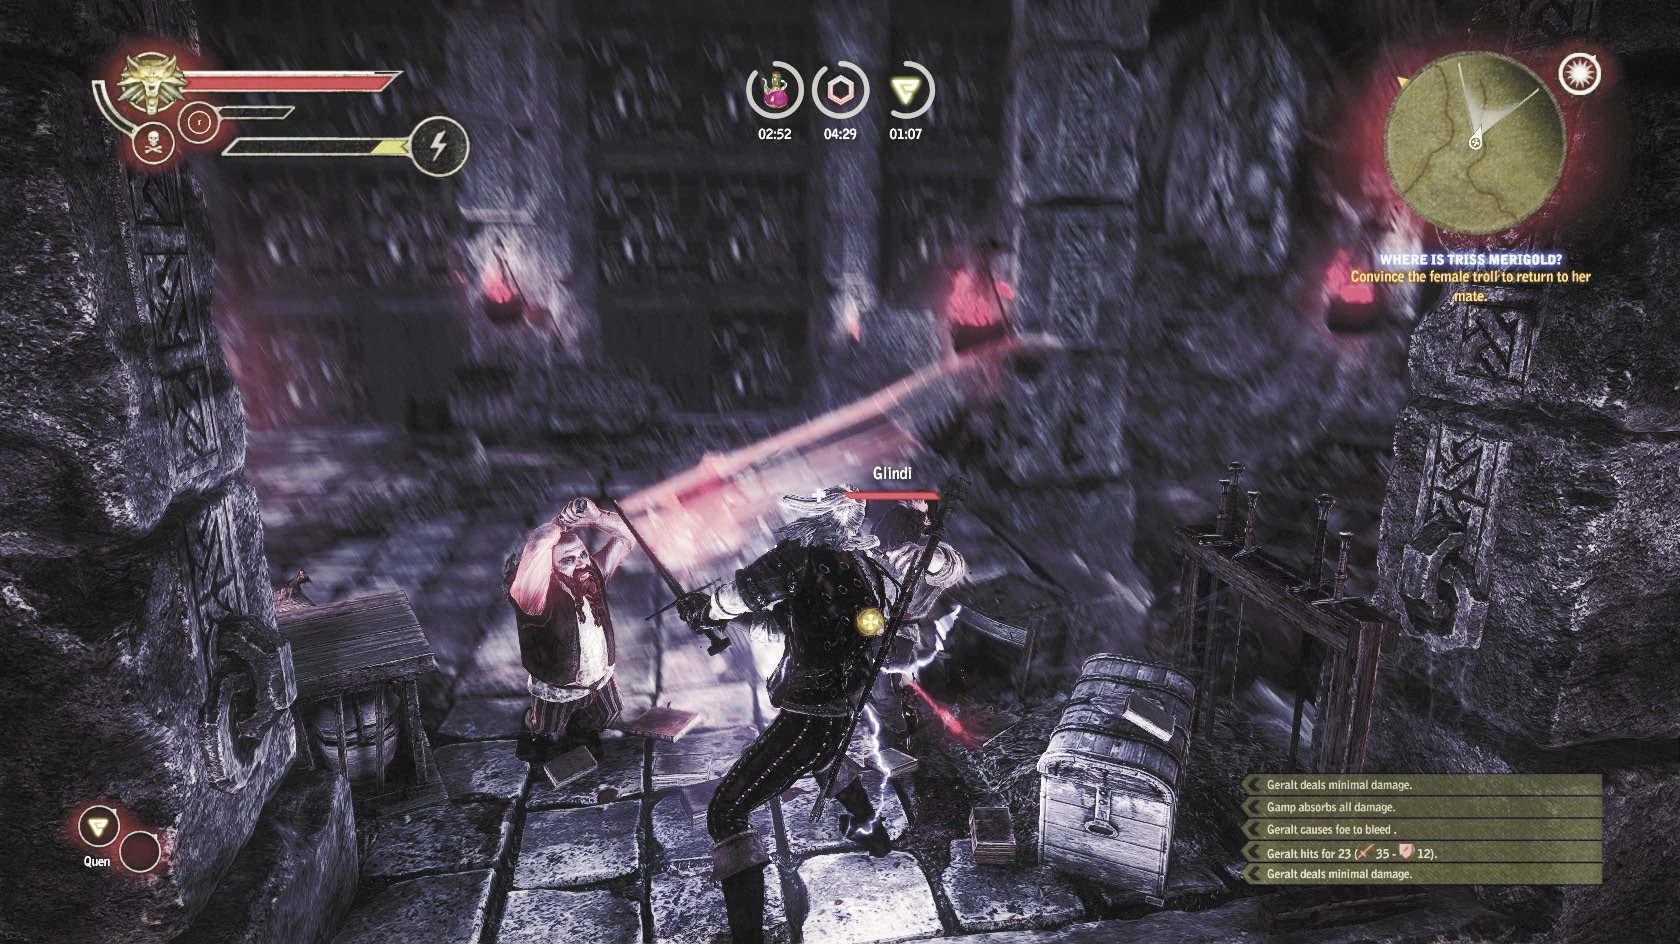
The game’s sequence of events in Dark mode is identical to what occurs in a game on standard difficulty. Enemies are in the same locations, unique foes behave the same way, and your quests and decisions are the same. You can consult the regular walkthrough for advice about specific quests or the consequences of certain decisions. That said, there are some specific points in the game that you want to approach differently in Dark mode. That’s what this section addresses.
Always make sure you finish a chapter’s dark set for a given Chapter before initiating major story-mandated battles. The added bonuses to your stats make the fights substantially easier. Remember that this is a mode where you need all of the help you can get.
Chapter 1
The Kayran
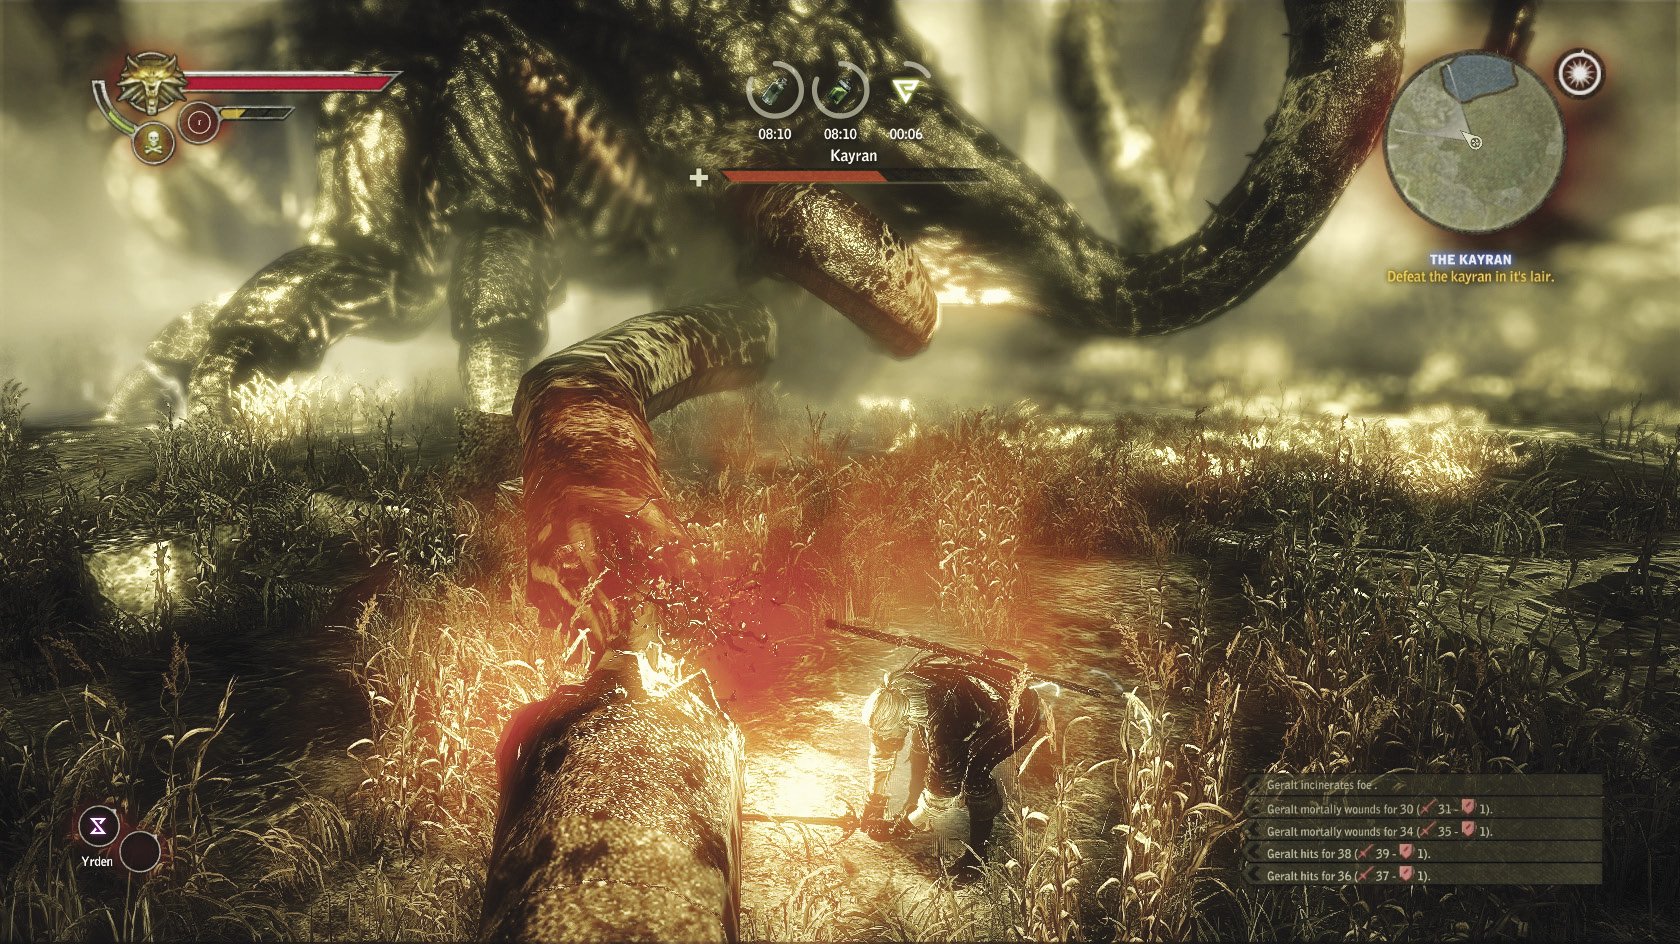
Before you battle the kayran, make sure you resolve the main quest The Kayran: A Matter of Price such that you receive the Haggling character attribute. Haggling reduces all shop prices by 20 percent, which amounts to an enormous discount when you’re dealing with items like the dark sets that cost thousands of orens to obtain. You get Haggling by successfully using Axii during dialogue with the merchant to make him double his fee, then collecting the funds from him after you kill the kayran. Note that all prices for items listed in the Dark mode guide are default prices, before the Haggling reduction is applied.
When battling the kayran, it’s important to keep moving. Always keep your camera turned so that you can see the beast’s tentacles and predict where and when they will strike. Keep Quen up to absorb the punishment that follows a mistake, because even with your dark set the kayran can and will one-shot you if given the chance.
Letho
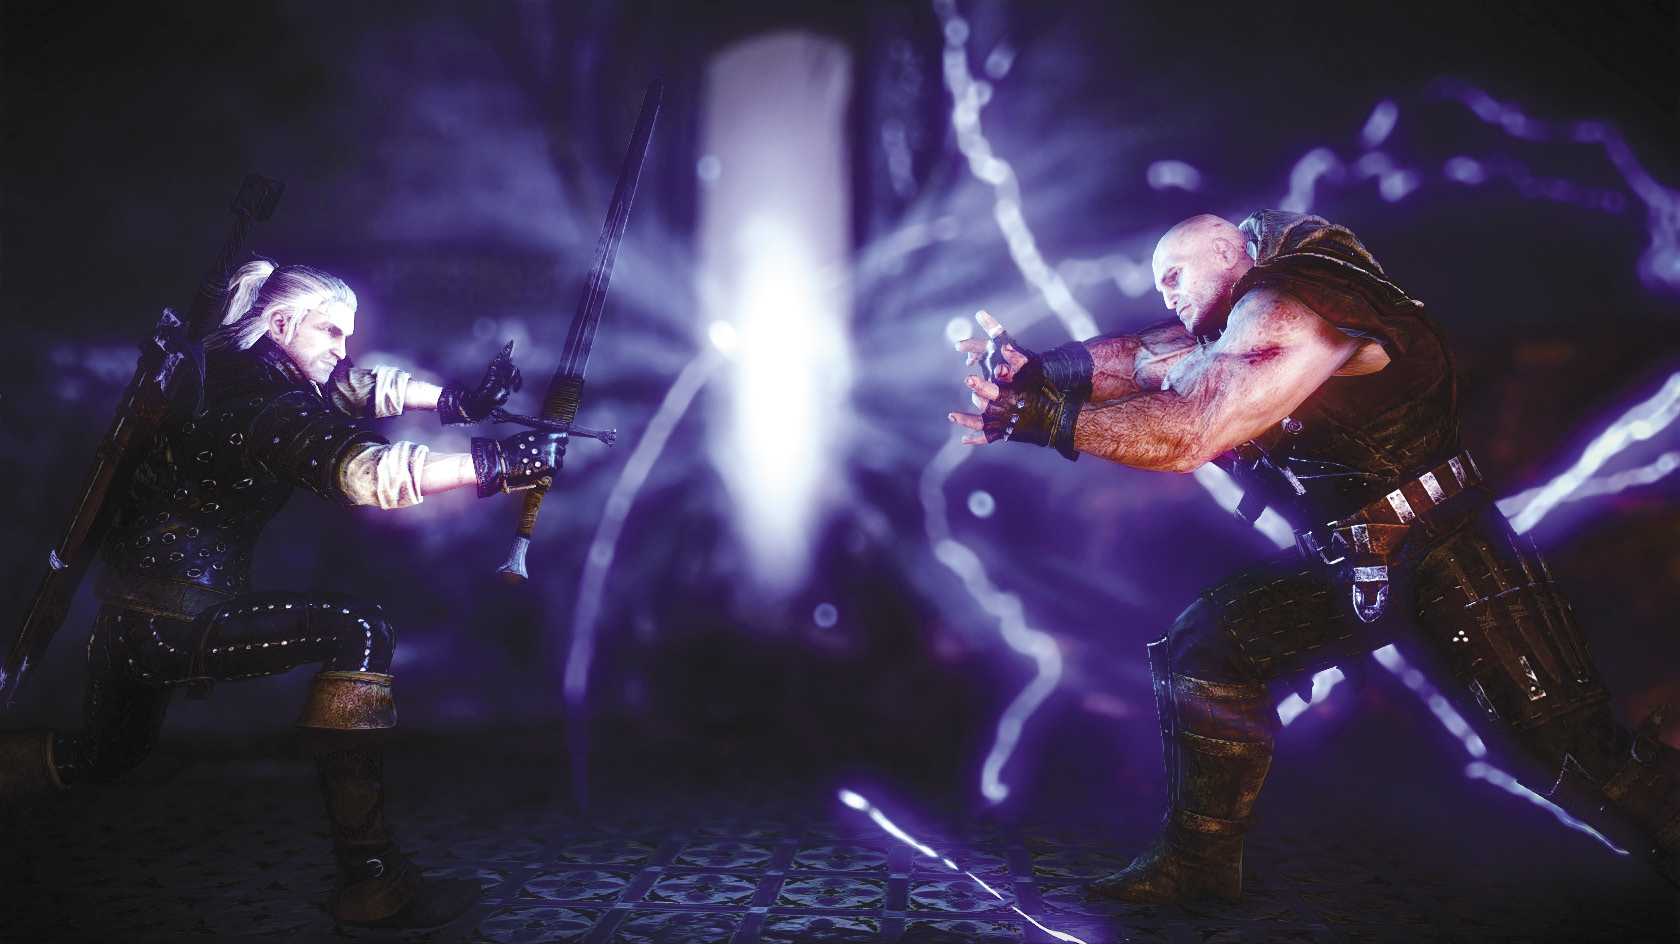
The fight against Letho can be tricky on any difficulty, but it only gets worse in Dark mode. Even with your dark set, battering down his Quen is a fruitless endeavor. He hits like a truck on standard difficulties, but now he hits like an 18-wheeler hurled at you by a troll. Letho’s weaknesses are the same. He’s still slightly slower than Geralt, and he’s still vulnerable to Yrden and traps. It’s not worth taking down Quen to use Yrden, though, so focus on traps. Keep moving so you can dodge his attacks, especially his devastating Aard.
The best way to damage Letho is to get behind him and land a light attack combo. If you get an opening, don’t let up until he throws up Quen. Once he has, then dodge-roll away from him and wait for it to wear off. Getting staggered by trying to hit Letho tends to leave you open to a life-ending attack combo. If you find yourself in a corner, or unable to dodge an attack, using Aard can give you a moment to strike or escape. This is one of the few situations where it’s worth using something besides Quen.
Chapter 2
Serrit and Auckes (Roche)
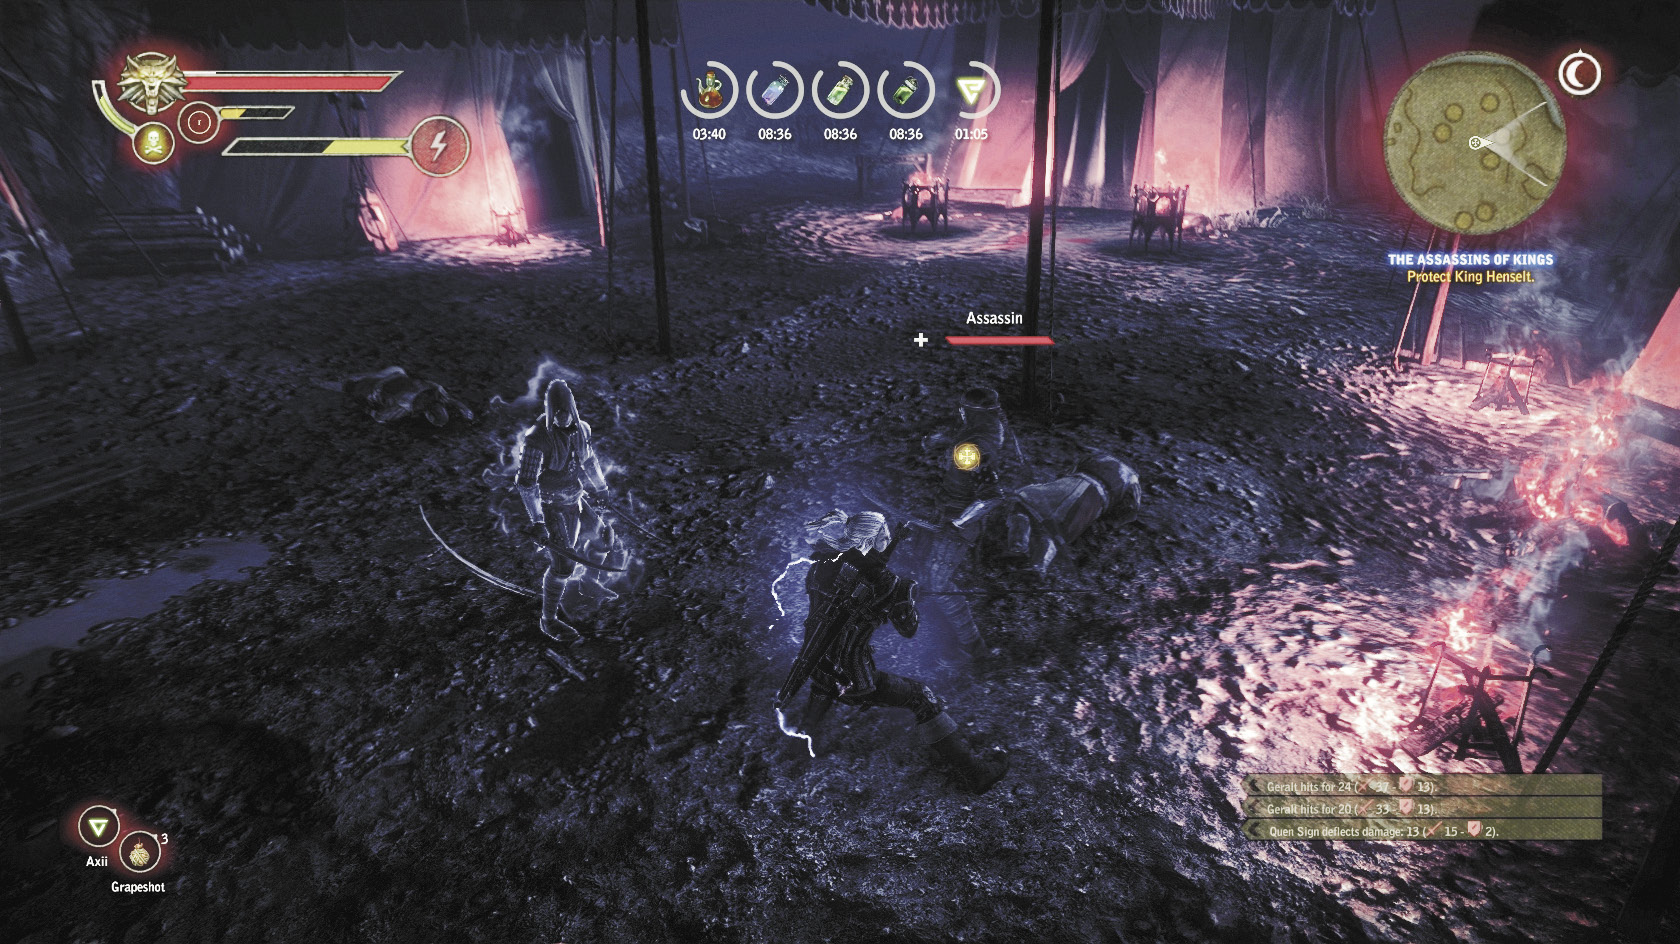
These assassins are quick, deadly, and swiftly parry your attacks if you face them head-on. After getting Quen up and dodging their first wave of attacks, use Axii on one of them. Wait for your new friend to grab the other assassin’s attention. At that point, try to get in behind your target and strike him as many times as possible before Axii’s effects wear off. Roll away from the foes and repeat the process, using Axii on one of them. Be careful while dodge-rolling during this fight, as it’s easy to get stuck in a corner when you’re around the tents. Try to keep the assassins out in the open where you have plenty of room to move.
Draug (Both Routes)
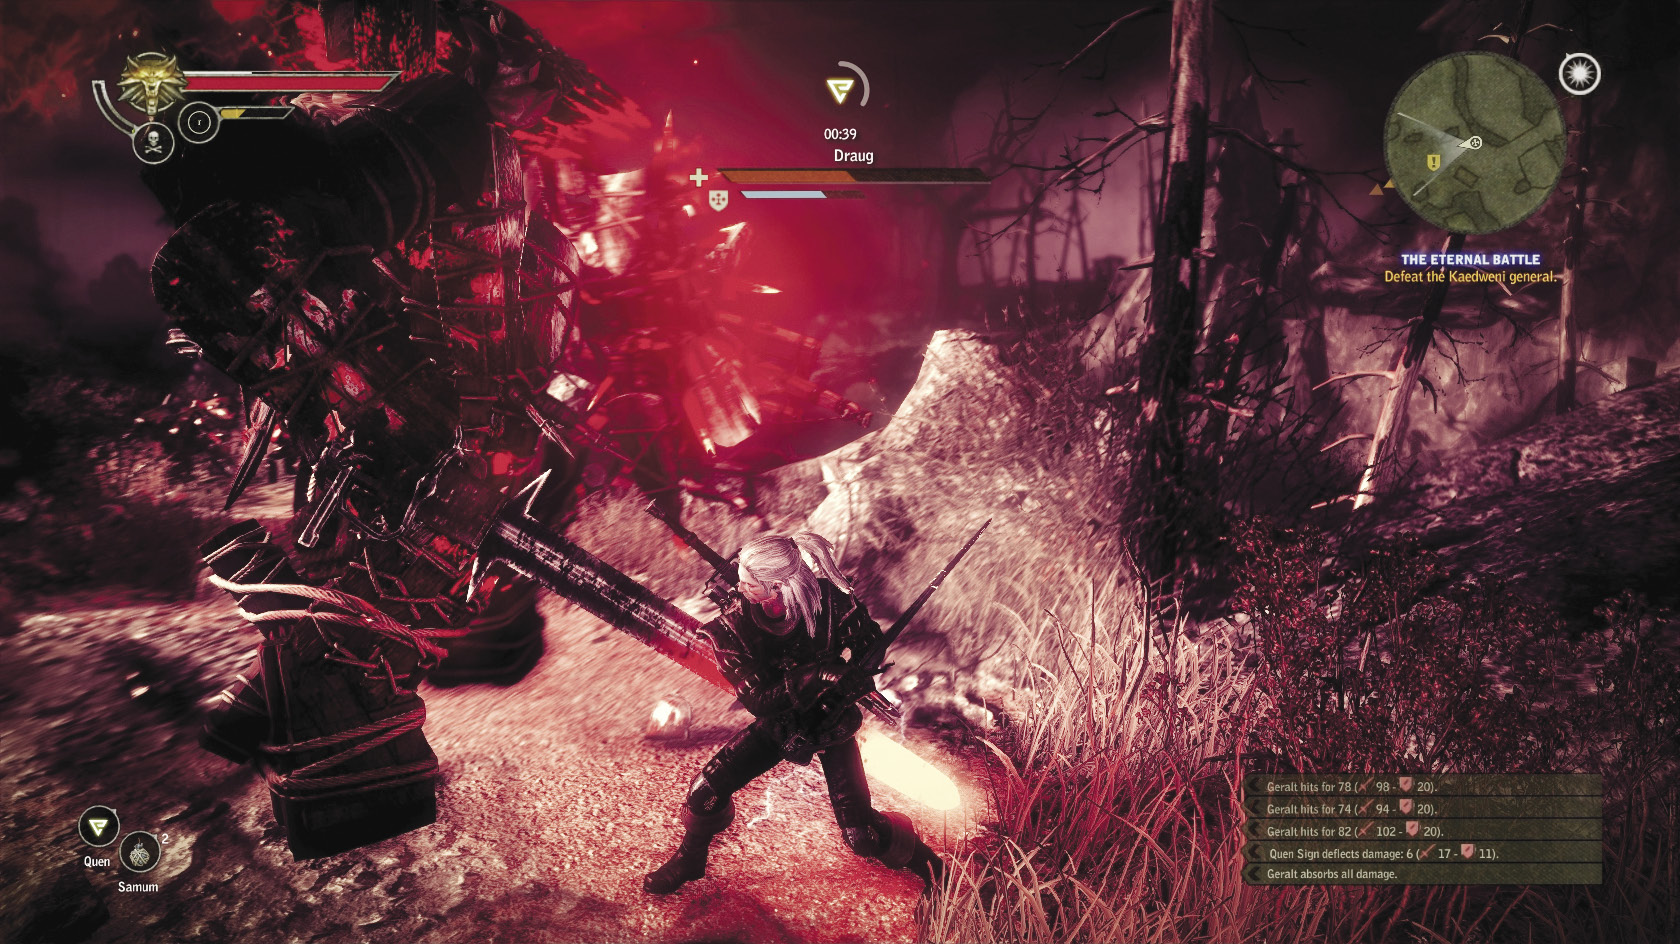
If you have the Chapter 2 set before you battle the draug, this fight becomes hilariously easy. Put up your Quen and wait for him to charge. Roll out of the way, then roll back in and slash at his back with your strong attack. Using this method, it’s possible to take out the draug with around four blows. That said, don’t get lazy in this fight. The draug can still summon trebuchet fire and hails of flaming arrows, which can be extremely deadly on this difficulty. Practice zone control and try not to be either too close or too far from the draug at any time.
Chapter 3
Saesenthessis
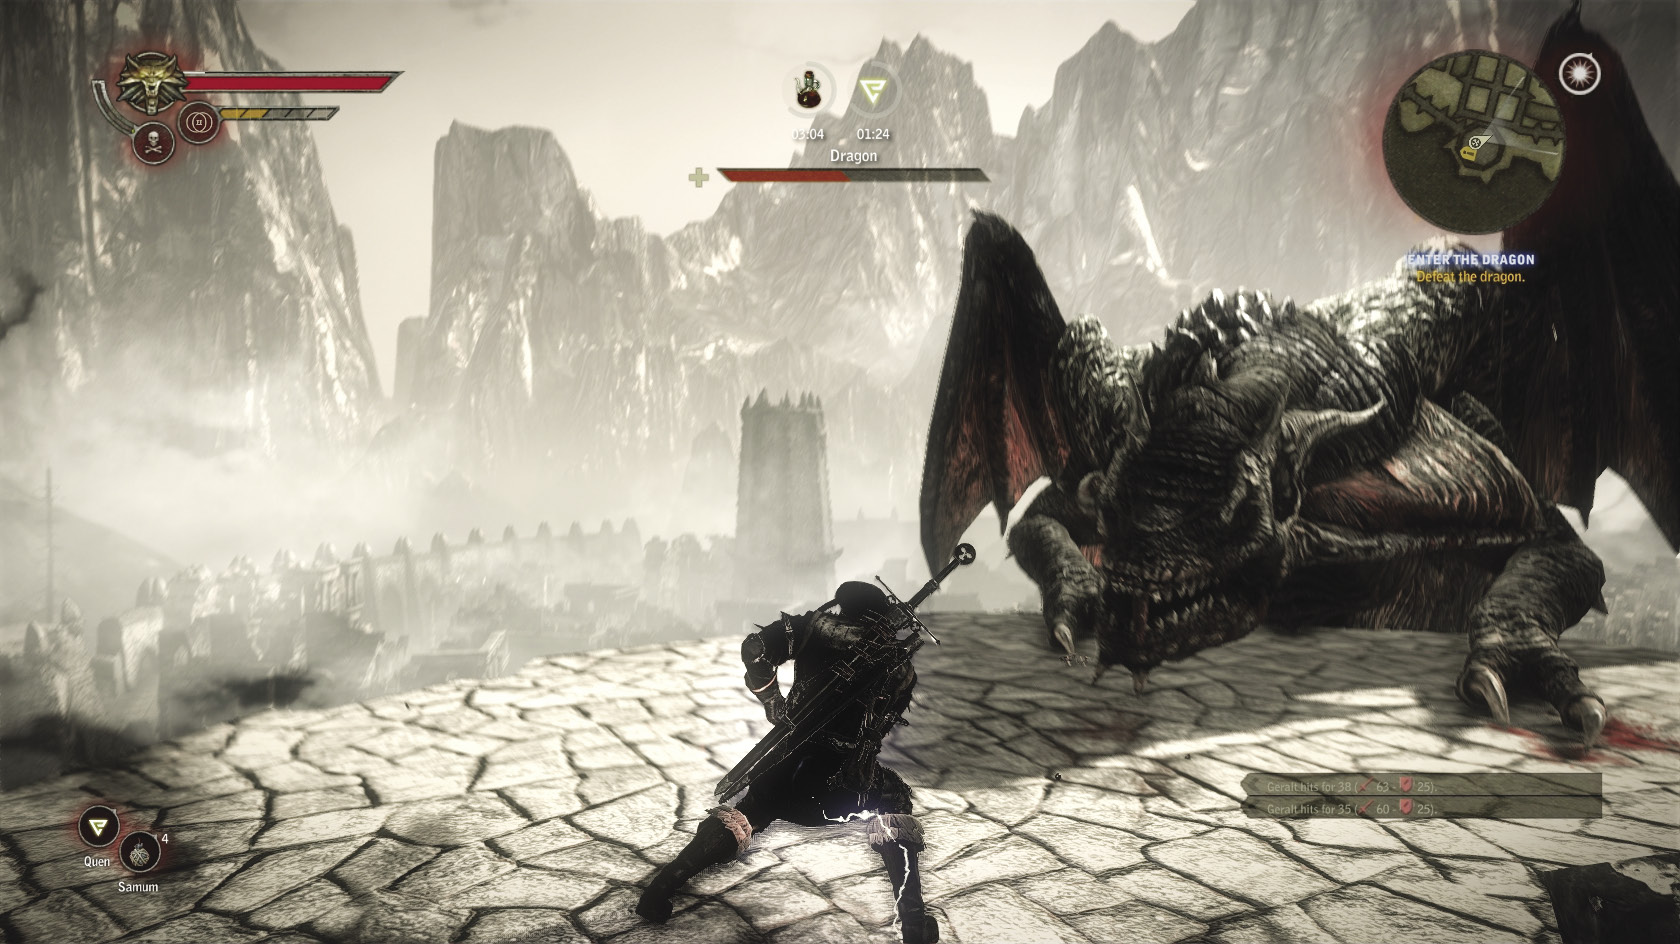
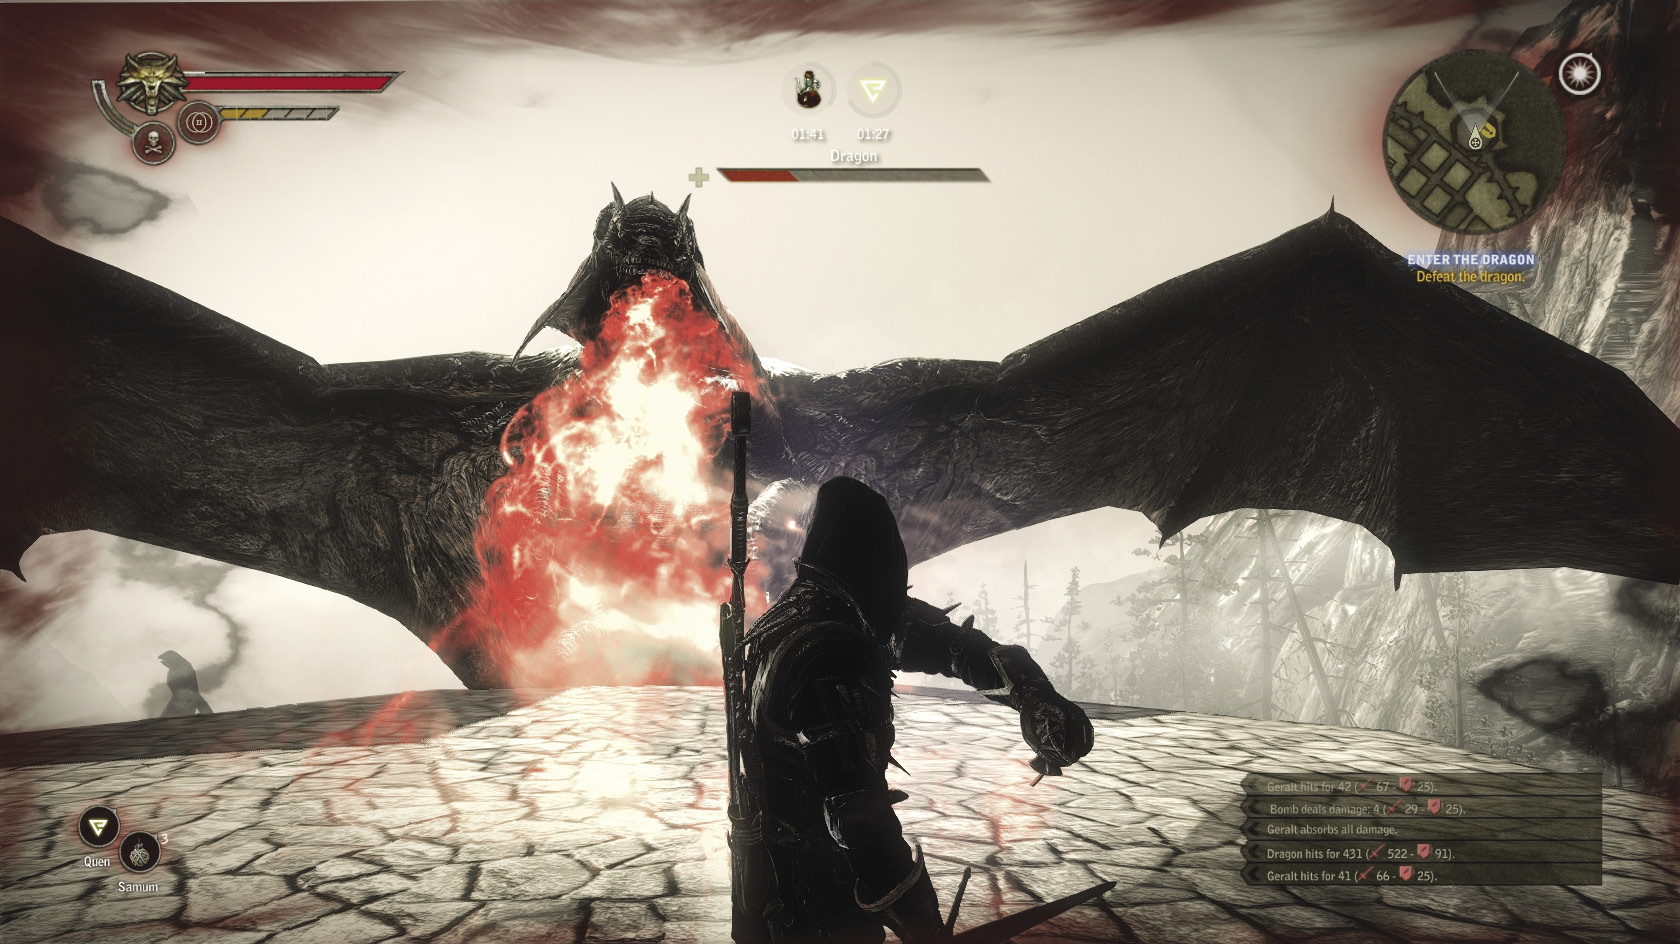
When fighting the dragon Saesenthessis in Síle’s lab at the top of the tower, the single most important thing is to keep up Quen. Quen negates fire damage, which keeps the dragon’s fiery breath from incinerating you (or damaging you at all). In fact, one of the best times to attack the dragon is while it’s breathing fire. Just walk through the flames, land around three hits, then dodge-roll away before the dragon finishes its fire-breathing animation and swipes at you.
Once you climb to the top of the tower, you battle the dragon on the ground. In this round of the fight, be sure to stay directly in front of her. If you close on her from either side, she can get in a pair of quick blows where the second one always kills you even if you survive the first. Bait her into attacking you, roll in for a couple quick hits, then roll back out.
Letho
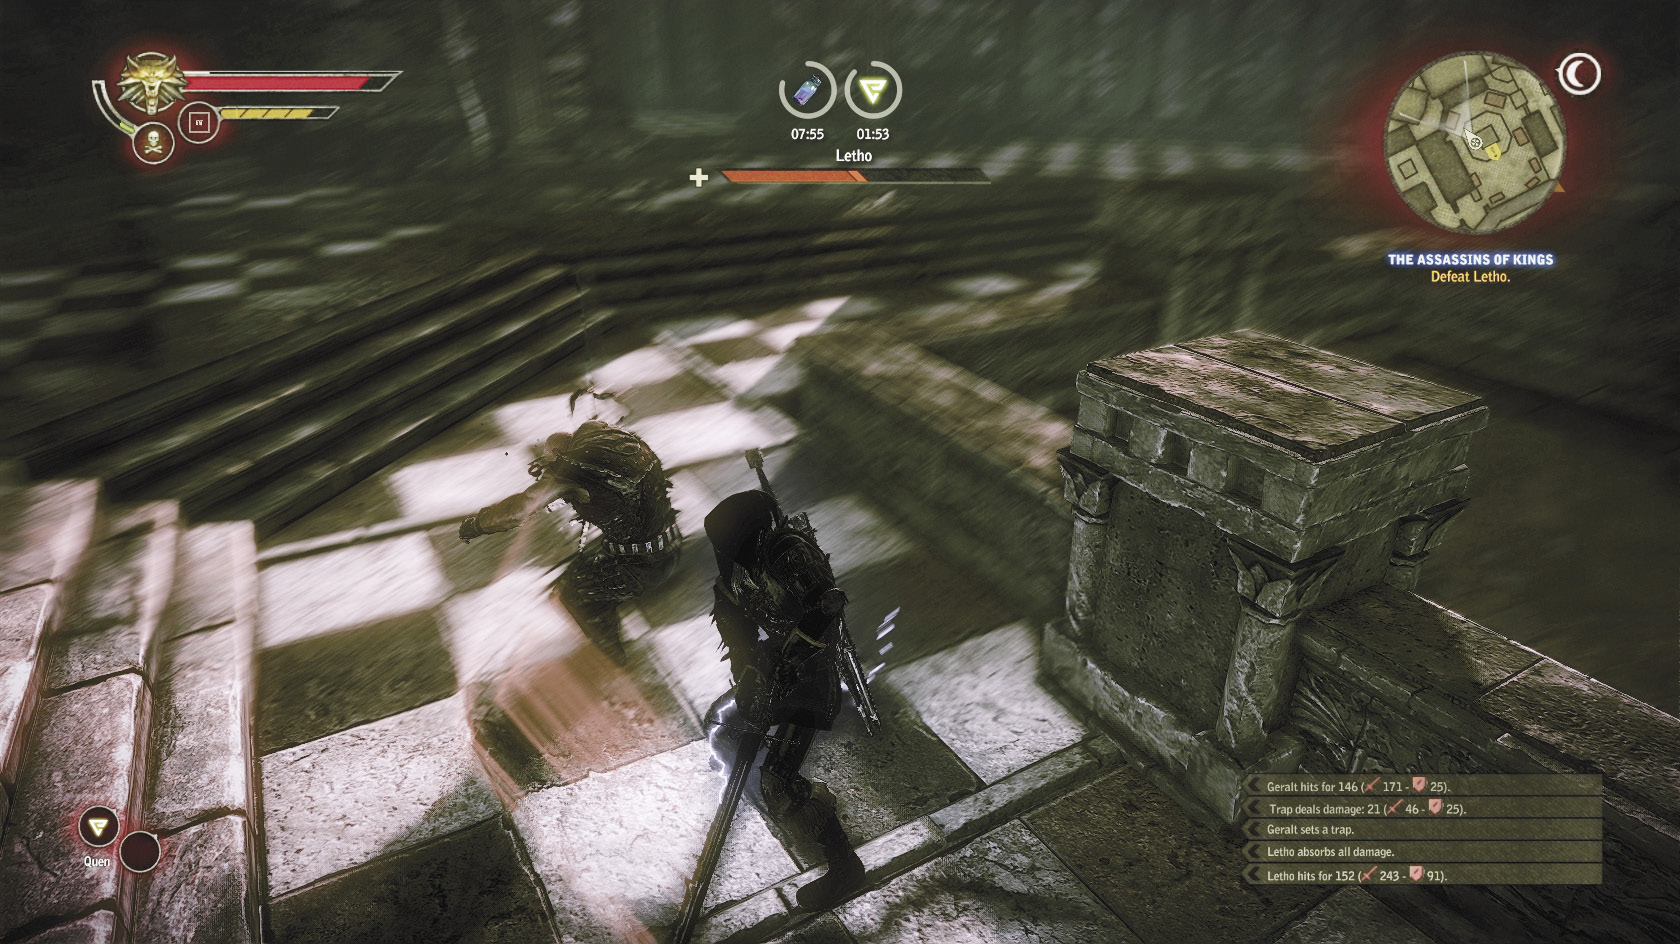
Fighting Letho during the Chapter 3 Epilogue is basically the same as fighting him during Chapter 1. His Quen can absorb even more damage now, he moves a bit faster, and his strikes deal considerably more damage. Your basic strategy should be the same. Dodge his attacks and move in behind him to strike. When he puts his Quen up, simply keep moving and dodge his attacks until it wears off. Again, using Aard can give you a momentary advantage to strike if you’re cornered, but that shouldn’t happen much when you fight him in a wide open area like the Temerian camp.
Build Advice
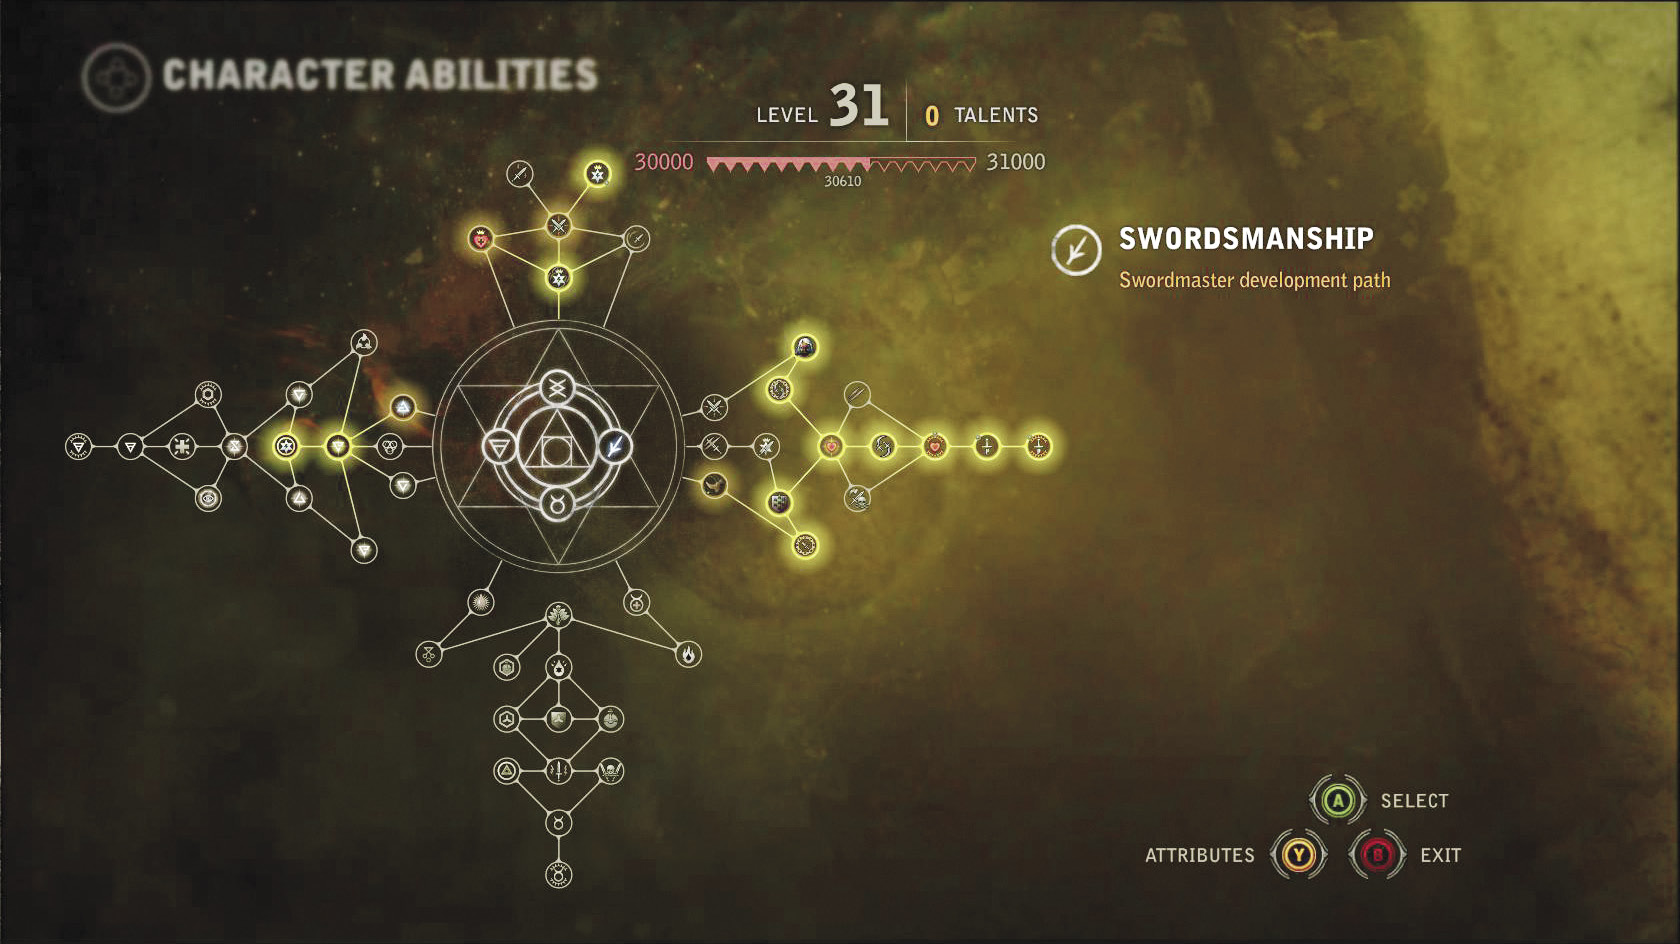
How you allocate Geralt’s talents as he levels up is extremely important in Dark mode. For certain stretches of the game, you fight enemies at a profound disadvantage in terms of stats. Even with the dark sets for each chapter assembled, you need to be very careful in combat. You can’t afford to invest talents in sub-optimal skills, as every point you spend is a chance to narrow the gap between Geralt’s abilities and his enemies’ ludicrous stats. The overall safest choices to make when playing on Dark mode are a minimal investment in the training tree, an investment in maxing out Quen, and then as many points as possible invested in the swordsmanship tree.
Finishing Dark mode as a mage or alchemist is possible, but attempting to do so increases the challenge you face. Both trees offer lower statistical bonuses than the swordsmanship tree and less immediately useful adrenaline-based abilities. The swordsmanship tree gives you access to the ability to damage multiple enemies at once, the ability to increase your damage significantly, massive damage reduction bonuses, huge boosts to resistances, and the ability to perform instant kills on groups of enemies. These powers can be very useful equalizers in Dark mode.
Here is a sample build based on the builds used to complete Dark mode here at the Prima offices. There is room to vary the build somewhat according to a player’s taste, but you should stick to the basics of it as much as possible. Remember not to invest in the swordsmanship tree skills that involve blocking if at all possible. Enemies do so much damage that blocking simply isn’t something you want to be doing in combat, and trying to make Geralt better at blocking is simply a waste of effort.
Dark Mode Build
| Level | Skills |
|---|---|
| 1 | — |
| 2 | Vigor Regeneration |
| 3 | Vigor Regeneration |
| 4 | Hardiness |
| 5 | Parrying |
| 6 | Fortitude |
| 7 | Fortitude |
| 8 | Enhanced Aard Sign |
| 9 | Enhanced Quen Sign |
| 10 | Enhanced Quen Sign |
| 11 | Magical Vigor |
| 12 | Magical Vigor |
| 13 | Feet Work |
| 14 | Schemer |
| 15 | Tough Guy |
| 16 | Hardy |
| 17 | Finesse |
| 18 | Invincible |
| 19 | Combat Acumen |
| 20 | Whirlwind |
| 21 | Whirlwind |
| 22 | Combat Acumen |
| 23 | Invincible |
| 24 | Finesse |
| 25 | Hardy |
| 26 | Whirl |
| 27 | Violence |
| 28 | Violence |
| 29 | Whirl |
| 30 | Tough Guy |
| 31 | Schemer |
| 32 | Feet Work |
| 33 | Position |
| 34 | Position |
| 35 | Enhanced Aard Sign |
Dark Sets
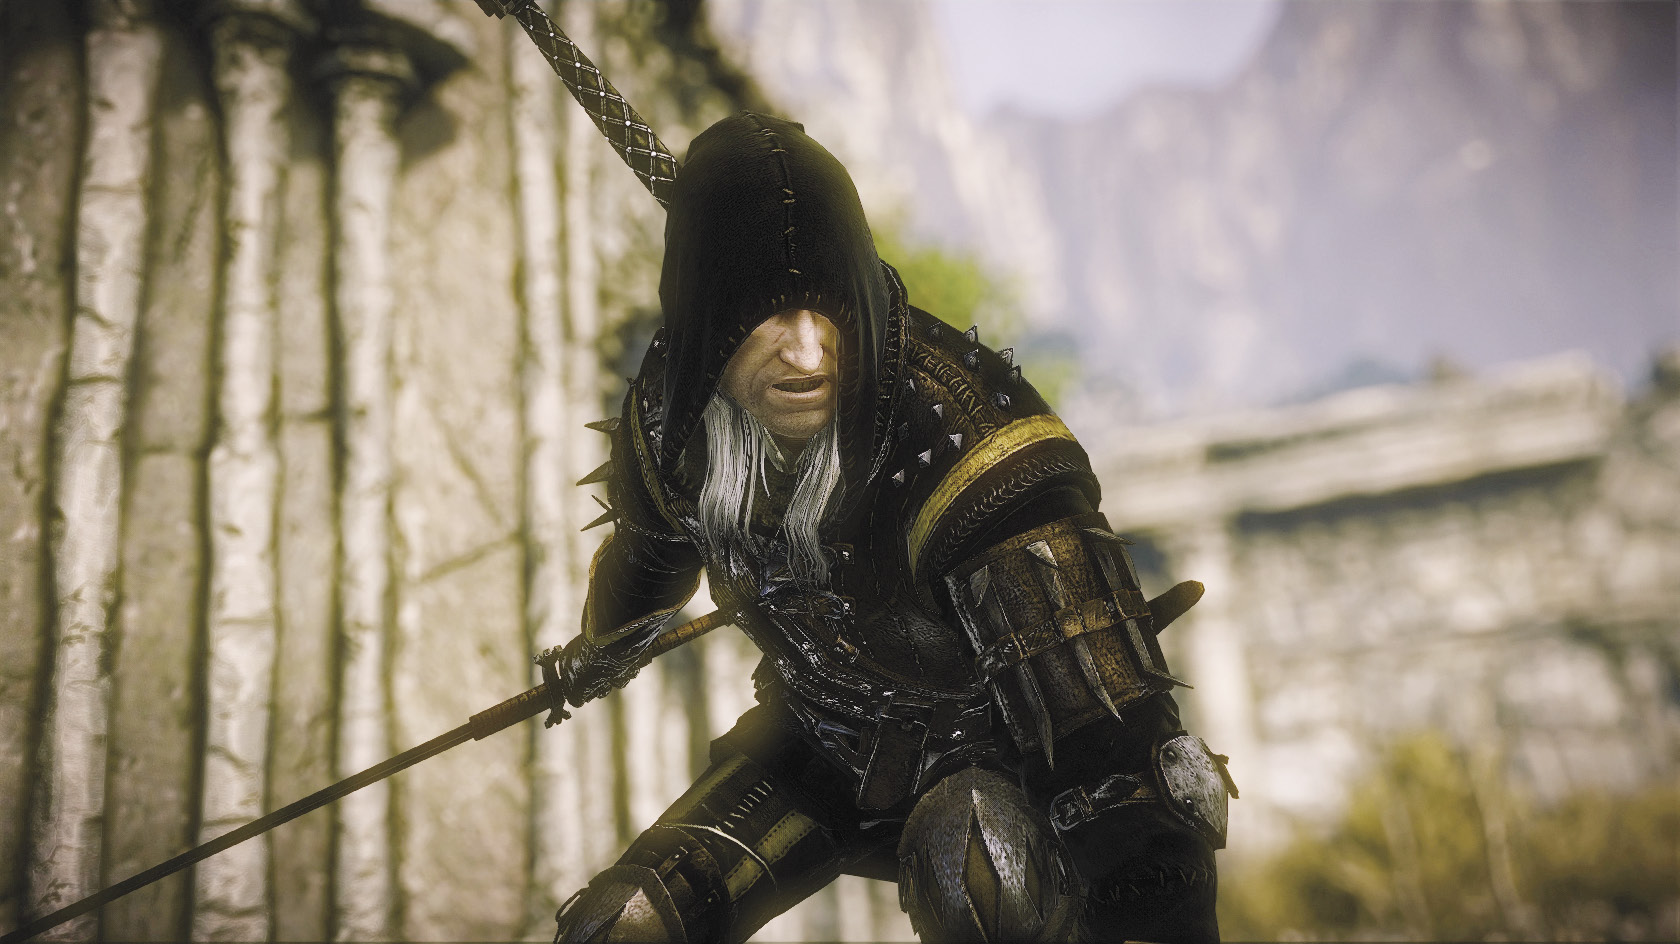
The dark sets are the main reason to play through Dark mode. The monsters may have increased stats and deadliness, but the dark sets level the playing field and sometimes can even put you on top. This much power doesn’t come cheap, though. You’ll have to work hard to make the money necessary to complete a set, and even then it has some drawbacks to balance out its immense power.
The items are cursed. If you so choose, you can craft individual pieces of the armor (armor, gauntlets, boots, or trousers) and equip them as you obtain them. You cannot say the same about the steel and silver swords that are part of each set. If you equip a sword from a set without having the rest of the entire set, the sword begins to drain Geralt’s life. Once you have a full set, however, the swords drain vitality from your foes with every blow. This is represented by red orbs that fly out from your foes with every strike.
Unsheathing either of a dark set’s swords turns Geralt’s vision into “dark vision.” Everything turns gray, similar to the sequence where you’re reliving Auckes’s memories in Chapter 2. Only the color red can be seen clearly. Shadows begin to crawl in from the sides of the screen, and an ominous growling is always audible. As befits a curse, these impressive visual effects make it pretty difficult to see your enemies clearly, especially if Geralt is in a cave or adventuring at night. You can drink Cat potions to offset the “dark vision” effect, just keep in mind that Cat reduces your damage output by 10 percent. You can take measures to counteract this, like oiling your blades with Falka’s blood.
You obtain the Dark mode sets by purchasing diagrams from merchants, then forging them with the aid of a craftsman. The good news is that you can find many of the components you need for this as random loot or easily obtained monster drops. The bad news is that the dark sets are so expensive that, one way or another, you’re going to end up having to grind for orens.
As you gather the items you need, be sure to put items that you know you will need in future chapters into storage first thing. This frees you up to sell everything else in your inventory without fear of accidentally selling something important.
The complete stat bonuses offered by each set are listed, along with the crafting costs involved and materials required. Note that since weapon stats are only applied when the weapon is drawn, the total statistics do not include any bonuses or abilities gained from weapons. If you want to look at the statistics of each individual piece of a given set, you can look it up in the “Items Compendium” section.
Chapter 1: The Blasphemer’s Set
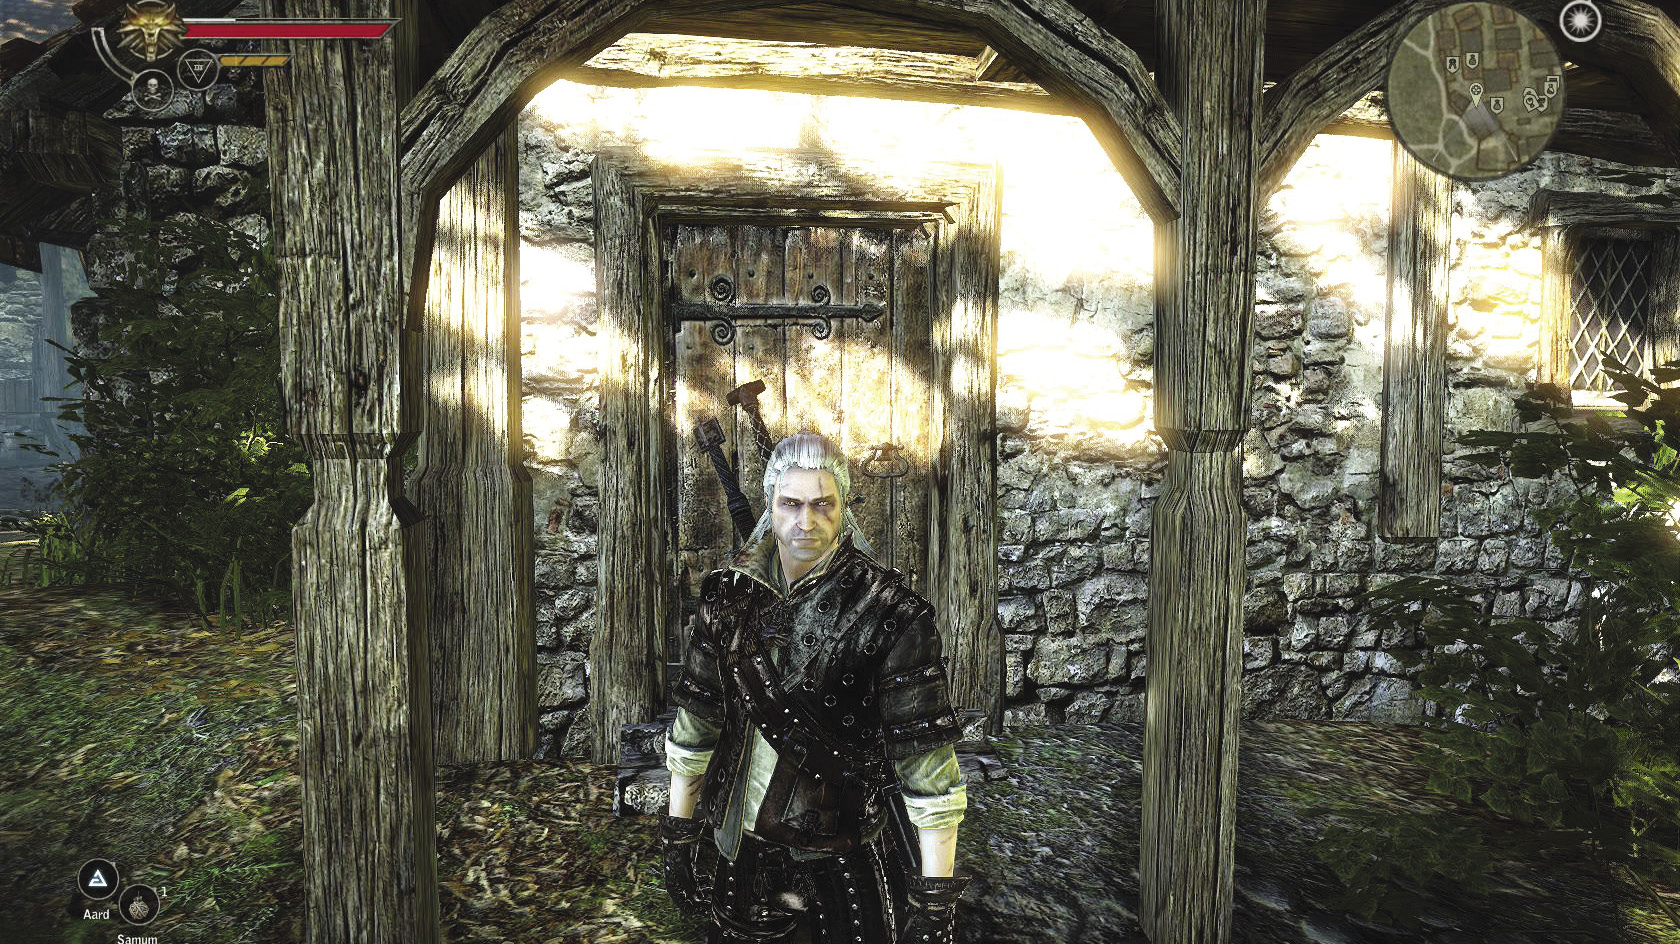
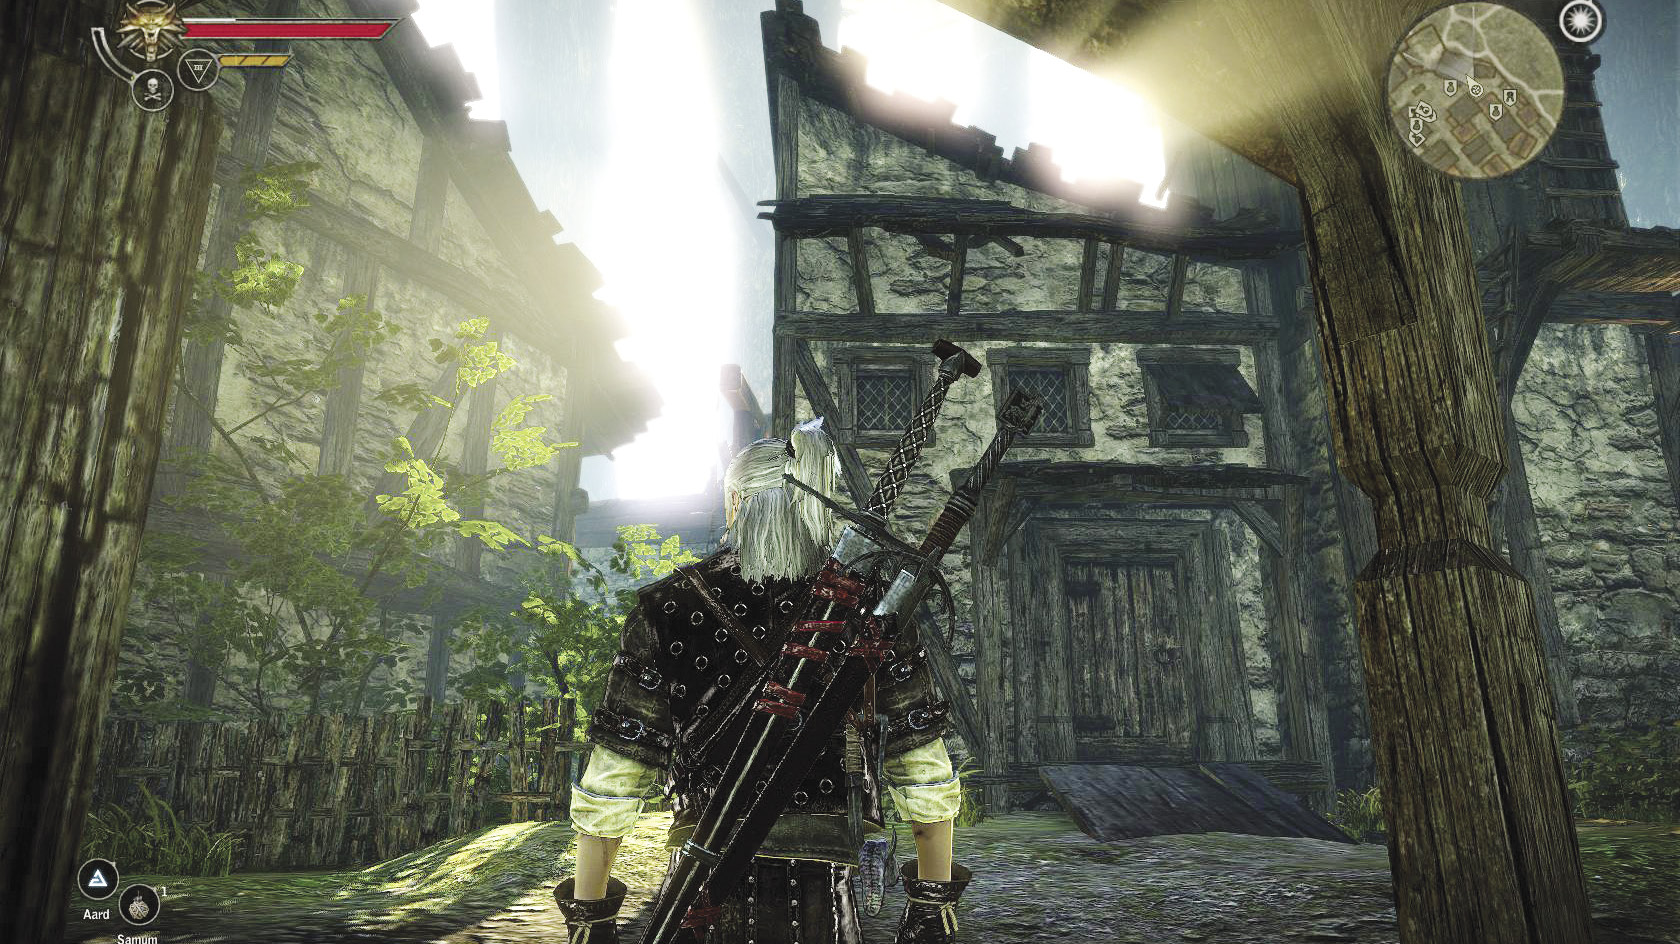
Total Passive Bonuses When Wearing Complete Set
| Armor | +20 |
| Vitality | +45 |
| Geralt’s Maximum Load | +15 |
| Resistance to Bleeding | +55% |
| Resistance to Poison | +40% |
| Resistance to Incineration | +85% |
| Magic Damage Reduction | +27% |
| Bonus Sign Damage | +5 |
Grinding for Orens
One of the best ways to make money for the Blasphemer’s set is to loot everything you can find during the Prologue. If you save Aryan La Valette, you can get the Strong Back attribute and raise your maximum load to 300 units. If you don’t get Strong Back, then you’re definitely going to be over your encumbrance limit by the time you begin Chapter 1. During the ambush sequence at the beginning of this chapter, simply drop your heaviest items so you can fight off your attackers. Once you get to the docks, return and pick up what you dropped along with the items the elves drop. If you didn’t miss anything, this should give you a good head start toward acquiring all the orens you need.
Loot everything you can, especially when doing side quests. It’s not necessarily worthwhile to do every side quest on Dark mode, since many side quests just don’t offer enough payoff to be worth the aggravation involved in beating them. Recommended side quests are listed here, based on how much cash they award you or how well they synergize with the needs of crafting your current set.
Relevant Quests
- Malena
- The Nekker Contract
- The Endrega Contract
- Fight Club
- Bring It On
Blasphemer’s Set Details
Chapter 1: The Blasphemer’s Set
| Piece | Component 1 | Component 2 | Component 3 | Component 4 | Component 5 | Diagram Cost | Craft Cost | Weight | Value | Effect 1 | Effect 2 | Effect 3 | Effect 4 | Effect 5 | Effect 6 | Effect 7 |
|---|---|---|---|---|---|---|---|---|---|---|---|---|---|---|---|---|
| Ultimatum | 12x Iron Ore | 2x Hardened Leather | 2x Timber | 1x Diamond Dust | 5x Nekker Teeth | 501 | 125 | 5 | 37 | Damage: 22-28 | Rune Slots: 1 | Bleeding +30% | Chance of instant kill +2% | |||
| Anathema | 4x Iron Ore | 12x Silver Ore | 3x Timber | 2x Yellow Meteorite Ore | 4x Nekker Teeth | 501 | 135 | 6 | 29 | Damage: 20-25 | Rune Slots: 0 | Bleeding +15% | Chance of instant kill +1% | |||
| Trousers | 4x Hardened Leather | 4x Studded Leather | 6x Robust Cloth | 4x Endrega Hide | 164 | 40 | 5 | 21 | Armor: +2 | Vitality +5 | ||||||
| Gauntlets | 6x Hardened Leather | 2x Robust Cloth | 4x Twine | 2x Endrega Venom | 201 | 40 | 1 | 59 | Armor: +2 | Maximum Load +15 | Resistance to Poisoning +10% | |||||
| Boots | 4x Hardened Leather | 2x Studded Leather | 6x Robust Cloth | 1x Endrega Hide | 4x Hardened Leather | 126 | 25 | 2 | 6 | Armor: +1 | Reduction of damage from magic +5% | Resistance to Bleeding +5% | ||||
| Armor | 14x Studded Leather | 8x Nekker Claws | 4x Amethyst Dust | 4x Diamond Dust | 6x Robust Cloth | 1001 | 150 | 22 | 143 | Armor: +15 | Vitality +40 | Reduction of damage from magic +22% | Resistance to Incineration +85% | Resistance to Bleeding +30% | Resistance to Poisoning +30% | Damage bonus on Signs +5 |
| Merchant: Berthold Candeleria | ||||||||||||||||
| Component | Total Cost |
|---|---|
| All Blasphemer’s Set Diagrams | 2,494 |
| All Crafting Costs | 515 |
| Robust Cloth (20) | 640 |
| Studded Leather (20) | 780 |
| Hardened Leather (16) | 416 |
| Twine (4) | 56 |
| Amethyst Dust (4) | 88 |
| Diamond Dust (5) | 145 |
| Endrega Hide (5) | * |
| Endrega Venom (2) | * |
| Iron Ore (16) | 256 |
| Silver Ore (12) | 540 |
| Timber (5) | 35 |
| Nekker Teeth (9) | * |
| Nekker Claws (8) | * |
| Yellow Meteorite Ore (2) | ** |
| Grand Total | 5,965 |
| * Item cannot be purchased, it can only be obtained by killing the relevant species of monster. | |
| ** Item cannot be purchased, it must be crafted,or found as random loot. | |
Crafting Notes
- Twine, amethyst dust, diamond dust, iron ore, and timber occur commonly as random loot drops.
- Robust cloth, studded leather, hardened leather, silver ore, and yellow meteorite ore occur rarely as random loot drops.
- Endrega hide and endrega venom can only be obtained by slaying endregas.
- Nekker teeth and nekker claws can only be obtained by slaying nekkers.
- Amethyst dust, robust cloth, studded leather, and hardened leather can be crafted using easily obtained materials.
If you get unlucky with random loot and have to craft yellow meteorite ore, it can raise the cost of obtaining the silver sword Anathema substantially. The diagram for yellow meteorite ore is relatively costly and also requires costly materials, like a sun rune and moon rune, that cannot be easily crafted at this point in the game. Note that you probably can’t get the cost reduction effect of Haggling while you prepare the Blasphemer’s set. Ideally you should have this set assembled before you battle the kayran, but Haggling isn’t unlocked until after you collect your reward from the merchants.
Chapter 2: The Oathbreaker’s Set
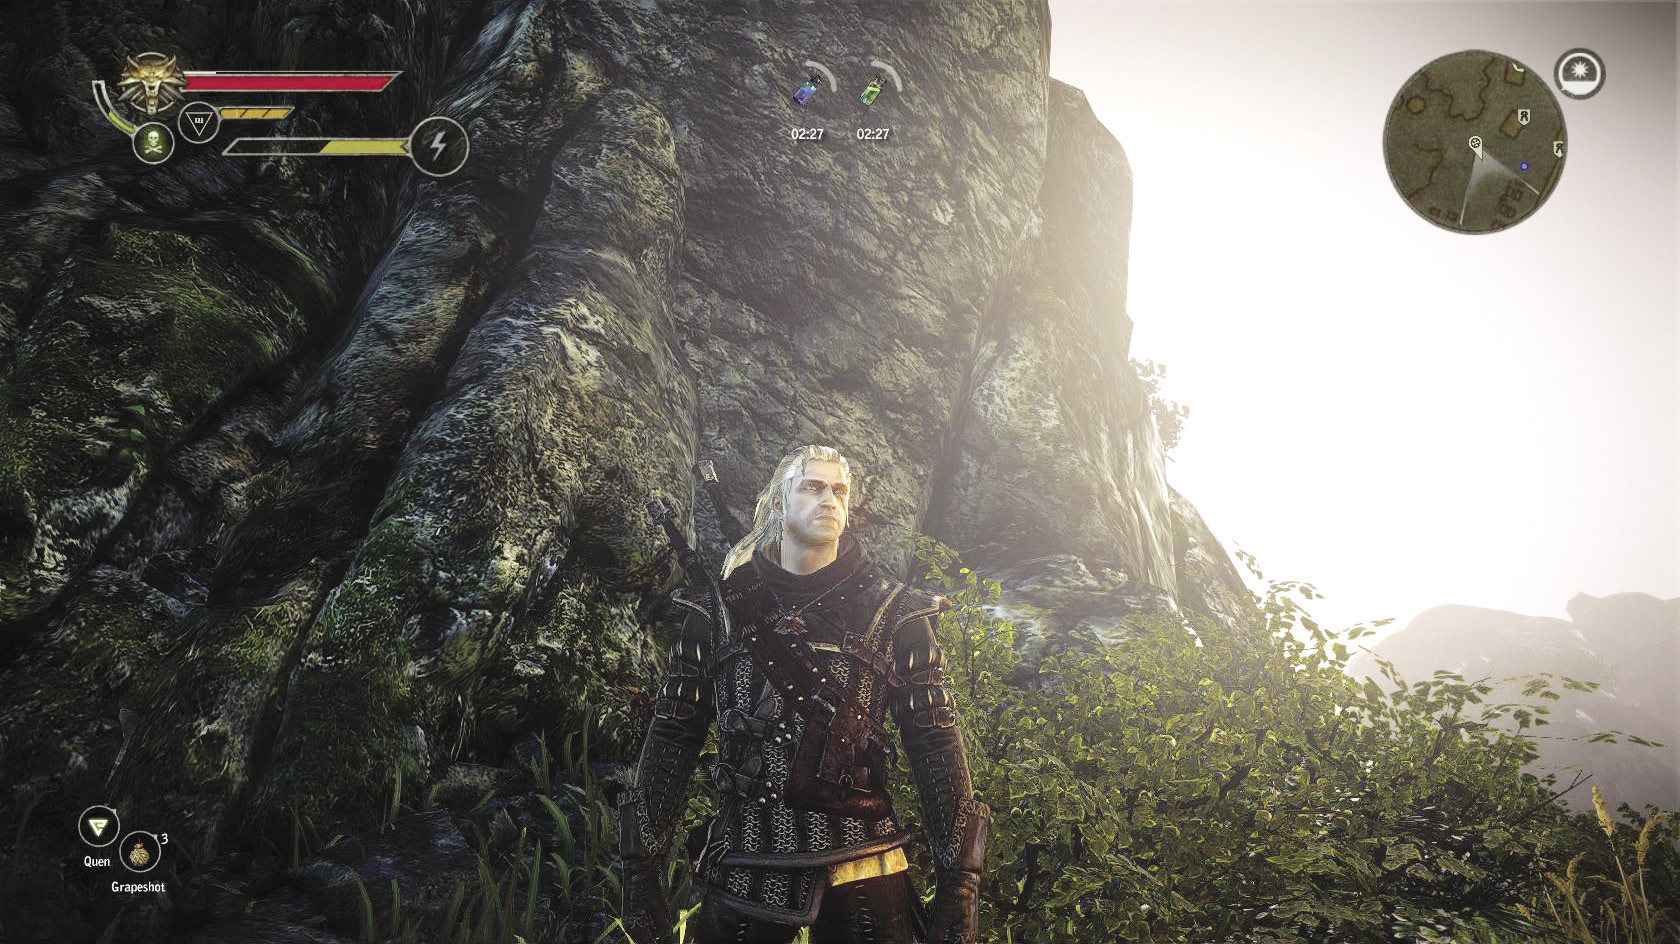
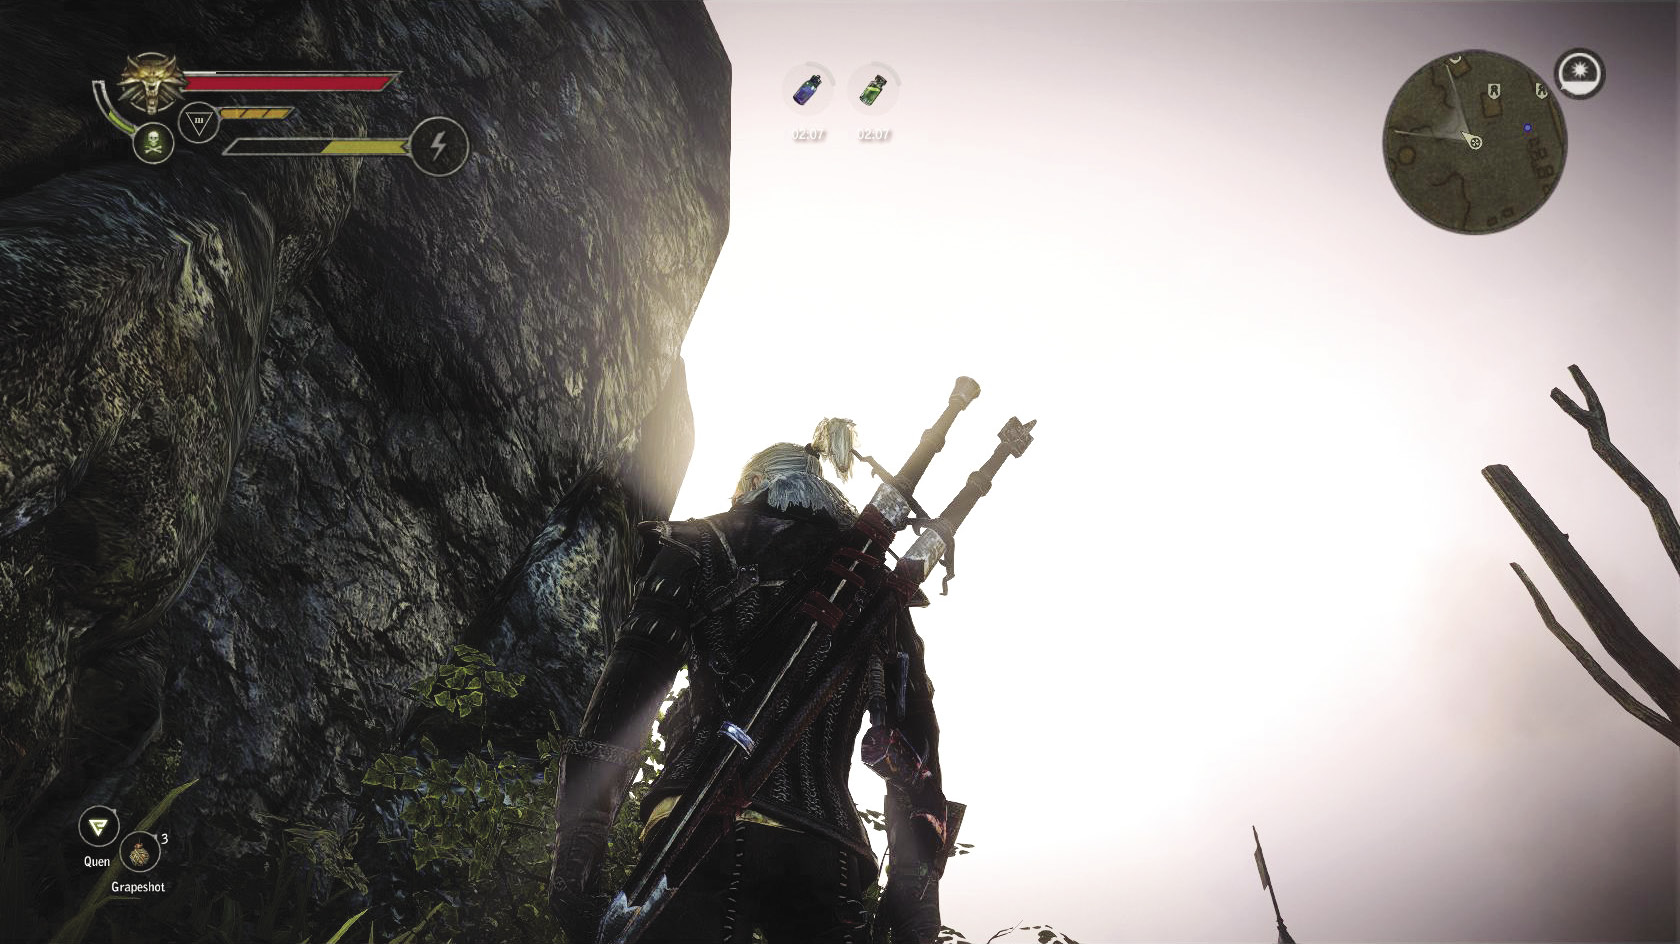
Total Passive Bonuses When Wearing Complete Set
| Armor | +38 |
| Vitality | +75 |
| Geralt’s Maximum Load | +70 |
| Resistance to Bleeding | +60% |
| Resistance to Poison | +65% |
| Resistance to Incineration | +50% |
| Magic Damage Reduction | +43% |
| Bonus Sign Damage | +8 |
Grinding for Orens
If you chose to side with Roche, making money in and around the Kaedweni Camp is fairly easy. If you continue with the arm-wrestling quests, the final contender, Adam Pangratt, can be a great way to make money. It may be slightly boring and tedious, but you can win 200 orens per win while arm-wrestling him. That said, be wary of that campfire he always sits around. On Dark mode, its tendency to set you on fire during dialogue sequences can be deadly.
In Vergen, you can’t grind orens through arm-wrestling, but you can find lots of valuable loot stuffed into the city’s nooks and crannies. You can net 260 orens at a time by entering the fistfighting circuit over and over again. While this can be tedious, it’s one of the safest ways to make money in this particular chapter.
A somewhat more entertaining way to earn money on either route is to kill large numbers of harpies. On Roche’s route, you can take advantage of the harpy spawn next to the Visionary’s house. Once you kill them, enter the circle of candles outside the Visionary’s house. Wait for a moment and then move back out of the circle. The harpies should respawn immediately. Harpy feathers sell for an awesome 9 orens apiece, and every other harpy piece sells for 4 orens. They also drop lots of other things, including mutagens, so it is very worthwhile.
On Iorveth’s route, you can use a similar technique to farm harpies. Head out to the Old Quarry, before you’ve completed The Harpy Contract. As you follow the winding path down to the bottom of the quarry, you encounter a large number of harpies. Once you reach the bottom, find a safe place (by the entrance to the harpy lair is a good spot) and meditate for 12 hours. The harpies should have respawned by then, so you can fight them all the way back up the path again. Simply repeat until you have all of the orens you need.
Relevant Quests
- Bring It On: Kaedweni Camp
- One on One: Vergen
- The Path to Vision (Roche)
- The Harpy Contract (Iorveth)
- The Queen Harpy Contract (Iorveth)
Oathbreaker’s Set Details
Chapter 2: The Oathbreaker’s Set
| Piece | Component 1 | Component 2 | Component 3 | Component 4 | Component 5 | Diagram Cost | Craft Cost | Weight | Value | Effect 1 | Effect 2 | Effect 3 | Effect 4 | Effect 5 | Effect 6 | Effect 7 |
|---|---|---|---|---|---|---|---|---|---|---|---|---|---|---|---|---|
| Black Unicorn | 14x Iron Ore | 2x Hardened Leather | 3x Timber | 2x Blue Meteorite Ore | 5x Amethyst Dust | 789 | 175 | 5 | 41 | Damage: 32-45 | Bleeding +20% | Vigor regeneration in combat +10% | ||||
| Virgin | 2x Iron Ore | 14x Silver Ore | 2x Timber | 2x fDiamond Dust | 2x Essence of Death | 939 | 200 | 6 | 51 | Damage: 35-45 | Poison +20% | Chance of instant kill +2% | ||||
| Trousers | 6x Hardened Leather | 6x Harpy Feathers | 4x Robust Cloth | 4x Twine | 689 | 135 | 5 | 46 | Armor: +3 | Vitality +15 | ||||||
| Gauntlets | 6x Hardened Leather | 2x Robust Cloth | 4x Twine | 2x Amethyst Dust | 251 | 60 | 1 | 78 | Armor: +3 | Resistance to Poisoning +15% | Geralt's maximum load +20 | |||||
| Boots | 2x Studded Leather | 4x Hardened Leather | 2x Robust Cloth | 2x Essence of Death | 251 | 70 | 2 | 12 | Armor: +2 | Reduction of damage from magic +10% | Resistance to Bleeding +10% | |||||
| Armor | 18x Studded Leather | 1x Draugir Armor Fragment | 2x Twine | 1x Diamond Dust | 12x Robust Cloth | 1876 | 550 | 22 | 315 | Armor: +30 | Reduction of damage from magic +33% | Resistance to Incineration +50% | Resistance to Bleeding +50% | Resistance to Poisoning +50% | Damage Bonus on Signs +8 | Geralt's maximum load +50 |
| Merchant: Lasota (Roche) | ||||||||||||||||
| Merchant: Mael (Iorveth) | ||||||||||||||||
| Component | Total Cost |
|---|---|
| All Oathbreaker’s Set Diagrams | 4,795 |
| All Crafting Costs | 1,190 |
| Robust Cloth (20) | 640 |
| Studded Leather (20) | 780 |
| Hardened Leather (18 | 468 |
| Twine (10) | 140 |
| Amethyst Dust (11) | 242 |
| Diamond Dust (4) | 116 |
| Draugir Armor Fragment (1) | * |
| Essence of Death (4) | 756 |
| Iron Ore (16) | 256 |
| Silver Ore (14) | 630 |
| Timber (5) | 35 |
| Harpy Feather (6) | * |
| Blue Meteorite Ore (2) | 52 |
| Grand Total | 10,048 |
| * Item cannot be purchased, it can only be obtained by killing the relevant species of monster. | |
Crafting Notes
- Twine, amethyst dust, diamond dust, iron ore, and timber occur commonly as random loot drops.
- Robust cloth, studded leather, hardened leather, silver ore, and blue meteorite ore occur rarely as random loot drops.
- A draugir armor fragment can only be obtained by slaying a draugir or the unusual bullvore.
- Harpy feathers can only be obtained by slaying harpies.
- Amethyst dust, robust cloth, studded leather, and hardened leather can be crafted using easily obtained materials.
The big crafting material challenge in Chapter 2 is obtaining a draugir armor fragment. On Iorveth’s route, you can only obtain them during the quests Where Is Triss Merigold? and Prelude to War: Aedirn. On Roche’s route, you can only obtain them during Prelude to War: Kaedwen and during a curious sequence in Hatred Symbolized where, in the Tunnel of the Founders beneath Vergen, you can kill an unusual bullvore that yields draugir drops (and a bullvore brain) upon death. Try to pick up an armor fragment during one of the Prologue quests if you can, since that means you can create the set much earlier in the chapter. After you’ve defeated one of the draugirs, let the NPCs distract the other while you pick up the first draugir’s drops. You may need to sheathe your sword to get the prompt to pick up the draugir’s loot to appear.
While you can purchase essences of death in this chapter (from Felicia Cori on Iorveth’s route or Myron on Roche’s route), it is much cheaper to slay a handful of wraiths and get them instead. You have ample opportunities to slay wraiths during the quest Death Symbolized on both routes. On Roche’s route you can get infinite wraiths to spawn in the hidden basement of Malget’s house by lighting the candles in the incorrect order. On Iorveth’s route, you can just go into the burned village at night and wait for wraiths to spawn, or go fight knight wraiths with the Scoia’tael unit that camps out at the edge of the cursed battlefield.
Blue meteorite ore can also be a problem material for crafting both the Oathbreaker’s set in this chapter and the Kinslayer’s set in the next chapter. You can purchase blue meteorite ore on Roche’s route from Lasota. On Iorveth’s route you can purchase it from Thorak (while he’s alive) or Haggard. You also have the option of picking up the diagram for blue meteorite ore on that route from Earso. That said, crafting blue meteorite ore can actually be much more expensive than just buying it, as the recipe requires an earth rune and a moon rune. This is a material that you definitely want to send into storage for future use whenever you obtain it.
Chapter 3: The Kinslayer’s Set
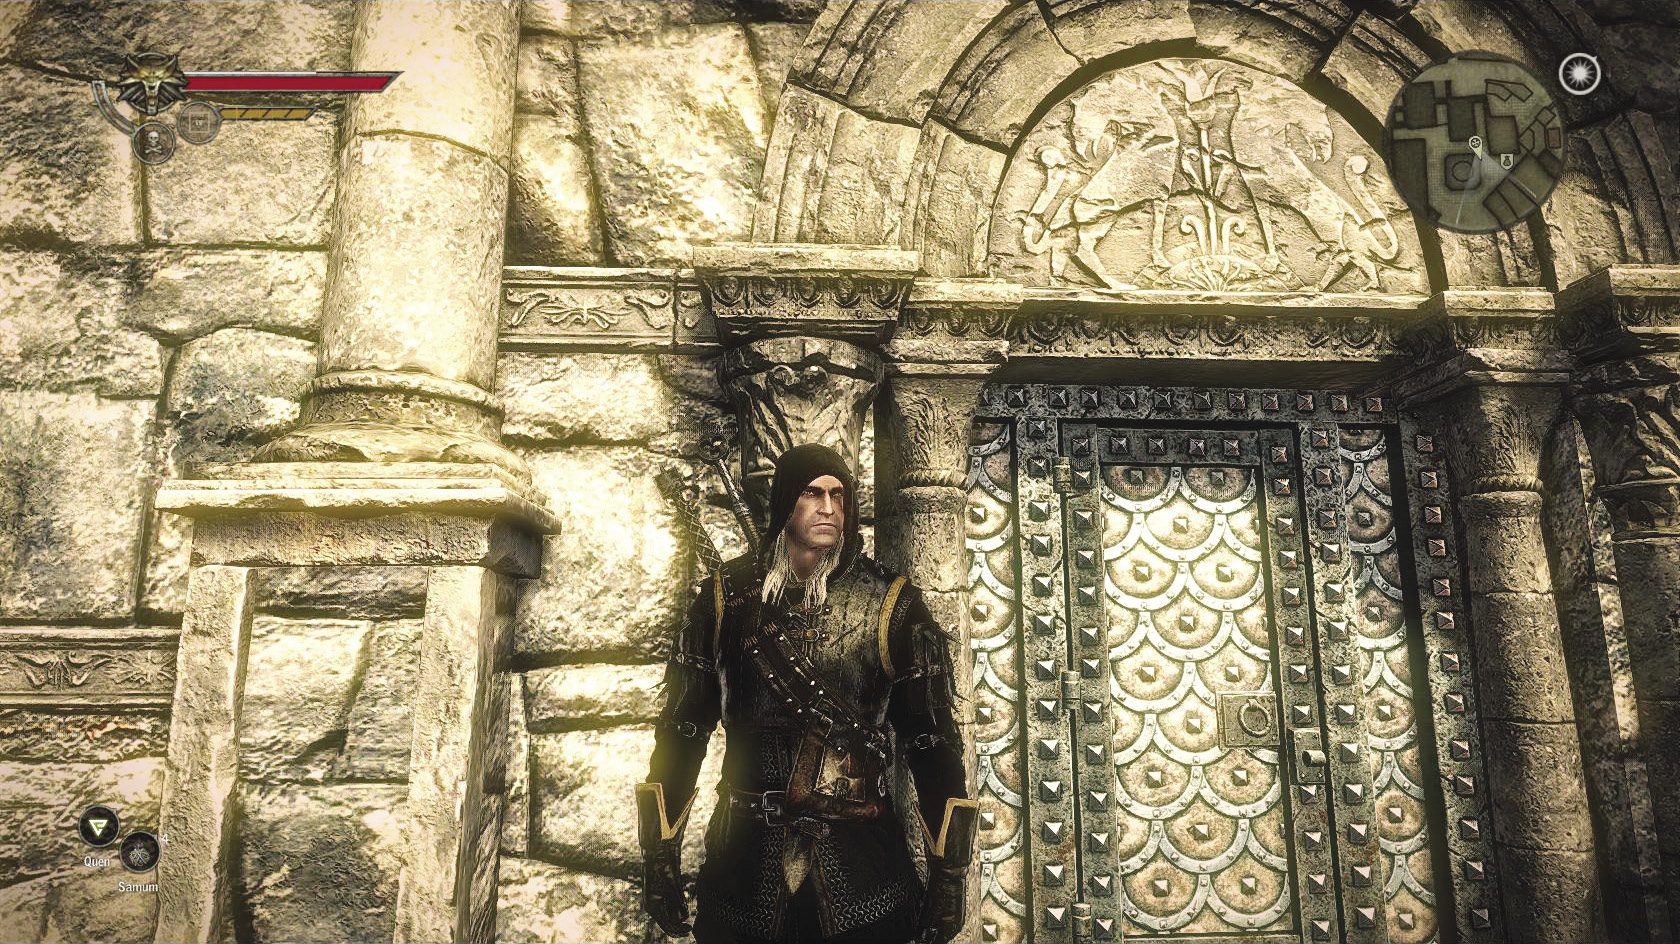
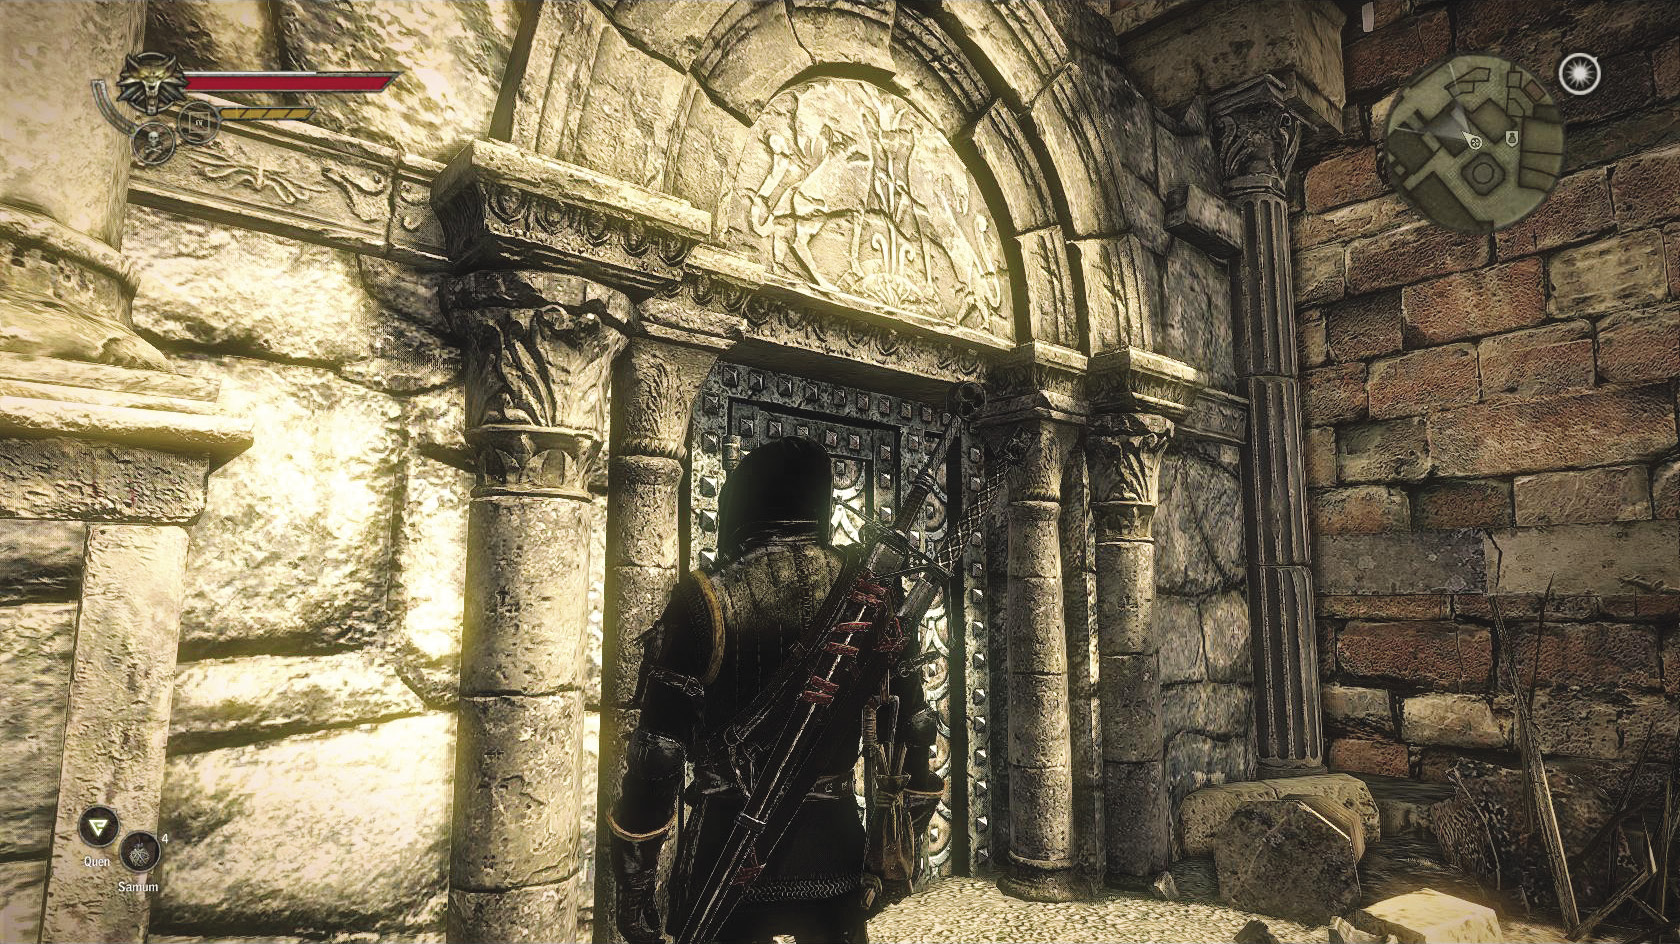
Total Passive Bonuses When Wearing Complete Set
| Armor | +51 |
| Vitality | +125 |
| Geralt’s Maximum Load | +25 |
| Resistance to Bleeding | +85% |
| Resistance to Poison | +90% |
| Resistance to Incineration | +70% |
| Magic Damage Reduction | +55% |
| Bonus Sign Damage | +10 |
| Vitality Regeneration | +2 |
Grinding for Orens
Making the Kinslayer’s set in Chapter 3 is extremely challenging, since it’s very difficult to amass money in this chapter. There aren’t any especially lucrative mini-games to play. You need to either enter Chapter 3 with all the money you need farmed earlier in Chapter 2, or you have to use the harpy spawn near the dice players’ building. This harpy spawn is a pale shadow of how lucrative the spawns in Chapter 2 are. You can try farming the gargoyle spawns in Loc Muinne instead of the harpies, but the gargoyles are more dangerous and tend to drop fewer items upon death.
Gargoyle drops are more valuable than harpy drops, though, and you need some gargoyle drops to make the Kinslayer’s set anyway. It all really comes down to how easy it is for your build to kill gargoyles repeatedly. If you do decide to farm gargoyles, then the best place to repeatedly kill them is near the amphitheater. This space is open with lots of room to maneuver, at least compared to the other two gargoyle courtyards. You usually encounter three to five gargoyles here. Be careful not to finish The Gargoyle Contract or solve the rune puzzle beneath a courtyard you wish to farm, as this removes the gargoyles.
Both of these techniques require you to meditate for 12 hours to trigger the respawn, though the harpies can sometimes be reset with only six hours of meditation. Kill a group, wait in a safe place for 12 hours, and then they should come back.
Relevant Quests
- The Gargoyle Contract
Kinslayer’s Set Details
Chapter 3: The Kinslayer’s Set
| Piece | Component 1 | Component 2 | Component 3 | Component 4 | Component 5 | Diagram Cost | Craft Cost | Weight | Value | Effect 1 | Effect 2 | Effect 3 | Effect 4 | Effect 5 | Effect 6 | Effect 7 |
|---|---|---|---|---|---|---|---|---|---|---|---|---|---|---|---|---|
| Mourner | 16x Iron Ore | 4x Leather | 2x Timber | 3x Gargoyle Dust | 2x Essence of Death | 789 | 175 | 5 | 41 | Damage: 52-60 | Bleeding +40% | Chance of instant kill +3% | ||||
| Weeper | 2x Iron Ore | 14x Silver Ore | 2x Timber | 2x Blue Meteorite Ore | 4x Elemental Stone | 939 | 200 | 6 | 51 | Damage: 50-55 | Poison +30% | Chance of instant kill +3% | ||||
| Trousers | 4x Twine | 4x Studded Leather | 2x Robust Cloth | 1x Dragon Scales | 1x Troll Tongue | 689 | 135 | 5 | 46 | Armor: +4 | Vitality +40 | |||||
| Gauntlets | 6x Hardened Leather | 4x Robust Cloth | 2x Twine | 2x Gargoyle Dust | 2x Harpy Feathers | 251 | 60 | 1 | 78 | Armor: +4 | Resistance to Poisoning +20% | Geralt’s maximum load +25 | ||||
| Boots | 6x Hardened Leather | 4x Studded Leather | 4x Gargoyle Dust | 2x Robust Cloth | 251 | 70 | 2 | 12 | Armor: +3 | Reduction of damage from magic +15% | Resistance to Bleeding +15% | |||||
| Armor | 16x Hardened Leather | 18x Robust Cloth | 6x Twine | 2x Harpy Saliva | 6x Harpy Feathers | 1876 | 550 | 22 | 315 | Armor: +40 | Reduction of damage from magic +40% | Resistance to Incineration +70% | Resistance to Bleeding +70% | Resistance to Poisoning +70% | Vitality regeneration +2 | Damage bonus on Signs +10 |
| Merchant: Bras of Ban Ard | ||||||||||||||||
| Component | Total Cost |
|---|---|
| All Kinslayer’s Set Diagrams | 7,882 |
| All Crafting Costs | 1,625 |
| Robust Cloth (26) | 832 |
| Leather (4) | 80 |
| Studded Leather (8) | 312 |
| Hardened Leather (28) | 728 |
| Twine (12) | 168 |
| Gargoyle Dust (9) | * |
| Troll Tongue (1) | 439 |
| Dragon Scales (1) | ** |
| Essence of Death (2) | 298 |
| Iron Ore (18) | 288 |
| Silver Ore (14) | 630 |
| Timber (4) | 28 |
| Harpy Feather (8) | * |
| Blue Meteorite Ore (2) | 52 |
| Elemental Stone (4) | * |
| Harpy Saliva (2) | * |
| Grand Total | 13,310 |
| * Item cannot be purchased, it can only be obtained by killing the relevant species of monster. | |
| ** Item must be looted from either the Temerian camp (Roche’s route) or Philippa Eilhart’s house (Iorveth’s route). | |
Crafting Notes
- Twine, iron ore, leather, and timber occur commonly as random loot drops.
- Robust cloth, studded leather, hardened leather, silver ore, and blue meteorite ore occur rarely as random loot drops.
- Essences of death can only be purchased in this chapter. In previous chapters, they could be obtained by slaying wraiths, bruxae, or knight wraiths.
- A troll tongue can only be purchased in this chapter. In previous chapters, one could be obtained by slaying a troll or allying with the troll in the Chapter 1 quest Troll Trouble.
- Harpy feathers and harpy saliva can only be obtained by slaying harpies.
- Gargoyle dust and elemental stones can only be obtained by slaying gargoyles.
- Dragon scales can only be looted from specific locations. On Roche’s route, you can get them from the Temerian camp. On Iorveth’s route, you can get them from Philippa Eilhart’s house.
- Robust cloth, studded leather, leather, elemental stones, and hardened leather can be crafted using easily obtained materials.
There are two main challenges to overcome when crafting the Kinslayer’s set. One of the most significant is the need to carry certain crafting materials forward from prior chapters in order to save orens. It is easy to obtain the troll tongue and essence of death required in earlier chapters, but in this chapter they can only be purchased.
The other main challenge is obtaining the dragon scales. On Roche’s route, you simply need to remember to visit the Temerian camp. On Iorveth’s route, you must choose to pursue the main quest The Spellbreaker instead of Where Is Triss Merigold? at the beginning of the chapter. If you do not pursue The Spellbreaker, then you can never enter Philippa Eilhart’s house and never obtain the dragon scales. It’s worth noting that you can also get dragon scales by defeating the Operator, but it’s very unlikely you’ll pull this off in Dark mode without a complete Kinslayer’s set.