
Taming the Wilds! Mastering Minecraft 4th Edition Guide You Can Do Anything with a Little Practice
The Nether
The Nether is a world of Redstone, fire, and strange beasts. It’s possible to enter this dimension after gathering several special materials from the Overworld. After you make a Nether Portal, it’s possible to travel back and forth between these dimensions at will.

Monsters from the Nether
- Blazes
- Ghasts
- Magma Cubes
- Wither Skeletons
- Zombie Pigmen
Resources in the Nether
- Glowstone
- Nether Quartz
- Nether Wart
- Netherrack
- Soul Sand
Creating a Nether Portal
To access the Nether, you need to construct a Nether Portal. To do this, your character must have access to a source of fire (Flint and Steel), Diamonds (for a Diamond Pick), and Obsidian. Once you have access to all of these materials, mine 14 blocks of Obsidian and bring them to your base. Construct a Nether Portal by placing four blocks of Obsidian in a line on the ground. Build the two ends into pillars of Obsidian that are five blocks high, and then fill in the gap on top with two connecting blocks. Light the inner hollow space of this Obsidian frame—use your Flint and Steel to do this.
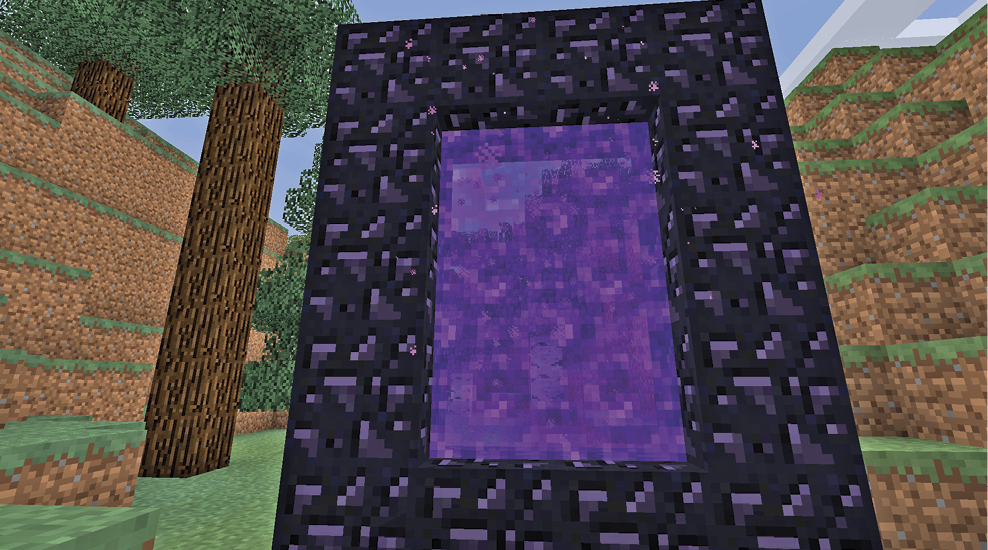
Now that the Nether Portal is active, you can jump into it and wait for the teleportation spell to zip you between worlds. Don’t jump out from the Portal on the other side until you make sure you won’t fall into Lava or suffer any other ill effects.
What to Bring into the Nether
The Nether is one of the most dangerous places in Minecraft. Light is dim, Lava is plentiful and flows faster than usual, and monsters are deadlier than in the Overworld. It’s easy to die, so take only what you need to survive. Don’t bring items you can’t afford to lose.
Diamond tools are not required in the Nether. You don’t need to cut through any hard materials, so Iron Pickaxes are sufficient. Bring those, some Swords, a Bow, Arrows, Wood and Cobblestone (neither of which is found naturally in the Nether), food, Torches, Flint and Steel, and anything else that might seem useful. The weapons are necessary to fight the Nether’s monsters, and some items are standard equipment for any mining or exploration trip. Bring Flint and Steel on any Nether trip; if your Nether Portal gets snuffed out over there (for example, by getting hit by a Ghast’s fireball), you have to relight it.
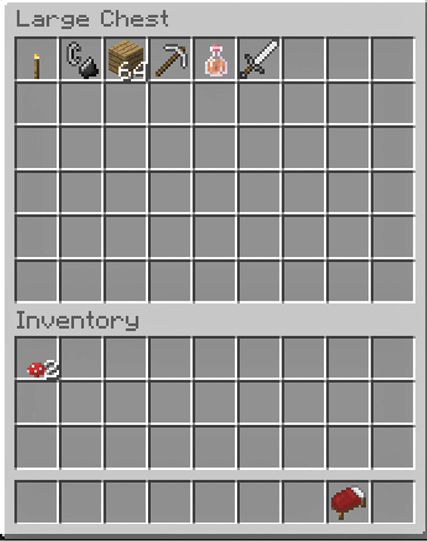
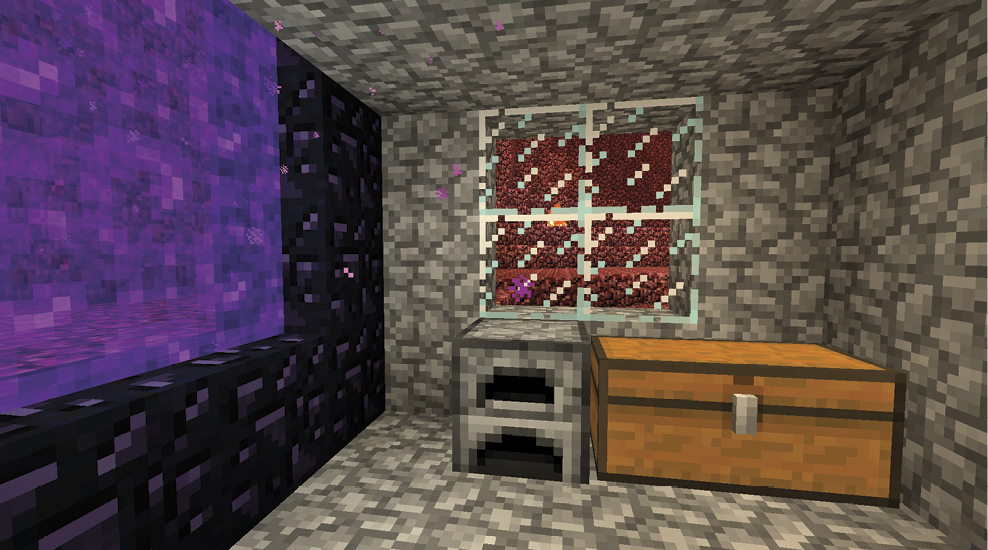
When you arrive, make a central base as close to your Portal as possible. Wall it off with Cobblestone from back home. Cobblestone doesn’t burn; Netherrack, the natural stone of this area, does! Any long-term structure you build in the Nether should be made from heavier, non-flammable materials.
Your base needs to have a Crafting Table, Furnace, Chests, and preferably an Ender Chest once you can craft those. Put your best loot into the Chests each time you take a break to ensure you don’t lose anything if your character falls or tunnels into Lava. In the Nether, this is not a rare occurrence.
New Rules Compared to the Overworld
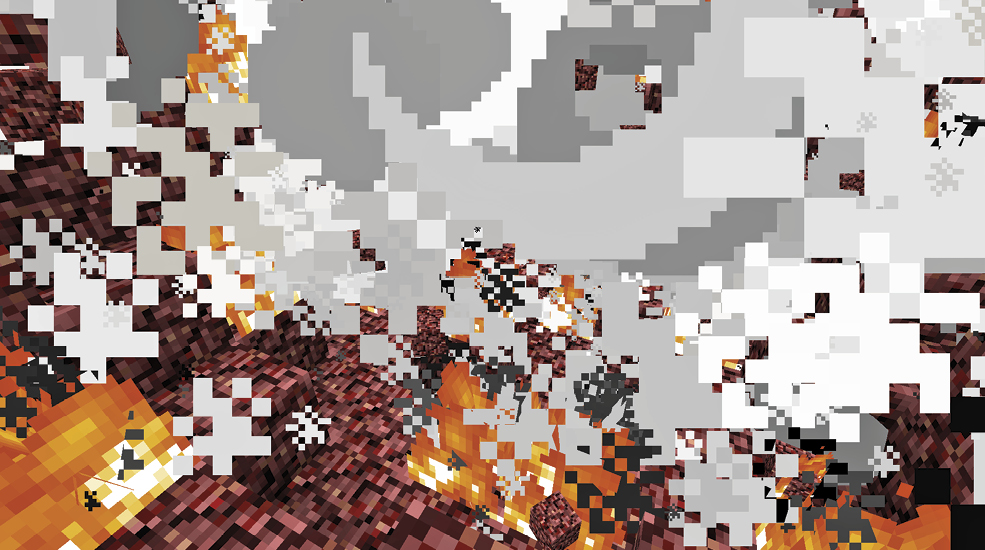
You can’t use water in the Nether. It boils away instantly, so that’s pretty useless.
Beds aren’t great to bring, either, unless you plan to use them as makeshift TNT. When you try to sleep in a Bed, the whole thing explodes. It’s better to avoid the situation entirely unless you’re interested in blowing things up with a piece of bedroom furniture.
What to Do in the Nether
Besides fun and exploration, you can accomplish several goals when you get to the Nether. Harvest Netherrack, Nether Quartz, Soul Sand, and Glowstone as soon as possible. These are fairly common materials, and you can’t find them anywhere back home. Collect an ample supply of each.
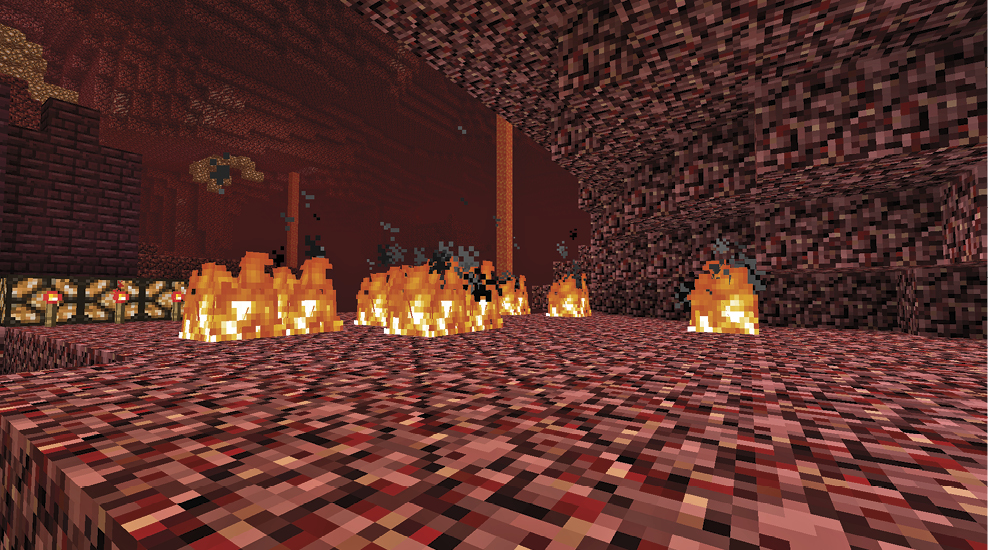
Netherrack is the least useful. It burns forever, so you can make cool fire pits and fireplaces with it, but that’s about it. The stone is way too ugly to be useful for nice bases or homes.
Nether Quartz is lovely. The blocks you make with it are really cool-looking, though it takes a good while to farm enough Nether Quartz to make large buildings. We recommend making a wizard’s tower out of Nether Quartz. So cool!
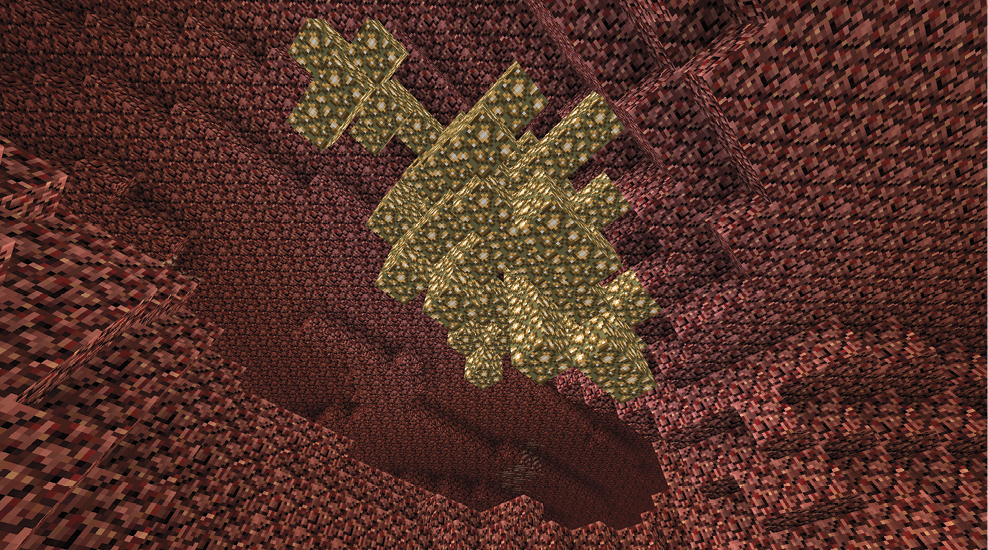
Glowstone is a bright material used to create blocks that are better than Torches; they work underwater and shine quite clearly even from long distances. Glowstone breaks into chunks when you mine it, so a Pickaxe with Silk Touch is useful, though not required.
Soul Sand is hard to walk on. It’s fun for making traps, slowing other players and monsters, and for a few specific tasks, like summoning the Wither. Look for Soul Sand when you travel, and get at least a partial stack of it.
Locating and Assaulting Nether Fortresses

Nether Fortresses contain even more valuable materials than the Nether itself. Blaze Rods and Nether Wart are both amazingly useful, and you won’t find either of these without going to a Nether Fortress.
Search for Nether Fortresses by walking east or west from your starting point. Nether Fortresses are aligned north to south and are built along lines that run the entire length of the Nether. Once you bump into a Nether Fortress, you’re set! Additional forts are located north and south from there, so exploration isn’t as challenging.
Additionally, Nether Fortresses are large enough that you won’t usually wander past them. They’re made of compressed Netherrack, called Nether Brick. Their Fences, Stairs, and sundry monsters make them major landmarks.
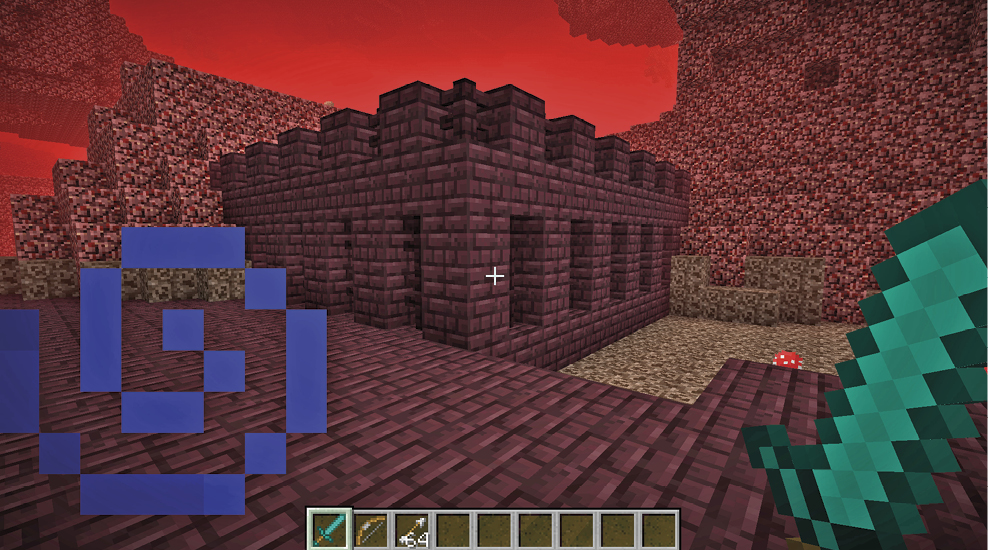
Fight carefully through Nether Fortresses to snag Nether Wart from small growing areas near some of the Stairs, and collect material from slain enemies. Wither Skeletons drop Wither Skeleton Skulls if you’re especially lucky. You need three of them to summon a special boss monster, and it takes a long time to gather them.
Ranged weapons are a must in these forts. Blazes have ranged attacks, and Wither Skeletons can too if they pick up a Bow. Also, some regular Skeletons spawn in Nether Fortresses, so be on the lookout for them.
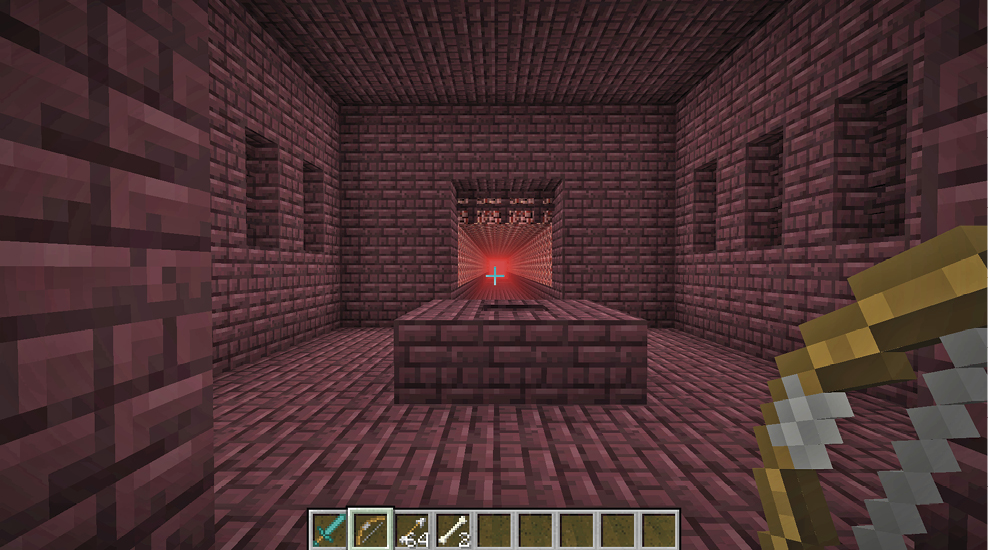
You’ll find Magma Cubes near the base of these areas, and they too drop useful items. Fight them at range to avoid damage, or go in for melee attacks if you’re well-armored and feeling lucky.
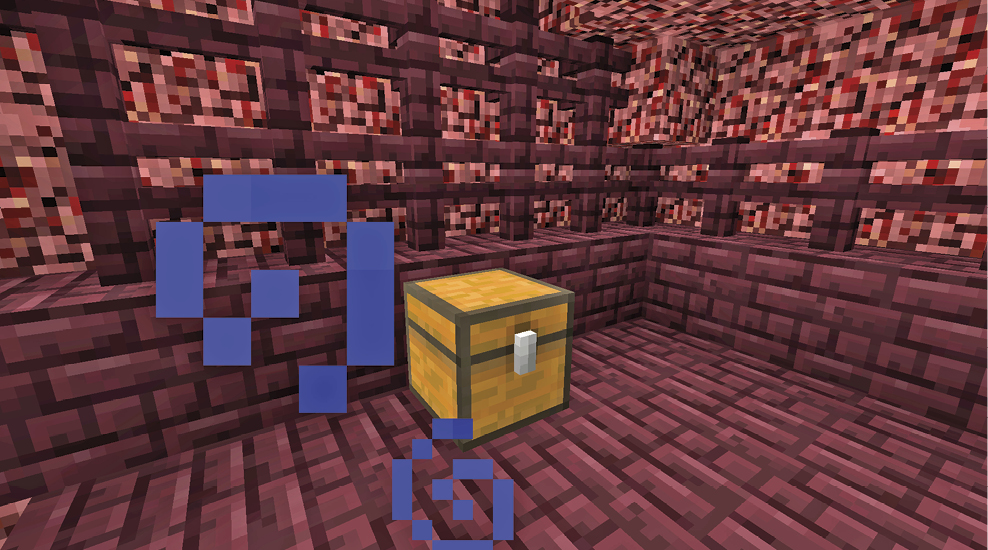
Not all Nether Fortresses have gardens of Nether Wart, but even the ones that don’t often contain Chests of loot. These can yield Diamonds, pieces of metal, Gold equipment, more Nether Wart (yay!), Saddles, and Horse Armor. Because of this, you can collect your first Nether Wart and start a garden of your own by searching carefully for Chests and growing areas along the steps.
Destroying a Wither
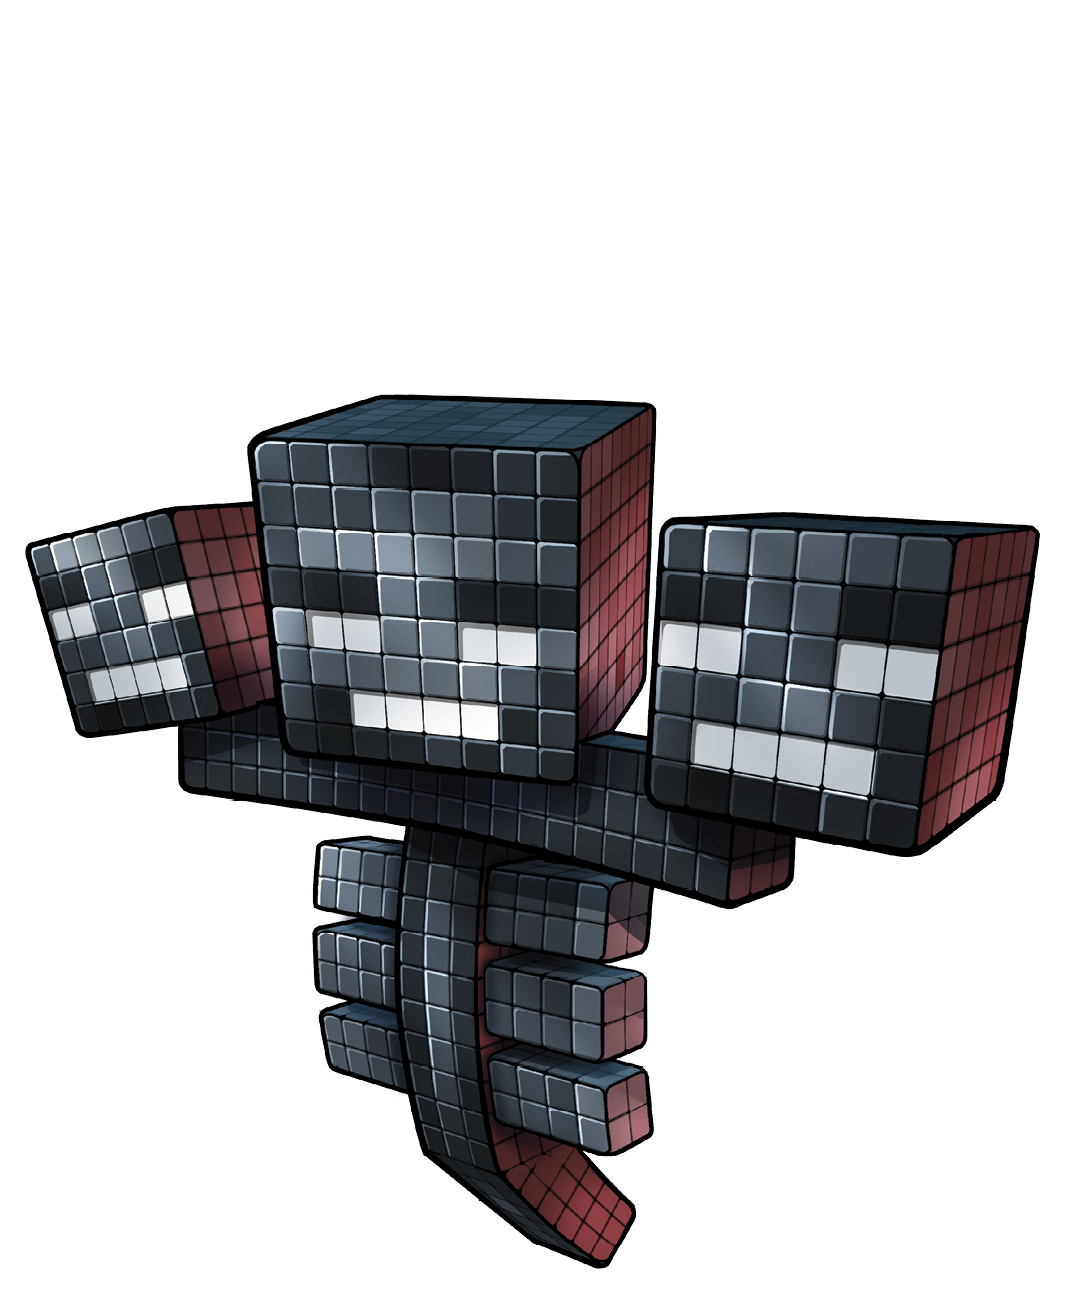
Once you hunt enough Wither Skeletons to get the three Wither Skeleton Skulls you need, bring them back to the Overworld with a supply of Soul Sand.
Choose a spot for battle in advance. Don’t do this near your base, because the Wither’s explosive attacks will wreck the whole area. Underground areas are a bit easier, because you won’t have to navigate massive Dirt chasms and such while racing back toward the Wither.
Use a Potion of Night Vision before the battle. Torches don’t survive the Wither’s explosions, and you won’t want to fight in pitch-darkness.
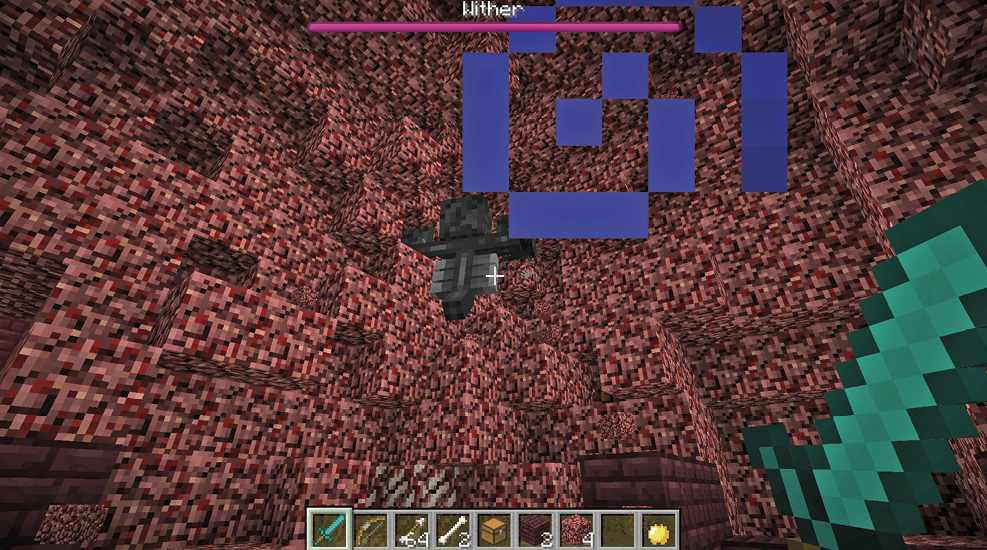
Also, bring the following useful items: a Diamond Sword (with Smite), Splash Potions of Healing, Strength Potions, an enchanted Bow (with Power), Diamond armor (Protection IV is almost a must), and an Enchanted Golden Apple.
To summon your Wither, build a small altar of Soul Sand—one block on the bottom, three horizontal blocks stacked above it. Then place the three skulls on top of the altar. This brings the Wither into being. Run! Immediately!
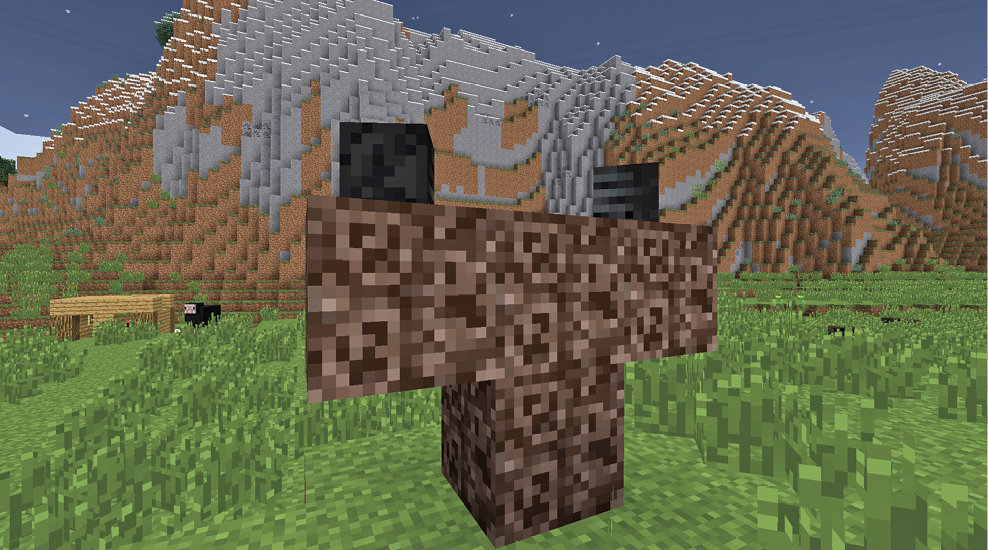
The Wither charges to full health and detonates the area around the altar when it reaches full power. You don’t want to be around for this blast.
After you hear the strange explosion, return for battle. Use your Bow to reduce the Wither to half health. This isn’t too hard, because the Wither’s ranged attacks take a moment to reach you, so ranged combat gives you an advantage. Dodge the explosive skulls the Wither sends your way, and fire back as often as you can.
Drink potions to restore health if you get behind, and then use your Enchanted Golden Apple and Strength Potions when it’s time to go for melee attacks. Withers become immune to ranged damage at half health, so you have to finish them with your blade.
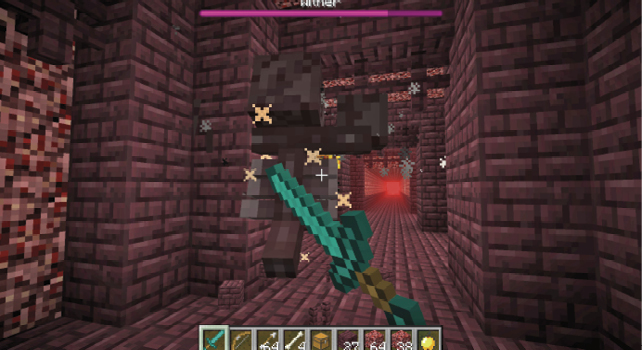
Once you’re buffed with the Enchanted Golden Apple’s and Strength Potions’ positive effects, charge toward the Wither and go for broke. Attack aggressively and kill it while the Apple’s regenerative effects are still working.
The Nether Star that drops is required to make Beacons, and these offer really neat bonuses for your character and any friends. Plus, you can get multiple achievements by going to the Nether, farming materials, summoning a Wither, and killing it. It’s all worthwhile!
Light a Beacon
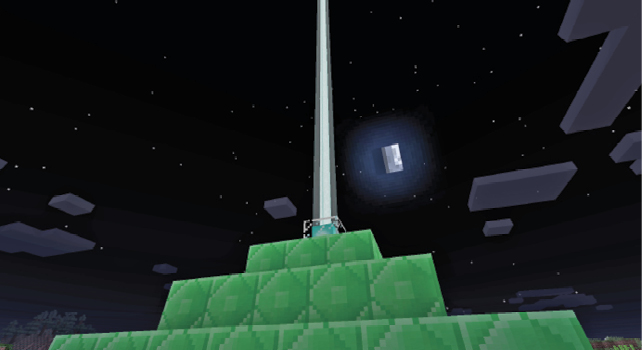
Once you have a Nether Star, return to your base and craft a huge pyramid of blocks. The largest effective pyramid has to contain 164 blocks of Iron, Gold, or Diamond. Each block costs nine Ingots of the material in question, so it’s quite a daunting amount of resources to gather.
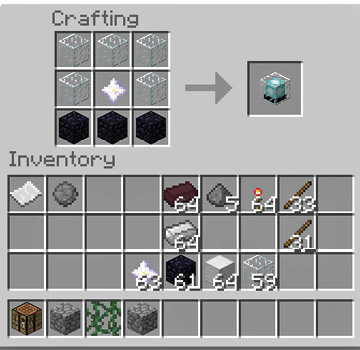
You can always construct your pyramid in tiers. The first level only needs to have the Beacon on top and then nine blocks in a square beneath it.
That’s 81 Ingots of material, so it isn’t too bad. Once you have that, save up more resources until you can craft the second stage. Go on from there so you don’t have to wait until you have the entire thing ready before you get the perks of an active Beacon.
You can cluster multiple Beacons together by placing them on a large pyramid. In the end, this saves on space and materials by quite a large margin. A 2x2 top with four Beacons, with a 4x4 tier beneath it, is much more useful than a single large pyramid with one Beacon.
What Do Beacons Do?
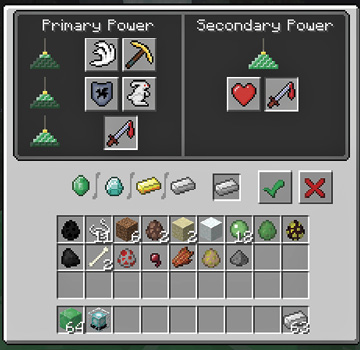
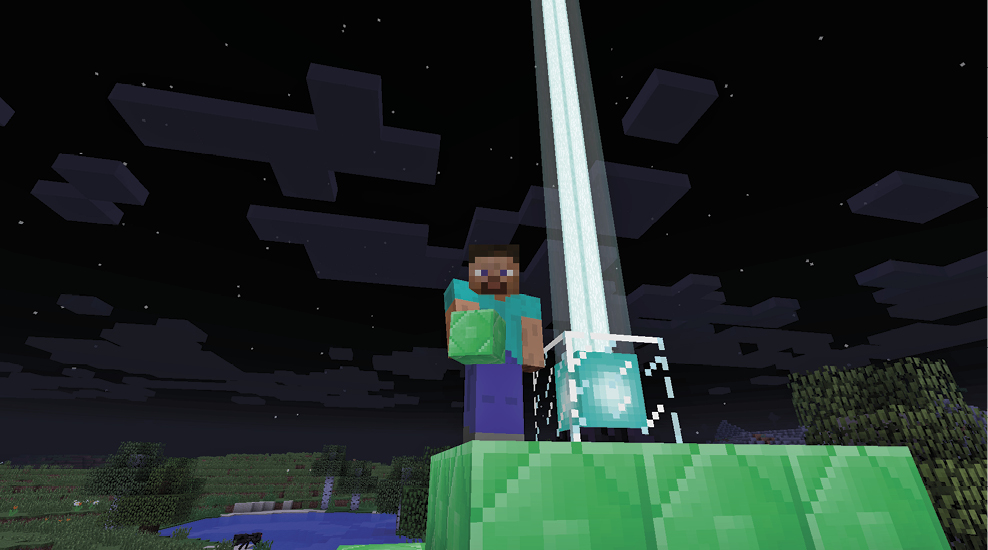
Completed Beacons light the sky and look wonderful, but that’s the least of their effects. Once they’re constructed, you turn on Beacons by adding a single piece of Iron, Gold, Emerald, or Diamond. This activates a buff that influences your character and any friends within a certain range.
Range of Each Pyramid
|
Tier I |
20 Blocks |
|
Tier II |
30 Blocks |
|
Tier III |
40 Blocks |
|
Tier IV |
50 Blocks |
A Beacon’s range reaches horizontally by the number of blocks listed in the preceding table. However, the Beacon’s powers reach upward (vertically) by 250 blocks. This is why many players construct Beacons near the bottom of the Overworld. Note that your Beacon has to have open access to the sky to work properly, so you have to dig a hole down toward the bedrock to let the Beacon shine free.
Normally, Beacons give you one power each. As you make larger pyramids, you get more choices for powers, but you don’t get any secondary powers until Tier IV. These maximum-sized pyramids let you make strong primary powers or get a free secondary Regeneration effect.
Some of the primary effects are locked until you make a certain pyramid size. The initial choices are Speed and Haste. Resistance and Jump Boost require a Tier II pyramid. Strength requires a Tier III pyramid.
Positive Effects from Each Beacon (Choose One)
|
Haste |
Faster mining |
|
Jump Boost |
Higher and longer jumps |
|
Resistance |
Improved armor rating |
|
Speed |
Faster walking and sprinting |
|
Strength |
Increased melee damage |

For the best effect, craft four Beacons and use the wider pyramids to get almost all of these buffs. A Tier II pyramid built in this fashion needs to have “only” 52 blocks but gets you four primary powers. That’s less than one-third the cost of a single-Beacon Tier IV pyramid.
If you ever get enough material together for a four-Beacon Tier IV pyramid, life is great. The increased range really helps, and your total number of effects makes it a joy to mine, work, or farm near the pyramid.