
Taming the Wilds! Mastering Minecraft 4th Edition Guide You Can Do Anything with a Little Practice
Forming and Using Landmarks
Let’s explore the world! Minecraft worlds are big places, and eventually you’ll venture out into one. The problem is that it’s easy to get lost. How can you find your way back home? How do you ensure that you can return to the new places you find, or that someone else can follow your path?
Picture this: You’ve been walking around for ten minutes, filling your inventory with things like Sugar Cane, Clay that you found in rivers, patches of exposed Coal, and Iron, and you finally see a Village on the horizon just as it gets dark. You make your way over, but before you get inside, you hear the telltale hiss of a Creeper and the world explodes around you. Now you spawn back at home! How will you ever find your way back?
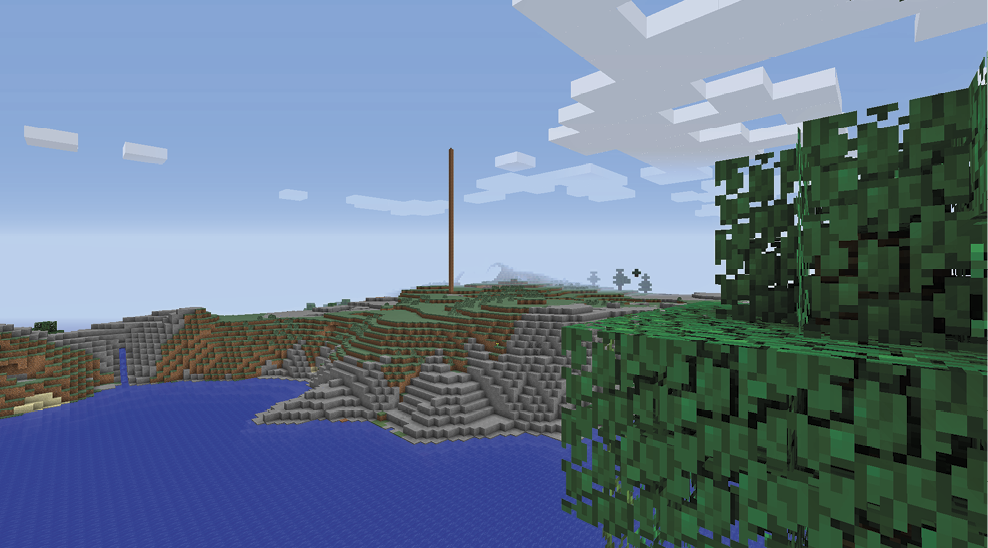
This is what landmarks are for. You can create distinctive features visible from far away when traveling or large-scale projects that are visible on a Map. That way, you can find your way around without getting lost, or lead other people to the incredible discoveries you’ve made.
Visual Landmarks
Visual landmarks are anything you can see while you’re walking around. They can be quick projects, like a pillar of Dirt; large-scale ones, like giant sky arrows or writing on the side of a mountain; or anything in between. If you can see it from far away, you’ve made a visual landmark!
Pillars and Torches

Quick, place a Torch! Congratulations! You’ve made a landmark. Torches are visible from far away, they create pools of light, and they occur naturally in only a few places (Villages, Strongholds, and Abandoned Mineshafts). When you see a Torch, you know that a person placed it, or that you’ve come across something special! When you explore the Overworld, use Torches to leave a trail for yourself. Take a few stacks of Torches with you and regularly put one on the ground, on a tree, or on some other feature of the landscape. If you don’t find anything interesting on your trip, turn around and recollect the Torches as you return, or leave them for later exploration.
If you find something you really want to come back to, dig Dirt blocks (or take some with you) and make a pillar. You don’t have to go all the way up to the clouds, but you definitely want it higher than the trees, preferably 10-20 blocks above the highest one. Be careful, because you don’t want to fall! You may be able to find your way back if you die, but it can be a long walk. Build the pillar two blocks wide as you go up, and then mine one of them downward, leaving a one-block-wide pillar to guide your future travels. Another method is to carry two Buckets of Water. With these, make a pool three blocks wide and filled at each end with Water from your Buckets. Refill the Buckets with the Water block in the middle of the stream, and you’re left with a pool to jump into from the top of the Dirt pillar you’re about to build.
Making a pillar is one of the first things you should do when you start a long-term base, so you can find your way back to it after hunting or gathering Wood.
Distinctive Landmarks
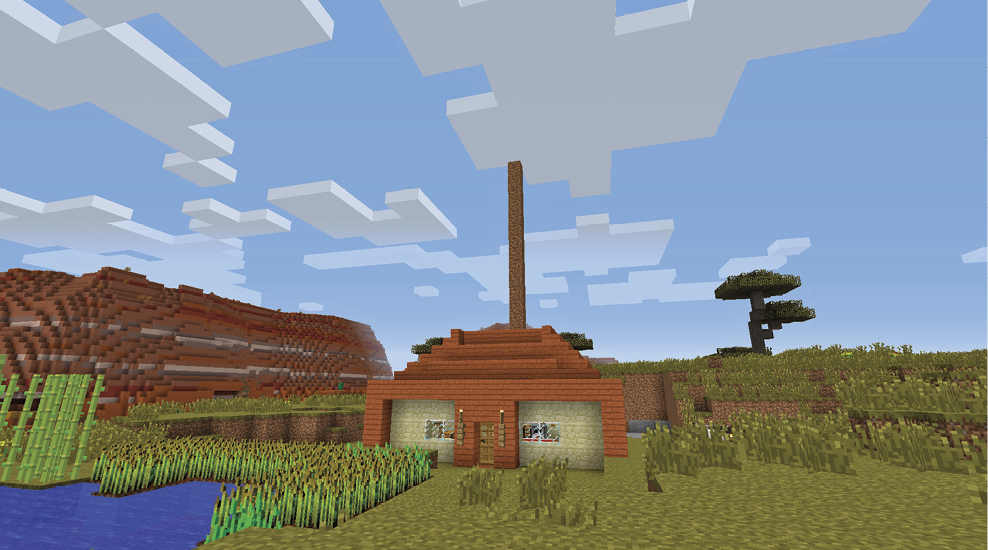
As time goes on, you collect more and more resources and you continue to explore. With more time and energy, you should create larger markers that are even more distinctive. Pillars and Torch trails are great when you’re starting, but they can get confusing later on when you have multiple trails and many pillars marking different locations. It’s time to make things more distinctive.
Regular wayposts with Signs attached are a simple and effective way to mark the world around you. Leave a message telling yourself where a trail of Torches leads and how long you have to travel to get there. This is an extremely useful way to remind yourself where all the neat things are. But why be satisfied with small landmarks? Take some time to carve an arrow into a nearby cliff!
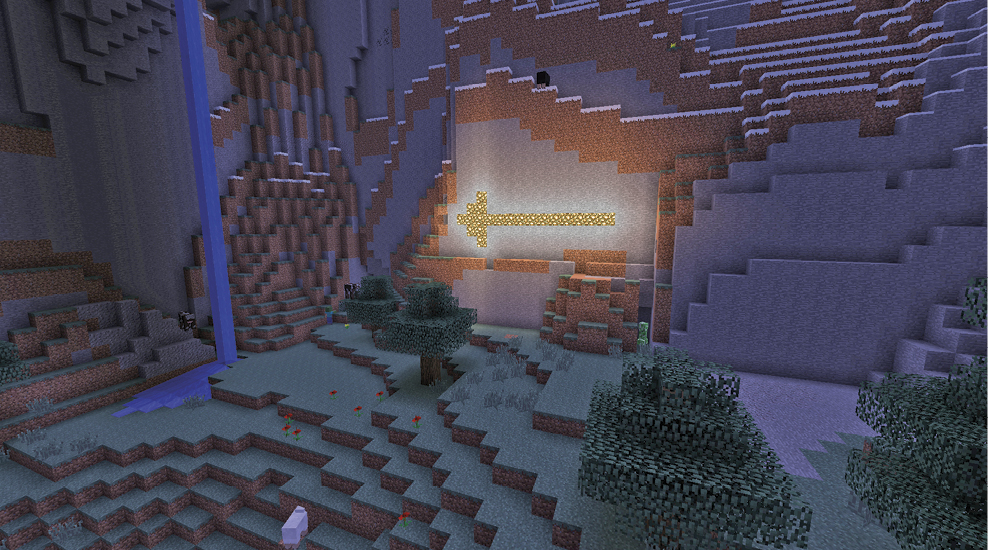
Because you can leave blocks floating in midair, make a floating arrow pointing at your house! Convert some of the Redstone you’ve mined into blocks. Redstone is one of the easiest resources to get when you mine deep, so there should be plenty to spare. These bright red blocks show up extremely well, so they make excellent landmarks. Make at least ten Redstone blocks, preferably more, before you scout an entirely new region.
Cobblestone is abundant, so grab stacks of that as well. Bring Ladders, because some climbing is in your future. A Pickaxe and Shovel are essential too!
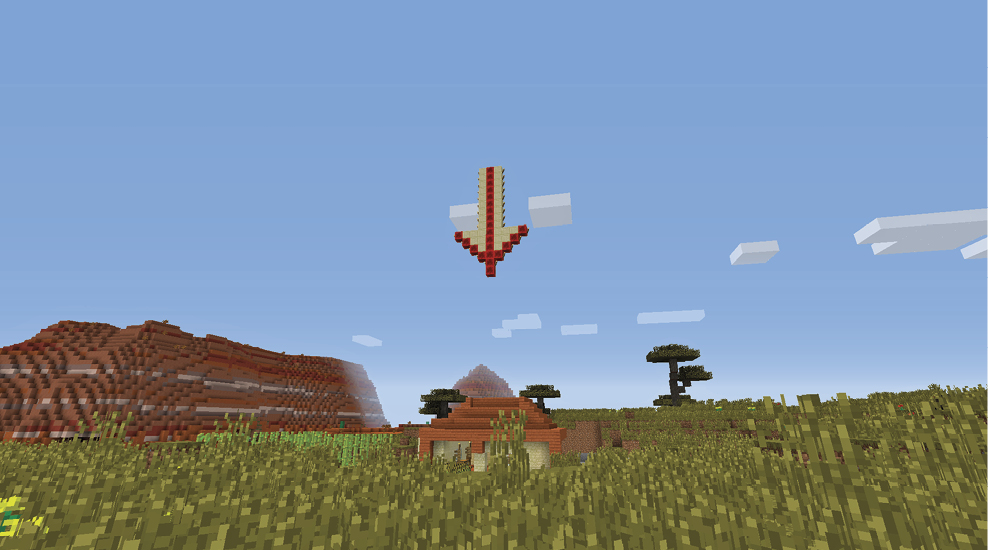
You’ve already made a Dirt pillar near your house as one of your first landmarks, so use the Ladders to ascend it. Once you get to the top, mine halfway down and make a small platform. This is where you’ll start building the point of your arrow.
Crouch at the edge of the platform and place a Redstone block. This block will be the tip of the arrow pointing down. Now, place a Stone block beside the Redstone on either side. Then another Redstone block on top of each of the Stone squares. You can leave the Stone block, but your arrow will look pointier if you mine it out, so stand on the Redstone, stay crouched, and mine away. Leave it with three Redstone blocks making a glowing marker, or go as big as you want. Make a giant point if you’re motivated!
Once you have a sufficiently pointy arrow, make a tail for it out of Stone by creating a pillar on top of the Redstone center block. Add Redstone blocks as you go up to make it even more distinctive.
Map Landmarks
Map landmarks are all about making places stand out visually when you look at them on aMap.
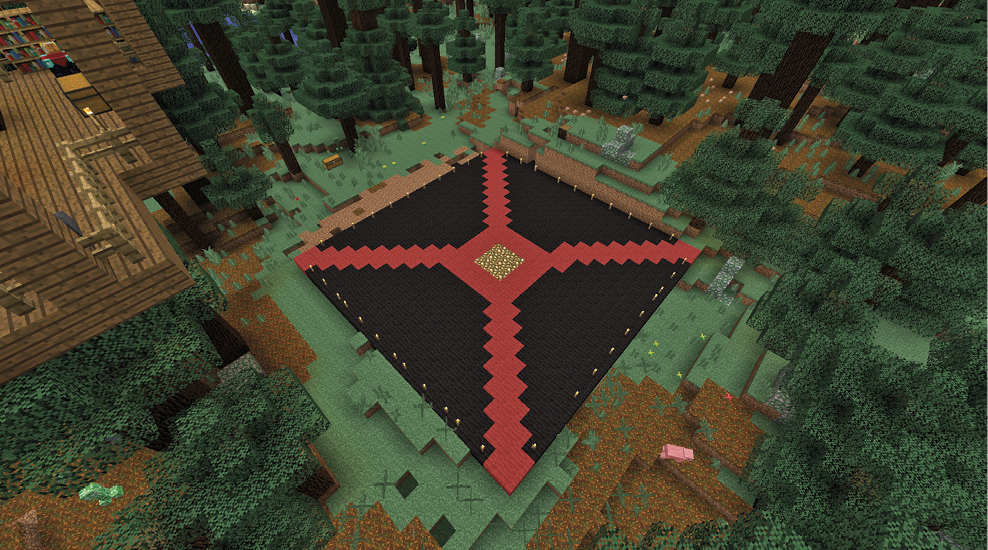
Maps show a top-down view of the world, so when you think about making a landmark big enough to be visible on a Map, you have to think in top-down terms. It helps to have a very clear idea before you start. It’s even better to have a piece of paper with the pattern drawn on it. Go into these projects knowing they will take a long time to perfect.
Like all big projects in Minecraft, it really helps to have a friend! Get your buddies involved in the project and watch the hours melt away.
The Collection
You need two things to get started. The first are some Maps. Maps come in different scales, so having several of them lets you see how the project is progressing on each scale. On the lowest scale, a shape doesn’t have to be thousands of blocks long to show up, but at the largest scale you really need to think big.
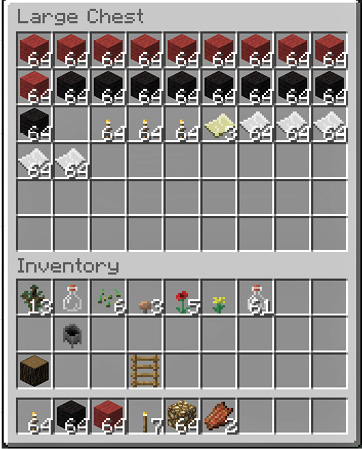
Next, you need lots and lots of colorful resources. Maps are all about showing off the land, and color plays a large role. So, if you’re in a green field, think about collecting red Wool to make your marker pop out. If you’re in a desert, think about something dark. Wool is easy to work with, because you can get multiple pieces from a Sheep using the Shears, and it can be dyed all sorts of colors.
If you’re playing in Survival Mode, start shearing any Sheep you find, breeding more using Wheat, and coming back to them again and again until you have a full Chest of Wool stacks.
Next, you need to make dye, so you have to collect flowers and plant them to harvest for the dye materials. Lapis Lazuli is used to make Blue Dye, and you find it in abundance when you mine. Red Dye is easy due to all the flowers you can grow with Bone Meal. You could also start a Beetroot garden, and turn those crops into Red Dye.
Scale Progression
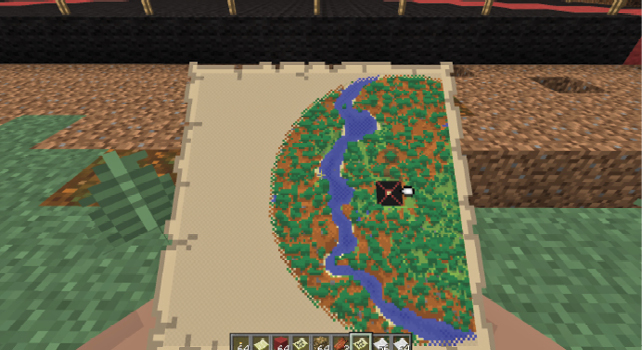
Find a flat area of land, or make one. Then start with a 30x30 square of red Wool and see how it shows up on a Map. Track your progress on the small-scale Map to see how it’s coming along. If it looks pretty distinctive on the small scale, see how it shows up on larger scales. Be sure to sleep, and keep the area well-lit with Torches. The last thing you want is for a Creeper to undo tons of careful work.
Once you make a marker that shows up, the rest is all in how big you want to go!