
Taming the Wilds! Mastering Minecraft 4th Edition Guide Let’s Begin With the Basics
Let’s Begin With the Basics
Minecraft is easy to play once you’ve gotten used to it. But it takes a little while to get through the first part of the game without running into trouble. When you don’t know how to create a safe home, grow food, or build the items you need, life can be hard!
This chapter takes you through the first 30 minutes of the game, after you’ve created a new world. Although you normally have a different starting point every time you play, there are common techniques that are essential for survival against monsters, starvation, and other hazards.
We’ll talk about these survival techniques and give you goals to work toward, so you can use each minute as productively as possible until you’ve mastered the basics that are so important to your life in Minecraft.
If you have any trouble getting things done as quickly as you’d like, don’t be afraid to start over and try again. Your first time going through these techniques will be much harder than the second time. So have fun and keep trying these tricks until they become second nature to you.
Once you finish with that, we’ll explain how to join your friends for online play. It’s smart to get the basics down on your own so that you have more confidence in your skills when you join other people.
Creating Your First World
Log in to the game using whatever version you own. Select Single-Player from the Main menu, and then pick “Create New World” from the menu that appears.
You arrive in a new menu. Name your world anything you’d like here; we’ve chosen to name ours “Minecraft 101!”
Next, choose a Game Mode: Creative, Survival, or Hardcore.
What Do Game Modes Mean?
|
Creative |
No risks, easy building, fly around, and do whatever you want |
|
Survival |
There are monsters, resources are limited |
|
Hardcore |
Monsters are more dangerous, and death is permanent! (Not an easy choice for beginners) |
We suggest that you try Survival from the very beginning. Creative Mode is fun for making massive projects to show off to other people, but the challenges of Survival are quite engaging. They keep you invested in the game more than playing without a specific goal in mind.
Hardcore Mode is an even greater challenge, but it’s probably better to wait on that until you’re more experienced with the game. Dying and losing everything can be frustrating if you don’t have the basics down pat.
More World Options
If you want even more power when creating your new world, select “More World Options” and toggle some of the settings in there.
Generate Structures is turned on by default. This lets the game world have Villages, Dungeons, Abandoned Mineshafts, and other cool features.
World Type lets you try out extreme biome conditions. In other words, you can have your world create larger biomes—this makes it harder to gather multiple resource types as quickly, because travel is a greater investment. Amplified biomes make your regions more extreme. It’s pretty wild, so that’s another option that we don’t recommend for beginners.
Allow Cheats if you want to use various commands to make the game easier, or to test out specific things. You can see monsters that are normally restricted to specific places, or just goof around.
Once you’ve set the options exactly the way you like, create the world and wait a moment while the game puts it together. Soon, you’ll begin your journey.
Is This Where You Want to Live?
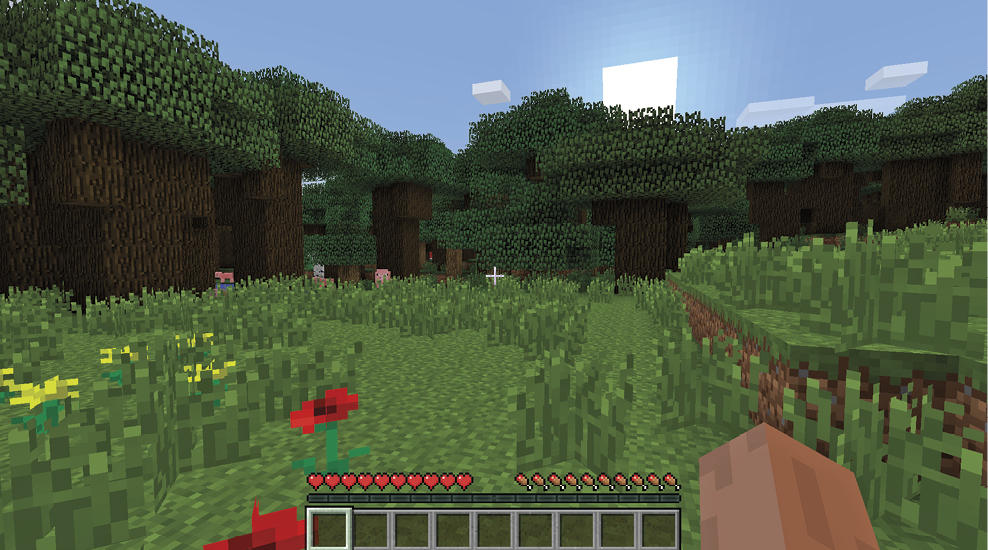
As soon as the screen clears and you can look around, see what’s near your character. Let’s create a checklist to see if you have what you need to survive!
Checklist for Survival
- Are there trees in your line of sight?
- Do you see or hear any animals?
- Can you find a location that would be safe for building a house or a cave?
Wood
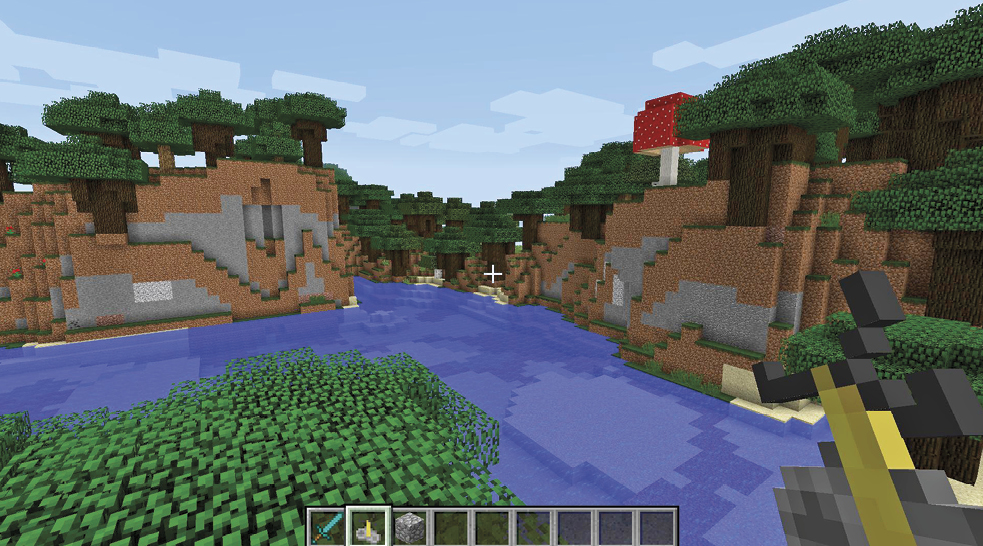
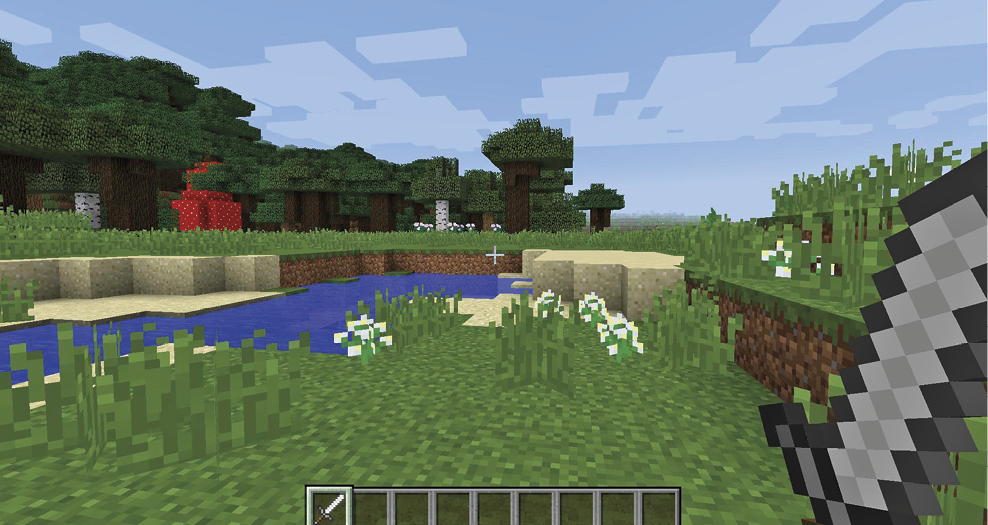
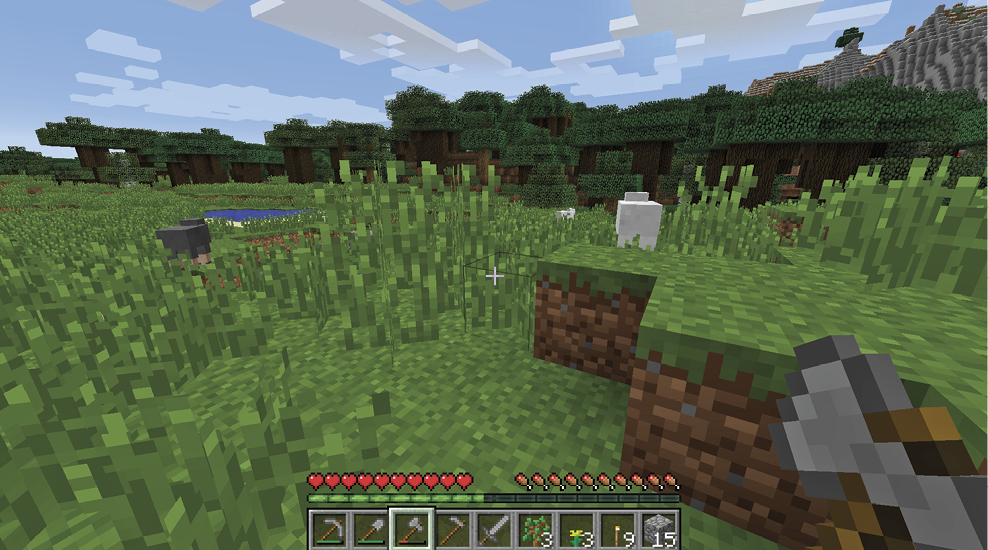
The three items in the preceding checklist are your immediate priorities. You need trees for Wood. That’s essential for your survival, because you need Wood for construction, basic tools, and for fire. It’s your lifeblood during the earliest parts of the game. If you can’t see any trees at all, either restart or move quickly in any direction to find an area that does have trees. You can survive without Wood, but it’ll be much tougher because you won’t be able to use any tools for a little while.
Animals
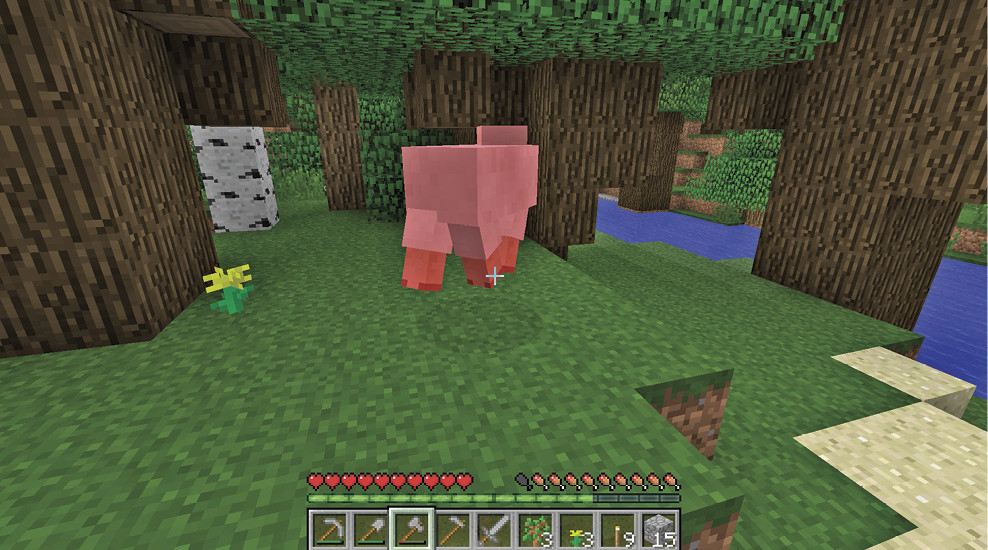
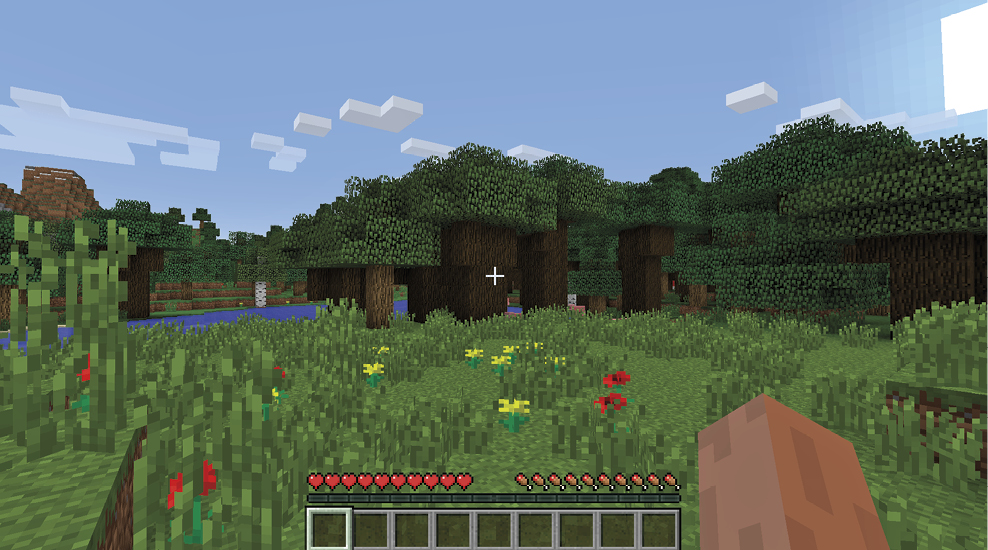
Many animals that you can see and hear during the day are useful to you. These creatures give you food, Wool, Leather, and other nice items for crafting. In the early game, edible animals are the best because they provide food much sooner than farming. We’ve sorted many common animals in the following list from most useful to least useful for a starting hero.
|
Cows |
Drop multiple pieces of meat and can be milked once you find a bit of Iron |
|
Chickens |
Easy to raise, drop meat when killed |
|
Rabbits |
Have Hides, meat, and can drop a Rabbit’s Foot (for brewing Potions of Leaping later in the game) |
|
Pigs |
Drop meat when killed |
|
Sheep |
Drop Mutton when killed and have Wool for Beds |
|
Horses |
Not very useful in the early game (greater later on) |
|
Llamas |
Help you carry around items because you can equip them with Chests |
Safe Housing
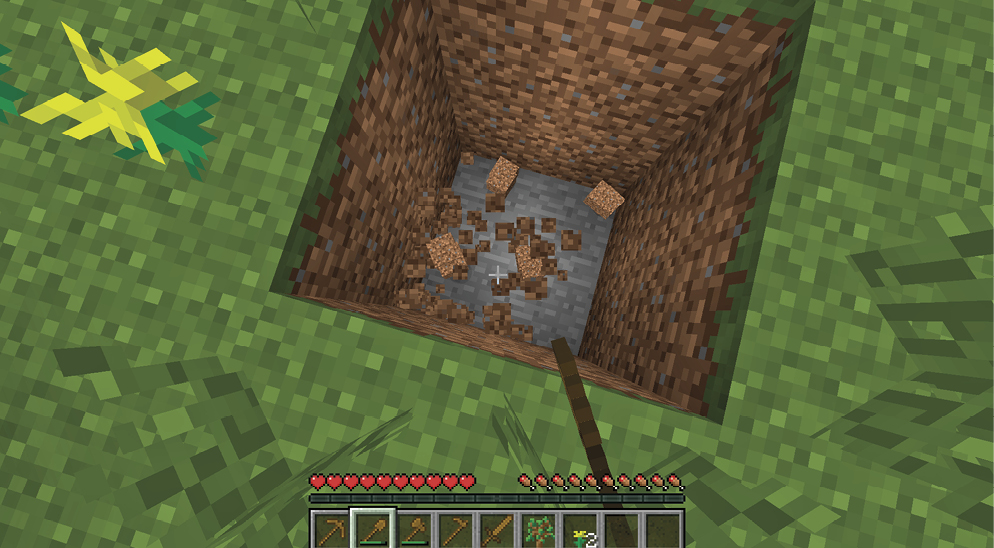
You can build a house darn near anywhere, but some locations are easier and faster to work with. Open, flat ground works well if you want a freestanding house that looks nice. If you’re interested mainly in survival, you’re better off scanning the area for a hill or mountain. Building into existing Dirt or Stone lets you create a defensive location quickly, because you don’t need to put down many blocks of Wood or Stone to secure yourself. Instead, hollow out a small space and you’ll be good to go in almost no time at all.
Final Decision
Now that you know what to look for, is your area a good enough starting point? For a total beginner, we recommend you demand at least trees and either a safe area or animals. You don’t need to have all three right there in front of you, but going for two out of the three starting items is a good compromise.
If you’re really nervous about the spot you’ve been given, go ahead and return to the Main menu. Delete that world (or come back to it later), and create a new place to check out. This doesn’t take very long, and it’s better for new players to start somewhere that feels just right.
How to Spend Your First Day
You’ve got ten minutes of daylight to work with after the game begins. It’s likely that you won’t get attacked by anything in this first day because monsters spawn at night, and none of them have had a chance to appear. As long as you avoid big caves and dark places, you should be fine for a while.
Set goals for yourself and quickly get a series of tools and shelter so that you can deal with the coming evening.
Goal #1: Harvest Three Blocks of Wood
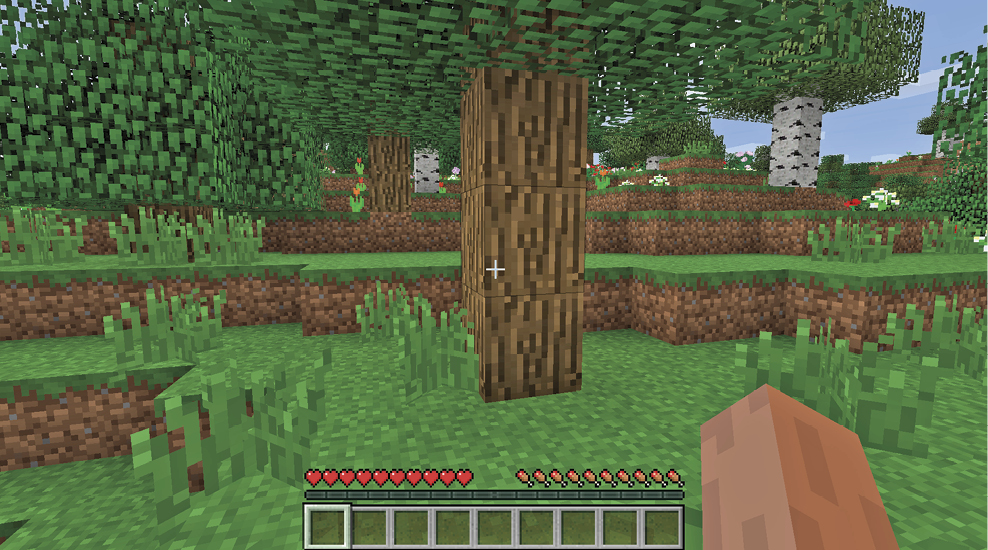
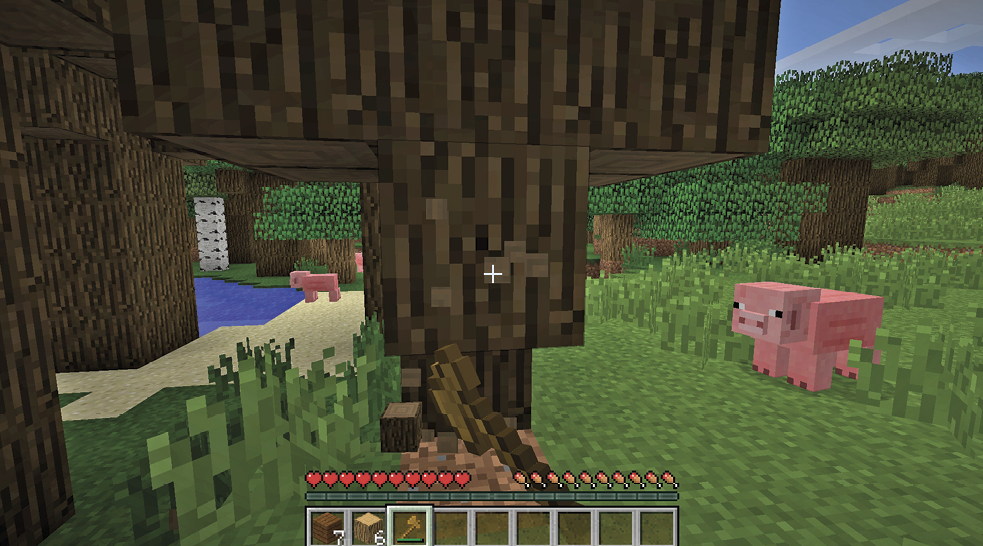
Run toward the nearest tree and attack it. You have only your hands to work with, so breaking through the bark will take a few seconds. Hold down the Attack command the entire time. If you stop at any point, the damage you did to the Wood disappears and you’ll have to start again.
So, attack the tree in a single spot and watch the Wood break. Eventually, the block disappears and a small piece of Wood falls to the ground. Move over the piece to pick up the Wood. A faint popping noise lets you know that your character grabbed the item, and it goes into your inventory. Yay! Success.
Do this again for two more pieces of Wood, so you have three total pieces to work with.
Goal #2: Make an Axe for Yourself
Go into your inventory and put the three pieces of Wood into your crafting area. Notice that a new item appears on the right side of the screen. The displayed item represents the results if you choose to craft those pieces of Wood. Every piece turns into four Planks of Wood. Turn your three pieces of Wood into 12 Planks right now.
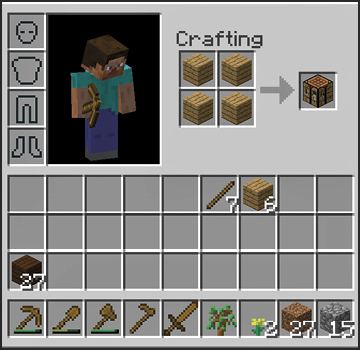
You then need to craft several items with your new Planks. Fill the entire crafting box with Planks (one in each slot, as shown). These four Planks are turned into a Crafting Table. Put that into one of your hotbar slots at the bottom of the inventory screen.
Leave that screen and use your appropriate hotbar command to ready the Crafting Table. Place that item down someplace where it’s easily visible. These tables allow you to work with a far greater variety of items. When you interact with a Crafting Table, it brings up a larger interface, so you can put up to nine ingredients into your crafting. Other versions of the game simplify this, but they still require you to use a Crafting Table to make most of the items.
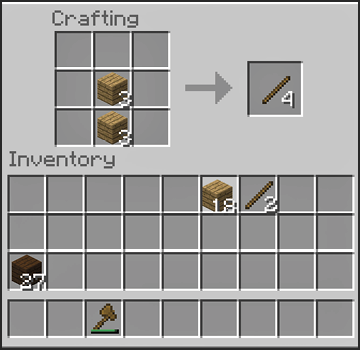
Next, put two Planks into your crafting slots (use the Crafting Table or your normal inventory interface for crafting). Putting two Planks together, one above the other, lets you make Sticks. Sticks are required for a huge number of tools.
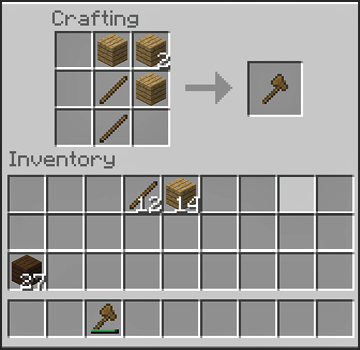
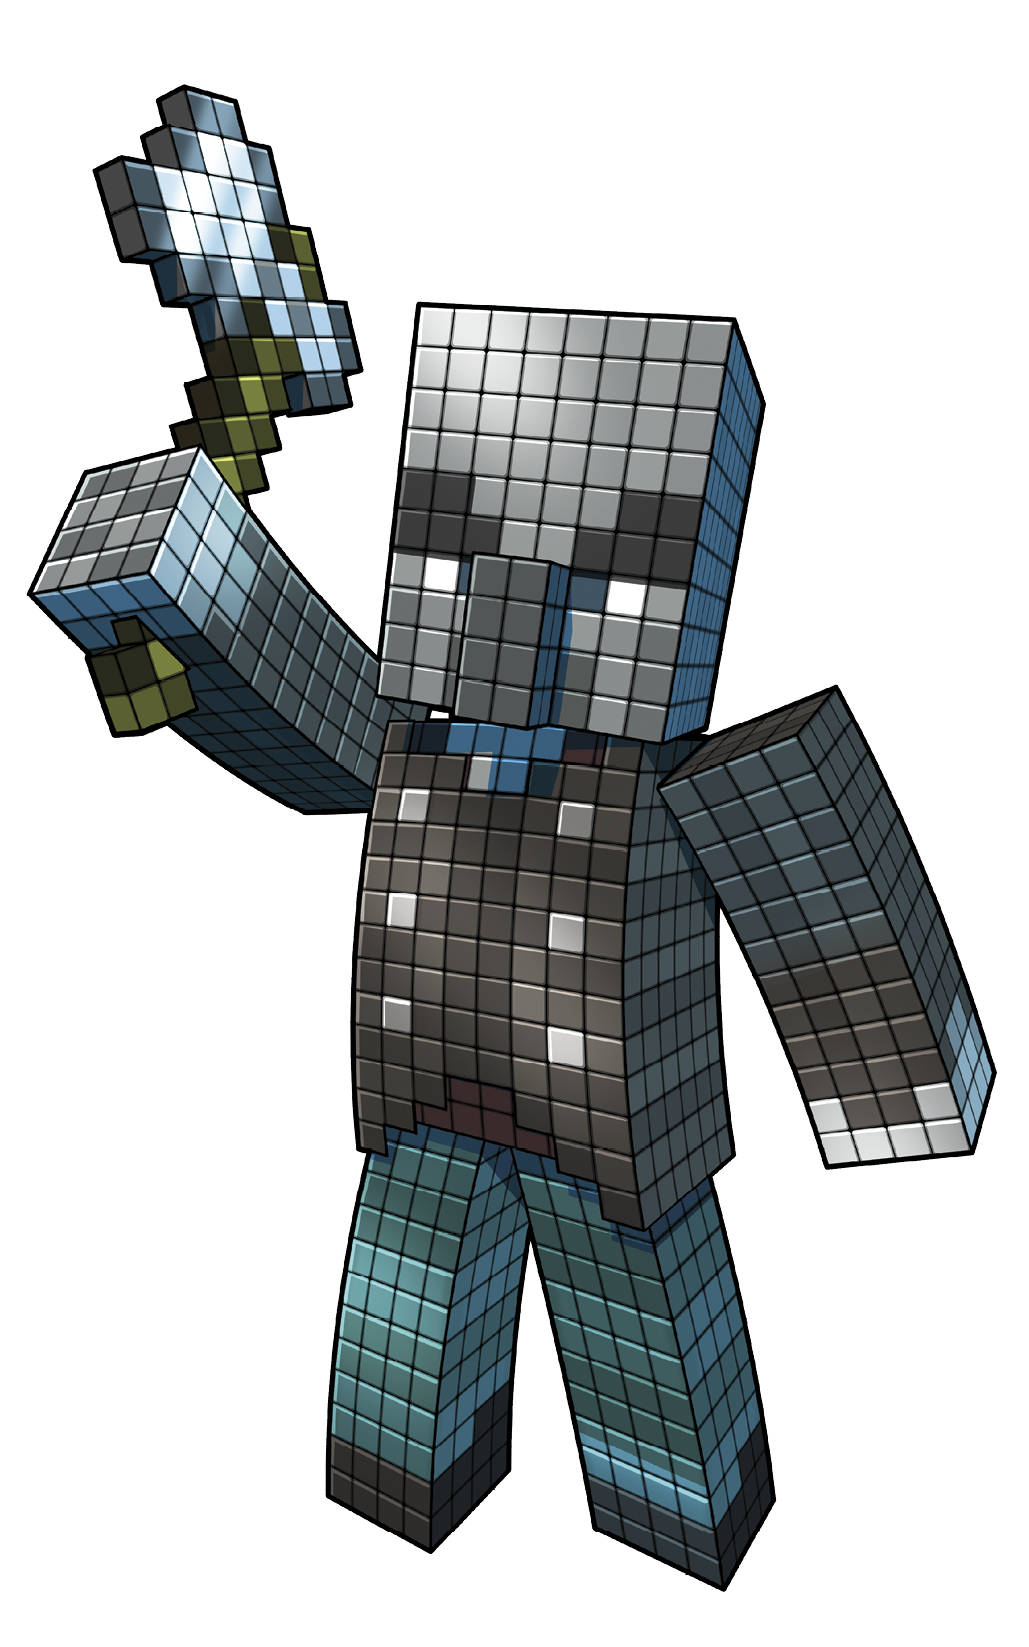
Look at the next picture to see how to create a Wooden Axe. Two Sticks and three Planks go together to make this happen. Now that you have a Wooden Axe, it’s much easier to chop Wood. Get several more pieces of Wood now.
Goal #3: Make a Pickaxe and a Shovel
Many tools are made almost exactly the same way, so use your new supply of Wood to make a Pickaxe and a Shovel. They require a similar setup, with two Sticks to form a handle, and then some Wood to complete the tool, depending on what you’re making.
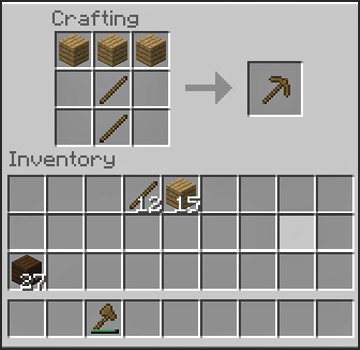
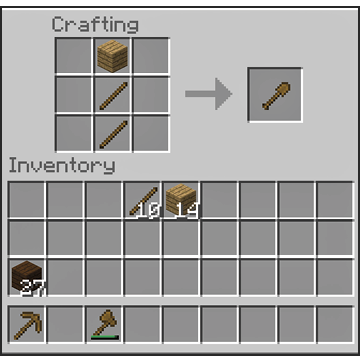
Once you have a Wooden Pickaxe, Shovel, and Axe, put all three of them on your hotbar. You can then start the next phase of your project. We’re going to hunt for Stone!
Goal #4: Find a Source of Stone and Harvest at Least Six Pieces
Select your Shovel and dig into the Dirt until you find Stone (usually a few spaces down). If there are deposits of Stone nearby—in a cliff or wherever—then go ahead and rush over to those instead. The general rule is that if you can’t find Stone, start digging downward. It’ll be there.
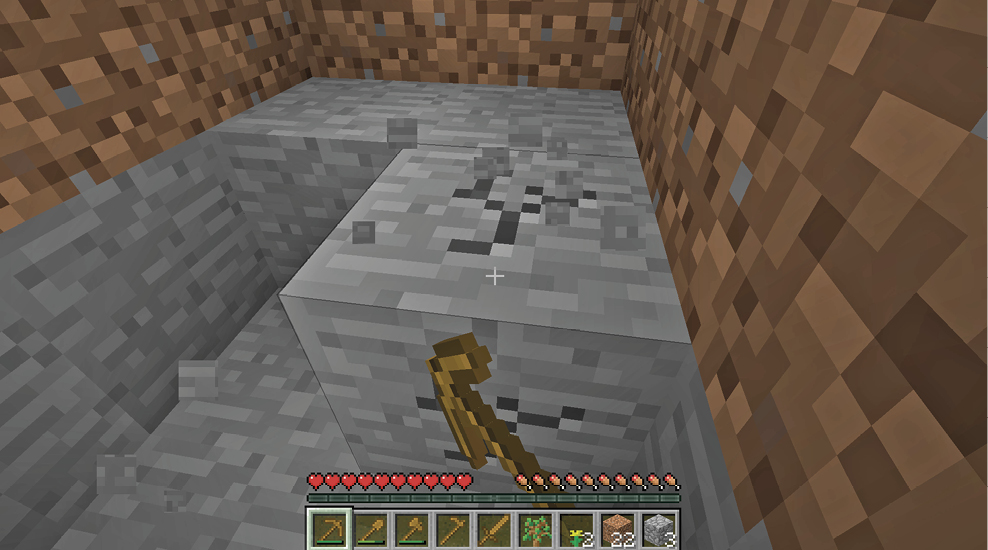
Once you hit Stone, stop using your Shovel. Switch to your Pickaxe and hit the Stone just like you hit the trees with your Axe and the Dirt with your Shovel. Harvest at least six pieces of Stone as soon as possible, and then return to your Crafting Table.
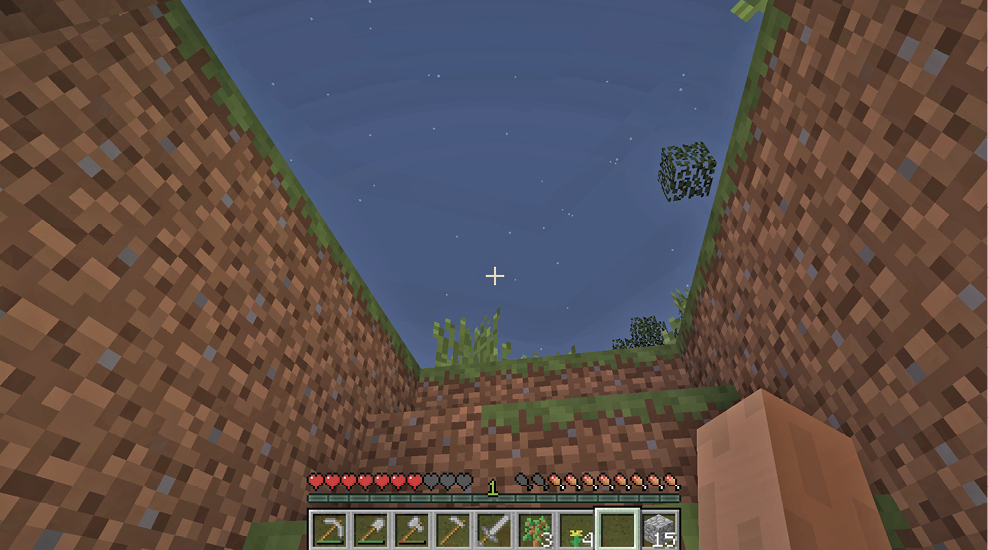
If you dug down into the earth to get your Stone, you might not be able to get directly back to the surface. If that happens, carve a crude set of steps out of the blocks around you. Your character can jump as high as a single block, so cut the blocks around you until you can jump up one block in front of your character. Then cut until you can do that again and again until you’re back on the surface. There are ways to make nicer steps that don’t require these big jumps, but you’re on a schedule and don’t need to worry about that just yet.
Also, when digging down, it’s wise to dig in front of your character (not under your own feet). This lets you see what’s below you before you hop down into the hole. Usually it’s more Dirt, Stone, etc. However, there are caverns all over the place, and you might fall to your death if you dig directly down and break through into one of these deep caves.
Goal #5: Switch to Stone Tools
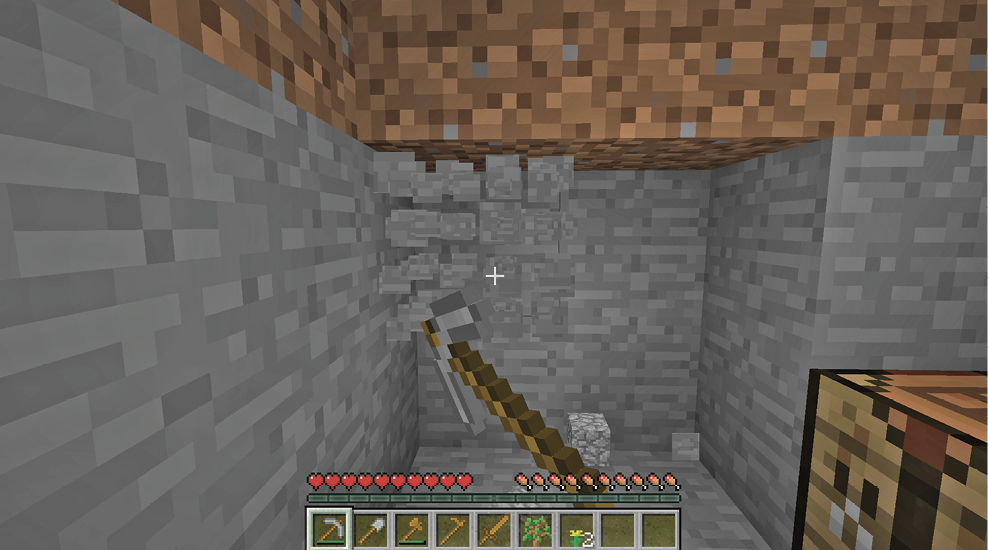
Use your Crafting Table and recreate your Pickaxe, Shovel, and Axe; this time, use Stone and Sticks instead of Wood and Sticks. The final products are Stone tools. These last longer and are faster at their tasks compared to Wooden tools, so this is a big upgrade without having spent much of your time. After this point, you can stop using Wooden tools entirely; they have practically no value to you. However, hang on to yours for the moment—you’ll use them for fuel in the Furnace you’re about to build.
Goal #6: Make Shelter for the Evening
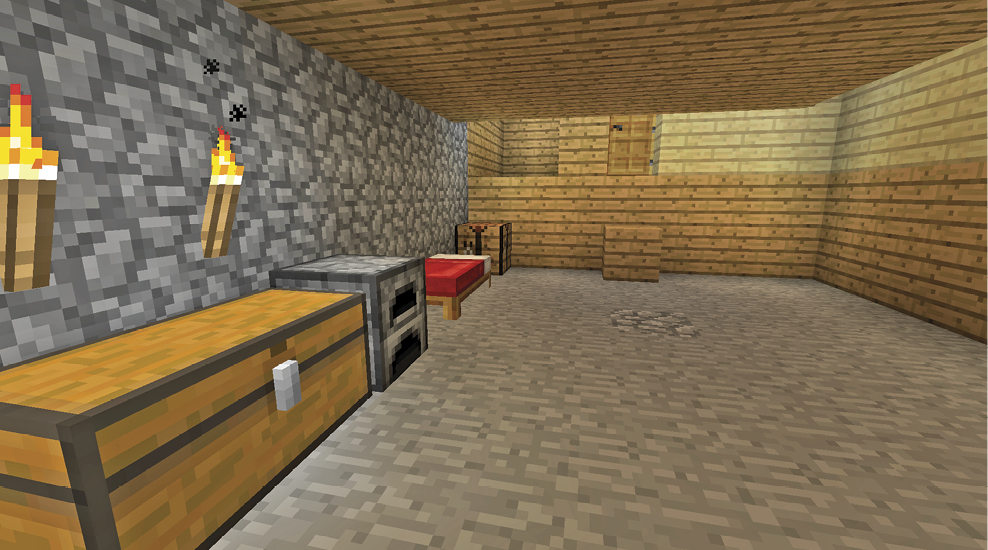
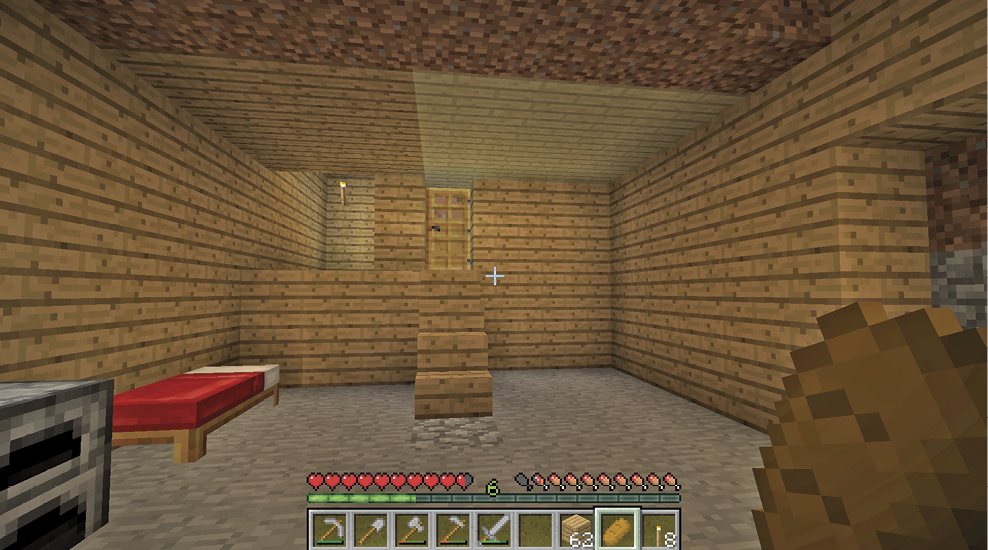
Use the remaining time in your day to build shelter for yourself. Dig into a rock face, a hill, or use a tunnel into the ground at the base for your evening’s home. Or, if you have more time than that, build a Stone or Wood structure around yourself. This takes more resources and time, but it’s 100% possible if you work quickly before nightfall.
Once you have your shelter, make a Crafting Table to put in there, so you can keep making items during the evening. It’s possible to chop down your old table with an Axe and bring it inside, but that often takes too much time.
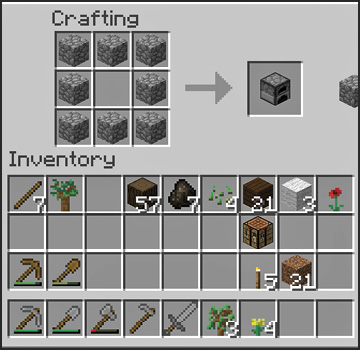
Using a full box of Cobblestone (as shown in our picture), you should also make a Furnace. These are major items to help keep you alive. You can cook food in them, such as any Raw Chicken, Beef, or Pork that you gather from animals in your area. Furnaces also get you Charcoal.
If there isn’t Coal Ore mixed in with the Stone in your area, you’ll need some Charcoal tonight. So, let’s talk about how to get some!
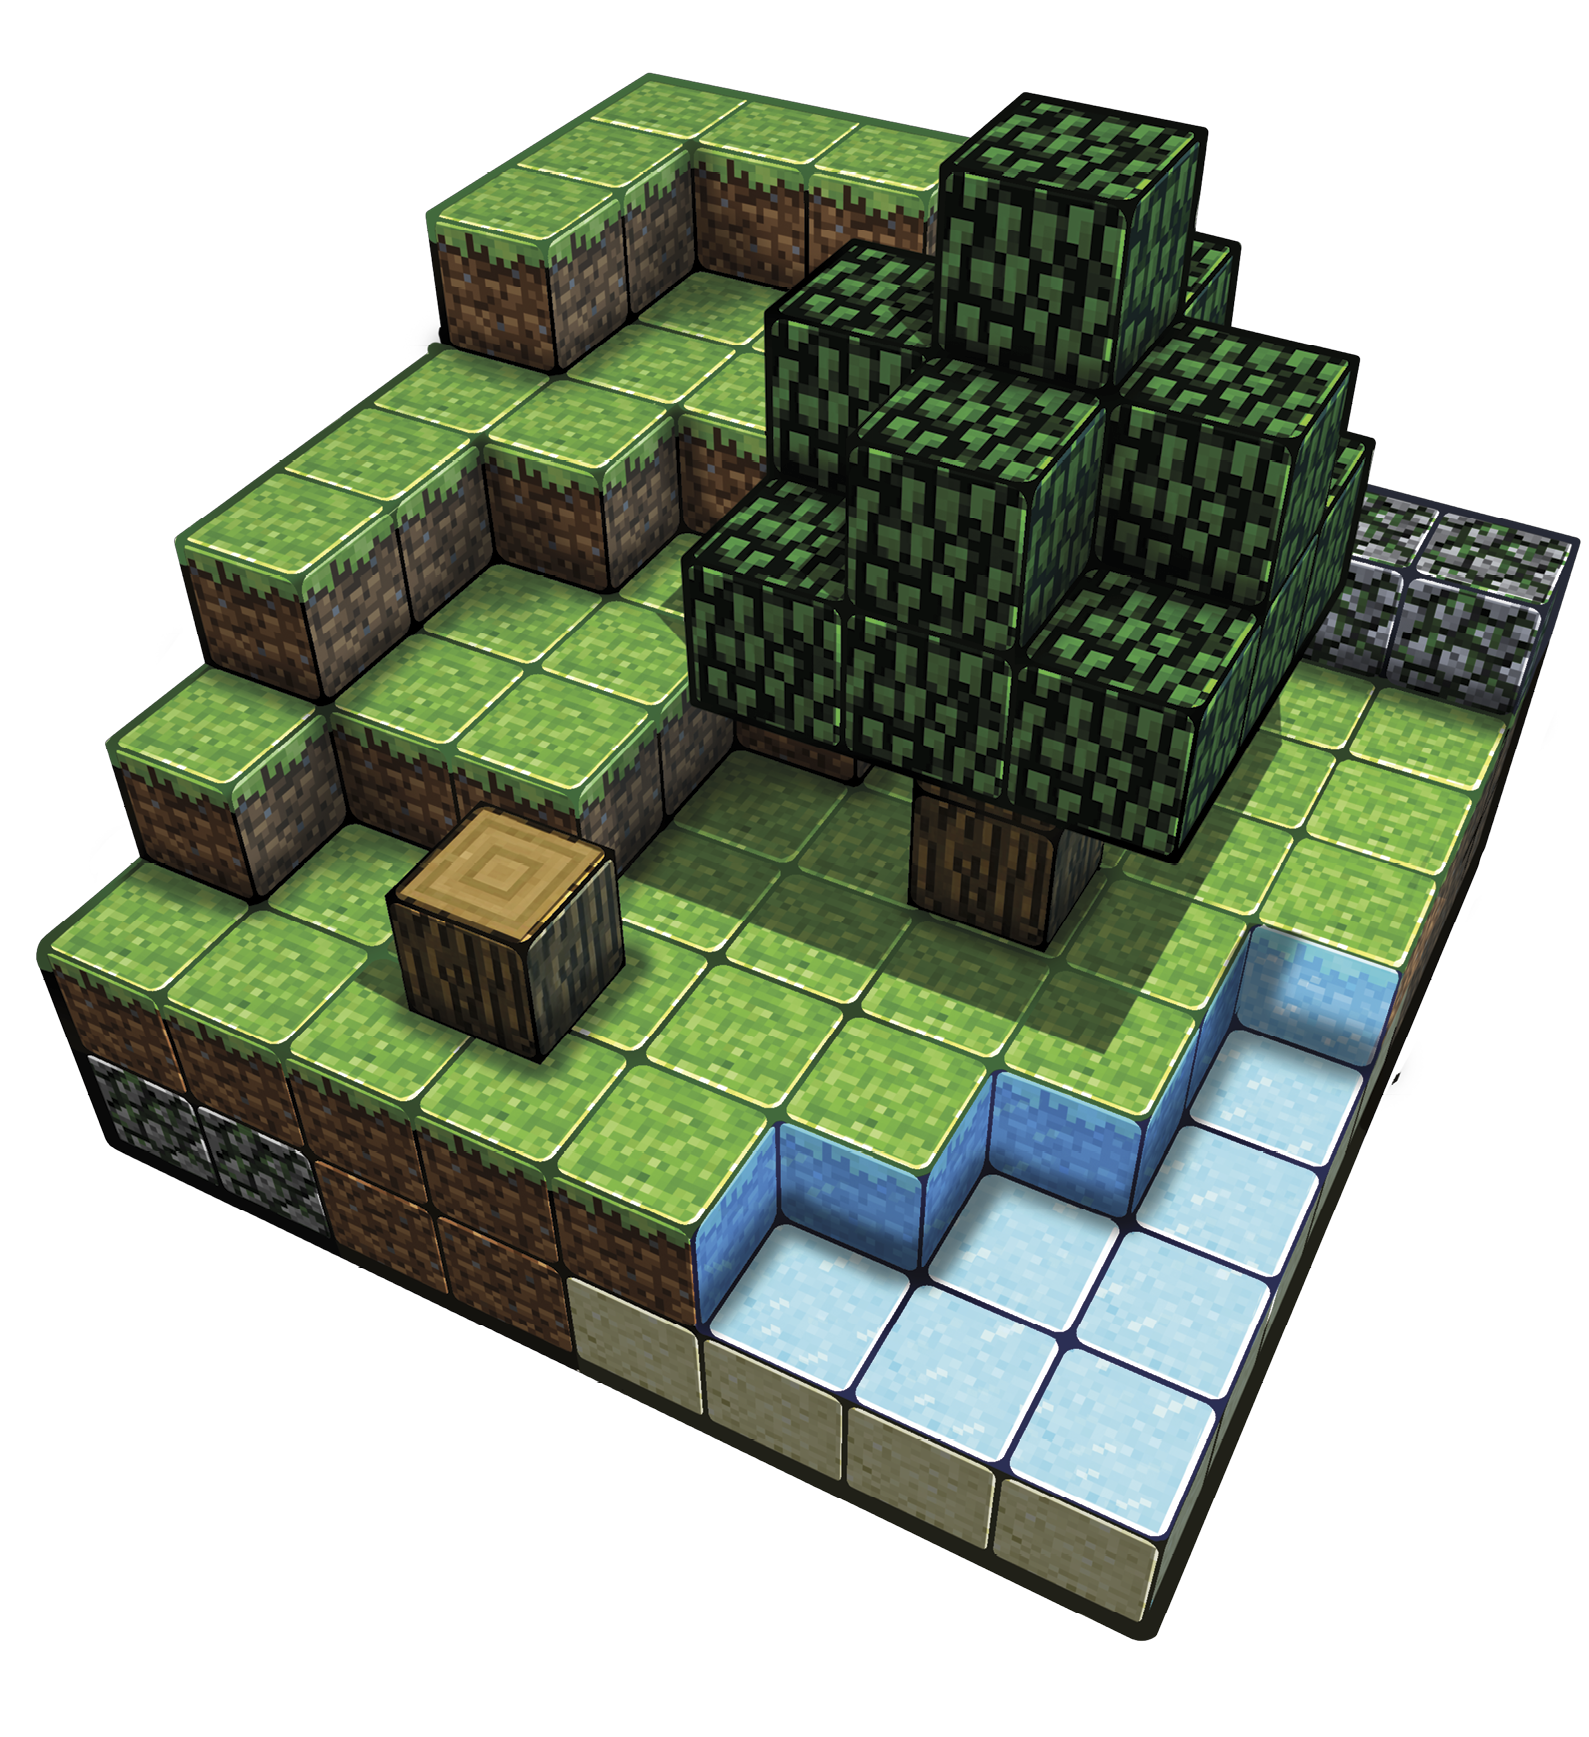
Goal #7: Setting Up Your Furnace, Door, and Light

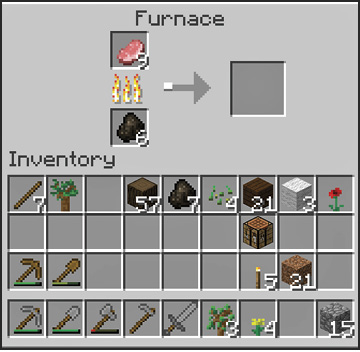
Place your Furnace near the Crafting Table, and throw your old Wooden tools into the lower slot of the Furnace. That’s your fuel. The tools won’t burn for long, but they’ll get the job done. Use Wood blocks in the Furnace’s upper box. That’s the item you’re trying to cook. Burn through several pieces of Wood (using your old tools as fuel), and collect the Charcoal created. Charcoal is efficient fuel for your Furnace, so you can now cook plenty of other items during the late afternoon and evening. Burn Wood when you need to get more Charcoal. Also, cook any meat that you harvested today. Don’t eat raw meat because it’s not as filling for your character, and sometimes it’s even dangerous (raw meat can poison your character).
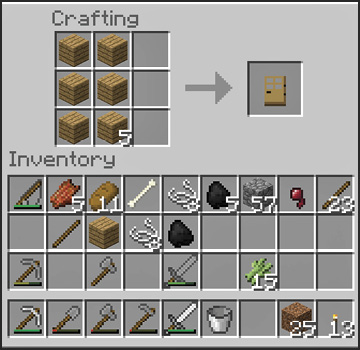
Furnaces light the area while they’re cooking, so you can see in the dark or even underground while this is going on. Take six Planks of Wood to make a Door for your house. Block off the rest of the entryway so there’s only a narrow space one block wide and two blocks high leading into your shelter. Put the Door there to keep enemies from walking in. Alternatively, you can wall off the entire house from the inside and cut your way out in the morning.
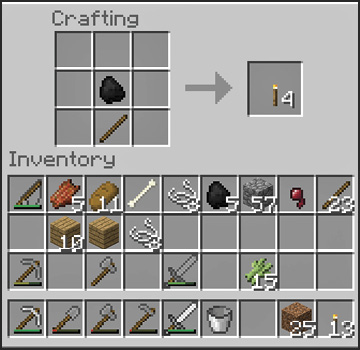
The finishing touch is to use Sticks and Charcoal to craft a few Torches. Once you make them, these simple devices keep your home and area well lit. That’s important for getting around, but it’s also great for keeping monsters off your back. Monsters only appear in dark areas. As long as you keep your home lit, nothing horrible will appear there, even whenyour character is away. Monsters can still come after you, or walk through open Doors, but they can’t magically appear anywhere that’s properly lit.
Put Torches on your hotbar, and hang them on walls inside and around your house. Don’t worry; they won’t burn anything down! They also won’t need to be replaced or reset. Torches burn forever.
Surviving the Night
Once the sun goes down, the light levels fall dramatically. It’s hard to see if you walk around outside, and monsters can spawn almost anywhere. Zombies are the most common, and they’re easy to outrun. They moan frequently, and are easy to hear or spot. But Creepers are quiet and very deadly. They explode if they sneak up on you, dealing potentially lethal damage and destroying anything nearby. Until you have weapons, armor, and more practice, you’re better off hiding during the nighttime hours.
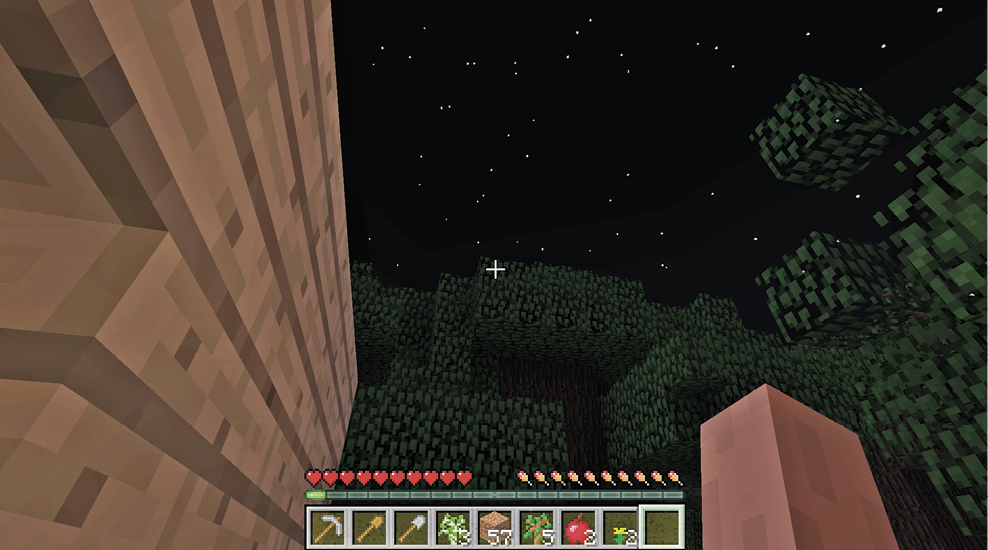
If you check your clock, phone, or watch, you’ll find the evening lasts ten minutes. Later, you can craft a Clock in-game to tell time more accurately.
As evening passes, be productive. Carve down into the earth and gather more Stone. You’re going to need many, many pieces throughout your career. While mining, you might find Coal, Flint (in Gravel), or Iron. Iron is the best of the resources you find in the earth’s upper layers. To spot this metal, look for Stone blocks that have a lightish metal embedded inside them. Once mined, you refine these in your Furnace to get Iron Ingots, which are quite useful. Make Pickaxes with them so you can harvest Gold, Redstone, Diamond, and other rare materials in the deeper levels of the world.
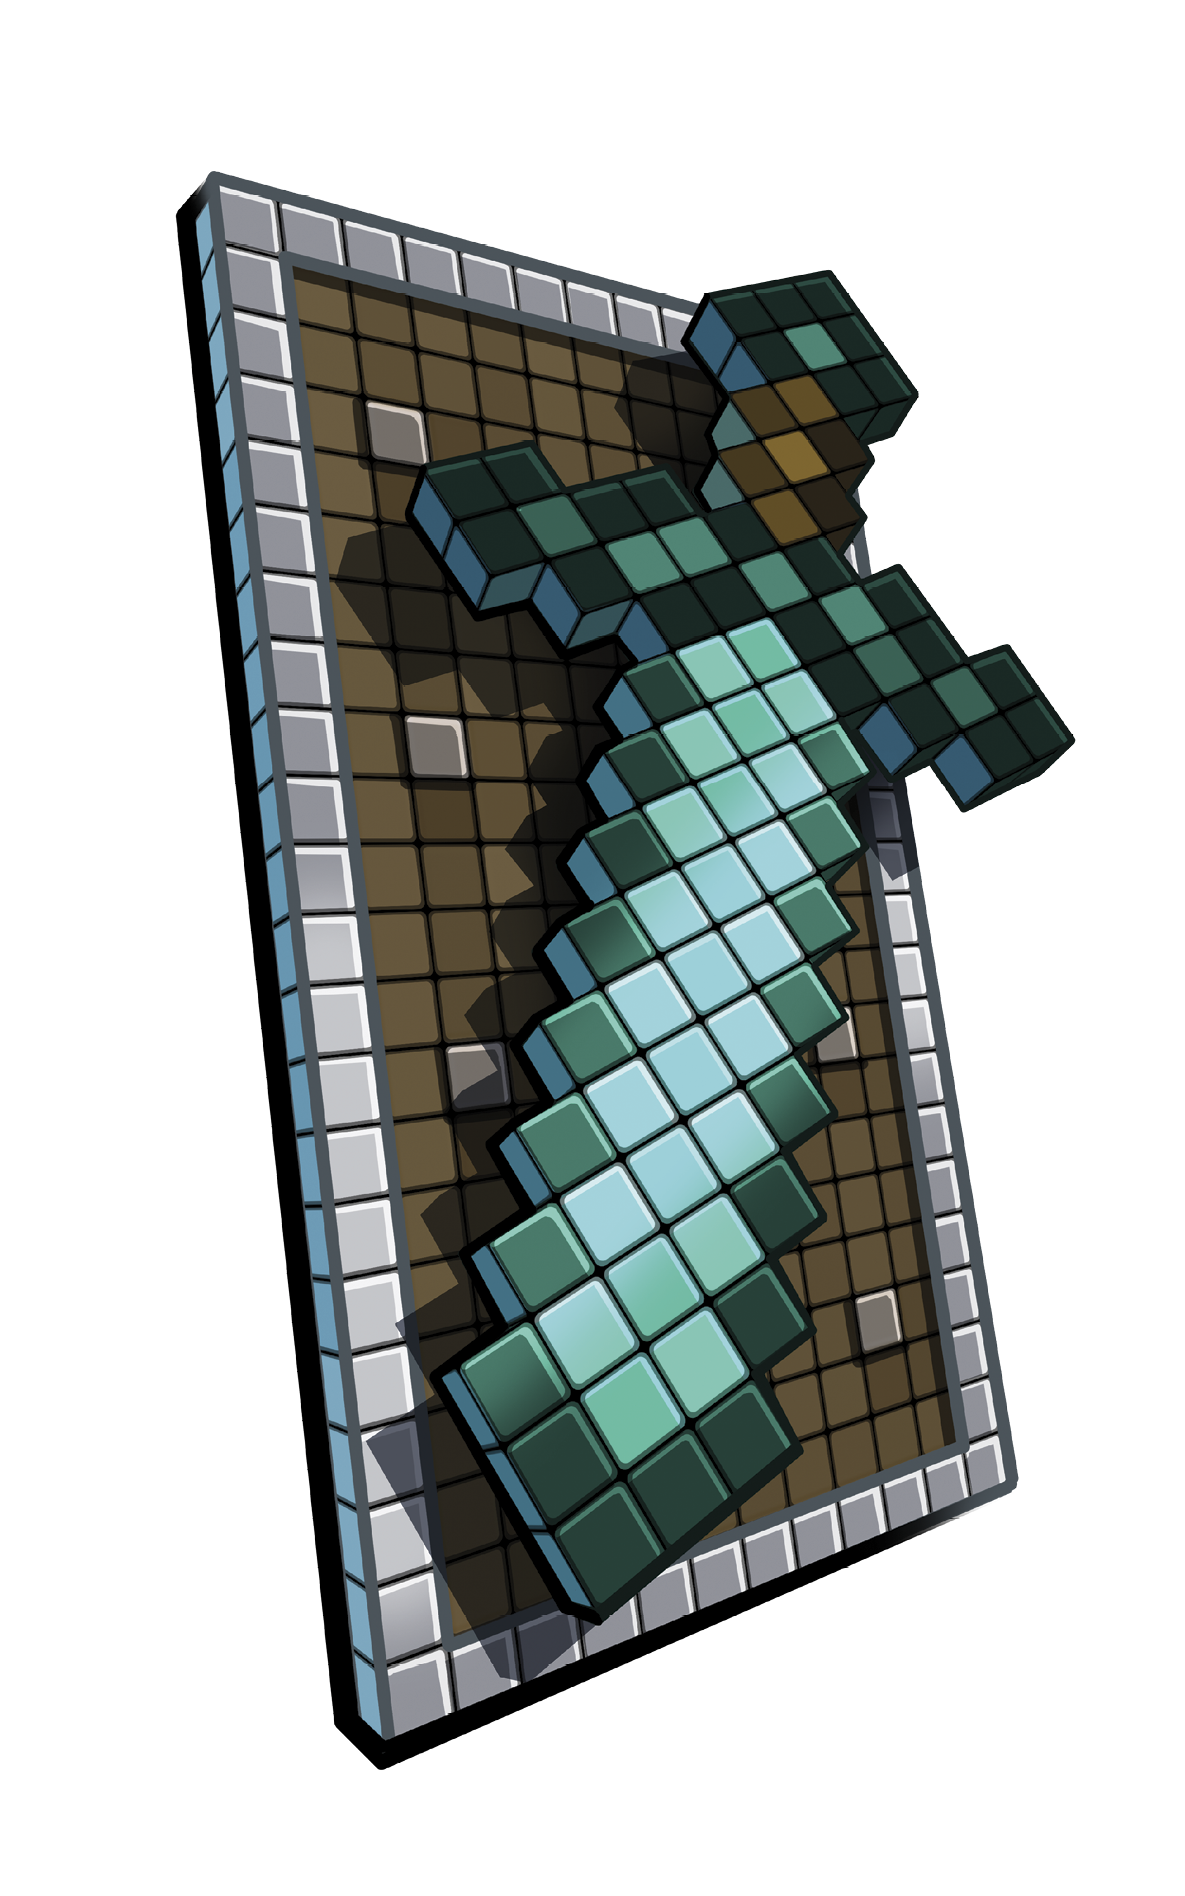
Goal #8: Forging a Sword
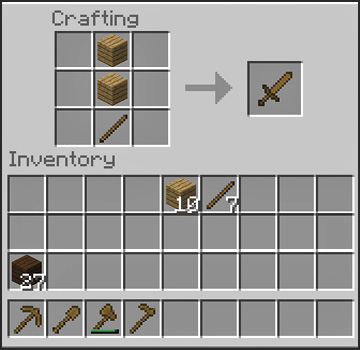
Take a break from your mining at some point during the night. Use your Crafting Table to make a weapon for yourself. One Stick and two pieces of Wood, Stone, or metal make a Sword. For now, a Stone Sword is perfectly adequate, but an Iron Sword will be much better later on. Always keep your Sword in the same slot on your hotbar so you get used to switching to it quickly. Monsters can jump you while you’re wandering outside, mining, or whenever. Even when you think you’re safe, there are sometimes moments when you get surprised. Practice switching to your Sword quickly and comfortably. The better you get with it, the longer you’ll live.
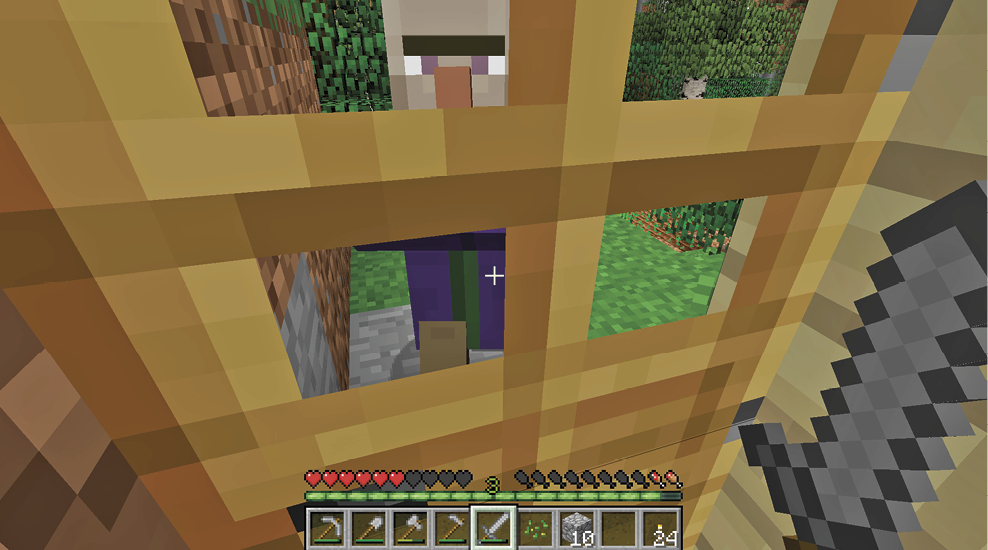
Expand your home and your mines until morning. Look through the holes in your Door to see if it’s light outside, or carefully wander outside if you’re feeling brave. Just be ready to head back through the Door if you see trouble coming.
The Next Day
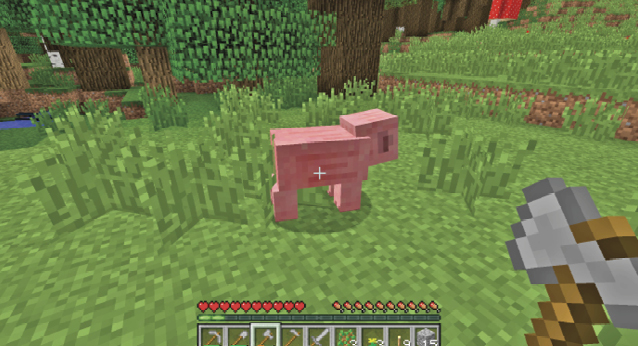
As time passes and you get ready for the next day, you may notice that your hunger meter is falling—that’s the series of drumsticks on the lower-right portion of the screen. Your character can’t heal from injuries unless your hunger meter is almost full. If it ever goes down to zero, you lose almost all of your health (or can even die if you set the difficulty all the way up).
Goal #9: Gather Enough Food to Keep Yourself Full
So, eating is a good thing. It’ll take days to get a good farm ready, so you need something to snack on before then. You can hunt Chickens, Pigs, and Cows, and then cook their raw meat. That’s a great way to survive in the early days, and it’s good later, when you breed these animals as well. But there are many options.
Ways to Stay Fed
- Cook raw meat from nearby animals.
- Leave your local area and wander around until you find more distant cattle or livestock to eat.
- Make a Fishing Rod with Sticks and String, and then fish in any body of water.
- Plant Seeds for a Wheat farm, and hide somewhere safe for about half an hour while it grows.
- Spiders and Zombies drop Spider Eyes and Rotten Flesh; these aren’t good for your health, but they can be eaten.
- Chop down leaves from trees and hope to find Apples—this is not very effective, but it’s an option.
Mine, Expand, and Thrive
Once you have enough food to get by, it’s sensible to expand your mining operation. Gather more Stone and keep searching for Iron. If you have enough Iron, it’s possible to make armor for your character. This makes it much harder for monsters to hurt you. Leather and Iron both are used for armor, so hunting enough Cows early on can get you decent armor long before you can spare the Iron for defensive purposes.
Goal #10: Make a Tunnel Down to the Bottom of the World
When you’re digging down into the earth, don’t go randomly in any direction. Instead, make a single path that leads down into the depths. On the PC, you can press F3 to see how deep you are. About 30 blocks up from the bottom, you start getting a chance to find Gold. Fifteen blocks from the bottom, you can find Diamond, the real prize!
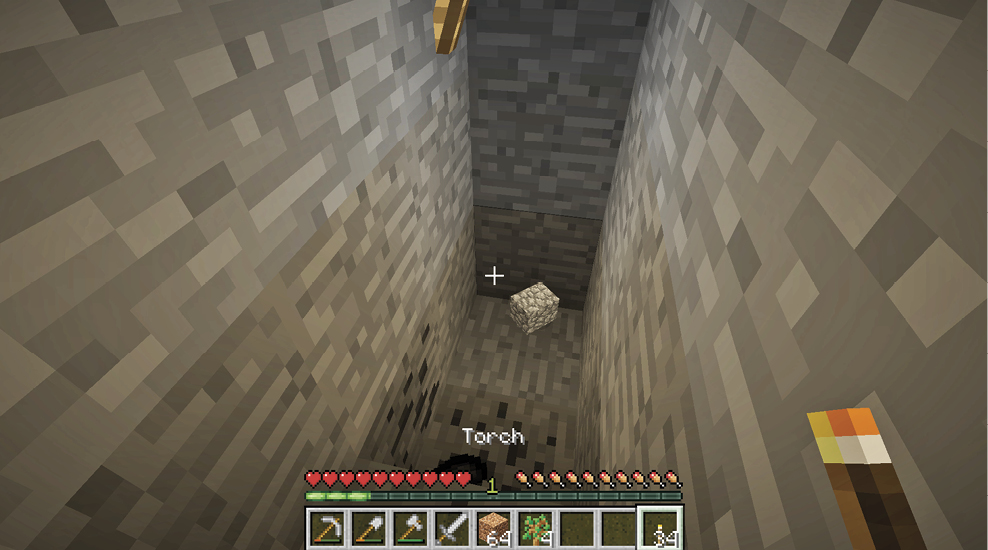
You won’t want to spend minutes getting to these lower levels every time you go down there. One way to keep this process fast and efficient is to mine a set of steps that leads from your house all the way to the bottom. The straighter your tunnel, the less time you waste getting down there.
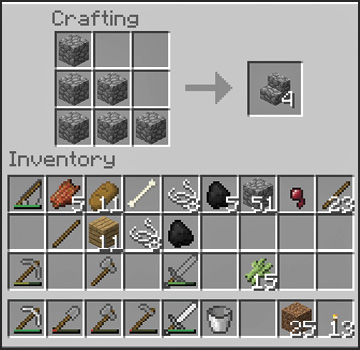
Next, make Stone or Wood Stairs. Adding these to your downward tunnel makes getting around faster, especially during the climb back to the surface. Also, Stairs reduce the amount of Hunger you incur from this trip. Jumping back to the surface takes a great deal of energy; climbing the Stairs isn’t nearly as bad. So, the sooner you make real steps, the better off you are.
Here’s a picture of the recipe for Stairs—use whatever material works best for you, depending on whether you have more Wood or Stone.
As you grow more comfortable with the game, start reading our next chapter about more advanced techniques. You can build water systems, railways, and other transportation routes to improve your mining efficiency. For now though, it’s fine to simply dig deep and start making tunnels until you find good ore. Just remember a few rules:
Mining Tips and Warnings
- Most good minerals are found in veins; if you see one piece of Iron, Coal, Gold, or another good material, there are probably more! Dig out the entire area around each special mineral to make sure you get everything.
- Always bring food, Wood, Torches, a weapon, and tools on your mining expeditions.
- If you hear bubbling Lava or monster noises, you’re likely getting close to a dangerous cavern; proceed slowly and carefully.
- Never dig straight down unless you have a death wish; one day, you will fall to your death or drop into Lava.
- Don’t dig up every single block to find ore. Make lots of narrow tunnels to maximize your search area.
- Leave precious ores and materials in Chests that you keep inside your home. Don’t carry everything with you, or you might lose it all if your character dies.
- Once you have a Bucket, keep some water with you at all times (for putting out fires, cooling Lava, etc.).
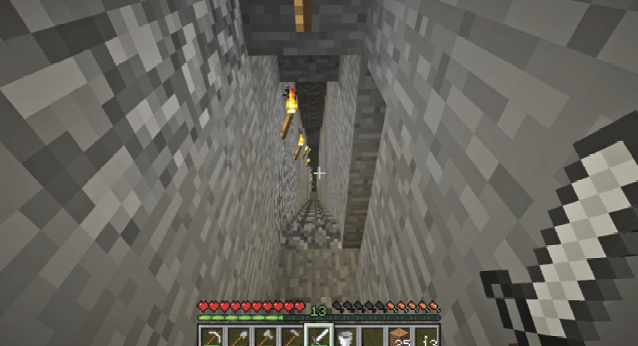
- Always put Torches on the same side of a new tunnel. If you get turned around, you’ll always know which direction leads toward home.
Know Where You Are

Start to get a feel for the resources in your current biome. If there aren’t animals, specific flowers, plants, or other goodies that you need, look up these items and find out where they naturally spawn. For example, if you want Sugar Cane, look it up to learn that Sugar Cane is common in sandy areas, near rivers or deserts. Make sure you gather all the valuable items in your area, and start stealing useful items anywhere within close range of your base.
Look Around
Goal #11: Make a Landmark So You Can Find Your Home from a Distance
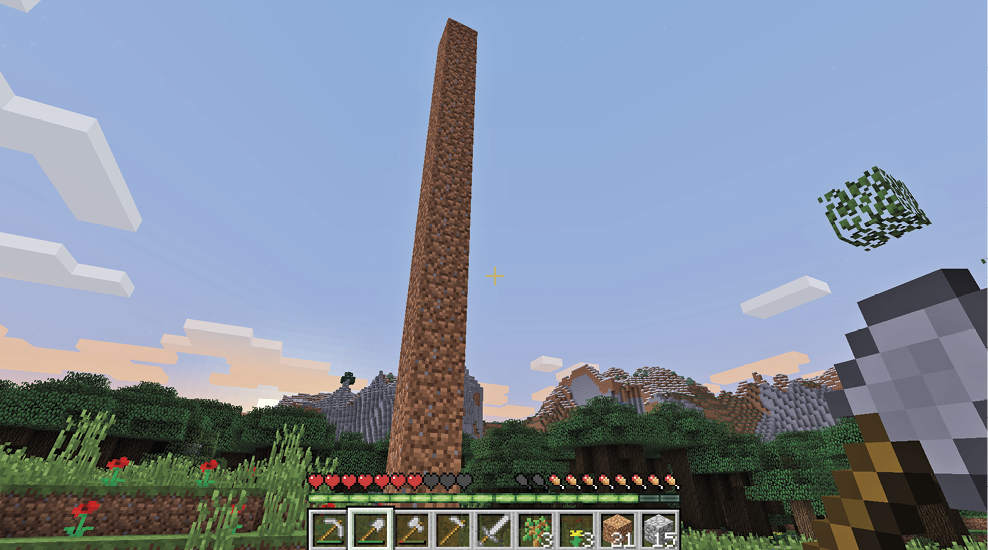
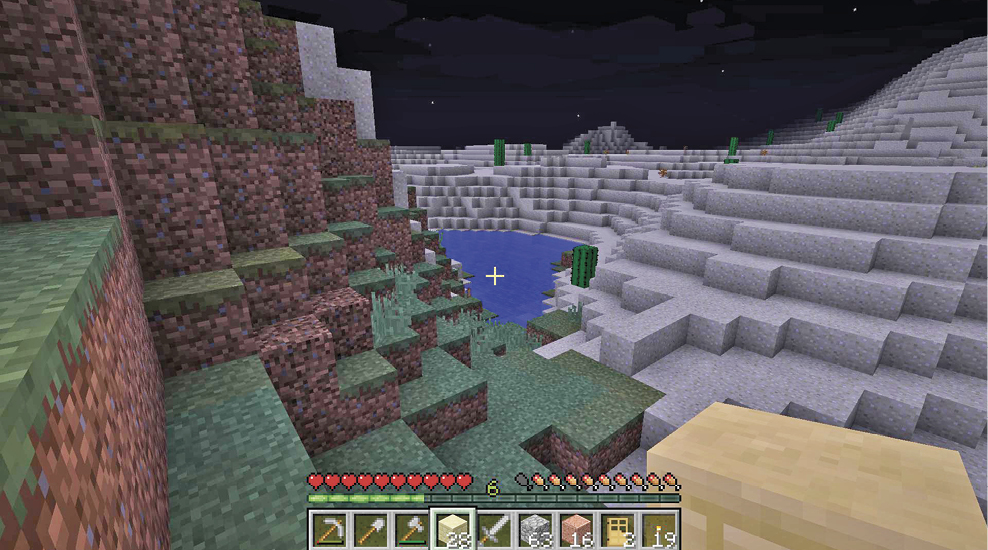
It’s nice and safe to stay near your home, but you can’t thrive by remaining in one place. Make landmarks so you can see your house from a good distance away. A massive tower of Dirt is one of the fastest, cheapest ways to accomplish this task. We talk about ways to create more landmarks in the next chapter.
Once you’ve made it easier to find your way back, start exploring the surface. There are other biomes within easy reach if you’re brave enough to walk a minute or two in any direction. This opens the way toward more animals, plants, and blocks.
Always secure your rare items in Chests at home before you venture too far out. If you die and can’t make it back to your body, you don’t want to lose anything important!
Moving On
Goal #12: Survive and Build!
As you get better and better at the game, you should add new tricks to your exploration and mining. The next chapter talks about many ways to improve your play: enchanting, brewing, combat techniques, using the Nether and the End, and so forth. There’s still so much to learn, but you now have enough information to survive your first few days in Minecraft. With that, it’s not much harder to build a house and use it as a base of operations for everything else you do. It all gets easier from here.
Joining Your Friends
Minecraft is great when you’re alone, but it’s even better if you find a place to play with your friends. There are many ways to do this, if you’re interested. There are servers online at all hours of the day, and you can join them without any trouble. You can also play locally with friends on the same network as your computer. For an even larger group of people to game with, you can set up a server for yourself and anyone who wants to join over the Internet!
We’ll explain how to do all of this, and then we’ll discuss Minecraft etiquette, so you know a few of the common dos and don’ts of playing the game with other people.
Getting Onto Other Servers
The simplest way to play with other people is to join an existing multiplayer server. Launch Minecraft. Next, make sure you have the information for the server on which you’d like to play. If you have no idea where to go, then let’s take a moment to find out!
Use your favorite Internet browser, type in something like “Minecraft Servers,” and then search. Your search results should provide a decent list of sites that spread information about Minecraft servers.
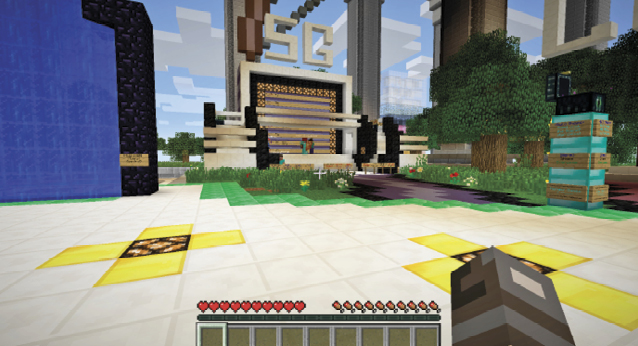
The sites that share this information usually have blurbs about the type of community to which its server caters. Are they PvP (Player vs. Player) servers? Playing to build? Survival? Look for an indicator that these people are interested in the type of gameplay you seek. Also, check to see how many people are logged in to the server. If it’s too empty or too full, then maybe it’s not a great choice for you. Personal taste takes priority here, so look for whatever you like. Maybe a small server is more your style. Or maybe you enjoy having tons of people to interact with.
What Do the Terms Mean?
It’s tough to figure out where to go when you have no idea what people are talking about. Let’s break down the types of Minecraft servers so you have an idea what you’re getting into. Some servers use their own terms or have unique styles of play, but the following list should give you a fair idea of what to expect.
|
Survival |
Mostly non-PvP-focused, standard rules |
|
Freebuild/Anarchy |
Unrestricted |
|
Creative |
Building servers, no combat, no risk |
|
Roleplay |
For creating a character, a story, and playing your role |
|
PvP |
Player versus player; combat between players, but there may be rules |
|
Hardcore PvP |
Player versus player; anything goes, at any time |
|
Faction |
PvP in teams |
|
Hunger Games |
Competitive PvP |
|
Prison |
Work your way up and out |
|
Challenge/Mini Games |
Specific goals are set forth |
|
Economy |
Build, trade, and expand |
|
City |
More rigid about where you can build; often involves heavy trade |
Once You Choose Where You Want to Go
Look up the IP address of the server that interests you. The sites that discuss these servers almost always provide this information. Highlight the address itself, and then copy it (Control + C, or write it down). Go back to Minecraft, select Multiplayer, and then “Add Server.” Paste the address (Control + V, or type it all in) that you copied into the Server Address bar and proceed. You can now get to that server whenever it’s online.
Make sure your login information is accurate. If you type in your user name incorrectly, the game won’t let you join multiplayer servers. You must have a valid Mojang account to do this.
Local Play
You don’t always need to hang out with 300 people to enjoy Minecraft. Maybe you’re in the mood to host some of your friends visiting your home. Local play is easy to do in Minecraft. Have one person in your house start a regular, single-player game. Once they’re in, hit Escape and then select “Open to LAN” to make the game multiplayer. Other people on your network will soon see the game pop up in their Multiplayer menus, and they can join.
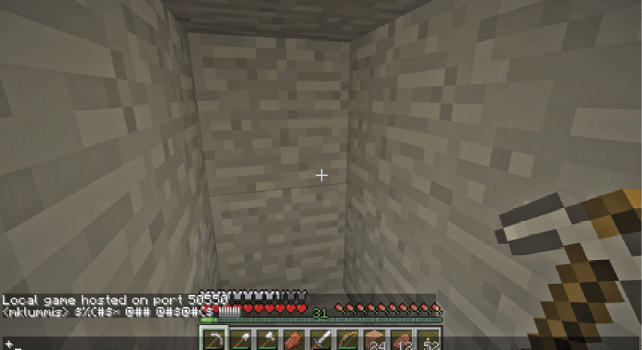
Write down the port that the game is being hosted on. If anyone has trouble automatically detecting the game, they’ll need to add that port number when they sign on. To do that, select “Direct Connect” from the Multiplayer page. Type in the IP address of the hosting computer, and then add the port that you just wrote down at the end of it. Here is the syntax:
“IP Address: Port Number” 192.168.1.102: 52088
Console editions of the game let people join in for split-screen local play. That’s pretty neat too, as long as you have a good TV to play on.
Creating Your Own Server
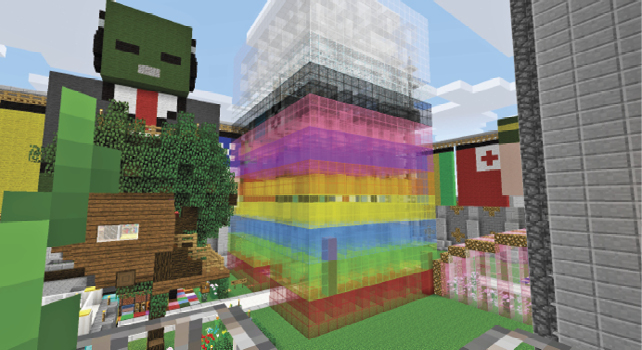
For the best of a few worlds, you can create your own server and have friends and strangers come through to enjoy Minecraft. Note that this is very involved stuff compared with playing on someone else’s server. Hosting is quite a commitment, so don’t get into this unless you’re extremely excited about messing around with the ups and downs of server management.
We don’t go into this in-depth, because some of the routing challenges, security issues, and other complexities go far beyond the scope of this book.
Interacting With Other People
Now that you’re ready to go online and have fun, take one more minute to stop and read. The following are a number of tips that help you avoid trouble with other people. Let’s talk about etiquette, so you can be one of the cool folks everyone likes to have around!
Griefing Is Bad!
There’s a time and place for trouble. If you want to wreck people’s houses, attack their characters, slaughter their animals, and ruin everything you see, go to a Hardcore PvP or an Anarchy server, a place where this behavior is tolerated. This is perfectly fine—just make sure you end up playing with other people who want the same thing! Combat rocks. It’s nice to compete and hunt people down, if they’re cool with that.
Don’t go into regular Survival servers or other cooperative modes and try to ruin things for everyone else. This is griefing (also called toxic, bad manners, etc.). It’ll get you kicked off of the server sooner rather than later, and there’s just no point. Treat people the way that you want to be treated, and everything will go fine most of the time.
Griefing includes:
- Attacking other players unless the server is PvP-focused, or the other player says that they’re interested in fighting
- Stealing from other players’ Chests or taking things from their homes
- Damaging other players’ property with Lava or TNT, removal of light sources, destruction of walls, leading monsters to them, and so forth
- Inappropriate speech or text
If it seems like a server has a ton of people griefing and causing trouble, find a new server. Keep searching until you discover a place that has cool people. Why bother playing online if you don’t like the players you bump into, right?
The Things People Say
Try not to overreact if people are a little bit rude from time to time. It’s the Internet. It happens. Ignore the person who’s being a pain, and focus on the players you like spending time with.
That said, report people to the server’s administrator or moderators if you start seeing really nasty stuff. Anything hurtful, cruel, or upsetting should not be tolerated. It’s totally fine to stick up for yourself and others!
If you’re worried about saying anything wrong around other people, go by a simple rule: pretend that your parents and your younger siblings are in the same room. Don’t do anything online that you wouldn’t do when they are listening in. Following this guideline prevents quite a few “Oops, I didn’t mean to upset you,” moments.