
Taming the Wilds! Mastering Minecraft 4th Edition Guide You Can Do Anything with a Little Practice
Building Up and Out
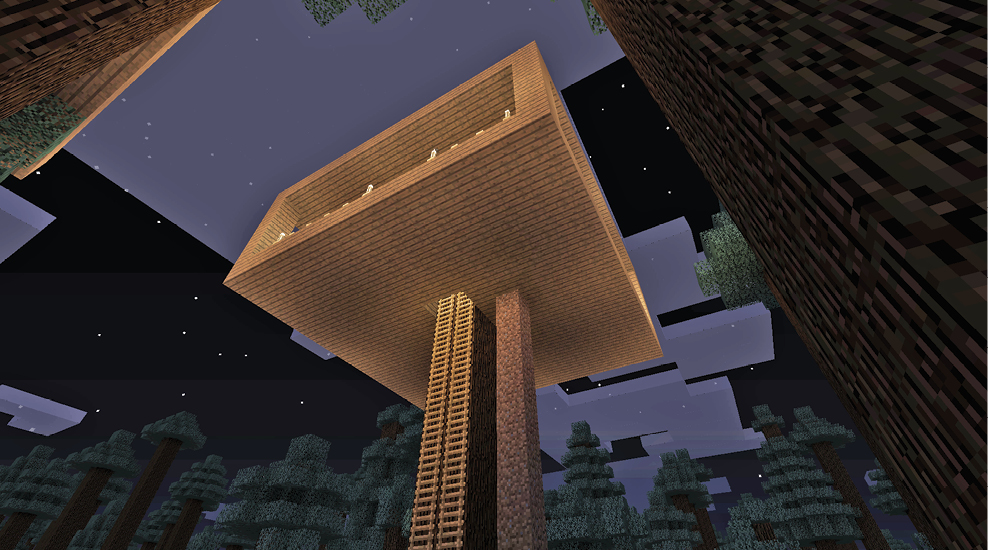

Not all of Minecraft is about going down to the inky deeps. There are plenty of occasions where going up is the answer. Learning to build up and out is an essential skill, whether you want to build a new level for your house, cross a ravine to reach some fresh resources, or you come across a giant tree and really want to build a fort up high. Just because you start on the ground doesn’t mean you need to stay there!
To the Sky!
Take a look at your house. Wouldn’t it look better with a second story? You could put an Enchanting Table up there. You could make a storeroom to organize all the resources you’ve mined. Maybe put a Nether Portal on the roof! It’s time to build up and learn how to make things taller.
The first thing to do is bring all the resources you need, plus a little extra Dirt to get yourself into position. In the case of building a new level on your house, you need tools to dismantle the roof and turn it into a floor, unless you built a flat roof in the first place. You also need material to make new walls, plus Stairs or Ladders to connect the upper floor with the bottom level. Bring all of this with you, so you don’t have to go back for it later. In the case of building your house, getting more stacks of Wood or Stone is pretty easy. However, when you build a larger project farther away (like building up to some Diamonds high on the wall of a cave), running out of building material halfway through can be quite in convenient.
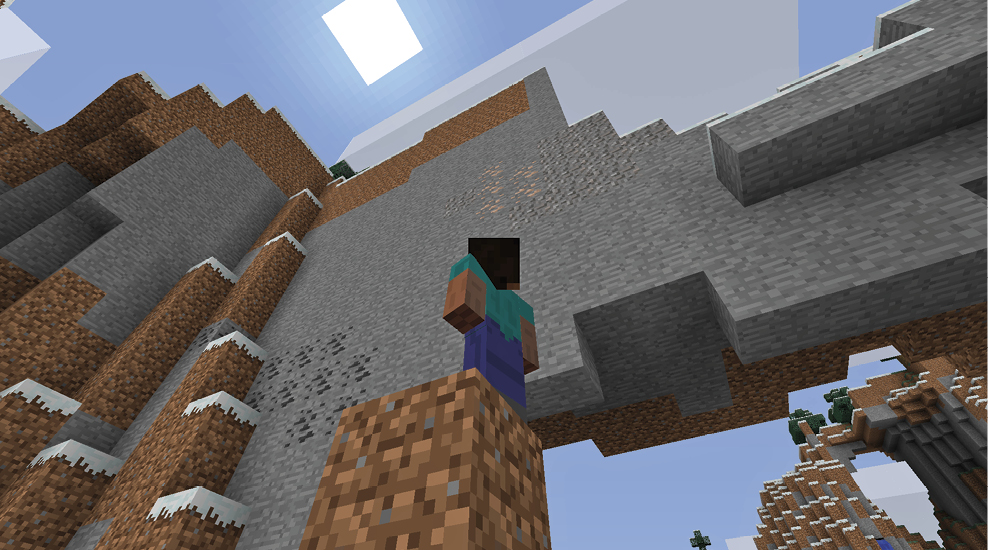
Expanding your house upward uses the same basic principle of putting one block on top of another to get you where you need to be, and then making a new structure there. The easiest way to start climbing is to make a pillar at the base of the thing you want to modify: in this case, your house. Put down a Dirt block and hop on top of it. Then, while standing on the Dirt block, look down at your feet, jump, and place a block at the same time. It’s easier than it sounds, because you can simply hold down the buttons! You wind up on top of the newly placed block, higher off the ground. Keep jumping and placing blocks until the pillar of Dirt reaches the top of your house. Because you built the pillar next to your house, you can step straight onto the roof.
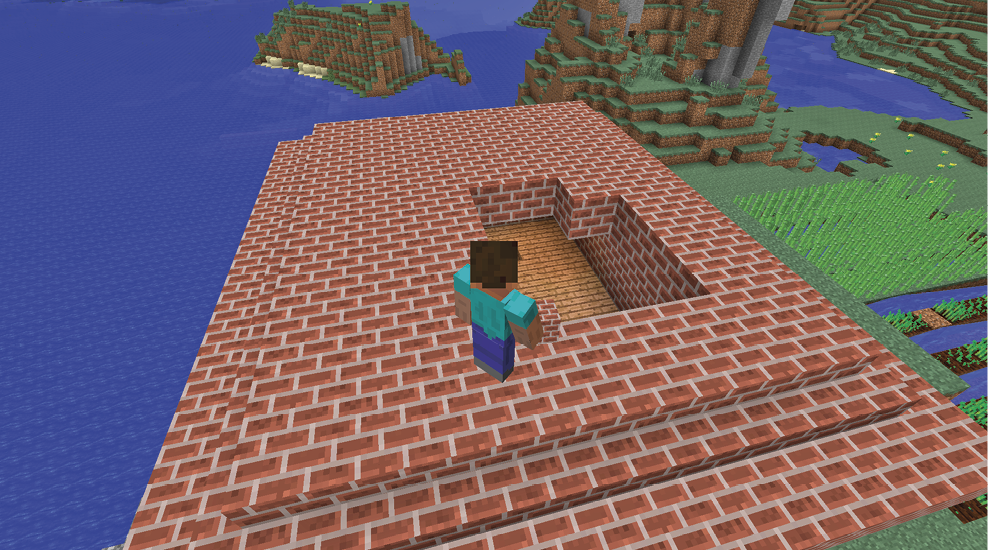
Dismantle the roof or flatten it out, since you’ll use it as flooring for your new level. When you start placing blocks for the walls, crouch and move to the edge to avoid falling off. Lay down the wall’s lowest blocks around the edge to give yourself a pattern to follow. Once the new wall’s base is laid out, hop on top, crouch down, and work around the perimeter. Place new wall blocks and hop on top when it’s nearly complete to finish placing the last few blocks. Keep repeating until the wall is high enough to accommodate whatever needs to fit in the new room. Now that you’re standing on top of your newly built wall, you can jump into the room and make a ceiling, or you can do it from the top of the wall by building outward.
Building Bridges

Building out is the technique of building into empty space. Crossing a chasm with a bridge is an example of building out. Another example is starting from a small ledge high up and turning it into a larger structure. If you want to make things up in the air, you have to get comfortable working on the edges.
First things first. Crouch! Always crouch when you’re building out. A simple experiment shows the reason why. If you’re still on the roof of your house, you might want to come down first via your Dirt pillar. Now, place a block on the ground. Hop on top of it and see how close to the edge you can go before you fall off. It’s pretty easy to fall! Next, get back on top of the block and crouch down. Now see how far you can get. Not only can you reach much farther, but you stop when you reach the very edge, even if you try to move off the block. Stay crouched, look down at your feet, and turn around. By doing this, it looks like you’re standing on empty space. You can see the edge of the block you’re standing on. For some real fun, place a new block at the edge while crouching and walking backward. You can place a block, walk onto it, and then move to the very edge again.
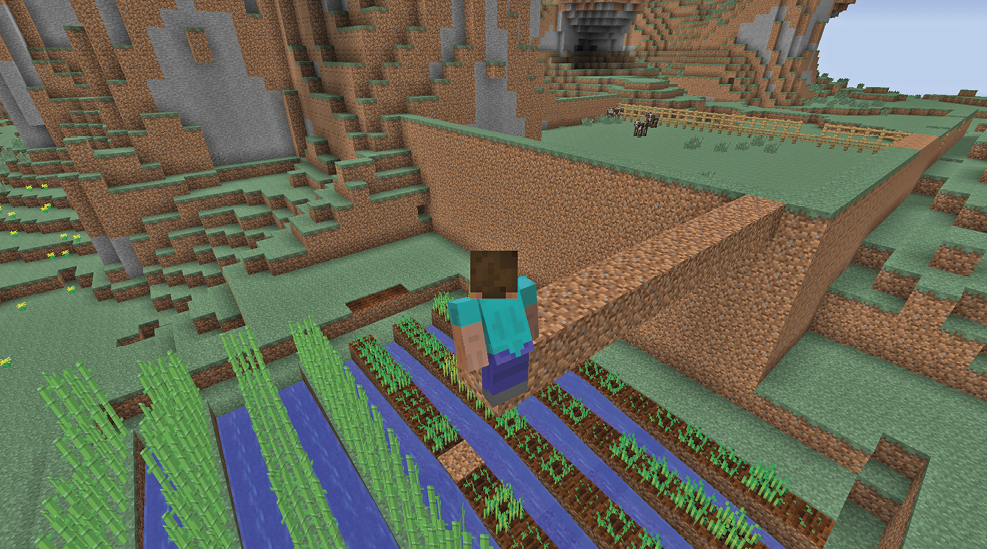
This technique is the heart of building out. Ride the very edge, placing new blocks you can then use to reach even farther. In the case of a bridge, crouch-walk backward, placing new blocks as you go. You’ll be across that chasm in no time! To build a ledge, crouch at the edge and walk side to side, laying new blocks to make the ledge wider. Then move out to the edge of the new blocks and go back the other way. In the case of your newly expanded house, get back on top of the wall and then crouch-walk your way toward the center, filling in the roof layer as you go.
This method is ideal for crossing lakes, Lava, and ravines, and for building sky bridges to anywhere you’d like to go.
Putting It All Together
There are times when you find a giant tree while exploring and think, “That would make a great treehouse!” Let’s get some supplies and make it happen!
Treehouse Checklist
- Really big tree: Jungle trees are certainly tall enough, but you have to do some landscaping to clear out the leaves. Mega taiga spruces are ideal, as they’re tall and thick, and the leaves are really high up. But any big tree will do!
- Wood Planks: You can easily find these in the nearby woods or bring them from another base camp.
- Dirt blocks: You can find these all around the tree.
- Fences: These are assembled from Sticks and serve as railings for your fort.
- Ladders: Once you’ve built the treehouse, you want an easy way to get up and down.
- Trapdoor: This keeps you from falling down through the Ladder hole!
- Torches: You need these to light everything!
- Bed: This comes in handy for sleeping when it gets dark. You’ll be too high for most monsters, but an Arrow can still knock you off.
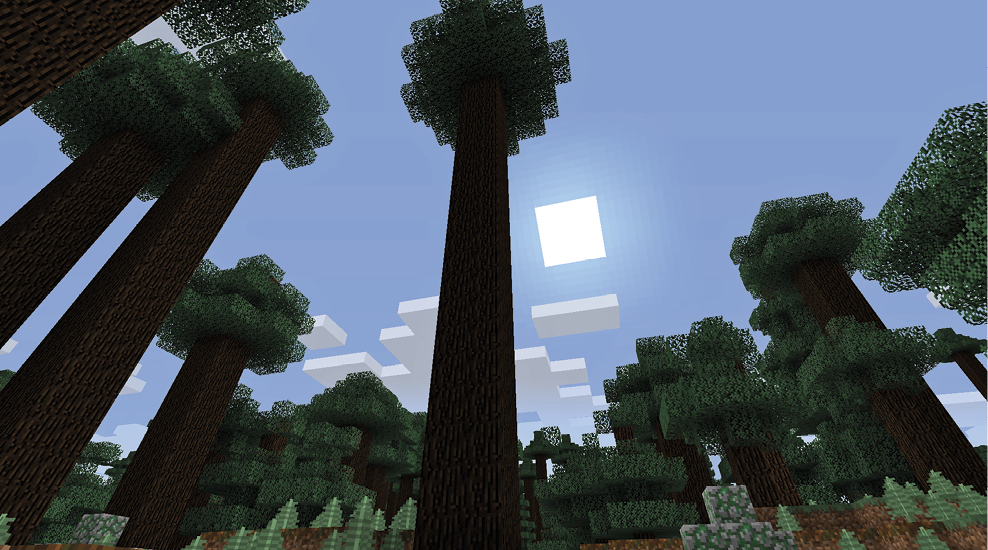
Build a Dirt pillar beside the tree, and stop at the tree’s upper section. This doesn’t have to be precise. Use the Wood Planks against the bark of the tree to create a small ledge. Walk onto it when the ledge is complete and crouch down. While crouching, walk around the tree in a spiral, building a ledge that completely circles the tree trunk. Continue circling until the ledge is several blocks wide. This will be your treehouse’s floor, so make it as wide as you want. Once you’re satisfied with the floor, set up the Bed and sleep if it’s dark.
Now it’s time for walls. Because monsters can’t reach you, have some fun with this. Place Wood Fences all around the edges to act as railings, but leave the corners bare. These bare corners will become small pillars to support the roof. You may be under the leaves, but it’s always nice to have something more solid overhead. Make Wood Plank pillars three or four blocks tall. When you’re finished, crouch and build inward to start making a flat roof. Maybe later, you can convert it into storage space!
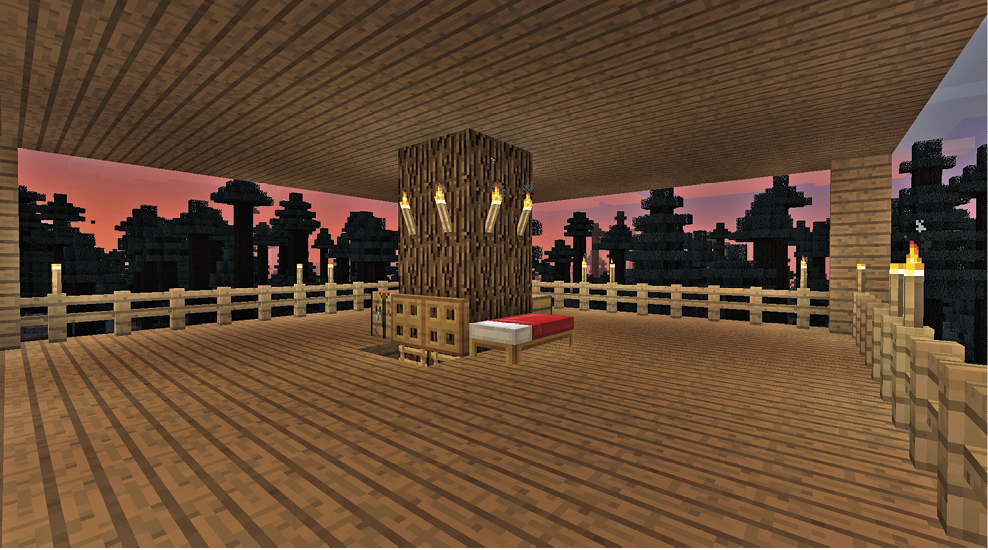
We’re almost finished. Now it’s time to make a Trapdoor and Ladder leading back to the ground. Go ahead and knock out one of the Wood Planks on the floor against the tree. Then place your Trapdoor in the open space. Open it and look down. It’s a pretty big drop, but you can survive the fall if you’re at full health. Place some Ladders against the tree and start working your way down to the ground. If you fall, no problem—that’s what the Bed was for! Your spawn point is up in the tree, so if worse comes to worst, you start over and continue building down.
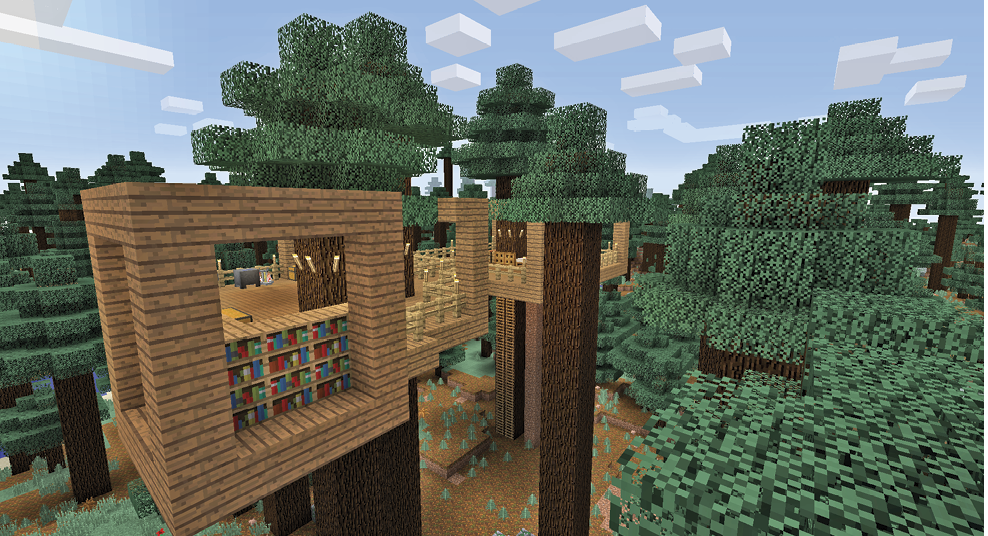
Once you’ve made a Ladder, your fort is almost complete. Place Torches along the Fence posts for light, and add more by the Ladder to serve as markers. Knock down the remaining Dirt, since you don’t need it anymore, or move it and make it even bigger to serve as a landmark. Maybe later, you can make a bridge over to the other trees and create a network of forts connected by bridges.