
Taming the Wilds! Mastering Minecraft 4th Edition Guide You Can Do Anything with a Little Practice
Creating Mines
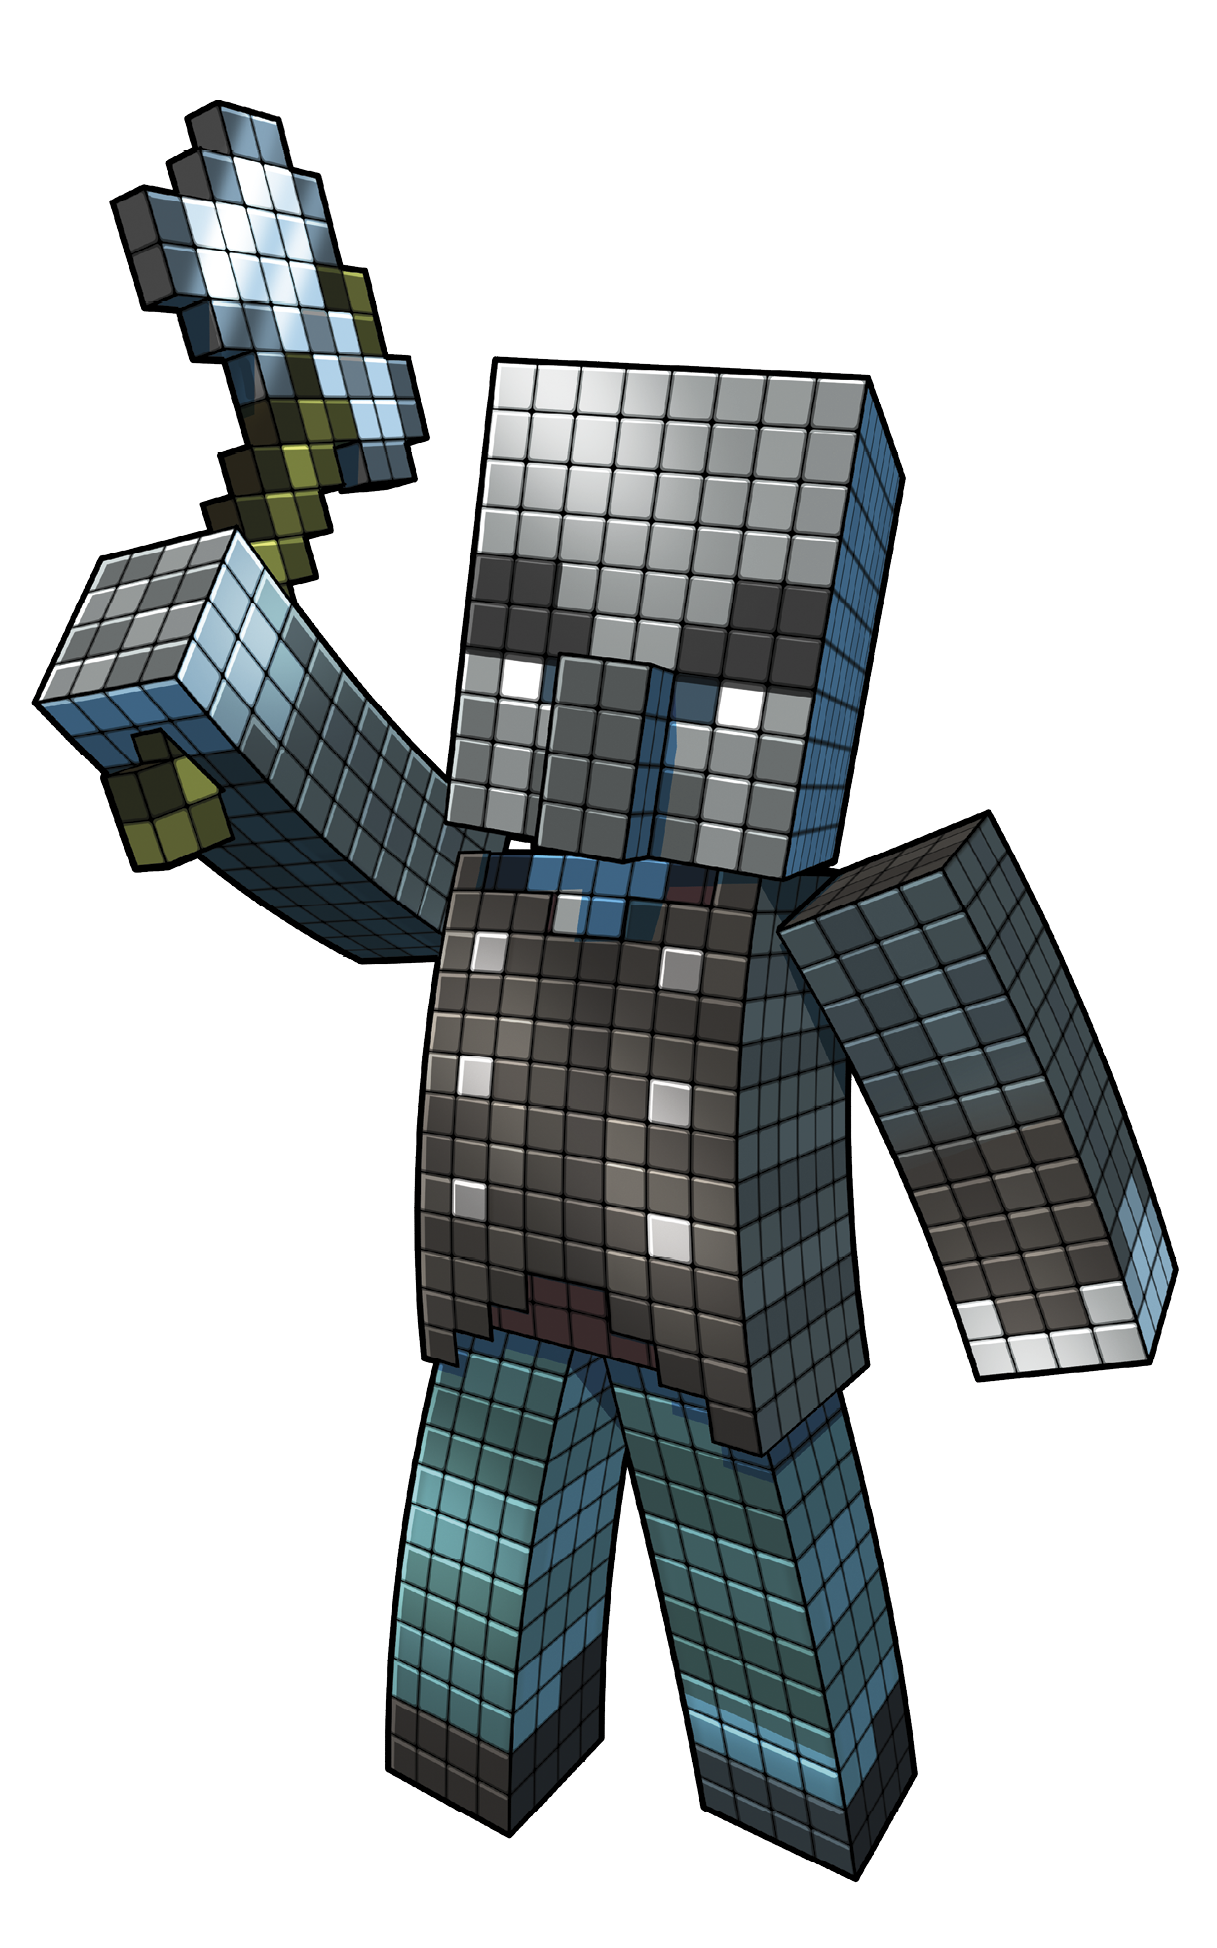
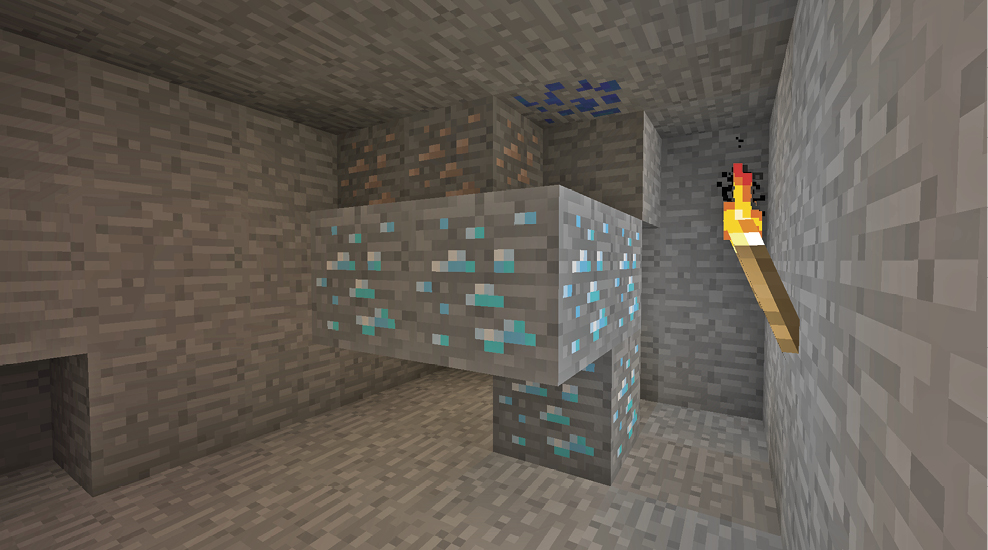
Once you’ve survived the first night and started to get established, it’s time to think about going deeper. Having some Iron and a small supply of Cobblestone is nice, but there’s treasure to be found in the depths. Maybe you can find Diamonds!
Bring What You Need
Before you do any kind of deep mining, you should take a few basic supplies with you.
The Essentials
- Iron Pickaxe, for mining
- Shovel, for patches of Dirt or Gravel
- Bucket of Water, for putting out fires or Lava
- Torches, for seeing and reducing monster spawns
- Ladders, for climbing out
- Crafting Table, for building a base
- Chest, for storing useful things
- Wood Planks and Sticks, for replacements
- Food, because everyone gets hungry
Iron Pickaxe and Stone Shovel
Stone Pickaxes are great when you’re starting out, but Iron is extremely useful once you start any sort of large-scale digging. You have to use resources to get resources, because you can’t get Gold, Redstone, and Diamond without using an Iron Pickaxe or better. Take one along so you don’t leave behind a cluster of Diamonds.
Take a Stone Shovel or two as well, so you can clear Dirt and Gravel without wasting any time.
Bucket of Water
As you go deeper into the earth, Lava starts to be a concern. Lava pools can be a real challenge! You might see some great resources on the walls and ceiling around a Lava pool, but going after them risks you or the materials you want falling into Lava. We’ll cover how to get them a bit later, in a section titled “Lava Mining.”
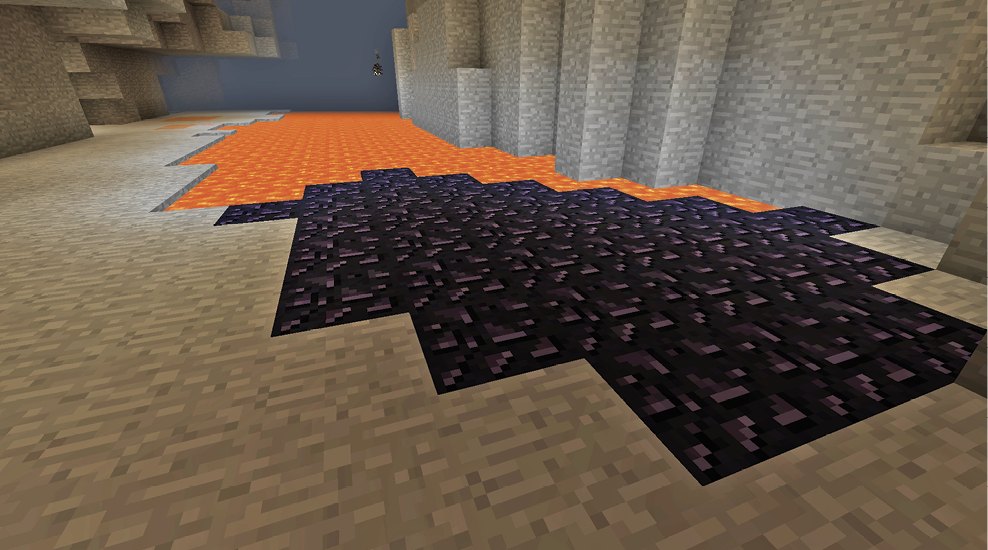
There’s usually a way around, but if you don’t feel like walking around Lava, you can use your trusty Bucket of Water to turn large swathes of it into Obsidian. Simply pour it out near the edge and then immediately pick up the source block. The ripple of water turns all the nearby Lava into Obsidian. Lava is so hot that you can catch on fire just by being near it. The Bucket of Water is great for putting yourself out if that happens. Just pour it out and hop in!
You can also use water when you’re faced with a ravine or giant cave. If you tunnel out in the middle of a cave wall with empty space below you, use the water to create a waterfall that you can swim down. It’s much better than jumping, and you can swim back up the waterfall when you want to get out.
Torches
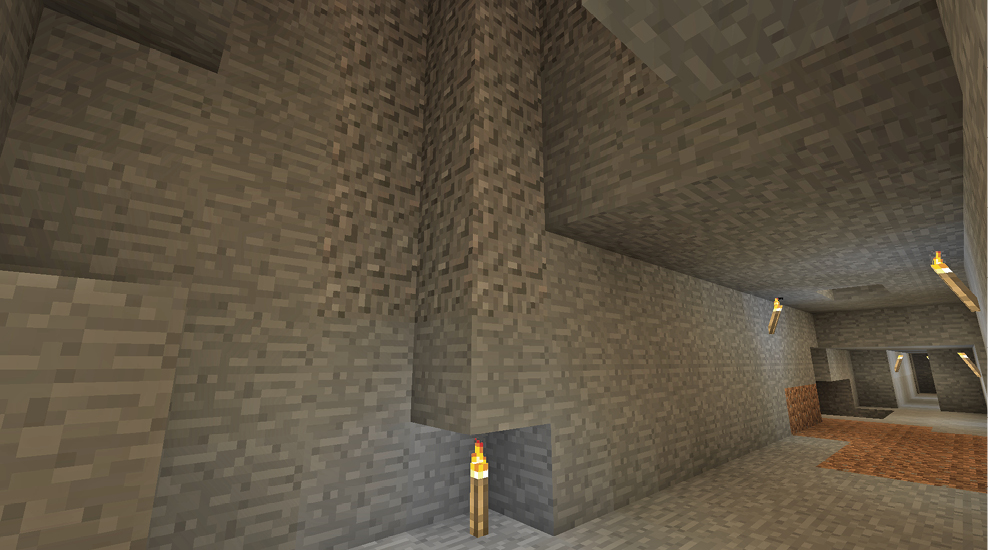

The world’s deep places tend to be dark. Torches keep your mines illuminated, so monsters don’t spawn and you don’t miss patches of resources. Also, use them to track your exploration in cave systems to see where you’ve been and where you came from.
Gravel can be an annoyance in any sort of large-scale mining work. Blocks of it drop down and get in the way when you mine the block supporting them. When you confront a wall of Gravel, dig underneath the supporting block and put a Torch on the ground underneath the stack. Then mine away the block supporting them; instead of falling down, the Gravel hits the Torch and breaks.
Ladders
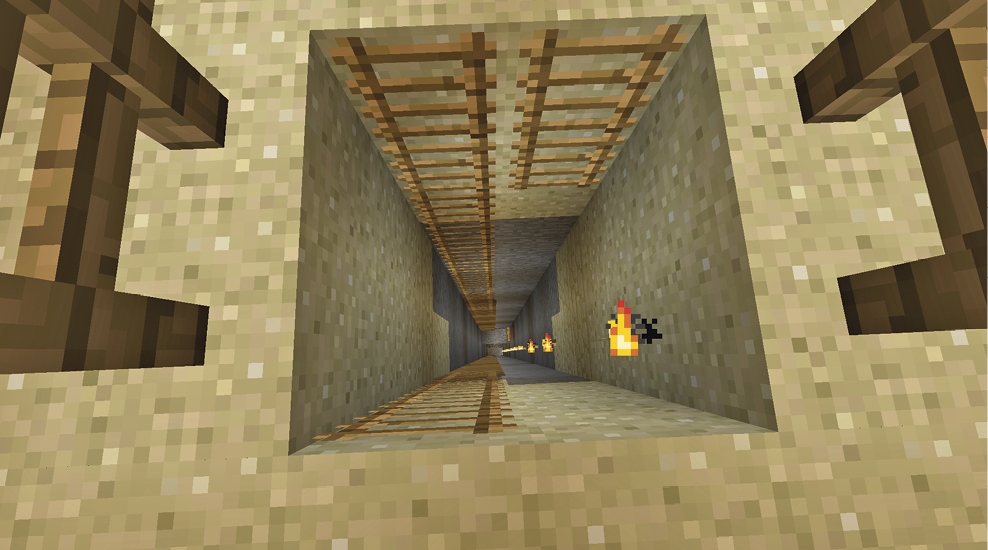
What goes down eventually wants to come up again. Ladders create an easy way to get from your central base to the bottom of your mineshaft, without having to risk jumping or building Stairs. Take Ladders with you when you create the original shaft to set up a quick way home.
Exploring caves can be risky, especially large ones with sharp drops and high ledges. You can use mined blocks of Stone and Dirt to create pillars, but Ladders are quicker and more useful. They also make handy landmarks to important places!
Crafting Table
The first thing you should do when creating a large underground mine is set up a secondary base camp. This is where you can go to drop off resources without having to return all the way up to pick up something you need, like food or a new tool.
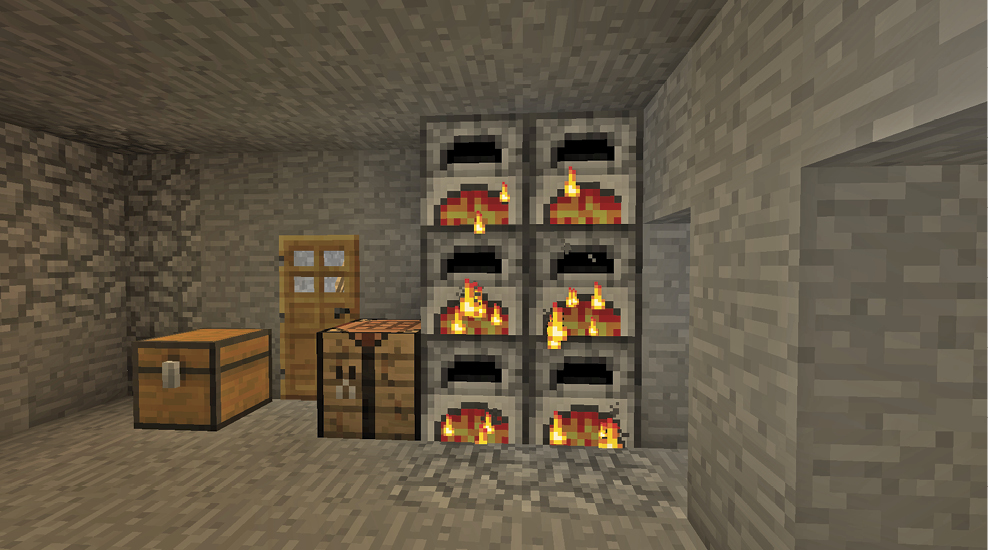
Taking a Crafting Table ensures you can adapt to any changes or difficulties. If you break a tool, you can make another. Build Furnaces to smelt your raw materials. You can also make things like Signs, Doors, and Chests to organize your resources and keep from getting lost.
If you need to save inventory space, bring tons of spare Wood Planks and make a Crafting Table on the fly. They’re cheap and simple.
Chest
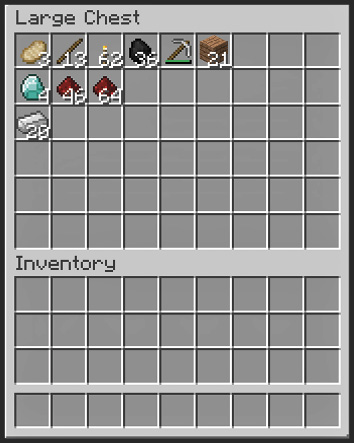
Storage is always a priority when creating a mine. The last thing you want is to have all your precious things on you when a Creeper sneaks up and defeats you, or a gang of Zombies overpowers you, or you fall into Lava. It’s heartbreaking when the last thing you see is a dozen Diamonds burning in a puddle of Lava, or when you realize you have no idea where you (and all of your stuff) were when those Skeletons came and took you out.
Accidents happen to even the most careful miners. Avoid pain and mental anguish. Put spare items into your Chests, and leave those Chests by your secondary bases. Don’t collect the goods until you’re ready to head back to the surface!
Wood Planks
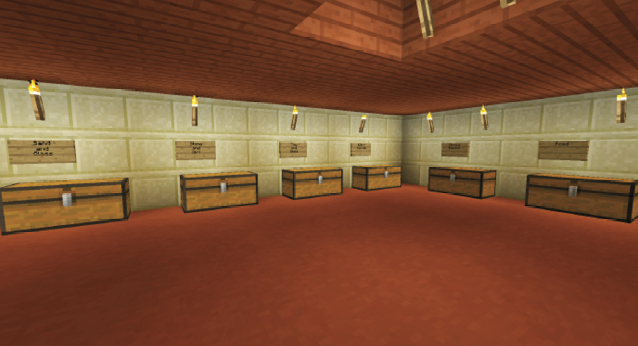
Spare Wood is essential. Unless you’ve created an underground tree farm (and if you have, that’s fantastic!), there won’t be any trees in your mine. Wood is useful for Torches, new tools, Signs, and plenty of other essential goods. Don’t go down into the mines without a substantial supply of Wood Planks.
Doors and Signs are great additions to an extensive mining operation. Use Doors as barriers to keep monsters from wandering into your safer areas or as visual cues that you’re close to places you’ve already developed. Signs can point the way home, warn you (or others) about hazards or particularly rich areas, or label Chests when your storage increases. When you find yourself rummaging through all of your Chests to find a single item, then it’s time to make a few Signs and do some sorting!
Food
The last essential inventory group when you start a mining operation is food. Returning home every time you get hungry slows everything down. It’s also dangerous to be hungry and unable to run when you encounter a group of monsters. You need to keep your health at max, because there are falls and hazards everywhere. A single Heart can make the difference between surviving and losing all of your hard work.
Don’t just avoid starvation, either. Keep your hunger meter maxed out so your character heals quickly from wounds. Don’t be stingy with your food while you explore caverns; too many things can go wrong.
Types of Mining Operations
After you gather your essentials, it’s time to mine. Now you have to decide what kind of mine to make. Will you explore a cave? Dig down to the very bedrock? Follow a pool of Lava? You might find yourself doing all three, or coming up with a new system!
Cave Exploration
Caves are great access points into deeper areas. They spare you from having to create your own mineshaft. They can be ideal mining locations, especially if you start near one. The main challenges in cave mining are getting lost, fighting monsters, and getting to the resources you want.
Caves can be really big, in some cases going from the surface all the way down to bedrock. They sometimes branch off in multiple directions, at multiple heights. You can easily get lost if you don’t take care to mark your exits and keep a trail of Torches. Signs, Doors, and Torches are essential to track your progress and find the way out.
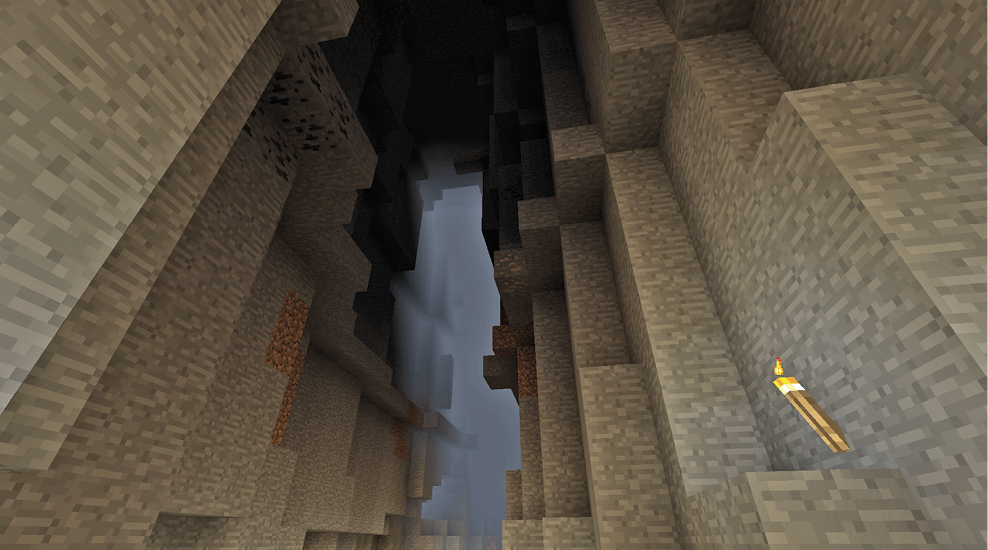
Getting what you want is tricky when you see resources high up on a wall. Ladders and Dirt pillars are great ways to reach higher ledges, but be extremely careful of Skeletons. Getting knocked off of a ledge by an Arrow is a good way to plunge to your doom.
Navigating Caves
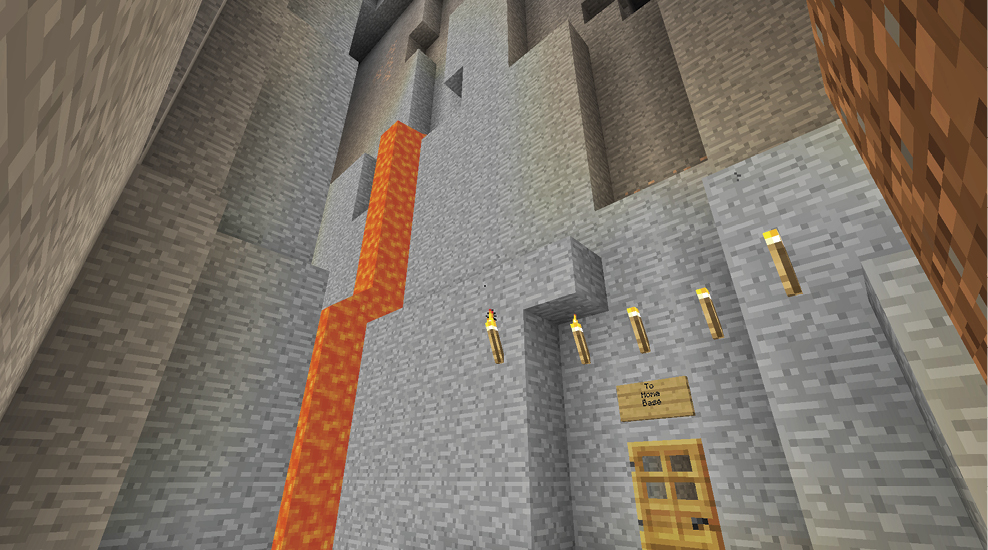
You have to think in three dimensions with big cave systems, because you often go up and down. Signs are helpful; even something as simple as an arrow pointing the way back to your base camp can save time and energy. Use Torch patterns to mark out special places, like putting triple Torches around the corridor that leads home, or to the cave you’re currently exploring. For the big ravines with lots of vertical height, consider making pillars or intentionally creating Lava flows by carving out a hole high up and putting in a Lava source block. Lava flows make nasty puddles on the floor, so plan them out carefully and surround them with a wall of Dirt or Stone. Lava pillars provide light, landmarks, and a trap for monsters!
Illuminate everything you can so monsters don’t constantly surprise you. Use Cobblestone walls to partition large caves and ravines. Smaller areas prevent you from being overwhelmed with monsters. You might even want to seal up areas too big and dangerous to deal with. Caves are full of nasty ambush spots, with Skeletons shooting you off ledges or attacking from places you can’t reach. You also face Zombies and Spiders dropping from higher ledges, and Creepers sneaking up on you in the darkness. If you find yourself dying and getting frustrated, seal off the entire area. Make a giant wall with an Iron Door that monsters can’t get past. Be careful, get armor as soon as you have the resources for it, and always be ready to cut and run.
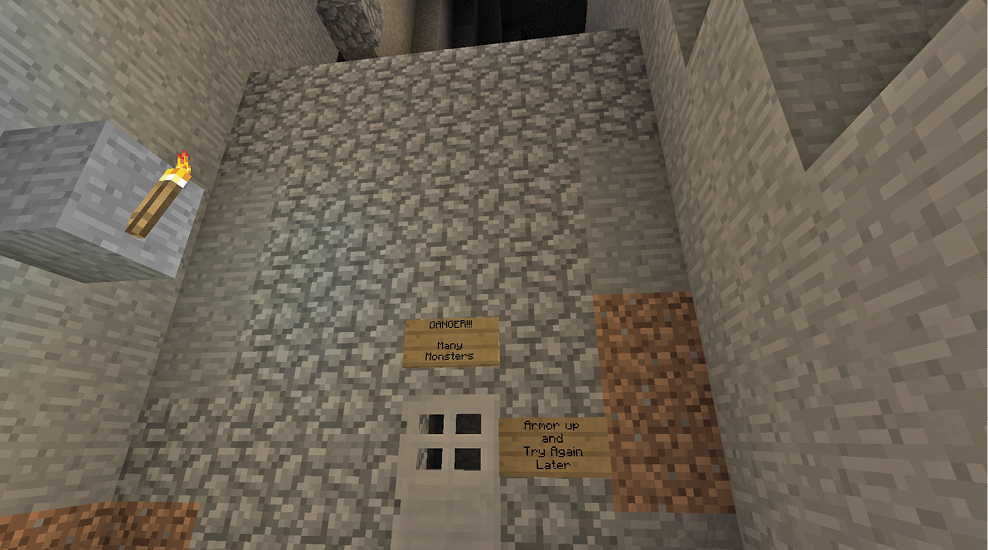
You can always explore a tough cave again later, when you have more food and armor!
Deep Mining
Mineshafts are great for getting down to the lower levels. These are different from exploring a surface cave, as you are going deep into the earth and creating your own tunnels. You may run into caves or Lava pools, but sometimes it’s very quiet down there. You might go a long time without seeing any hazards or monsters.
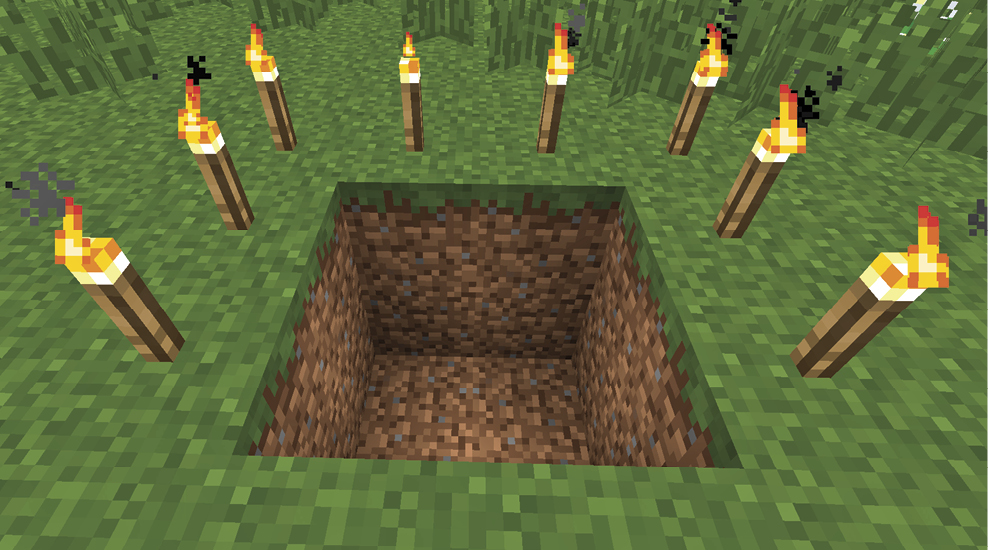
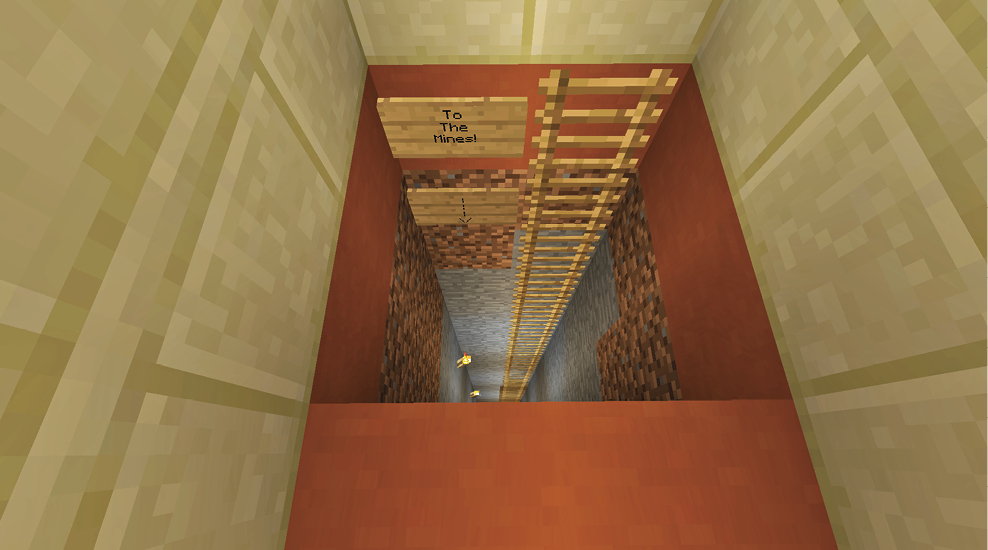
The easiest way to start is by digging a 4x4 hole in the ground. You may want to create a separate room or special area for the dig, so you don’t fall into it by accident, and so you can find it again later. Take your essentials with you and start digging downward. Never mine the block directly beneath you. That’s a certain way to fall into unexpected caves or Lava pools. Mine around yourself first, and move onto the newly revealed blocks to keep accidents from happening. Place Torches on the wall and use Ladders to get back to the surface.
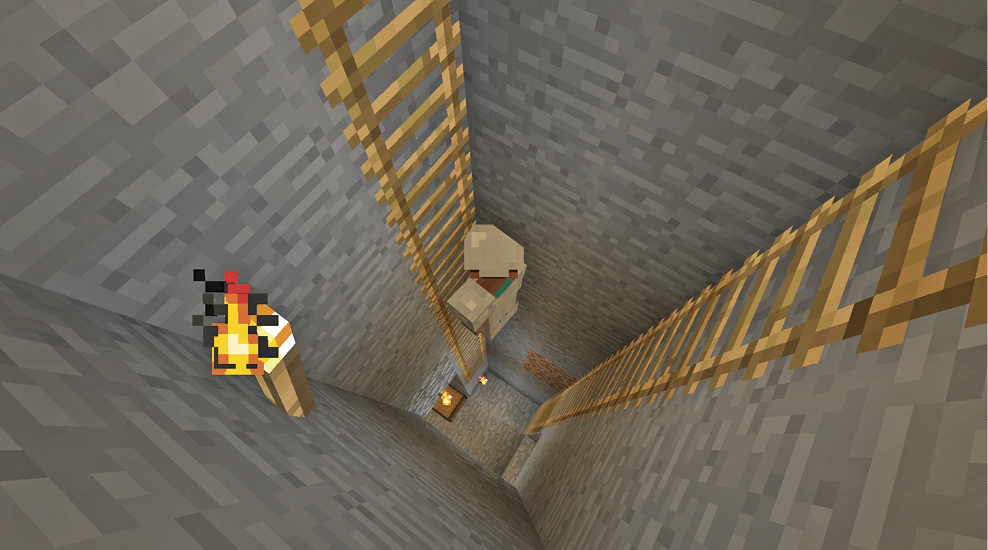
If you keep going straight down and don’t break into a cave, you eventually hit bedrock. Though you can start mining near this level, it’s easy to break into Lava pools. It can actually be safer to build back up ten blocks or so from the bedrock. Staying at this level (roughly “Y” 10-12) lets you come in above most Lava caverns.
Once you finish the mineshaft, make a temporary base and store everything you don’t want to take with you. Consider using some of the Cobblestone you’ve mined on the way down to build a few Furnaces. Smelt any Iron you found on the way to make spare tools. Dig out the area to give yourself room for future expansion.
From the bottom of your shaft, pick a direction and start mining. Go as far as you want, but be sure to keep Torches at regular intervals. As always, you don’t want to mine the ground directly beneath you; falling into Lava is a terrible way to lose everything. Keep the corridors straight so you don’t get lost.
Once you’ve made a central corridor, start creating branches at regular intervals to the left and right. These can be as long as you want and should be well-lit. If you don’t go up or down, you don’t have to worry about Lava suddenly coming from the ceiling, or falling into it. If you happen to break into a Lava pool, you can explore it or seal it off. If you find a patch of resources, mine them fully!
Navigating Your Corridors
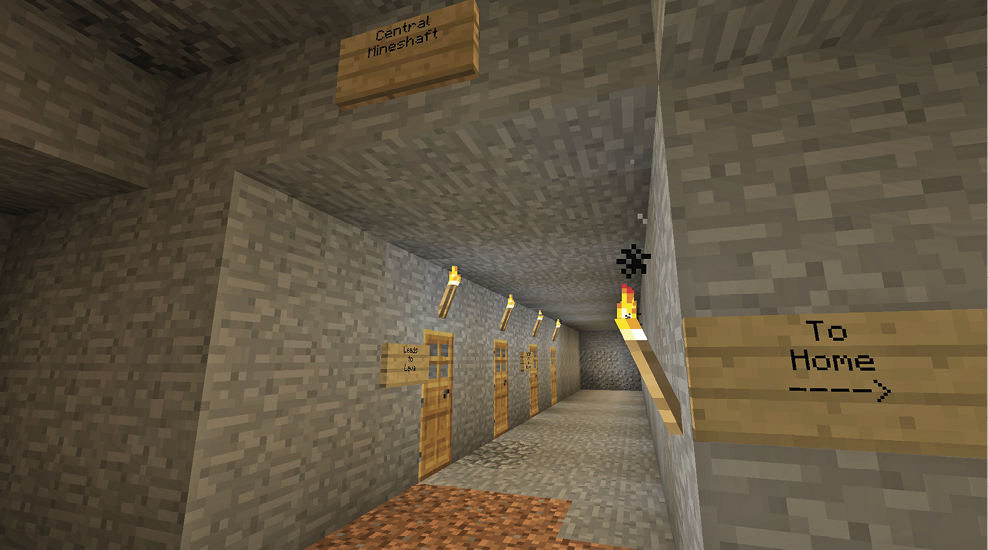
Because everything in the corridor contains right angles, telling which corridor leads back to your base can get confusing. You can solve this by using Doors to the branches and Signs pointing the way home. A little preparation and organization keeps you from getting confused and wandering your own system in circles.
Lava Mining
Because Lava pools form deep underground, Lava mining often comes into play at some point. To brave the danger, follow the Lava pools and mine the edges and ceilings of these caves. Let the Lava be your light source as the caves it creates reveal Gold, Redstone, Lapis Lazuli, Iron, Coal, and Diamonds. Large Lava lakes also tend to lead to other large lakes, letting you repeat the process. It’s a useful technique when you don’t want to spend much time in little corridors, but you also don’t want to deal with huge caverns full of monsters.
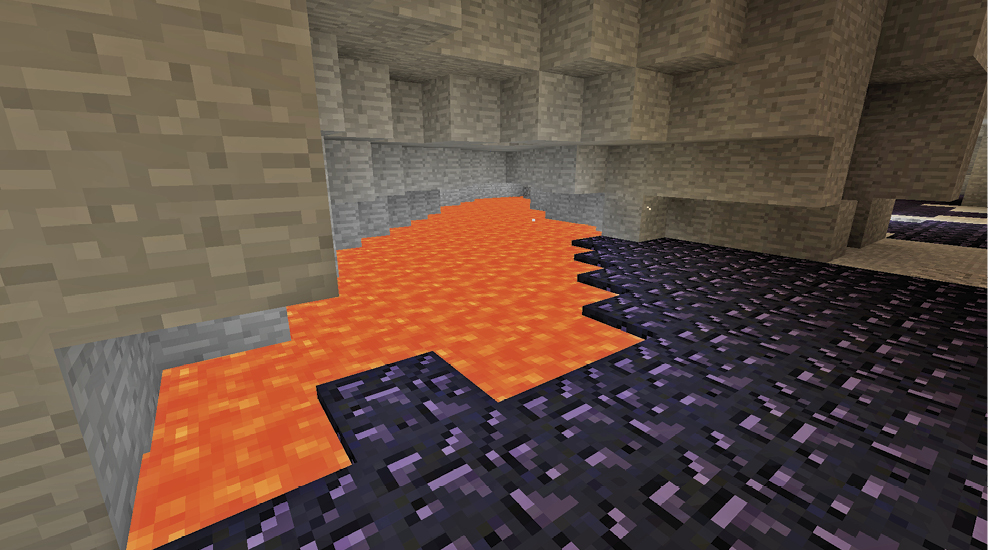
Lava mining has one big danger: the Lava itself. Just standing near it can set you on fire, and falling in can be deadly and burn up all your stuff. So, the first thing to do is respect the Lava and learn how to handle it with a degree of safety.
Everyone Falls In
At some point, everyone falls into Lava. It can be by surprise when you mine a block beneath you, or when you rush ahead while mining and walk straight off the edge. Maybe you’ll break through a wall or ceiling and it flows on top of you; that’s common in the Nether. It might happen when a Skeleton shoots you off a cliff’s edge!
So, why not get it over with? Leave all your stuff in a Chest, make sure you’ve slept, and then hop right in! You’ll get to see firsthand what happens, at a time of your choosing. Try getting out to see how difficult it is.
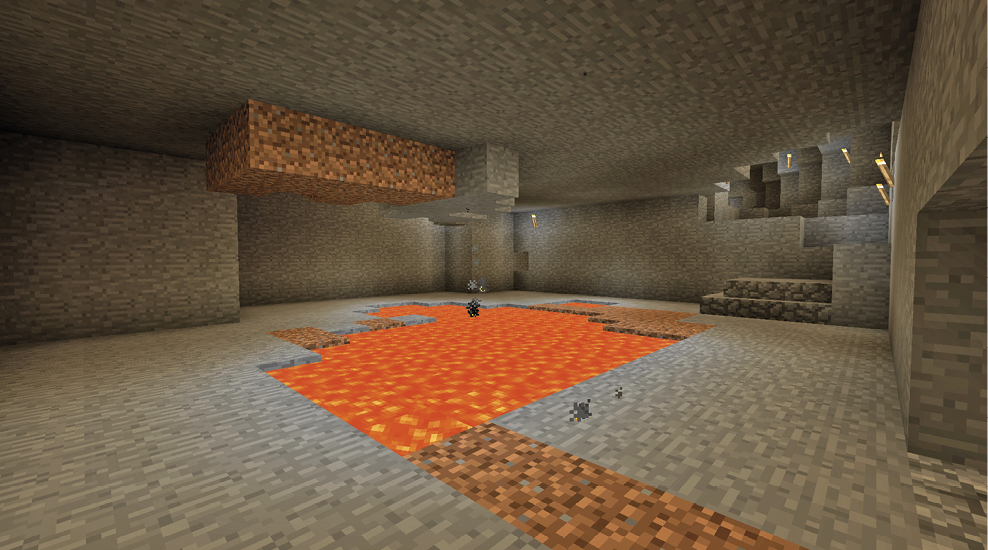
This is the best way to practice surviving a fall into Lava. You don’t have to try this if you don’t want to. But it’s a great way to learn how nasty Lava is without the stress of trying to save your resources from burning up.
Lava Safety Tips
There are three types of Lava to watch out for: the flowing kind, the surprise kind, and the kind that sits around in pools. Small Lava streams are common in caves. The large pools tend to occur deep underground, close to the bedrock. You may see some Lava pools on the surface as well, particularly in mountain biomes.
When you come across a small Lava flow, the first question to ask is, “Can this help me?” Caves and ravines are really dark, and having a large light source is helpful. Lava pools are also nice to have around as navigation aids. It might be better to put up a wall at the Lava’s edges and keep it around!
If you want the Lava gone, remove it by taking away the source block. A Bucket does the trick, or you can put Dirt or Stone into the source to block it off. Pouring water over the Lava flow also works, though this creates Obsidian (which is hard to mine).
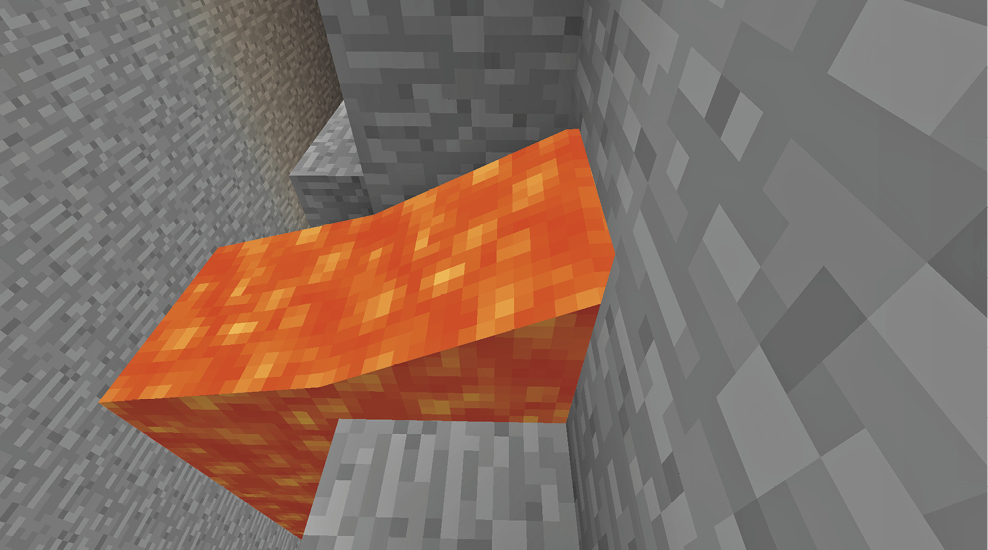
If you mine a wall, ceiling, or floor and suddenly find a Lava flow you weren’t expecting, then congratulations! You’ve found surpriseLava!
Act quickly. Grab a Stone block and swiftly fill the hole you just mined. This blocks the Lava and cuts off the flow before it starts. You can also back away, let the Lava spill out, and then carefully brick it up again.
This type of surprise Lava is more frequent in the Nether, which is filled with all sorts of fire. Lava flows more quickly there, so it’s easy for surprise Lava to spill out and cover an area. It’s often easiest to retreat, set down a Cobblestone wall to block the incoming flow, and then work your way back to the hole from which the Lava originated to stop it up.
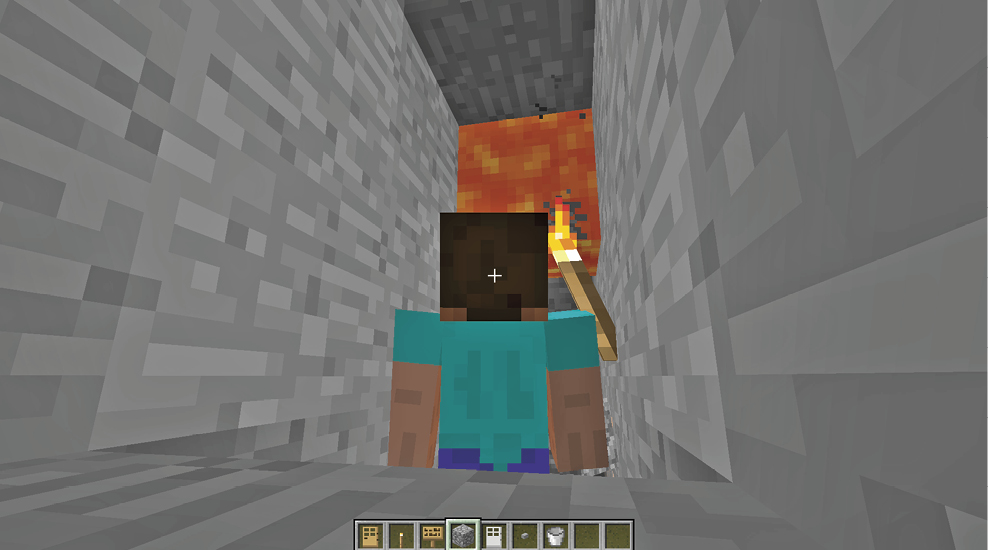
If you mined a block underneath you and fell into Lava, you might be able to knock out a block beside you and get out of it. But there’s a good chance you’ll burn up and lose all your stuff. Never, ever, ever mine directly beneath yourself! We’ve mentioned that before. And you know what? You’ll still do it at least once and regret it. Almost everyone does.
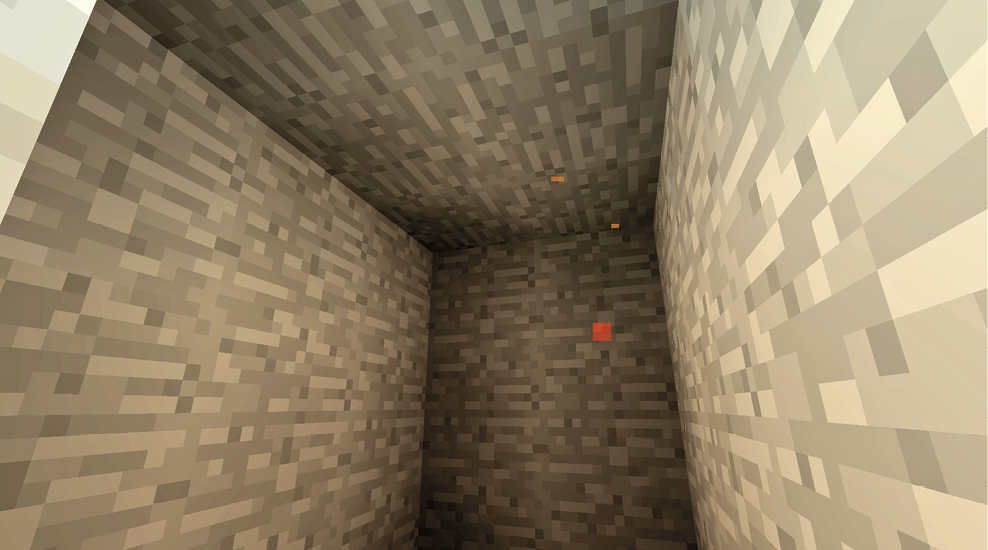
A telltale sign of surprise Lava is sets of glowing drips from the ceiling. They indicate that Lava is directly above you, separated by only one block. Unless you really want Lava, don’t mine when you see those drips! You can also hear it bubbling when it’s nearby, so be extra careful until you locate the source.
Keep a Bucket of Water handy to extinguish yourself if you catch on fire or manage to escape the Lava. Speed is always essential, because Lava takes away huge chunks of your health. Use the Bucket above the Lava so the water flows over your character and the Lava below, turning it to Obsidian.
Large pools are safer than flows or surprise Lava, because they don’t go anywhere. The dangerous part comes from falling directly into them, as they tend to be several blocks deep, making them almost impossible to escape.
Making Lava Work for You
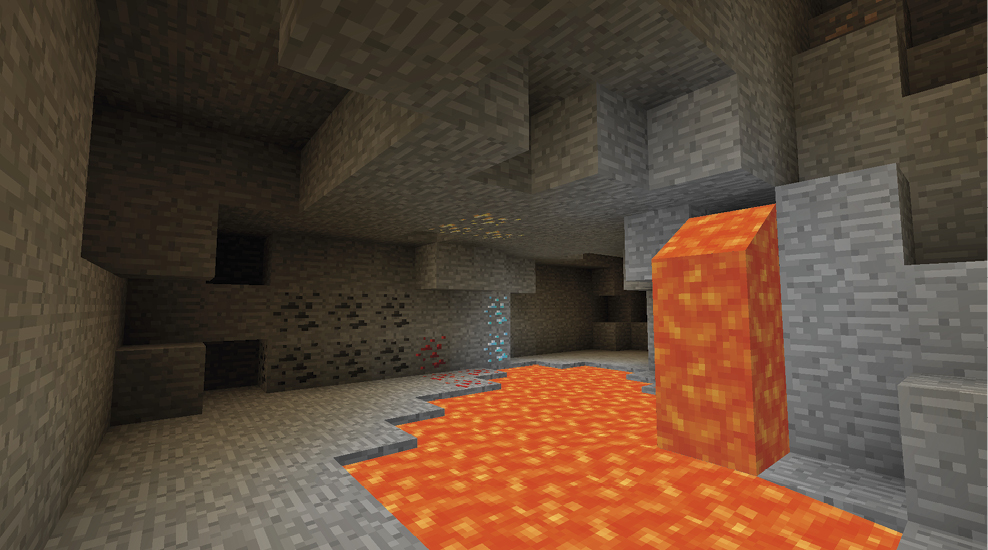
Lava is really bright—this means that Lava pools don’t spawn monsters, and mining nearby doesn’t require much in the way of Torches. The caves that the pools create reveal all sorts of resources. The largest Lava lakes can create gigantic, interconnected caves that are brightly lit and full of preciousthings.
If you’re careful, you can make this work for you with Lava mining.
Start at the nearest edge and make it safer by mining out a two- or three-block ledge to stand on. Keep mining around the edge, but progress slowly. The last thing you want is to break through the wall into another pool and then rush off the edge.
When you see something good on the ceiling, use Stone to make bridges, or use your Bucket of Water at the edge of the pool to convert the Lava into Obsidian. Because Gravel drops down, it can also be used to make bridges. It hits the bottom of the pool, and a few Gravel blocks stack into a bridge.
As you go, look at the bottom edges of the blocks at the Lava lake’s edge. Some of them have an orange strip at the bottom, which means there’s more Lava underneath them. Even if a Lava cave seems entirely cut off and isolated, you can sometimes follow the small channels that go under the walls to find more caves.
Don’t rush for valuable minerals. Always stay calm and go slowly when you mine around Lava. Excited miners often become dead miners.
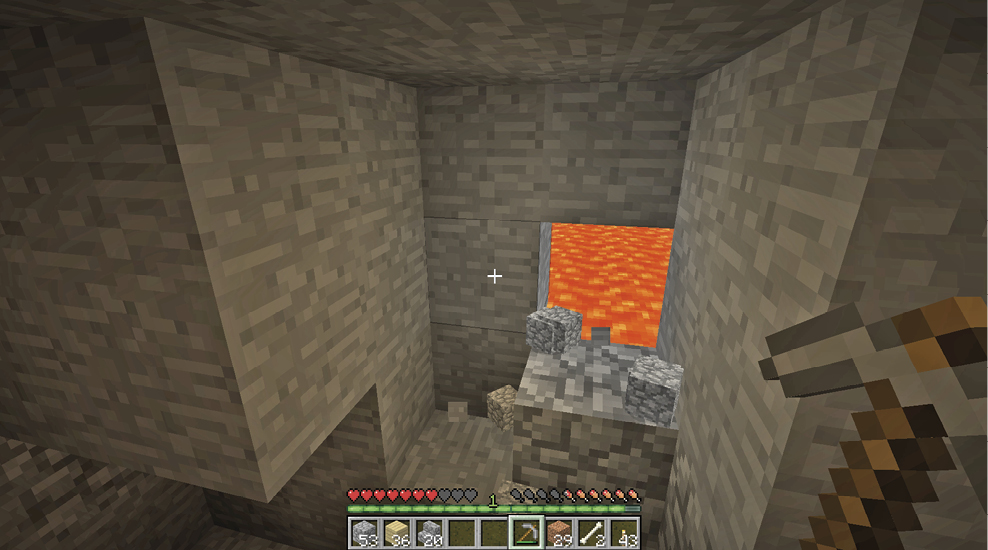
One key to safety is to mine blocks while you’re standing still. Go to the wall and start mining. When the block breaks, keep holding the Attack button to mine the next block, and the one after that, and so on. This creates a small hole you can look into to see if there’s another big Lava lake on the other side. Once you make your small hole, widen it into a corridor that you can pass through. Keep water handy, and take a trip back to your Chests to drop off resources when you get them. Respect the danger!
Navigating the Pools
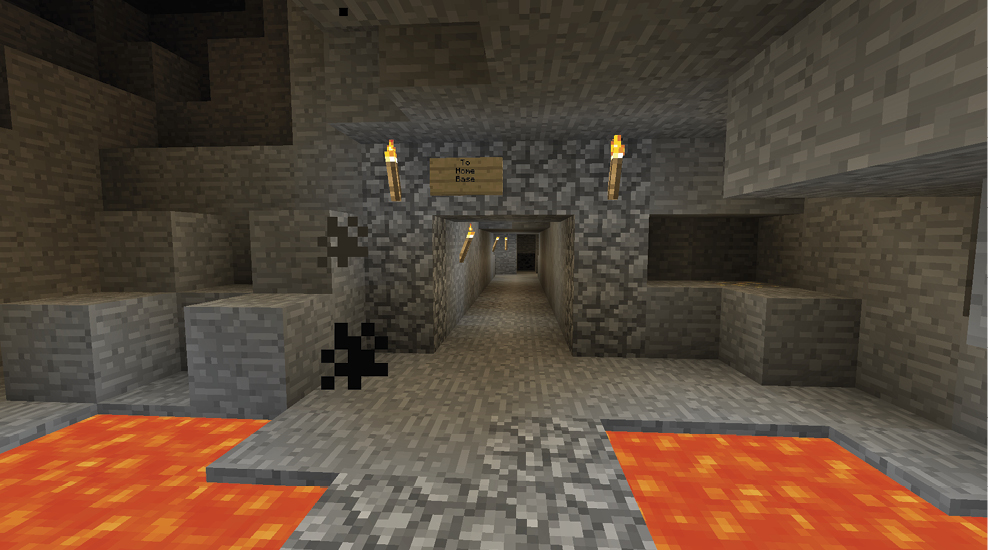
One of Lava mining’s benefits is that the large pools are easier to navigate than a giant cave system or branching corridors. There is plenty of light, the lines of sight are nice and clear, and you can get from point to point around the Lava’s edges or create Obsidian or Stone pathways straight across. Mark the exits toward your base camp to avoid confusion. An easy way to do this is to set up a Cobblestone archway around the corridor and then line it with Torches. Signs are also useful to point out the way to a fresh pool, but keep them away from the very edges of the Lava, or they’ll burn up.