
Taming the Wilds! Mastering Minecraft 4th Edition Guide Before We Start
Before We Start
If you’re completely new to Minecraft, it’s useful to learn about the game’s controls and options. We’ll explain all of them in the next few pages; it’s not as exciting as the material that comes later, but you get a good overview of what you can do with your character—and that’s important for avoiding frustration further down the road.
The Menus
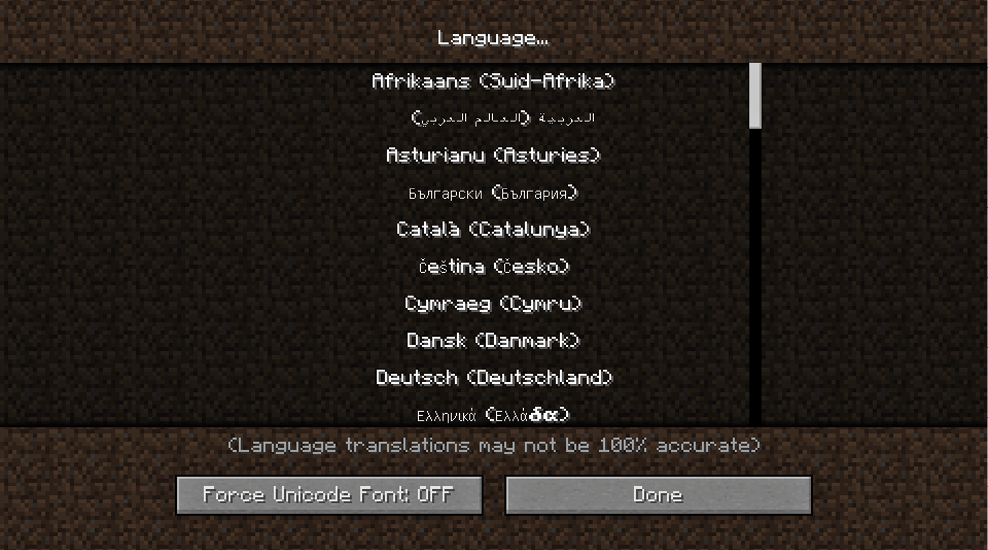
We’ll start as the game loads. You first arrive in a menu that displays the title of the game and several options. If you don’t want the game to display text in English, look at the button on the lower left (with a blue world icon on it). This controls the language displayed in the game. Minecraft has been translated into quite a few other languages, so you’re likely to find what you need! Change this whenever you like; the language can be changed back in the same manner. You can even change the settings to display text in Pirate Speak. Yarr!
Next, look at the Options menu, toward the bottom. You can access this menu while you’re playing or when you’re just sitting in the menu. There are quite a few controls here, so we have much to cover. Some are mentioned elsewhere in the guide because of their relevance to different subjects, but we’ll also talk about all of the options right now.
FOV
FOV stands for Field of View. This determines how much of the game world your character sees at a given time. Set this really high if you’d like to see a huge amount of the world around your character. Set it low if you want to look closely at things that are directly in front of you.
Because this isn’t a game with much shooting, the default FOV works really well. It’s a good balance of vision around your character.
Difficulty
Difficulty appears in the Options menu once you’ve loaded a world.
Choose between Peaceful, Easy, Normal, and Hard difficulties. These settings control the damage output of monsters and a number of additional factors as well. Peaceful difficulty turns off monster damage entirely. After that, raising the difficulty meter makes the game harder and harder. Damage on Hard is sometimes more than twice what it is on Easy.
Difficulty Changes the Following Game Settings
- Chance for Villagers to turn into Zombies when slain by Zombies
- How often monsters appear with weapons (and if those weapons are enchanted)
- If monsters attempt to pick up dropped items
- If Spiders and the Wither cause status effects
- The rate at which Zombie Pigmen come out of Nether Portals
- Whether Zombies appear with additional Zombie allies
- How severe the Hunger penalty is on your character
Music and Sounds
Use this submenu to control the volume of various game elements. If you want music to be off (or quieter), come here. The same is true for weather noises, monsters, other players, blocks, the environment, and so forth.
If anything bothers you, slide these bars around to find out how to silence the sound that you don’t like. Otherwise, you don’t need to mess with this submenu.
Video Settings
Come to Video Settings if you want to tweak how much detail is rendered in Minecraft. You can control whether the game looks as pretty as possible or runs as quickly as you’d like. Very strong systems can run everything in Minecraft without sacrificing any quality, but people run this game on a wide range of systems and devices.
If the game doesn’t feel like it’s running quickly, turn down settings like Anisotropic Filter or Particles, and switch Graphics to Fast. You should also lower the Render Distance.
If your computer is running Minecraft wonderfully, then turn everything up and see if the game still runs well. Go ahead and enjoy the game even more!
Controls
The Control submenu is the most involved menu in the group. It lets you influence how you move your character, break blocks, build things, and so forth. You can flip the mouse so that it acts more like a joystick, turn on/off Touchscreen Mode, and switch the keys that control your character.
Because our book handles all versions of Minecraft, we don’t know how you’ll assign your keyboard controls, or if you’re even going to use a keyboard! Therefore, we won’t say things like, “Press Left Control to do this.” Instead, we’ll talk about the game’s actual commands, like this:
“Sprint to get away from the Creeper.”
“Break three blocks of Stone and look in your inventory after you pick them off.”
“Stack blocks together until you’re happy with how they look.”
Because of this, it’s very important that you learn what the commands are before going deeper into the book. See the following page!

Minecraft Commands
| Command Name | What It Does |
|---|---|
|
Attack/Destroy |
Uses your hands or the object you’re holding to hit anything in front of your character. |
|
Drop Item |
Drops the item that you’re currently holding. |
|
Pick Block |
If you’re looking at a type of block, this switches so that your character holds any blocks of that type that are in your inventory. |
|
Sprint |
Moves at higher speed, but causes you to get hungry much faster. |
|
Use Item/Place Block |
Places a block that you’re holding on the ground where you’re looking. Or tries to activate any Doors, Levers, or controllable objects in front of your character. |
|
Hotbar Slot (1-9) |
Switches what you’re holding to the item located on your hotbar at the bottom of the screen. There are nine of these slots. |
|
Inventory |
Opens your inventory and shows you what your character is holding. Your hotbar slots are also shown there. |
|
Take Screenshot |
Grabs a picture of the game. |
|
Toggle Cinematic Camera |
Makes the camera move in a slower, panning fashion. |
|
Toggle Fullscreen |
Switches between a windowed view of the game and a full-screen display. |
|
Toggle Perspective |
Lets you decide whether to look at the world from a first-person perspective or from one of two third-person perspectives. |
|
Jump |
Causes you to jump; this also causes your character to get hungry faster. |
|
Sneak |
Lets you move quietly and slowly, preventing your character from falling off of ledges. Very useful! |
|
Strafe Left |
Walk to the left. |
|
Strafe Right |
Walk to the right. |
|
Walk Forward |
Go forward. |
|
Walk Backward |
Go backward. |
|
List Players |
See a list of the people who are playing on the same server. |
|
Open Chat |
Lets you type in anything you want, then shows the message to everyone on the server. “Hi guys!” |
|
Open Command |
Lets you type in a command to control the game world. |
Language
This opens the same menu that you accessed from the world icon back in the game’s front menu.
Multiplayer Settings
This submenu is primarily focused on the way text displays when you join multiplayer servers. To make the screen easier to read on those servers, you can always turn off Colors, Web Links, or even the entire Chat system.
Snooper Settings
Turn this off if you don’t want the game to send information about your play to Mojang. Or turn this back on if you’re cool with that. Leaving the Snooper Mode on does not influence gameplay in a major way, so there isn’t a substantial downside to turning it on or off.
Single-Player
This menu lets you create a new world or return to one that you’ve already made. We’ll walk you through that in the next chapter, and it’s a very intuitive process.
Multiplayer
When you first open the Multiplayer menu, there won’t be any servers available. Instead, you have to go online and look up places to join. Search the Internet with your browser, and use “Minecraft Servers” to find lists of them. When you go, copy their IP addresses, and come back to the Multiplayer menu.
Now that you’re here with an IP address, press “Add Server” and paste the IP you found into the empty bar. Press “Done,” and then you can enter that server from the Multiplayer menu in the future without having to do anything special. The game even searches ahead of time to tell you how many people are already playing on that server.
You’re free to add as many or as few servers as you like.
Minecraft Realms
This is a paid service that lets you set up multiplayer servers more easily. If you don’t know much about multiplayer servers but still really want to have a world of your own for others to play in, this is an option. Just know that it costs money to use (with the cost scaling depending on the number of simultaneous players allowed on your server).
Controlling Your Character
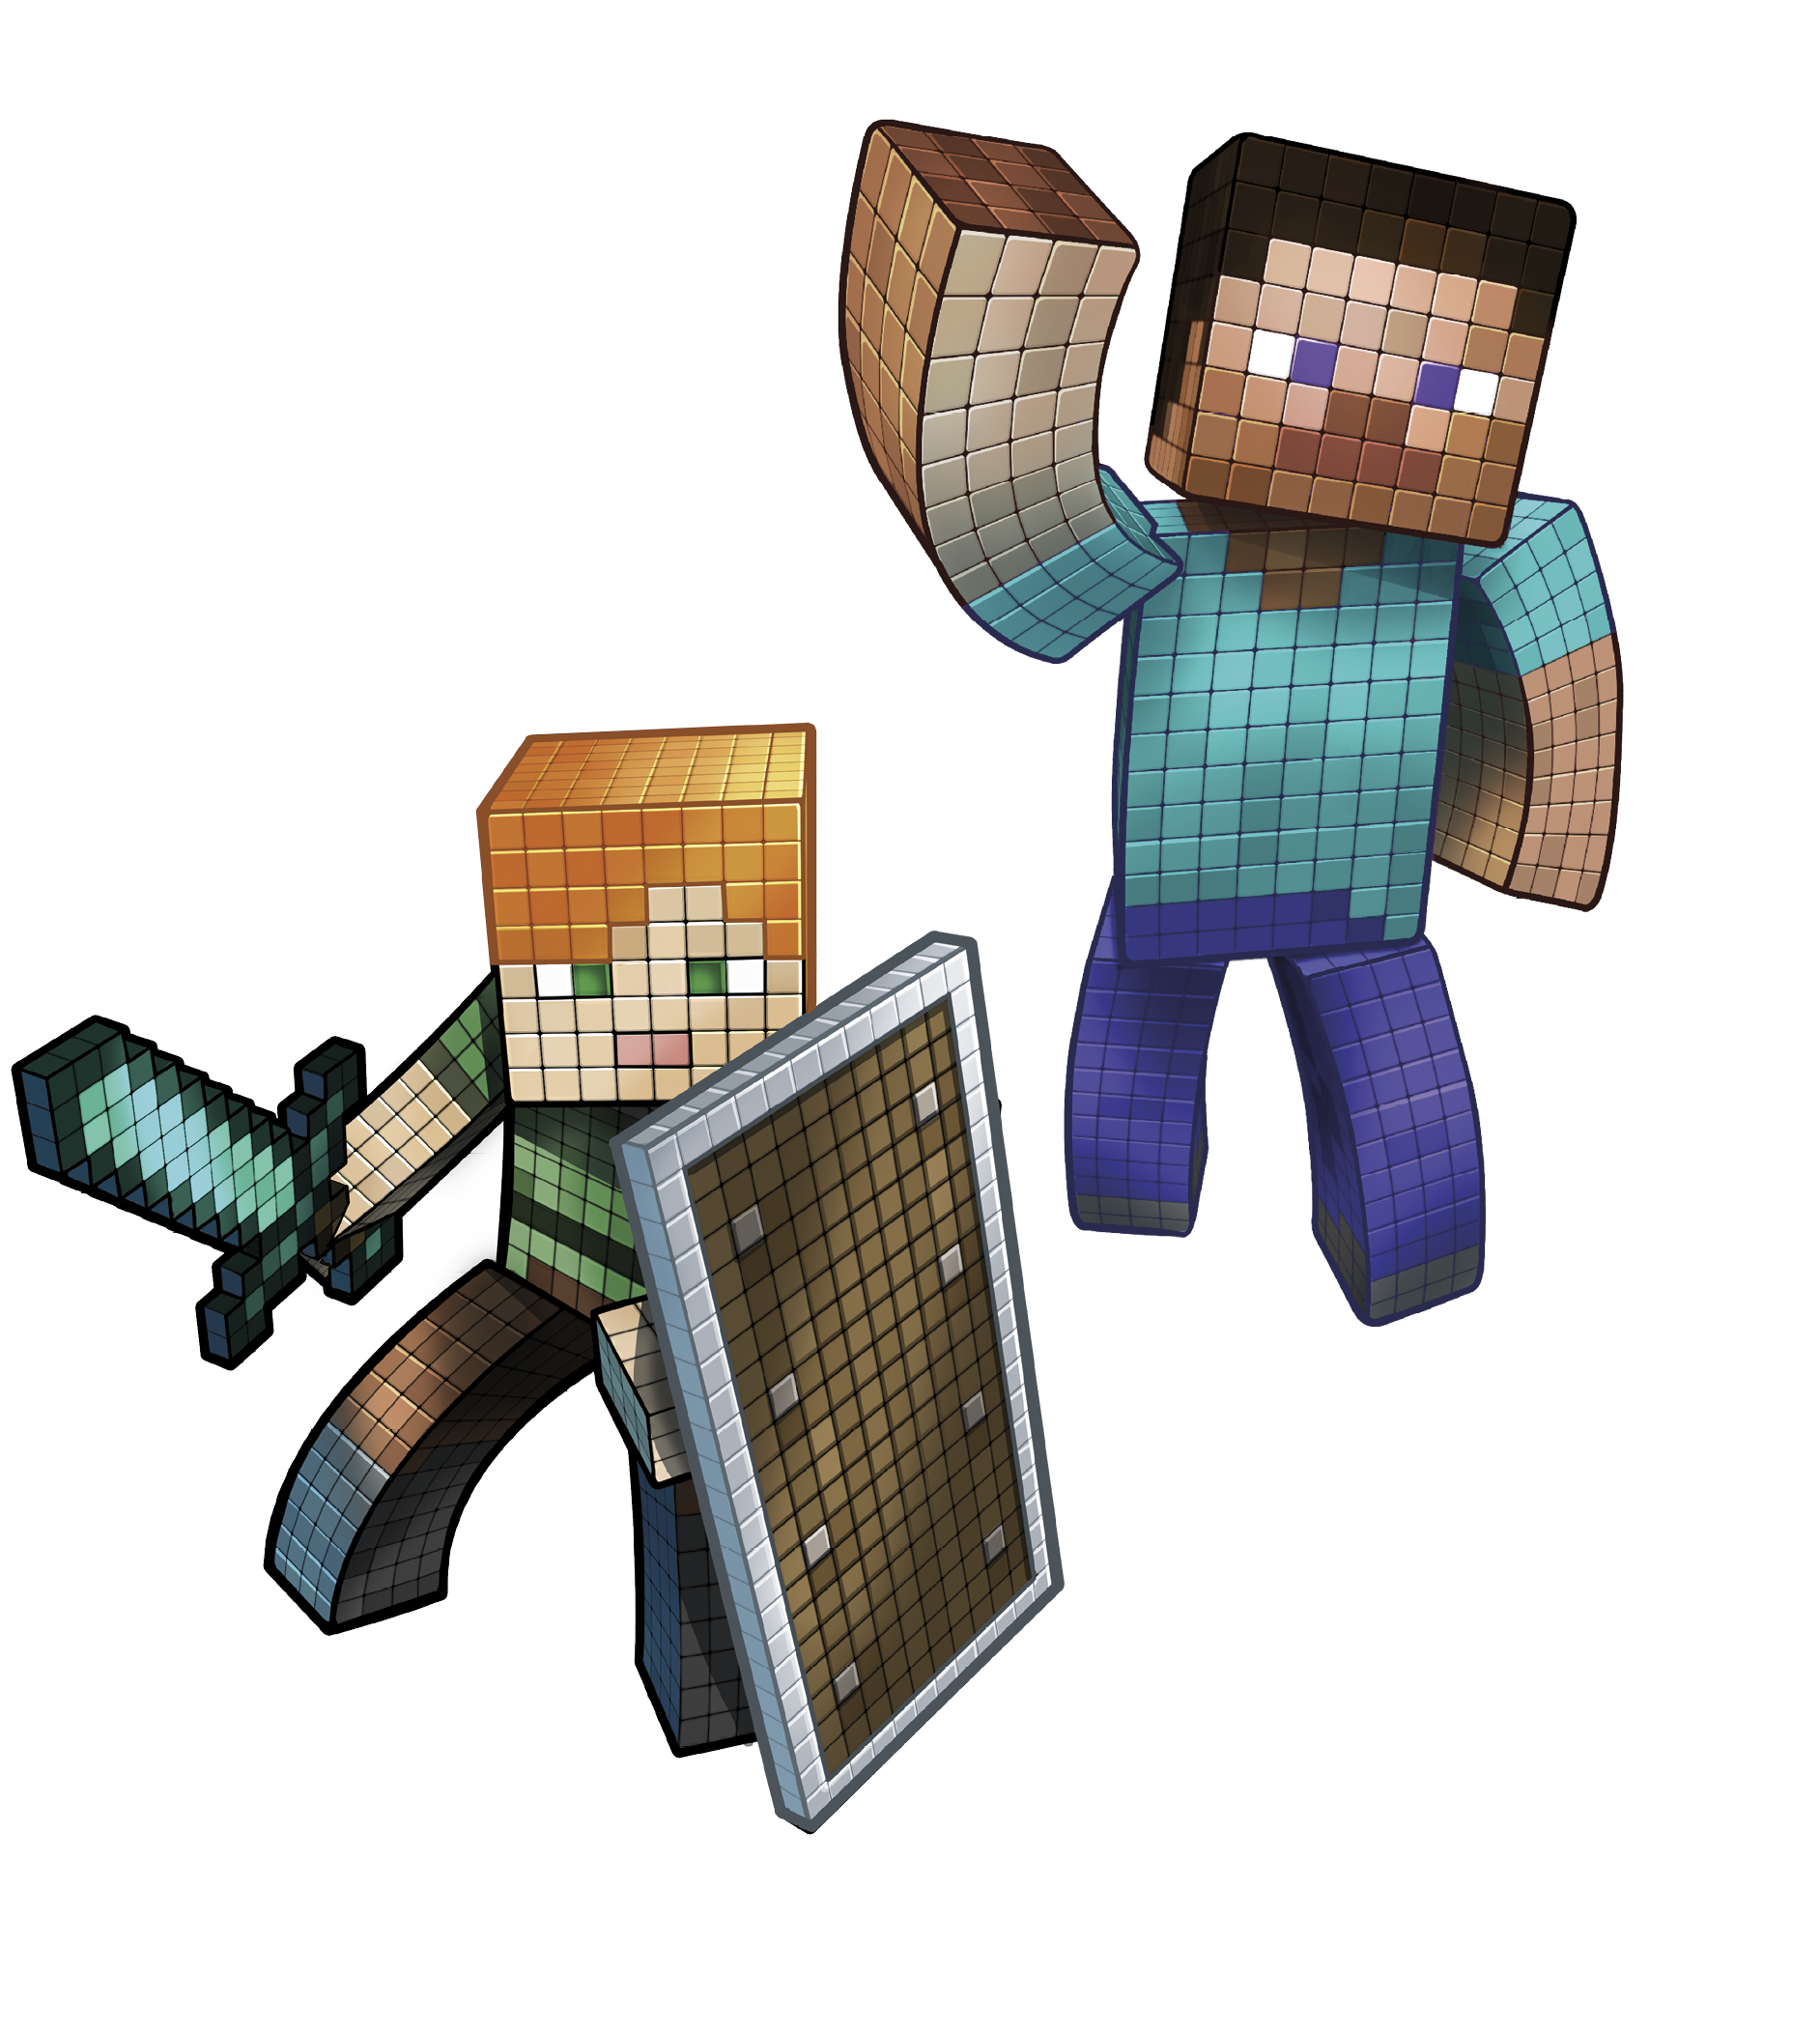
Once you’re in-game, put the commands to good use by wandering around the world and messing with everything you find. Let’s quickly explain what everything on the screen means and how to control your character.
Understanding the Interface
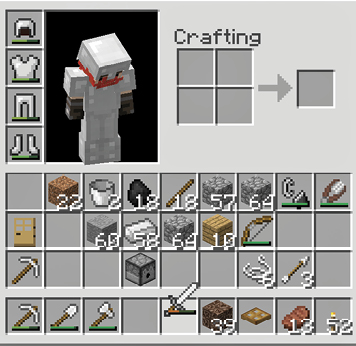
Minecraft has a fairly simple display, so it doesn’t take long to understand. Most of the screen is taken up by a view of the game world itself. You can see what’s in front of your character, and that’s how you decide where to go and what to do. Easy enough.
At the very bottom of the screen are nine gray boxes. These represent your hotbar slots! Pressing the keyboard keys that are bound to those hotbar slots lets you switch between items quickly once you assign objects to the slots. For example, you can put a Pickaxe in “1,” a Shovel in “2,” an Axe in “3,” and so forth. Doing this makes it easy to use all of your tools quickly and efficiently.
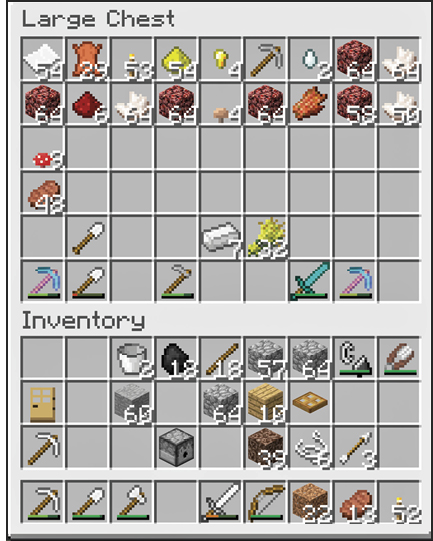
To change your hotbar assignments, go into your inventory and drag items to the bottom row. That’s where your hotbar slots are located. Move items around so that similar tools are together and can be accessed without delay.
Above your hotbar is an experience bar. This fills as your character gets orbs of experience. These are gained by killing creatures, breeding animals, refining metals in a Furnace, gathering certain minerals, and so forth.
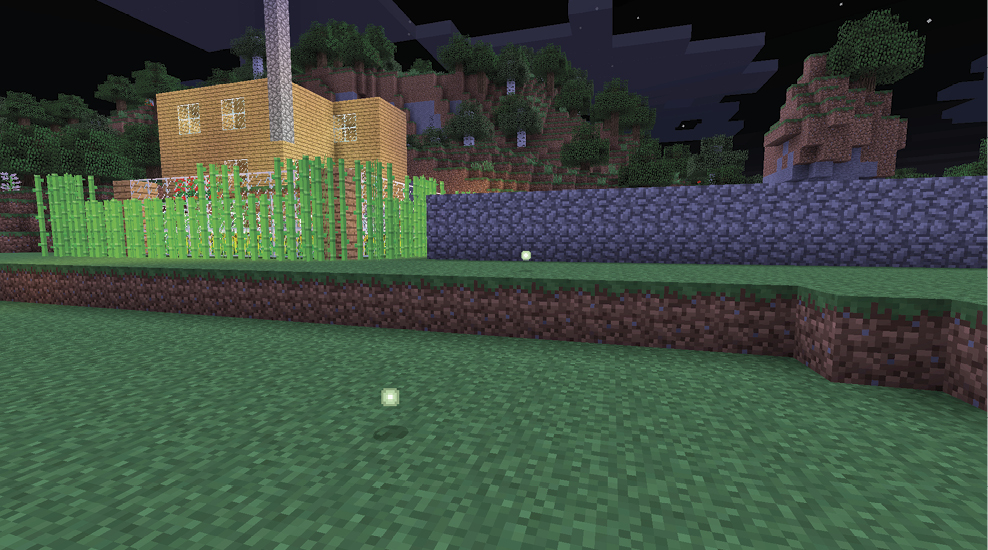
When the bar completely fills, your character gains a level. This doesn’t raise any stats, like it would in some roleplaying games. Instead, levels are there so you can enchant objects later on. Your accumulated experience is also treated as a way to keep score between deaths. The more experience you get in a given life, the higher your score will be when you die. This lets you compare your survivability and progress between play sessions.
There are three sets of icons above your experience bar. The red Hearts display your character’s health. As you take damage from fire, falls, monster attacks, Poison, or Hunger, the Hearts disappear. If all of them go away, your character dies and then respawns at either your starting point or the last Bed you used. In Hardcore Mode, even a single death is permanent, so you’re gone forever.
The meat and bone icons represent your hunger meter. They deplete over time, as well as when you heal from damage or exert yourself by jumping and sprinting. Refill hunger by eating food. Characters regenerate health when their hunger meter is nearly full, so it’s wise to keep your meter at nine or ten pips as often as possible.
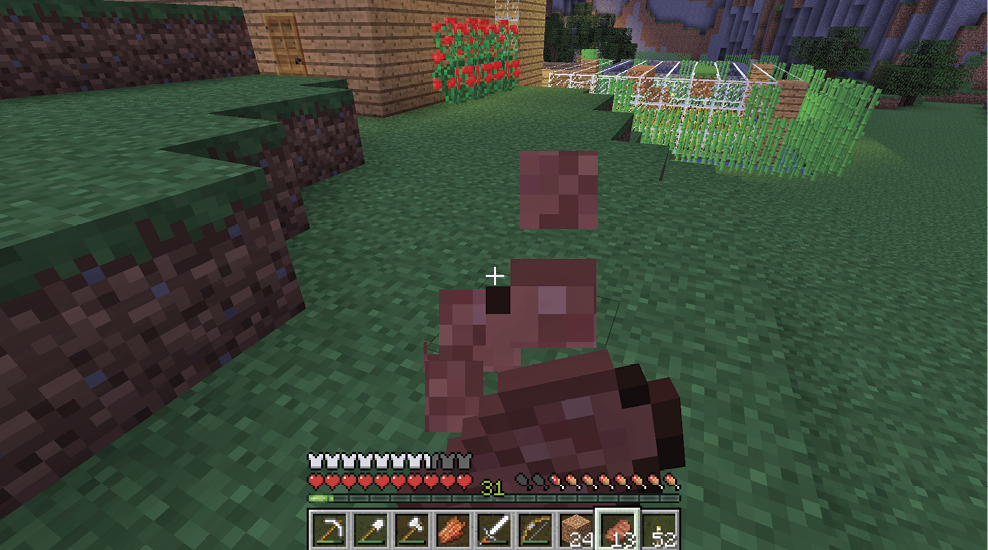
The last icon set shows a number of shirts. They depict your armor. The more shirts there are, the better protection from monster attacks your character has. Craft leather or metal armor when you can, and wear that to protect yourself. If any of those shirts suddenly disappear, it likely means that a piece of your armor just broke. Replace it!
Movement
Now that you know the interface, try moving around. Walk forward, backward, left, and right. These commands are as basic as they come, so it shouldn’t take long to understand them.
Double-tap the movement keys (i.e., press them twice in the same direction as quickly as you can). This tells your character to sprint in that direction. It burns through your food quickly, but sprinting can save your life when a Creeper is about to explode or when you need to get somewhere quickly. When night is falling and you’re away from home, sprinting is often a good idea.
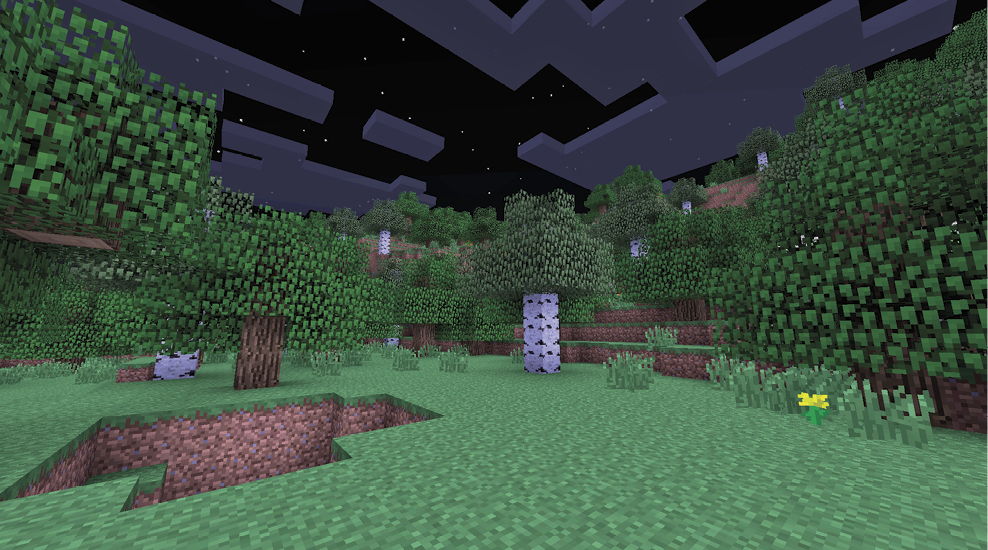
When you’ve mastered basic movement and sprinting, try jumping. Your character can hop up a single block’s worth of height. If you have to go any higher than that, either dig through blocks that are more than one space above you, or build a ladder with Sticks to climb up vertical faces of mountains, trees, or whatever.
Breaking and Gathering Blocks
Once you’re moving around the world, it’s time to gather materials. Do this by hitting things until they break. The most basic gathering action is to walk up to a tree and attack it with your bare hands until the block of Wood breaks and falls to the ground in front of you. Collect these resources by walking directly over them; your character picks up items automatically if they’re on the ground anywhere close to you. This creates a happy “pop” sound to let you know you grabbed something.
Use your hands to break easier materials, like Dirt, Grass, Flowers, Wood, and whatnot. It’s not especially fast, but it works well enough in the early game. Once you do a little bit of crafting, you get to make tools that allow faster resource gathering.
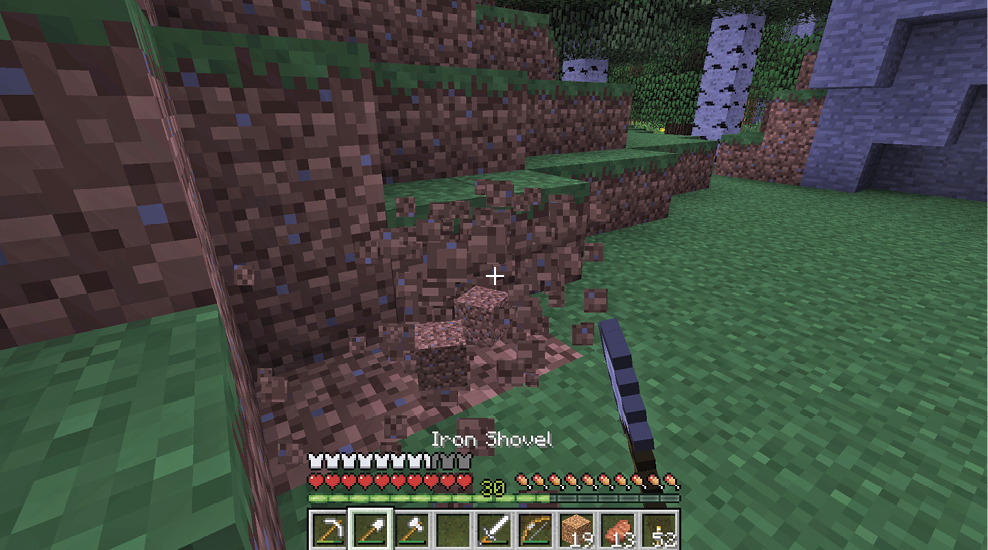
Whether you’re using tools or your fists, the basics of gathering never change. Approach the block that you want to gather, attack it with your hands or tools, and keep hitting the block until it breaks. Rinse and repeat. When objects are damaged by your attacks but not destroyed, they’ll almost immediately heal. That’s why you have to hold the Attack button until the job is done. Test this by hitting a tree for a couple seconds and then stopping. Notice that the cracks in the Wood disappear almost immediately. The same is true for Stone and other minerals.
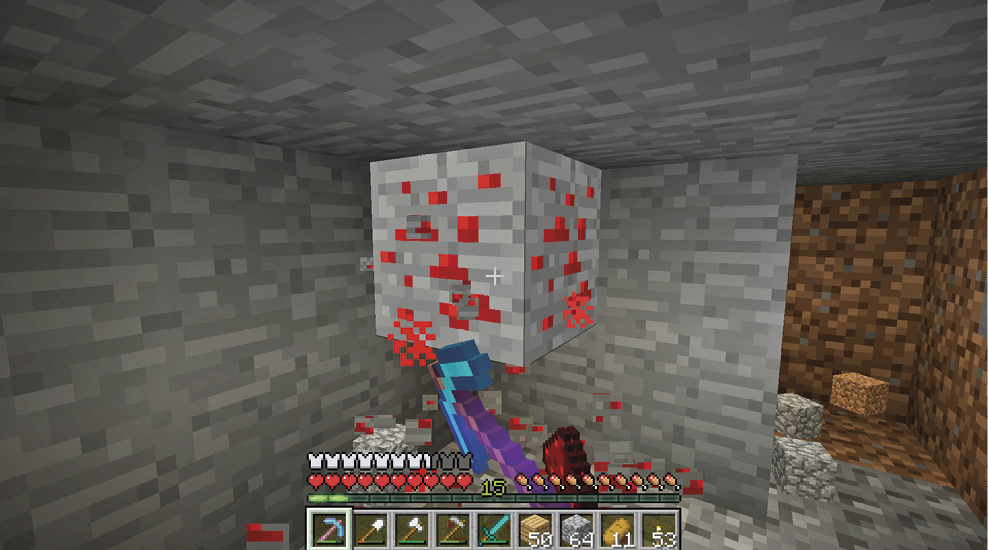
If you try to harvest blocks that are really hard, you might not be able to break them. Or you won’t be able to gather anything even when you succeed. For example, it’s possible to break Stone with your bare hands. This takes a very long time, and then when the Stone breaks, no resources fall to the ground. That’s because you need a Pickaxe to break Stone. You might even need specific types of Pickaxes to harvest certain resources. More advanced metals and minerals can’t be gathered without Iron or even Diamond Pickaxes!
Placing Blocks
After you gather materials, such as Wood, the items appear in your inventory. Place them in a hotbar slot to make them easier to work with. Then switch to the hotbar slot in question by pressing the shortcut key that you bound in the Options menu.
Selecting a hotbar slot with an item essentially equips that item. If it’s a tool or weapon, your character holds that up and gets ready to attack with it. Other objects are held but still act like regular fists if you attack anything.
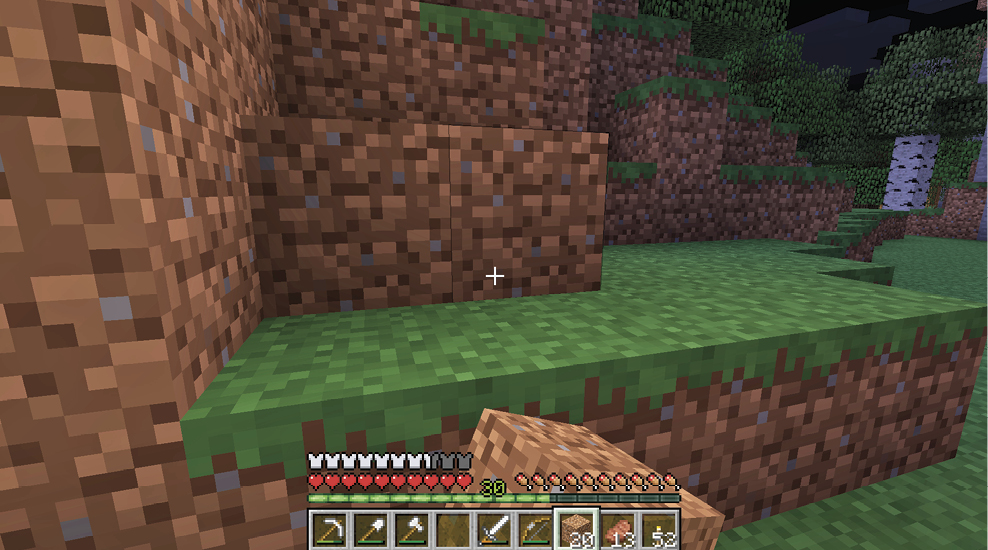
Some materials can be placed back into the game world. Blocks of Wood, Stone, Planks, and various metals all fall into this category. Select these items on your hotbar and use the “Place Block” command to put the object directly in front of your character. This command is how you place furniture and building materials in the world.
Put Wood blocks down in front of your character. Look! You can make a basic wall like this. But that takes a long time. There must be a better way to get building materials, right? Let’s talk about that.
Basic Crafting
You can now jump, sprint, move around, break blocks, look through your inventory, and place blocks around the world. Let’s finish this puzzle. Crafting gives you the power to change materials and do thousands of interesting things.
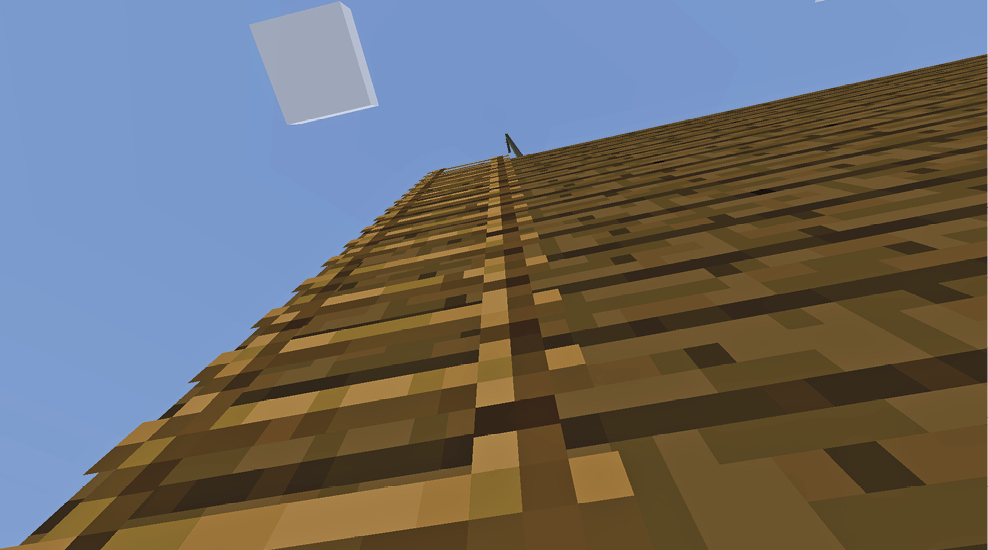
In the PC version of Minecraft, you have a 2x2 space in your inventory. It says “Crafting” above it, so you know exactly where to look. To the right of the four crafting spaces is a single square where the output from your crafting appears.
To make an item, put materials into the crafting boxes and find the right recipes to produce what you need. Experiment as much as you want, but don’t get worried. Our item chapter, Tools, Resources, and Consumables, lists everything you need to build all of the items in the game.
Also, we list common recipes again in some sections of the guide where they’re especially important.
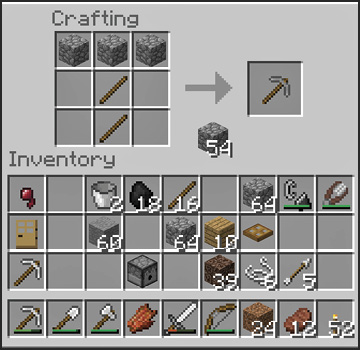
As a quick test of crafting, put a block of Wood into the crafting squares; it doesn’t matter which of the four spaces you use. Behold! A Wood Plank icon appears on the right. Your regular Wood block is turned into four Wood Planks by this very simple crafting recipe. Highlight and grab the Wood Planks to put them in your inventory, and then use them as you see fit.
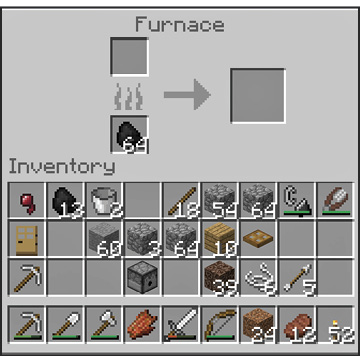
You can convert multiple items at the same time by stacking them on top of each other. For example, put ten blocks of Wood into the same crafting square. As before, the Wood Planks appear as a result. Click on them again and again to retrieve as many of the Wood Planks as you need.
Press Shift and click on the results to craft as many items as possible instantly. Shortcuts like this allow you to craft quickly and efficiently when making huge stacks of specific items.

Modifying Your Game
Even the best games sometimes need a few updates to remain exciting, especially if you play for years on end. That’s why Minecraft has implemented quite a number of ways to customize your game, how it’s played, and how you see it. Here are some of the ways to spice things up when you want to try something new.
The Options Menu
Before you do anything radical to modify your game, try out the basic options that are available to everyone.
|
Knowledge Required |
None |
|
Potential for Problems |
None |
You can modify the game’s difficulty at any time, moving it from Peaceful all the way up through Hard. All of the non-Peaceful settings determine the damage output of monsters. It’s a fairly impressive spread, but the change between Easy and Hard is very noticeable. If you’re into Survival Mode challenges, pushing the difficulty higher and higher is a big way to keep things fun.
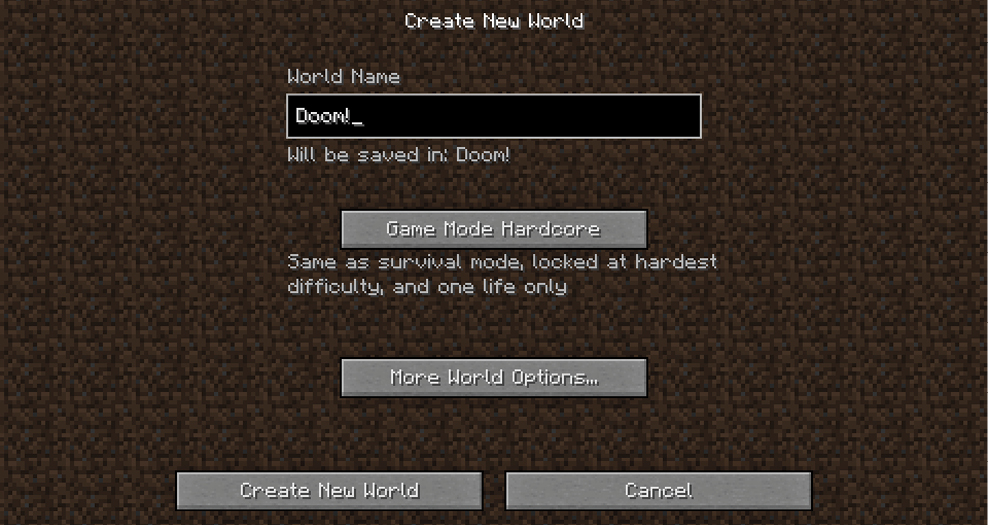
You can test out different difficulties dynamically by using the /difficulty console command. If you need to do that, bring up the command prompt and type /difficulty 1, 2, or 3.
You might want to create several worlds so that you can test different difficulties and challenge yourself under a variety of conditions.
If you find higher difficulty to be frustrating, it’s possible to dial back the settings whenever you like. There is literally no risk or downside to experimenting with this setting—unless you’re playing a Hardcore character, in which case you already know what you’re getting into. At worst, your character gets killed.
Skins
|
Knowledge Required |
Low |
|
Potential for Problems |
Very Low |
Search for “Minecraft Skins” if you’d like to alter the appearance of your character in-game. Sites that host these skins let you download them to your computer or directly upload them to Mojang so you can add them to your account and use the skins in the future.
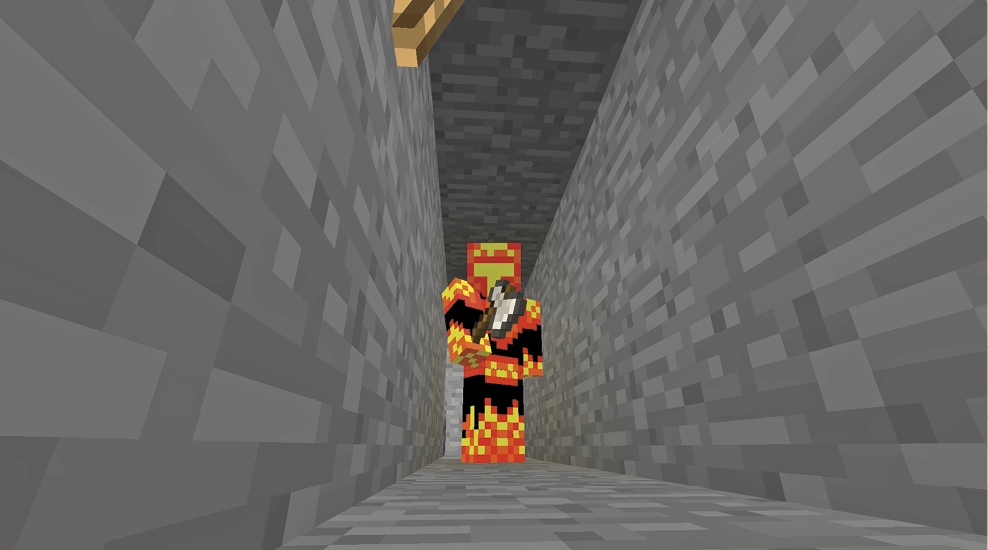
Skins don’t change anything except the look of your character, so they’re fairly risk-free. There are many, MANY skins available, and they can change your character’s gender, race, or even species.
Resource Packs
|
Knowledge Required |
Moderate |
|
Potential for Problems |
Moderate |
Minecraft gives players the ability to modify the textures, sounds, and functionality of their games through Resource Packs. These are available online at a wide range of sites. Search for “Minecraft Resource Packs” using your Internet browser, and look for places with free content—you can use most of them without cost!
Follow the instructions for installing each pack. Once they’re on your system, go into the Options menu, select the Resource Pack that you want to activate, and proceed from there. You can almost completely reinvent Minecraft by getting the pack that’s right for you.
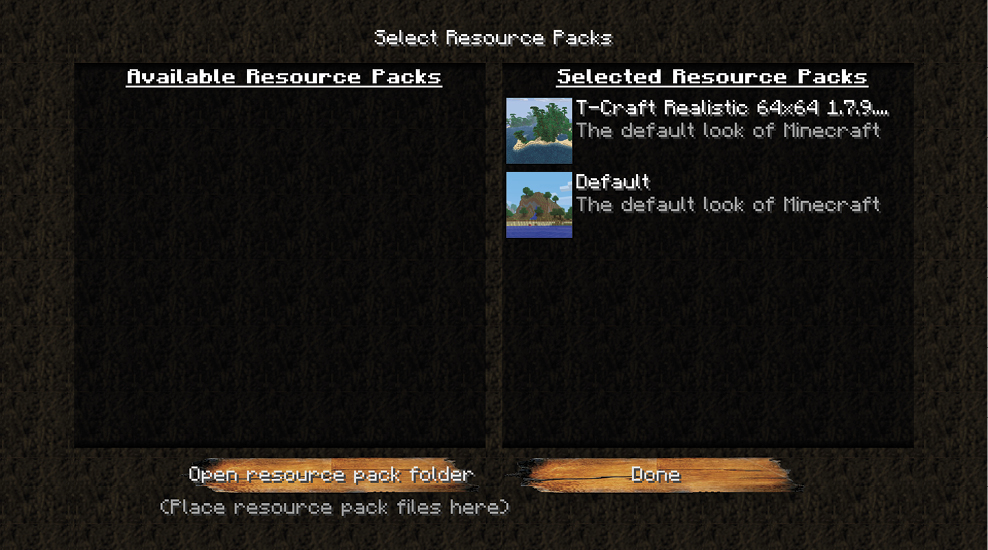
Once you have Resource Packs installed, it’s relatively simple to switch between them. Go with your mood and change the game at your leisure. Sometimes, updates to the game engine make a Resource Pack non-functional or semi-functional for a while, and you have to stop using it until the Resource Pack gets an update. This is the most common type of problem.
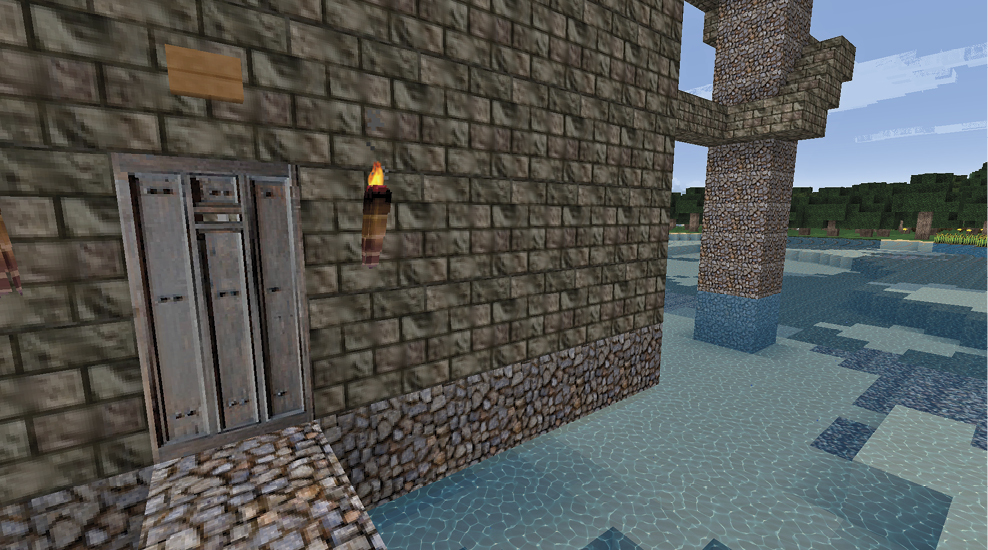
If you can’t run your Resource Pack, go back to regular Minecraft (the default) and stick with that while you check your favorite Resource Pack website for updates.
For the maximum effect, use a Resource Pack and a Shader Mod to crank Minecraft’s visual beauty to the limit. The change is huge! It’s like seeing an entirely different game.
Game Mods
|
Knowledge Required |
High |
|
Potential for Problems |
Somewhat High |
If you want to go deeper than most Resource Packs go, search for “Minecraft mods” instead. People like to push further into the game engine with mods, making it possible to do all sorts of things: minimaps, engines, pumps, spaceships, more monsters, and so on. There’s a lifetime’s worth of content to check out.
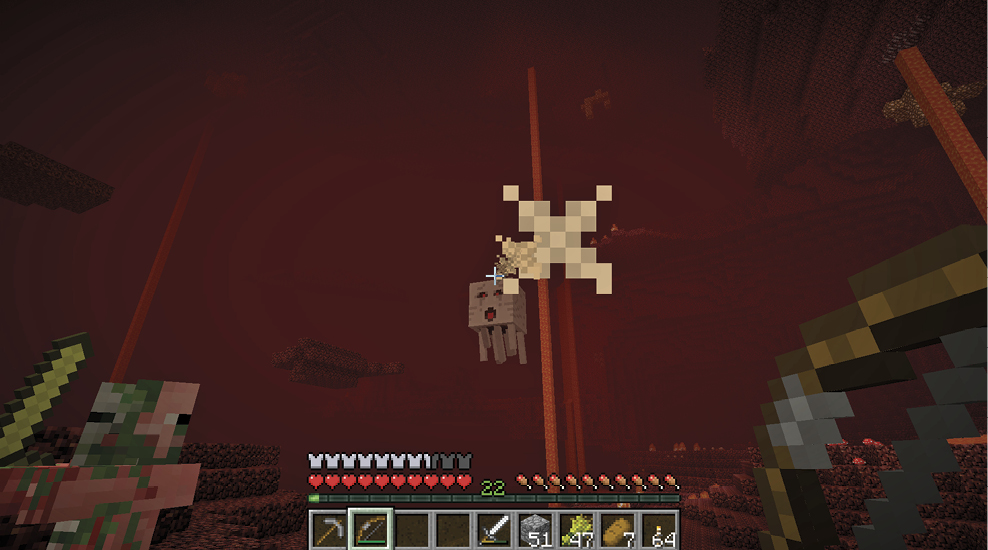
To use mods, you need to download and install them. Each mod should have a guide to help you get it working. You may need to get additional downloads to help with launching mods, so it’s not a quick process the first time you try one. Be patient, though, and you’ll be impressed.
Game mods are the trickiest things to work with. They can mess with your game and cause enough disruption that you might not be able to play without reinstalling the game. Be aware of these risks from the outset. If you aren’t comfortable enough with computers to back up your Minecraft saves, then mods probably aren’t for you yet. There’s a ton to learn. It’s worth the time, but only when you’re ready and excited to invest hours getting familiar with everything.