
Taming the Wilds! Mastering Minecraft 4th Edition Guide You Can Do Anything with a Little Practice
The Intricacies of Combat
Minecraft doesn’t have an overwhelming combat system. You won’t need to spend dozens of hours getting used to it to be able to fight and survive. It’s simple enough that you can quickly learn how to dispatch most enemies in the game. However, there are a few systems that offer advantages to those who delve a bit deeper. Let’s talk about these.
Attack Strength
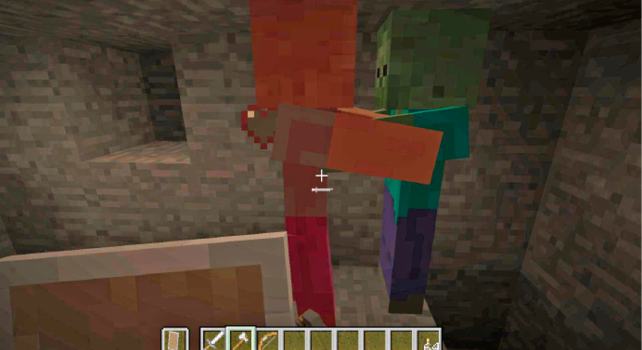
Tools and weapons each have maximum damage that they can inflict with a single swing. You only deal that much if you wait for a cooldown to finish after making each attack. That means you have to be patient with your swings, make each one count, avoid missing, and wait for the cooldown icon that appears so that you know when your weapon is ready to go.
Item Damage Table
| Item Name | Attack Speed | Damage Per Swing | Maximum Damage Per Second |
|---|---|---|---|
|
Hoe, Wood |
1 |
1 |
1 |
|
Hoe, Stone |
2 |
1 |
2 |
|
Hoe, Iron |
3 |
1 |
3 |
|
Hoe, Gold |
1 |
1 |
1 |
|
Hoe, Diamond |
4 |
1 |
4 |
|
Shovel, Wood |
1 |
2.5 |
2.5 |
|
Shovel, Stone |
1 |
3.5 |
3.5 |
|
Shovel, Iron |
1 |
4.5 |
4.5 |
|
Shovel, Gold |
1 |
2.5 |
2.5 |
|
Shovel, Diamond |
1 |
5.5 |
5.5 |
|
Pickaxe, Wood |
1.2 |
2 |
2.4 |
|
Pickaxe, Stone |
1.2 |
3 |
3.6 |
|
Pickaxe, Iron |
1.2 |
4 |
4.8 |
|
Pickaxe, Gold |
1.2 |
2 |
2.4 |
|
Pickaxe, Diamond |
1.2 |
5 |
6 |
|
Axe, Wood |
0.8 |
7 |
5.6 |
|
Axe, Stone |
0.8 |
9 |
7.2 |
|
Axe, Iron |
0.9 |
9 |
8.1 |
|
Axe, Gold |
1 |
7 |
7 |
|
Axe, Diamond |
1 |
9 |
9 |
|
Sword, Wood |
1.6 |
4 |
6.4 |
|
Sword, Stone |
1.6 |
5 |
8 |
|
Sword, Iron |
1.6 |
6 |
9.6 |
|
Sword, Gold |
1.6 |
4 |
6.4 |
|
Sword, Diamond |
1.6 |
7 |
11.2 |
Hoes are worthless for their damage output. They only have validity when you want to attack something quickly. They’re the fastest potential weapons, but that isn’t usually much of an advantage unless you’re harassing someone or attacking a creature with very low health and you only care about finishing it off. Even then, Swords are usually far superior.
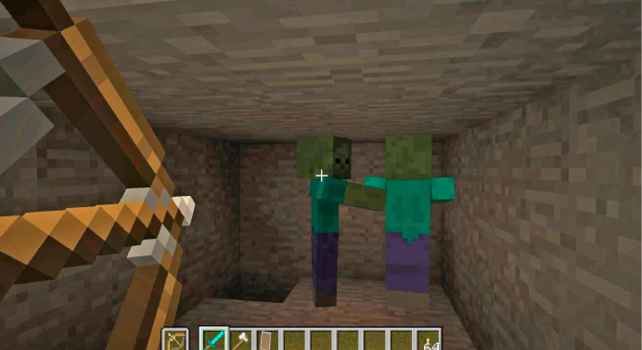
Pickaxes and Shovels also have low damage output. That’s fine; they were never intended for fighting prolonged battles, and you only use them when something suddenly jumps you.
Axes and Swords are where you get to have your real fun. It used to be true that Axes were almost invalid. They did lower damage per swing than Swords, and they weren’t any faster to swing. There was no real reason to use one in battle. However, ever since Update 1.9, Axes have had more of a place in a fight. The high damage per hit of an Axe makes them your best weapon for sudden attacks and ambushes. If you’re lurking around a corner or have to charge a ranged enemy, you want to deliver maximum damage per hit. Axes do just that. Early in the game, a Stone Axe can do almost twice the damage of an equivalent Sword (per swing). That’s quite nice.
Swords, though lower in their damage per hit, make up for it in spades with damage over time. These weapons can be used quickly to slap targets around. If you’re good at timing your attacks, you can do more damage per second with a Sword, but this requires that you swing at just the right time and stick close to your victim.
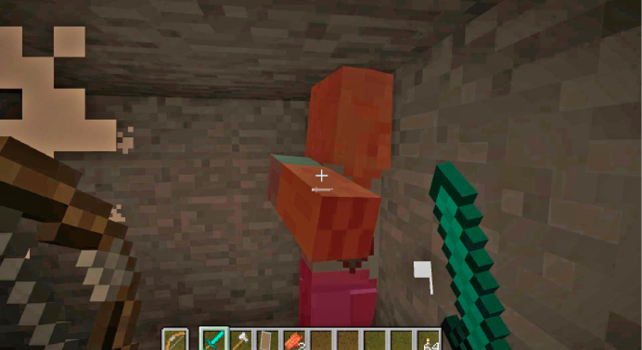
It’s good to have a quality Sword and Axe so that you have flexibility in your fighting. Use Axes to break enemy Shields, to ambush targets for high initial damage, and for hit-and-run battles where you attack once, back off, and come forward again when you’re fully charged.
Use your Sword when you’re confident in a kill and can safely stay on the target, using fast swings for maximum damage output. Swords don’t take as much durability damage in combat, so they’re a superior choice most of the time. It’s just that the game now has moments where Axes share the spotlight!
How Good Are Shields?
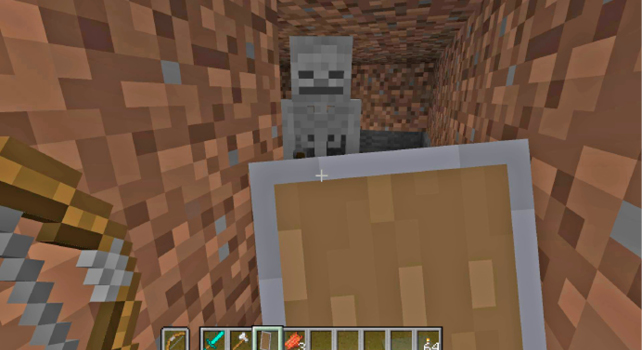
Shields are crafted from Iron and Wood. They go into your offhand and serve as protection against enemy attacks. They’re one of the best items for dual-wielding when you go into battle (a Bow being another).
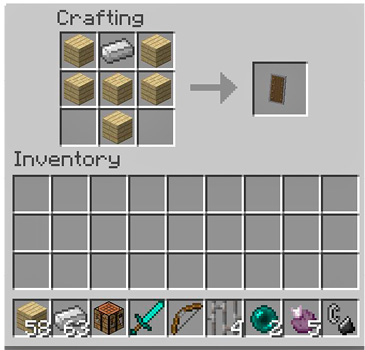
Use your right-click to raise a Shield and protect yourself when enemies are firing at your character (or swinging at you in melee).
While blocking like this, you move as if you were sneaking, and you cannot attack. This is purely a defensive option.
If you block a missile attack, it has a chance to ricochet and strike another target nearby. This sometimes helps when you’re fighting a mix of melee and missile troops. Shields are nice to have when you’re facing other players and Skeletons.
Shields are at their worst when you’re fighting someone who has an Axe ready to go. Each Axe blow that lands has a chance to disable the Shield for five seconds. That leaves the defender vulnerable. If it happens to you, back off as quickly as you can to get your bearings, and swing your primary weapon to ward off your attacker.
Shields are repaired with Wood, but you need to do this at an Anvil.
Ranged Combat
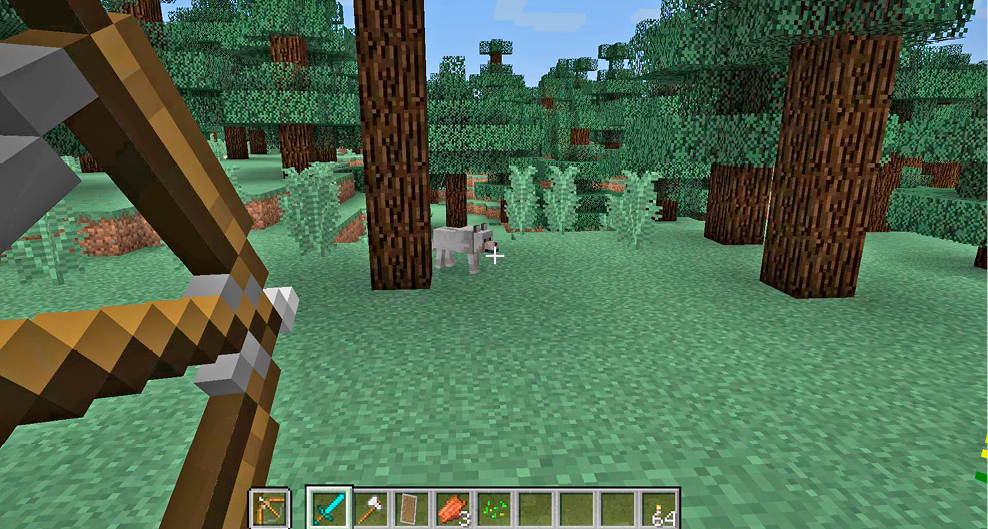
Bows give you a major advantage against targets that don’t have any ability to fire back. Use ranged attacks to harass or kill these enemies while backing away from them to ensure that you have tons of firing time.
Regular Arrows are fine, but they don’t have any special properties beyond the ability to do decent damage. Spectral Arrows help you mark and go after targets in the dark (or when they hide behind objects). This imparts the Glowing status effect, so that the victim is easy to track for ten seconds. This is helpful in player-versus-player combat, when your opponent is most likely to hide, ambush, and be hard to figure out.
Tipped Arrows let you transfer the effects of a Lingering Potion onto your Arrows. They only do one-eighth of the effect per Arrow, but each recipe creates eight altered Arrows, so you aren’t wasting any power.
Possible Tipped Arrows
- Arrow of Regeneration
- Arrow of Swiftness
- Arrow of Fire Resistance
- Arrow of Healing
- Arrow of Night Vision
- Arrow of Strength
- Arrow of Leaping
- Arrow of Invisibility
- Arrow of Poison
- Arrow of Weakness
- Arrow of Slowness
- Arrow of Harming
- Arrow of Water Breathing
- Arrow of Luck
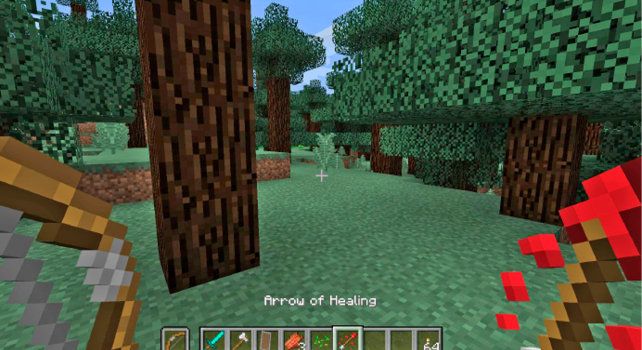
Some of these Arrows are intuitive. Harming and Poison are both good effects to add to your Arrows, especially when fighting against powerful targets (whether humans or monsters). But the other special types of Tipped Arrows open the door for a number of odder and more interesting encounters.
Think about Arrows of Healing against undead monsters! Healing does damage to undead creatures, so that’s a fun little trick.
For group situations, you can buff your friends at long range using the more positive Arrows. Use a weaker Bow without enchantments. This ensures that you do very light damage with the Arrow itself (especially if your friends are armored). They’ll primarily get the effect of the buff (Regeneration, Swiftness, Healing, etc.).
In custom areas, you can set up fake traps that are meant to scare people, but that actually help them.
Special Attacks
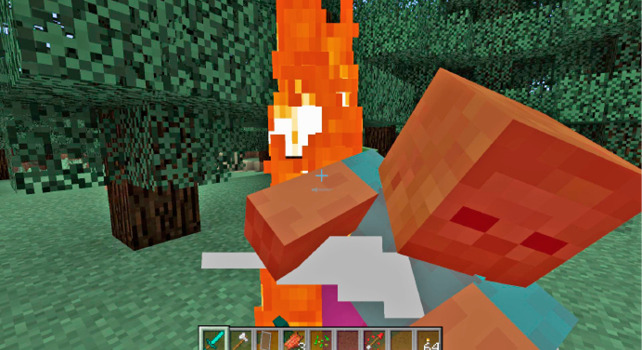
Swords and Axes have special attack properties that make them more versatile in combat. The Sweep Attack that you get with Swords doesn’t do much direct damage, but it creates a wide swath in front of the player that knocks targets away. This is a powerful defensive option to get a horde of targets off of you. It’s used automatically as long as you’re striking a monster, aren’t running, and have your swing time charged all the way up.
The sweep knocks enemies back while dealing normal damage to the primary targets and a bit of damage to the secondary ones. After the sweep, use the time you’ve earned yourself to back up and look for a chokepoint so that the group of enemies can’t swarm you again aseasily.
Axes are better for smashing individuals (especially players). Instead of knocking a group away from you, the Crushing Blow can disable Shields for five seconds. The base chance for success is 25%, but this is improved by 5% per level of Efficiency enchantment on the weapon. Also, you get +75% more bonus points if you’re sprinting when you unleash the attack, making this pretty much aguarantee.
This is why it’s nice to keep an Axe around for dealing with tanky enemies that are Shield-blocking all the time. Sprint up to them, nail them with your Axe, and take your free shots afterward.
Axes are better when you’re culling herds of animals for meat. You don’t want to accidentally cut down more animals or scare the ones close to your target. It’s safer to bring an Axe and only hurt the animals you need to kill.
Dual-Wielding
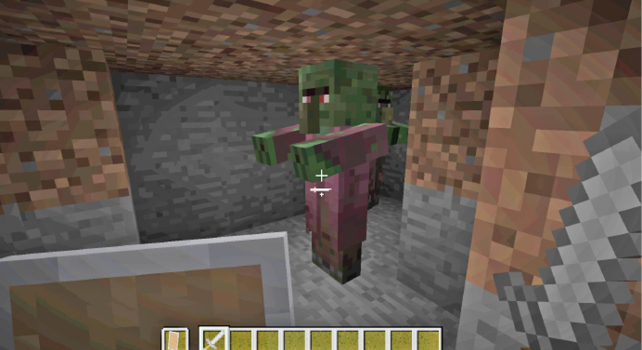
Items in your main hand are shown in your hotbar. They’re highlighted with a white box. Your offhand items are displayed in a box off to the side of the hotbar (on its left). You can quickly swap hands by pressing the “Swap Item in Hands” button. By default, this is the “F” on your keyboard, but you can change that in the Controls Menu.
Right-clicking normally activates your offhand item as long as your main-hand item doesn’t have an ability triggered by its right-click. Though having items in each hand makes you quite formidable, you can’t use them simultaneously. Thus, you cannot block with a Shield while swinging your Sword. The system is there to give you more options, but it has limitations to prevent people from being too powerful.
Weapons normally can’t be used from the offhand. You only get to use the alt-click actions for the things in your offhand. Thus, you can place objects like blocks, Torches, etc. You can use specific tools. And there are a few minor weapon exceptions. You generally want to have a prominent tool or weapon in your main hand and then something supportive in your offhand. A Sword and a Shield. A Pickaxe and a Torch. These are traditional choices.
Once you know the basic rules, as we’ve discussed here, it’s useful to go into the details because there are many interesting exceptions.
Offhand Tool Exceptions
- Buckets
- Ender Pearls
- Fishing Rods
- Flint and Steel
- Hoes
- Leads
- Shears
- Shovels
Offhand Weapon Exceptions
- Bows can be fired from either hand
- Chicken Eggs and Snowballs can be thrown
- Lingering and Splash Potions are also throwable
- Shields can block in the offhand
Ideal Dual-Wielding Combinations
| Main Hand | Offhand | Function |
|---|---|---|
|
Any Weapon |
Map |
Having a Map in your offhand puts a minimap onto the screen, making it possible to explore much more easily while still defending yourself against sudden attackers. |
|
Any Weapon |
Clock |
If you like to keep an eye on the time, this makes it much easier. |
|
Any Weapon |
Compass |
Race back toward home as night falls without losing track of where you’re going. |
|
Bow |
Specific Arrows |
If you have several types of Arrows, this lets you control which specific ones are selected when you fire your Bow. |
|
Hoe |
Seeds |
Farm at maximum speed by tilling and planting without having to shift anything on your hotbar. Simply hold down your right mouse button to do both! |
|
Ladder |
Block |
It’s much faster to build upward with this configuration; you’re able to place blocks with your right-click and hold the button down to also place the Ladder. You can effectively build and climb up the new block at almost full speed. |
|
Melee Weapon |
Food |
Before you have access to Potions, this is a good way to keep yourself topped off on grub so that you heal after extended combat. |
|
Melee Weapon |
Ender Pearl |
Allows for massive mobility during combat; it’s easier to escape mobs or confuse human opponents. |
|
Melee Weapon |
Shield |
A traditional blend of offense and defense. This is best when facing ranged attackers, because you can defend yourself during the approach and then massacre the ranged targets once you reach them. |
|
Melee Weapon |
Bow |
Heavily offensive. You get to shoot at range and still have a melee weapon ready in case anyone closes the gap. |
|
Melee Weapon |
Potion |
Though expensive, this combination is wonderful in a wide range of conditions. Select Potions to restore your health if you’re worried about survival. Try offensive Splash Potions if you want to end fights quickly. Attack, throw as your weapon cools down, and repeat. |
|
Melee Weapon |
Milk |
Use this to counter enemies that inflict negative status effects on you frequently (Witches, other players, etc.). |
|
Pickaxe |
Bucket of Water |
If you’re tunneling near Lava, every second can count. Have water at the ready so that you can douse the Lava and save yourself from a fiery death. |
|
Pickaxe |
Block |
This helps for blocking Lava or stopping sudden monsters that pop up as you break into new caverns. Put down a few blocks to obstruct your tunnels and buy time to flee or prepare your weaponry. |
|
Pickaxe or Shovel |
Torch |
An absolute must for digging and tunneling. It’s fast for placing Torches to keep your mining safe. |