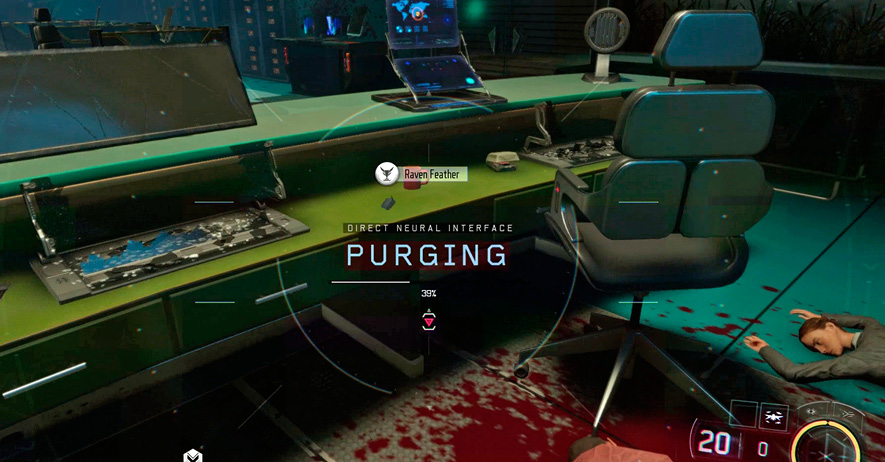
Call of Duty: Black Ops III Guide Walkthrough 11 Life
11 Life
Zurich, Switzerland
Unknown
Mission Briefing: Head to Zurich headquarters of Coalescence in order to prevent further spread of the DNI infection…
Mission Objectives
 Go to the Coalescence Building Plaza.

 Destroy the A.S.P. -C

 Destroy the Wraith.

 Destroy the A.S.P. -ML

 Hack the Lobby Door.

 Locate Hendricks.

 Destroy the P.A.W.W.S.

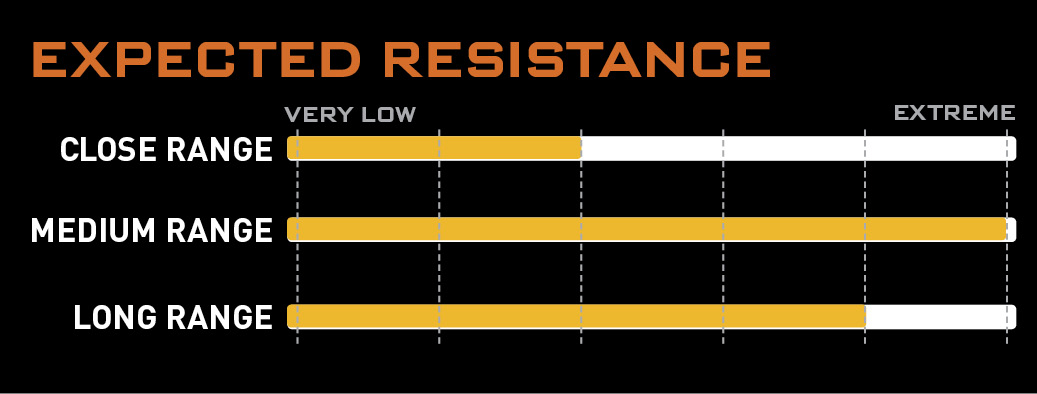
Combat Robotics: The Coalescence facility is defended by all manner of combat robotics. Expect a wide variety of armaments and defensive capabilities.
Heavy Armor: The Coalescence facility’s defenses include a complement of heavy armor.
Level Accolades
| Accolade Name | Reward |
|---|---|
| Untouched! | Fabrication Kit |
| Complete this Mission without dying. | |
| Score | Fabrication Kit |
| Complete the mission with a score of 30,000 or higher. | |
| Got ‘Em | Fabrication Kit |
| Find all of the collectibles in the Mission. | |
| Got ‘Em All | 250 XP |
| Destroy all depth charges before they self-detonate. | |
| Hand Cannon | 1000 XP |
| Take down a P.A.W.W.S. using only a pistol. | |
| I now know why you cry | 250 XP |
| Kill 10 Robots using turrets. | |
| Robo-Slappers | 500 XP |
| Use melee attacks to kill 5 robots in under 10 seconds. | |
| Explosive Entertainment | 250 XP |
| Kill a group of 3 or more enemies in 1 shot with an explosive weapon. | |
| Not a Fan of RAPs | 500 XP |
| Kill all of the RAPs in the mission before they do damage to any of the friendlies. | |
| Two for One | 250 XP |
| Kill two enemies with one bullet. | |
| Quickslap | 250 XP |
| Melee kill 5 non-robotic enemies in under 10 seconds. | |
| Explosive Containment | 250 XP |
| Destroy 35 explosive containers. | |
| Perfect Timing | Fabrication Kit |
| Kill 20 non-robotic enemies with grenades. | |
| Dodge This | 1000 XP |
| Kill a P.A.W.W.S. without it damaging you. | |
| Bots Go Boom | 250 XP |
| Kill 20 robots with the grenade launcher. | |
| Clip Their Wings | 500 XP |
| Kill 3 non-robotic enemies in under 5 seconds. | |
|
 Nightmares Mode Unlocked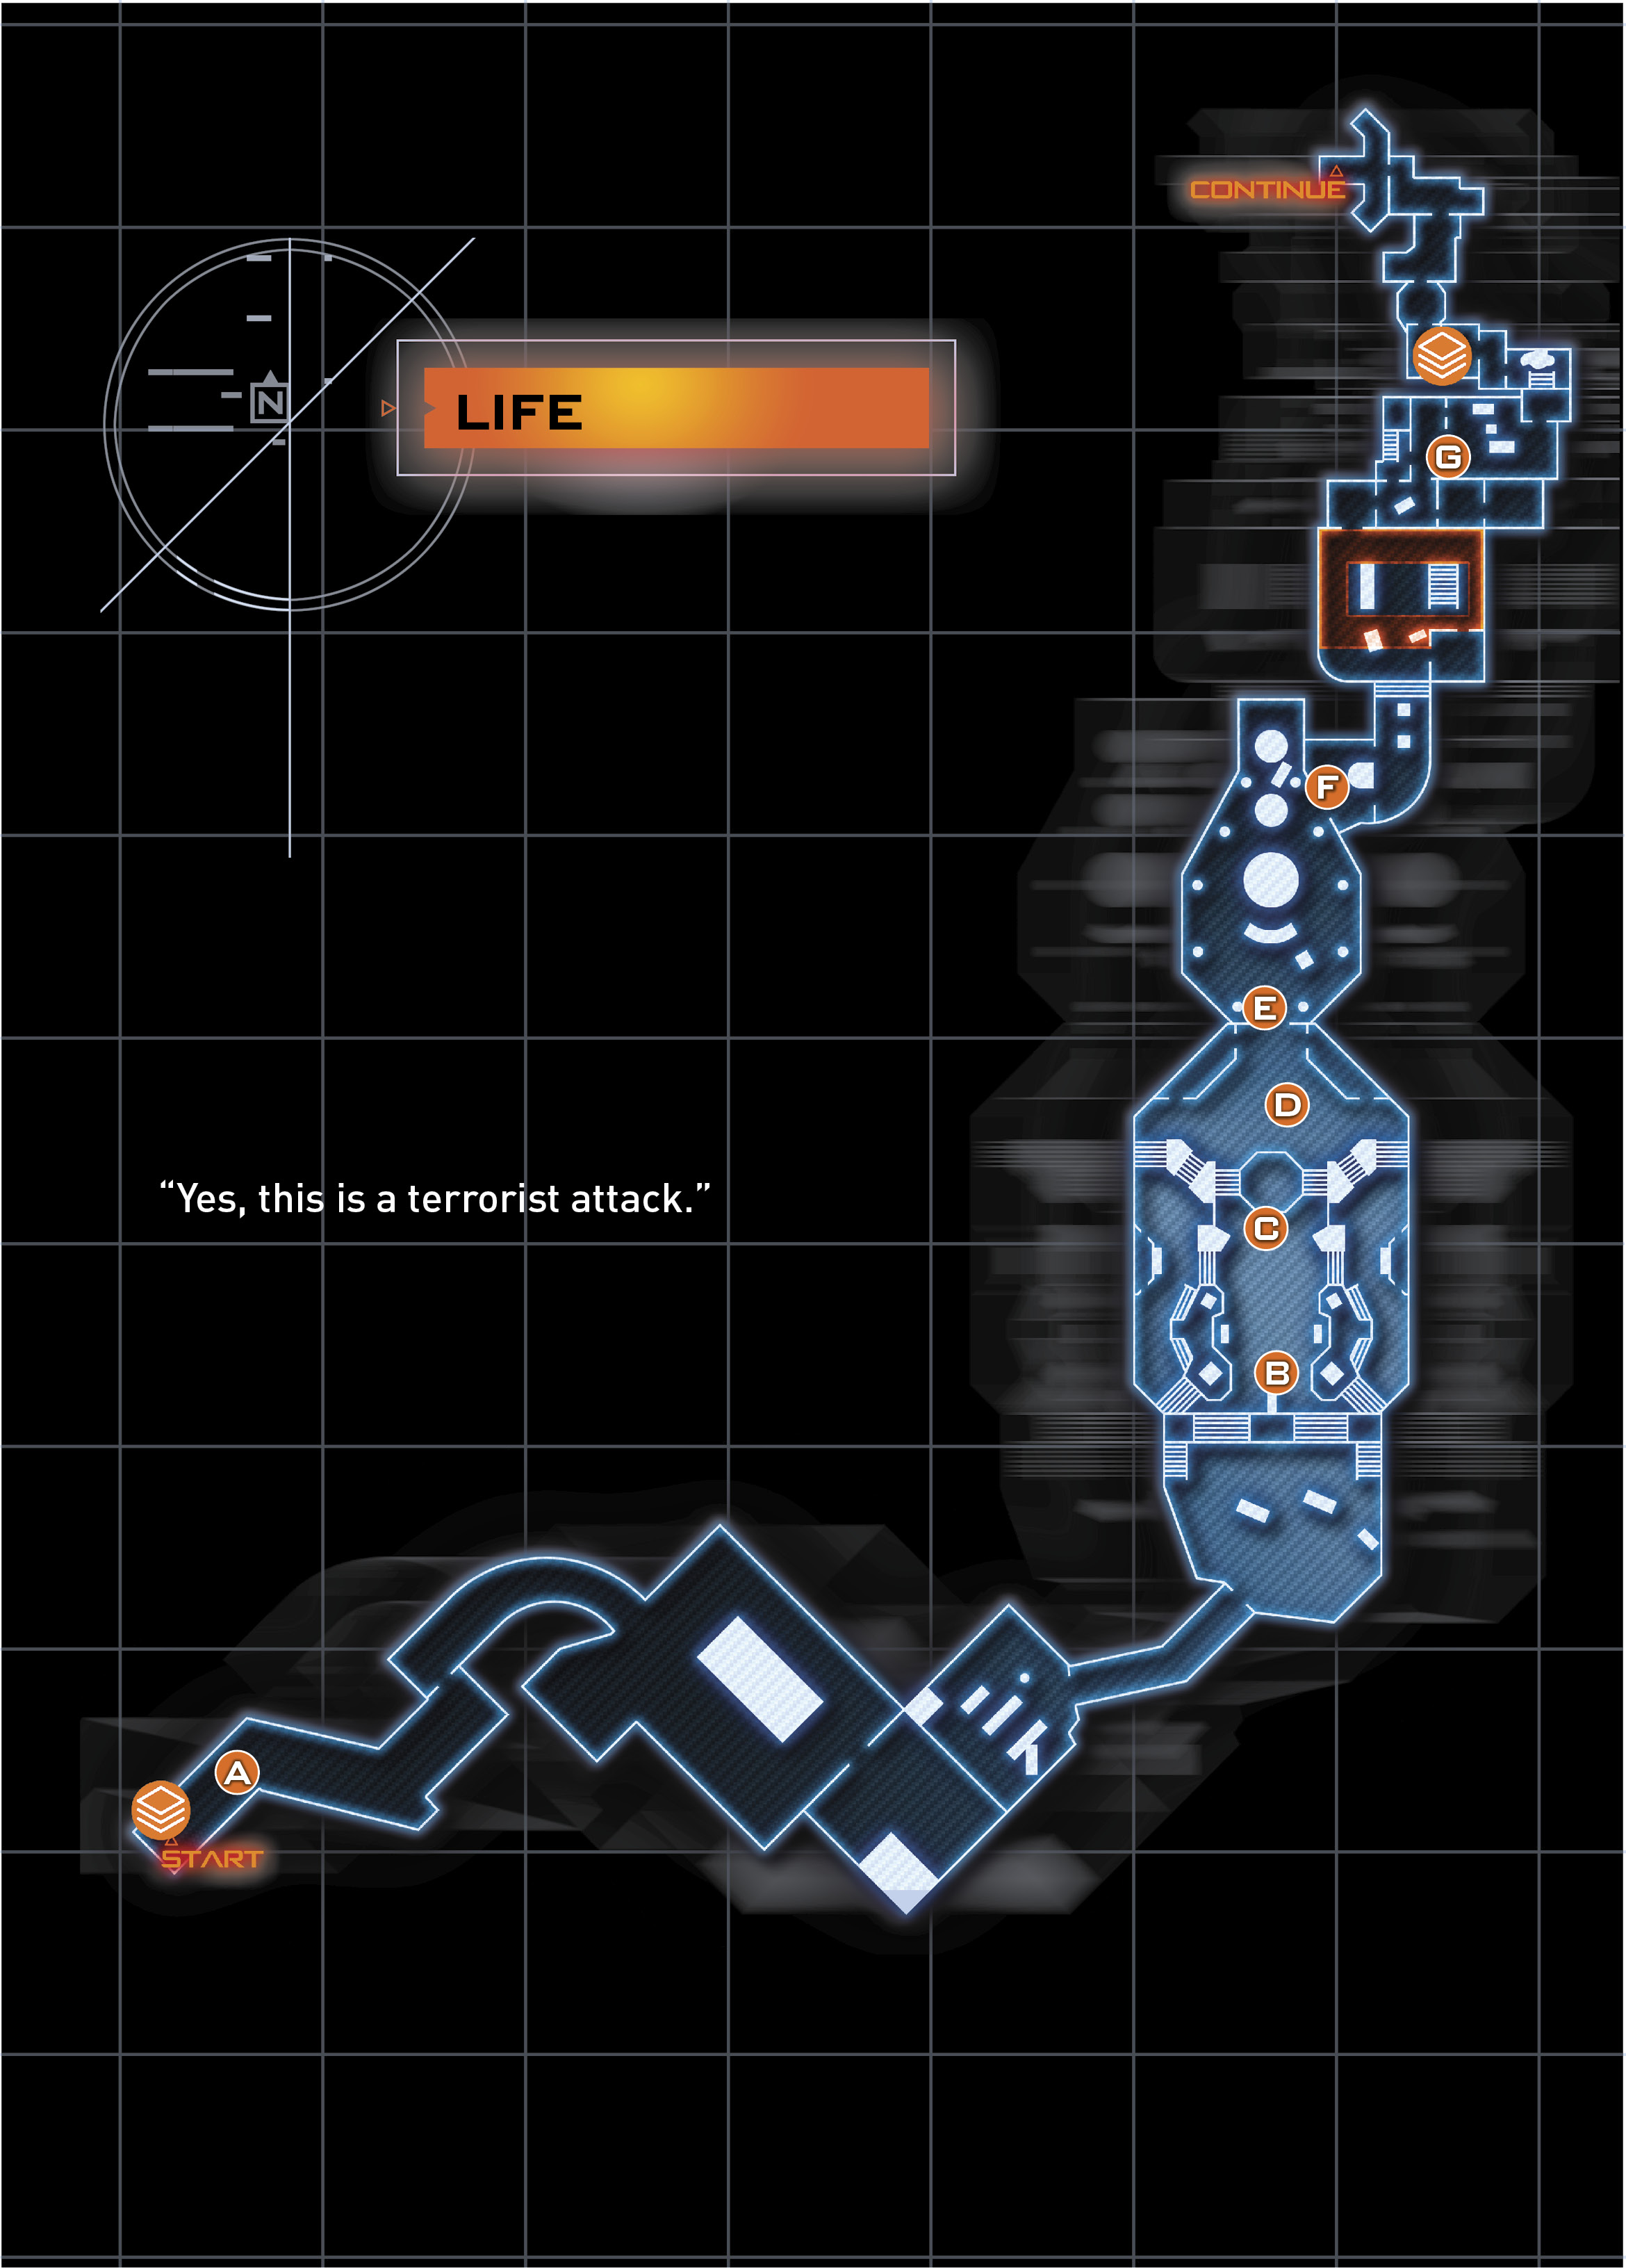
RECOMMENDED LOADOUTCybercore: Control Recommended Skills: Servo Short-Out, Surge Primary Weapon: Light Machine Gun Secondary Weapon: Target Lock Missile Launcher |
 Go to the Coalescence Building Plaza

You’re back in Zurich, where it all began. All hell has broken out in the streets, with cybernetic armies unleashing havoc in the streets of the city. You and Kane must reach the Coalescence Building to find a rogue Hendricks.
|
 Coalescence Promo Poster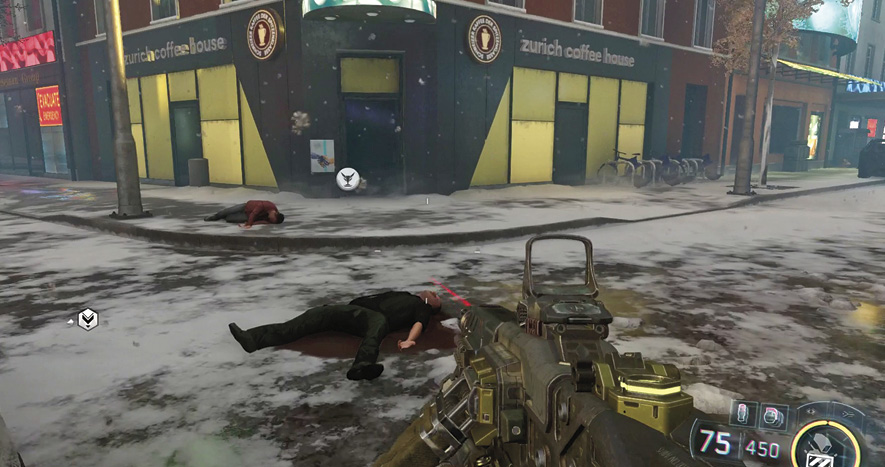
The robots you encounter in this level are controlled by him, and are immune to Remote Hijack and Protocol Override. We still recommend you outfit the Cybercore Control if you have the Servo Short-Out and Surge powers, which still work on the super robotics. If you don’t have those skills, stick to Chaos or Martial.
Follow Kane and the Zurich forces up the street. Use the cars for cover.
You begin your first firefight with the new heavily-armored robots at the parking garage. These robots take more hits to go down and, as mentioned earlier, are immune to hack abilities and supported by Talons.
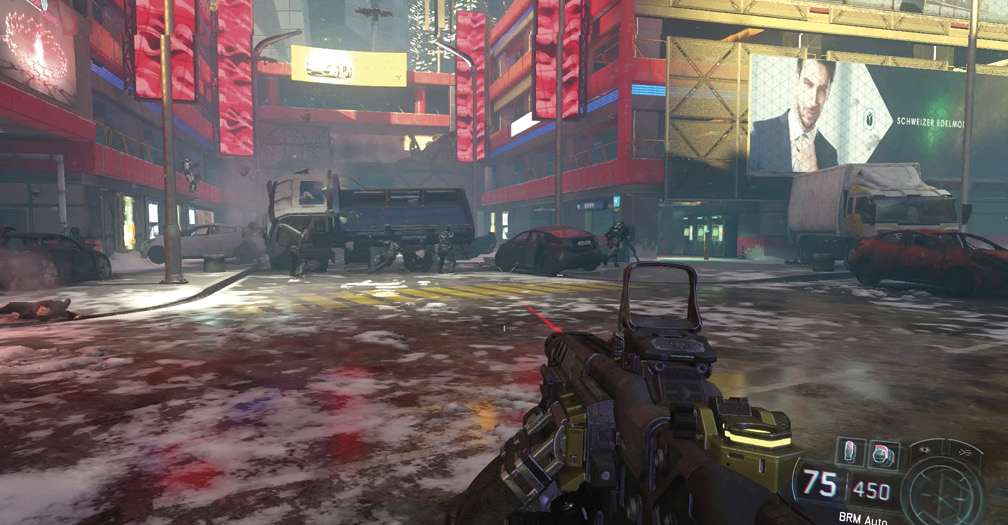
Remain behind cover and use your DNI skills to find their positions through the smoke. The robots are on both sides of the street and in the garage directly above.
Follow Kane up through the parking garage building on your left. Inside, more of the armored robots stand ready. Use Surge to disable the group quickly.
The garage path leads up to a forked area. There are robots attacking from both sides, so hang back and wait for them to get into view. Watch out for the Talon in the middle opening. If you get shot, retreat back down to the lower parking area.
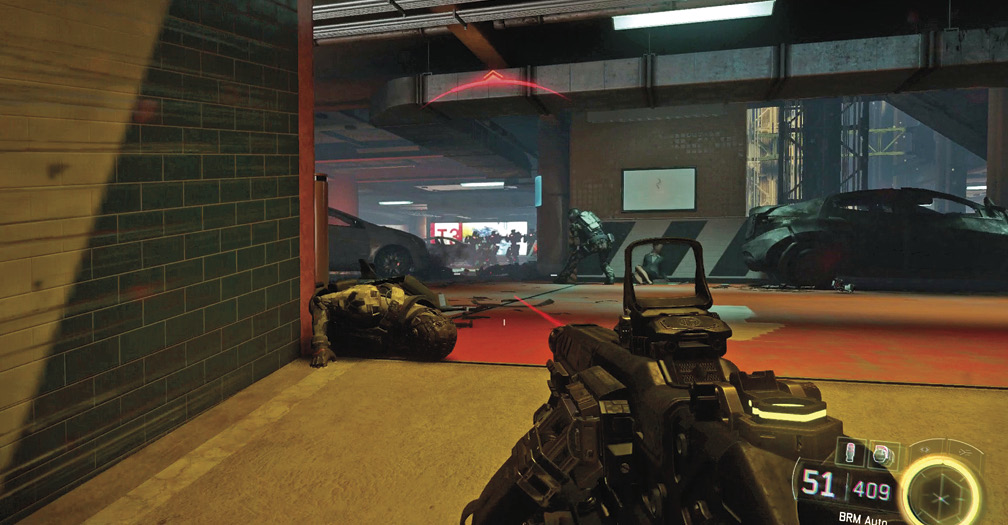
The robots attack in slightly different patterns, depending on which path you take. Trigger enemy spawns by moving down one of the paths, then retreating back down the parking garage. When the area is clear, proceed through the blown out hole at the back of the area.
Your path leads you back outside, and then through a crashed commuter train. The battle of the Coalescence Plaza is up ahead. When you’re ready to begin, drop down.
Destroy the A.S.P.-C
There are several powerful weapons to equip at the Zurich barricade, including a War Machine, a powerful grenade launcher; the Micro-Missile Launcher that you used during “In Darkness”; and a sidearm called the Annihilator.
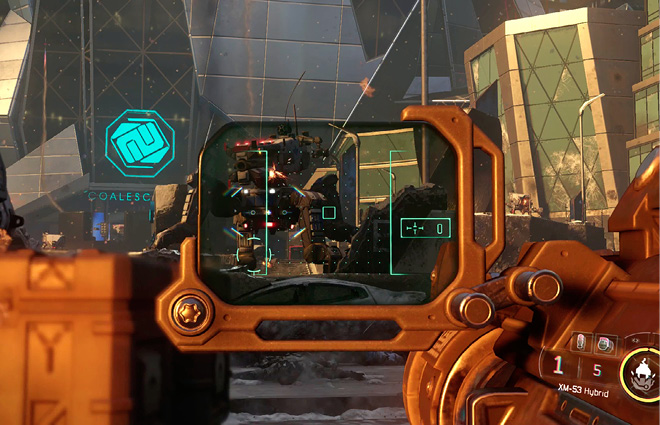
There’s also an XM-53 standard Missile Launcher. Grab that first, then replace your primary weapon with the War Machine and your secondary with the Annihilator.
Stay in cover here and use the Annihilator to take the tank’s shields down, and the XM-53 locked missiles to damage it. Keep this up until the A.S.P. goes down. This tank has many more hit points than the ones you’ve encountered on earlier levels. If you need more ammo, restock at the nearby Ammo Resupply.
Destroy the Wraith
A Wraith arrives when you move forward with your allies. This is a standard one, so no problem for your Missile Launcher. Get two locked hits to down it.
Destroy the A.S.P. -ML
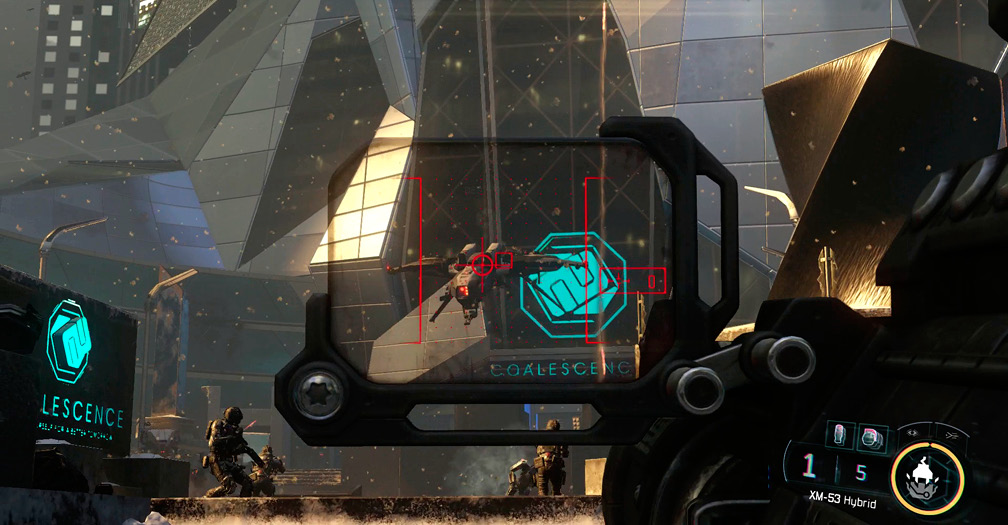
Well, in case you thought the Wraith was too easy, you must now take out a super-powered A.S.P. at the back of the plaza. Moving up the middle of the plaza is inadvisable due to lack of cover, so instead choose the right path to approach the Coalescene building.
Throughout this sequence, the A.S.P. fires missiles into the sky that come crashing down on the battlefield. This makes keeping Tactical Mode on a must. It allows you to see when areas are about to be hit by the large red circles on the ground. It’s also possible the A.S.P. can lock you. You will know this has happened if the red circle follows you around. Get to indoor cover before the rocket lands.
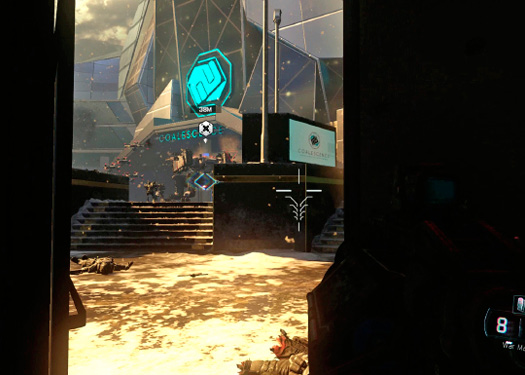
When you reach the first room, a garage door opens and two P.A.W.W.S. mechs are deployed to the battlefield. Unload with the War Machine to down one quickly, then retreat to the starting area and restock your ammo.
At this point you can switch back to a standard armament, so change your loadout back to the Light Machine gun at the Mobile Armory. When you’re rearmed, head back to the room where you fought the P.A.W.W.S. We recommend you fight from this room because it provides cover from the Talons flying overhead, as well as the incoming rockets from the A.S.P.
Peek out the back door and fire on the A.S.P. with your Machine Gun. When its shields are down, unleash with locked missiles. This A.S.P. has can take a ton of damage, so you may need to run back for a resupply. You should minimize this ammo run. Once you have the A.S.P.’s attention, it begins firing and will send its Talons after you. Each run can be risky, with a particular threat coming from the Talons.
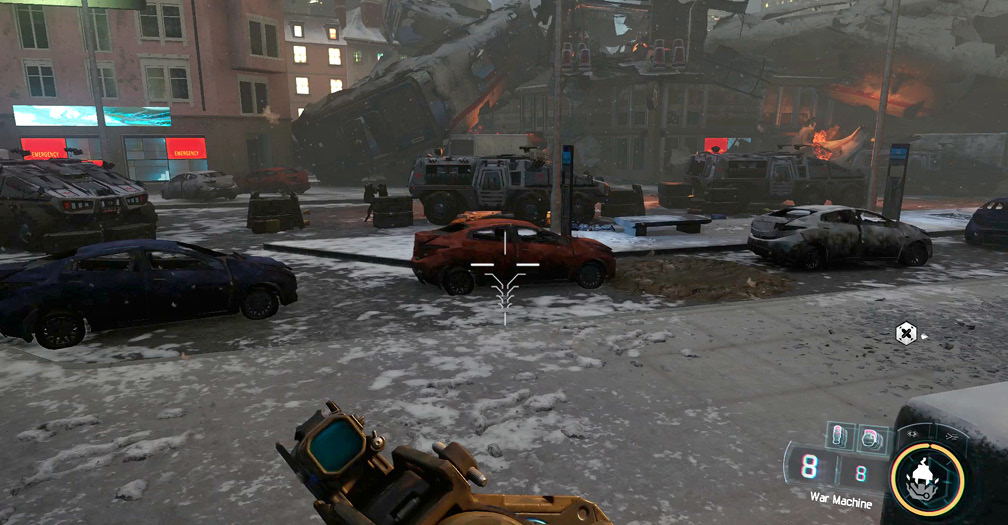
Hack the Lobby Door
With the A.S.P. down, the tide of the battle has turned. You can freely move up to the door at the back of the plaza to hack it open.
Use the Mobile Armory in the lobby to change your loadout.
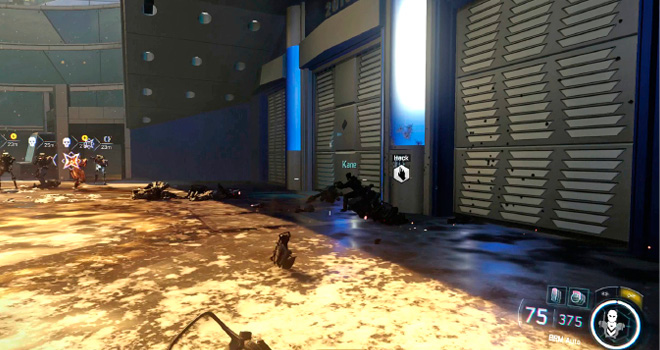
RECOMMENDED LOADOUTCybercore: Chaos Recommended Skills: Firefly Swarm, Sonic Anti-Personnel, Immolation Primary Weapon: Automatic Rifle |
There are still some more fights with robots, but the major fights ahead are against humans, so Chaos is a better tree. You’ll fight a variety of enemies at all ranges, so pick your favorite multi-purpose loadout for your weaponry.
Locate Hendricks
The next room has minimal robot defenses. You survived the battle of Coalsecence Square, so you shouldn’t have much trouble with these guys. Follow Kane up through the facility.
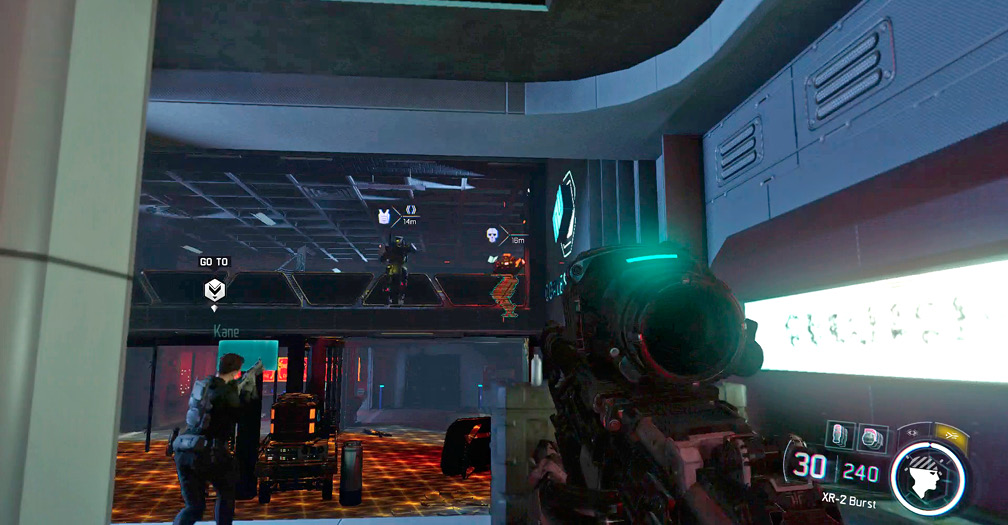
Destroy the P.A.W.W.S.
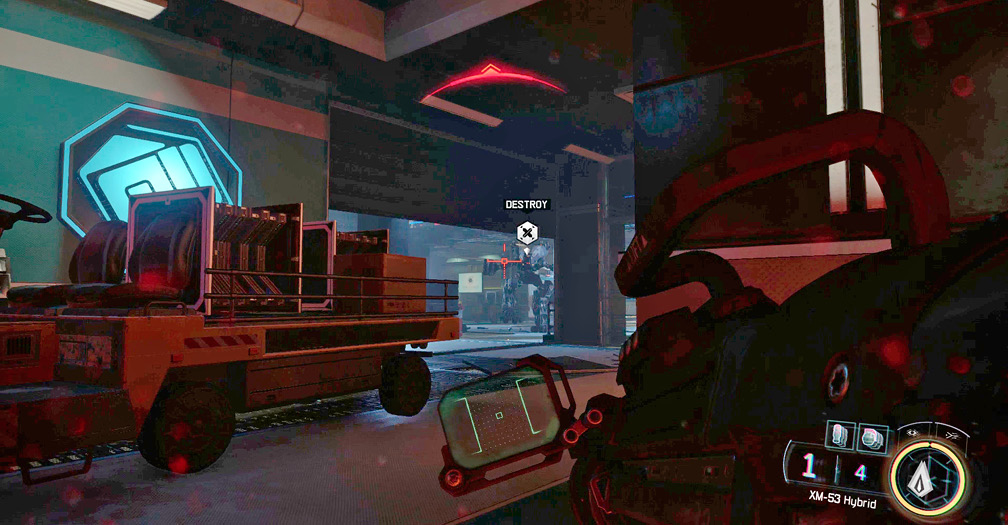
The next room is a bit more of a challenge. Another P.A.W.W.S. mech lies in wait at the back of the room. Unload with your weaponry, using the many walls in the area for cover. Watch out for its minimal robot reinforcements; they can flank you if you aren’t paying attention.
When you kill the first mech, a second one is deployed at the back of the area. If you can get a clear angle on this mech, unleash with the XM-53 launcher, which you should still have from the previous battle.
When the giant mechs are down, two puny robots arrive. Mow them down and proceed to the back of the area to the lab.
|
 Prototype Robot Part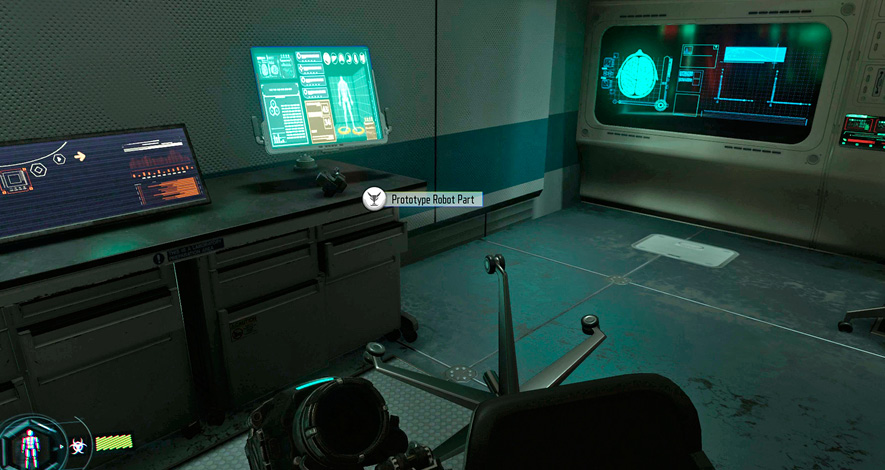
Hack the computer to complete the section.
Discover the Mystery of the Frozen Forest
After the dramatic events in the base of the Coalescence facility, you awaken in the Frozen Forest. This is another dream-like world where the rules of reality are thrown out the door.
Throughout this section of the level, enemies spawn around you, the world transforms, and you must interact with unusual objects. Despite the dream-nature of the world, all the normal rules of combat still apply. Your DNI is also fully functional here. You fight humans in this section, so the Chaos tree is most useful.
As soon as you regain control, you are surrounded by attacking enemies. Kill the one directly ahead, then sprint for cover behind the big trees. Kill the other enemies that spawn in the area and a path opens up.
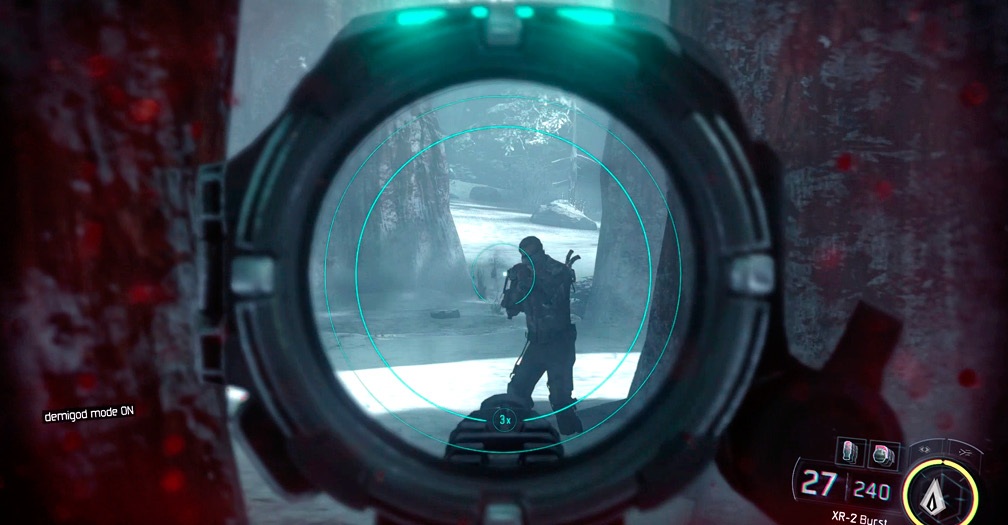
Fight down the snowy path to Corvus.
Survive the Pool of Corpses
Slide down the cliff into the red pool. As you move through the pool, enemies spawn in all around you.
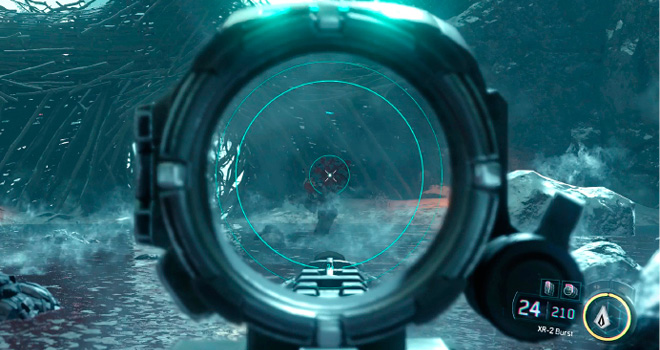
The fog is very thick here, so turn on your Tactical Mode and hang to the back of the area behind a boulder. You must kill about a dozen enemies before proceeding to the next area. When the objective marker pops on your HUD, move to the branches and hit Interact to burn them.
Relive your Singapore Memories
When you respawn, use the Mobile Armory to adjust your weaponry as you like, then move to the objective marker to open up the next pathway.
This next section is a reimagining of the events of Singapore. The enemies here are 54 Immortals. You know the drill: Stick to cover and carefully move down the path, killing the Immortals as they spawn.
When you see the scenery transform, it means there’s a fresh spawn of enemies coming at you. Hang back in cover and wait for them to charge or attack your position.
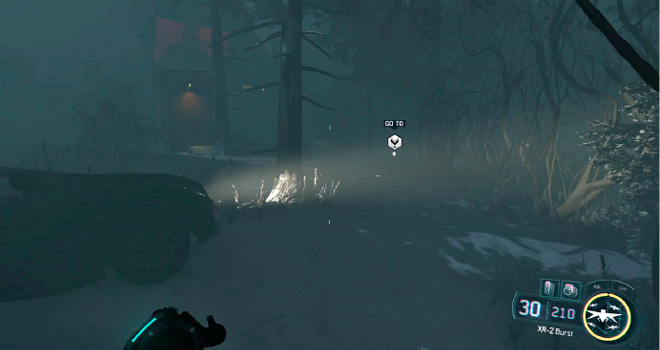
When you’ve made it through the first section, branches erupt from the ground to surround you. Don’t panic; they are just forming walls to guide you to the next area. Find your way through the branches to come across a second contingent of 54 Immortal dream soldiers.
Enemies respawn here several times before it’s safe to move forward. When it’s clear, begin making your way through the train yard. The enemies ahead use Assault Rifles, SMGs, LMGs, and RPGs to try to stop your advance. They also frequently respawn shortly after you kill one, so don’t lower your guard. This isn’t a standard operation!
Burn the First Heart
The path eventually leads to a door. Step inside and you enter a recreation of the Coalescence Facility you visited in Singapore. Watch for the Talons overhead. They are not a threat on their own. Kill the two groups as you make your way to the back of the facility. When you reach the end of the path, you discover a creepy, gigantic heart. Burn it with the Interact button to proceed.
Restock and Ready Up
After you’ve burned the heart, you find yourself back in the hub. Restock with the Mobile Armory. Consider grabbing one of the heavy weapons here to replace your XM-53. There’s a Spike Launcher, a War Machine, and a Micro-Missile Launcher on the snowy boulder. For the next section, we recommend the Micro-Missile launcher.
Burn the marked tree to proceed to the next dream sequence.
Relive the Events of Egypt
Now you are in a recreation of your Egypt campaign. You’re fighting the NRC, but the challenge is about the same. Move through the path, using your Tactic Mode to pick out enemies hiding in cover.
Remember that enemies frequently respawn immediately after you kill them, so be patient as you advance. Enemies have the ability to spawn in your flank, so swivel back and forth as you advance to make sure they don’t get a shot on you.
|
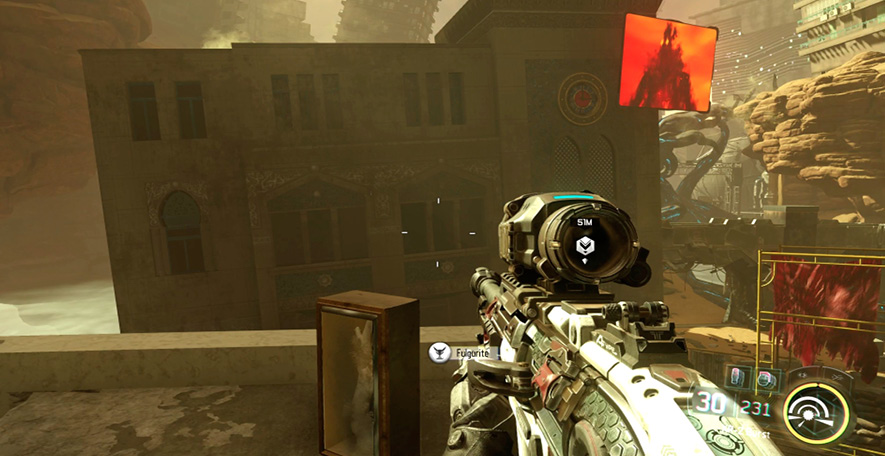
Whichever way you proceed, don’t zig-zag through the ruins. This causes more enemies to spawn, making it harder to punch through. Escape the first area to reach a checkpoint, then follow the hill up and down into a zone reminiscent of Sand Castle.
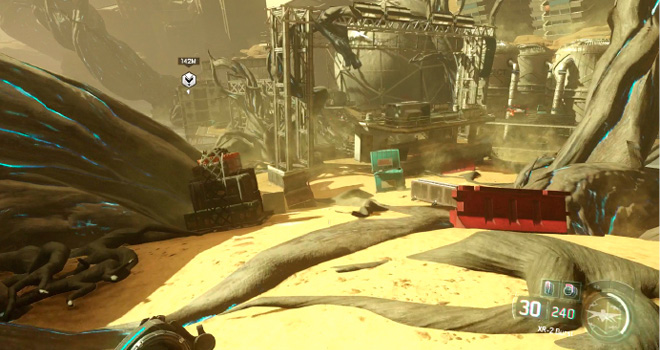
Use Firefly Swarm to distract and dispose of the enemies as you slowly move through the ruins to the next area. Fight your way to exit another portal at the end of the trail.
Destroy the Second Heart
You find yourself teleported into another heart chamber. Watch out for the R.A.P.S. in the area; they can climb the walls and attack from all directions. When you’ve cleared them, move to the back of the area and burn the second heart.
Relive the Events of the Typhoon
One last path to explore. Burn the branches to reveal the way.
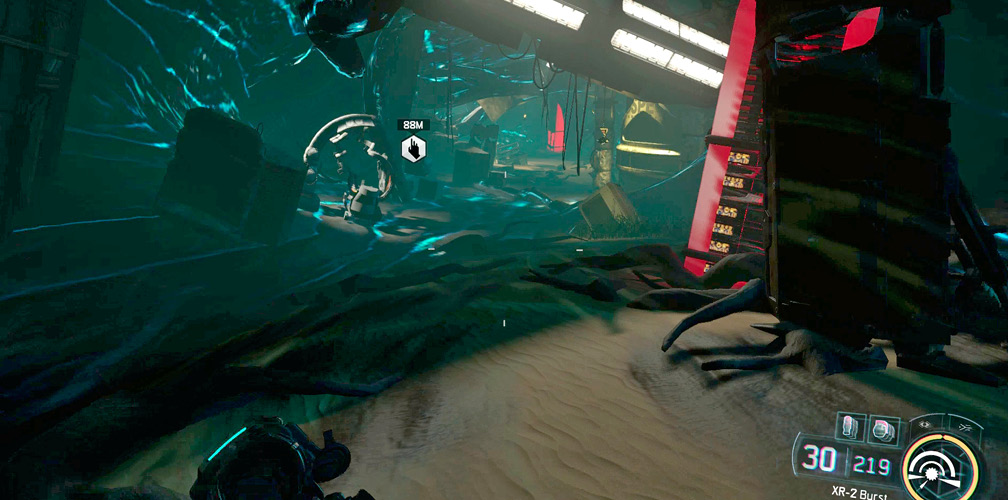
You are transported to the bottom of a bloody river. Use the Jump button to swim to the surface. This section is a mash-up of the levels in previous campaigns. This first part is a recreation of the Singapore typhoon in Chapter 3.
Use Firefly Swarm and your favorite weapon to take out the enemies in this area. When you’ve cleared the first section, you come to a bloody lake. Cross the lake to the other side.
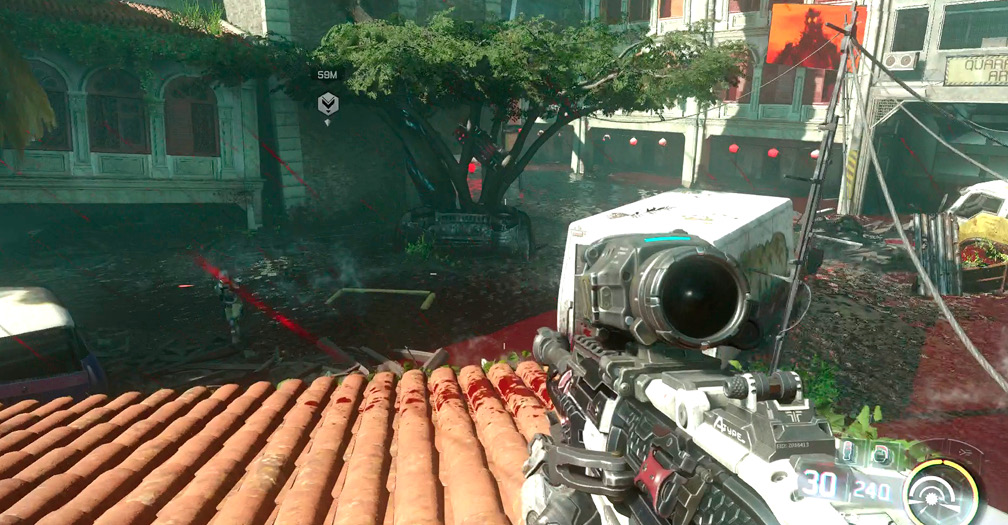
This leads to another flooded village. Stick to the right path, moving between the buildings to stay in cover.
Burn the Third Heart
Follow the red river to the end, and you are teleported underwater. There are depth charges directly above you. Shoot them before they can get close and carefully swim up; shooting more as they appear.
Swim to the surface and burn the heart at the end of the path.
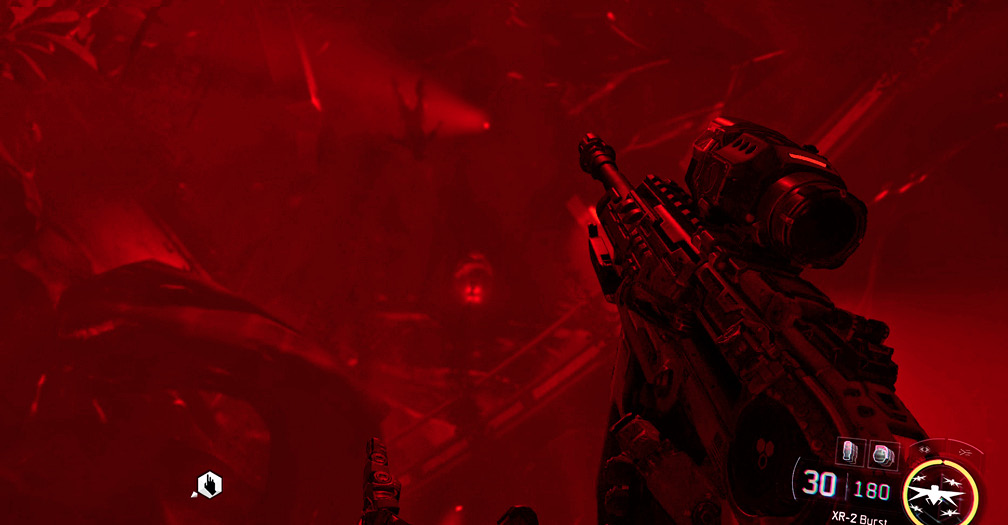
Defeat Corvus
After the cinema, follow the path out of the Coalescence building. We don’t want to spoil any of the ending, so we’ll end the walkthrough here. Congratulations on completing Black Ops III!
|