
Call of Duty: Black Ops III Guide Walkthrough 09 Sand Castle
09 Sand Castle
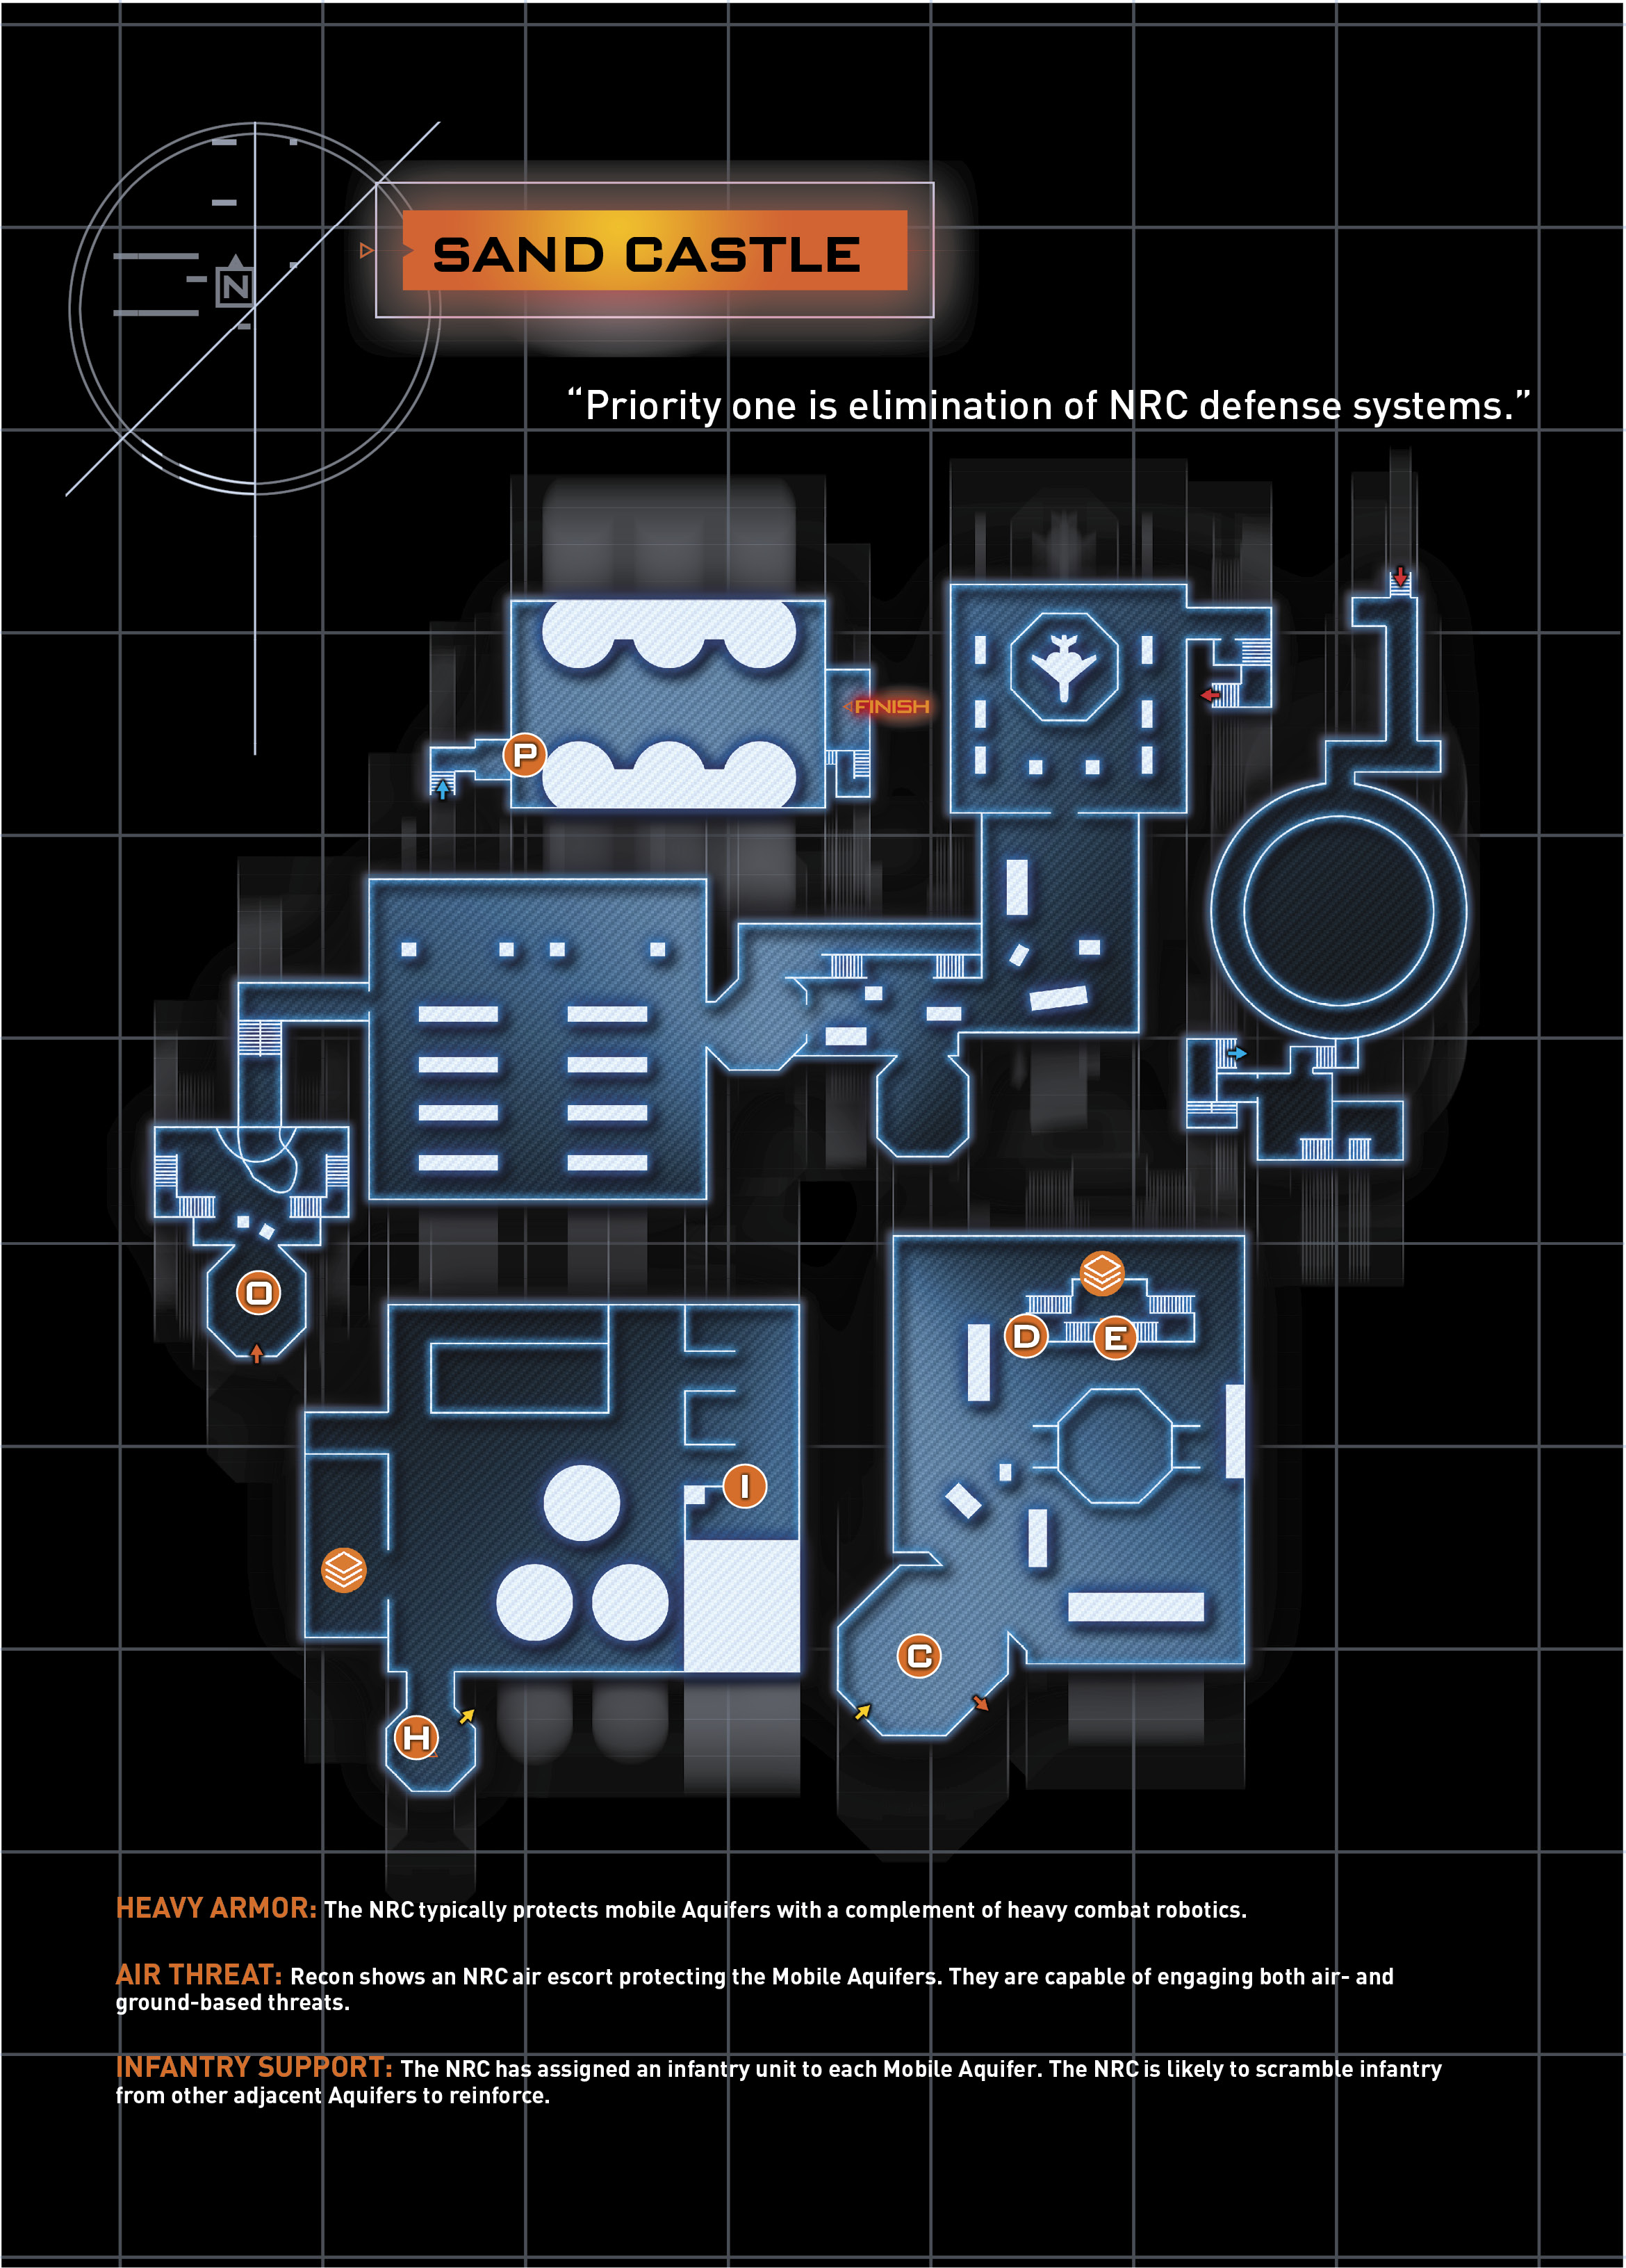
Egypt Aquifer
Day 6
Mission Briefing: In a joint operation with the Egyptian Army, launch an air assault on the aquifer drilling platform—suspected location of the two remaining targets.
Mission Objectives
 Eliminate Air Threat.

 Eliminate Air Defenses.

 Land on the Mobile Refinery.

 Go to the Communications Array.

 Cover Kane.

 Board your F-85B Bullshark.

 Eliminate Refinery Defenses.

 Go to the Communications Array.

 Cover Kane (Again).

 Board your F-85B Bullshark (Again).

 Go to Taylor and Maretti’s last known location.

 Go to the Surface.

 Eliminate Air Threat (Again).

 Provide Fire Support for Khalil’s Squad.

 Apprehend Maretti.

 Hack the First Generator.

 Hack the Second Generator.

 Breach the Door.

Level Accolades
| Accolade Name | Reward |
|---|---|
| Untouched! | Fabrication Kit |
| Complete the mission without dying. | |
| High Score | Fabrication Kit |
| Complete the mission with a score of 25,000 or higher. | |
| Got ‘Em | Fabrication Kit |
| Find all of the collectibles in the mission. | |
| Raining Fire | 250 XP |
| Kill 90 enemies while piloting the Bullshark. | |
| Bring them Down! | 250 XP |
| Shoot down 7 Wraiths. | |
| Fill It With Holes | 250 XP |
| While piloting the Bullshark, destroy all A.S.P. units using only guns. | |
| Fire for Effect | 500 XP |
| While piloting the Bullshark, kill 5 enemies with one missile. | |
| Multiple K.I.A. | 500 XP |
| Kill 10 enemies in under 2 seconds. | |
| Phantom | 1000 XP |
| Take no damage while eliminating the air defenses. | |
| TNT | 1000 XP |
| Kill 15 enemies with explosive containers. | |
| Defense | 1000 XP |
| Kill 45 enemies while defending Khalil’s Squad. | |
| Destroy VTOLs | 500 XP |
| Destroy all VTOLs Troop Carriers. | |
| Dog Fight | 250 XP |
| While piloting the Bullshark, shoot down 8 enemy VTOLs using only Guns. | |
| Evasive Maneuver | 500 XP |
| Defeat Maretti without getting hit. | |
| All Too Powerful | Fabrication Kit |
| Complete the sniper battle only using Cybercore powers. | |
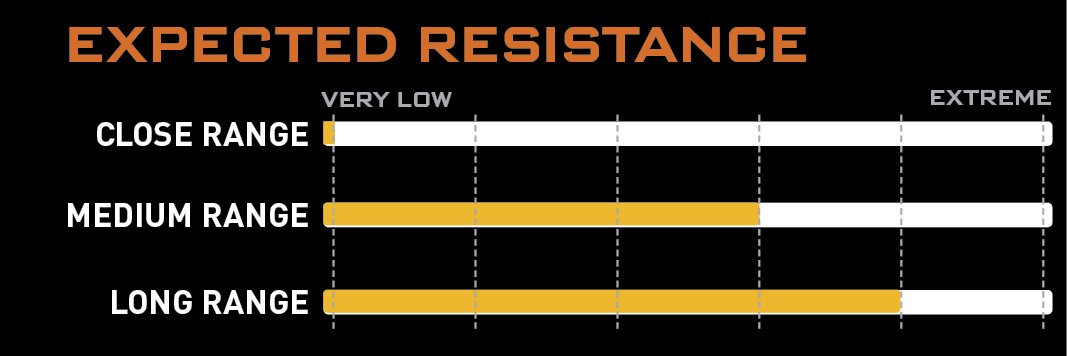
RECOMMENDED LOADOUTCybercore: Chaos Recommended Skills: Sonic Anti-Personnel, Cacophony Primary Weapon: Assault Rifle |
 Eliminate Air Threat

For much of this level, you’ll be gunning from within an F-85B Bullshark Fighter Jet. In this mode, the jet has two weapons: Machine Gun and Missile. You can freely fire the Machine Gun without worrying about it overheating or running out of ammo. The Missiles are useful only if you get a lock on your target. To do this, keep the enemy in your sights for a few seconds. When you hear the target lock beep, fire away.
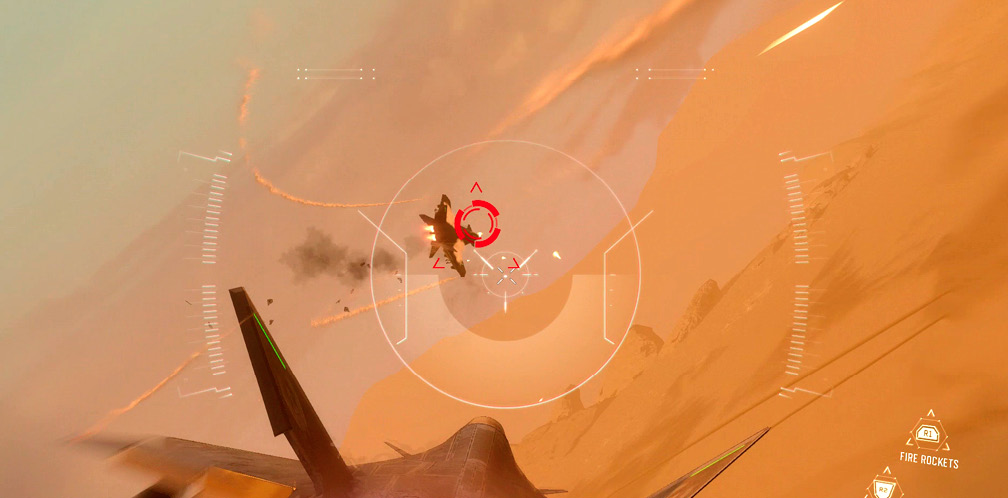
Use your Look stick to get enemies in your sights. It’s a good idea to open up with the Machine Gun, then unleash a Missile as soon as you have a lock. Keep one finger on the Machine Gun button, with another finger ready on the Missile button to unleash as soon as the lock registers.

Harder difficulties mean the enemy jets can take more fire before going down. Kill four jets to complete the section.
 Eliminate Air Defenses

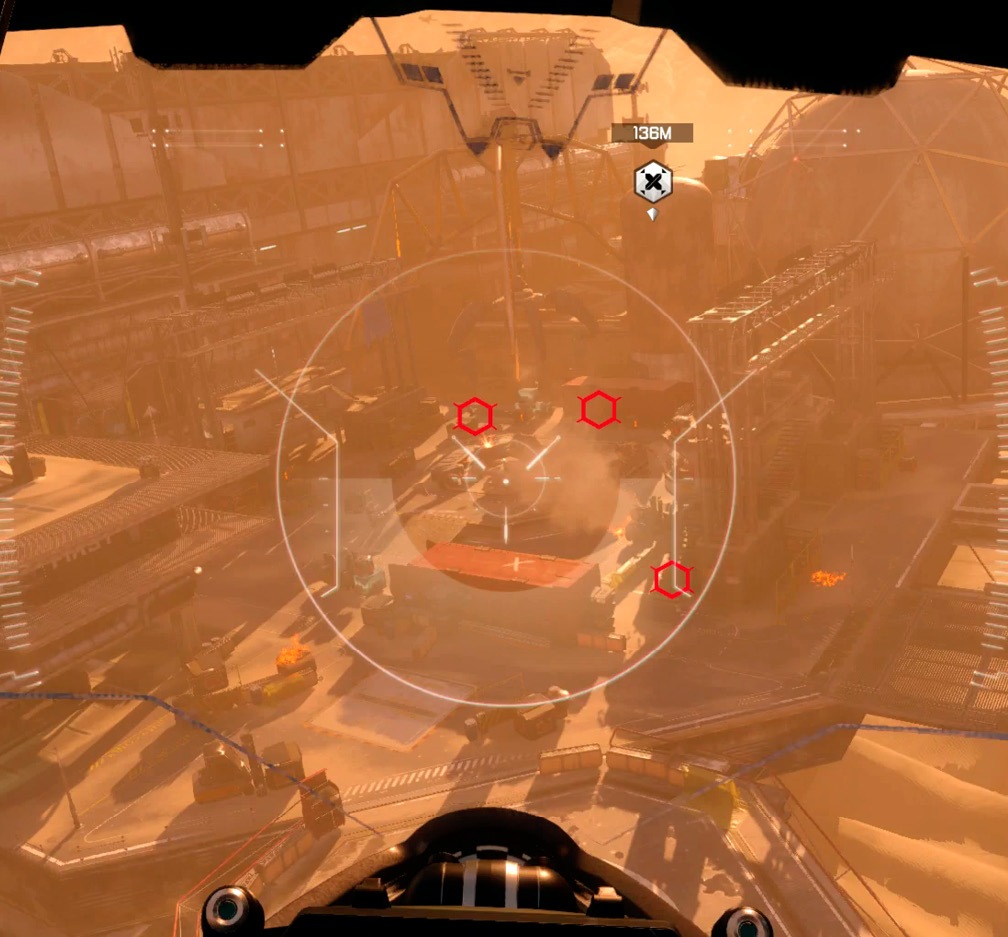
Your jet enters VTOL mode after the fight. This allows you to hover around in any direction. The jet automatically points in the direction of the enemy and puts you at an elevation to avoid obstacles.
There are five anti-air A.S.P.s in the area. Luckily, your missiles can lock on to them. Keep one in view for a few seconds, then release several missiles to destroy it.
If you get close to the platform, several enemies arrive to attack you. Although these are normal soldiers, some of them are armed with RPGs, so be careful.
 Land on the Mobile Refinery

Now that you’ve taken out the air defense on this side of the castle, you can move in to land. Before you do, take out the enemies standing in the area to clear the way for your team. There are two platforms to choose from. When facing Sand Castle, choose the left one first.
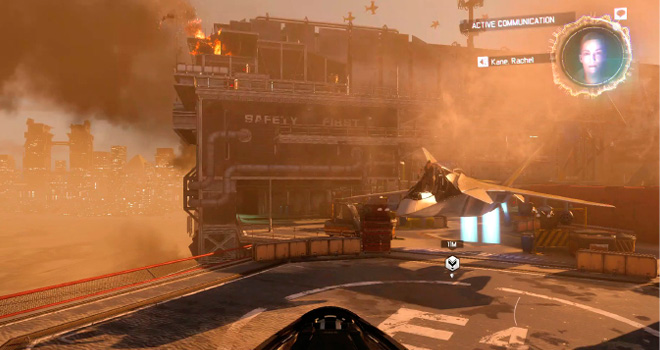
 Go to the Communications Array

On the ground, the NRC has even more reinforcements in wait. Find some cover and start picking off the nearby enemies before they can toss grenades on your position.
Your priority one tango is a soldier with an RPG standing just below your objective marker. Priority two is the sniper in the glass booth just to the right of the RPG soldier.
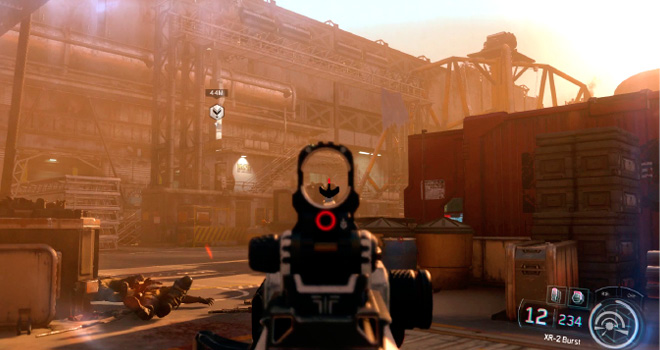
When it’s safe to move forward, inch up toward the objective marked on your HUD. There are more enemies spread around, but nothing too deadly. Climb the tower to get to the Communications Array.
|
 Postcard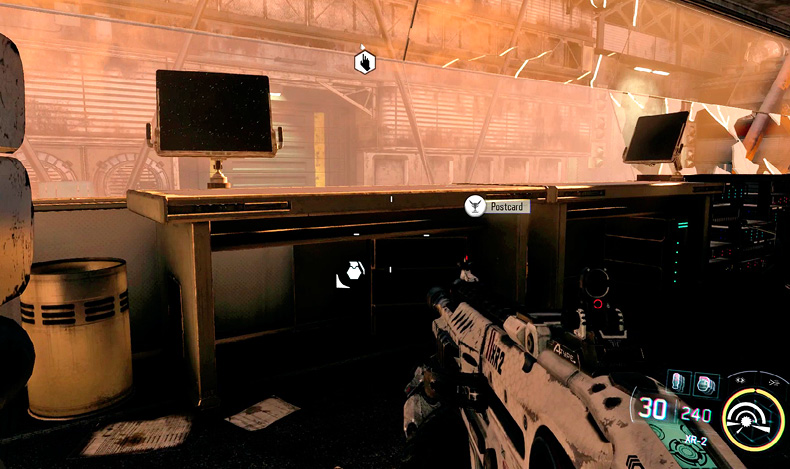
 Cover Kane

Interact with the array tower at the top to pull off the metal panel. You now need to defend Kane while she hacks the comm array. Your HUD shows live progress as she works away. Find cover on the nearby metal panel to your right.
The first group of enemies attacks from below on the right side of the platform. Peek over the edge and pick them off as they approach.
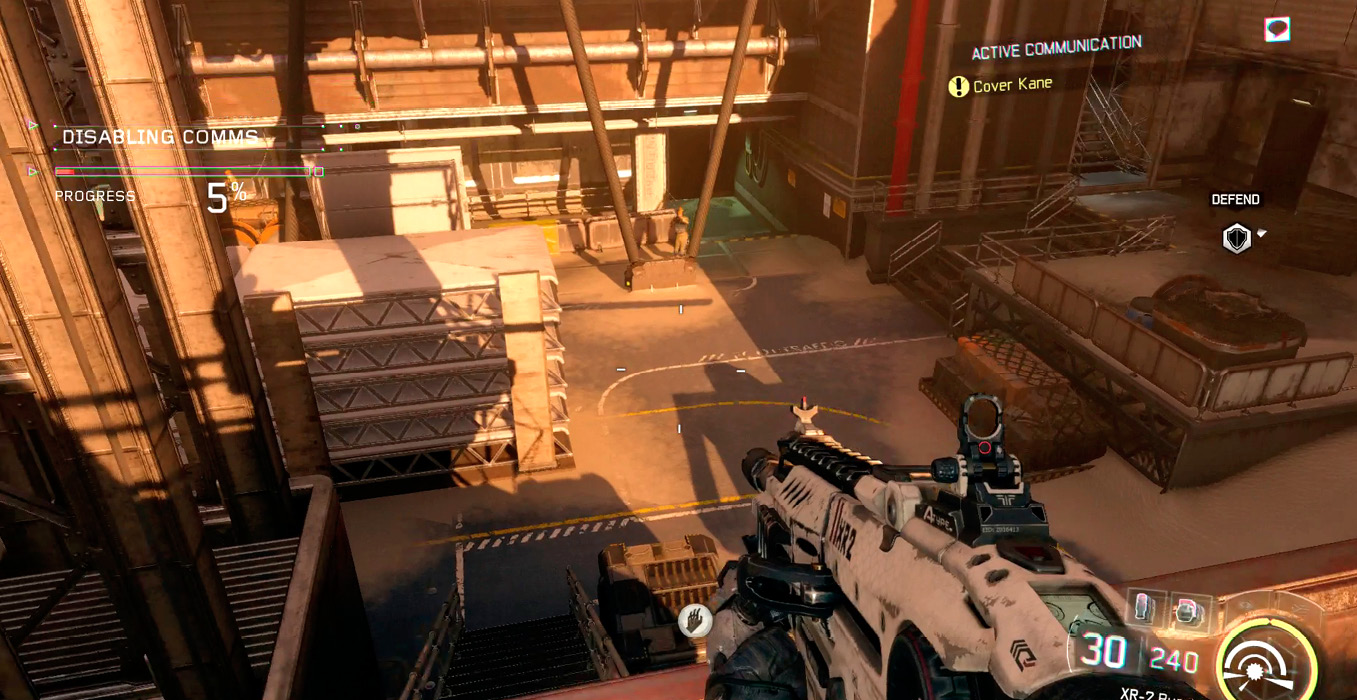
The next wave comes from directly ahead. Continue firing on them, and do your best to prevent any enemies from getting too close to the platform. It won’t be possible to kill them all, so prioritize those within firing range of your position. Watch out for RPG-armed enemies on the back of the front platform.
Keep an eye out for enemy Talons after the VTOL drops off more troops. The Talons get a direct shot on you, so it’s very important to take them out before they inflict too much damage. If enemies get too close to the platform, they start tossing grenades up. Be ready to toss them back quickly.
 Board your F-85B Bullshark

With the hack complete, you need to make it back to the jet. There’s no rush here, so clear out the remaining enemies before you descend the stairs.
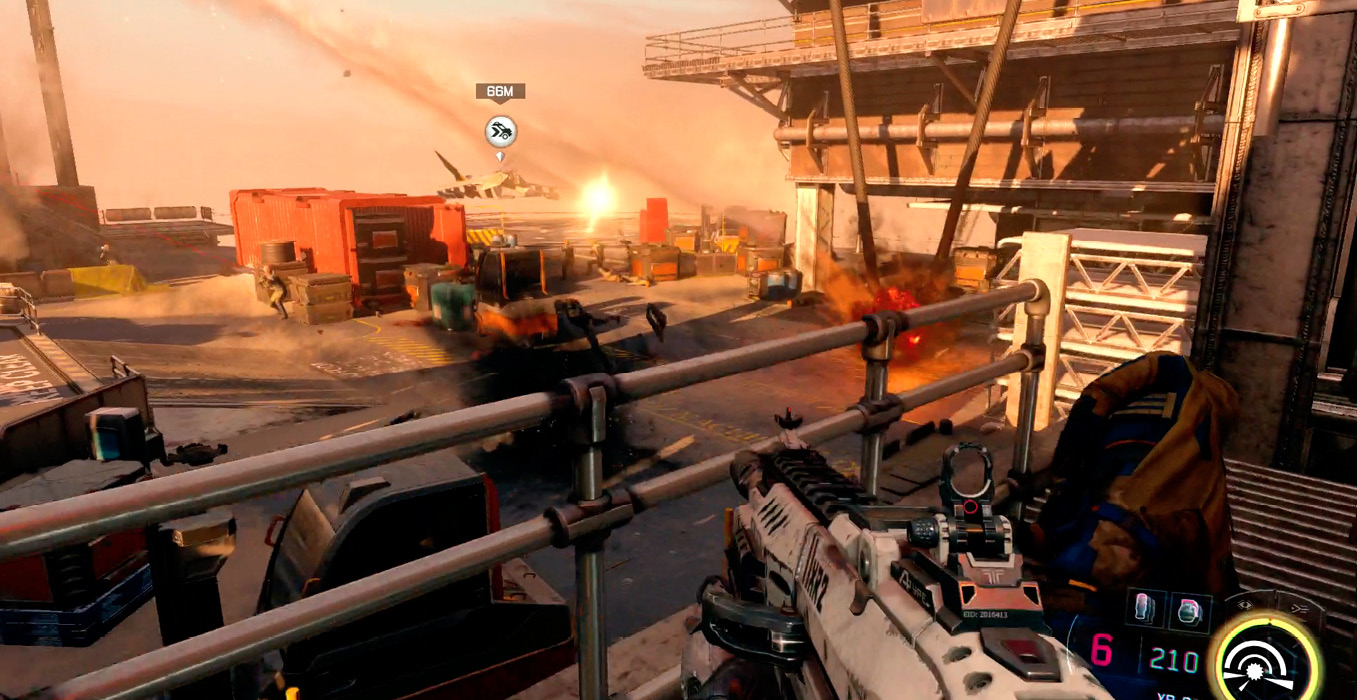
When the way is clear, sprint to your ship to automatically board.
 Eliminate Refinery Defenses

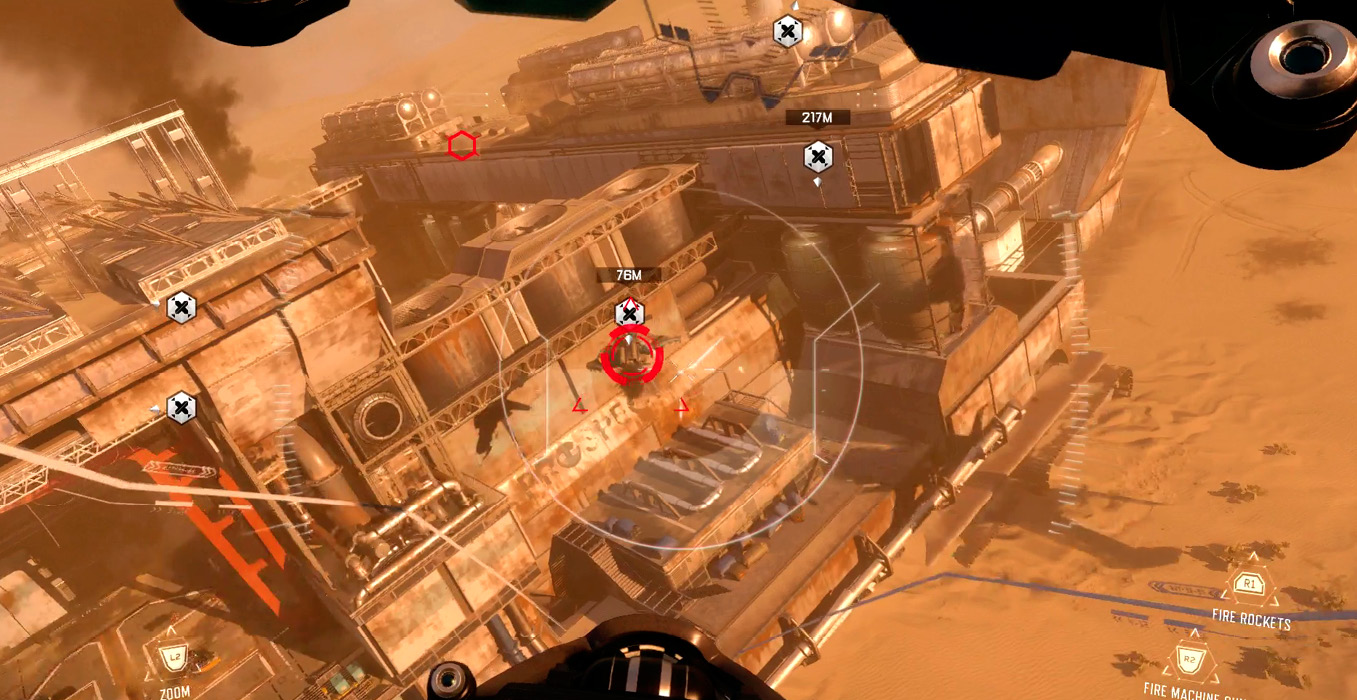
Circle around the side of the platform to meet a whole new set of enemy defenses. There are soldiers with RPGs, Wraiths, and Anti-Air drones.
The trick to surviving this section is to keep moving. If you are moving, it’s almost impossible for the RPG soldiers to hit you. Keep your guns hot, targeting the soldiers, as well as the large mech support. As soon as you get a lock on any enemy, unleash several missiles to finish it off.
 Go to the Communications Array

Continue around the platform to the new landing pad. Clear the landing area with your jet’s fire power, then hit Interact to land.
|
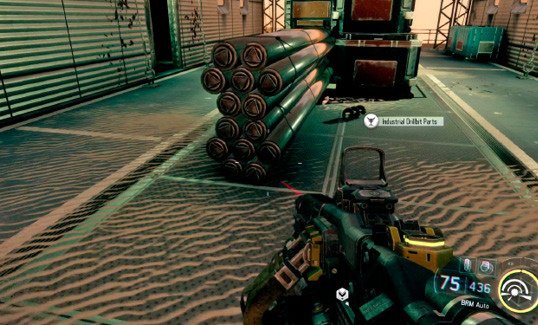
There’s another huge force defending the second array. Rush up to cover and begin picking off the enemies. They’re on the walkway ahead, but prioritize the ones on your left flank.
Fight your way toward the objective marker. Watch out for the RPG soldier hiding behind the fork lift on the path just before the objective.
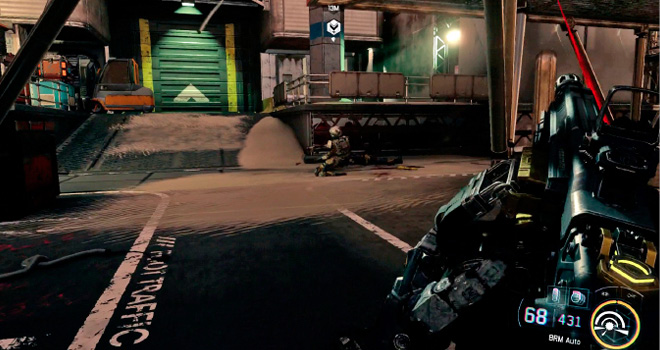
When you reach the array, Interact with it to open it.
 Cover Kane (Again)

It’s the same deal as before. You must keep Kane safe until she can complete the Comms hack. The first sets of reinforcements come from the right. Find cover and explode the red container when they bunch up, then watch the upper deck ahead for reinforcements. Pick them off as they arrive.
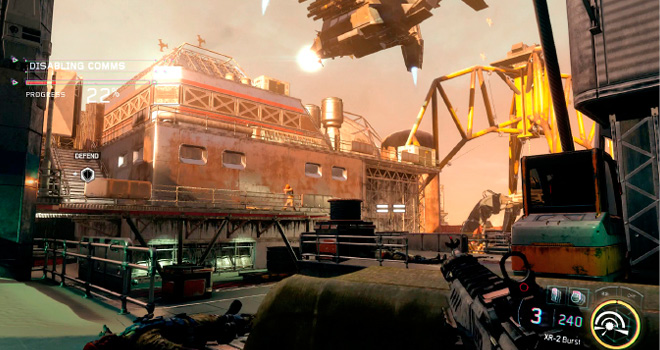
If you’re having trouble in this section, get behind the rear pillar. The enemies generally target you instead of Kane, and it’s easy to toss grenades and find quick cover back there.
 Board your F-85B Bullshark (Again)

With both Comm Arrays down, your team is free to complete the mission of finding Taylor. Clear out the remaining enemies, then leave your cover to follow Kane back to the air pad.
There are several reinforcements between you and the air pad. Take it slow and remain in cover. Your DNI skills are key for making it through this part alive. There are some Talons flying overhead, so you can use Remote Hijack on them. If you’re in the Chaos Tree, Firefly Swarm can work wonders.
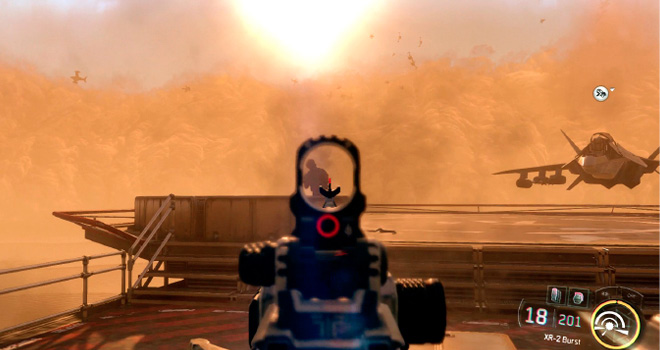
 Go to Taylor and Maretti’s last known location

Fly around the side of the refinery to find another landing pad highlighted. Land there and proceed up the stairs after Kane. It’s a short swim through to the next area. After the cinema, move up to the door at the back of the server room.
 Go to the Surface

If you have Remote Hijack, equip it now. Be ready for two R.A.P.S. that come bombarding through the door. The R.A.P.S. are accompanied by a large company of robots. If you don’t have Control DNI Powers, use your other DNI to get an edge and survive the fight.
When the robotics lie twitching on the ground, jump back into the water. Underwater, you can’t use your DNI, so carefully swim through, utilizing your primary weapon to slowly pick the enemies off as they appear in view. There’s not much cover down here, so position yourself with the stairs and the walls to avoid incoming fire.
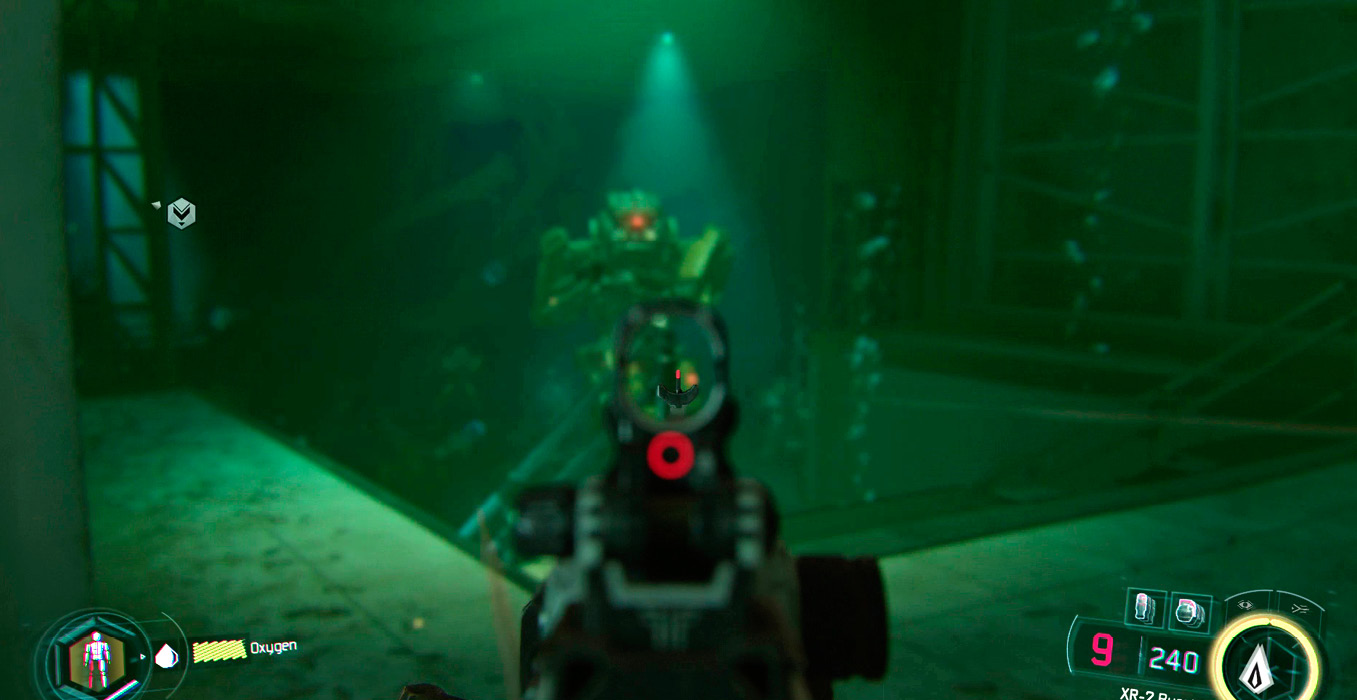
When you round the first corner, toss a grenade in the room to weaken the robots. There are a half dozen to kill in there and you have plenty of oxygen, so take your time. Swim through the room to escape to the surface.
 Eliminate Air Threat (Again)

Soon, you’ll be back in the cockpit of your fighter jet. Down four bogeys to complete the section.
 Provide Fire Support for Khalil’s Squad

After the dog fight, it’s back to VTOL mode. On the middle platform is Khalil’s squad. Use your weapons to decimate the forces on the ground. There’s some anti-air support in the form of an A.S.P. on either side of the platforms. Take those out when you have an opening between waves of ground soldiers.
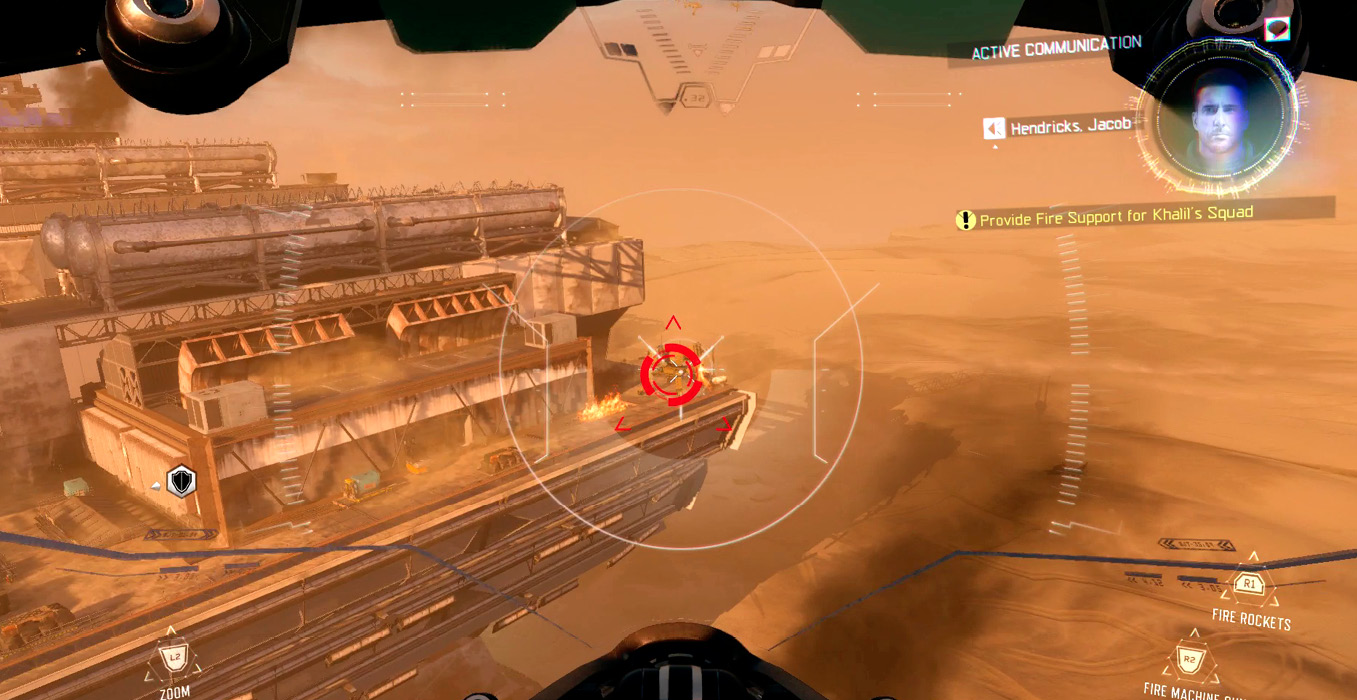
After you’ve decimated several waves, you patch into a video feed of Taylor.
 Apprehend Maretti

Move around the Sand Castle to find another landing pad marked. Clear the area of enemies, then land on the pad. Even with your air support, there’s still a huge number of NRC soldiers on the pad. Use the Explosive containers in the area to crush any enemies hiding in cover.
Use your anti-personnel DNI powers to help your team advance. If you don’t have Chaos equipped, you can switch to it with the Mobile Armory behind your landing point. Alternatively, equip Control and use Remote Hijack on the R.A.P.S. in the area below. There are also some Talons at the back of the area.
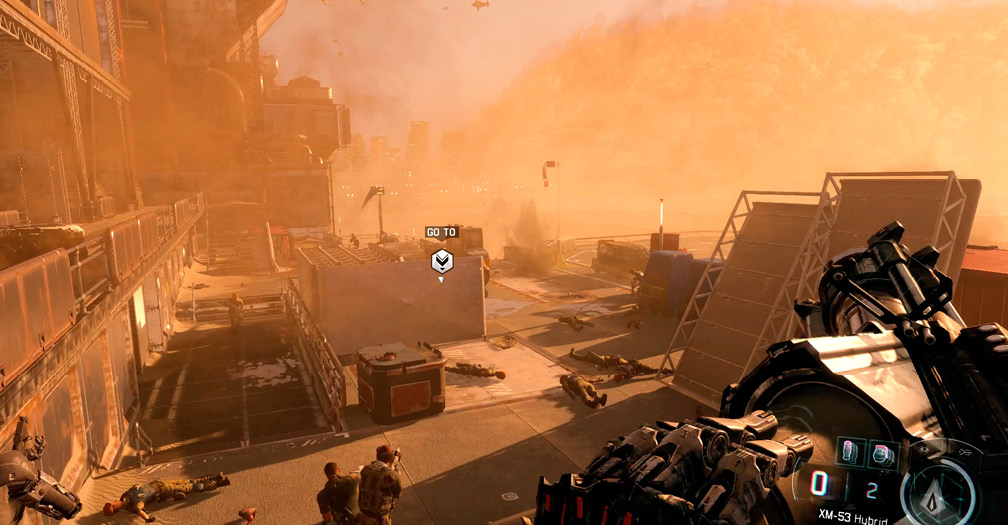
The dust storm is wicked here, so turning on Tactical Mode is a must. When you reach the end of the platform, head down the stairs and continue toward the objective marker on your left. Sprint to the marker to trigger a breach attack.
After the breach, you find yourselves completely surrounded by the enemy. Use the nearby pillar for cover and use a DNI skill to take out the enemies firing at you from above.
Follow Hendricks down through the next area. There are plenty of NRC in here, so don’t rush. Stay in cover. If you get hit, wait until you fully heal before attempting to proceed.
The stairs down lead to a large circular room that’s difficult because the enemies on the lower level shoot up at you through the grating. Use your Tactical Mode vision to fire at them through the cover.
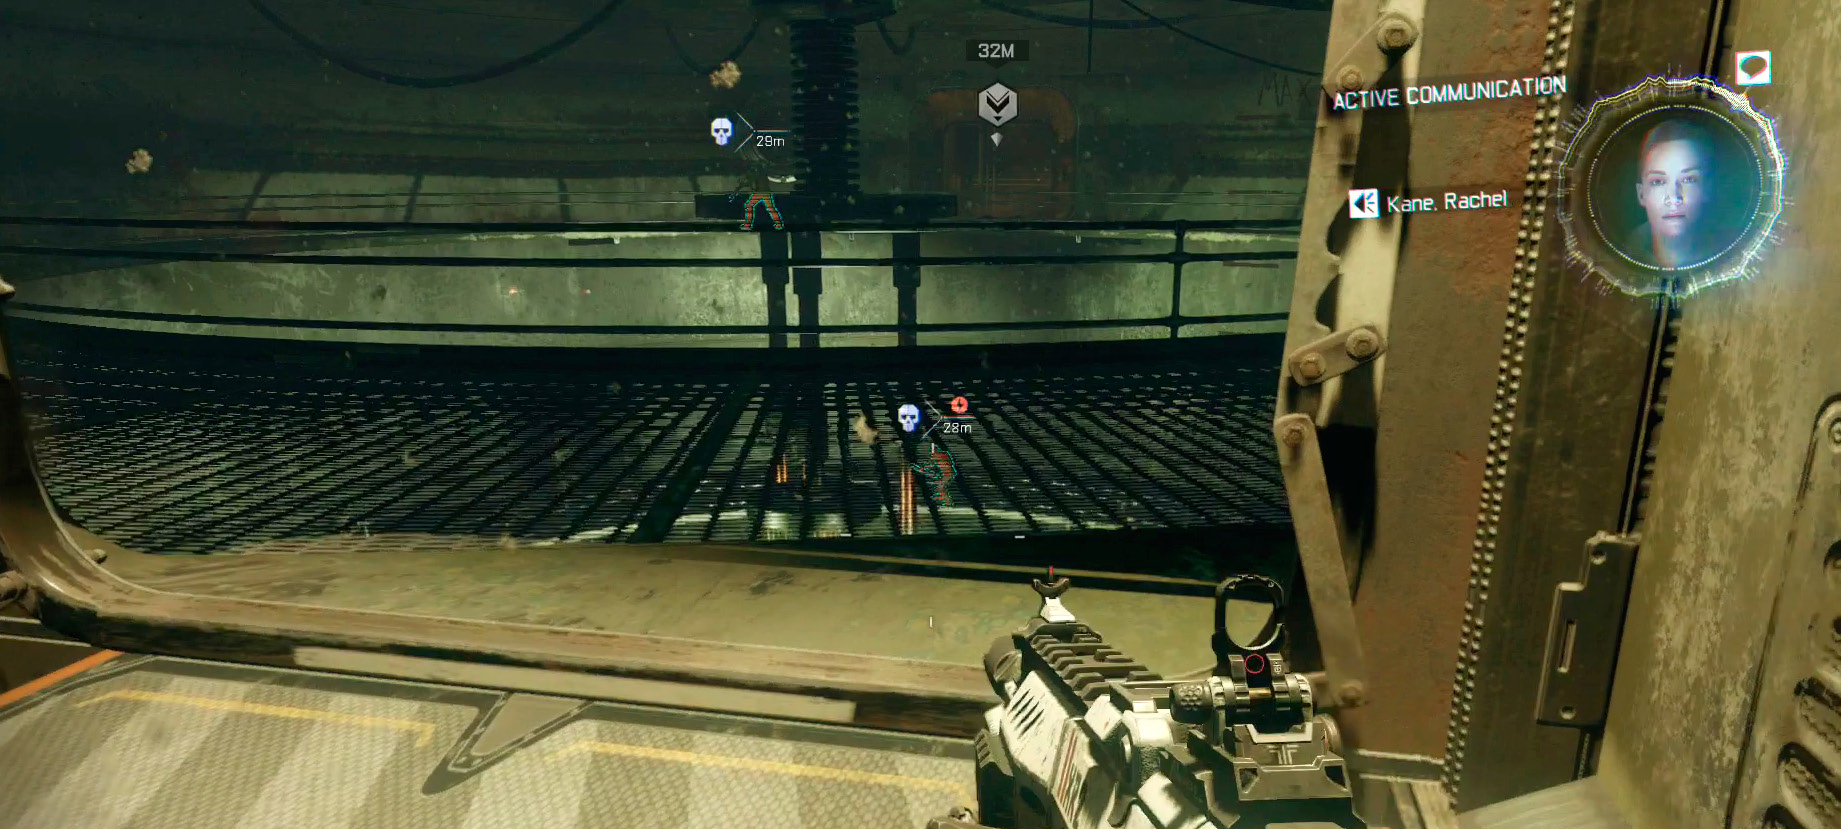
When you’ve cleared the circular room of enemies, head through the hall at the back. The next area has more soldiers on the catwalk above and on the left. They like throwing grenades, so enter cautiously.
Round the last hall to catch up with Maretti. Unfortunately, he’s waiting for you.
 Hack the First Generator

You are now trapped in a room with Maretti at the back. He’s using a super-powerful Sniper Rifle and will inflict massive damage on you if you get caught in his sights. You can avoid the rifle by sticking to the sides of the room. If you have to go out in the open, always sprint and Power Slide to avoid his shots.
Move to the back-right corner of the area (near the fire). Wait in the safety of cover there and kill the arriving solders. When the soldiers are gone, sprint across the middle directly toward the generator. Power Slide halfway through your sprint to make it harder for Maretti to target you.
When you reach the generator area, hang back and take out the arriving enemies on the opposite side of the room. You can use the walls in the back for excellent cover.
When the wall is completely clear of enemies, it’s safe to move up to the generator (Maretti can’t hit you from the Interact point on the generator). Hold the Interact button to overload the generator.
 Hack the Second Generator

Sprint across the path to the second generator. Use the same technique of Power Sliding to make it across without getting hit. Again, hang to the back of the area and completely clear out the enemies opposite before attempting to hack the generator. The safest tactic is to use Firefly Swarm and stay behind cover, allowing the Fireflies to do the heavy lifting.
 Breach the Door

With the second generator down, it’s time to get Maretti. Sprint out and back to Maretti’s position. Climb the stairs on the right and Interact with the door to breach inside.