
Call of Duty: Black Ops III Guide Walkthrough 06 Vengeance
06 Vengeance
Singapore, Safe Zone
Day 3
Mission Briefing:Disobey a direct order—and move to prevent the 54 Immortals from overrunning the CIA safe house—in order to secure LNO Kane for extraction
Mission Objectives
 Go to the Safe House.

 Go to Vantage Point.

 Go to the Safe House. (Part 2)

 Neutralize the 54i Combatants.

 Destroy the A.S.P.

 Go to the Safe House. (Part 3)

 Go to the safe house panic room.

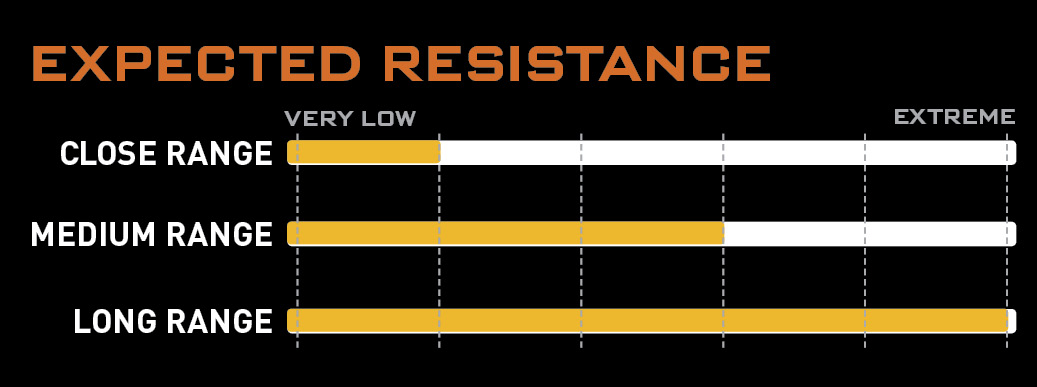
54i Raiding Force: A substantial 54i raiding force is sweeping through this area toward the Safe house. They are heavily armed and extremely dangerous.
Combat Robotics: The 54i are supported by both heavy and light robotic combat units.
Level Accolades
| Accolade Name | Reward |
|---|---|
| Untouched! | Fabrication Kit |
| Complete the mission without dying. | |
| High Score | Fabrication Kit |
| Complete the mission with a score of 12,000 or higher. | |
| Got ‘Em | Fabrication Kit |
| Find all of the collectibles in the mission. | |
| Aggressive | 250 XP |
| Kill all enemies in the apartments before Hendricks does. | |
| Floor ‘Em | 500 XP |
| Take down all enemies within 6 seconds. | |
| Show Off | 250 XP |
| Kill a sniper during a wall run. | |
| Like a Ghost | 1000 XP |
| Get through café area undetected. | |
| Eye in the Sky | 250 XP |
| Destroy all Talons in the café. | |
| Cut Ya | 500 XP |
| Stealth melee kill 5 enemies in the café. | |
| To the Shadows | Fabrication Kit |
| Get through temple undetected. | |
| Whisper | 500 XP |
| Kill 5 enemies without any of them becoming alerted. | |
| Stealth Double Kill | 500 XP |
| Kill 2 enemies with 1 bullet 2 times stealthily. | |
| Counter-Snipe | 1000 XP |
| Kill all snipers in parking garage without being hit by any of them. | |
| Bring the Pain | 250 XP |
| Kill 10 enemies with a mounted turret. | |
| Now You’re Mine | 250 XP |
| Kill 5 enemies with a P.A.W.W.S. | |
| Aerial Assault | 250 XP |
| Kill an enemy while in mid-air. | |
|
 Blood for Blood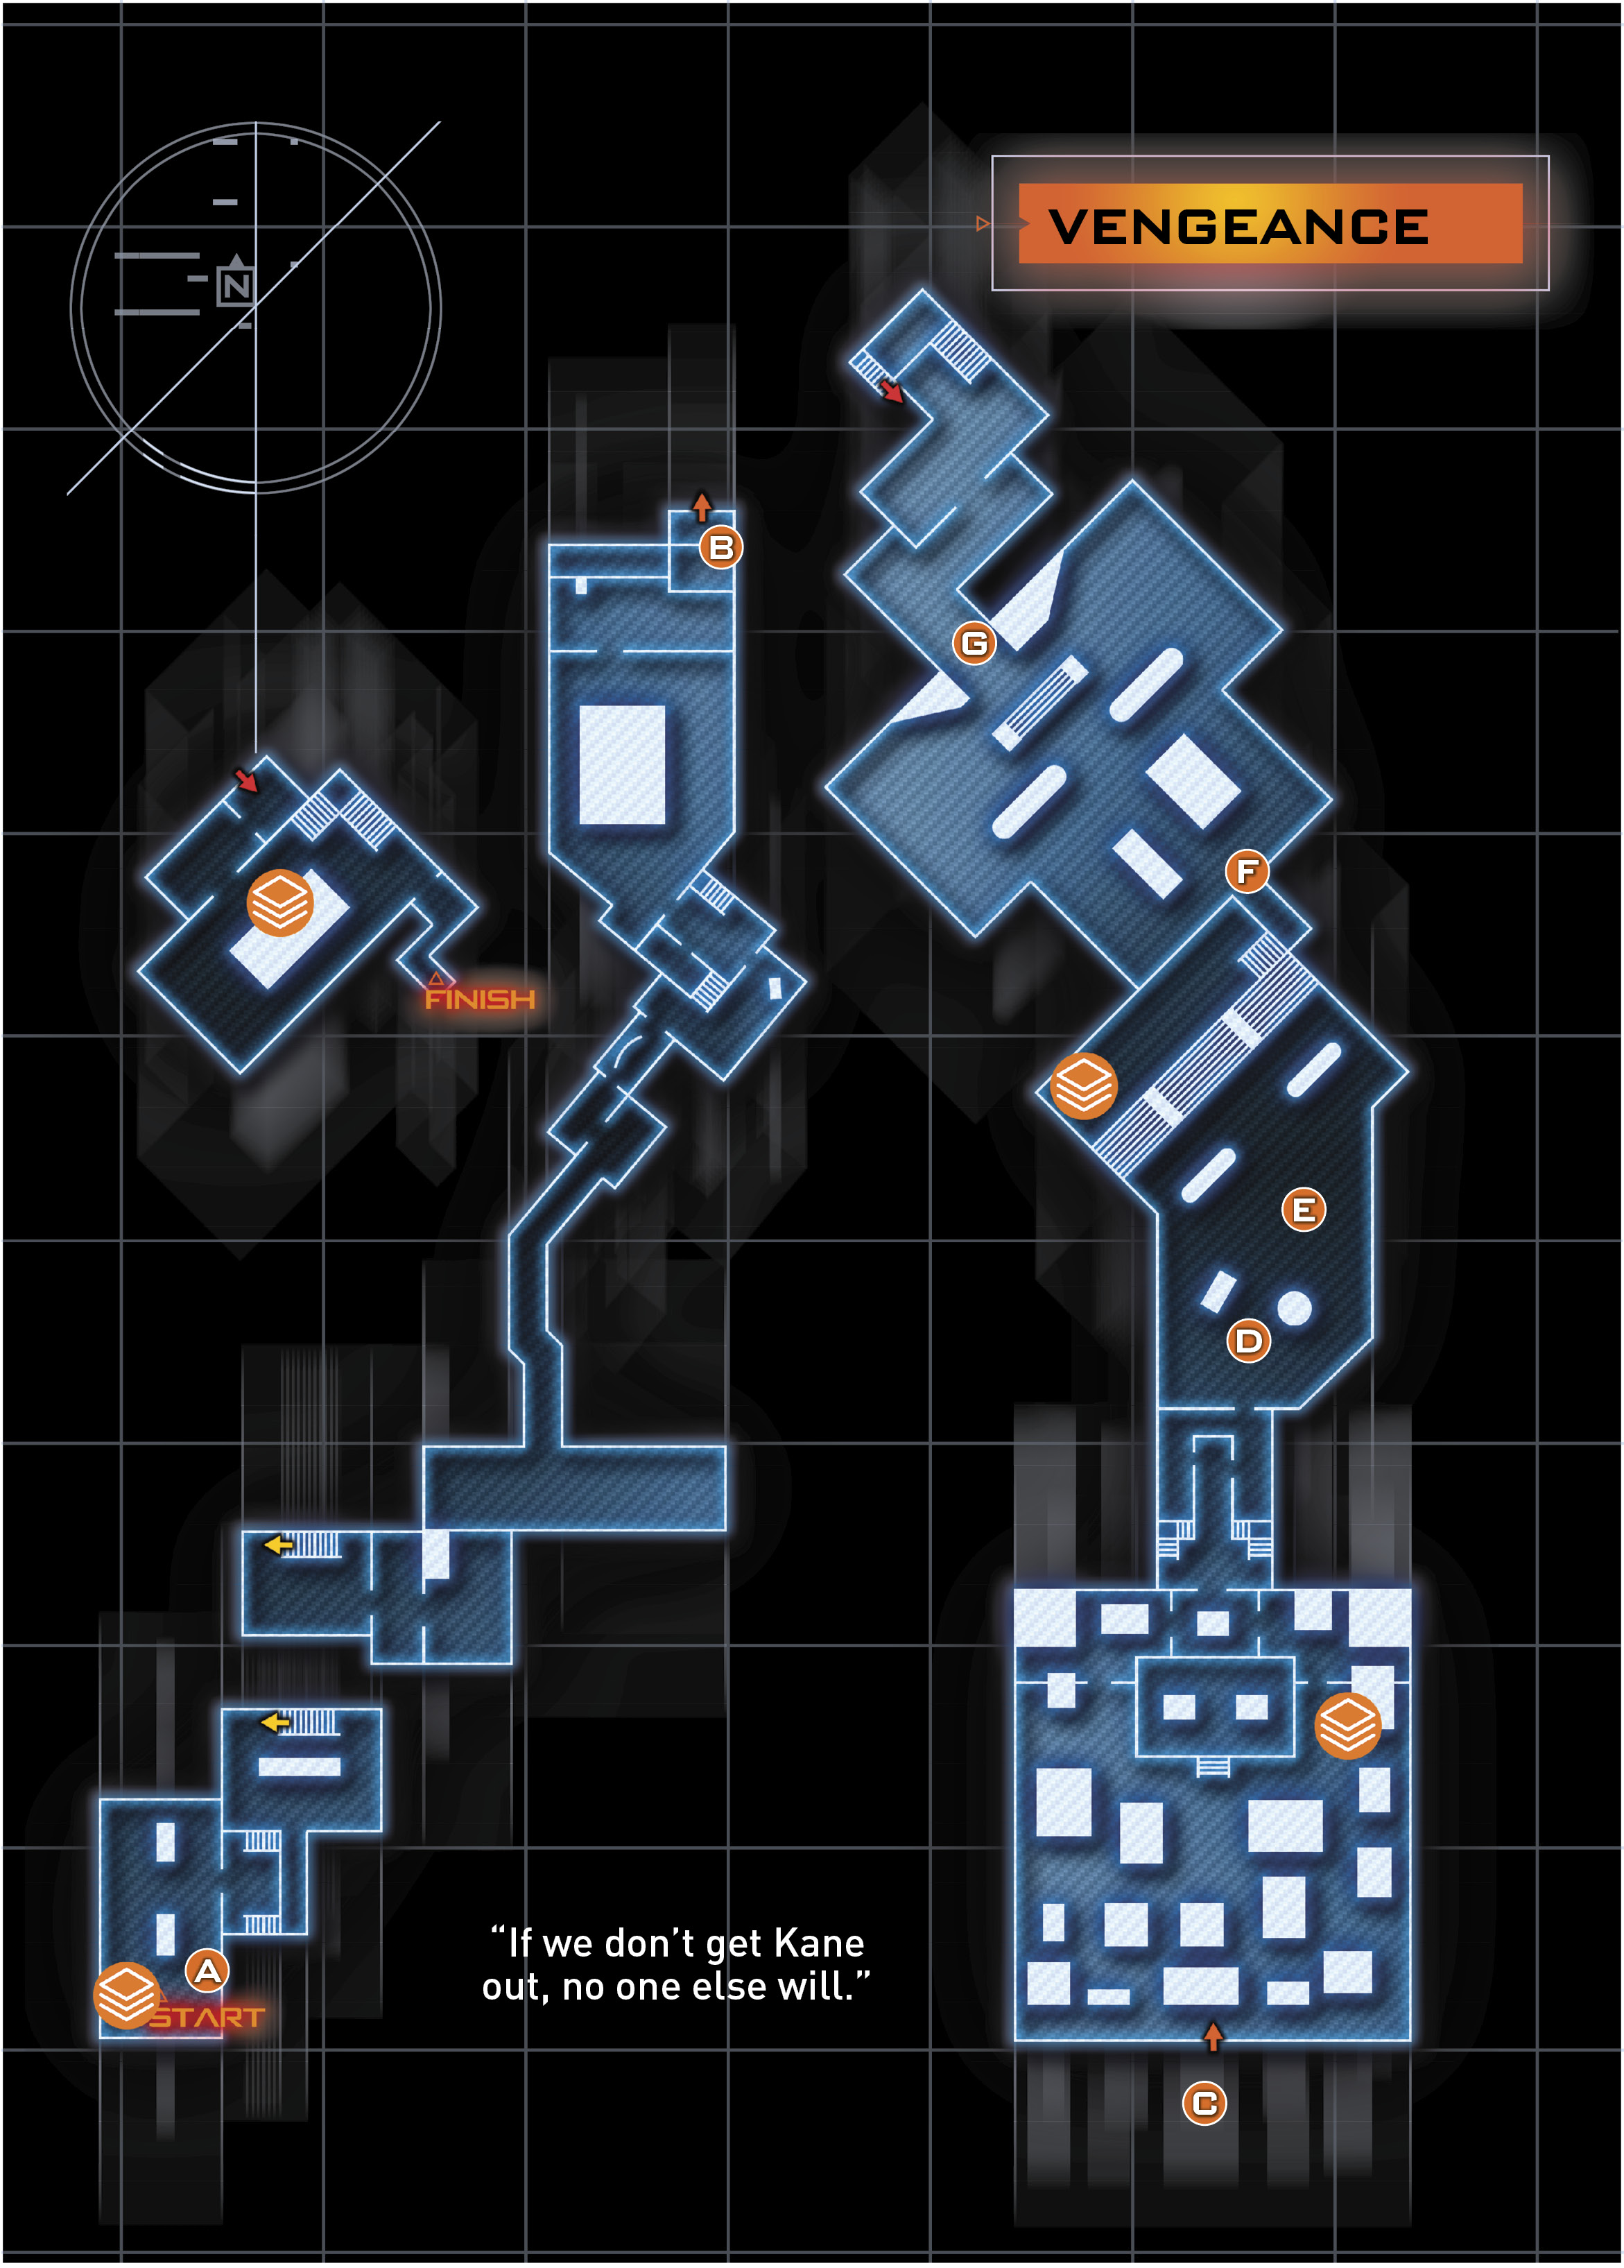
RECOMMENDED LOADOUTCybercore: Chaos Recommended Skills: Blinding Swarm Primary Weapon: Submachine Gun |
 Go to the Safe House

You are back in the Quarantine Zone, an area terrorized by the 54 Immortal forces. Kane is behind enemy lines; you and Hendricks must extract her.
|
 Damaged Optical Camo Cloak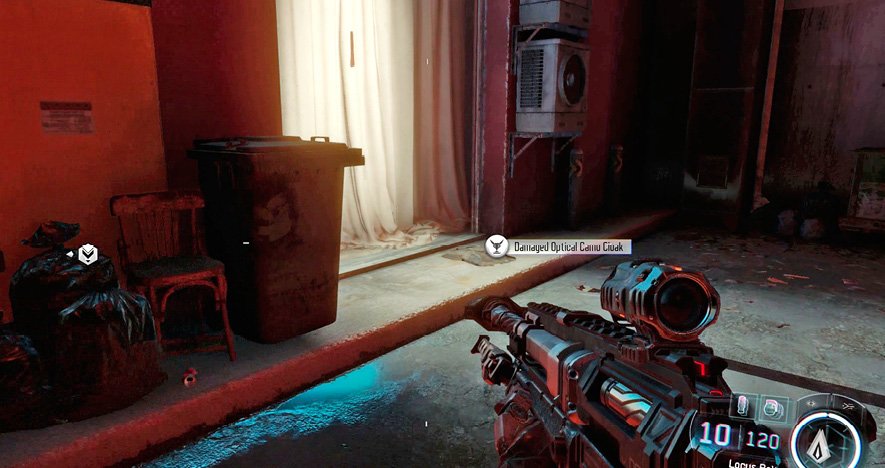
Follow Hendricks as he leads you through the streets and into a nearby building.
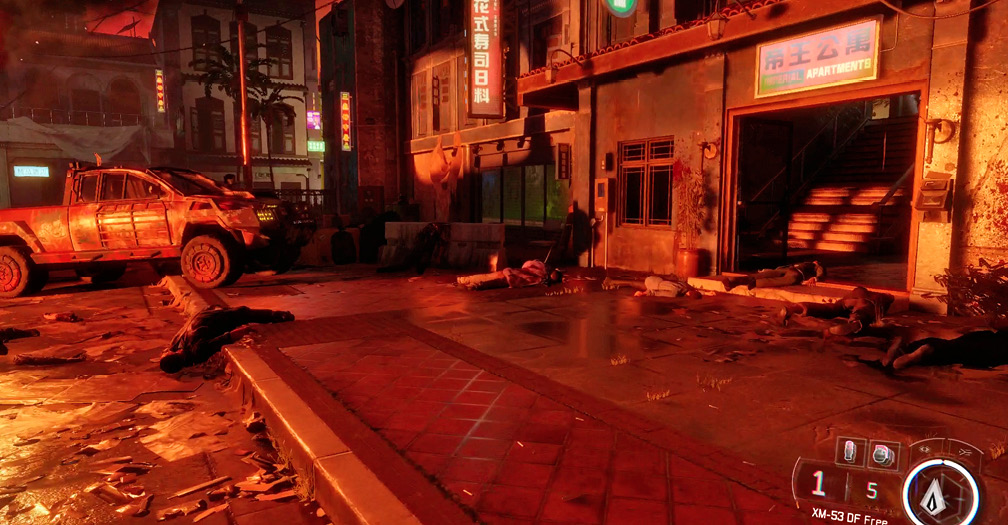
Follow the voices inside the first building to find a group of three 54 Immortals. Dispatch them and continue through the building.
At the next rooftop, you automatically zip line down into a “breach” type situation. Use your SMG with Aim Down Sight to quickly drop the enemies in the area.
Get on the nearby Technical and mow down the enemies arriving on the street ahead. Focus on the enemy Technical gunner first. Wait for Hendricks to open the gate, then follow him down the alley. Watch for the sniper in the high window at the back of the alley.
“I say, ‘Kill ‘em all!’”
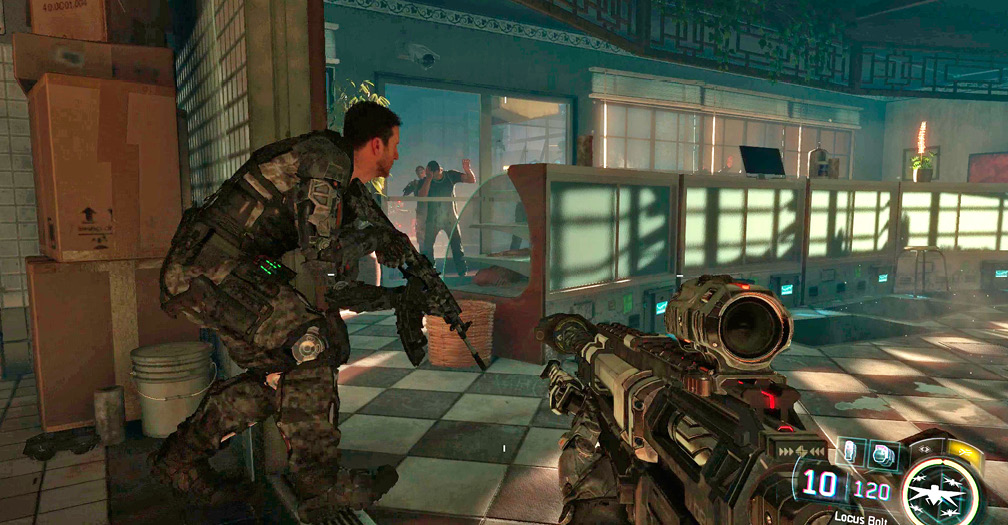
The alley leads to a butcher shop. Stay low and use the deli counter for cover. If you’re feeling brave, you can attempt to save the locals, but doing so alerts nearby robots that attack your position.
RECOMMENDED LOADOUTCybercore: Control Recommended Skills: Remote Hijack Primary Weapon: Sniper Rifle (with Suppressor) |
Before proceeding, use the armory in the alley to change your loadout. Use a Suppressed Sniper Rifle and switch to the Control DNI tree.
The next area leads into the “Café” area. There are several Accolades to earn here, and several ways to proceed. We’ll walk you through getting through this section without alerting any guards.
First up, head to the second floor of the building and shoot the snipers on the roofs to the right. There are two—one atop the nearby building on the left, and another way back on the decorated bridge.
Return to the first floor. Stick to the shadows and move across the street to the opposite building. There are a few enemies in this building—one on the bottom floor and two more on the top. Sneak through and kill them with melee attacks.
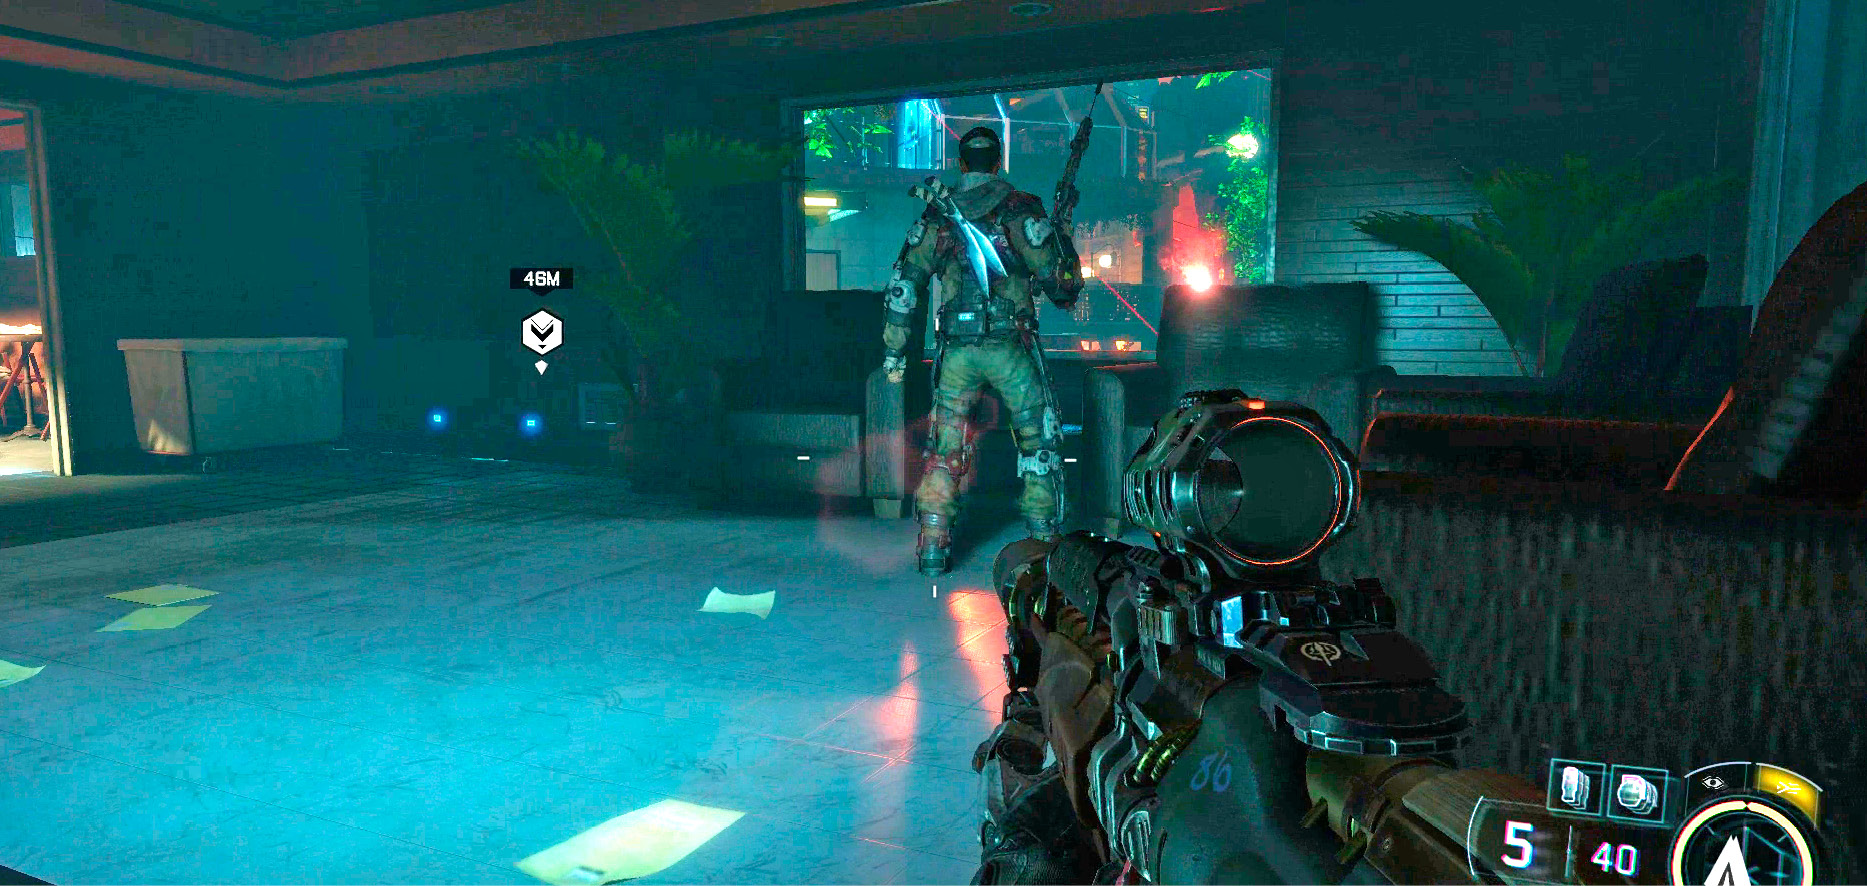
Return to the first floor of the building and exit the opposite side you entered. There’s a soldier patrolling the alley ahead and a sniper above. Kill the sniper, then wait for the patrolling soldier to turn away from you and run up and melee-kill him. Next, continue to the end of the alley. One last enemy on patrol. Melee him for your fifth melee kill. Exit the café area through the gate.
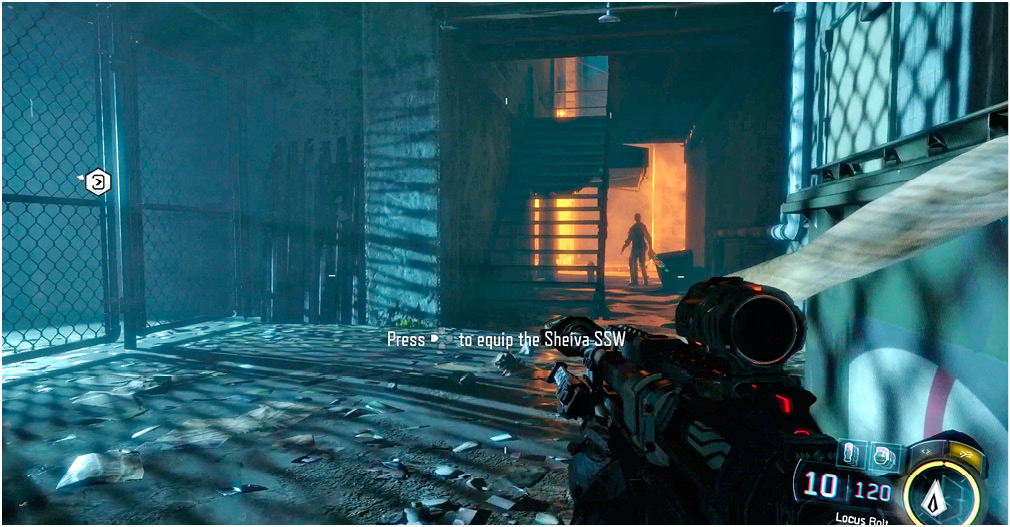
That’s it; you’ve made it through with stealth!
Once café has been cleared, search the back of the area for a gate. Interact with it to enter the next zone.
 Go to Vantage Point

Use jump to follow Hendricks up to the top of the building.
This is another Accolade-heavy area that can be stealthed through with the right approach. Again, use a Suppressed Sniper Rifle. There are many ways through this section. We’ll detail one.
Here are some general tips if you decide to go your own way:
- Overhead, there are several flying drones. These can be completely ignored as long as you don’t sprint and stay to the shadows. Generally, if you are seen by a drone, it won’t make the guards in the area aware of your presence.
- If you kill a guard near another guard, it may cause them to come and investigate. This sets the living guard to “high alert” mode, which means he is more likely to spot you and set off a general alarm (failing the stealth for this section).
- it’s not necessary to kill every guard in this area. In fact, it’s much easier if you don’t. The exit is in the middle back wall of the area.
- Hendricks frequently tries to rush you in this zone. Ignore his comments; there is no time limit.
 The Safe House (Part 2)

When you’re ready to get started, begin picking off the snipers on the rooftops in the Temple. No alarms are raised as long as you score headshots on each of the enemies. Using a suppressed long-range rifle instead of the relatively short-range Sheiva is a good choice here.
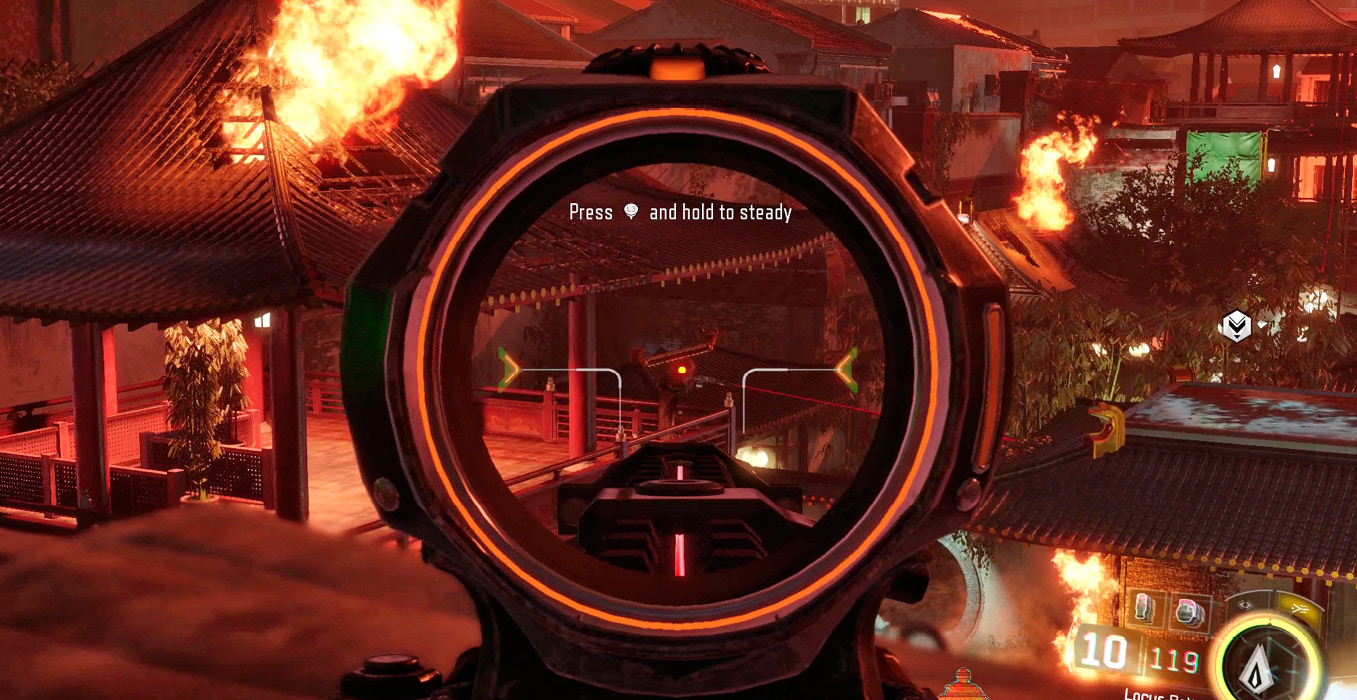
There’s a sniper in each of the Pagoda-like towers, and one patrolling the long building at the back of the area. Descend the stairs on your left and kill the guard on the street.
Now look in the doorway to the left. Kill the guard inside. Move up to where you killed the guard and look through the next doorway. Kill the visible guard through this second doorway.
Step through the second doorway, but keep your weapon trained left. There’s an enemy smashing a local with a rock. Kill him, but watch for a patrolling guard to your right.
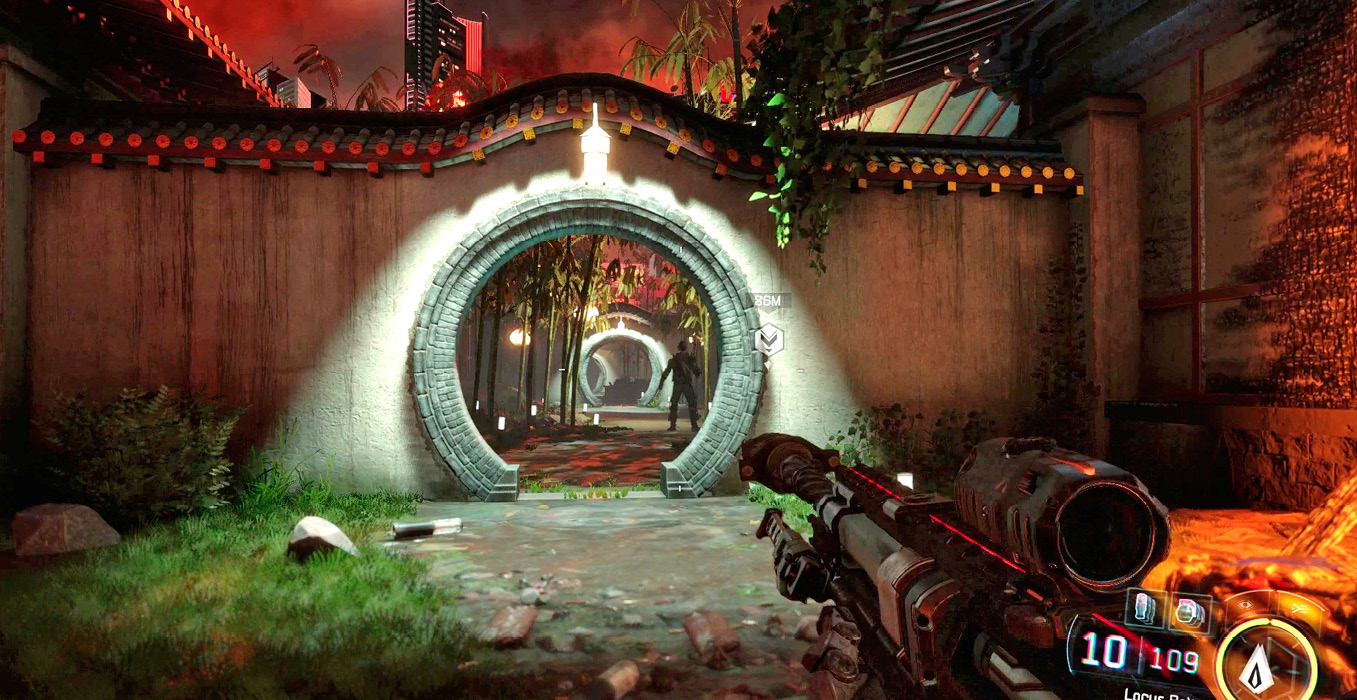
The next section is on the back wall. There should be only one guard here. Down him and move into the area, sticking to the shadows. The exit is just ahead in the doorway on your left. If you kept things quiet, there are no guards in the last area. Peer through the exit doorway and kill the guard in the street.
Approach the double-doors and Interact with them to complete the section. You rejoin Hendricks inside the office building.
 Neutralize the 54i Combatants

When you exit the building, you are caught up in a street fight between local police and 54i Combatants. Your objective is to kill the snipers in the multi-level parking garage opposite. You can jump on the nearby Technical to utilize the grenade launcher on the back. However, this spells certain death on the harder difficulties.
Instead, hang back behind the fountain, using it for cover to pick off enemies with your sniper. Ignore the 54i on the ground unless one of them manages to get incoming fire on you.
If you’re having trouble finding a sniper, remember you can activate Tactical Mode to highlight them on your HUD.
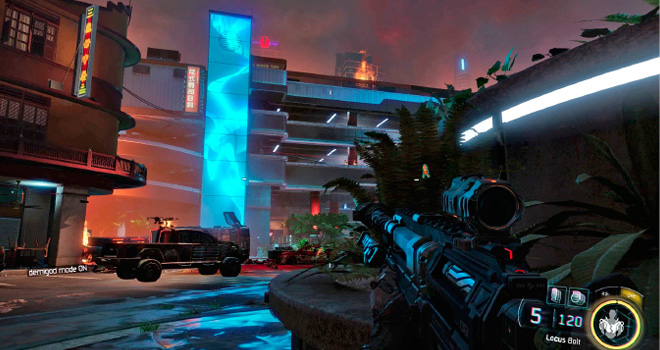
Once you’ve killed the snipers, change your focus to the troops on the ground. These should be very easy to kill because you have much longer range than they do. Keep killing them until Hendricks gives the order to move up.
 Destroy the A.S.P.

Watch out for the A.S.P.! The same tactics you used in your last A.S.P. battle work again here. Shoot the spinning piece at the base of the body of the tank, and it disables its defenses, opening it up to explosive attacks.
There are several rocket launchers in the area that you can use to fire on the tank. You lose your Sheiva rifle if you do this, but that isn’t an issue since there are no more stealth sections in this level.
|
 Maximum Firepower
 Go to the Safe House (Part 3)

With the tank down, move through the concrete bunker that the A.S.P. busted through.
|
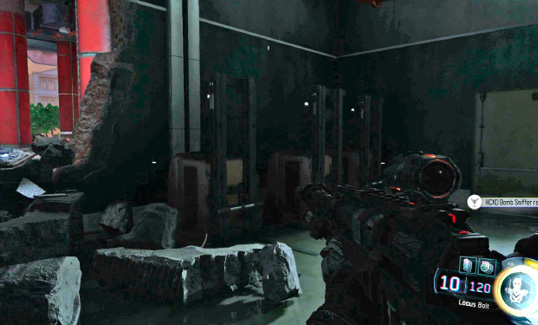
The next area leads to yet another street firefight between 54i and local police. The safe bet here is to hang back in the office building, picking off enemies from the safety of your perch.
Once you’ve cleared most of the enemies in the street, drop down to trigger the remaining reinforcements. One of the reinforcements is a P.A.W.W.S. mech like you saw two levels ago. Either remote hack it or focus your fire on it from a safe distance.
When you’ve finally cleared the area, head to your objective marker.
“I’ve just noticed…You’ve got a lot of blood on you.”
 Go to Safe House Panic Room

While Hendricks has pretty much given up on saving Kane, you don’t have that luxury. Run into the burning building. This area is filled with robots. If you took the recommended Control tree and have Protocol Override, this is a great spot to use it. You might be feeling pressed by the fire all around you; but don’t let that make your rush. You have as much time as you need to get through this section.
Watch out for robots emerging from fires in all directions. Clear the first floor, and then head upstairs. There are several more robot enemies defending the large central room.
|
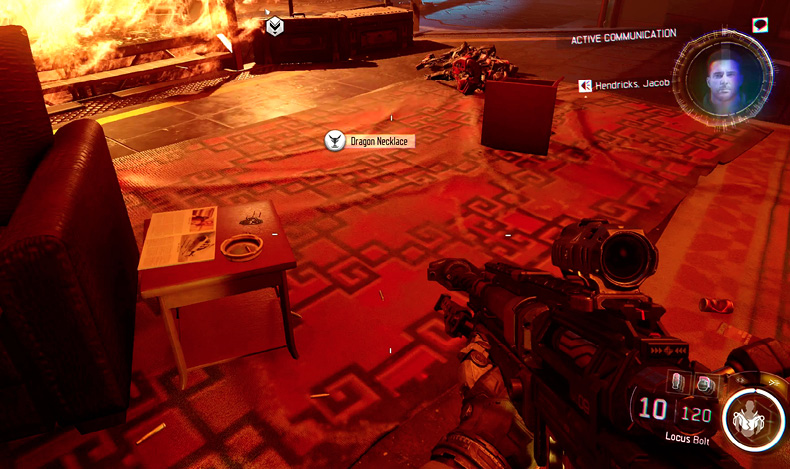
Once the final room is clear, proceed through to find a final hallway. Interact with the door to end the level.
|
