
Call of Duty: Black Ops III Guide Campaign Boot Camp
Boot Camp
Welcome to Call of Duty: Black Ops III! This section of the guide provides complete coverage of the Campaign. We’ll cover the basics in the Boot Camp chapter, then lead you through the entire Campaign, step-by-step. If you’re just missing one Collectible or Accolade, check out the tips in each Walkthrough chapter.
For First Time Players
If this is your first foray into the world of Call of Duty, then welcome. Black Ops III is an excellent title to be your first. This section of the guide covers some gameplay basics that experienced players are already familiar with. Once you’re done here, keep reading into the veterans’ section, where we tackle more advanced topics.
Combat
Firearms
Black Ops III is a First Person Shooter and, as such, you spend most of the game shooting at enemies that are trying to shoot you. The basic concepts important to engaging in a firefight are:
Aim Down Sight (ADS): In most cases, you should be using this technique when firing on the enemy. Hitting this button brings up your weapon’s sight (an iron sight or a variety of scopes). Once up, your weapon’s accuracy increases significantly. To further improve it, always fire in bursts while using ADS.
The drawback to using ADS is that you can’t move very fast while it’s activated. This can be trouble if you’re getting attacked or an enemy is at close range. ADS works best with Assault Rifles, Sniper Rifles, and Light Machine Guns.
Hip fire: This technique allows for attack without hindering your movement. To hip fire, simply pull the Fire button while moving around or standing. The crosshairs at the center of the screen provide a general guideline for where you’re shooting, but hip fire is extremely inaccurate. The advantage of hip fire is you can quickly change directions or even move while firing. Hip fire is best used with Submachine Guns and Shotguns.
Firearm Types
There are seven firearm categories in the game:
- Submachine Guns (SMG): the first category of weapon, SMGs excel at hip fire, and short-range to medium-range combat scenarios. SMGs aren’t very effective when you Aim Down Sight at medium or longer range. However, with the right attachments, you can increase the range of the weapons significantly.
- Assault Rifles: assault rifles are the default weapon of Call of Duty and are ideal at all ranges, except for melee and sniper ranges. Assault Rifles have high mag capacity, good reload speeds, and excellent rate of fire. They inflict moderate damage, but their superb accuracy makes head shots significantly easier than Shotguns or SMGs.
- Light Machine Guns (LMG): light machine guns turn you into a one-man army with the capability to wipe out an exposed army with one clip. These weapons are known for providing excellent covering fire, but in the campaign, they are most useful in boss battles where you need high damage, and accuracy is secondary. LMGs are notorious for their lengthy reload times.
- Sniper Rifles: Snipers all come with excellent scopes that allow you to shoot enemies from incredible range. However, they are terrible at firing on enemies from short range and hip fire stance. The time it takes to activate a Sniper Rifle with Aim Down Sight compromises its utility in short-range battles.
- Shotguns: Best for players that like to “run ‘n gun” through levels. Their effectiveness drops significantly at medium range, but you can use Aim Down Sight to make hitting with a Shotgun more viable past a few meters. Shotguns have low ammo capacity, but each shot is deadly. Most Shotguns have long reloads, but some of the guns in Black Ops III have assault clips that reduce the time to refresh the weapon.
- Pistols: These are the default type of secondary weapon. The regular Pistol types have low damage, but allow you to run and reload quickly. There are also Pistol upgrades like the Annihilator that inflict massive damage, but have a very low rate of fire and severely reduced ammo capacity.
- Launchers Launchers are a class of weapon all their own, the most common is the Rocket Launcher. There are two types: Dumb Fire and Lock. Dumb Fire rockets can be fired at any time by simply using the ADS and Fire buttons at the same time. Lock requires you to keep the target in your crosshairs long enough for the weapon to lock on. once fired, the weapon misses only if the enemy finds sufficient cover. Lock can be used only against large enemies. Each Launcher has its own strategy for deployment, but this rule applies to them all: never fire one at point blank! They all fire deadly explosive projectiles, and an accidental shot at close range means certain death.
Melee
Melee attacks are not the primary way you engage enemies in Black Ops III. However, if an enemy gets extremely close to you, or even hits you with their own melee attack, often the best response can be a melee attack. There’s a special Melee button (look for it in your Options menu). Hitting this executes a special close-range attack on the enemy. The speed of a melee attack depends on the speed of the weapon equipped. Light Machine Guns are the slowest melee weapons, while Pistols are quickest.
Melee hits are almost always one-hit kills. However, some tougher opponents can survive multiple melee hits (such as the 54 Immortals’ Warlords and some robots).
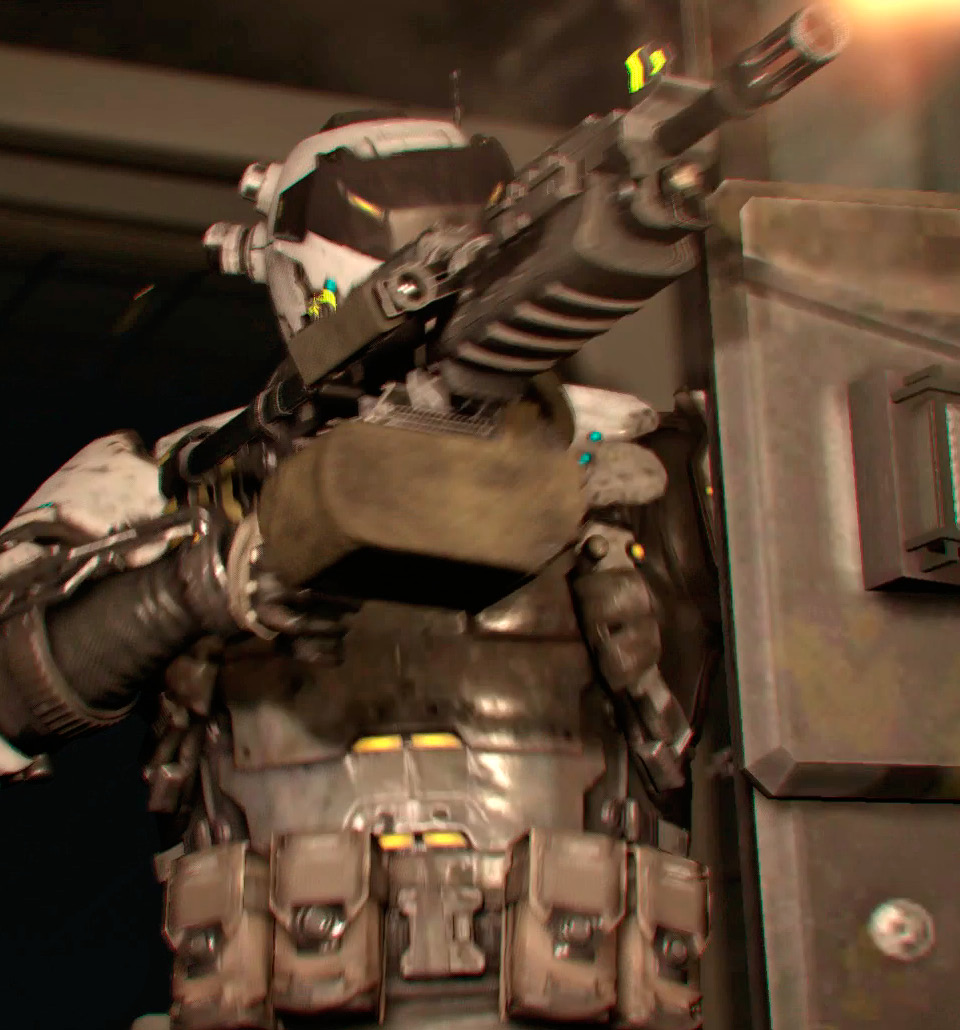
These attacks are always silent, which makes them excellent in stealth situations
Grenades
There are two types of grenades:
- Lethal: These “grenades” can include anything from the common frag grenade to the unusual throwing axe. Each type of Lethal grenade has its own instructions for usage. For instance, C4 is deployed, and then can be exploded at a later time. Timer-based Lethal grenades can be “cooked” by holding down the Lethal Grenade button. A standard frag grenade is on a five-second timer. You can count the seconds by the pulses on your crosshairs while you are cooking.
- Tactical: These grenades are designed to temporarily disable an enemy. The default tactical grenade is the flashbang grenade, which blinds enemies for a time, but has no effect on robotics. The EMP grenade is the opposite, disabling electronics, but doing nothing to humans.
Both types of grenades are tossed at the enemy in an arc. After the first Campaign mission, you can turn on your Tactical mode and see the arc path of the grenade you are tossing to better aim it at the enemies.
In addition to your own supply, enemies also frequently toss grenades at you (almost entirely the standard frag grenades). When you see an icon on your HUD like the one pictured here, you have two choices: run or toss it back.

Running away is simple enough; try to walk away from the grenade until the onscreen-indicator disappears. To toss back a grenade, you must hit the Lethal Grenade button. Be careful, though—if too much time passes, the grenade explodes in your hand!
Navigating the Battlefield
In most cases, you navigate the battlefield on your own with the movement stick. If this is the first time you’ve ever played a first person game, this may take a while to get used to. Look around with the right stick and move with the left stick. You must use both together to smoothly traverse the battlefield.
Sprinting
In addition to normal movement, you can hold down the Sprint button to move much faster on the battlefield. However, you cannot fire your weapon while sprinting. Sprinting is ideal for evasion or diving for cover, but should be avoided when running into combat.
Stances
There are three stances in all Call of Duty games:
- Standing: This is the default stance and the best for quick movement, but the least accurate. You must be standing to Sprint.
- Crouched: This stance increases accuracy and also makes it harder for enemies to hit you. The drawback is you move significantly slower than when you’re standing. However, this is a happy medium between Standing and Prone. Increasing accuracy, but not inhibiting movement so much you can’t evade a grenade.
- Prone: Prone sprawls you out on the ground. This is best when you come under heavy fire with no cover in the area. While prone, it is very difficult to move. It’s a great position to fire Light Machine Guns, as it significantly improves weapon accuracy.
Tapping the Stance button toggles between Standing and Crouched. Holding the Stance button enters and exits Prone.
Interacting
Throughout the Campaign, you are frequently required to interact with doors, computers, and other obstacles. To activate an objective in-game, simply hold the Interact button (check the game’s Options menu for details). Since you are an advanced Cybersoldier, all hacking, pushing, and pulling of obstacles are automatic. There are no quick time events in this version of Call of Duty.
Objective Marker
There’s almost always an Objective Marker on your screen—a white icon that shows the next area you are fighting toward. This marker can also highlight objects with which you must interact to proceed.
Checkpoints
These invisible automated save points trigger as you progress through the level. Keep your eye on the upper-right corner of the screen to see when you’ve activated a checkpoint.
Once you’ve reached a checkpoint, you always return to that position if you die in a level. The checkpoint doesn’t just save your position on the map, but also the state of all enemies and story events at that point. That means if you die and return to a checkpoint, you must replay the portion of the level up until the point you died.
In most parts of the game, checkpoints are frequent and helpful. If you find a checkpoint is not triggering, you may have rushed too far ahead of your team. Circle back and try to get out of enemy fire.
HUD
Your HUD provides vital information about what you currently have equipped, your ammo count, your next objective, and from which direction enemies are attacking.
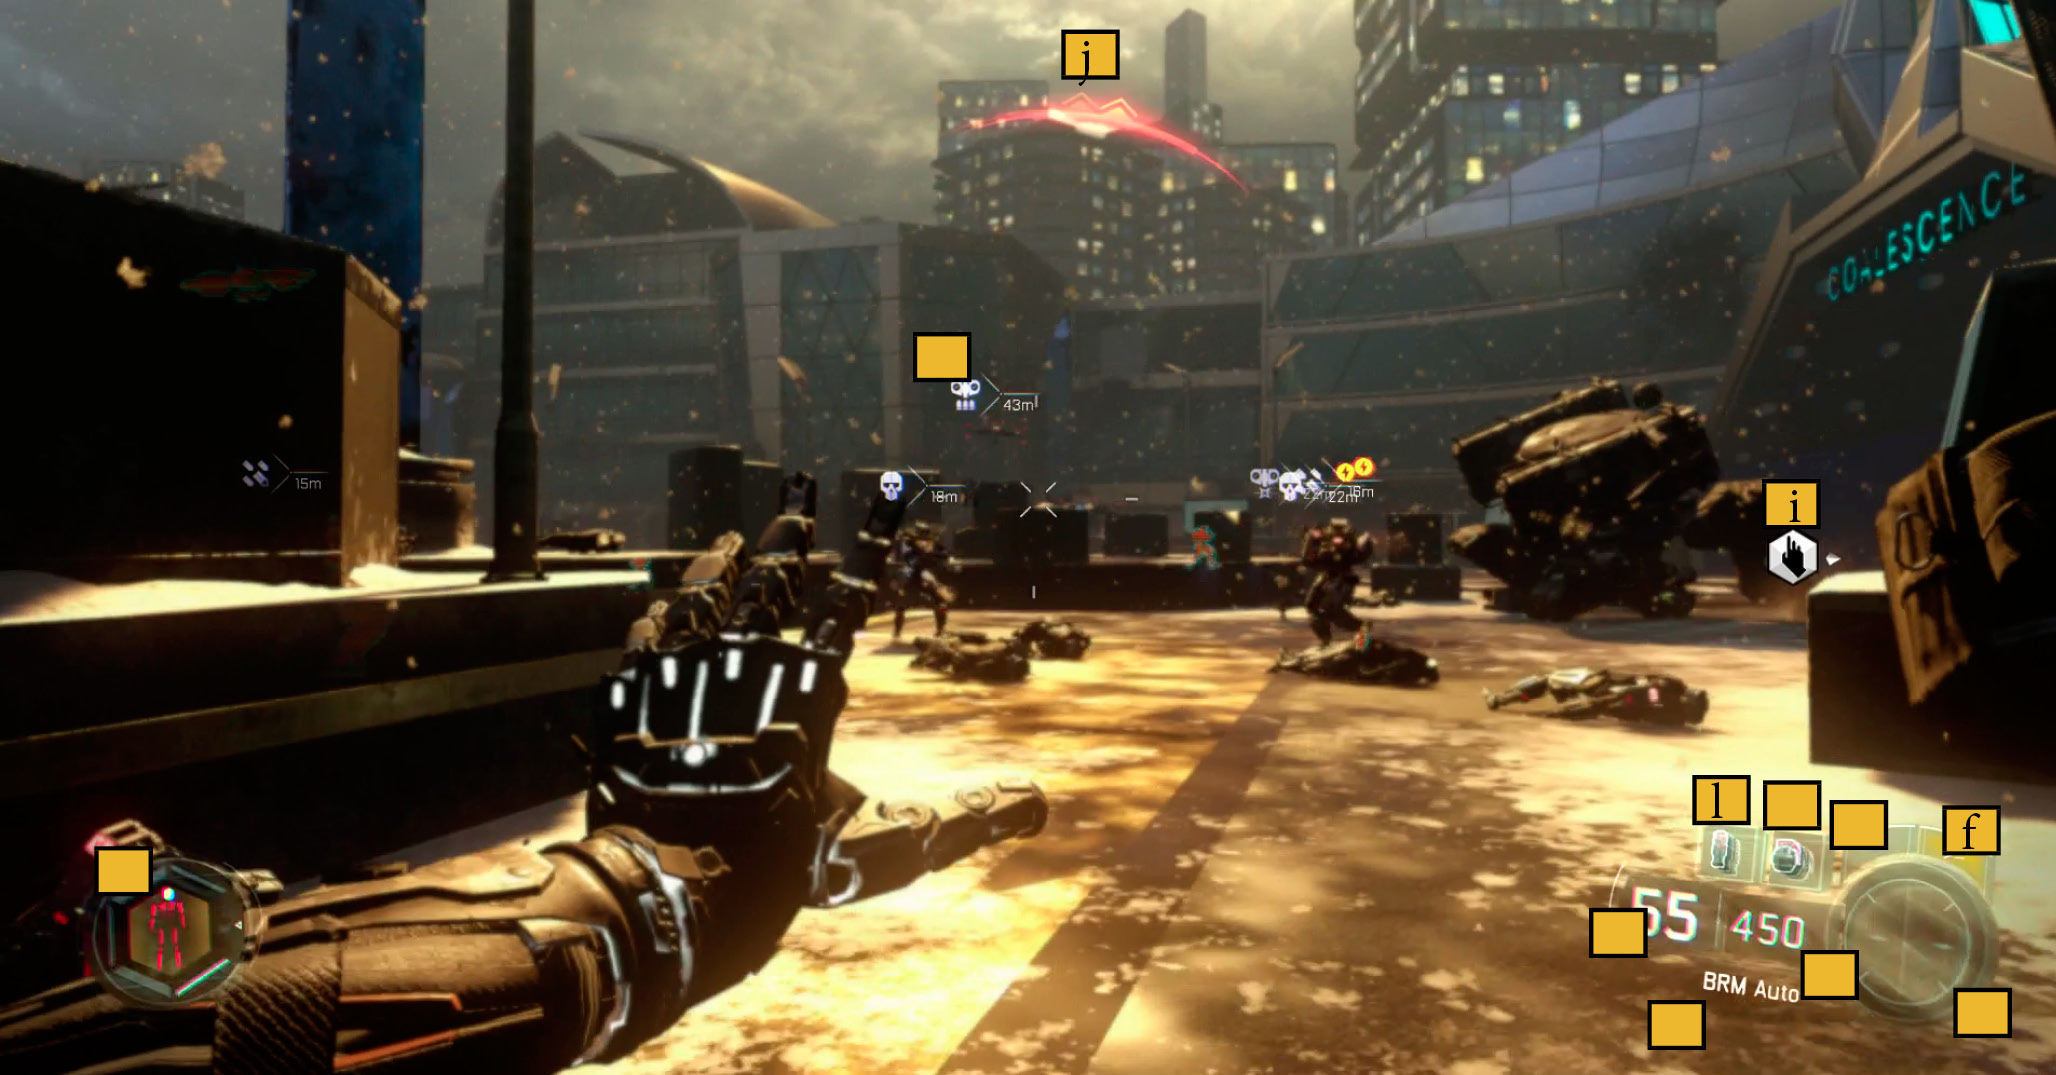
|
A |
Current Clip Ammo |
|
B |
Total Ammo |
|
C |
Equipped Weapon |
|
D |
Currently Equipped DNI ability (and recharge indicator.) |
|
E |
Enhanced Vision |
|
F |
Tactical Mode |
|
G |
Health |
|
H |
Tactical Mode Overlay |
|
I |
Objective |
|
J |
Incoming Damage (and direction) |
|
K |
Lethal Grenade |
|
L |
Tactical Grenade |
Inventory
Your Inventory in Black Ops III consists of a Primary Weapon, a Secondary Weapon, a Lethal Grenade slot, and a Tactical Grenade slot. Each mission begins with a Loadout, which become customizable as you progress in the game.
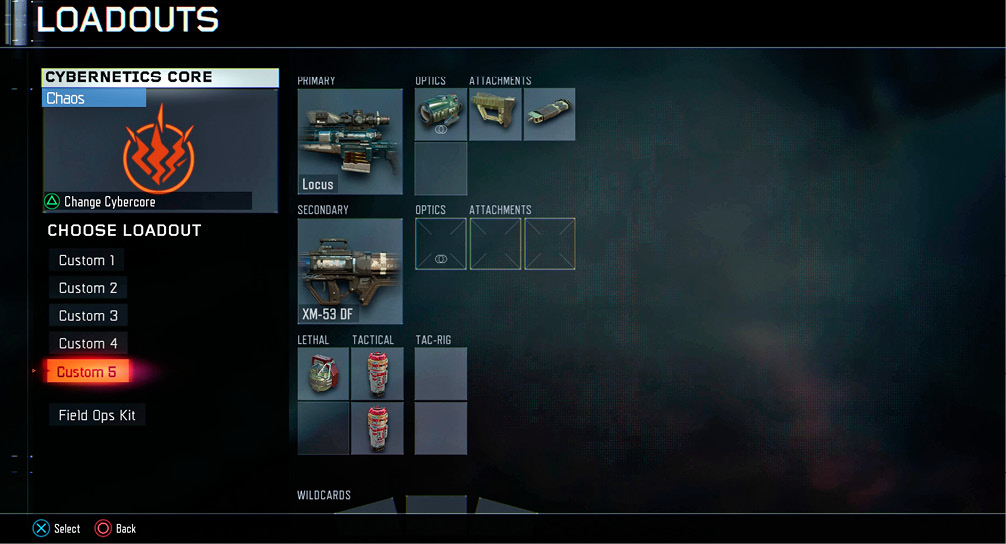
Loadouts can be changed at Mobile Armory chests located at major checkpoints in each level.
While you can’t equip a Loadout with two primary weapons until you unlock the Overkill Wildcard at level 20, you can equip the Copycat Tac-Rig from level one. Copycat allows you to pick up and use any weapon you find on the battlefield. It’s generally a good idea to replace your secondary weapon with a complementary second primary weapon as soon as you can.
Your current weapon, ammo count, and grenades are always displayed in the bottom-right corner of your HUD.
Mobile Armory and Ammo Crates
Throughout the campaign, you see several types of ammo-refilling stations.
Mobile Armories are crates that allow you to change your Loadout mid-level. This is fantastic, because it allows you to modify your combat strategy to better fit a different type of enemy midway through a level.
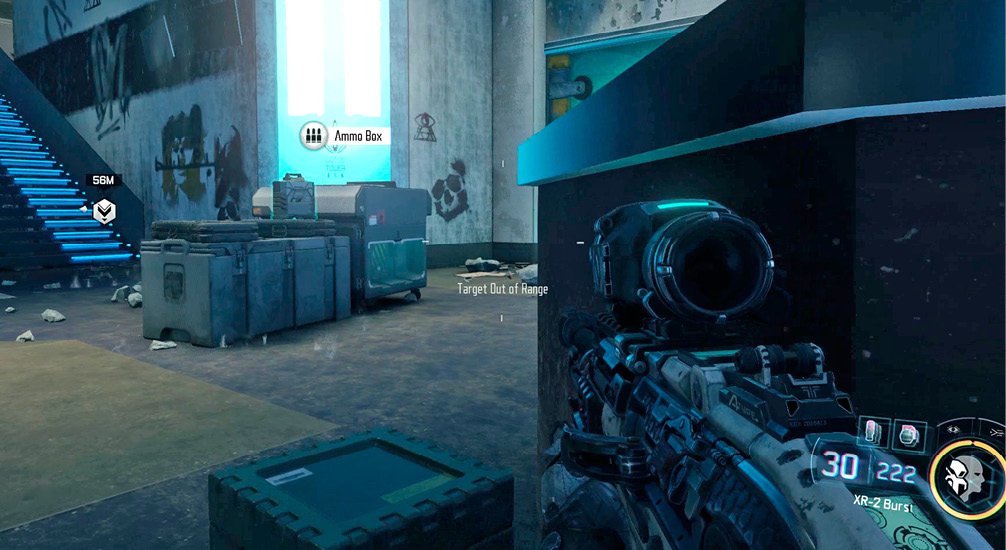
There are also several Ammo Crates and Ammo Boxes in each level. Ammo Boxes fully replenish your ammo (including grenades) once. Ammo Crates allow unlimited ammo restocks. These are particularly useful in boss battles.
Taking Damage
You play as a veteran Cybersoldier for almost the entire Black Ops III experience. As a robotically-enhanced individual, you have automated repair systems that can heal damage from incoming fire over time.
When you get hit by damage, your screen turns red, and you hear computer noises as your internal repairs kick into high gear to recover from the injury.
The secret to surviving all Call of Duty games is to always run to cover when you take damage, and to never leave cover when your screen is bloody. Even on the easiest difficulties, you will eventually die if you never take the time to recover. Each time you’re hit by incoming damage, it stops the recovery process, and you must continue waiting for the screen to clear and your health to return.
This strategy is much easier said than done. It can be frustrating to have to wait for your health to recover, but it’s always preferable to restarting at a checkpoint.
Basic Strategy
Staying alive in Call of Duty is always the primary challenge. Everywhere you go, there are armies of enemies trying to stop you from reaching your objective. While Black Ops III introduces several new gameplay mechanics, the basic strategy hasn’t changed.
Use Cover
Whenever engaged in a firefight, always look for cover. Use Crouch and Prone stances to cover more of your body from incoming fire. Using cover allows you to survive a hail of bullets; the enemy can hit you only when you leave cover.
Incoming enemy fire on your cover point might be stressful, but if the enemy is actively firing on your position, leaving cover is the worst thing you can do.
Cook Grenades
If you just toss a grenade onto the battlefield, it gives enemies time to run away before it explodes. Always “cook” a grenade for at least two seconds before tossing it. This gives foes less time to react and devastates those hiding in cover.
Fire in Bursts
Always fire automatic weapons in bursts to increase accuracy—accurately hitting an enemy is the key to killing them. Some weapons have burst limits set (for instance, the XR-2 fires in three-shot bursts). This type of weapon is a good choice for beginners. It lets you see the accuracy benefits and enforces the habit of always firing in bursts.
Watch Your Ammo
Be aware of your weapon’s clip size. You need to always be ready to duck behind cover and retreat from combat when your weapon is out of ammo. Most guns take several seconds to reload, even with reload speed attachments equipped.
If you find yourself exposed with no ammo in your primary weapon, remember you can quickly switch to your secondary weapon. Hopefully, you remembered to reload that one!
For Call of Duty Veterans
If you’re a veteran of a previous Call of Duty game, welcome back!
This section of the Boot Camp covers what’s new in Black Ops. This game takes place in a future timeline that’s different than the one that appears in Advanced Warfare and Ghosts. As such, much of the technology and weaponry is different.
DNI
The key to really enjoying Black Ops III is learning how to use your Direct Neural Interface, or DNI. The DNI gives you access to several offensive capabilities that can completely decimate enemy forces, and significantly changes the way Call of Duty has traditionally been played.
Tactical Mode
A big part of your DNI is the new Tactical Mode, which highlights hazards on the battlefield and can be a life saver. It’s always prudent to keep Tactical Mode on.
Accolades
Each level now has a set of Accolades. These are like mini-Achievements. They give XP; some of the tougher ones even unlock valuable Fabrication Kits.
Collectibles
Collectibles are much more interesting than the traditional “briefcase” collectible found in all Call of Duty games since Modern Warfare. These are easier to spot, but there are a lot more of them. When you’re near one, an icon appears on the screen indicating its location. After you’ve grabbed a collectible, it can be viewed in your safe house.
XP & Leveling
As you play through each level of the game, you earn Fabrication Kits that can in turn be used to unlock DNI powers and Loadout features. You also earn levels for completing levels and Accolades. Levels not only give free Fabrication Kits, but also make new weaponry available for unlocking in the armory.
Robots vs Humans
This time around, you won’t just be fighting humans, or even cybernetically-enhanced humans. No, you’ll be fighting full-on robot armies. The future of Black Ops III sees global corporations and organizations equipped with robot squadrons. In the Campaign, you repeatedly battle these robotic regulars. Luckily, several DNI abilities are specifically designed to work against robots.
The Safe house
After the first two missions in the Campaign, the safe house becomes the main game hub and provides a break between missions. You also get access to several special components that can be used to prepare before the next mission.
Combat Immersion
The primary purpose of the Combat Immersion chair is to allow you to try out DNI skills and weapons before spending your valuable Fabrication Kits to unlock them. However, it’s also a pretty fun mini-game in itself!
There are 16 rounds to fight through, with the enemies getting increasingly more difficult as you proceed. Activate the globe at the start of each round. The globe moves to a new position on the map and a new set of enemies.
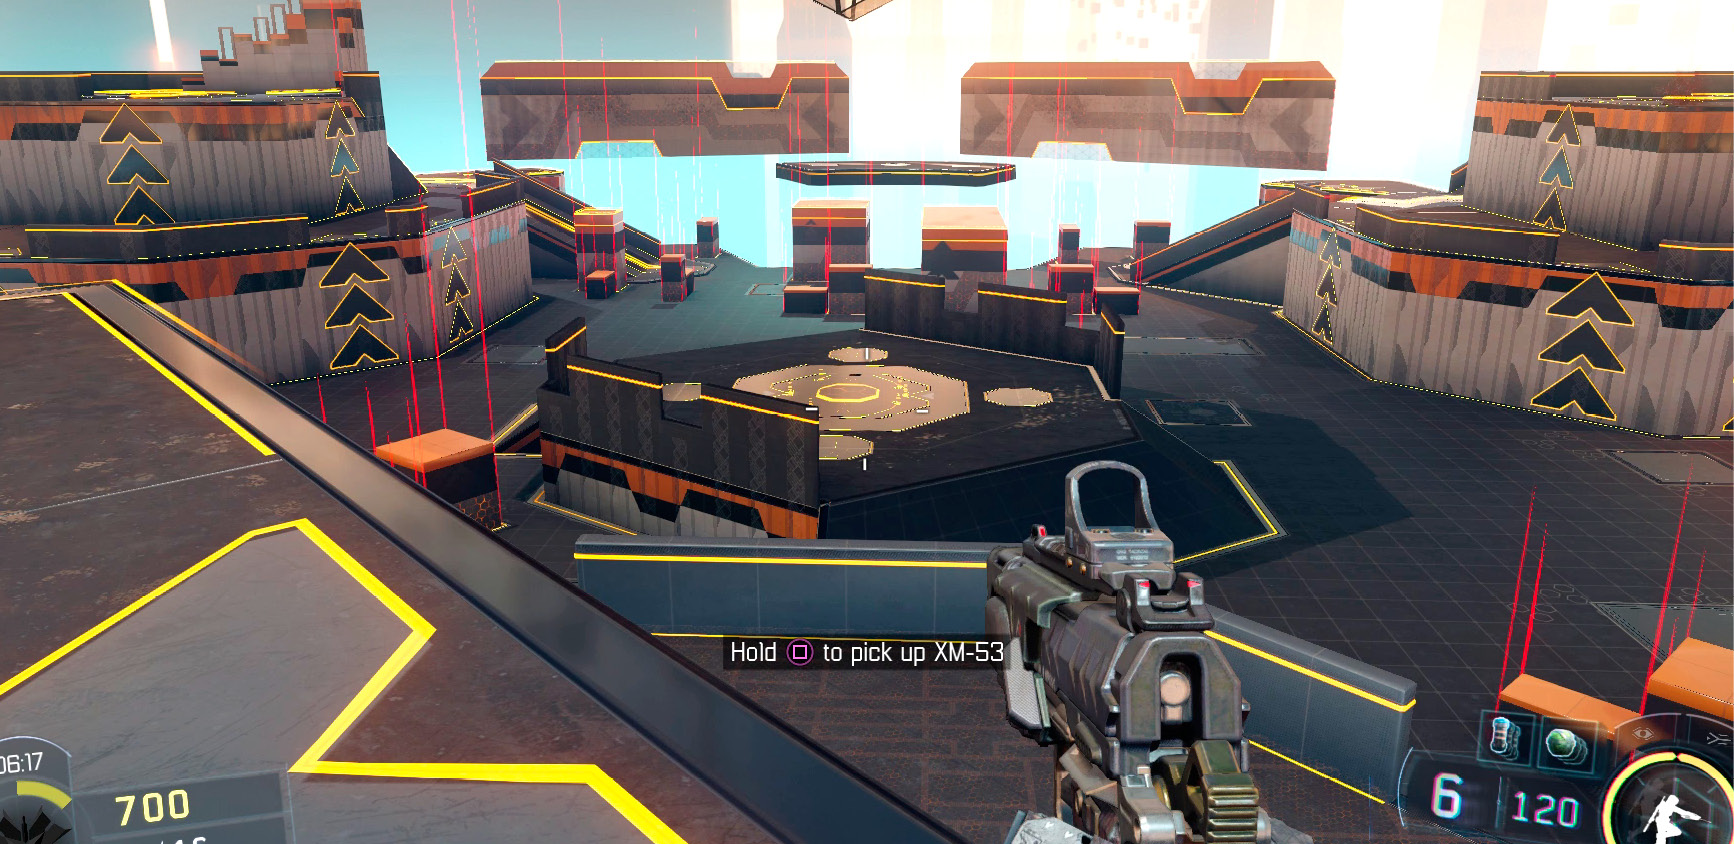
Your score during each session is rewarded with a corresponding medal. You receive a bonus reward the first time you receive each medal. This includes both XP and Fabrication Kits.
|
 For real this time
The Armory
Attachments
Each gun has attachments that can make the gun more powerful, more accurate, carry more ammunition, or easier to handle. Attachments are earned by leveling up the gun. A level one gun has bare minimum attachments, while a max-level gun has access to all attachments.
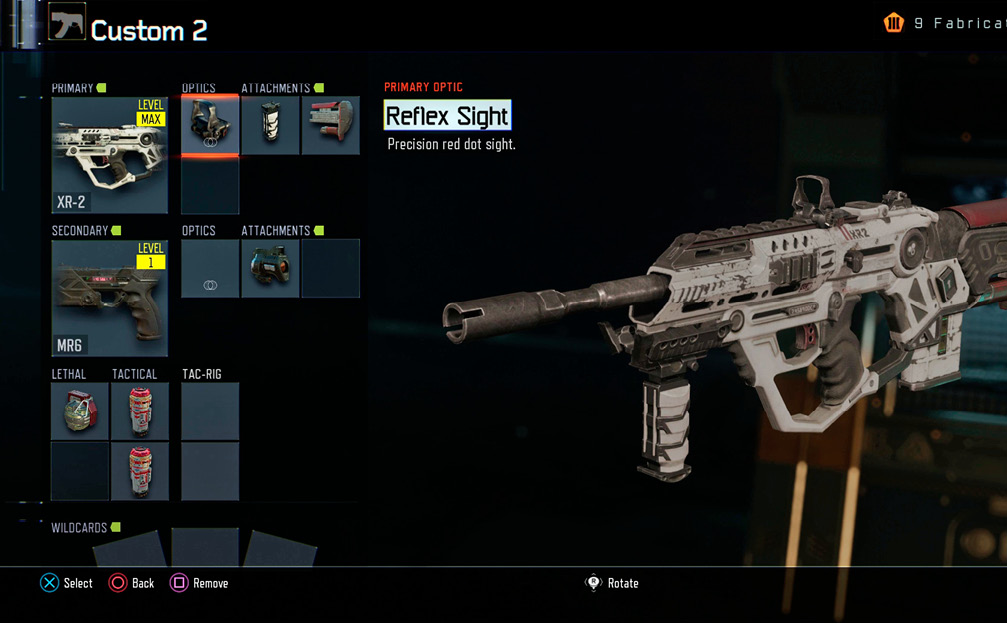
Each gun has different attachments available, and they line up very closely with the multiplayer weapons. For more details on what each attachment does, check out our Multiplayer Arsenal chapter.
Tactical Rigs
Each Loadout can have up to two Tactical Rig features installed. Tac-Rigs provide modest buffs to your character, and are worth spending a few Fabrication Kits to unlock.
Sensory Buffer

Sensory buffer reduces how much getting hit by damage and flashbangs affects you. Normally, getting hit by incoming fire makes it hard to aim and fire. This negative effect is reduced with Sensory Buffer. When upgraded, this Tac-Rig reduces the damage you take from explosives, including grenades.
Traversal Enhancement

When equipped, this rig allows you to run along walls. Generally this doesn’t help in combat that much (it’s very difficult to aim while wall running). However, the Upgrade provides a double jump that’s very useful when trying to climb a difficult ledge—ideal when searching for collectibles. Several Accolades require wall running, too.
Copycat

This is an extremely useful rig; particularly in the early levels before you’ve unlocked the ability to equip primary weapons in your Secondary slot. With this enhancement equipped, you can pick up any enemy gun found on the battlefield. Use it to replace your secondary weapon. All primary weapons are better than the weak MR6 Pistol you start with at the beginning of the Campaign. The upgrade allows you to pick up enemy grenades, which means between ammo crates and your fallen enemies, you’ll never be short on frag grenades.
Emergency Reserve
This Tac-Rig is useful on all difficulties. Once per level, it will revive you when incapacitated. This is absolutely essential if you are going for Untouched! Accolades. The upgrade sends out a stunning blast to buy you some time to get in cover.
Proximity Deterrent
This rig defends you from melee attacks. If enemies are sneaking up behind you and performing melee attacks, then Proximity Deterrent is for you. Don’t depend on it to save your life every time, but it may be enough to find the melee attacker and take him out.
Repulsor
If you are frequently getting hit by grenades, the Repulsor can be very helpful. It reduces the chance that a grenade will land at your feet, instead bouncing it out of range. This is very useful on the harder difficulties, because the enemies toss a lot of grenades.
If you upgrade Repulsor, it can also repel RPGs. This is a life saver. RPG soldiers attack from range, and frequently get off shots before you’re even aware of them.
Wildcards
The Wildcard system in the Campaign is very simple. Each Wildcard allows you to better customize your Loadout, which can hold up to three Wildcards. Each Wildcard costs one Fabrication Point to unlock.
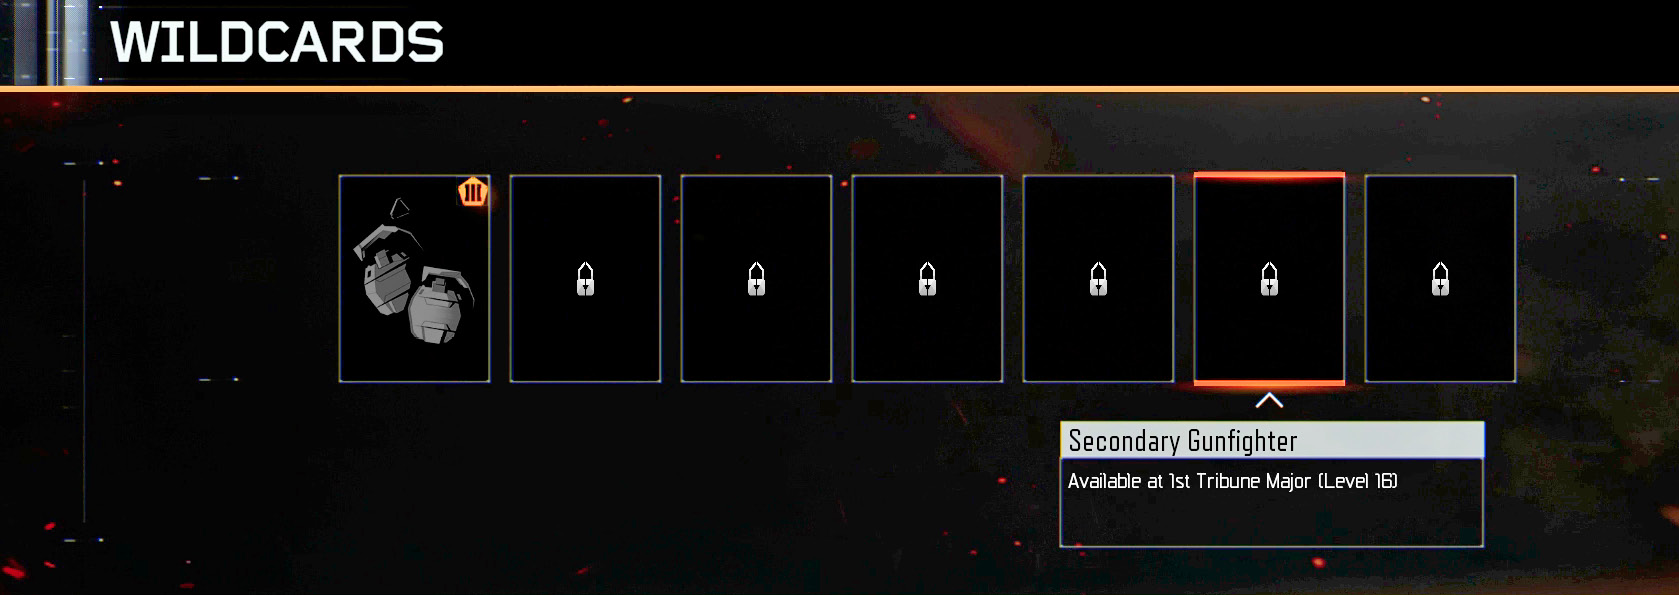
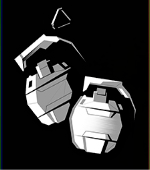
Danger Close: Take a second Lethal. This isn’t too helpful with normal frags, but can make a huge difference with some of the more powerful Secondary weapons, such as Combat Axe and Thermite.
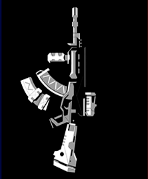
Primary Gunfighter: You can unlock up to three Primary Gunfighter cards. Each one allows an extra attachment to be equipped. This significantly increases the power and performance of your weapons.
Secondary Gunfighter: This unlocks another slot for your sidearm. It should be noted that attachments are available only on Pistols, not Launchers.
Tactician: Take a Tactical grenade instead of a Lethal grenade. This is most useful when you want to bring extra EMPs for a level with a lot of robotics.
Overkill: You don’t get access to this until level 20, but it can be very useful. Overkill allows you to equip a Primary weapon in a Secondary spot. That means you can create combo Loadouts like Shotgun/Sniper or LMG/Assault Rifle. Having that kind of variety makes up for the weak points of each gun type.
DNI
Your Direct Neural Interface, or DNI, unlocks in the second mission. It provides access to an extensive array of powers to use against your enemies. Each DNI power costs one Fabrication Point to unlock, and can be upgraded for one additional Fabrication Point. Upgrades can be processed at the Cyber Core Station in your safe house.
Many DNI powers affect only one type of enemy (robots, drones, or humans).
Control
Base Skill

Skill: System Paralysis
Recharge time: 12 seconds
System Paralysis paralyzes up to three robotic enemies at once. This includes drones, robots, and turrets. While this has an inherent tactical advantage (giving you a full opening to kill the device while it’s disabled), it also has the ability to destroy flying and explosive drones outright. The disadvantage is it has no effect on human enemies.
Upgrade Module: Affect five targets simultaneously.
Debilitate Tree

Skill: Augmentation Breakdown
Recharge time: 10 seconds
Augmentation Breakdown is designed to specifically be used against cyborg enemies. The enemies that most commonly have these upgrades are found among the 54 Immortals in the first few chapters. Using this ability on an enemy is devastating, and can potential take them out of the fight with one hit.
Upgrade Module: With the upgrade, Augmentation Breakdown becomes lethal. Permanently damaging enemies that fall victim to it.

Skill: Servo Short-Out
Recharge time: 10 Seconds
Servo Short-Out causes robotic enemies’ limbs to break, and grounds them. This can be a very useful DNI skill to use when going for Accolades that require you to kill several robots at once. Servo does a lot of damage, but generally not enough to kill the robot. Additionally, since the robots are no longer mobile, they’re easier to group and use more lethal attacks on.
Upgrade Module: Can now affect three targets at once.

Skill: Surge
Recharge time: 12 seconds
With Surge, you hack into the mind of a robot and cause it to initiate an EMP-based self-destruct action. This temporarily disables any electronic enemies standing nearby.
Upgrade Module: Before detonation, the robot automatically finds another group of robots to run into before exploding.
Hijack Tree

Skill: Ravage Core
Recharge time: N/A
This is the Control passive skill enhancement. Once unlocked, you see an indicator when in melee range of a robot. Hit the indicator to initiate a special melee attack that rips out the robot’s power cell. You can then throw the power cell like an EMP grenade, disabling other electronics.
Upgrade Module: Extends blast radius of the core.

Skill: Remote Hijack
Recharge time: 20 seconds
Remote Hijack is one of the best DNI skills in the game, and the highlight of the Control set. With it, you can hijack all enemy drones, including the giant A.S.P. and P.A.W.W.S. enemies. The primary use for this skill is to hack turrets and drones, which frequently appear in most of the Campaign’s chapters. Capturing any of these enemy forces is devastating, allowing you to unleash destruction behind enemy lines with no risk to yourself.
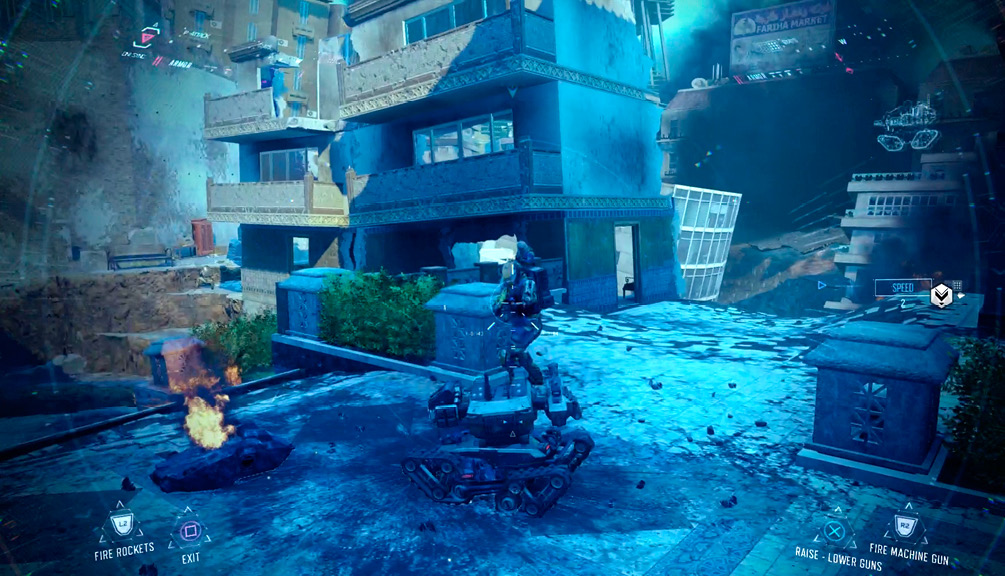
When you activate Remote Hijack, your soldier automatically turns invisible, which means he or she is immune to incoming fire.
Upgrade Module: Decreases the amount of time to hack larger devices. This upgrade can be put off until after you’ve unlocked other skills since it doesn’t increase the effectiveness of the skill, just makes it easier to use against the select few larger enemy A.S.P. and P.A.W.W.S. drones.
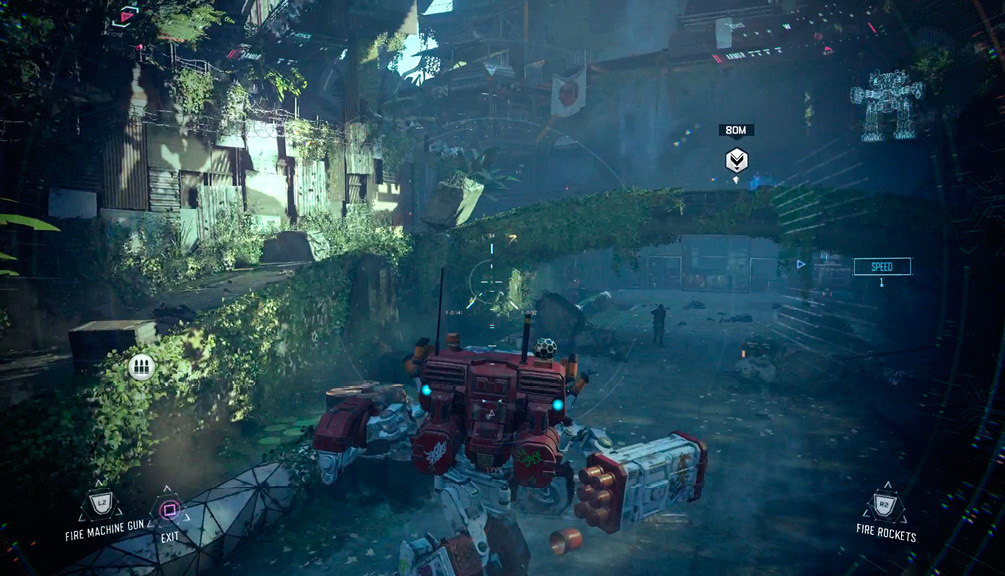

Skill: Protocol Override
Recharge time: 20 seconds
This skill turns the allegiance of a robot to your side. After activating, it immediately turns on its companions, cutting through them with whatever weapon they have equipped. You can tell which robots are on your side by their head lights. Bad robots have red or yellow lights; good robots have blue or green lights. Other enemies usually prioritize taking out this traitor-robotic, so don’t expect it to provide more than a momentary distraction.
Upgrade Module: Upgrade to turn up to two robots to your side with each activation.
Martial
Base Skill

Skill: Overdrive
Recharge time: 13 seconds
Overdrive makes your soldier move faster, aim better, and handle equipment quicker. Reload and weapon switching times improve considerably. This is a straightforward skill that’s good in any firefight, but outside of boss fights, you will find the more specialized skills in Martial more useful.
Upgrade Module: Extends active time.
Cunning Tree

Skill: Smokescreen
Recharge time: 15 Seconds
Smokescreen blasts out a line of opaque smoke directly in front of the DNI warrior. This provides cover and perhaps even an opportunity to escape a battle that’s not going well.
Upgrade Module: The Charged Smokescreen upgrade causes all electronics caught in the smoke to be disabled as long as the screen is up. This makes Smokescreen much more useful than just the default option.
Skill: Weapon Lockout
Recharge time: 8 Seconds
This is a great multi-purpose defensive maneuver. It works on standard weapons for robots and humans alike. With the weapons disabled, you can run to a safer position, charge pass to tag an objective, or open up and kill the enemies while they are helpless. This is not effective against boss enemies like oversized Drones and Warlords, but it will briefly distract a Warlord as he unjams his weapon.
Upgrade Module: Now affects up to four enemies.

Skill: Active Camo
Recharge time: 22 Seconds
Camo is probably the most universally useful skill in the Martial skill group. It’s particularly good on Veteran and Realistic difficulties because it provides an opportunity to sneak behind deadly enemies in cover. You can also use Camouflage to escape a near-death situation; enemies rarely locate you as long as you avoid firing your weapon.
Upgrade Module: Extended Camo increases activation time.
Fury Tree

Skill: Overwhelming Force
Recharge time: 3 seconds
Activate this ability and your soldier charges forward, blasting through enemies. This attack is lethal, but it does not make you invincible, so avoid using it on harder difficulties.
Upgrade Module: Extends the distance of the blitz attack.
Skill: Takedown

Recharge time: N/A
This is the passive melee attack for the Martial DNI tree. Takedown significantly extends your melee attack range and allows you to attack most enemies at a short range instead of an extremely short range. It’s most useful on easier difficulties where melee combat is a more viable option.
Upgrade Module: Rapid Strike extends the chain of the melee combo to three strikes.

Skill: Concussive Blast
Recharge time: 14 Seconds
Concussive Blast overcharges your DNI and sends a shockwave through nearby enemies. Foes in melee range are killed outright, while those further away are knocked down. There are few situations where you’re completely surrounded by enemies. But, if you plan ahead, this is a great skill to have in your arsenal to unleash at the right time.
Upgrade Module: Concussive Wave adds a leap to the beginning of the Concussive Wave. This effectively makes the Wave have range, so you no longer need to run into the middle of a group enemies before releasing.
Chaos
Base Skill

Skill: Sensory Overload
Recharge time: 14 seconds
Sensory Overload temporarily disables human enemies by blinding them and disabling their senses. Think of this as a Flash grenade you can use instantly, at range, and without risking flashing yourself.
Upgrade Module: Can now affect five enemies.
Panic Tree

Skill: Misdirection
Recharge time: 11 Seconds
Misdirection creates a few holographic drones to distract enemies. Some enemies take cover, while others make futile attempts at shooting down the drones. This can be a great technique against very tough opponents. It almost always gives you enough time to find cover and recover your health.
Upgrade Module: Extends the size of the misdirection field, affecting more enemies.

Skill: Electrostatic Strike
Recharge time: N/A
This DNI skill is a passive melee ability granted by the Chaos tree. The strike electrocutes both humans and robots, and is much quicker than a normal melee attack. This is a skill you can save to purchase until later in the game as the benefit isn’t as powerful as the other tree’s melee attacks.
Upgrade Module: Powerful currents arc out of the enemy, disabling electronic enemies in the area.

Skill: Cacophony
Recharge time: 15 Seconds
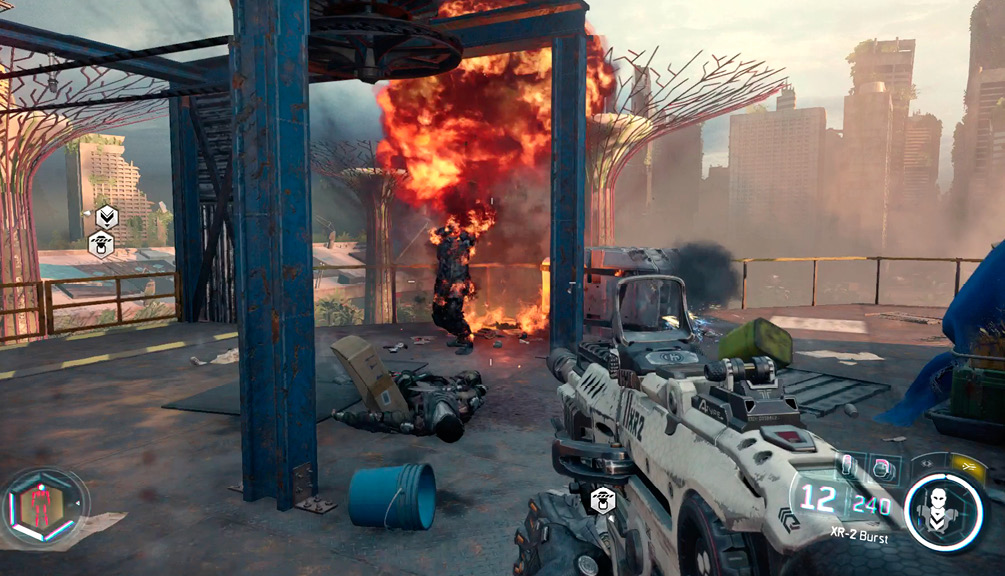
This is a really interesting ability that allows you to ignite any explosive containers on the battlefield. It’s often ideal for obtaining Accolades that require you to explode containers. Another benefit is that containers are generally placed near enemy cover, and exploding several can instantly kill enemies hiding in cover.
Upgrade Module: Affects a wider range on the battlefield.
Devastation

Skill: Immolation
Recharge time: 12 Seconds
Immolation is a go-to DNI power to use throughout the Campaign walkthrough. It’s incredibly useful against both robotics and drones. It has two major advantages: one, it has a very short recharge time; two, it is always an instant kill. One Immolation kill can spread to nearby enemies.
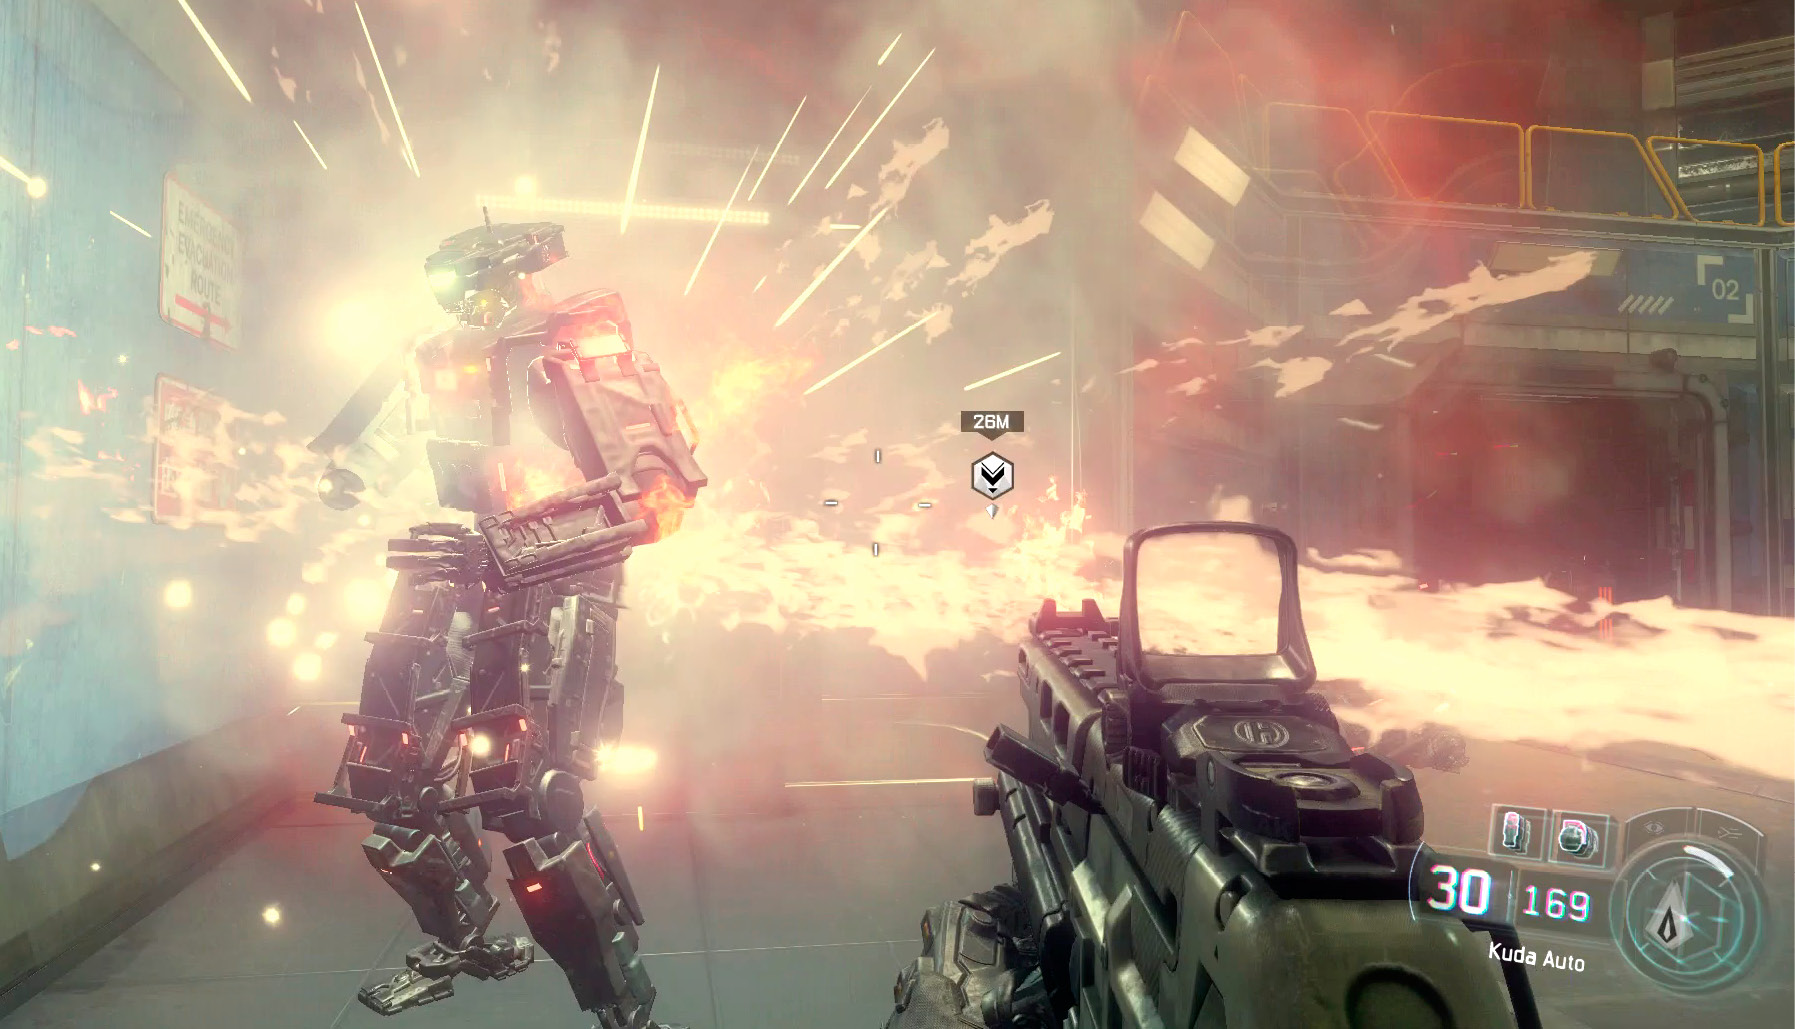
Upgrade Module: With the upgrade, you can now ignite enemy grenades. This makes this one of the rare ranged DNI offensive abilities that can be used against both robots and humans.

Skill: Blinding Swarm
Recharge time: 21 Seconds
With each activation, you release a swarm of nanobots that distract the enemy. This gets enemies to leave cover, stops them from firing on you, and generally makes humans much easier to kill. One additional benefit of the Swarm is that it’s completely automatic. That means you can release a Swarm anywhere and it finds the enemies for you. No need to point your attack.
Upgrade Module: Firefly Swarm is possibly the best DNI skill in the game, rivaled only by Remote Hijack. Firefly Swarm distracts human enemies and also kills them. This should be your primary skill on levels with lots of human-type enemies.

Skill: Sonic Anti-Personnel
Recharge time: If Sensory Overflow is like a super Flash grenade, Sonic Anti-Personnel is like a super Frag grenade. Point at a group of enemies to turn their insides out, instantly killing them. Think of this as a grenade you can use instantly and at range against any group of human enemies.
Upgrade Module: The upgrade to Sonic Anti-Personnel increases the number of enemies that can be affected.
Tactical Mode
One additional feature of your DNI interface is Tactical Mode, which highlights all enemies that any member of your team can see. This includes both the NPCs that accompany you in the game like Hendricks, as well as friends you bring along for the co-op campaign.
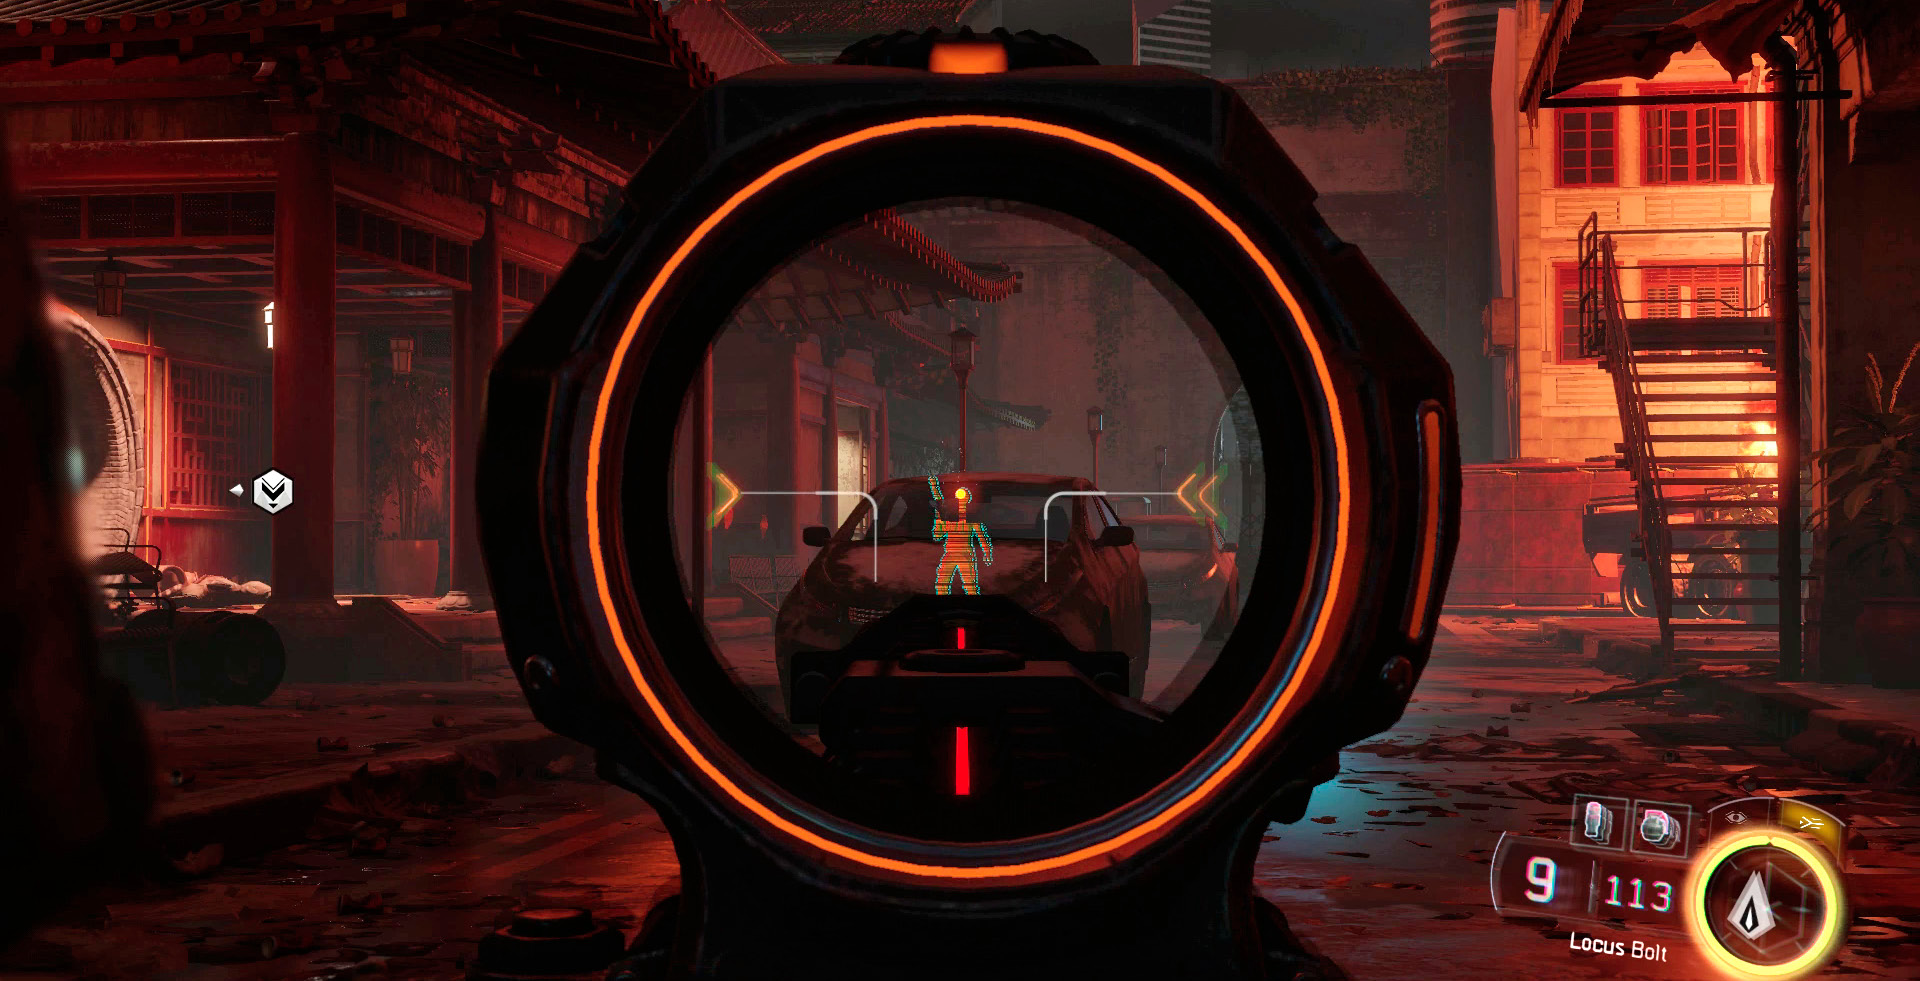
Enemies in cover are highlighted orange and a tactical icon identifies their class.
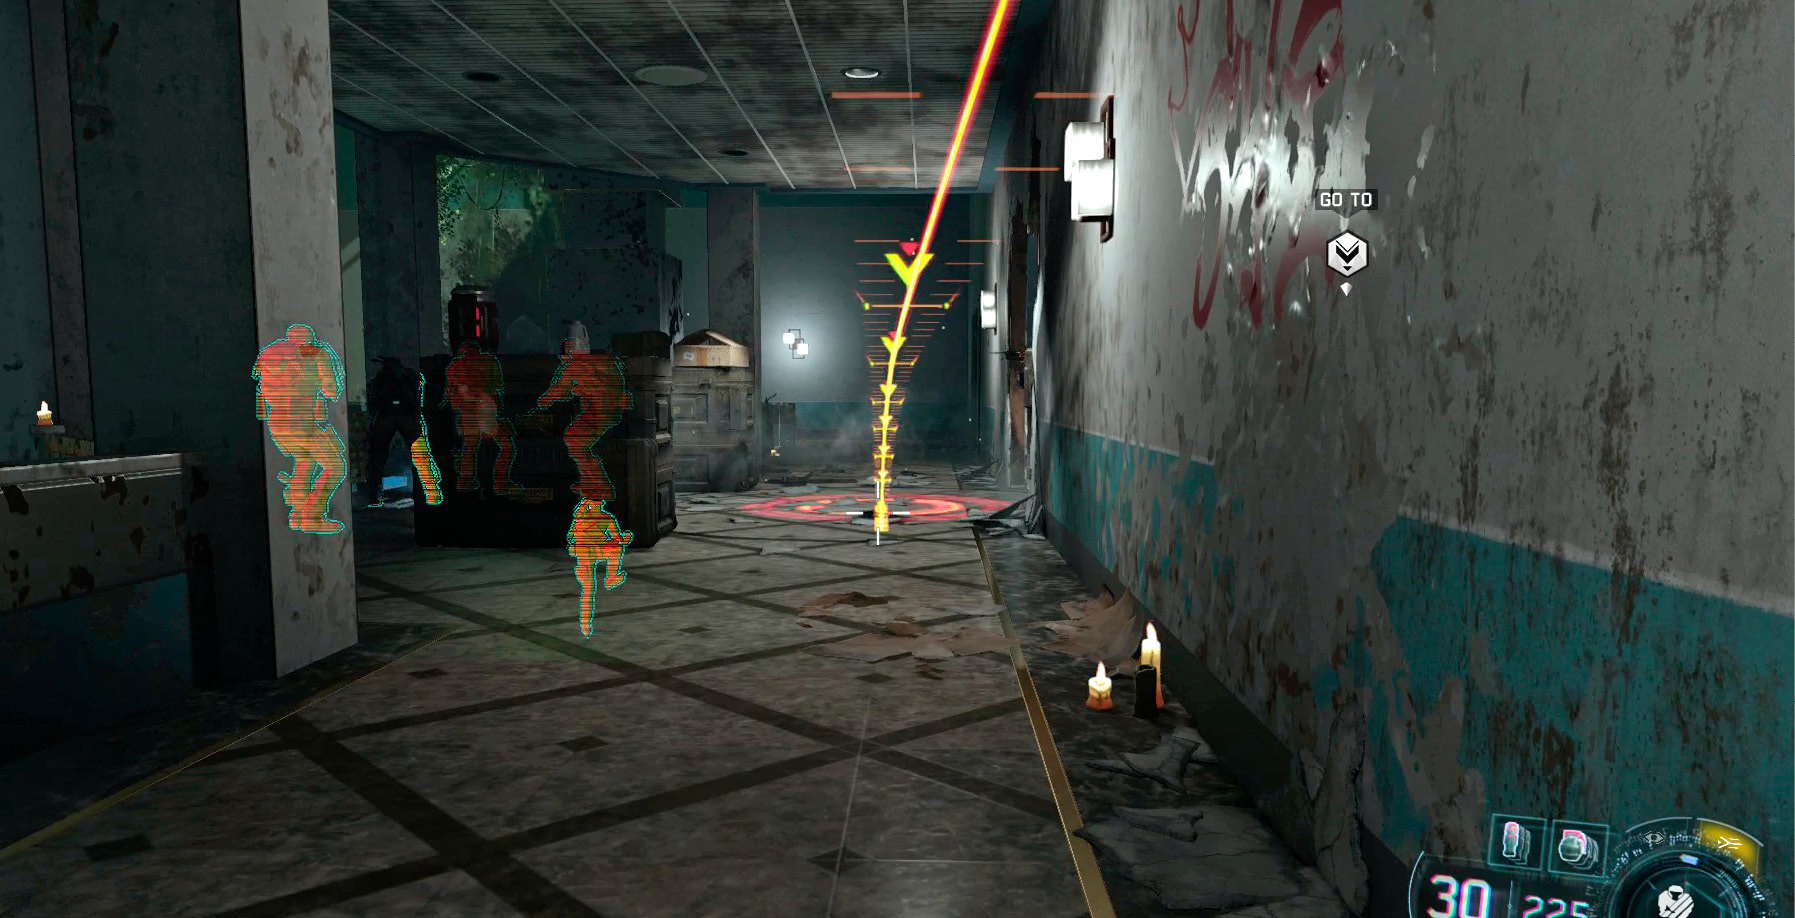
In addition to the enhanced enemy detection, you also gain access to hazard detection, which highlights perilous parts of the battlefield. Whenever you see Yellow to Red overlays on the ground, it means that area is very dangerous to approach.
Grenades have enhanced hazard overlays. When a grenade lands near you, a blast radius is drawn in your HUD to indicate the range of the grenade so you can evaluate how far you must run to avoid the blast. Also, you can see a grenade’s trajectory before releasing it.
Difficulty Levels
Choosing the game difficulty is one of your most important decisions when starting the Campaign. Black Ops III introduces a whole new difficulty level to the franchise: Realistic.
Difficulties determine your score multiplier, how long the game takes to complete, how often you die, and which Achievements/Trophies you earn on Steam, Xbox Live, and PSN.
Recruit
Recruit is the closest thing to a “cinematic mode” in Call of Duty. Don’t expect to just breeze through the Campaign, though! Enemies can still set up lethal traps that kill you if you try to sprint through the game too quickly. You must hang back at certain points to avoid enemy death traps. Even with the reduced difficulty, standing on a grenade is still instant death.
Regular
Regular difficulty is recommended for most players. You encounter heavy enemy resistance and are often challenged by encounters. However, if you are familiar with FPS games, there should be no points that are overly frustrating (and if you do encounter one of those, check out our Campaign walkthrough for advice!).
Hardened
This is a great difficulty for players that care about achievements and for an experienced player’s first playthrough. You earn an Achievement or Trophy at the end of every campaign level. However, the difficulty is not so hard as to make some of the more dangerous Accolades impossible. On Hardened difficulty and higher, you must revive your Co-Op partner before they bleed out or you’ll fail the mission.
Veteran
Veteran has been one-upped by Realistic, and is now only the second highest difficulty. However, players who always play the Campaign on Veteran will experience a familiar progression. Your health is low, enemies are accurate, use of cover is essential, and grenades are a constant threat. Our Campaign walkthrough is written on the Veteran difficulty level.
Realistic
For your first playthrough, we strongly recommend that you do not play on Realistic difficulty, even if you normally play Call of Duty games on the hardest difficulty. Realistic is above and beyond the difficulty of any previous game, and it often seems as though enemies can kill you simply by looking at you. You rarely survive getting shot once.
If you absolutely must get all achievements on your first playthrough, then you must do a complete Realistic playthrough.
Realistic Strategy
Getting through Realistic can be amazingly difficult, but here are some tips to make it a bit more manageable:
- Play cooperatively! Bringing along a friend can make the grueling ordeal a bit easier, because only one of you needs to survive to keep moving. Just make sure your partner is as patient and determined as you are!
- Be very patient. If you just wait long enough in some areas, your teammates will kill and take out enemy resistance. A good example of this is the bridge on the first level. Wait at that bridge for a bit to stay out of fire and automatically trigger the checkpoint without even engaging the enemy.
- Memorize troop patterns. Enemies always attack and spawn in the same way. If you memorize the spawn pattern, you can often take the enemy out before they’re in position or behind cover.
- Use covering fire. If you see an enemy and can’t target it quickly enough, just fire in the enemy’s general direction while you retreat back behind cover. Good cover fire either makes the enemy take cover or decreases their accuracy when firing at you.
- Cherish checkpoints. Always keep an eye out when triggering a checkpoint. After reaching a new one, it’s time to begin experimenting and you don’t have to be as cautious (for a bit).
- Forget Accolades. With a few exceptions, Accolades are much harder to achieve on Realistic difficulty. You already get a 50% score bonus for completing the level on Realistic, so don’t worry about the Accolades; just focus on your mission.
Accolades
Level-dependent Accolades are a new feature to Black Ops III. Each level has a set of 14-18 Accolades that can be earned by executing special tasks on a level playthrough.
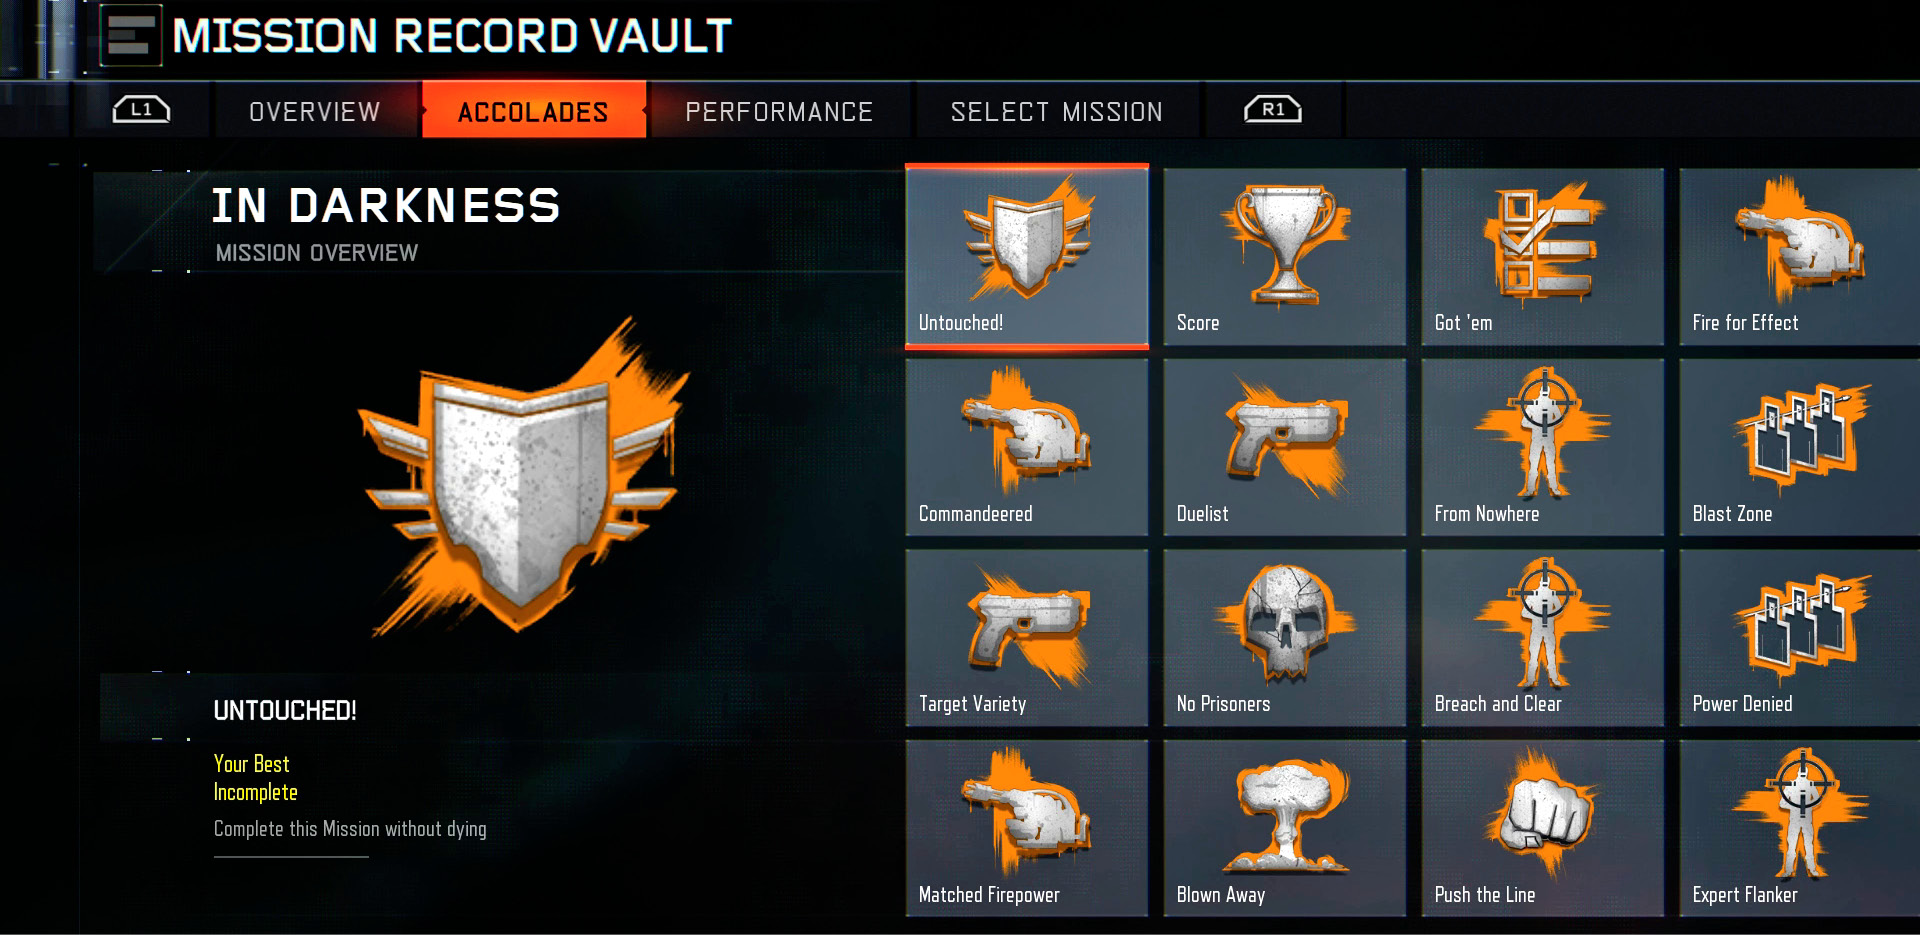
Each Accolade can be earned just once. Earning one is permanent, even if you don’t get to the next gameplay checkpoint after doing it. This means if it’s an especially dangerous challenge, you can attempt it multiple times without worrying about dying.
Fixed Accolades
Every level has the same first three Accolades, which are some of the most difficult. They each reward a Fabrication Token when achieved.
Untouched! Complete this Mission without dying.
Make it all the way through the level without getting killed. Obviously, the lower the difficulty, the easier this is. Playing in co-op mode makes it more manageable. Encourage your teammates to take the lead (and shots) for you while you hang back under safety of cover. Note that failing because of Friendly Fire or by a scripted lose condition does not count against this Accolade.
High Score: Complete the mission with a designated high score.
Each level has a target score you must hit. Many have areas where there are unlimited enemies. If you are specifically going for a high score, stay in one of those areas to rack up as many points as you need to hit the target.
The difficulty of this Accolade varies widely between levels. Those with several bosses and drones tend to be easier to hit since they reward the most points.
Got ‘Em: Find all of the collectibles in the mission.
Each level has a number of collectibles to find. Refer to our Campaign walkthrough for collectible locations.
The rest of each level’s Accolades are level specific, and we provide coverage of them with each chapter. If you ever fail an Accolade because you miss a shot or opportunity, you can always retry by suiciding via grenade before you trigger the next checkpoint.
Collectibles
Each level contains two to six collectibles. Treyarch has done a fantastic job of hiding these in the nooks and crannies of the levels to make them extremely difficult to find.
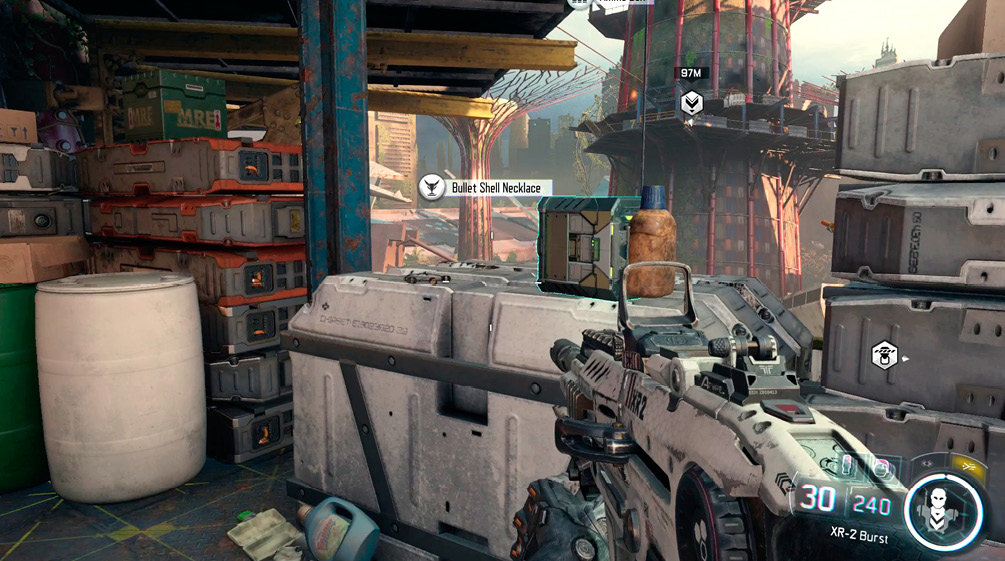
Fortunately, when you’re close to a collectible and look at it, an icon appears on your HUD. This icon looks similar to the objective marker.
Once you’ve found a collectible, your game is automatically saved. The collectible is made available to view in your safe house. Our Campaign walkthrough reveals the location of each collectible.
Medal Case
Your safe house also includes a Medal Case that holds the ultimate Campaign challenges. These medals are earned only by the most dedicated and skilled players.
| Master of Arms | Earn all Campaign Weapons, Attachments, and Camos. | +5000 XP |  |
| Dedicated to Excellence | Fully upgrade all Cybernetic Combat abilities. | +5000 XP |  |
| Armament Superiority | Unlock and purchase all weapons, lethals, tacticals, and CyberCombat Abilities. | +5000 XP |  |
| Heroic Service | Complete the Campaign on the Veteran difficulty setting. | +5000 XP | 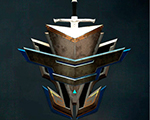 |
| Legendary Service | Complete the Campaign on the Realistic difficulty setting. | +5000 XP | 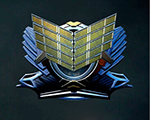 |
| Immortal Fame | Complete every mission in the game at least once on Veteran without restarting from a checkpoint. | +5000 XP |  |
| Chronicler | Locate all the collectibles in the campaign. | +5000 XP | 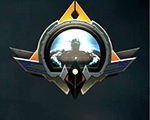 |
| Above and Beyond | Complete all Accolades for all missions. | +5000 XP |  |
| Duty Calls | Complete all Campaign Challenges. | +5000 XP |  |
| Tried and True | Earn a score of 35,000 in the Training Simulator. | +5000 XP |  |
| Grim Reaper | Neutralize 2000 hostiles. | +5000 XP | 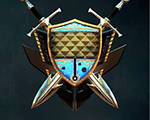 |
| Full Honors | Earn all Campaign Decorations. | +5000 XP |  |
Co-Op
In Co-Op mode, you and your friends fight through the game’s Campaign together. Up to four players can play together.
Though it has the same story line, the experience for Co-Op varies from a Single-player Campaign game. Aside from spawning more units, the Co-Op mode also gives you the freedom to pull some pretty cool cooperative strategies and get a leg up on amassing different Accolades and Collectibles. Here are some tips that should help you and your team on Co-Op.
No Man Left Behind
The gameplay in Black Ops III can move pretty quickly and often times you find yourself separated from your partner. Whether you’re pinned down by enemies or combing the landscape for Collectibles, it’s important that you understand the mechanics of distance in Co-Op mode.
If a teammate reaches the next objective marker, you are automatically teleported to the most current location. Though a convenience for those who may get lost, teleportation can come as an unpleasant surprise for players working on an Accolade or searching for a Collectible. Be sure to tell your teammates to hang back and that you need a minute or two.
Give Me Life
Does a level seem too difficult? No worries, that’s why you’re working as a team. Players can revive each other indefinitely, so keep a look out for the medic symbol, indicating your partner is at Last Stand. Reviving another player takes a few seconds and can leave you vulnerable to attack, so be careful. If both or all players are simultaneously in Last Stand, you will be forced to restart from the last checkpoint.
What if you find yourself in Last Stand and your partner is long gone, and unable to revive you? No sweat! If they manage to reach an objective marker, you are automatically revived and teleported to the new objective marker, which will usually trigger a storyline video for all players.
When in Last Stand, always fight until the last second. Enemies initially ignore you after getting downed, assuming you’re dead. You can take advantage of your precious last moments by crawling, albeit awkwardly slow, or firing your gun. If you can see your partners nearby, crawling toward them or to an area of cover can make reviving you easier. Alternatively, you can try to kill the enemies that killed you, making it safer for your partner to revive you.
In Hardened, Veteran, and Realistic difficulty modes, you must revive your partners before they die, or it’s game over.
No “I” in “Team”
You encounter more enemies in Co-Op mode. Be sure to coordinate with your partners when deciding which weapons to use and which Cores and upgrades to equip and purchase. Teams should balance between Chaos, Control, and Martial to ensure you’ve got all your bases covered. If you’ve played before or are using the guide, having multiple players equip the recommended DNI skills can be absolutely devastating, allowing you to wipe out fields of enemies in mere seconds.
Tactical Mode allows you to see the outline and locations of all the enemies that are currently visible to other players. Have a player take position on high ground and enemies will be easily visible in your team’s HUD.
Treasure Hunting
There are plenty of Collectibles and Accolades to find in the Call of Duty: Black Ops III maps, so take your time as a team when moving through terrain. However, be aware that some Accolades require only one player to complete. Hard work trying to fulfill a specific Accolade requirement can easily be dashed away by a blundering and trigger-happy partner. So let your team know when you’re treasure hunting!
Friendly Fire
Don’t fire at civilians or you automatically fail the mission for everyone and will be forced to start over! As for your allies, that’s another story. You and your comrades are invulnerable to friendly fire and explosions. No harm, no foul!
Co-Op mode gives you a highly team-coordinated game playing experience with very rich replay value. However, the dynamism of gameplay is ultimately up to you and your team’s creative pairing of traditional weapons with the superpowers found in Cores. Assemble a team and see all the different ways you can shoot, blow-up, or mind control your enemies—it’s entirely up to you.