
Call of Duty: Black Ops III Guide Multiplayer Basic Training
Brush Up on the Basics
Guns-Up Mobility
Automatic Mantles
Mantling is simply pulling yourself up and over short obstacles, through windows, or onto tall ledges.
You can now mantle automatically in any direction while you are sprinting or thrust jumping, and your gun stays up during the entire animation.
You can hipfire while performing a mantle, but you can also aim your weapon while in the air, running on a wall, even underwater.
Thrust Jumping
While in the air, you can tap or hold jump a second time to thrust jump, giving you extra height and distance, or letting you perform a quick evasive retreat to the side or back.
Mantling is automatically combined with thrust jumps, so even if you’re boosting backwards to a ledge behind you that you can’t see, you still perform a guns-up mantle backwards!
You can perform partial thrust jumps by feathering the Jump button in mid-air, or you can hold the button to perform a longer burn to get more height or distance. As long as you have remaining jetpack energy, you can use your thrust jump in mid-air.
Thrust jumps are useful for quickly traversing vertical terrain, allowing you to clear gaps, wall run high on the side of a building, and jump up to rooftops or second floors of buildings or terrain.
Wall Running
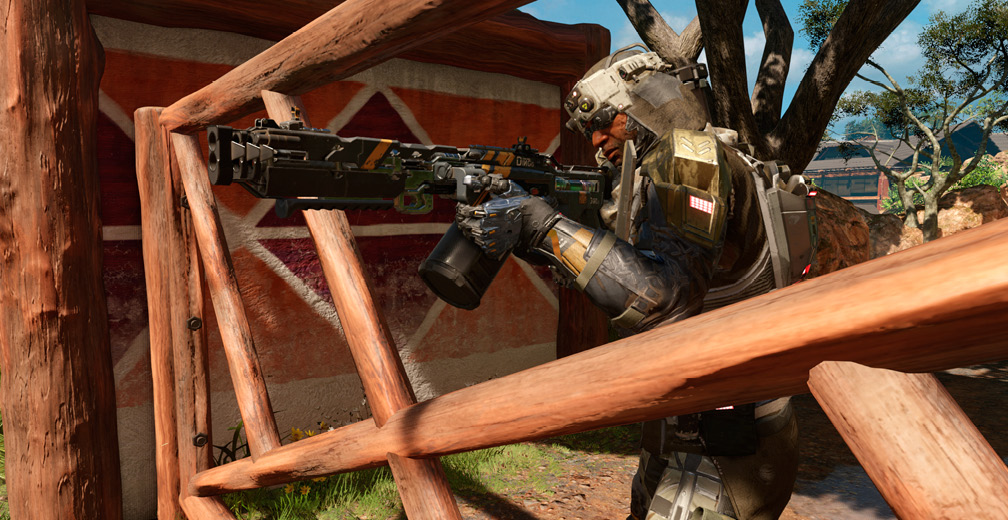
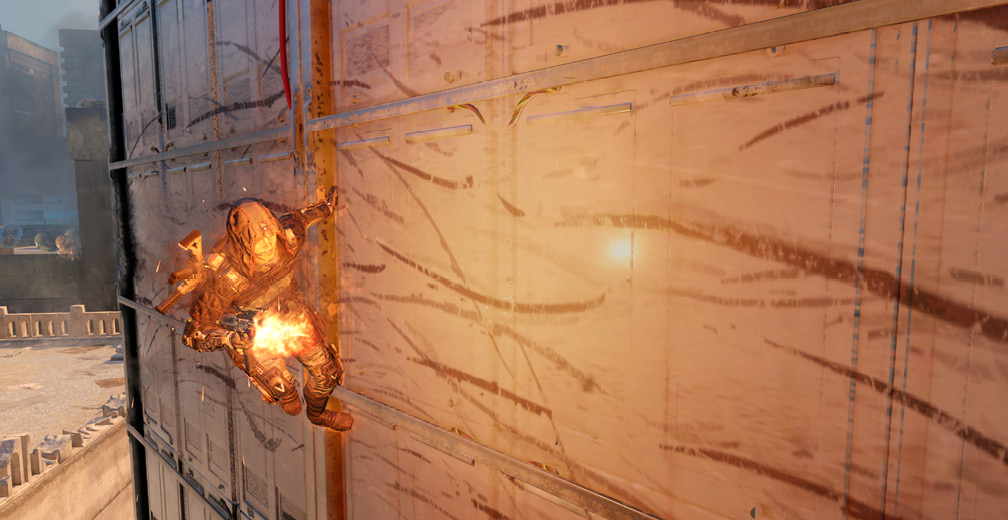
Wall running is performed by sprinting at a wall at a slight angle and jumping toward it. A regular or thrust jump already in the air works fine.
Any flat surface can be used as a wall run surface, and you automatically continue a wall run along a curved wall, even if the turn is a sharp 90-degree angle (as long as it turns inwards).
If you want to continue a wall run around a 90-degree turn that goes around a corner, you can perform a quick thrust jump to reattach yourself to the wall and continue running.
You can fire while wall running, even aiming while you are running.
It’s also possible to reverse a wall run—if you jump off the wall, do a 180 and reattach by thrust jumping, you can change directions and resume running.
Power Slides
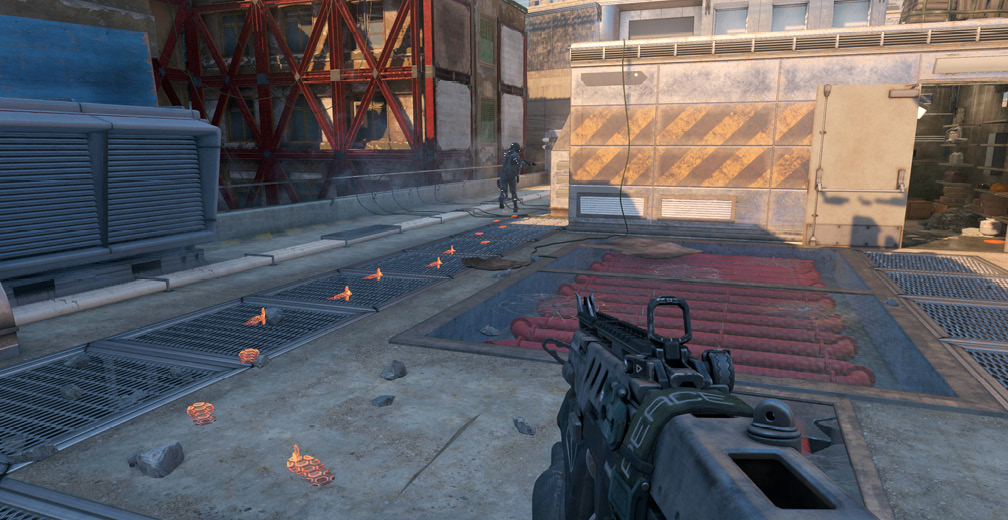
Hold the Crouch button while sprinting or in the middle of a thrust jump to perform a power slide.
Power slides propel you more quickly than sprinting along the ground, and end in a crouched position.
You can resume sprinting after a power slide if you keep the movement stick held forward—after a momentary delay, you stand up and continue your run.
Like all other types of movement, you can fire while power sliding.
Underwater
This is not necessarily a special powered movement type, but you can swim quickly and easily, with your weapon up. Sprinting underwater works, and you can rise or sink by jumping or crouching.
Movement
Beyond the new mobility tools on offer, standard Call of Duty movement remains present—and important! You can walk, sprint, crouch, go prone, and jump to move about the battlefield.
Sprinting is louder and faster than walking, but is also unlimited in Black Ops III—no perk necessary. You can reload your weapon while sprinting, but keep in mind that sprinting causes your gun to lower, and getting caught while sprinting is a quick way to get killed.
The Gung-Ho perk allows you to fire while sprinting, and the Fast Hands perk reduces the delay before your gun comes up again. You can also pair either of these with the Quickdraw attachment to speed your ADS time.
Crouching or going prone lowers your profile and raises your accuracy, both of which can be useful at a distance. You can also use crouch to make use of short cover, putting more of your body out of sight.
You can make use of the prone position to hide behind even the lowest cover, and occasionally to surprise aggressive enemies. Going prone in short range fights to ambush other players can also be effective, and with some agility on the controls, performing drop shots at very close range while in combat can win gunfights.
Basic jumps generally aren’t needed for normal level traversal, but they can be used to start a wall run without pinging the minimap from a thrust jump, or to mantle over a low piece of cover or into a window.
Controls
Because of the focus on mobility in Black Ops III, it’s worth mentioning that you can customize your controls to allow quicker access to thrust jumps.
The Bumper Jumper config switches tactical grenades with the Jump button. This allows you to jump without taking your hand off the aiming stick. If you make use of thrust jumps often, this can be a powerful advantage in combat.
On the PlayStation 4, you can remap controls under Accessibility options. You can use this to switch the lethal Grenade button with the Crouch button—this gives you easy access to both thrust jumps and power slides while still having full movement and aiming control, but be aware that as a hardware level remapping, your Back button in menus will change! If you’re a heavy grenade user, this may not be as appealing, but give it a try if you rarely use grenades.
HUD
Learning to read and use your HUD in combat is critical. It provides you with a lot of information about the battlefield around you.
Minimap
Learning to read and use your minimap is vital for success in multiplayer matches. You can see the position of friendly teammates at all times, and when friendly UAV or H.A.T.R. coverage is up, enemy positions are marked, as well.
Any time a player fires an unsilenced weapon or uses their thrust jump without the Blast Suppressor perk, they appear on the minimap.
Firing a weapon results in a clear red dot location, while thrust jumps only momentarily ping the minimap with a small, red circle that expands.
Use your minimap to keep tabs on the flow of combat; you can often locate the enemy team simply by knowing where you and your teammates are.
Suppressed weapons don’t appear on the minimap when fired, and the Ghost perk hides you from UAV sweeps as long as you are moving (or defusing a bomb).
Using a Counter-UAV or Power Core can jam the enemy minimap, but keep in mind the Hard Wired perk protects against both of these Scorestreaks.
Death Icons
When a friendly teammate falls in combat, the location of their death is marked with a skull. If you pay careful attention to the appearance of these skulls (and friendly minimap dots), you can usually quickly identify likely enemy positions.
As your map knowledge improves, you can get a better idea of where a death occurred and from what—in a tight interior area, it was almost certainly another enemy in close quarters, while a death out in the open might have come from a distant enemy camped out in cover.
Objectives
In objective game modes, there are clear HUD indicators for the position and control of points in Domination, flags in CTF, the data core in Uplink, and so on.
Use objective indicators to keep tabs on both the current stats of the objectives and the likely position of enemies. Used in concert with your other HUD tools, this gives you yet another method of identifying threats and targets.
The Killcam
After being killed by another player, you are given an instant replay of the last several seconds from their perspective. This is extremely useful for new players, as it can provide insight into how other more experienced players are taking you out.
Remember that because of the realities of lag on the internet, this is not always going to match up 100% with what you saw on your end. Don’t worry about that; pay more attention to how your opponent attacked you.
In some cases (such as face to face heads up firefights), the outcome can be a coin flip, but a lot of the time, your enemy may have outmaneuvered you, ambushed you, or used a combination of perks, equipment, Scorestreaks, powers, or weaponry that let them get the drop on you.
When you’re new, watch the killcams from top scoring players on the other team, and pay attention to what they use and how they use it.
Hitmarkers
When you score a hit on another player, you receive visual confirmation of this from a flash of your crosshair and a distinct visual cue.
You can use hitmarkers to confirm hits on distant enemies, track a target through a wall while firing penetrating shots, or ‘scout’ with thrown grenades or tripmine equipment!
Combat
Weapon Handling
The basics of weapon usage in Black Ops III are simple: aim, shoot, kill.
Weapons can be fired while aiming, or from the hip. When hipfired, most weapons are inaccurate at anything past very short range.
Aiming your gun is always the most accurate way to get shots on target and, with one exception (sniper rifles), all guns handle the same while aiming. You trade some movement speed for increased accuracy, as you move slower while aiming.
Sniper Rifles have an extra step while aiming—you need to hold in the Sprint button to steady your aim. You can still fire without steadying, but your aim sways more heavily if you aren’t steadied.
When firing from the hip, your accuracy is improved while crouching or prone, but this doesn’t mean it’s a good idea to move around crouched and hipfiring!
Different weapon classes have different handling speeds—the time it takes to aim or to switch to or from the weapon. These are generally what you would expect (SMGs have fast handling, LMGs have slower handling).
The weapon you have in hand also affects your base movement speed. SMGs are the fastest, then pistols, then all other weapon classes.
Shot Control
For SMGs, Assault Rifles, and LMGs, make use of short bursts of shots to maintain accuracy when attacking distant targets.
Burst-fire weapons inherently pace your shots. Emulate these weapons when trying to hit enemies at long range. For extremely distant enemies, you may even want to tap out single or double shots, though scoring kills at such a range is challenging at best.
Full auto should generally be reserved for short range engagements—SMGs excel in this area.
Hipfire is best used at short ranges, as well, and the Laser Sight attachment tightens hipfire spreads, giving you more reliable hipfire at a slightly greater range. Don’t hesitate to begin hipfiring at a target the instant you spot them, and then begin pulling up your sights into ADS to get more accurate fire on target.
Reloads
Weapons all reload at different speeds, but most share some common traits. When reloading a weapon, if the magazine is fully depleted, the reload takes longer, as you have to pull a charging handle or rack a slide to complete the reload animation.
It is possible to cancel a reload animation early by double tapping the Switch Weapon button—this is useful because the ammo is often ‘live’ in the weapon before the reload animation fully completes.
The Fast Mags attachment speeds up reload boosts significantly (and on some weapons, actually uses a unique new animation to reload when you swap out a dual magazine).
The Extended Mag attachment gives you more ammo in each magazine, providing more firepower before you need to reload in the first place.
Keep your weapon topped off, but try to avoid the bad habit of reloading after a single kill on a weapon with a decent magazine size (this is especially important for LMGs, with naturally large magazines and very, very slow reloads).
Melee
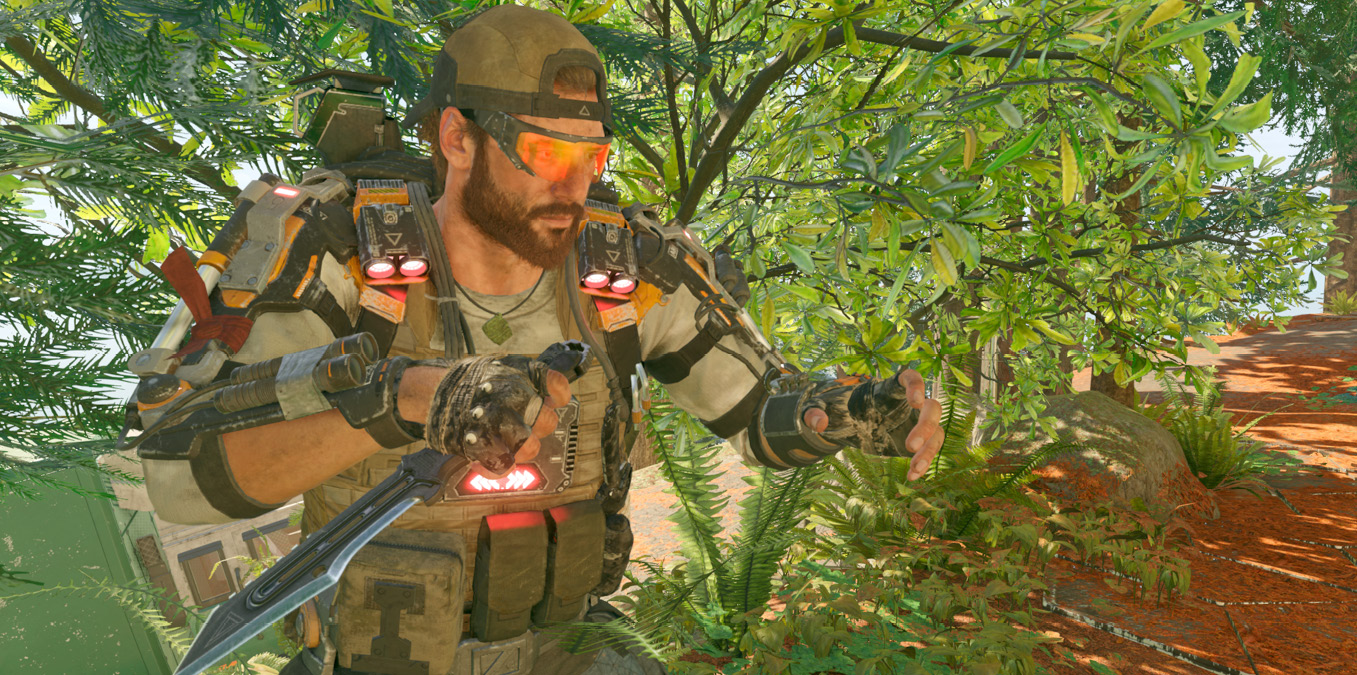
You can perform a quick punch or gun bash at close quarters, but melee attacks are not lethal from the front in Black Ops III. You need two swings to kill; if you want an instantly lethal melee attack, you must equip the Combat Knife.
Otherwise, melee attacks are quiet, and can be used if you sneak up on a target from behind to avoid pinging the minimap if your weapon isn’t silenced.
Streaks
Scorestreaks are earned by acquiring enough points to unlock the streak in a single life. Dying resets your Scorestreak counter!
You earn points toward Scorestreaks by any beneficial action that contributes to your team winning. This includes killing enemies, calling in friendly support Scorestreaks, destroying enemy streaks and equipment, and completing or aiding in the completion of objectives.
If you’re a new player, start with cheaper Scorestreaks, and make use of the Care Package to get a chance at earning higher end streaks.
More experienced players can make use of ‘chaining’ Scorestreaks by using the points earned from one Scorestreak to unlock the next.
Offensive Specialist powers are also a key component of earning Scorestreaks now, as you can rack up a lot of points in short order by going on a rampage with your super weapon.

Equipment
Tactical and Lethal equipment is optional in the Pick 10 system, but it can be very effective if used wisely.
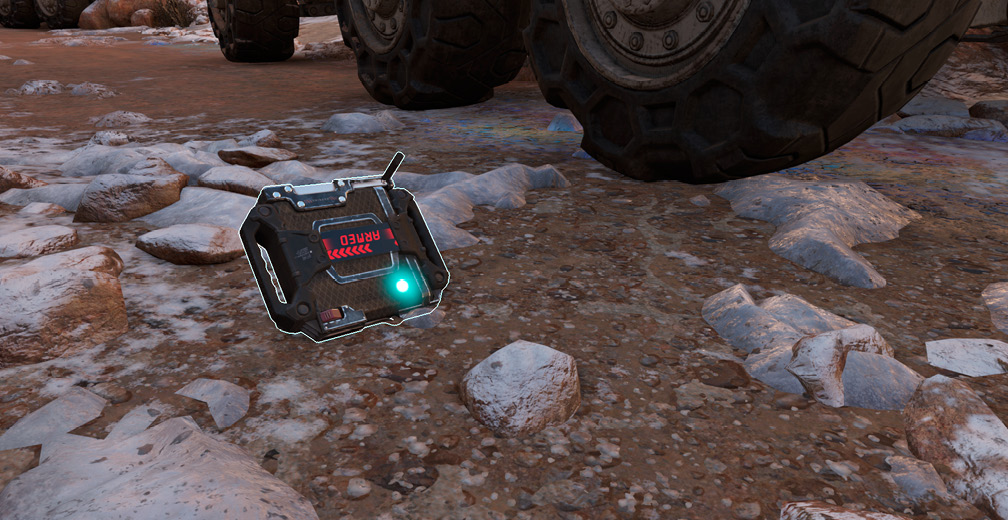
Although tactical equipment generally supports you on the battlefield, it is rarely directly lethal. You can use tactical equipment to stagger or stun enemy players, disable enemy equipment and Scorestreaks, protect yourself from enemy projectiles, or even hack enemy equipment and Scorestreaks.
Lethal equipment is just that, an extra set of gear that can kill enemy players. There’s a range of different options, most suited for indirect combat, allowing you to kill players behind cover, guard an approach, or clear an objective.
Because a single expendable piece of equipment costs just as much as a permanent perk or an upgrade to your weapon, you must carefully consider equipment usage under the Pick 10 system.
There are several perks that can enhance equipment usage, including Fast Hands, Scavenger, Gung-Ho, and Engineer. It’s not a bad idea to set aside two of your builds as equipment focused—one making use of Lethal equipment and Scavenger to constantly bombard the enemy and control objectives, and a second focused on using Tactical equipment to support your team and deny the enemy equipment and Scorestreak support.
On your full-fledged combat builds, it’s often worth it to remove all equipment and put the extra points into more perk muscle or weapon customization. A single use grenade without Scavenger usually isn’t the best investment.
Cover and the new battlefield
The enhanced mobility offered by the jetpacks and augmented limbs of the Specialists has a significant impact on how you should view cover on the battlefield. You are not always safe behind a piece of hard cover if there is a nearby route that allows an enemy to jetpack over your head and strike you from midair or above you on elevated terrain nearby. Likewise, you can use the enhanced mobility to foul your opponents aim by rapidly mixing thrust jumps, powerslides, and wall runs.
As a general rule, you are easier to hit when using such moves at a distance (and your own accuracy is impaired), and harder to hit using such mobility in CQC. At very short range, a jump over your opponent’s head can be difficult for them to track, as can a rapid wallrun to get behind a target.
Be careful about using power slides to round corners, players tend to instinctively target at head height when waiting behind cover or tracking a corner while ADS—it’s usually safer to come around the corner out of a thrust jump, as your incoming trajectory is unpredictable even to skilled opponents.
Whenever possible, take advantage of elevated terrain. Most players track targets at the same level they are standing on, so if you’re above a player at ground level, you have a good chance of getting the drop on them simply due to where you are both aiming when a fight starts.
Elevation also gives you an edge in cover battles, if you’re behind cover in an elevated position, an enemy below you and behind cover may be partially or completely exposed due to the angle, but you are still just as hard (or harder!) to hit.
Pick 10
The Pick 10 system is how you customize your loadout in Call of Duty: Black Ops III.
You are given 10 points, and each point can buy a single item in your loadout:
- A weapon, primary or secondary
- A single attachment or optic on a weapon
- A wildcard
- A perk
- A single piece of equipment
There are no restrictions on your loadout. You can run a single primary weapon with five attachments, a mix of all options, or anything in-between.
Without Wildcard usage, you are limited to two attachments on a primary weapon, one attachment on a secondary, up to one lethal and two tactical equipment, and up to three perks.
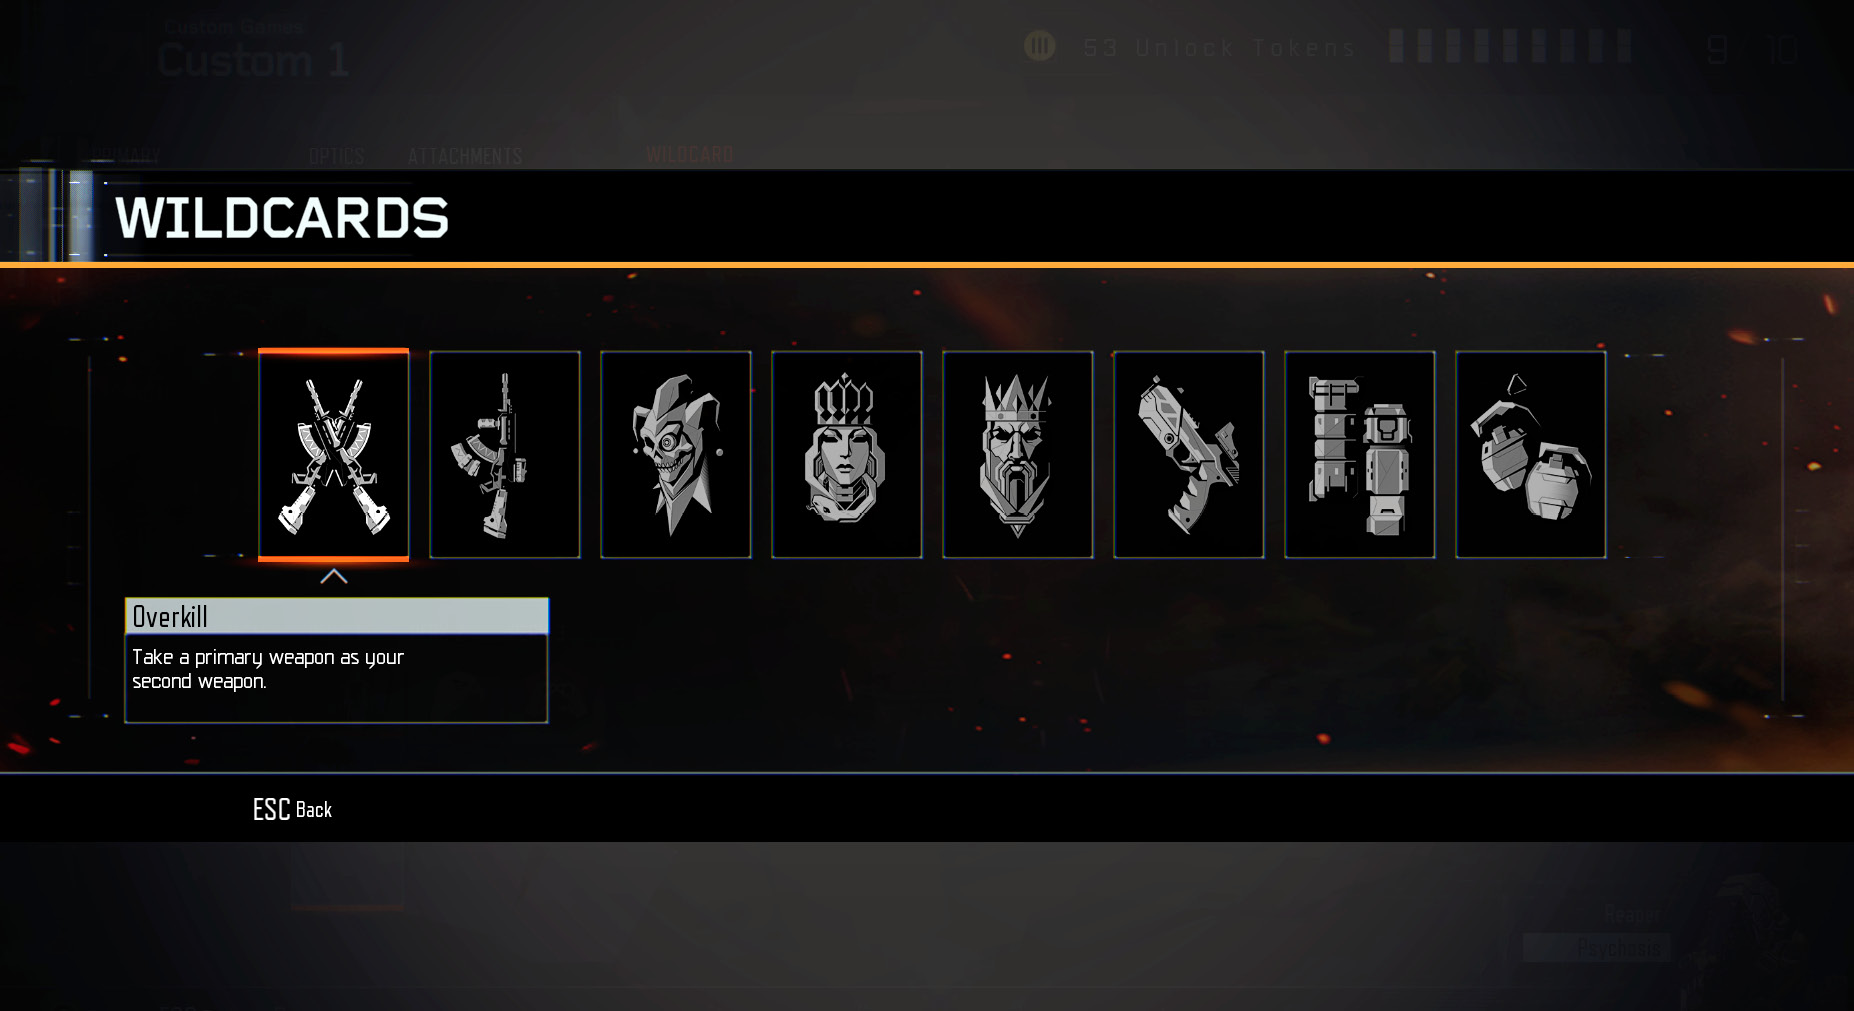
Wildcards
Wildcards let you ‘break’ the rules of Pick 10, allowing you to take two primary weapons, equip more than two attachments on a primary weapon, take more than three perks, or carry additional equipment.
The drawback is that each Wildcard itself costs a point, so you’re paying double for breaking the usual limits. Make sure you’re getting full use from points spent on Wildcards!
You can generally get two ‘free’ points on most general purpose combat builds by dropping your lethal and tactical equipment, and if you’re comfortable with iron sights, losing your optic is a third point. This gives you enough for extra attachments on your primary and/or an extra perk or two.
Dropping your secondary has costs. If you lose your pistol on an LMG or Sniper build, you’re at greater risk in close range engagements. And if you drop your launcher, you lose the ability to fight Scorestreaks effectively.
In objective modes or for team support, Tactical equipment is a lot less disposable, as well—the Black Hat, EMP, Smoke Screen, and Trophy System are all extremely useful in objective gameplay. Likewise, for breaking defensive holds on objectives, a Danger Close Scavenger setup can be quite effective.
Cover and the new battlefield
When customizing your loadouts, it’s best to have a goal in mind. A general template that you work toward, adding whatever small touches suit your personal play style.
Ignoring the primary weapon slot (which should be fairly obvious!), here are some ideas to help you fit the various options into builds:
- Secondary Launchers: Destroy enemy equipment, blast objectives that clump players.
- Secondary Pistols: Effective short range backup for LMGs and Sniper Rifles, and some Assault Rifles.
- Tactical Equipment: Support offensive pushes (Concussion/Flashbang), protect yourself when claiming objectives (Trophy System/Smoke Screen), disable enemy equipment and Scorestreaks (Black Hat and EMP), provide early warning (Shock Charges).
- Lethal Equipment: Attack enemies behind cover and clear objectives (Frag and Semtex), area denial (C4, Thermite), guard a pathway (Trip Mines), fast and quiet short range attack (Combat Axe).
- Perks to Improve Mobility: Afterburner, Fast Hands, Gung-Ho.
- Perks to Improve Stealth: Ghost, Hard Wired, Dead Silence, Blast Suppressor.
- Perks to Improve Situational Awareness: Sixth Sense, Tracker, Awareness, Engineer.
- Perks to Protect Yourself: Blind Eye, Flak Jacket, Hard Wired, Cold Blooded, Tactical Mask.
- Perks to Improve Performance: Overclock, Fast Hands, Ante Up, Scavenger (vital for builds using Tactical or Lethal equipment heavily).