
Call of Duty: Black Ops III Guide Multiplayer Arsenal
Scorestreaks
Call down the thunder.
Scorestreaks are powerful support weapons that can be called in to the battlefield to destroy the enemy team, or aid your allies.
Scorestreaks, particularly the high end variety, can give a decisive advantage for a short time for your entire team. Used well, they can even clinch matches in objective modes.
HC-XD (400 points)
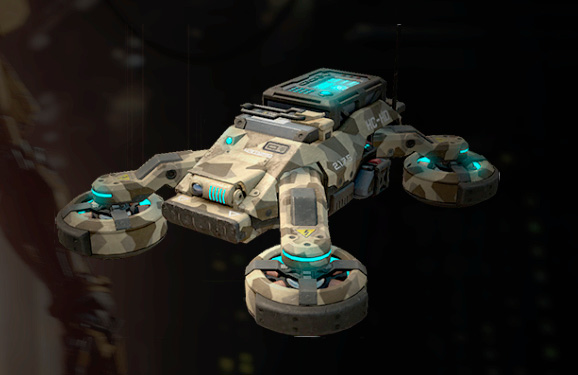
Remote-controlled Hover-Capable Explosive Device that can perform a thrust-powered jump and drive on vertical surfaces.
Back and updated for Call of Duty: Black Ops III, the reliable remote controlled explosive delivery device returns, this time with some new tricks, like hovering on walls!
When activated, you can control the HC-XD, a small hovering explosive vehicle that can be driven, boosted, double jumped, and wall-hovered to your foes.
Manually detonate the HC-XD at short range to kill any enemies nearby. This is particularly potent on objectives or chokepoints.
UAV (425 points)

Unmanned Aerial Vehicle that reveals enemy locations on the mini-map.
The most basic scorestreak, but also one of the single most vital, the UAV provides radar sweeps of the map to reveal enemies on the minimap.
Players moving with the Ghost perk remain hidden; but otherwise, all enemy locations are pinpointed for a moment after each sweep.
Multiple UAVs up at the same time increase the speed of the sweeps, giving you more up to date intel on enemy positions. The UAV is cheap and very effective, and is usually the safest choice for your first streak.
UAVs orbit around the edge of the map and can be shot down for the first few seconds they are present. After they fly away, radar coverage remains for a time, but they can no longer be destroyed, so if you want to down enemy UAVs, do it soon after you hear the announcer call that one has gone up.
Care Package (550 points)
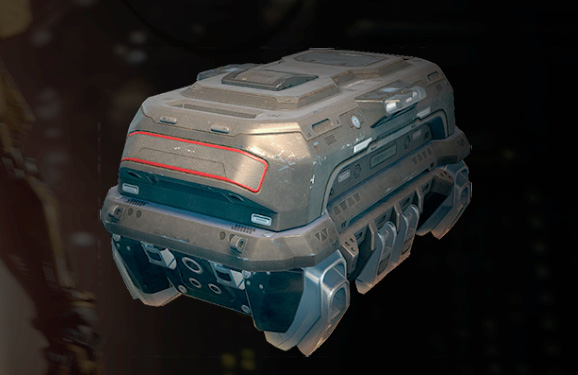
Airdrop a random Scorestreak.
The Care Package calls in a support aircraft to drop a package on the map at a location of your choice containing a random scorestreak.
The streak is generally weighted toward cheaper streaks, but every now and then you can luck out and score a high cost heavy hitter.
If you find that you struggle to achieve high scorestreaks without dying, make use of the Care Package (possibly with the Ante Up perk) and you at least get a chance to try them out now and then!
For focused builds, the Care Package is generally a poor choice, as it is slow to deploy and retrieve, can be stolen or booby trapped by enemies, and lacks any specific focus for supporting a particular playstyle or team goal.
Black Hat hacking a Care Package airdrop simply destroys the craft, possibly dropping the package early like a missile strike.
Counter-UAV (575 points)
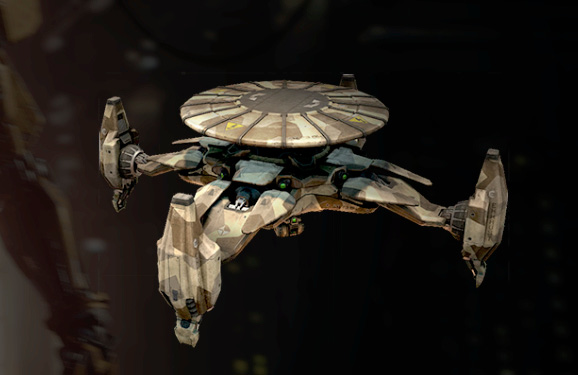
Jams enemy reconnaissance by temporarily disabling the enemy mini-map.
Another powerful support streak, the Counter-UAV shuts down enemy minimap coverage. This is a very powerful effect, but keep in mind that players with the Hard Wired perk ignore this effect. Also, given how many other defensive effects Hard Wired has, you can expect a fair number of enemy players to ignore this streak entirely.
It’s difficult to gauge the impact of a Counter-UAV, because you never really know how many opponents you are disabling, and how well they use their minimap when it is active. However, repeated CUAV activations in a match can completely blind a team that is not running multiple Hard Wired players.
If you’re running a stealth build, consider taking this streak as extra insurance—it may just keep you off the radar and save your life.
Dart (600 points)
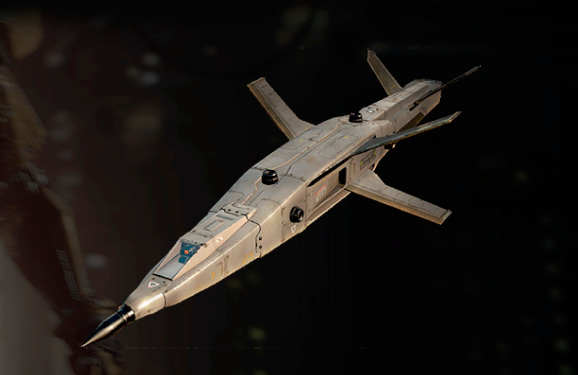
Pilot an anti-personnel drone that is equipped with missiles capable of locking onto enemies and Scorestreaks. Will also detonate upon impact with a surface.
A remote aerial drone, the Dart is described as anti-personnel, but it’s actually a remarkably effective streak for destroying enemy scorestreaks.
Equipped with three lock-on missiles, you can fly the Dart around the map and launch strikes on enemy players or streaks (on the ground or in the air).
Players can be very difficult to hit with the Dart’s missiles, as controlling the Dart well takes practice, and locking on requires clean line of sight and a clear path for the missile, plus time for both the lock and the missile travel.
Once all three missiles have been fired, you can still ram the Dart into a target, as it acts as an explosive—even with no ammo remaining.
The Dart pairs very well with the Engineer perk to locate ground-based scorestreaks that need to be eliminated.
Guardian (650 points)
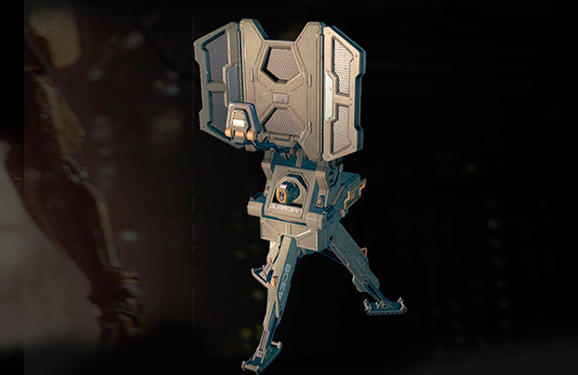
A placeable dish that projects a cone of microwave radiation that stuns and impairs enemies.
The Guardian does what it says, projecting a staggering wave of radiation that slows and damages any enemies that enter its area of effect.
Placed carefully, a Guardian can completely block access on one route through a map. It works extremely well in interior areas or narrow chokepoints, and on some maps, can also be used to effectively cover objective locations.
The Guardian’s beam of radiation is not instantly lethal, so it’s possible to move through its edges, but don’t try this if an enemy is nearby—you make an easy target while slowed by the beam.
Hellstorm (700 points)
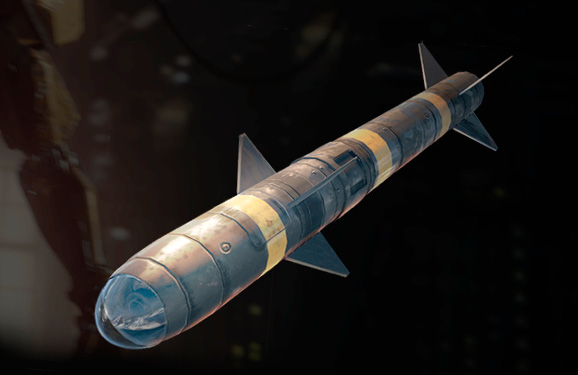
Remote controlled Hellstorm missile with a cluster bomb payload.
The first of the heavy duty offensive streaks, the Hellstorm is a MIRV that launches multiple seeking drones when you pull the trigger.
It’s also possible to cause the Hellstorm to boost, speeding up its descent before you release the shots, or if you want, you can even manually steer the single missile onto one target if it’s absolutely vital that the missile impact one specific location.
Pay attention to the targeting indicators on the HUD when steering the Hellstorm. You want to fire with multiple locked targets, but don’t get too greedy or you may miss out on easy kills as players scatter and run for cover.
Timing a Hellstorm to cover an objective area or clear it can be extremely effective, though how useful this is depends on the map and the objective location—enclosed areas are difficult or impossible to hit.
In the open, the Hellstorm can lay waste to any enemies near an objective, buying precious time to secure or score a point.
Lightning Strike (750 points)
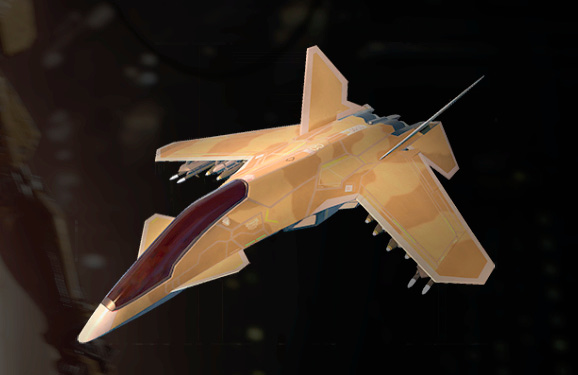
Launch a targeted airstrike on three locations.
Pick three locations on your minimap and, seconds later, a rapid lightning strike impacts all three targets in rapid succession.
Best used with an active UAV or HATR, the Lightning Strike can clear objective areas or annihilate clustered groups of enemies.
Compared with the Hellstorm, the Lightning Strike is a more carefully directed offensive bombardment, and it has the benefit of allowing you to continue to move and fight after calling it in, as you must to pause for only a moment to choose targets.
Like the Hellstorm, timing a strike well to coincide with a push for an objective or to disrupt an enemy defensive hold is the key to using it well.
Hardened Sentry (850 points)

Deploy an automated Hardened Sentry. Can be remote controlled.
An automated sentry that you can directly control, this is a very powerful defensive scorestreak.
Placed well, it is far more dangerous than a Guardian, as it actively tracks and eliminates any targets without the Cold Blooded perk.
Additionally, careful placement and manual control can make even Cold Blooded players targets. Usually leaving it on automatic is the best way to use the sentry, letting it guard one flank or objective while you protect another route, but manual control can come in handy from time to time.
Try to place the sentry with a clear line of sight across a wide area. Unlike the Guardian, which you should use to block narrow chokepoints and enclosed areas, you want the Sentry to have a good view of any targets entering an area, with little cover to hide behind.
Rolling Thunder (900 points)
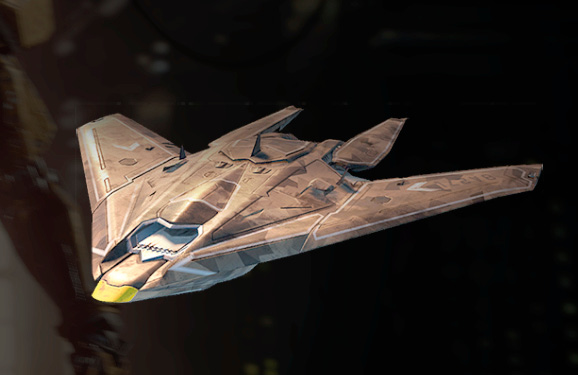
Launch a targeted carpet bomb strike of explosive drones.
An unusual bombing run, Rolling Thunder calls in a carpet bombing run that consists entirely of explosive drones, rather than unguided bombs dropped from an aircraft.
This scorestreak summons seven pairs of two drones that fall in a straight line that you designate on your minimap when calling in the run.
It can keep an outside area locked down for a bit longer than a Hellstorm or Lightning Strike, but not as long as a carefully placed Guardian or Sentry.
Rolling Thunder is best used to completely saturate an area in the open, clearing the way for your team to set up there, or to remove any trace of enemy presence around an outside objective.
Talon (975 points)
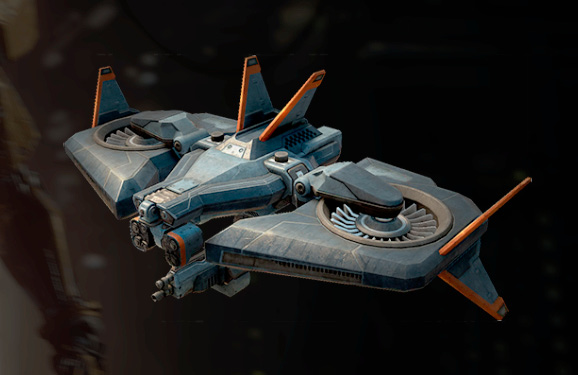
Call in an autonomous or remote-controlled escort attack drone.
A small drone with a vicious bite, the Talon either acts as a support unit that flies in close proximity to you, attacking nearby players, or you can manually control it and go hunting.
The Talon is small, but its machine guns are quite lethal, and it’s very effective when directly controlled.
When guarding you, don’t expect the Talon to reliably save your life (and indeed, its presence may give away your position to alert enemies), but it can absolutely pick off enemy players that you may not have spotted.
Manually controlled, the Talon can do a lot of damage if not stopped, as long as you make good use of its small profile and hug terrain, ledges, walls, rooftops, and any other cover to conceal it from incoming enemy fire.
Cerberus (1000 points)
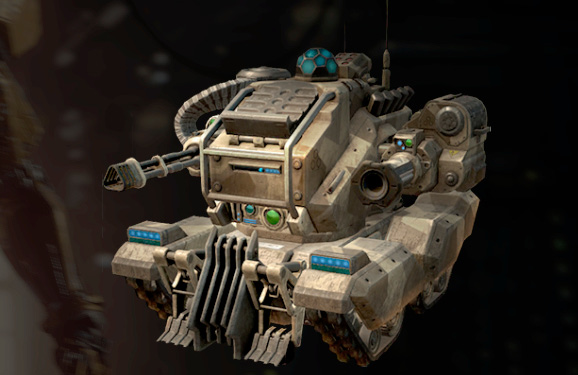
Airdrop an autonomous or remote-controlled Cerberus ground robot that patrols for enemy targets.
A lethal ground robot armed with potent machine guns and rockets, the Cerberus shares a lot of traits with the G.I. Unit.
The two key differences are the Cerberus acting autonomously to move around the map and attack on its own, and the ability to manually control it.
Because the Cerberus roams around on its own normally, you should either consider accompanying it (to protect it from getting destroyed while isolated), or find some place safe to hide and manually control it to help secure an objective or simply to rack up the maximum number of kills possible.
Wraith (1100 points)
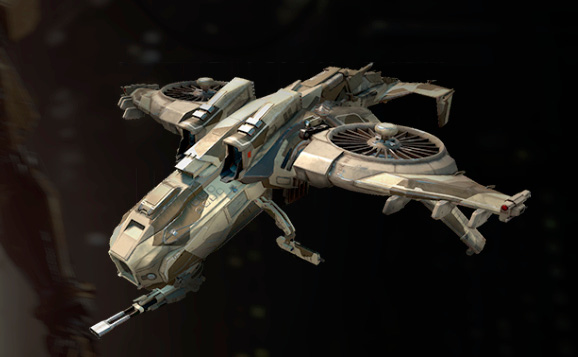
Aerial attack craft with advanced stealth capabilities and a defensive flak drone.
A sophisticated stealth attack craft, the Wraith floats around the battlefield concealed by cloaking technology.
While active, it constantly and automatically attacks enemy players. Any player in the open is a viable target, and the Wrath can even pick off some players indoors from some angles.
The Wraith makes excellent coverage for an offensive push in objective modes, or just acts as a straight source of score in deathmatch modes.
If an enemy Wraith is called up, it’s worth switching to a class with a launcher to take it out quickly—just don’t expose yourself to too much risk if you can’t get a clean line of sight to destroy it. Feeding the enemy more easy kills trying to destroy the Wraith is counter-productive!
H.A.T.R. (1150 points)
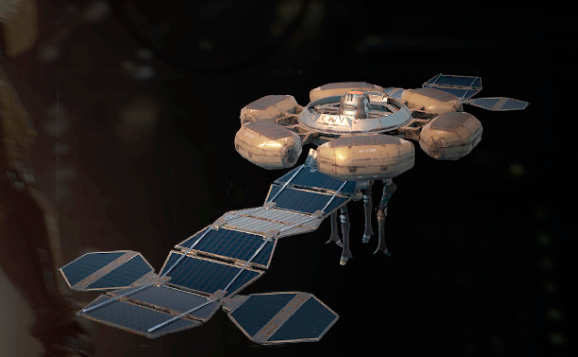
Shows both enemy position and direction on the mini-map. Can only be shot down by launchers.
The queen of intelligence streaks, the HATR provides perfect enemy positional information, displaying not only location but also direction.
Having an active HATR in the sky is a huge advantage for your team, and if an enemy HATR goes up, it can be shot down or hacked, but you must act extremely quickly—the HATR flies very high and quickly over the battlefield in a straight line, giving you a harder shot and less time than a UAV or CUAV to destroy it.
Ghost does not protect against the HATR’s scans of the battlefield, so unless the HATR is destroyed on entry, don’t make any aggressive pushes against the enemy team unless absolutely necessary.
On the other hand, if it’s your HATR up there, press your advantage and take out as many unaware targets as possible. Use the directional information to pick off players who are focused in the wrong direction.
R.A.P.S. (1275 points)
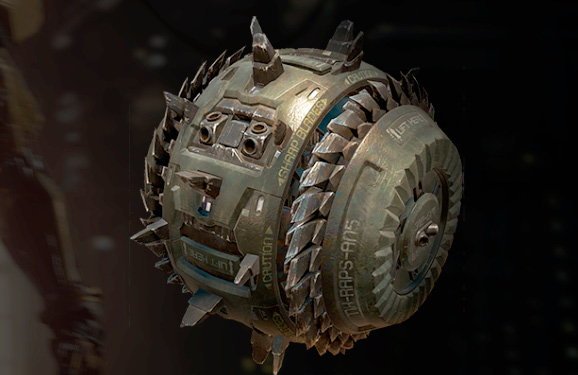
Deploy ship that drops autonomous Robotic Anti-Personnel Sentry drones.
These anti-personnel drones are rolling explosives, dropped in three sets of four by an aircraft that automatically deposits the drones on the battlefield.
Your RAPS automatically patrol the map, seeking out enemy targets and rushing them to detonate. RAPS can be shot and destroyed fairly easily, but the confusion of having multiple drones rolling around the map while hostile players are engaging still often results in multiple enemy fatalities from the drone bombs.
Keep in mind that while Cold Blooded may hide you from RAPS attacks, it does not protect you from a RAPS blowing up near a teammate who lacks the same perk protection. Mind your positioning!
RAPS works quite well as a sustained suppression streak, keeping the enemy occupied dodging, shooting, or dying to the drones.
Power Core (1300 points)
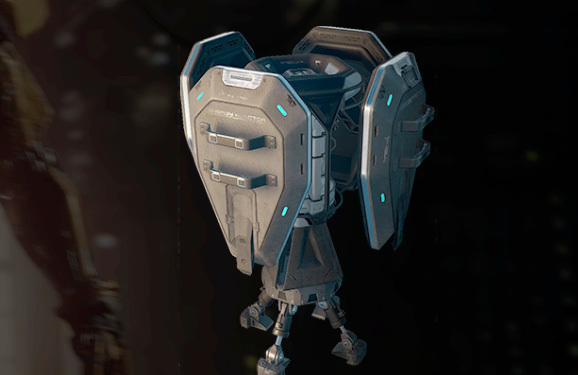
Deployable device that temporarily disables enemy electronics and reduces effectiveness of enemy thrust-assisted movements. Can be destroyed.
A very expensive support streak, the Power Core disables enemy electronics, shutting down equipment, scorestreaks, minimaps, and weakening enemy thrust movement.
The Power Core is a placed object that rests on the map while active, so it can be hunted down and destroyed, but this is usually a realistic option only if you’re using the Engineer perk.
Remember that players with Hard Wired do not suffer any minimap disruption from the Power Core. Because the Power Core can completely shut down the enemy team’s electronic support, it can be used pre-emptively before attempting to secure a hard fought objective, or you can use it reactively to destroy powerful enemy scorestreaks.
G.I. Unit (1550 points)
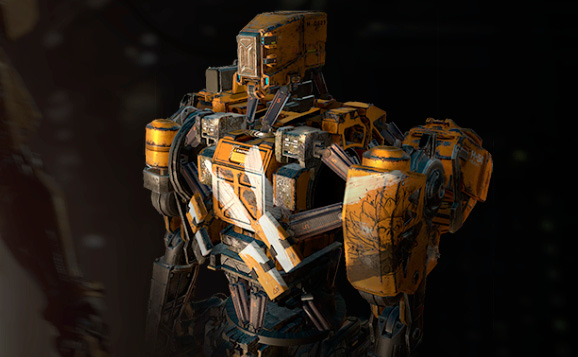
Heavily armored General Infinity Unit robot. Can be set to Guard mode to protect the owner or set to Patrol mode to defend a designated location.
A powerful autonomous combat bot, the G.I. unit either guards you when called in, or can be set to patrol a specific area.
The G.I. Unit is strong and dangerous in combat, but try not to leave it on patrol alone in a heavily contested area. Either keep it with you on guard duty, or station it in an area on patrol where you can cover it from a nearby position. You and your robotic buddy can hammer any enemies that come into your area of control.
Mothership (1600 points)
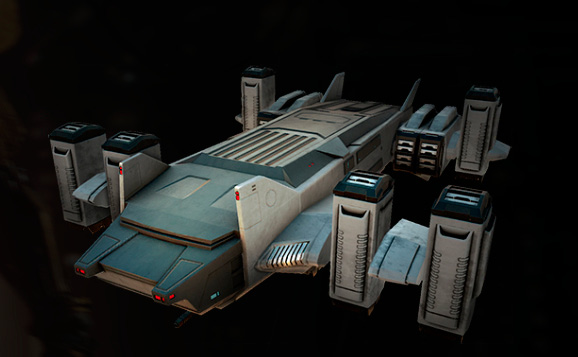
Powerful VTOL weapons platform with a primary turret for the owner and two secondary turrets for teammates.
The king of scorestreaks, the Mothership moves in low over the battlefield and hovers above, allowing up to three players to man turrets and unleash a barrage of machine gun and rocket fire on the battlefield below.
You can reposition the Mothership to fixed locations around each map, and toggle between IR and normal vision to more easily spot targets against different background cover.
The Mothership can completely dominate an enemy team if left unchecked, utterly removing their ability to fight in the open, and even dismantling players inside areas by launching rockets through windows or doors and repositioning to get different lines of fire on various parts of the map.
If you hear the announcer call an enemy Mothership inbound, immediately switch to a class loaded with Blind Eye and a launcher to work on taking it out. Don’t let the other team keep a Mothership in the air for a second longer than necessary!