
Call of Duty: Black Ops III Guide Walkthrough 01 Black Ops
01 Black Ops
Simien Mountains, Ethiopia
Oct 27th, 2065
Mission Briefing: Alongside a team of Winslow Accord Cyber Soldiers, infiltrate the NRC airfield in Ethiopia and secure the captured Egyptian Minister for extraction.
Mission Objectives
 Infiltrate the Security Station.

 Locate Minister Said.

 Go to the Interrogation Room.

 Go to the Holding Cell.

 Go to the Extraction Point.

 Go to the Comms Room.

 Go to the Secondary Extraction Point.

 Go to the Motor Pool.

 Cover the Extraction Point.

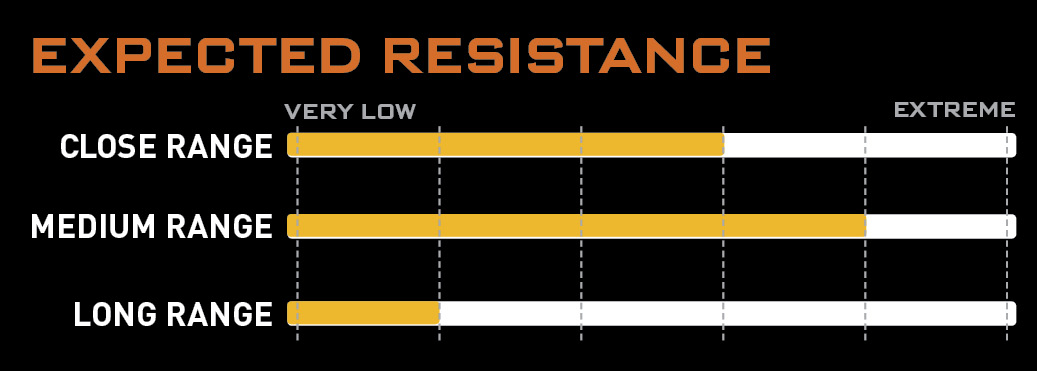
Infantry: A company of light infantry are deployed to the immediate area.
Air Threat: An enemy VTOL squadron has flights within scramble range.
Reinforcements: A light mechanized enemy detachment may be within range to reinforce.
Level Accolades
| Accolade Name | Reward |
|---|---|
| Untouched! | Fabrication Kit |
| Complete the mission without dying. | |
| High Score | Fabrication Kit |
| Complete the mission with a score of 10,000 or higher. | |
| Got ‘Em | Fabrication Kit |
| Find all of the collectibles in the mission. | |
| Quick on the Trigger | 250 XP |
| Kill the three guards in interrogation room before Hendricks does. | |
| Turkey Shoot | 250 XP |
| Kill the 4 guys in the elevator before they exit. | |
| Overburdened | 250 XP |
| Crush an enemy to death. | |
| Wildfire | 500 XP |
| Set 9 enemies on fire within 7 seconds. | |
| Force Multiplier | 500 XP |
| Kill 5 robots with one explosion. | |
| Clear Skies | 500 XP |
| Shoot down all of the VTOLs | |
| Trail of Destruction | 1000 XP |
| Destroy 12 ground vehicles. | |
| Whites of Their Eyes | Fabrication Kit |
| Defend the escape pod with only a pistol. | |
| The Unseen Blade | 250 XP |
| Complete the dark battle using melee only. | |
| Master of Shadows | 250 XP |
| Complete the dark battle without taking damage. | |
| Toasty! | 500 XP |
| Kill 4 enemies while they are swarmed by Fireflies. | |
| Truck Stopper | 1000 XP |
| Destroy the 2 Technicals guarding the bridge. | |
| Phoenix’s Nest | 500 XP |
| Destroy a VTOL with a grenade. | |
|
 Understanding Madness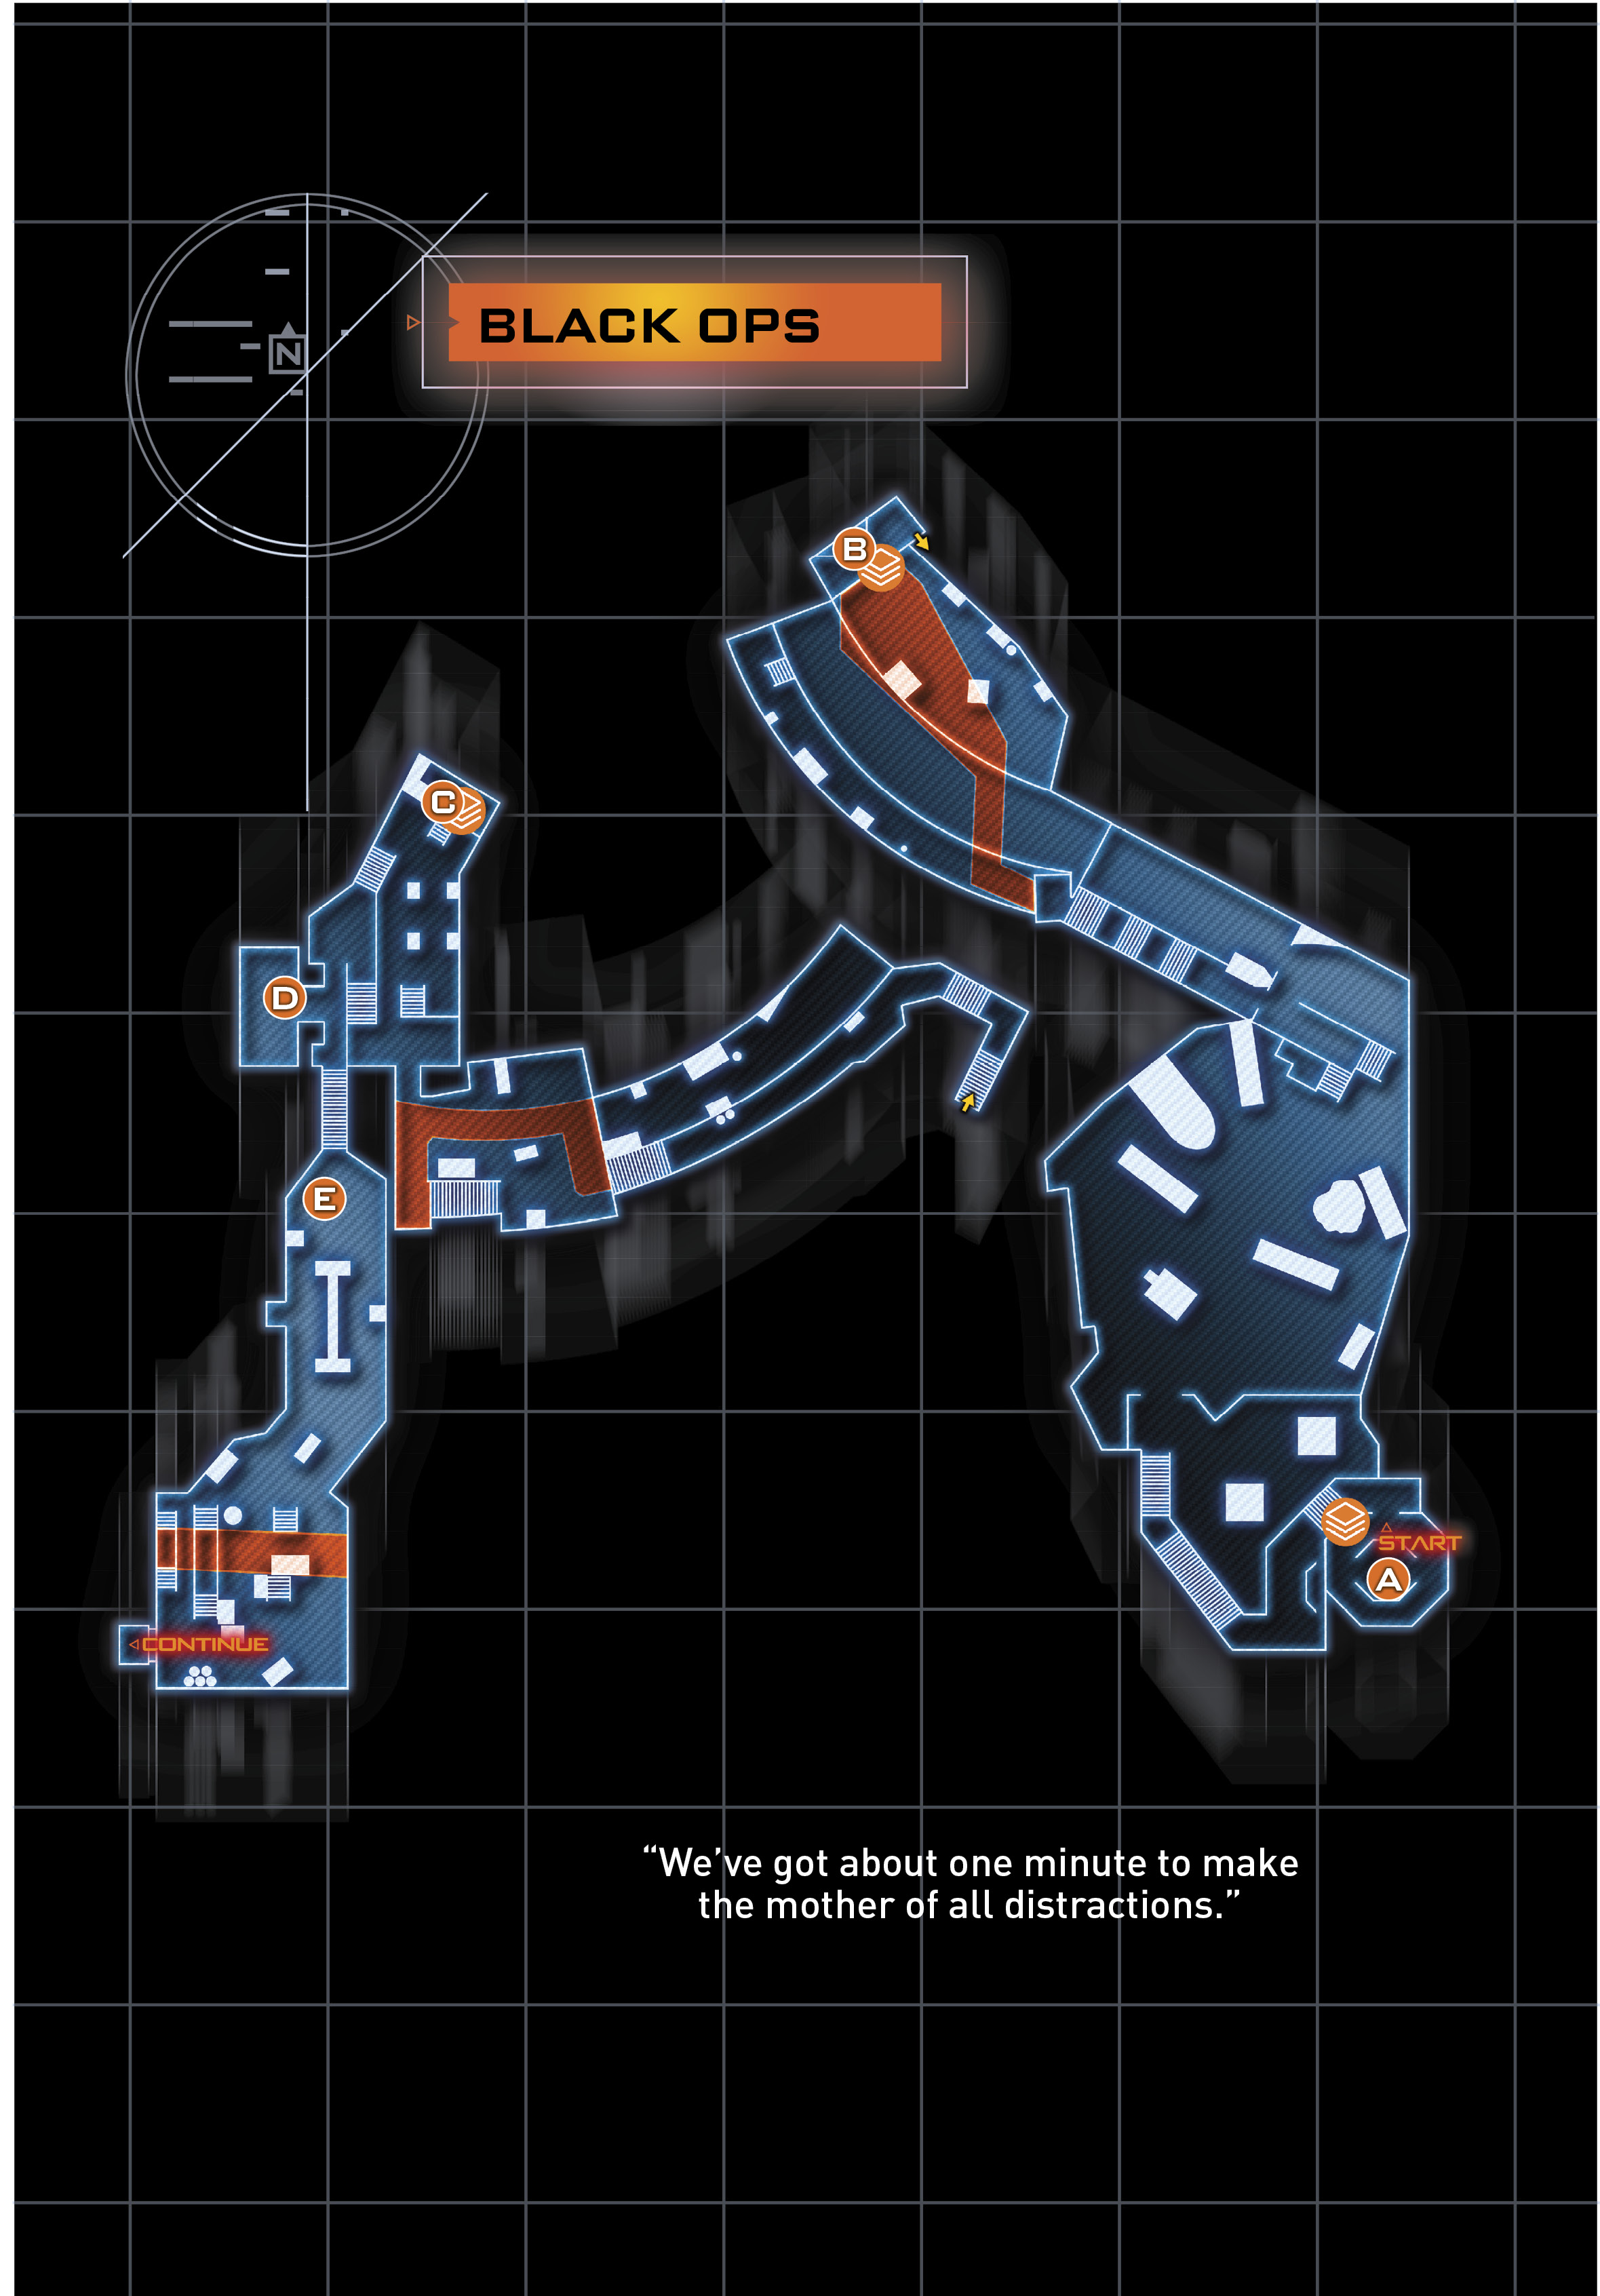
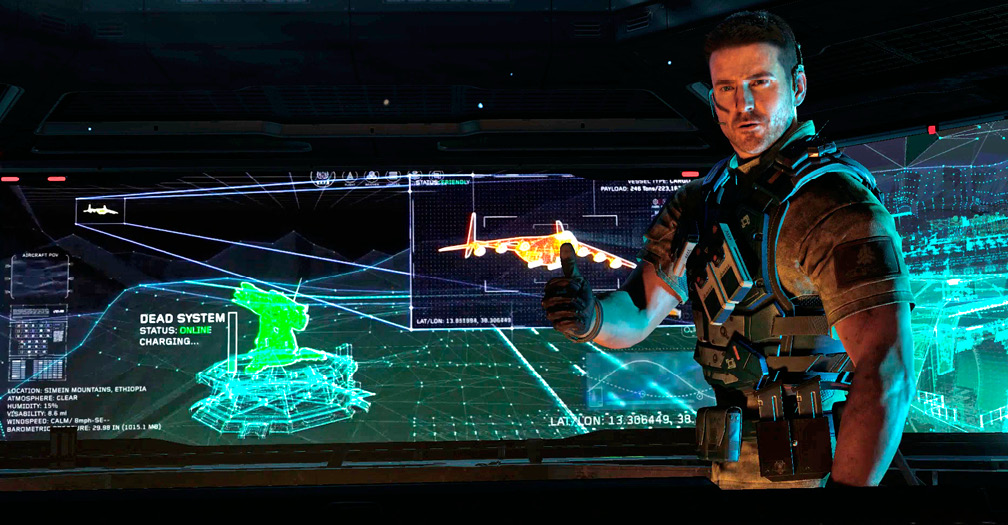
The game begins in an Air Traffic Control tower. Standing directly across from you is your Commanding Officer, Hendricks. The op is to crash the incoming carrier plane to create a distraction, enabling access to the NRC base.
 Infiltrate the Security Station

Follow Hendricks down the stairs. Crouch under the hanging Landing Gear from the crashed plane to proceed. The two of you are dressed in enemy uniforms, so you won’t need to directly engage the enemy quite yet.
|
 NRC Comms Earpiece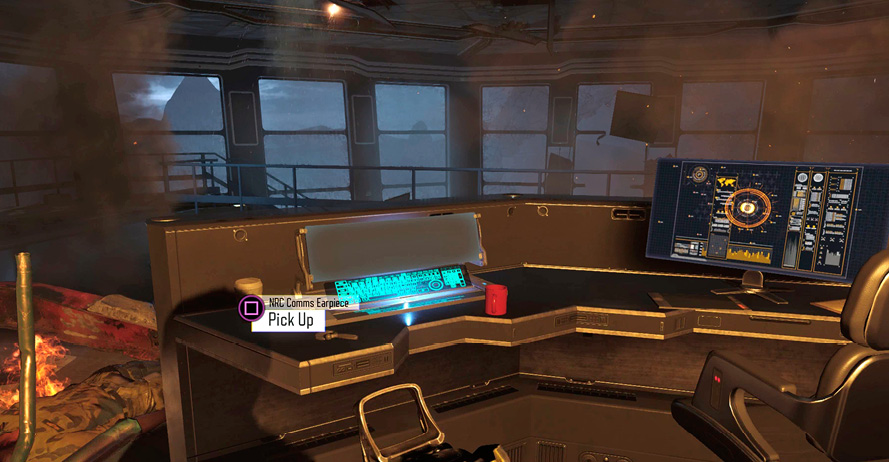
On the bottom floor, look for a large door leading out to the airstrip. Wait for your team to open the doors. Step outside and ignore the soldiers around you; they won’t suspect you.
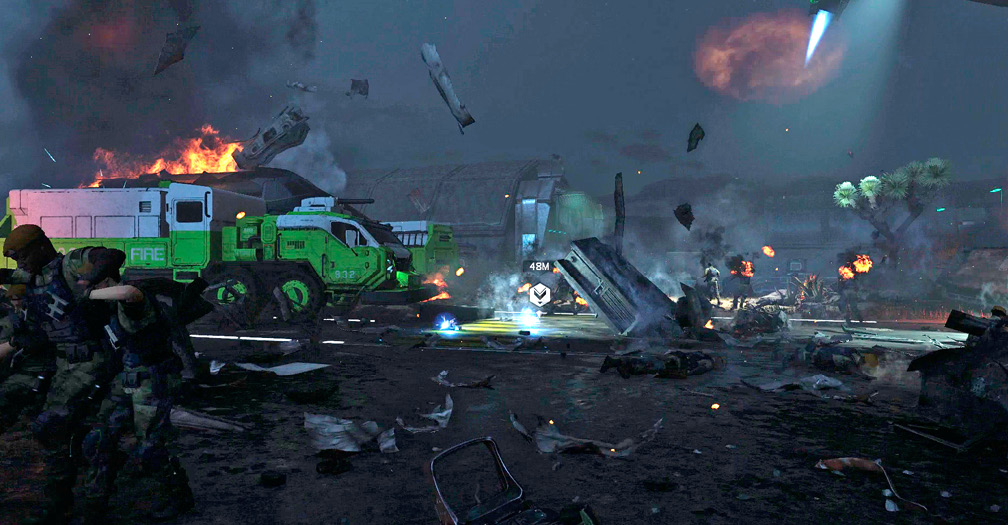
Follow Hendricks across the airfield to the security station. He stealth kills the guard; your way inside is open. Approach the giant console and hit the Interact button to activate Camera Control.
 Locate Minister Said

Cycle through the camera feeds until you find the minister. He’s being water boarded on a table by his captors.
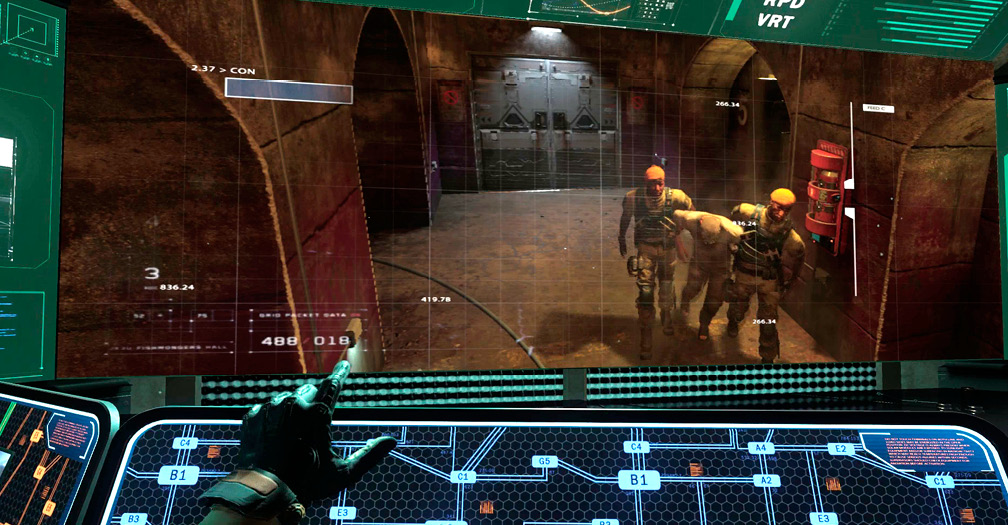
Keep cycling through camera feeds to follow the Minister as he is led out of the torture room.
|
 Go to the Interrogation Room

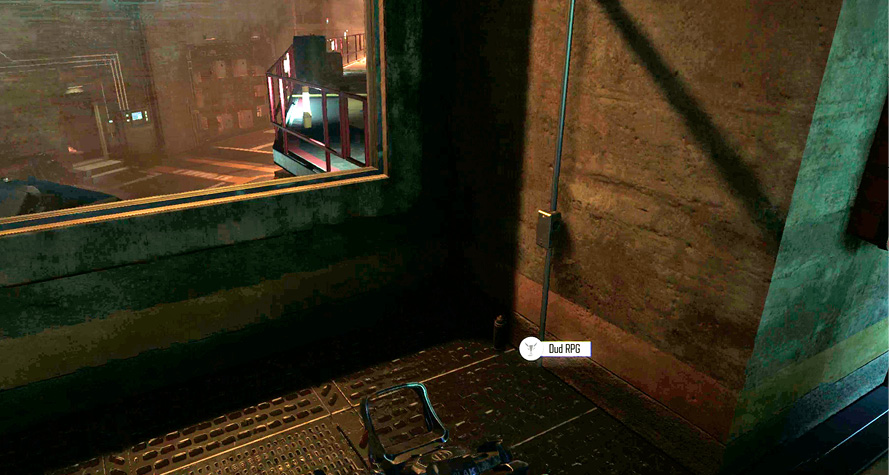
You are now weapons free to engage the enemy and secure your target: Minister Said. Two armored enemies are waiting for you at the bottom of the stairs. Proceed with caution and pick them off. This leads to the large indoor tunnel area.
There are enemies all over the place in here. Stay back behind cover and pick them off as they advance or fire on your position.
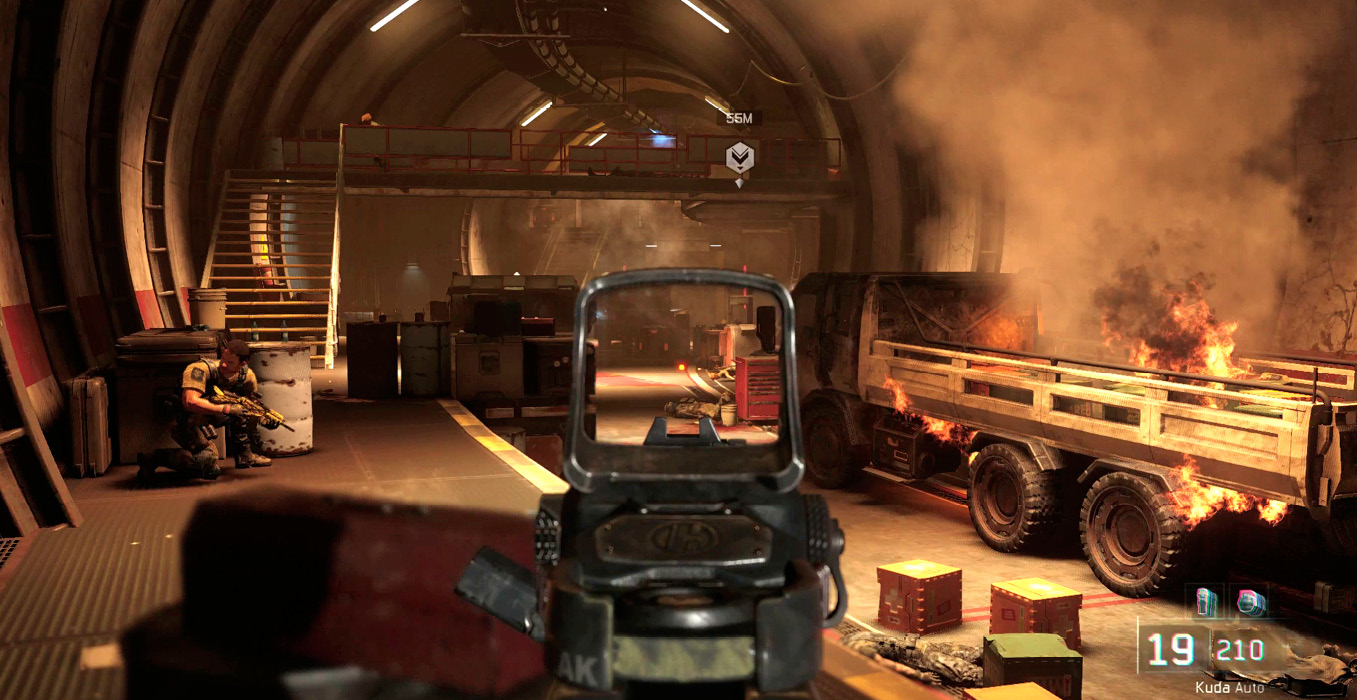
When Hendricks moves forward, more enemies emerge from the tunnel’s back doors, above and below the track. Stay behind cover and kill the new arrivals from afar.
Watch out for a second group of reinforcements as you advance. You can shoot the explosive barrels in the area to take out enemies crouching behind cover.
The Interrogation Room is on the other side of the tunnels. Move up on the right door and interact with it to begin a breach of the room.
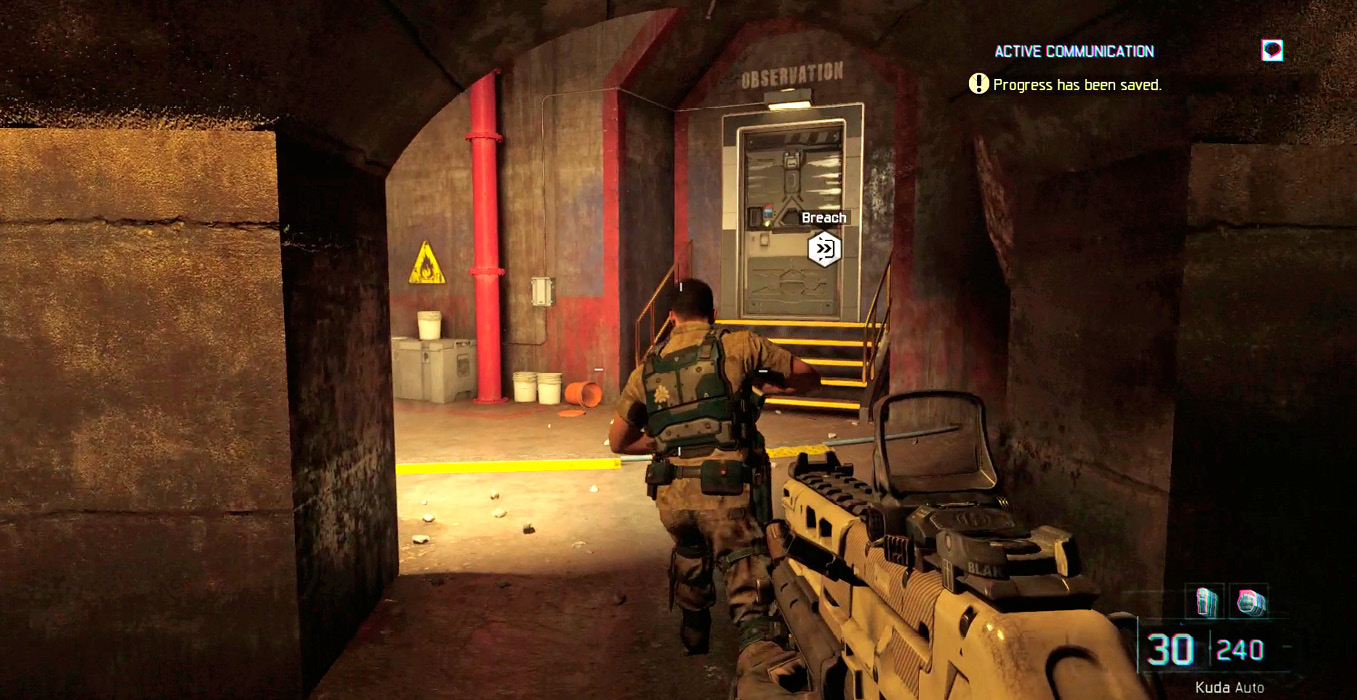
Shoot through the glass when Hendricks breaches, then follow them back out.
|
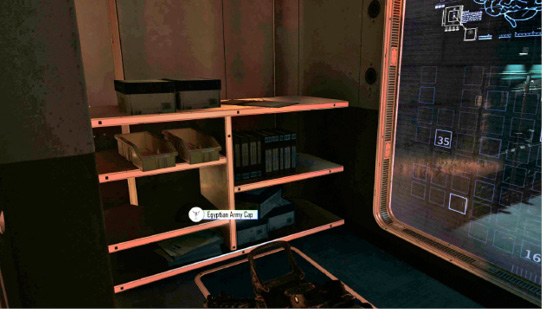
 Go to the Holding Cell

The minister insists you save a hero of the rebellion: Lieutenant Khalil. Luckily, he’s being held nearby. Open the cell marked on your HUD, and your team automatically rescues the POW.
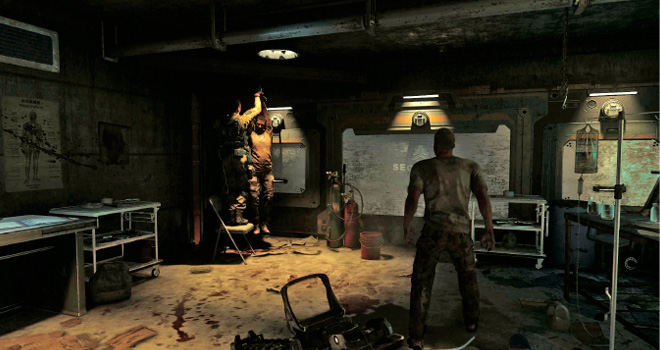
Go to the Extraction Point
Don’t follow Hendricks and Khalil through the door. Instead, go prone at the top of the stairs and pick off enemies from the relatively safe perch.
The next room is full of soldiers—some on the lower floor and others on the overhead catwalk. Focus on the LMG-equipped enemy operatives on the floor; they are the biggest threat. Khalil immediately starts earning his keep by pushing ahead and killing reinforcements as they arrive.
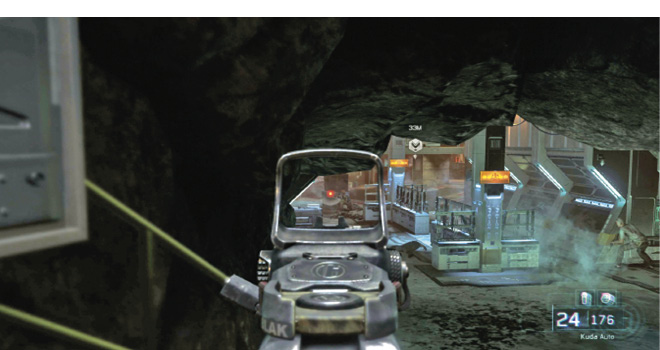
Once the gunfire has died down, it’s safe to descend the steps. Proceed past the computer consoles and find cover behind the stacked black barrels. Use this spot to pick off enemies in the next cave room.
After clearing the first set of enemies, watch out for reinforcements, including a charging armored soldier with a shotgun.
Even after the gunfire has stopped, there may be some more enemies hiding behind pallets in the next room. Proceed with caution. When the room is clear, the cargo elevator at the back of the room opens up. Unfortunately, this releases a second wave of reinforcements. To play it safe, retreat to the previous room, and pick them off from the doorway arches.
Once the room is clear, proceed to the back elevator to escape the base.
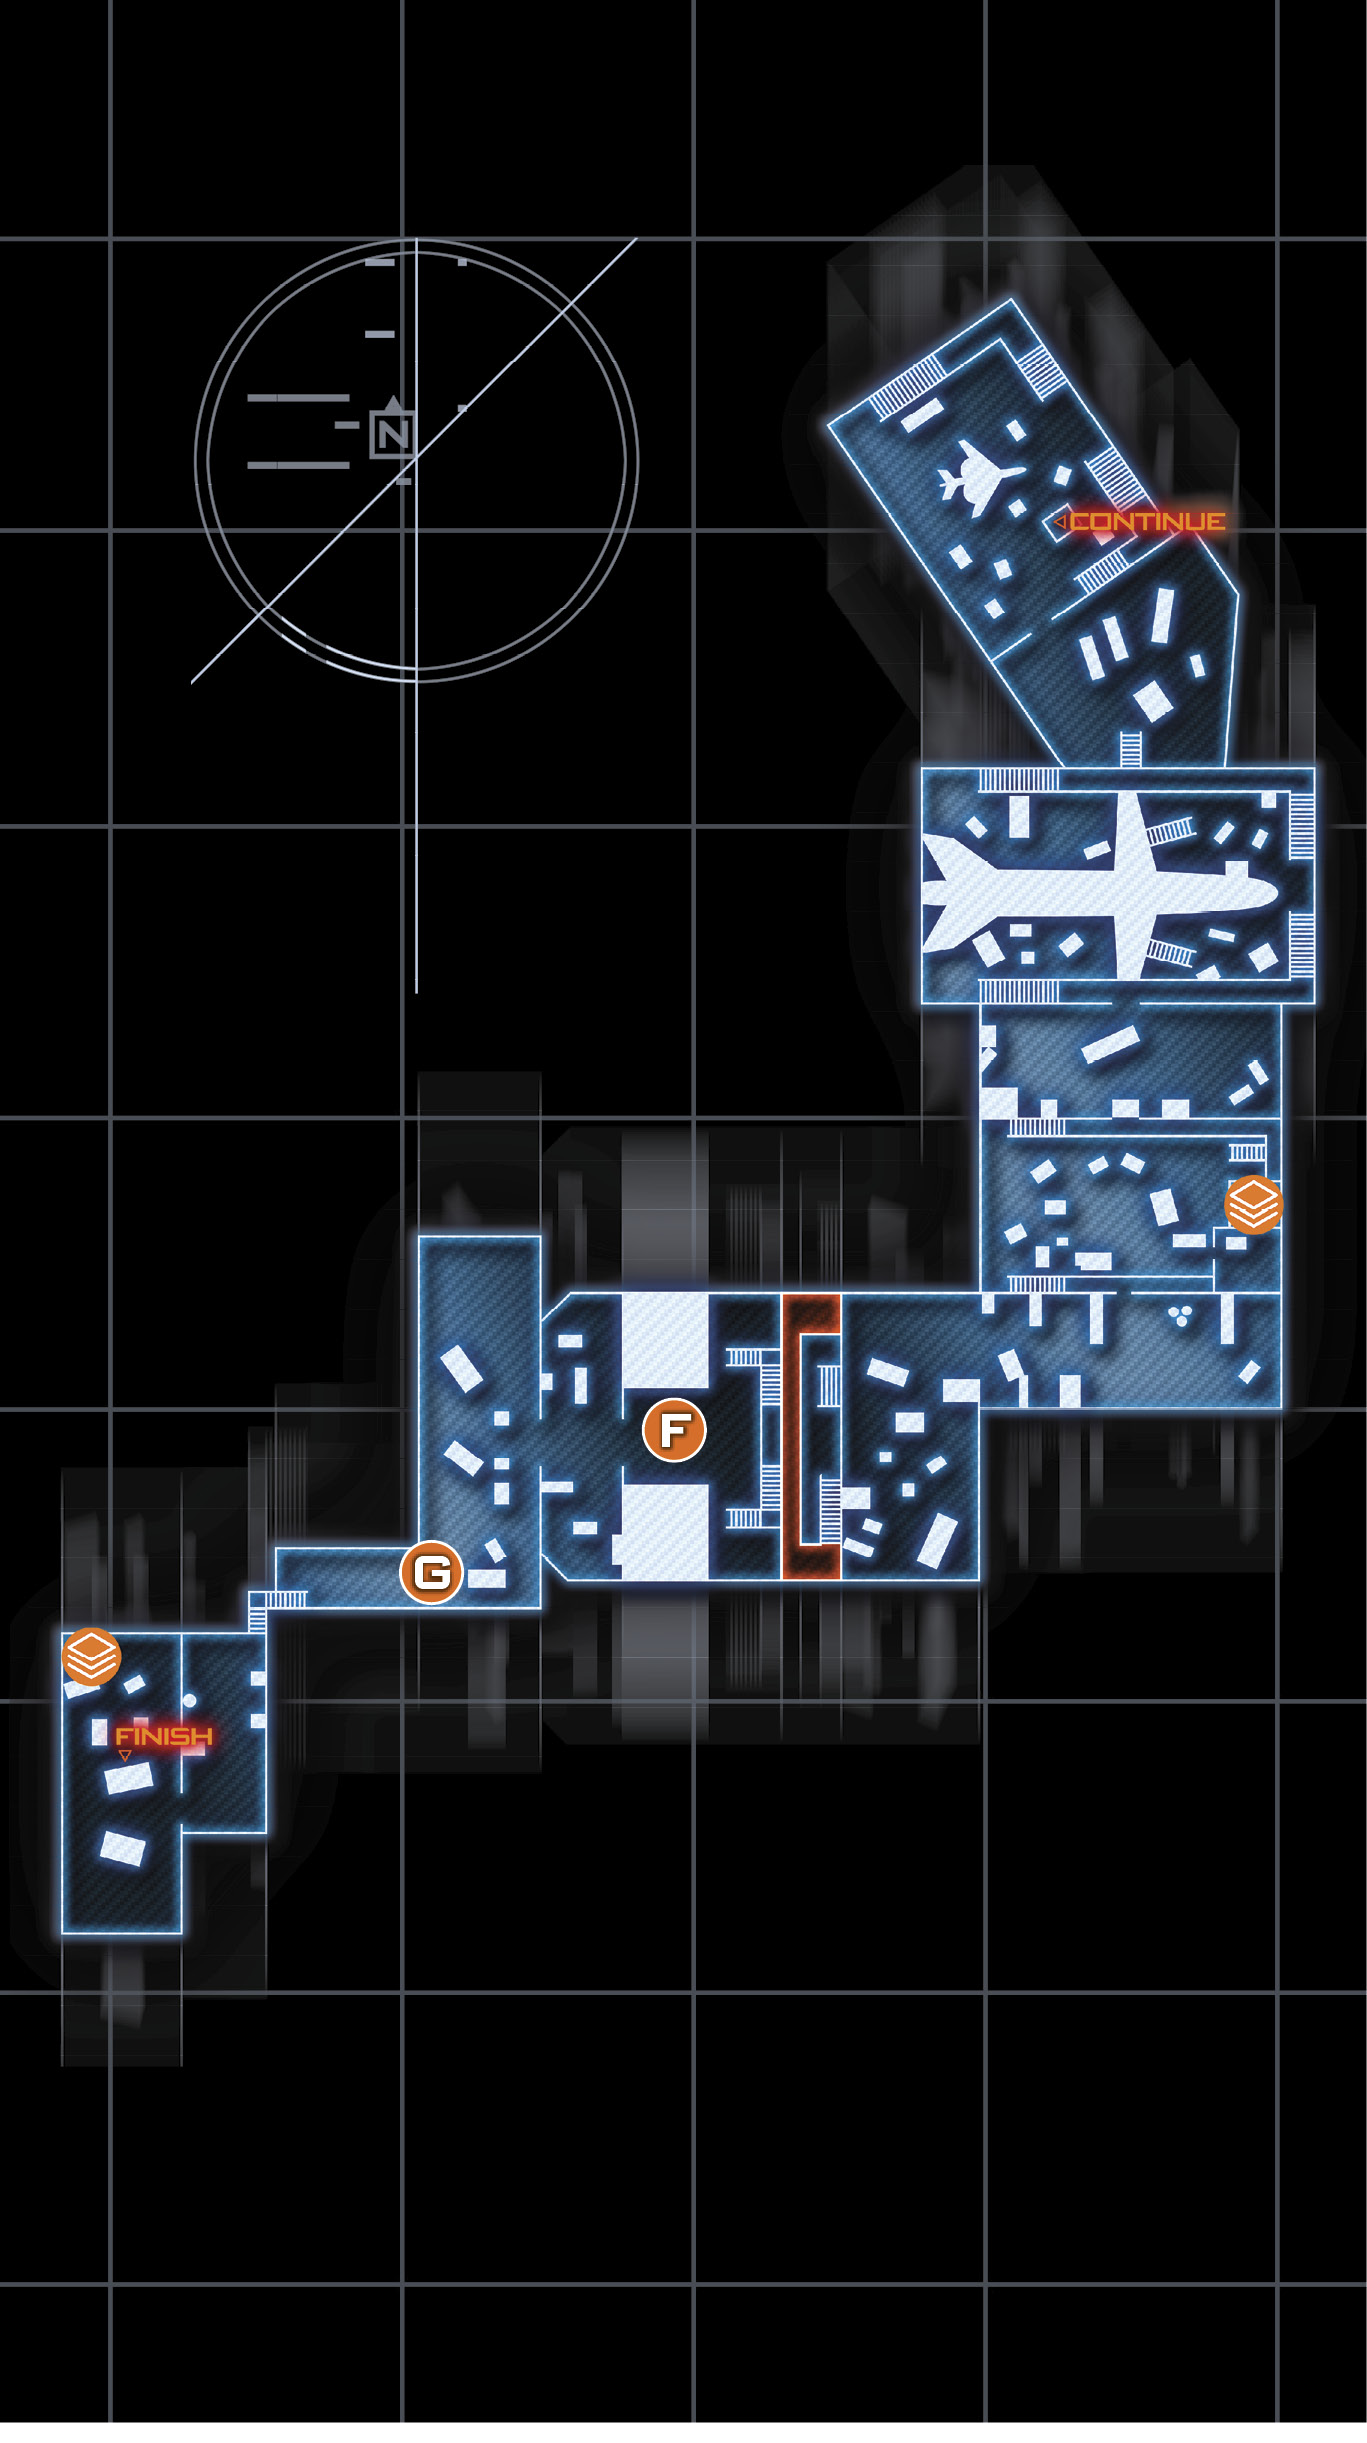
After a timely rescue by Taylor, it’s time for your motley crew to make it to the extract. Taylor’s team is using DNI enhancements, so this is a good preview of the offensive capabilities you’ll soon have access to.
Follow Hendricks up the side of the Hangar, and carefully shoot down on the enemies defending from inside. The room has a bunch of enemies; you can go low and crawl across the wing to Diaz. Shoot down off the side of the plane, clearing a path to the door opposite. Watch out for enemies on the catwalk above, as well.
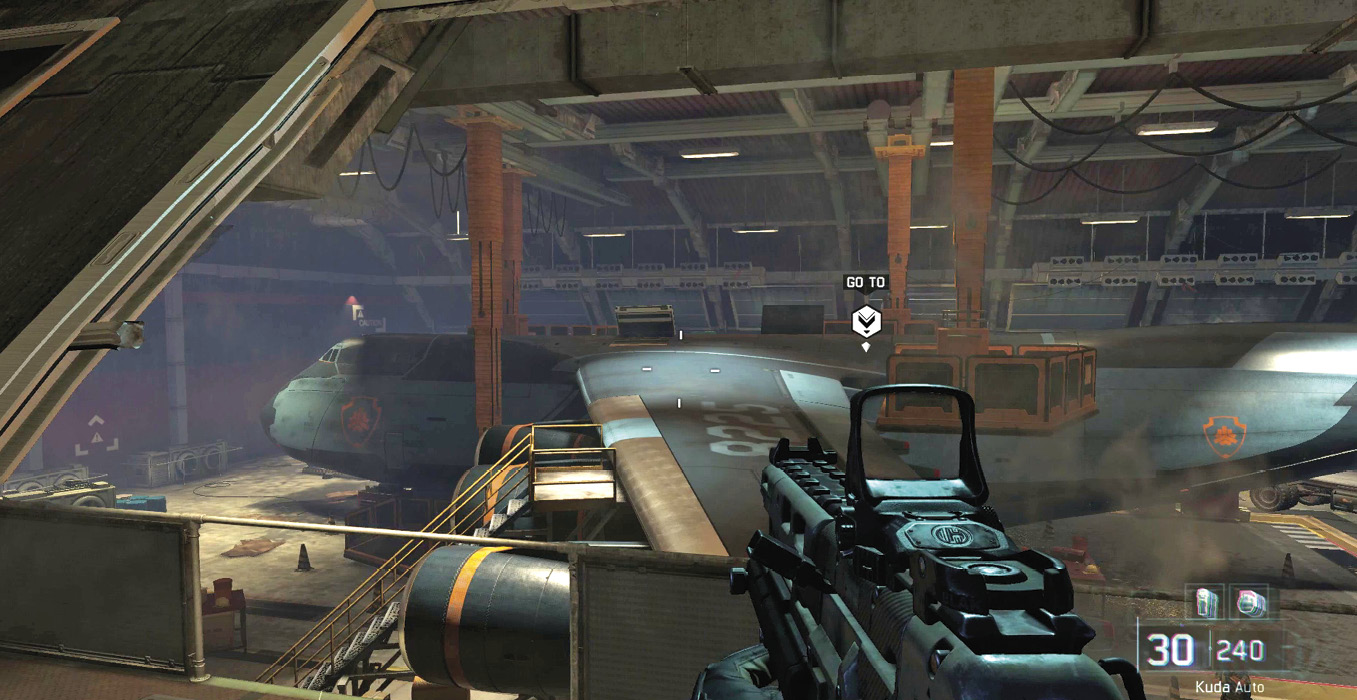
Once the left side of the plane is clear, proceed through the door. Take cover behind the cargo boxes. There are two APCs firing MGs on your position inside the next hangar. Wait for Hendricks to direct you to fire on the missiles on the side of the enemy bomber.
To get a safe shot on the missiles, crouch or prone up to the double set of crates to the left of Hendricks. You can look over the crates and fire on the missiles above you.
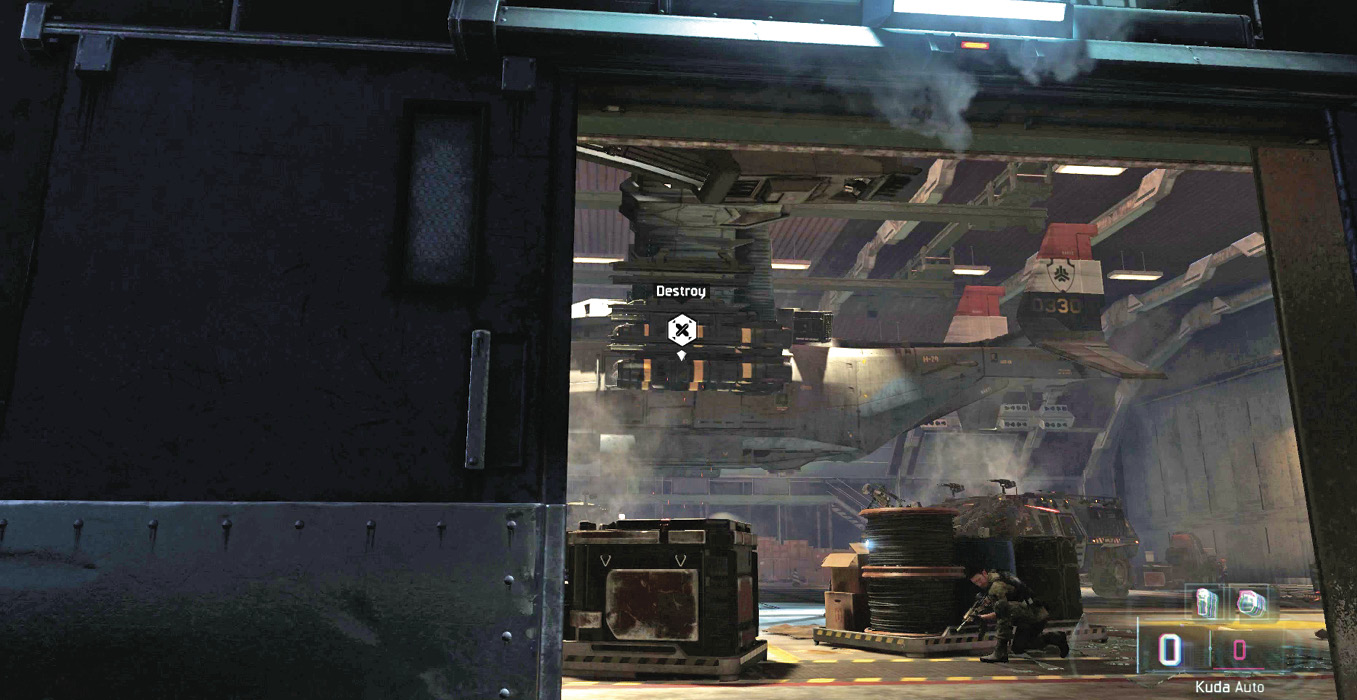
Just because the APCs are down, that doesn’t mean your way is clear. There are still over a dozen enemies defending the opposite side of the hangar. The safest approach is to creep around the right side of the hangar, using the crates there for cover. If you take a few shots, immediately go prone behind the cover and wait for your health to recover.
|
 Replica Nano Drone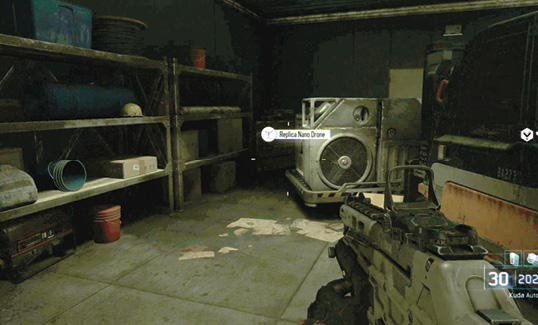
Diaz and Hendricks help you clear the remaining opposition. When things are quiet, approach the door marked on your HUD.
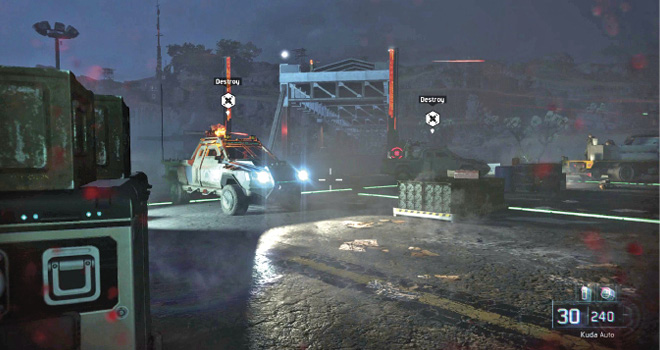
Hall arrives just in time to take out the enemies waiting outside the hangar. Proceed back out to the landing strip, and you can see your exfil position across the bridge. Unfortunately, the enemy is making a final push against your extraction. You will need to stay behind cover and try to spot enemies in the dark as they fire and advance on your position.
Advancing at this point is extremely dangerous on Veteran difficulty. Instead of moving forward, hang back behind the large group of crates and provide cover for your team, letting them lead the charge. Eventually, an APC arrives. Fire on it until it blows, then wait for Maretti to change orders and blow the bridge. This ends the onslaught of enemy reinforcements.
 Go to the Comms Room

With the primary exfil compromised, your team needs to move to the APC backup extract. Follow your team inside the Comms building.
At the top of the stairs, the room goes dark and you get a tactical feed piped into your HUD. This highlights enemies in orange. With your enemy blind, you can carefully move through and pick them off as they stumble around like mole men.
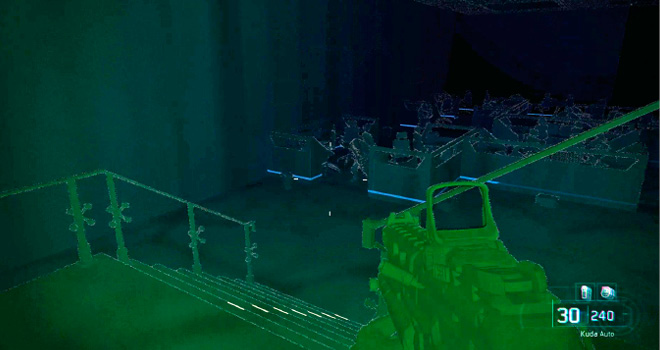
The enemies are still armed with Assault Rifles, so they aren’t helpless. Stay behind cover when you fire to ensure an enemy can’t get a lucky shot on you. Once you’ve cleared the room, fight up the ramp to the building with the satellite dish.
Stay patient and behind cover. Pick off the enemies along the side of your target building. Some have rockets, so it’s important to avoid getting too close—stay at the max range of your weapon and you should be safe to pick off enemies until the field is clear.
 Go to Secondary Extraction Point

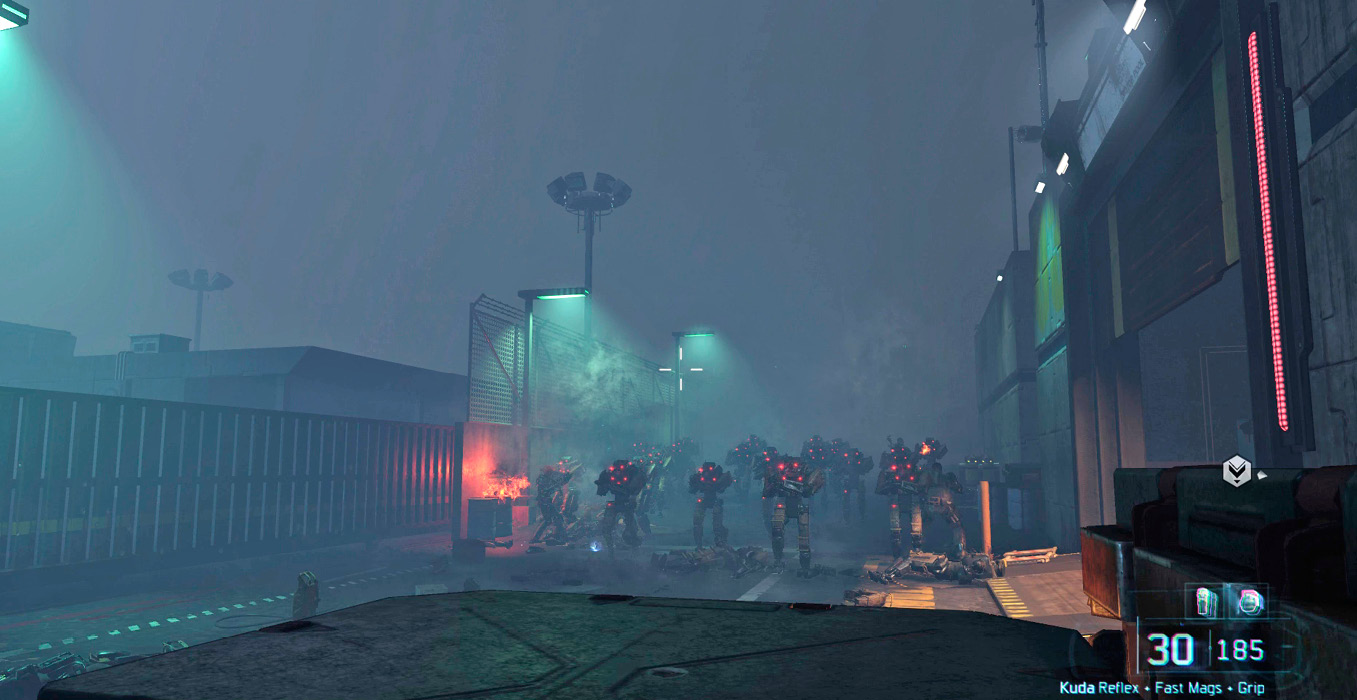
After jumping over the wall, you hear stomping coming from the red mist at the end of the alleyway. Stay behind cover and wait for the hangar doors on the right to open up. When they do, sprint inside. Don’t try to engage the robots—it’s certain death.
 Go to the motor pool

|
Inside the hangar, your team mounts up on an APC. You are one of the vehicle’s Machine Guns. The MG on this APC is extremely powerful, cutting through vehicles, robots, and soldiers alike.
As the APC exits the building, keep fire on the road directly ahead, unleashing mayhem on all enemy mechanicals in your path.
|
 Decimator
There’s nothing you can do to prevent the APC from getting stuck. Just help your team survive by picking off the robot waves as they arrive.
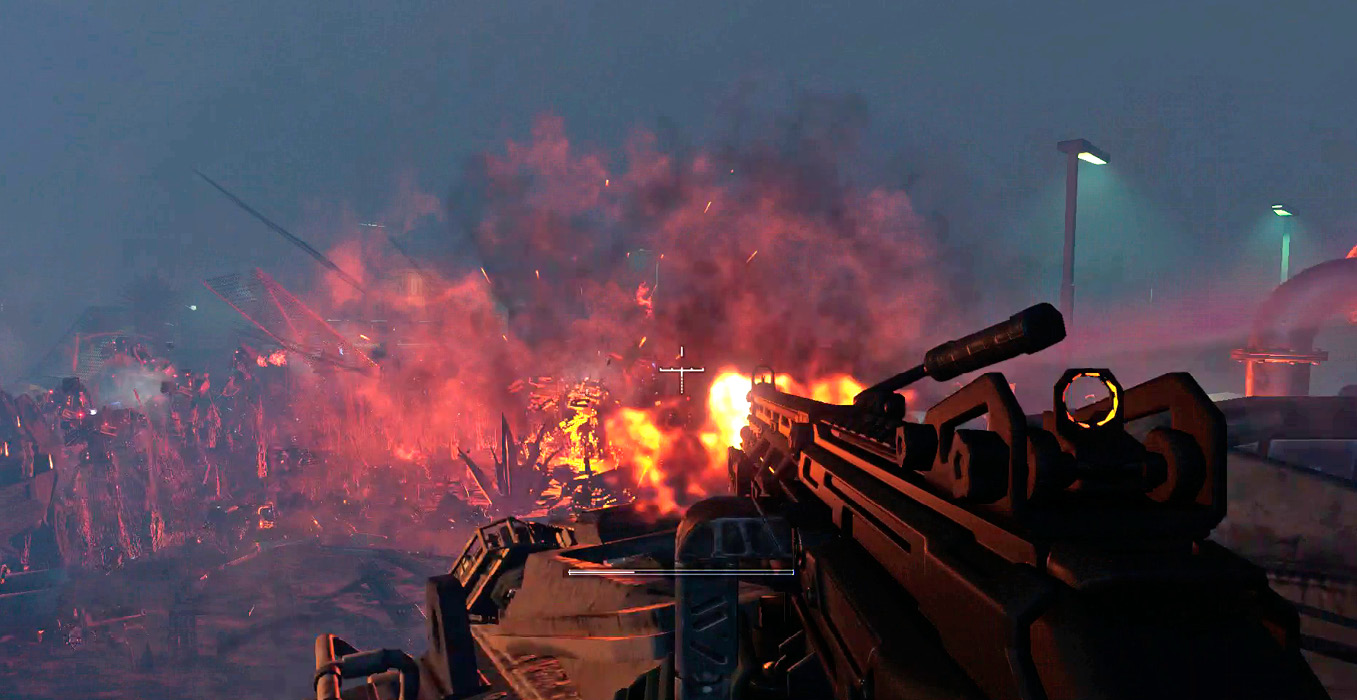
Once the APC is free, your squad barrels down the exit tunnel. Destroy the gunner trucks, VTOLs, and troops trying to block your exit.
 cover the extraction point

When you’re ejected from the APC, sprint to cover in the rocky outcroppings. There’s not much you can do but try to survive as the enemy converges on your point.
Keep to cover, but don’t try to hide behind the extraction crate. If you do, an unseen enemy will blast your position with a rocket.
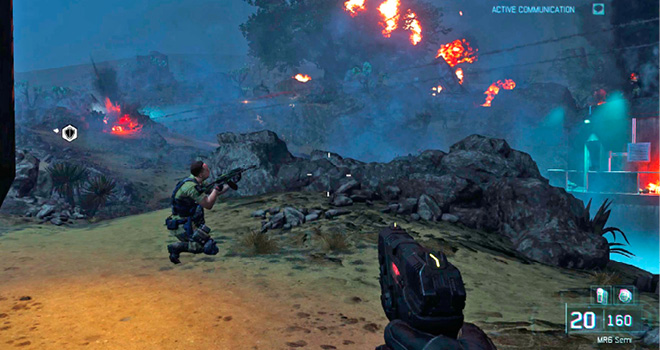
There’s an ammo crate to the right of the area, which you can use to get more grenades if you use them up.
You need to keep moving. Become a hard target for the incoming fire just long enough for the Black Ops team to secure the minister and evac.