Call of Duty: Black Ops III Guide Walkthrough 04 Provocation
04 Provocation
Bio-Dome, Singapore
Day 1
Mission Briefing: Posing as arms dealers, infiltrate the headquarters of The 54 Immortals—The Quarantine Zone’s dominant criminal faction—in order to recover the Black Station’s stolen data drives.
Mission Objectives
 Get to Cloud Mountain.

 Locate 54i Servers.

 Protect Hendricks.

 Hook Up to the Z-Trak Line.

 Go to the Far Super Tree.

 Jump from the Super Tree.

 Secure the Dock.

 Board the Air Boat.

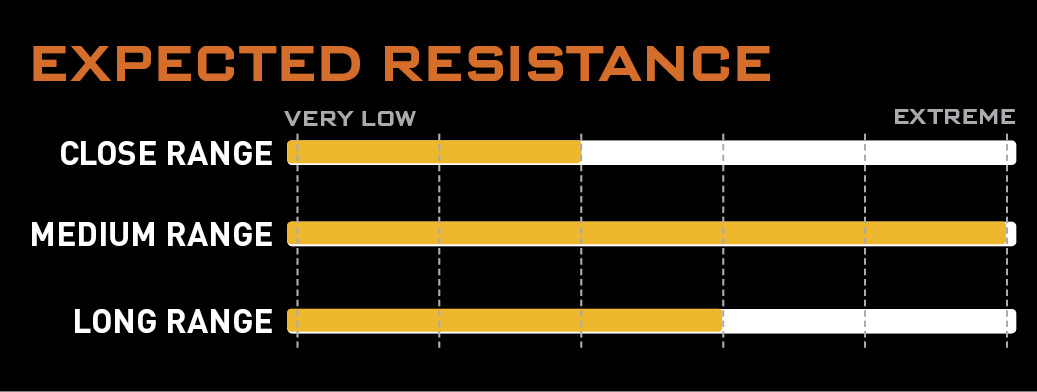
Heavily Armed Enemy Force: This area of operations is practically the 54i’s own backyard. Every enemy gunfighter not already on deployment is in response range. Engage only if absolutely necessary.
Combat Robotics: Expect a mix of current and older model combat robotics ranging in armaments and defensive capabilities.
Air Threat: Recon shows numerous 54i-operated air patrols in this area. Should an engagement be necessary, do not get caught in the open.
Level Accolades
| Accolade Name | Reward |
|---|---|
| Untouched! | Fabrication Kit |
| Complete the mission without dying. | |
| High Score | Fabrication Kit |
| Complete the mission with a score of 22,000 or higher. | |
| Got ‘Em | Fabrication Kit |
| Find all of the collectibles in the mission. | |
| Give ‘Em All Nine! | 250 XP |
| Use a turret to kill 8 enemies. | |
| Trick Shooting | 250 XP |
| Destroy 6 Talons in under 2 seconds. | |
| Skeets | 1000 XP |
| Using gunfire, destroy 3 Talons without missing a shot. | |
| Three For One | 250 XP |
| Use one grenade to destroy 3 or more robots. | |
| Bigger Than You | 500 XP |
| Kill 10 enemies using a P.A.W.W.S. | |
| The Pointy End | 250 XP |
| Kill an enemy with a stalactite. | |
| Repelled | 500 XP |
| Kill all zip-line enemies headed for the server room before they reach the end of their zip-lines. | |
| Action Hero | 500 XP |
| Kill 3 enemies while on a zip-line. | |
| Air Superiority | Fabrication Kit |
| Destroy an enemy wraith. | |
| Clean Sweep | 1000 XP |
| Kill all enemy soldiers on the Super Trees. | |
| Up Periscope | 250 XP |
| Kill 4 enemies while underwater. | |
| Wreckage | 500 XP |
| Destroy 5 guard towers. | |
| Vehicular Slaughter | 250 XP |
| Destroy 6 enemy trucks. | |
|
 Belly of the Beast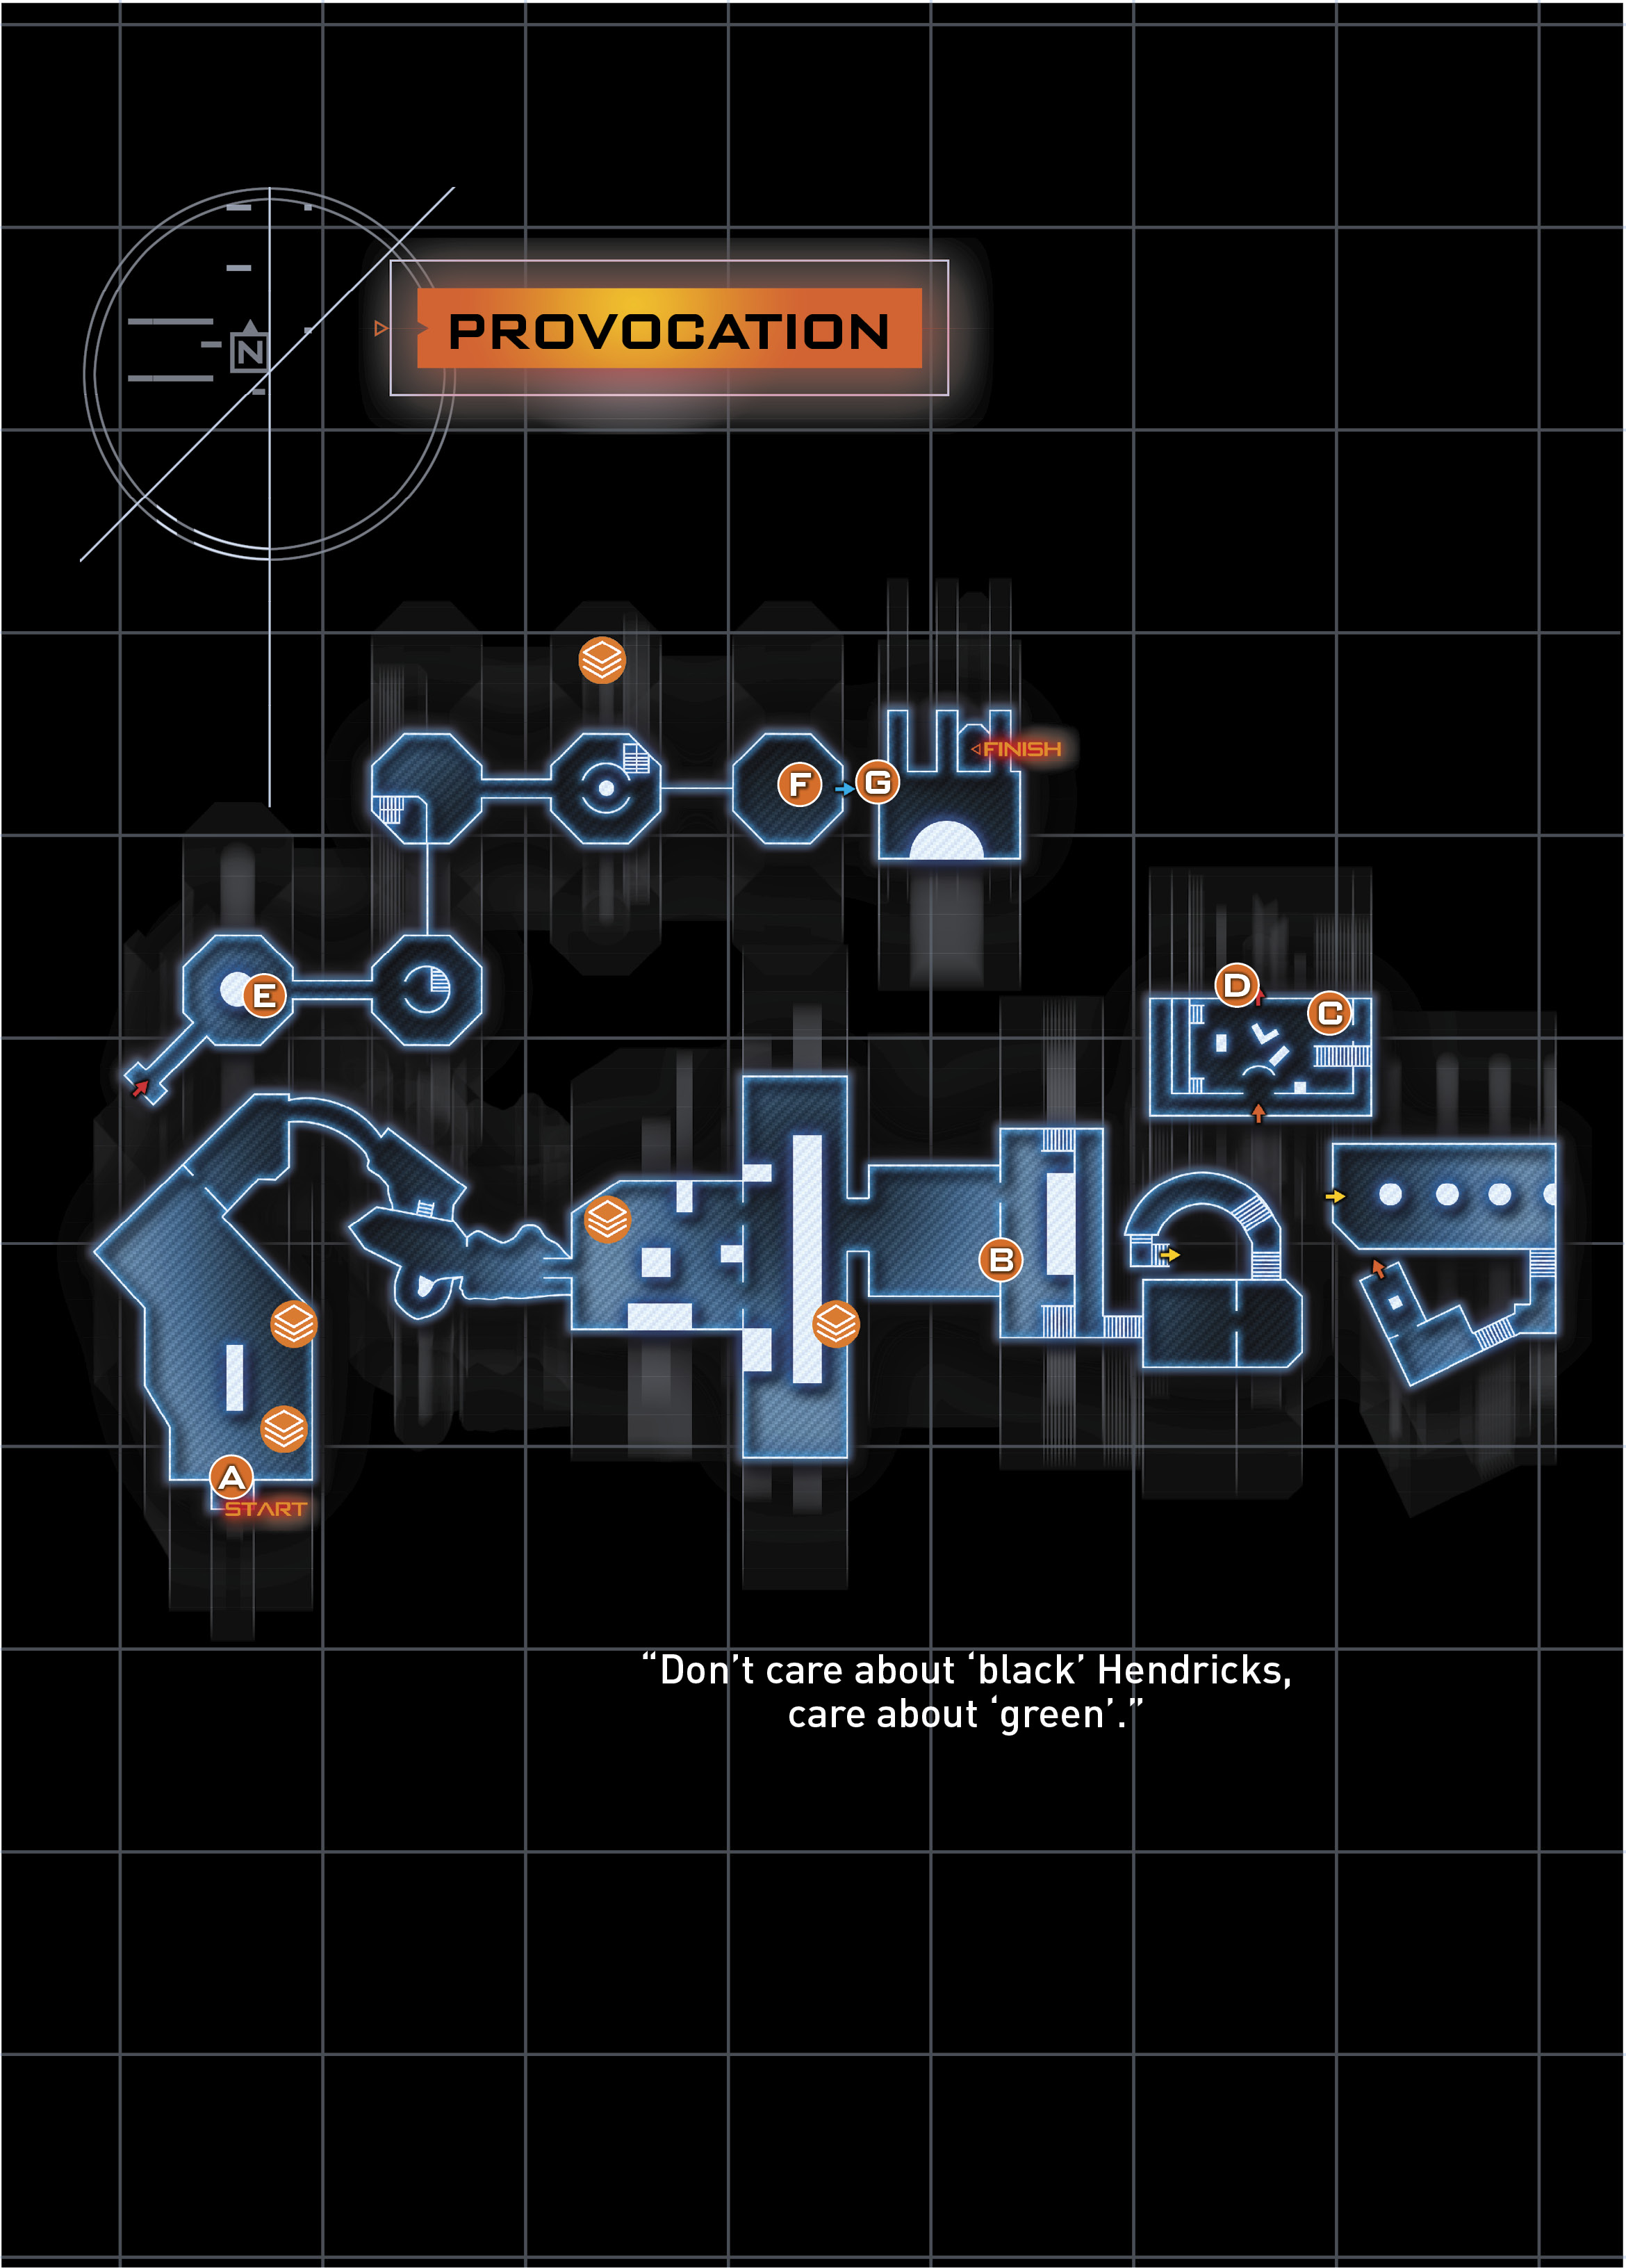
RECOMMENDED LOADOUTCybercore: Control Recommended Skills: Remote Hijack Primary Weapon: Shotgun |
After unsuccessfully trying to get intel from Hendricks’ contact, you are now back in conflict with the 54i.
This time, your team has Winslow Accord robotic reinforcements. You can easily tell the difference between your robots and the enemy’s by the lights. Black Ops robots have blue and green lights, 54i robots have red lights.
 Get to Cloud Mountain

When you gain control, activate your Tactical Mode and drop down into the market place. The market is crawling with enemies. You can toss a grenade down on the left to soften the enemies up, but wait for your robot army to advance.
|
 Gangsta Bling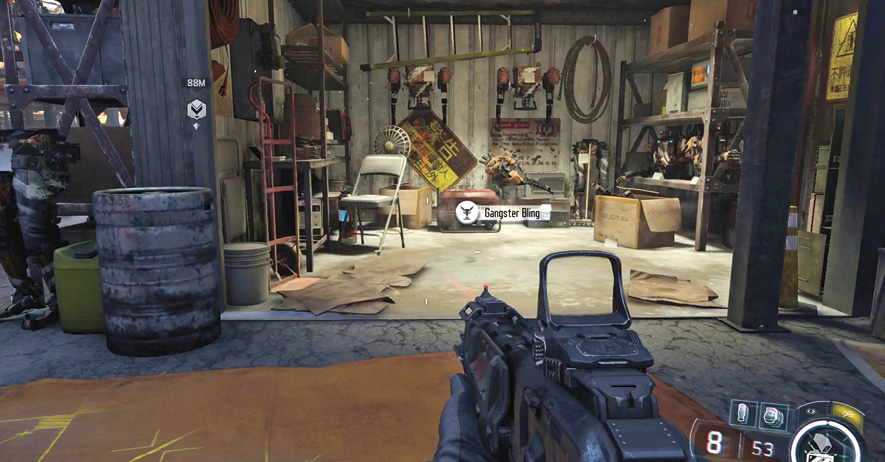
The enemies fall back as you press forward. Stick to cover and use your shotgun to mow down any 54i that get in range.
|
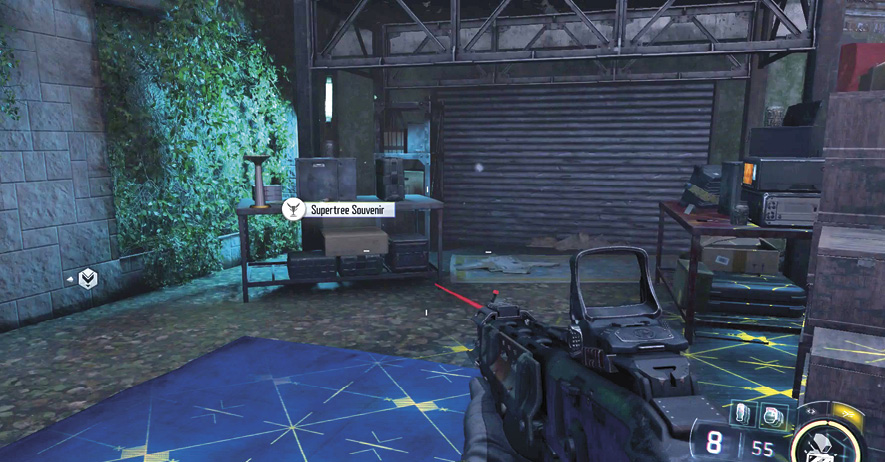
In the final marketplace area, there is a Warlord defending his stand. Use cover and pop out and nail him with your shotgun. It only takes a few shots to the head to bring him down.
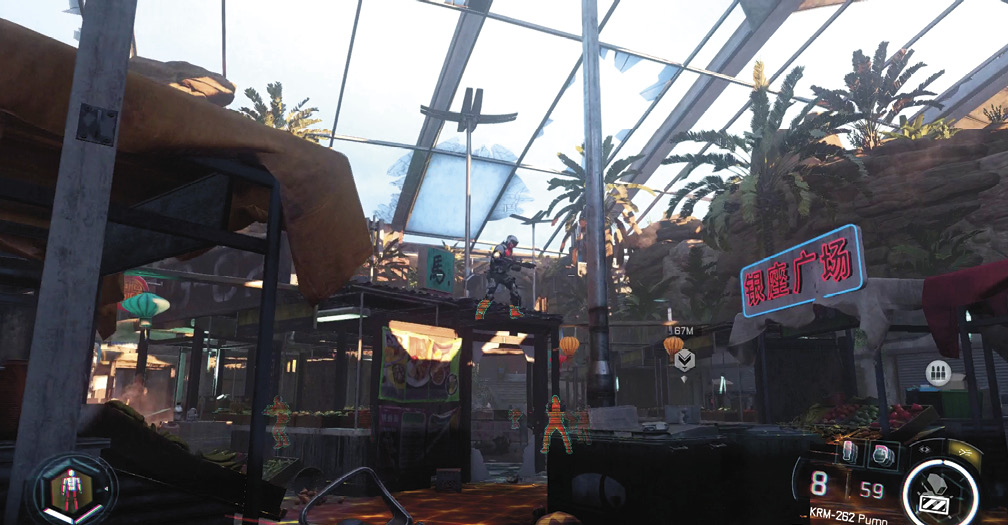
With the market clear, it’s time to advance up the rear stairs. Ready Remote Hijack. As soon as the turret reveals itself, use hijack to commandeer it.
After you’ve dealt with the turret, use the Mobile Armory around the next corner to change your outfitting.
RECOMMENDED LOADOUTCybercore: Control Recommended Skills: Remote Hijack Primary Weapon: Light Machine Gun |
Follow the sandy cave to the next area. Use the LMG to mow down the enemies defending the ridge above you. Next, turn your fire to the enemies defending the cave entrance to the right.
There are more defenders inside the cave, but you should be able to dispose of them easily with the LMG. When you exit the interior of the cave, you will be looking down over a heavily-defended town. Shoot the rocket-equipped enemy in the guard tower in the center of town.
With the rocket man down, use Remote Hijack to take over the turret in the middle of town. As soon as you take the turret, look for the Warlord patrolling the area. He is your primary target.
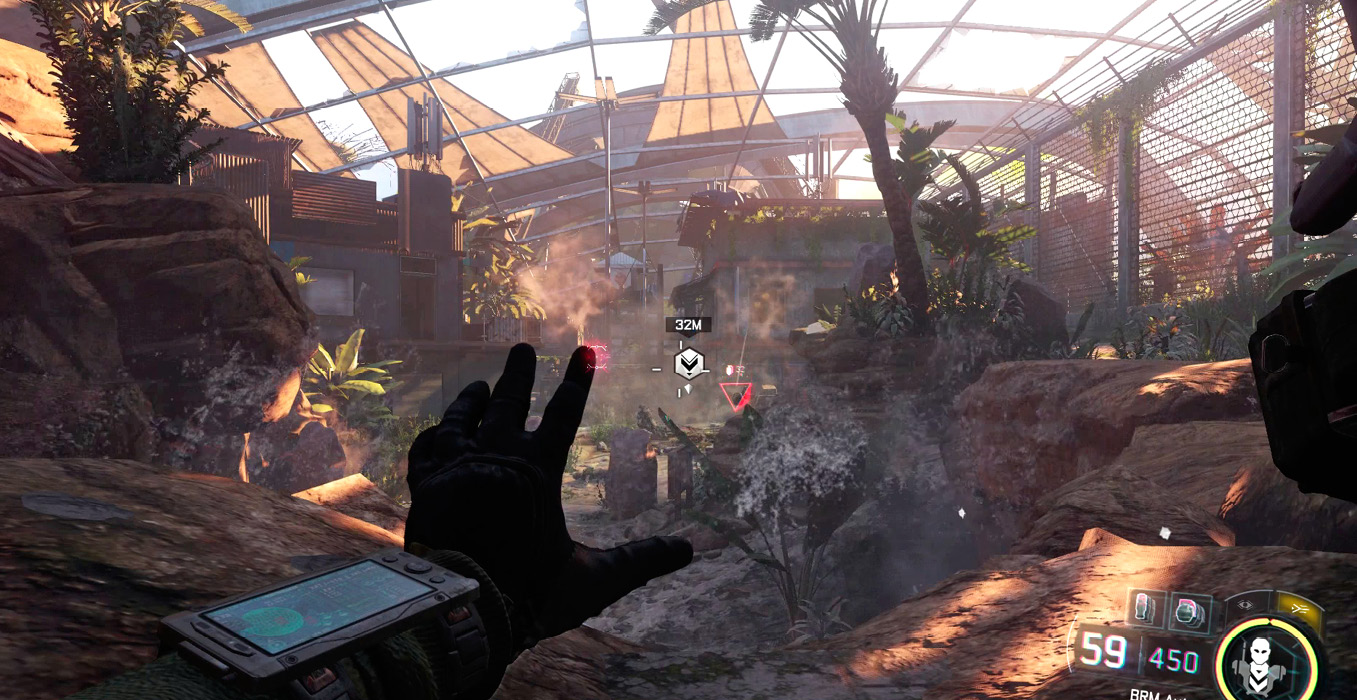
With both the RPG and the Warlord taken care of, it’s time to move into the town. Jump over the ravine and shoot any remaining stragglers.
|
 Dud Slave Collar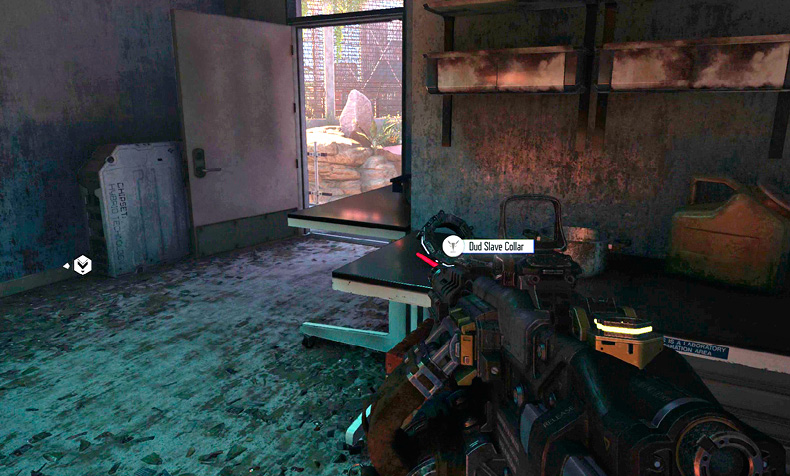
When you make it to the halfway point in the village, a heavy line of enemy reinforcements arrives. Dash into one of the houses and fire from cover as your own robot army moves in to crush them.
The next area is filled with container crates. As you approach, a robotic onslaught arrives to attack. Your primary concern here is the pair of Wasps flying overhead; they have rockets and can be deadly.
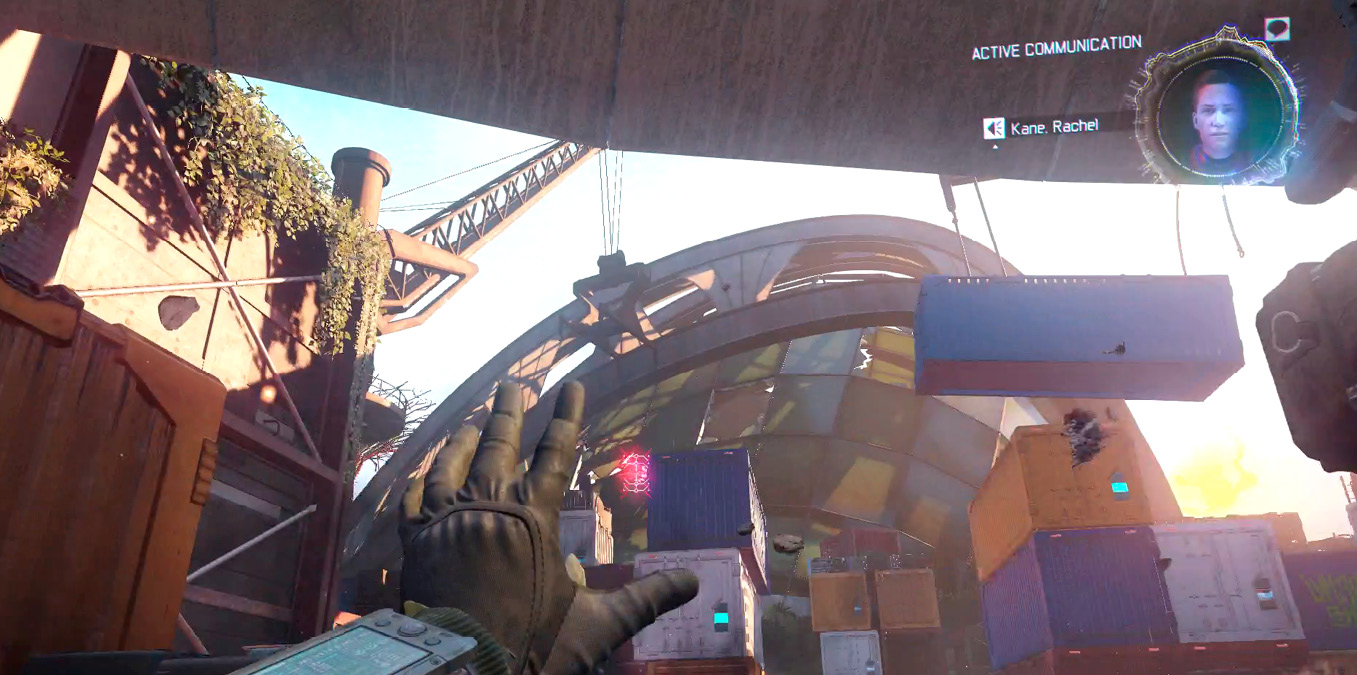
Use Remote Hijack to capture one and kill the other, then use the rockets to destroy the large number of robots roaming below. Don’t stray too far or the signal will break and the Wasp will crash.
“Which way do we go, Kane? Left or right?”
Now you need to decide whether to head left or right. Right is slightly easier than left, but either way leads to the same place. Let’s head right.
As you round the corner, three flying drones attack. Remote Hijack one. Use it to kill the other two. Now fly the drone around, killing any enemies you can spot.
Once your drone has run out of juice, continue the fight on the ground, working your way through the path in the containers to the large exit door.
There, you see several enemies working to seal the door. Hang back behind cover, and get ready for an incoming Warlord.
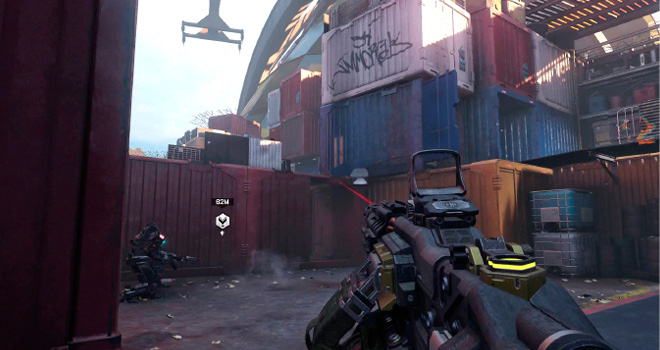
You may have back up here, but it’s really just a one-on-one fight between you and the Warlord. As with other fights, stick to cover and unload with your LMG only when your health is full (preferably while the Warlord is distracted by another combatant.
|
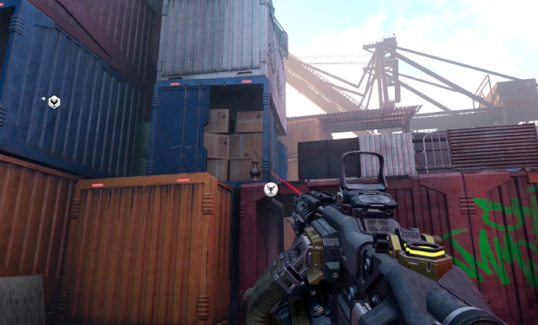
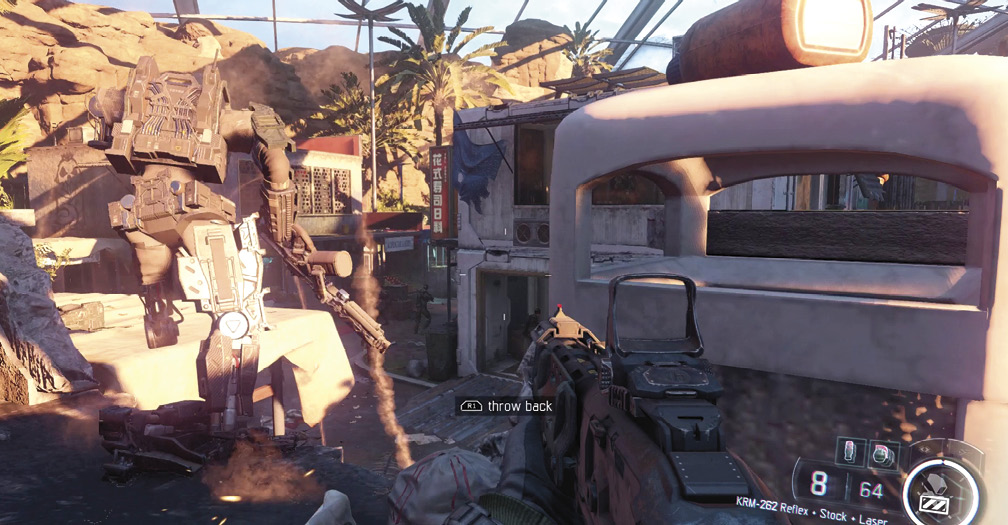
When the friendly robots open the back door, you find yourself face-to-face with a gigantic P.A.W.W.S. Mech. This monstrous robot has one weakness: Remote Hijack. Luckily, we told you to equip that in at our last loadout Recommendation.
Use Remote Hijack to slowly hack the mech, and then kill all the enemies in the area when you take it over. If you did not equip Remote Hijack, you can also destroy the mech by shooting it with a lot of ammo (the LMG is a good weapon for this task.)
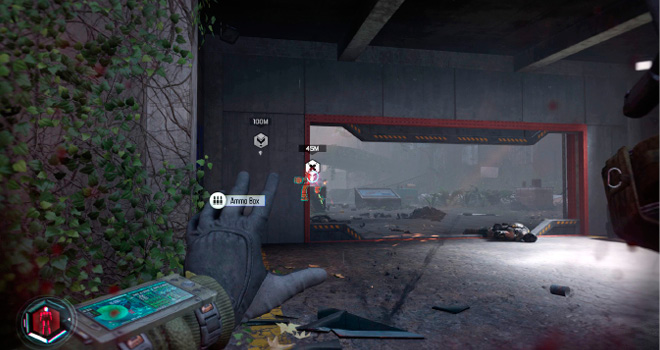
Once you’ve destroyed the P.A.W.W.S., one way or another, it’s time to move up on the Bio dome at the back of the area.
Locate 54i Servers
Inside the building, watch out for a fresh reinforcement of robotic enemies. Stick to cover and fire on them until the entrance area is clear.
Climb the stairs to the second floor and use Remote Hijack on one of the mini-tank drones. Next, patrol the area looking for any surviving enemies to mow down with the tank. When it’s as clear as you can make it, exit the drone and proceed to clear the area on foot.
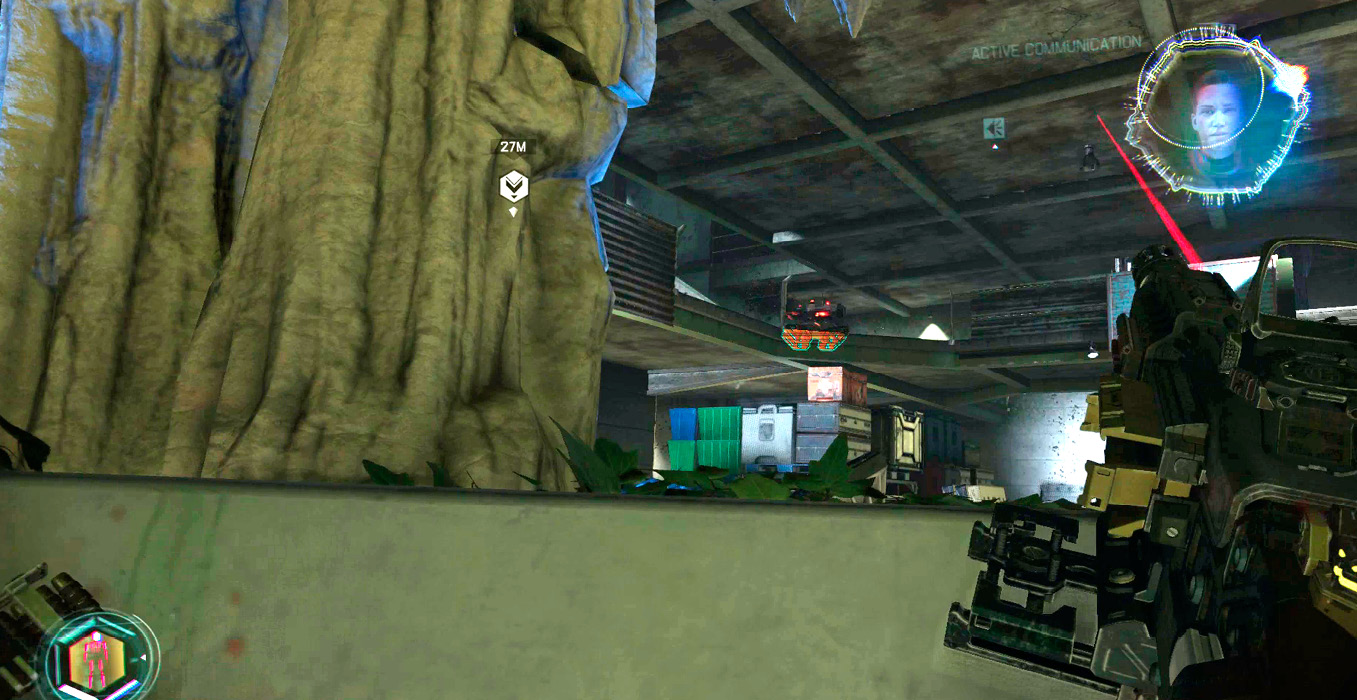
Unfortunately, there are more reinforcements in the area you cleared. When you reach the third floor, human reinforcements arrive in the form of Riot Shield soldiers. Use your LMG to cut through their shields and wipe them out. Give their SMG backup the same treatment. There are some docked robots n the right. Kill them as soon as they activate.
Proceed outside. There’s a line of grenade-tossing soldiers hiding behind some of the natural foliage in the area. Use your Tactical display to target them through the cover and kill them before stepping outside.
Carefully proceed up the sheet metal stairs. At the top, there are large groups of enemies both directly ahead and to the right. Use the stairs for cover and kill them to clear the way. This task is made slightly easier if you wait for the Talons to show up and Remote Hijack one.
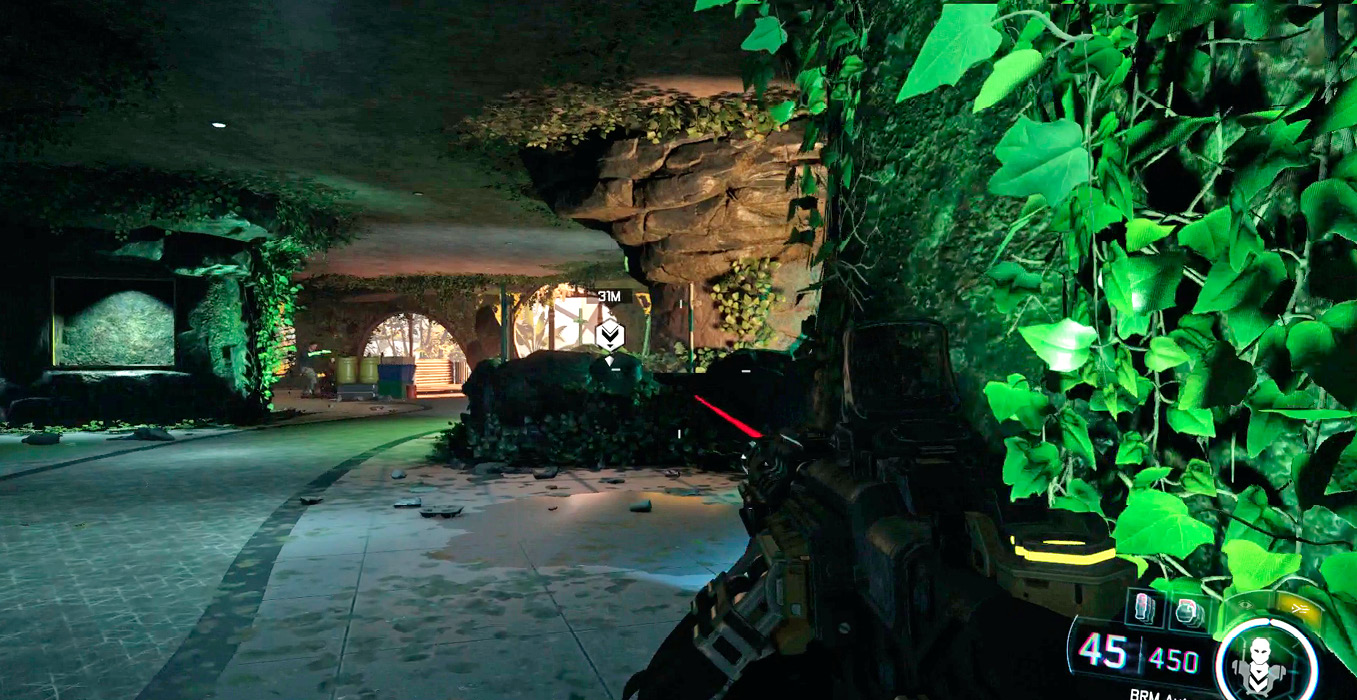
The top floor of the Bio dome is defended by a loose contingent of docked robots. Mow them down and peer back outside to see some more flying drones. Remote Hijack one to kill the rest, as well as any soldiers on the walkways..
|
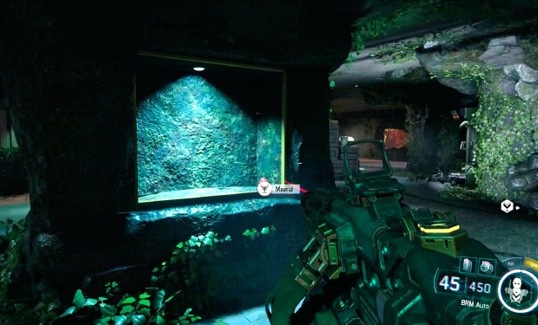
Carefully exit the top floor of the Bio dome and stay low to the staircase as you move up to the right. When you reach the top, use Remote Hijack to take over the turrets at the back of the server room. This way, you can cut down the robots marching out of the tunnel before they can get a shot off on you.
Before hacking the door at the back of the room, use the chest to change your loadout:
RECOMMENDED LOADOUTCybercore: Chaos Recommended Skills: Blinding Swarm Primary Weapon: Shotgun |
Hack the door at the back to trigger a cinematic and end the first section of the level.
Protect Hendricks
Hendricks is helpless as he uses his DNI to learn what’s happened to the data drives. You need to defend him. Hopefully you changed your loadout to Chaos, because Control won’t be of much use here. You don’t have to be a hero; Hendricks actually can’t be hurt as long as you stay alive.
Stick to one of the side-rooms and use your shotgun to kill any enemies that get in your line of fire. The shotgun makes it easy to kill multiple enemies without a reload (it’s generally one shot per enemy, even on the hardest difficulties).
When you’re feeling overwhelmed, send out a Blinding Swarm to weaken and slow down the attacking foes. Be careful if you’re hiding in the starting room. There are several doors inside that spawn reinforcements halfway through the battle.
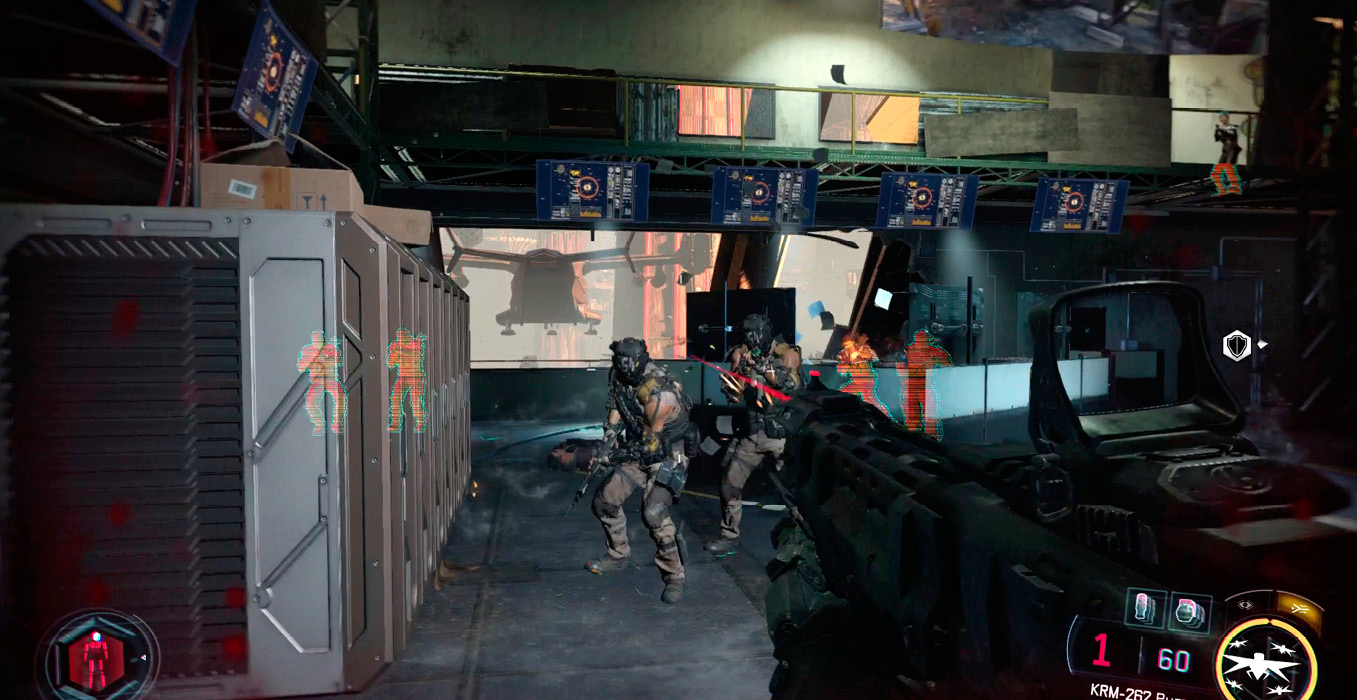
Once the download is at 100%, you must still clear the remaining enemies. Keep deploying Blinding Swarms to gain an edge on killing any survivors.
Luckily, you get several checkpoints throughout the sequence, which makes an unexpected death sting a bit less.
Hook Up to the Z-Trak Line
When you get the all clear, follow Hendricks outside and Interact with the line.
Go to the Far Super Tree
Your first exfil has failed, so now you need to fight through the Super Tree forest to get out with the data drives you’ve captured from the 54i.
The Super Trees filled with 54 Immortal enemies of all shapes and stripes. Use the Mobile Armory to adjust your loadout before continuing on.
RECOMMENDED LOADOUTCybercore: Control Recommended Skills: System Paralysis Primary Weapon: Assault Rifle |
Follow Hendricks up to the first tree. On your right, you will see a large group of flying drones. Use System Paralysis to quickly down them.
As you move to the next tree, several enemies charge down the bridge. Stay low and score head shots before they get in range. As you proceed down the bridge, watch for enemies zip lining across on the left, you can safely pick them off before they land.
At the end of the rope bridge, many enemies are defending the Super Tree position. This can be a difficult fight, so hang back and use the odd angle to make it harder for enemies to hit you. Watch out for enemies in both the building ahead and behind cover to the left.
When Hendricks tells you to pick a path, you can either go through the inside, or around the outside up to the zip line. We recommend going outside. Move through the crates on your left. Keep your gun trained on the staircase ahead. You can use the explosive barrel at the base to kill the advancing enemies.
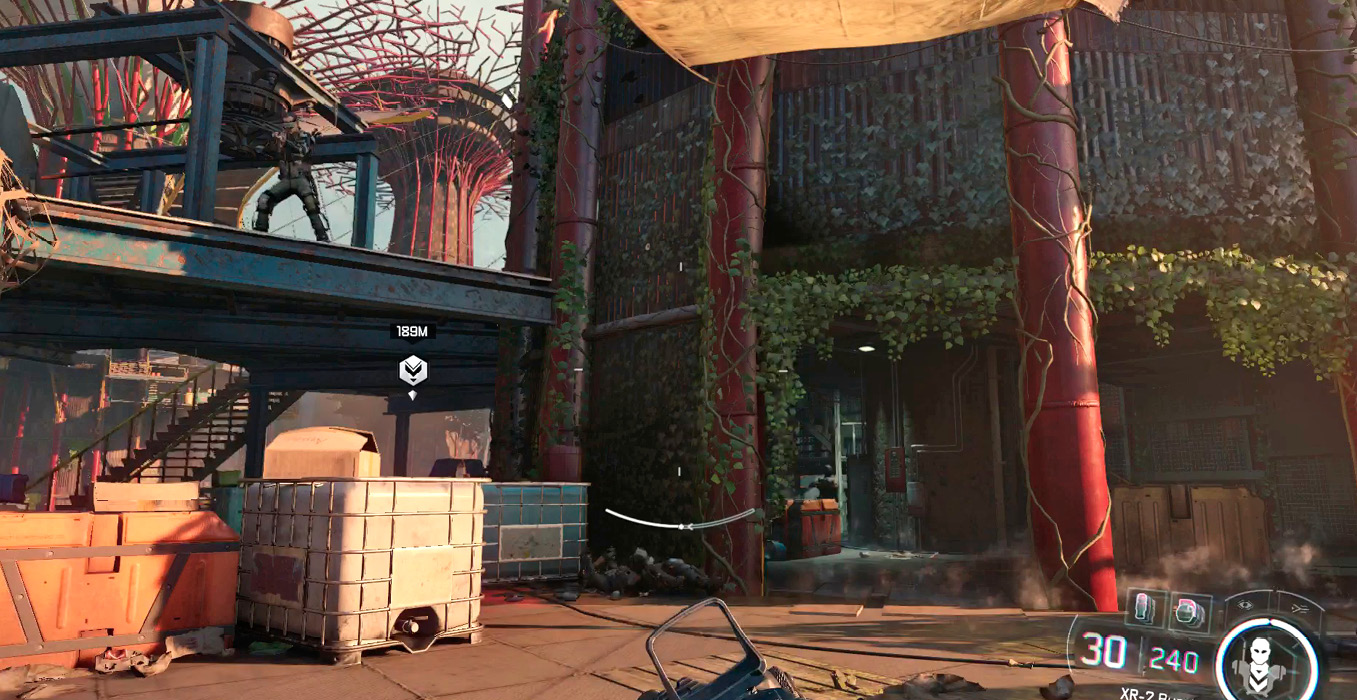
Reunite with Hendricks at the top of the stairs. The Wraith arrives to torment you from the skies. Keep an eye on this ship, as it unleashes Machine Gun attacks on you whenever it gets close.
Use System Paralysis to down the drones on your right. After the Wraith flies away, it’s time to choose paths. You can go on the tree to the left (Tree 6) or the tree on your right (Tree 4). We recommend the latter. Use the Zip line to dash over to Tree 4.
Fighting through the rest of this section of the level is straightforward. Each Super Tree is filled with enemies, and you need to zip line over to secure the tree and continue. You can either go straight for your objective (marked on your HUD) or continue to explore to earn more Accolades and score by wiping out all of the enemies.
One thing you should watch out for are enemies using the zip lines to come up behind you. Always keep an eye on your back, and if you spot an enemy zip-lining before he lands, shoot him down.
After you’ve cleared Super Tree Four, you can either take the zip line to Super Tree 5 on the left or Tree 6 straight ahead. The more direct way to the level exit is Tree 6.
|
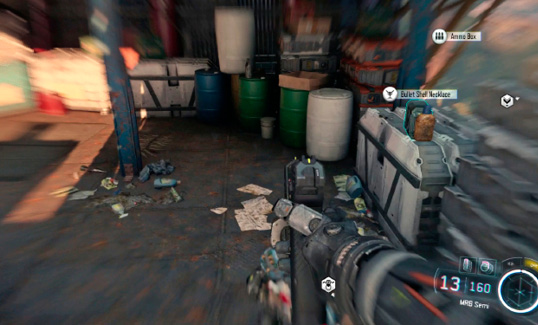
When Super Tree 6 is clear, head to the top and the zip line across to Super Tree 7. This tree is falling over, but has your exfil point. Run up the stairs on your right.
Jump from the Super Tree
Look for the elevator shaft on the second floor. Move toward the shaft to repel up to the top of the tree. At the top, a Wraith is here. Ignore the flying beast and sprint to the objective marker to jump off the side of the tree.
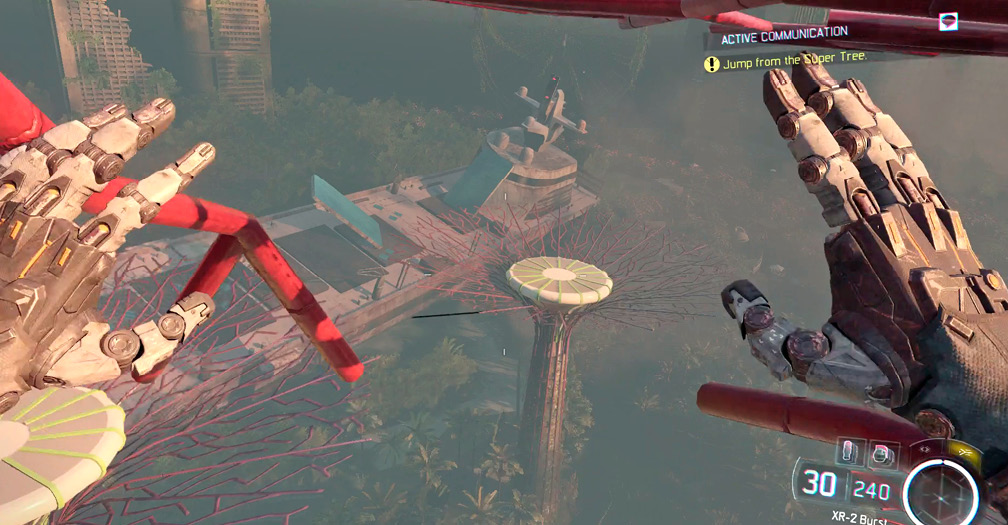
Secure the Dock
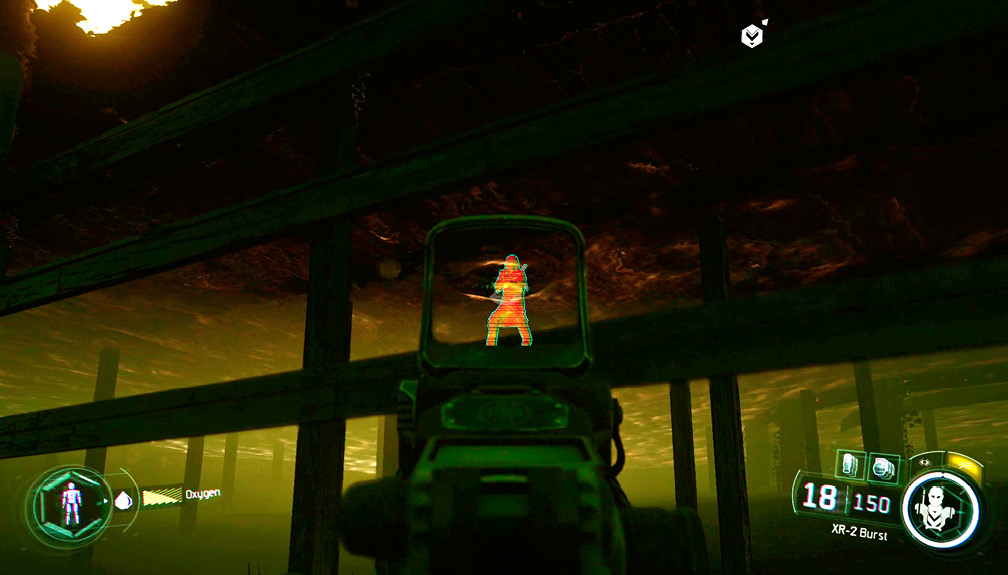
You land underwater. Swim forward, shooting at enemies above you. When Hendricks leaves the water, follow him up. Find some cover and pick off the enemies standing around on the docks.
Board the Air Boat
Once you’ve secured the dock, it’s time to hop aboard the Air Boat. Kane drives your boat remotely, so you and Hendricks can focus on killing enemies.
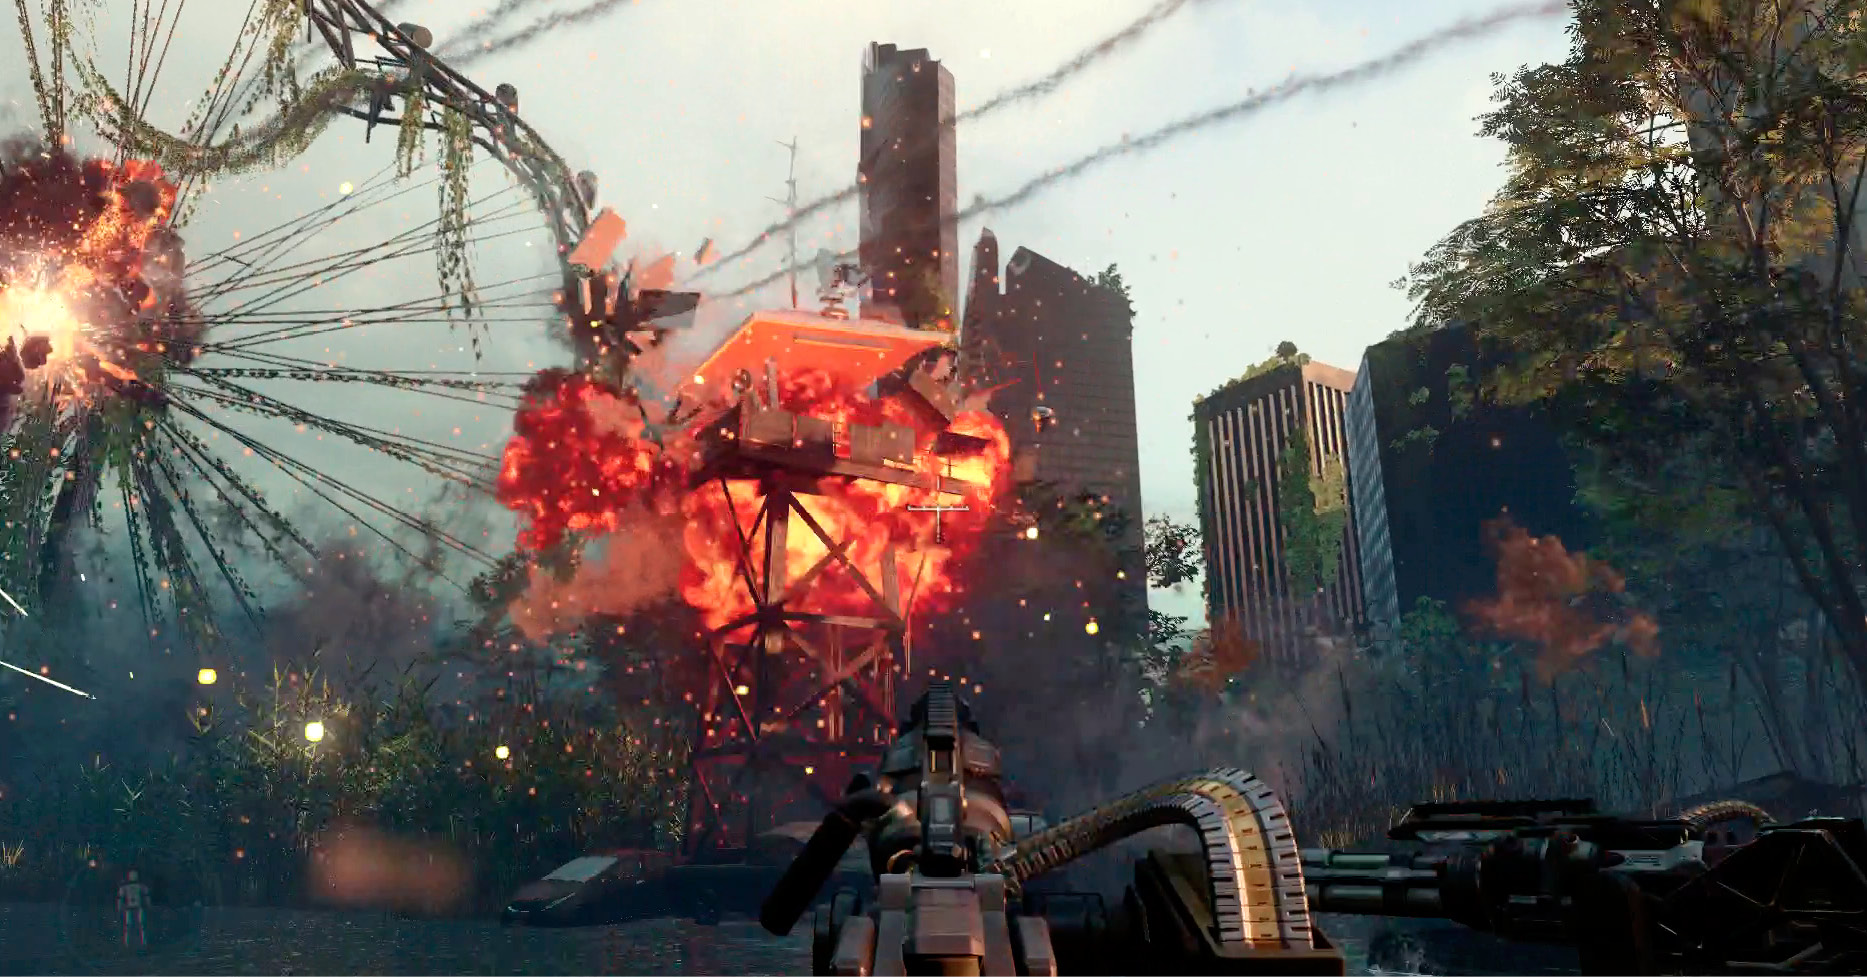
The sequence is short and sweet; just keep your gun trained on the enemies in the towers and flying overhead to successfully complete the mission.