
Call of Duty: Black Ops III Guide Walkthrough 07 Rise & Fall
07 Rise & Fall
Egypt, Ramses Station
Day 4
Mission Briefing: Proceed to Ramses Station, last stronghold of the beleaguered Egyptian army, and interrogate Dr. Salim, one of the survivors of the Singapore Disaster.
Mission Objectives
 Interrogate Dr. Salim.

 Determine What Dr. Salim Knows About SP/CORVUS.

 Enter Ramses Station Central.

 Reinforce the Eastern Checkpoint.

 Demolish the Street.

 Detonate the Charges.

 Go to Safiya Square.

 Open the VTOL Hatch.

 Destroy the A.S.P. -MLs

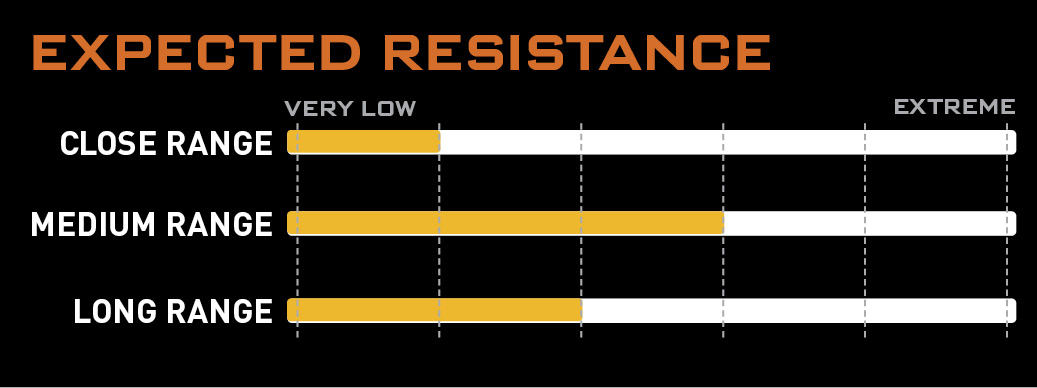
Heavy Infantry: A full enemy invasion force is operating in this region. The NRC have multiple human and robotic infantry strike groups in the immediate area.
Heavy Armor: Multiple enemy heavy armor units are reinforcing the main NRC Strike Group.
Air Threat: The air defense system around Cairo is holding back a significant NRC air threat.
Level Accolades
| Accolade Name | Reward |
|---|---|
| Untouched! | Fabrication Kit |
| Complete the mission without dying. | |
| High Score | Fabrication Kit |
| Complete the mission with a score of 25,000 or higher. | |
| Got ‘Em | Fabrication Kit |
| Find all of the collectibles in the mission. | |
| Fly Swatter | 1000 XP |
| Perform a melee kill on a Talon. | |
| Epic R.A.P.S. Battle | 250 XP |
| Hijack a R.A.P.S., run over two enemies, and then into another R.A.P.S. | |
| Death From Above | 500 XP |
| Kill 3 enemies while your feet are off the ground. | |
| Like Lightning | 250 XP |
| Kill 5 robots in under 1 second. | |
| Stuffed | 250 XP |
| Destroy a R.A.P.S. while it is in midair. | |
| Skewered | 500 XP |
| Impale 2 enemies with a single shot of the Spike Launcher. | |
| Wide Area Effect | 500 XP |
| Kill 7 enemies with a single detonation of the Spike Launcher. | |
| Aggressive Marketing | 250 XP |
| Kill an enemy with a billboard. | |
| Lawn Darts | 250 XP |
| Hit an enemy from very long range with the Spike Launcher | |
| Strafing Run | 250 XP |
| Kill 5 enemies with a Talon. | |
| Clean Sweep | 250 XP |
| Kill every enemy in the alley. | |
| Lethal Sideways | Fabrication Kit |
| Get 3 kills in the same wall run. | |
| Aerobatics | 1000 XP |
| Wall run and kill a bipedal enemy with a melee attack before landing. | |
| Power Slide | 500 XP |
| Power slide between the A.S.P.-C legs. | |
|
 Friends and Foes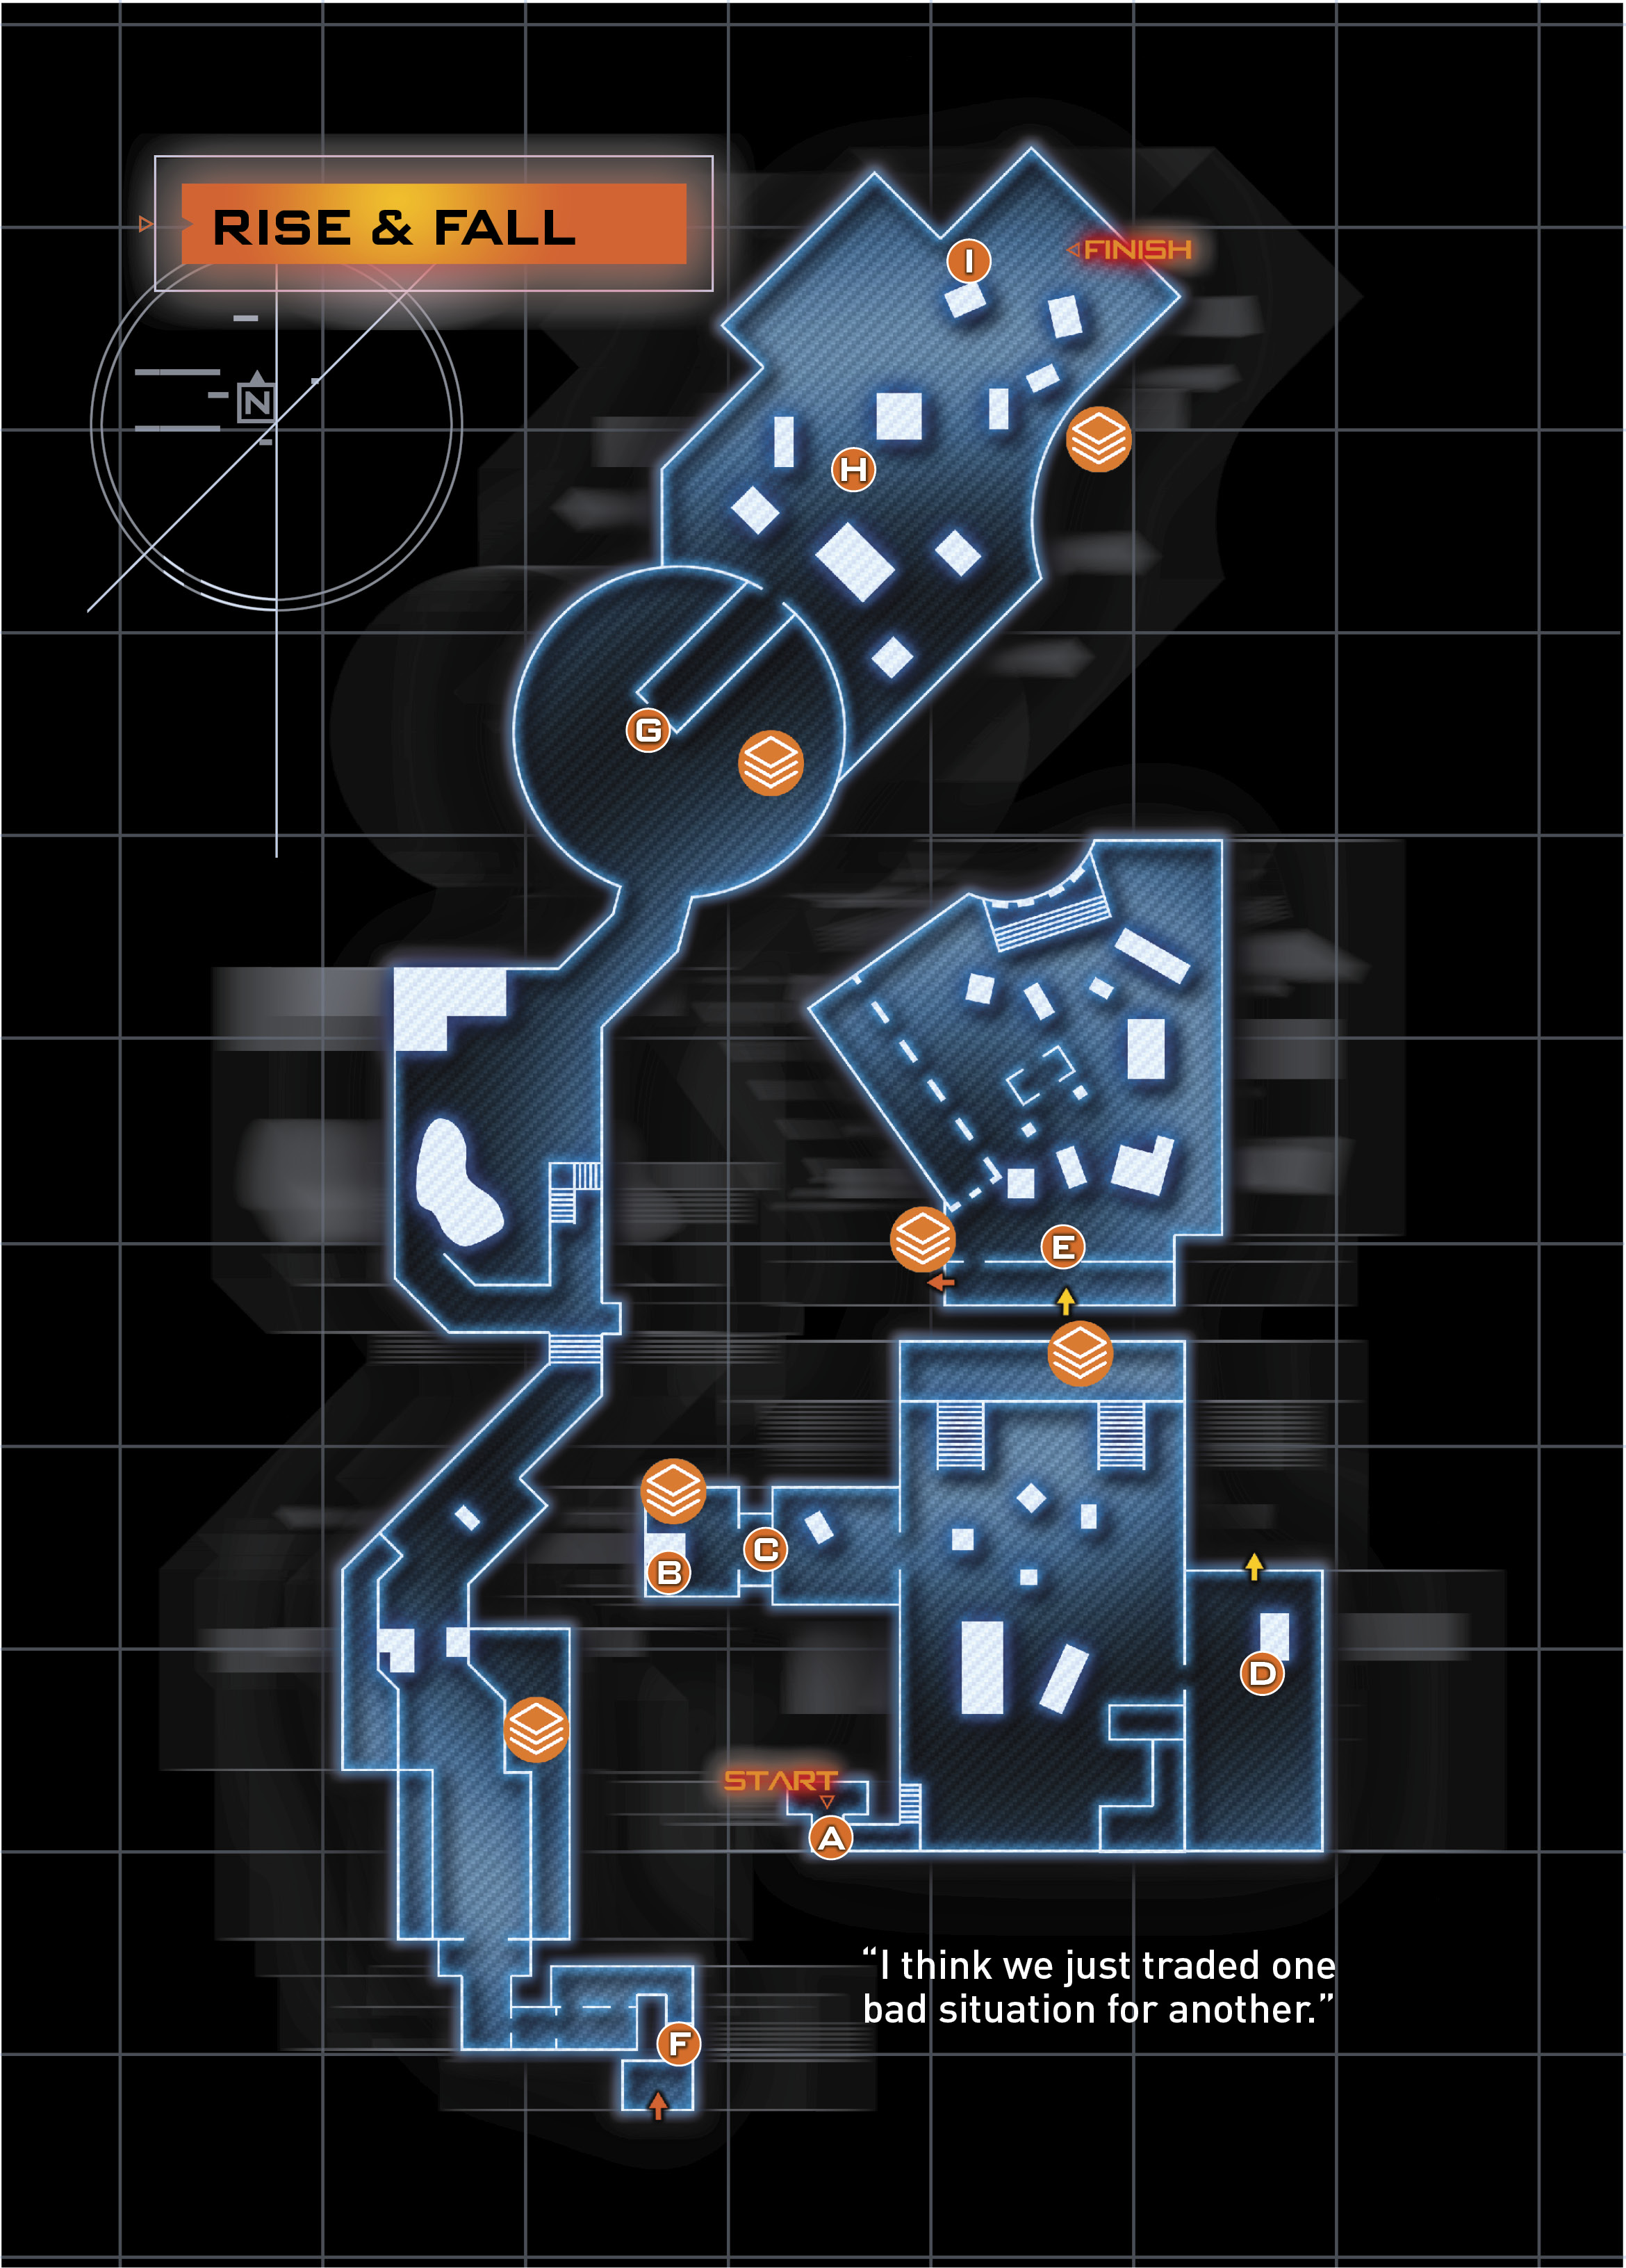
RECOMMENDED LOADOUTCybercore: Control Recommended Skills: Remote Hijack, Protocol Override Primary Weapon: Assault Rifle |
 Interrogate Dr. Salim

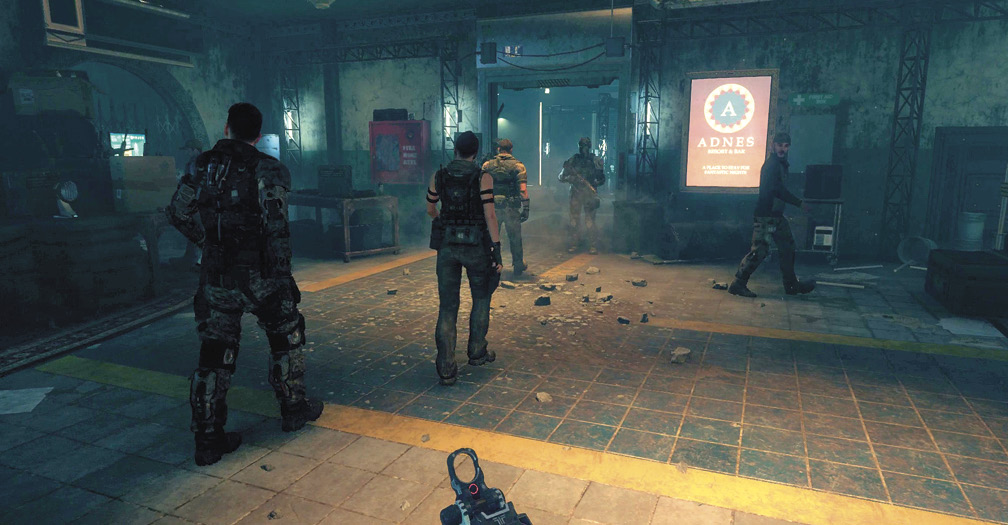
You start this level reuniting with Khalil, still fighting the good fight in Egypt. Follow Hendricks and Khalil through the facility to the room Dr. Salim is being held.
 Determine What Dr. Salim Knows About SP/CORVUS

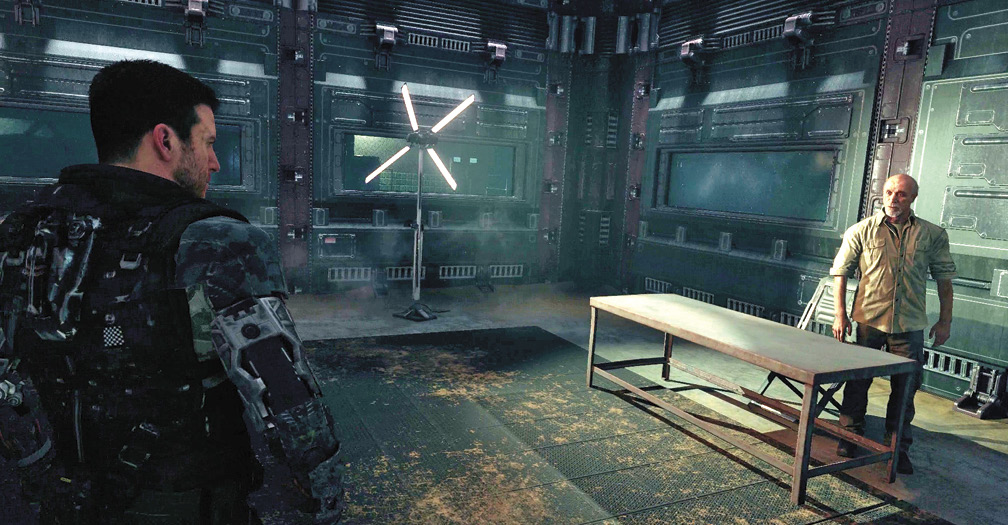
At the end of the walk and briefing from Khalil, Interact with the door to begin the interrogation.
 Enter Ramses Station Central

|
 NRC Helmet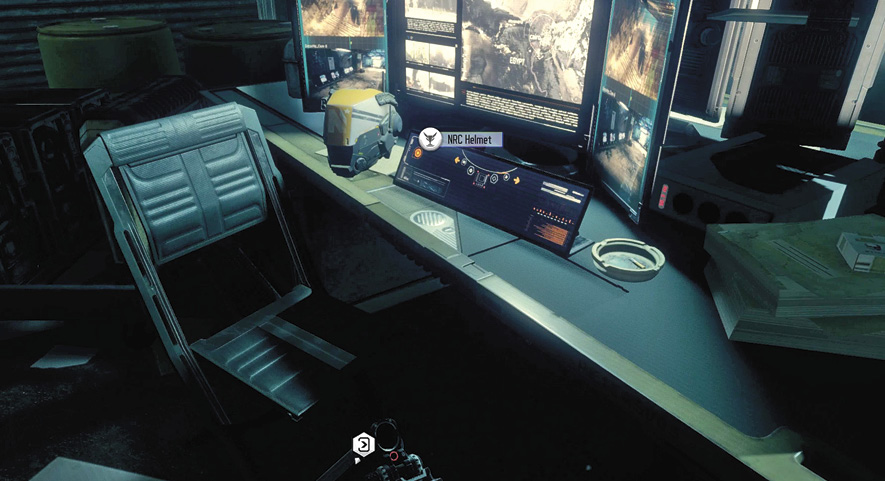
Follow Hendricks out to confront the NRC assault. Interact with the door, and you get your first look at the new R.A.P.S. drone enemies.
Like other drones, R.A.P.S. can be hacked. Unlike other drones, they do not have guns; instead running over enemies to inflict damage. If one gets too close, it explodes, causing an instant death on harder difficulty levels.
The large room ahead is filled with drones and robots. Use your Control DNI powers to destroy or dominate the enemies. Stay at the back of the entrance area to keep away from danger. When the entrance area is clear, move up. A shuttle drops in through the ceiling, deploying more robots in the area.
Use Protocol override to cause chaos in the robot’s ranks.
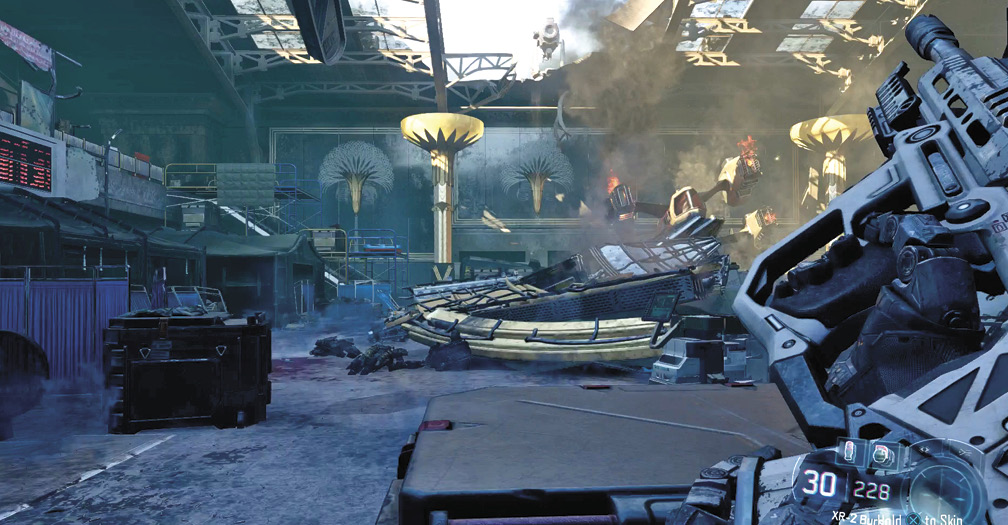
Watch out for the incoming R.A.P.S. on the escalator to the left. If you can, use Remote Hijack to capture an R.A.P.S. and send it back up the escalator to cut through the enemies. When controlling an R.A.P.S., always try to detonate before it is destroyed. It does much more damage that way.
|
 Broken Stained Glass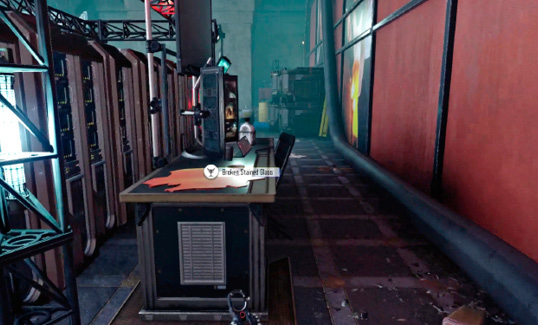
Reinforce the Eastern Checkpoint
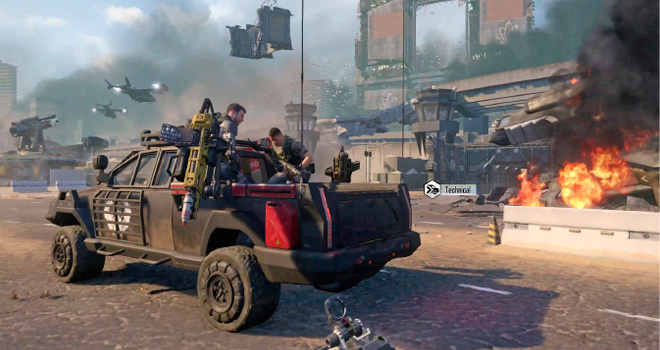
Follow the objective marker to the rubble and Interact with it to remove it. Outside, get in the back of the Technical to head off to the Eastern Checkpoint.
Demolish the Street
After the short drive to the Eastern Checkpoint, your team disembarks. You grab a spike gun and head into the battlefield.
|
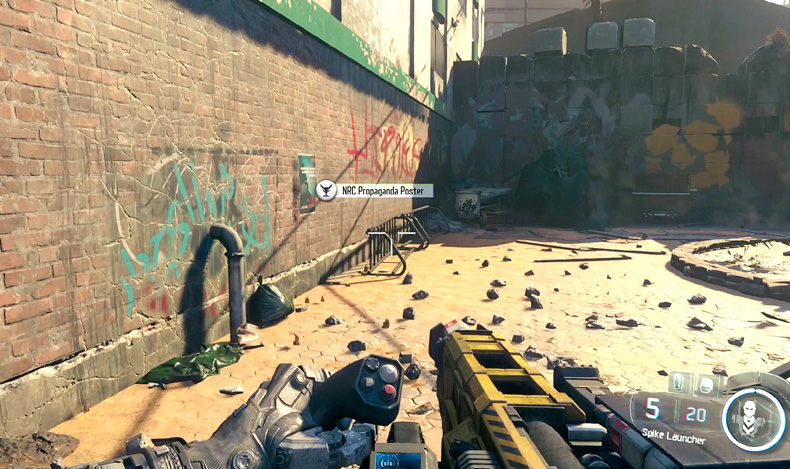
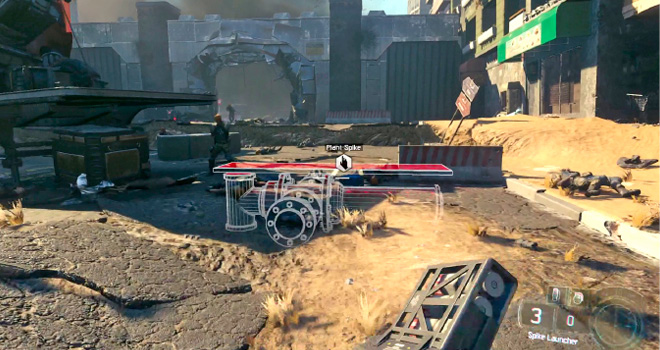
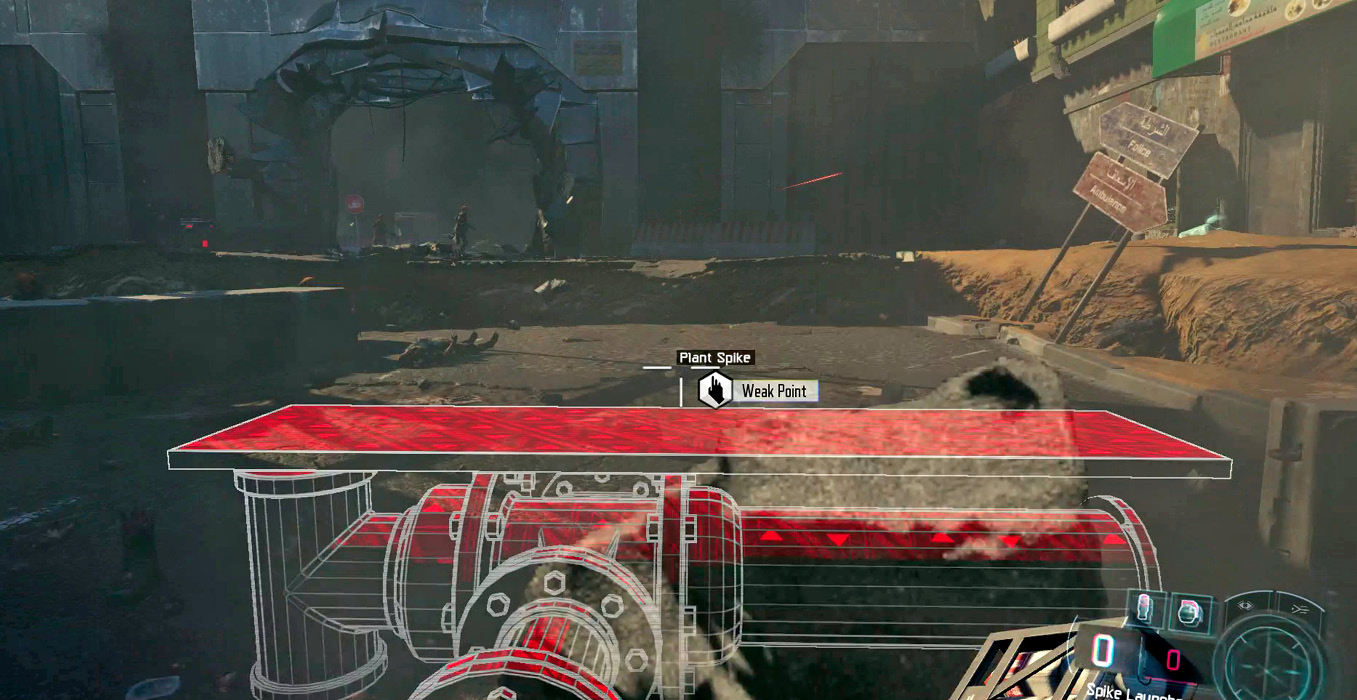
Throughout this section of the level, Kane highlights weak points in the ground. You must Interact with the Spike Gun while standing over the weak spot to plant a spike and weaken the ground. This must be done five times, each time the enemy reinforcements intensify as the NRC tries to stop you.
The Spike Launcher is a very powerful weapon. When you fire it, it will kill any enemies that get speared. After the spear lands, you can hit the onscreen indicator to detonate the spike, releasing the power of a grenade wherever you like. You can even cause chain explosions by firing multiple spikes, and then detonating them all at once.
The biggest drawback to the Launcher is that it has very limited range. The spikes actually arc in the air as you fire them, so aiming them at enemies far away can be quite difficult.
Weak Point 1
Instead of immediately stepping into the battlefield, climb up on the outer wall to find a mounted machine gun. Use it to clear enemies on the walls in the area. Once Kane updates your HUD with the location of the first weak point, use the gun to clear the area around it.
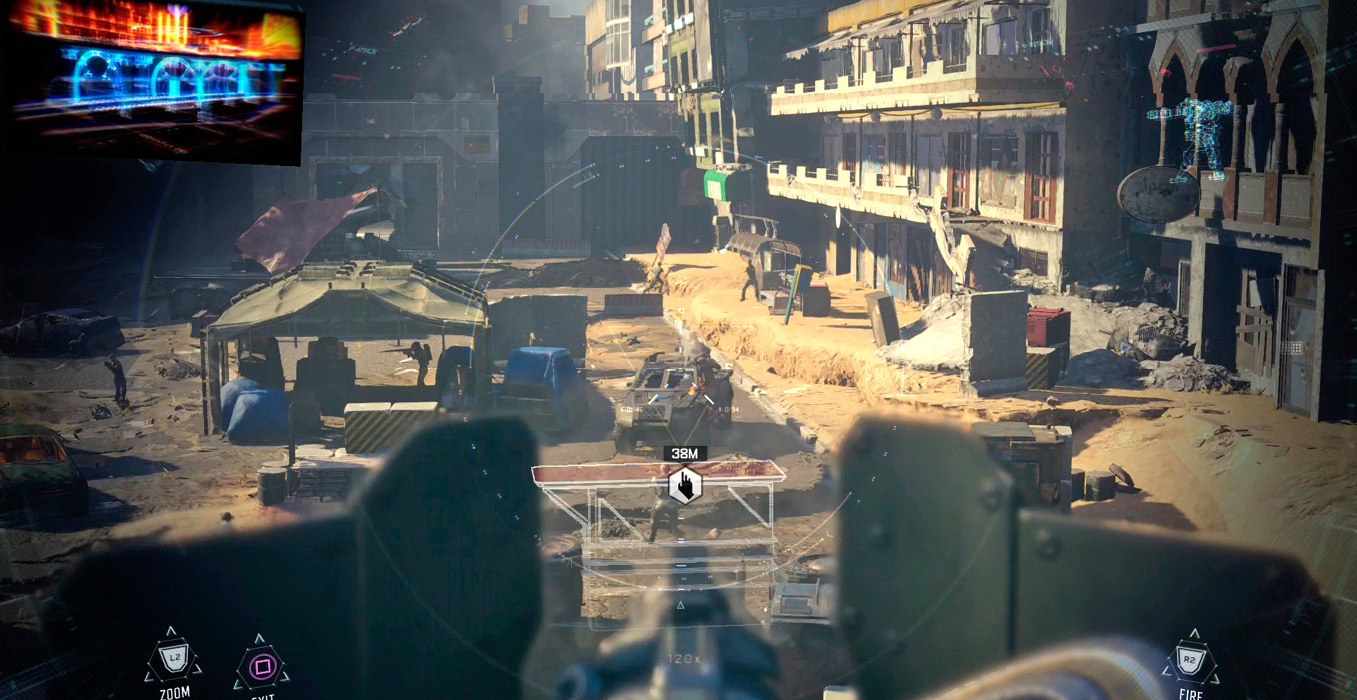
Climb down and sprint out to the weak point. Use the Technical for cover, and hit the Interact button to plant the first spike. Hit the Detonate button to destroy the first weak point.
Weak Points 2 & 3
Now move up the left side of the area and climb the wooden ramp up to the scaffolding. Get your Remote Hijack ready. When the Talons fly in, hijack one. Use the Talon to kill the other Talons flying around, and then focus on clearing the area around the left weak point (several robots spawn to defend this point). When the area is relatively clear, exit the Talon and sprint to the weak point.
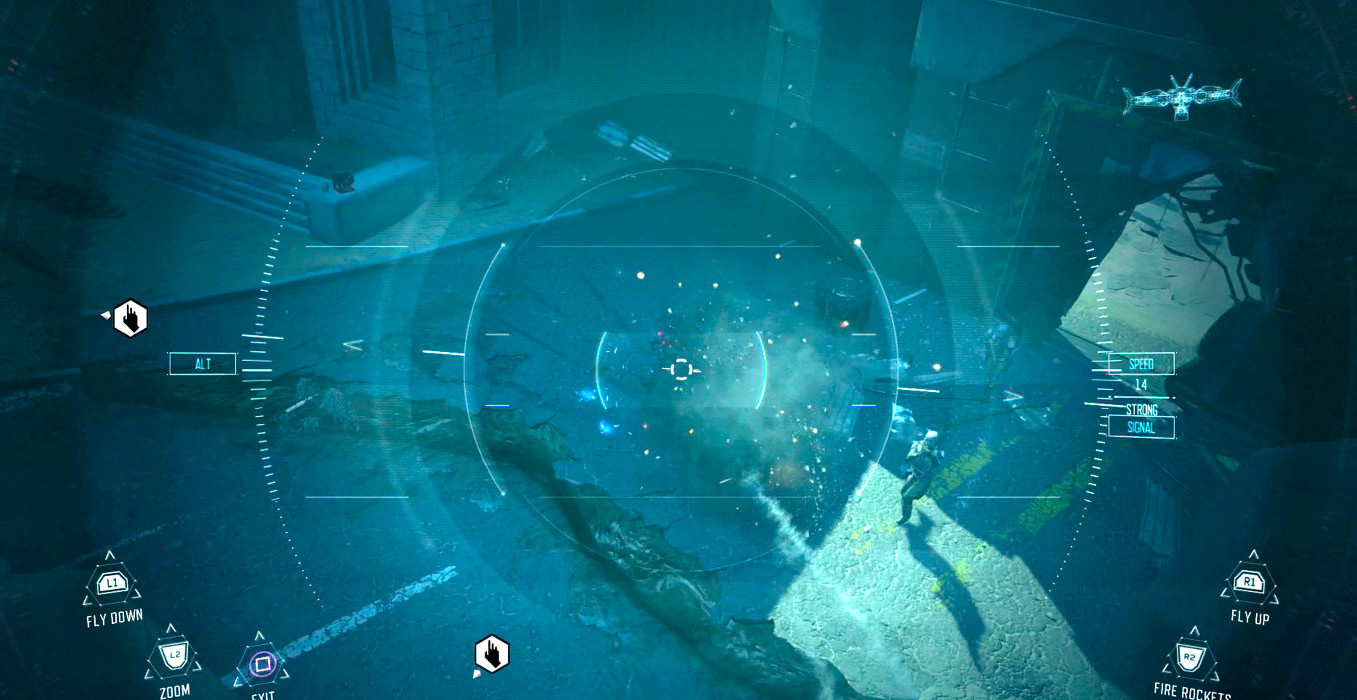
Use your Spike Launcher to clear the enemy waves. It’s impossible to kill all the enemies, so you must wait for an opening. When you get a respite, sprint out and Interact before the NRC can get a bead on you.
Weak Point 4
Weak Point 4 is on the left side of the area. Now the robots have fully breached and begin steadily advancing on this spot. If you have Protocol Override, use it here to help create a distraction.
When you’re feeling lucky, stay crouched from the sandbags near the weak point, then move to the Interact point. Drop the Spike and get out of there!
Weak Point 5
The last weak point is back on the right side. Now the enemy has full reinforcements, including R.A.P.S., Talons, and more robots.
The reinforcements are endless. To get an opening, hijack a Talon, then fly around clearing out the other Talons and the enemy forces running near the weak point.
Next, make sure you have plenty of Spike Ammo (it can be refilled in any of the ammo containers in the area), and run up to the barrier just in front of the weak point. Fire multiple spikes to set a trap for the reinforcements. When you have the area covered, set off your Spike trap and rush up to the weak point to Interact before further reinforcements arrive.
Detonate the Charges
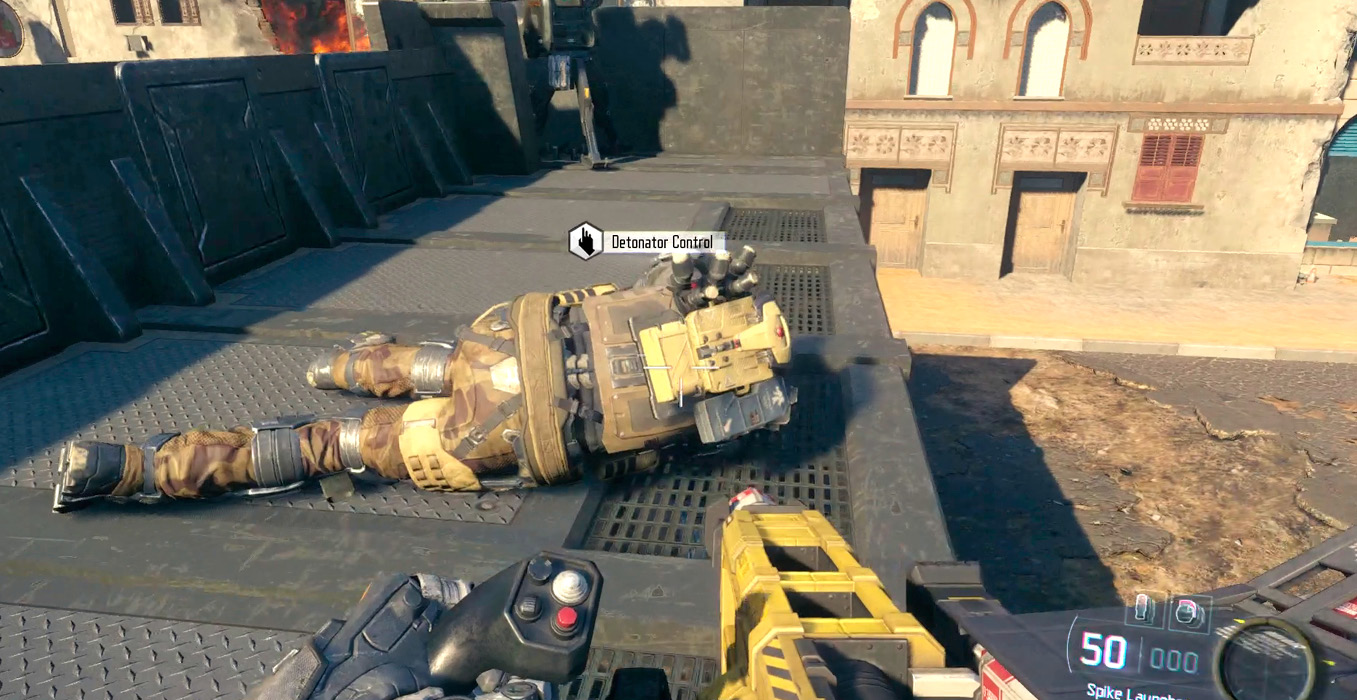
Rush back to the wall where you entered the area. Climb up on the makeshift gun nest. Unfortunately, the soldier that was going to detonate the charges is picked off. Crawl over to the datapad on the ground and Interact with it to blow the charges and end this section of the level.
Go to Safiya Square
Now your team needs to reinforce Khalil’s troops at Safiya Square. To get there, you must navigate a series of destroyed apartment buildings.
When you exit back out into the sunlight, watch for enemies defending on the right. There are several soldiers in the area immediately in front of you, as well as an enemy sniper on the far rooftop. There are many more enemies in the area, but your team will help clear them out as they advance.
Stay in cover and make sure the area is clear before you advance down the right side of the apartments area.
|
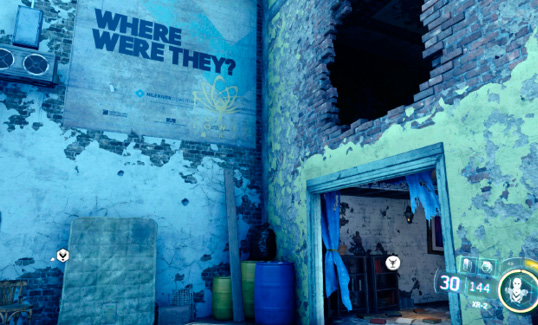
Continue along until you encounter more resistance. Keep your eyes fixed on the sky and ready Remote Hijack. As soon as a Talon appears, hijack it and use it to clear out the NRC firing from nooks and crannies.
With the outside area clear, stay on the upper area and follow it through the next room. There are a few more NRC defending inside, so toss a grenade to clear the room.
From this vantage point, you can shoot down at the remaining NRC below. A particular threat is the pair of tank drones roaming the area. Blow them up first, then focus on the human soldiers.
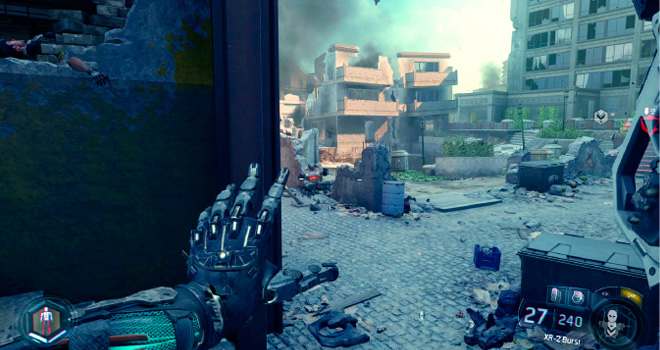
When your allies move up, it’s clear. Jump down and proceed through the building at the back of the area.
Open the VTOL Hatch
This path leads to a room with a crashed VTOL. There are a few robots in the room. Eliminate them and Hendricks runs up to the back of the ship.
|
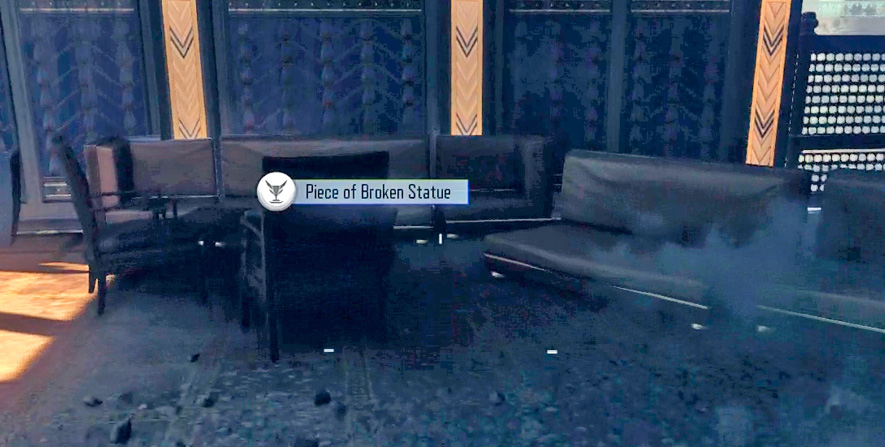
Move to Hendricks and Interact with the door to open it.
Destroy the A.S.P. -MLs
Chaos has broken out on the battlefield as an A.S.P. leads a huge contingent of the NRC forces. This is the longest and most difficult battle you’ve encountered thus far in the game. While the A.S.P. itself is quite a threat, the unlimited reinforcements make finding good cover and staying there imperative.
|
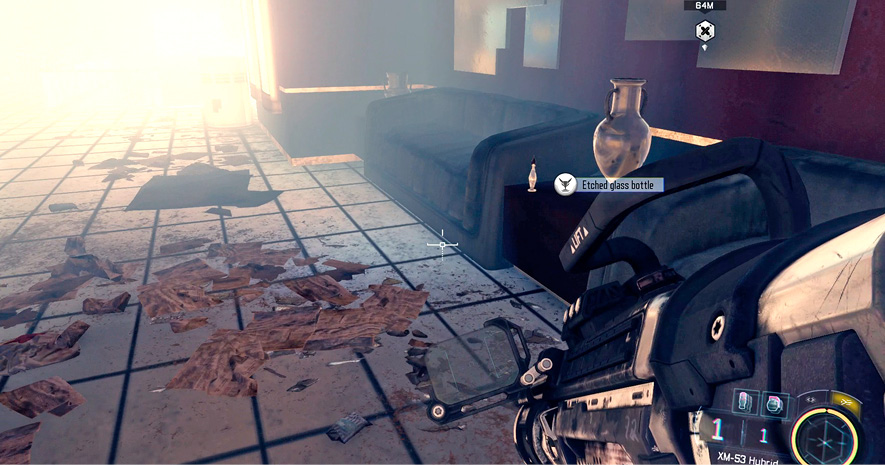
There are three stages to this fight:
A.S.P. -ML #1
If you have Remote Hijack, this is the time to use it. Hacking the A.S.P. makes this battle significantly easier. Not only does it automatically kill the first A.S.P., but you can use it to also kill the second one.
If you don’t have Remote Hijack, the fight is more straightforward. Grab one of the many Rocket Launchers in the area, and then shoot at the base of the drone until the missile defenses drop. Each tank takes a few rockets before going down.
A.S.P. -C #2
After you destroy the first A.S.P. a second one is flown in by a VTOL. Use the same strategies to take it down. If you are having trouble with the enemies in the area, hack one of the Tank Drones to clear out the NRC.
A.S.P. -ML #3
If you hacked the second A.S.P. you may still be controlling when A.S.P. 3 arrives. Time for a tank battle! Use the A.S.P. to demolish the third tank and you’ve succeeded in completing the mission!